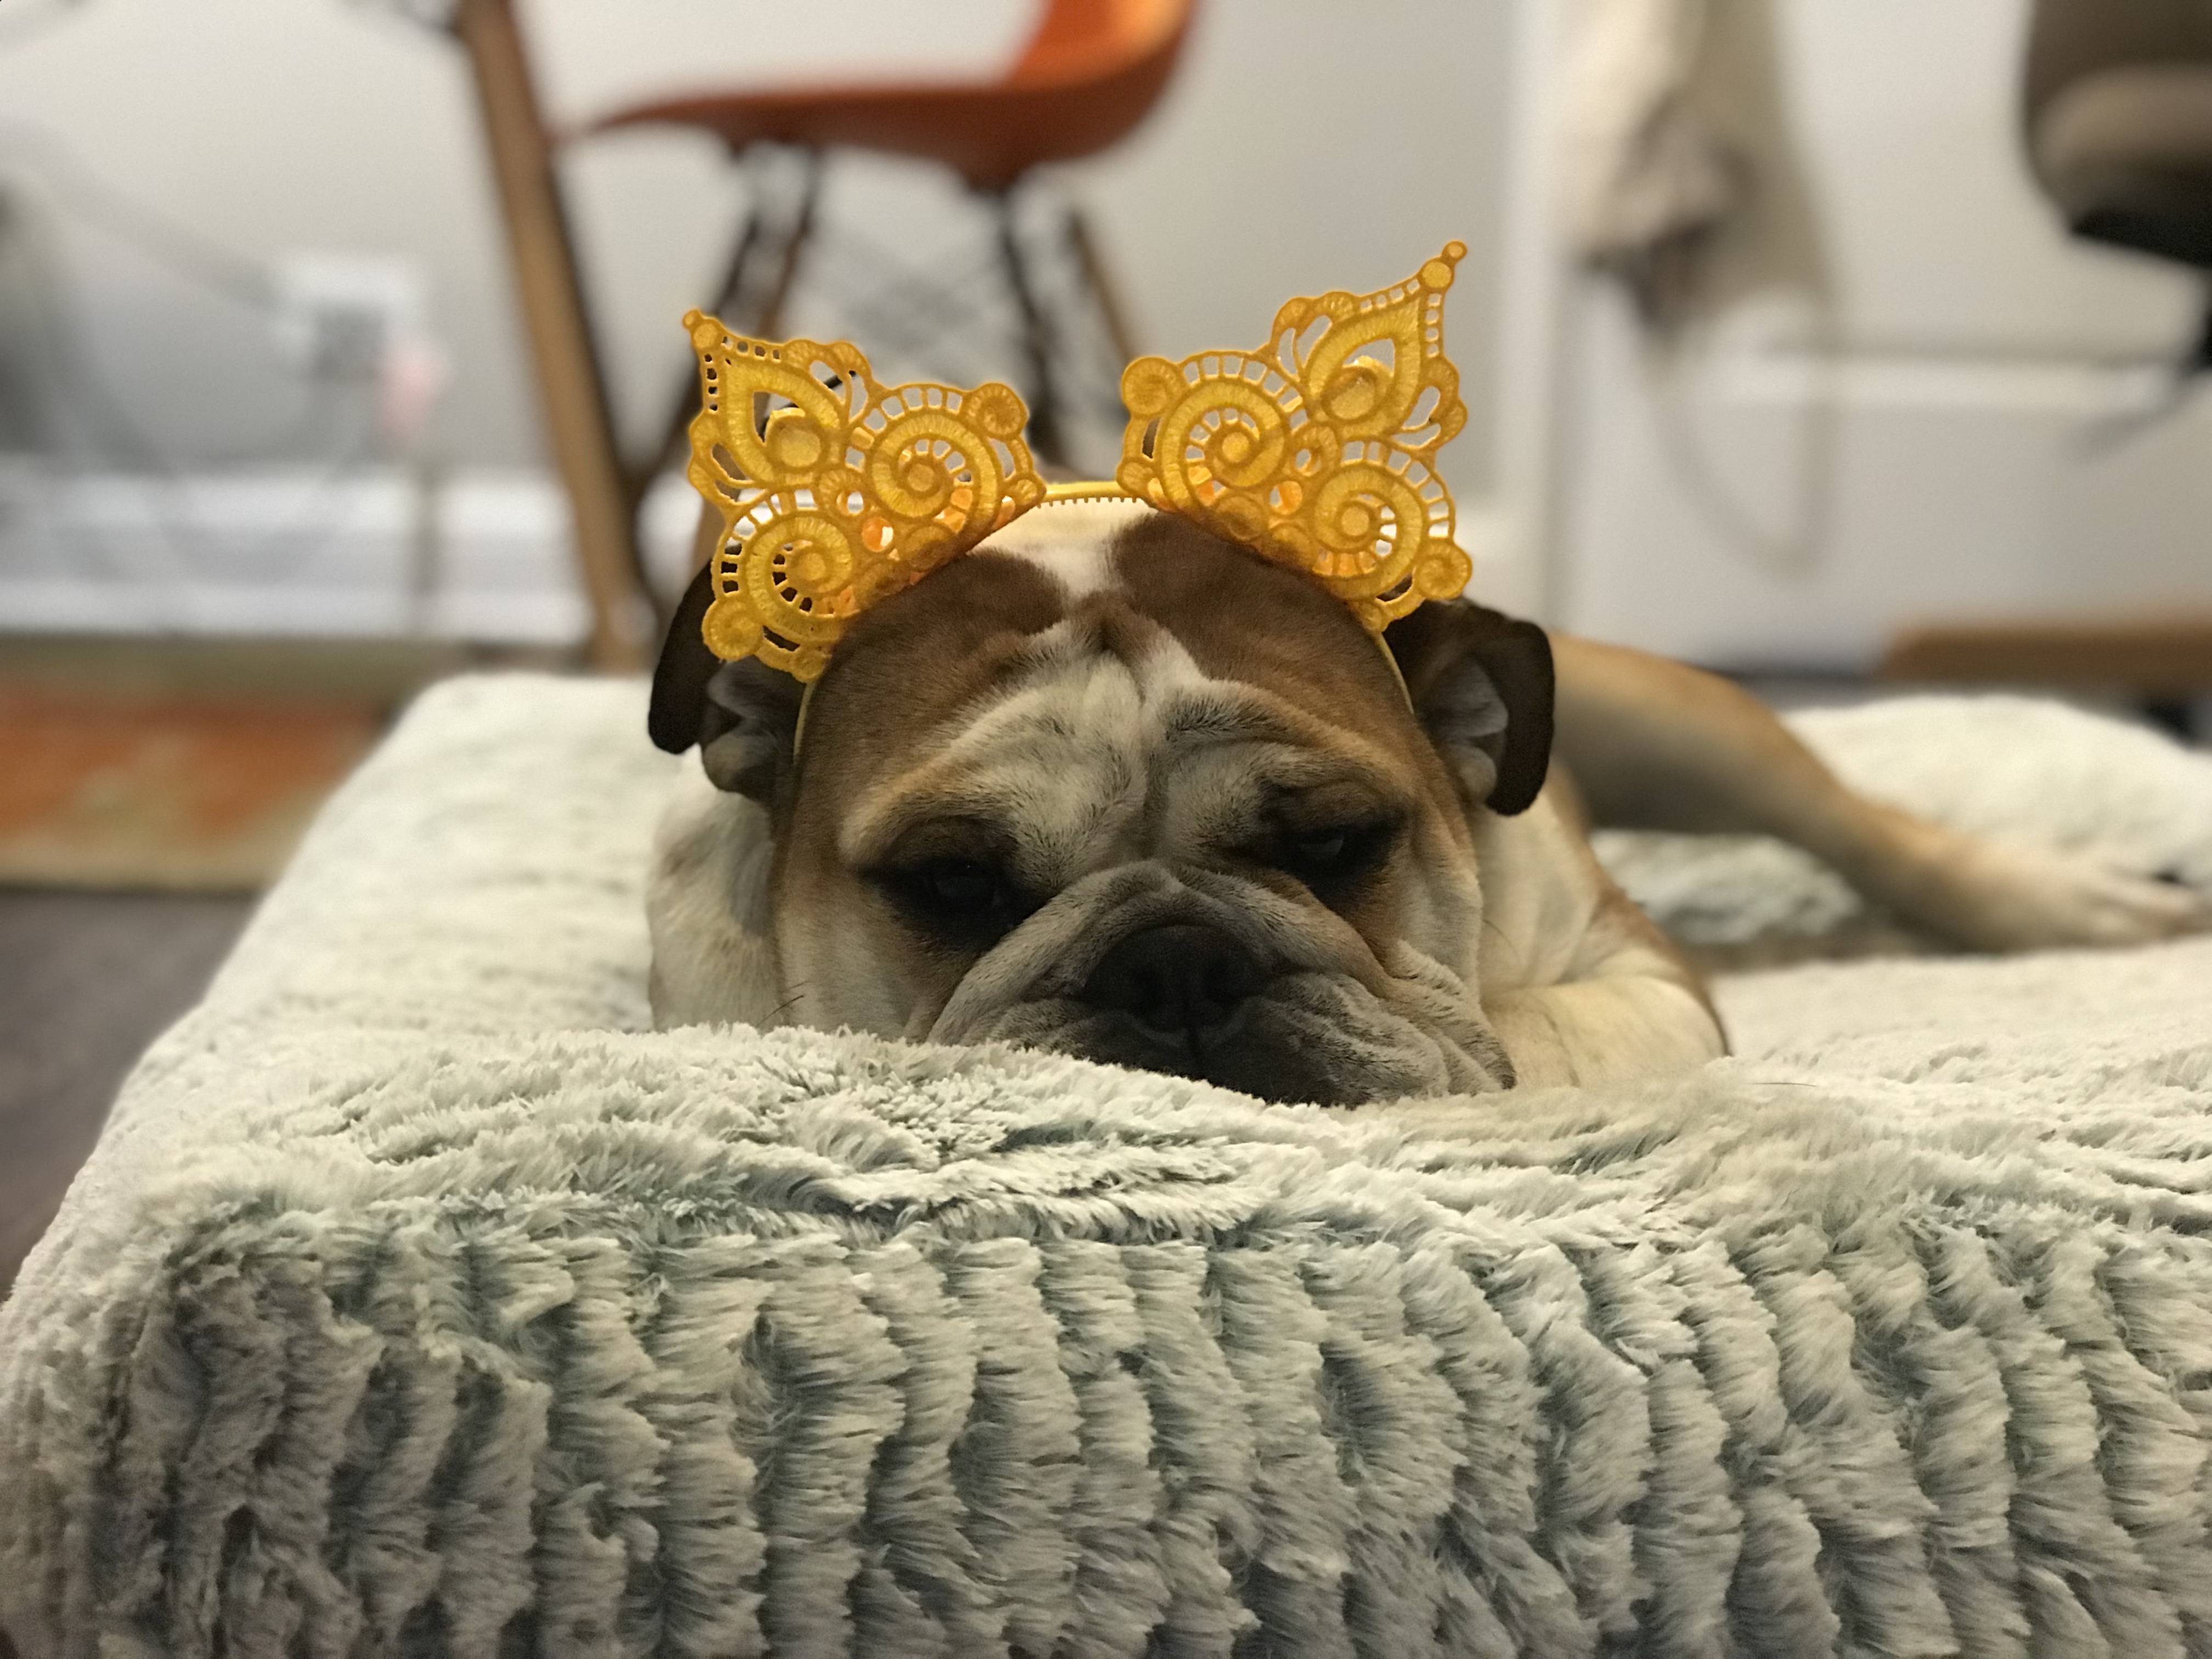
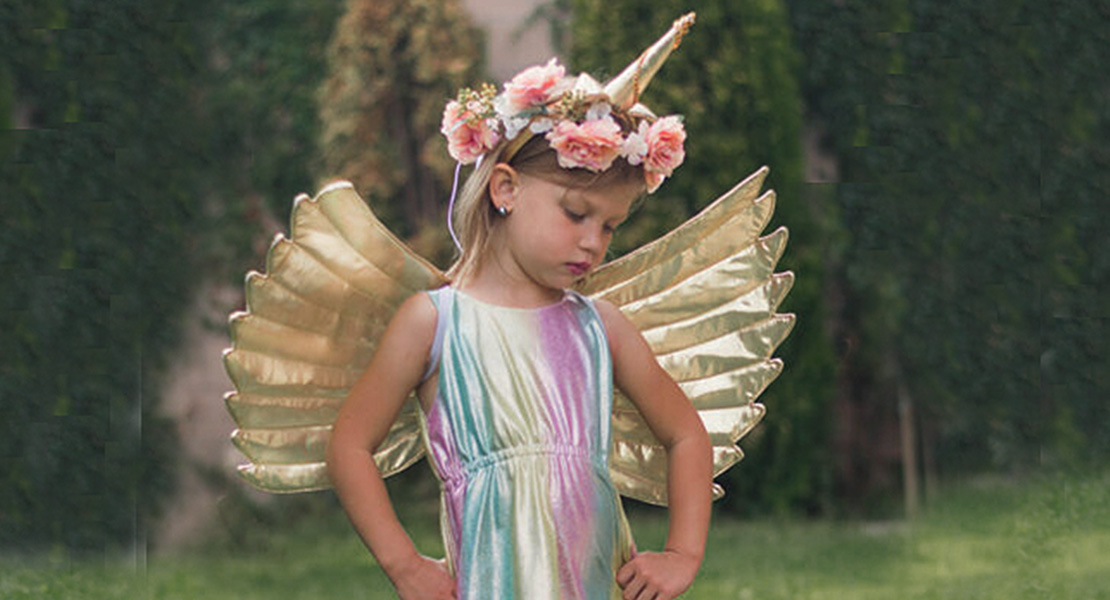
Unicorn Headband
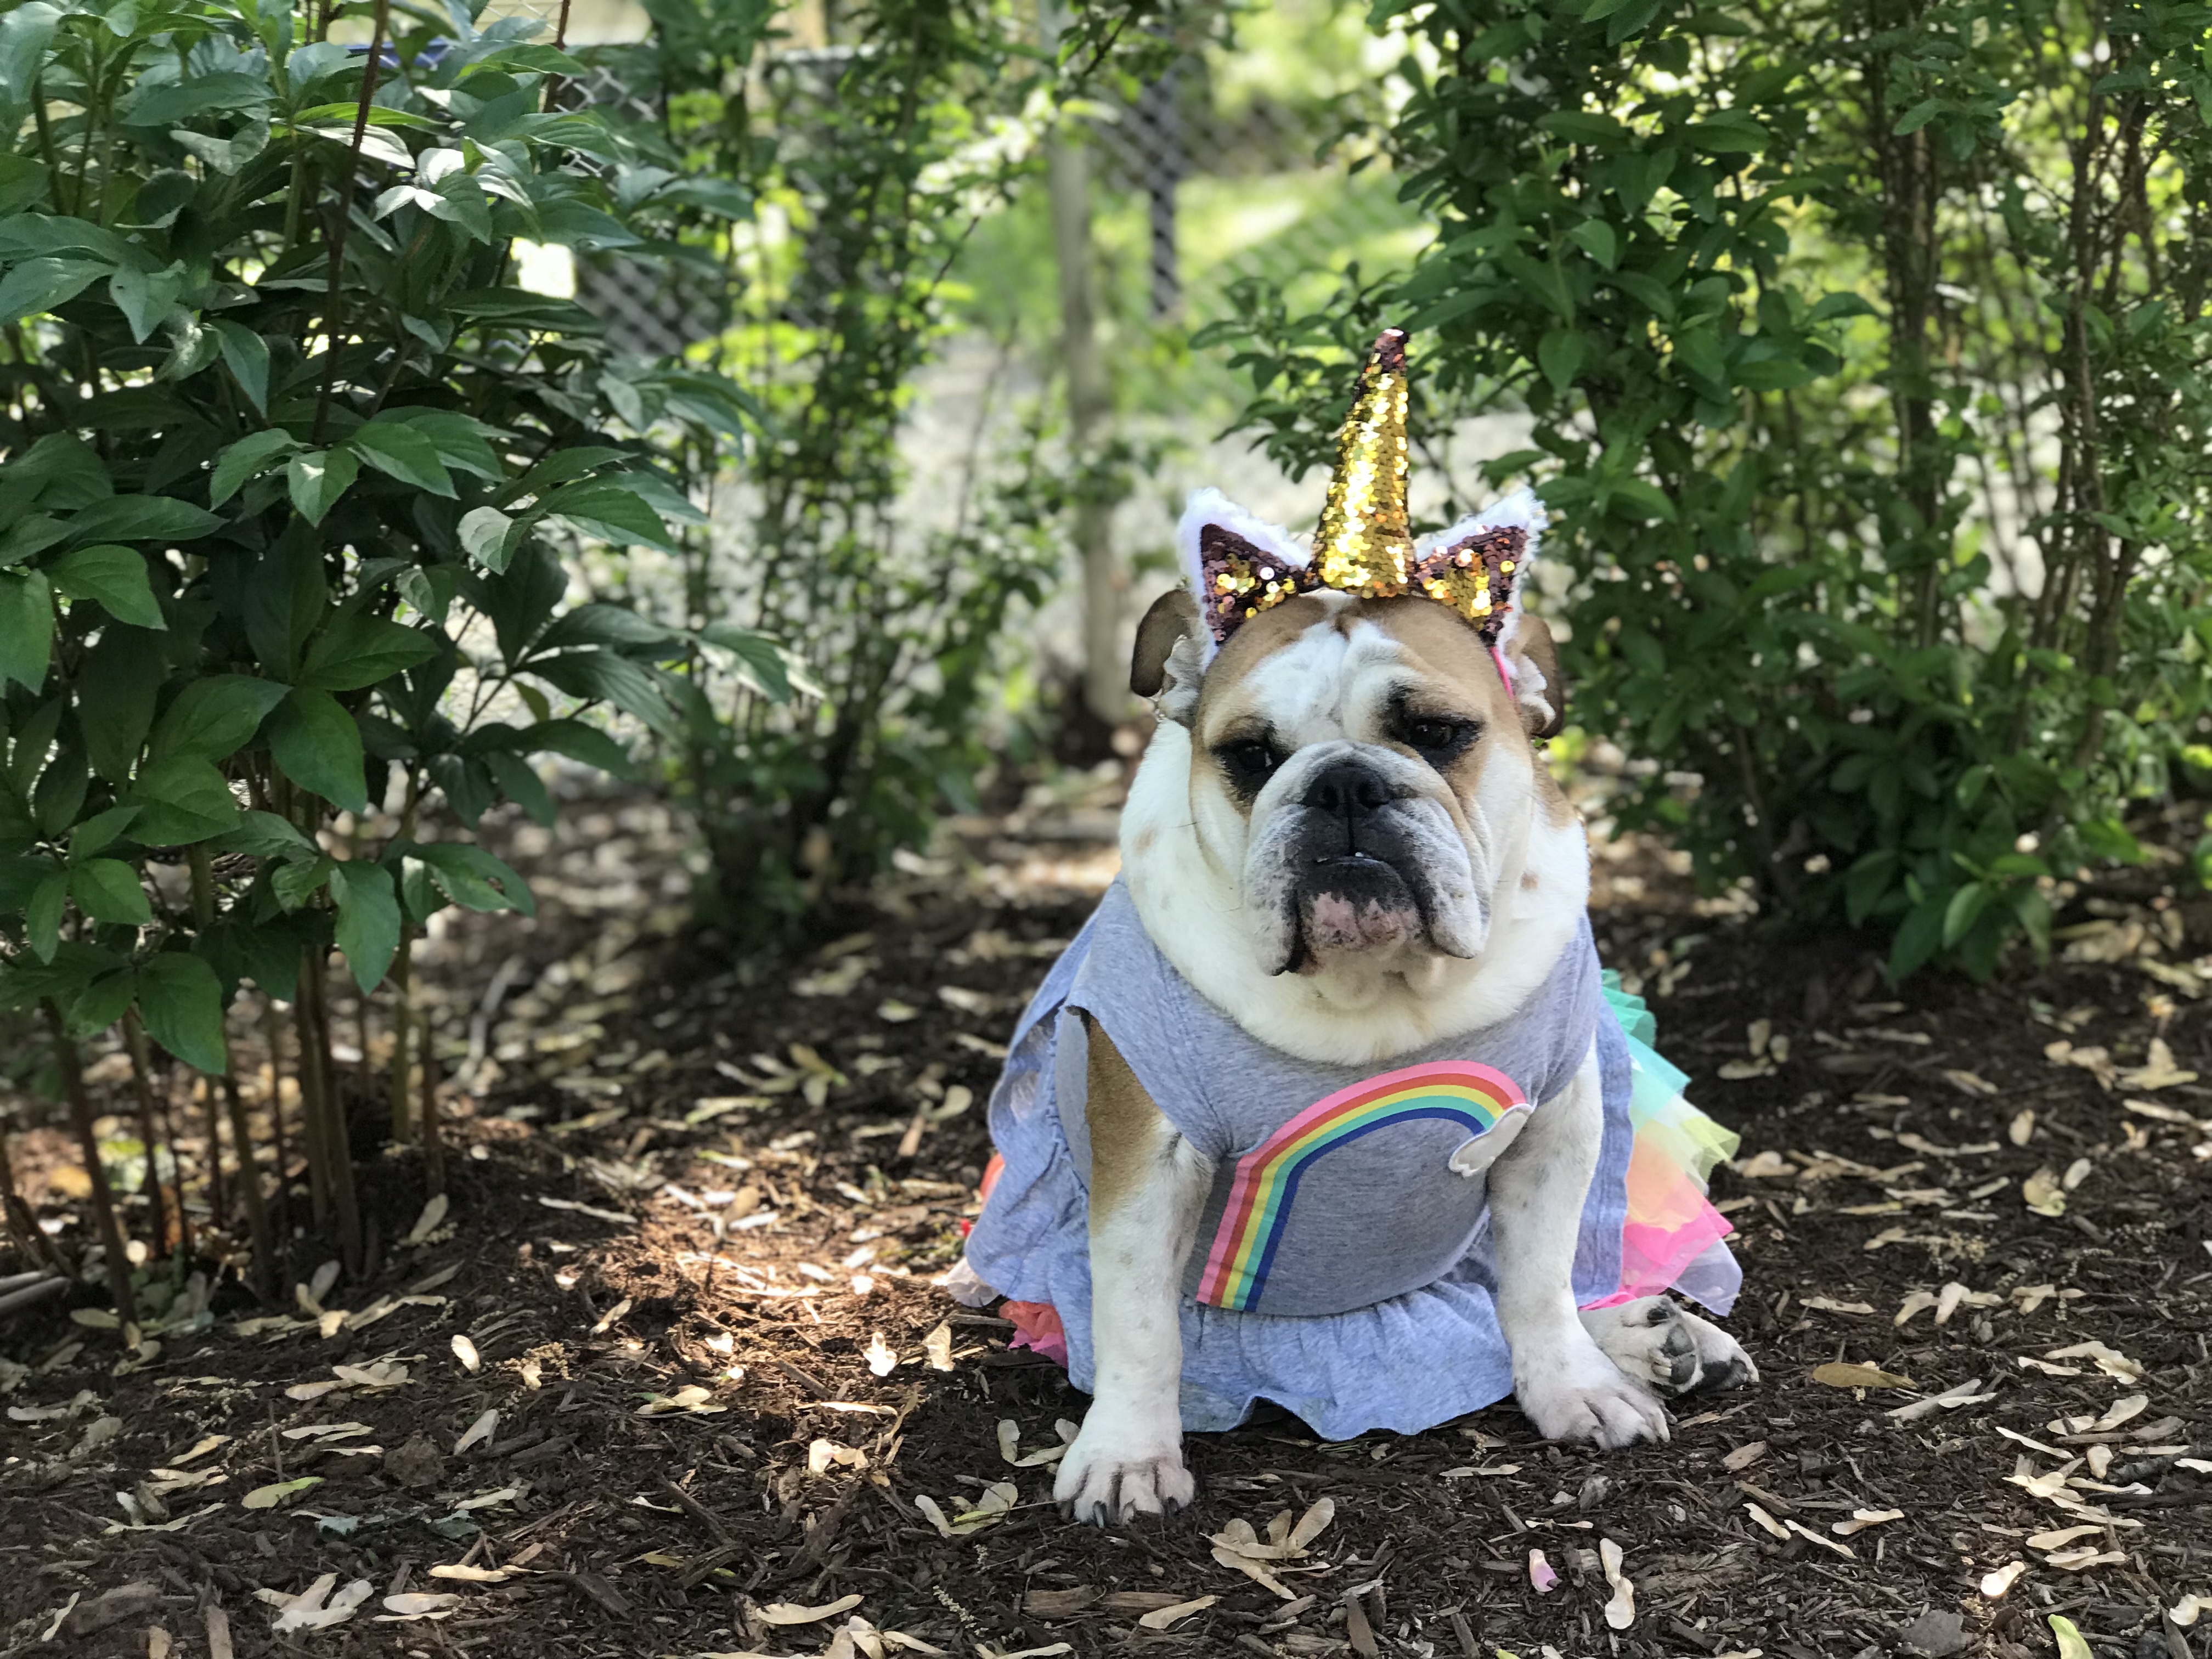
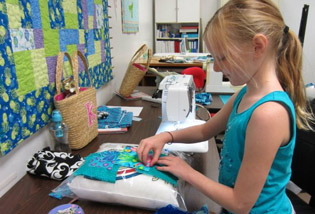
In my life, there is always some sort of costume party, flying trapeze show, comic convention or masquerade ball in which to prepare. In some cases, there is very little lead-time. I love to sew, I love my fancy BERNINA machines and I love any excuse to dress in costume…or dress up my English bulldog, Camilla Barker Bowles. Therefore, I designed a project to satisfy my crafty desires. This fun unicorn headband is perfect for your little one’s birthdays, and even your little fur babies.
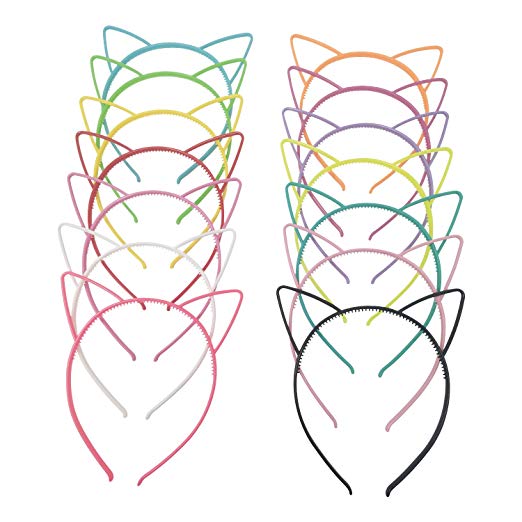
Gather up your materials. I started with a search for headbands on Amazon.com and found the perfect cat ears. They came in a pack of 14 for $10.99. I know, I’m making a unicorn, but the headbands have a structure that will allow me to easily attach unicorn ears and a horn.
Another important material that I enjoyed playing with before I cut it out was a new item from Eversewn. It’s reversible sequin fabric! Swipe up for pink and swipe down for gold. What baby unicorn wouldn’t want that as a horn? Psst,baby unicorns are called a sparkle or a shimmer – #themoreyouknow ;).

Other important supplies:
- Download the Unicorn Party Headband Pattern here
- Scissors (I used Tula’s 8″ Shears in that fancy rainbow treatment. I mean we are making a unicorn here.)
- White Felt
- White Faux Fur (I upcycled an old shrug)
- Sweet Dreams Stuffing from Quilter’s Dream
- Hand sewing needle
- E6000 Glue
Before you can cut anything out, you will need to print the pattern pieces for the unicorn headband. There’s one for the unicorn horn, sequin inside and sequin outer and a circle for the unicorn horn base. Cut the materials according to the pattern instructions.
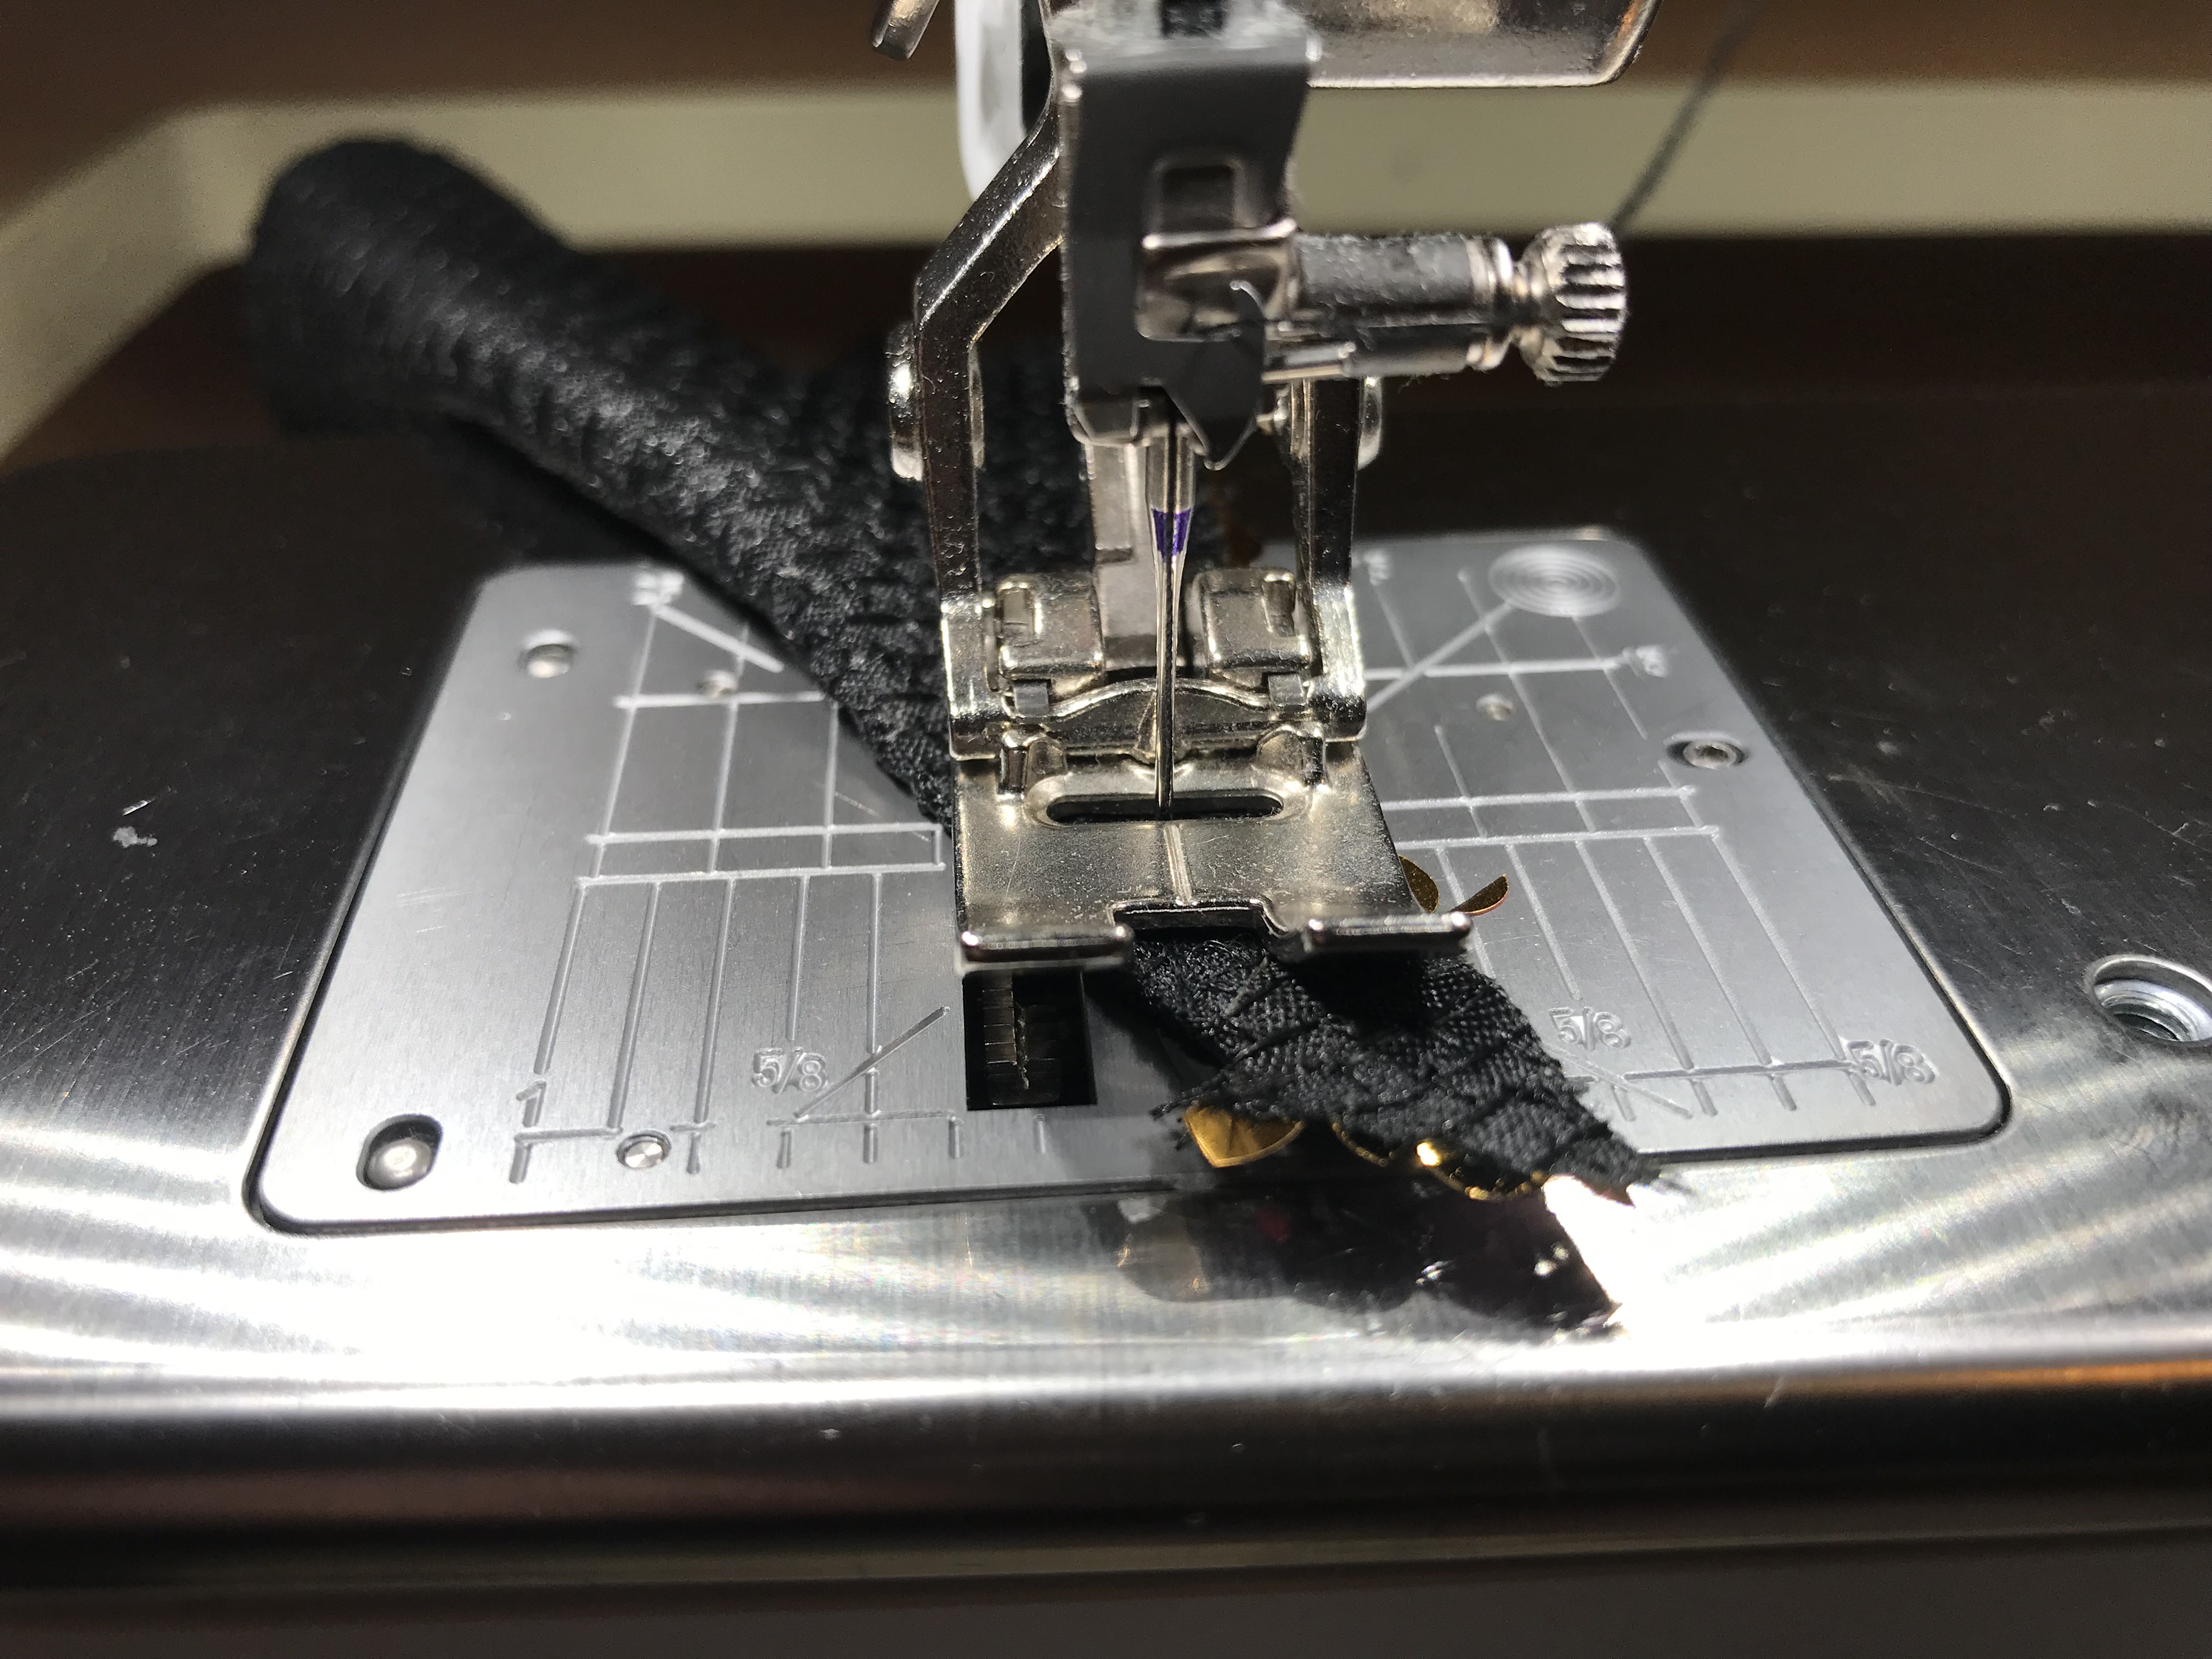
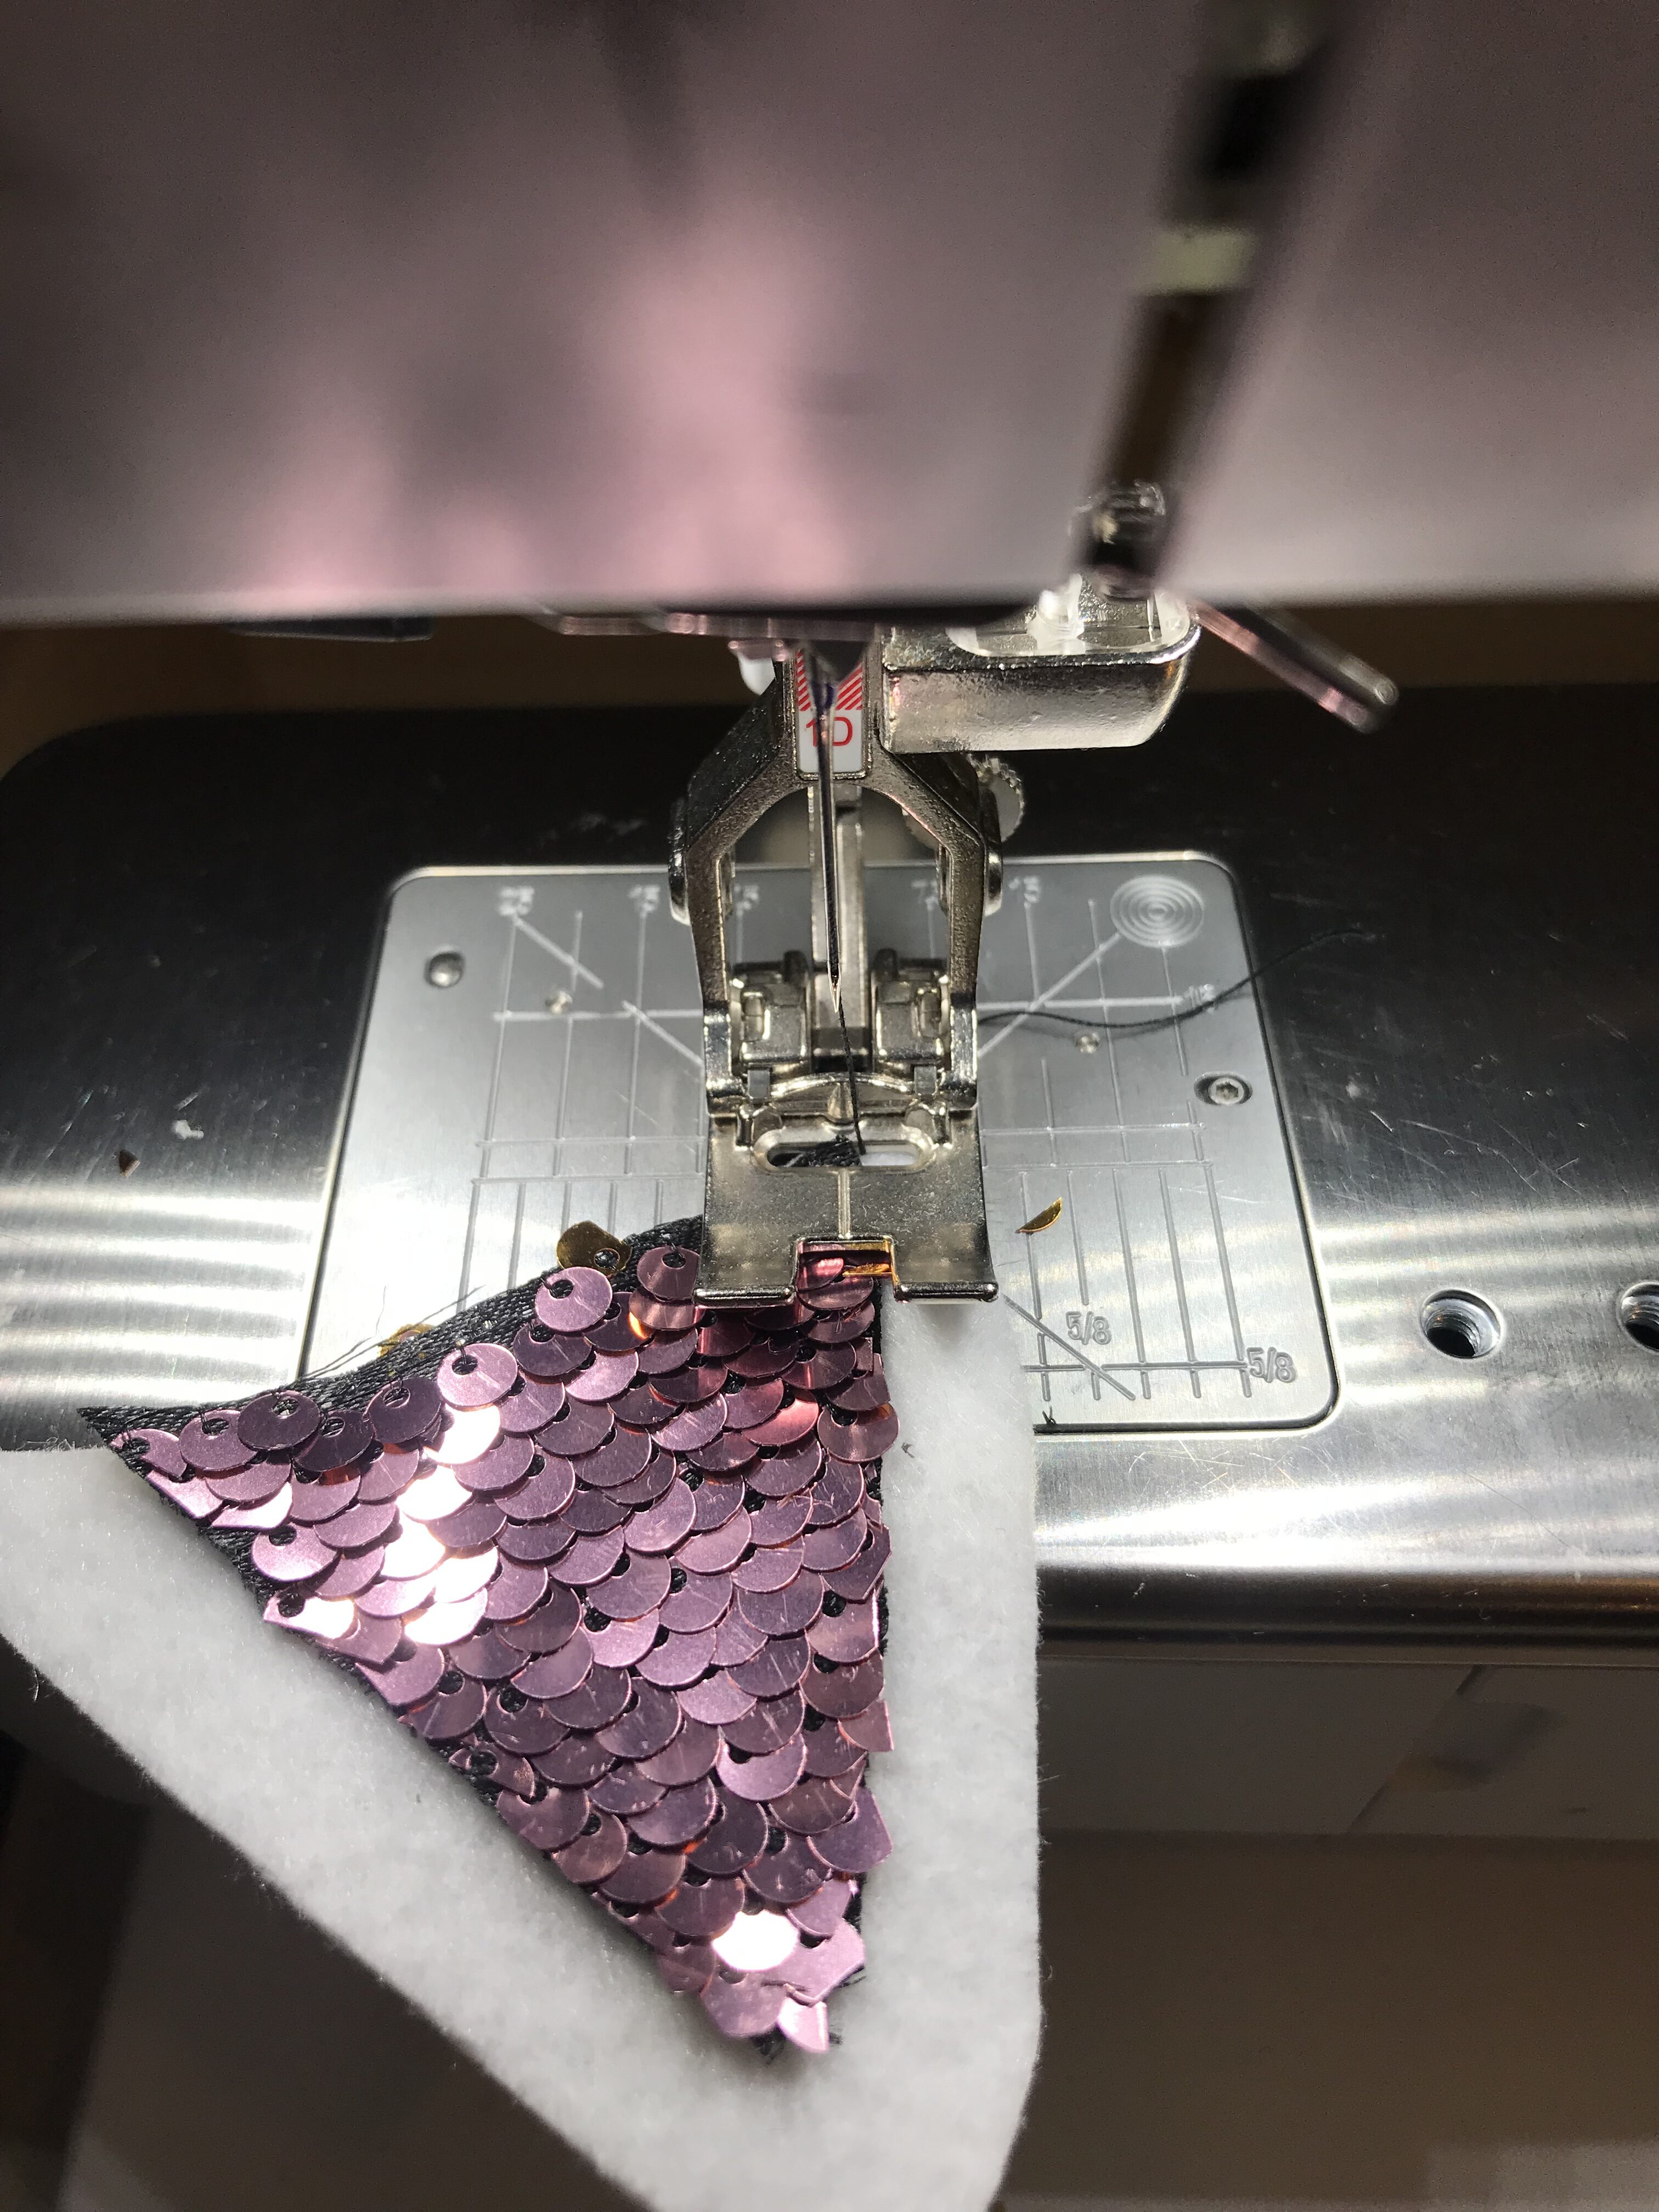
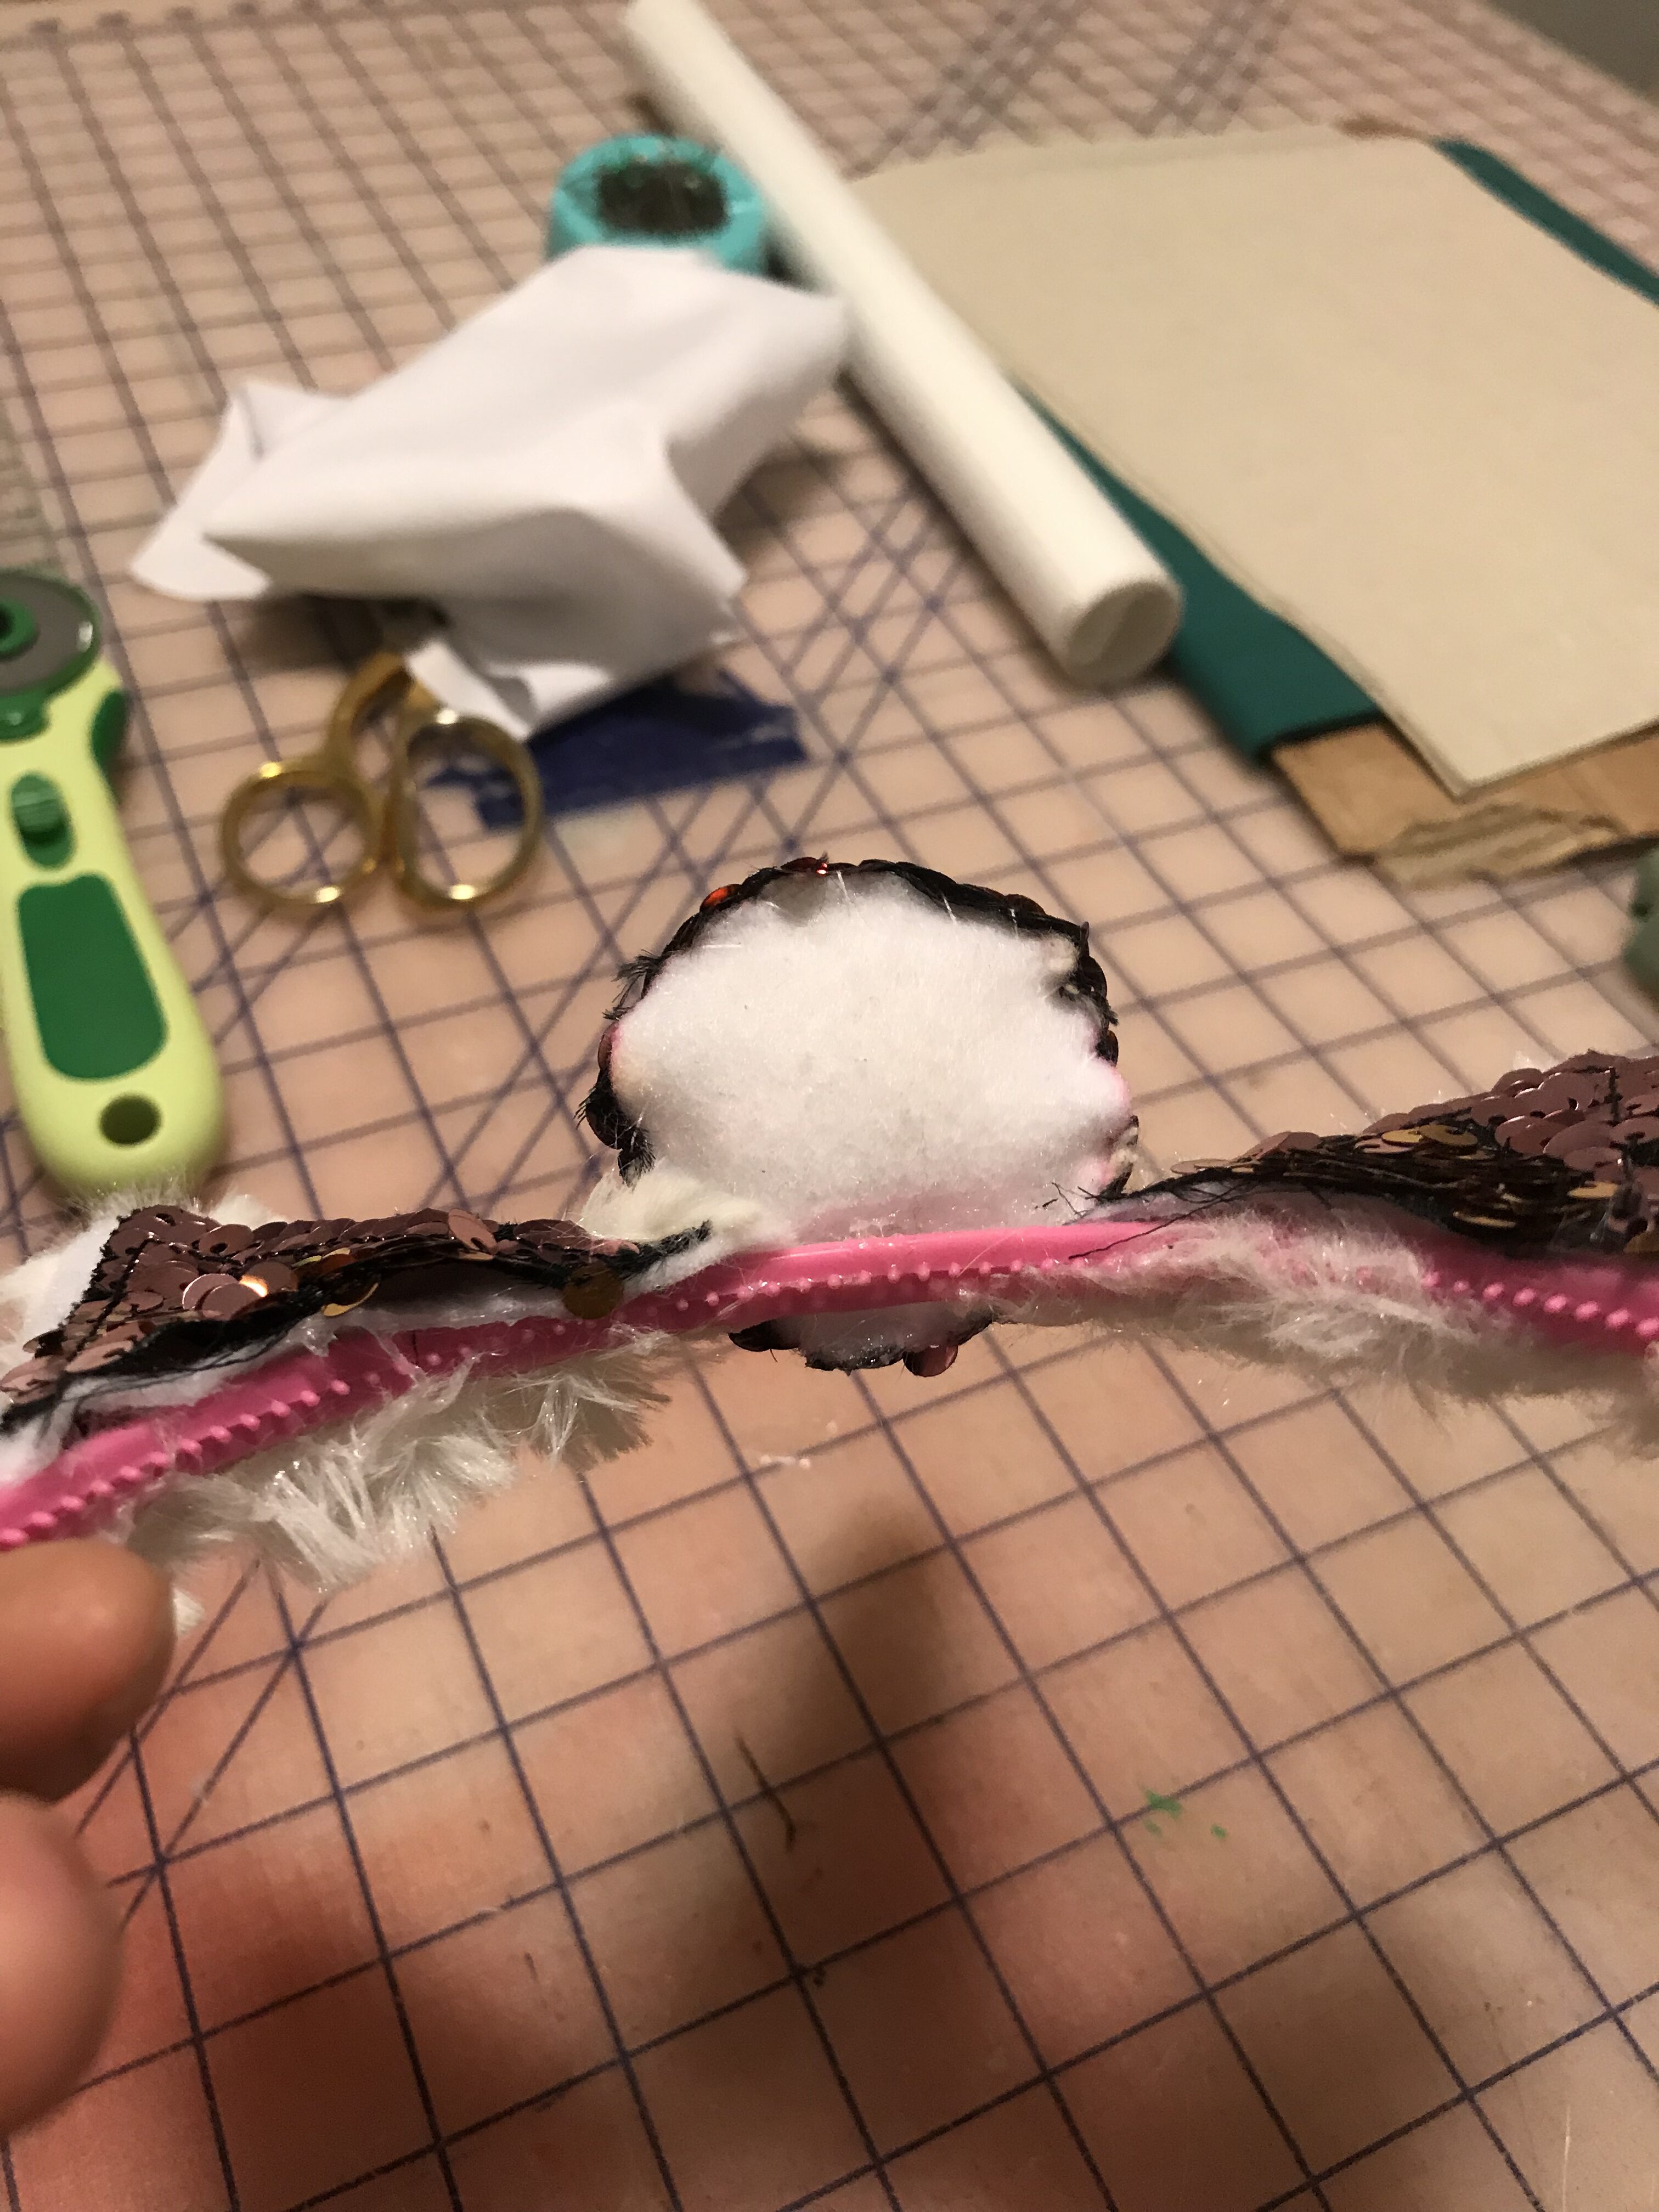
The first piece to assemble is the unicorn horn. Use the side of your presser foot for your seam allowance and stitch. If you are using the Eversewn glitter fabric, black thread is the best option. Oh, and don’t use a needle that you love in your sewing machine, you’re going to throw it away after you’ve finished sewing the sequin material. Secure your stitches at the beginning and end of the seam. Turn the work right side out after stitching.
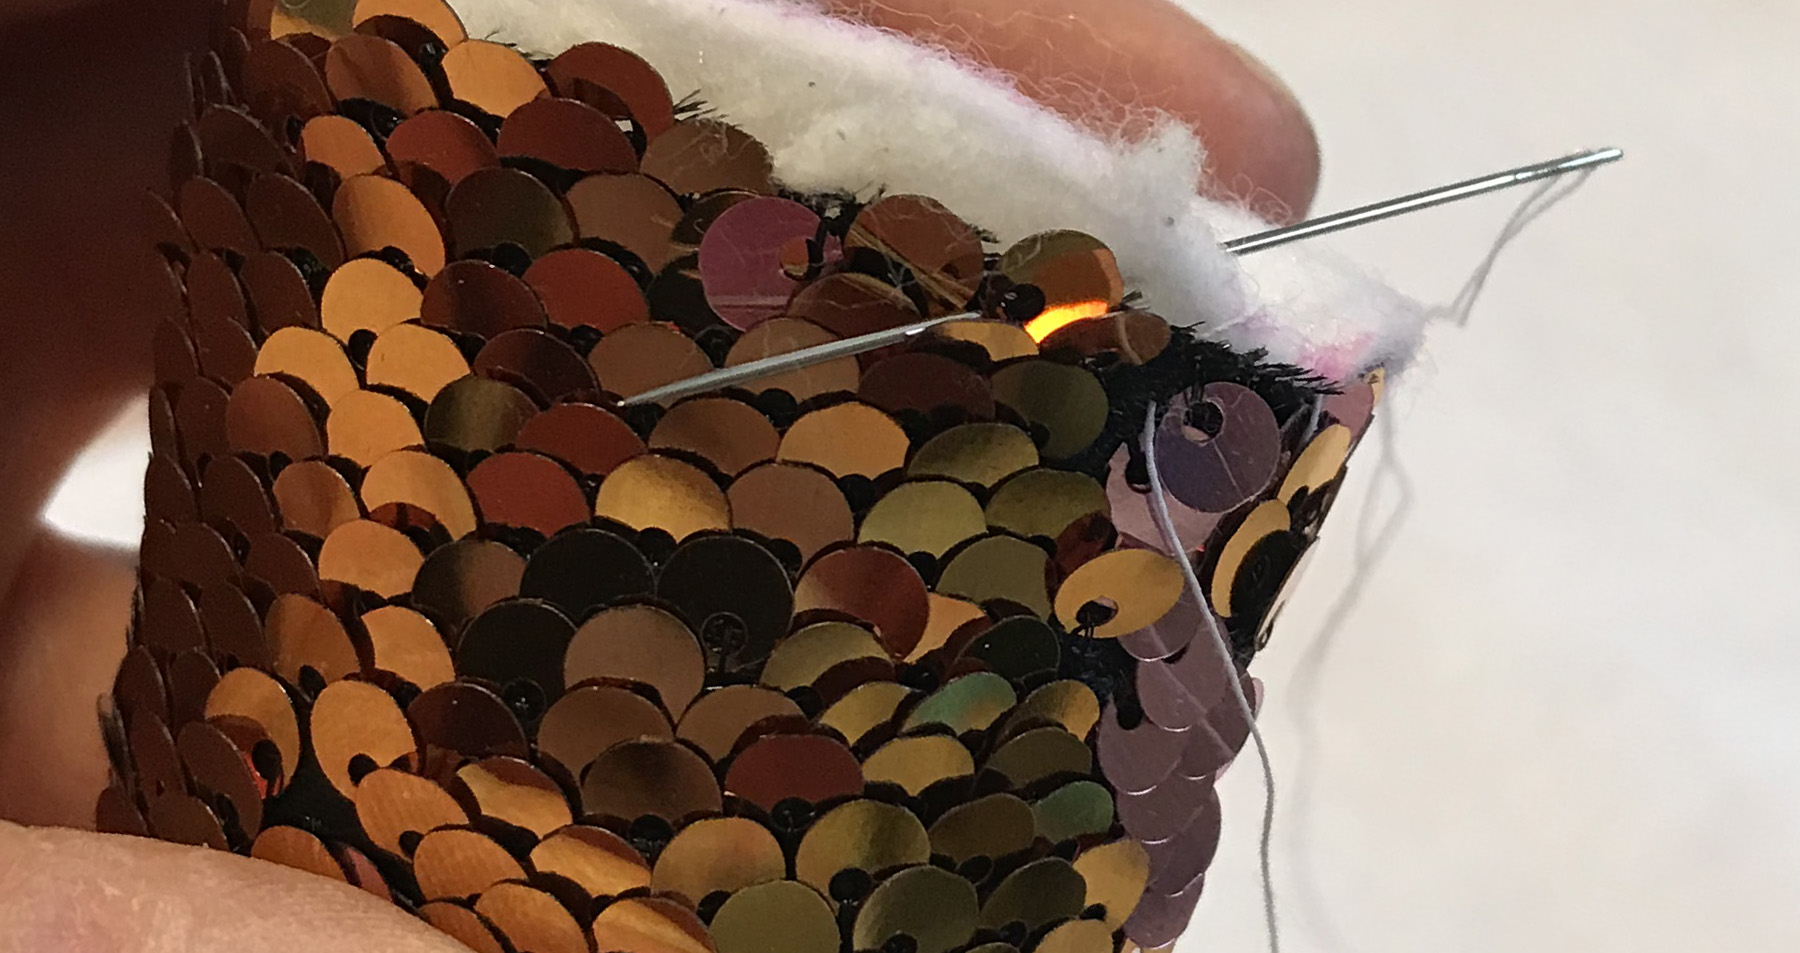
Stuff the horn with your favorite stuffing (it’s called wadding if you’re English, like Camilla). I like Sweet Dreams from Quilter’s Dream. For any stuffing project, my practice is to stuff that baby like a Thanksgiving Turkey! The more the better.
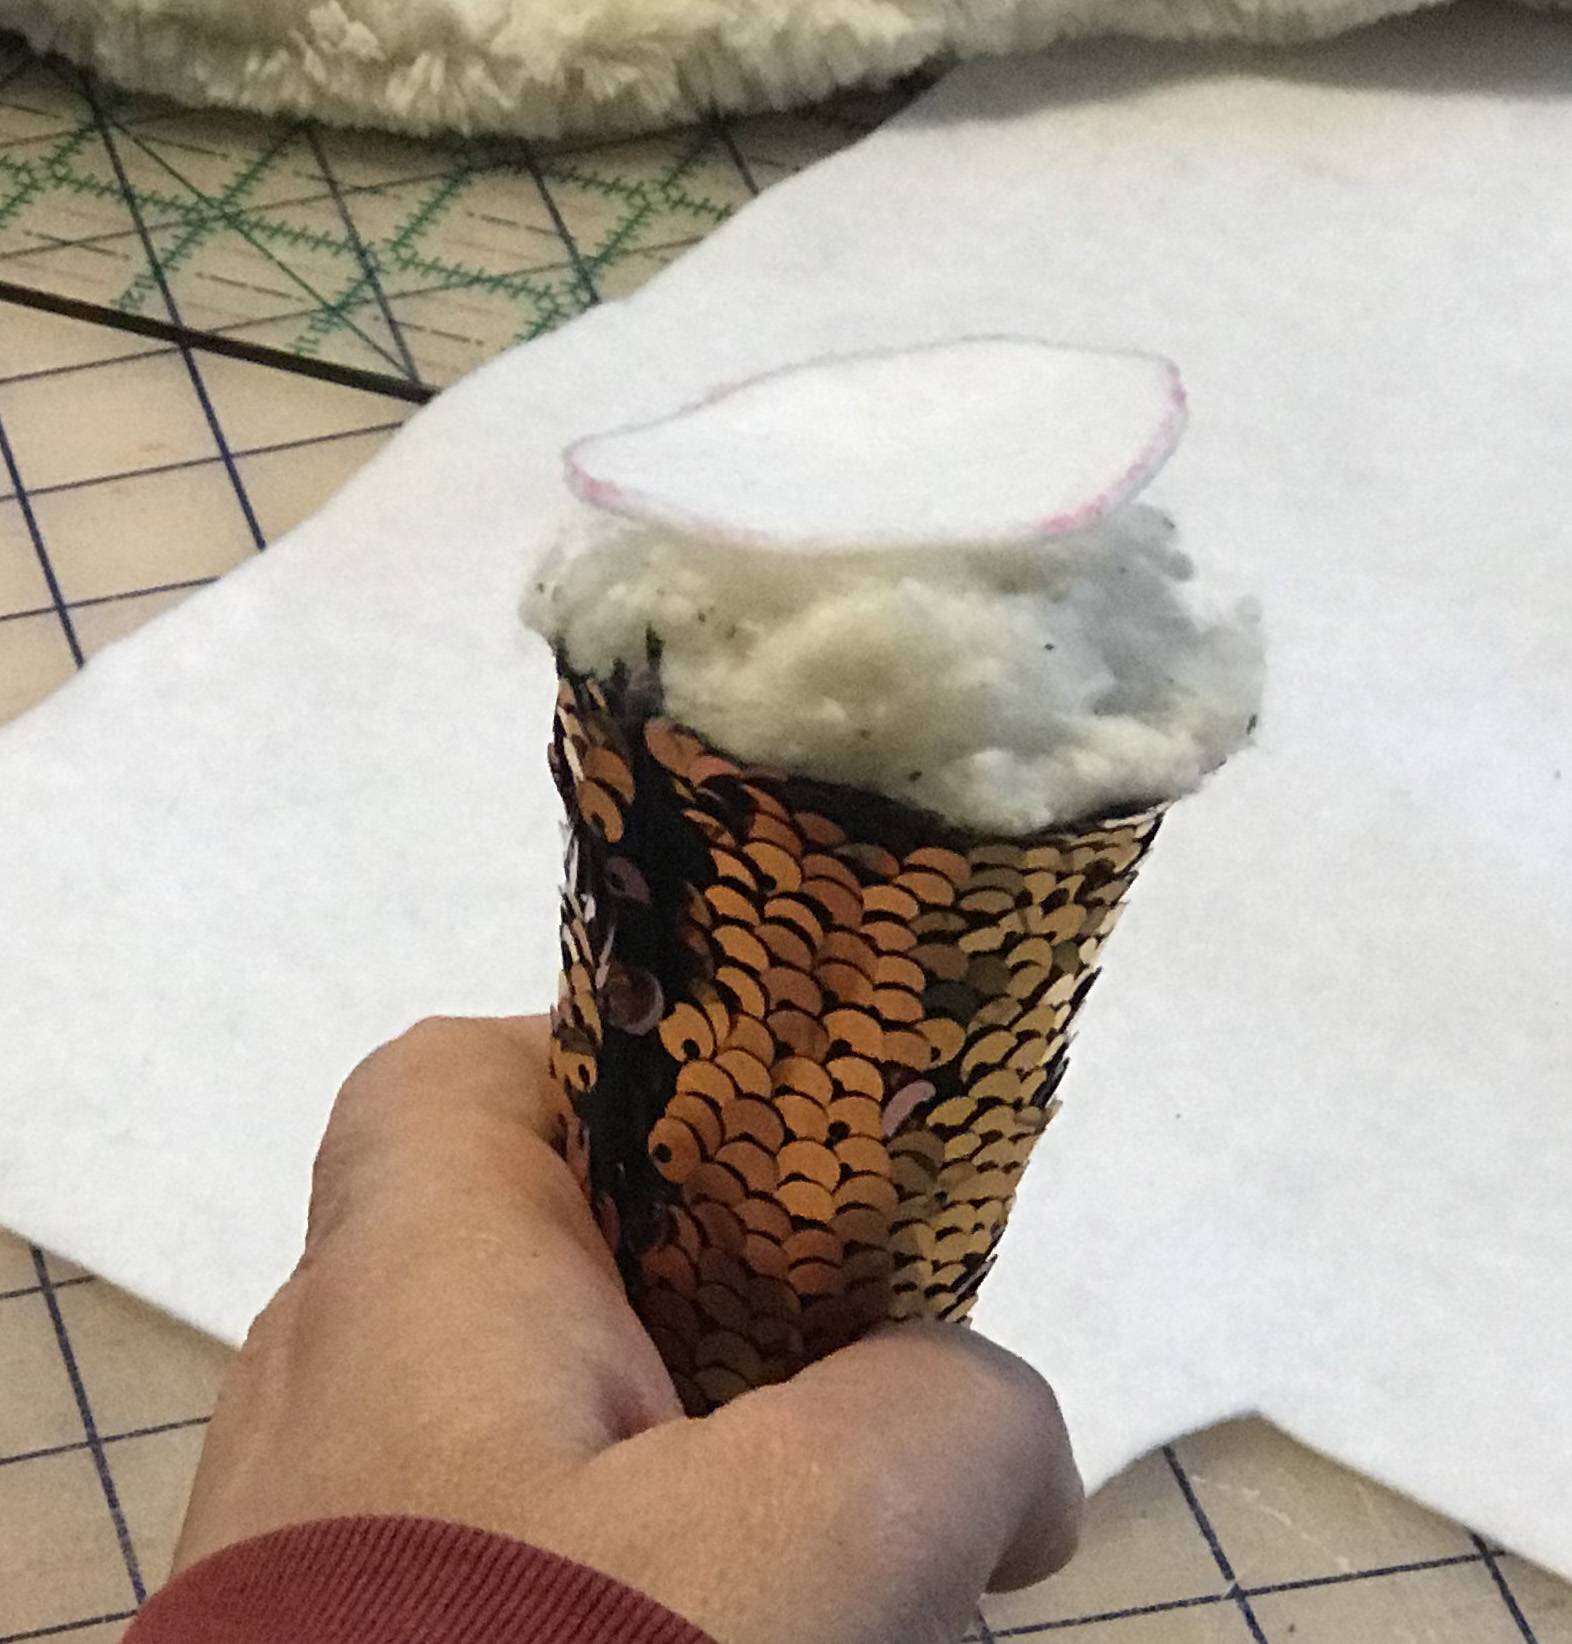
To hold in the stuffing, use the felt circle piece and hand sew it to the bottom of the horn.
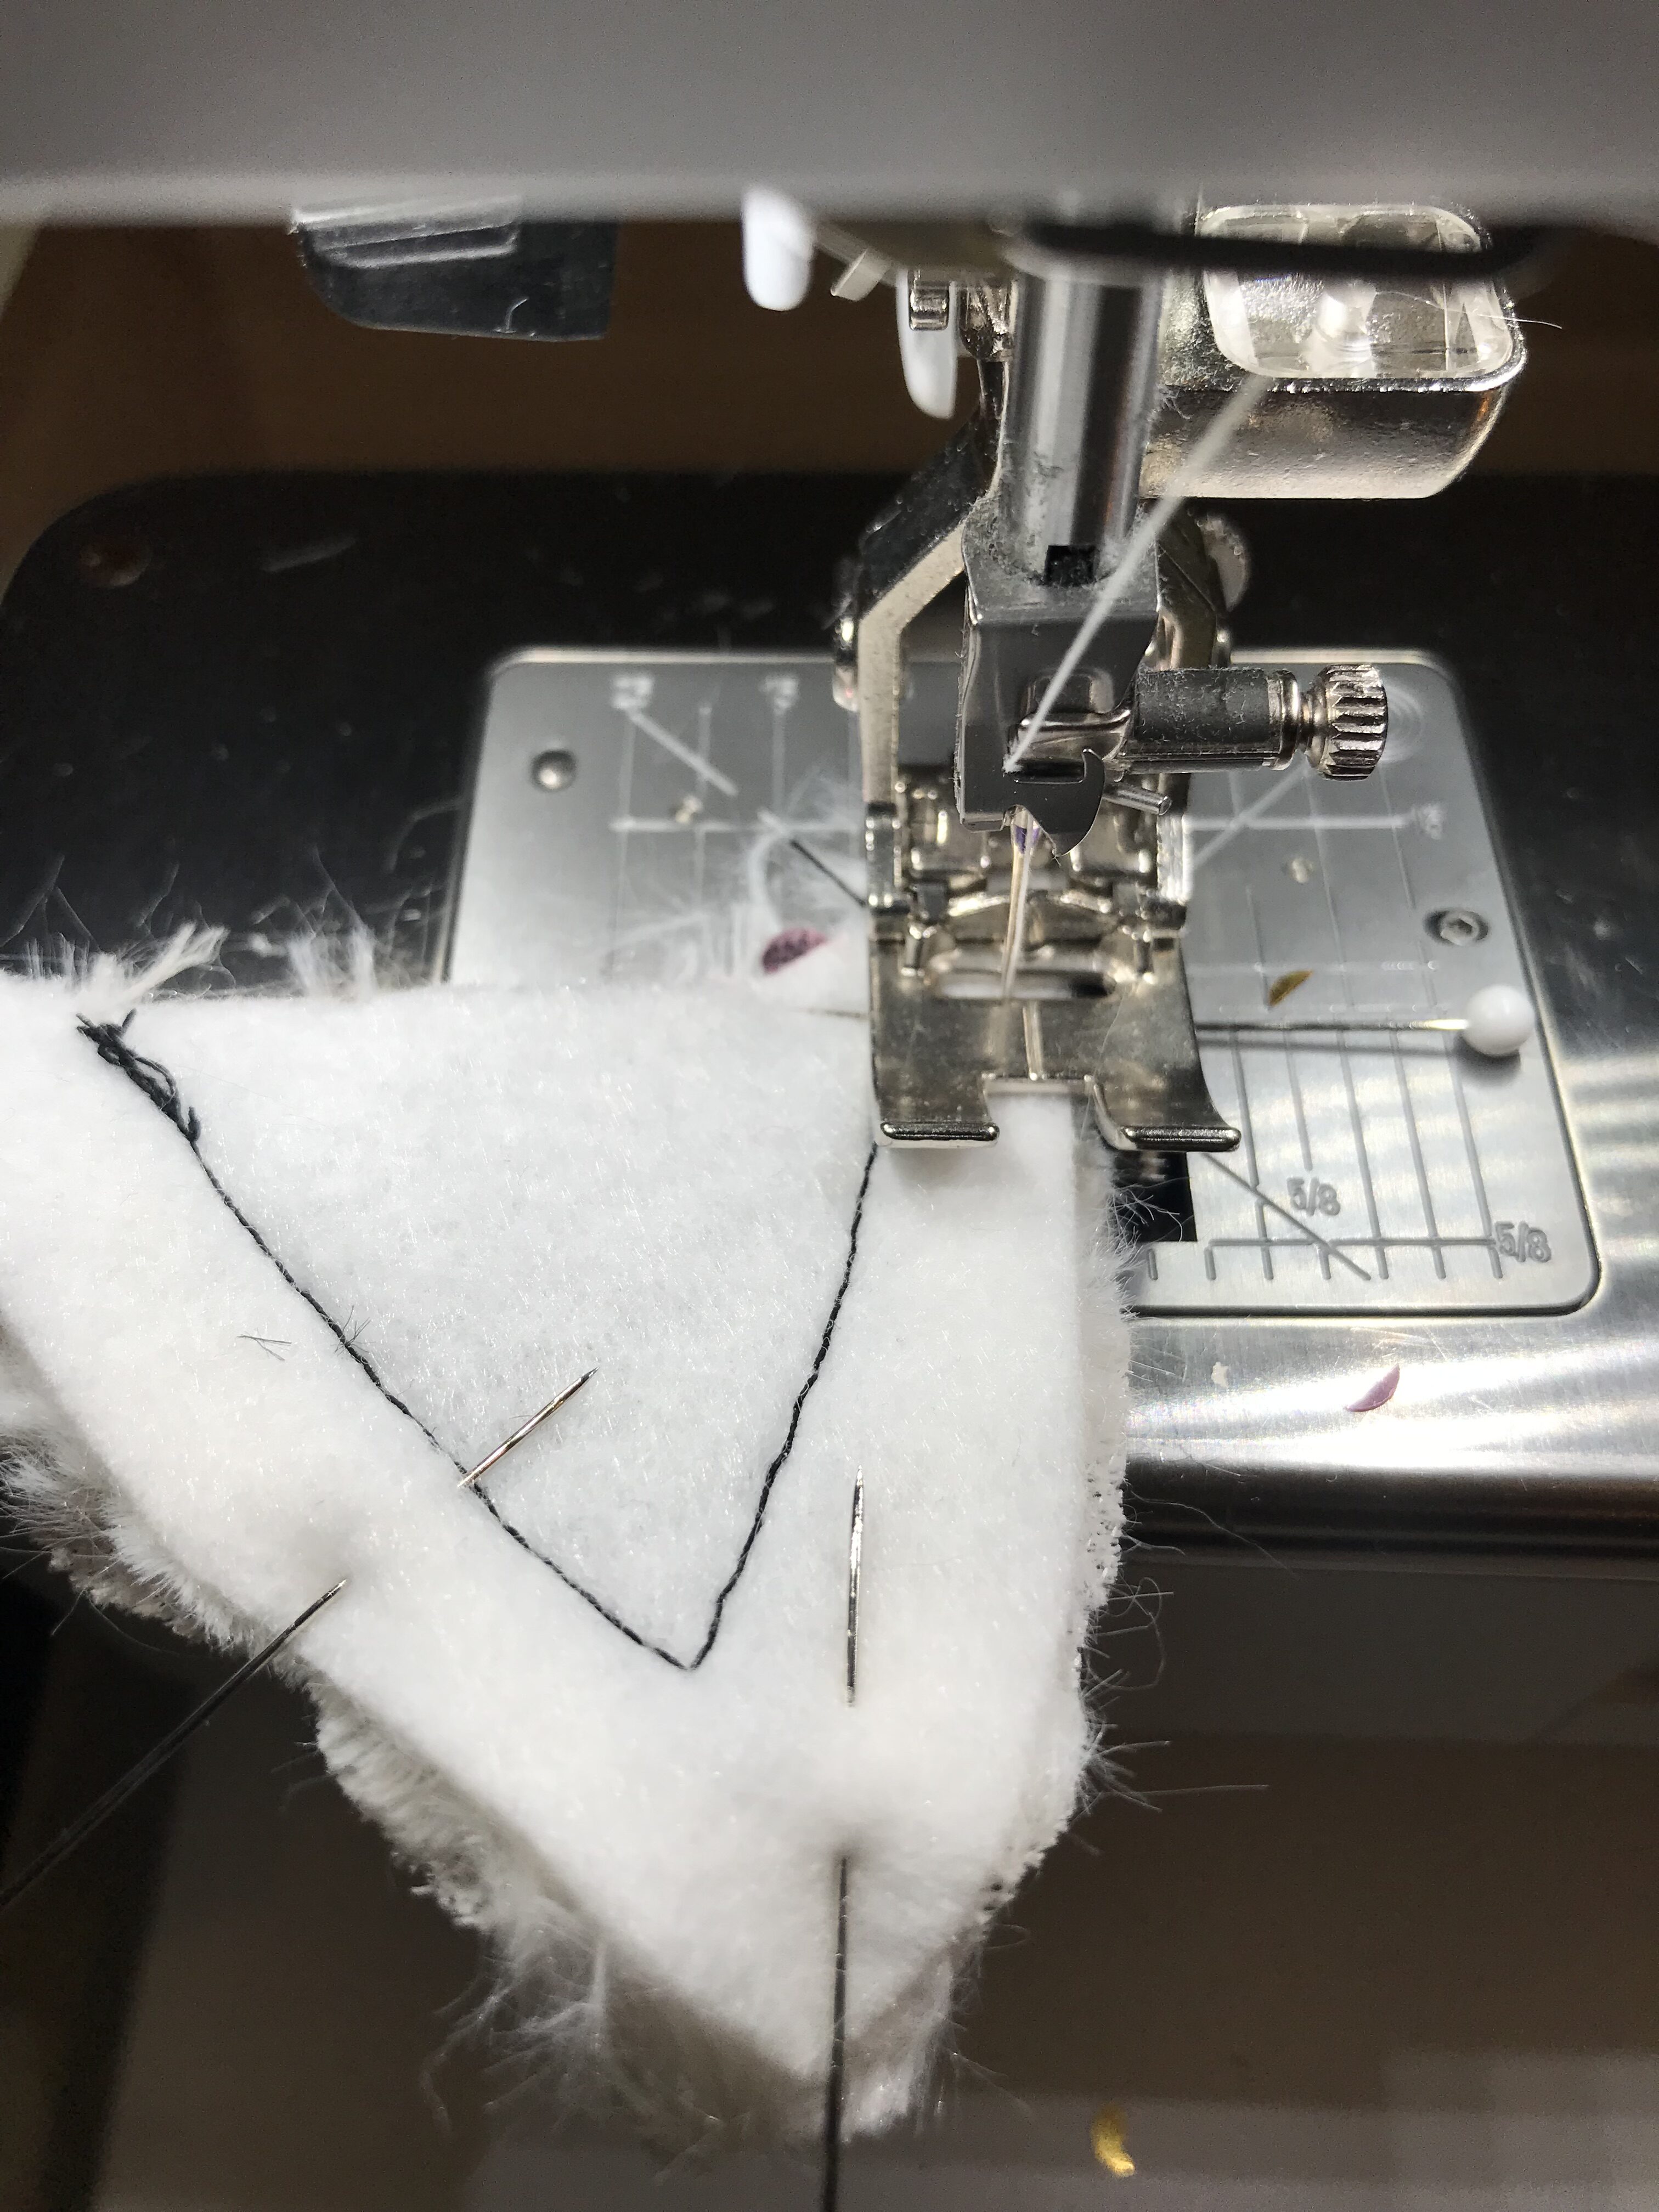
Set the finished cone aside and work on the earpieces. Start by aligning the bottom edge of the sequin ear smaller piece with the bottom edge of the larger felt earpiece. Sew around the sequin piece with a straight stitch about 1/8” from the raw edge. Make 2.
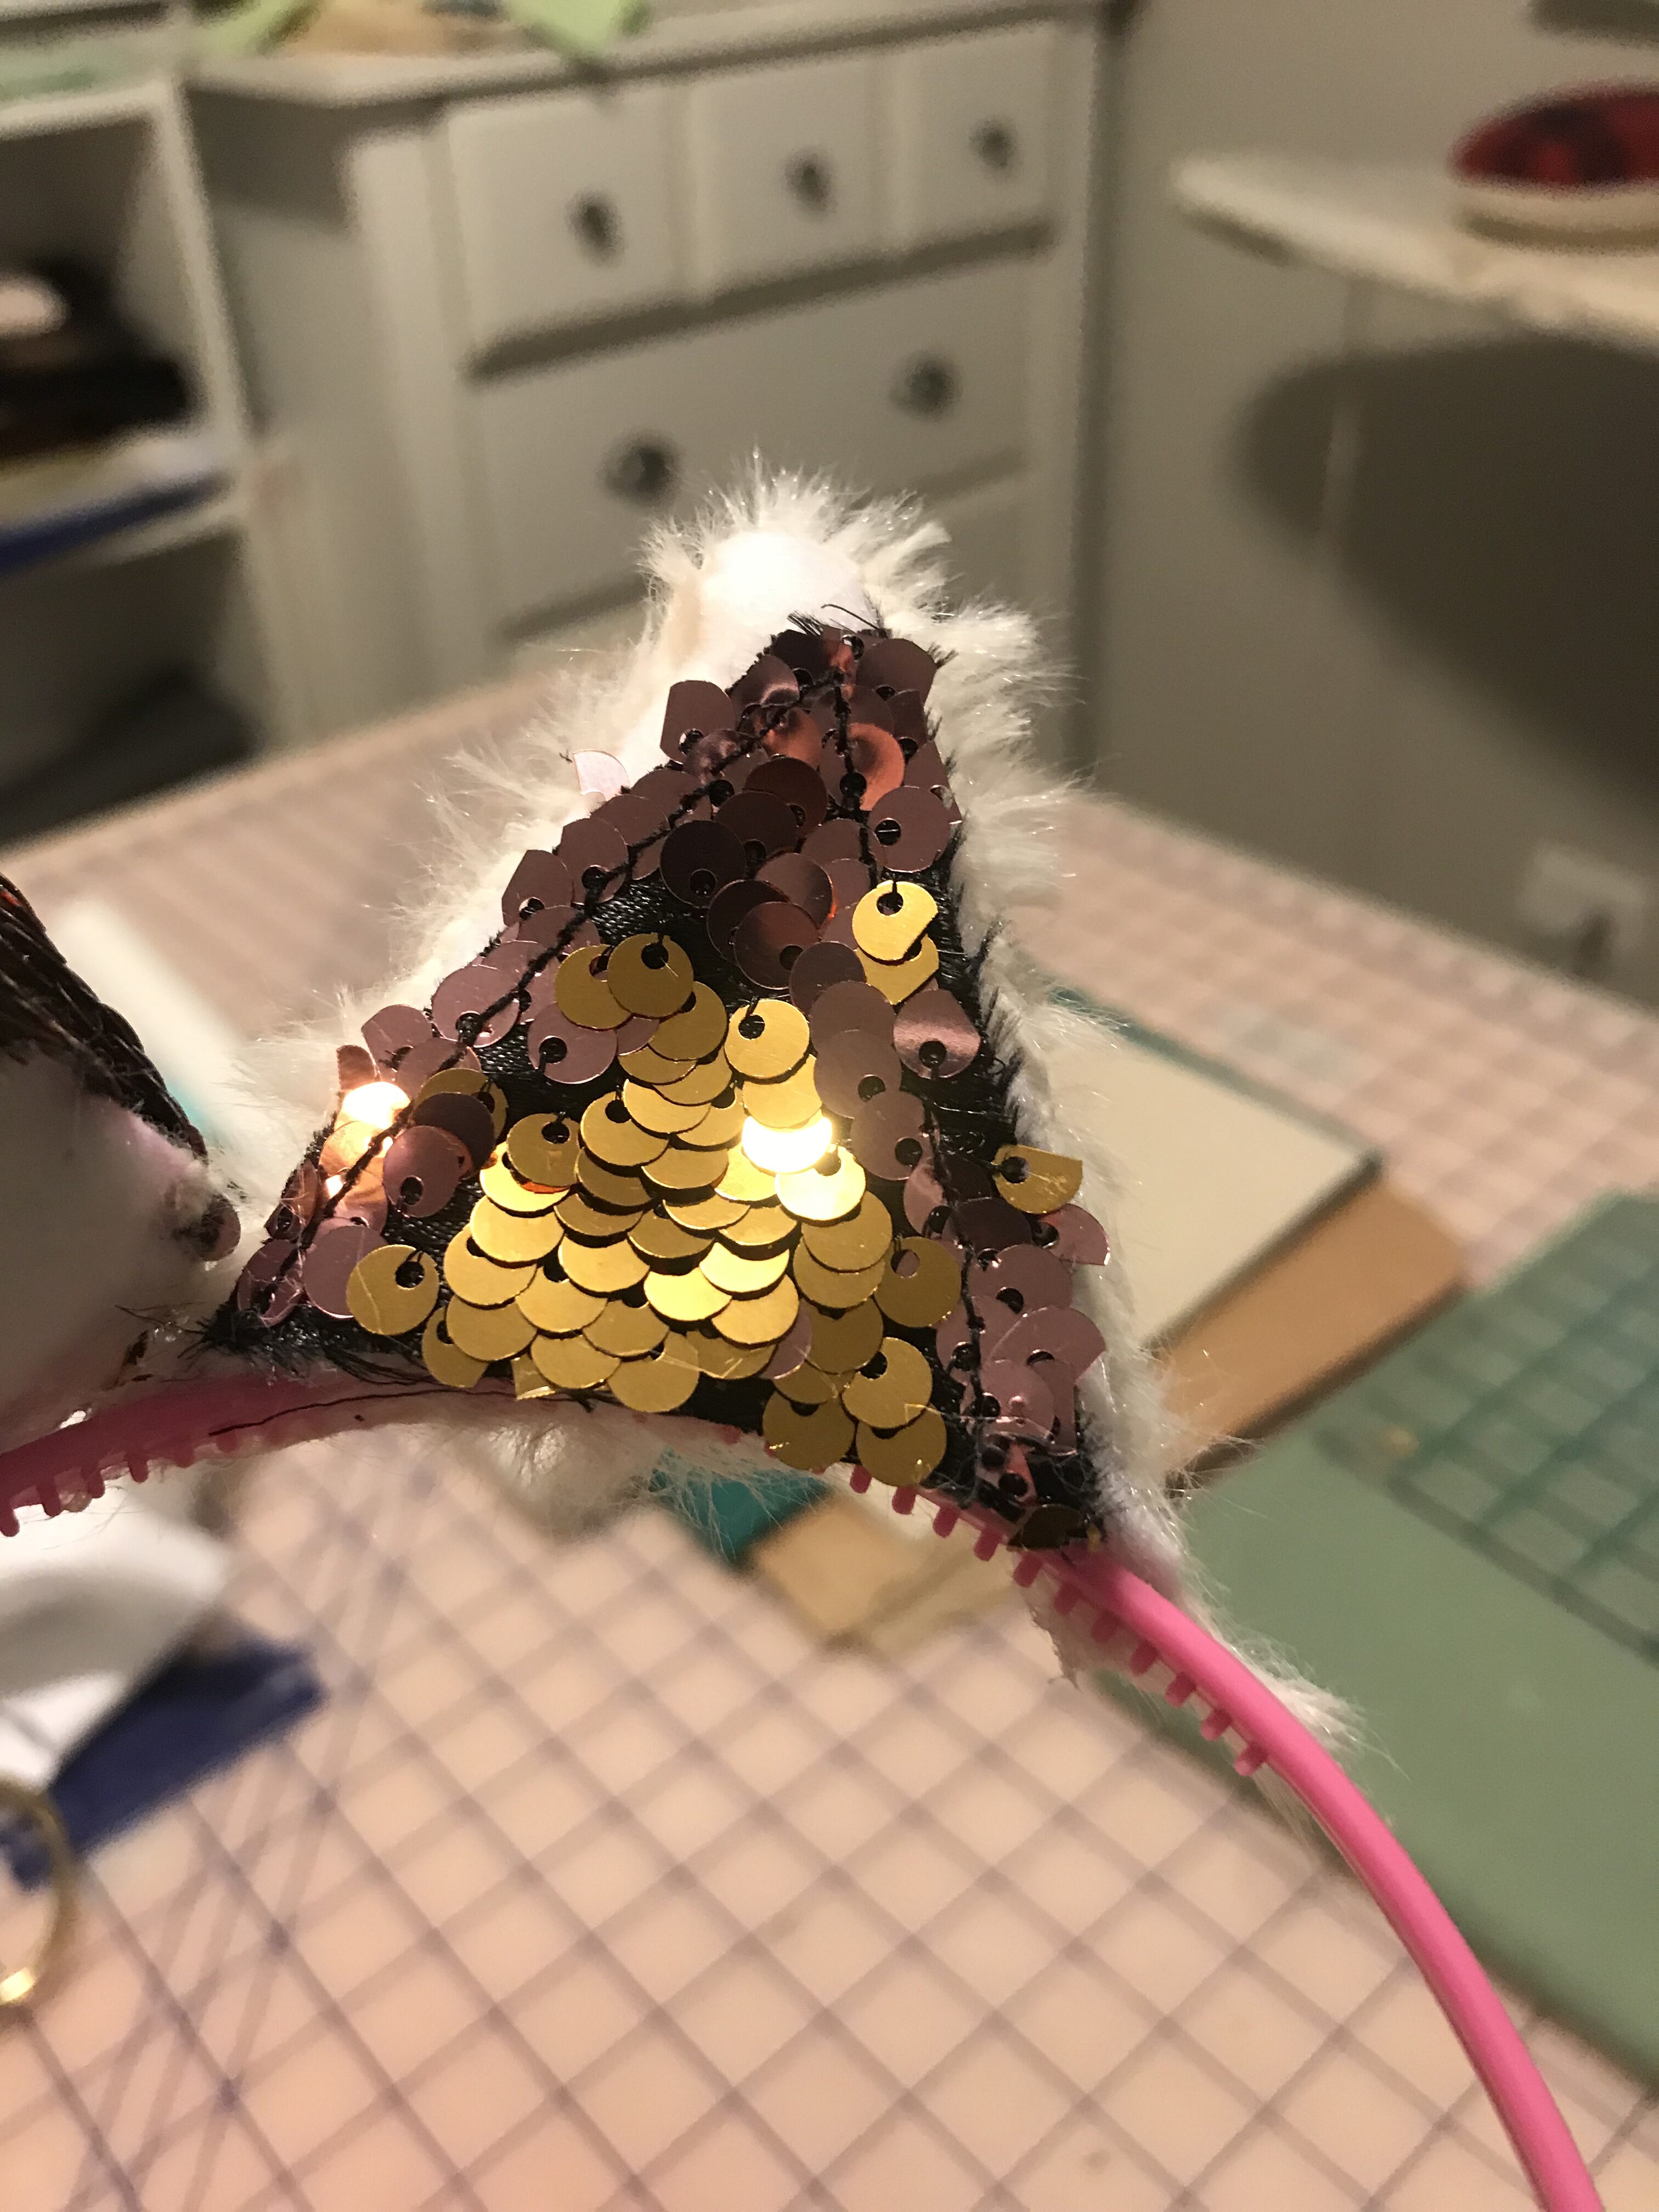
Stitch the faux fur earpiece and the prepared felt ear piece with right sides together. If your felt and fur is white, consider using white thread. Turn the ear right side out and use a sharp tool to make sure that your ear has a point. Make 2.
Now, it hurts my soul to write this, but…here it goes; gluing works just as well as hand sewing for the next step. Protect your work surface from the E6000 glue you are about to use. I put some glue on the headband “ear” first. Slip an ear over the cat ear headband. Once the sewn ear is secure, glue the raw-edge bottom to the plastic headband. A little bit of glue goes a long way. Repeat for other ear.
Remember that unicorn horn you set aside? It’s time to attach it to the headband. Think back to the last time you saw a unicorn… The horn isn’t exactly positioned on top of the head, it sets a little to the front. Put a dollop of glue on the back of the horn (that’s the side with the seam). Place the glued spot on the headband, in the center, between the ears. Hold a few minutes and gently lie it down to dry completely.
Now you can place it on your head and feel magical!!! If you are someone who likes extra, add some flowers, or a tulle main.
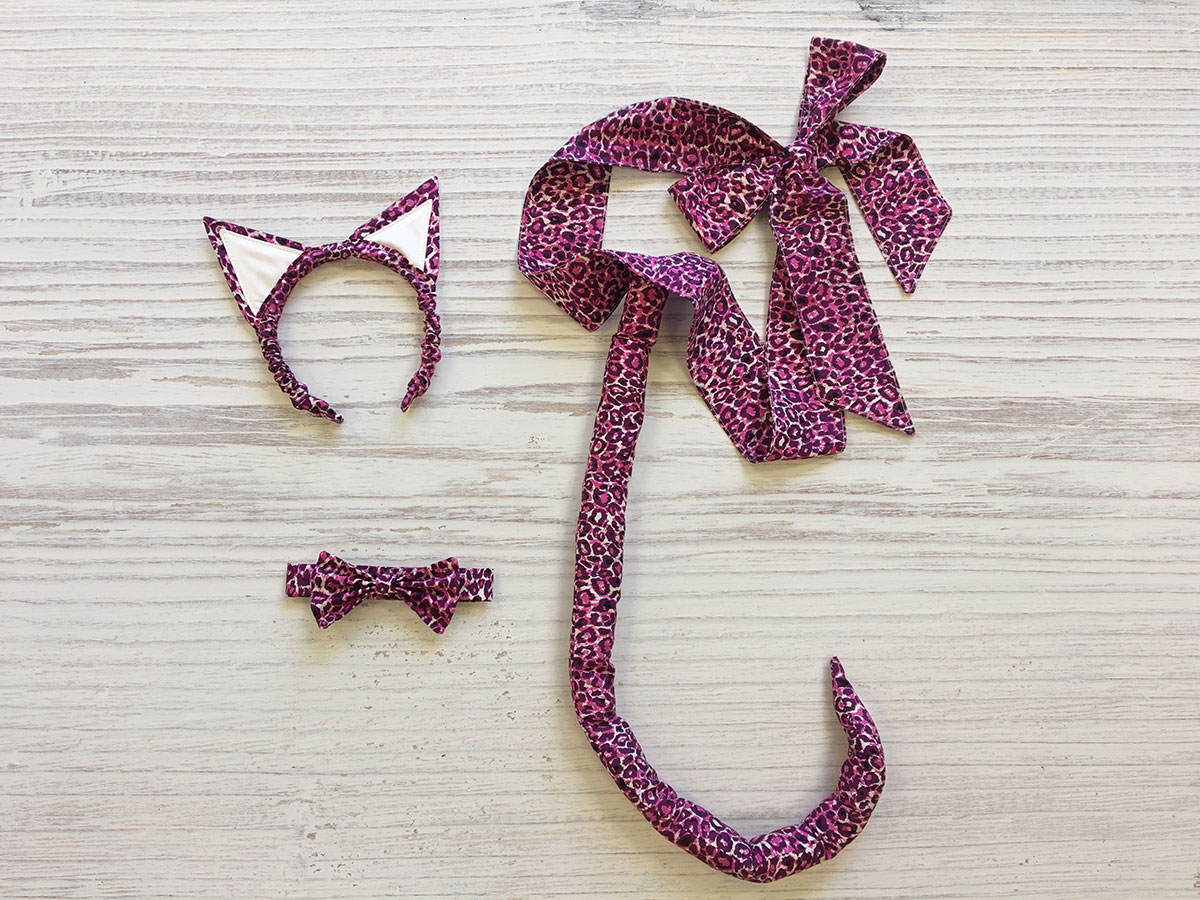
If you purchased your bulk headbands from amazon.com like I did, you probably have a lot of ideas swimming around in your head for other applications for these. Be sure to visit my other project, Free-standing Embroidered Cat Ears at The Quilt Show. You may also want to check out my cosplay segment on June 14, 2019. You can see part of my cosplay costumes, witness me as Mary Poppins, watch a flying trapeze video and see more English bulldog photos during the segment.
And finally, thank you for using my tutorial 


This is perfect. And Camilla couldn’t be more adorable.