Log Cabin Quilt Block Variations
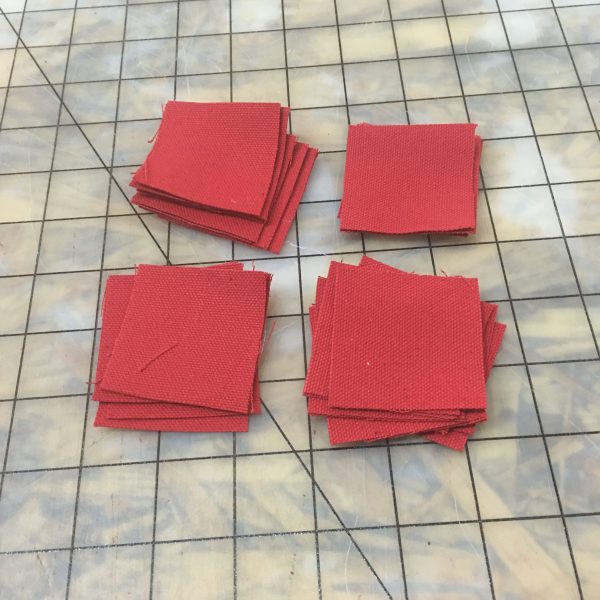
I have made quite a few log cabin quilts and found that with a slight change we can make a vast difference. I wanted to show you one such change and the resulting blocks. I am going to start with a red 2″ center square for these blocks.
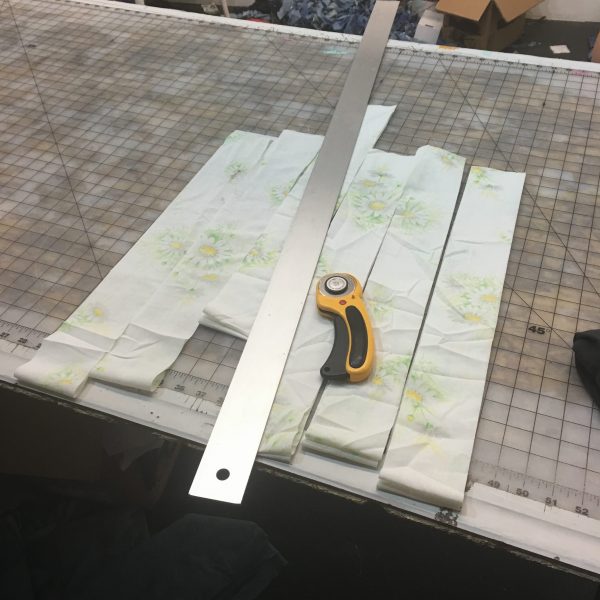
Then cut 3″ light colored strips,
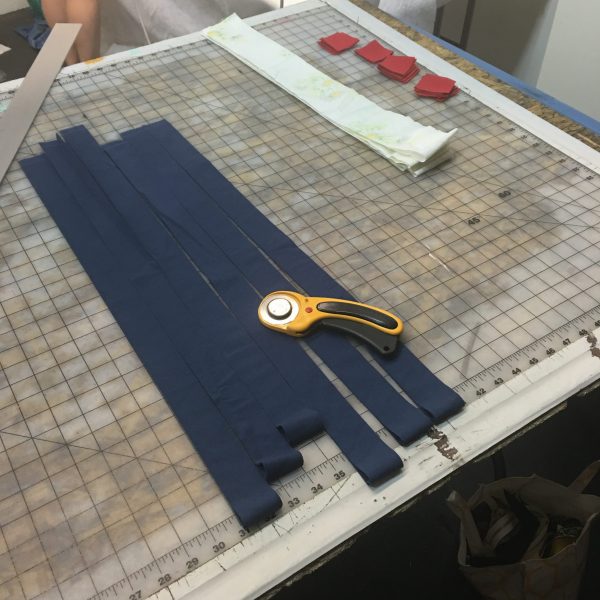
and cut some 1.5″ dark strips [half the size of the light colored strips].
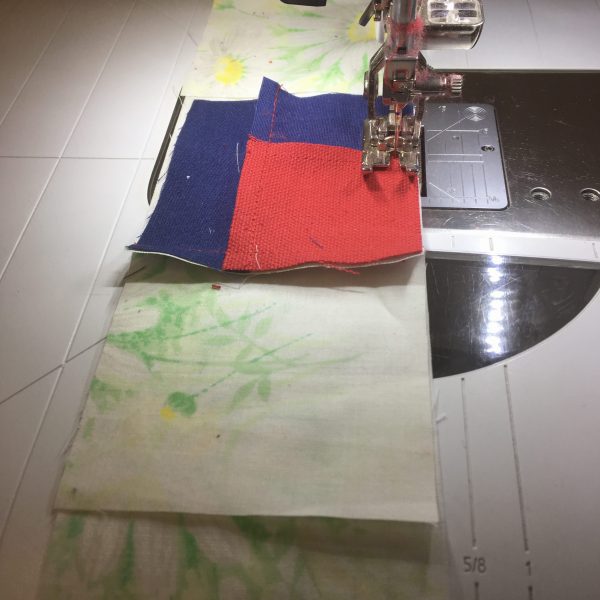
Now I am going to sew them into log cabin blocks. I used the BERNINA 750 QE for my project.
BUT!!! Here’s where the important thing from this tutorial is:
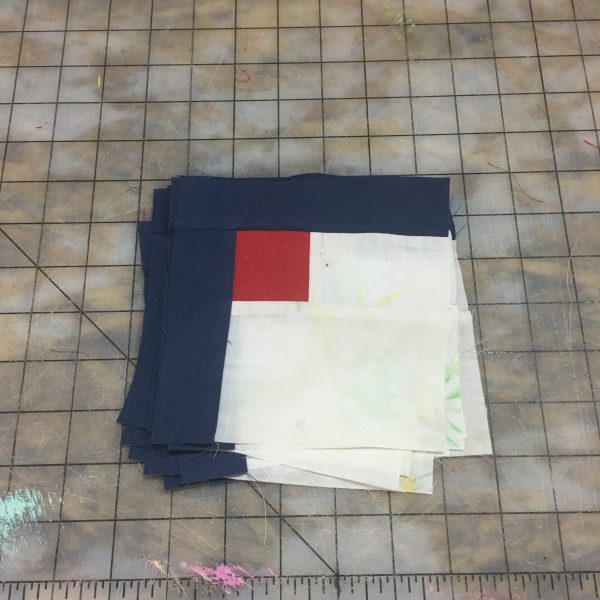
I am going to sew two different blocks with the same fabrics, just by changing the order I sew them together. For the first block, I will sew the dark colors on first so my rows will be in this order: dark, dark, light, light.
If you don’t know how to sew a log cabin here is a video I made of the technique I use.
There are a WHOLE lot of other tutorials out there, that’s just the way I did it.
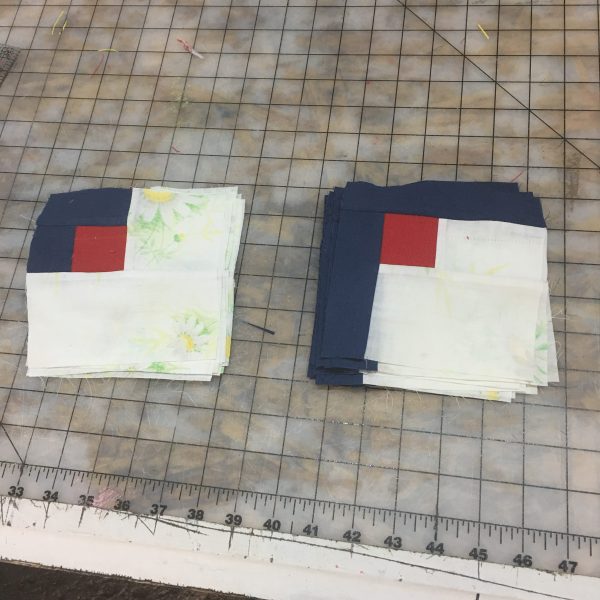
So I have made a series of blocks with the dark rows first. Now I am going to do another variation with the light “logs” first:
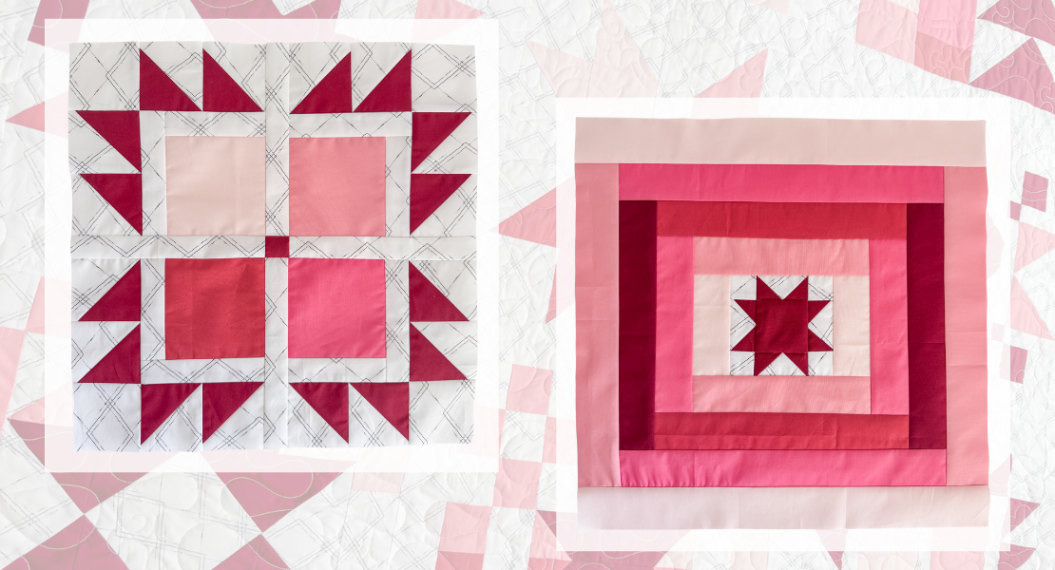
What happens is that the order in which I’ve sewn these strips changes the look by virtue of how the log cabin block is made.
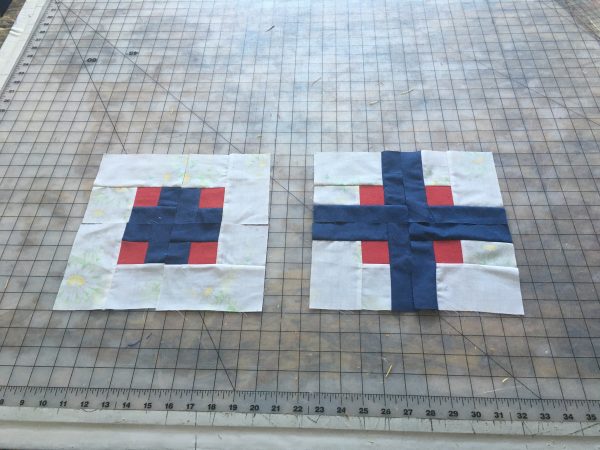
Now that we have a pile of blocks in the two different ways we can start to play with them and see what the differences are between them.
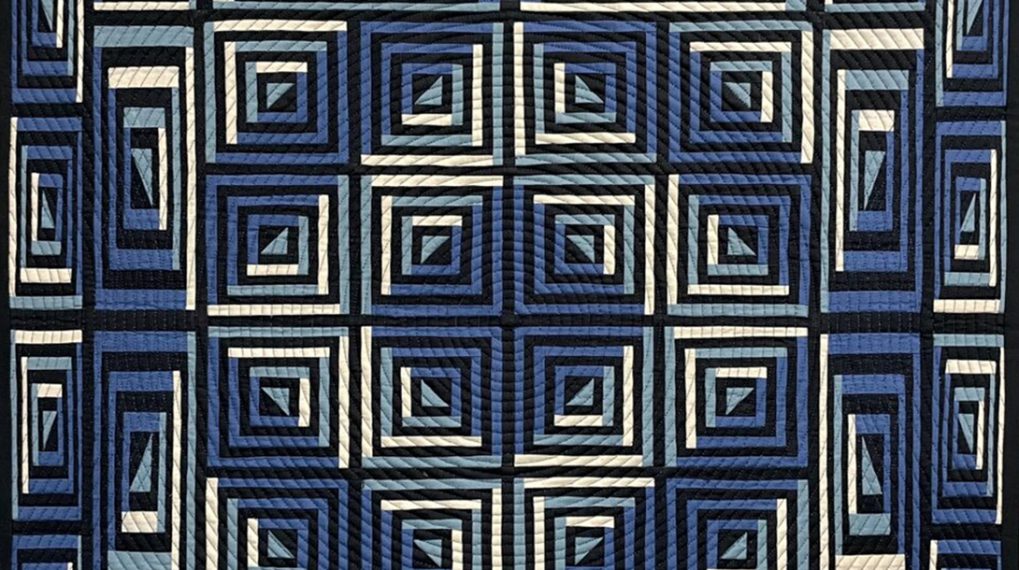
Note that these blocks were sewn the same way with the exact same fabric and laid out in the same orientation, but the difference is the order of sewing and you can see because of that the blues on the right extend to the outside [because they were sewn after the whites.]
There’s SO many more ways of playing with this block! I just wanted to show you how one simple change can make a big difference due to one of the underlying tenants of the log cabin block.
What you might also like
One comment on “Log Cabin Quilt Block Variations”
Leave a Reply
You must be logged in to post a comment.






Very interesting, particularly the video. Thanks.