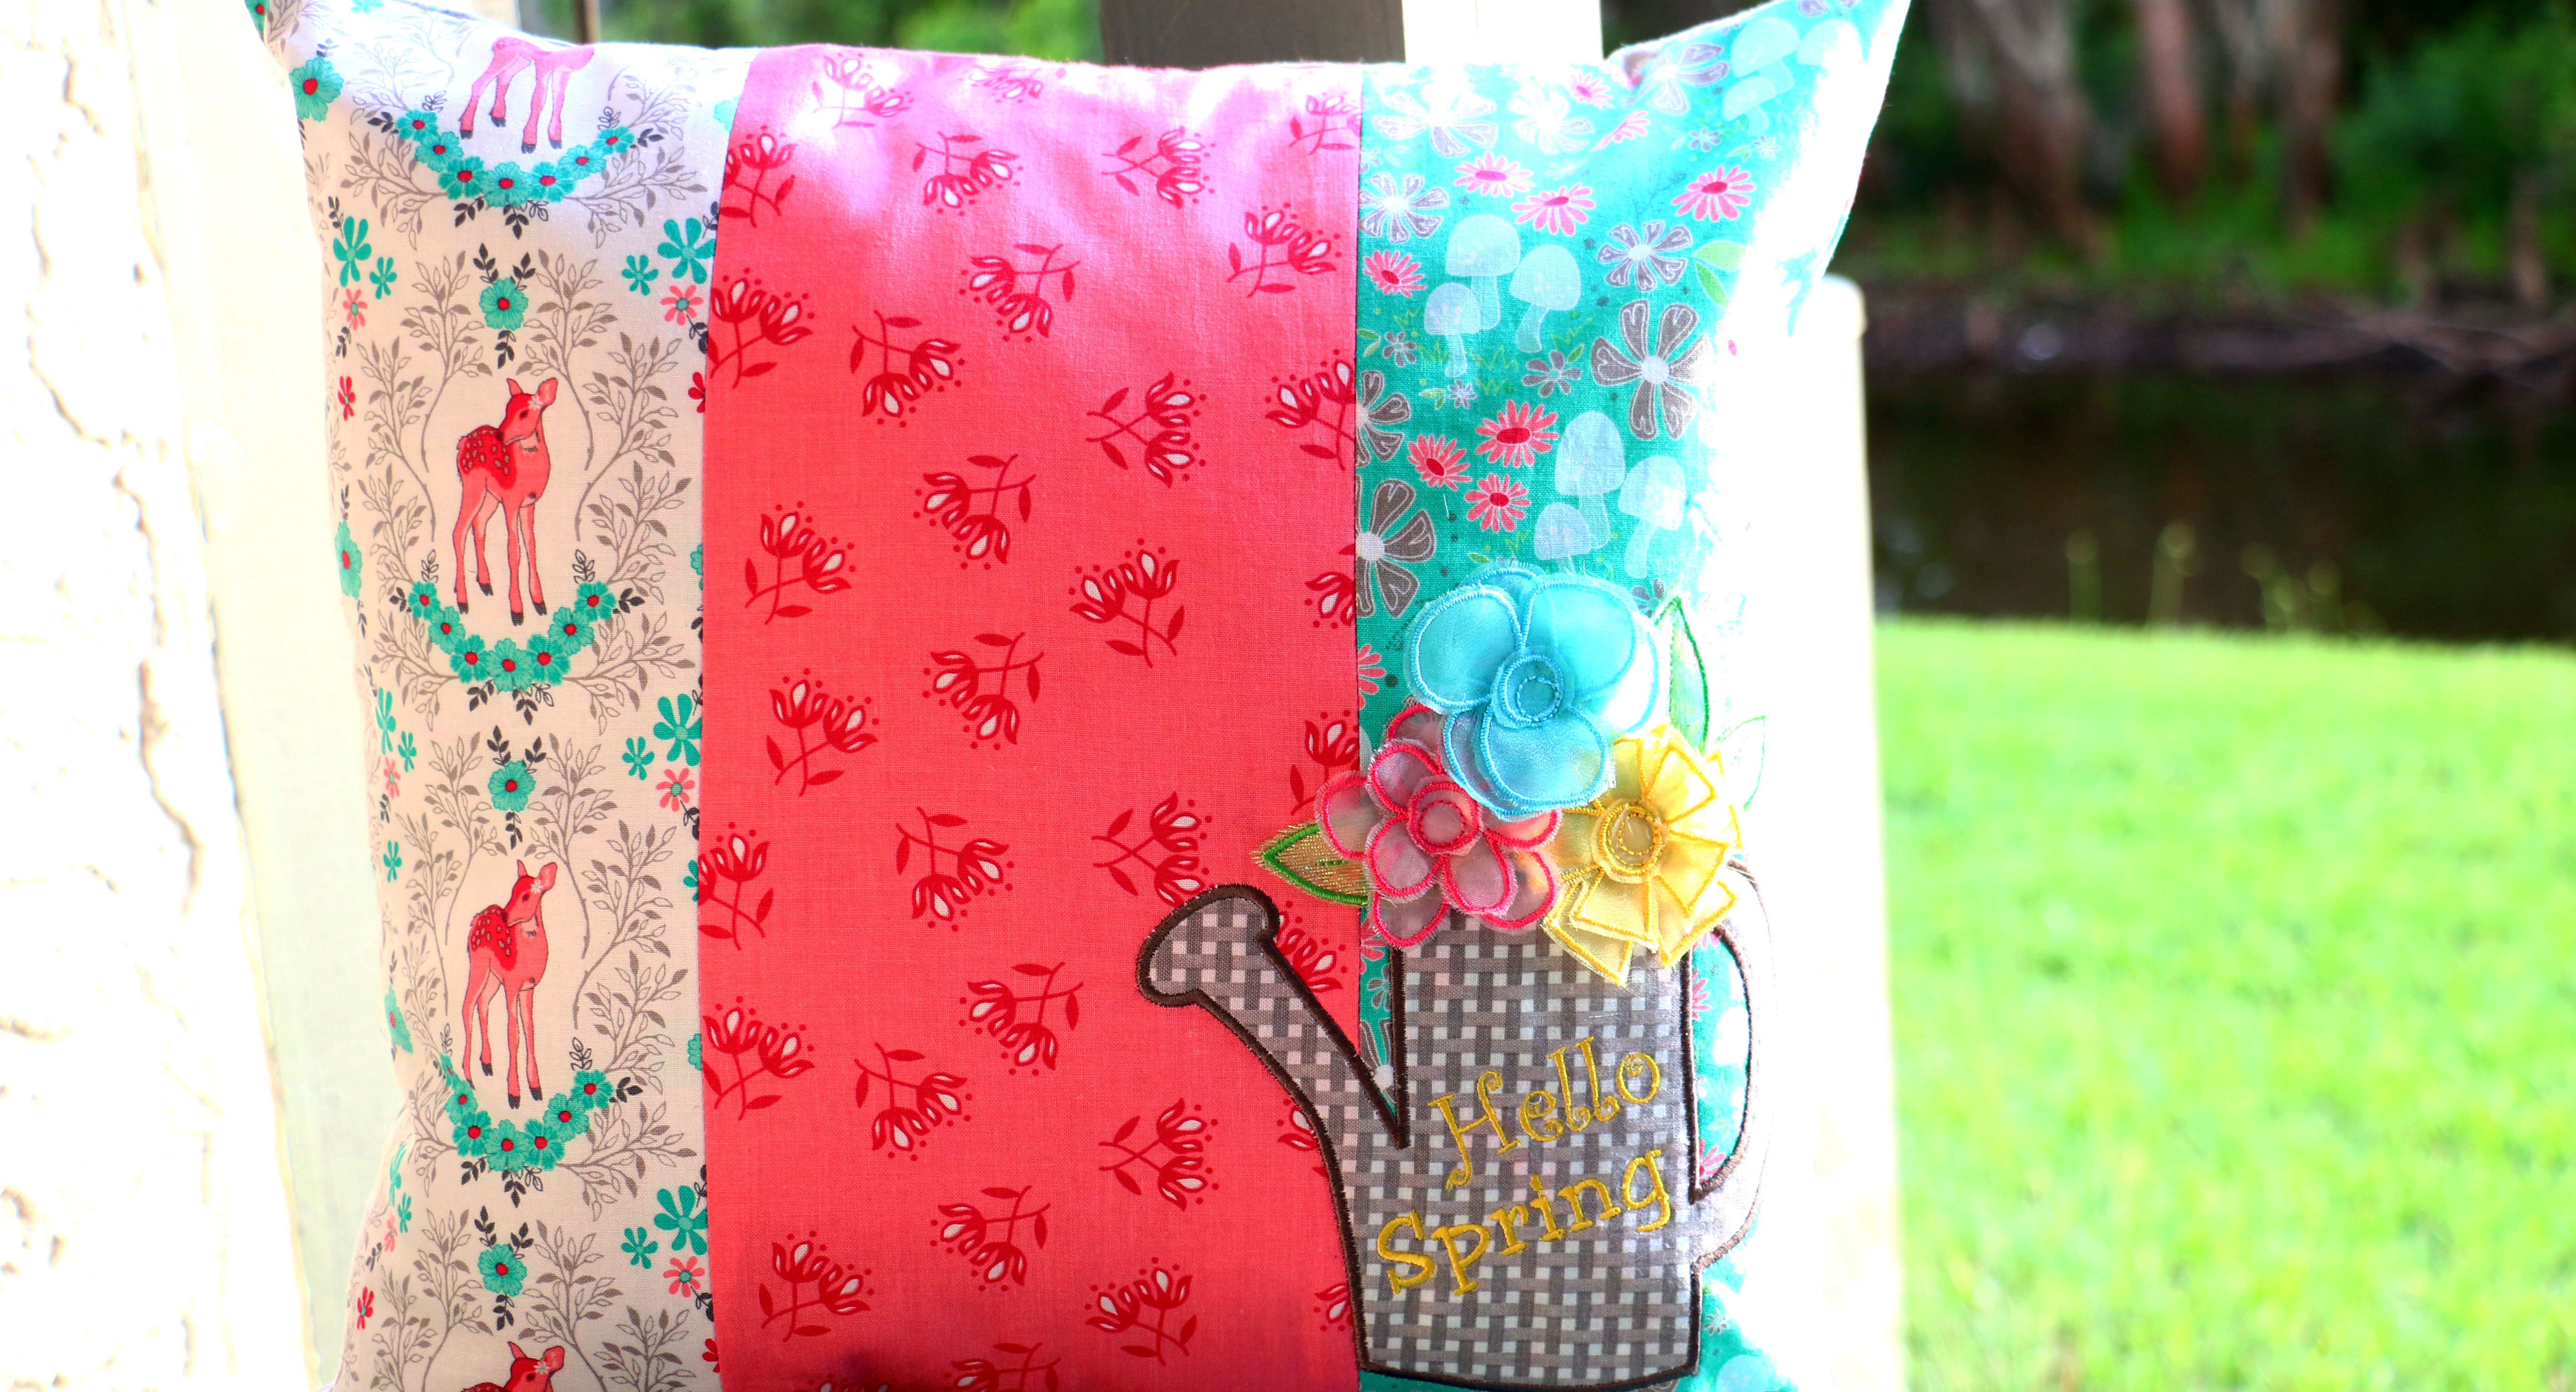
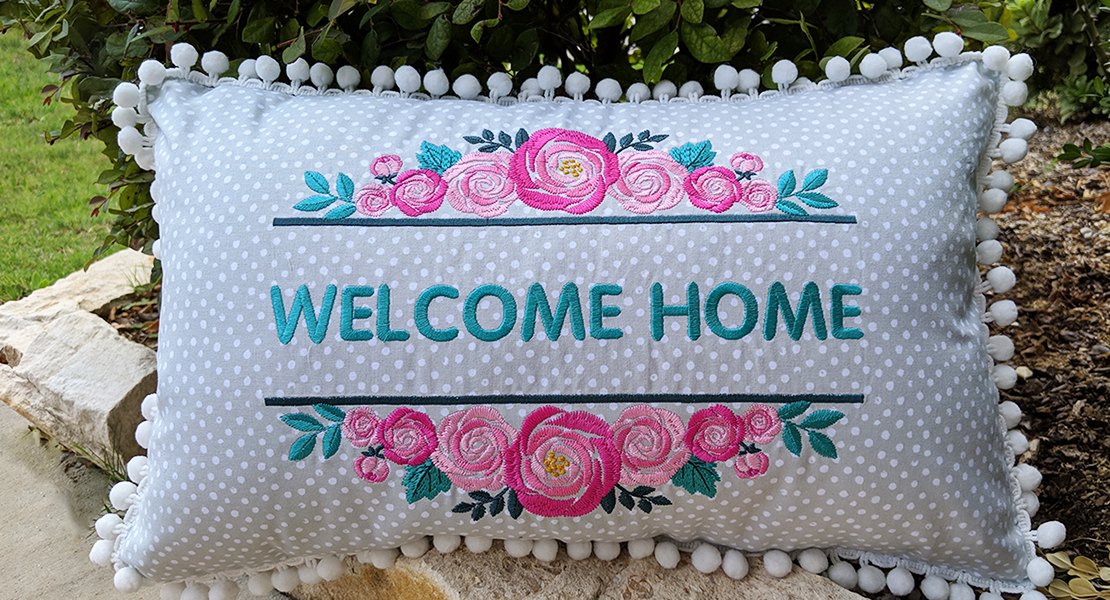
Hello Spring Embroidered Pillow
Welcome spring into your home by adding a dimensional embroidered pillow. The Hello Spring embroidered pillow features 3D organza leaves and flowers and includes a watering can appliqué with the saying “Hello Spring” made with your built-in lettering. Finish off your pillow with an invisible zipper. Have fun playing with color and texture while making your very own Hello Spring Embroidered Pillow.
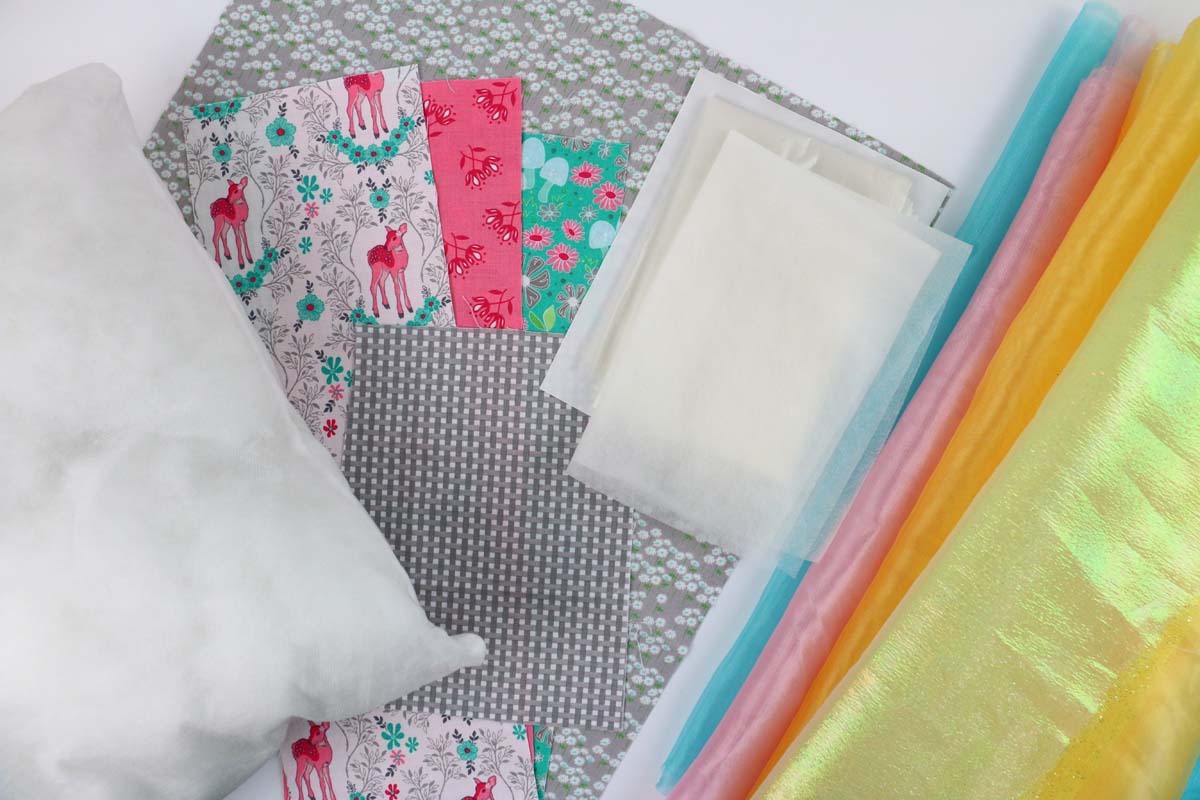
Materials to make the Hello Spring Embroidered Pillow
All measurements are width by height
- Pillow form 16″ Square
- Fabric:
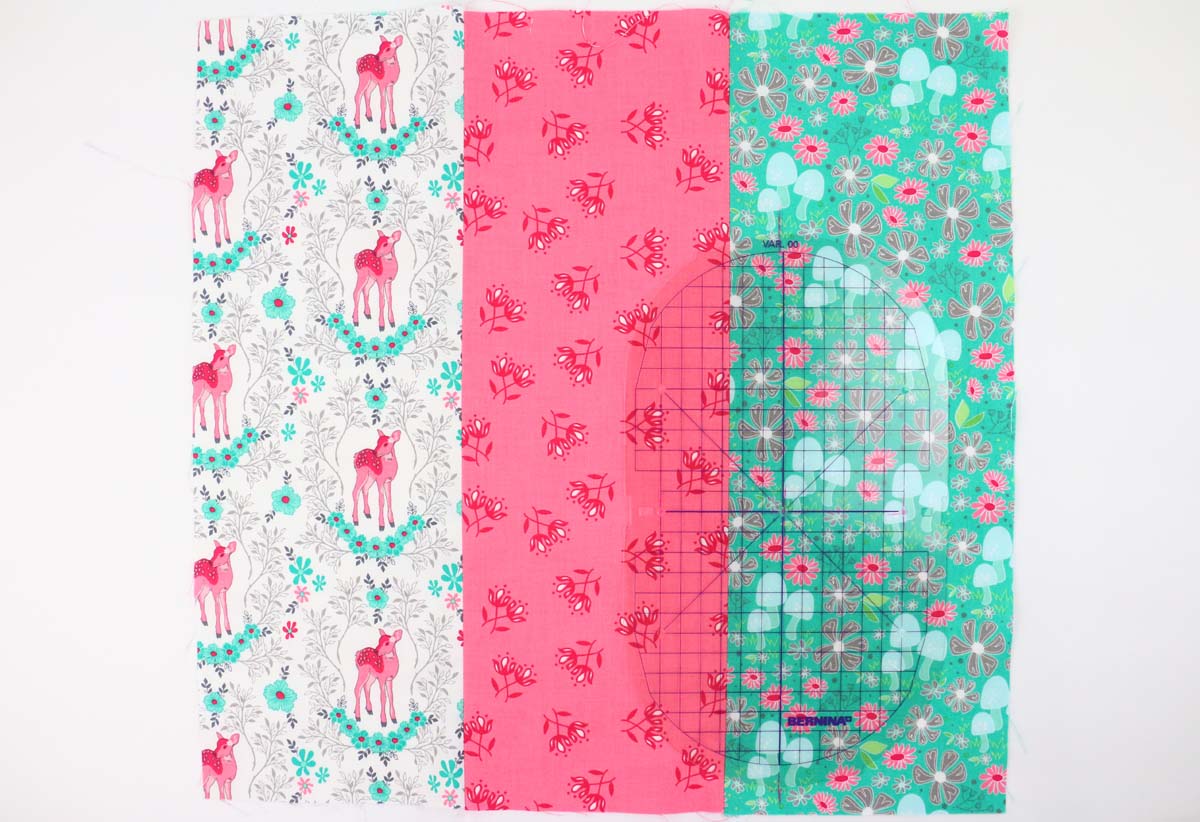
- Front pillow: (3) coordinating strips 6.75″ x 17″ (white deer, pink flower, aqua mushrooms) Note: Keep in mind directional prints
- Back pillow (tiny gray flowers) 17″ Square
- Watering can Appliqué (gray check) 6″ x 8″
- Crystal organza (2) pieces of each color—large enough to fit hoop (hoop used 100 x 500): Green, Yellow, Pink and Aqua
- Stabilizers:
- Heat n’ bond lite 6″ x 8″
- Sheer cut away—large enough to fit into Oval Hoop 144 x 255
- Wash away clear Stabilizer (4) pieces 5″ x 5″
- 12″-14″ Invisible Zipper – light pink
- Thread:
- Sewing thread—white 50 wt cotton Aurifil with matching bobbin
- Embroidery thread—40 wt Polyester Isacord: Gray, Green, Yellow, Pink and Aqua and Bobbin with 60 wt Bobbin thread
- Iron – Panasonic and Iron surface—Quilter’s cut ‘n press (12” x 18”)
- Cutting tools: Thread snips, Tula Pink 6” bent trimmers, 4.5″ Duckbill Applique Scissors, Tula Pink Rotary cutter, Olfa Ruler & Olfa Splash rotary mat—aqua
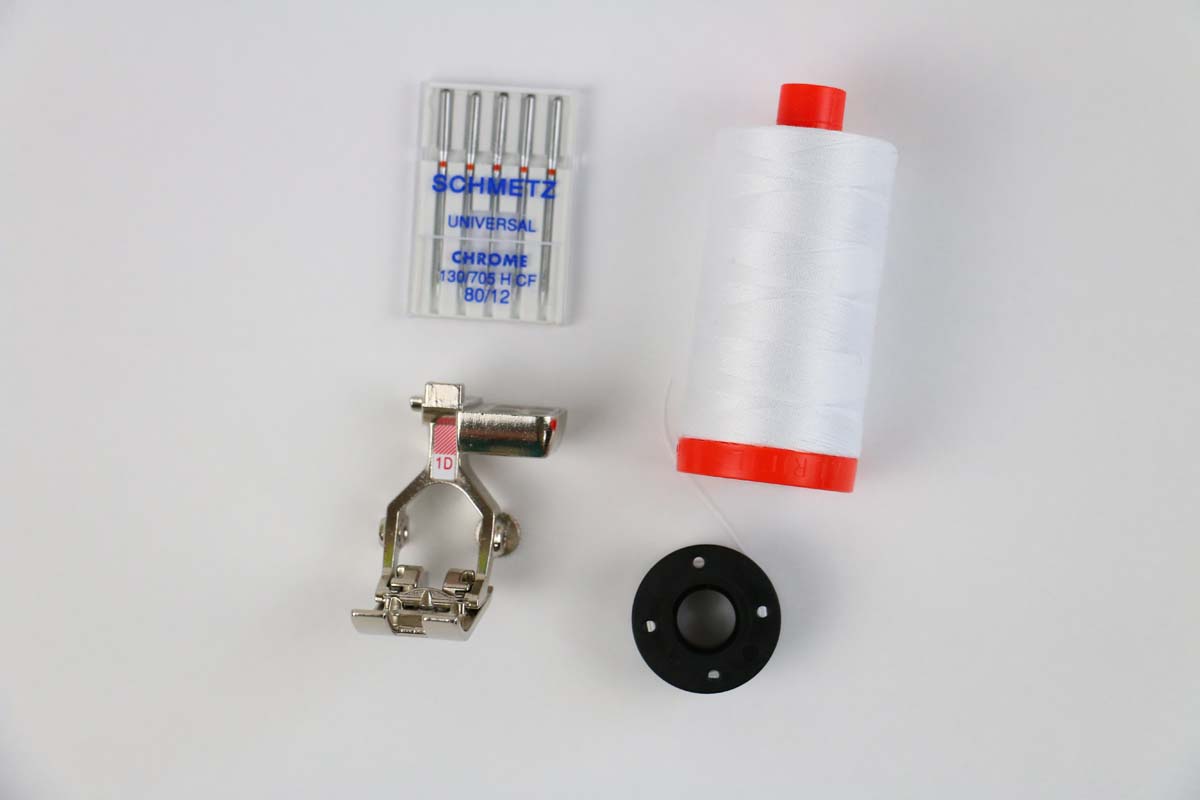
- Needles: SCHMETZ Universal 80/12 needle, SCHMETZ Embroidery 75/11 needle
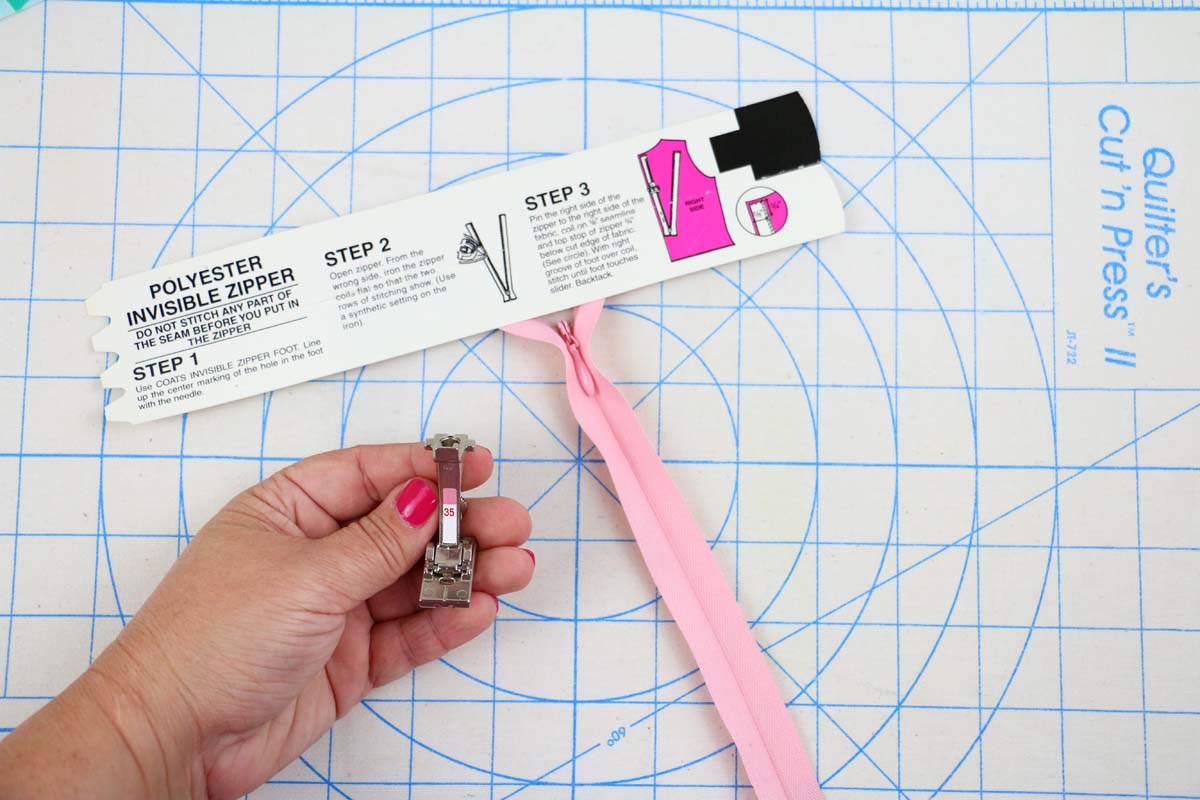
- Presser feet: Reverse pattern foot #1D, Embroidery foot #26, Invisible zipper foot #35
- Hoops: Medium hoop 100 x 130, Large oval hoop 144 x 255 with template
- Point turner
- Marking pen
- Fabric Glue pen
- Pins and magnetic pin cushion
Download the zipped folder that includes all of the Hello Spring Embroidery Designs
How to make the Hello Spring Embroidered Pillow
Gather your machine and materials for the Hello Spring Embroidered Pillow and let’s get stitching! Note: 1/2″ Sean allowance unless otherwise stated.
Step 1, Sew Pillow Front
Set up machine for sewing. Use Reverse presser foot #1D and engage Dual Feed. Use sewing thread in top and bobbin with brand new universal 80/12 needle.
Sew the three front 6.75″ wide strips together lengthwise. Sew strips from light to dark. When finished sewing the three strips together, press seams open. Square up to 17″ x 17″. This is now the pillow front.

Step 2, Setup machine for Embroidery
Set up machine for embroidery with Embroidery foot #26, embroidery needle 75/11 and white 60 wt bobbin thread in bobbin. Thread colors will depend on the step.

Step 3, Embroidering organza leaves and Flowers
The dimensional portion of the Hello Spring Embroidered Pillow is definitely the 3D flowers. Embroidery designs are numbers, 01-05:
01 – Leaves, 02 – Pink flower, 03 – Blue flower, 04 – Yellow flower and 05 – Watering can. First embroider the leaves and flowers.
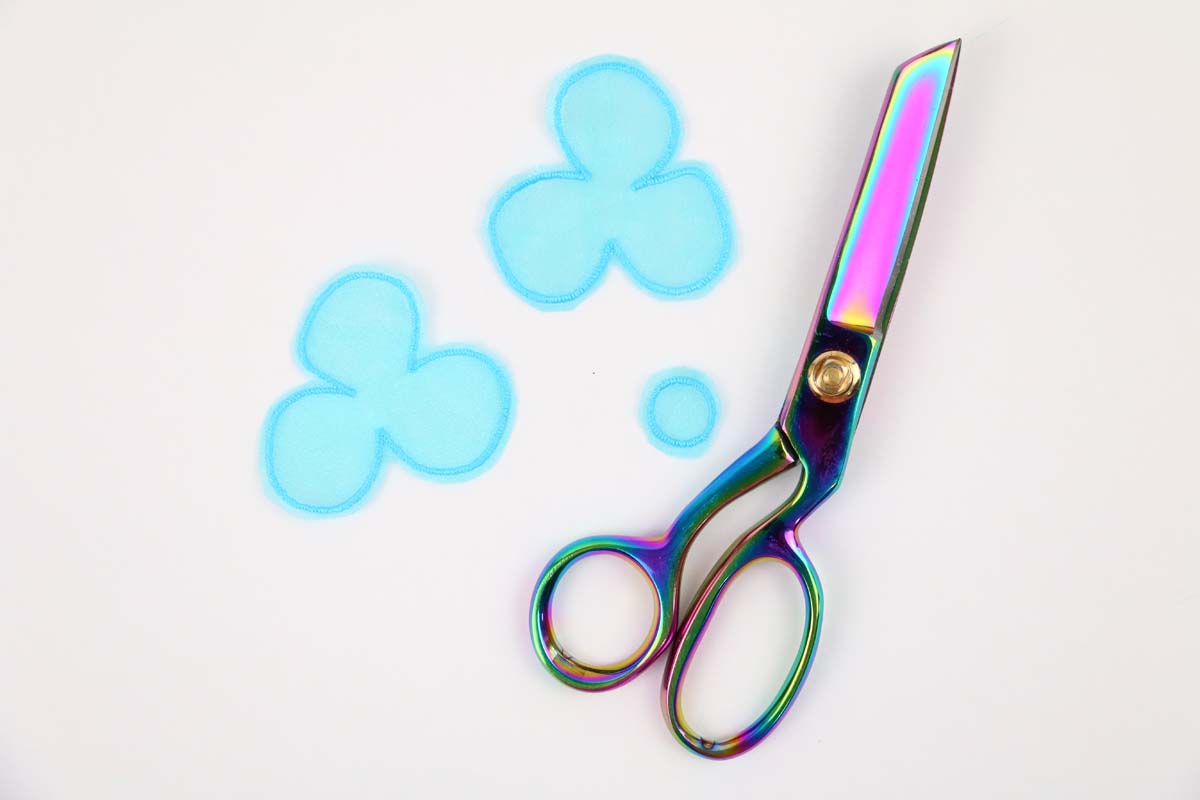
When creating small free standing petals and leaves, use the smallest hoop which the designs will fit in. I used the medium hoop (4″ x 5″). Choose the 1st design, the leaves. Thread green on top. Note: If you want your bobbin thread to match you can wind matching bobbins for the leaves and three separate flowers. The bobbin thread will not show so it’s not necessary.
Hoop two layers of green crystal organza. Tighten the screw. Gently tug the organza in order to make it taut, like the top of a drum. Insert hoop into machine and sew the 01- leaves design.

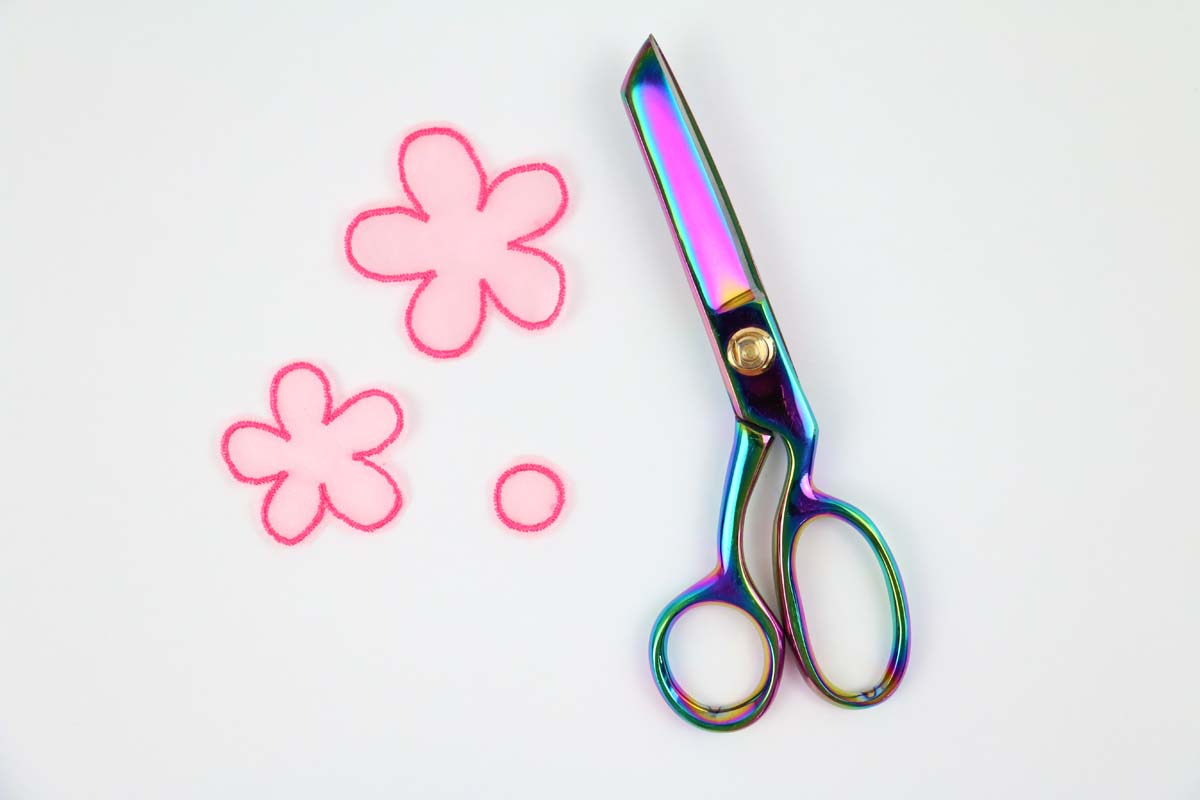
Once finished sewing the leaves, remove hoop from machine and materials from hoop. Using the 6″ bent trimmers and cut as close to the satin stitching around the leaves as possible without cutting the stitching. Set leaves aside for now.

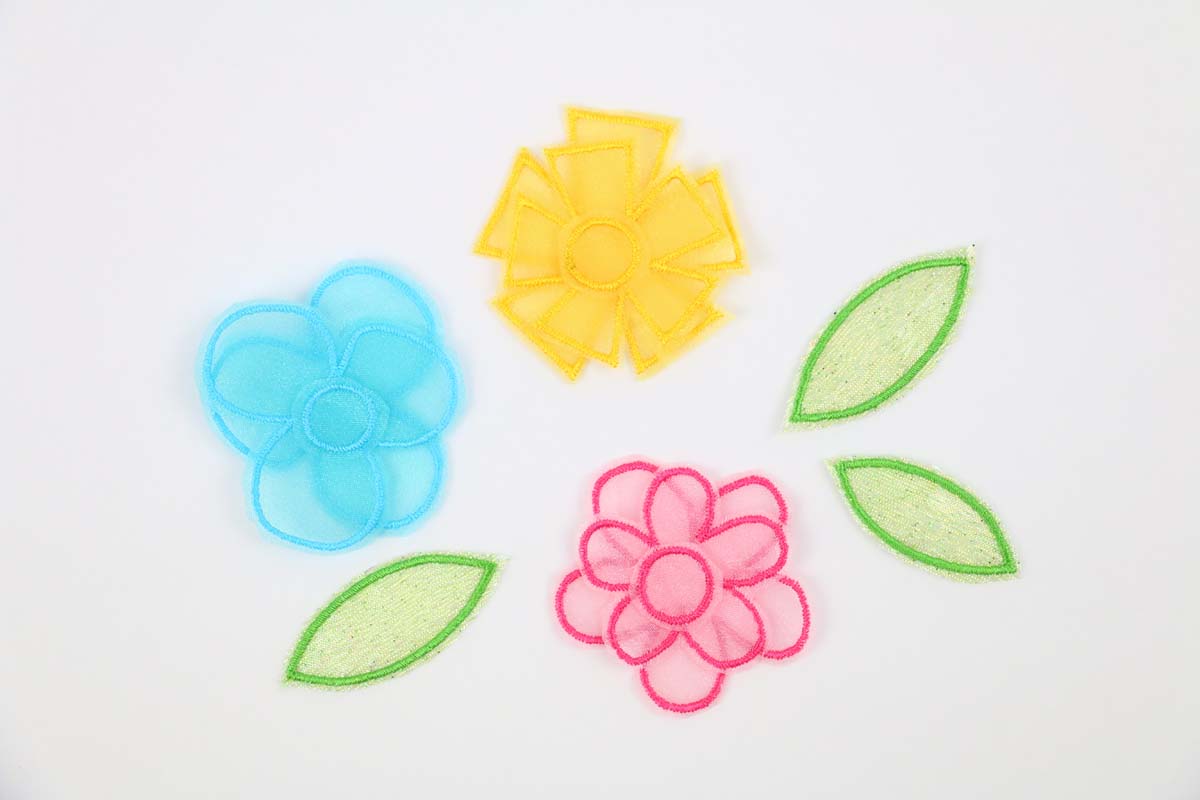
Repeat the above steps for the three different flower shapes. The designs are numbers 02, 03 and 04. The color choice is yours. Photos show the flowers stitched as follows: Design 02 – Pink, Design 03 – Aqua, Design 04 – Yellow.

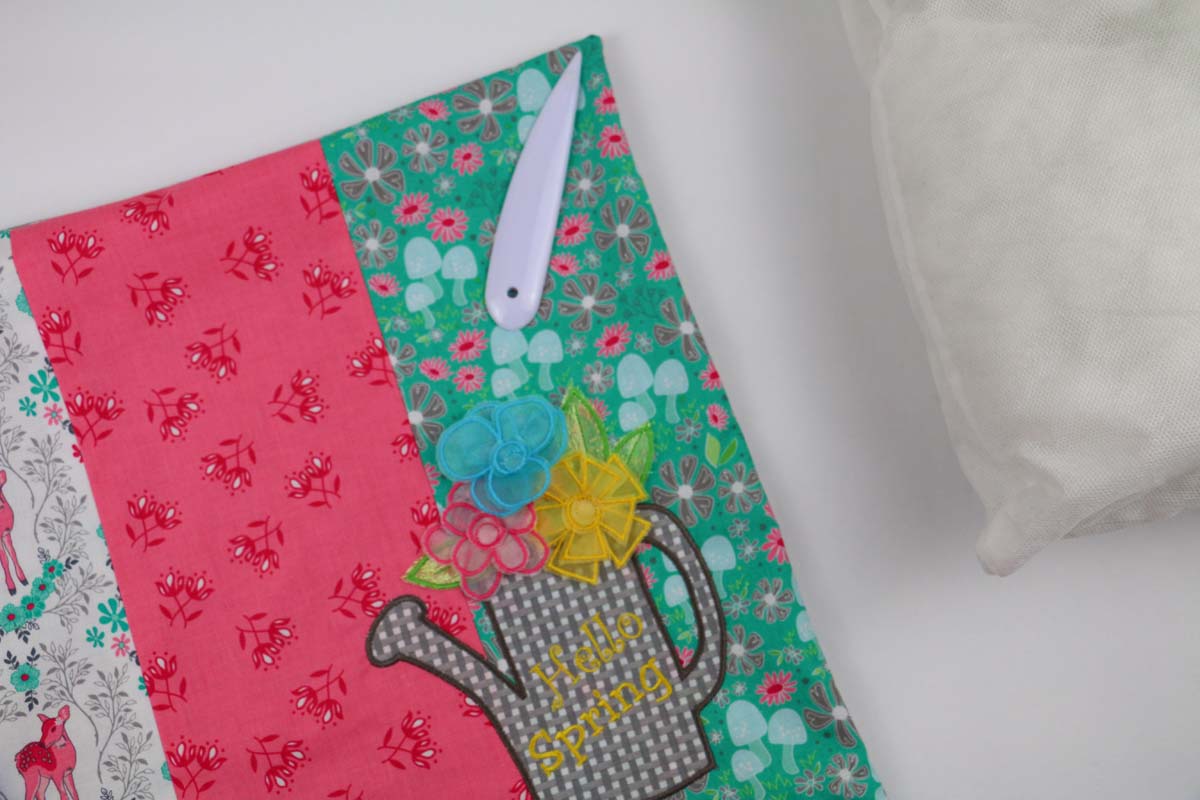
When the leaves and three different flower pieces are all cut out, set them aside and begin embroidering the watering can. Aren’t they pretty. Can you think of any other ideas you could use these flowers for? Please share in the comments.
Step 4, Watering can placement on pillow front
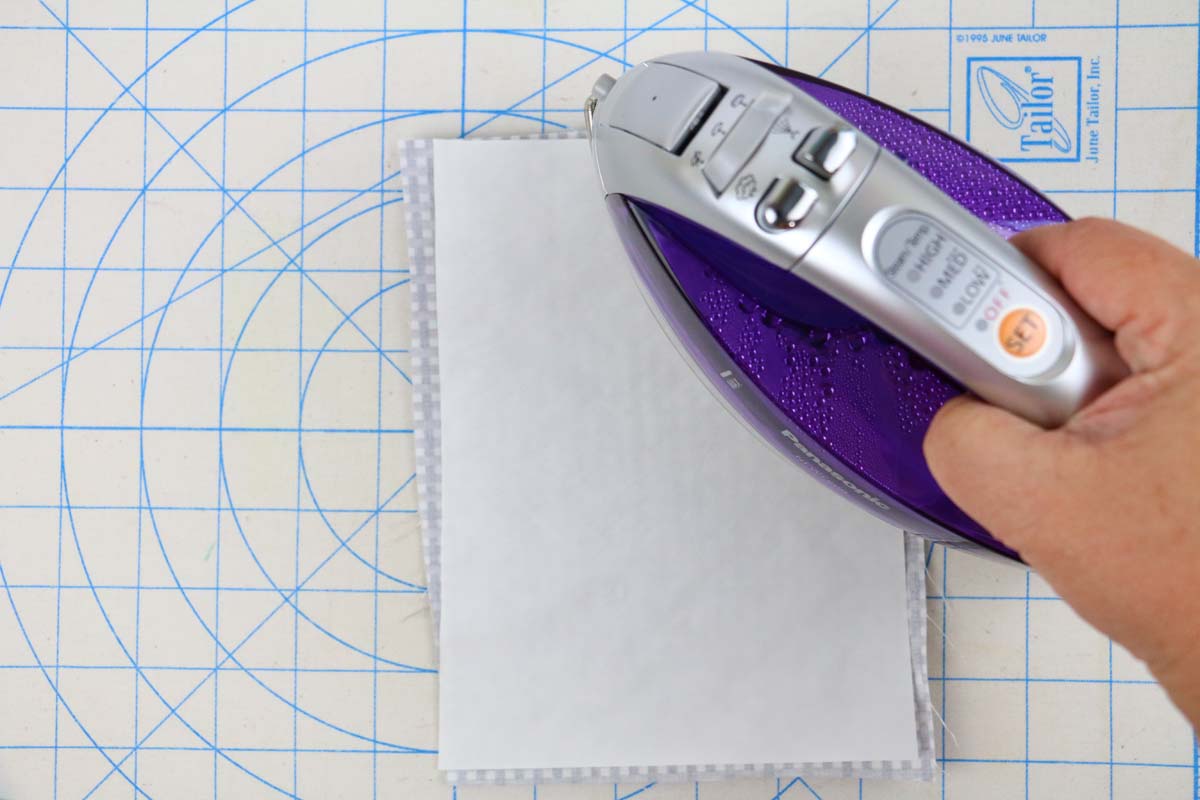
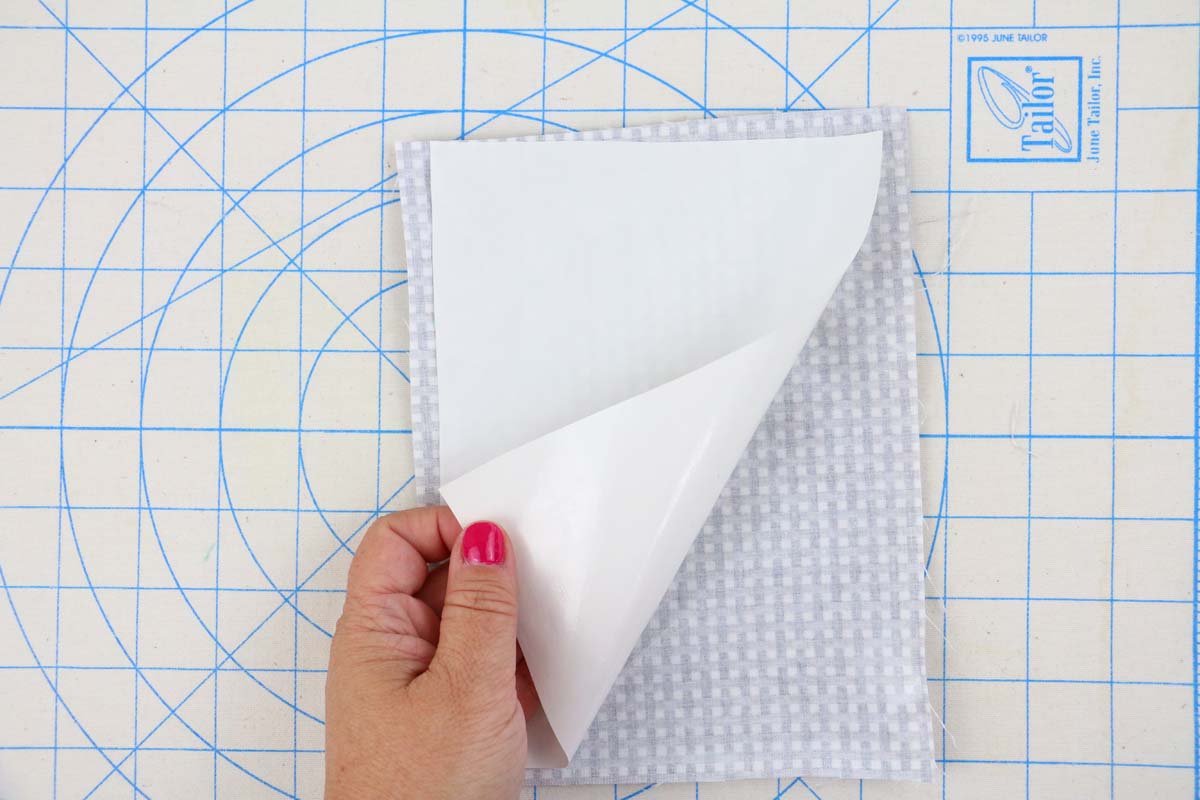
On the Hello Spring Embroidered Pillow there is a watering can appliqué. Press the wrong side of the watering can material to the scratching side of the Heat n’ bond fusible. Once fusible cools down, remove the paper and discard. Note: Applying fusible web to the wrong side of any appliqué will give the material body during stitching. Once stitching is complete the appliqué can be pressed to the front pillow for permanent security.
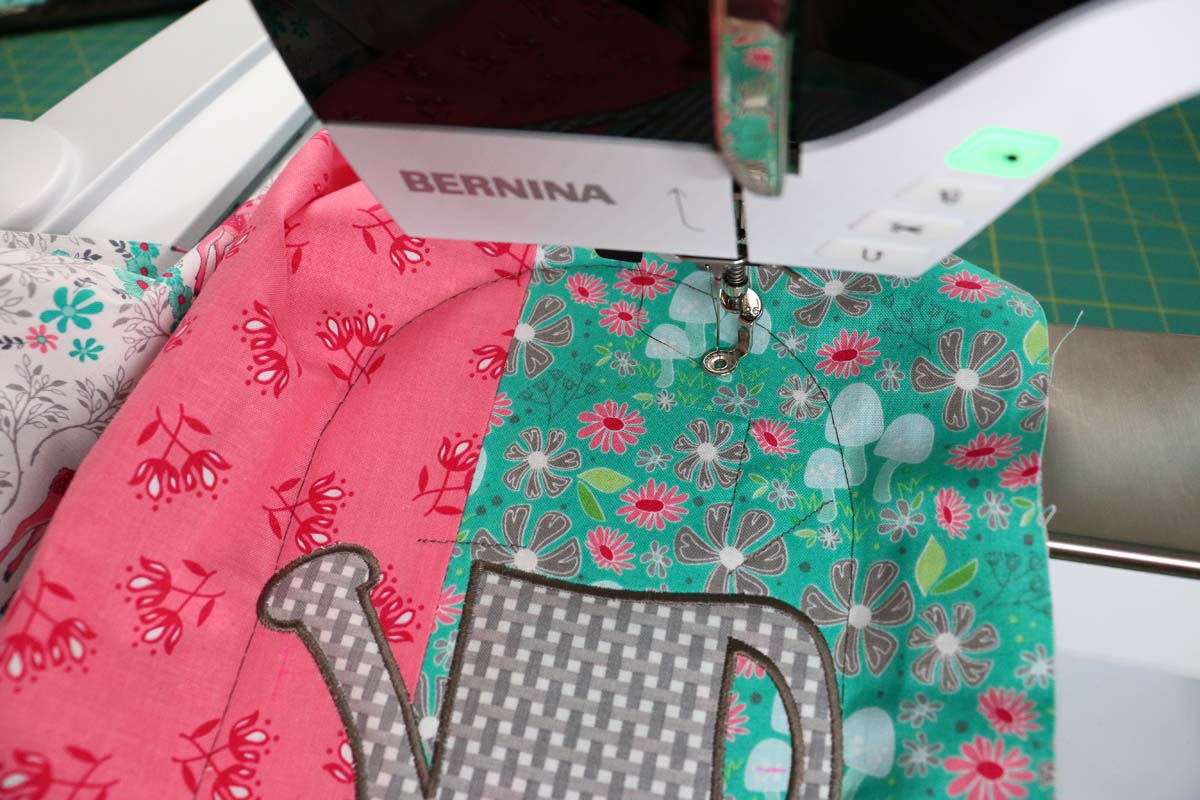
Use the larger Oval hoop for the watering can and flower designs. Hoop the piece of sheer cutaway stabilizer. Mark the center of stabilizer with marking pen by using the template as a guide.
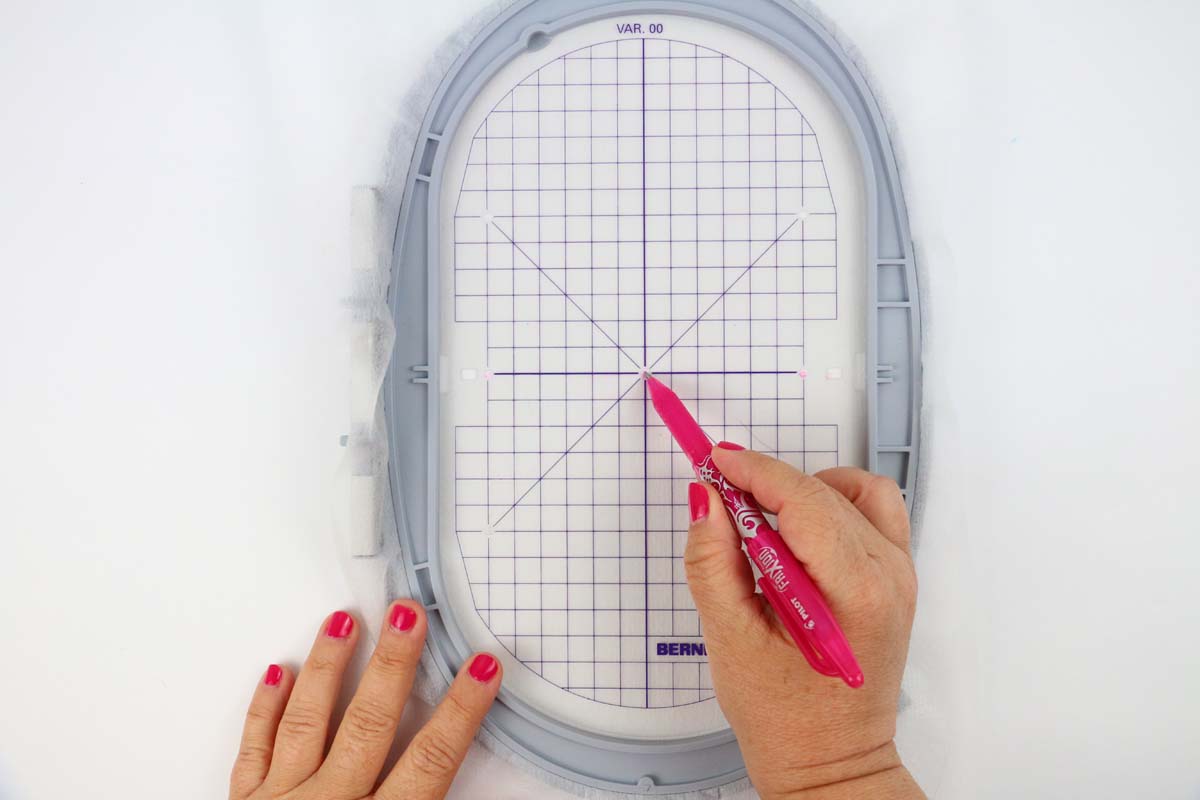
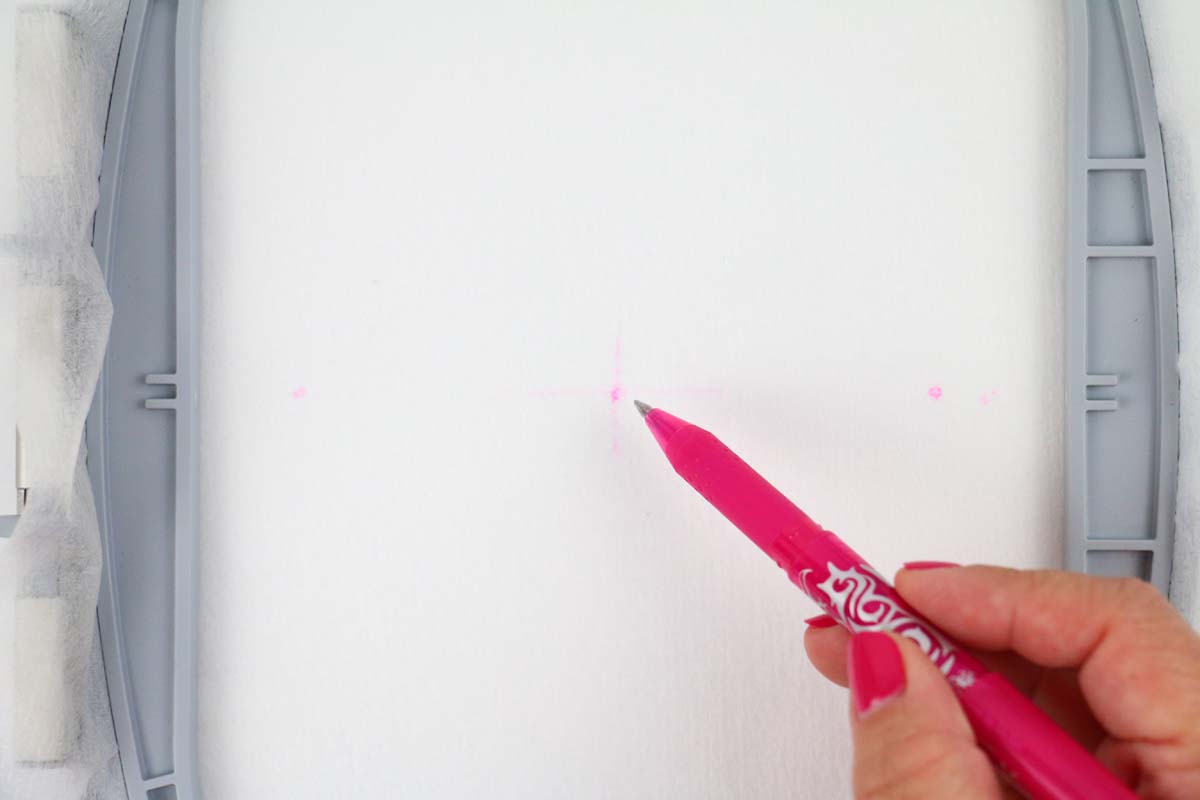
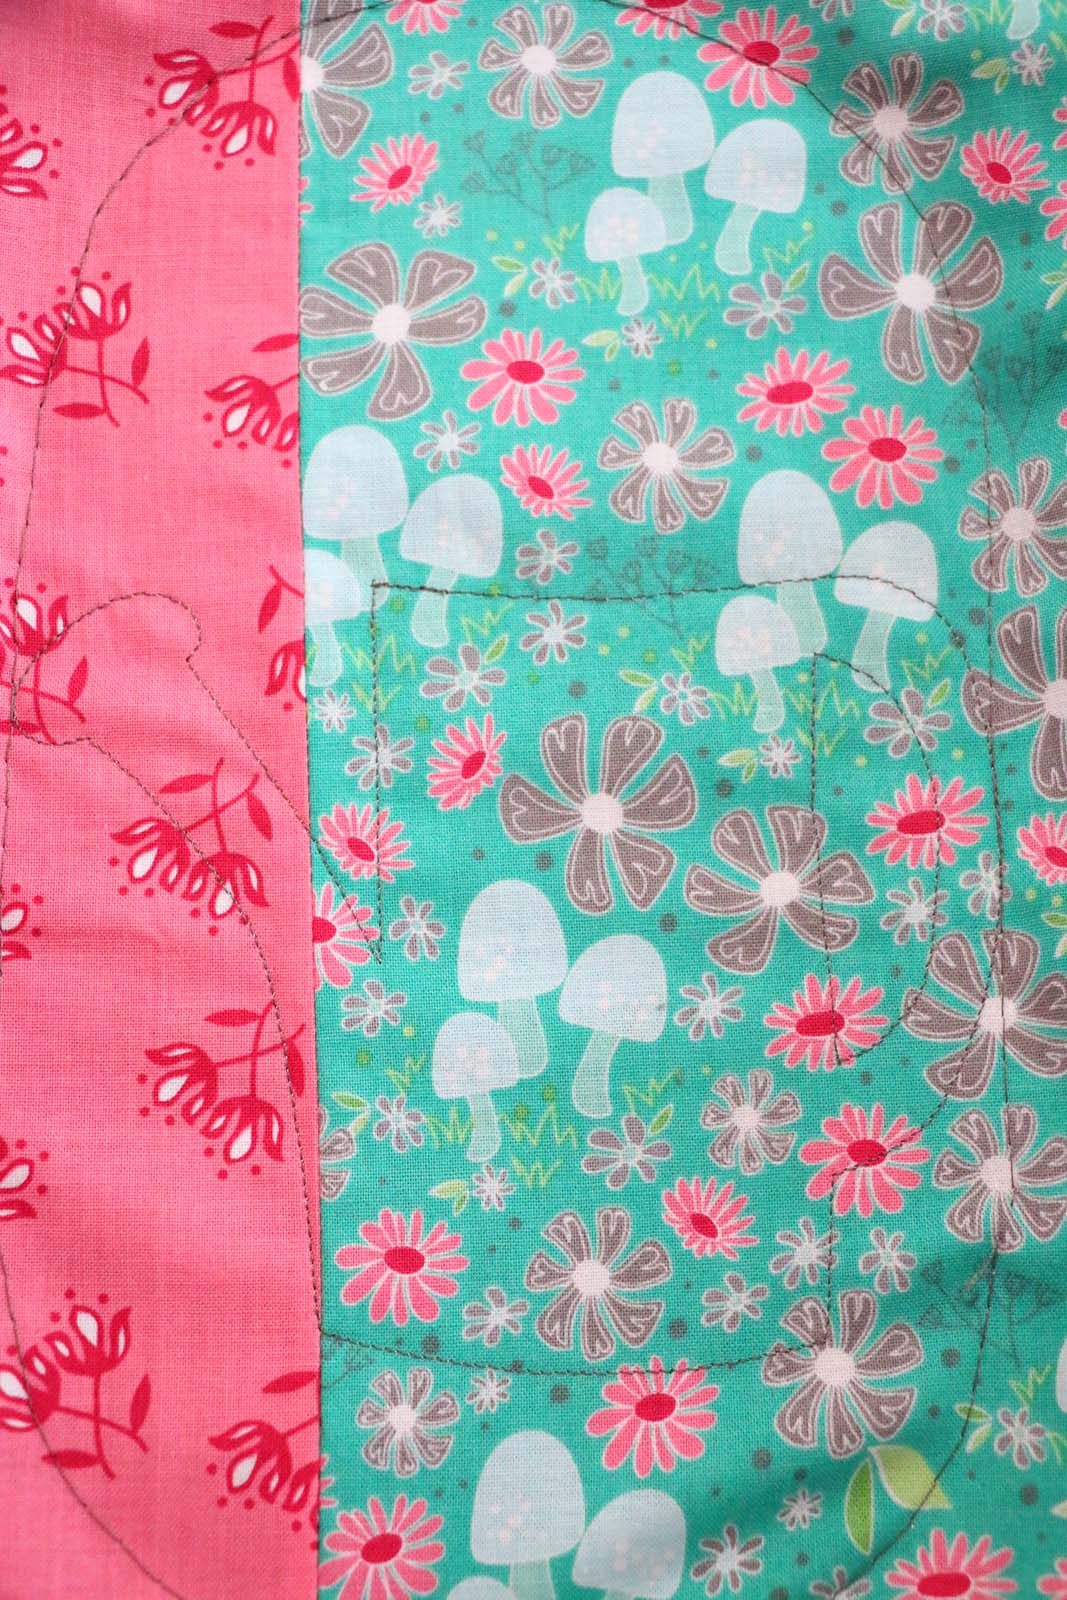
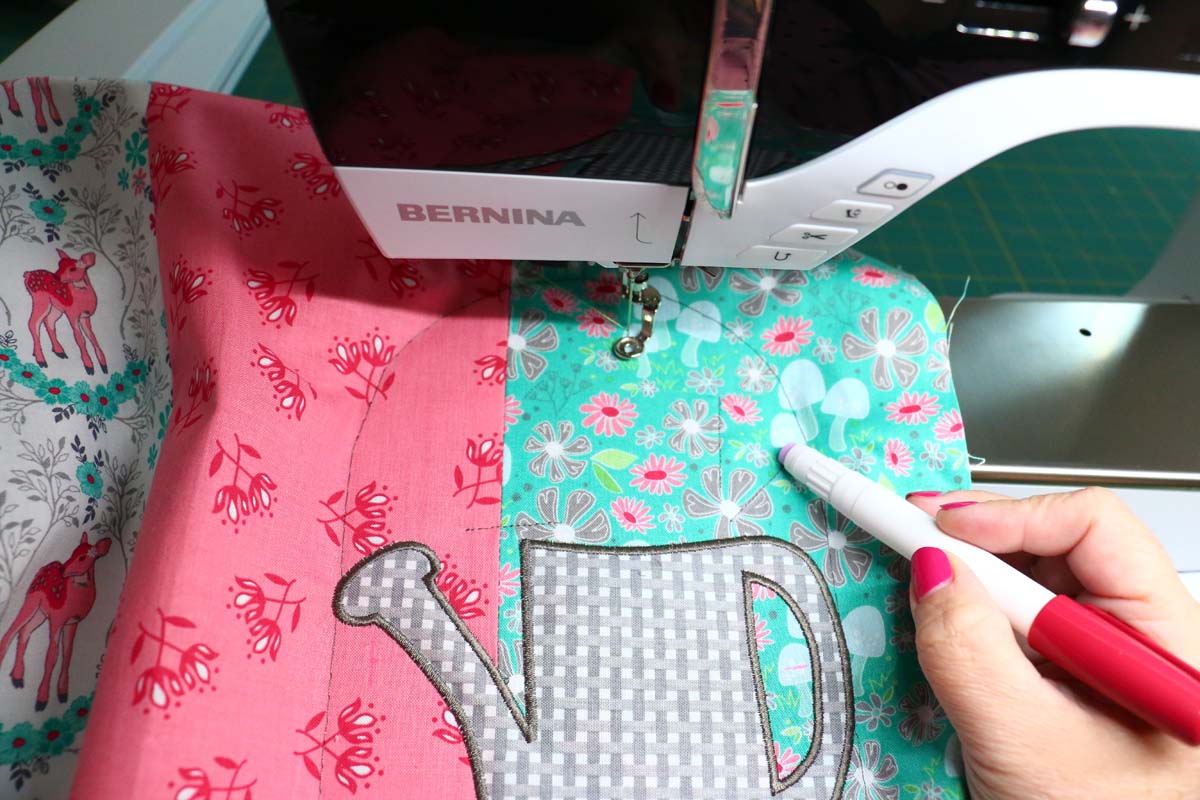
Using the grid as a guide of size, choose placement of watering can and flowers. Sample shows design in the lower right hand corner of the front pillow. Once placement of area is selected, mark center with marking pen.

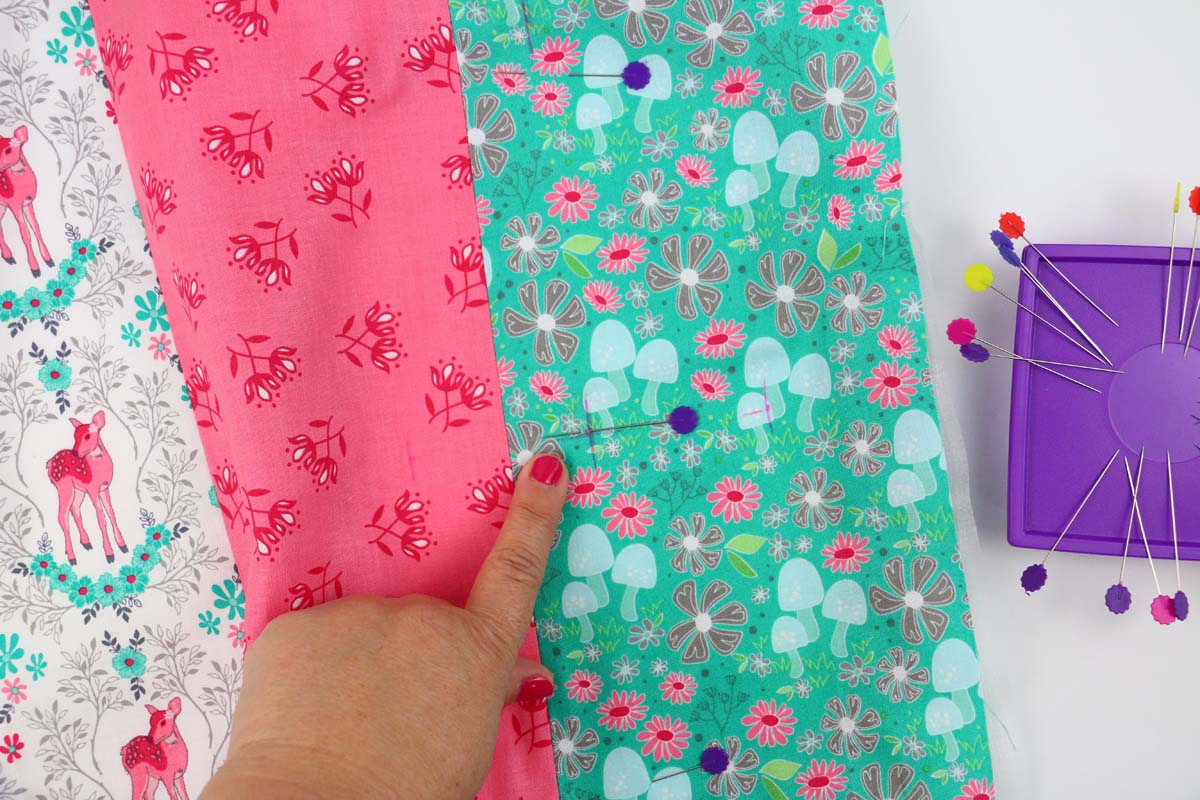
Place the front pillow right side up over the sheer cutaway aligning the markings. Use straight pins to secure the pillow front piece to the sheer and keep it in place. Note: These pins will be removed before stitching begins.
Step 5, Watering can and adding the text, Hello Spring
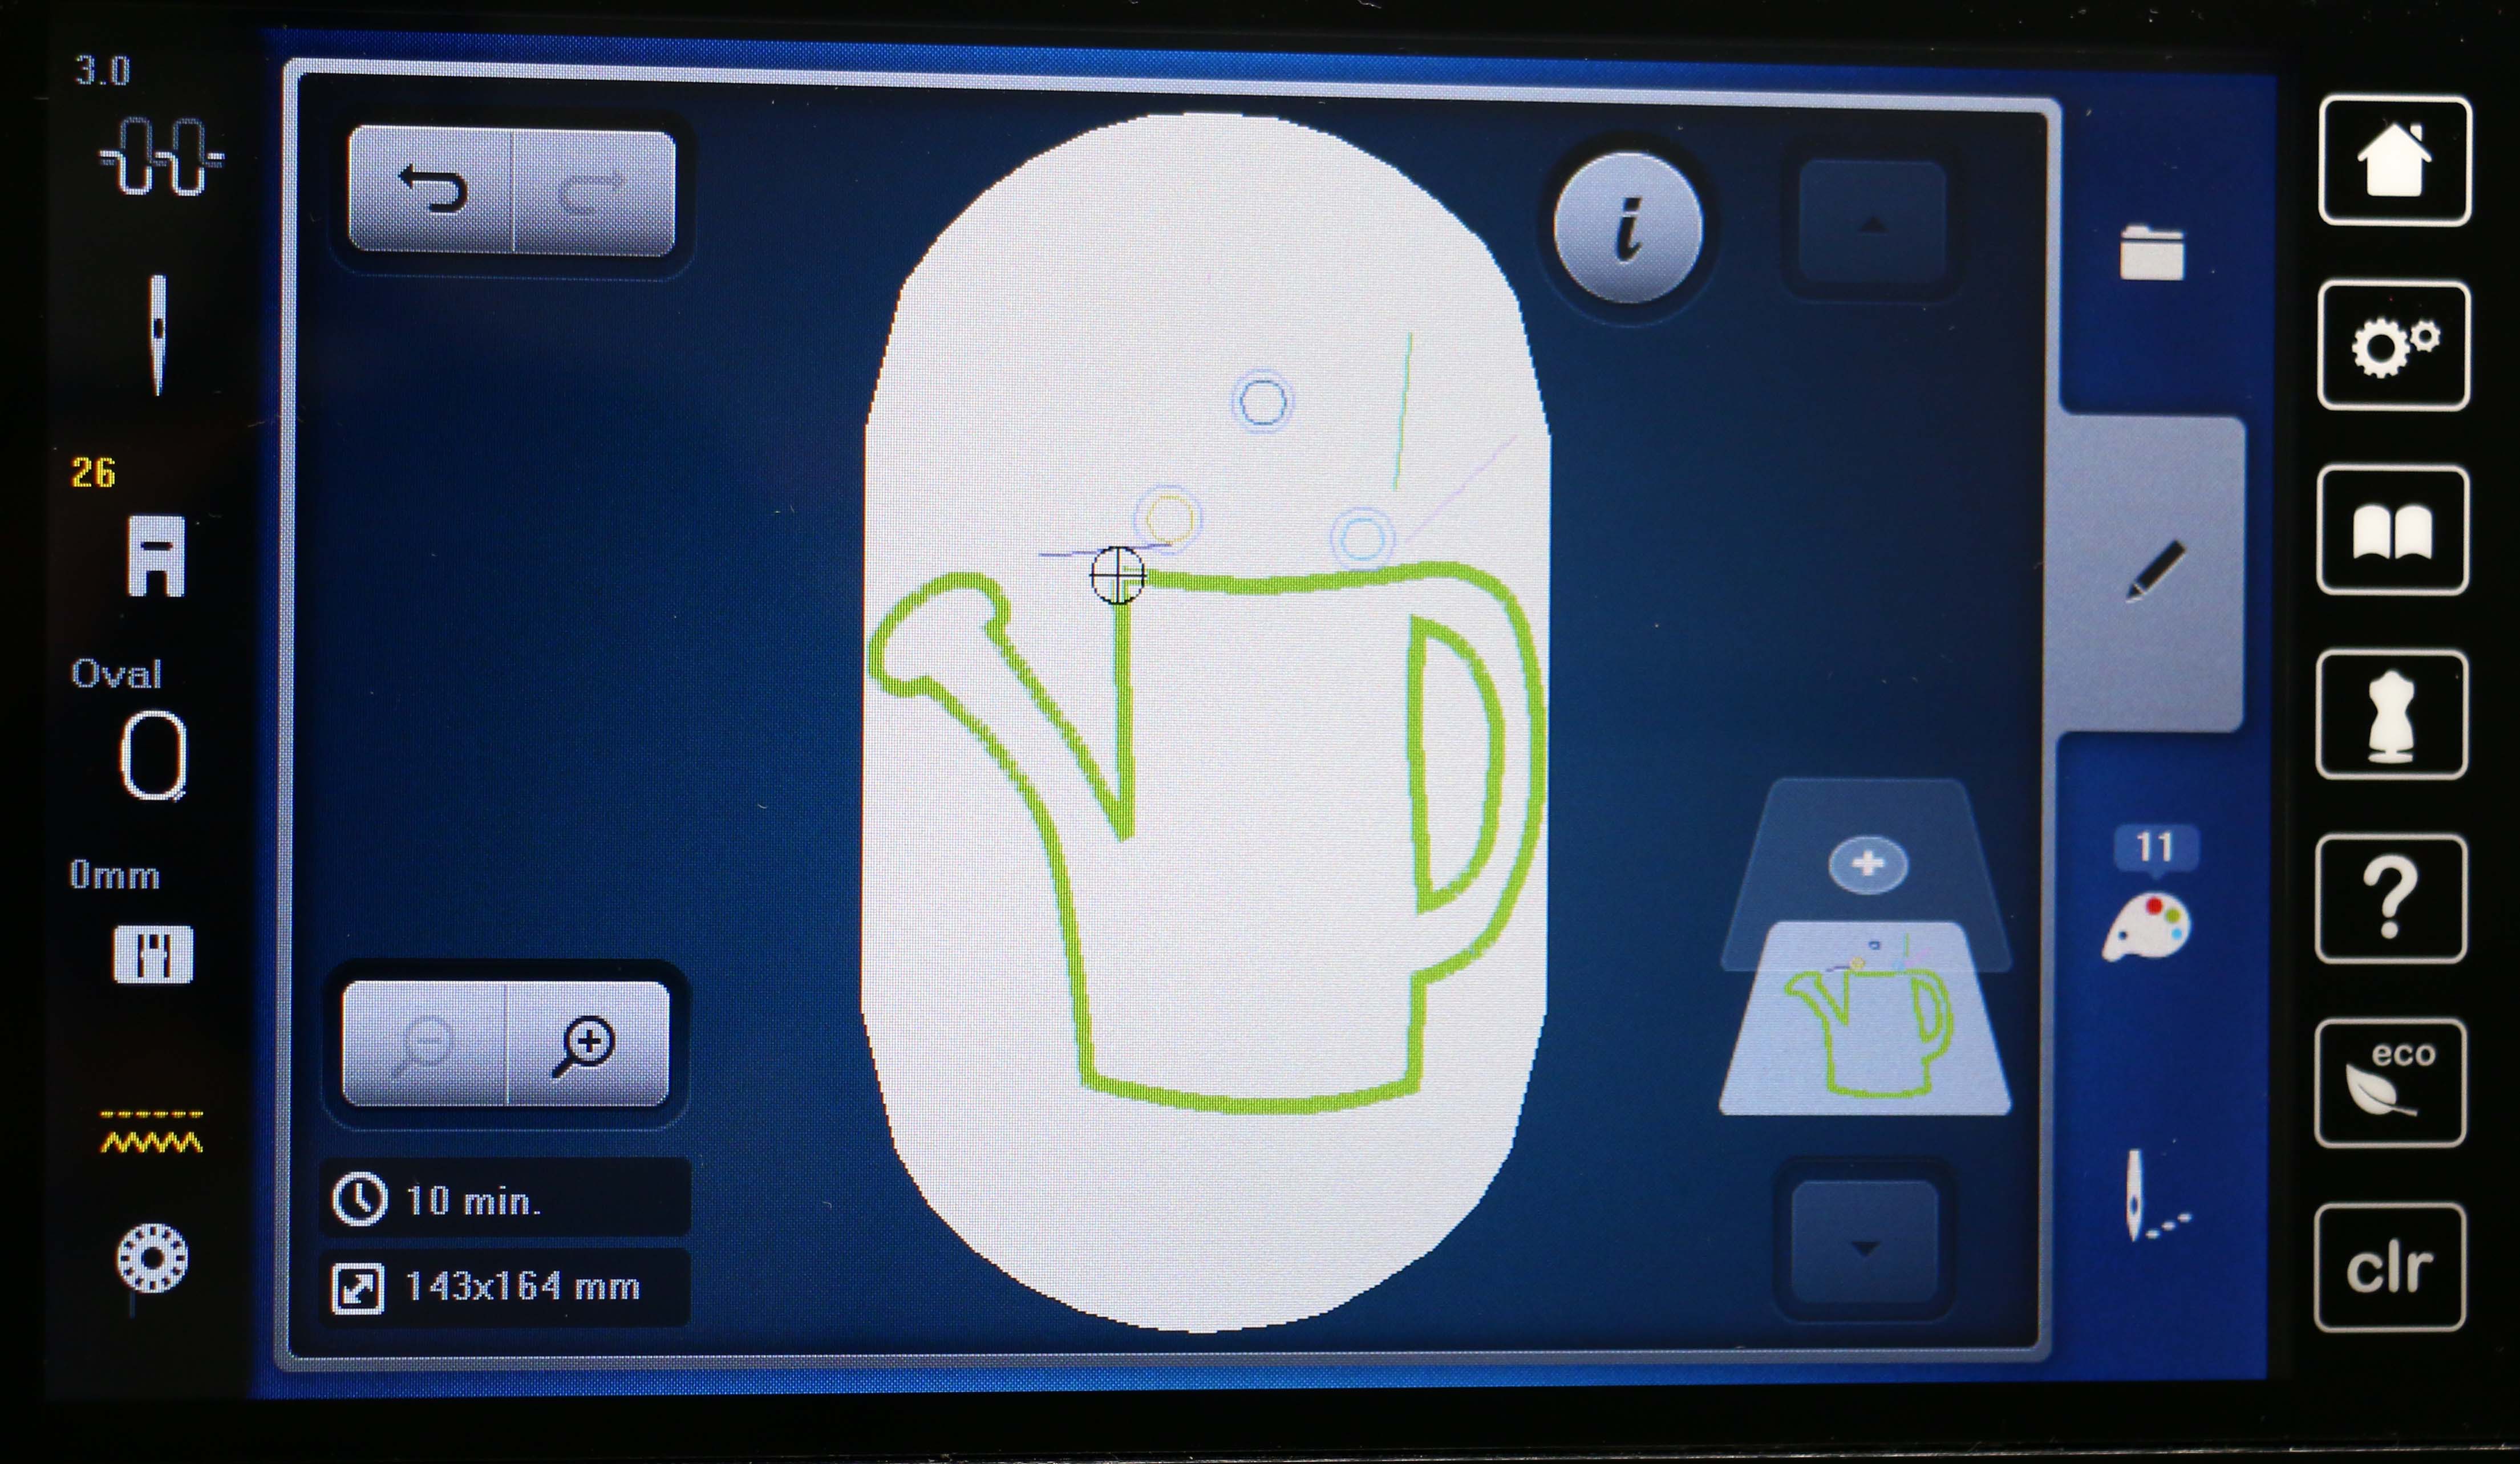
Insert hoop into machine. Choose the watering can design, design 5.

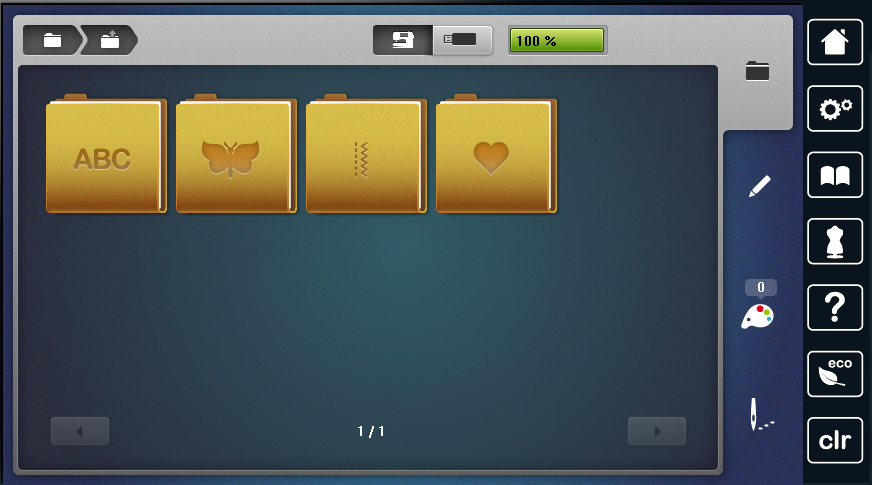
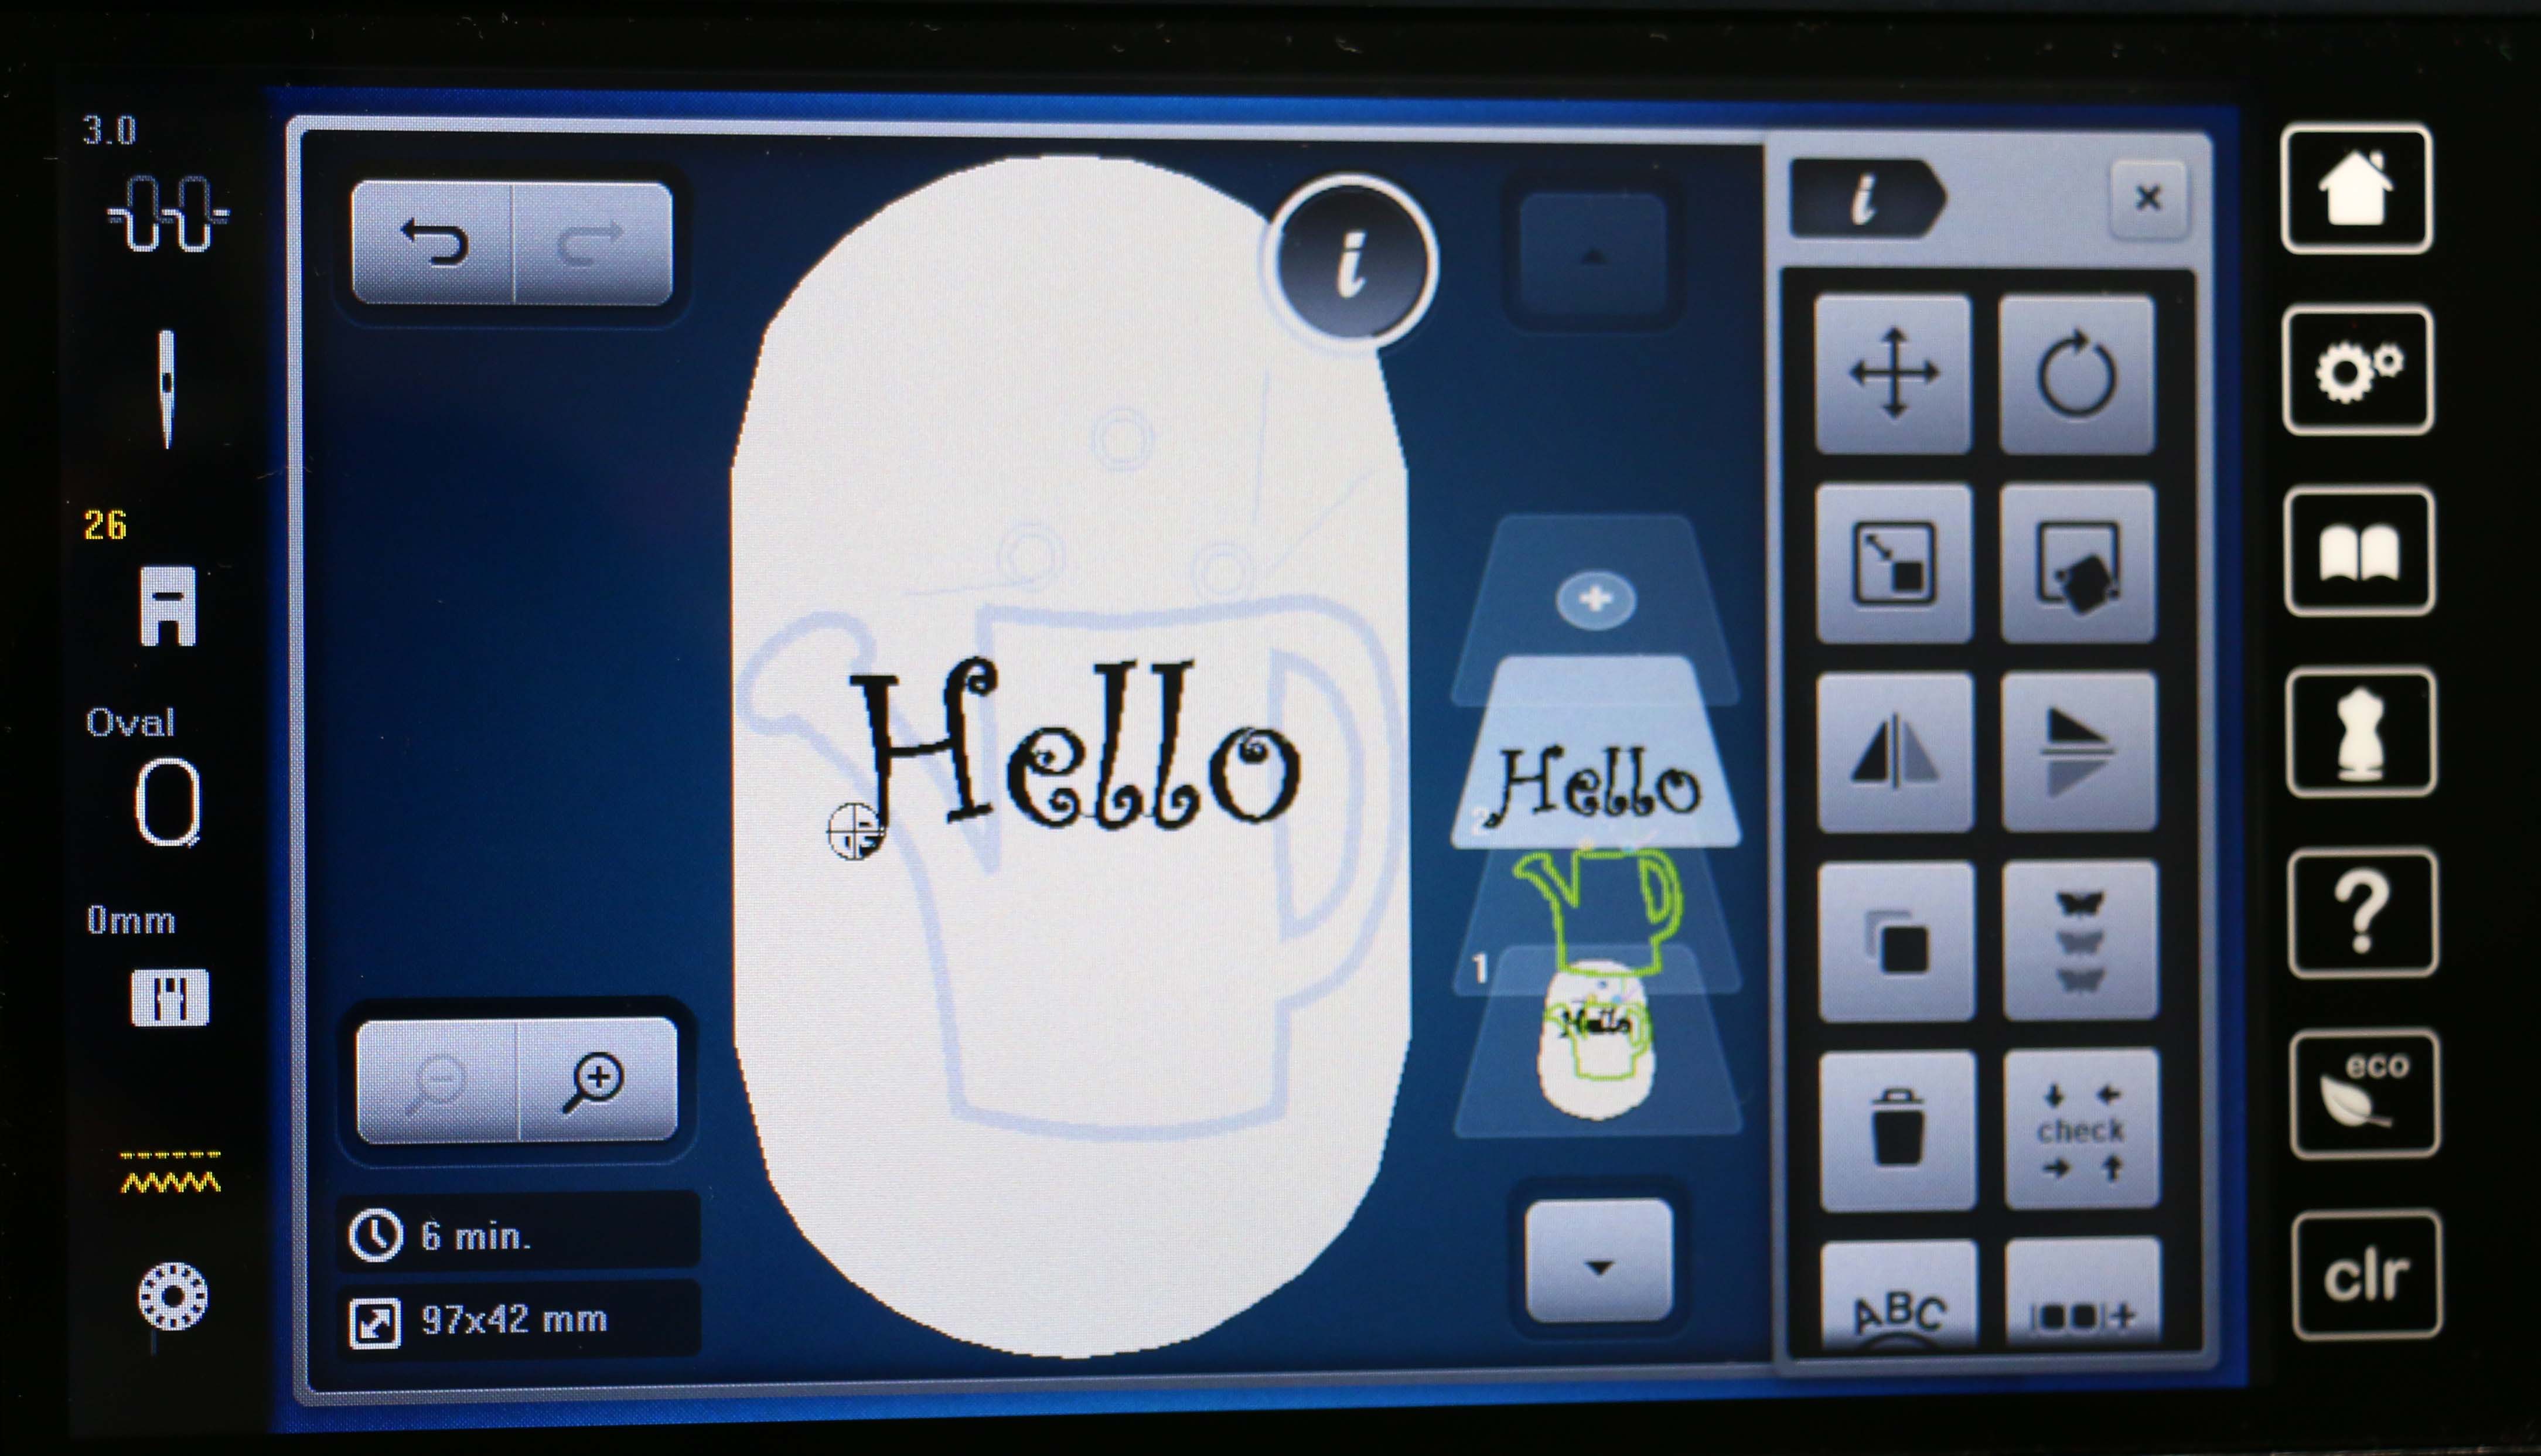
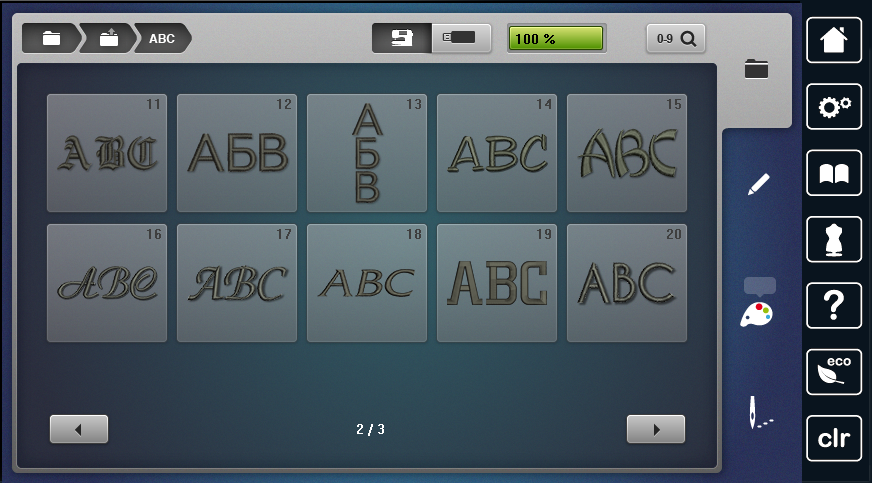
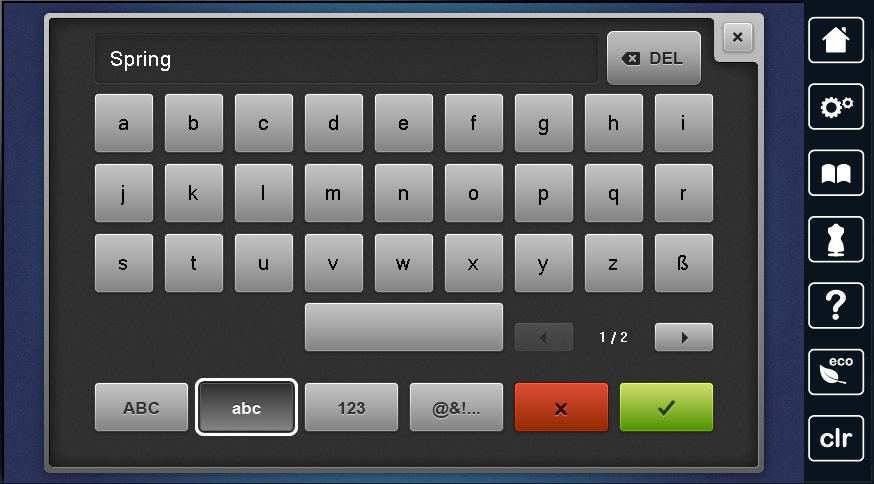
Press the “+” sign to add lettering. Choose the font you want for the text “Hello”. I used font #22. Add the letters, uppercase “H” and lowercase “ello”. Press the green check to set the design.


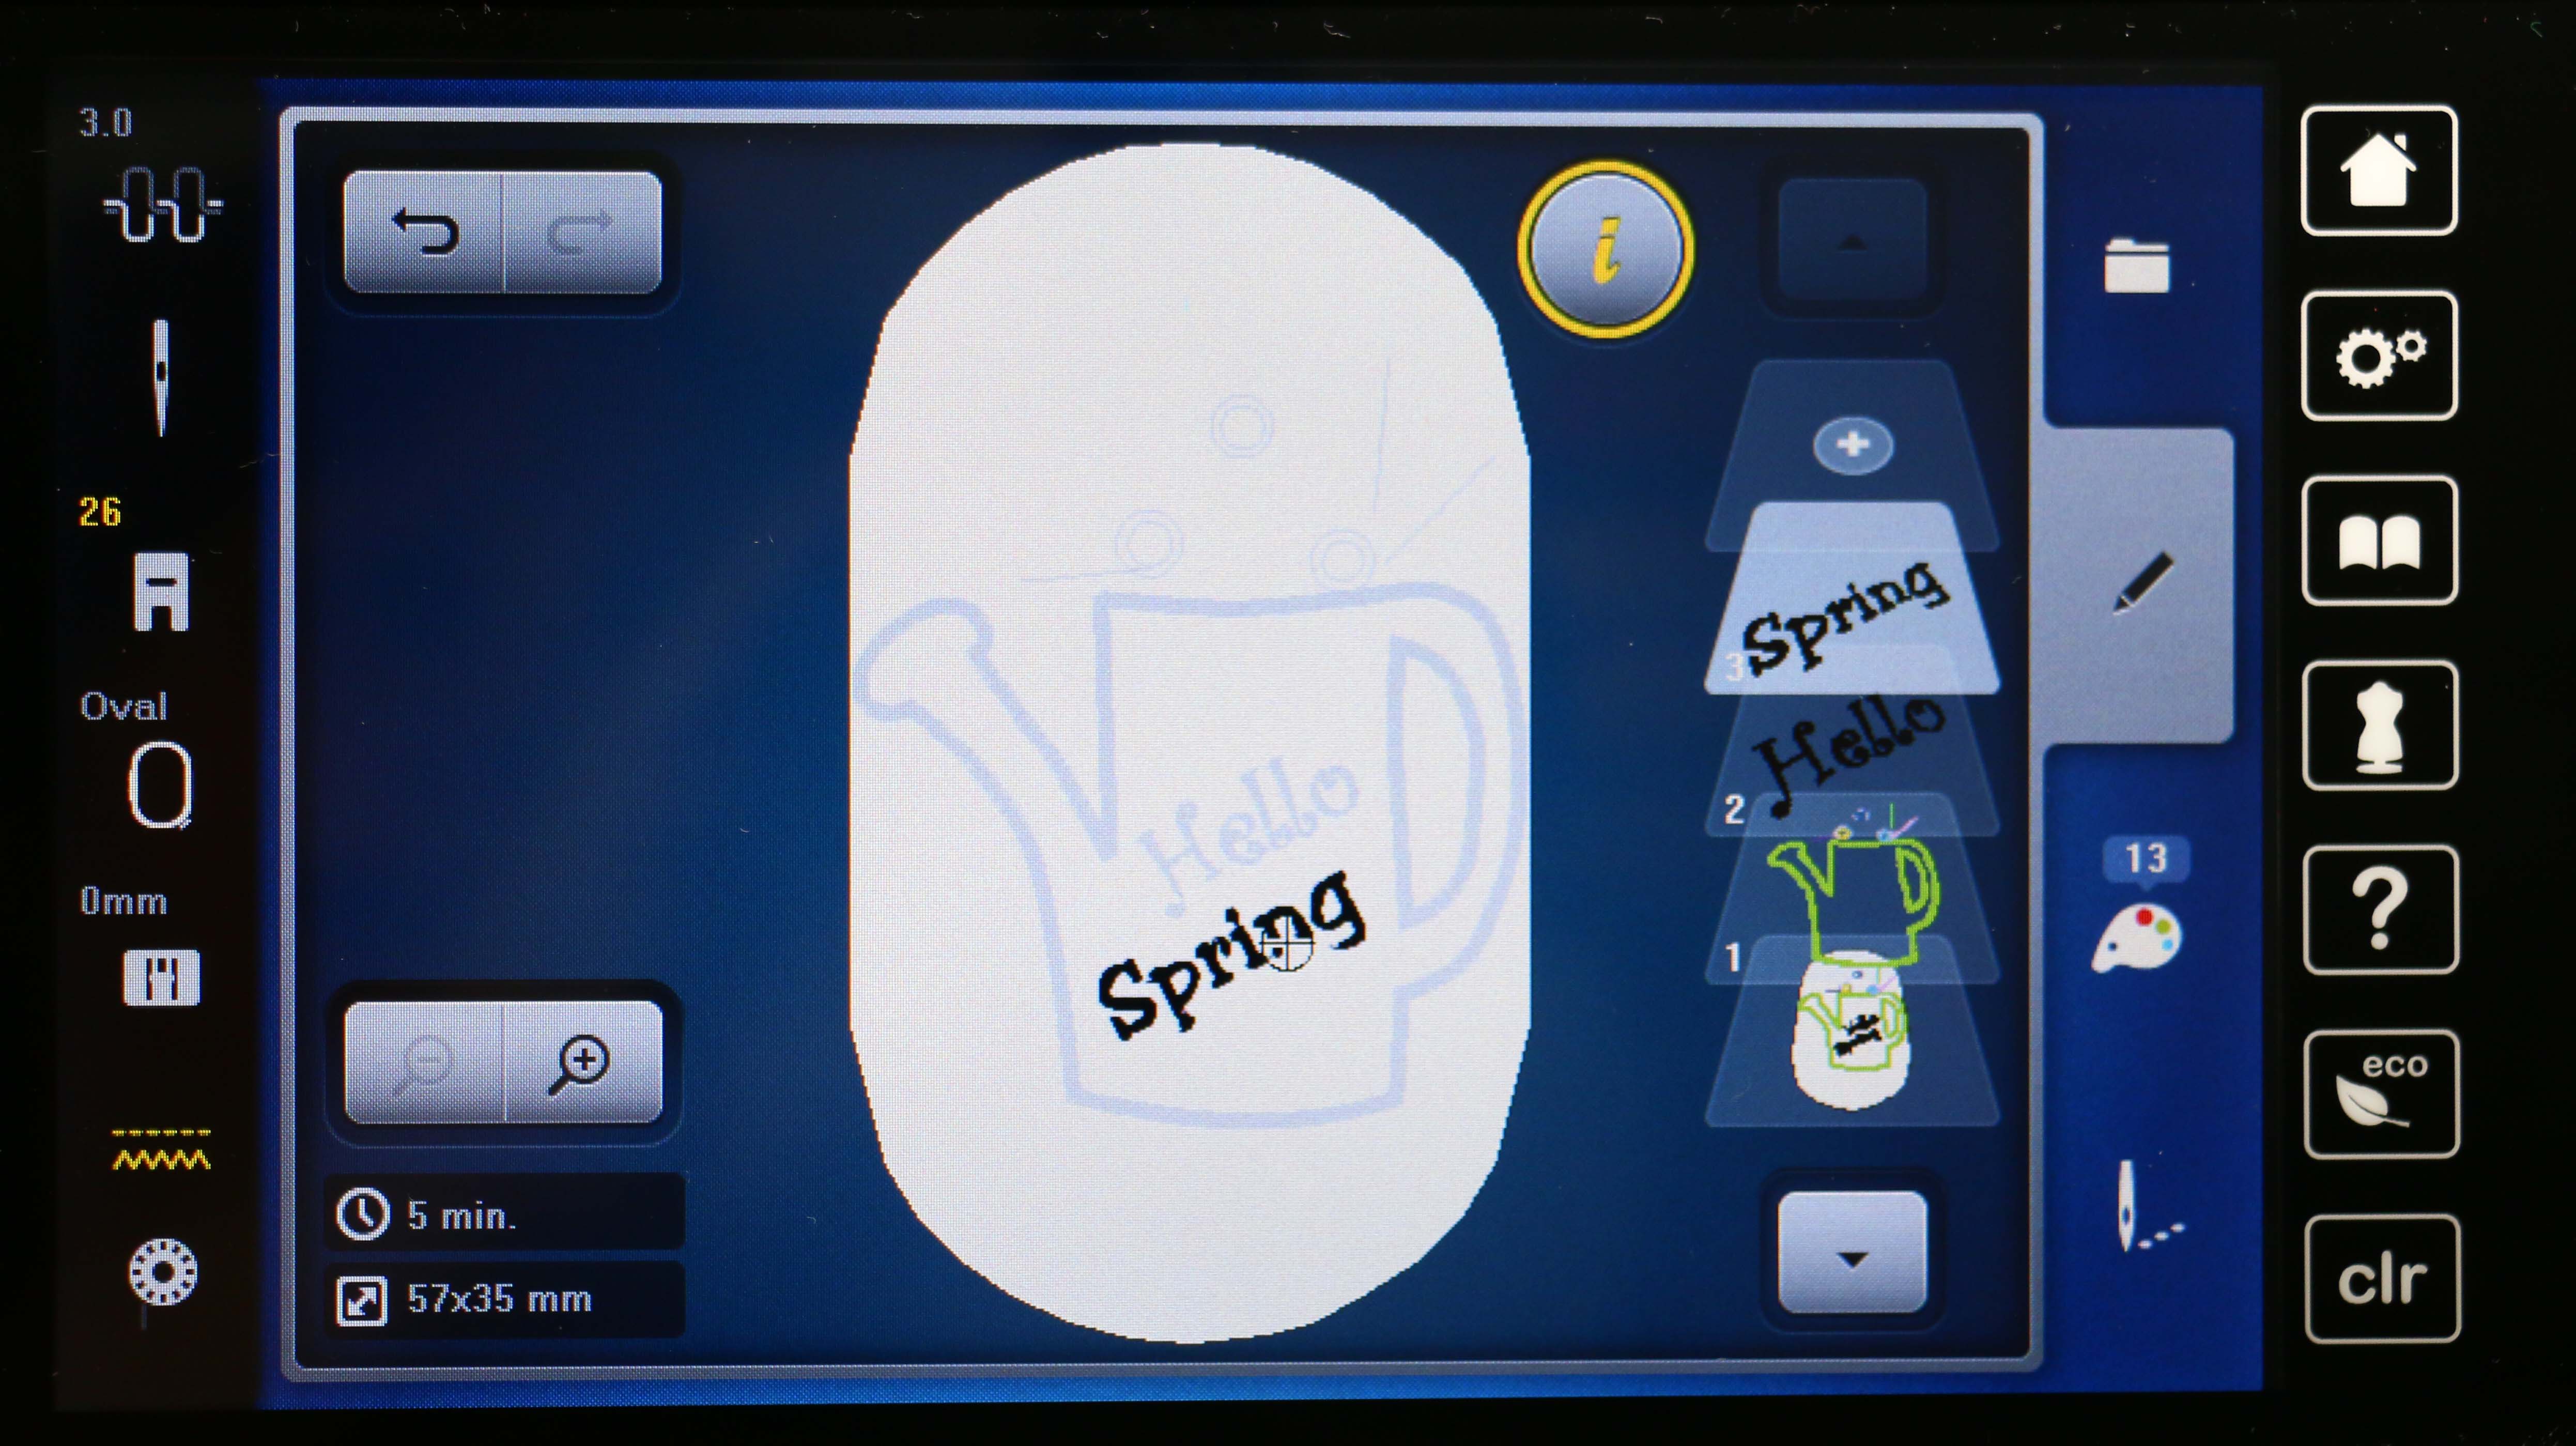
In order to edit the size and rotation, choose the text. Select the “i” (you will find this is the upper right hand corner of the hoop on the screen). The “i” will open the editing options. Inside this new menu choose the second box on the left column, this is the size option. Reduce the size using the dials on the front of your machine. Once you like the size, press the “x” to close that screen. You can use your finger or stylus to reposition the text.
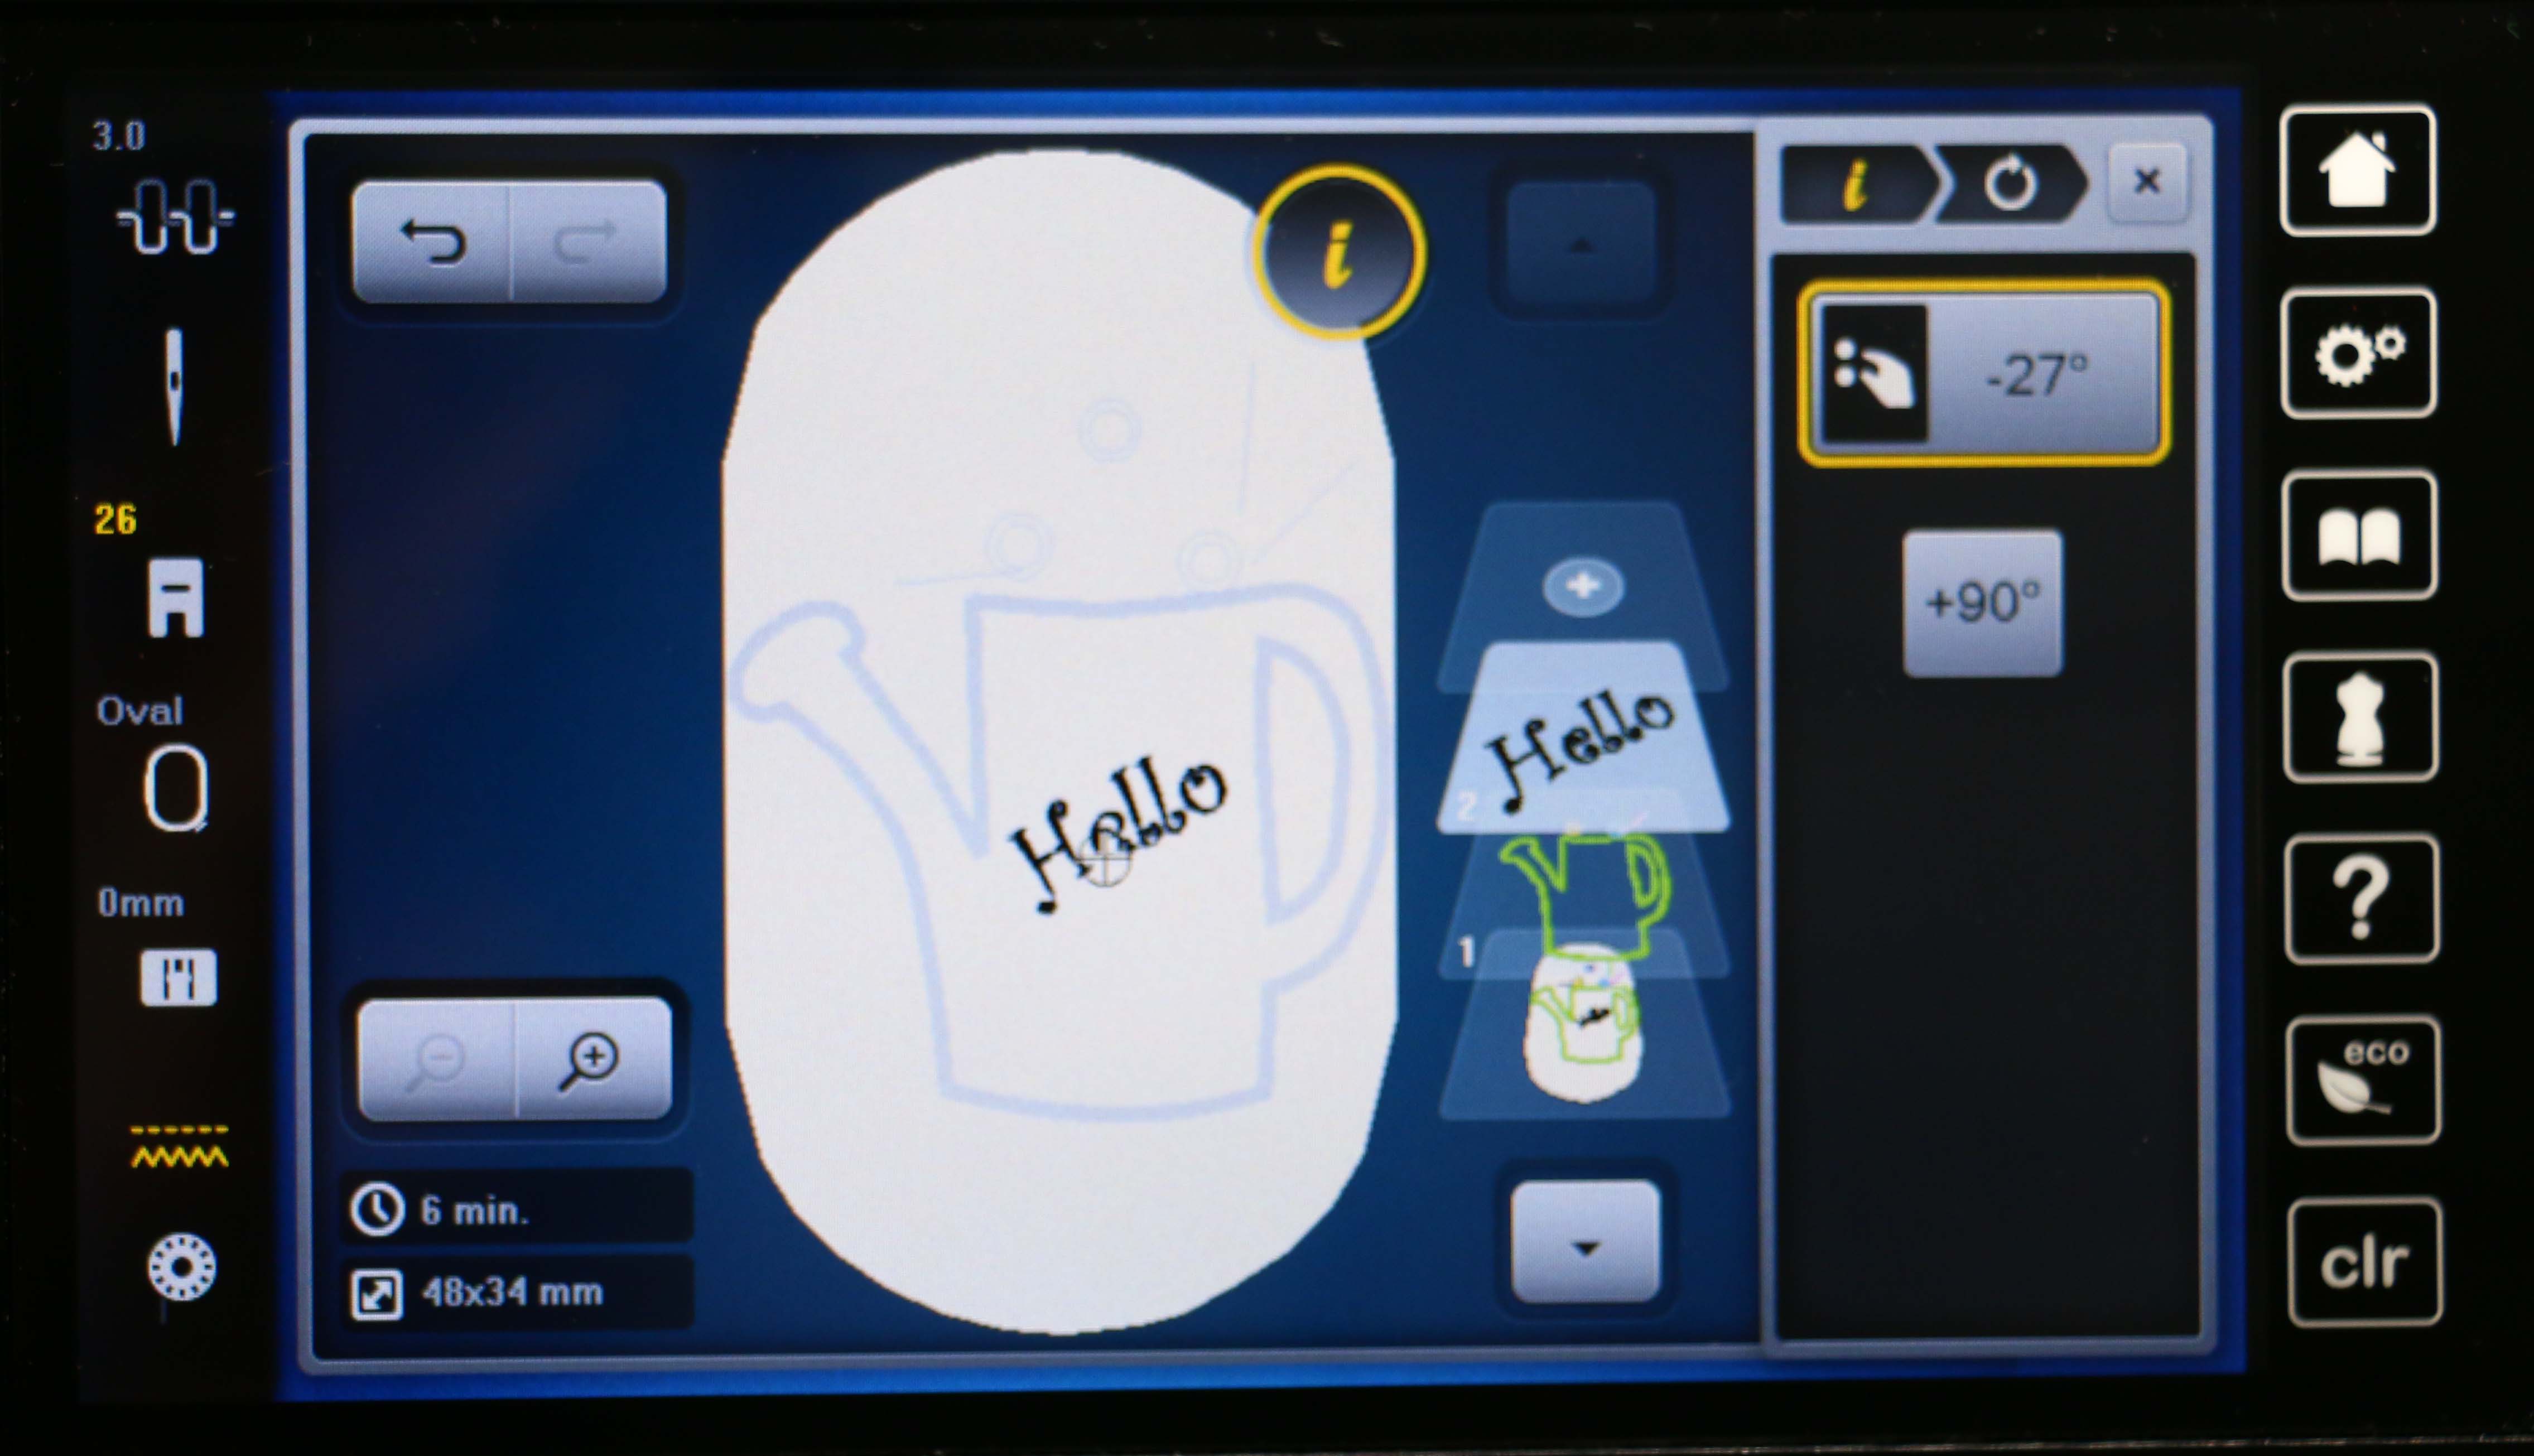
In order to rotate the text, once again choose the “i”. Next choose the top box on the right column. Adjust the rotation using the dials.
Repeat the same steps for the word “Spring”.
Remember this is your opportunity to make this pillow your very own. You can leave it empty or choose to write something else. Here are some ideas what else to write: Springtime, Spring fun, Spring has Sprung or use the letters to create your own monogram!
Note: Refer to your user manual or ask your local dealer for more details.
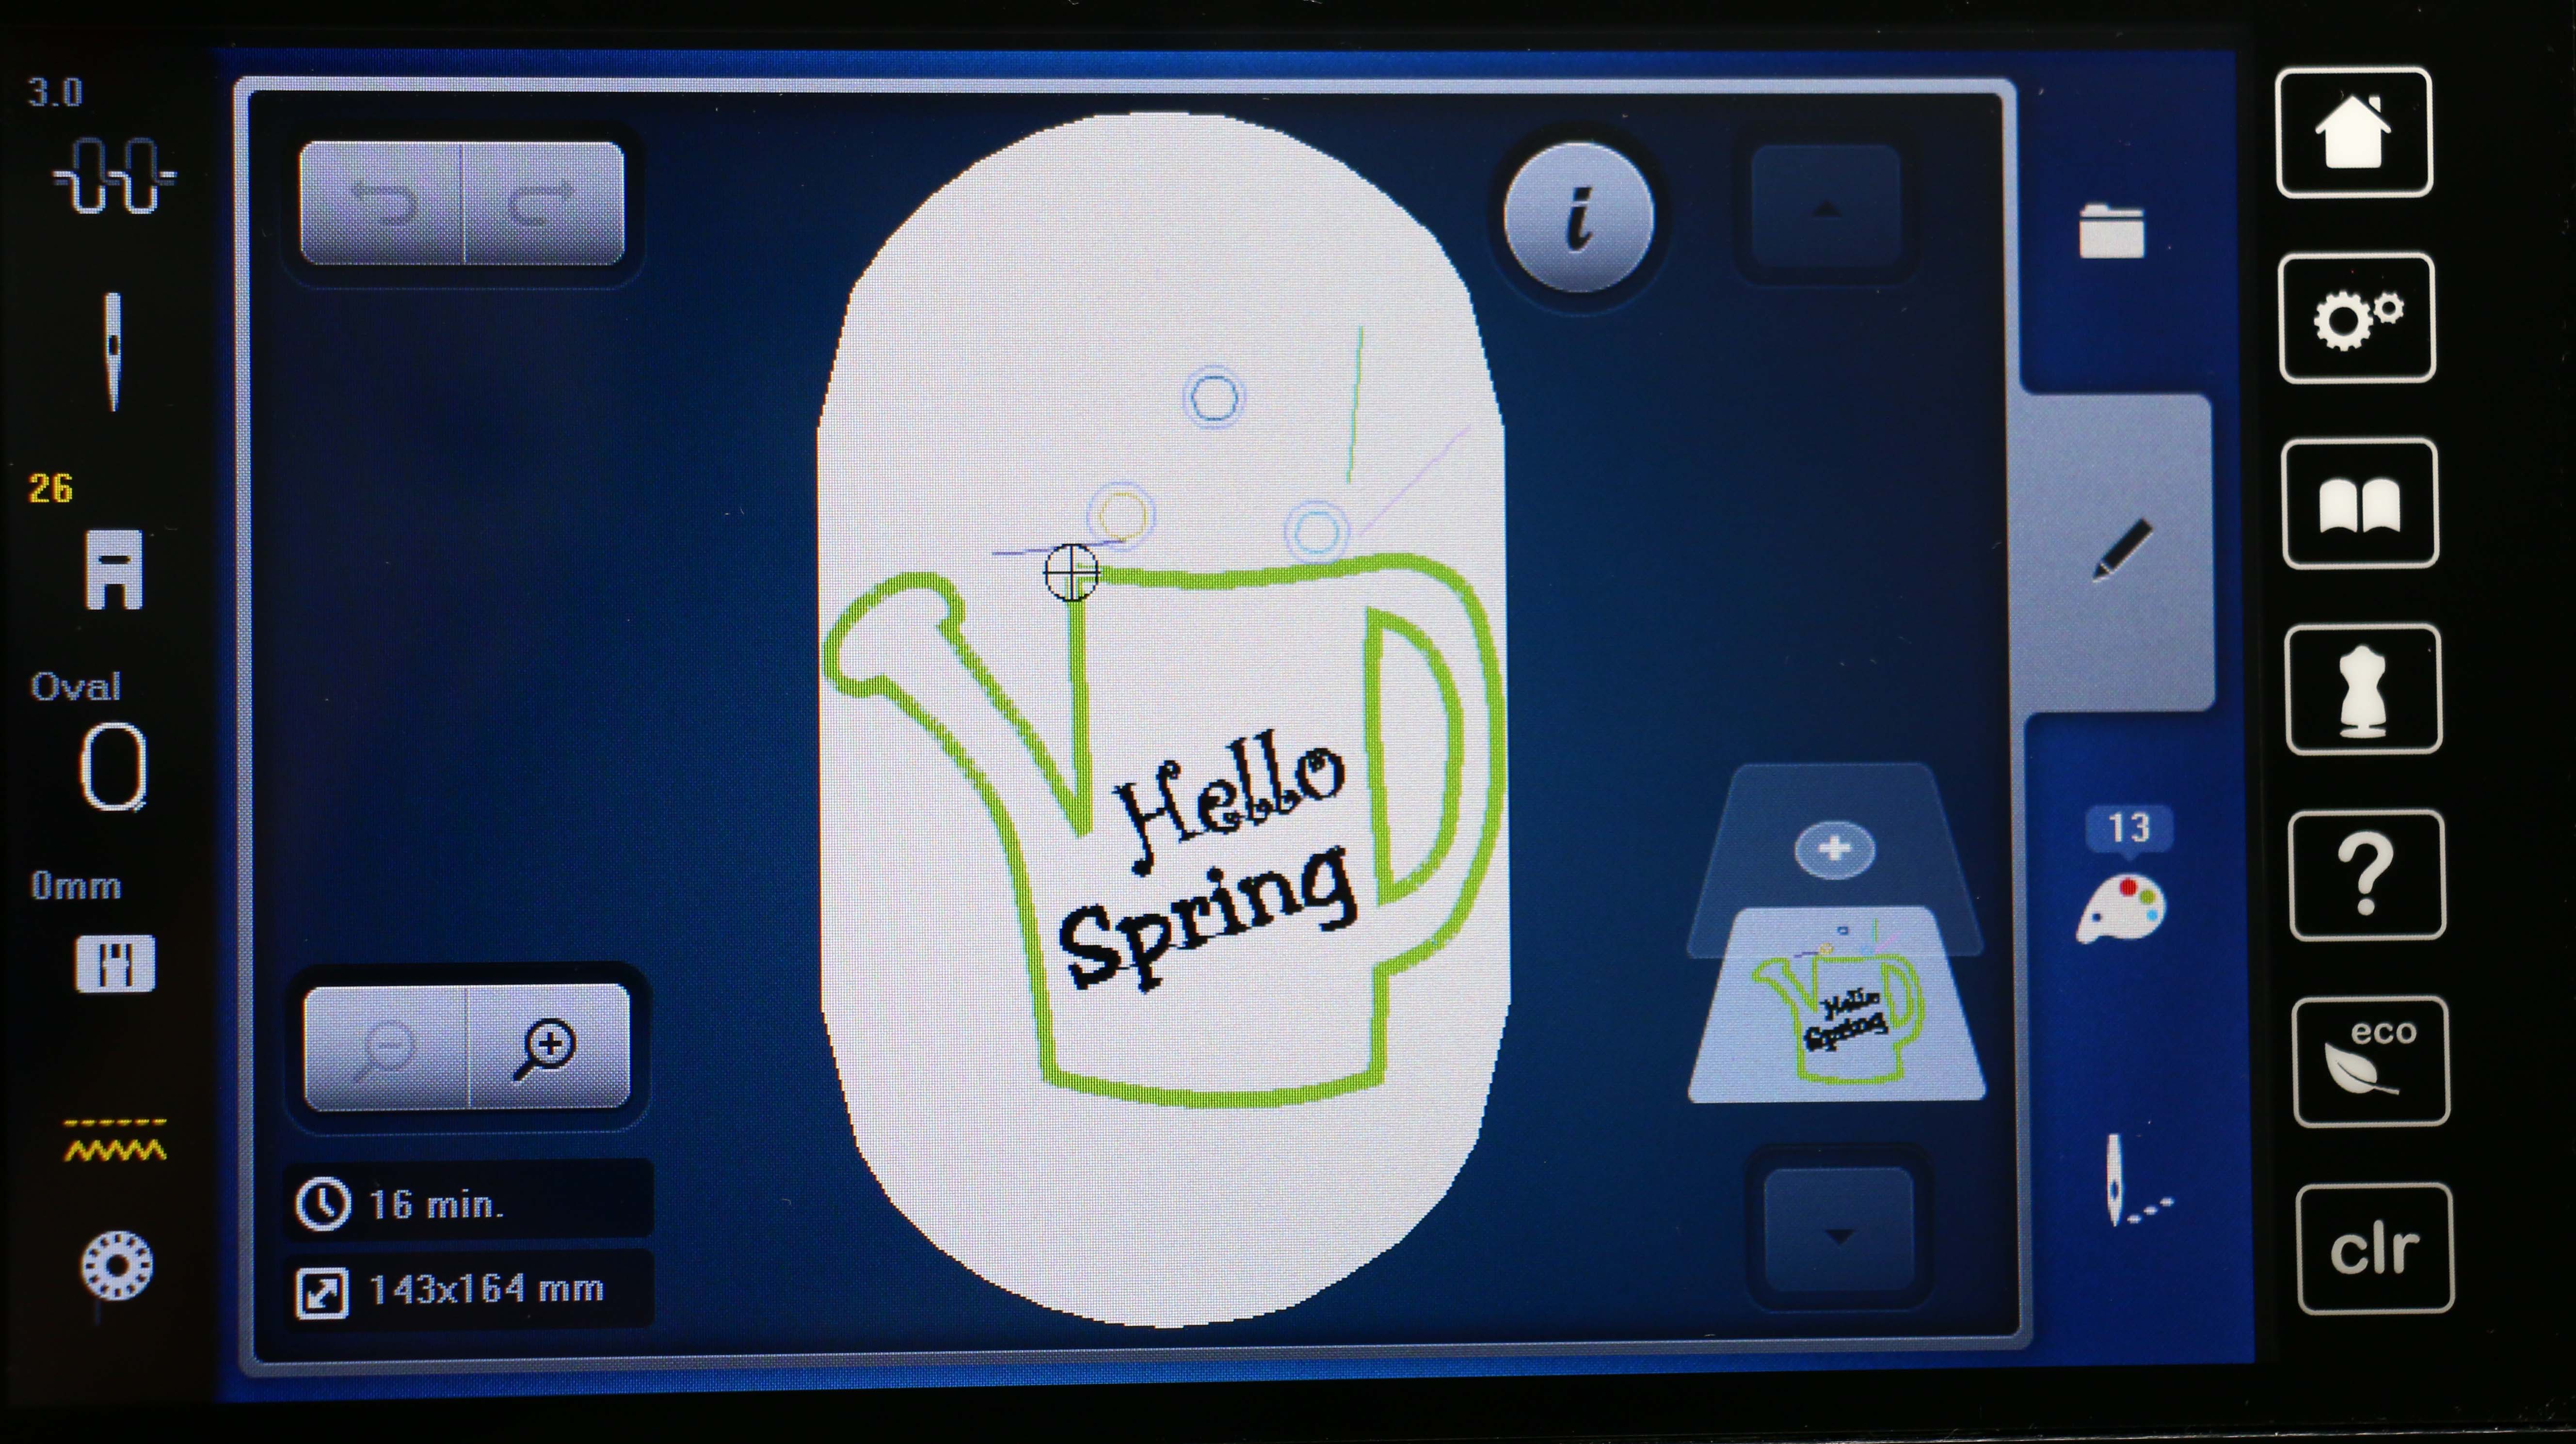
Once you are pleased with your final letting and placement, choose the needle button at the bottom of the screen. Choose the entire design, watering can plus Hello Spring.
Step 6, Embroidering the Hello Spring Embroidered Pillow
In the upper right hand corner is a dotted line. Choosing this will add a basting stitch around the outside of the design. If you choose the button a second time, it will add a basting stitch inside the entire hoop, this is the option I prefer. Note: The basting stitch will help secure the pillow front to the stabilizer during stitching and will be removed when design is complete.
Note: Be sure to remove all pins. Thread machine with gray thread. The first stitch will be the basting stitch. Next sew the watering can position stitch.
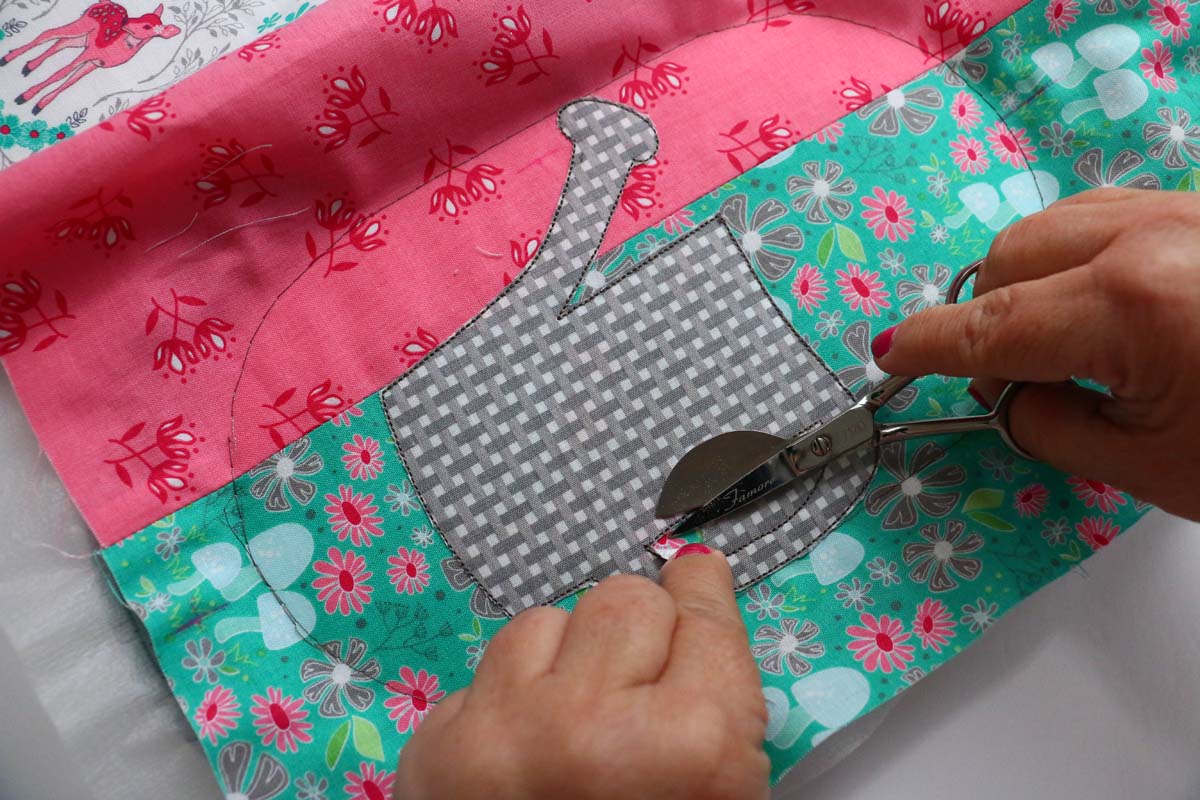
Place the watering can appliqué material right side up over the top of the watering can position stitch. Sew the watering can secure stitch. Remove the hoop from machine and place on a flat surface. Use appliqué scissors to cut around the outside stitching as close as possible, without cutting the stitching.

Carefully cut inside the watering can handle.
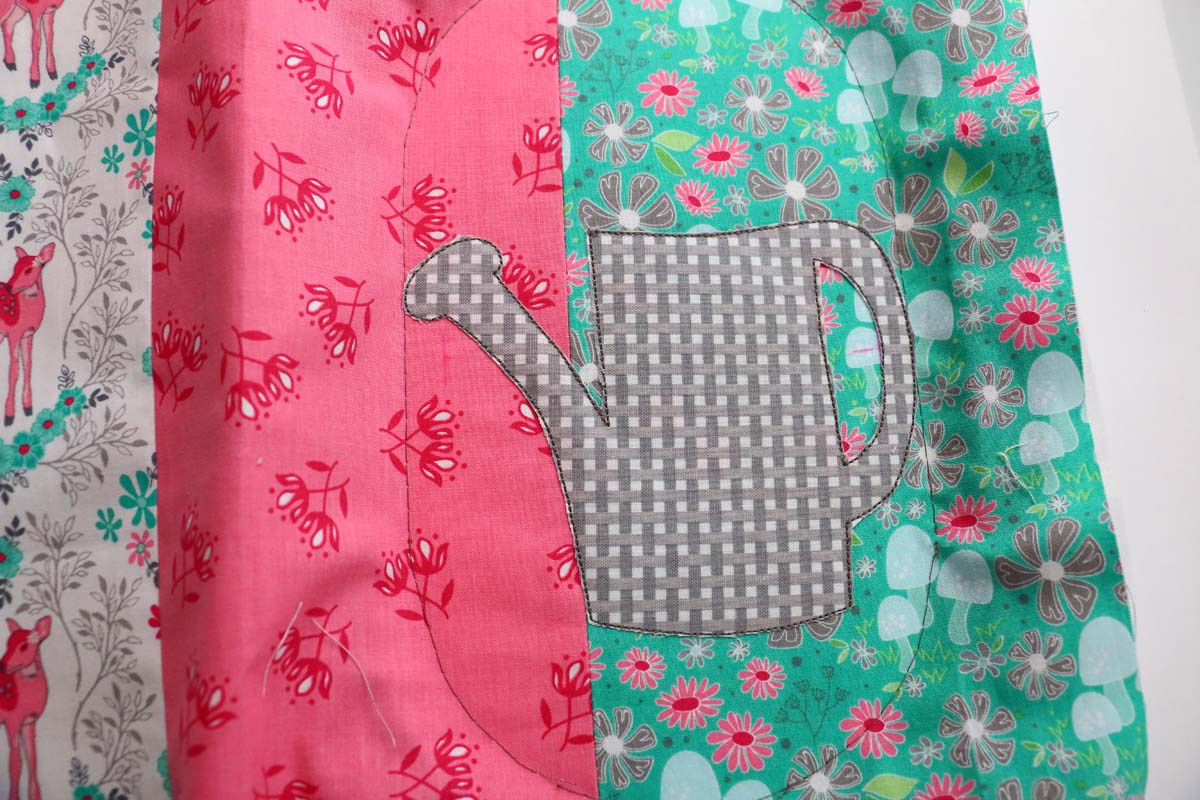
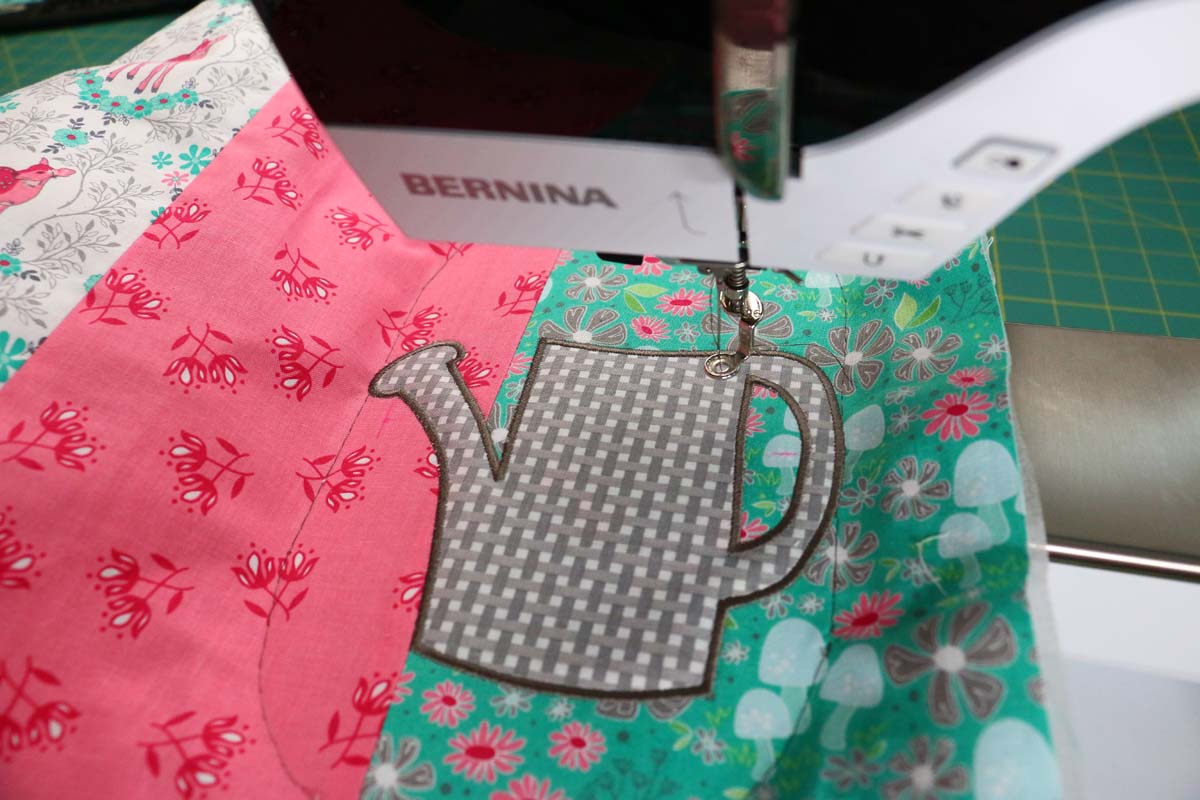
Once cutting around the appliqué is complete, insert hoop back into machine and sew the watering can satin stitch.
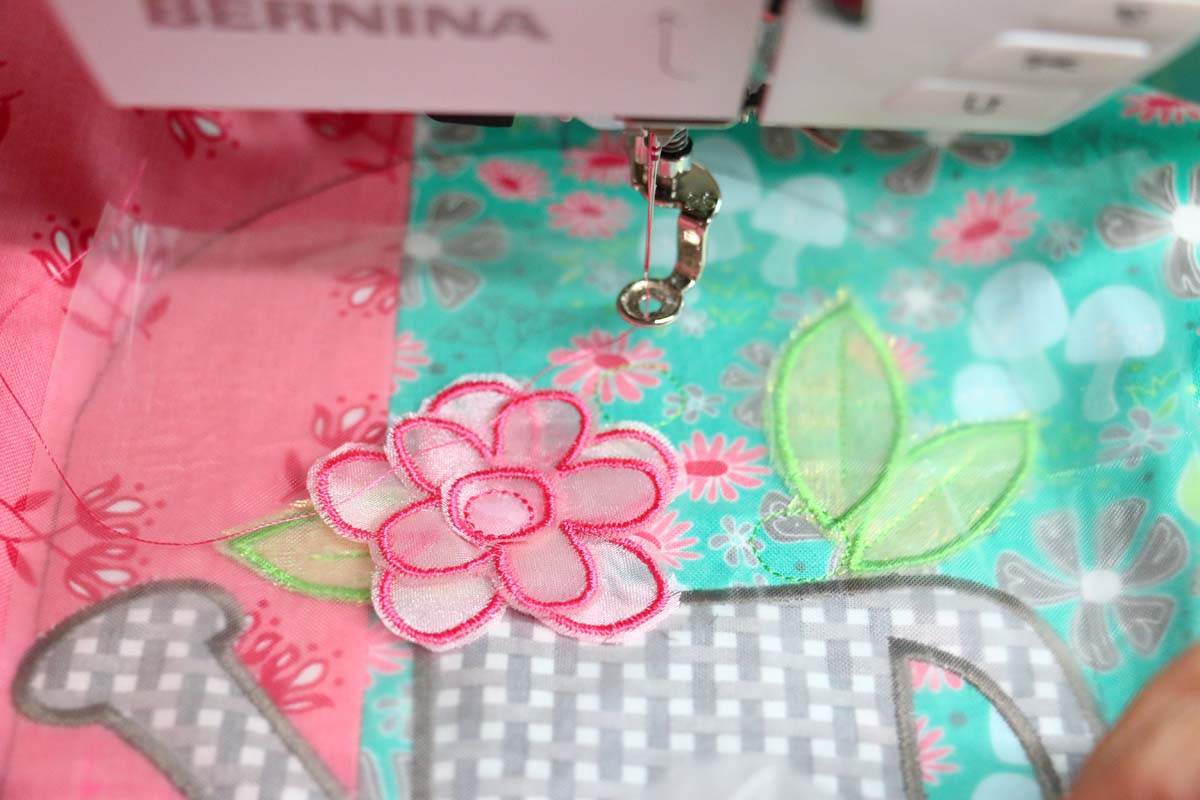
Step 7, Adding the leaves
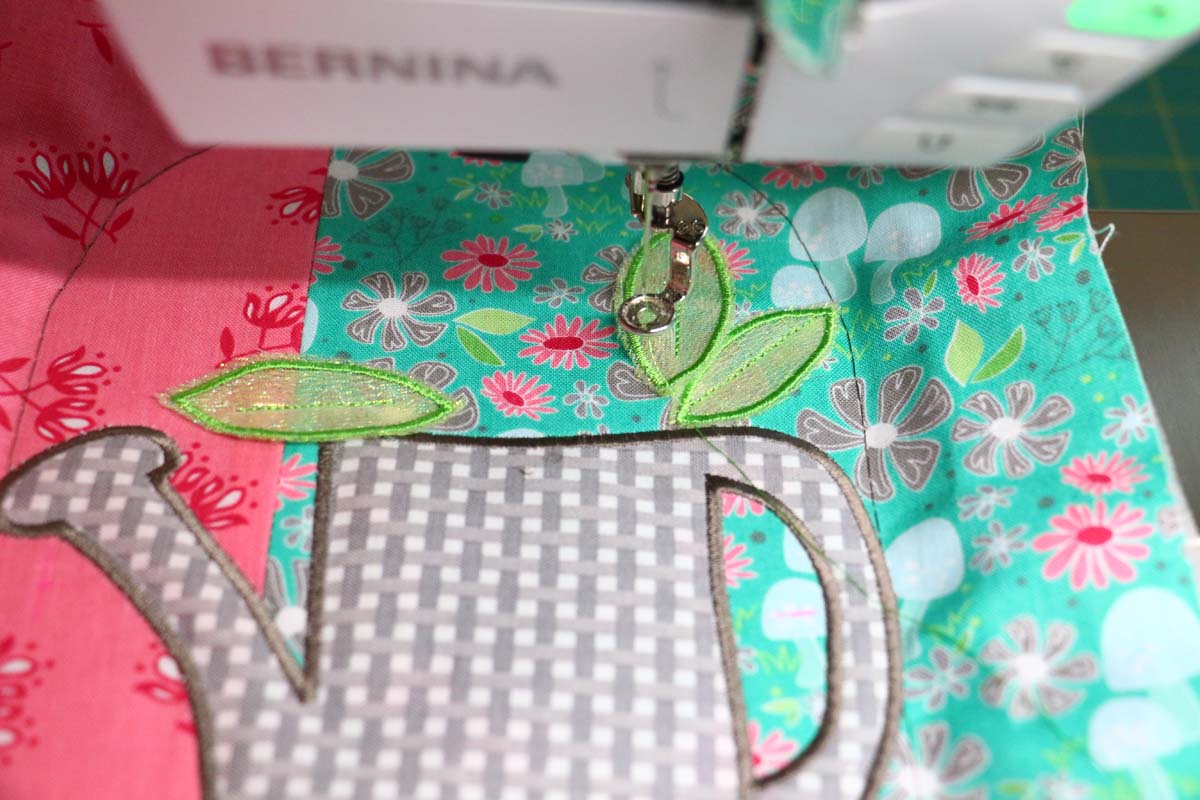
The next series of stitch sequences are the leave and flower stitches. Sew the next stitch sequence, the leave position stitches. This will look like three lines just above the watering can, it is fine to stitch in gray.
Change thread to match the leaves, green. Use the glue pen and place a line line of glue directly over the first line (the far right line). Place the first leaf directly over the line/glue. Press down to secure. Sew the next stitch sequence, the right leaf secure stitch.
Repeat for the center and left leaves.
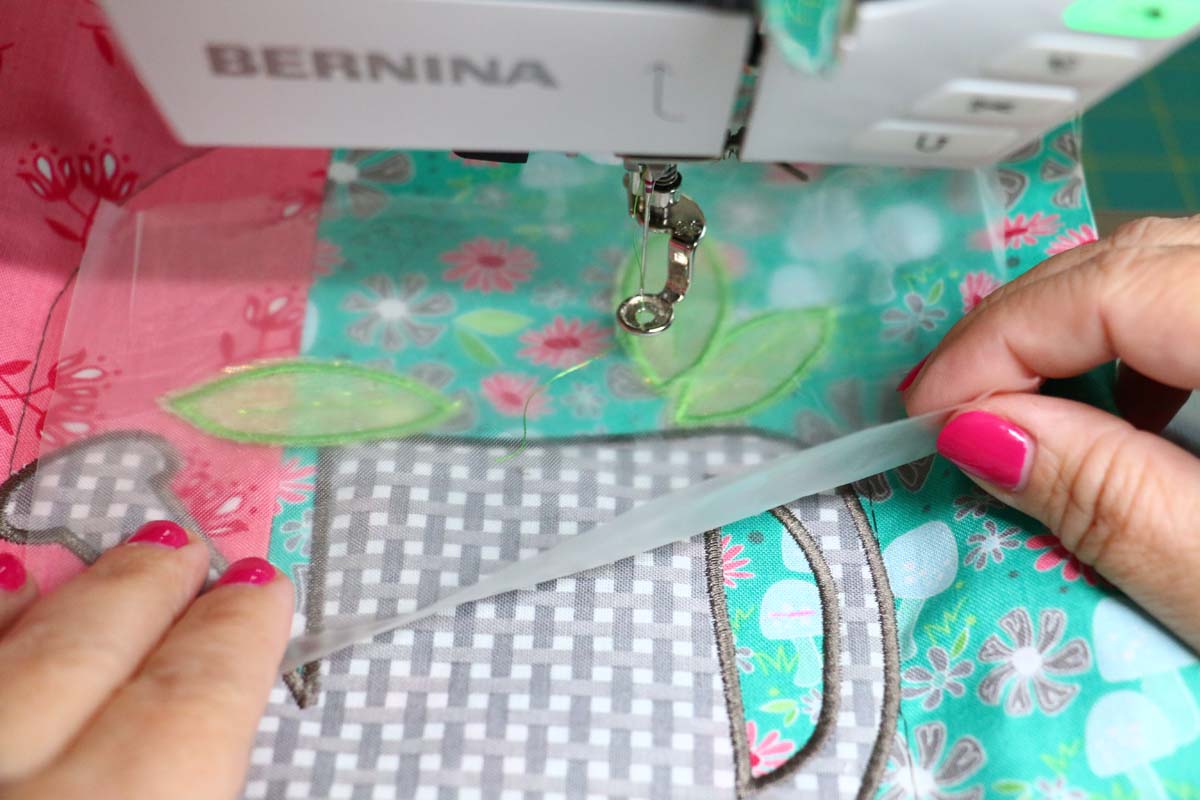
Place a piece of clear wash away stabilizer over the leaves. This will keep them flat and not get caught under the presser foot while adding the layers of flowers.
Step 8, Adding the Flowers
The next set of stitches are the flower center placement stitches. I used green for this.

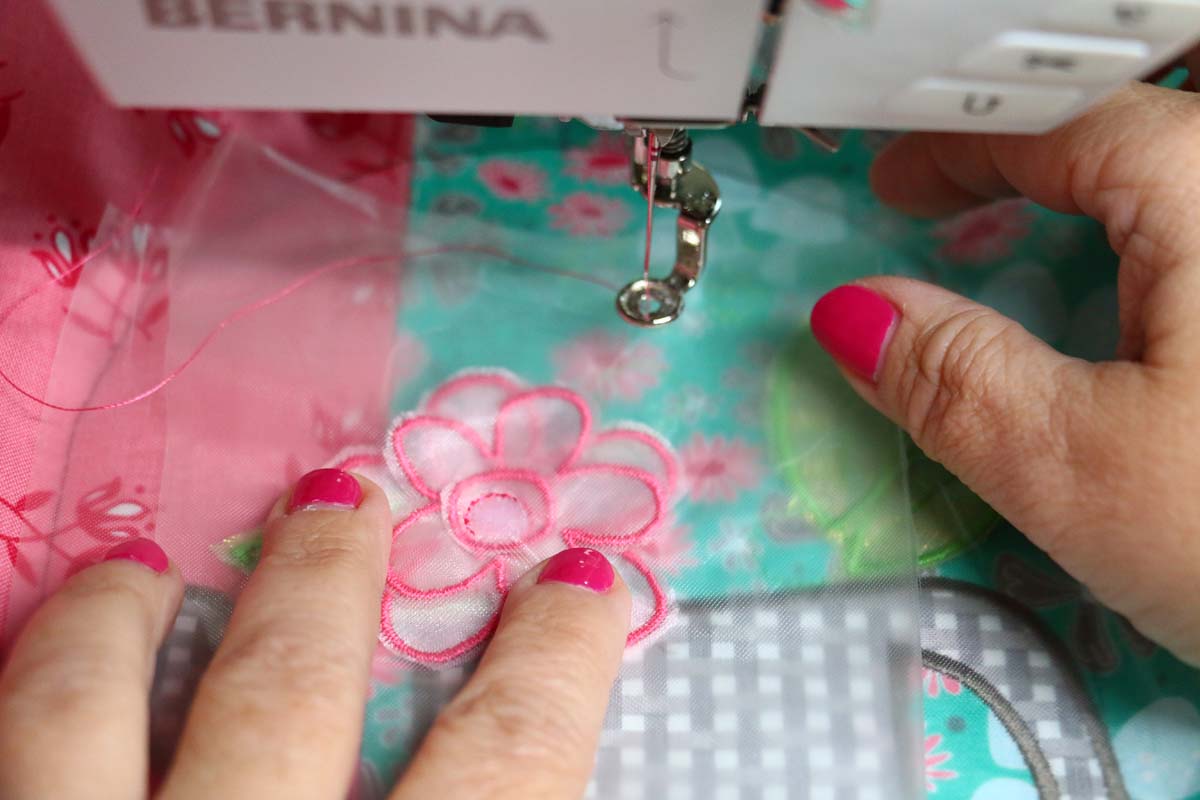
Change thread to pink. The first flower to be attached is the left flower, Pink. There are three parts to each flower: bottom flower, middle flower, top. Fill in the position stitch circle with glue.

Place the bottom flower and finger press, place a small circle of glue in the center of the bottom flower.
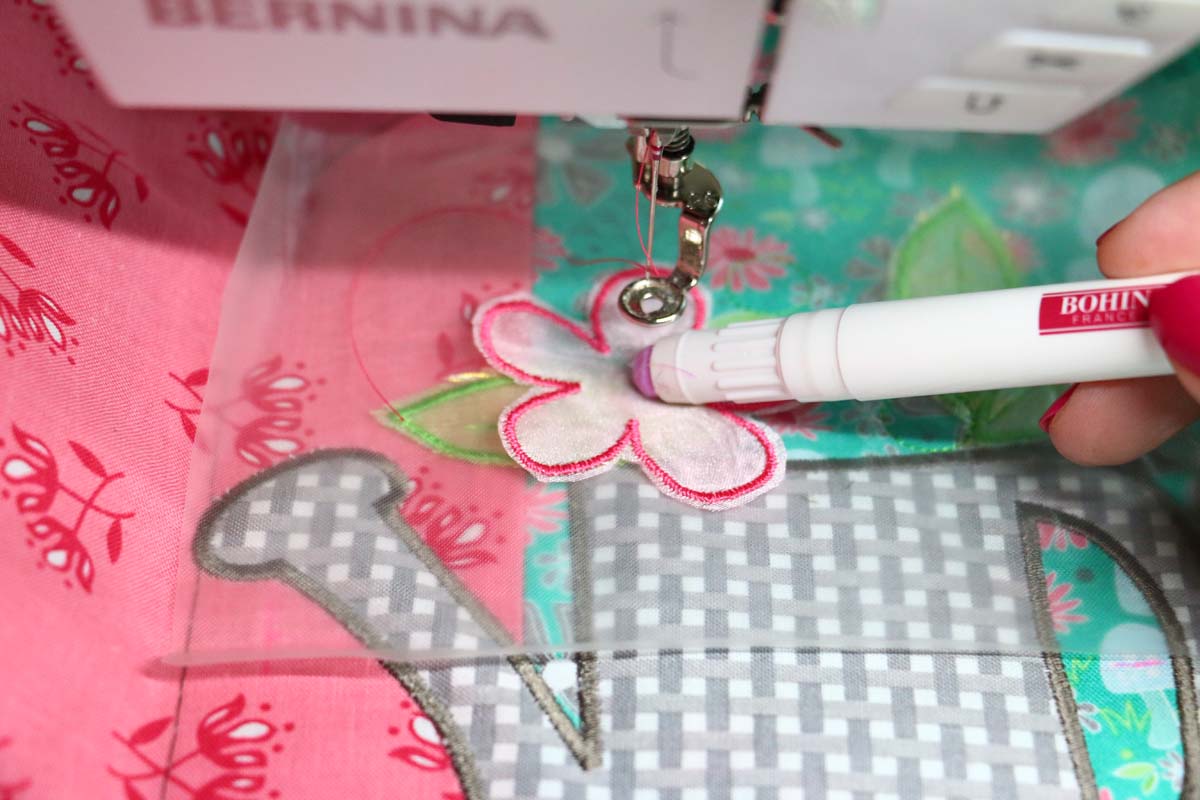
Place the middle flower over the bottom. Have fun with the angling. Finger press to secure in place.
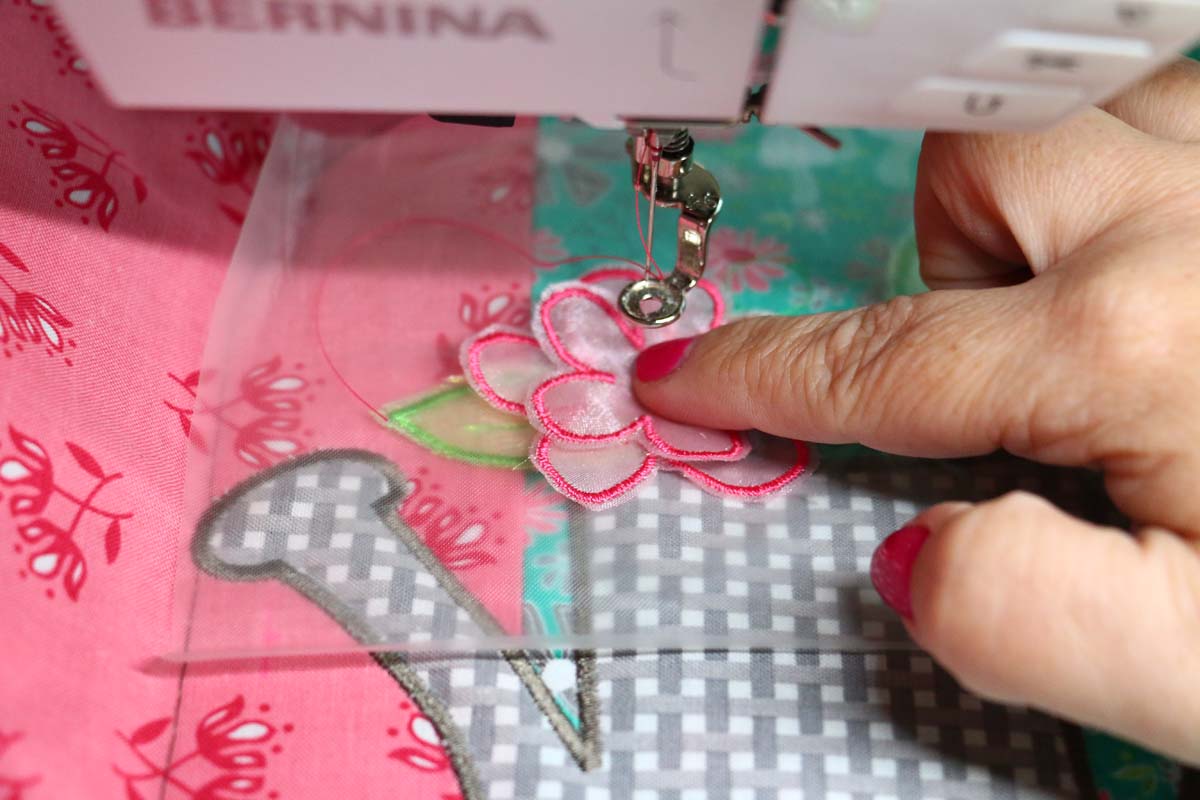
Now, place a small circle of glue over the middle flower. Place the top flower directly over and finger press in place.
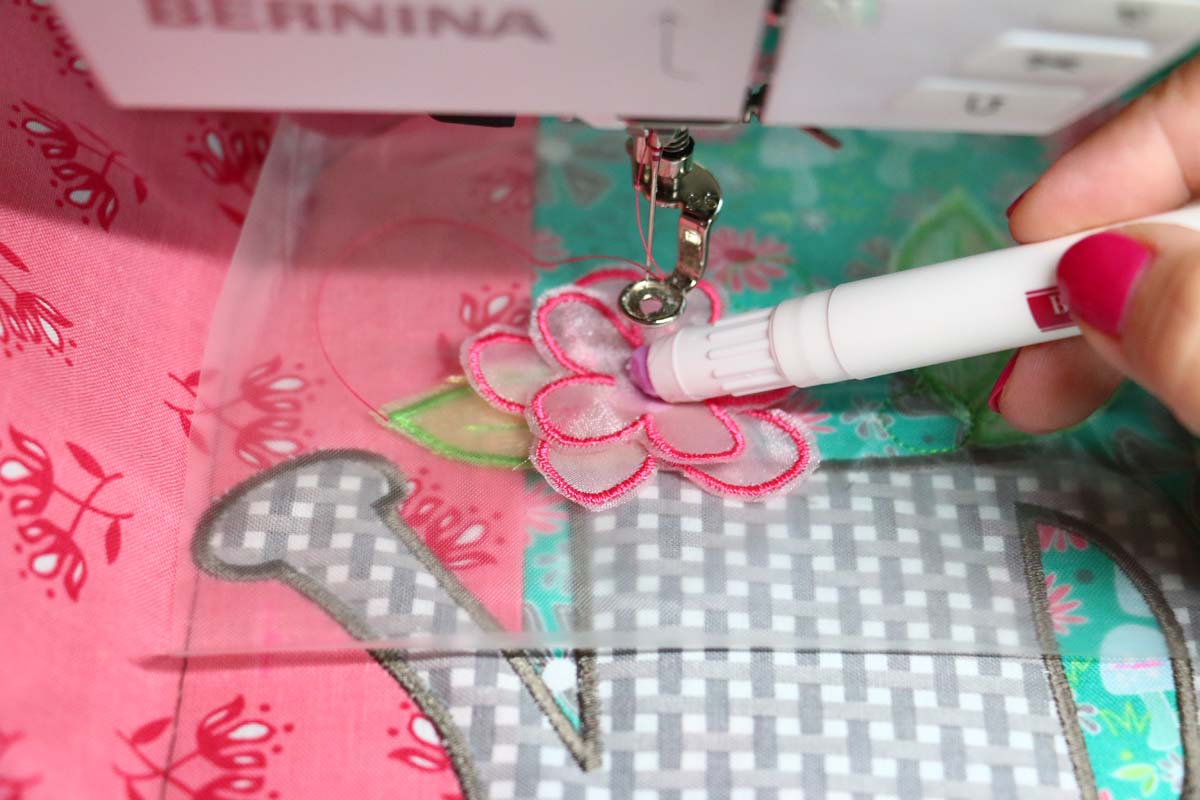
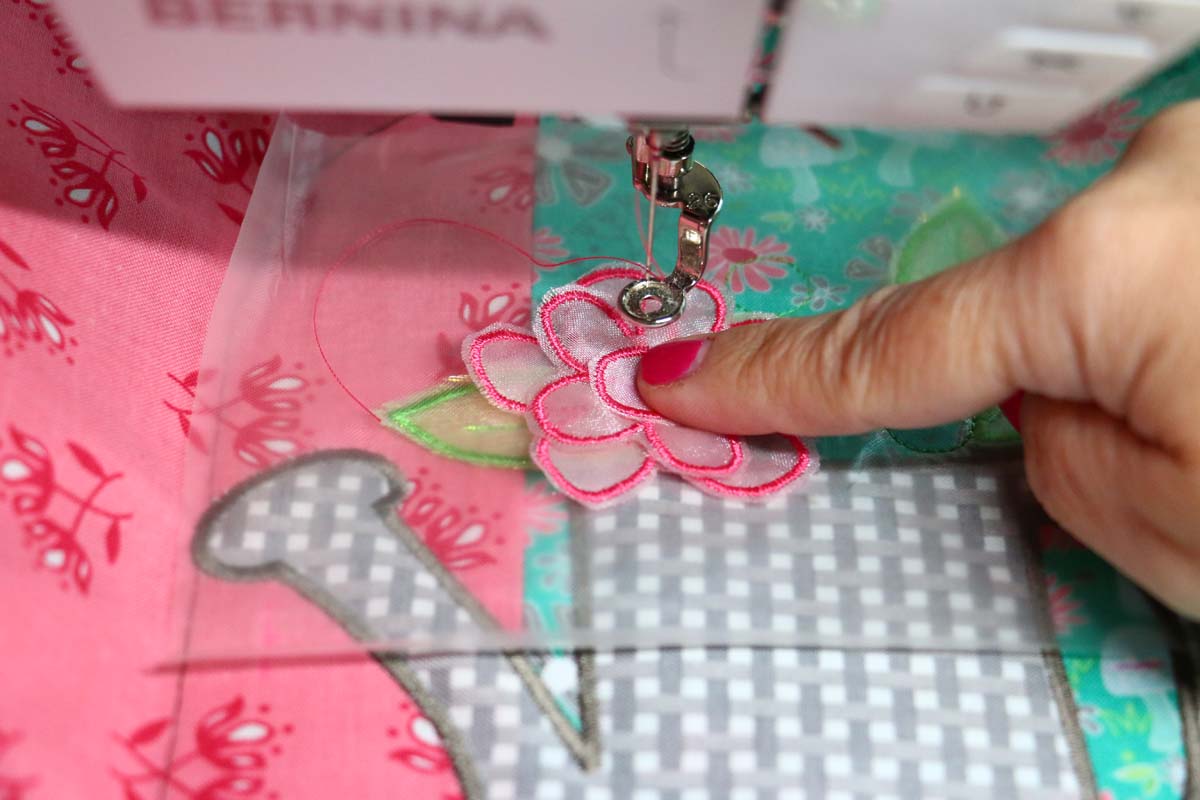
Finally, place a piece of clear wash away stabilizer over the top of the flower. This will prevent the presser foot from getting caught in the flower. Sew the next stitch sequence, the first flower secure stitch.
Remove the wash away stabilizer, but don’t discard.
Fold the first flower to the left side of the hoop. This will fold the flower in half. Use the wash away stabilizer to hold the flower in place and out of the way.

Change thread to blue. Attach the center (Blue) flower, following the same steps as the Pink flower.
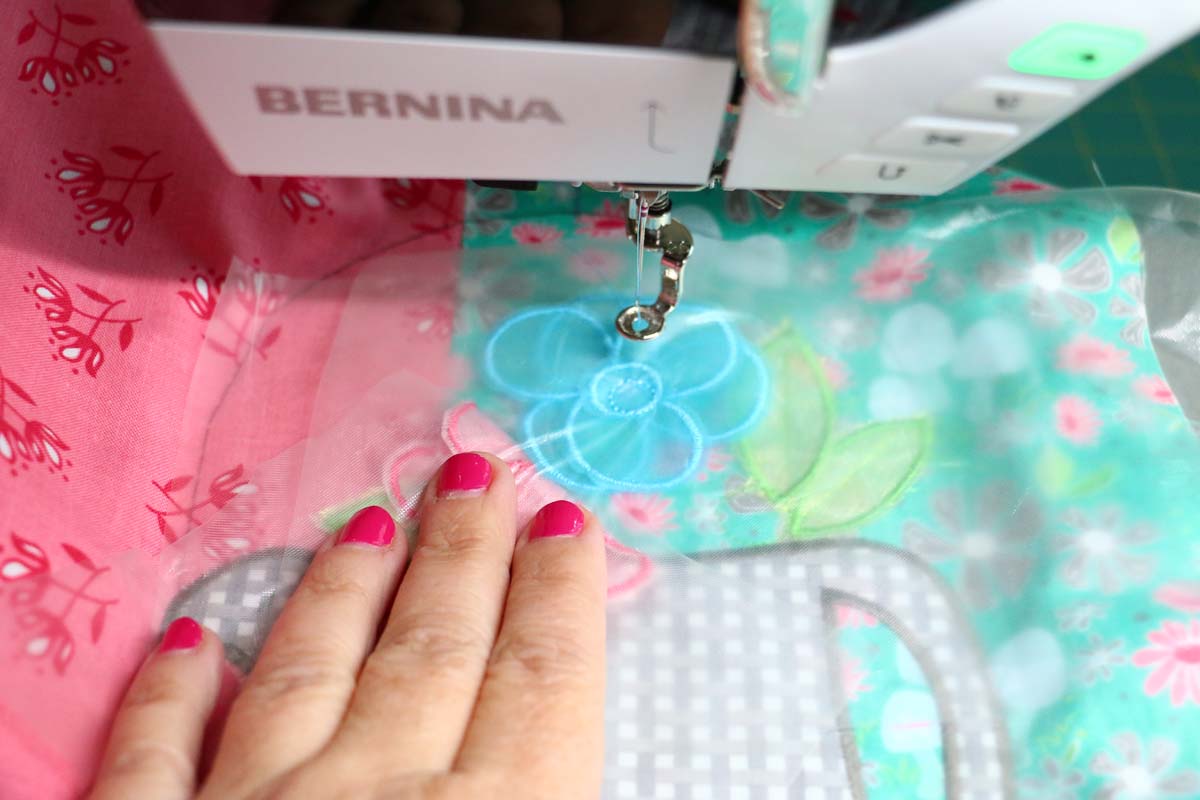
Add the last set of flowers, change thread to yellow. The last set of flowers is Yellow. Attach by following the same steps.

Remove hoop from machine and all the wash away stabilizer. Turn hoop to wrong side and remove basting stitching. Cut away the sheer stabilizer leaving about 1/2″ of stabilizer around the outside of the stitching.
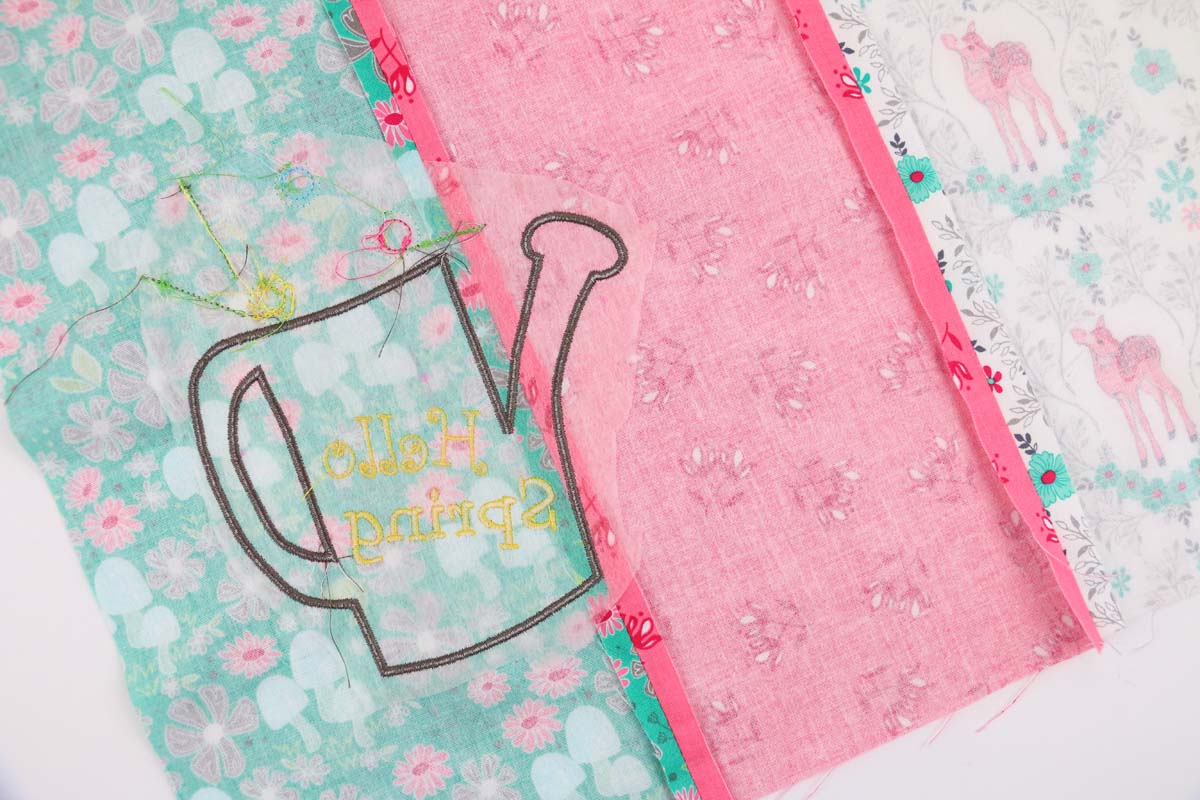
Press the watering can to secure the fusible web to the pillow front. Note: Be sure to keep the iron away from the organza if it is at a cotton setting.

Step 9, Attaching the invisible zipper
Optional: If you want to serge the raw edges of the pillow front and back, now is the time to do so. A basic zig-zag stitch will also prevent unraveling.
Set up machine for sewing. Use presser foot 35, the invisible zipper foot. Use sewing thread in top and bobbin with universal 80/12 needle. Remove the zipper from packaging. Follow instructions which come with packaging.
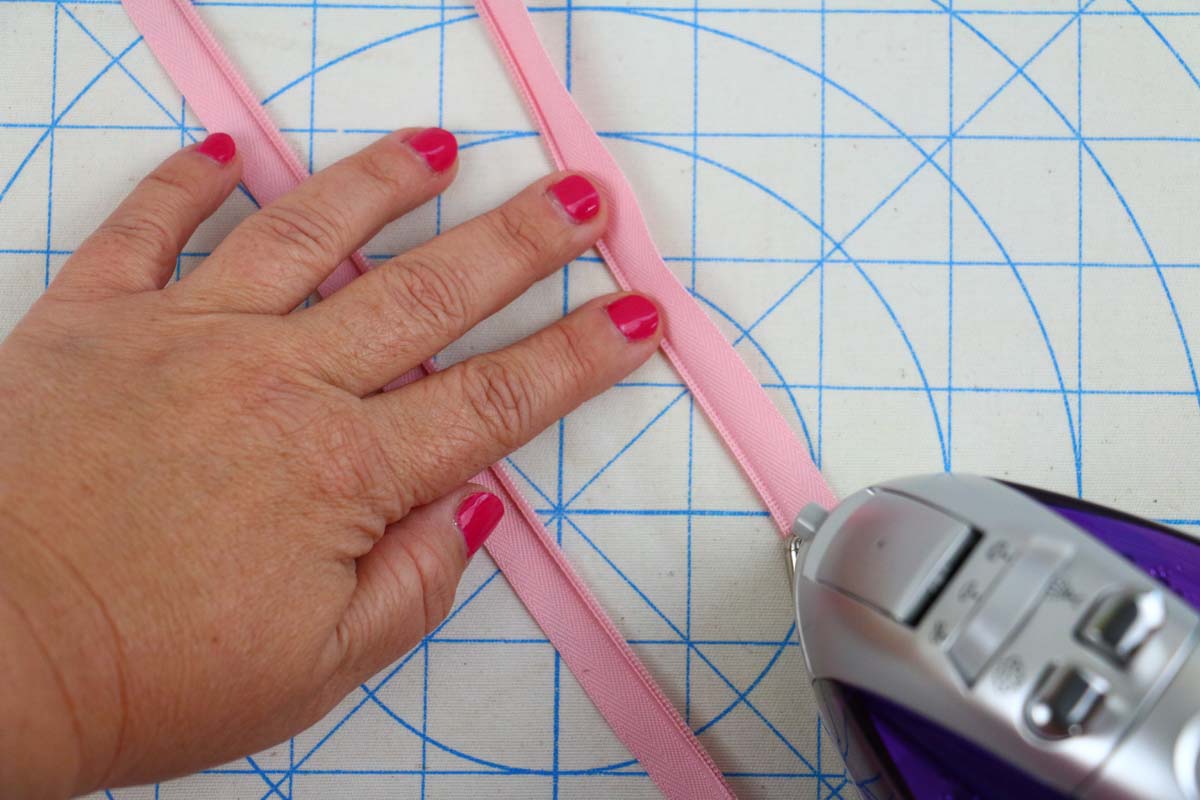
Turn zipper to the wrong side. Adjust iron temperature to zipper setting so the coils do not melt.
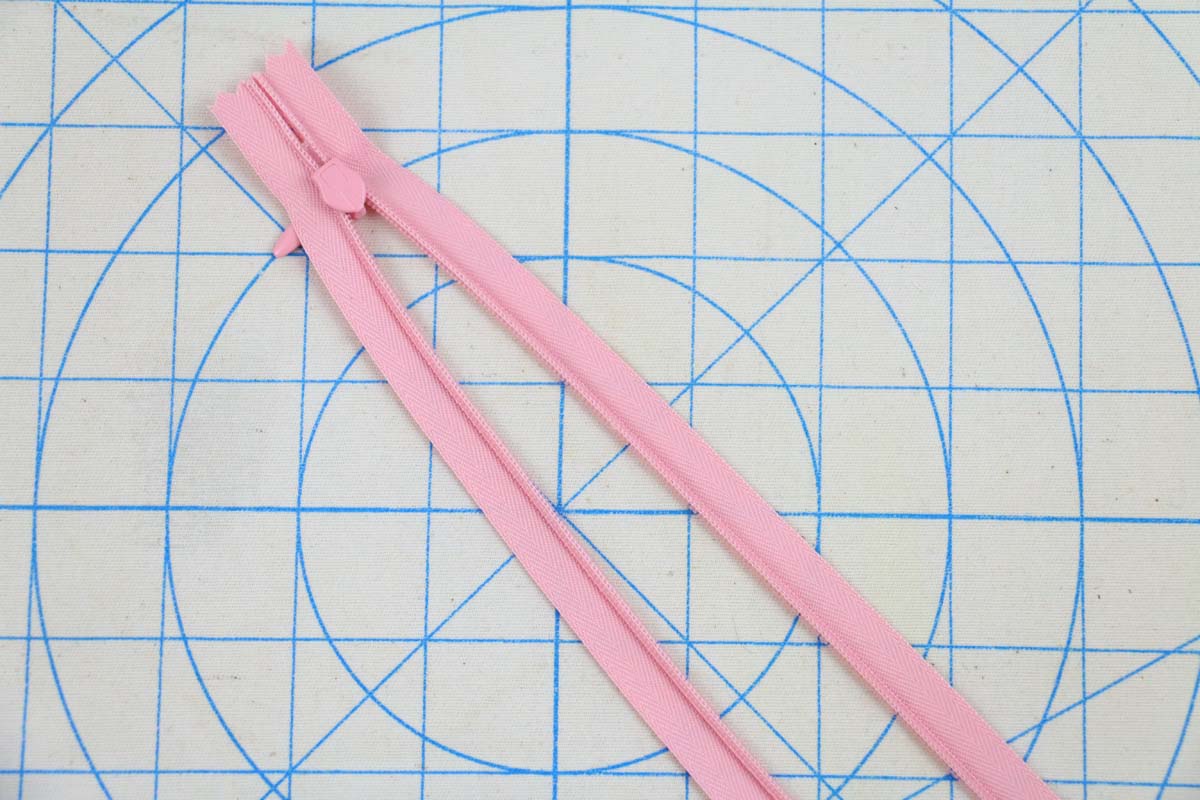
Press the invisible zipper coils open. This will help insertion easier.
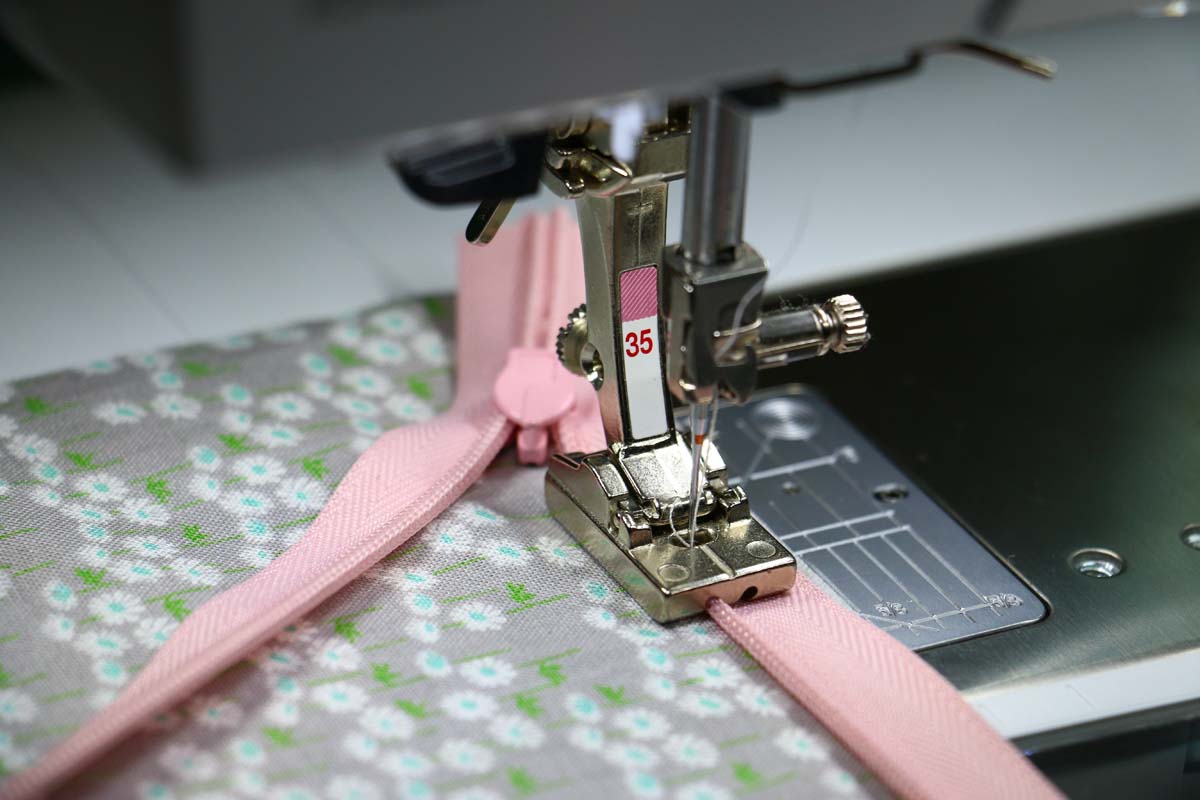
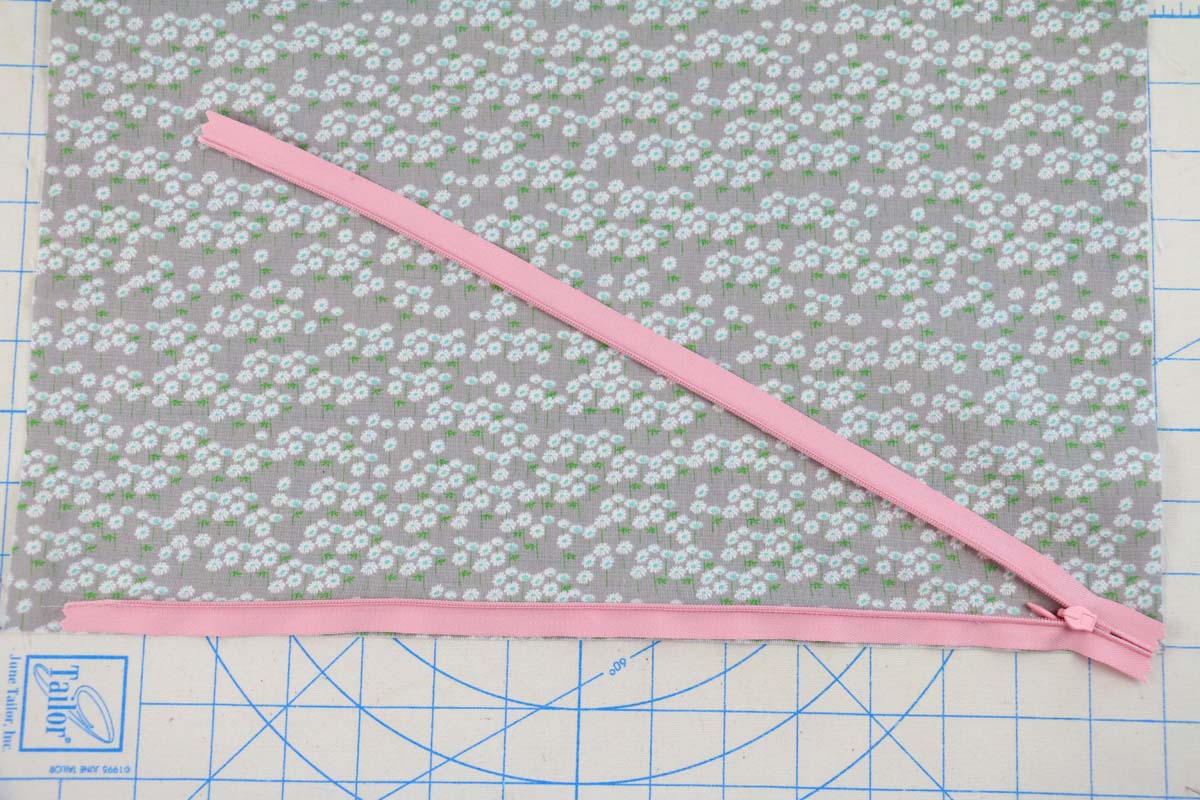
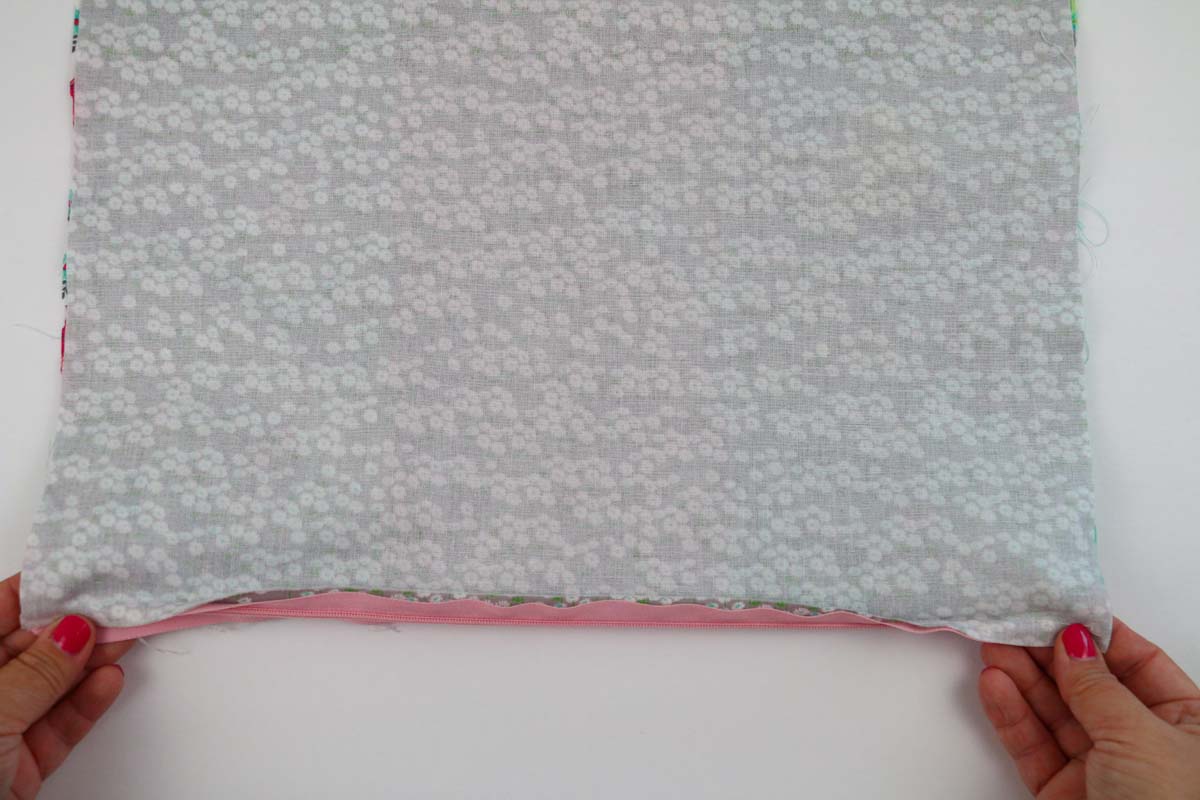
Place the zipper right sides together, along the lower edge of the pillow back and center within width of pillow bottom. Pin in place. Slip zipper coil under the left zipper grove on the invisible foot. This will keep the zipper coil in place and allow the needle to stitch right next to the zipper coil. Continue stitching until the end of the zipper. Remove pins as you stitch along. Note: It’s never a good idea to stitch over pins, it can weaken stitches, break pins and needles and do potential damage to your machine.
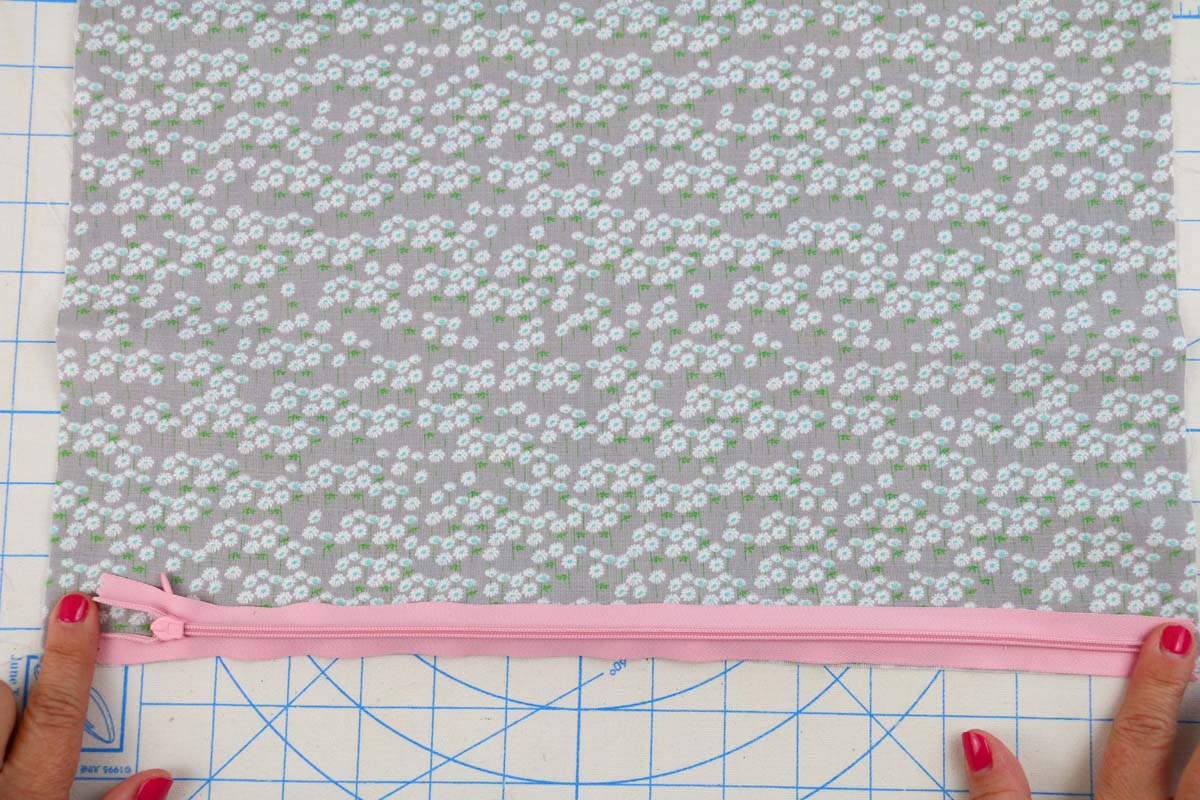
When the first side of the zipper is attached, close the zipper.
Place the pillow front over the pillow back. Pull back the zipper to expose the unsew side. Align the pillow front and pin in place.
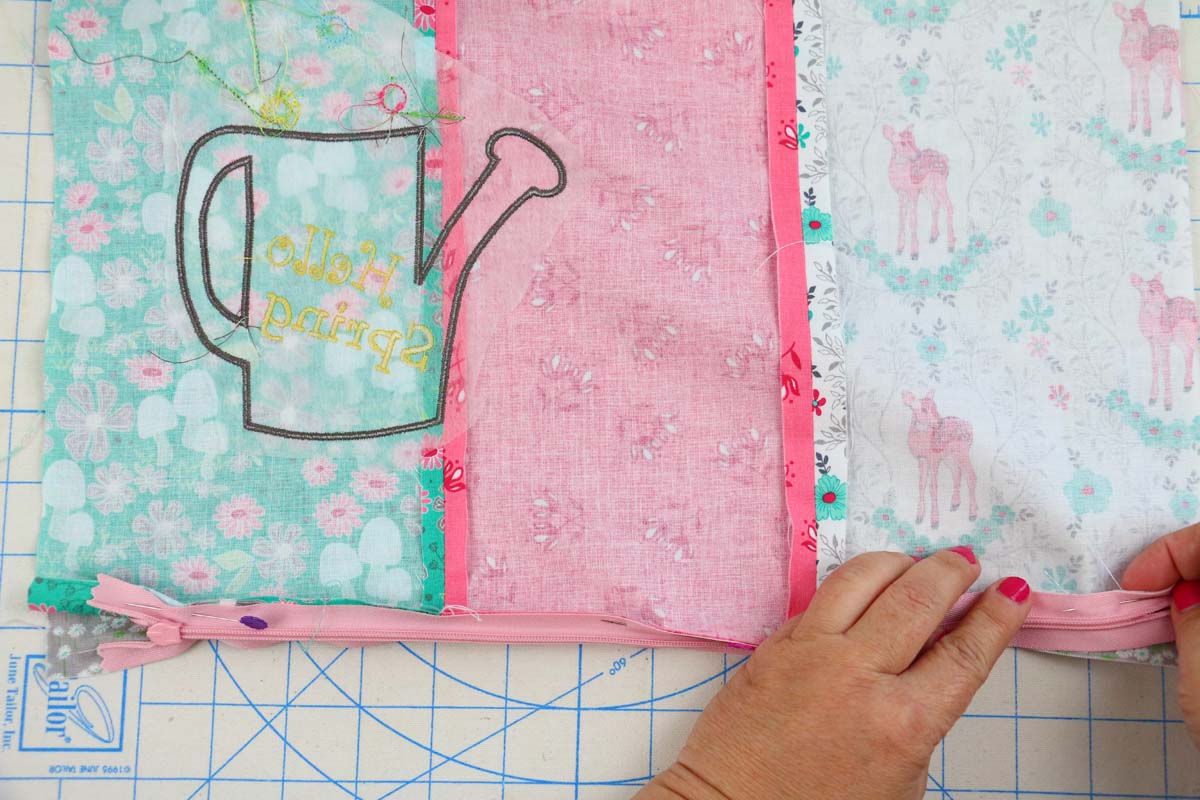
Use the invisible zipper foot for the other side of the zipper.


Step 10, Final construction
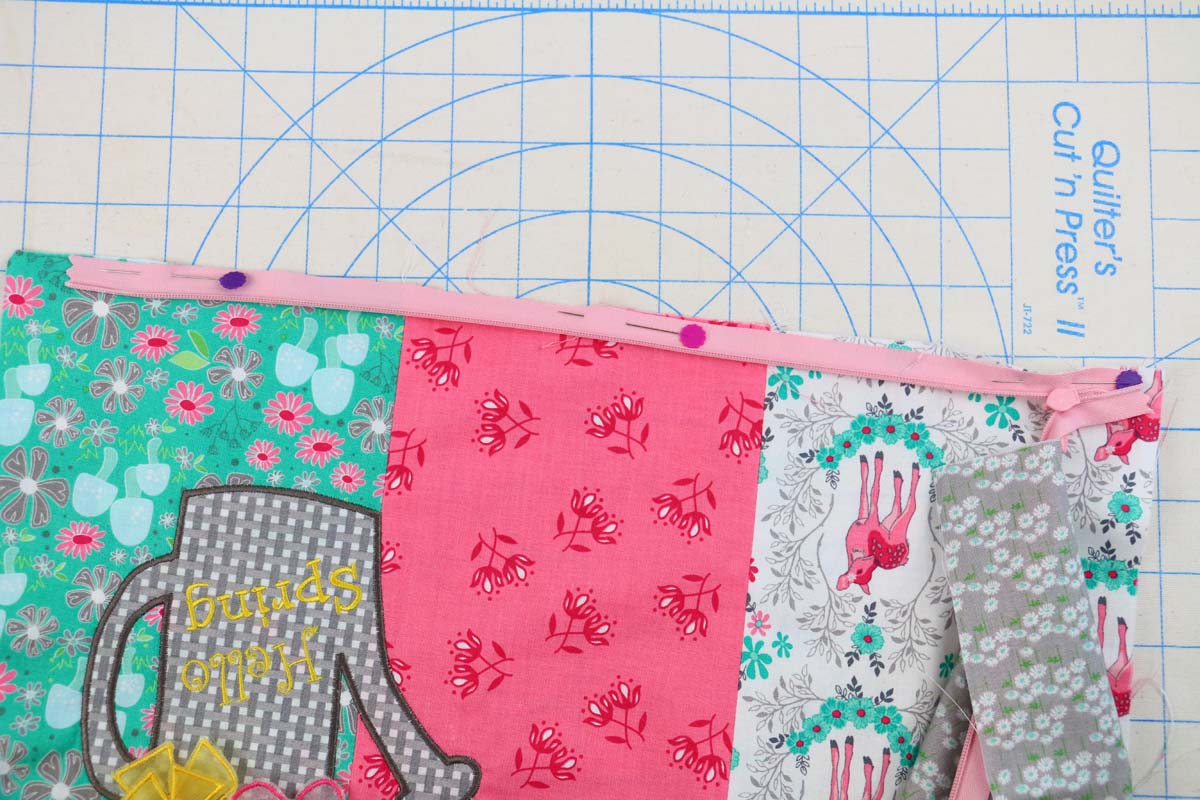
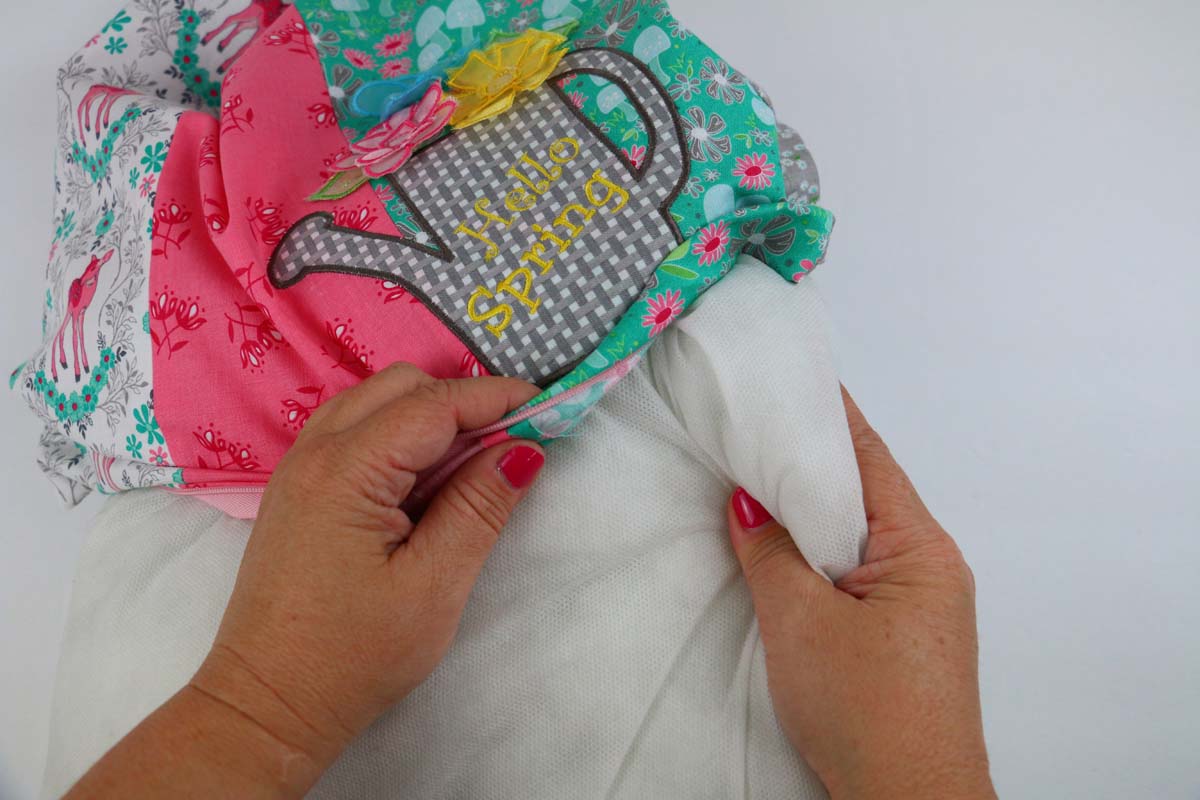
Place pillow front and back right sides together. Close zipper 2/3 of the way, this way you can open zipper (and turn the pillow right sides out). The distance from the pillow sides to the zipper insertion ends, need to be stitched first. You can use the invisible zipper foot for this (see picture below where my fingers are).
Sew the sides and top of pillow.

Turn pillow right sides out and use a point turner on the corners. Press. Insert pillow form. Decorate and welcome spring with your new Hello Spring Embroidered Pillow!
Now that I’m finished with mine, it’s your turn to make your very own Hello Spring Embroidered Pillow! Have fun selecting the colors, prints, change the location of the watering can and even use a completely different size pillow form! I can’t wait to see your version of the Hello Spring Embroidered Pillow!

Used Products


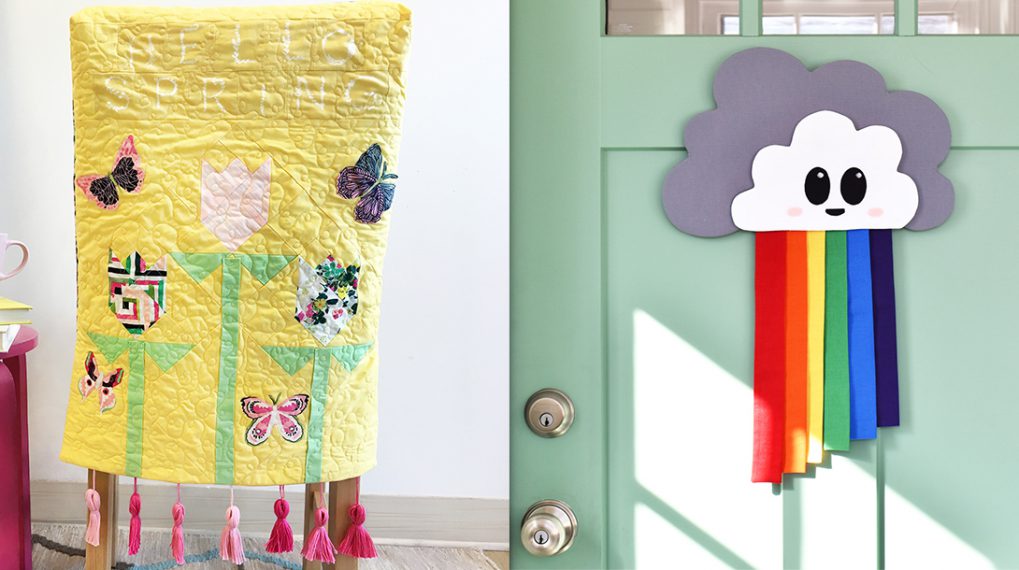
What you might also like


16 comments on “Hello Spring Embroidered Pillow”
-
-
How kind 🙂 Thanks so much. I did have a great time writing this project!
-
Where can I get the watering can applique pattern?
-
-
-
I really like this design. It makes me happy to look at it. Thanks Sue for the happy design.
-
That is the goal! It is my pleasure ~ Sue
-
-
How do I download this pattern? I don’t see anywhere to do it
-
It’s a little hidden – Scroll to the top of the page, under the top two photos. It’s just under the Materials list…at the bottom ~ Sue
-
I found the designs file to download. BUT there is no instruction file. I can’t find a printer friendly file either. To copy and paste the instructions would take me forever.
-
-
-
I love Sue’s designs. Another adorable project.
-
Thanks so much, glad to hear you love them 🙂
-
-
Wow! This is great. I could make this for every season and every holiday. Just swap out the covers.
Such detailed directions. You really walked me through each step on my Bernina. Thanks, Sue!-
What a great idea, using this for other seasons. I can totally see that now! Thanks for sharing! Sue
-
-
Really cute pillow and design, Sue!!
-
Thanks so much!!
-
-
Hi Sue, Love this pillow!! It is just awesome! Your instructions and detailed pictures with each step in the process is phenomenal as always!! This design would be fantastic on an apron, tote, or towel too.Love the 3D flower!! It would be so cute just by itself on a little girl’s dress, straw hat, or for that matter on anything!! One could even add stems out of ric rac or other materials to the 3D flowers by themselves. Thanks Sue!!
Gail-
Gail you always say the kindest things to me 🙂 I love how you think beyond the design coming up with your own clever ideas!!
Sue
-
Leave a Reply
You must be logged in to post a comment.

As always, anything Sue comes up with is fun to sew, she provides easy instructions and videos, and it is always useful information. Thank you Sue.