Deer Quilt Sew-Along with LUKE Haynes – Week One
Hi everyone!
Let’s make a project.
I want to share with you a little of how I make my projects, so I am going to walk you through it a step at a time.

Let’s get started! LUKE
Deer Quilt Sew-Along
Week ONE: Choose fabric and make paper deer head template.
Step 1) Download and print the pattern pages.
Download and print all the template pages.
Deer_Quilt_-_Week_One_-_Deer_Head_Template_121914.pdf
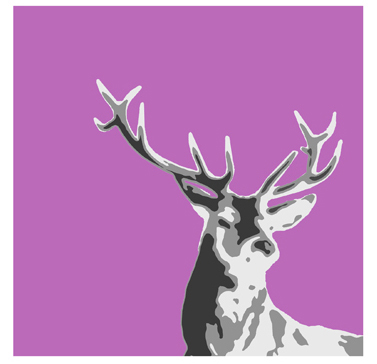
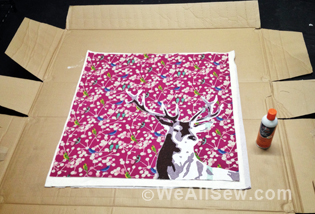
You’ll need those pages in a moment, but for now let’s just focus on the image of the deer.
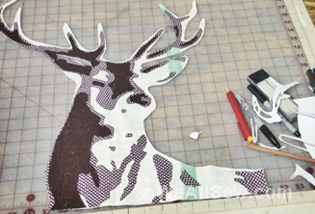
I have done the work to show you how to find the edges of the shading and the size layout, etc. We are making a 30” square quilt of the image you see below.
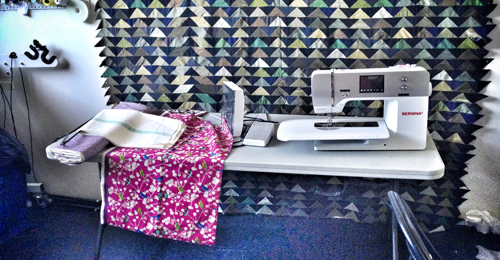
Step 2) Gather your fabrics.
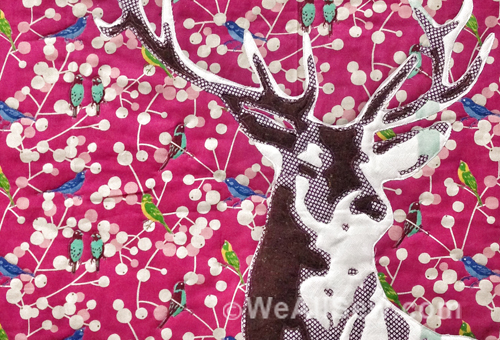
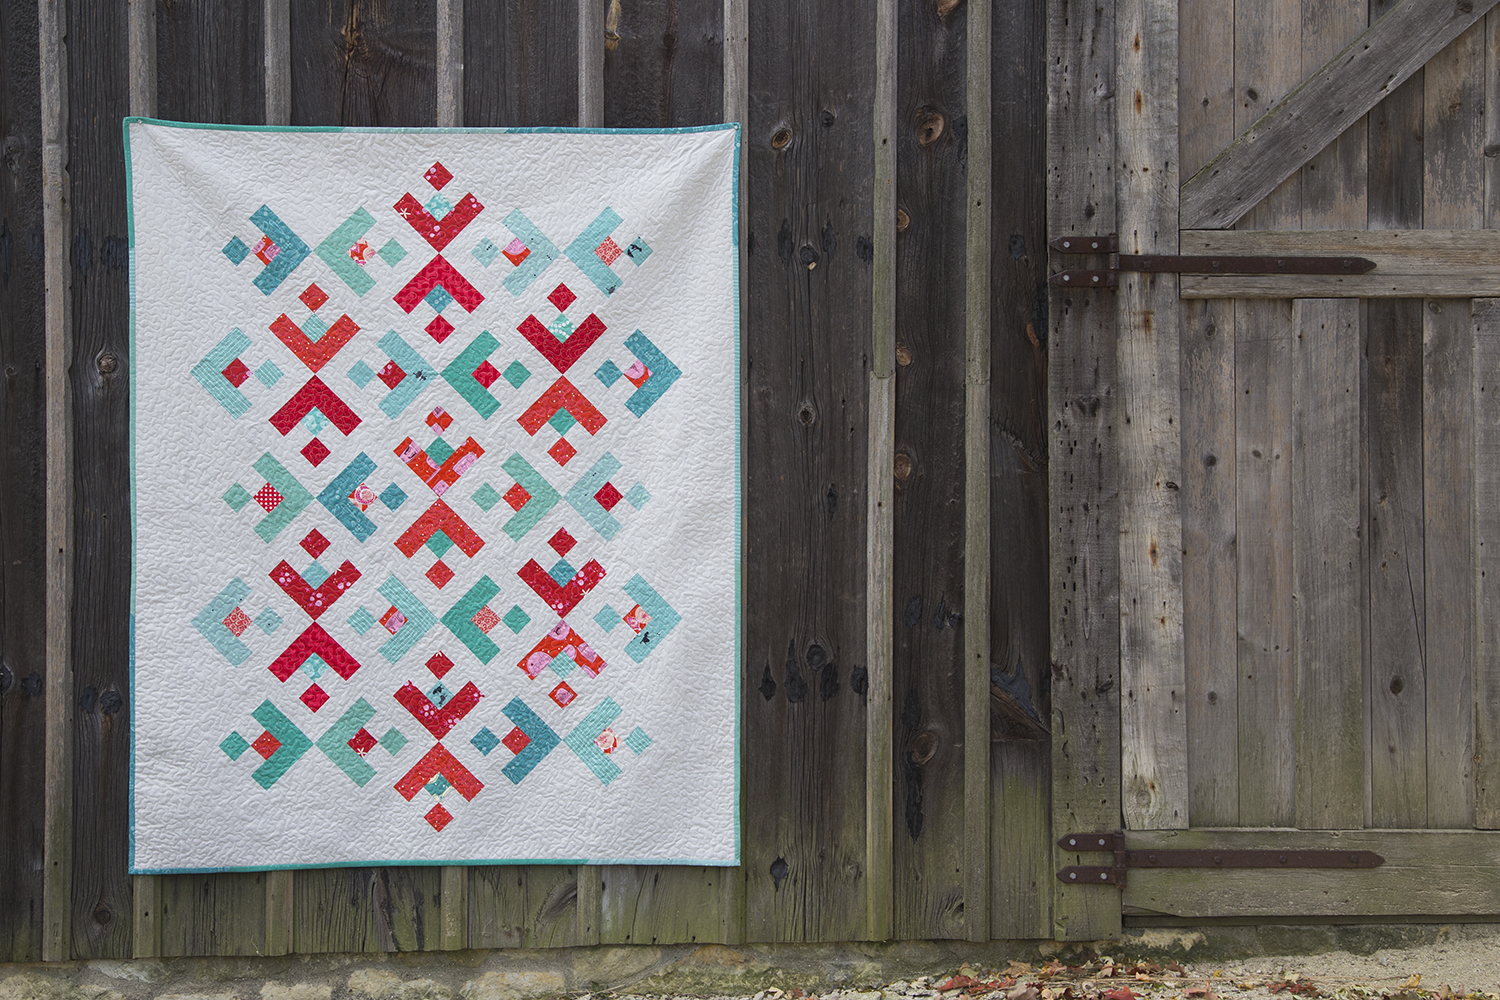
The first thing to do is find the fabric. I have chosen some lovely Kokka fabrics to work with because I love their designs.
What you will need:
- Background fabric. (Something not too distracting, but you can lay the figure on it later to make sure you have chosen it right.)
- 3 fabrics to make the deer:
- One light. You’ll need around a 20” square of this. You can use a fat quarter if you don’t mind adding a little of the scrap to the edge.
- One middle. You can use a quarter yard here, but will likely use less.
- One dark. You won’t need much here; dig through your scraps to find something. You can get a quarter yard if you are worried.
Tip: Be careful about choosing a fabric with too much pattern. It will be hard to read the image once the quilt is finished.
Lay these out and squint at them to make sure one isn’t too close to another, so once it is all put together it will read correctly. I have done this SOooo poorly in the past. I caution you to just try really easy fabrics for this till you get the hang of it. Maybe white, gray, and black fabric. Don’t forget: There’s nothing wrong with making two or three of any project till you feel it is right.
Step 3) Construct the template.
Once you have chosen the fabrics, you will need to make your template.
Take all the printed paper templates you printed out and trim down to lines.
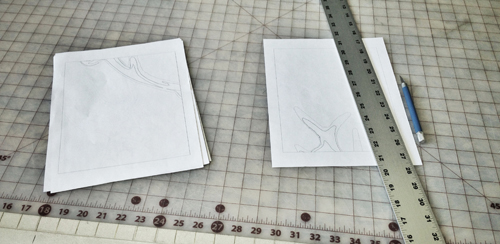
I tend to cut them all out at once, but you have to be really careful to line them up well.
Once you have all the pieces cut, tape them together with clear tape.
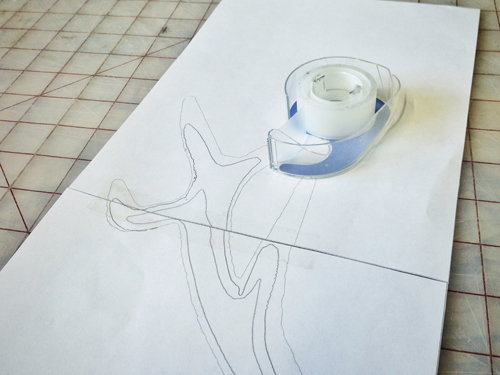
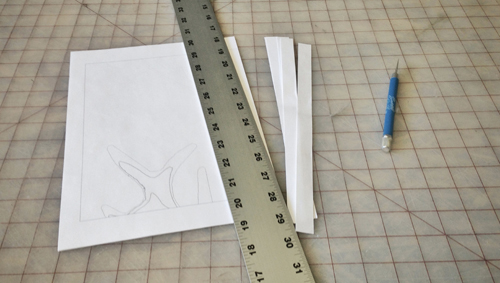
It may take a moment to get them all lined up right. Refer to the overall image to help you if you get stuck.

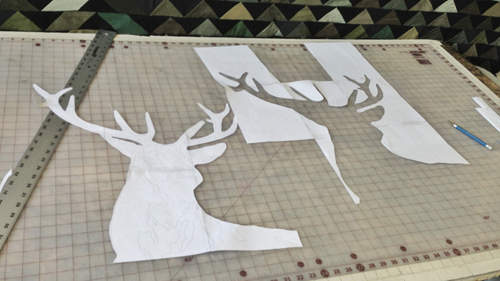
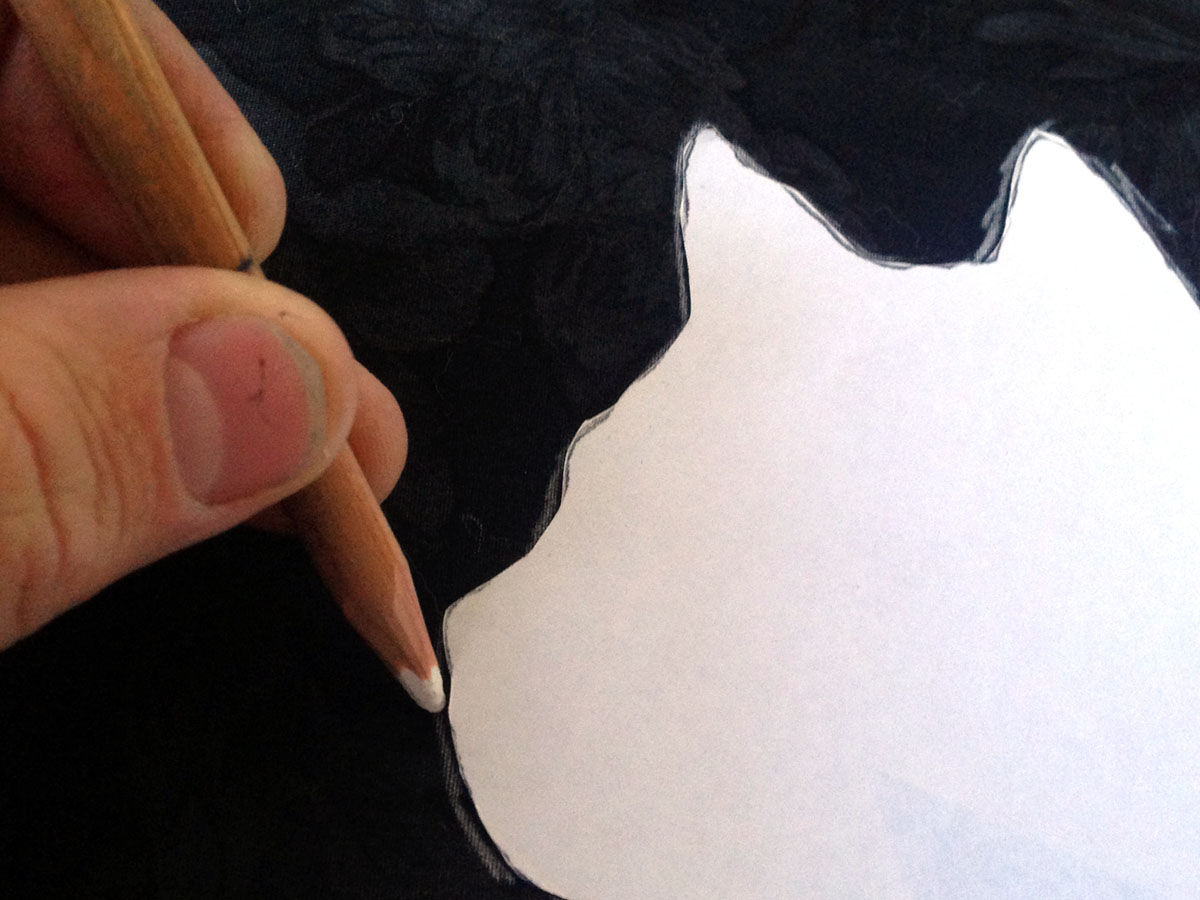
Now cut out the figure. I use an X-Acto knife, but you can use scissors or any way you feel comfortable cutting the paper.

Now we have a template and the fabric all ready for the next time, when I will show you how to make the deer head.
Thanks! Let me know if you have any trouble at all!
LUKE
See you next week, Monday, September 30, as we continue our Deer Quilt Sew-Along.


What you might also like


8 comments on “Deer Quilt Sew-Along with LUKE Haynes – Week One”
-
-
How is it coming along!?
-
-
OMG So excited. I can’t wait to catch up!
-
Pingback: WeAllSew « https://weallsew.com
-
Pingback: WeAllSew « https://weallsew.com
-
Pingback: WeAllSew « https://weallsew.com
Leave a Reply
You must be logged in to post a comment.

I think I’m too excited about this. Someone calm me down. Also, how am I supposed to wait a whole week for step 2? I guess it gives me time to overthink my fabric choices.