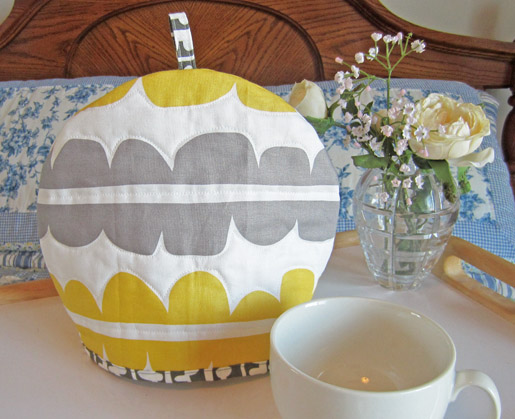
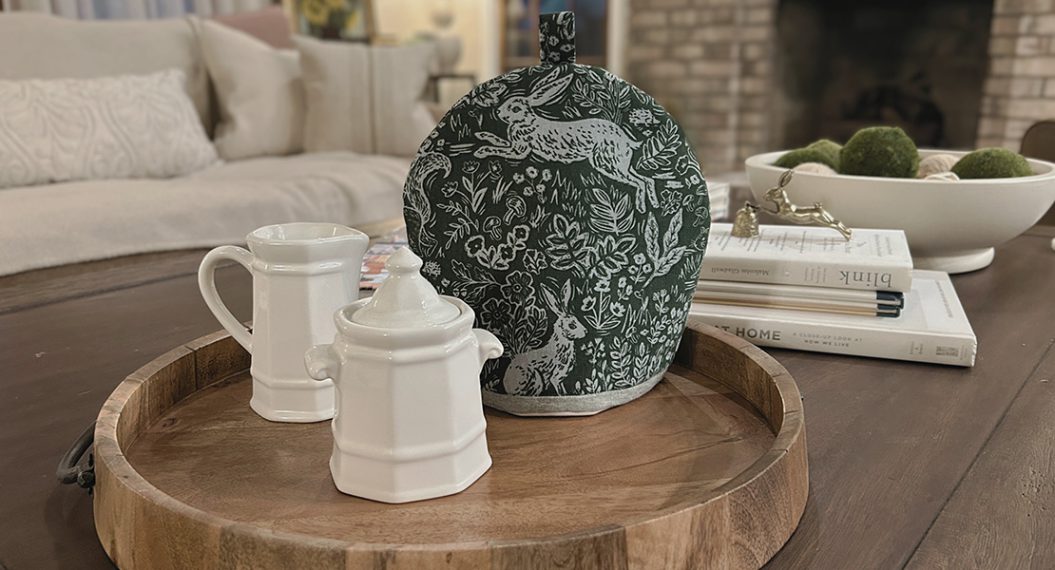
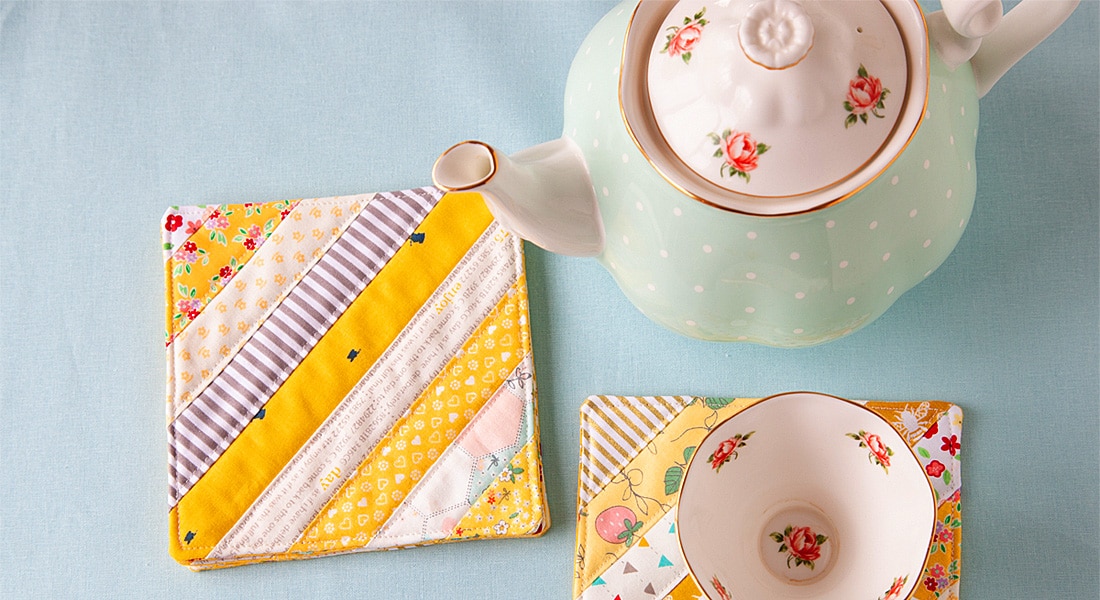
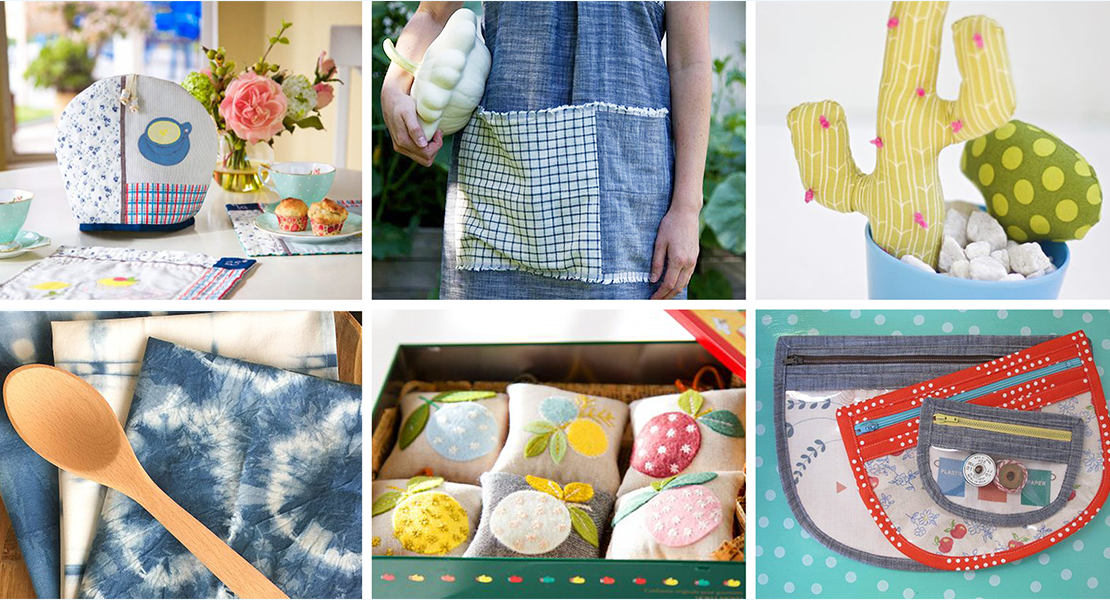
DIY Tea Cozy
Make your next tea time extra special with this contemporary version of a traditional cozy. If you start sewing early afternoon, you’ll have one ready in time for tea.
You’ll want to stitch up more than one. After all, it makes a thoughtful gift for a special friend or a perfect housewarming present.
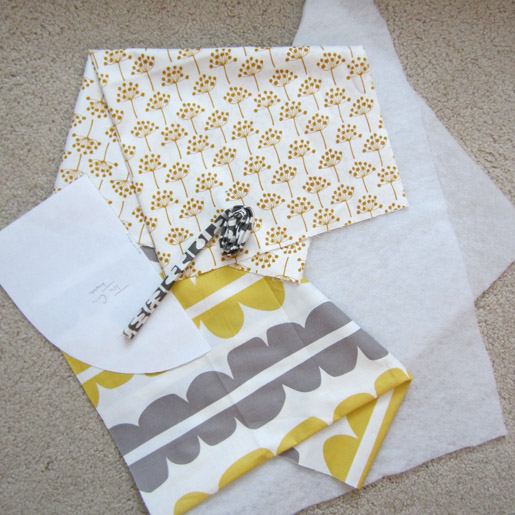
Supplies
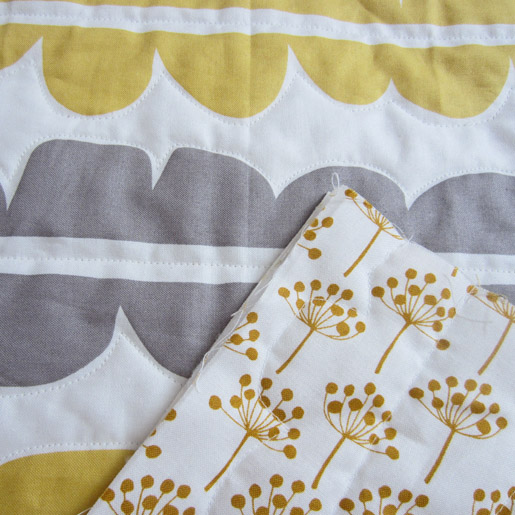
- 1 fat quarter (18ʺ x 22ʺ) of fabric for the exterior
- 1 fat quarter (18ʺ x 22ʺ) of fabric for the lining
- 18ʺ x 22ʺ rectangle of batting
- 1 package of ½ʺ-wide double-fold bias tape (or enough fabric to make 1 yard of 2ʺ-wide bias strips)
- Matching thread
- Fabric basting spray (optional)
- BERNINA Stitch Regulator (optional) or your favorite free-motion presser foot (BERNINA Freehand Quilting Foot #29 or Echo-Quilting and Cutwork Foot #44C)
- Quarter-inch foot (BERNINA Patchwork Foot #37/37D)
Download and print the tea cozy pattern: Tea_Cozy_pattern.pdf
Step 1) Make the quilted fabric.
Make a “fabric sandwich.” Place the lining material wrong side up on a flat surface, lay the batting on top of it, and then place the exterior fabric on top of it all, right side up.
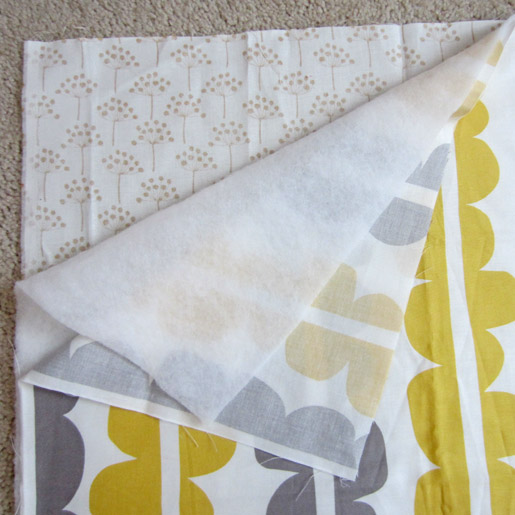
Pin the layers together or temporarily bond layers together with fabric basting spray.
Quilt the layers together. This can be done by sewing parallel lines 1ʺ apart, making a grid pattern of diagonal lines spaced 1ʺ apart, or by sewing freeform patterns/ designs using the BERNINA Stitch Regulator or your favorite free-motion presser foot
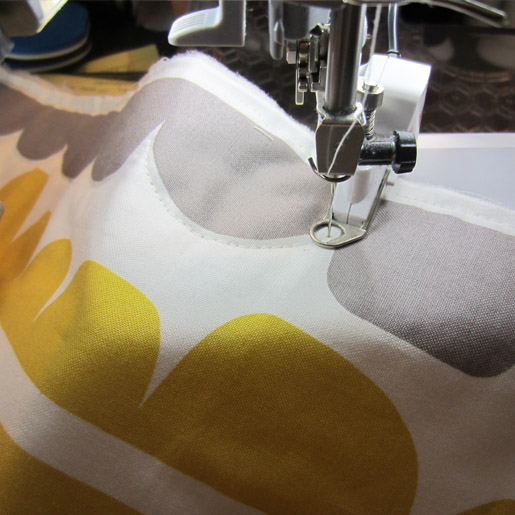
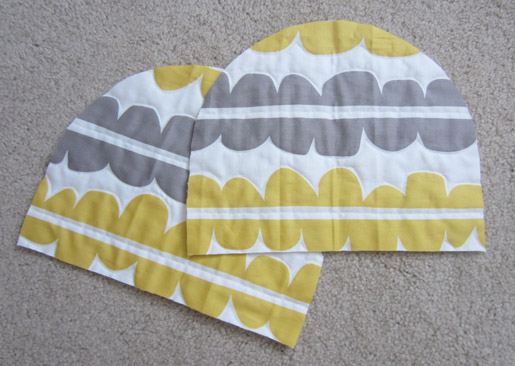
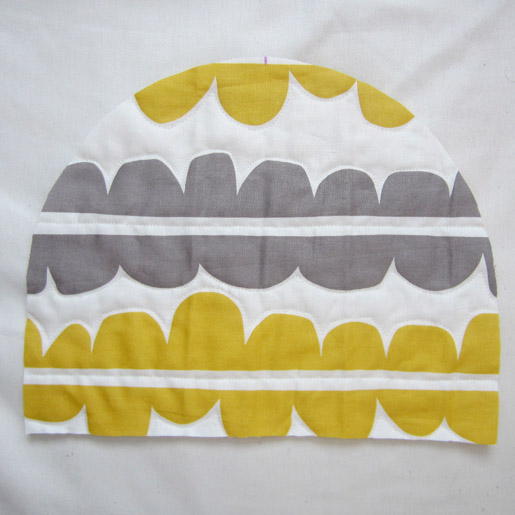
Using the Tea Cozy template, cut two pieces from the quilted fabric.
Step 2) Make the loop.
Cut a 4ʺ-long piece of bias binding.
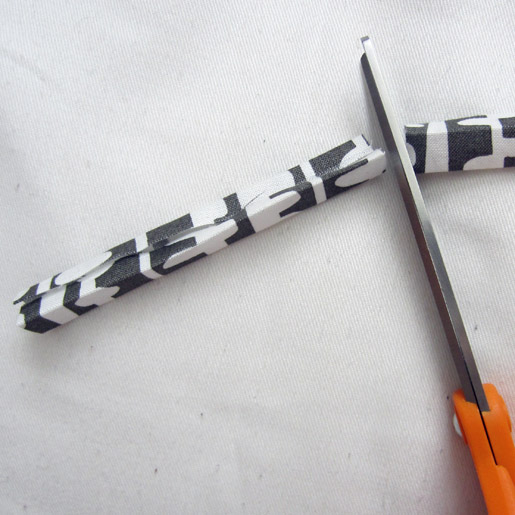
Edgestitch close to each long folded edge; this will become the loop at the top of the tea cozy.
Mark the center of one of the tea cozy pieces.
Fold the 4ʺ-long strip of bias in half and place it on the center mark.
Baste in place.

Step 3) Construct the cozy.
Place the two tea cozy pieces right sides together, matching raw edges; pin.
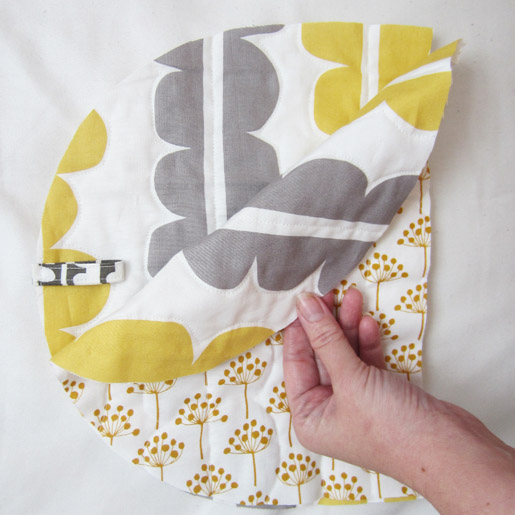
Sew together using a ¼ʺ-wide seam allowance.
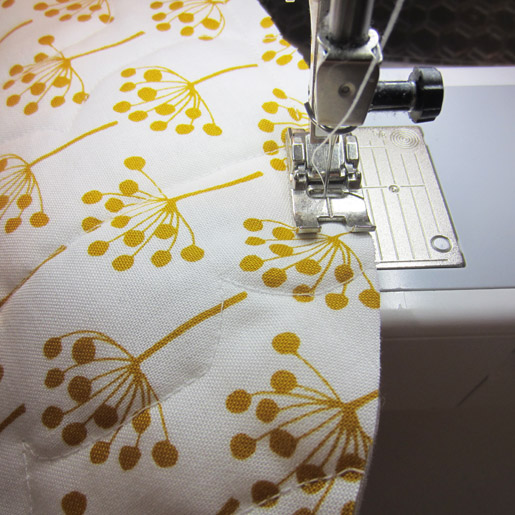
Bind the lower edge of the tea cozy with bias tape following the manufacturer’s directions (or your preferred method of binding).


2 comments on “DIY Tea Cozy”
This is my next ‘quick’ project! It is adorable 🙂