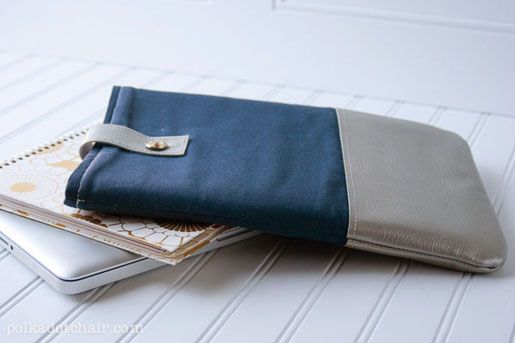
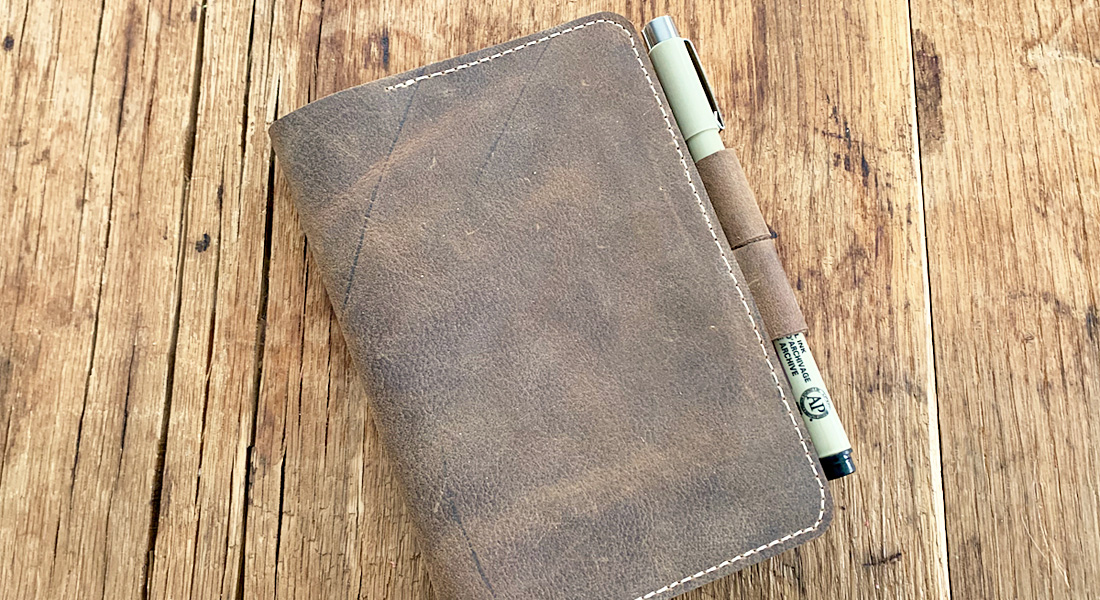
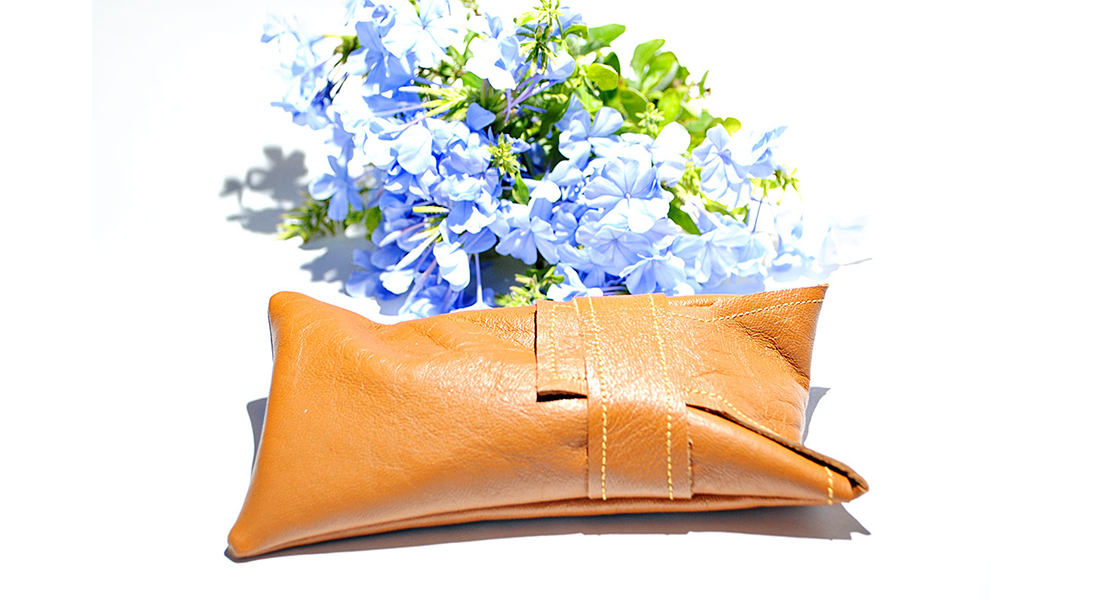
How to Make a Leather-Trimmed Laptop Case
When your laptop is your data center, you want to be sure it gets the protection it deserves. But style is not an option—it’s a necessity! With its clean lines and distinctive textures, this chic, leather-trimmed case turns your laptop into a fashion accessory.
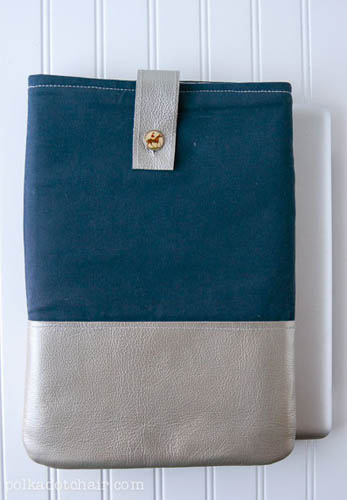
This laptop case will fit a 13” Mac Book Pro snugly. If you want a looser fit increase all measurements by 1/2”.
Supplies
- 1/2 yard of colored canvas or duck cloth
- 1/2 yard of fabric for lining
- Two leather scraps, each at least 6” x 11-1/2”
- One leather scrap, 1-1/2″ x 6″
- Two pieces of 1/4”-thick foam, each 11-1/2” x 15-1/2”
- One button with shank
- Heavy-duty thread
- Polyester all-purpose thread
- Leather needle
- Topstitch needle
- Rotary cutter and mat
- CD or other 4-3/4″-diameter circle
- Non-stick foot (BERNINA Non-Stick Foot #52)
- Walking foot (BERNINA Walking Foot #50 or BERNINA Dual Feed)
- Binding clips
- Craft knife, such as an X-acto knife
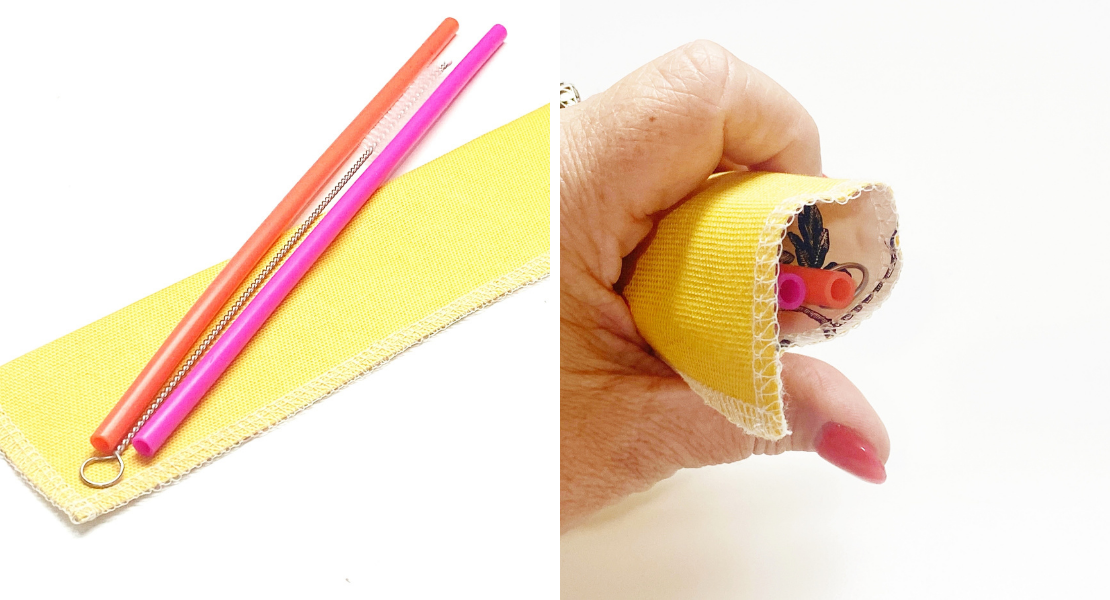
A few notes about working with leather:
- You can buy scraps of leather at most leather stores. I go to my local leather shop few times a year and sort through their scrap bin for leather to use for projects. You don’t need a lot but it makes a big difference in your projects.
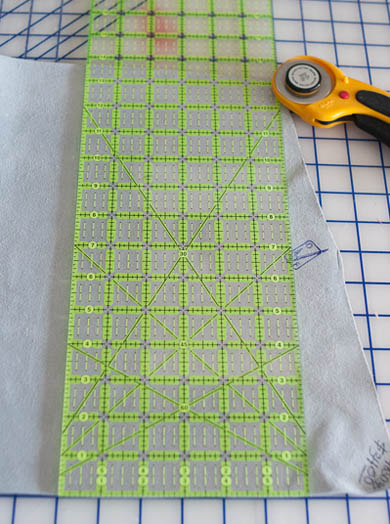
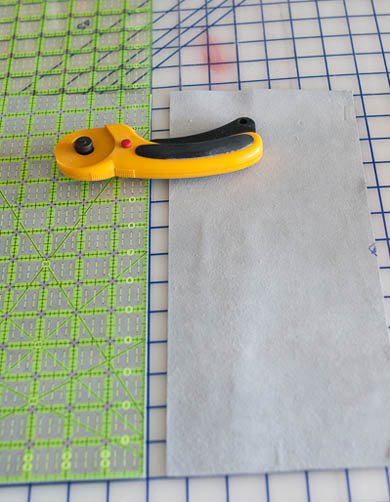
- Leather is most easily cut using a rotary cutter. Like any material that is not fabric the leather will dull your rotary cutter, so it is best to have one blade dedicated to cutting leather. If you need to cut leather with scissors it’s best to use a pair of standard (yet sturdy and new) scissors. You don’t need to buy a pair of leather shears.
- You want to work with leather that is between 1 and 4 ounces in weight. Also consider using lambskin or suede as they are a great thickness for use with home sewing machines.
- Do not backstitch when you sew with leather.
- Do not pin leather; use binding clips instead.
- Never iron leather.
- Use a Leather needle for sewing leather. (But do NOT use a leather needle on regular fabric, as it will pull the threads in the fabric.)
- Mark leather only on the wrong side, using tailors chalk or a very light pencil.
- Always sew on a test strip first to make sure your machine settings are correct.
Step 1) Prepare and cut the leather and canvas.
Wash your canvas or duck cloth at least two times with fabric softener to soften the fabric, and then dry it in the dryer to soften it some more.
Cut from the canvas or duck cloth:
- Two 11-1/2″ x 15-1/2″ rectangles
Cut from the lining fabric:
- Two 11-1/2″ x 15-1/2″ rectangles
Cut from the leather:
- Two 6″ x 11-1/2″ rectangles
- One 1-1/2″ x 6″ rectangle
Step 2) Construct the outside of the case.
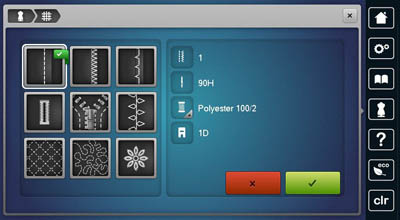
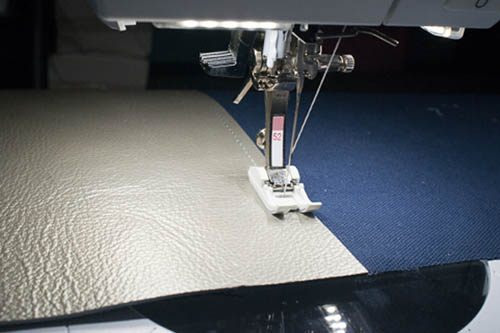
Attach the non-stick foot to your sewing machine and insert a Leather needle. Thread your machine with heavy-duty polyester or nylon thread in the needle and in the bobbin. Set the stitch length at 4 mm. If available, set the BERNINA Creative Consultant to heavyweight woven > seam.
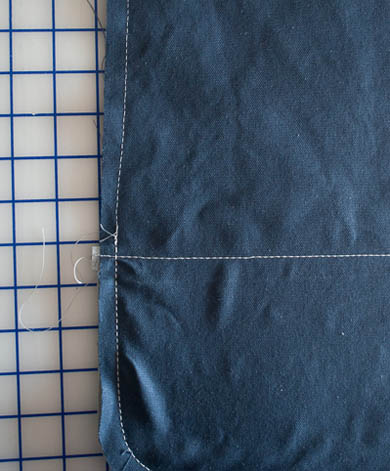
Using binding clips, clip the 6″ x 11-1/2″ piece of leather to the bottom of the right side of the 11-1/2″ x 15-1/2″ canvas or duckcloth rectangle.
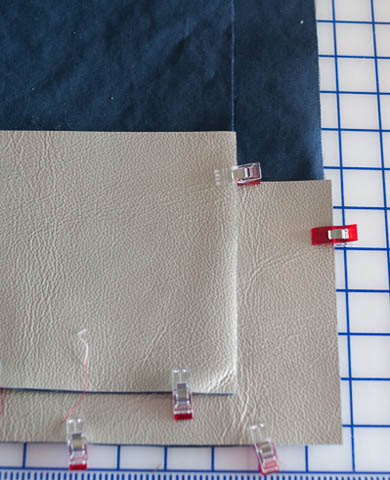
Stitch along the top of the 11 1/2” side of the leather 1/4” in from the edge of the leather. Go slowly but keep a steady motion with the machine; try not to start and stop too many times.
Repeat with the second 6″ x 11-1/2″ leather rectangle and 11-1/2″ x 15-1/2″ canvas/duckcloth rectangle.
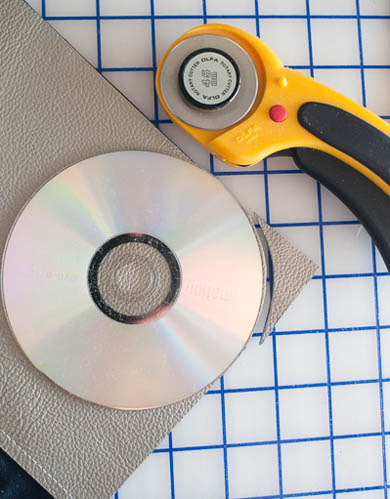
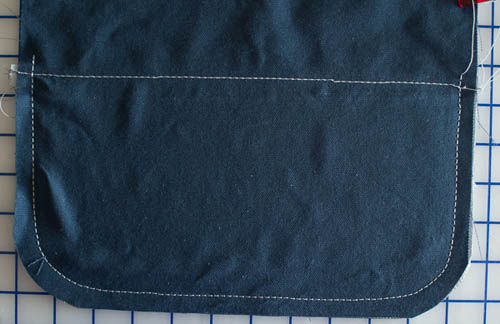
Using a CD as a guide, use a rotary cutter to round off the bottom two corners of both outside case pieces.
Stitch around the outer edge of the 1-1/2″ x 6″ leather strip. This is just decorative. Set aside.
Place the two outside case pieces right sides together; clip with binding clips.
Change to a walking foot or engage dual feed; leave the Leather needle in the machine.
Using a 1/2″-wide seam allowance, stitch the front and the back together ONLY where there is leather.
Change to a standard Universal needle; thread your machine with all-purpose polyester thread in the needle and bobbin.
Continue stitching the case front and back together at the sides, leaving the top open.
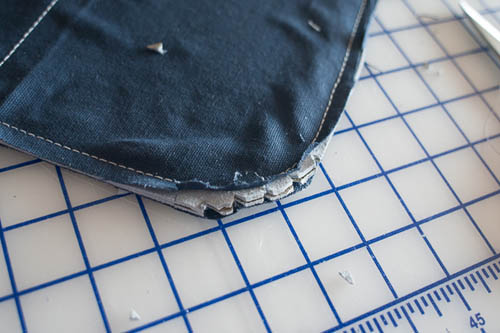
Trim the seam allowances of the portions with leather down to 1/4″-wide; notch the curves.
Press the seam allowances open up to the point where the leather begins.
Turn the case right side out.
Turn the top edge of the case under 3/4″; press.
Step 3) Construct the lining.
Place the two 11-1/2″ x 15-1/2″ rectangles right sides together. Place one piece of foam on the wrong side of each lining piece. Pin together well.
Using a CD and a rotary cutter, round the two bottom corners of the lining/foam layers.
Stitch together using a 1/2″-wide seam allowance and a walking foot or dual feed.
Trim all seam allowances to 1/4″-wide.
Step 4) Assemble the laptop case.
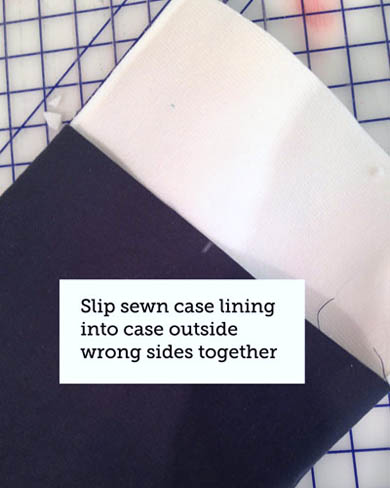
Slide the lining (wrong side out) into the case (right side out). Push the lining in until it is flush inside the outer cover. Make sure the seams match up and that the lining is fully inserted into the cover.
Fold under the top edge of the lining so it is flush with the folded upper edge of the outer layer. Pin well.
On the back of the case, mark the middle of the upper edge using tailors chalk.
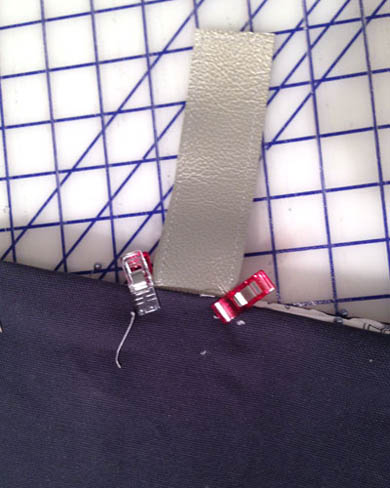
Slide the 1-1/2″ x 6″ leather strip into the space between the lining and the outer case so that 1″ of the piece is inside the case and the rest is outside the case, with the wrong side of the leather facing the opening of the case. Secure in place using binding clips.
Change to a Topstitch needle and thread your machine with heavy-duty thread in the needle and in the bobbin. Adjust the stitch length to 4 mm. Attach a walking foot or engage the dual feed feature.
Begin stitching at the top of the case where the leather strap is inserted. Line up the edge of the fabric with the edge of the presser foot. Stitch all the way around the top of the laptop case until you get back to where you started.
Step 5) Finish the laptop case.
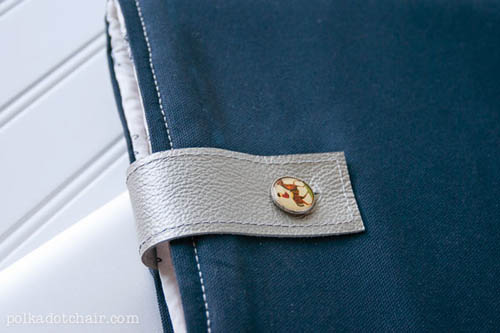
Measure the button. Using a craft knife, cut a hole in the 1-1/2″-wide leather strip that is just big enough for the button to pass through.
Slide the laptop into the case. Fold over the leather strap and note where you’d like it to be on the front of the case. Mark the location for the button.
Using heavy-duty thread, stitch the button to the laptop case.


9 comments on “How to Make a Leather-Trimmed Laptop Case”
Nicely done tutorial! Thanks for the wonderful pics. Using a CD as a template is genius!
When I click on anything in this ap it takes me to a ruffle tutorial. It doesn’t matter what I click on, I get the ruffle tutorial. I’m about to delete the ap out of frustration.
Hi, Cindy – We’re hoping to resolve the problem soon.