How to Make A Minky Backed Baby Quilt
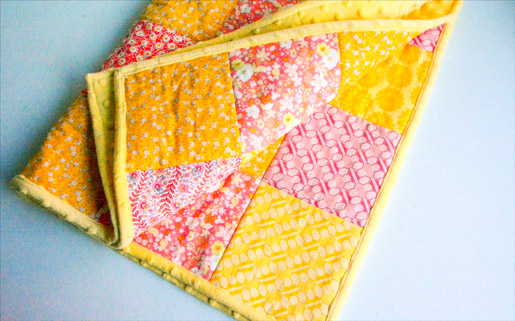
Handmade quilts are a great way to welcome a new baby! They add so much to a nursery and become heirlooms when baby grows up, and have practical applications for cuddling, car blankets and playmats. A Minky backed quilt does all of this with the added benefit of a baby-soft side.
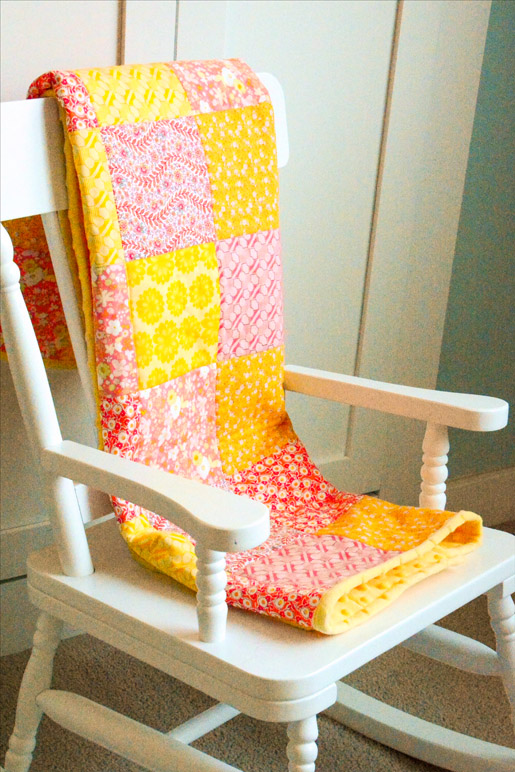
Working with Minky can be tricky sometimes because of the slippery quality of the fabric and the inherent stretch, but using spray basting helps to make this Minky-backed patchwork quilt easy. And this pattern uses a Minky self-binding to make finishing faster.
Finished quilt size: 30″ x 40″
All seam allowances are 1/4″
Quilt top pattern is a random patchwork of 6 squares by 8 squares
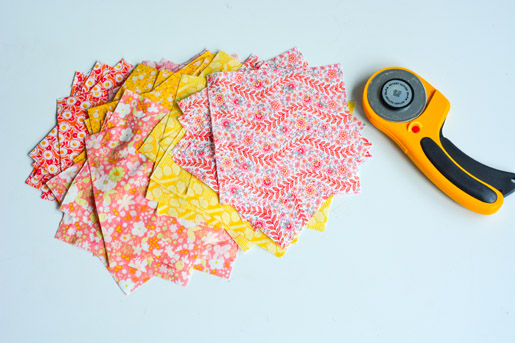

Materials:
- Rotary cutter, ruler and mat
- 48 pre-cut 5 1/2″ x 5 1/2″ squares of 100% cotton quilting fabric for quilt top (I cut out my squares from three different yelp print fabrics and four different pink print fabrics to create a slightly random pattern)
- 1 1/4 yards coordinating Minky fabric for quilt back
- Baby quilt sized cotton batting 34″ x 45″ (such as the Warm and White Craft Size batting)
- Temporary adhesive/repositionable spray basting (such as Spray N’ Bond)
Before beginning pre-wash all your fabrics and the cotton batting.
How to sew the Minky Backed Baby Quilt:
Arrange your squares in a pattern 6 squares across and 8 squares down until you achieve a pattern you like. Then stack your squares row-by-row so that the square at the far left is on top, followed by the subsequent squares in your row. Pin these stacks and arrange them in order from your top row to your bottom row.
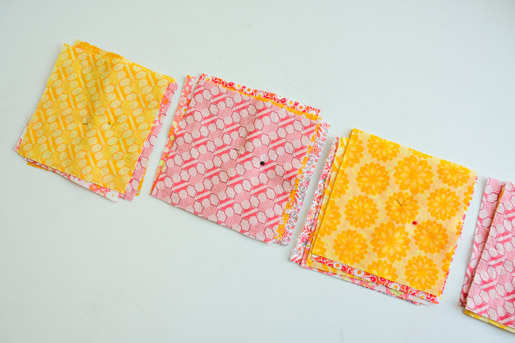
You are ready to sew! Take the first two squares off your first stack and place them right sides together.
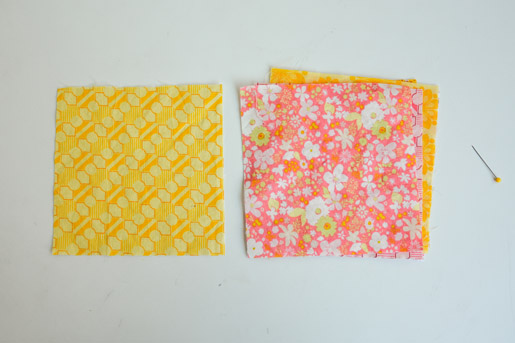
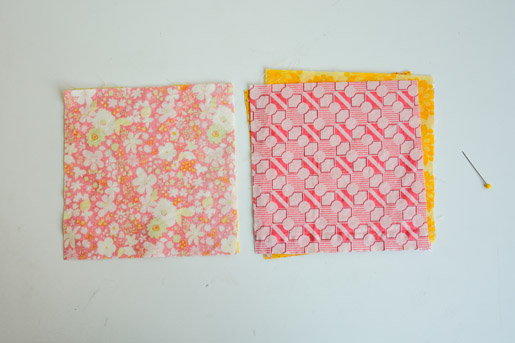
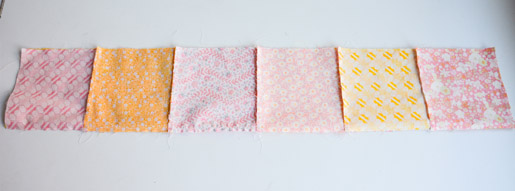
Join the squares by sewing down the right side with a ¼” seam allowance. No need to backstitch as the threads will be secured when the rows are sewn together.
Open out your first two squares and lay the third square right sides together over the second square in the row. Join the squares by sewing down the right side with a ¼” seam allowance.
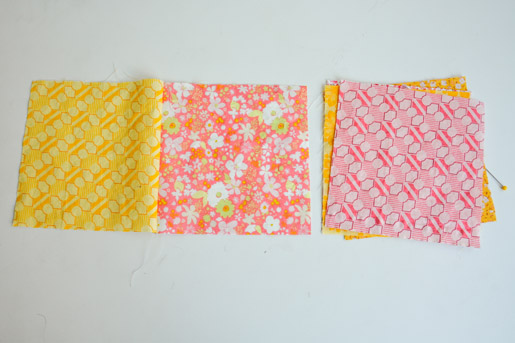
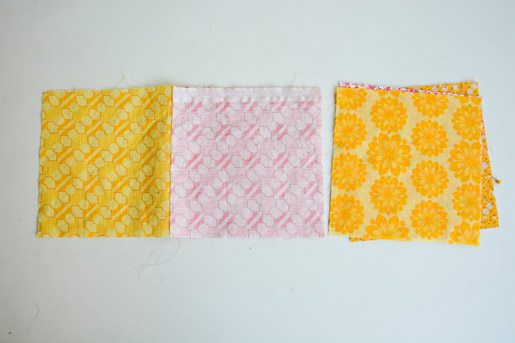
Repeat until you’ve sewn together all your squares in your first row.
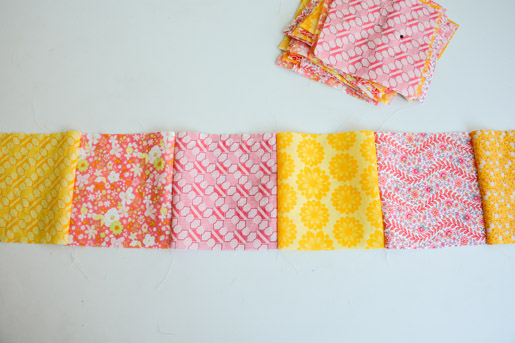
Sew together your subsequent rows in the same manner.
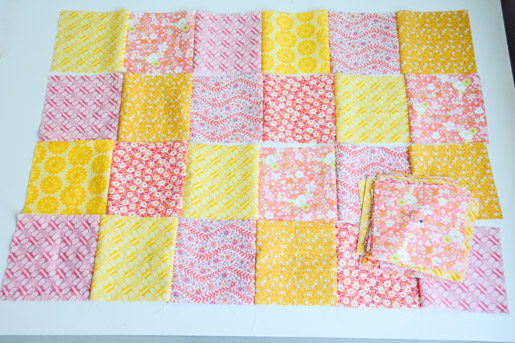
Iron all seam allowances to one side.
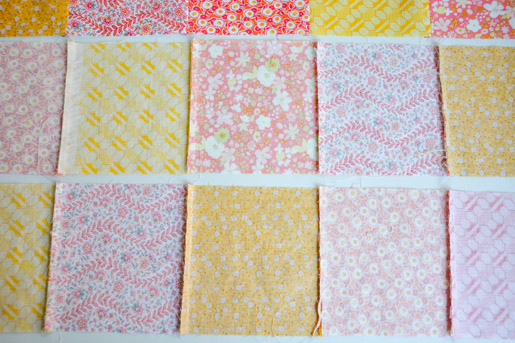
Now you will stitch your rows together. Start with the top two rows and lay those right sides together matching the raw edges on either end and aligning the seams between the squares. If you find things aren’t lining up exactly you can stretch the fabric and ease it a bit. Stitch the rows together along the adjoining edges using a ¼” seam allowance.
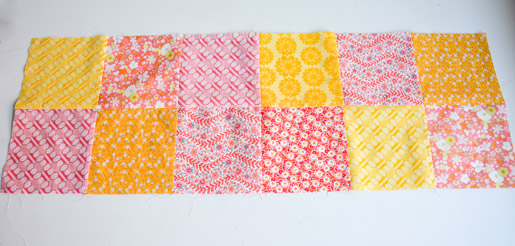
Lay the third row over the second, right sides together. Pin and stitch as you did with the first two rows.
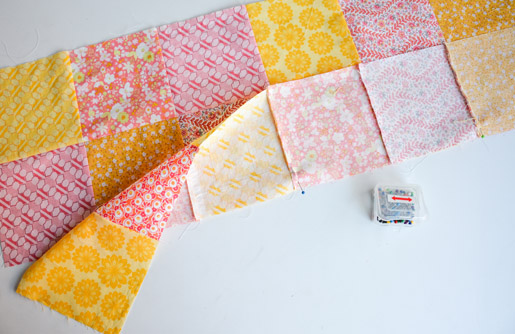
Repeat until all the rows have been stitched together. Press the seam allowances to one side.
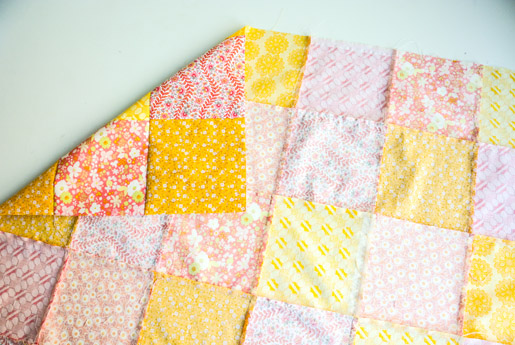
You have finished your quilt top! Now we’ll sandwich the batting between the top and the minky back.
Iron your batting to smooth out any wrinkles. Lay it on a large flat surface, such as the floor, and apply spray basting following the manufacturer’s instructions. You’ll want to keep the spray a few inches from the edge of the batting or use a drop cloth behind it to avoid spraying your work surface. Before the spray dries, lay your Minky on top of the batting with the right side up. Because the spray is repositionable you can correct any wrinkles until the Minky is lying smoothly on top of the batting.
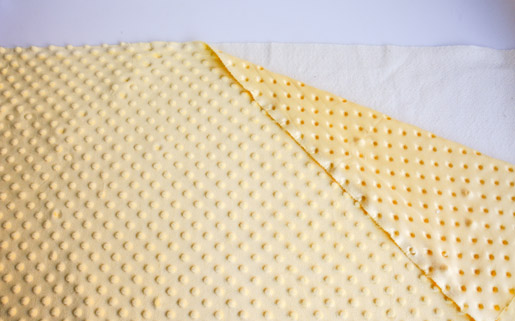
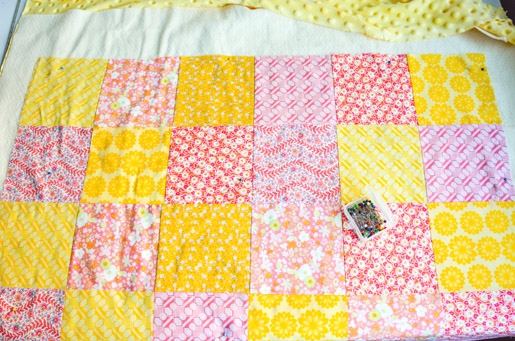
Flip the Minky-backed batting over and apply the spray basting to the other side of the batting. Lay the quilt top over the batting and smooth out any wrinkles. Be sure you have extra batting around all the edges. We’ll trim this later and use the excess for the binding. To make certain your layers won’t slip or stretch while quilting you can add pins to hold this “sandwich” in place as well.
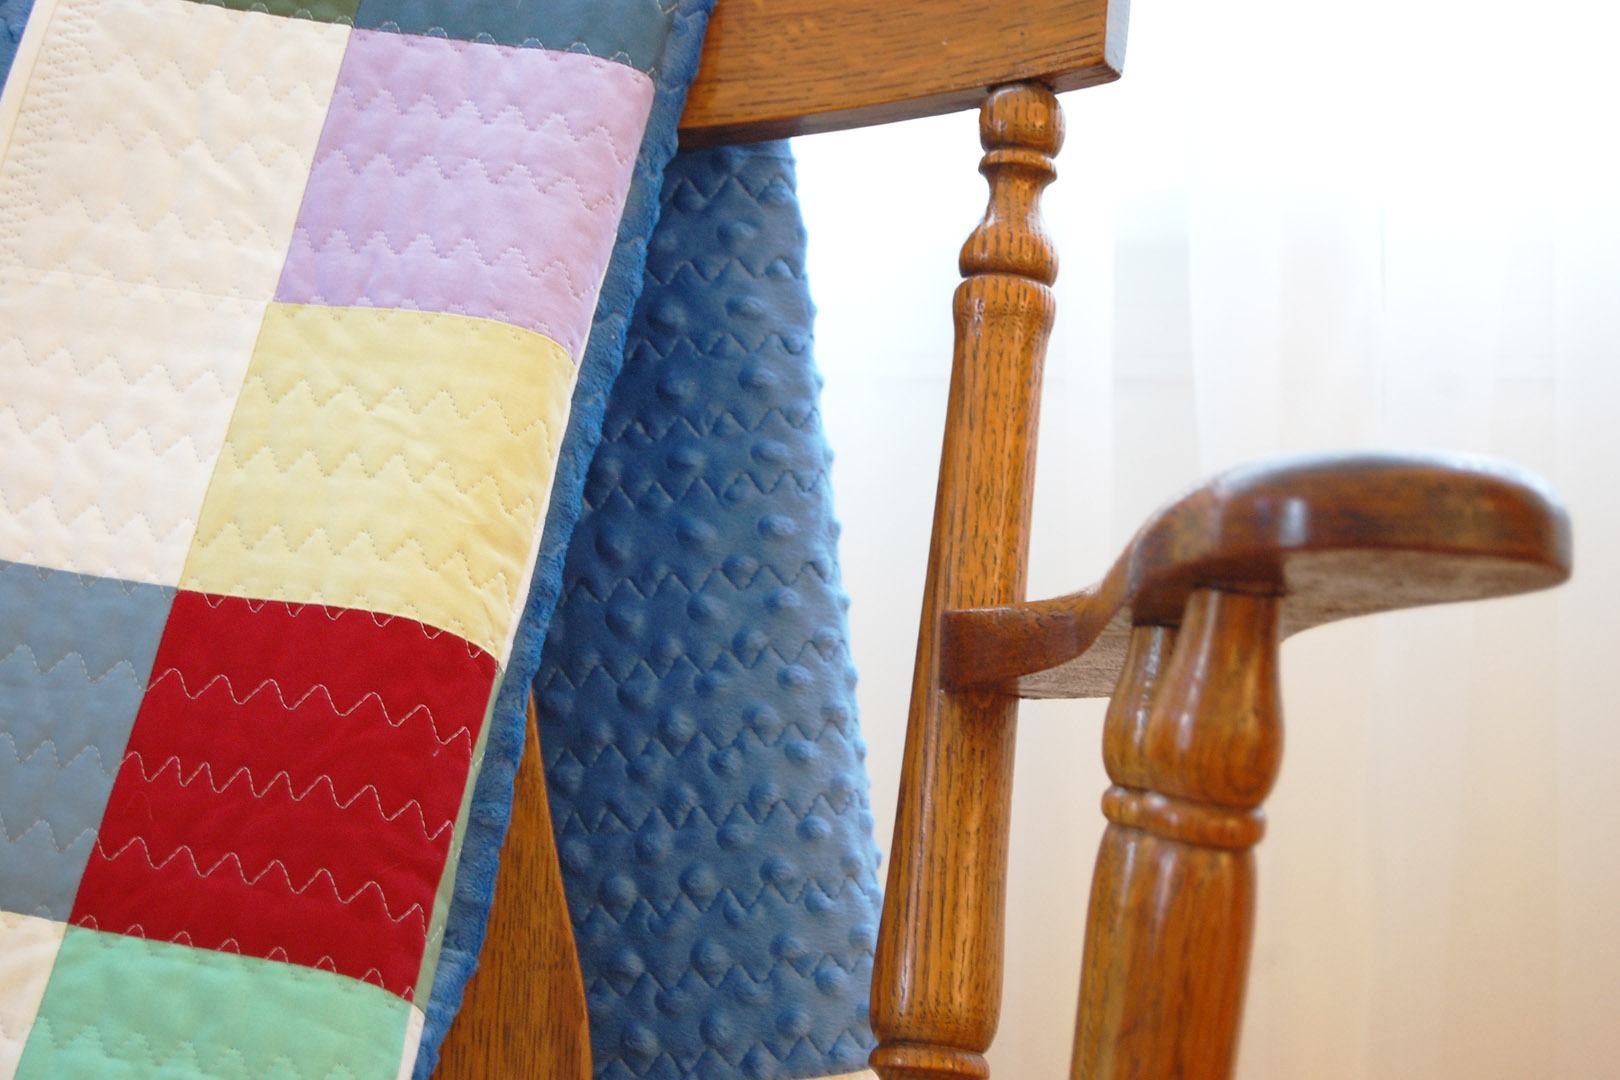
Now it’s time to machine quilt. We’ll stitch in the “ditch” between each square to create a grid pattern the size of the quilt squares, starting with the center vertical and horizontal quilting lines. Roll one side of the quilt so you can easily fit it to the right of your BERNINA machine’s presser foot. Starting at the top of the quilt, between squares three and four, you will stitch down the ditch crossing all the rows vertically to the bottom of the quilt. Backstitch to secure your thread.
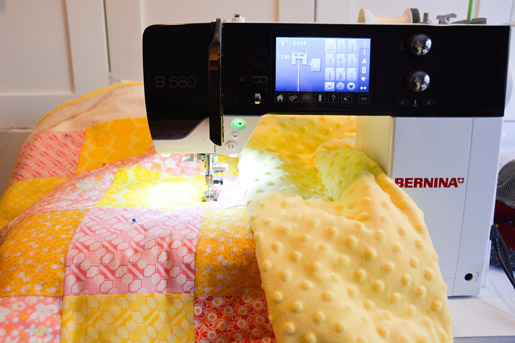
Next quilt the horizontal line between rows four and five. Repeat working out from the center horizontal and vertical lines until you have stitches on top of every seam on your quilt top.
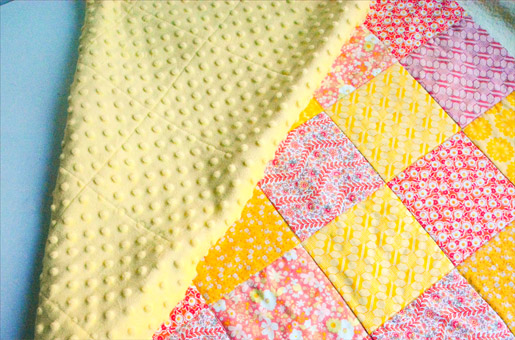
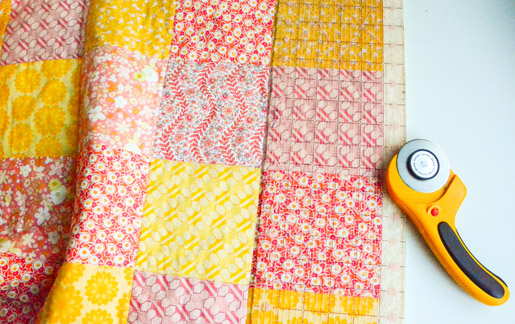
Now it’s time to trim the excess batting and Minky backing. Using a ruler and rotary cutter, trim the excess to 1″ from the quilt top on all sides.
To create a self-binding, fold the 1″ margin of Minky and batting by about 3/8″ towards the quilt top. Then fold again so that the Minky overlaps the quilt top by about 3/8″.
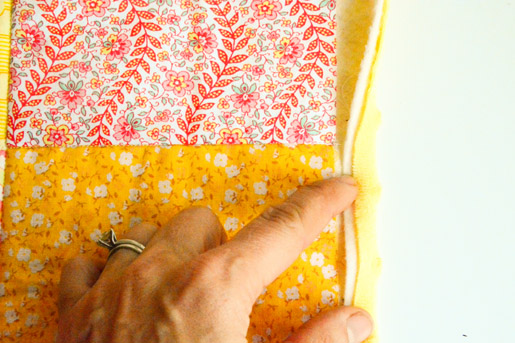
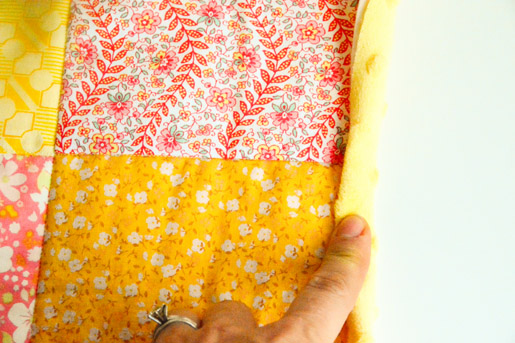
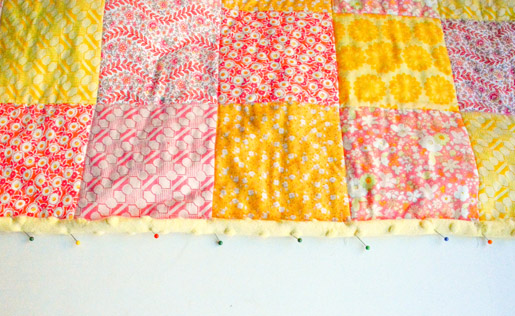
Pin well along all sides of the quilt.
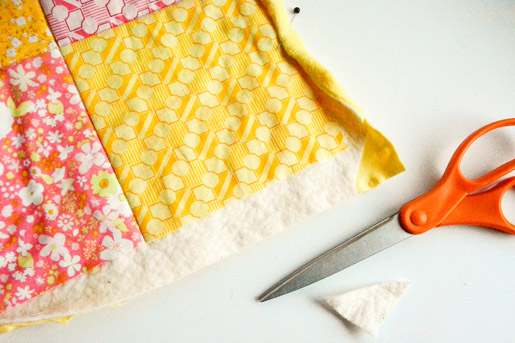
To miter the corners of the binding, trim the excess batting across the corner and fold in the Minky in.
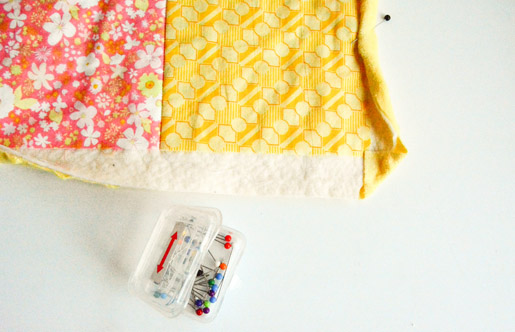
Then adjust the binding folds on the perpendicular sides to create a neat corner.
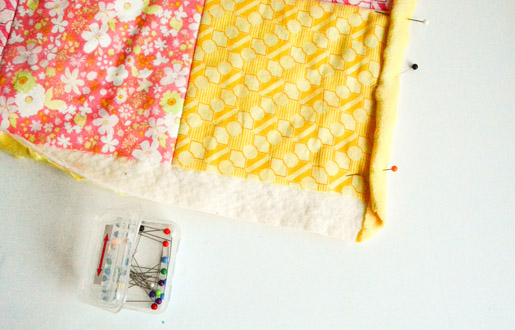
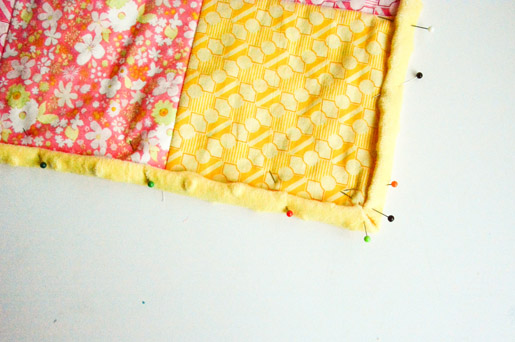
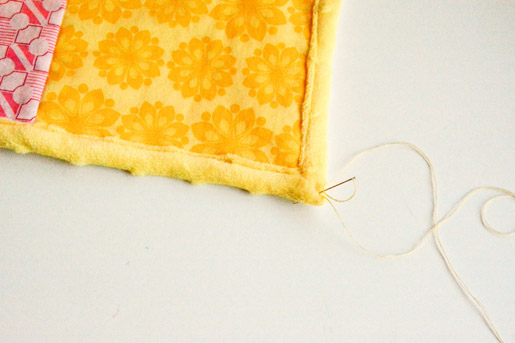
Stitch all the way around the binding as close as possible to the folded edge. Use a needle and thread to secure the mitered corners with a few stitches hidden in the folds.
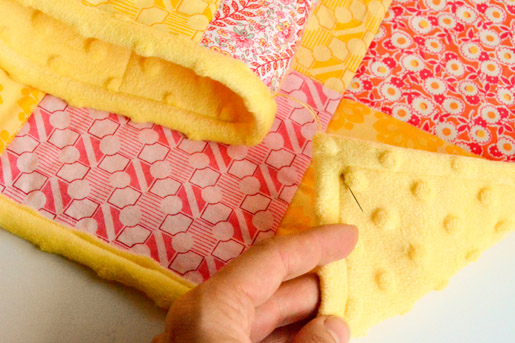
Wash your quilt and gift wrap it for a new baby!
What you might also like
14 comments on “How to Make A Minky Backed Baby Quilt”
-
-
I didn’t wash my fabric but I spray starched it. I have squares sewn in rows. Shall I just place the rows in warm water and dry them on a towel or buy flannel this time. Thank you
-
Hello 8machines, if you’ve starched your cotton before stitching the squares together, you should be able to continue sewing the top together without washing out the starch. You could also use flannel to create this quilt.
-
-
I am making a baby blanket using Minky for the backing, the front is strips of coordinating cotton fabric, I DO NOT have plans to quilt this blanket, BUT if I don’t quilt the blanket will it be odd that the front and back are only sewn together and connected at the edge of the blanket (no where in the center of the blanket) when it is bound?
If I was going to add batting I would think I would have to quilt the blanket, otherwise the batting would just ball up in the center of the quilt right?
-
Hello Martee,
I’ve made many a blanket–quilted or otherwise–without quilting and they have worked just fine. The binding helps to hold the layers together. Especially with a blanket this small.
If you want to add batting you could probably get away without quilting as long as you catch the batthing in the binding or some stitching along the edges.
I hope that helps.
Enjoy making the blanket.
-Anneliese
-
You could just straight stitch in X fashion from corner to corner. This would hold it together and It is simple and fast.
-
-
I have my quilt top made, and the Minky purchased, just stressing over the putting together! Ha — This helps! I plan to use a medium flannel that has been washed for the batting. I used charm squares for the top, so they have not been laundered, but I am thinking this may give it a nice crinkly look. I laid them together with nothing between the top and Minky, but I didn’t like the way the seams looked – so I pulled the flannel from my stash and I think it will work well. Thanks for the tips!
-
I realize your comment was years ago but I just started quilting again and have been looking up videos to use minky backing as the binding. I found this one and noticed your comment about “stressing over putting together”!! That’s me EXACTLY! Thanks to Anneliese and this video, I got my mind back into the “I can do it” mode and now I am almost done. This video put my mind at ease. I hope you finished your quilt and that it turned out as you had hoped! Happy sewing!
-
-
Is the quilt top in this flannel or cotton?
-
The top is quilting cotton. Flannel would work too!
-
-
Incredible. I never knew how to do that so I have kept trying. Thanks for teaching me the way too do it that is correct and easy.
-
These instructions worked perfectly for my first ever attempt at using Minky fabric. Thank you so much for clear instructions and a simple way to create a fabulous quilt!
-
Did you use a machine to sew the border or just hand stitch?
-
I’m using minky backing for a baby quilt for the first time, my cotton pieced blocks for the top measure 12 x 12 inches. I am using quilters dream lightest batting between the layers. I plan to stitch in the ditch where the large blocks join (it’s 3 by 3 blocks big), but I’m not sure how much quilting to do within each of the 12 inch blocks, or if any is needed at all? Thanks for any suggestions!
Leave a Reply
You must be logged in to post a comment.







So cute‼️ Looking forward to making one for both grandchildren‼️