Scrap Plus Quilt Along: Week 2
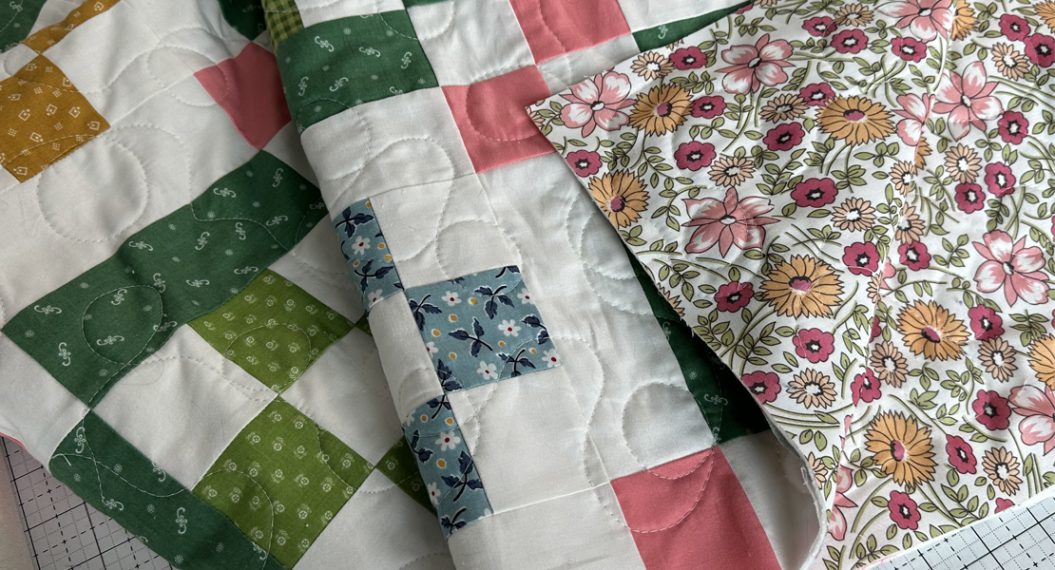
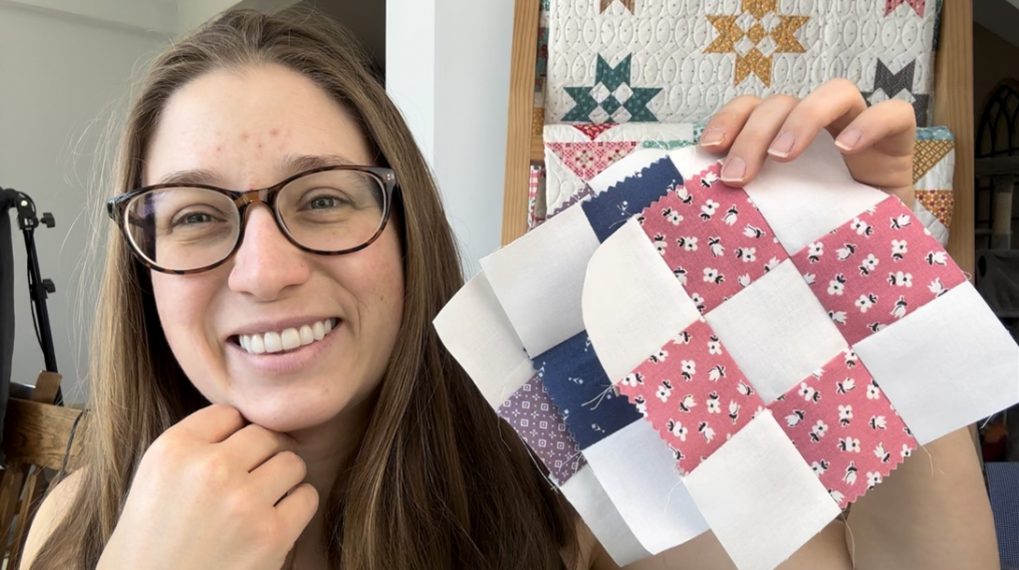
Welcome back to the Scrap Plus Quilt Tutorial! I hope you had fun making your nine Scrap Plus blocks last week. This week we are going to put the quilt top together and talk about straight line quilting.
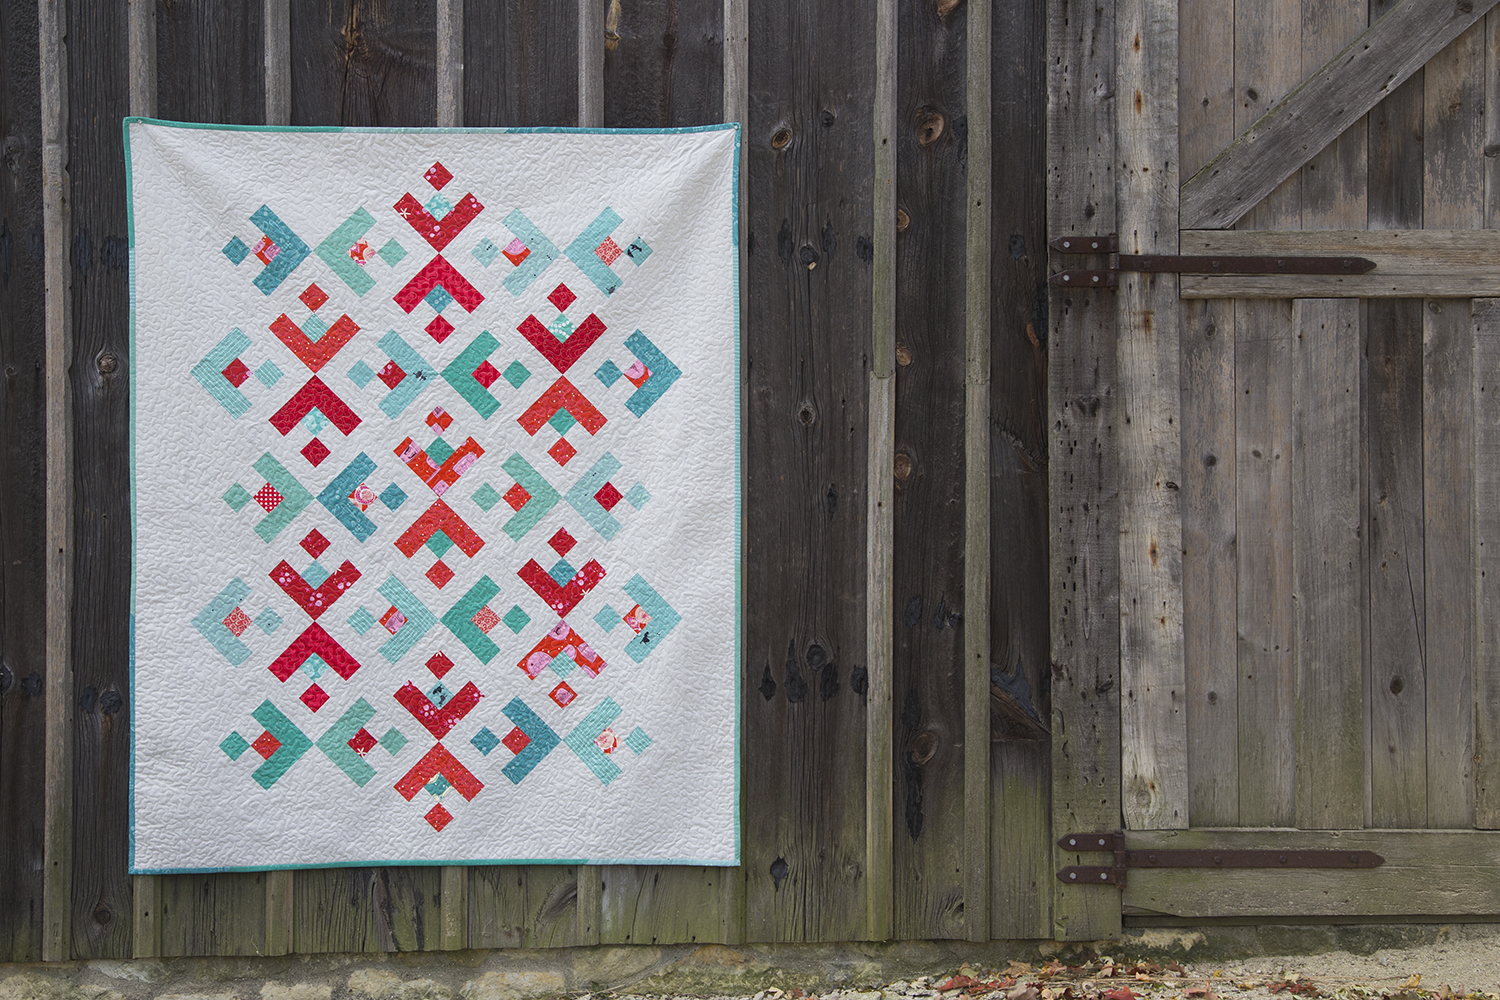
Scrap Plus Quilt Along Pattern by Faith Jones, Fresh Lemons Quilts
Finished Size: 56″ x 64″
Week 2: Quilt Top Assembly and Quilting
Quilt Top Assembly
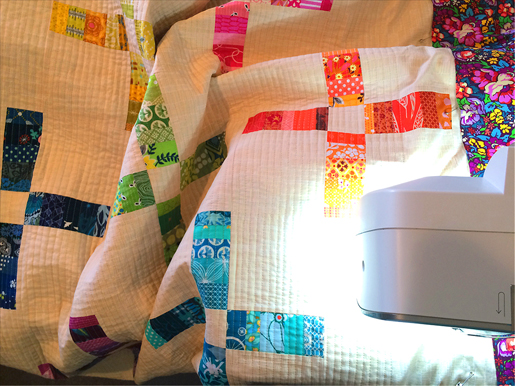
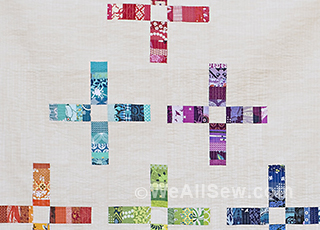
Now it’s time to put the blocks and background together. I used my design wall to lay out my fabrics, but a “design floor” works just as great. You can see from my photo below, I had to assemble my quilt sideways to make it fit on my wall.
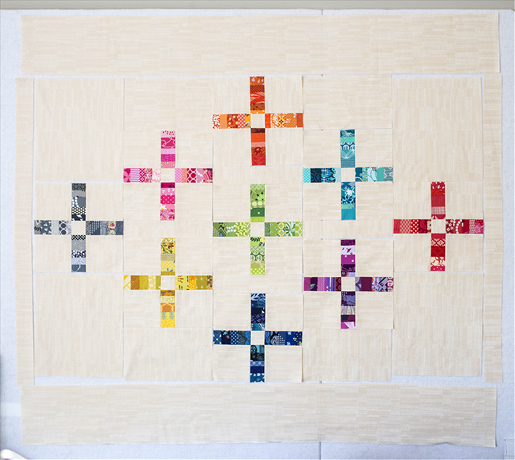
The diagrams in the steps below show the quilt vertically.
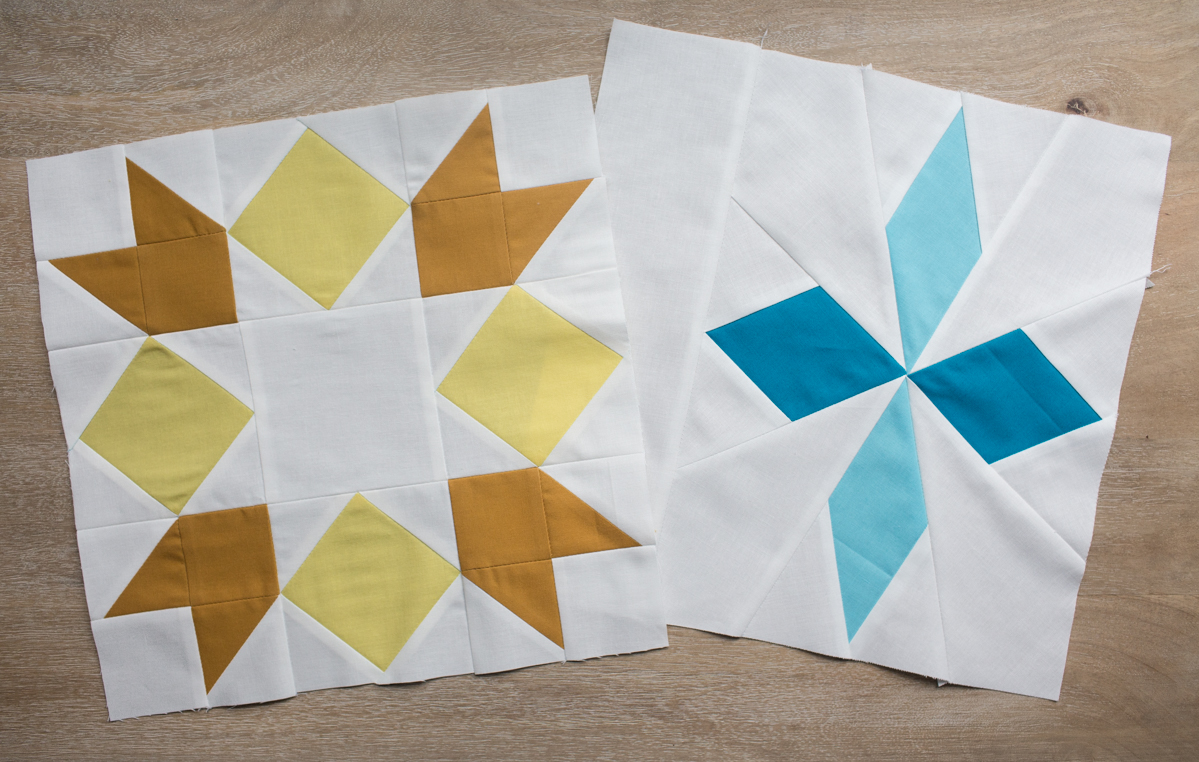
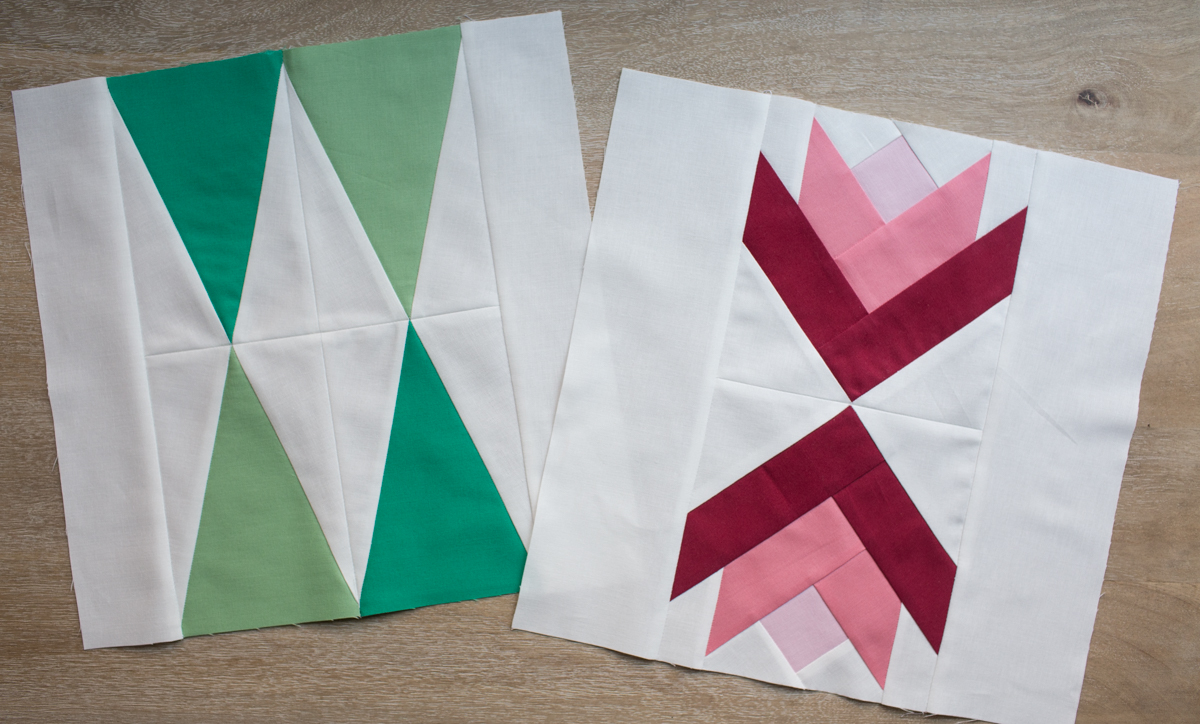
1. Gather your (9) Scrap Plus Blocks and your cut background fabric. Lay out your blocks and fabric as shown.

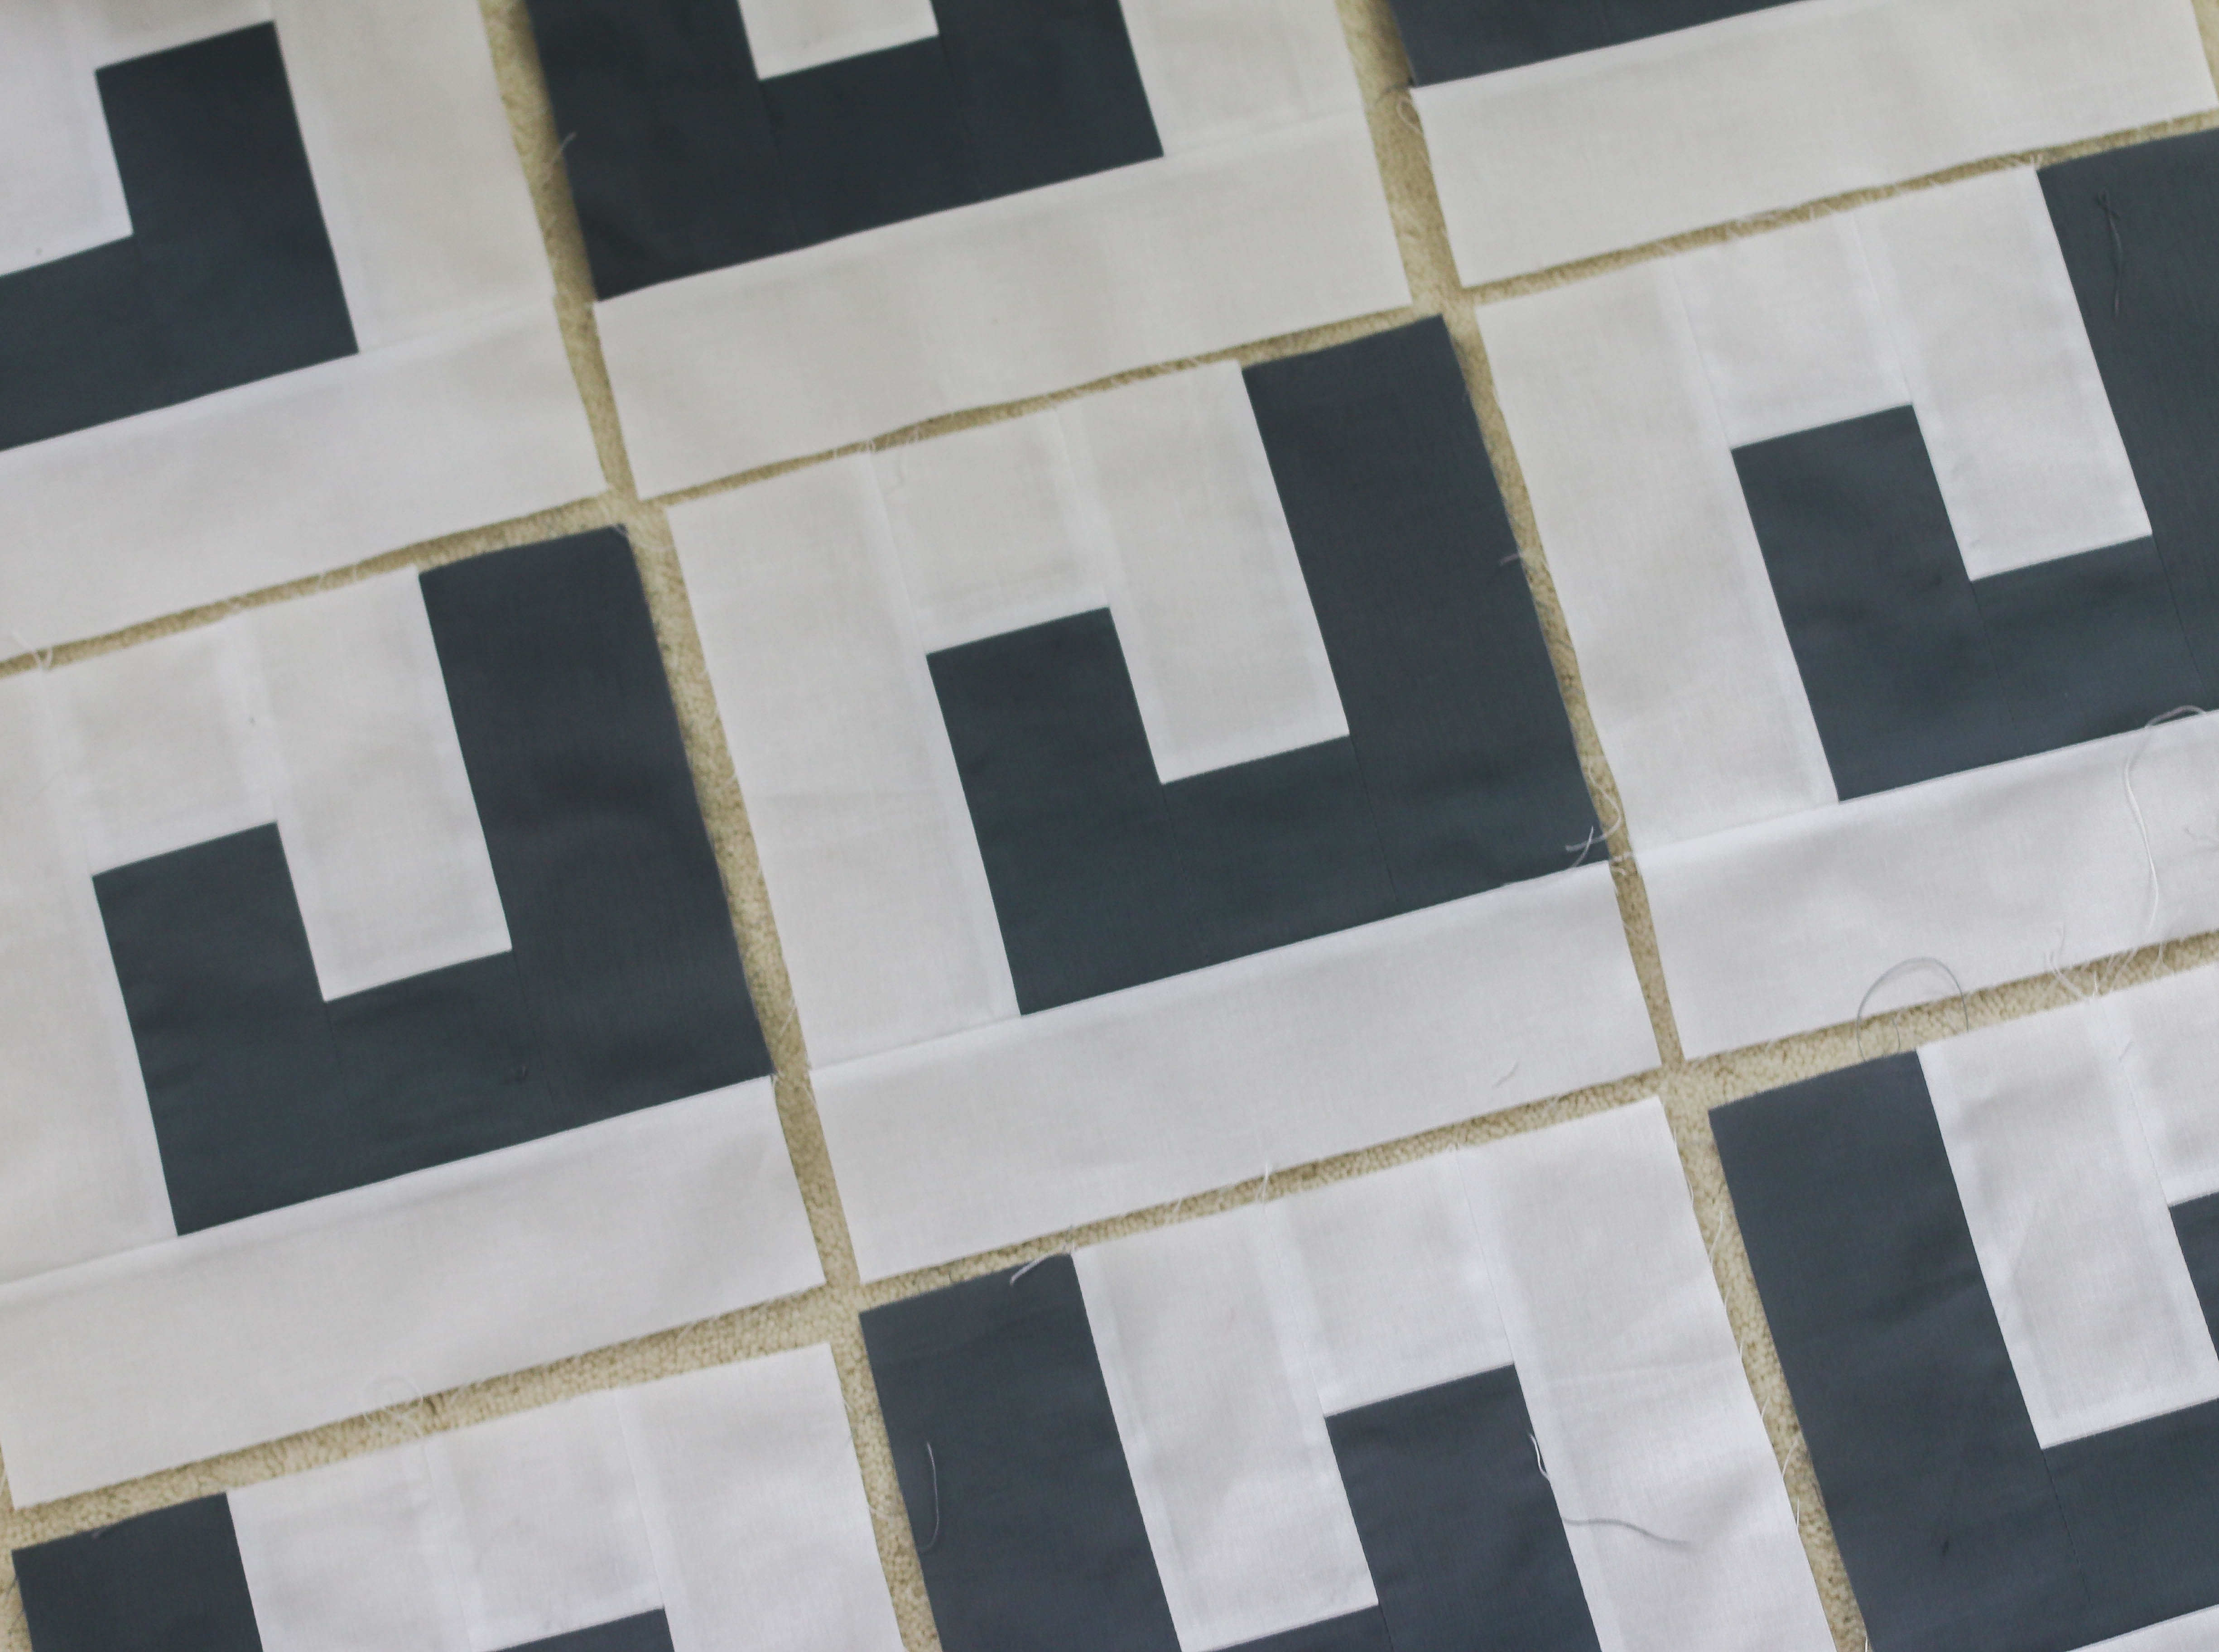
2. Leaving the 8 ½” x 64 ½” strips for the last step, sew your remaining blocks and background fabric into rows as shown.
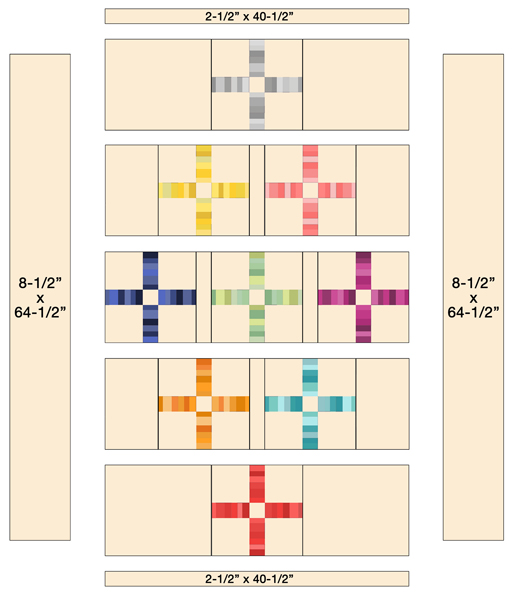
3. Sew your rows together as shown.
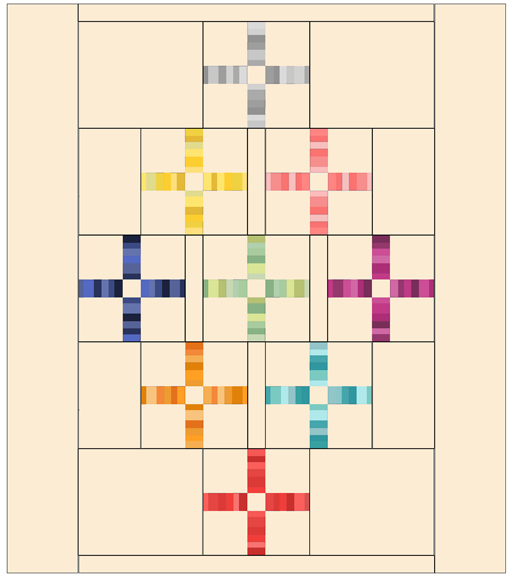
4. Sew the 8 ½” x 64 ½” rectangles to the sides of your quilt top as shown.

Finish the Quilt
5. Create your backing. Cut the (3 ½) yards of backing fabric in half, resulting in (2) pieces, 42″ x 63″. Sew together along the long side of the fabric, resulting in a backing that measures 63″ x 84″. Trim to 63″ x 70″.
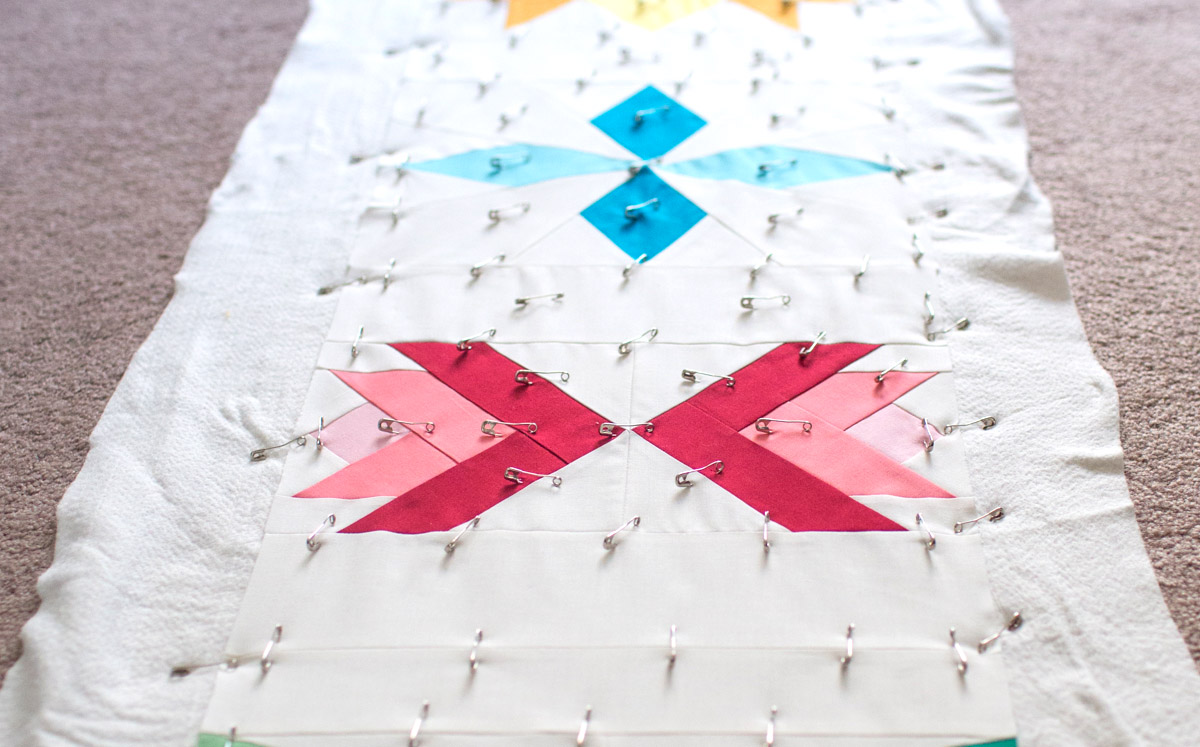
6. Baste the quilt using your preferred method.
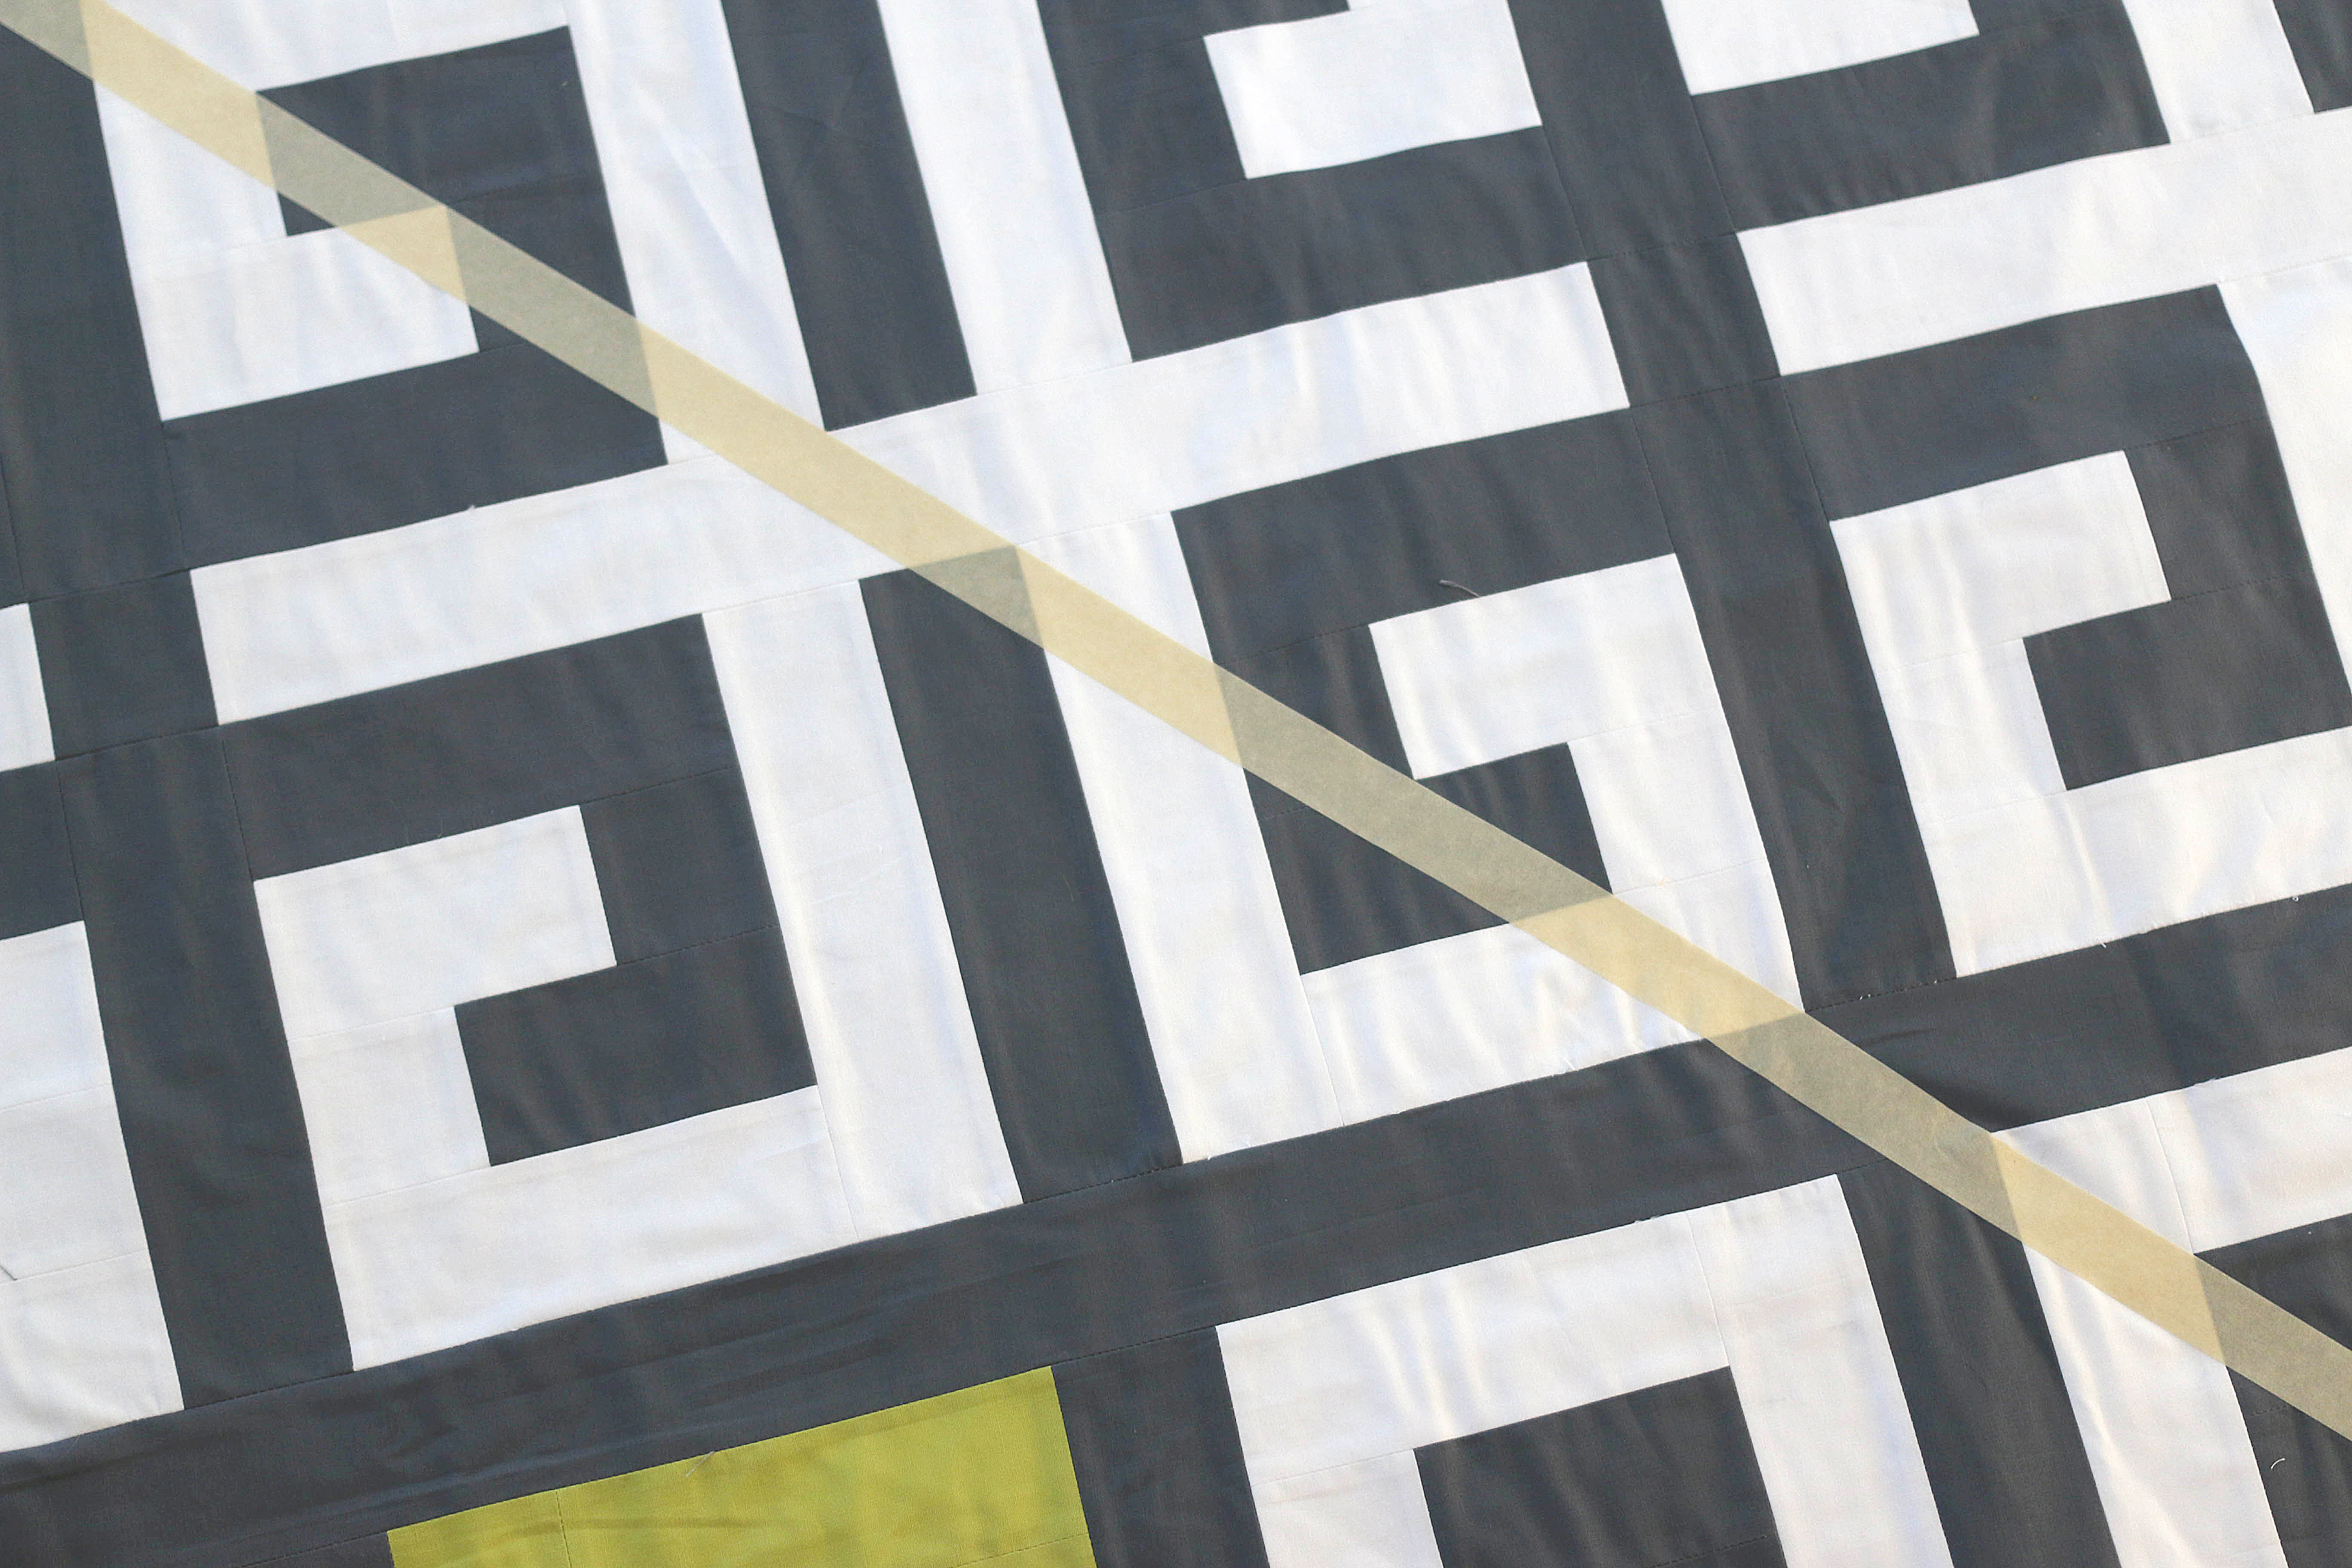
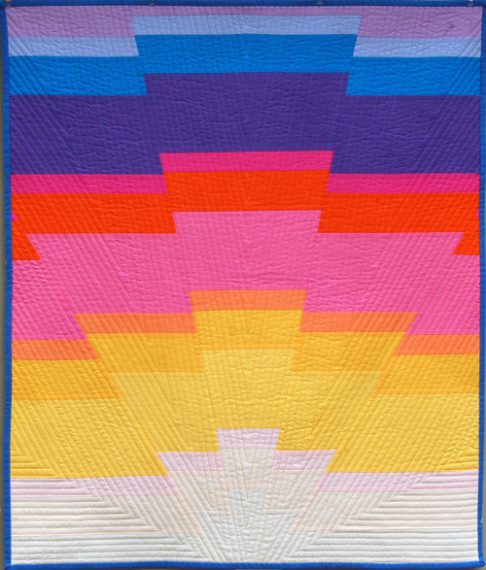
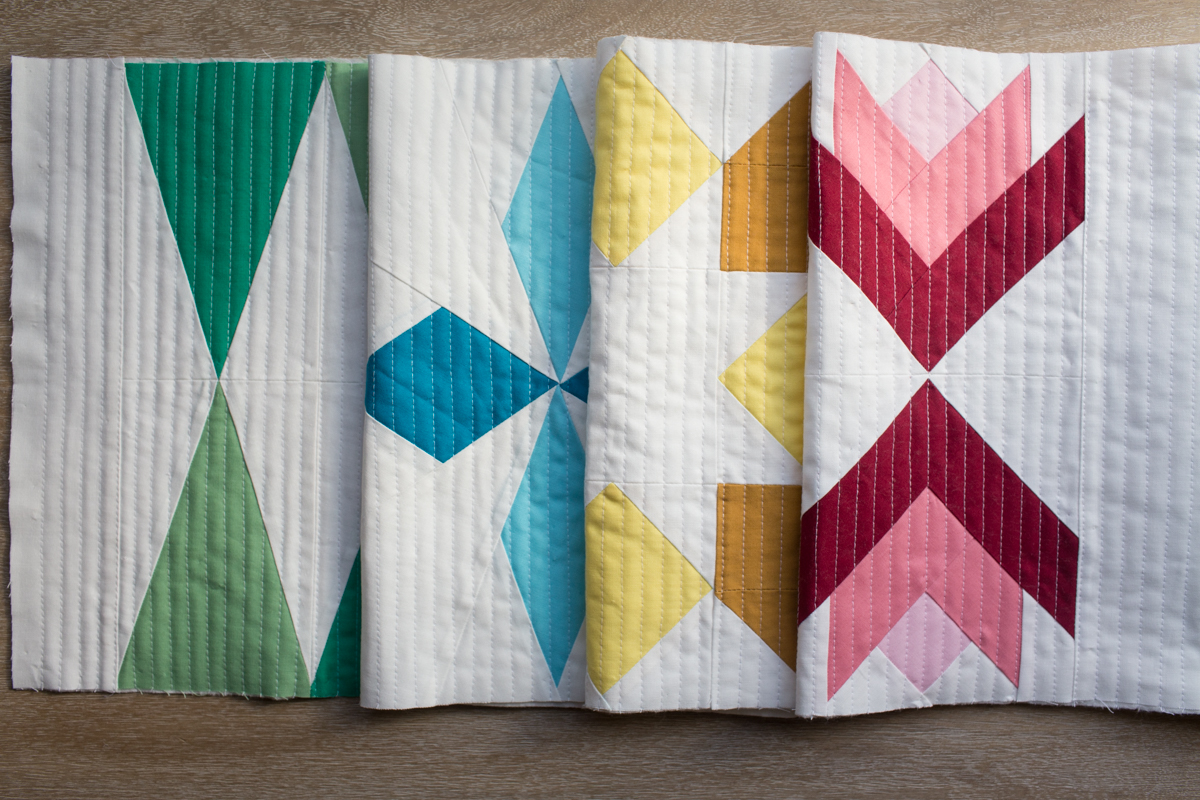
7. Quilt as desired. I chose straight lines for my quilt. I set-up my BERNINA 750 QE with the Reverse Pattern Foot #1D, Dual Feed engaged and the BERNINA Straight Stitch plate.
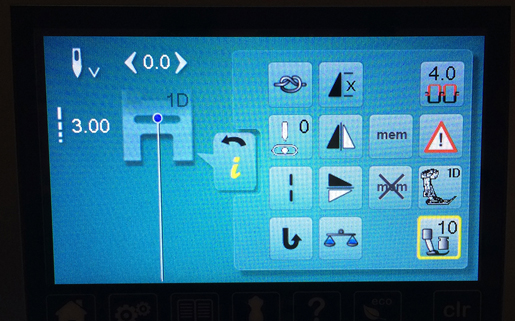
I used Quilting Straight Stitch #1325 on my BERNINA 750 QE, which automatically presets a stitch length of 3.0 and a tension setting of 4.0, and then I updated my presser foot pressure setting to 10. Depending on the thickness of your quilt, you may want to even go down to -10 for your presser foot pressure setting. My quilt was very lightweight.
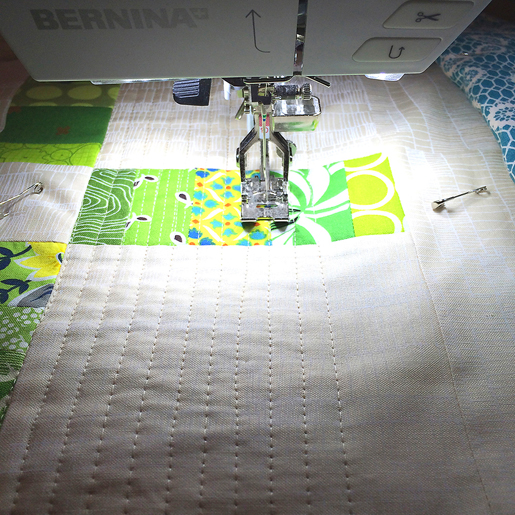
Straight lines are a lot of work but I do love the modern effect!
8. Cut (6) strips of fabric for your binding, 2 ¼” x 42″ (width of fabric). Create your binding and bind the quilt.
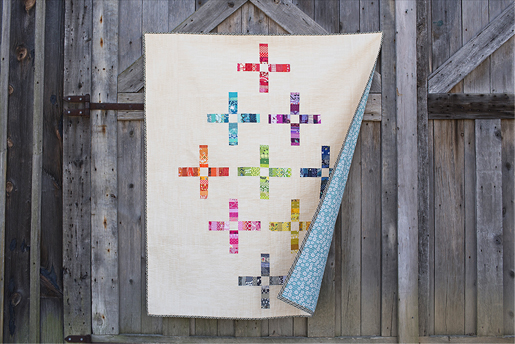
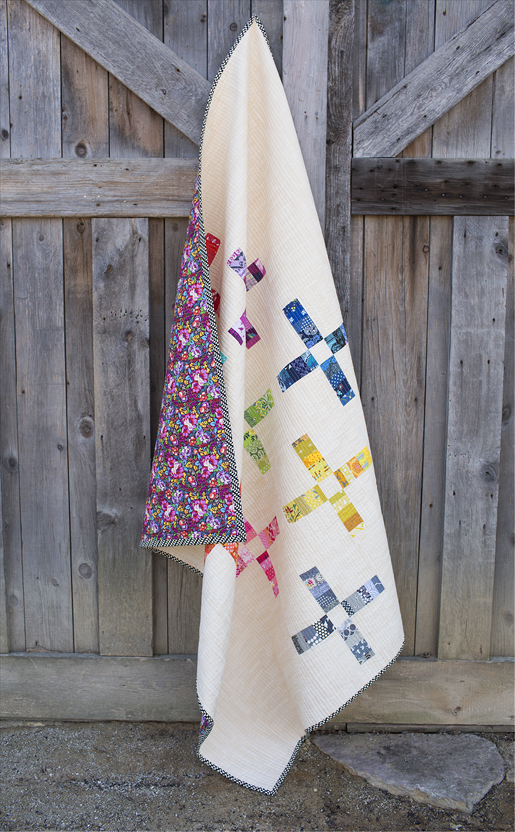
Enjoy your Scrap Plus Quilt!


What you might also like


2 comments on “Scrap Plus Quilt Along: Week 2”
-
-
Hi tehachap! Thanks for your comment. I just use the edge of my foot for a guide (no marking). I do start in the middle and work my way to the right of the quilt. After that half is quilted, I flip the quilt, go back to the middle and work my way to the other side. I do pin baste my quilt.
-
Leave a Reply
You must be logged in to post a comment.

You don’t give a lot of information on how you stitched the lines — i.e., how far apart are the rows? Did you stitch each row in the same direction? Start from the middle and work to the edges? I see a safety pin, so you obviously pinned the layers together. I’m a beginning quilter and would have appreciated more direction than what you provided.