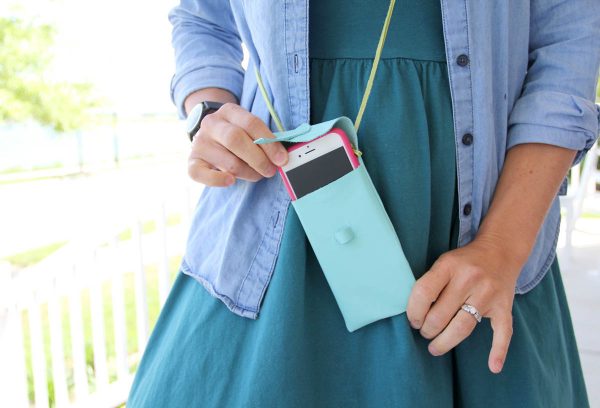
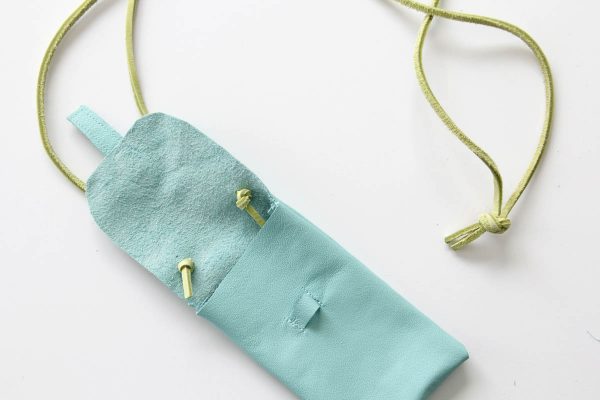
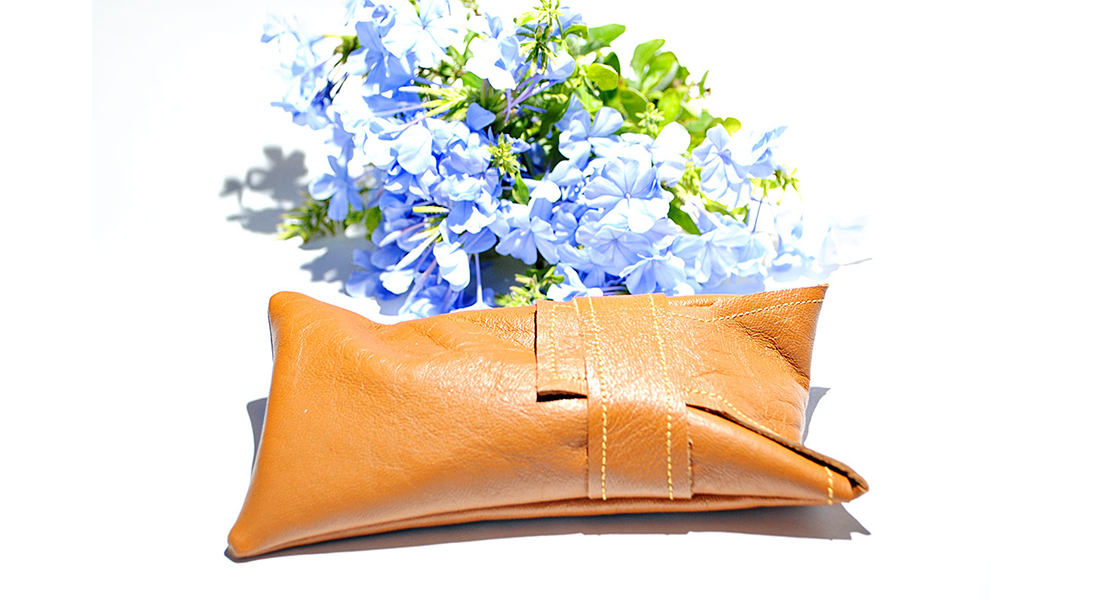
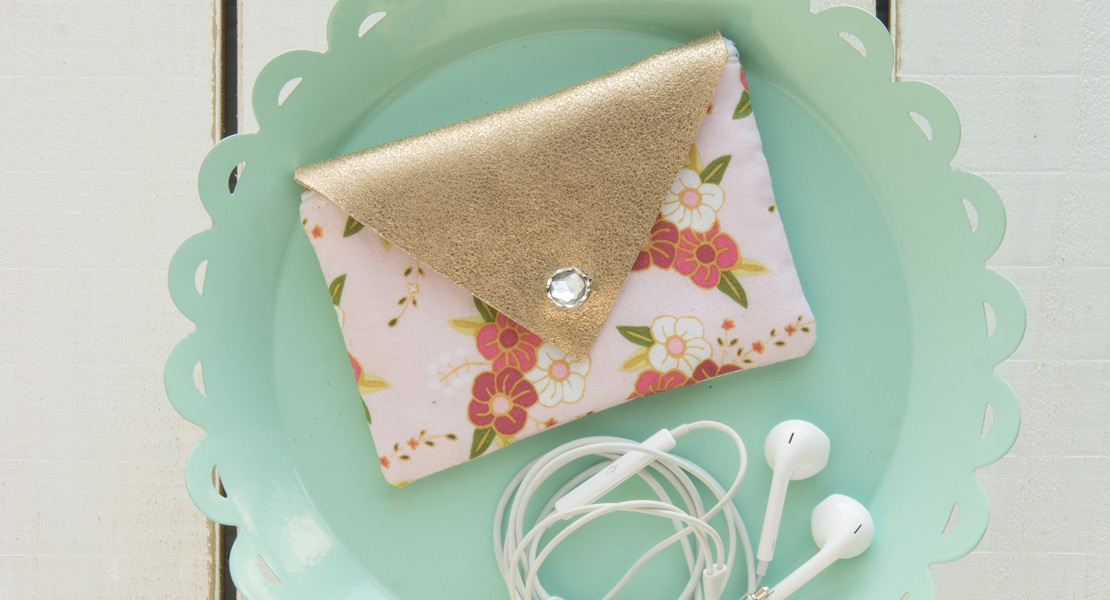
Leather iPhone Purse Tutorial
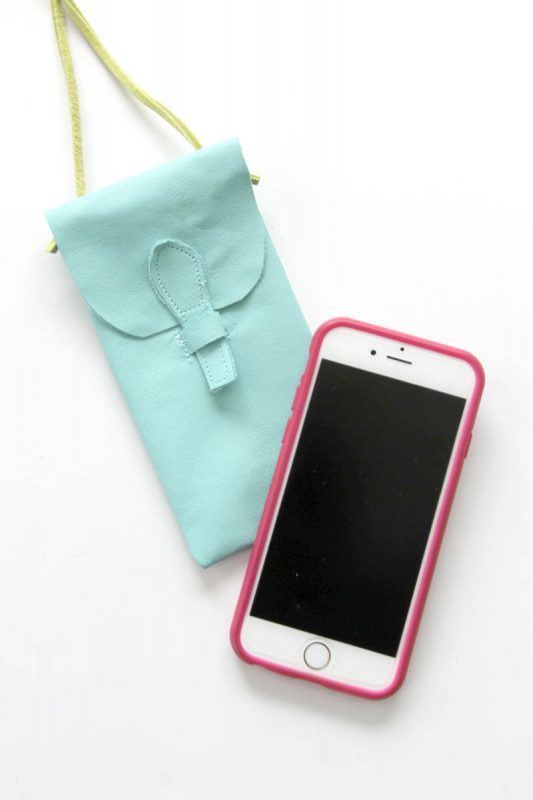
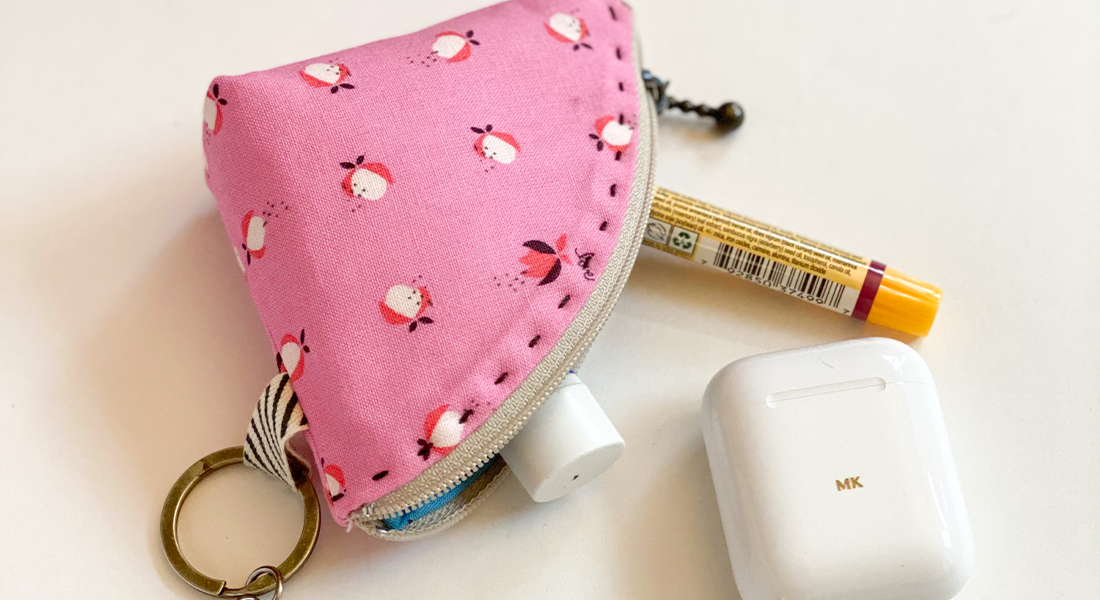
Let’s be honest, that phone in your back pocket isn’t doing your butt any favors :). Why not make an easy and cute leather iPhone purse carrier? Perfect for holding your phone, a key, and a little bit of cash or credit cards. The essentials for when you are traveling, or just want to be a minimalist. This cute and practical leather iphone purse tutorial was created by Jessica Abbot from the Sewing Rabbit.
Materials & Tools:
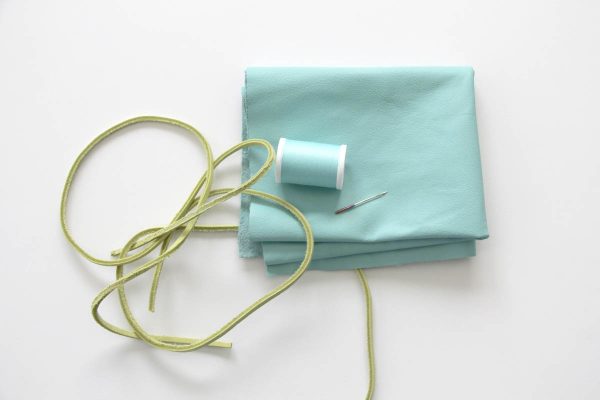
- 18″ L x 5″ W – Soft, Supple Leather 3 – 6 oz weight (size of leather needed depends on your phone size, but this is enough for an iPhone 6)
- 52″ Leather string
- Leather Needle – Size 110/18
- Coordinating Thread
- Fabric Scissors / Rotary Cutter
- Binder Clips
- Standard Presser Foot (BERNINA Reverse Pattern Foot #1)
- Revolving Punch Pliers
- Xacto Knife
Instructions:
Step 1
Measure your phone width and length. To determine the size of the main piece of leather to cut:
- Add 1.25″ to the phone width measurement = Leather Purse Width
- Multiply your phone length measurement by 2, then add 2″ = Leather Purse Length
Step 2
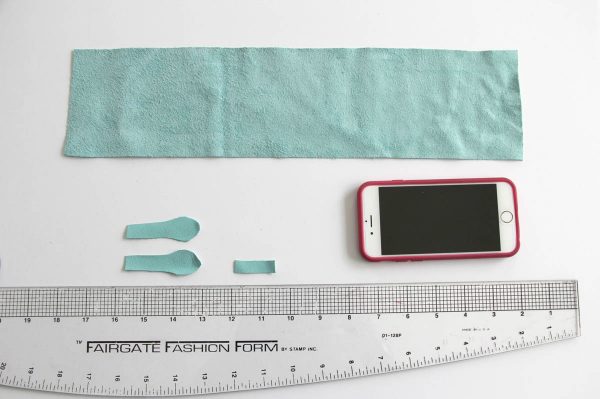
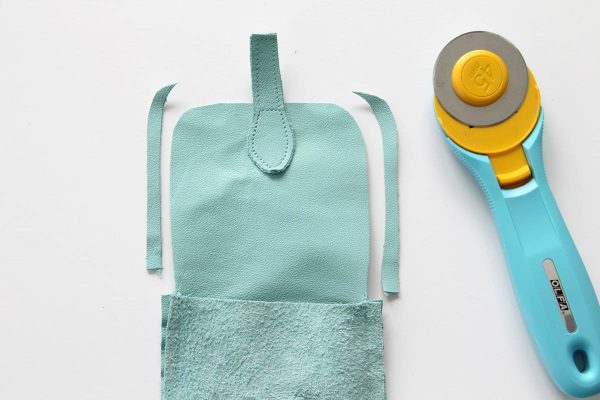
Cut purse pattern pieces:
- Cut (1) leather purse ‘Main’ pattern piece using the above measurements. (Purse width x purse length measurement).
- (1) leather purse ‘Loop’ 1.25″ L x .375″ W
- (2) leather purse ‘Straps’ 2.75″ L x .5″ W
*Optional – for a more decorative purse ‘Strap’, cut one end slightly larger and rounded, and narrow the strap down to .5″ wide at the bottom. Make sure both straps are exactly the same shape.
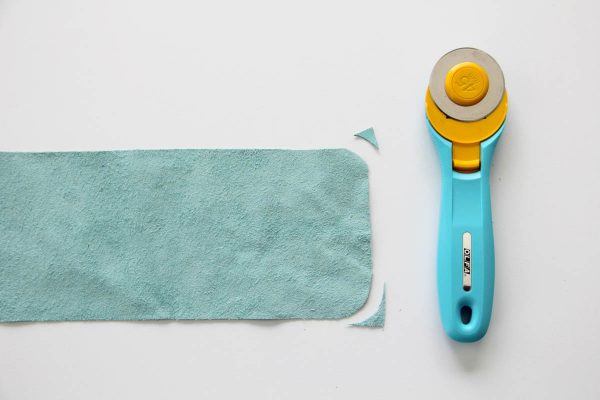
Step 3
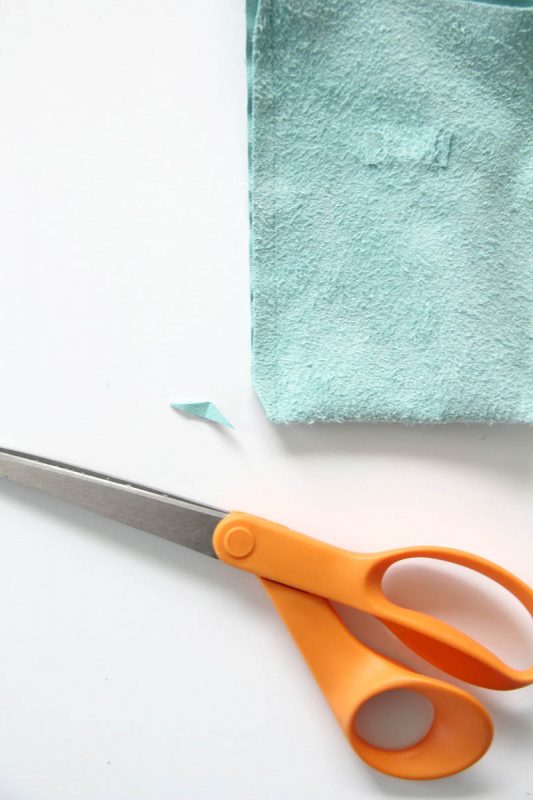
Using rotary scissors, curve the ends of your Main pattern piece on ONE SIDE only.
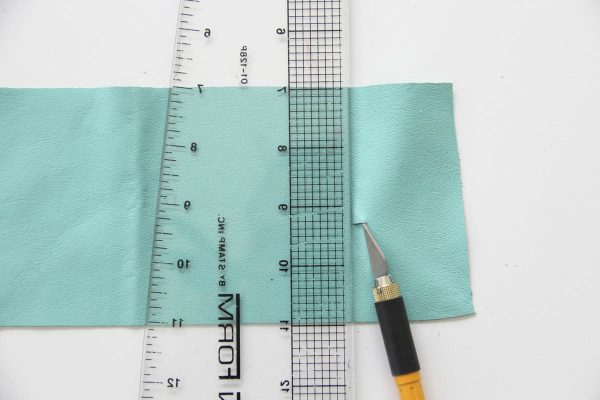
Step 4
On the other side of your Main pattern piece, mark the center of the shorter side edge, and measure 2″ down from that edge. Cut (2) small .375″ slits in the leather, both .25″ away on either side from the center mark. An Xacto knife works great for cutting these slits.
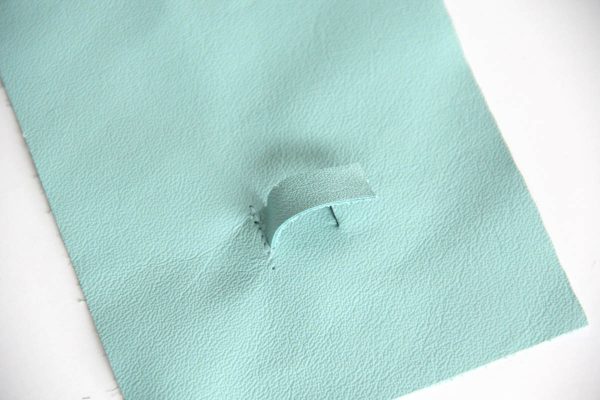
Step 5
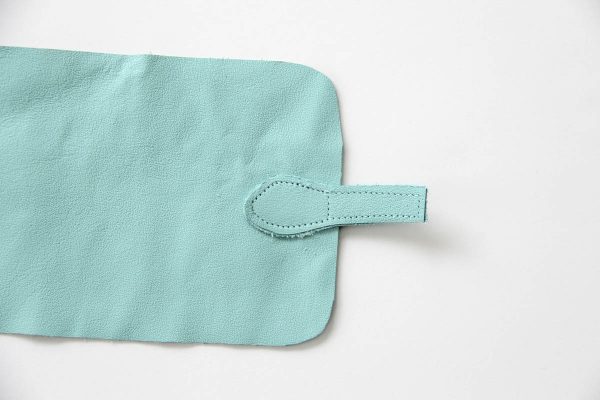
Slip one edge of the Loop into one slit, pushing .25″ of the loop edge through onto the wrong side. Edge stitch on the outer edge of the slit to secure the Loop edge in place.
Slip the other edge of the Loop into the opposite slit .25″, and repeat the edge stitching on the opposite outer edge of the slit to secure.
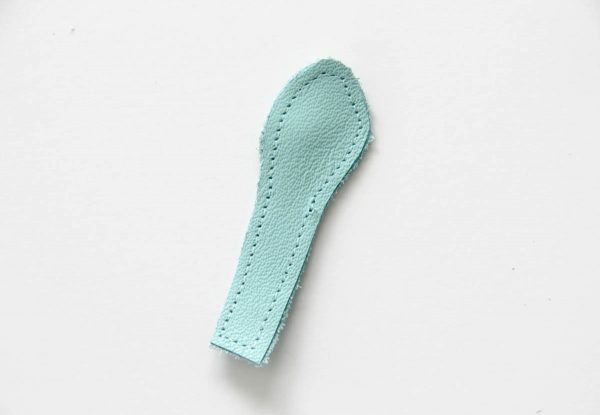
Step 6
Place your (2) Straps wrong sides together, matching up all raw edges. Sew around the edges. This will give you a tougher / thicker Strap pattern piece.
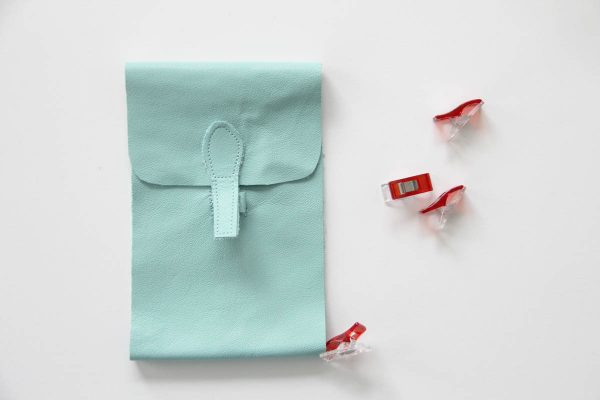
Step 7
Place the upper edge of the Strap (the rounded edge if you did the optional decorative touch from Step 2), along the center of the Main pattern piece curved edge. 1.25″ of the strap should be on the Main pattern piece, and 1.75″ of the strap should be hanging off. Sew around, being careful to sew exactly where your sewn lines are from the previous step, attaching the strap to the main pattern piece.
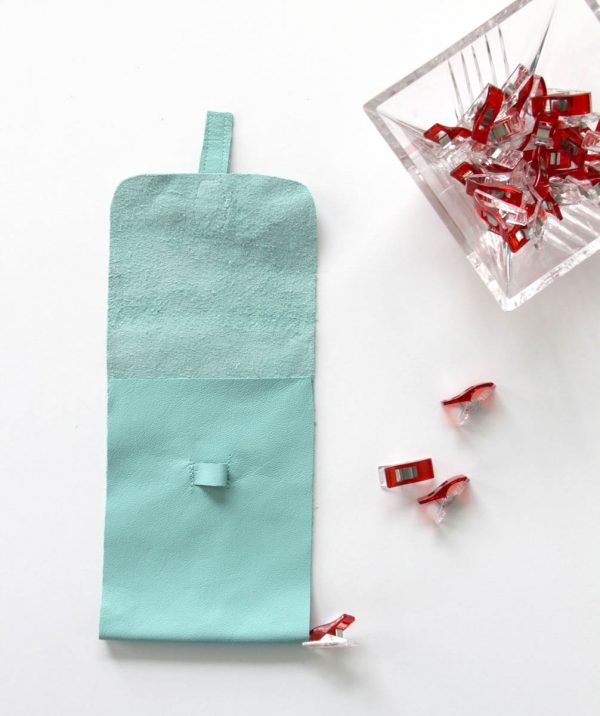
Step 8
Fold the bottom of the main pattern piece (the loop side), up towards the top of the purse, wrong sides together. You want to be able to fold down the top of the purse, so that the strap can comfortably slip inside the loop. Once you have the fold correct, use a binder clip to mark the bottom fold of the purse.
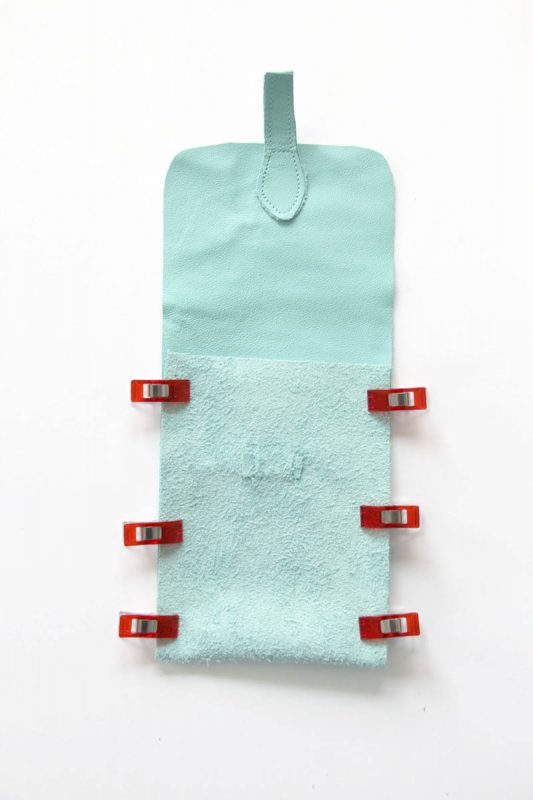
Step 9
Open up the purse, and refold right sides together, using your binder clip as a guide for the correct bottom purse fold. Clip together the side seams, and sew using a .375″ seam allowance.
Step 10
Trim seam allowance and corner edges.
Step 11
Trim the side edges of the upper purse flap, so that the flap is the same width as your bottom purse, from the seam to the upper curved edge.
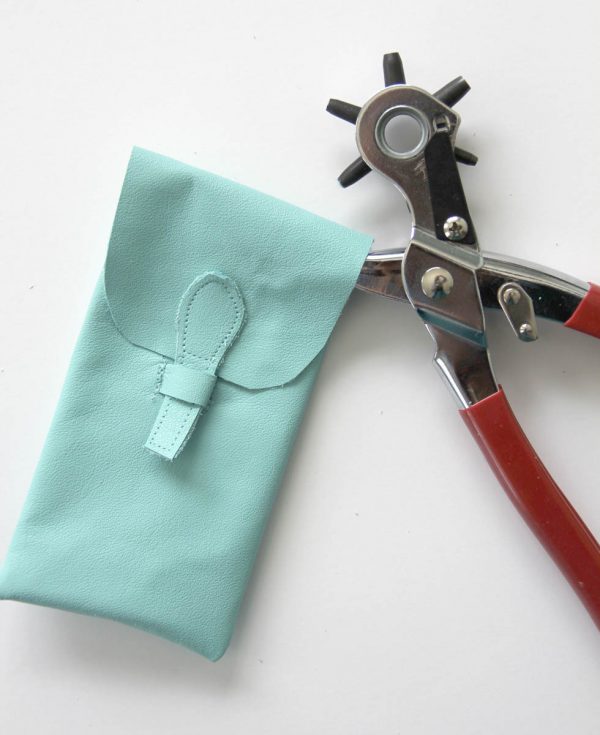
Step 12
Use your Revolving Punch Pliers, and measure .75″ from the edge of the top flap folded edge (with the strap inside the loop).
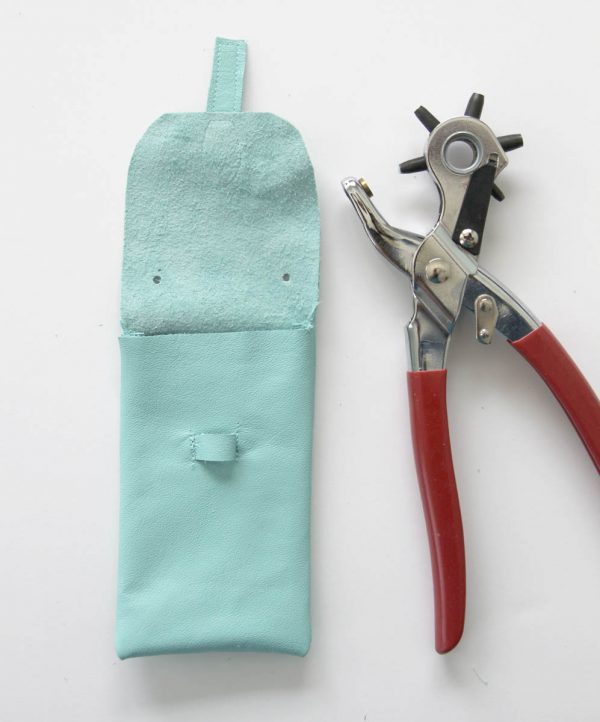
Step 13
Make 2 holes on each side.
Step 14
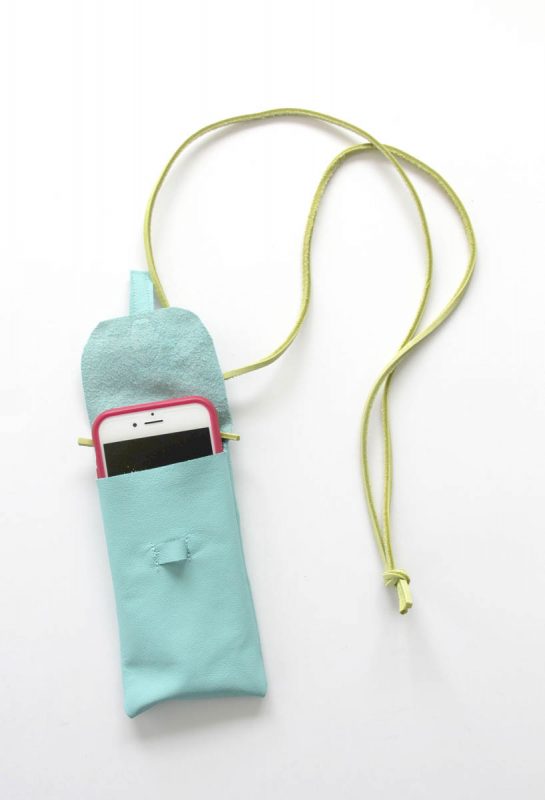
Slip ends of leather string inside of the holes, and make a knot on each end.
And you are finished!


2 comments on “Leather iPhone Purse Tutorial”