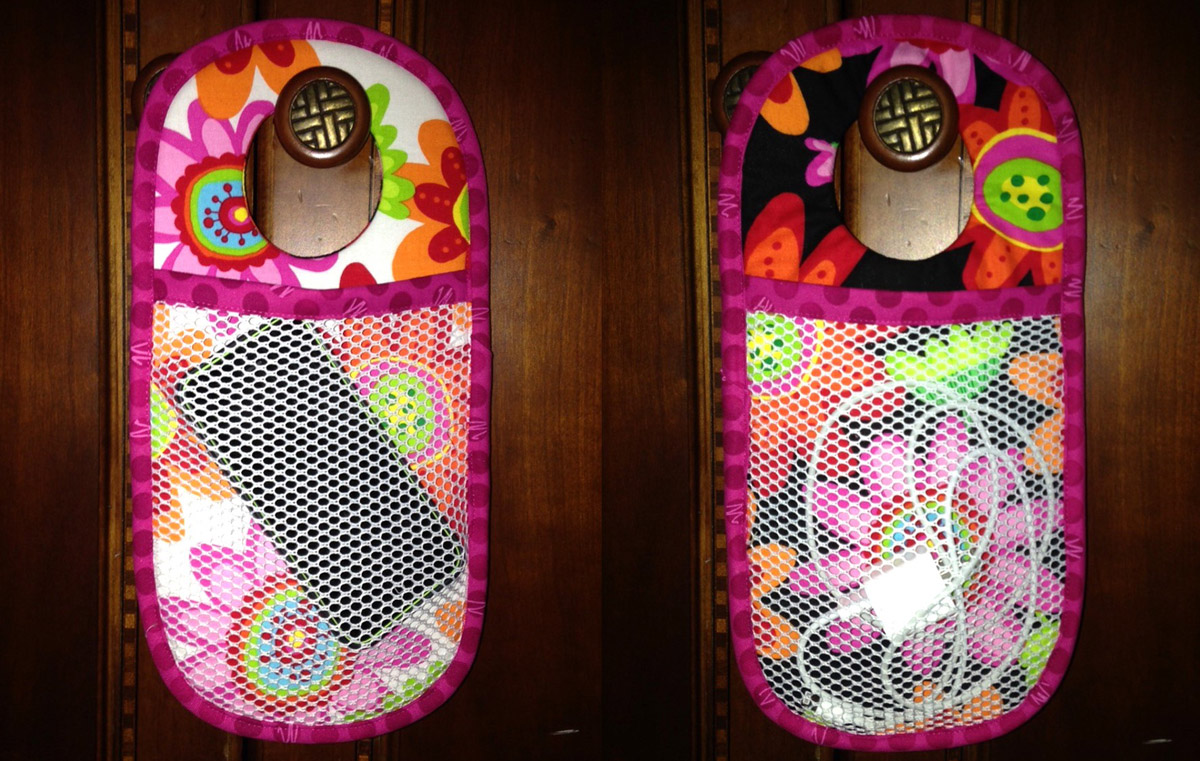
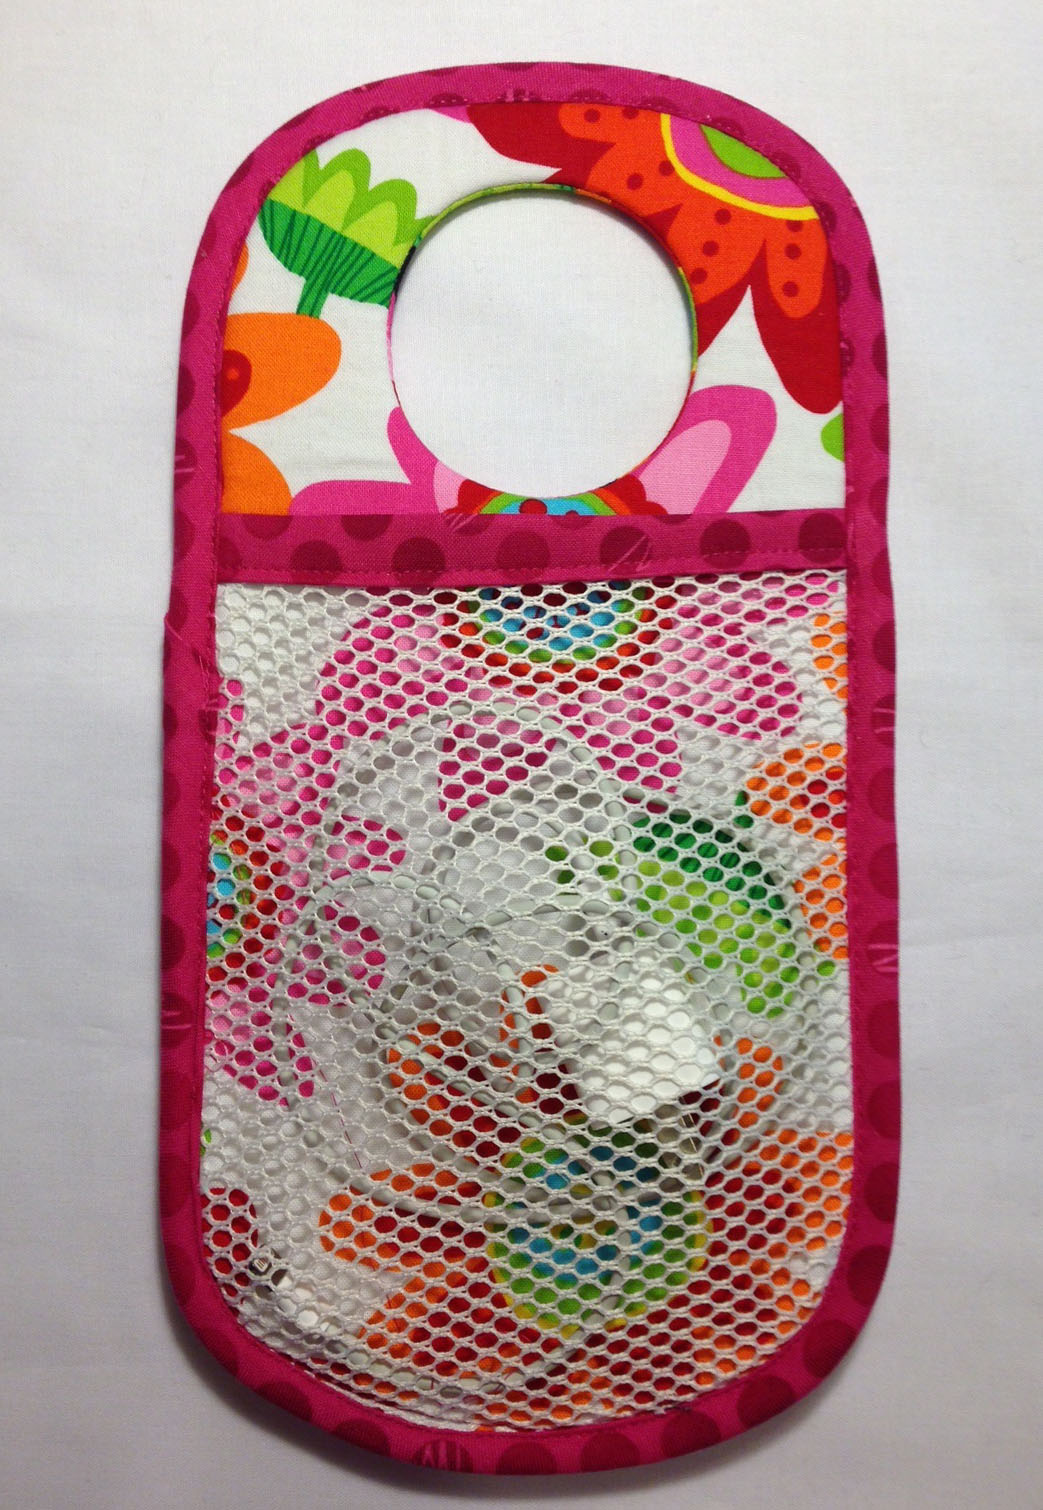
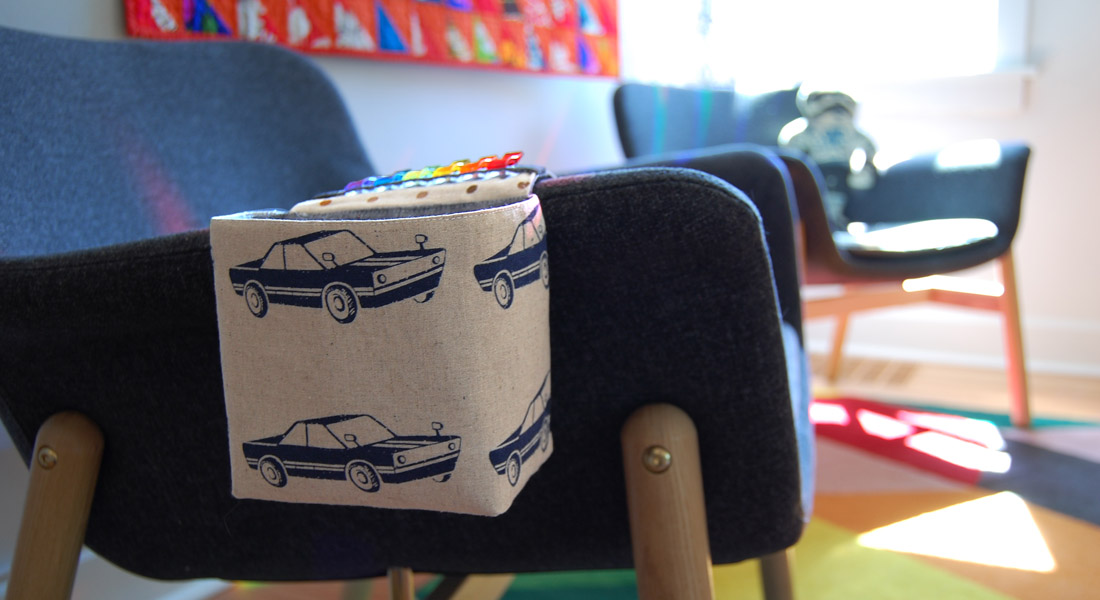
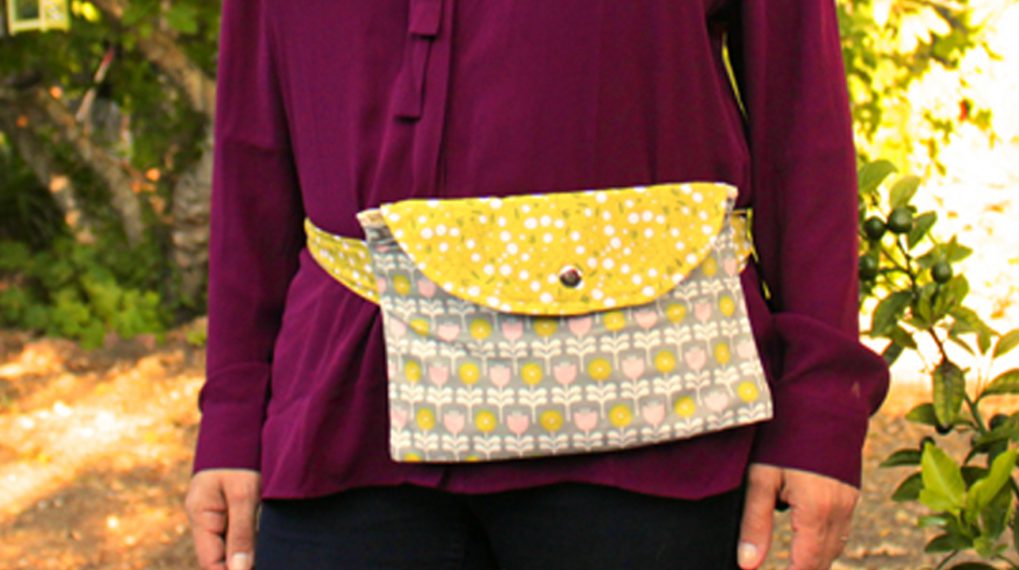
Cell Phone Caddy
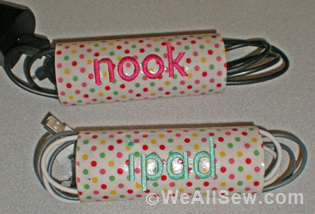
Hi, my name is Teri Henderson Tope and I have left a trail of cell phone power cords everywhere I go. (Hotels, retreats, teaching venues and yes even the hospital waiting room). And when I wasn’t losing the cord, it was wound around with junk, I mean important stuff in my purse or bag. Uggggh! So I designed a functional and pretty cell phone caddy. Tuck those cords in one side and your phone in the other. It is designed with a large hanging hole so it can be hung on a door knob or drawer pull, and can be easily tucked into the side of your bag or slipped into your luggage. My college student has hung hers on a 3-M hook next to her bunk bed. Mesh pockets keep phone cool and allows for that evil wake up call to be heard. I bet you know someone who would love a phone caddy. So let’s get started.
Materials:
- 7″ x 12″ piece of Soft and Stable or In-R-Form (foam craft stabilizers)
- 7″ x 12″ piece of fabric for the front
- 7″ x 12″ piece of fabric for the back
- 8″ x 14″ piece of cotton mesh
- 2″ x 16″ strip of fabric for pocket trim
- 2-1/4″ x 36″ bias strip of fabric for binding
- Basic sewing supplies
- Sewing machine (I use a BERNINA 750 QE)
- Thread to match
- Fabric marking pen
- Fabric glue stick
- Paper scissors
- Pinking shears
- Wonder clips
- Iron and ironing surface
- 6″ x 24″ ruler
- 1/4″ Patchwork foot (Patchwork foot #37/#37D or Patchwork foot #97/#97D)
- Cell Phone Caddy Pattern
Instructions
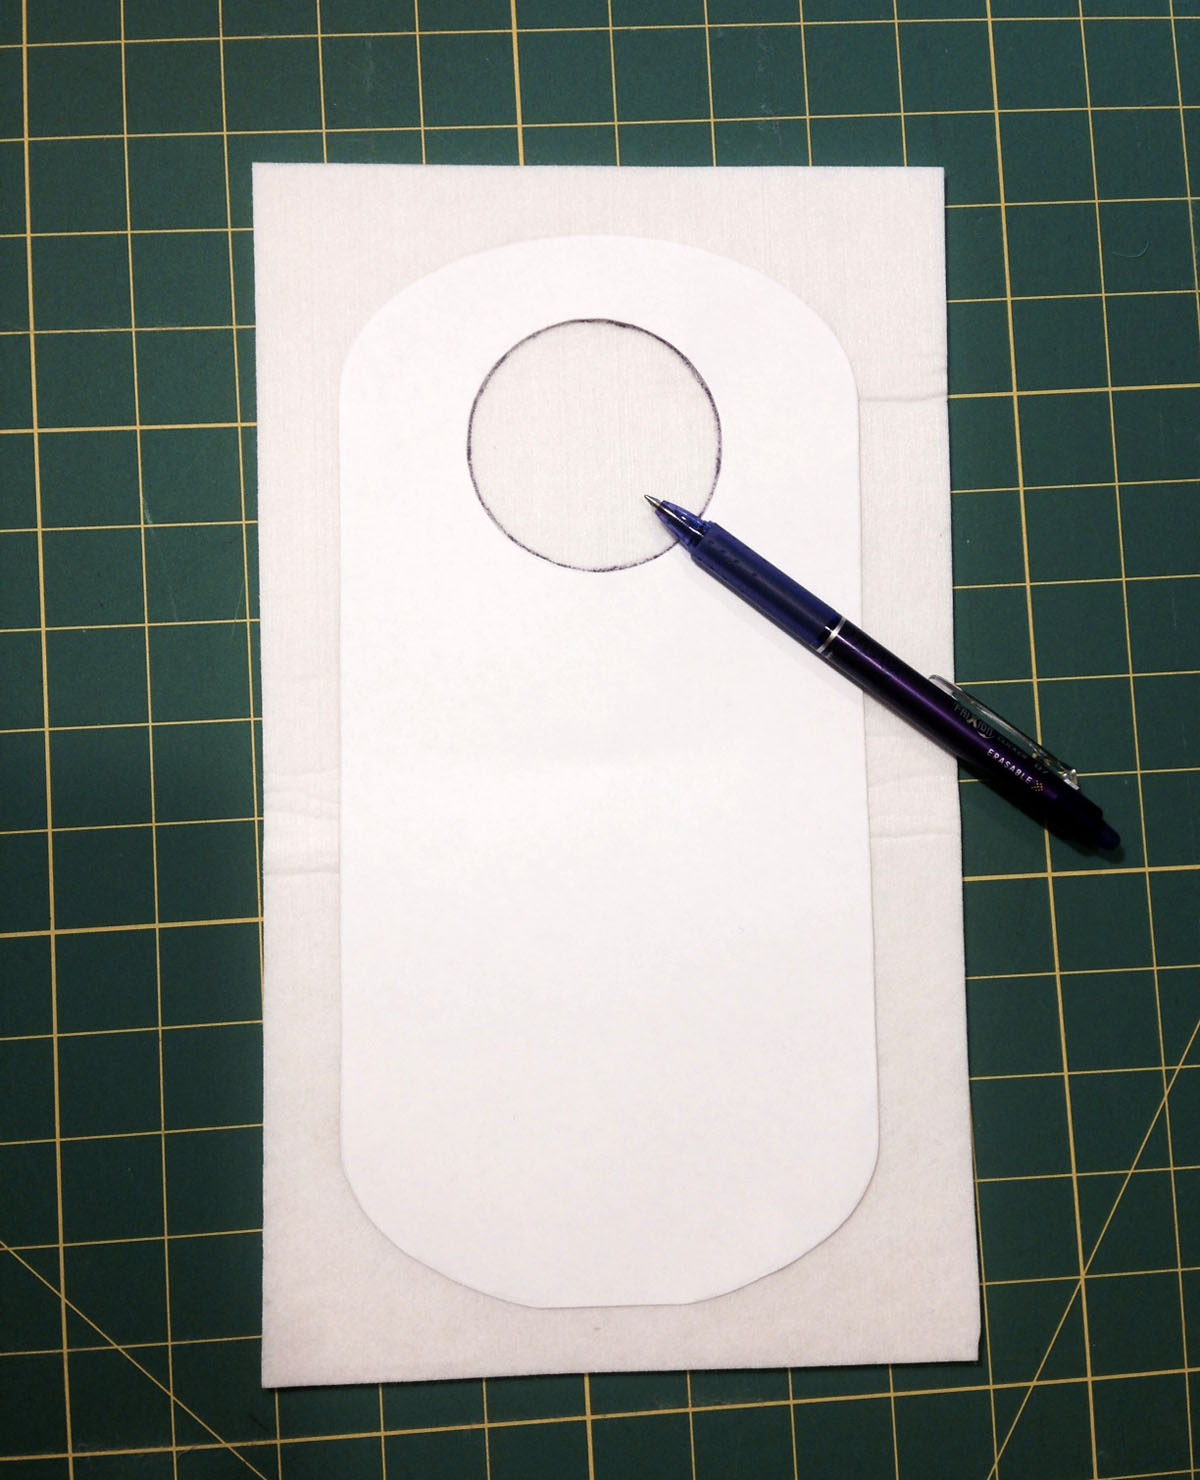
Download and print out the pattern piece for Cell Phone Caddy. Cut out the pattern. Cut away hole in center of pattern. Center pattern over the soft and stable. With fabric marking pen, trace the center circle.
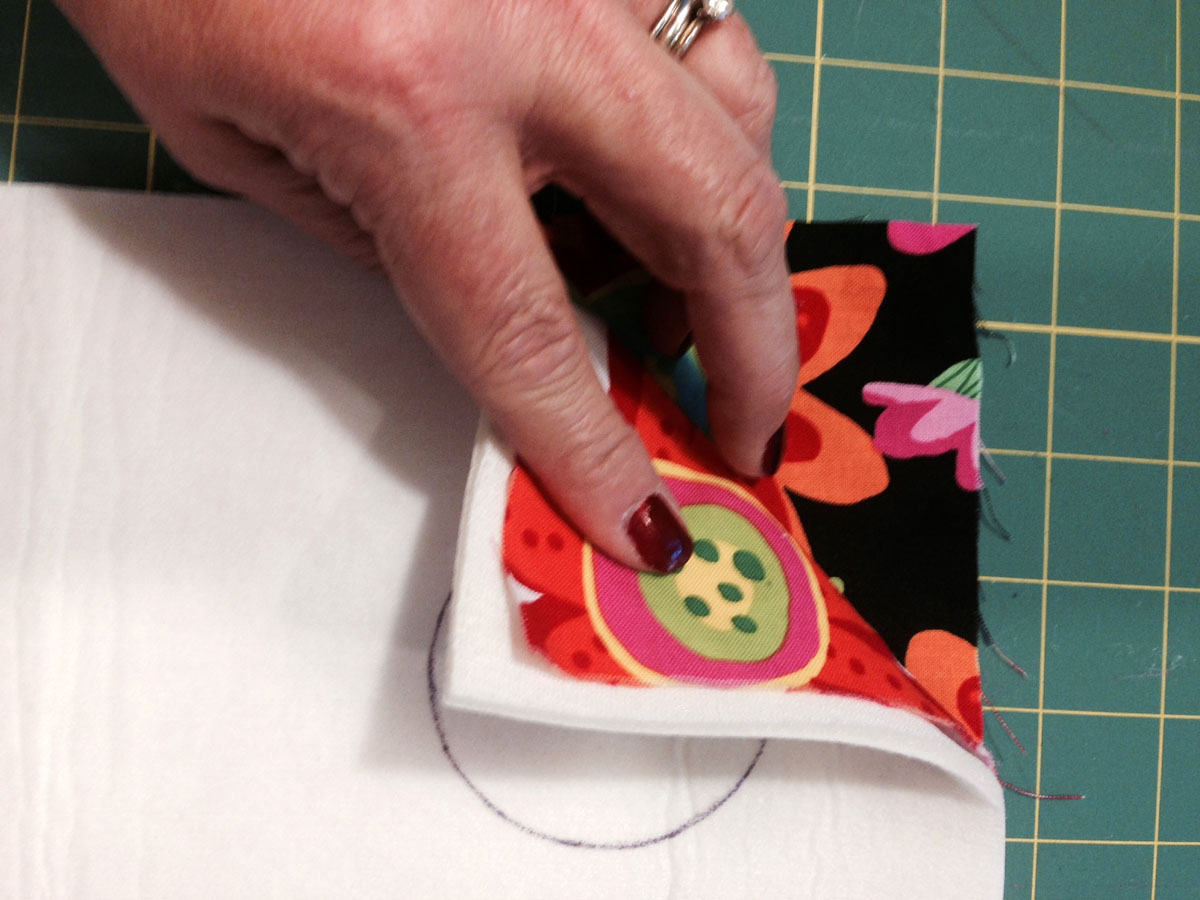
Layer the caddy front and back pieces of fabric right sides together. Place marked Soft and Stable over the stacked fabrics and carefully pin, keeping all the layers nice and flat.
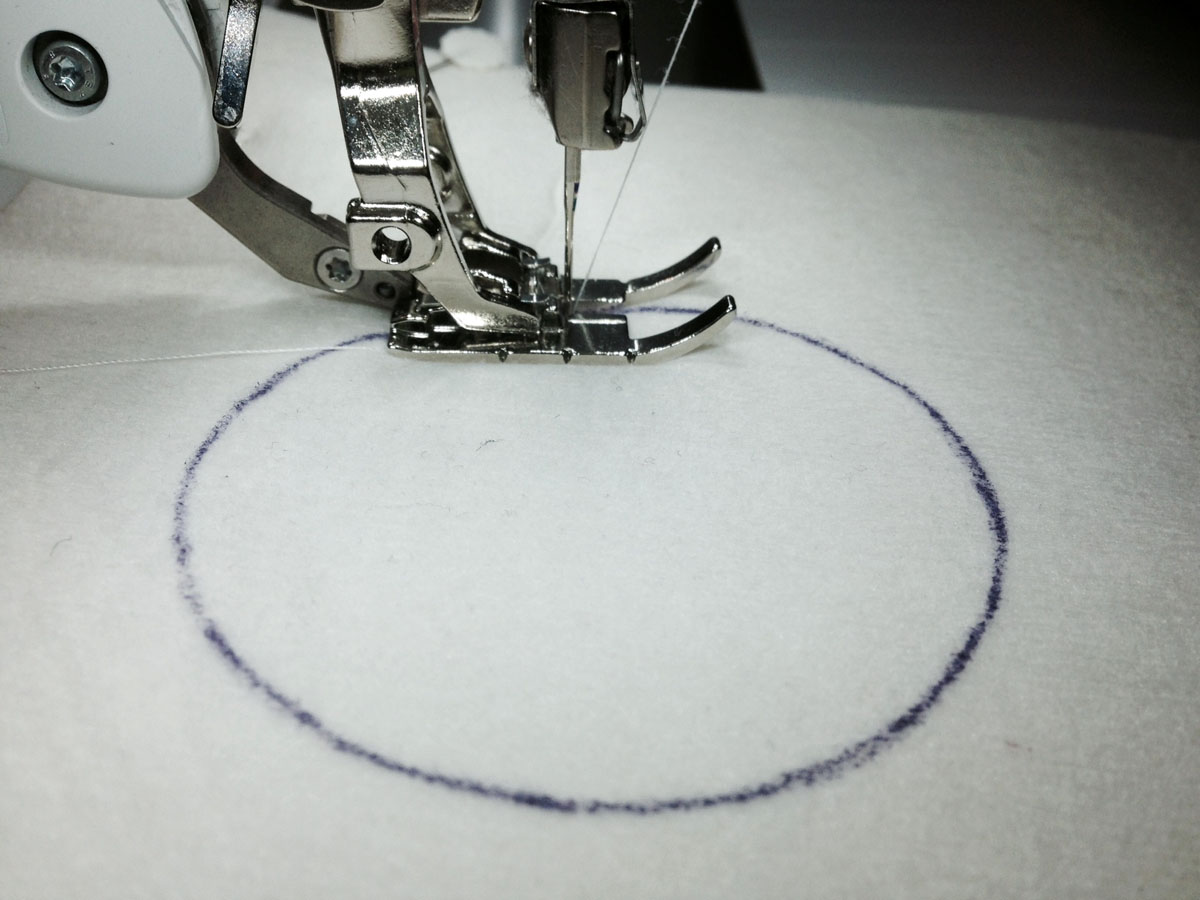
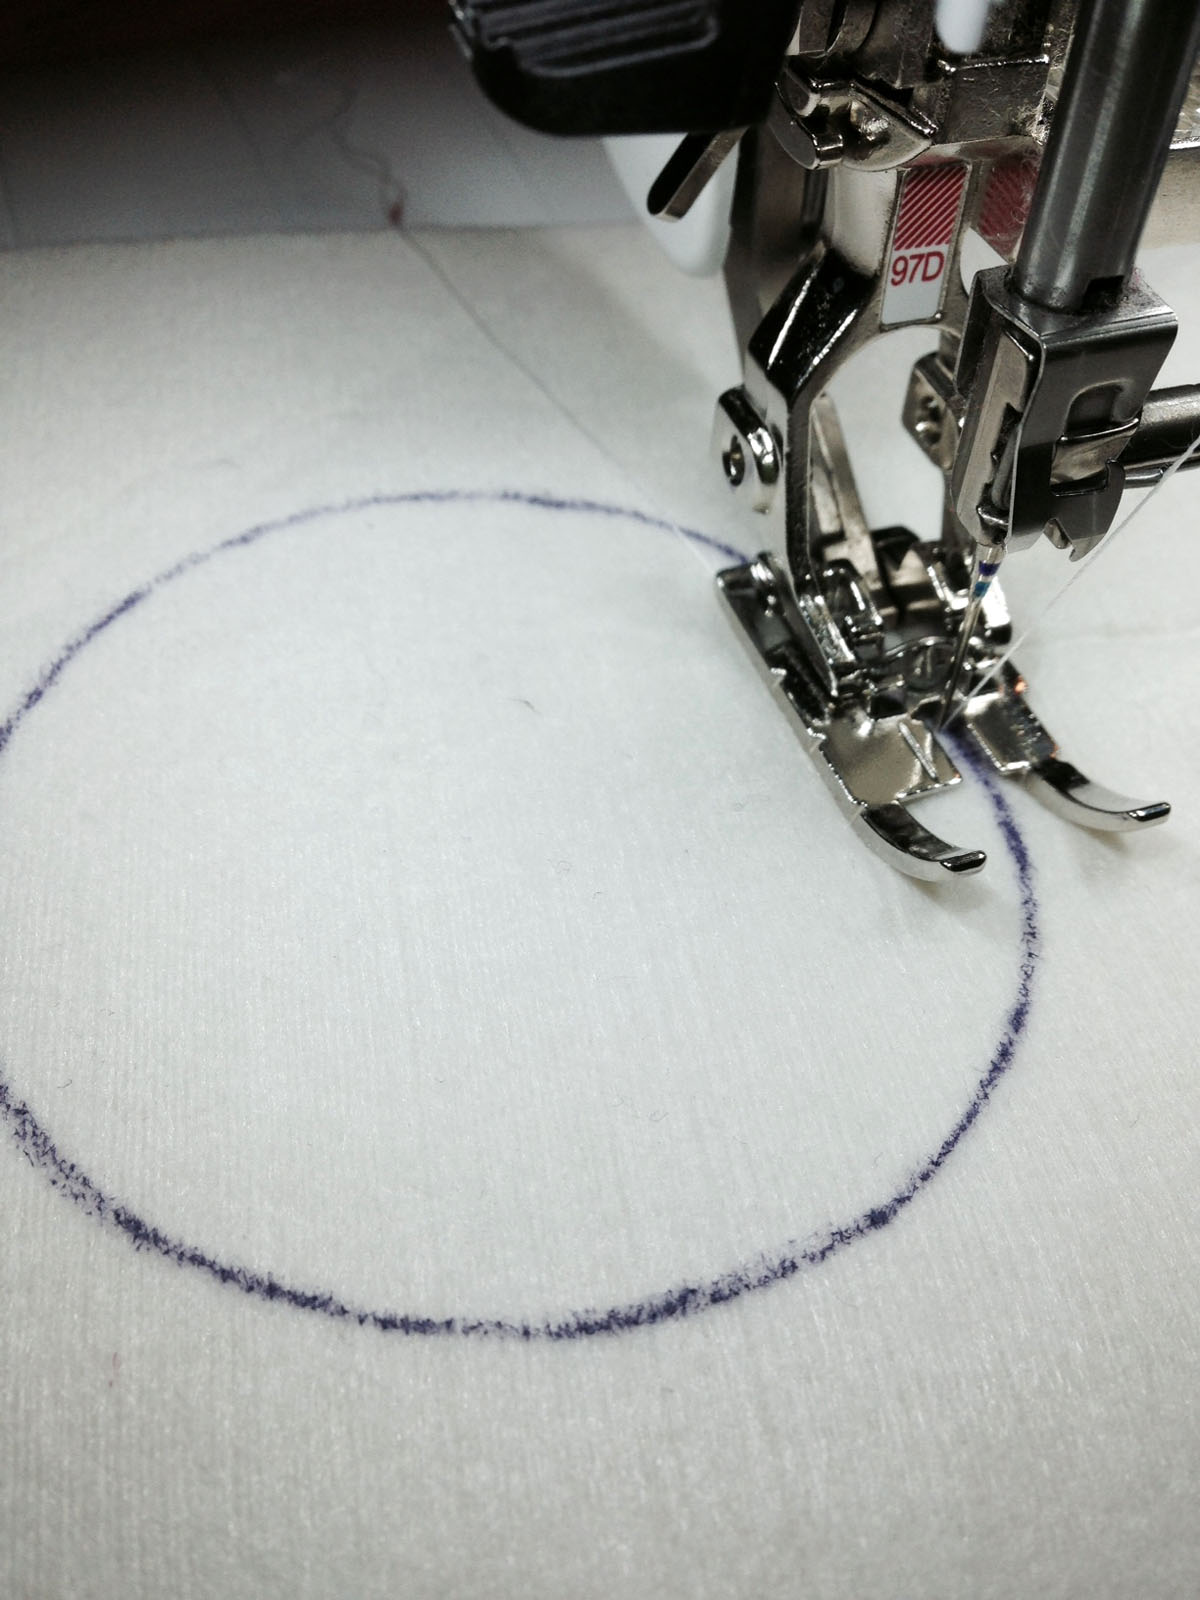
Stitch on the drawn line of the marked circle with a Patchwork foot—making sure Dual Feed is engaged (if your machine has that feature). Stitch around circle twice for added durability.
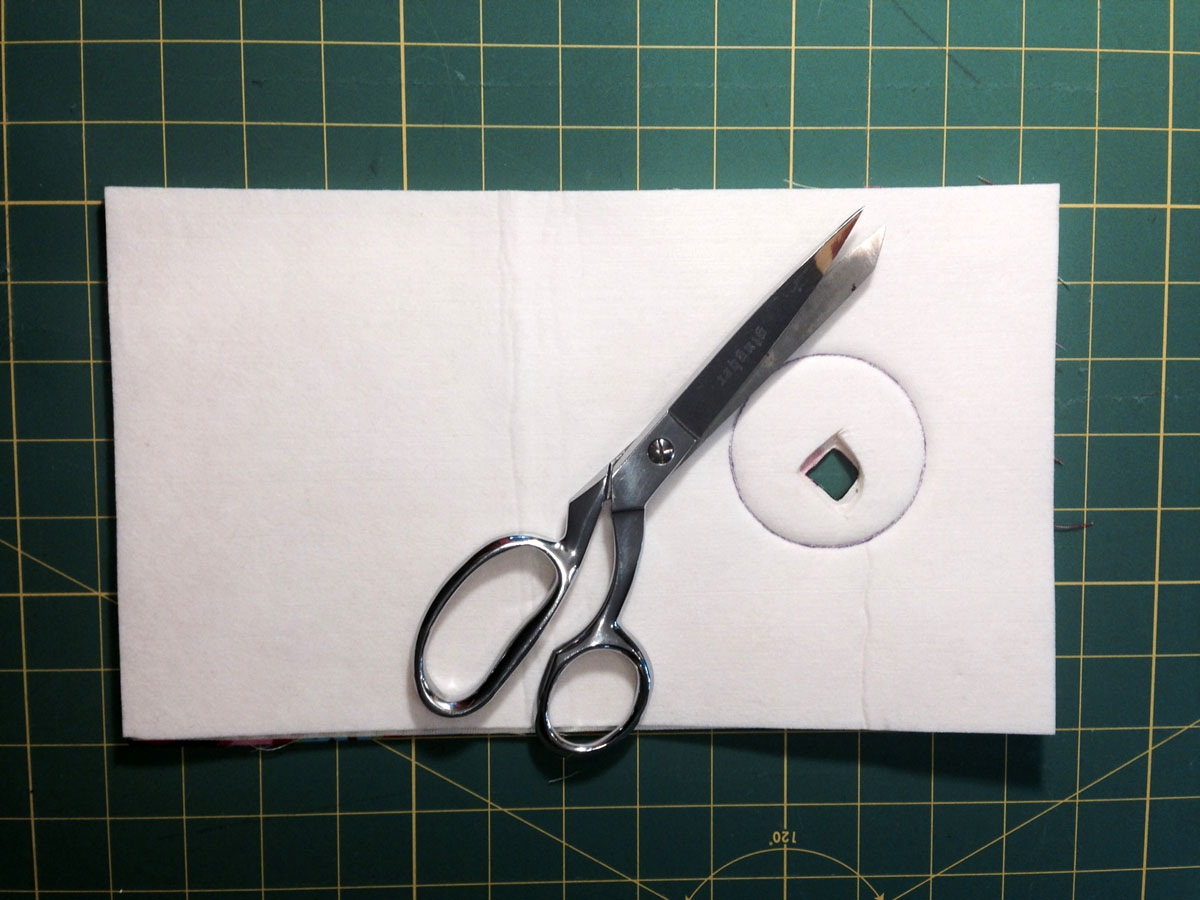
With scissors cut away small portion of the center of caddy. Making a hole so that you can get the pinking shears into center to cut easier and accurately.
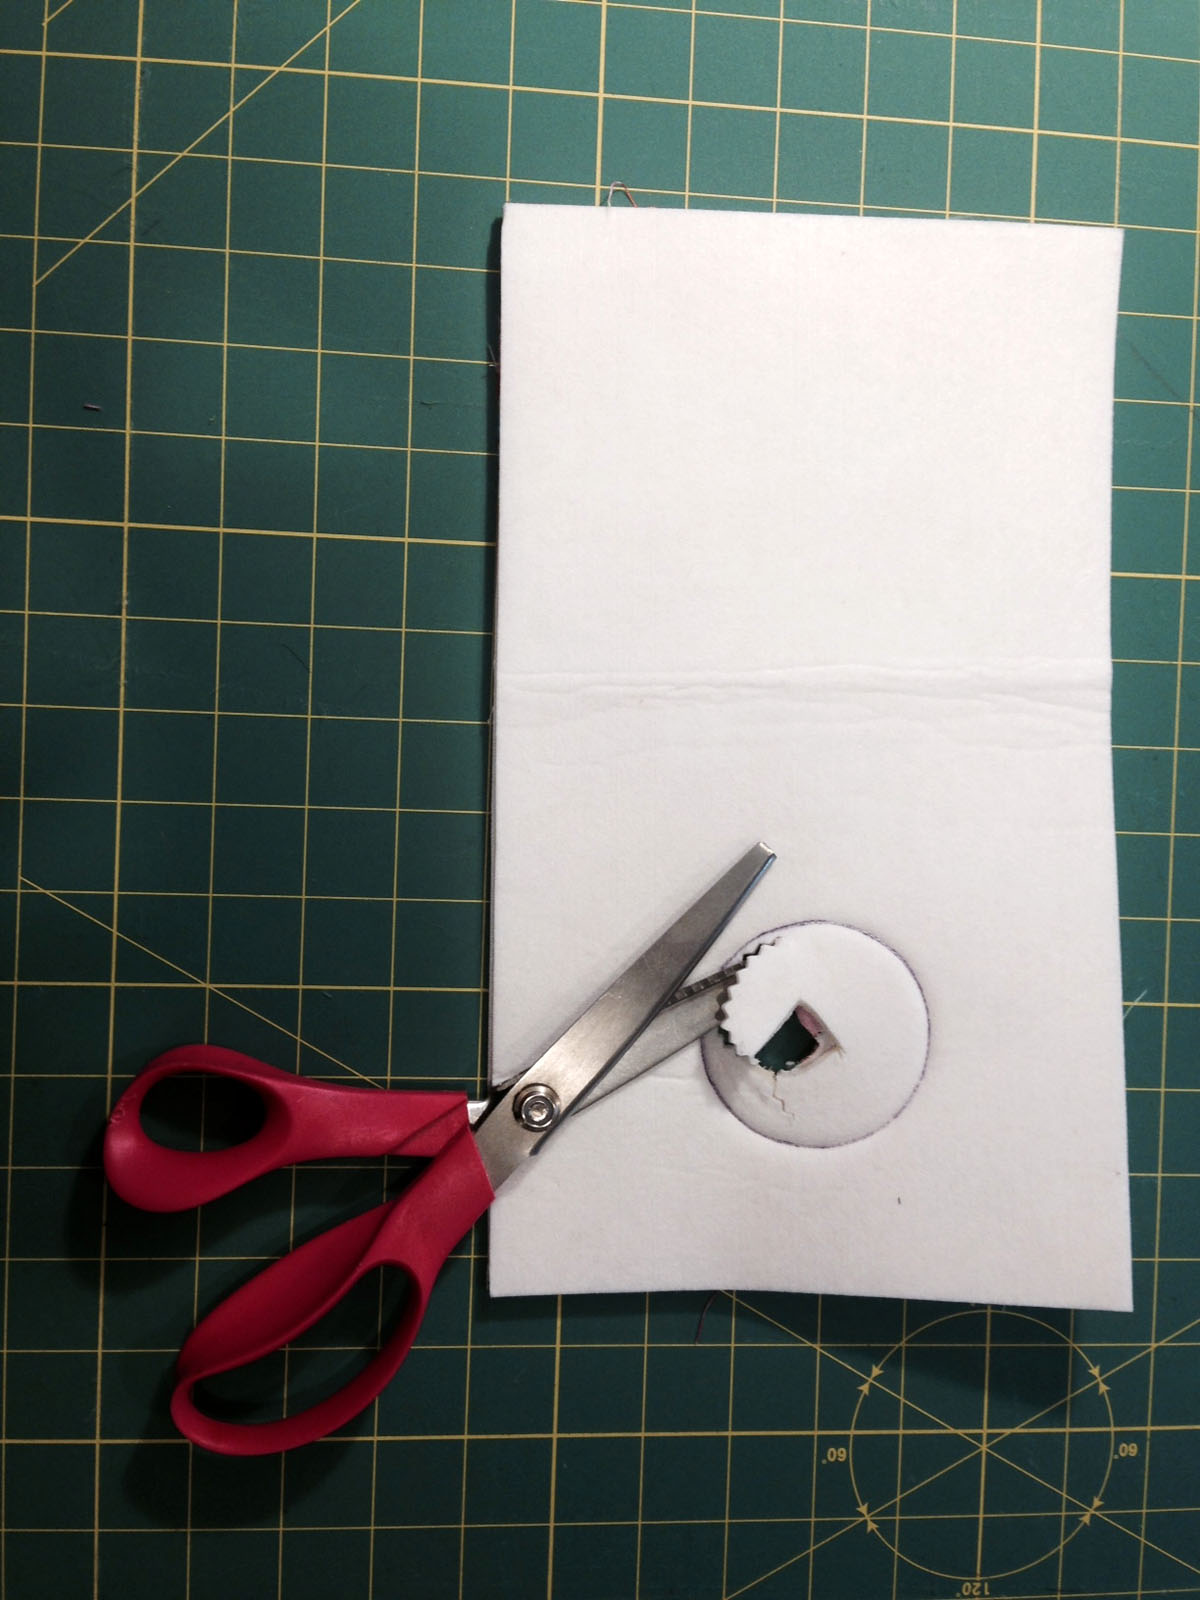
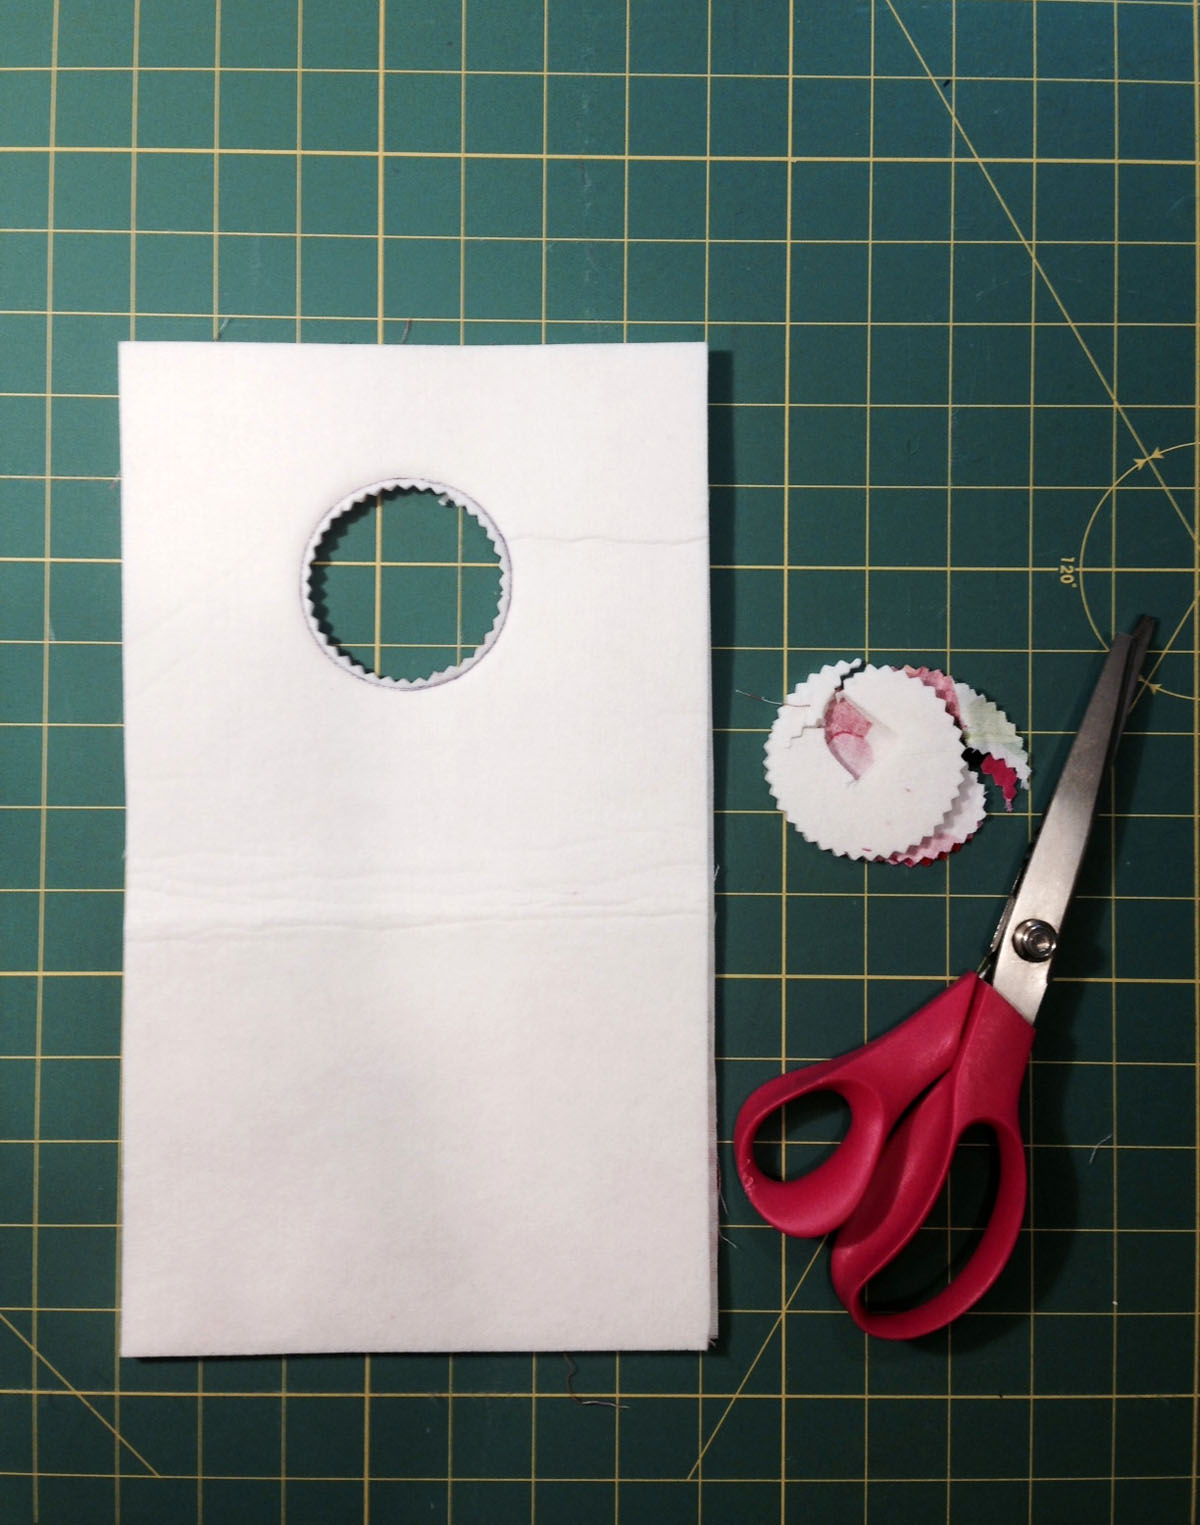
With pinking shears trim as close to the stitching line as possible. Be careful not to snip the stitched threads. This clips the inside curved edge so that fabric can be turned easier.
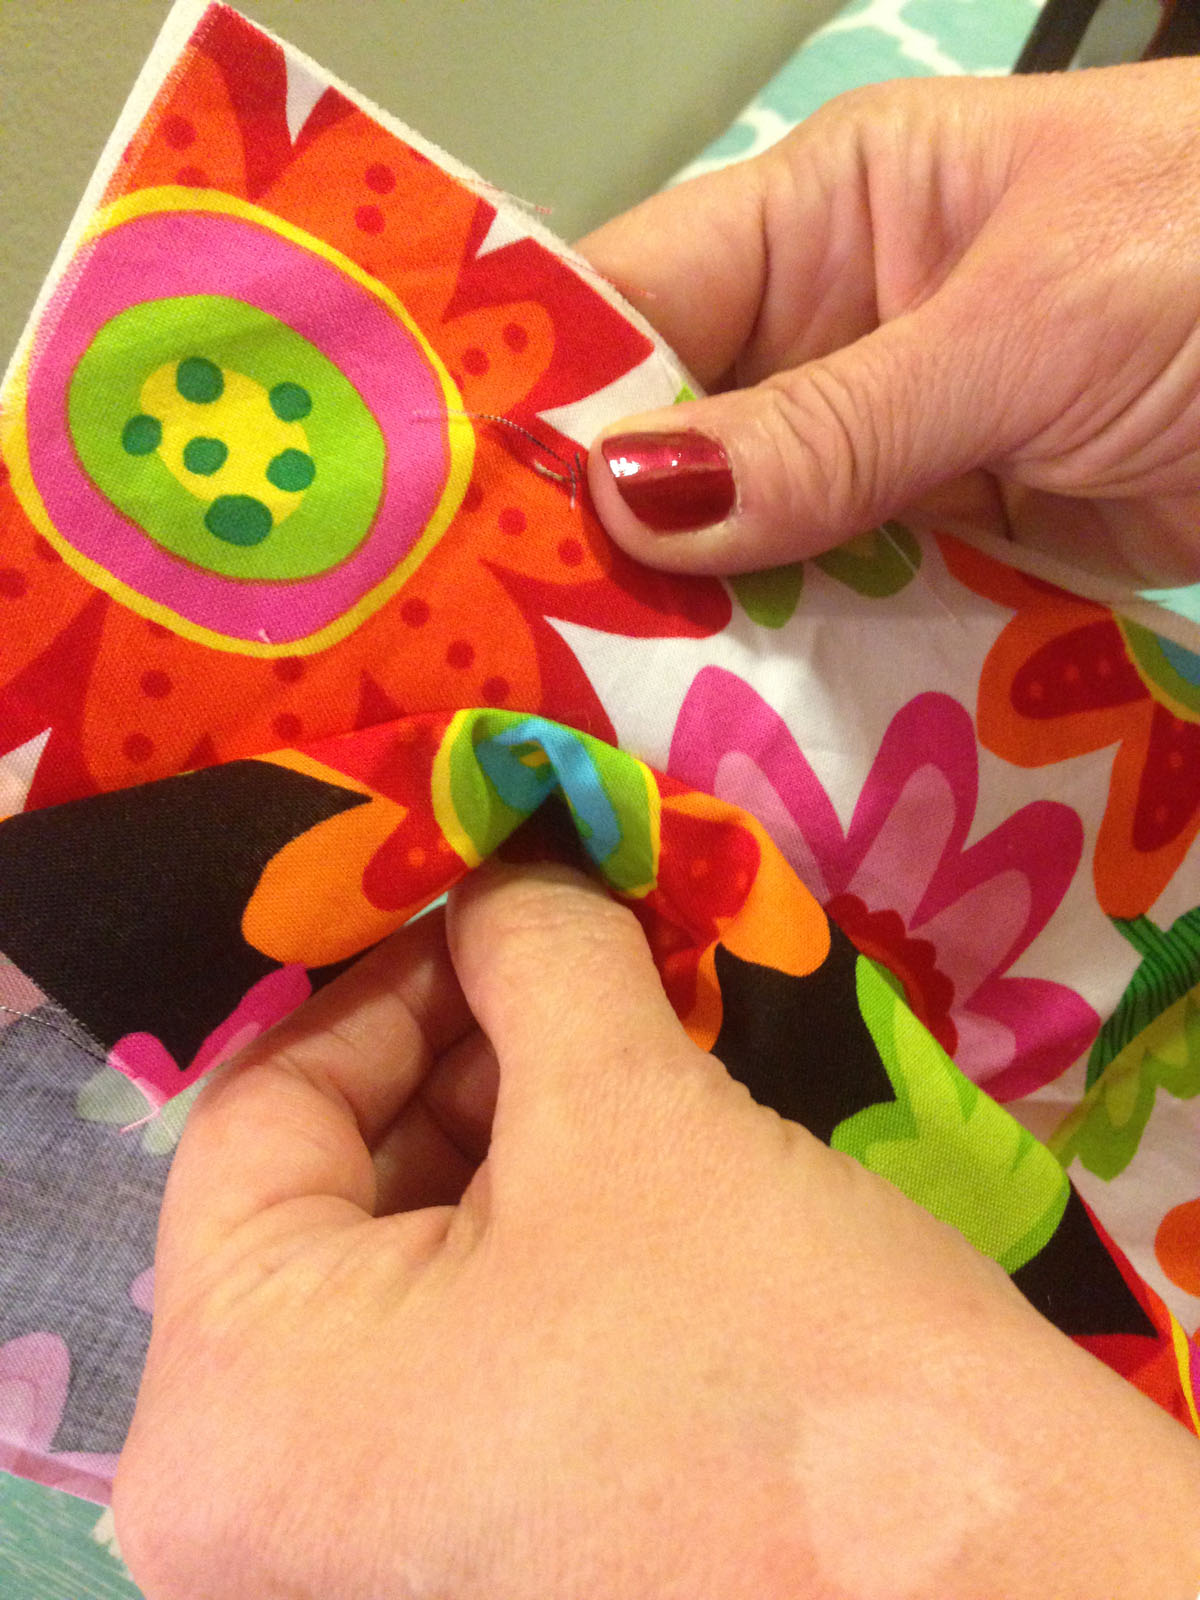
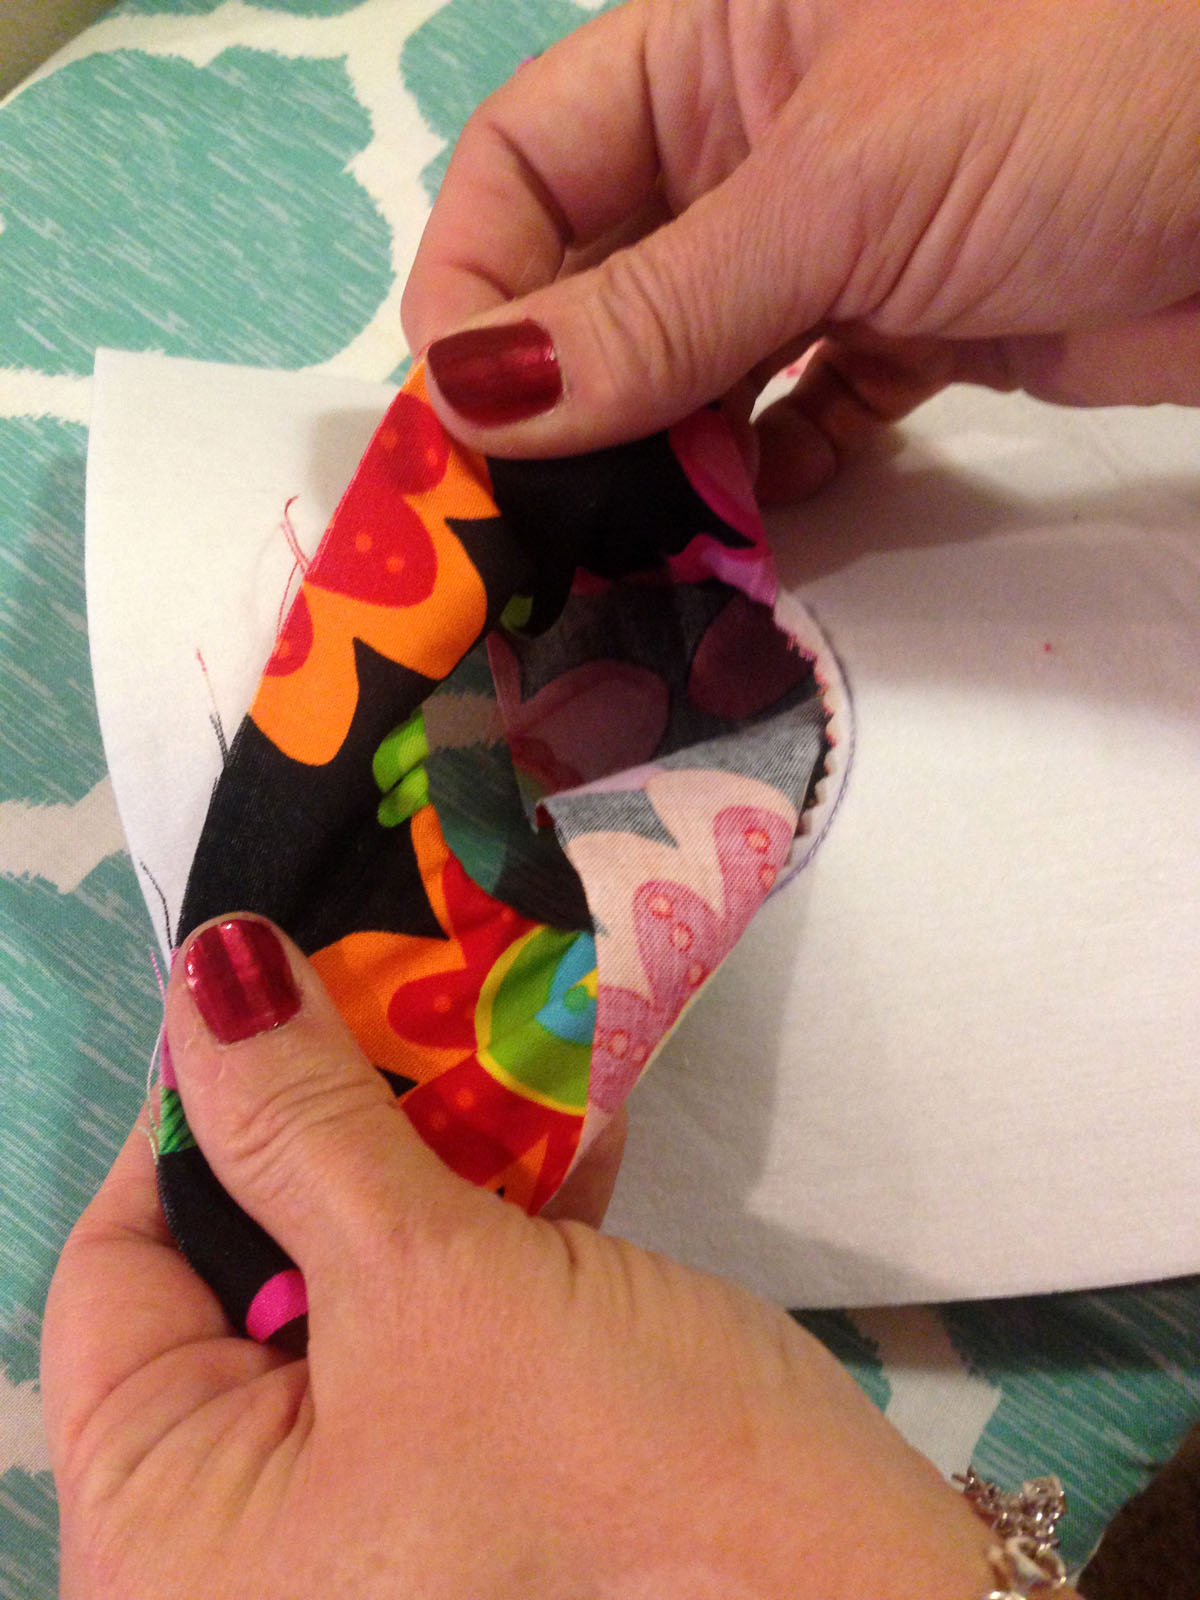

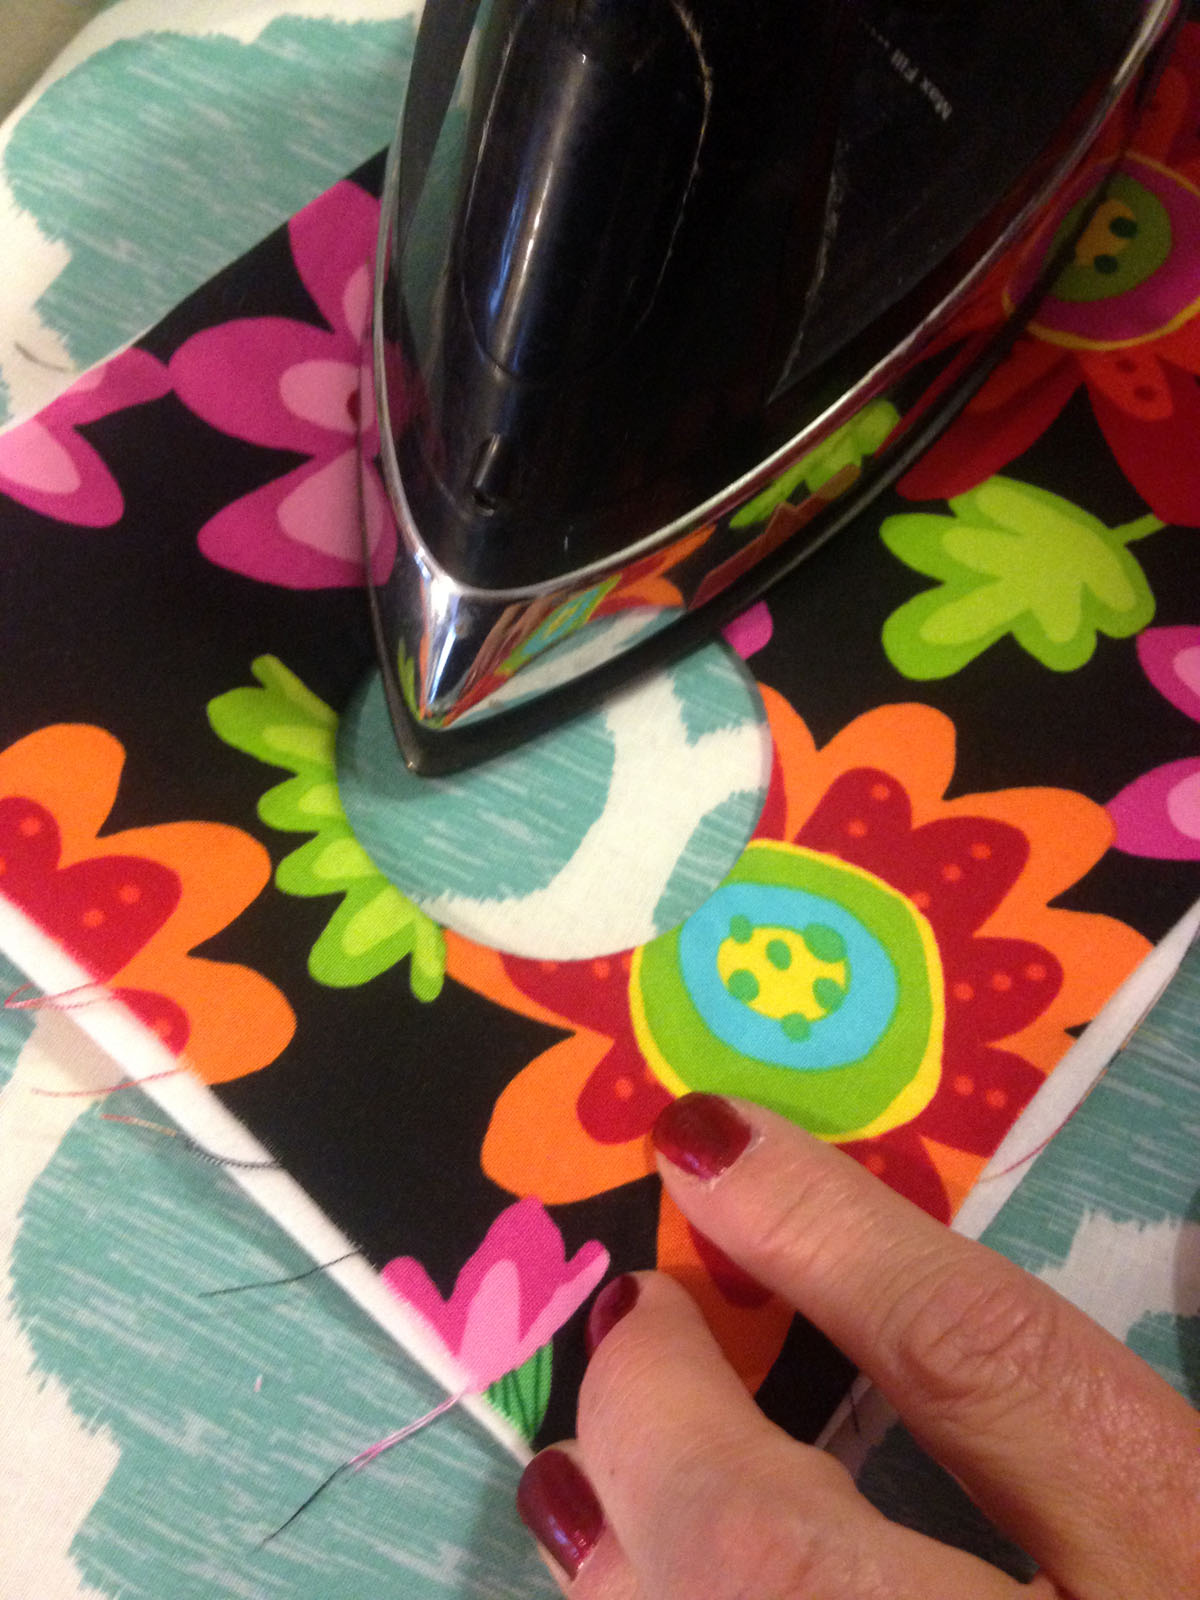
Carefully pull one side of the caddy cover layers through the stitched and pinked hole. Gently pull and stretch until the hole has a nice clean edge. Press with iron as you go.
Create The Pockets
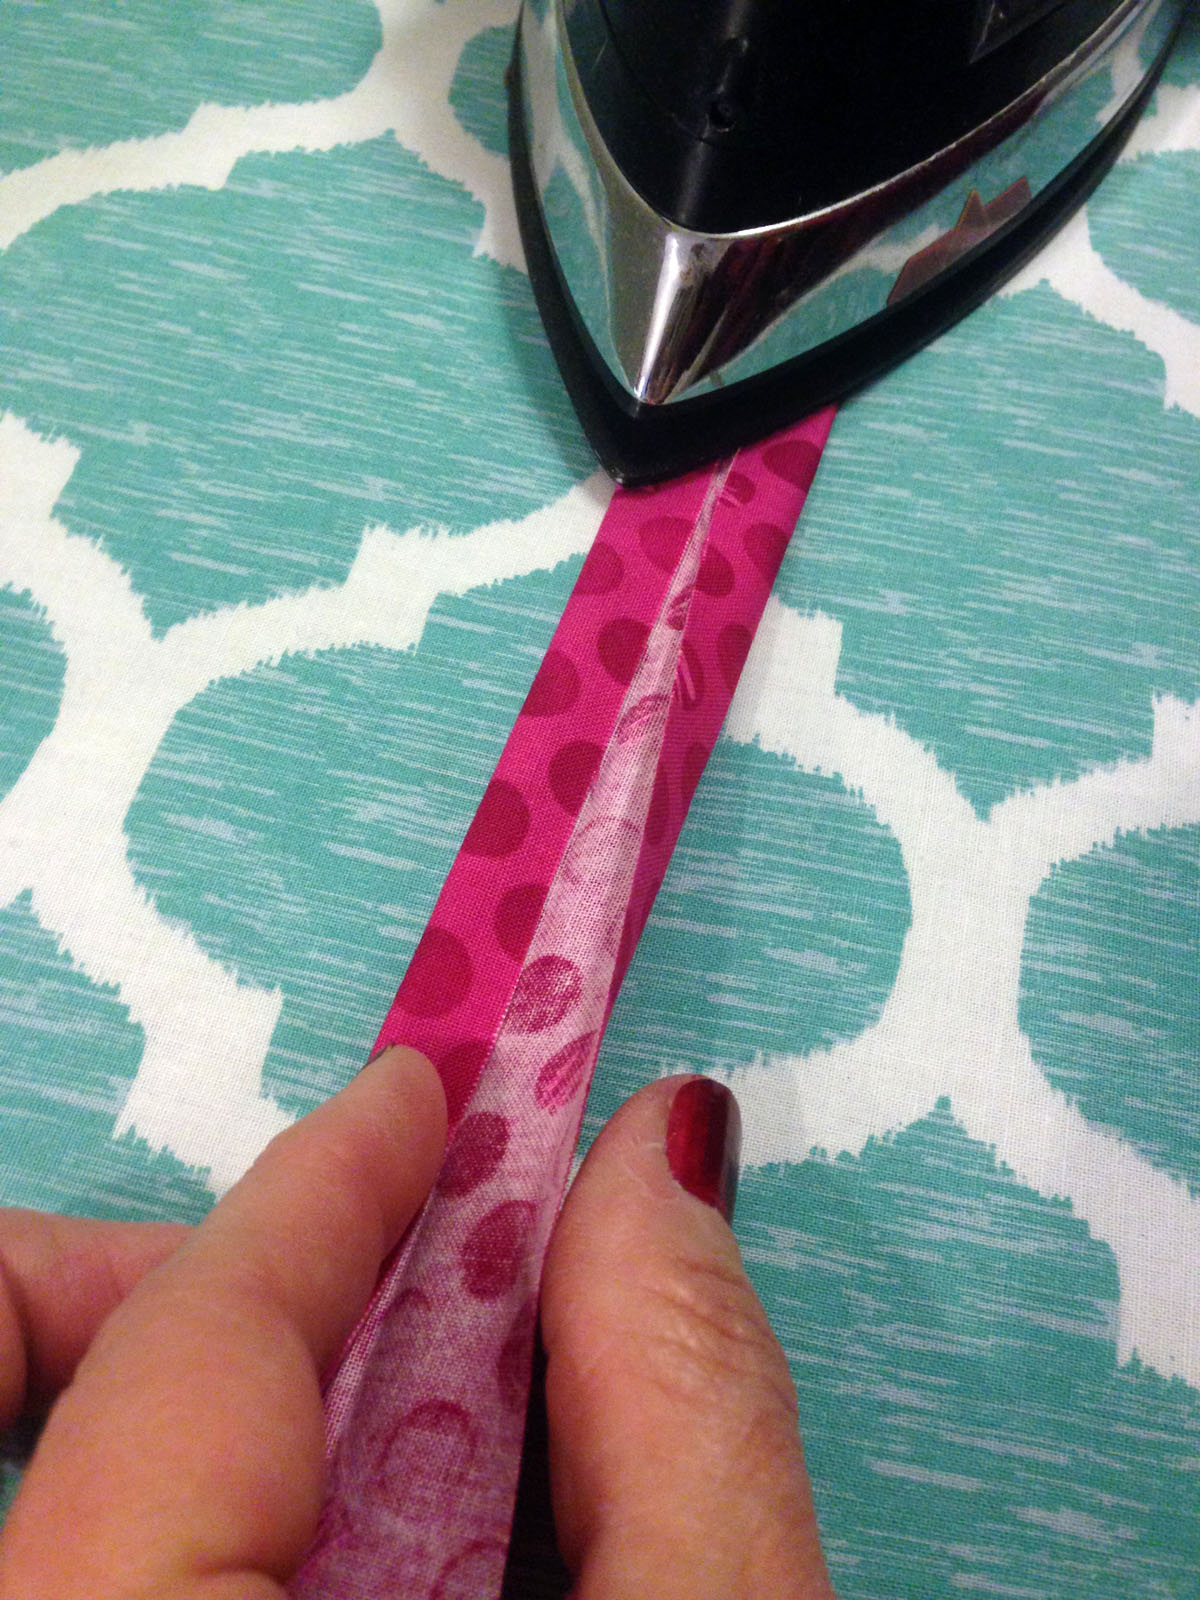
Prepare the pocket trim piece by first folding it in half and then pressing. Now open it up and fold both of the raw edges to the center pressed line.
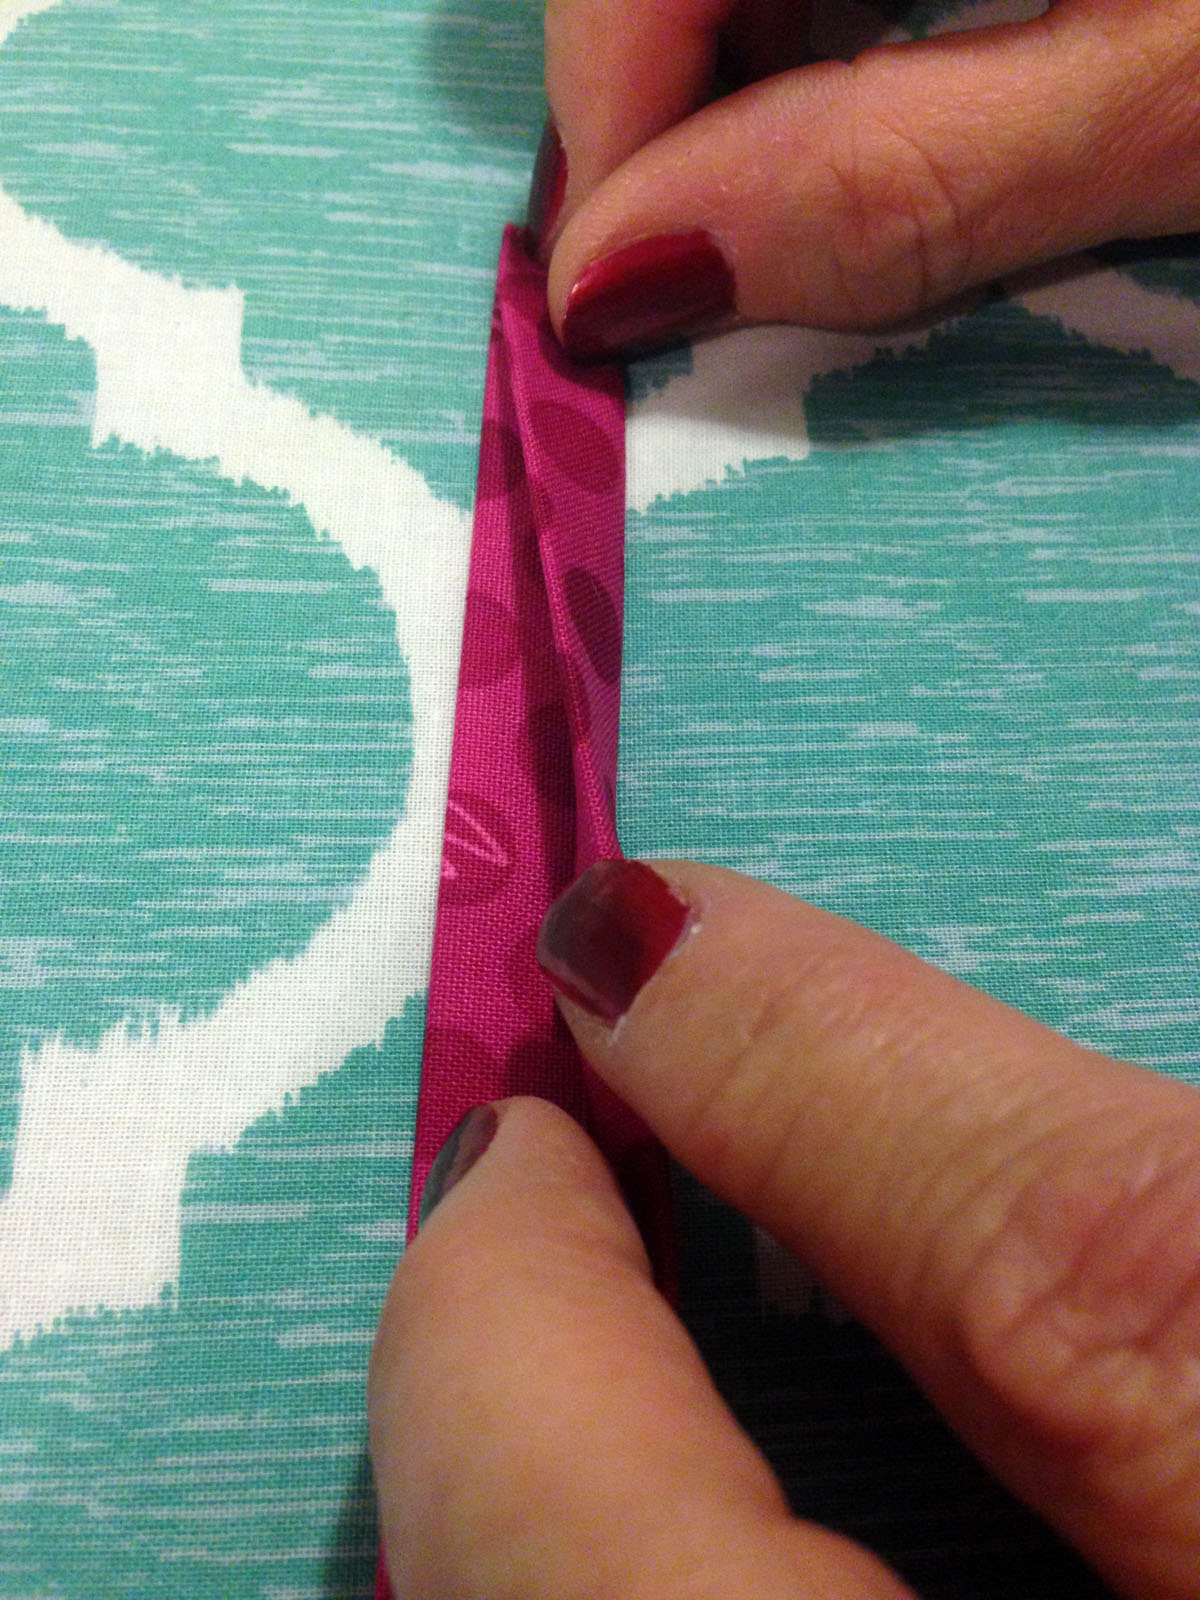
Now refold the centerfold and press well, creating a binding strip.
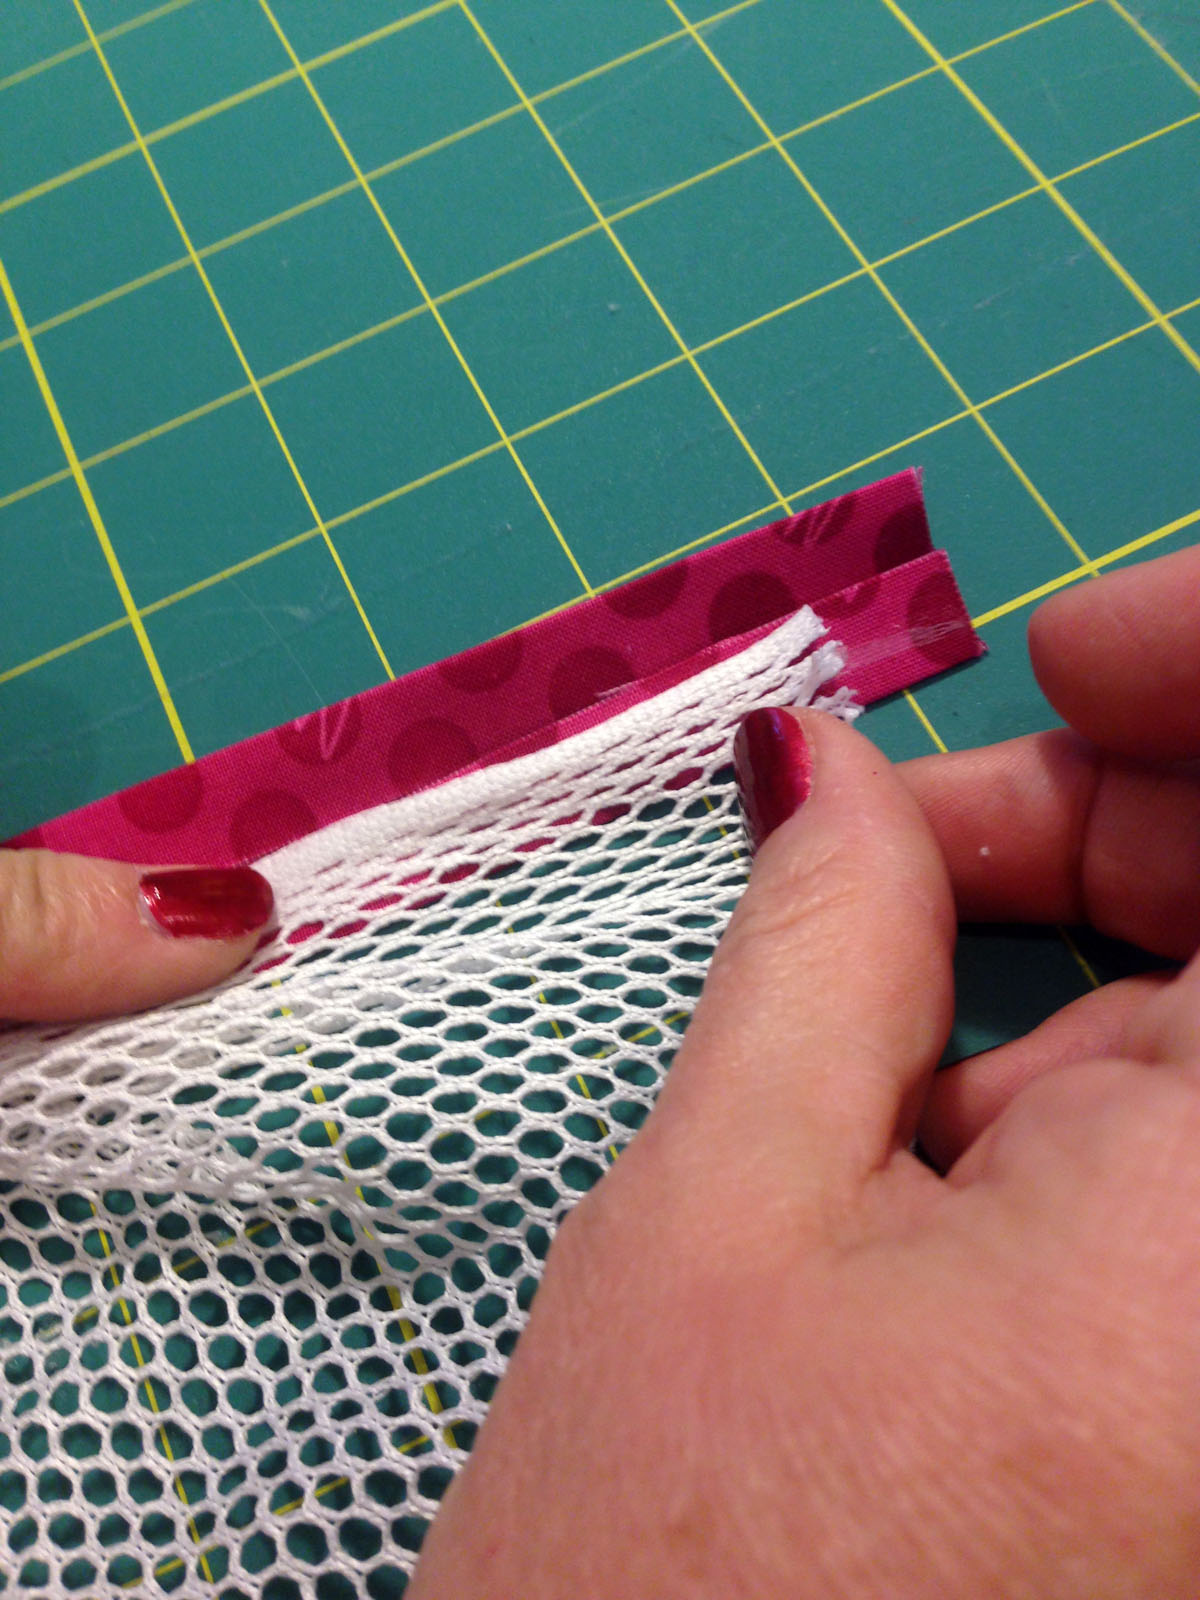
To attach the binding strip and mesh I like to use fabric glue to help hold the mesh in place as I stitch. The mesh tends to be a bit stretchy and wiggly so I like to glue it into submission. Open pressed trim and place a bit of glue along one side of the strip. Place the mesh over the glue.

Refold the strip over the mesh and hold everybody together with a few wonder clips. Don’t you just love wonder clips!

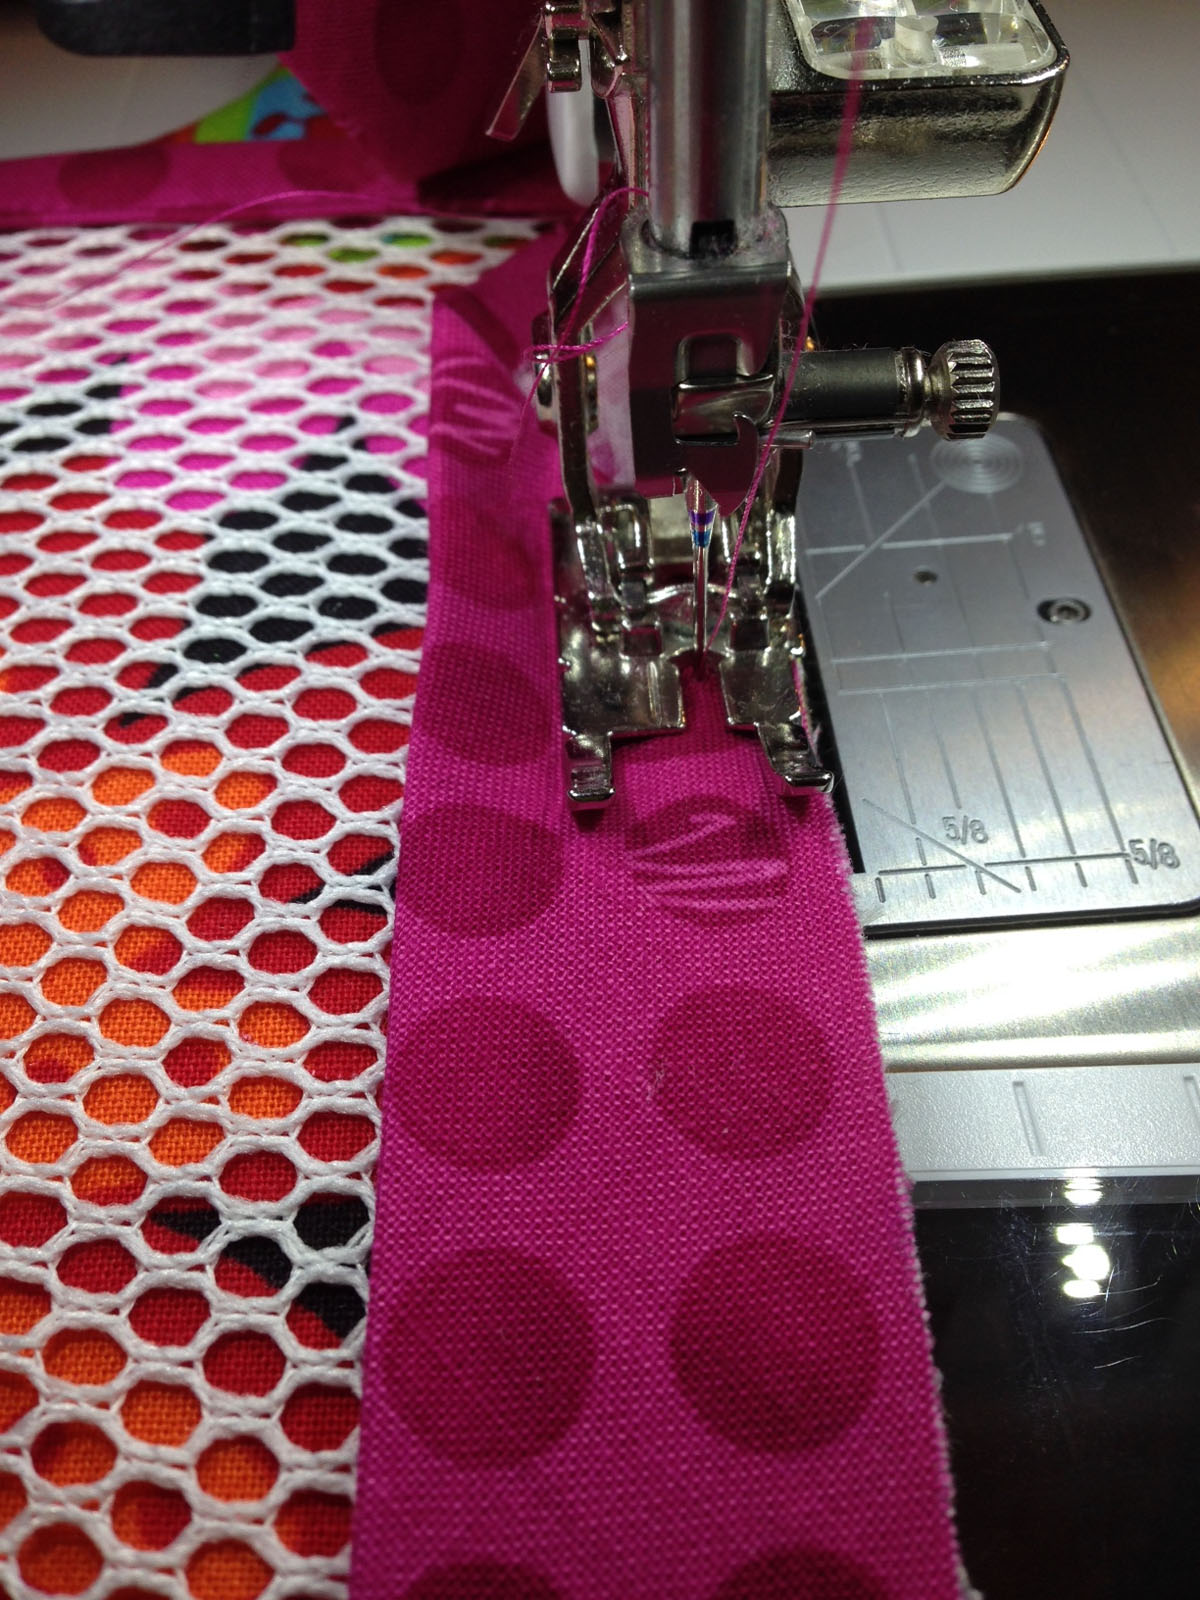
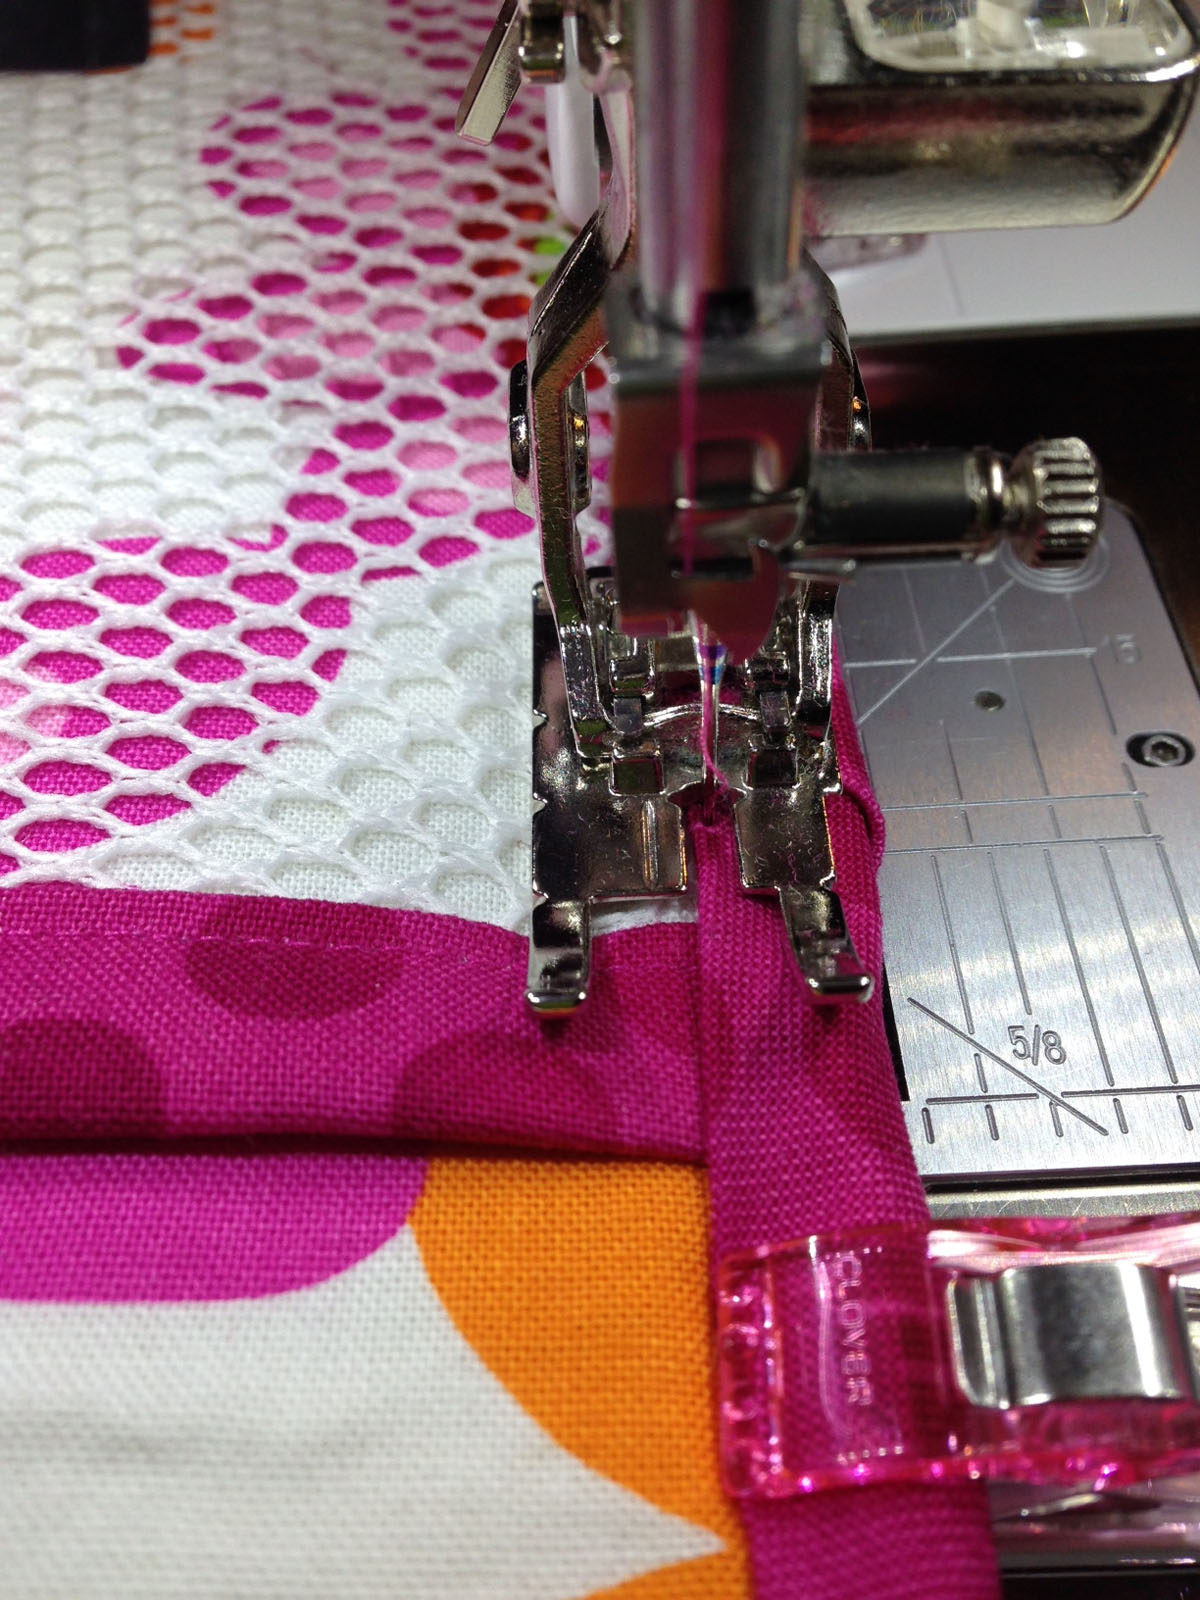
Top stitch 1/8″ along mesh edge of binding strip to attach mesh.
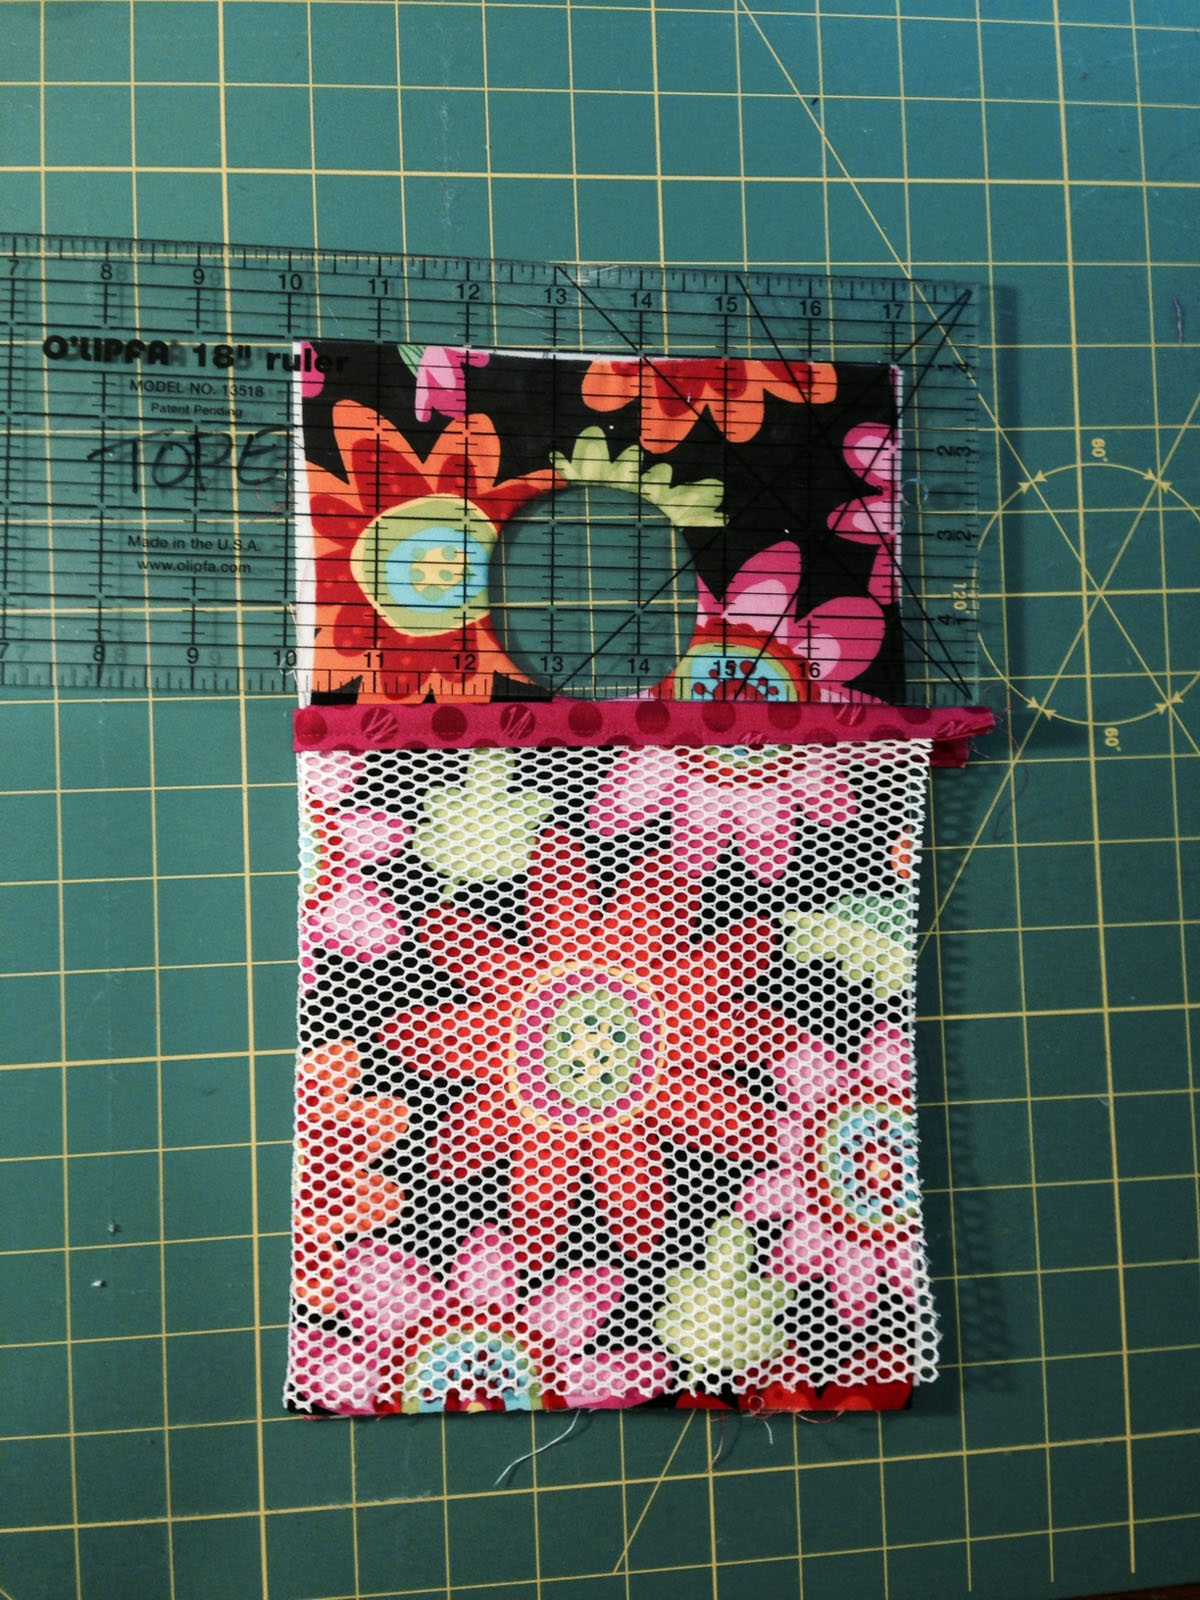
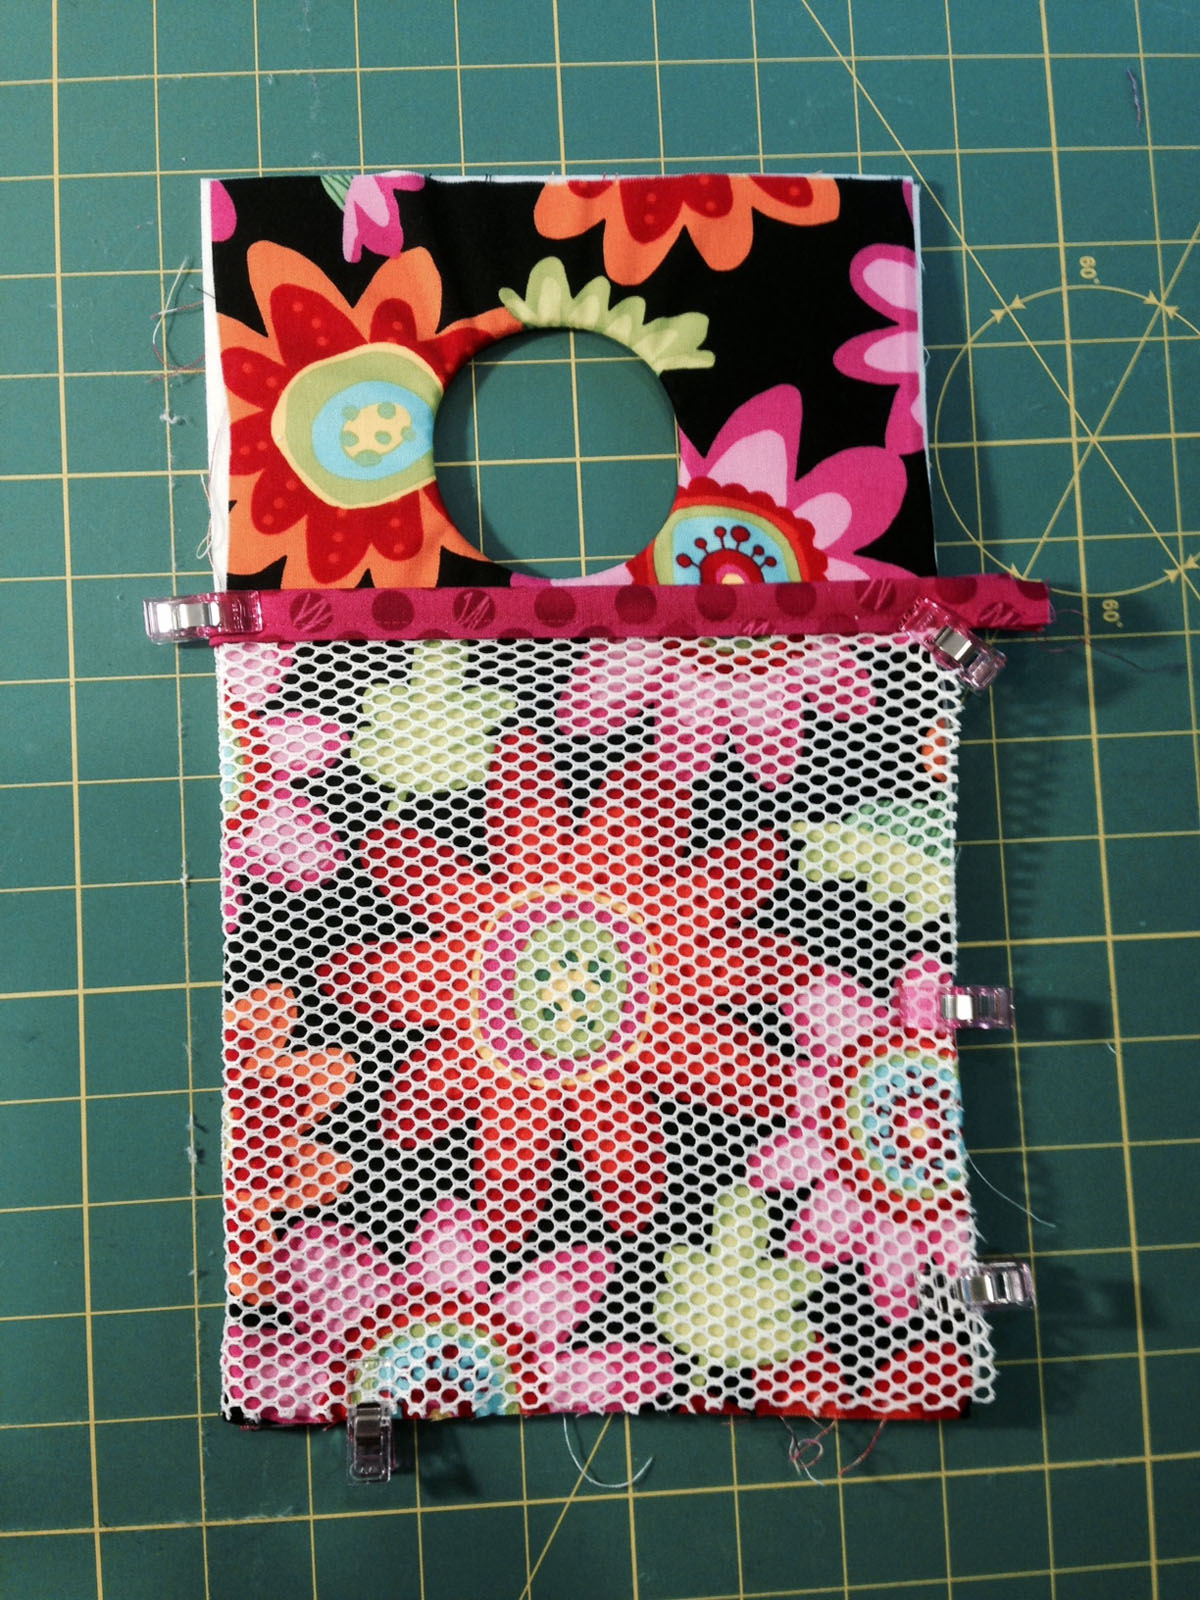
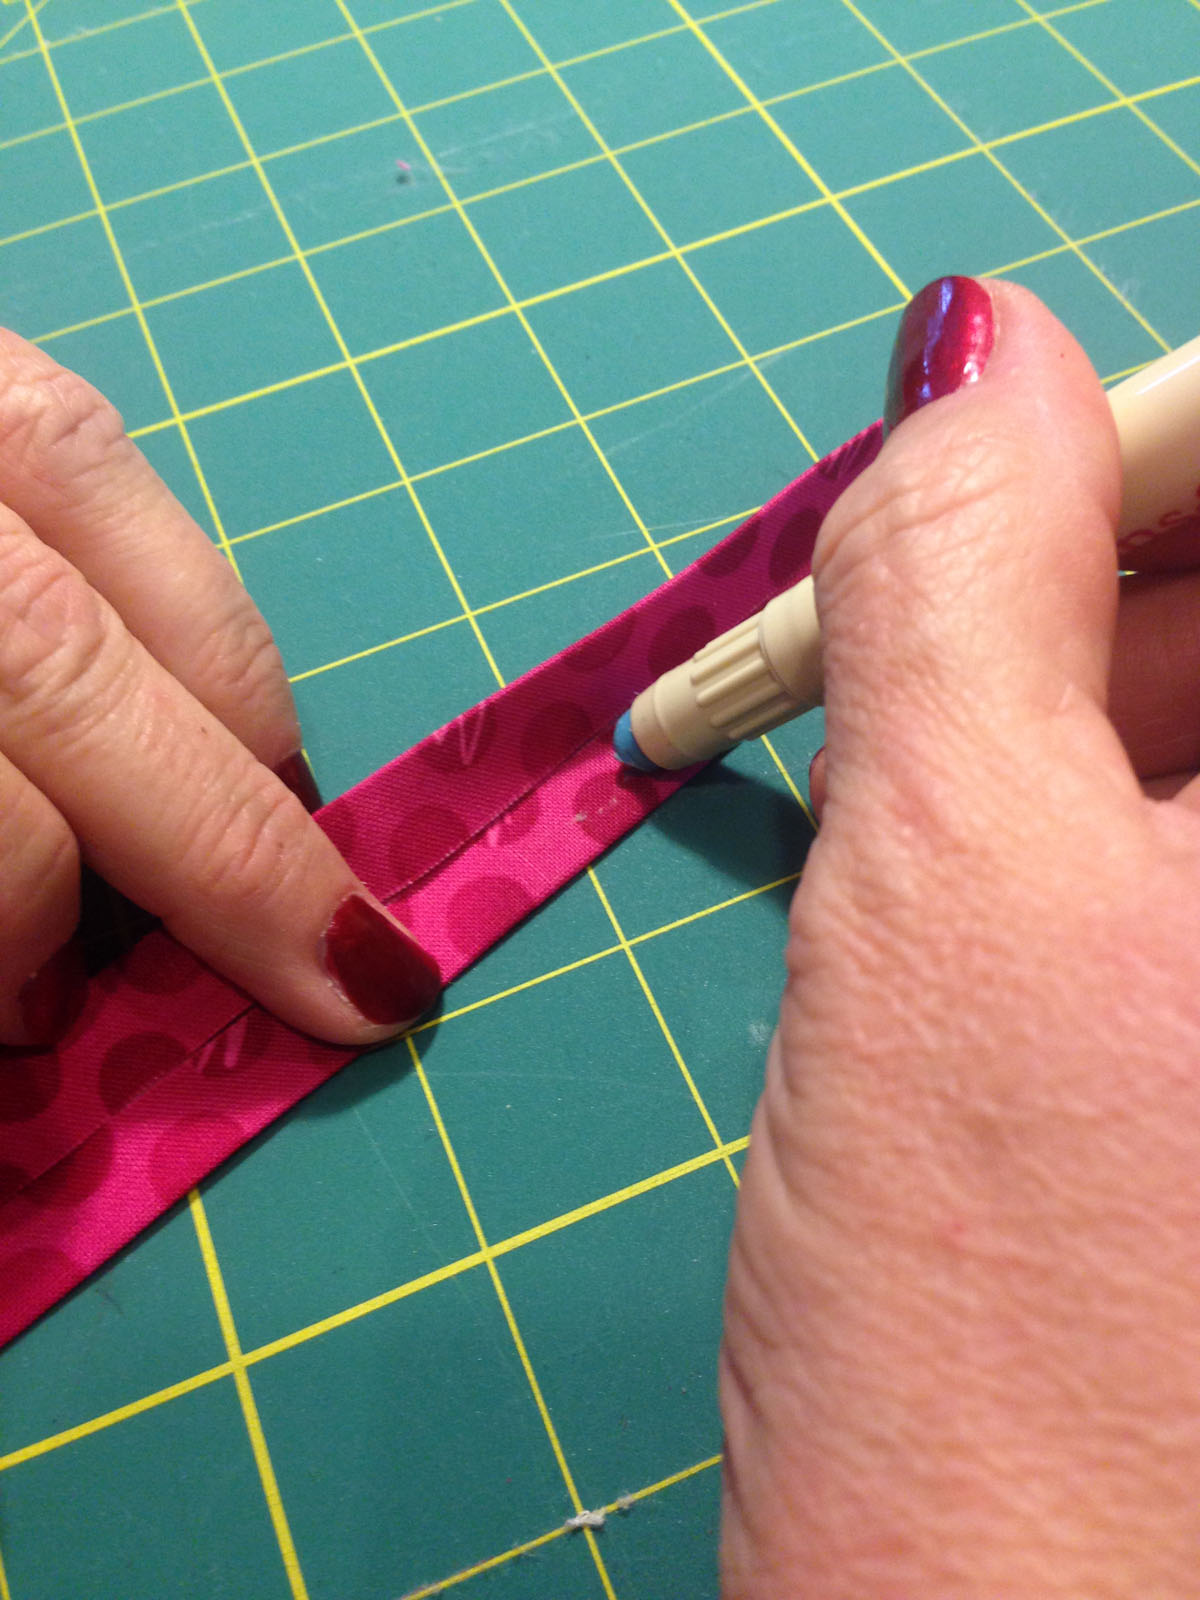
Wrap pocket around the caddy. Use a ruler and the 4″ mark to make sure pocket is straight. Use wonder clips to hold all the pieces together.
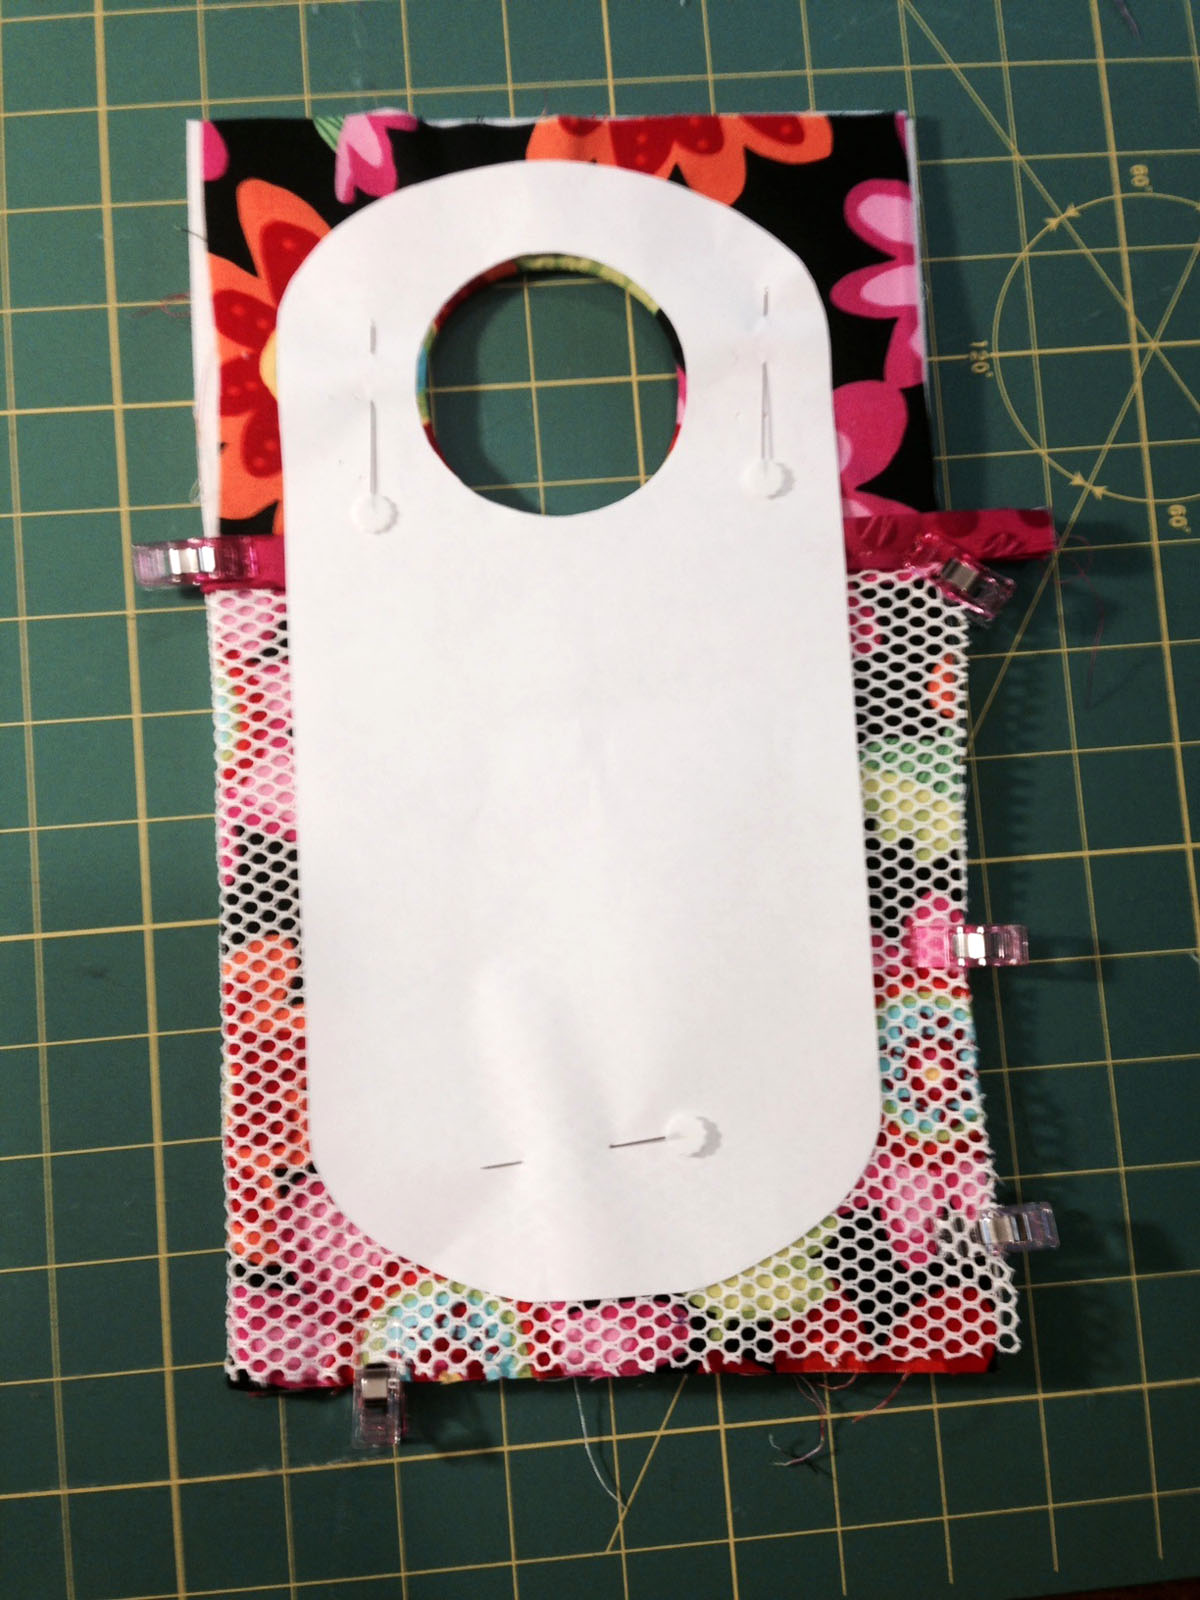
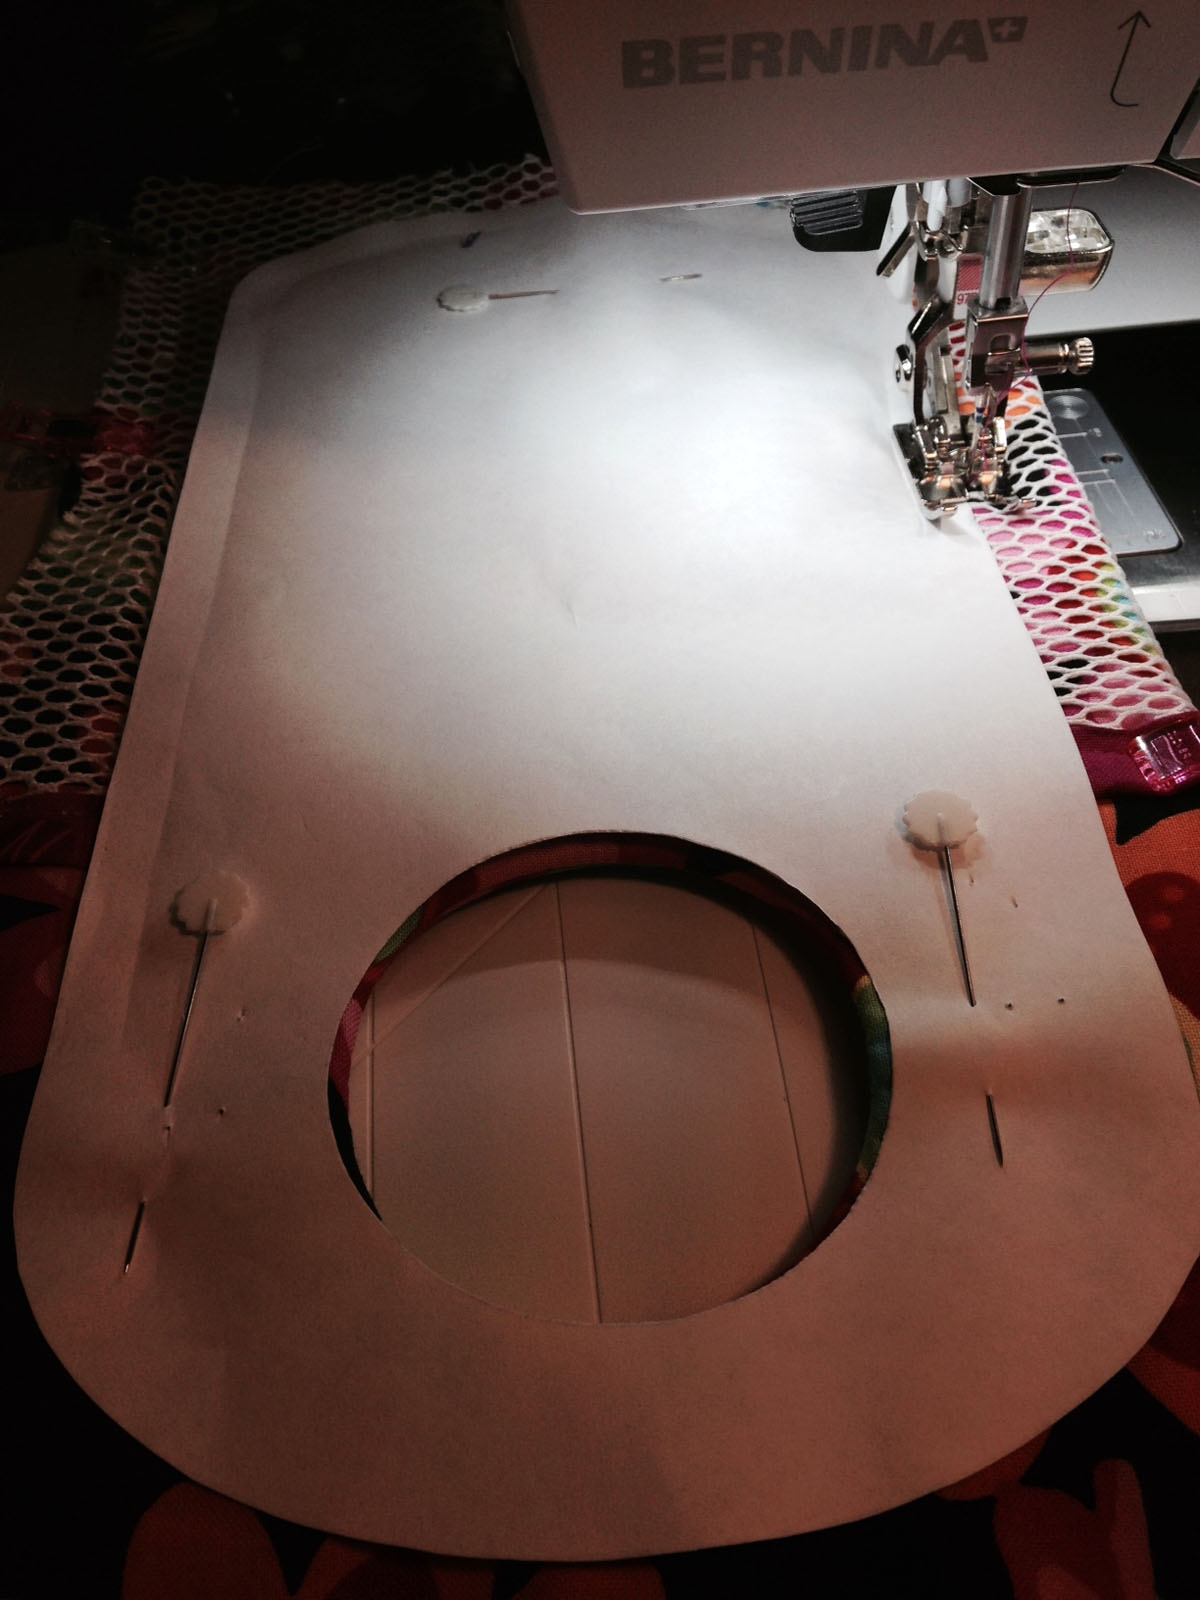

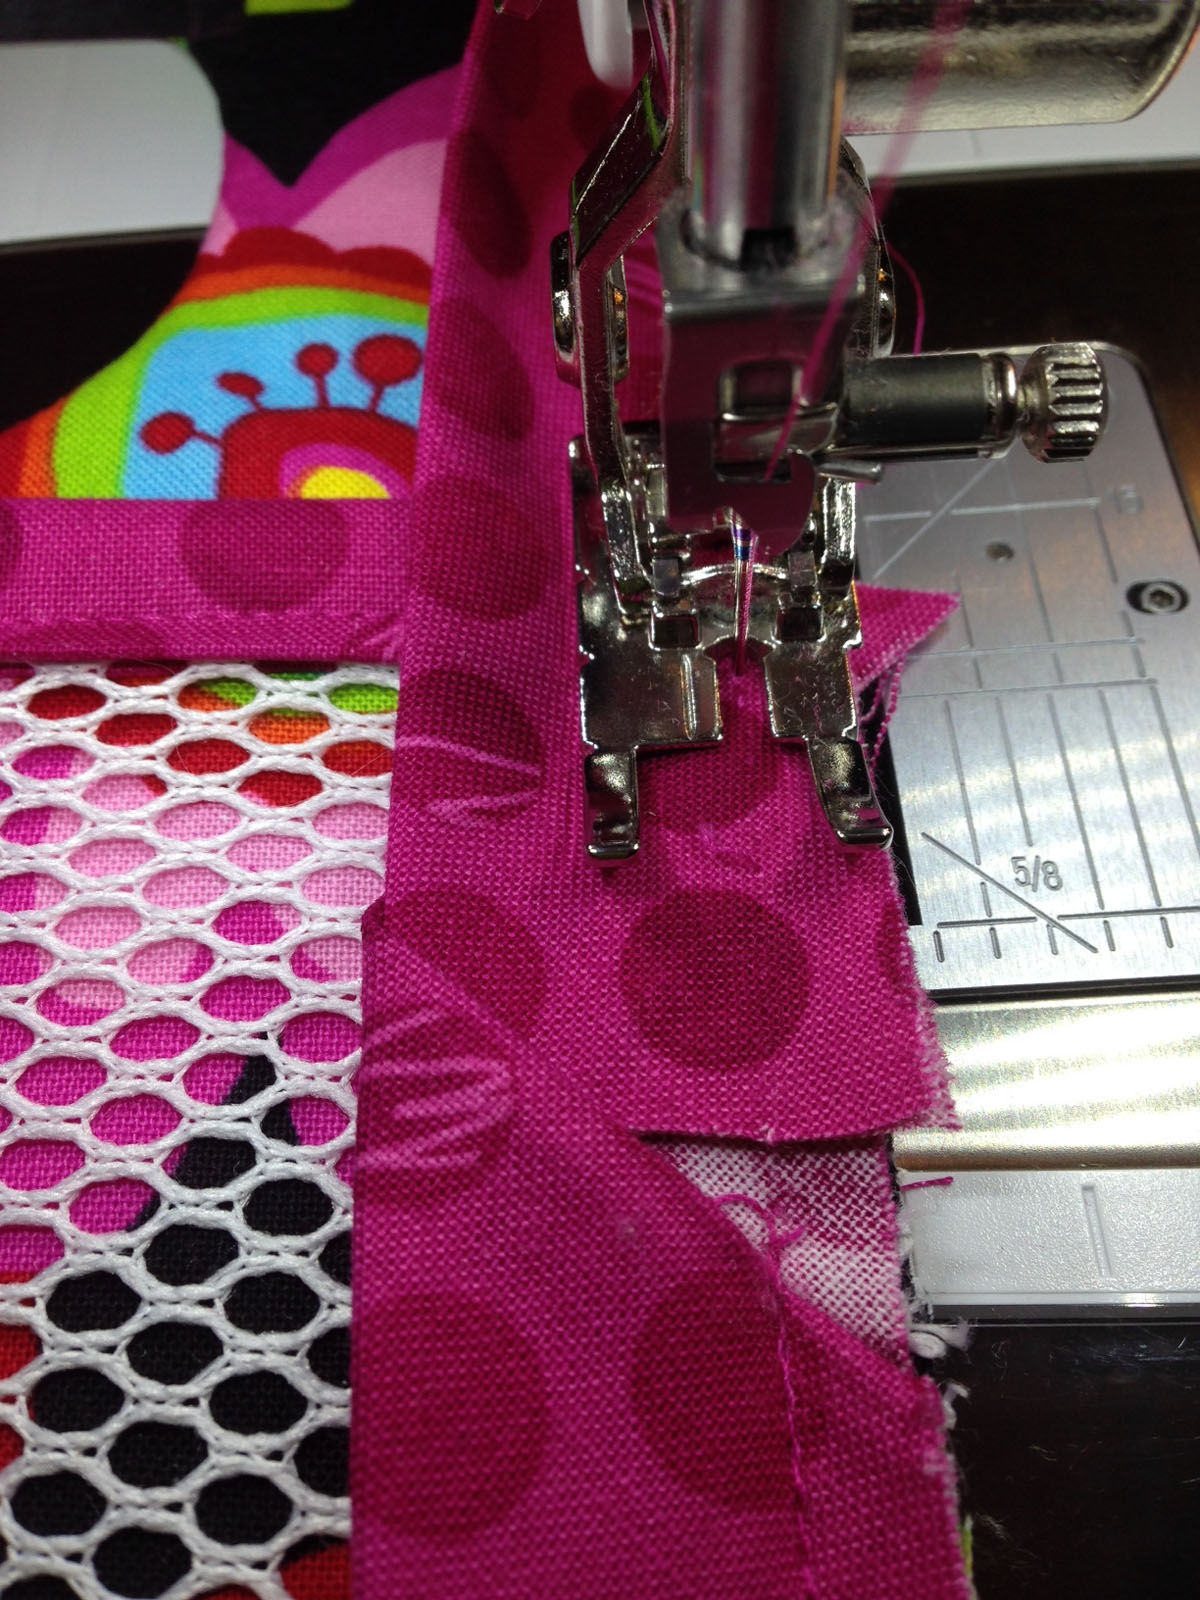
Pin pattern piece to caddy parts lining up the hole. The mesh is impossible to mark on so it is just easier to stitch around a pinned pattern. Stitch around the outside edge of the pattern.
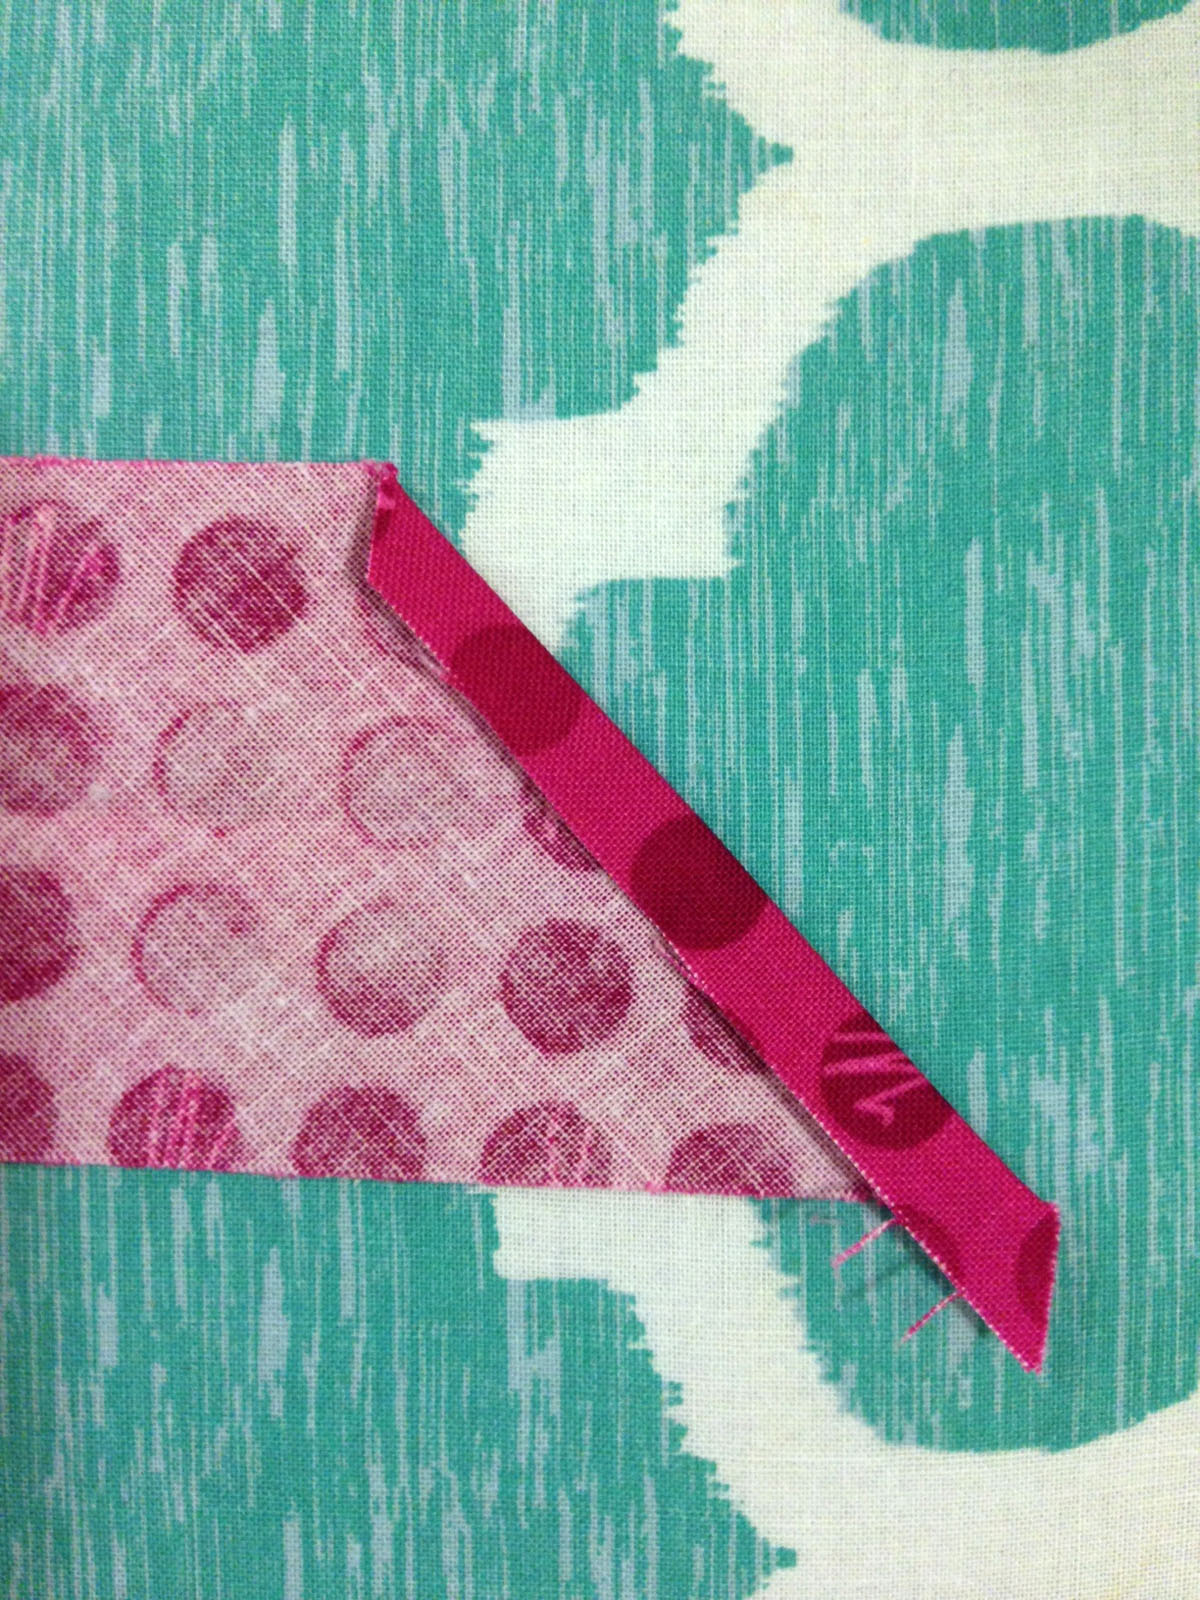
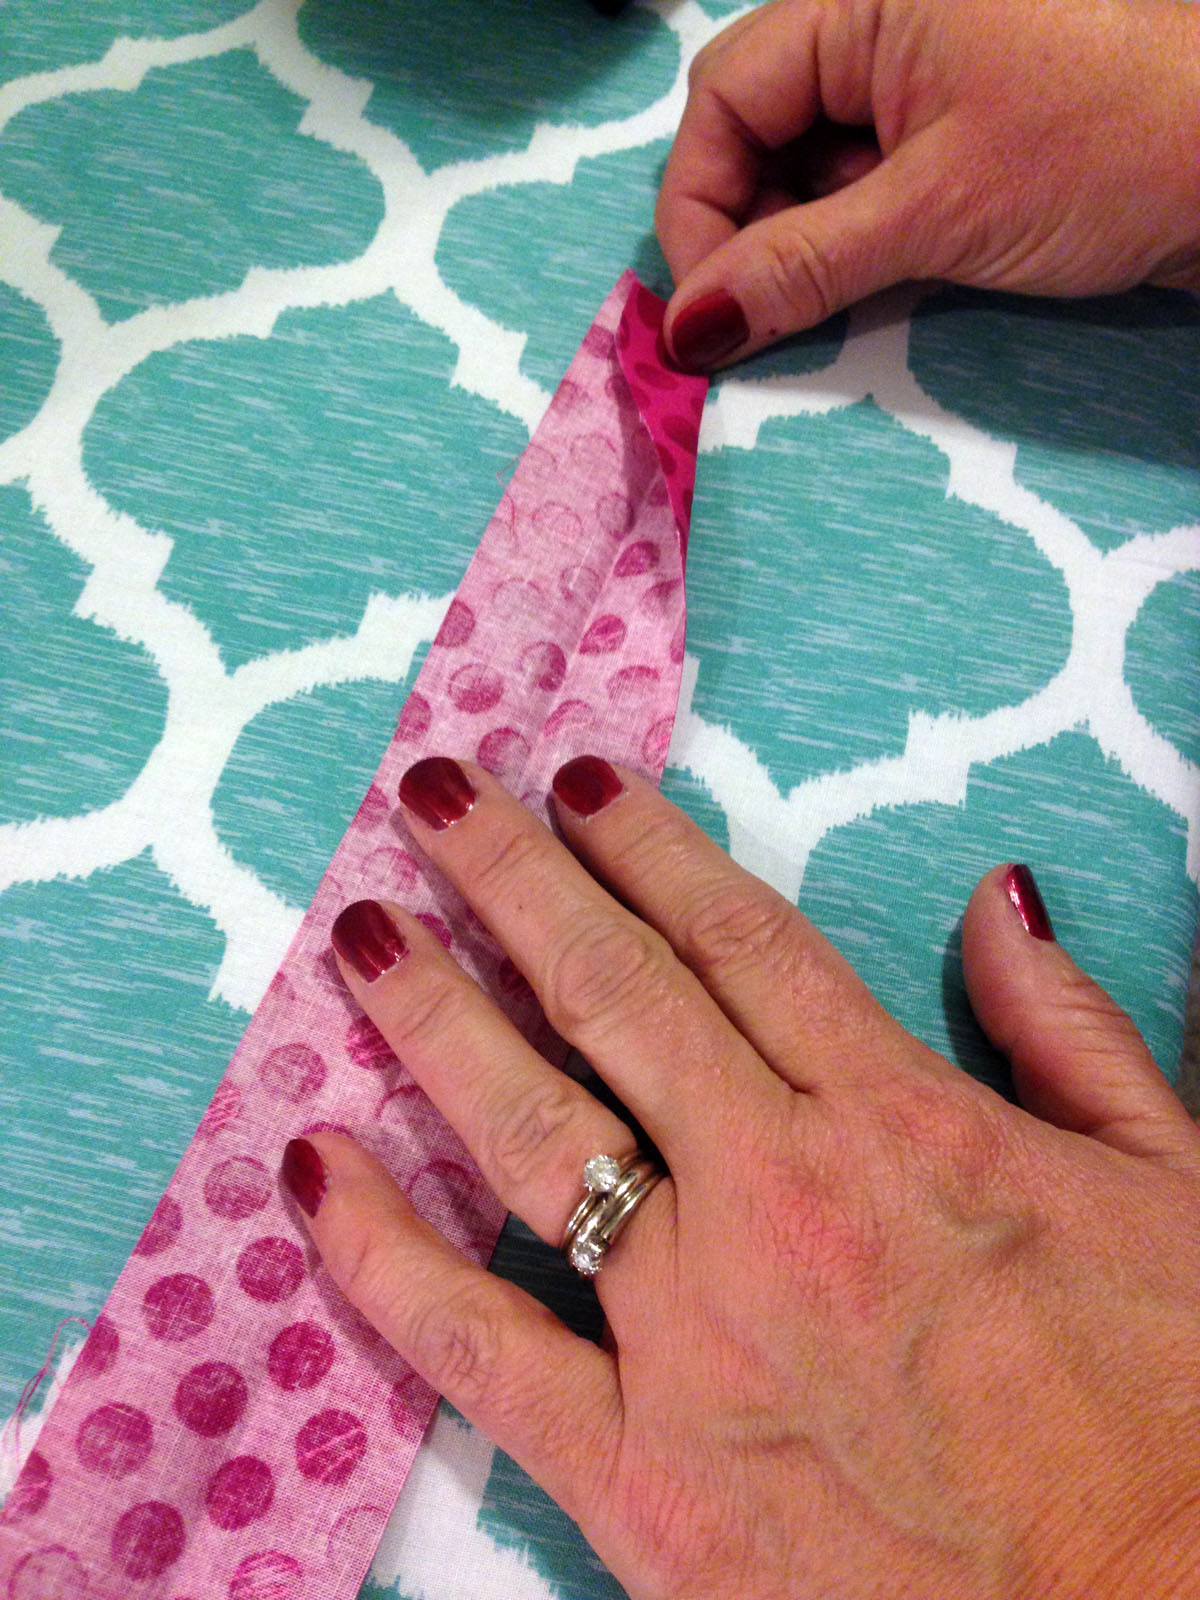
With scissors trim 1/8″ from stitching around the caddy. Prepare the binding by clipping one end at a 90-degree angle. Fold edge over ¼” and Press. Then fold the strip in half and press.
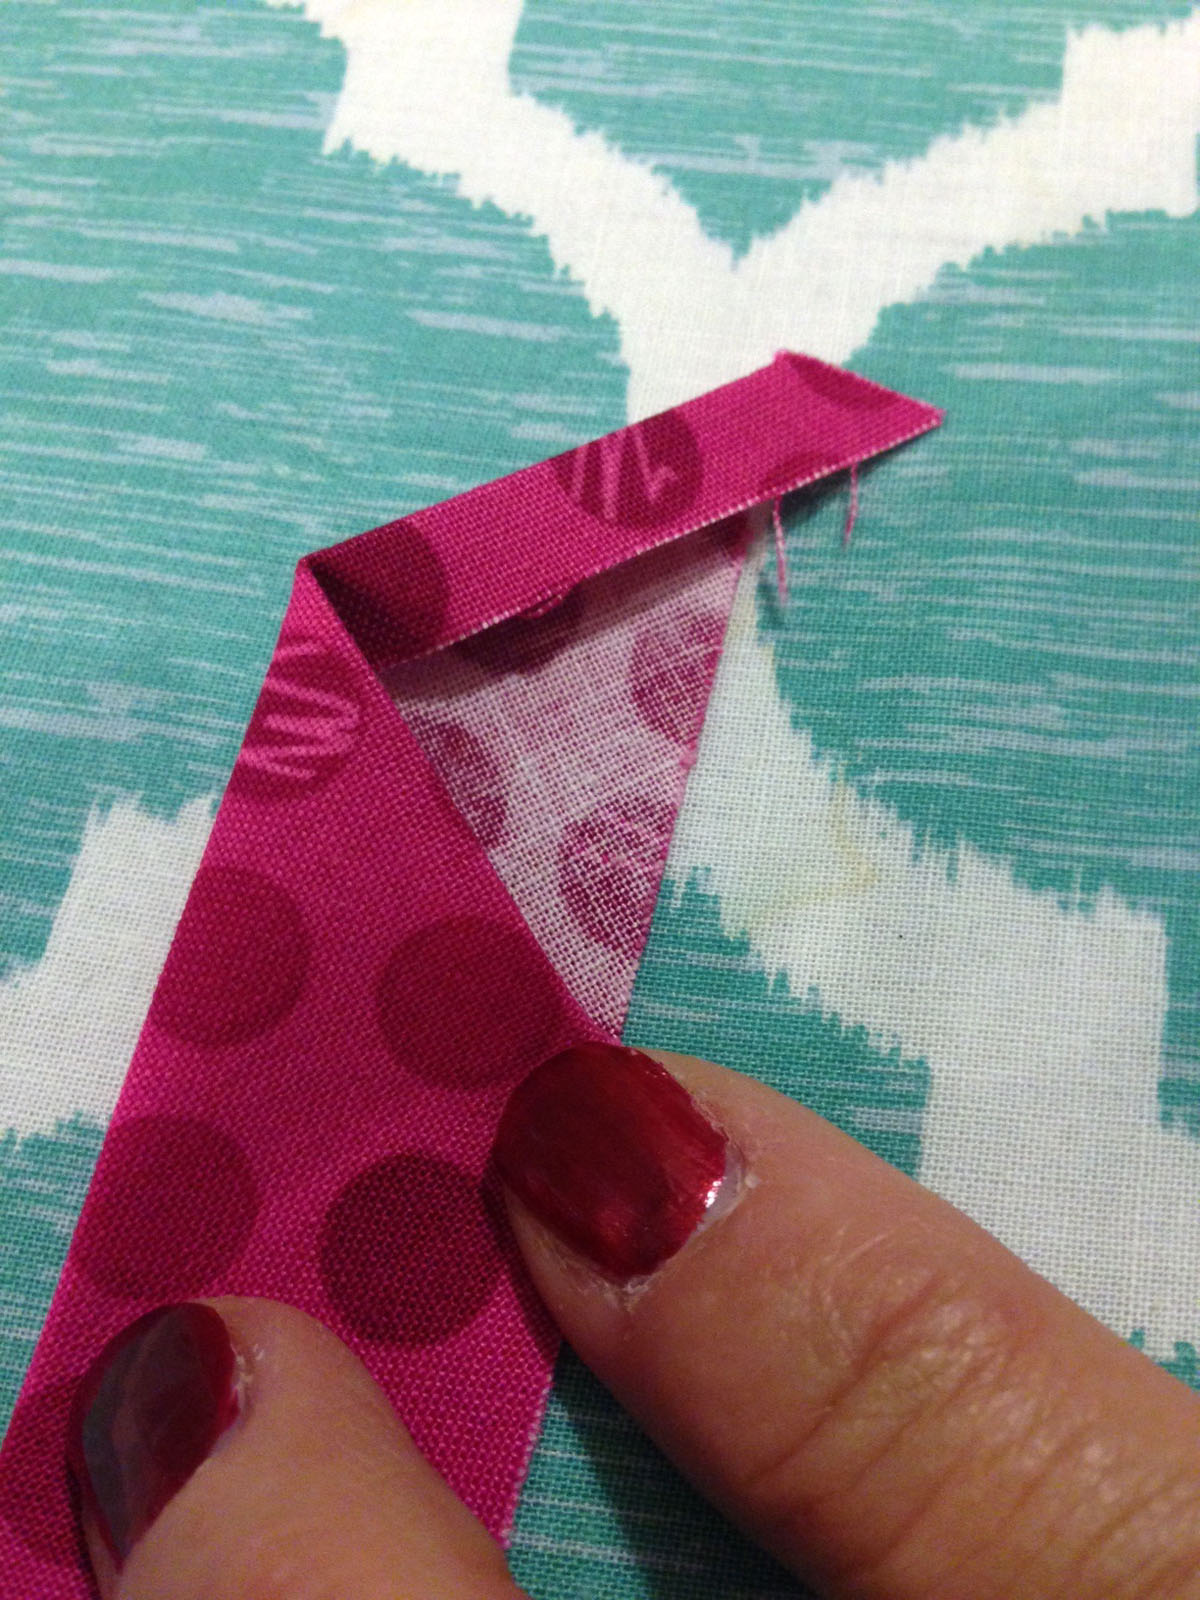
Place bias binding on caddy and stitch ¼” seam allowance. Carefully work around corners. Trim end of binding to fit into start. And stitch closed.
Fold binding to the other side of caddy. Hold in place with wonder clips. Top stitch 1/8″ from edge of binding to complete your phone caddy.


this is really neat! I love the colors/fabric. Great directions.