Five Tips to Solving Thread Tension Problems
Carol Ann Waugh shares five tips on how to solve thread tension issues. Read below how to make your future sewing experience even more enjoyable and successful with some quick and easy adjustments. It works!
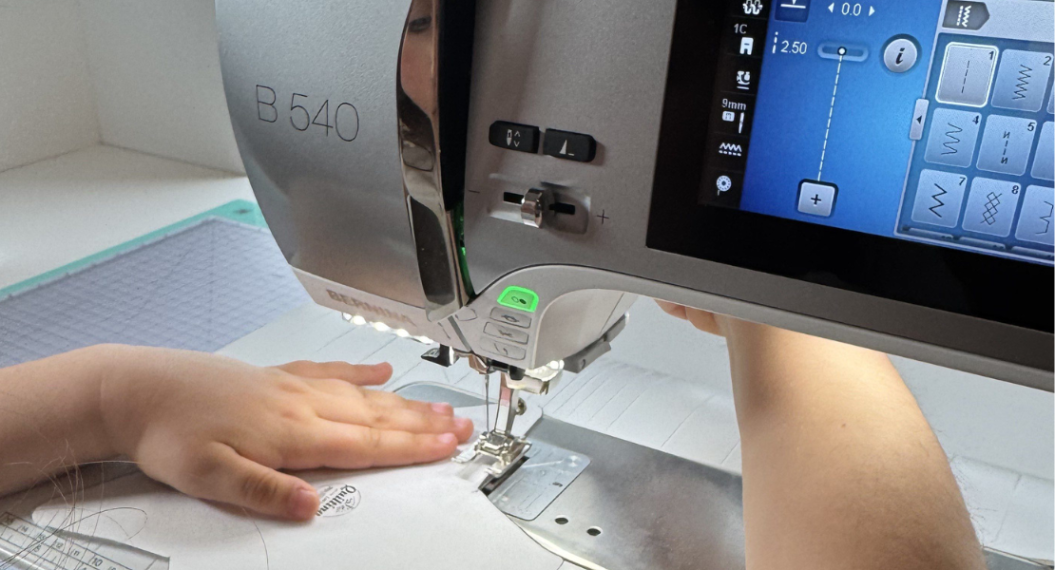
Most modern sewing machines like BERNINA are sophisticated, computerized, finely tuned and rarely have tension problems.
But I teach all over the country at quilt guilds and at national quilting shows and invariably, several students in my class have problems adjusting their tension. Because this is an important aspect of sewing, I need to fix these problems right away so that the student will have a great learning experience and not become frustrated. Consequently, I have to solve these problems for every different type of machine on the market—including all those older machines that my students inherited from their moms and grandmothers! (No manuals!)

So I’ve come up with a 5-step method to solving tension problems and unless the machine has never been oiled or serviced (seriously???), I can usually get the tension to be perfect.
I’m going to share these steps with you!
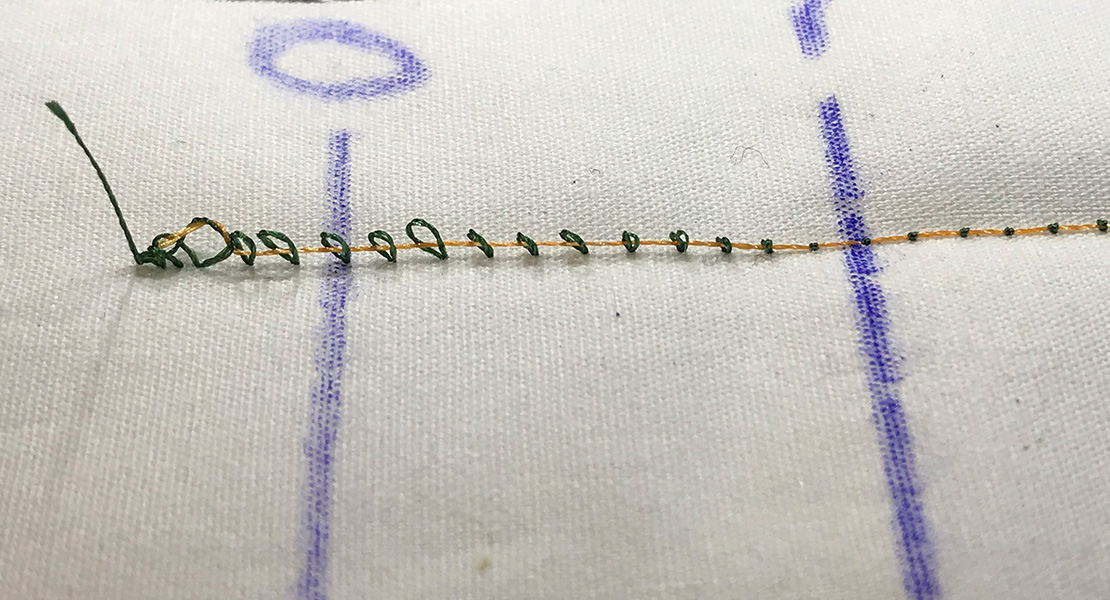
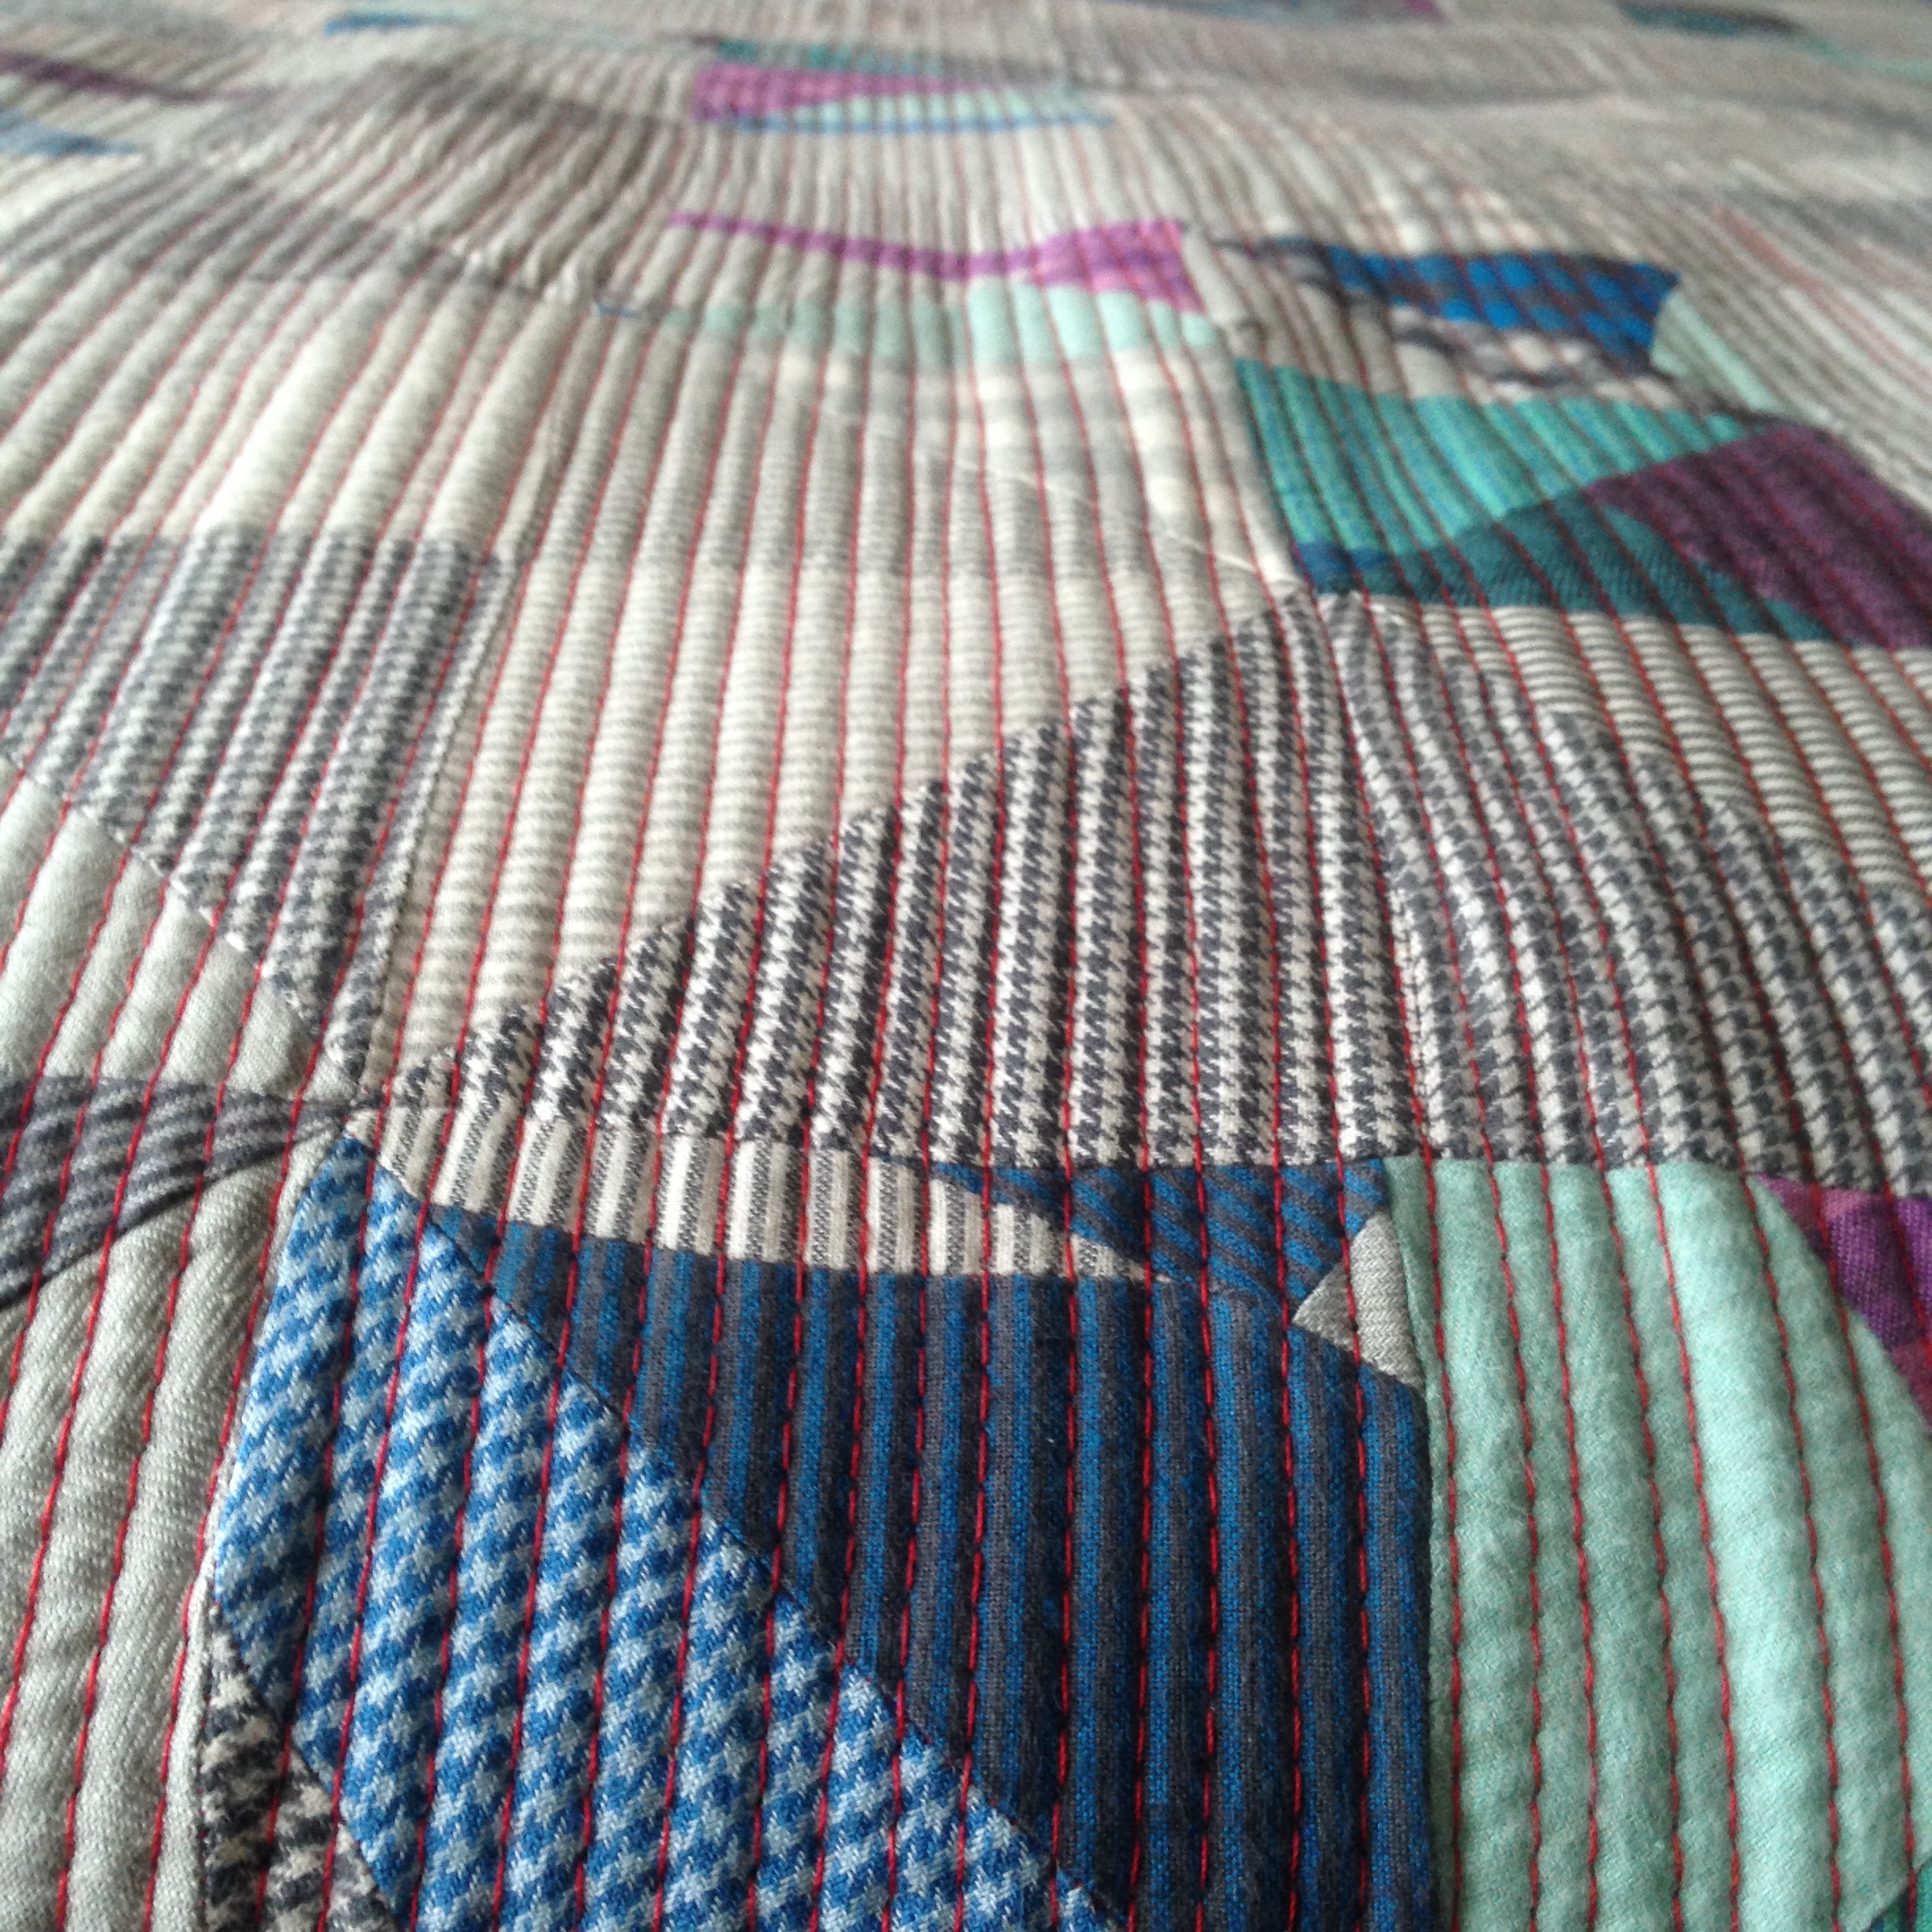
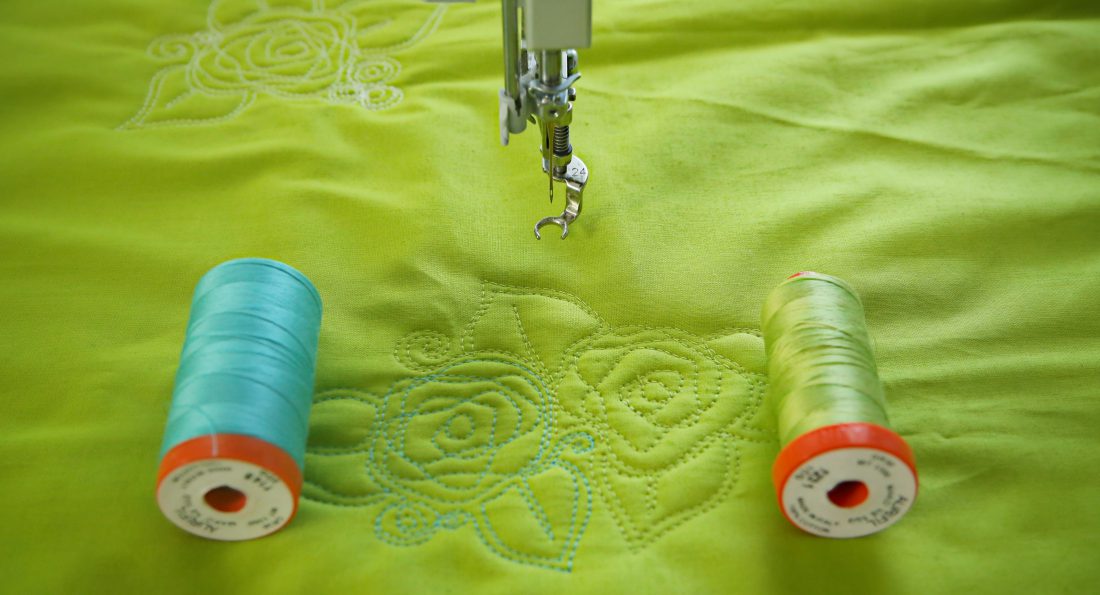
Remember, as an overall understanding of tension, unless you are doing some fun decorative stitching (like I like to do!) perfect tension means the stitches look the same on the front as on the back. If the bobbin thread is showing on the top, loosen your tension (decrease the number on your tension indicator). If the top thread is nesting on the bottom, increase the tension (increase the number of your tension indicator). If these simple adjustments don’t work, follow these steps in order. (Test the tension after every step.)
Five Tips to Solving Thread Tension Problems
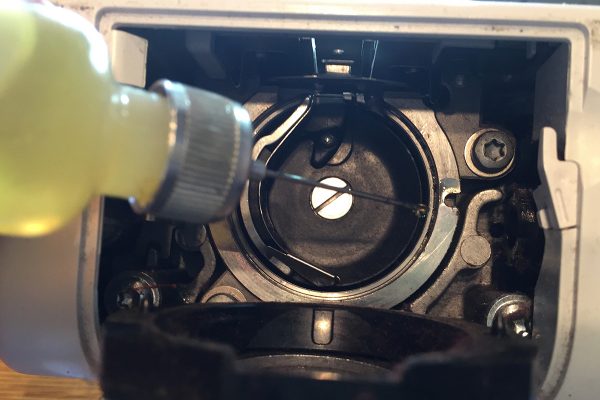
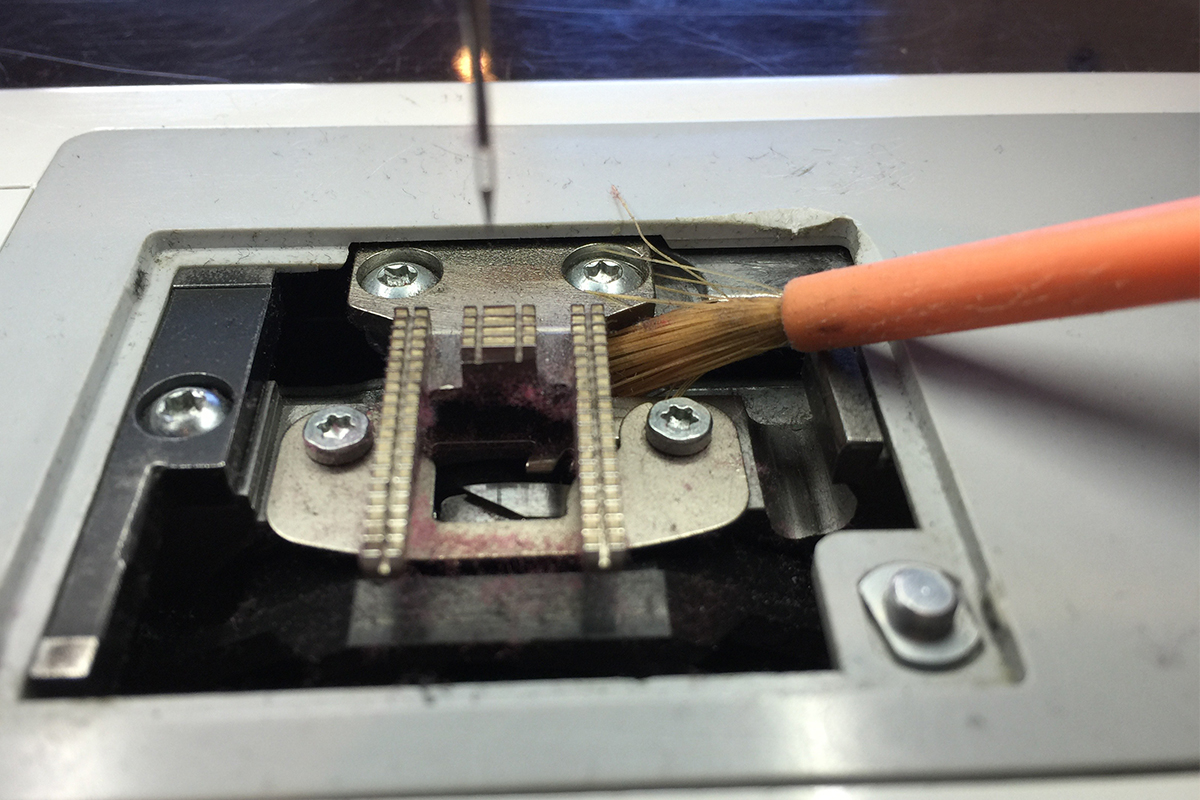
- Use a brush to clean under the needle plate and in the bobbin case to remove any accumulated lint. Oil if necessary.

2. Replace the needle. Even new needles can be damaged. (I recommend always using a Topstitch needle for decorative stitching because of its sharp point and large eye)
3. Re-thread your machine.
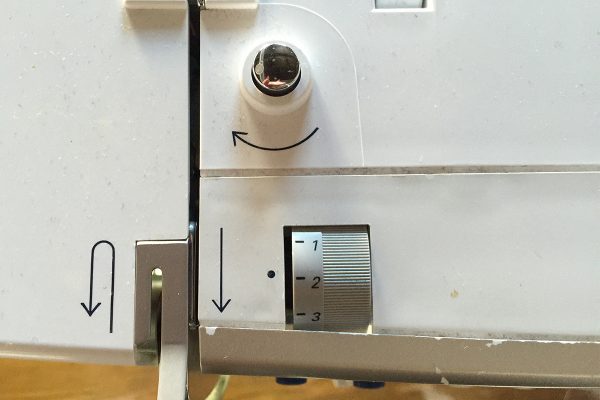
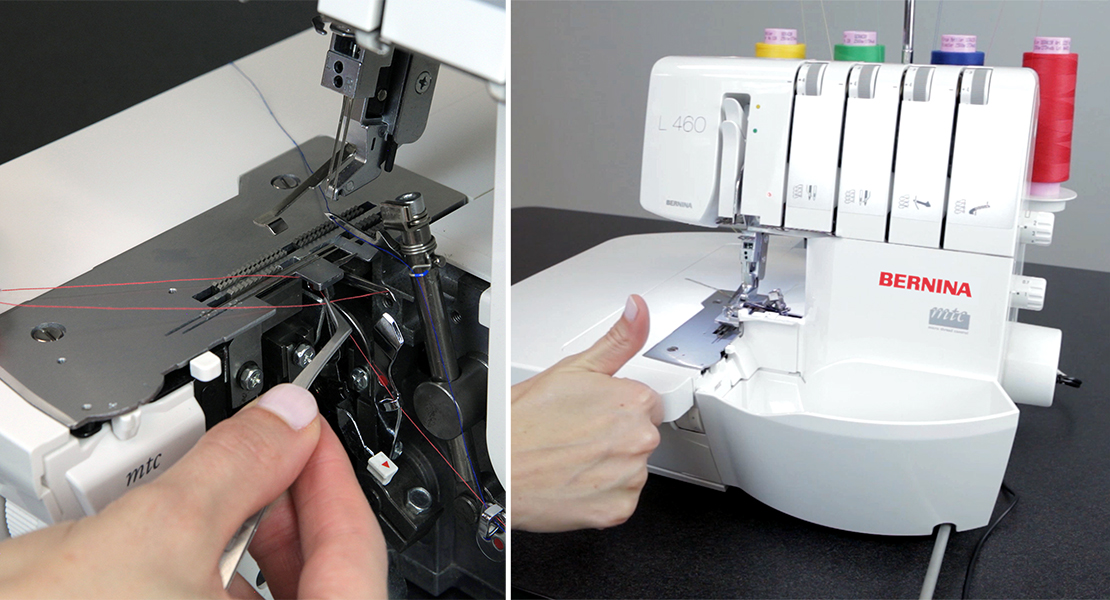
4. Re-set the bobbin, making sure the bobbin is turning in the direction the manufacturer recommends. (Clockwise or counter-clockwise)
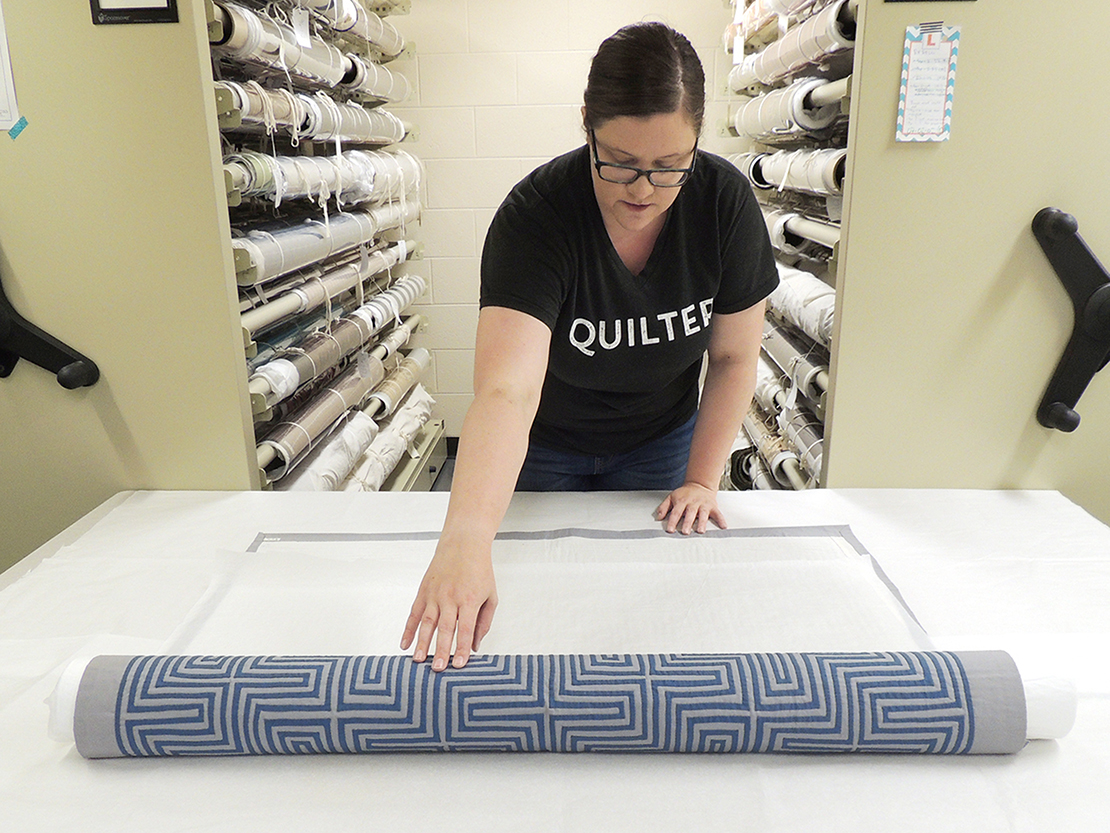
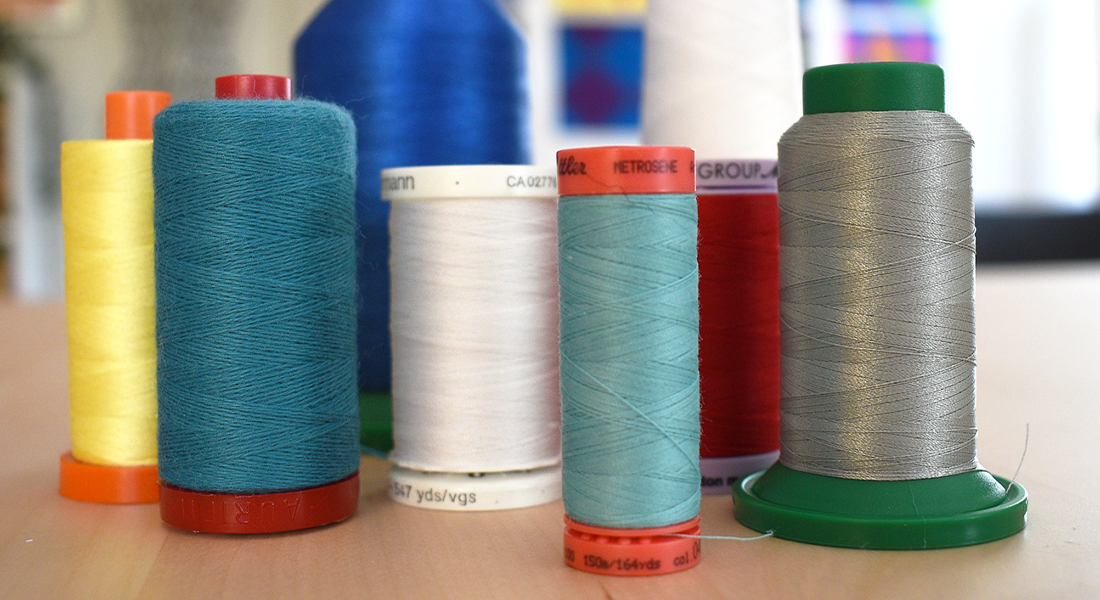
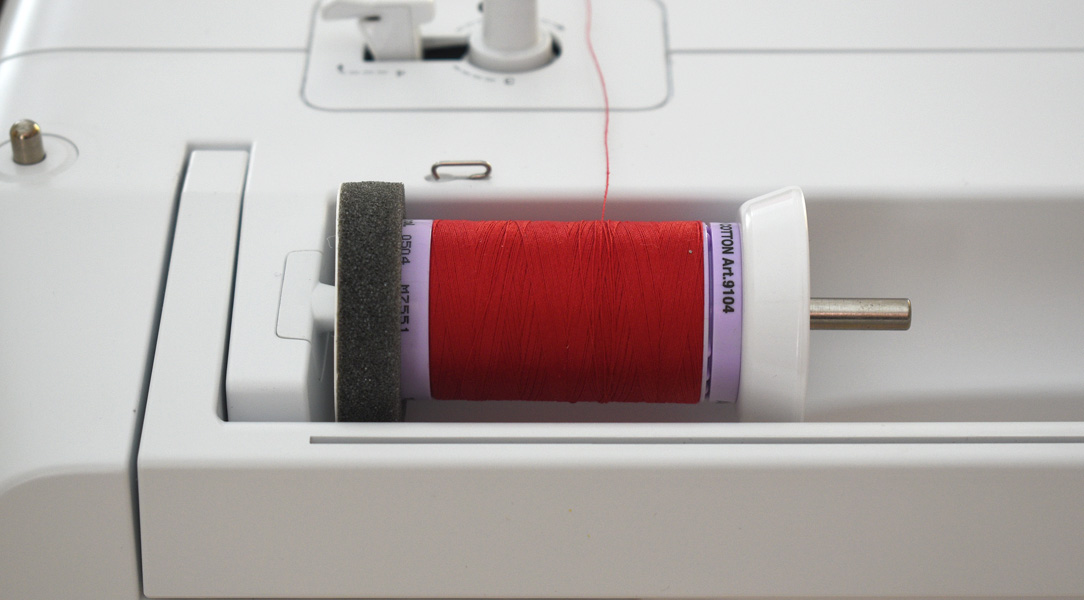
5. Change your thread in the top and bobbin so they are the same weight and composition. I like to use a 40wt cotton for this step. Make sure you have your thread spooled correctly. Cross-wound spools need to feed into your machine on your horizontal spool holder and parallel wound spools need to be mounted on your vertical spool holder with the thread unspooling from the back.
If these steps don’t solve your tension problems, it’s probably time for a tune-up at your local dealer.
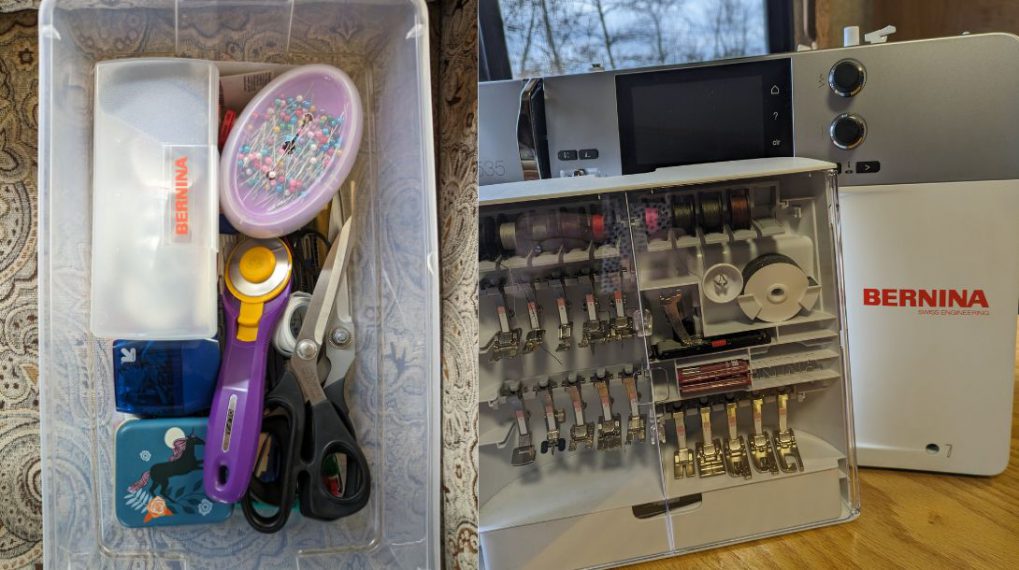
Print out this article and put it into your travel machine’s case so the next time you go to a workshop, you can refer to these 5 steps and fix your own tension problems FAST!


What you might also like


3 comments on “Five Tips to Solving Thread Tension Problems”
-
-
With regard to the last paragraph, I’ve always been taught that crosswound spools need a vertical thread stand and parallel wound spools feed best horizontally. Just a thought.
-
Thank you for this valuable information. Carol Ann Waugh’s class is one of the best, most fun on-line classes I’ve ever taken. She is such a fantastic teacher, very knowledgeable with a great sense of humor. I’ve often incorporated her ideas into my sewing projects. THANK YOU, CAROL ANN. 🙂
Leave a Reply
You must be logged in to post a comment.
Great hints. I’ve seen this gal on craftsy…..she is a whiz on the sewing machine. Made me want my 1130 back.