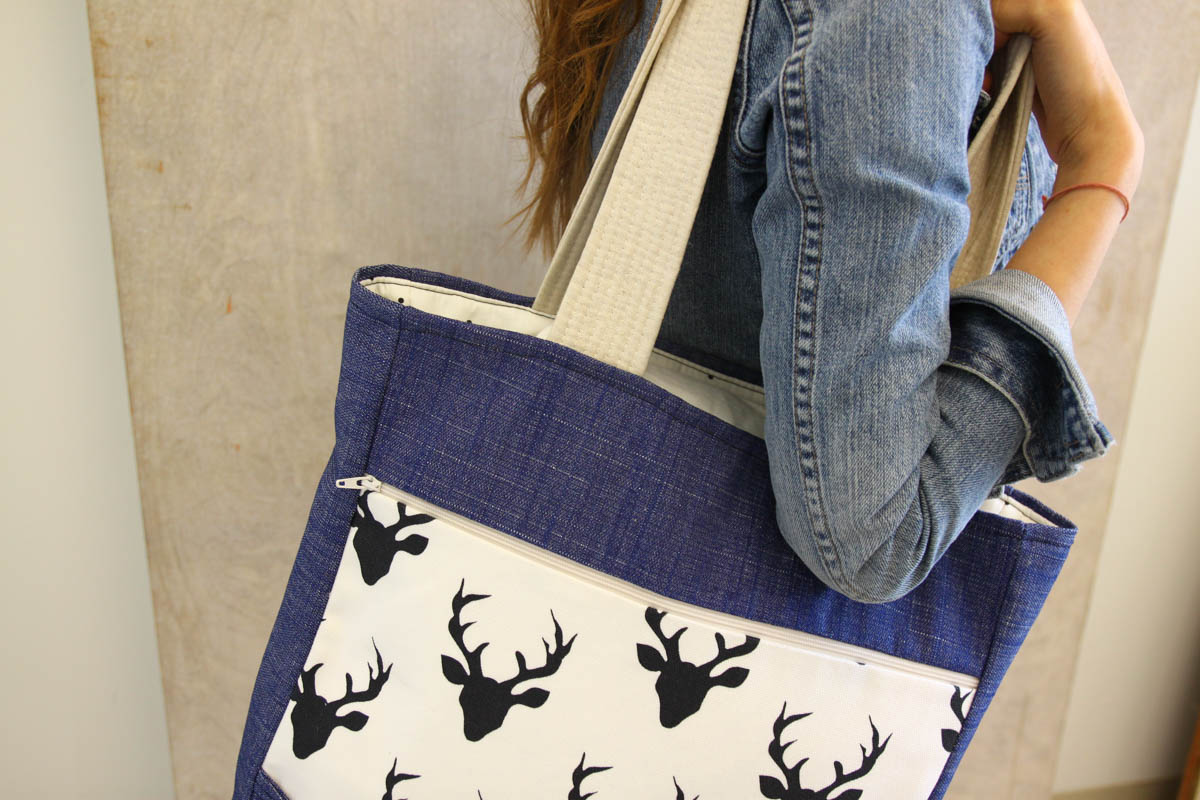
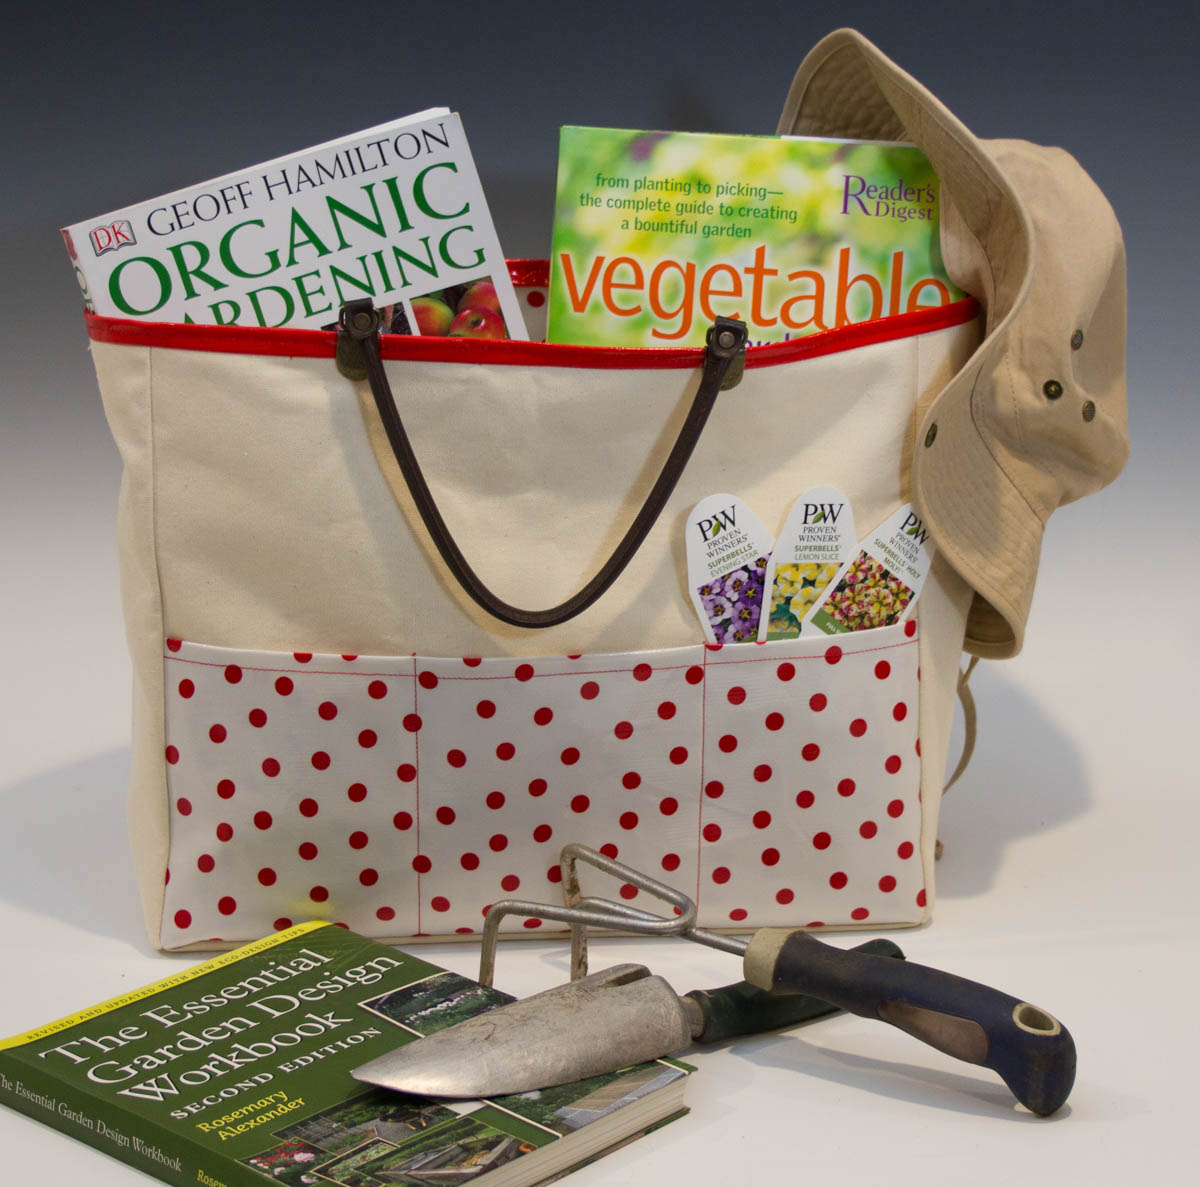
Oilcloth-lined Garden Tote
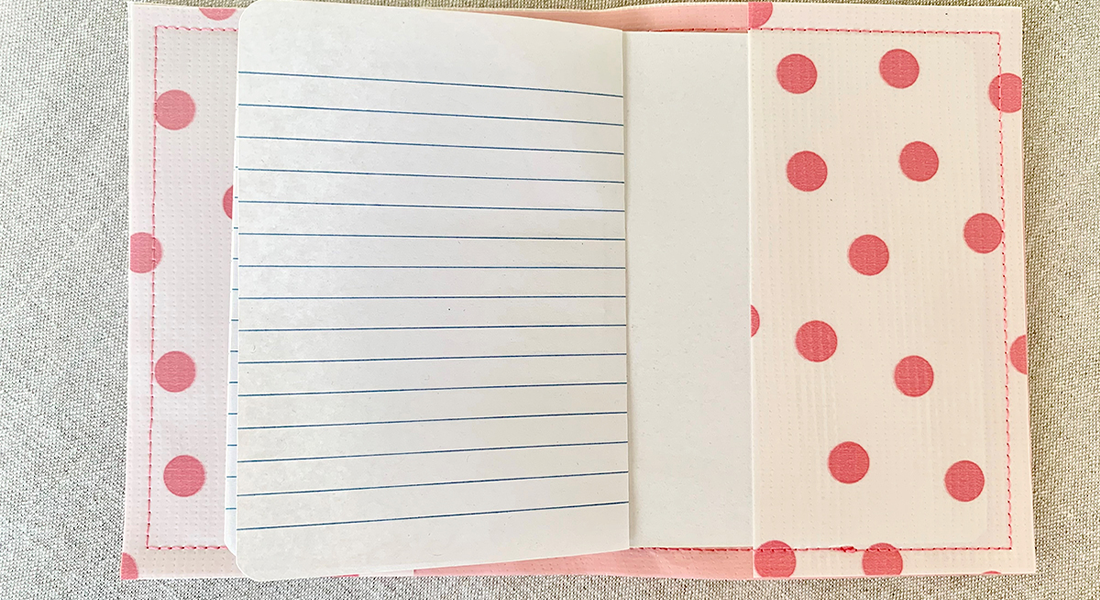
When I came across a piece of red and white polka dot oilcloth in the fabric store I just couldn’t resist it. Oilcloth makes the perfect lining for a garden tote because it can be wiped clean. This tote would also be great for taking to the farmers market. Fill it with fruits and veggies and then just wipe the inside clean with a damp cloth.
Materials to create an Oilcloth-lined Garden Tote
- Oilcloth: You’ll need enough to cut the following pieces
- Two pieces 16″ x 13″ (front and back)
- Two pieces 7″ x 13″ (sides)
- One piece 7″ x 16″ (bottom)
- Two pieces 14″ x 16″ (front and back outside pockets)
- One piece 2″ x 44″ (binding for the top)
Canvas, duck cloth, or denim fabric: you’ll need enough to cut the following pieces
- Two pieces 16″ x 13″ (front and back)
- Two pieces 7″ x 13″ (sides)
- One piece 7″ x 16″ (bottom)
Bag handles: I used a set that clips on that I had on hand. You can find some sew on handles here:
Supplies to create an Oilcloth-lined Garden Tote
- Your sewing machine. I sew on a BERNINA 740
- I used the BERNINA Reverse pattern foot with clear sole #34D
Note: Never iron oilcloth or you will melt and distort it. If you have wrinkles in your oilcloth, lay the cloth flat and cover it with some heavy books overnight to press out the wrinkles. When sewing on the oilcloth, I lengthened my stitch length to 3.0 and I engaged my walking foot. Never use pins on oilcloth as the holes will be permanent, use paperclips or small binder clips instead.
Seam allowances are 1/2″
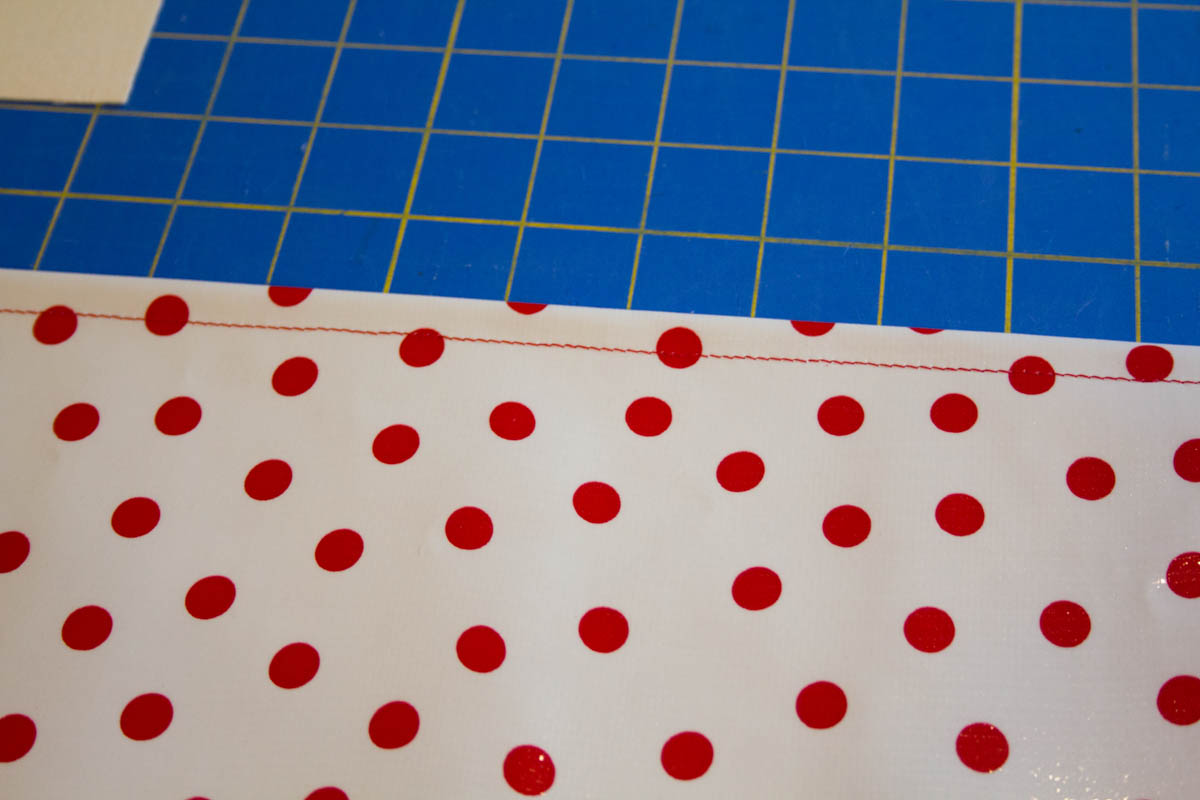
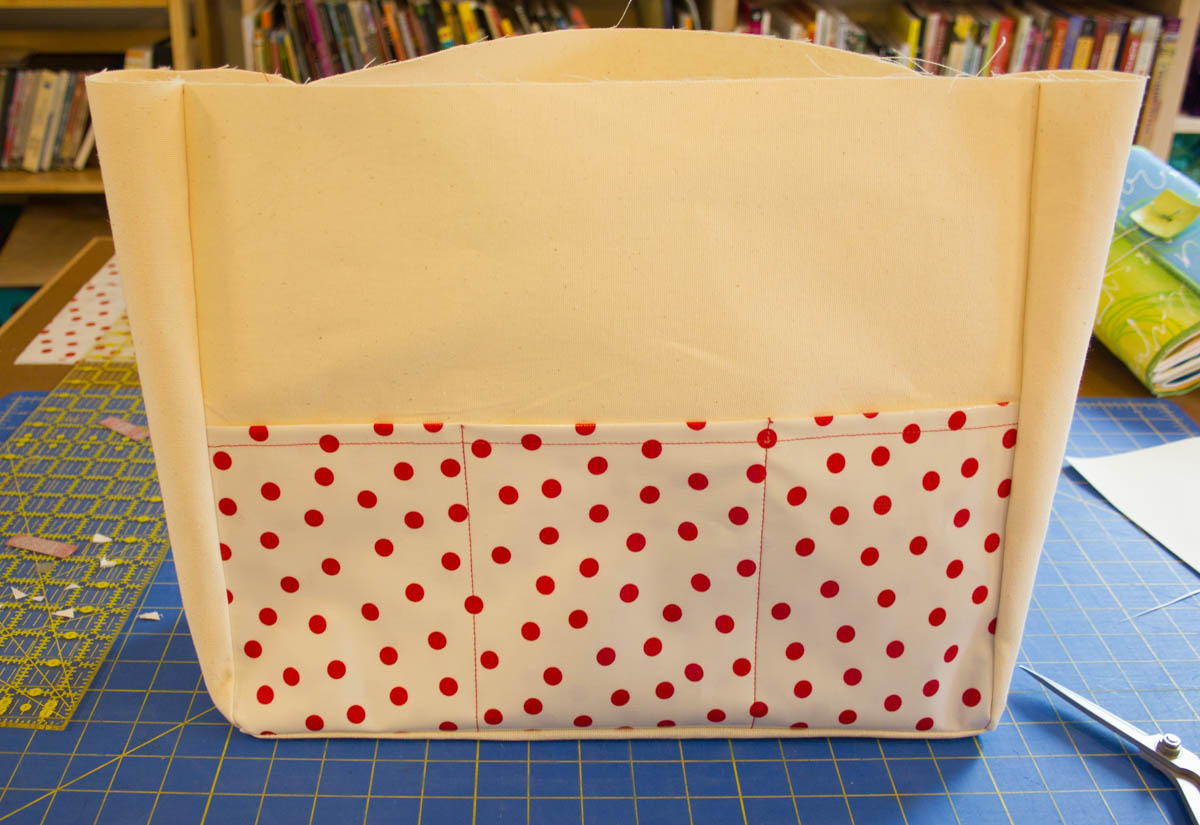
Step 1: Make the outside pockets
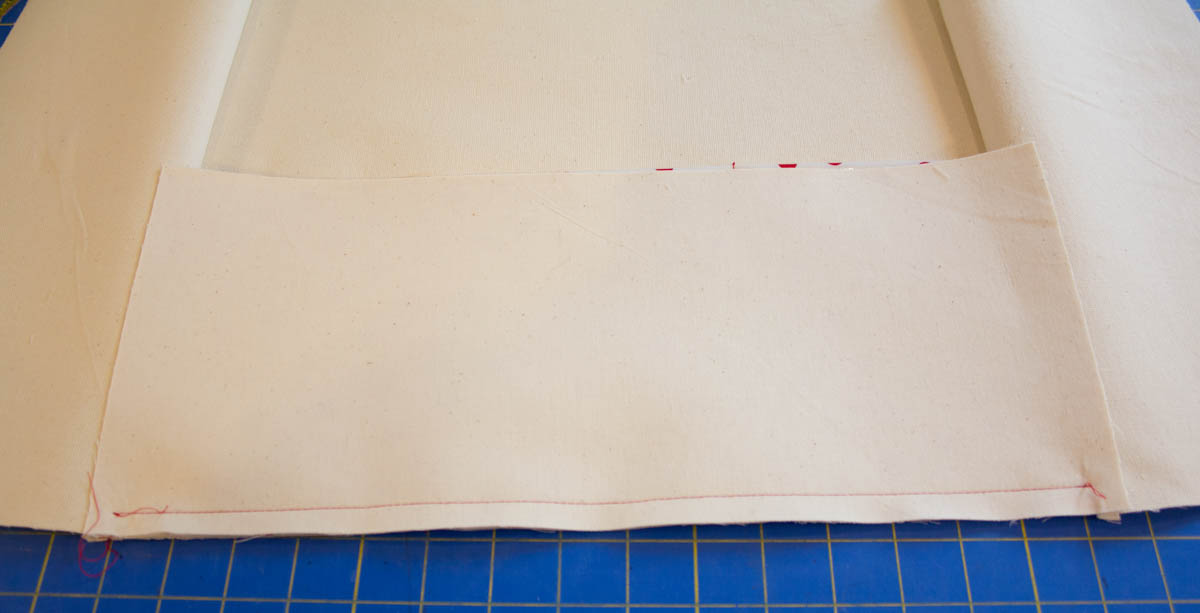
Fold the front and back outside oilcloth pocket pieces in half, wrong sides together, so that they measure 7″ x 16″. Top stitch along the folded edge.
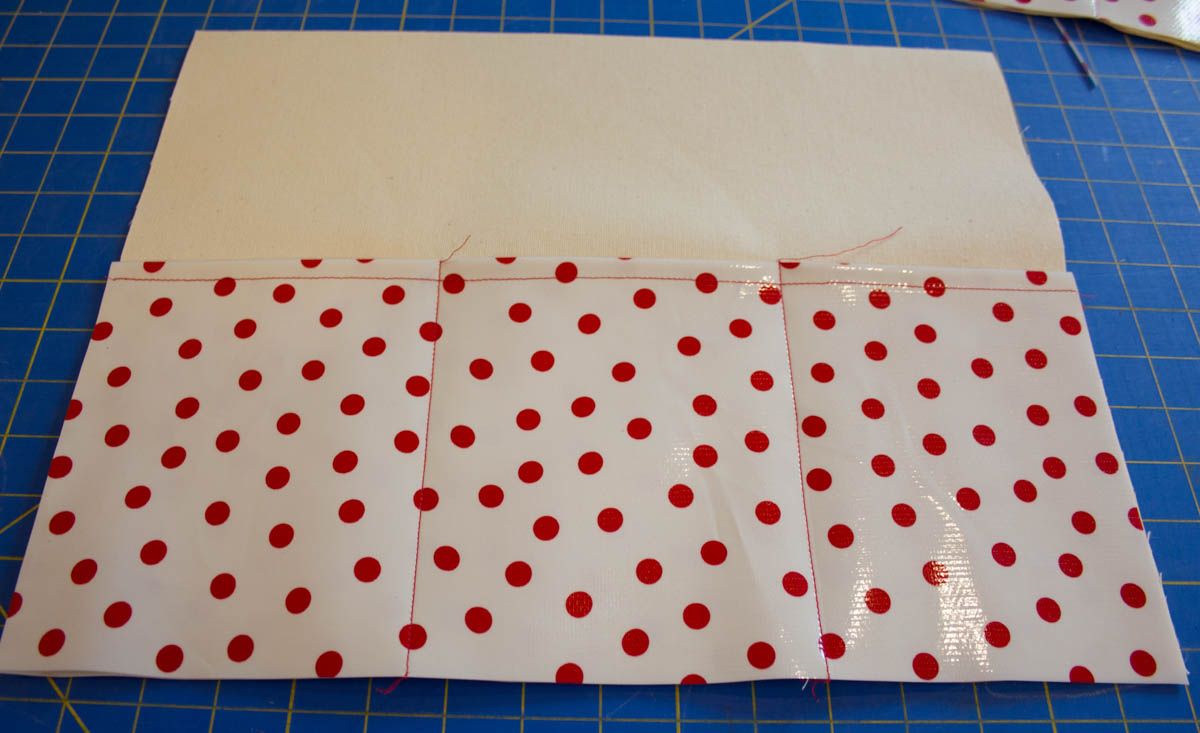
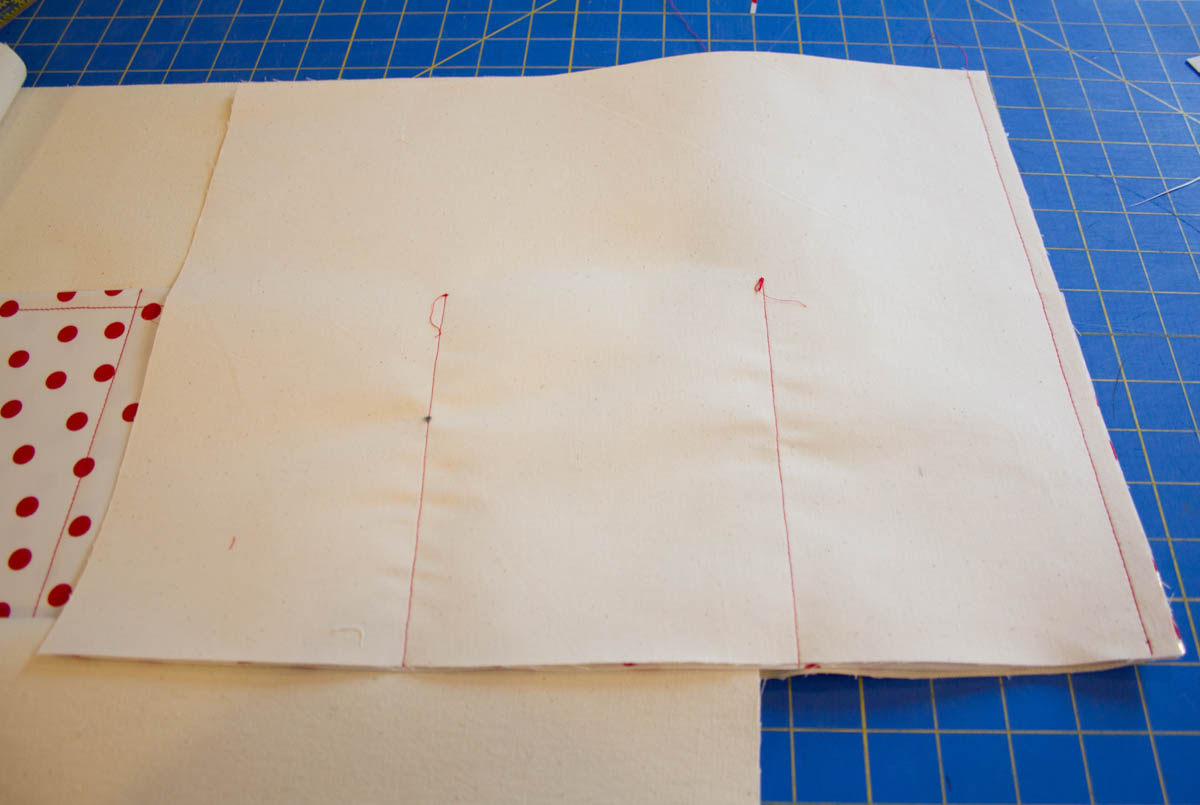
Place the pocket pieces on the right side of each of the canvas front and back pieces. Divide the pocket areas into three sections and stitch the pocket pieces to the front and back canvas pieces.
Step 2: Assemble the outside of the bag
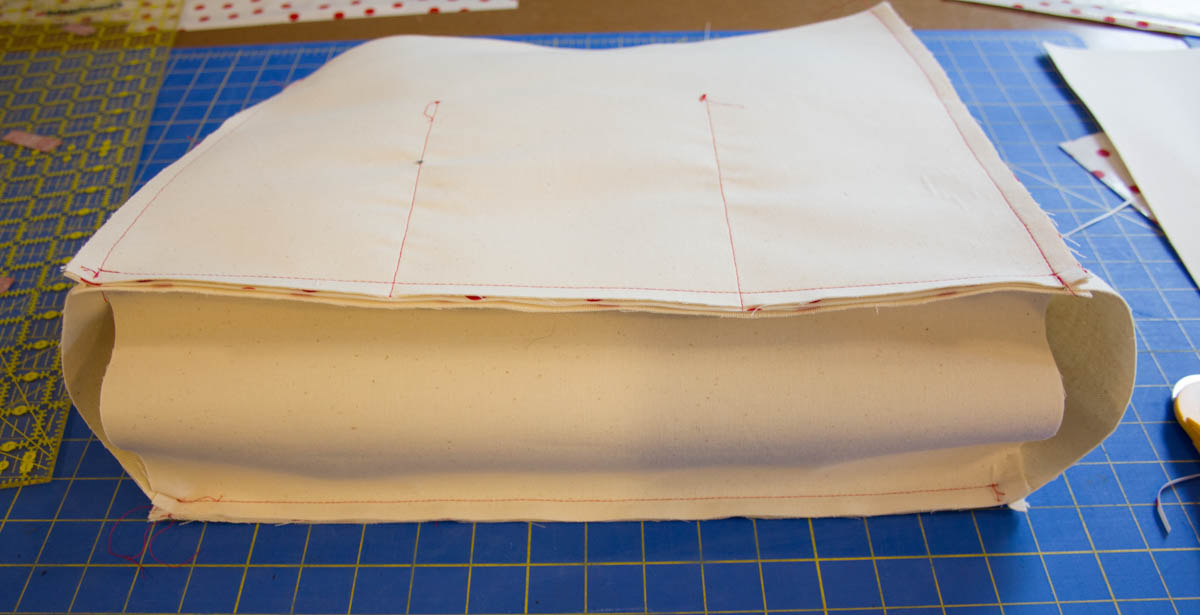
Sew the canvas side pieces to the bag, front right sides together.
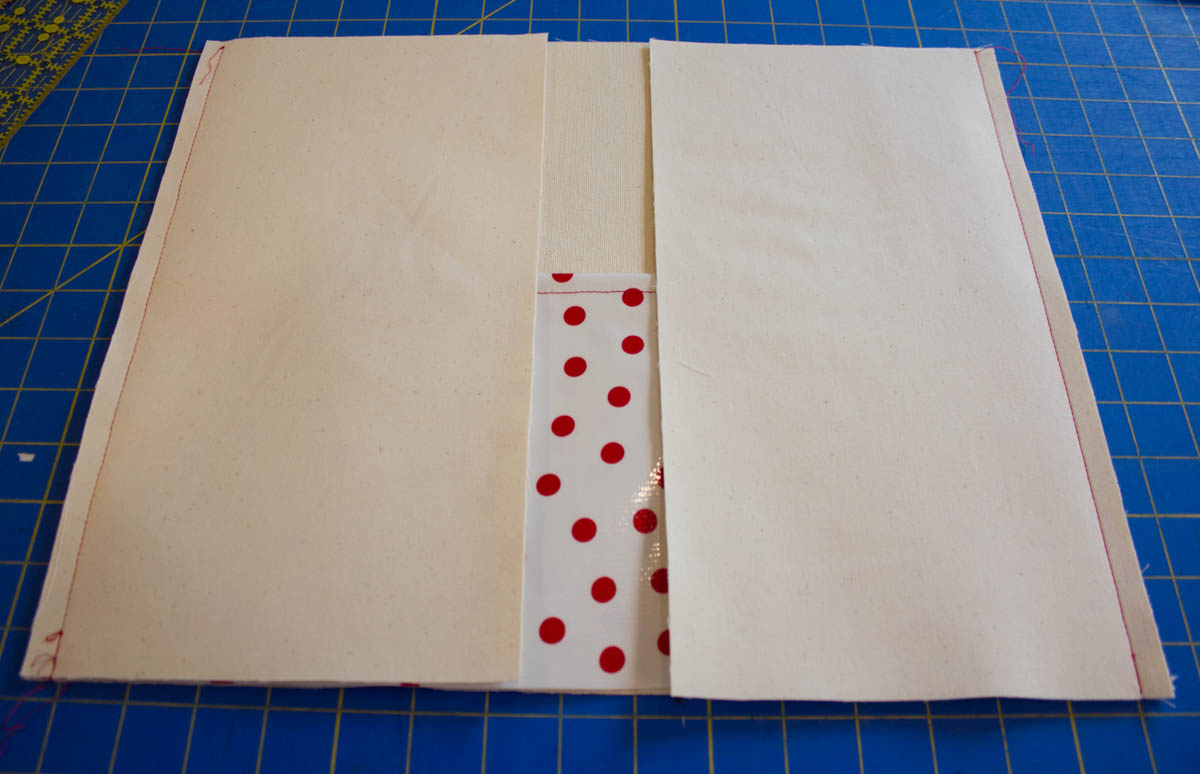
Open out the side pieces and sew on the bottom piece.
Sew the other outside panel piece to one of the side panels along one edge. Repeat for the other side and then sew the back panel to the bottom panel along the bottom edge. Finally, sew the bottom panel side seams closed.
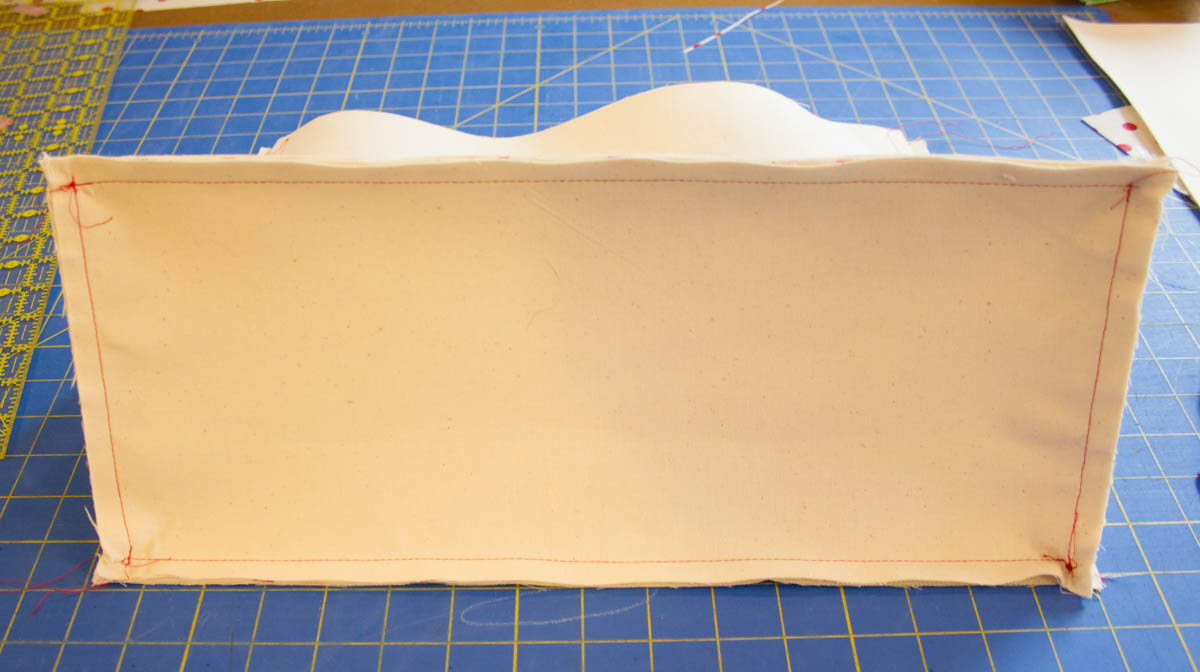
Turn the bag right side out and set it aside while you making the lining.
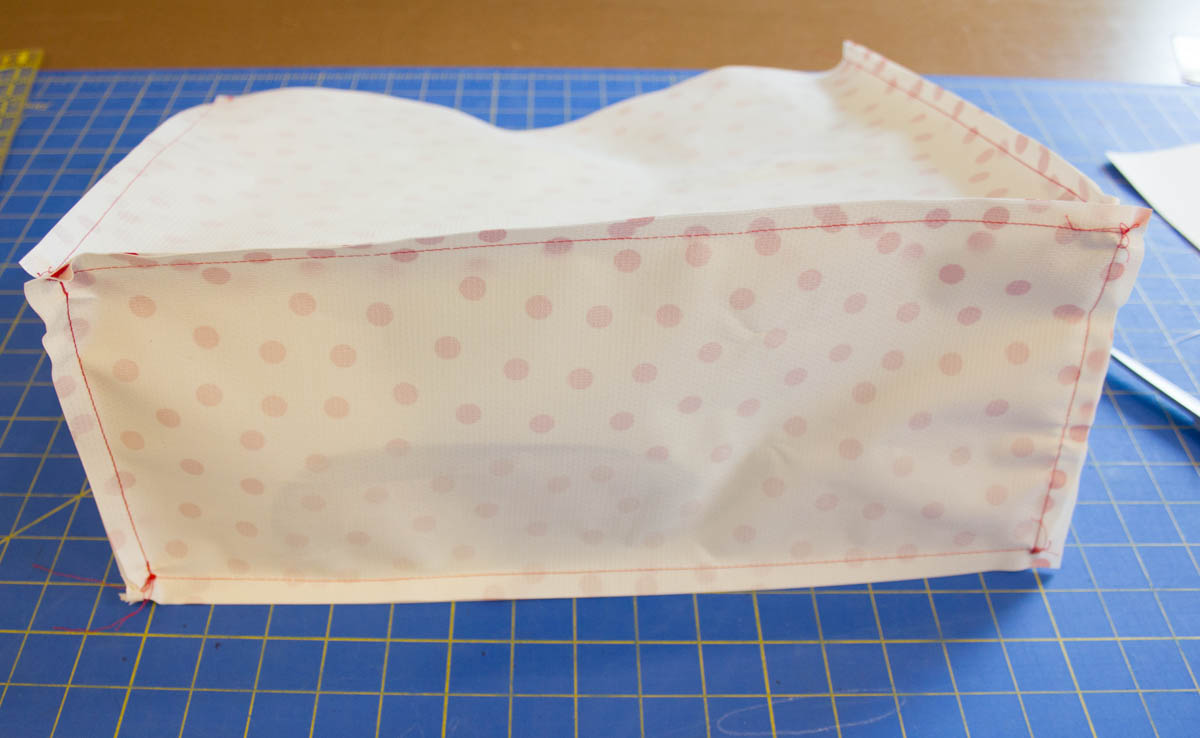
Step 3: Make the lining
The lining of the bag is constructed the same way as the outside of the bag (minus the pockets).
Sew the lining side pieces to the lining front piece right sides together. Open out the side pieces and sew on the bottom piece.
Sew the lining back panel piece to one of the side panels along one edge. Repeat for the other side and then sew the back panel to the bottom panel along the bottom edge. Finally, sew the bottom panel side seams closed. Do not turn the lining right side out.
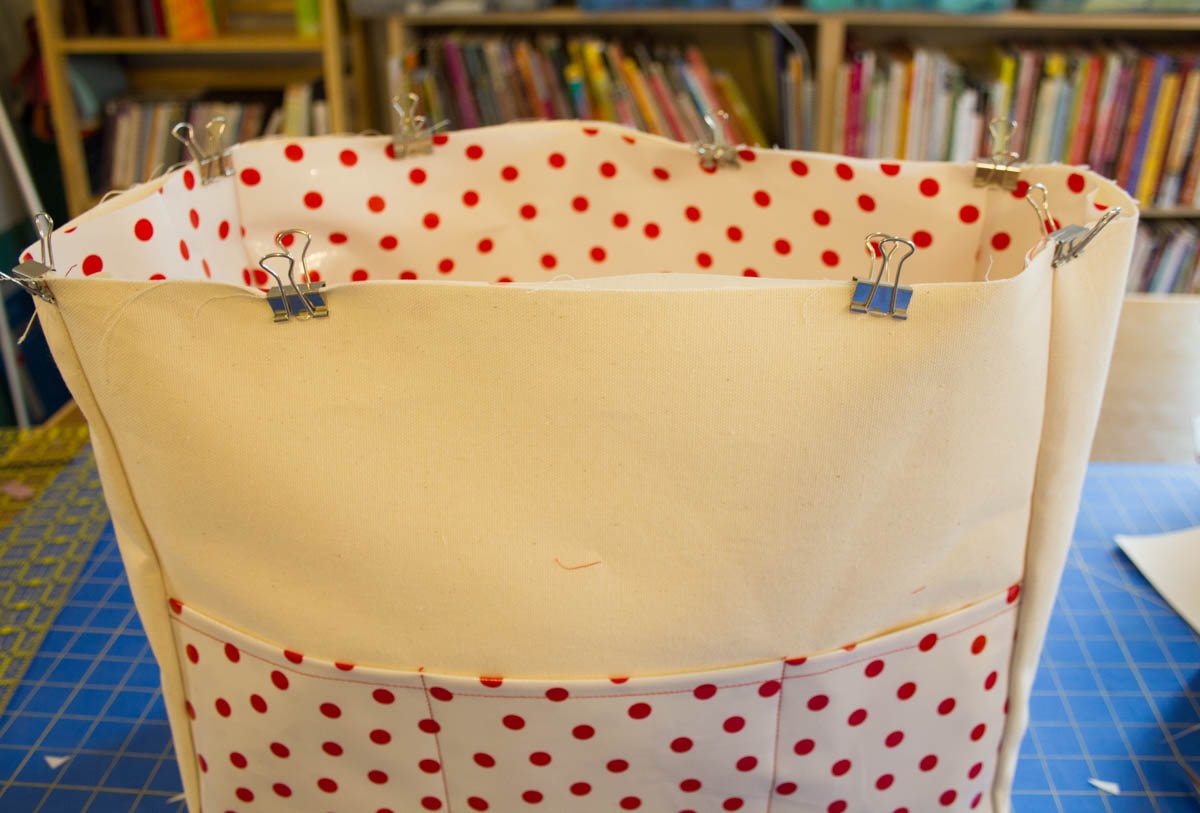
Step 4: Assemble the bag
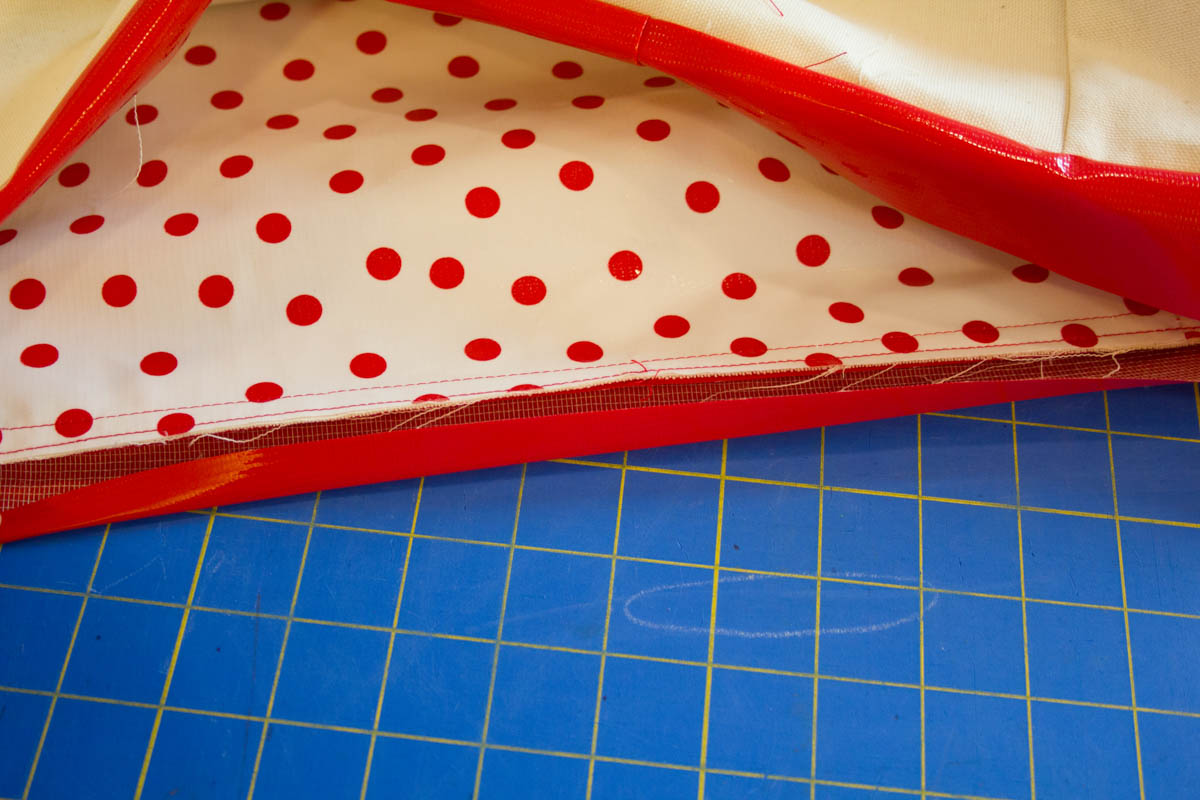
Put the lining inside the bag wrong sides together aligning the top raw edges and side seams. Sew them together close to the top edge using a scant 1/4″ seam. You can use paper clips or small binder clips to keep the layers from shifting while you sew them together.

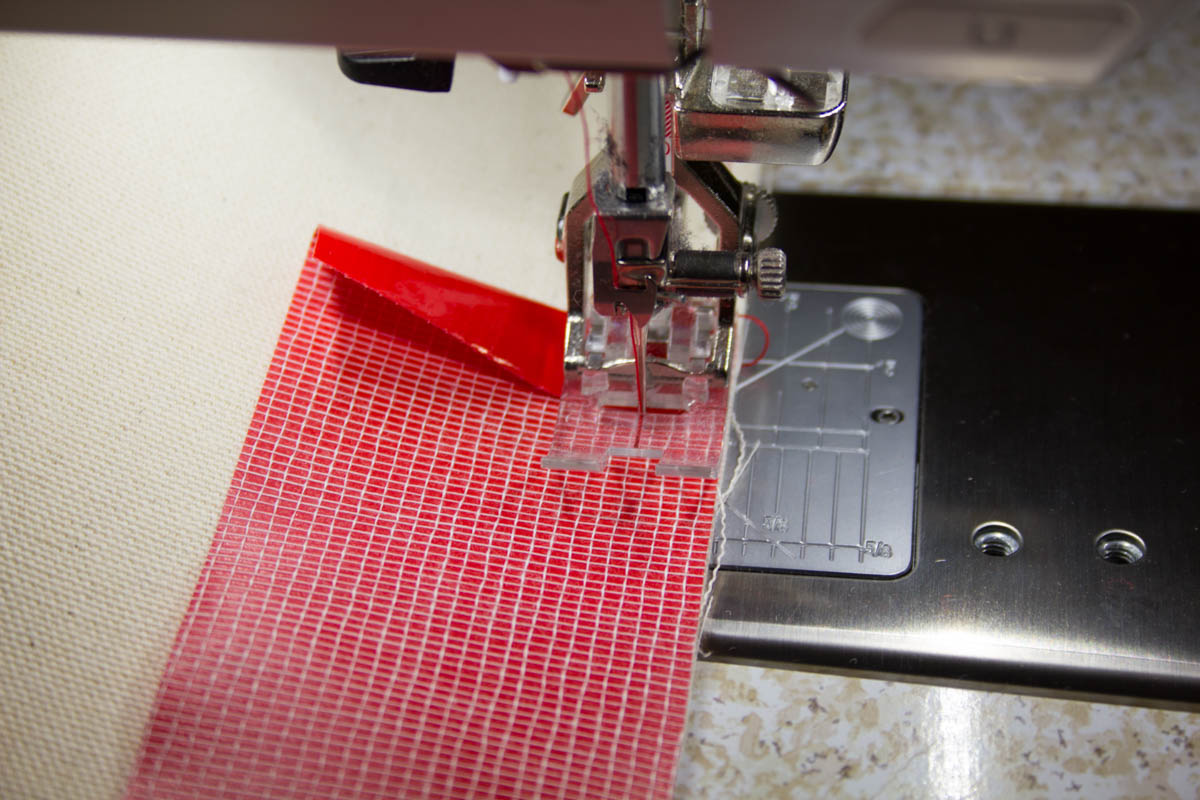
Step 5: Bind the top edge
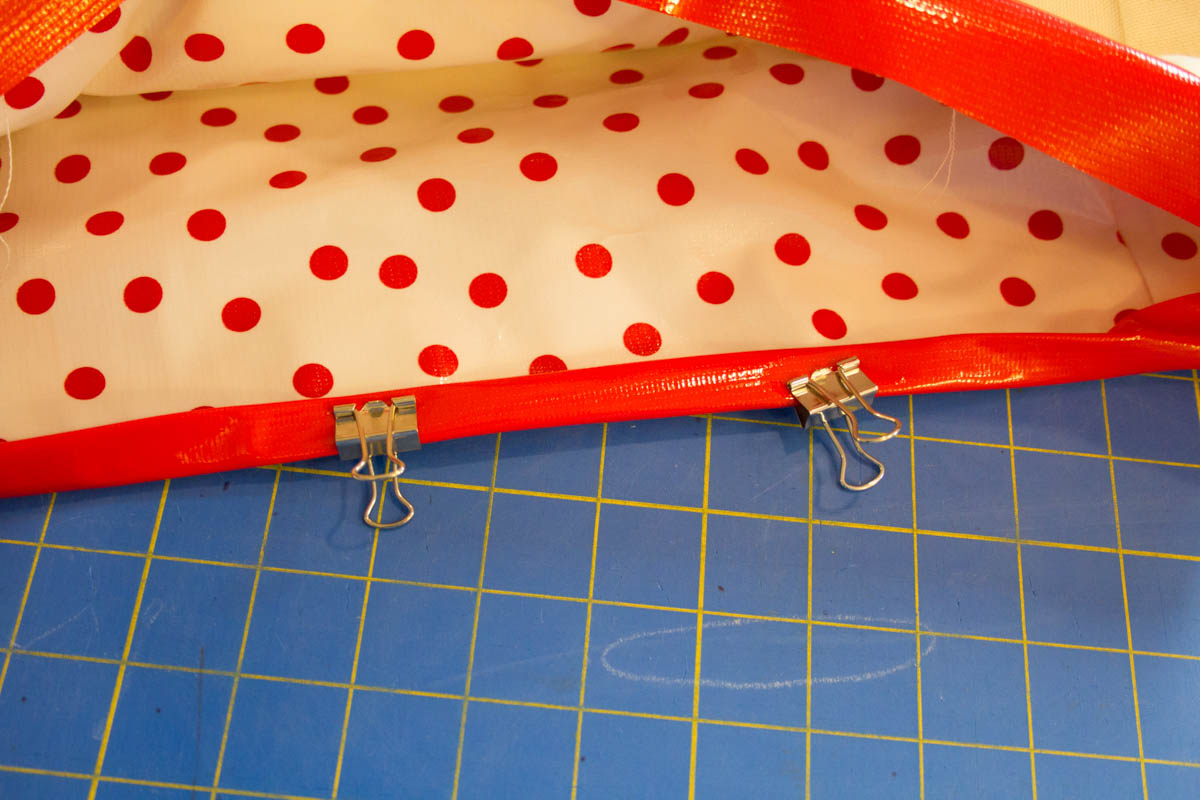
Fold over one short edge of the binding strip 1/2″ and sew the binding strip to the top edge of the bag right sides together.
After you have sewn the binding strip to the bag, turn it to the inside of the bag. Fold the strip in half and then fold it against the inside of the bag to encase the raw edges.
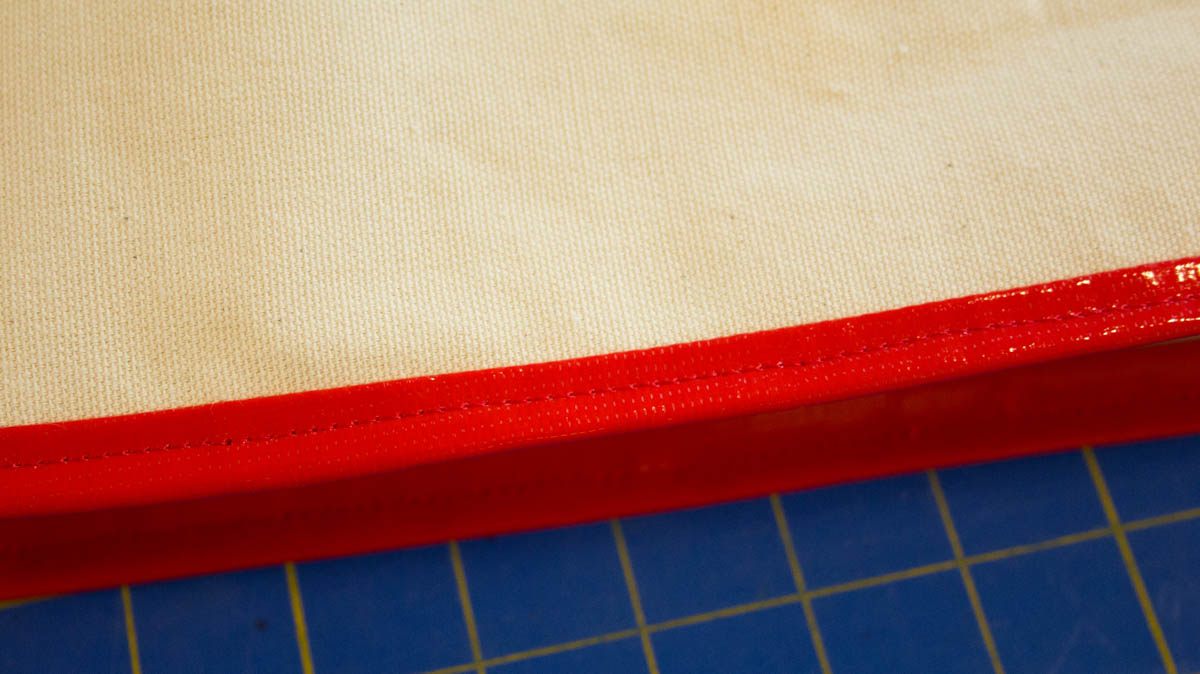
Use binder clips to hold the binding in place while you topstitch the binding in place from the right side of the bag.
Step 6: Finish the bag
Attach the bag handles according to the directions on the handle package and you’re bag is ready to use!