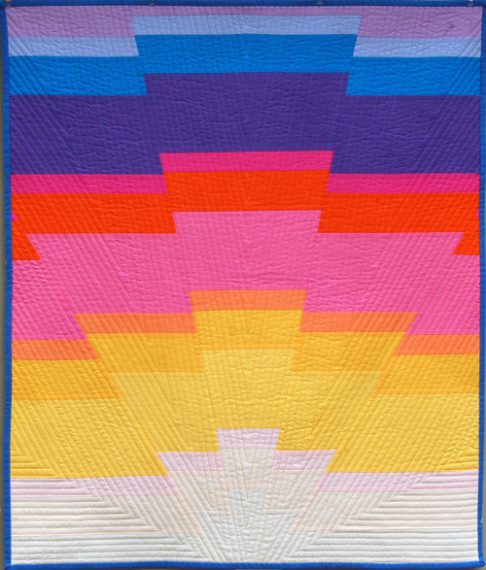
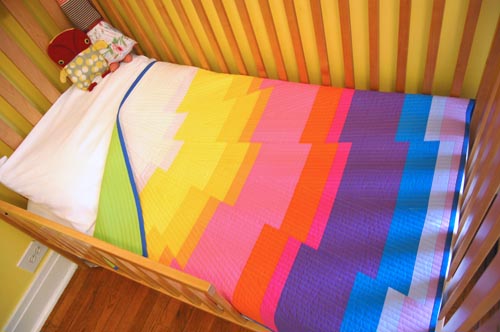
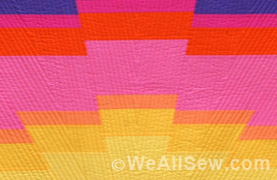
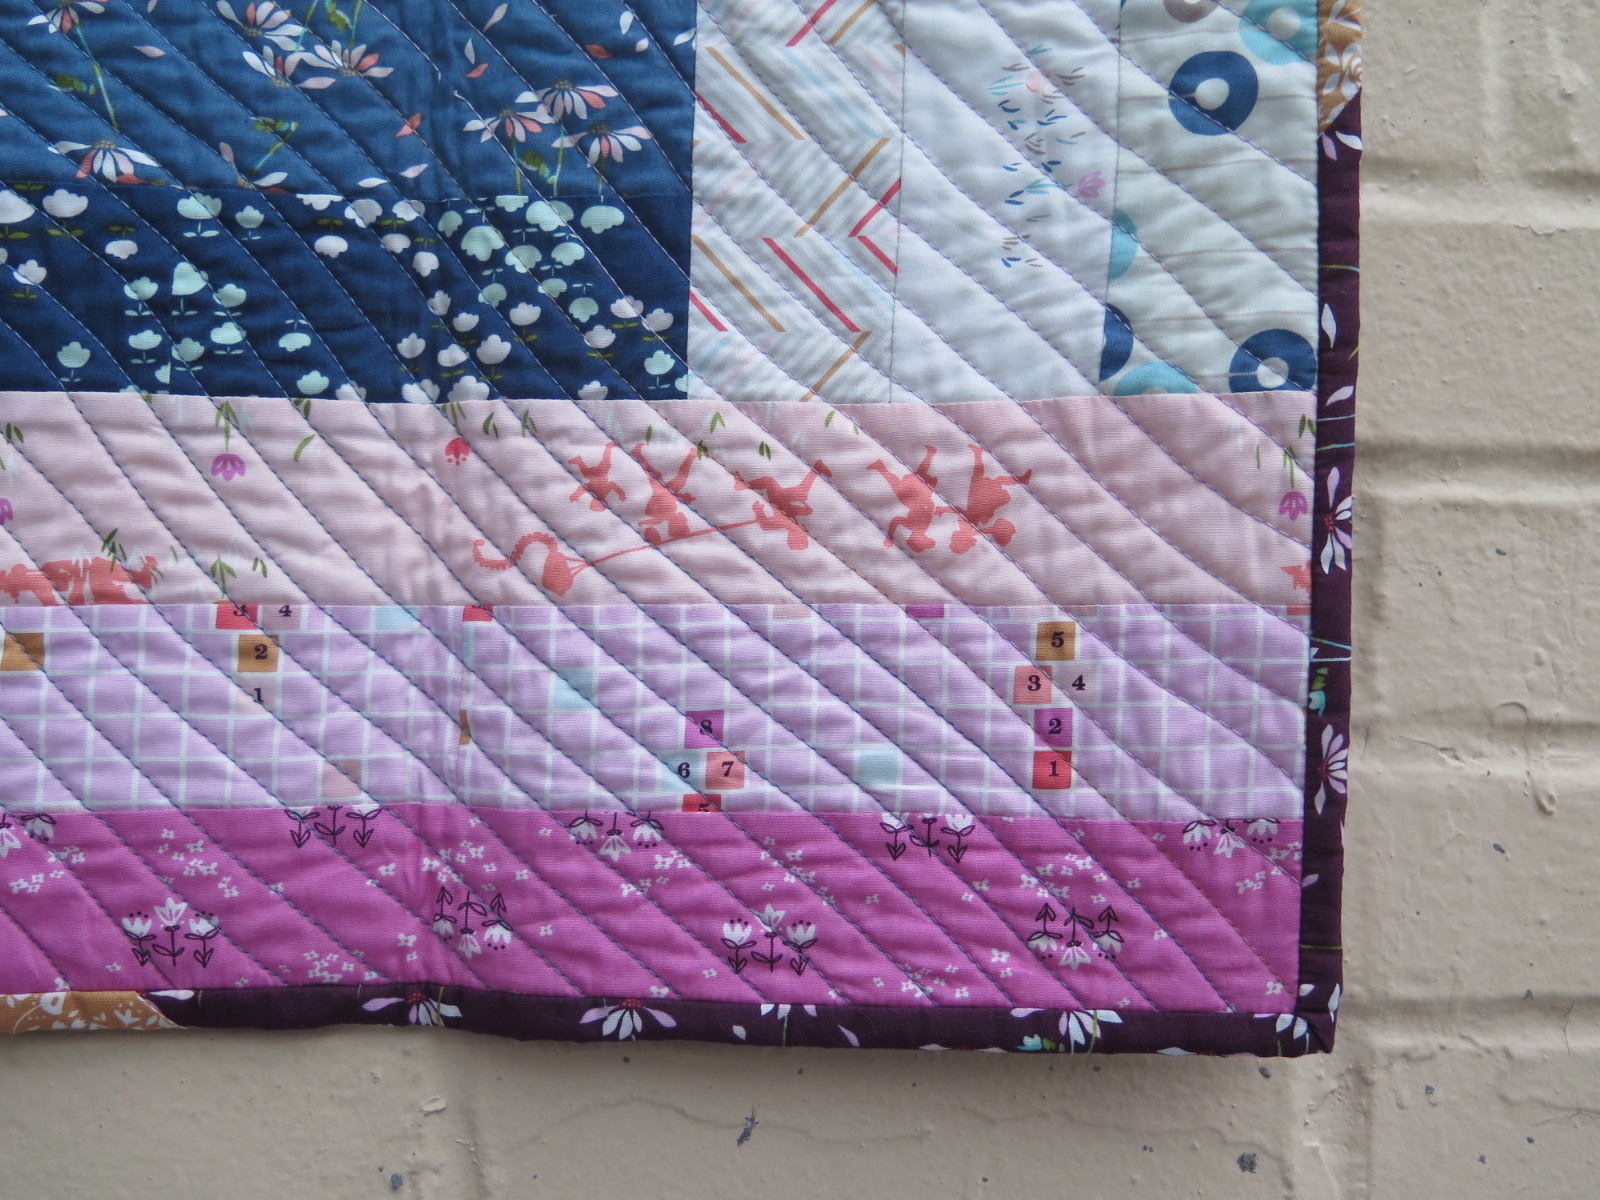
Sunrise Baby Quilt: Piece Those Strips!
You have your fabric and you’ve cut your strips…. Now it’s time to stitch them together! And then cut them apart and reassembly the pieces.
You’ll be stitching your strips together using 1/4″-wide seam allowances. Bigger or smaller, and your pieces won’t go together quite as expected. Don’t stress! There’s a lot of wiggle room Erika’s Sunrise Baby Quilt. But if we were piecing blocks together, making those 1/4″ seams a little bigger or smaller could throw everything off kilter, and you’d have pieces that were too big or too small and wouldn’t fit together properly.
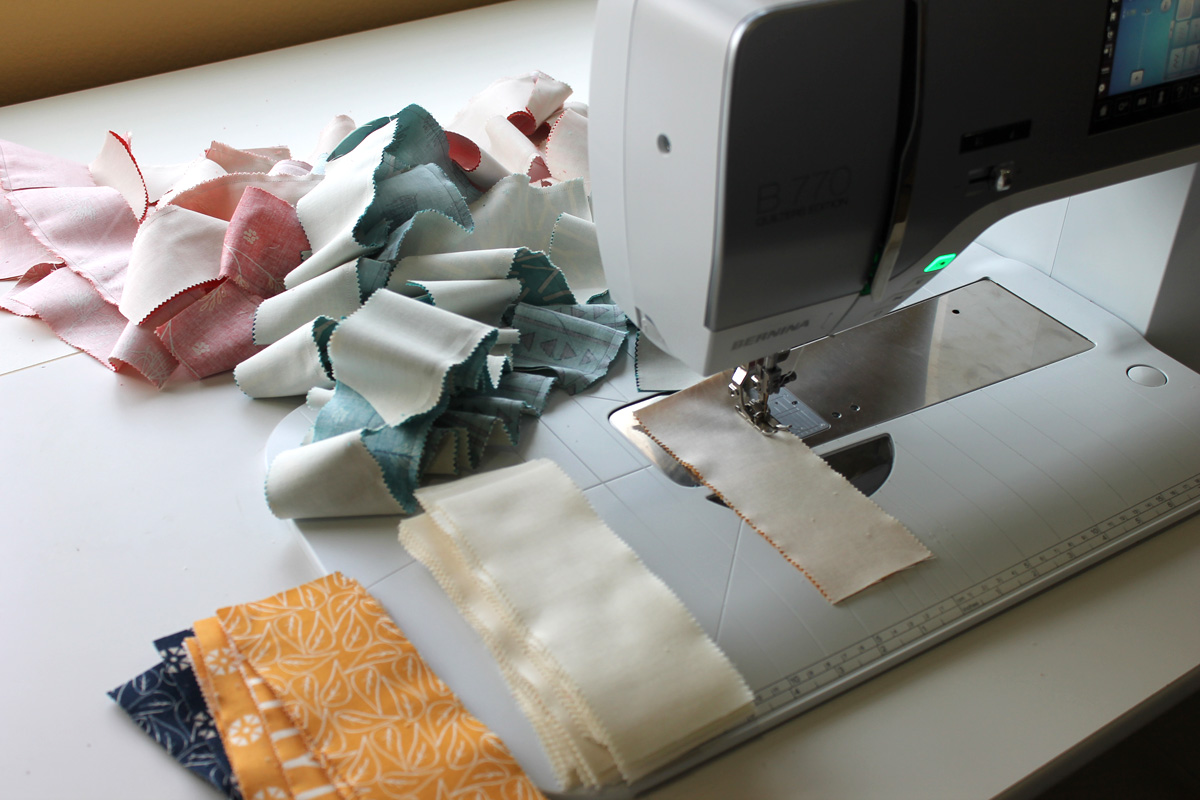
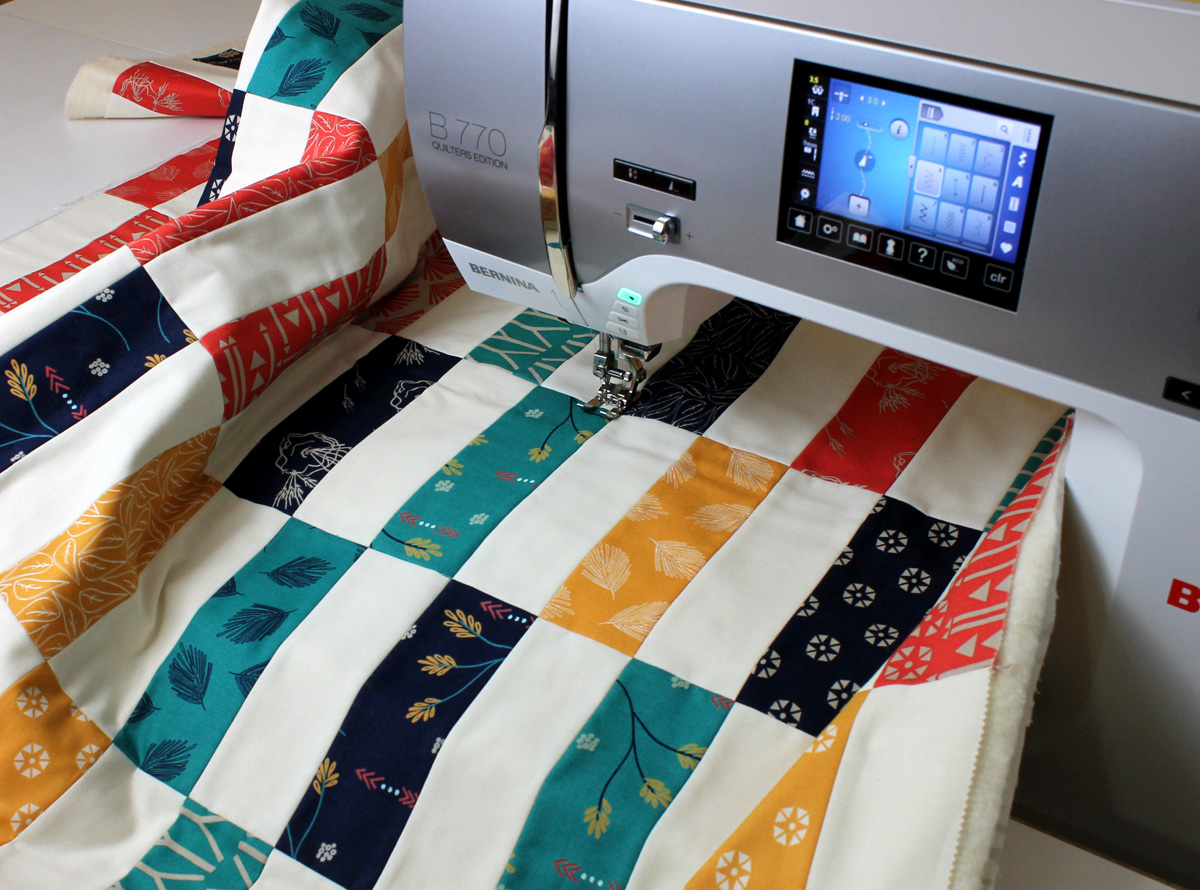
So how can you ensure that your seam allowances are exactly 1/4″ wide? The easiest way is with a quarter-inch foot, a straight stitch foot with a toe that measures exactly 1/4″ from the center needle position to the outer edge of the toe.
First, make sure the raw edges of the two pieces you’re stitching together are exactly even. Then place them under the presser foot, aligning them precisely with the outer edge of the foot. Not just inside, not just outside, not so just a smidge is showing – right at the edge and no further. The trick is to look at the front of the quarter-inch foot, where the fabric starts going underneath and you can still see the entire edge.
Another trick – which I use in conjunction the one above, is using the measurements etched into or marked on your stitch plate. The 1/4″ marks sometimes only show in front of and behind the feed dog slot, but you’ll find the ends at the front and back. Line your fabric up with these marks for perfect 1/4″-wide seam allowances.


One more tip: Use a new Microtex Sharp needle or a Quilting needle. “Sharp” doesn’t just mean it’s nice and pointy; it’s a special type of needle with a very sharp point that lets it stitch right through the yarns in the fabric rather than sliding to one side or the other. A Quilting needle a similar point, designed for going through multiple layers of fabric.
FYI: A Ballpoint needle has a rounded point that slides around the yarns of knit fabrics rather than going through them and possibly cutting them and creating runs or holes. A Universal needle – the one most folks use most of the time – is sort of an all-purpose, in-between type. It’s fine to use, but if you find your stitches aren’t as straight or precise as you’d like, try switching to a Sharp or Quilting needle.
Enough of the sewing lesson! Here are this week’s instructions:
Weel One Recap
• Collect supplies and fabric.
• Cut fabric into strips as directed in color chart.
Week Two: Stitch the Quilt Top
step one) Sew the strips together.
Set your sewing machine up with a 1/4ʺ-wide foot and size #80/12 Quilting needle. Select a straight stitch and adjust the stitch length to 2 mm (about 10 stitches/inch).
Thread your machine with 50-weight 100% cotton thread, such as Mettler Silk-Finish Cotton or Aurifil Cotton Mako.
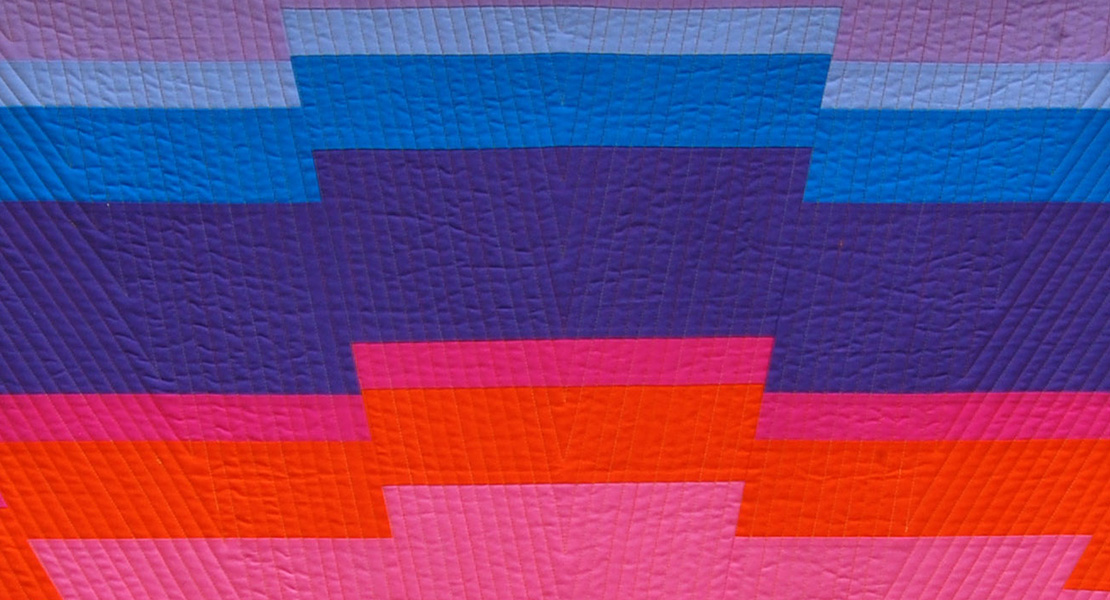
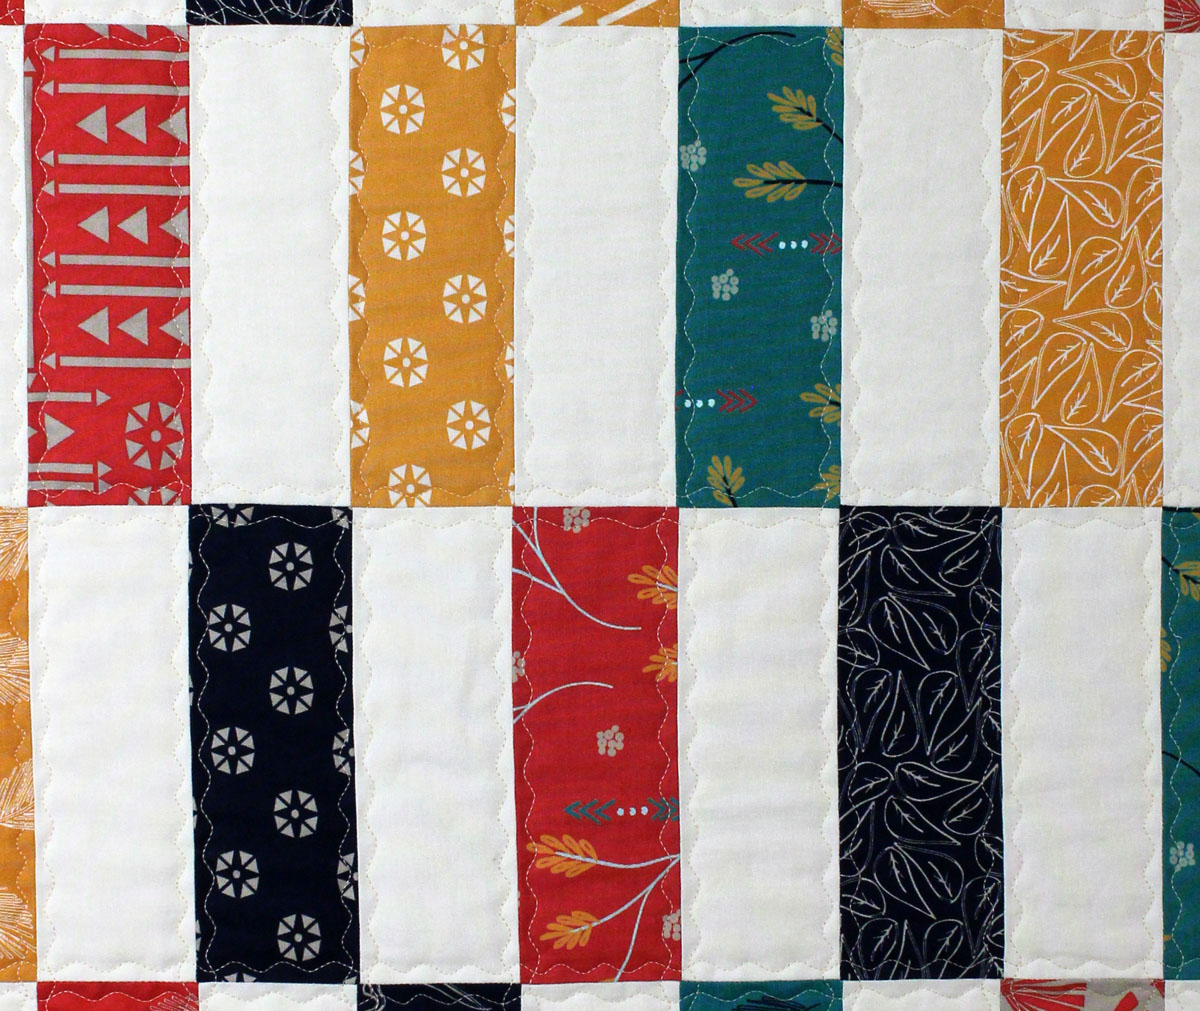
Sew strip #1 (Solid Shade Lilac) to strip #2 (lilac), right sides together with a ¼ʺ-wide seam allowance. Press seam allowances toward strip #1 (toward the top edge of the quilt).
Add strip #3 (Artesian Water) to strip #2 as above; press seam allowances toward the top.
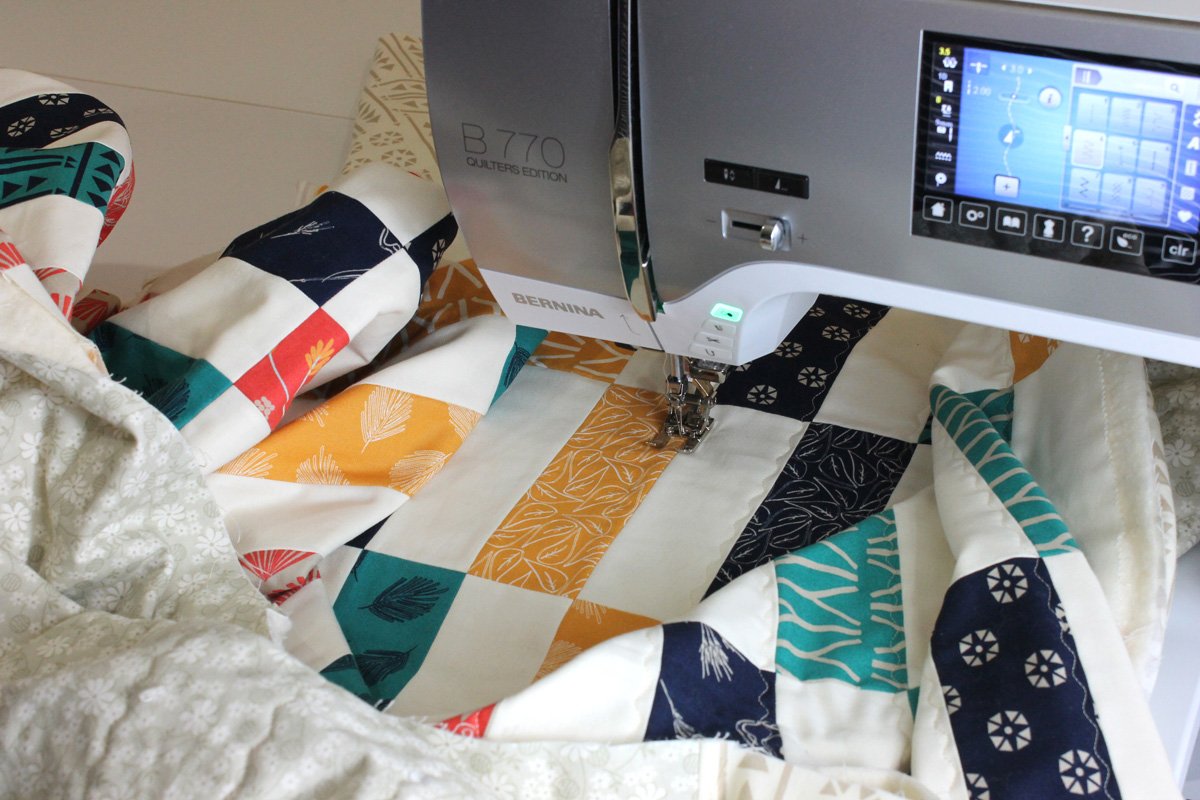
Continue adding strips following the order in the chart on page 1, pressing all seam allowances toward the top.
Using a rotary cutter, mat, and quilting ruler or straight edge, trim the selvages and uneven edges of the fabric on each side. You will have an almost perfect square measuring about 42ʺ‒44ʺ wide and about 45ʺ tall.

Step 2) Cut the “sun rays.”
Use a fabric marking pen or pencil that will be easily seen on the fabric for the following steps.
Find the vertical center of the quilt top, and mark the top and bottom center edges.
Make a small dot 9-1/2ʺ to the left of the center mark along the top edge.
Mark a dot 13” down from the upper left corner of the quilt top.
Along the lower edge of the quilt top, mark a dot 1/2ʺ to the left of the center mark.
Mark a second dot 1ʺ to the left of the dot just marked.
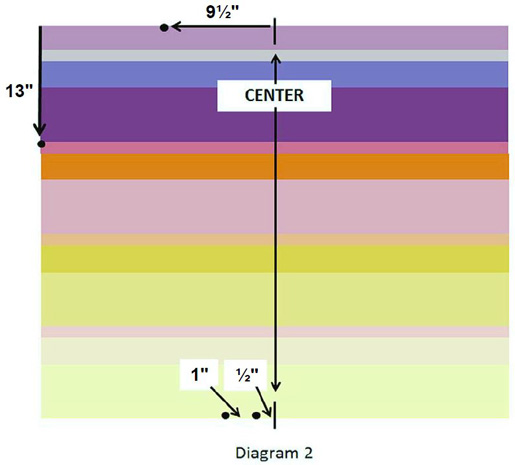
Repeat the above steps, drawing dots to the right of the center line, creating a mirror image of the first set of dots.
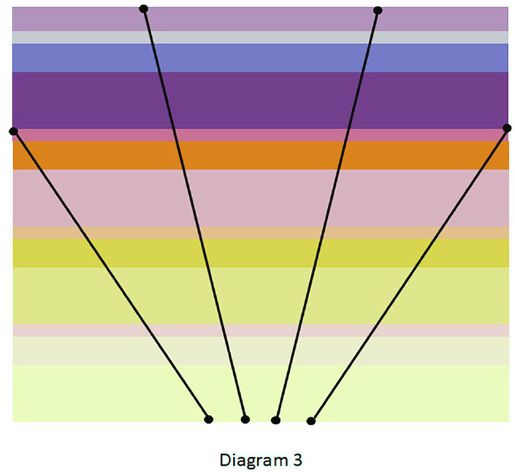
Connect the dots as shown, using a fabric marker and quilting ruler or straight edge.
Using a rotary cutter, mat, and quilting ruler or straight edge, carefully cut along the marked lines.
Step 3) Shift and stitch the sections.
Section One
Starting with the cut piece furthest to the left, carefully slide it down along the cut edge exactly 2-1/4ʺ from the edge.
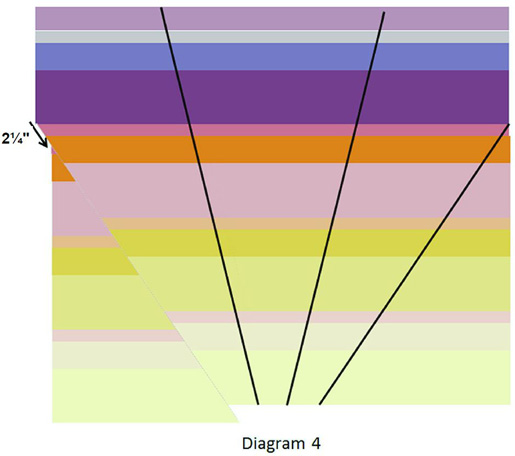
Carefully flip the piece over along the cut edge, right sides together, and pin.
Stitch the edges together with ¼ʺ-wide seam allowances; press seam allowances toward the outside edge of the quilt top.
Move the joined pieces back in place with the other pieces of the quilt top.
Section Two
Carefully slide the second piece down along the cut edge exactly 1-3/4ʺ from the edge.

Carefully flip the piece over along the cut edge, right sides together, and pin.
Stitch the edges together with 1/4ʺ-wide seam allowances; press seam allowances toward the outside edge of the quilt top.
Move the joined pieces back in place with the other pieces of the quilt top.
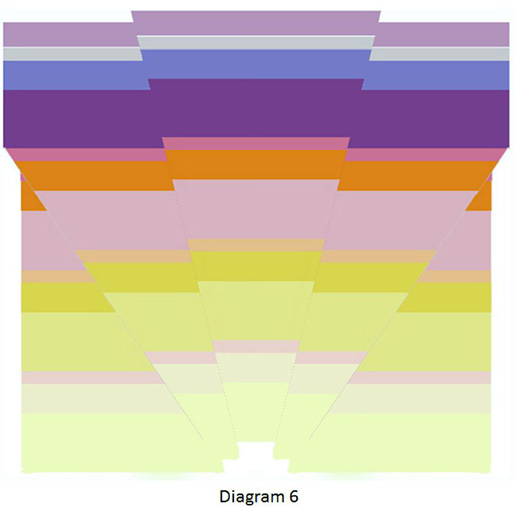
Sections Three, Four, and Five
Repeat steps eight and nine on the opposite side of the quilt top until all five pieces are stitched together.
Step 4) Trim the edges.
Using a rotary cutter, mat, and quilting ruler or straight edge, trim all edges of the quilt even on each side, cutting just enough of the extra off to even up the edges.

The quilt top will now measure approximately 36ʺ‒38ʺ wide and 42ʺ‒43ʺ tall.
See you next week, Tuesday, March 12, as we continue our Sunrise Baby Quilt Sew-Along.
Have fun!
Missed a week?


6 comments on “Sunrise Baby Quilt: Piece Those Strips!”