3 Ways to Use the Zigzag Stitch
The zigzag stitch first appeared on BERNINA models with the introduction of the BERNINA 117 in 1938, read more about our history here. The zigzag is an incredibly versatile stitch with both utilitarian and decorative applications. Here are 3 ways to use the zigzag stitch in your sewing projects.
Utilitarian Zigzag Stitch
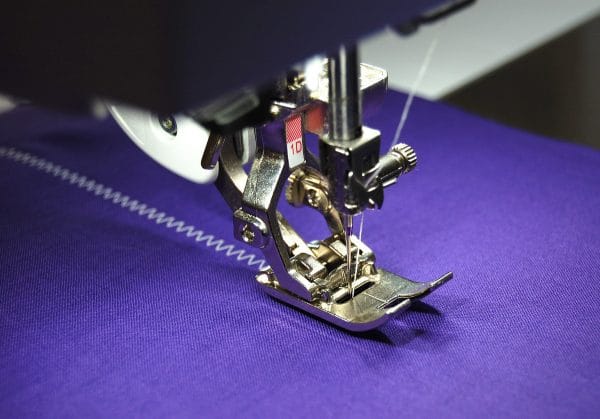
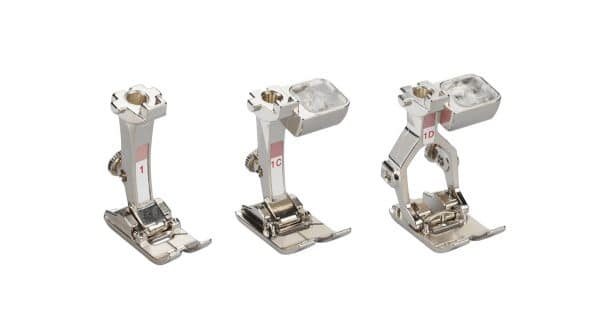
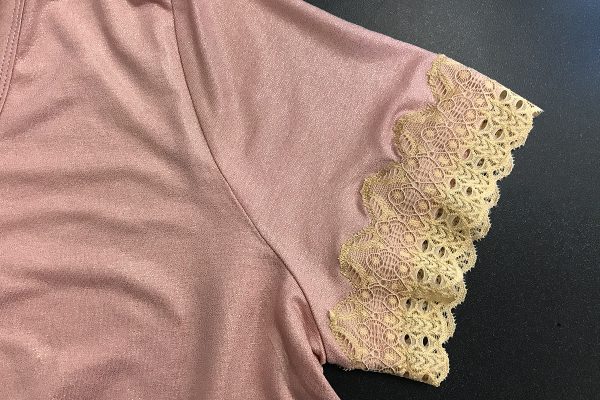
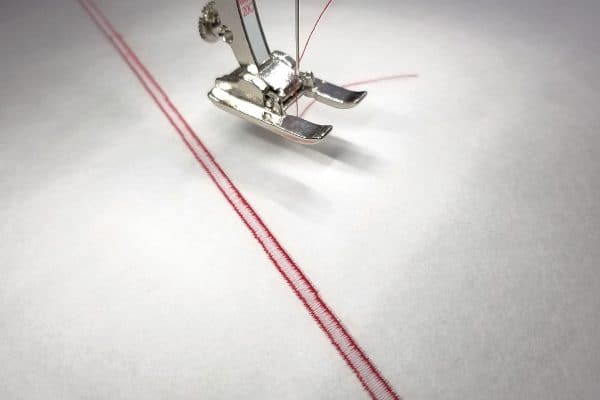
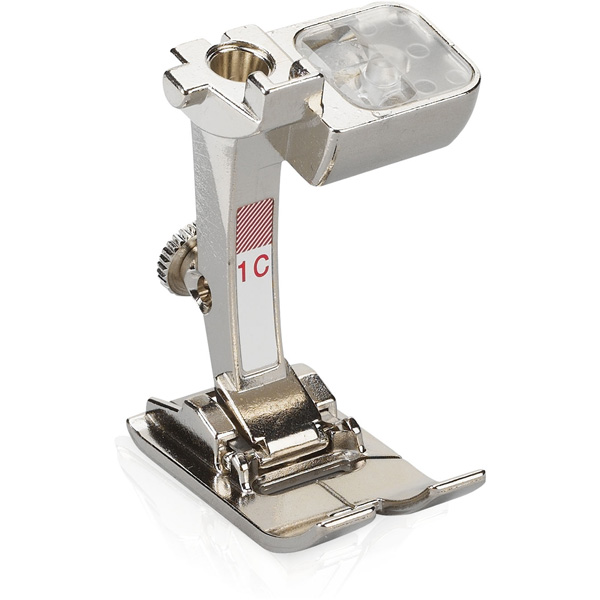
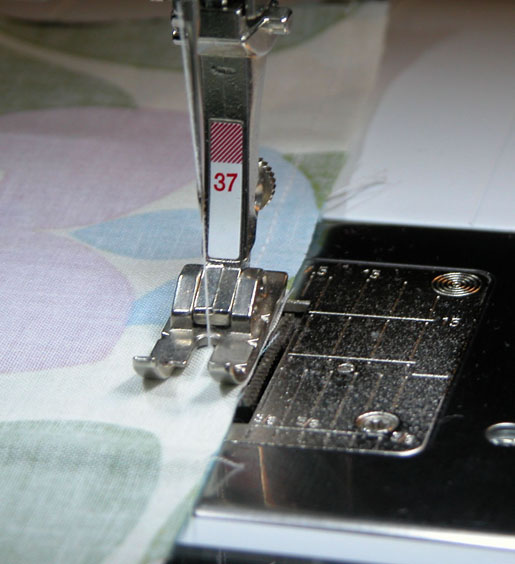
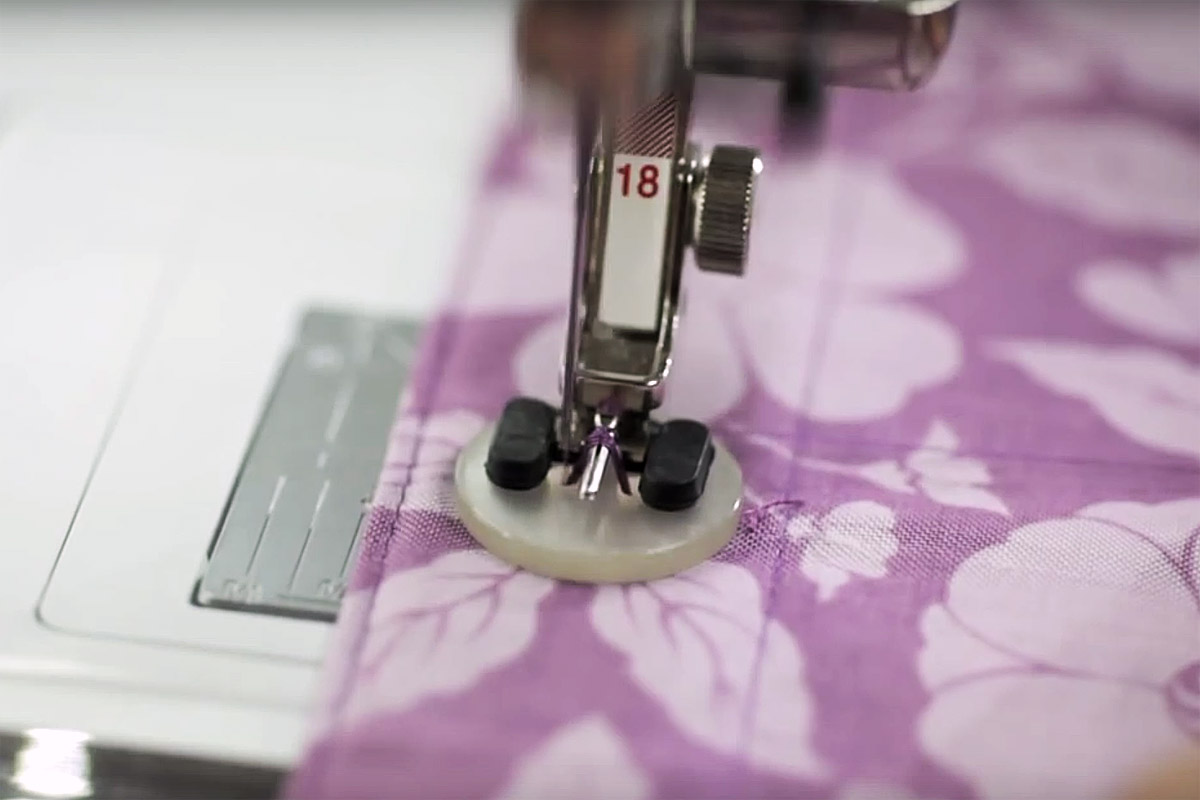
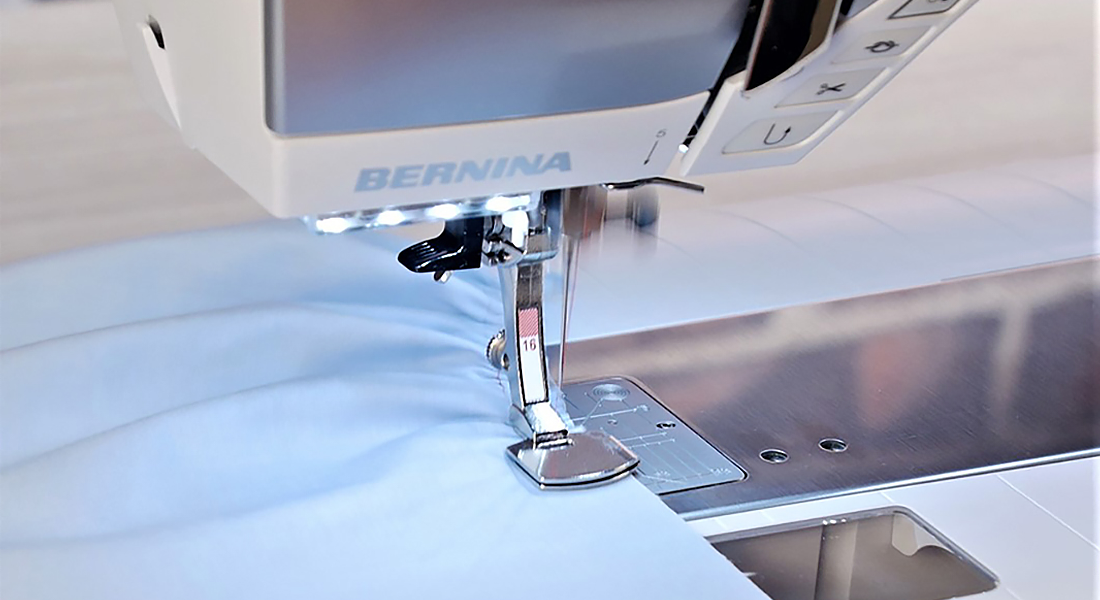
The zigzag stitch has many utilitarian uses. It can be used to seam or hem knit fabrics, encase raw seam edges, attach trim or lace, and more. When using a simple zigzag, choose the Reverse pattern foot #1/#1C/#1D.
This foot has a smooth, flat sole with a slight indentation around the needle. The narrow slot helps support the fabric when the needle penetrates back-and-forth to create the stitch, and the center of the foot is marked with an engraved line to act as a guide. To make the most of your zigzag when using any utilitarian stitch, be sure to use the right style and size of needle, and pair this with the correct style and diameter thread.
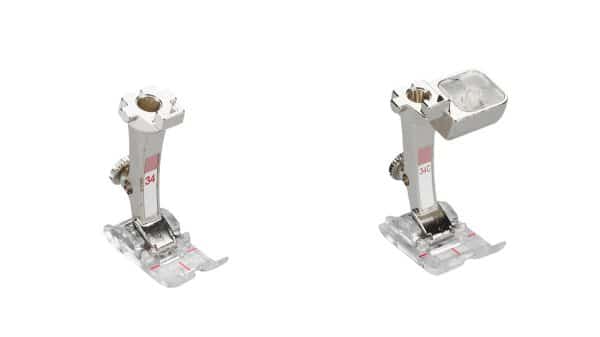
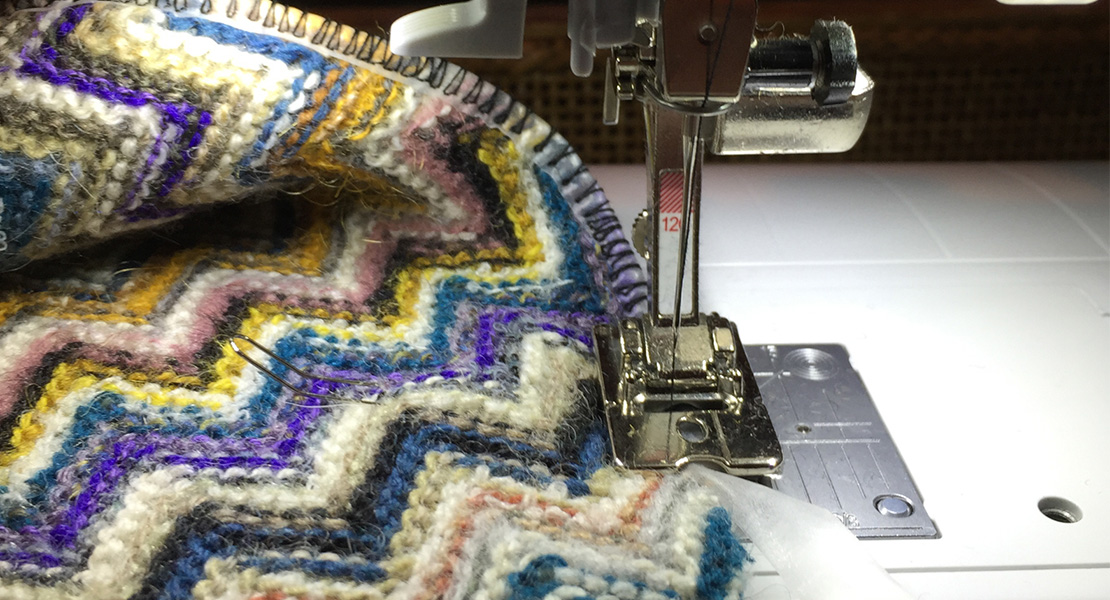
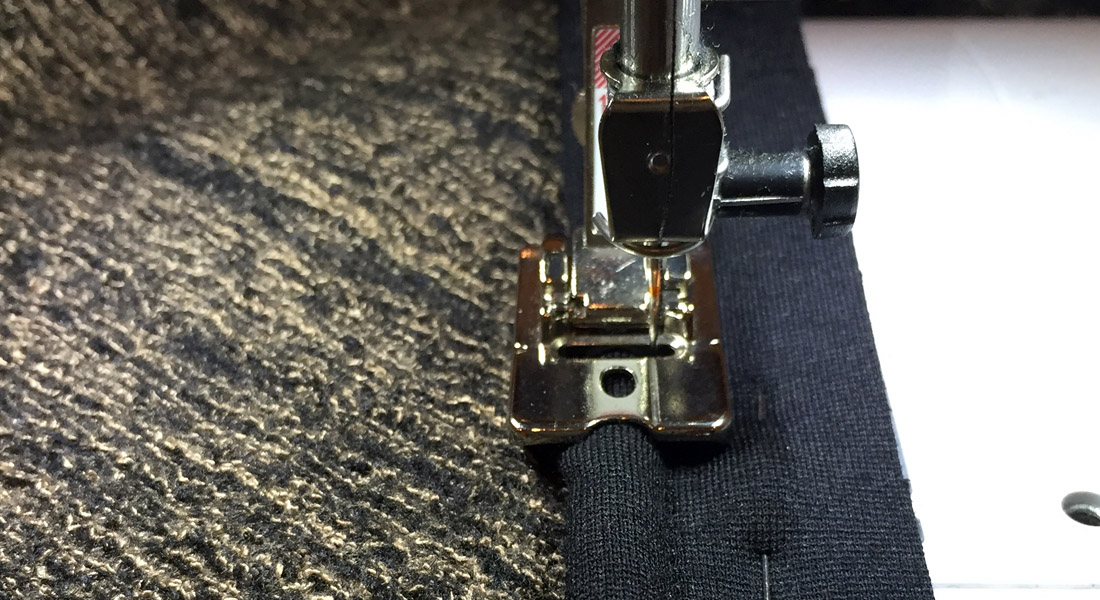
This foot also comes in a clear version to help you better see where you are sewing, the Clear foot #34/#34C/#34D. This foot has the same smooth, flat sole with indentations around the needle, and also has red markings to act as guides (one in the center, and one on each side of the needle).
Check out how to use the zigzag stitch in action in the How to Add Lace to a T-Shirt tutorial here on WeAllSew.
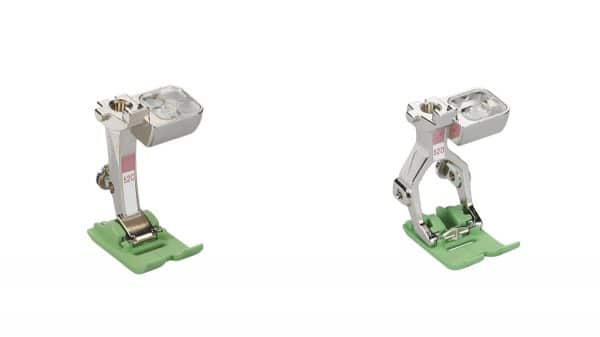
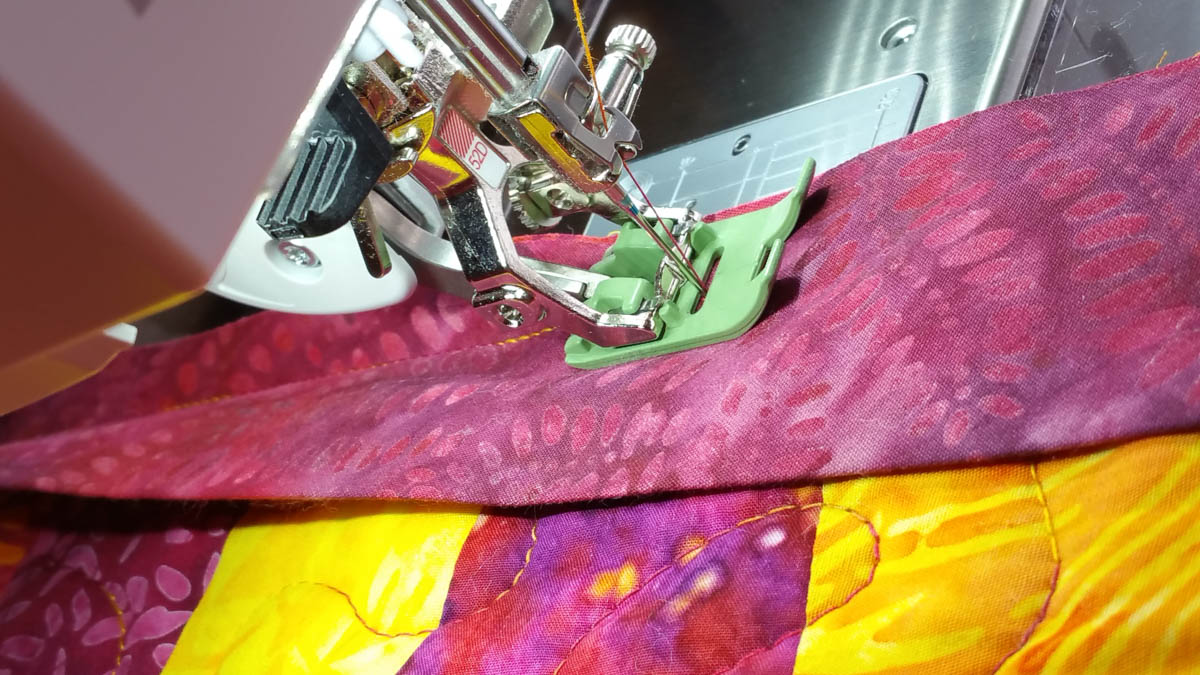
And, if you are ever in need of adding zigzag stitching to sticky or tacky fabrics like vinyl, there’s a non-stick version of this foot as well: the Non-Stick foot #52/#52C/#52D.
Find great tips for using this foot to stitch on vinyl here!
Seam Edge Finish With The Zigzag Stitch
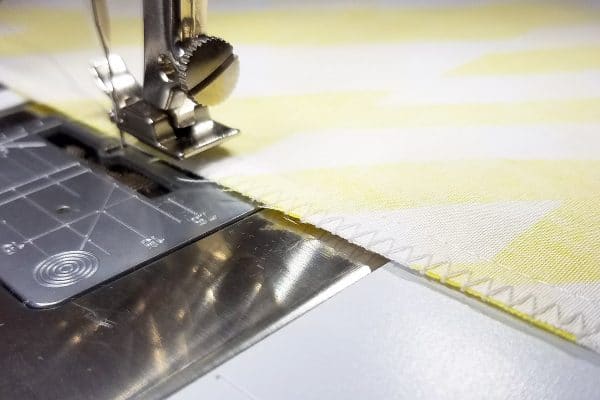
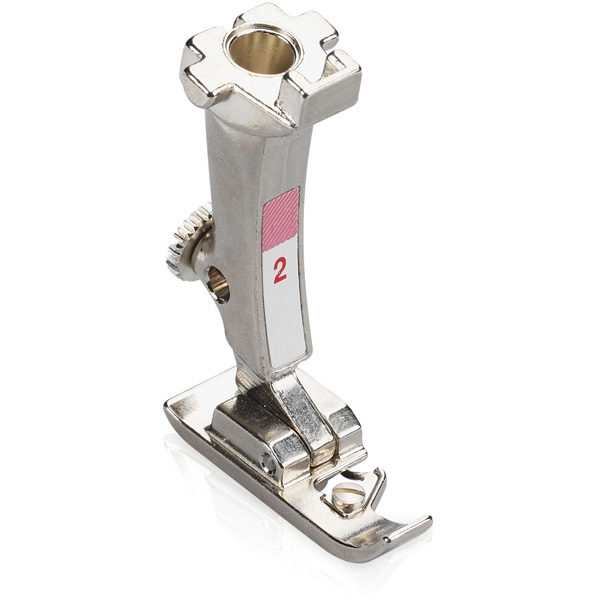
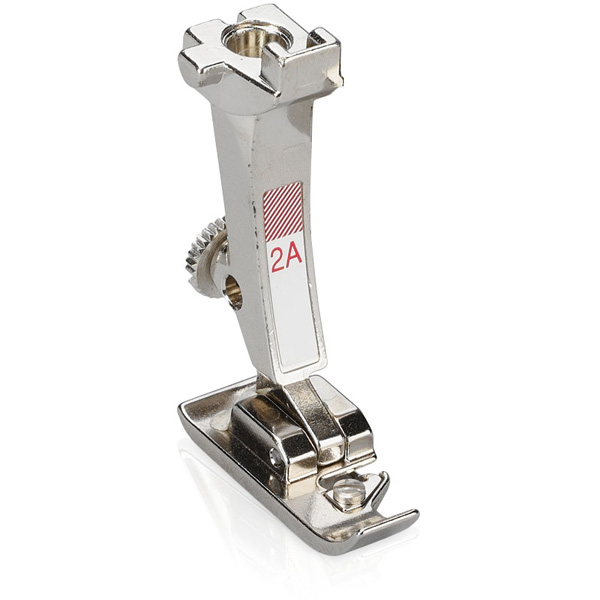
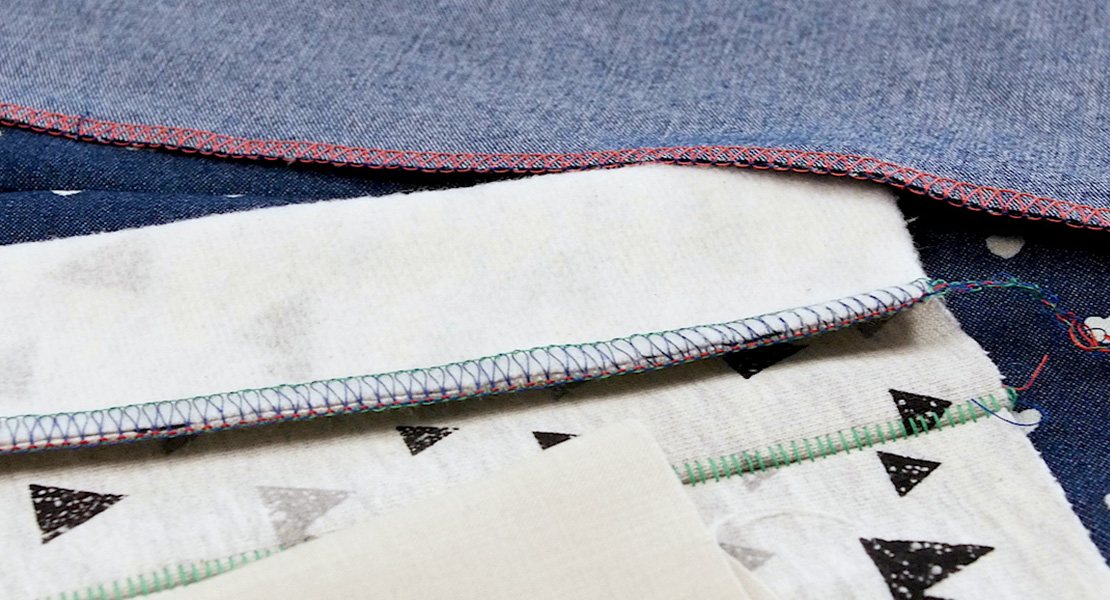
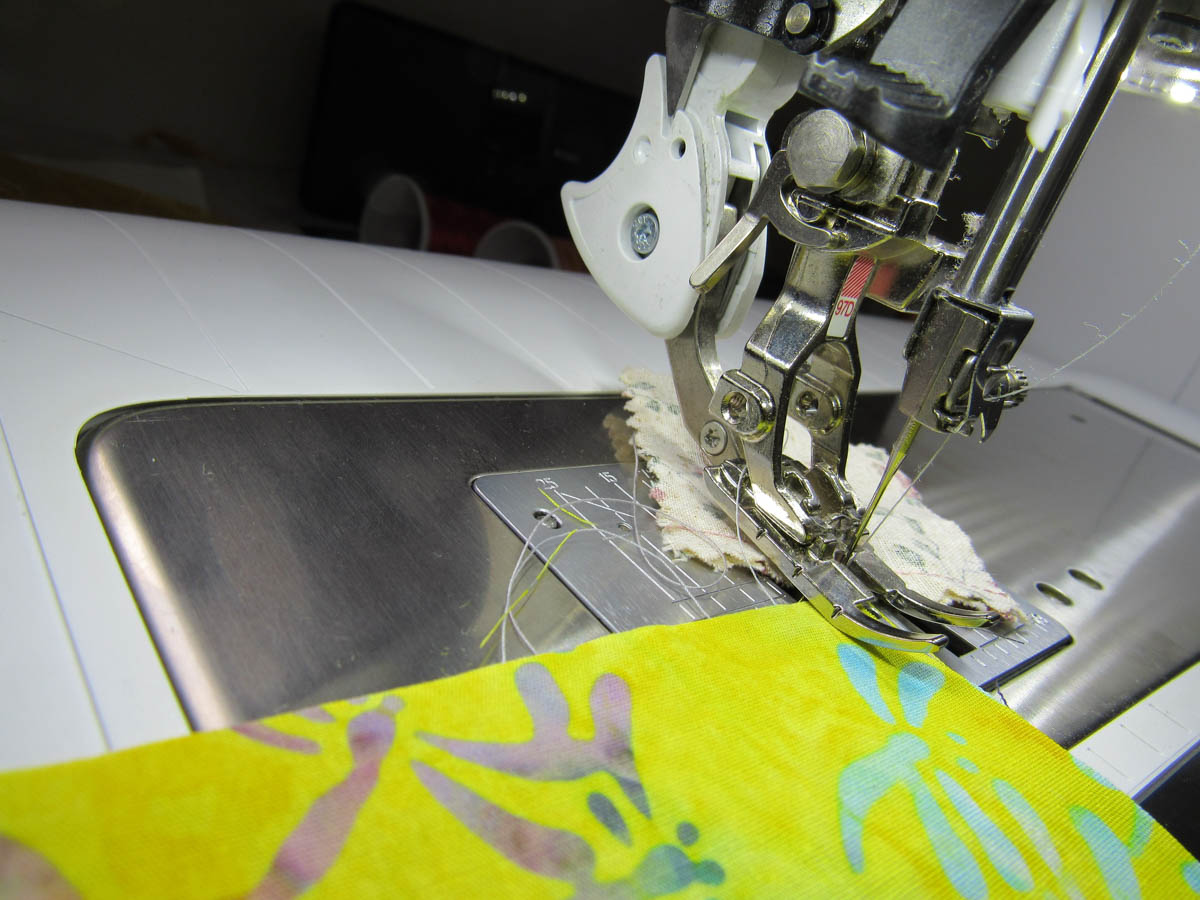
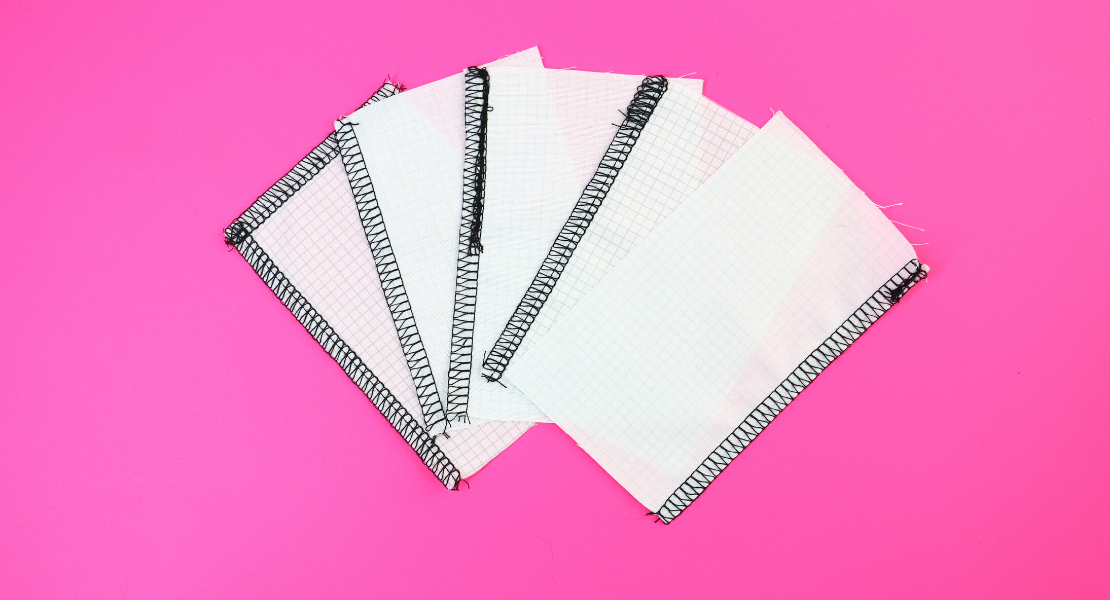
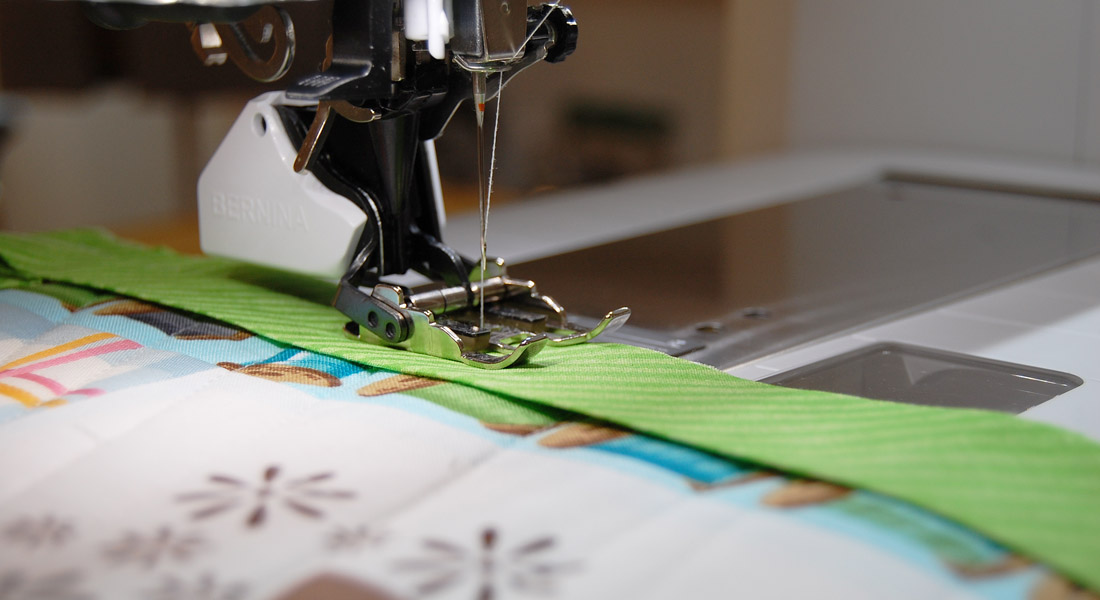
Finishing the raw edges of a seam with a zigzag stitch can add strength and keep raw edges from unraveling due to normal wear. To achieve a nice, flat zigzag stitch without puckering or tunneling, use the Overlock foot #2/#2A.
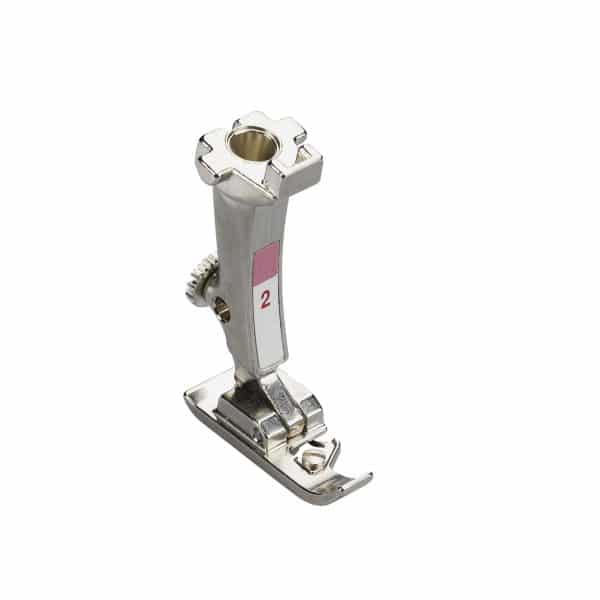 The Overlock foot #2/#2A has one large toe and a small pin on the inside edge for the zigzag stitch to form over. When the pin is placed against the edge of the fabric in stabilizes the edge as the stitch forms to create a very flat, reinforcing zigzag stitch.
To make the most of your seam finishing zigzag stitch, be sure to use a needle type and size that matches your fabric, and use a thread color that blends well with your fabric.
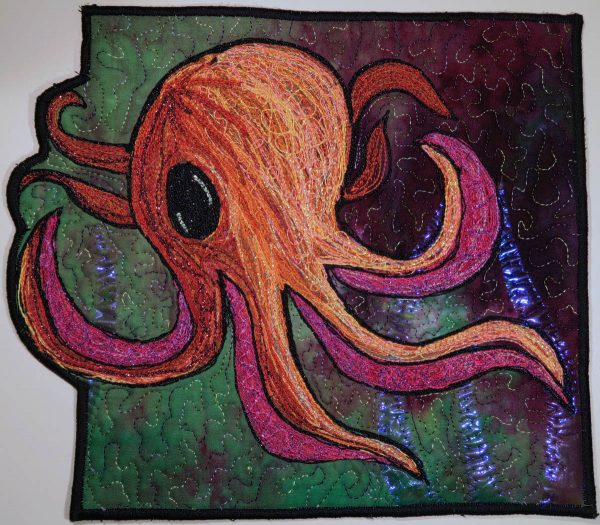
Check out this neat application of the Overlock foot #2A and the zigzag stitch from Cheryl Sleboda to add a nice finished edge to mini-quilts!
Zigzag Satin Stitch
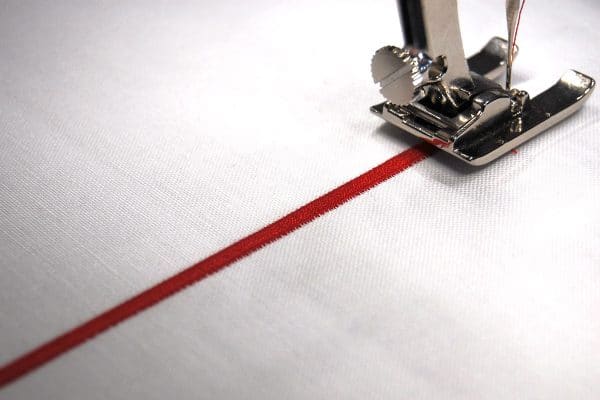
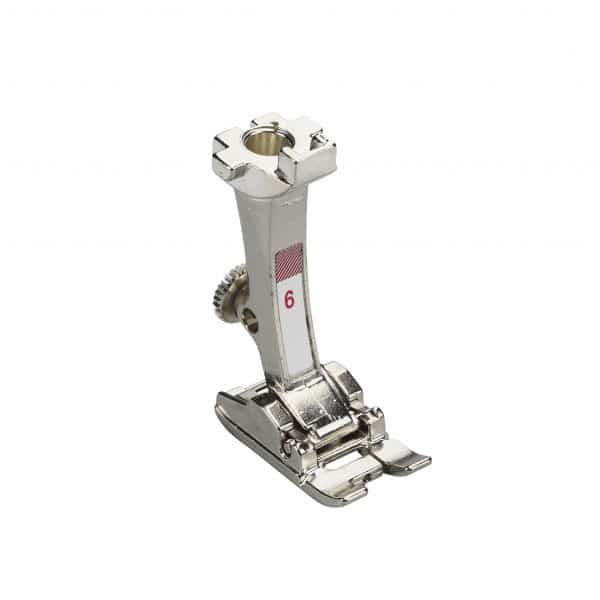
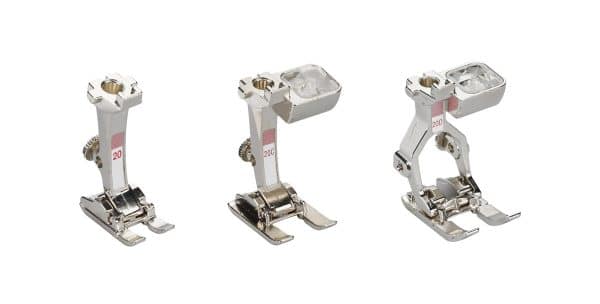
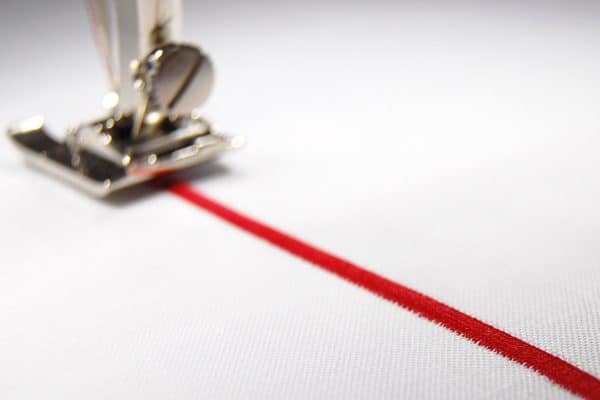
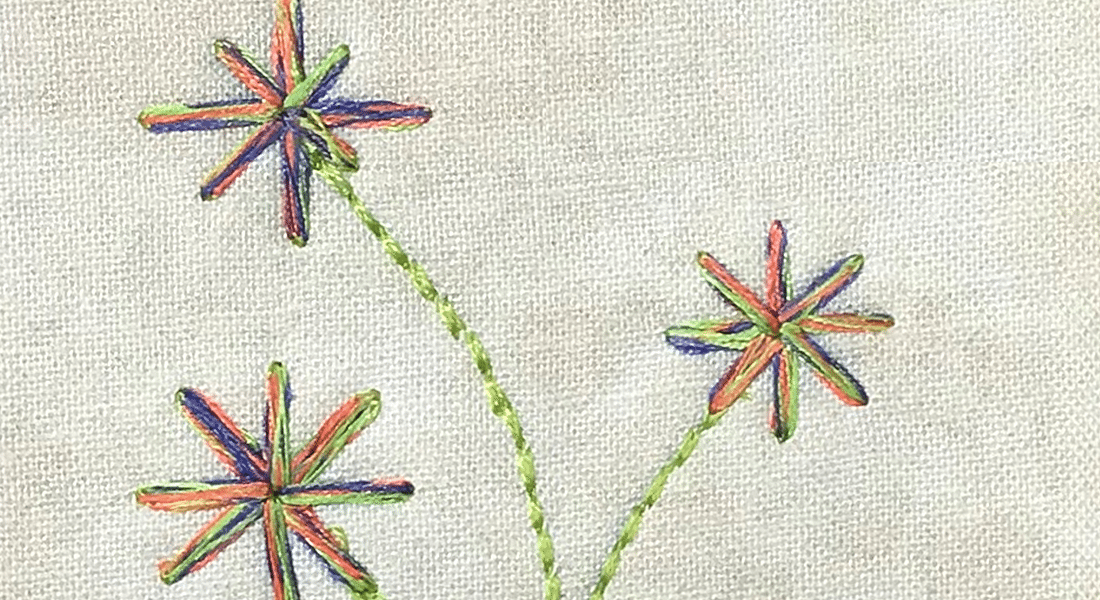
When you dial down the stitch length on a zigzag stitch, a dense set of stitches is created that makes a solid looking line—otherwise known as the satin stitch. This stitch can be used for edging, decorative stitching, and securing appliqué shapes. Because there is more bulk in a satin stitch than with an open zigzag, you need a different tool to help form a perfect stitch. Choose either the Embroidery foot #6 or Open embroidery foot #20/#20C/#20D, both are ideal for creating the satin stitch.
The indentation under these feet is wider at the back to aid in turning corners and stitching smooth curves, and is really helpful when using a satin stitch with appliqué.
When creating a zigzag satin stitch, be sure to stabilize your fabric or project to keep the satin stitch from tunneling or puckering. To avoid a heavy build up of thread on the wrong side of the fabric, use a lightweight bobbin thread and decrease the upper thread tension for balance. The upper thread should show along the sides of the stitch on the wring side of the fabric when the tension is correctly adjusted.
What you might also like
One comment on “3 Ways to Use the Zigzag Stitch”
Leave a Reply
You must be logged in to post a comment.







I make a lot of fleece throws for gifts – the zig zag stitch is the perfect way to hem these fleece throws – very neat looking finished hem.