Shamrock Table Runner Quilt Along, Part One
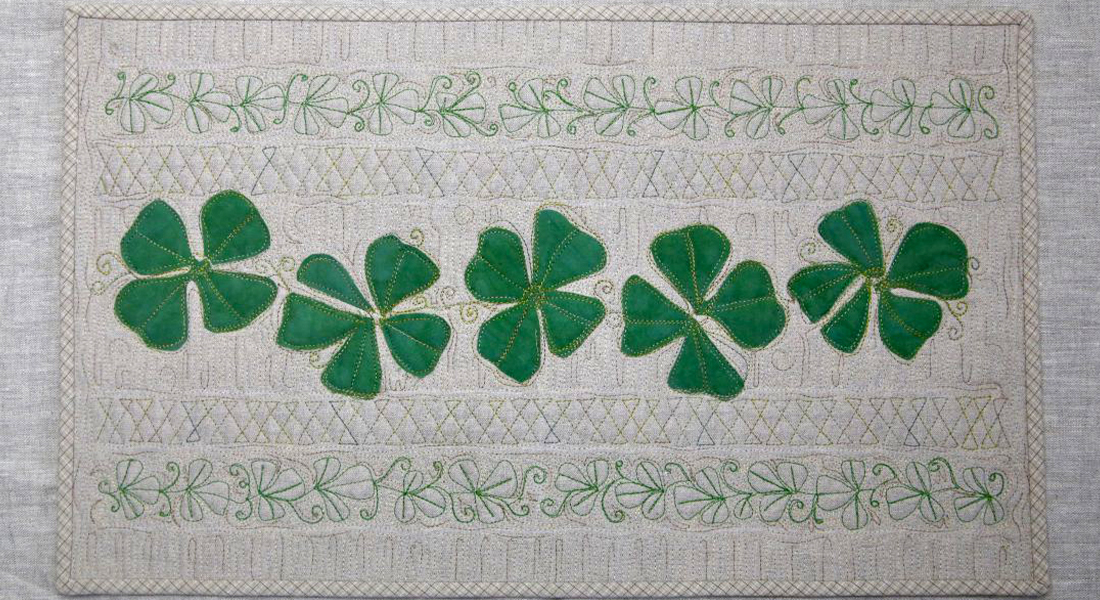
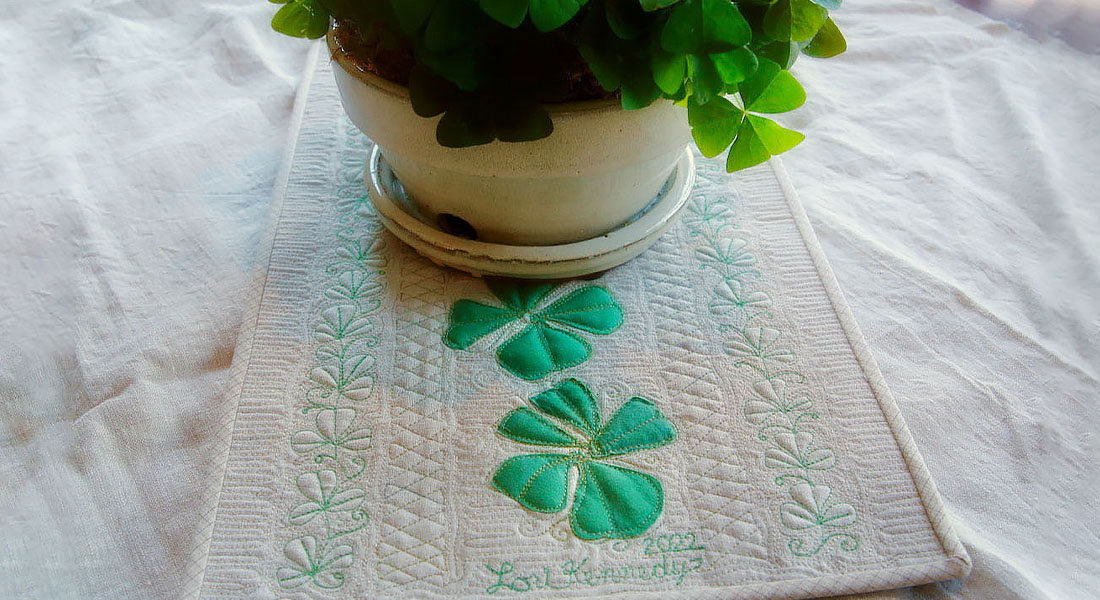
Let’s learn to free-motion quilt with a project for St. Patrick’s Day!
Top of the Morning, Quilters! I’m Lori Kennedy, BERNINA Ambassador and author of 25 Days to Better Machine Quilting. You may recognize me (or at least my fingers) from many We All Sew tutorials and BERNINA Instagram free-motion quilting videos.
Today, we begin part one of a four-part quilt along designed to help you practice free-motion machine quilting techniques. In this series, I will share a step-by-step process for quilting a small table runner. Creating small projects like this allows you to practice techniques and test materials (thread, batting and fabrics) quickly. As you gain skill and confidence on small projects, you will be able to translate that knowledge to designing your larger quilt tops.
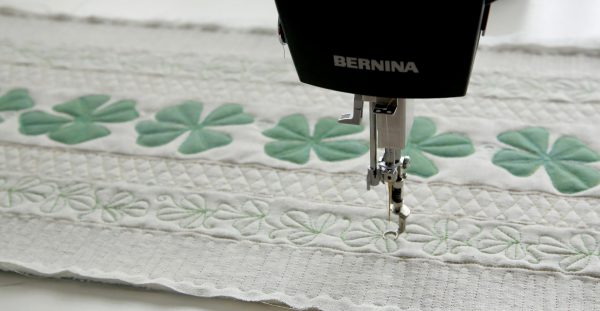
Along the way, we will practice design and marking techniques, try our hand at raw edge appliqué, sample a variety of threads, learn a few new motifs and so much more!
For a quick refresher, please review my How to Get Started with Free-motion Quilting blog on WeAllSew.
Download the Quilting Line Diagram and Shamrock Appliqué Template.
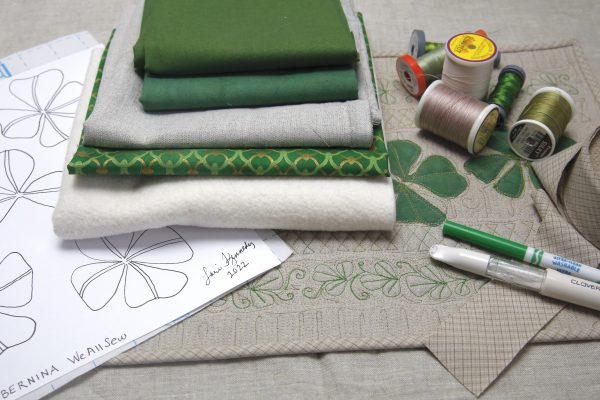
Supplies to Make the Shamrock Table Runner
- 1/2 yard linen fabric
- 1/2 yard cotton fabric (green)
- Green fabric scraps for shamrocks
- Cotton or other low-loft batting
- Fusible web (Steam a Seam or similar product)
- Thread: 50 wt cotton or polyester thread, green or neutral
- 30 or 40 wt cotton or polyester thread, green or green variegated
- 30 or 40 wt cotton or polyester thread, linen color or similar variegated
- Basic sewing supplies
Finished Size of the Table Runner
- Width: 15 inches
- Length: 28 inches (or to fit your table)
Designing Your Table Runner
In this series, I will include dimensions for a 15 inch by 28-inch table runner, but don’t limit yourself to that size. It is easy to adjust the measurements to suit your table or fit the fabric you have on hand. The important thing is to learn the techniques and be flexible in your quilt design so the lessons are applicable to your quilting projects.
I encourage you to use the table runner project as a basic recipe. Change the ingredients as you see fit. Make your table runner longer or shorter. Applique flowers instead of shamrocks. Stitch on cotton instead of linen. Or better yet—make several table runners!
Create the Quilt Sandwich
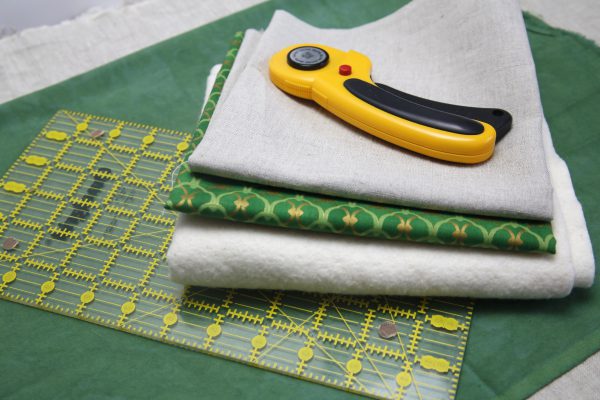
Cut
Cut linen (or other top fabric), backing fabric and batting–18 by 36″ (longer or shorter as desired). Note: When creating a larger quilt, the backing and batting are usually cut larger than the top fabric to allow for shifting of the layers. In small projects, this is not as important. In this project, the quilt sandwich is bigger than the finished size and will be trimmed later.
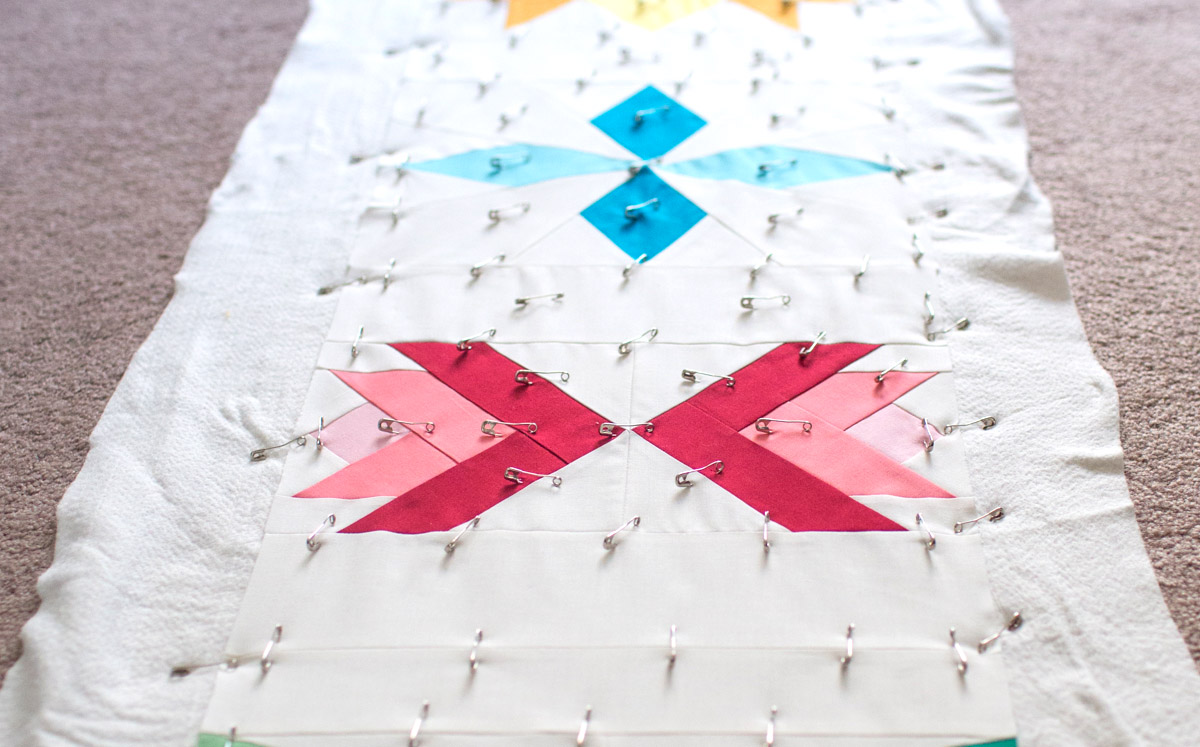
Press Baste
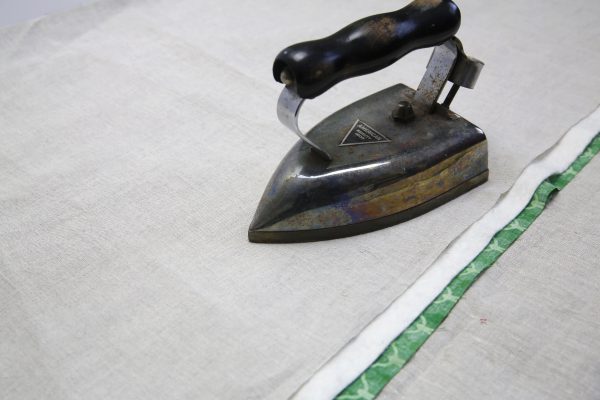
Press the layers together to create a quilt sandwich. When using cotton or cotton blend batting, the layers of a small quilt hold together without further basting required.
Mark the Quilt
Marking Tools
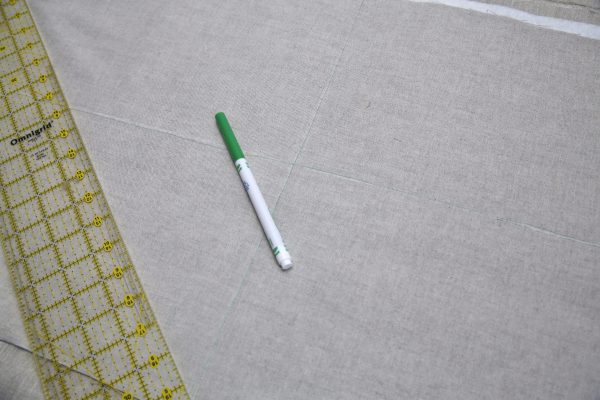
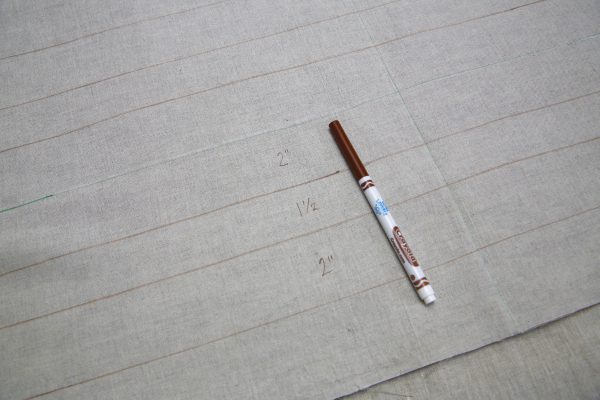
There is a wide variety of marking tools available to quilters and it’s often difficult to choose the right one. In general, look for a marking tool that is easy to see and just as importantly, easy to erase when the project is completed. Whenever possible, I choose white chalk. However, on light-colored linen, the chalk is not easy to see. For this project, I used brown and green Crayola, Ultra Wash Markers. They are easy to see on the linen and wash out when immersed in water. NOTE-Always test marking tools on your fabric selection before proceeding!
Mark the Center Lines
Mark the center horizontal and vertical lines of the quilt sandwich. It is easier and more accurate to mark stitching lines from these lines than from the edge of the fabric which may not be evenly cut. These lines are for reference only. We will not stitch on the center lines.
Mark Quilting Lines
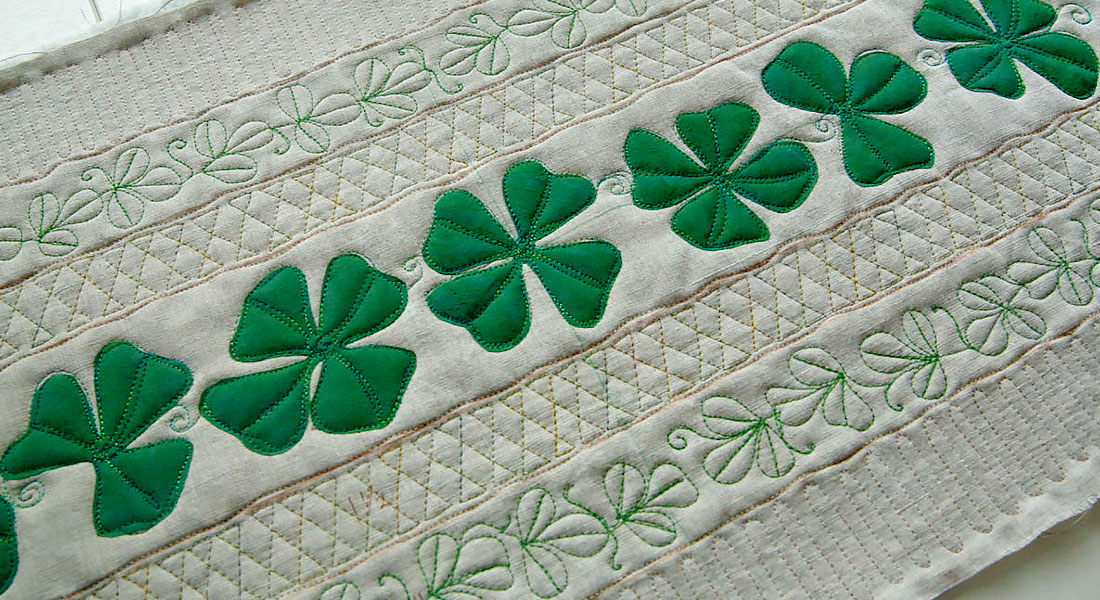
Mark lines 2 inches from the horizontal centerline. This creates a 4 inch row for the applique shamrocks. On each side of the center row, add the additional marking lines in the quilting diagram. (See Quilting Line Diagram)
You should have a center row for the shamrocks, and two marked borders on either side of the center.
Choose Thread
(Read more about thread and needles on WeAllSew: How to Choose Thread, What You Need to Know)
Bobbin Thread
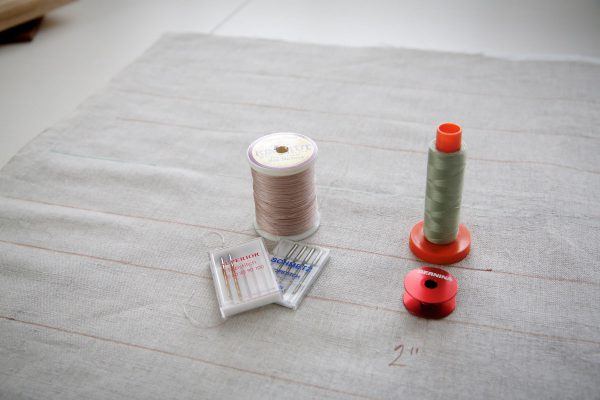
Choose a 50 wt cotton or polyester thread in a neutral color for the bobbin. While we will be using a variety of colors and weights for the top thread, the bobbin thread will be the same throughout the project. 50 wt thread is a mid-weight thread and is the easiest thread weight to maintain good bobbin tension.
Top Thread
To create the row lines that divide the table runner into sections, choose a mid to heavyweight thread (50, 40, 28wt) in a color that matches the background fabric. For the linen, I choose a light brown thread.
Machine Set-up
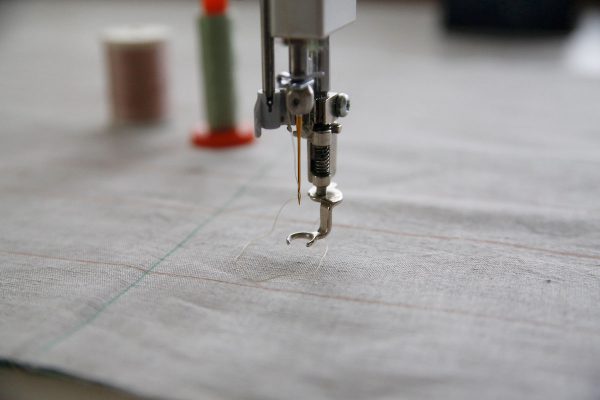
Set up your machine for free-motion quilting. For detailed set-up, refer to Twelve Steps to Free Motion Quilting on WeAllSew.
Insert a New Needle
It’s best to start every project with a new needle. Needles are very important in stitch formation to create beautiful stitches and prevent skipped stitches. Match the size of the needle to the weight of the thread. For this project, use a size 90/14 needle to accommodate the heavy-weight threads.
Lower the Feed Dogs
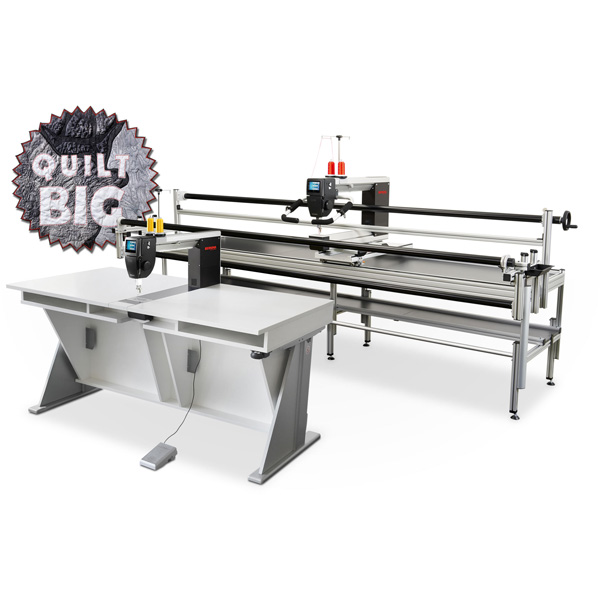
The feed dogs advance the fabric for normal stitching. However, when free-motion quilting, we lower the feed dogs because we want to control the direction and speed of the quilt sandwich. Check your owner’s manual for directions to lower the feed dogs. Note: Quilting machines like the BERNINA Q 20 do not have feed dogs.
Attach a Free-motion Quilting Foot
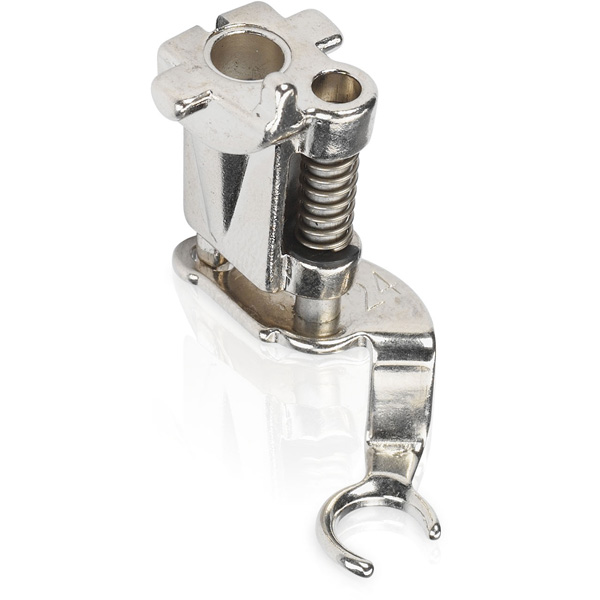
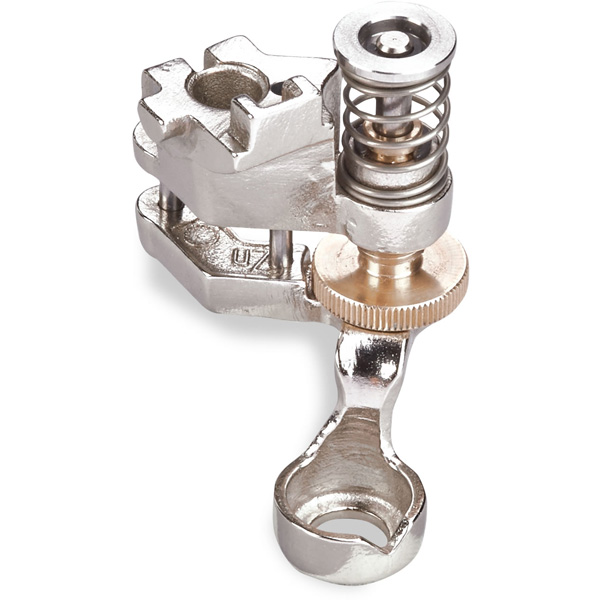
My favorite free-motion feet are the Free-motion Embroidery Foot #24 and the Adjustable Stippling Foot #73. The open toe and offset shank configuration in both of these feet provide the greatest possible visibility while stitching.
Tension Test
Test the stitch tension in the margin of your quilt every time you change the thread. Small tweaks to the top tension can dramatically improve the quality of your quilted line!
Quilt the Rows
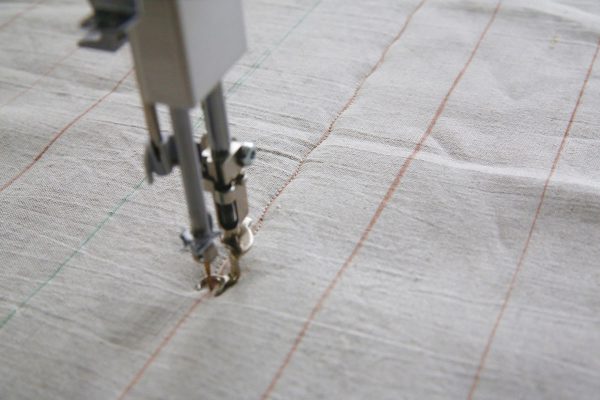
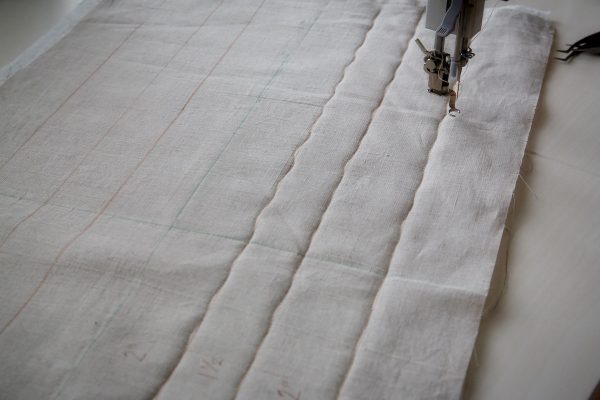
Free-motion quilt a wavy line along the marked stitching lines. Do not quilt the center lines. Stitch the three lines on the right side of the centerline. Knot off at the end of each row and begin again at the top of the next line. Next, rotate the quilt 180 degrees and stitch the remaining lines in the same way.
This method minimizes distortion of the quilt layers.
Stitch Wavy Lines
It is impossible to free-motion quilt a long, straight line—so don’t try. Instead, stitch a slightly wavy line. The wavy line looks planned and is a more pleasing design than a poorly formed straight line. If you prefer a straight line, use a ruler and ruler foot or set up your machine for regular stitching (feed dogs engaged) with dual feed or a walking foot.
That’s it for this lesson! We’ve designed and prepared the basic framework for our table runner. This framework is like a mini-composition. It’s a blank canvas to fill. Now the fun begins—designing with thread and applique!
Coming Soon
- Part 2: Raw Edge Applique- Shamrock Center Row
- Part 3: Free Motion Quilt Motifs: Shamrocks, The Twist, the outer border
- Part 4: Background Fills and Finishing Techniques
What you might also like
One comment on “Shamrock Table Runner Quilt Along, Part One”
Leave a Reply
You must be logged in to post a comment.







There must be a typo in the instructions.
Finished size: 15 x 28
Cut fabrics: 8 x 36 ??
Should be cut fabrics 18 x 36?