Cyanotype Creativity
Are you ready to try an antique technique on your next sewing project? Let’s explore cyanotype!
You might know this by another name … sun prints. This was a fun summer craft that I did with my kids using specially treated paper to create unique pictures. They would place different objects that they found around the house on the paper and then we would put it out in the sun for a few minutes. The paper was then rinsed in water, revealing a blue background and white spaces where the objects had been laying. Magic!
This technique was developed by Sir John Herschel in 1842. It’s actually a type of photography. Paper is coated with a solution of iron salts that reacts with sun exposure to create a monochrome, blue-colored print that only requires water to develop and fix. In 1843, Anna Atkins published the first illustrated book using this method, “Photographs of British Algae: Cyanotype Impressions”. An internet search will provide a lot more information on this unique process.
But did you know you can do this on fabric, too? Let’s get out in the sun and make something magical!
Materials for Making Cyanotype Fabric
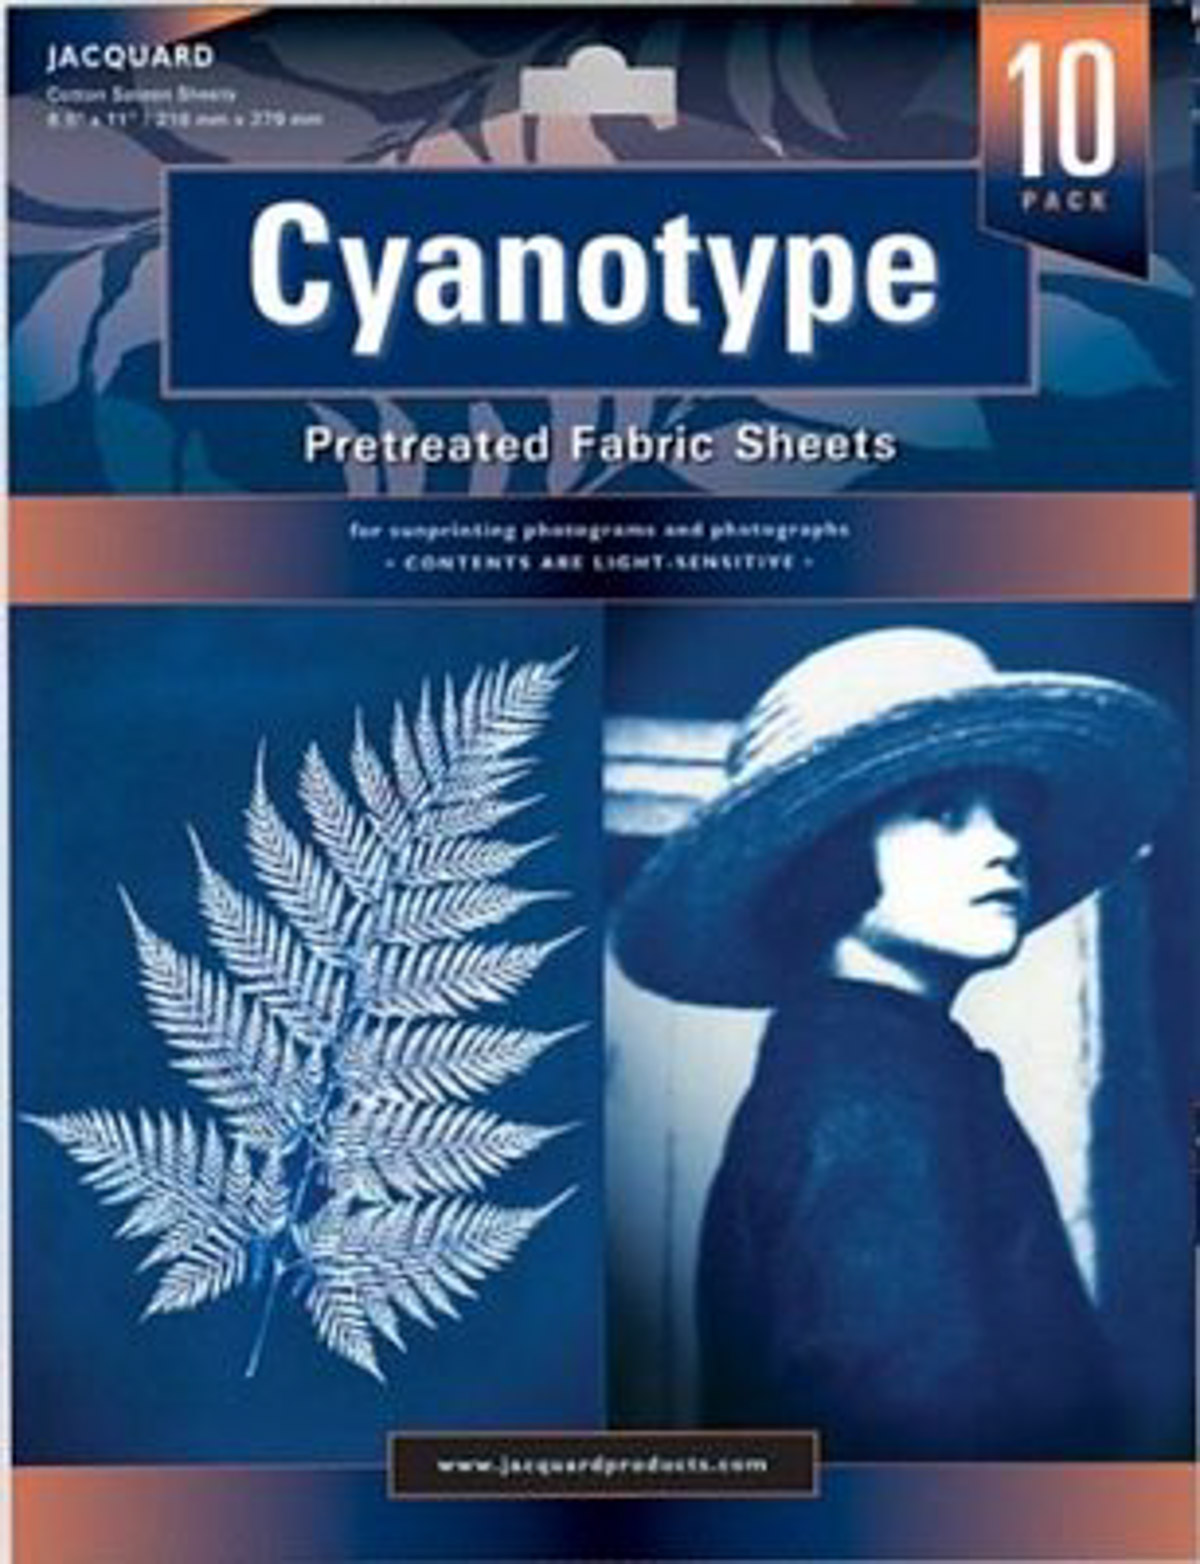
- Cyanotype Pretreated Fabric Sheets
- 8 1/2” x 11” piece of glass (use one from a picture frame)
- Firm surface for carrying fabric outside (a cutting board works nicely)
- Objects for your design impressions
- 8 1/2” x 11” piece of paper for trying out designs
- Bowl of cool water
- Towel for air-drying
Let’s get started!
Instructions
The instructions on the packaging walk you through the process of making your own photograms. Here is how it works.
There are ten pre-treated cotton sateen sheets in the package. Because they are light-sensitive, they are in a resealable envelope. You will work with one sheet at a time.
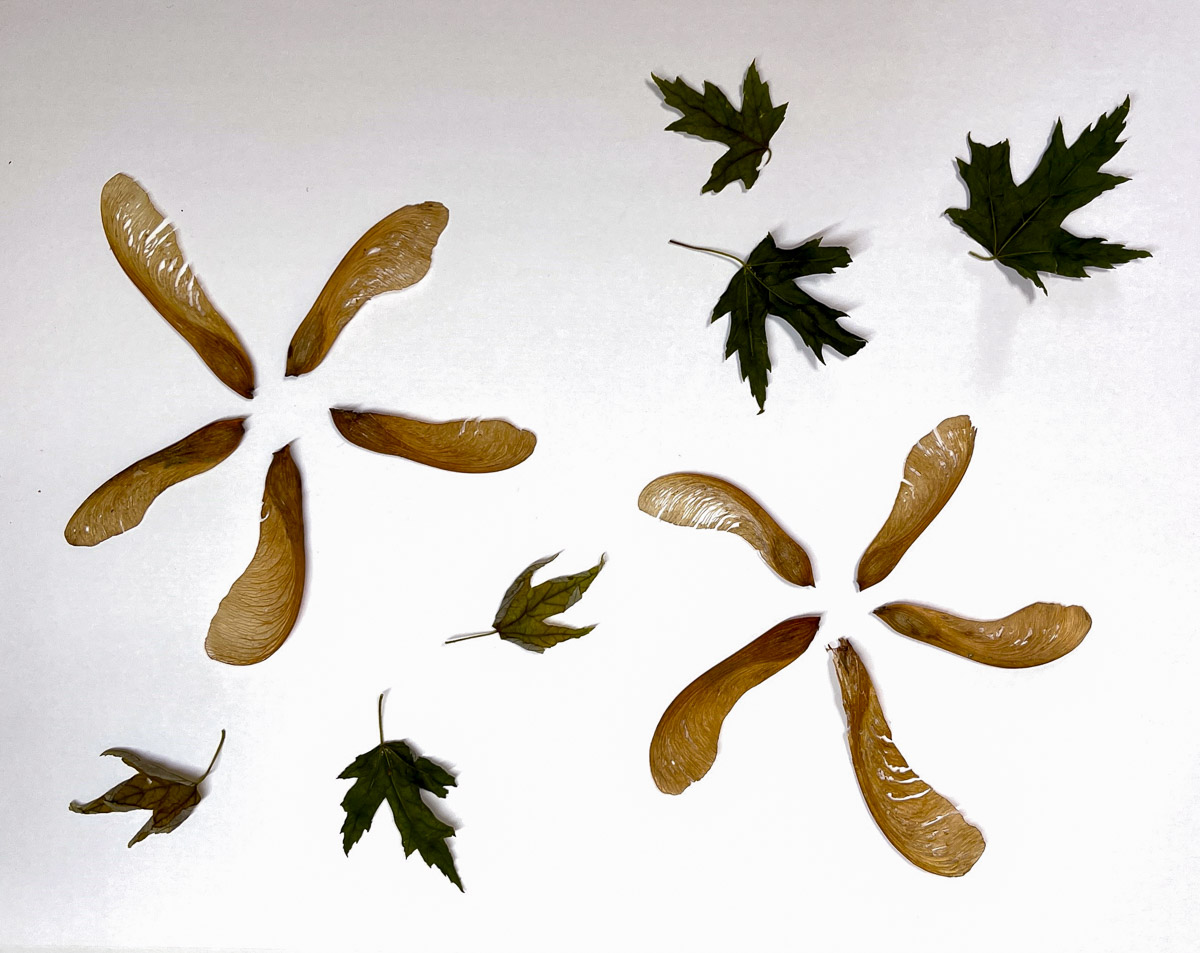
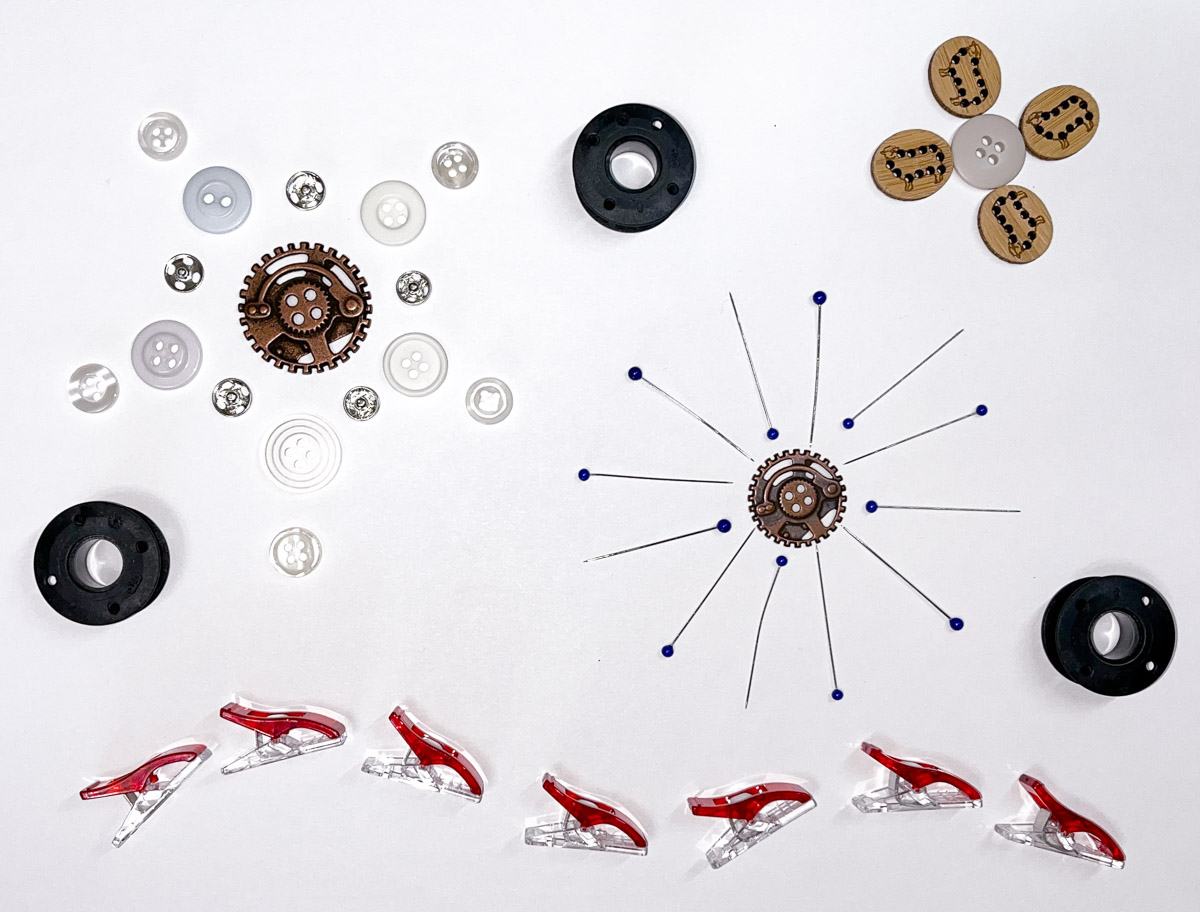
I recommend that you practice some arrangements on a piece of paper first. The fun part is deciding what objects you want to use. They can be from your yard or your sewing room or anywhere. It’s all up to you! Here are a couple of arrangements I played with:
Step 1: Arrangement
When you are ready to work on the fabric, here are some tips:
- Have all of your supplies close at hand
- Place your fabric on a firm surface that is easy to carry, such as a cutting board
- Work quickly in a dimly lit area to prevent exposure on the fabric before you are ready
- Place glass on top to keep lightweight items from moving … picture frame glass is perfect for this
- Avoid using transparent items; they don’t show up as well as solid items
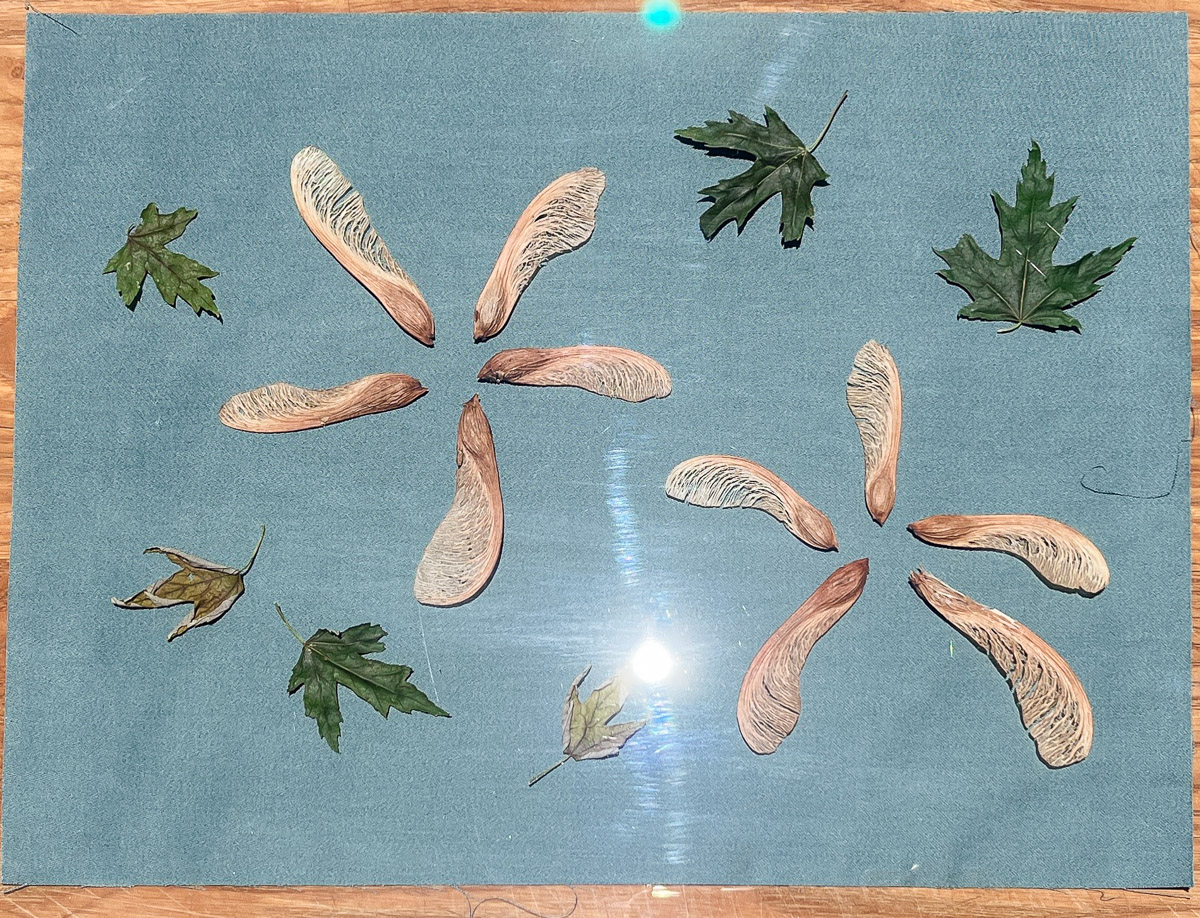
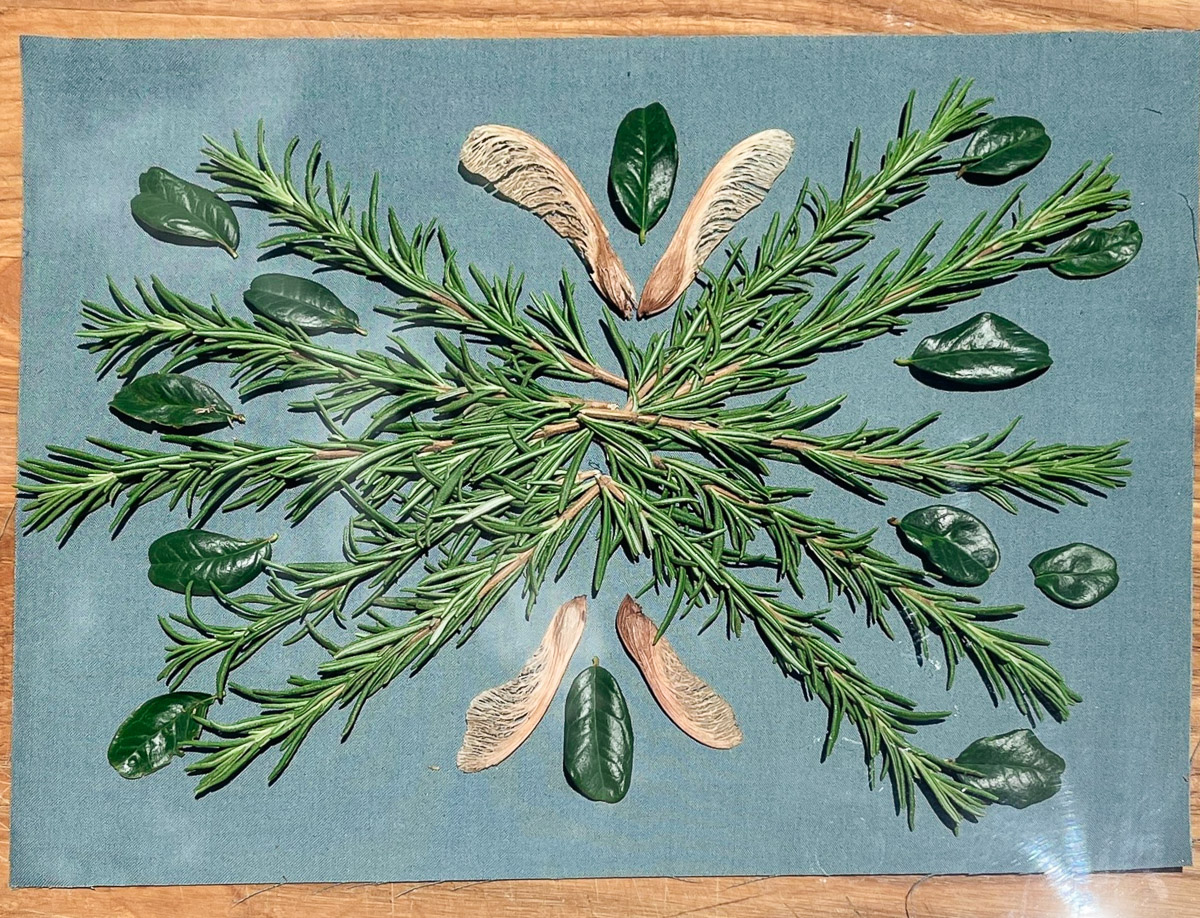
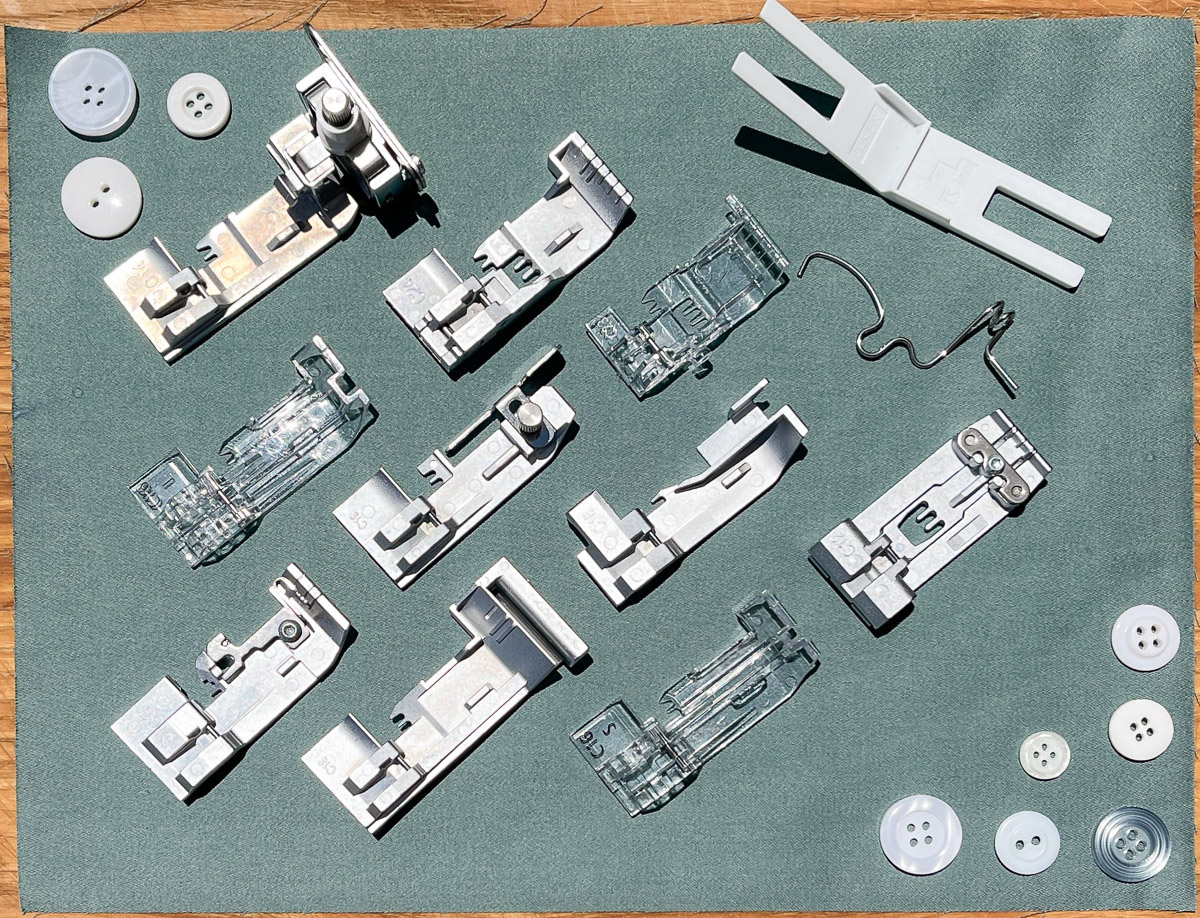
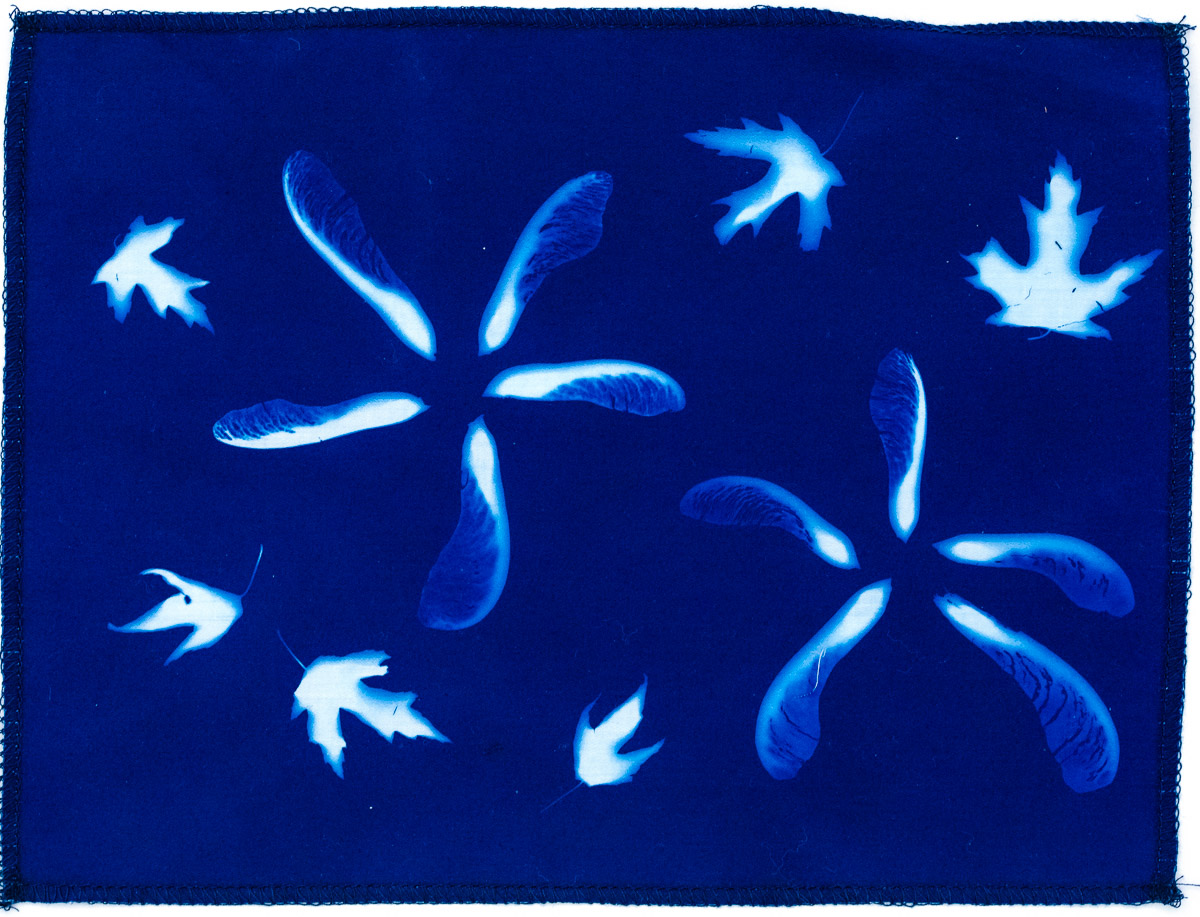
The fabric is a greenish color out of the package and there is no “right” or “wrong” side. Arrange your objects and cover with the glass. Place in full sunlight for 3–15 minutes. More time in the sun is better than less. Here are some of my final pre-exposure: arrangements:
Seed pods and leaves.
A mix of rosemary branches, pomegranate leaves, and seed pods.
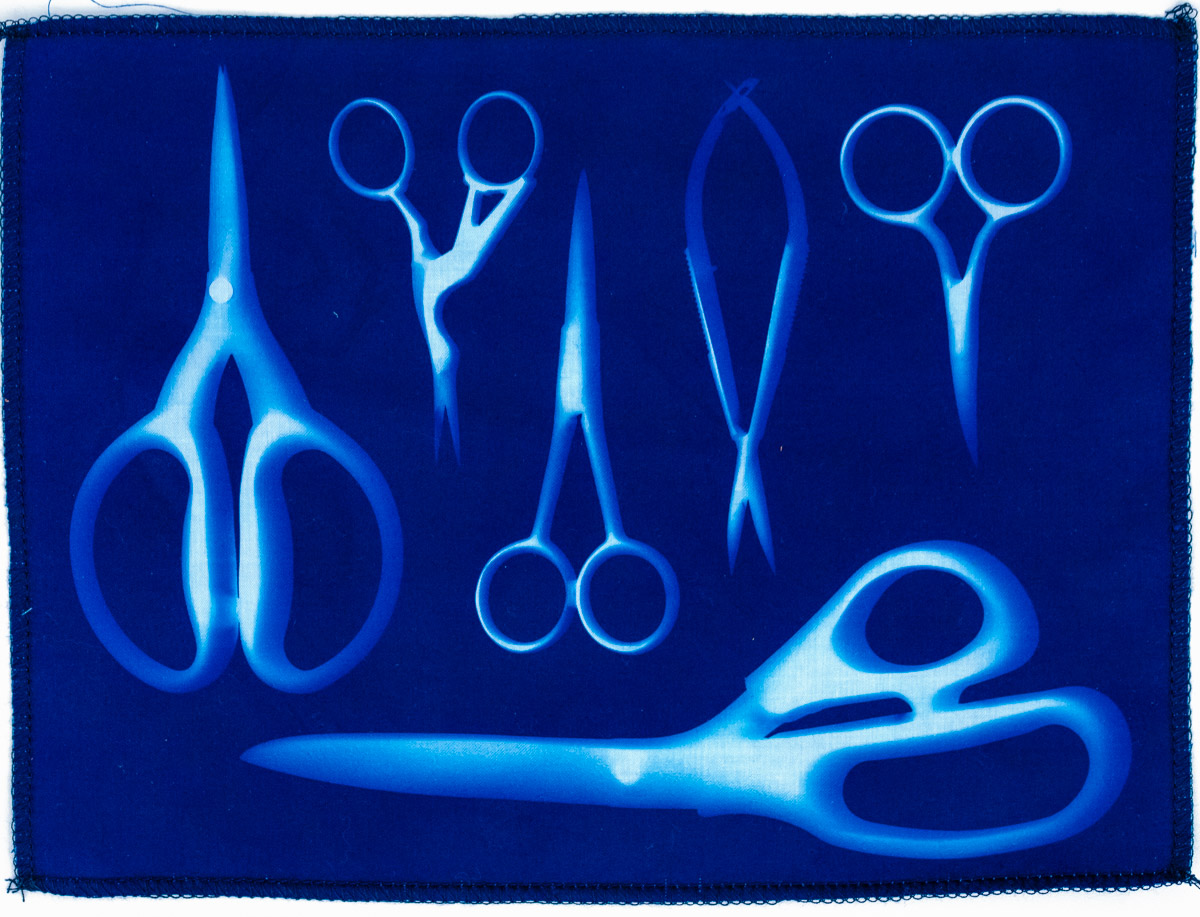
How about some presser feet from my overlocker?
Step 2: Set the Image
After about 15 minutes, I brought them inside. Here is what the seed pods and leaves looked like immediately after exposure. The fabric has turned a bronze-ish color but is still green where the objects were.

To set the image and see the transformation, submerge in a bowl of cool water and swish around for about 5 minutes. Change the water when it discolors. Then lay flat to dry on a towel. What a beautiful blue!
Here are some more.
Sewing notions.
Rosemary and pomegranate leaves.
Overlocker feet.
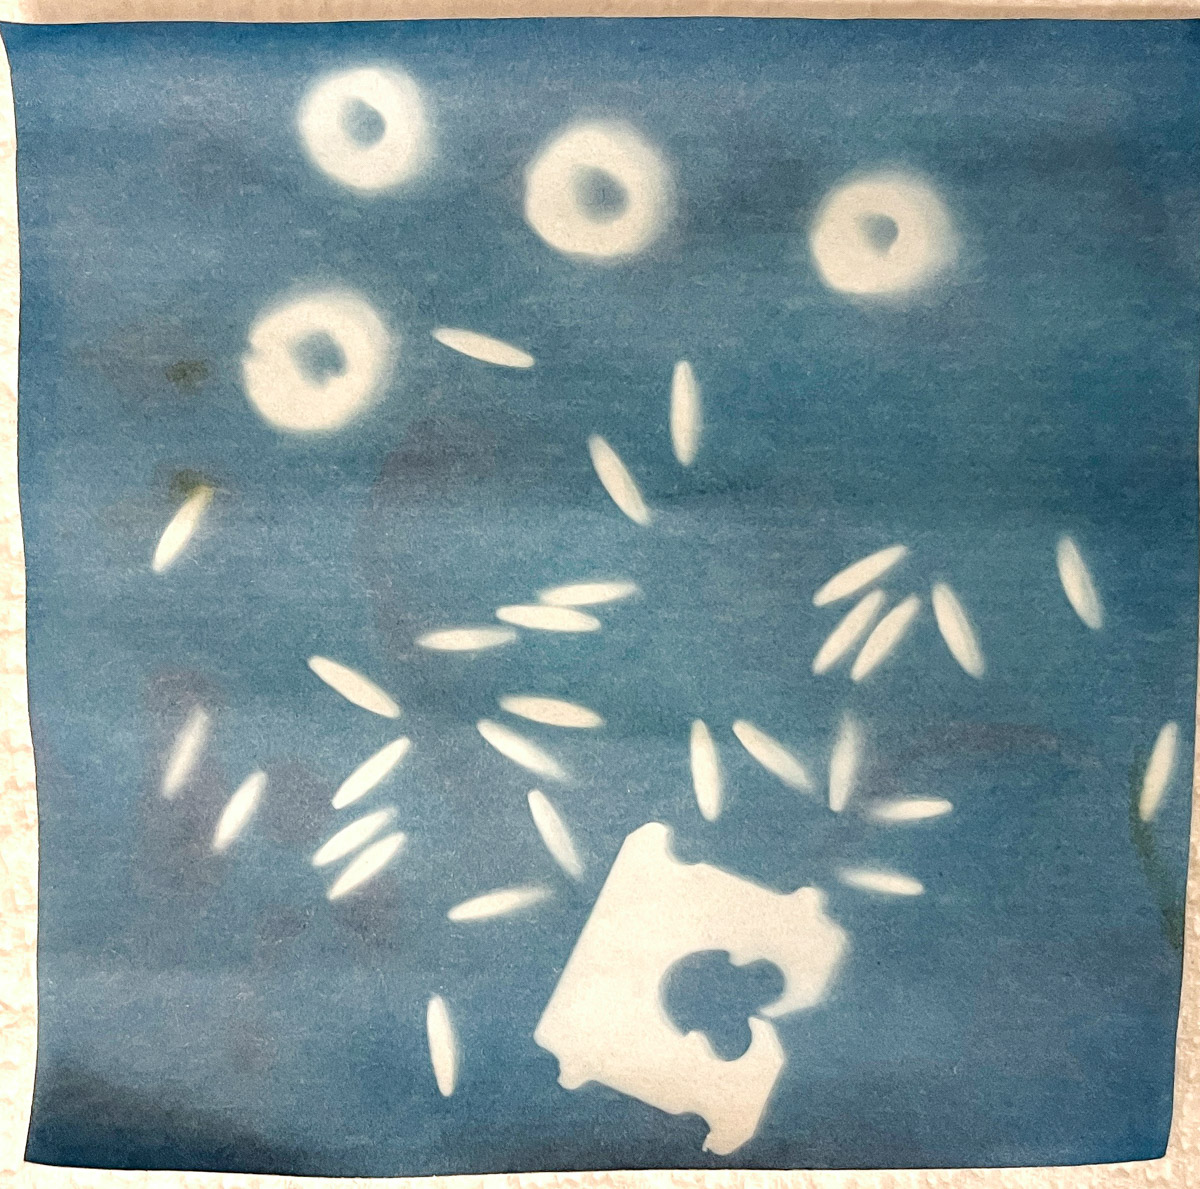
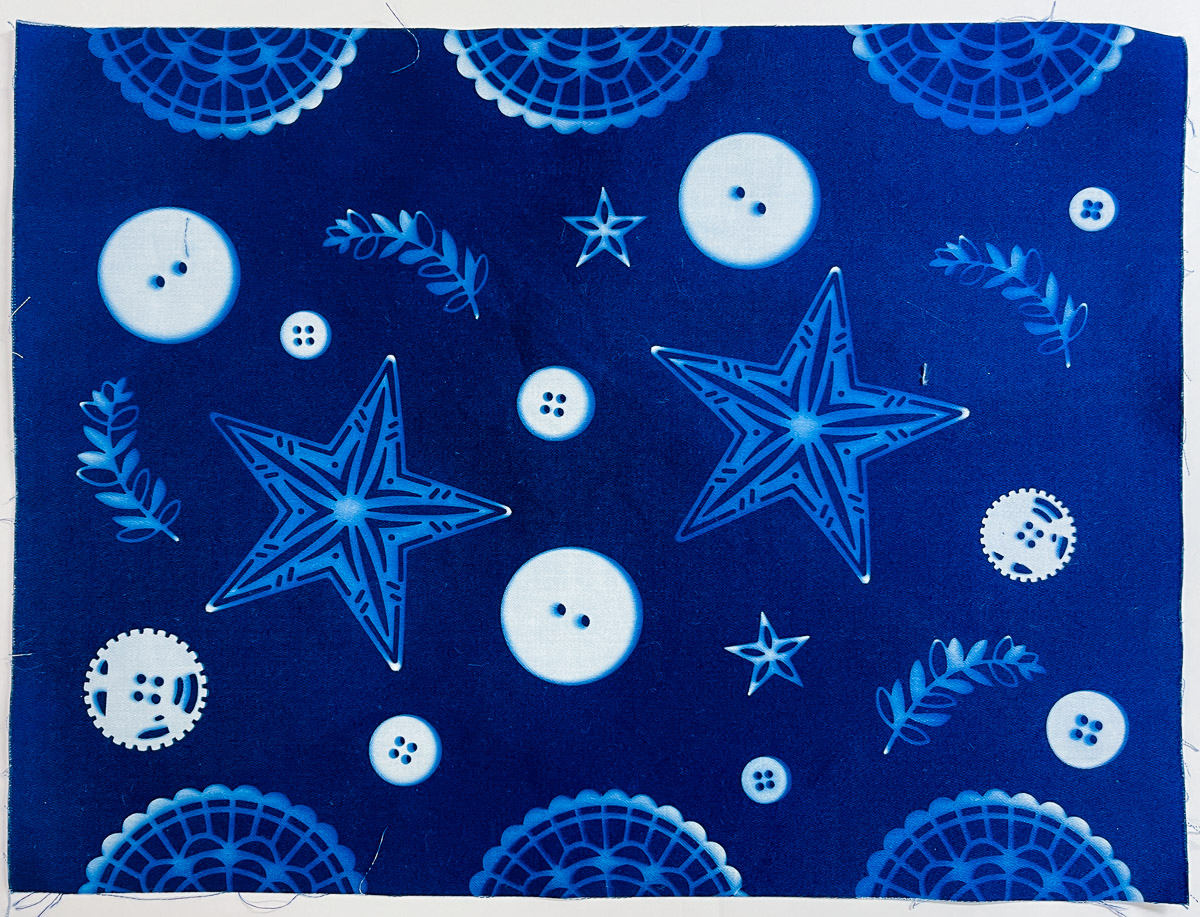
Can you guess what these are?
I mixed my love of sewing and paper crafting by combining buttons and card embellishments to make this one.
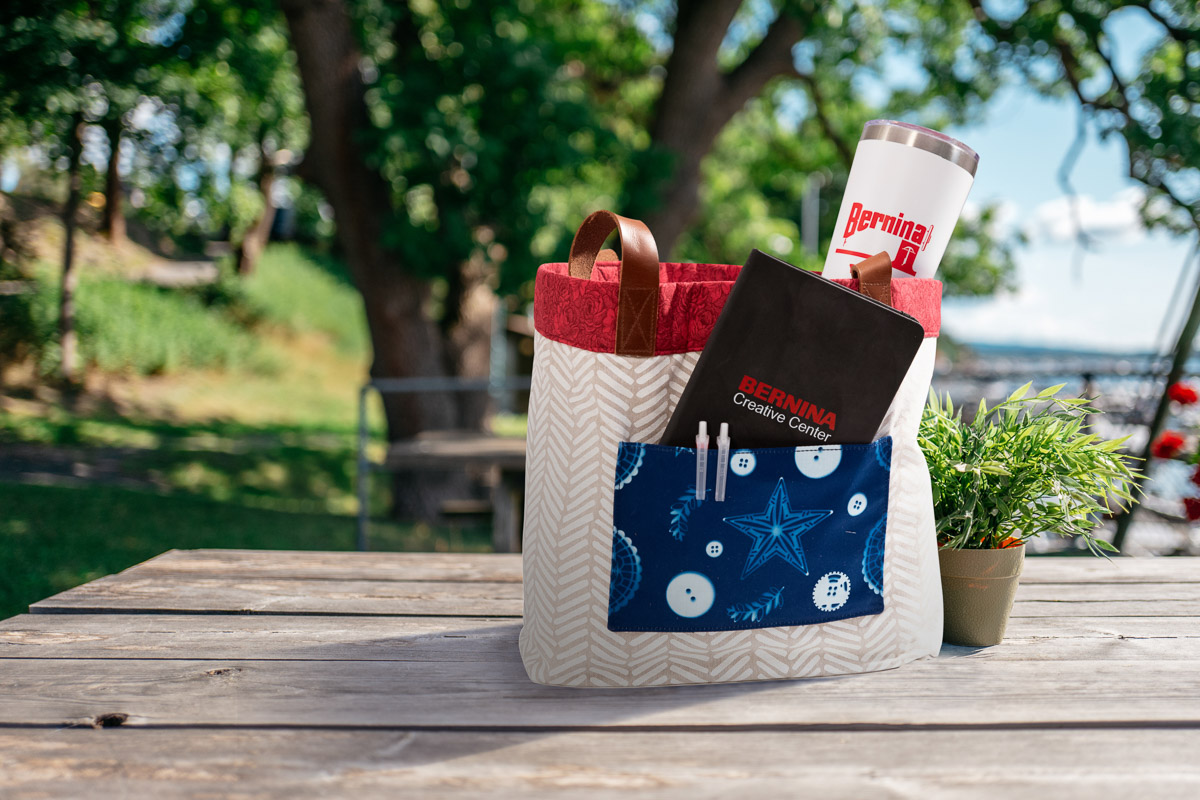
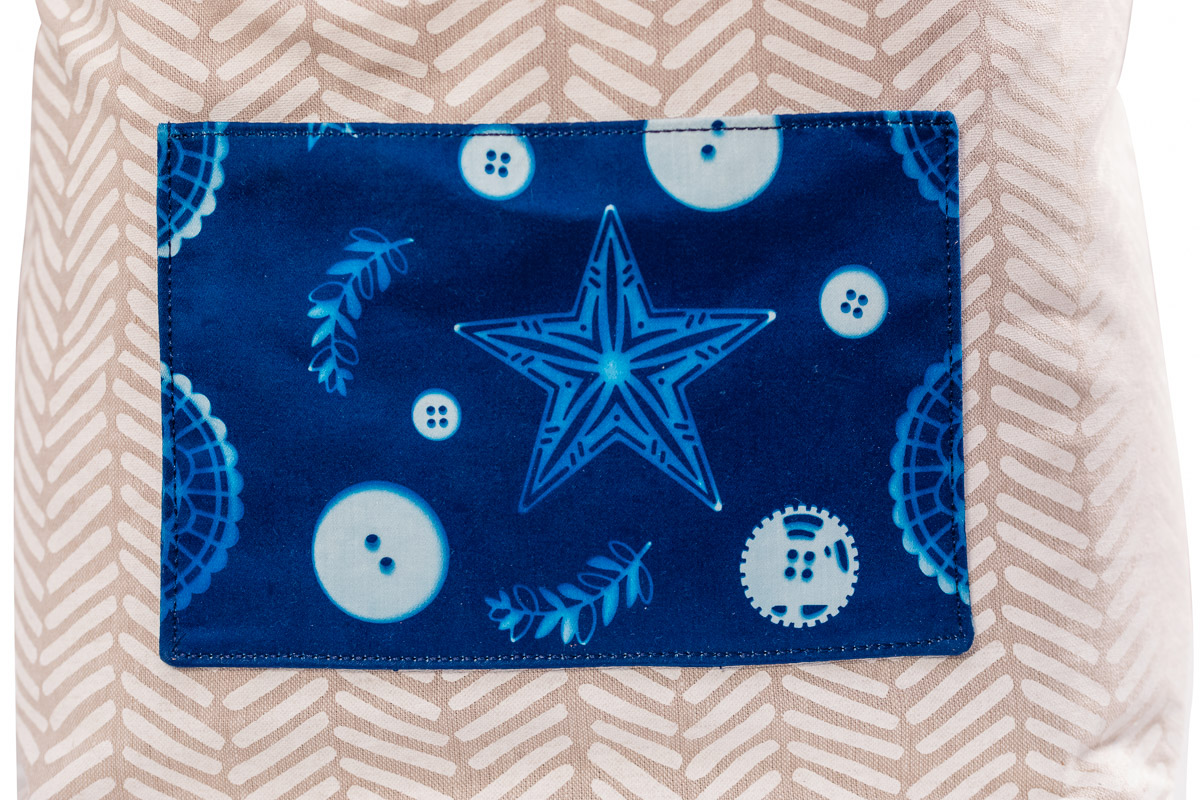
Step 3: Make a Project with Your New Fabric
I picked the Stars & Buttons one to make into a pocket for the outside of a tote bag. Click for Beach-Bound Straw Tote sewing instruction to make your own bag. When you make the tote, do so with the following changes:
- Cut a piece of interfacing, such as Shape-Flex, 5 1/2” x 8 1/2” and fuse to the wrong side of one end of the pocket.
- Fold the fabric in half, right sides together, matching the short ends.
- Stitch three sides with a 1/4” seam allowance, leaving a 3-4” opening at the bottom for turning. Turn right-side out and press.
- Sew a Triple Stitch along the fold for a finished look.
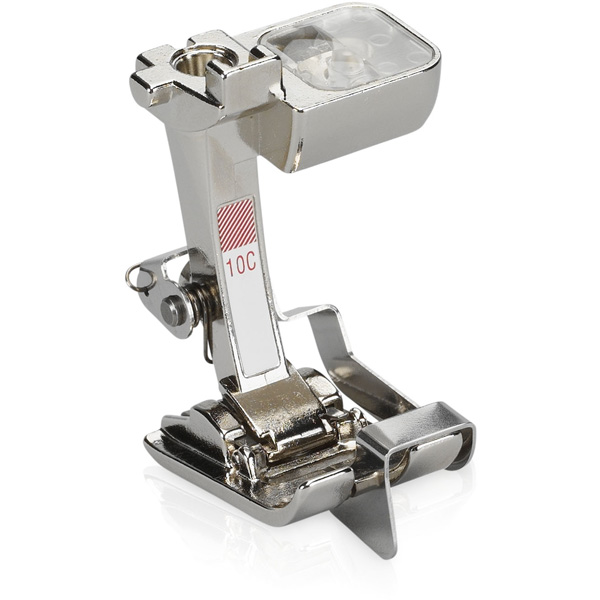
- Place where desired on one of the outside pieces and edgestitch down using the Edgestitch Foot #10/10C/10D before sewing the front and back of the bag together.
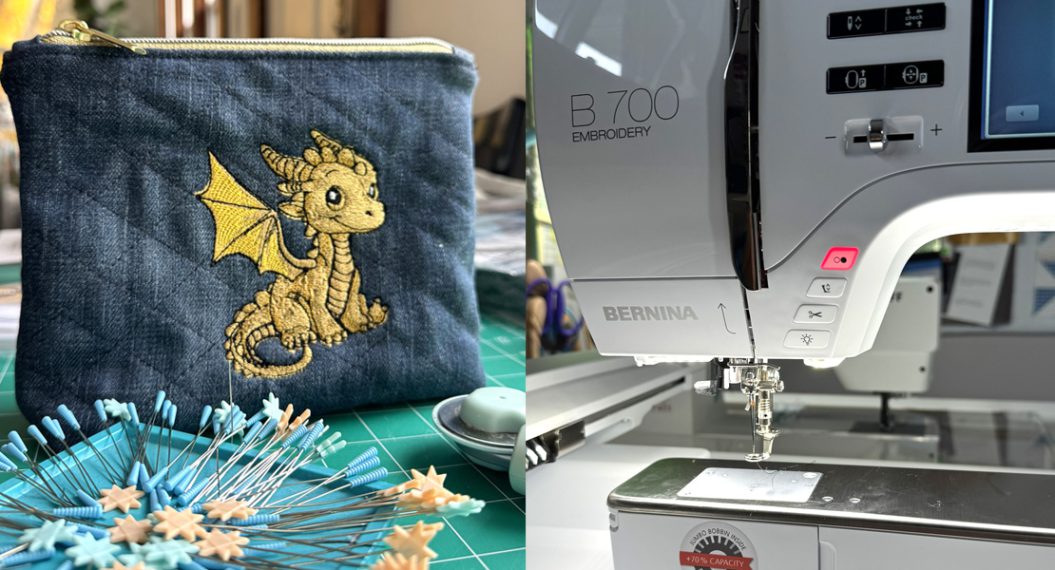
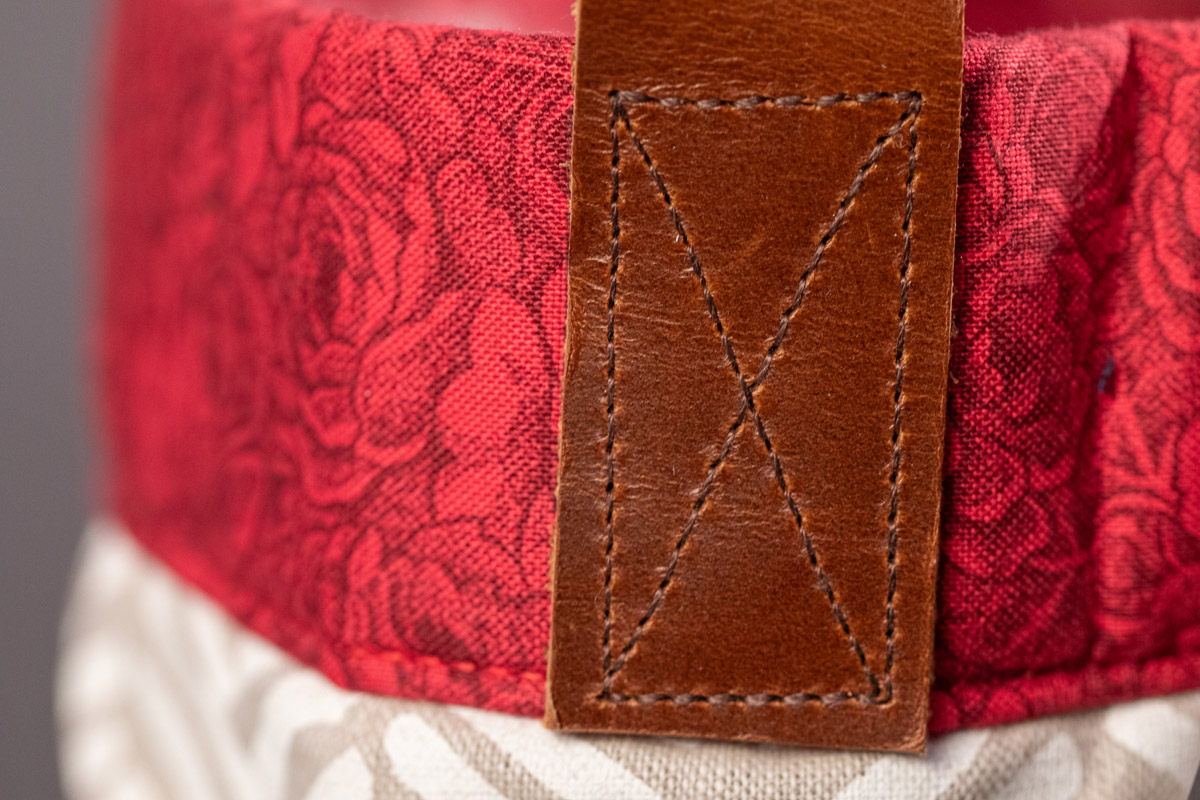
I used two 1” x 23” leather strips for the handles. The Jeans Foot #8/8D, 30 weight thread, and a 90/14 Leather needle made this easy! I love the power of the DC motor on my BERNINA sewing machines, whether it’s my B 475 or B 990!
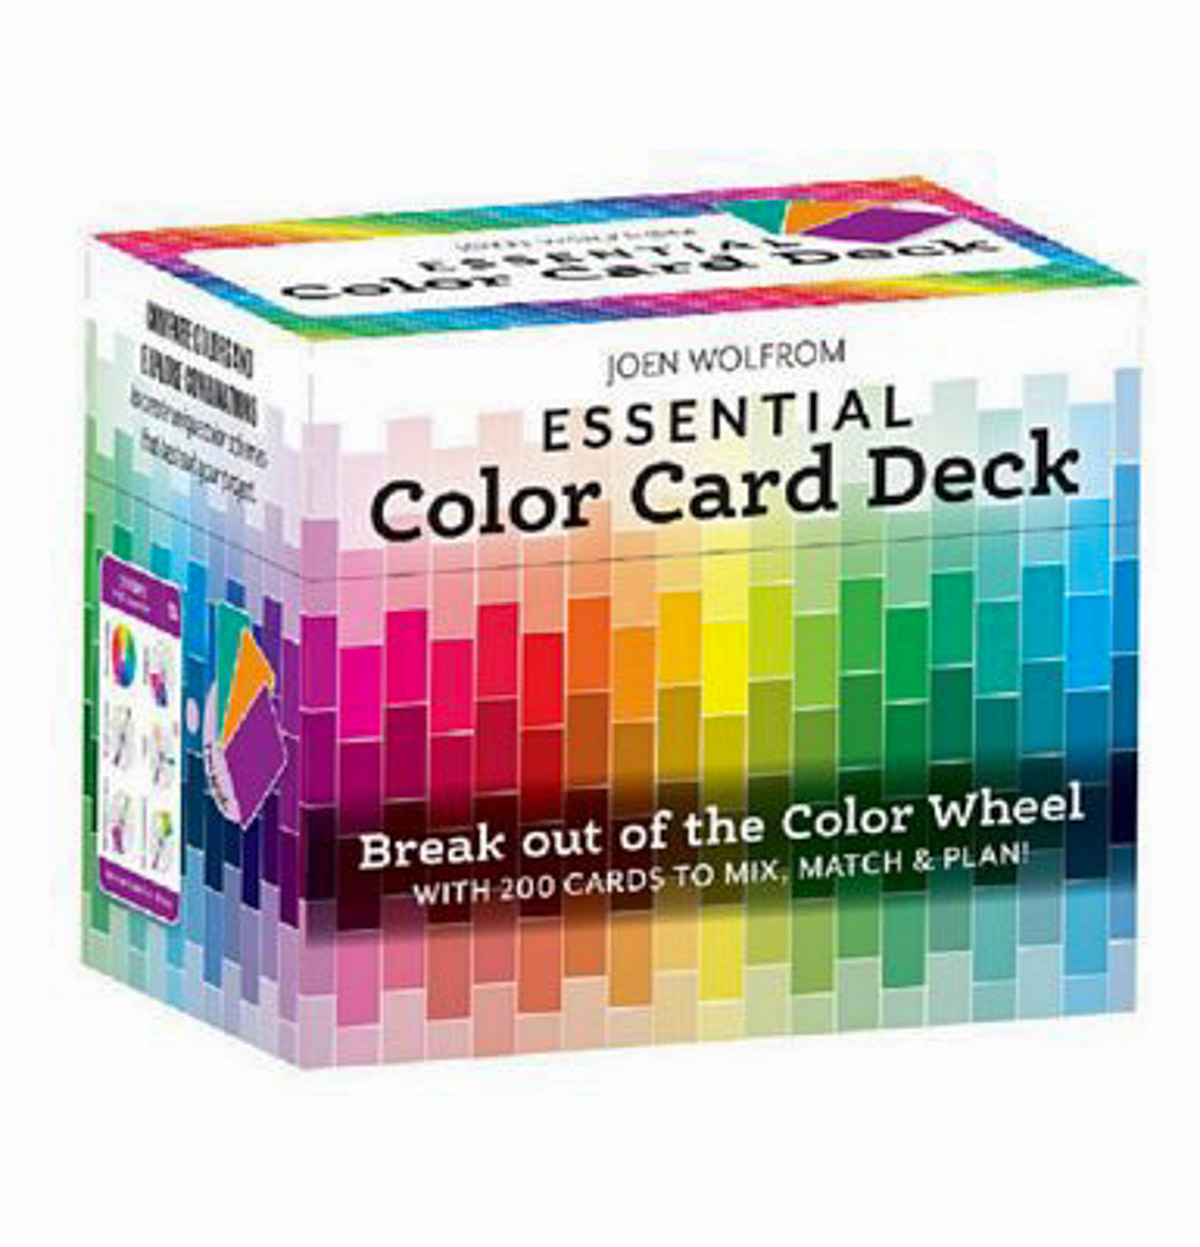
I have one last tip. If you are color-challenged, as I was when choosing my tote fabrics, check out Joen Wolfrom’s Essential Color Card Deck. It is invaluable when searching for the right hue, tint, tone, shade, and value combination. For those moments when you look at your project and think “something’s not quite right, but I don’t know what it is”, this is going to make it so much easier to solve. And then have a friend confirm your choices!
I hope you have been inspired to try something new today. Happy sewing!