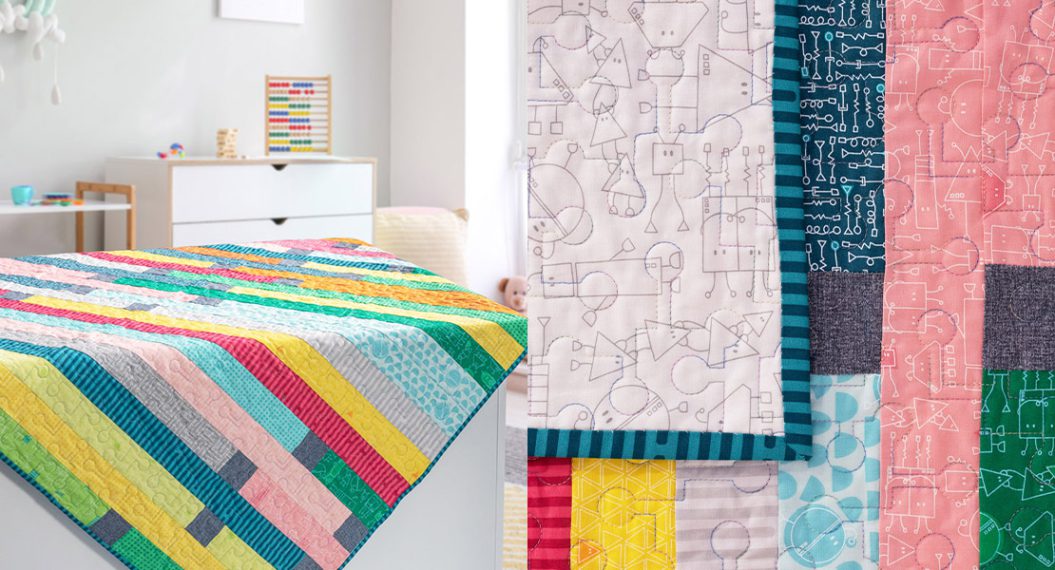
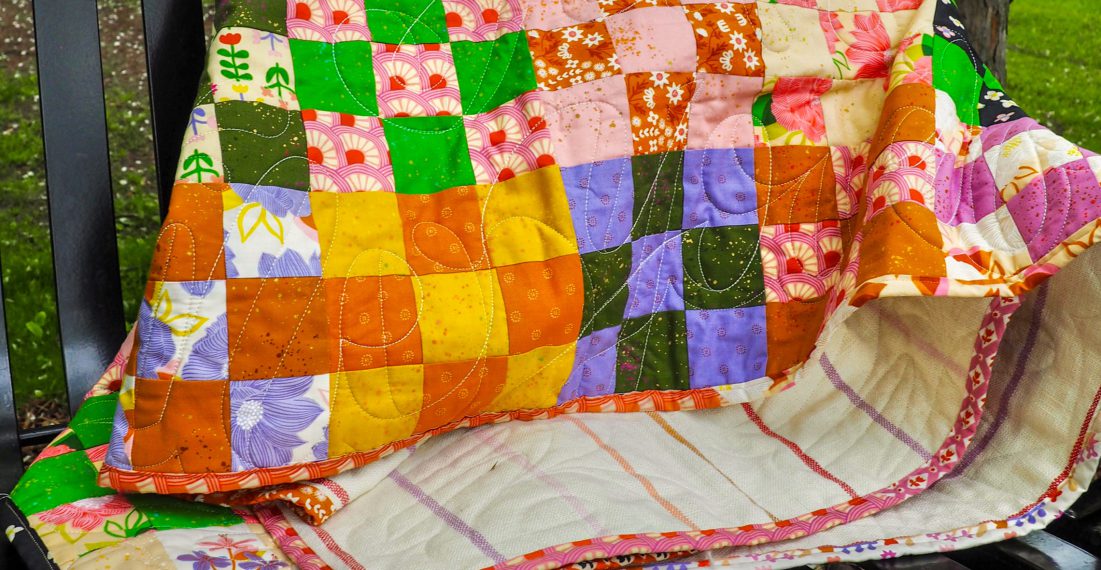
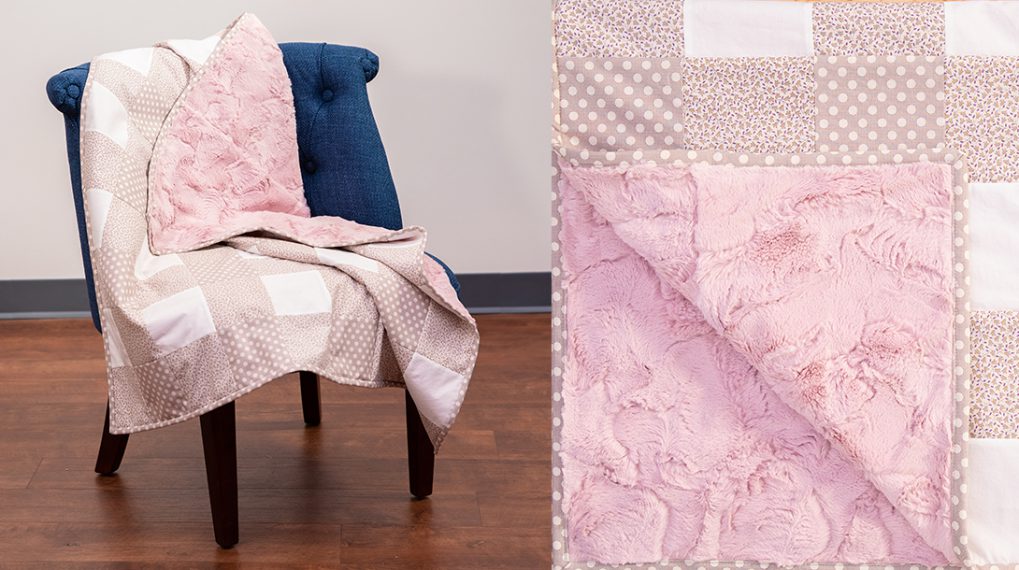
Speedy Serger Strip Quilt, Part One
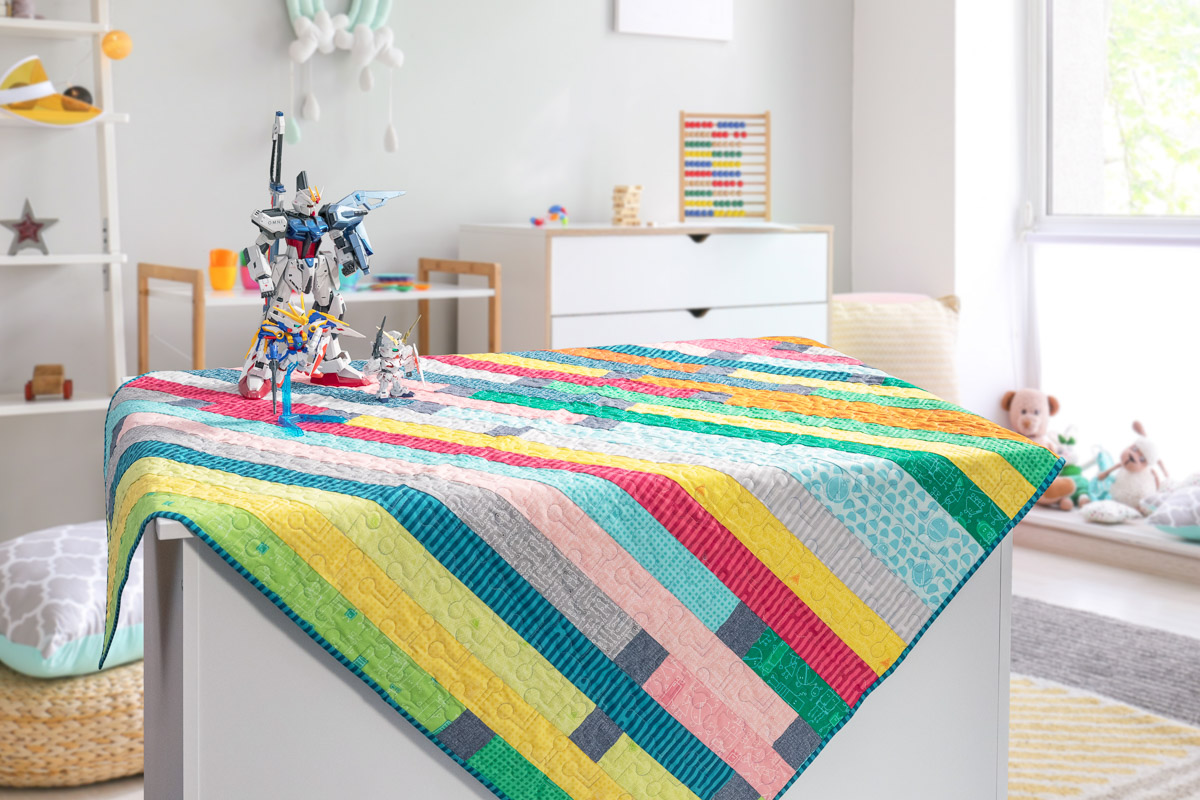
I will admit it … I am a collector. I see colorful precut fabrics in strips and squares and I just have to add them to my stash. In order to really appreciate them, though, I need to sew them into a quilt or other project. However, who has the time to sew all these beauties together? The serger to the rescue! In this post, I’m going to show you how to serge strips together to make a quick quilt top. When I say quick, I really mean it! You will be able to piece and baste this quilt together in an afternoon.
Come back for Part Two to learn how to use your embroidery machine for edge-to-edge quilting. We’ll finish with a serged binding.
Size: approximately 50″ x 62″
Materials for Making the Quilt
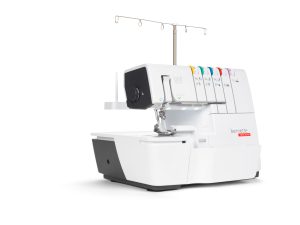
- Serger (I used the bernette 68 AIRLOCK)
- Embroidery Machine (I used the BERNINA 790 PRO)
- Standard Overlock/Coverstitch Combo Foot
- Three-sole Walking Foot with Seam Guide #50
- Embroidery Foot #26L
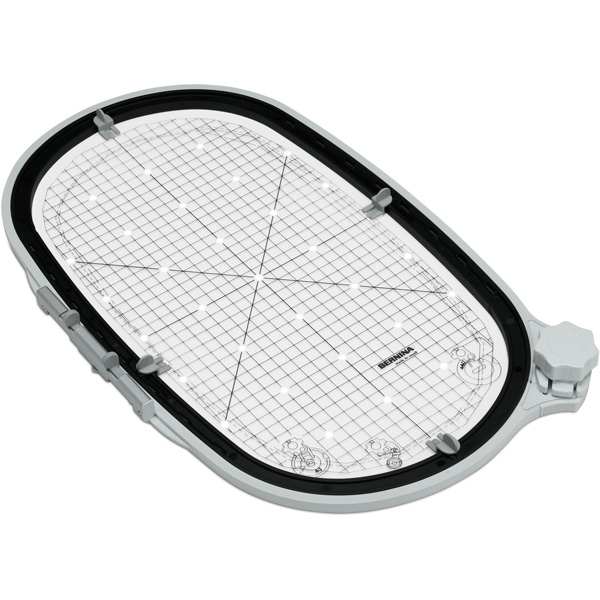
- Maxi Hoop Embroidery Hoop
- Fabric:
- (36) 2 1/2″ x 42″ cotton strips (Robo Boogie Strip-pies by Benartex)
- 1/4 yard contrast fabric (Linen-esque Cement by Benartex), cut into (35) 2 1/2″ squares
- 3 1/2 yards of backing fabric (Dance Party White/Grey from Robo Boogie collection)
- 1/2 yard of binding fabric (Stripy Medium Teal from Robo Boogie collection), cut into (6) 2 1/4″ wide strips
- 62″ x 74″ cotton batting
- 4 spools serger thread (Seracor by Mettler)
- Quilting thread (I used two 500-yard spools of King Tut by Superior Threads)
- Fusible thread
- Embroidery Design for quilting (I used a built-in design on the B 790 PRO)
- OESD HeavyWeight CutAway Stabilizer (for design testing and placement)
- Basic serging and embroidery supplies
This quilt is commonly called a jelly roll race quilt, because the shape of many strips sets looks like a jelly roll (yum!) and it sews together quickly (yay!). An online search reveals many variations, so feel free to let your creative juices flow. If you have never made one before, this tutorial will get you on your way. And the best part? You will not run out of bobbin thread using the serger!
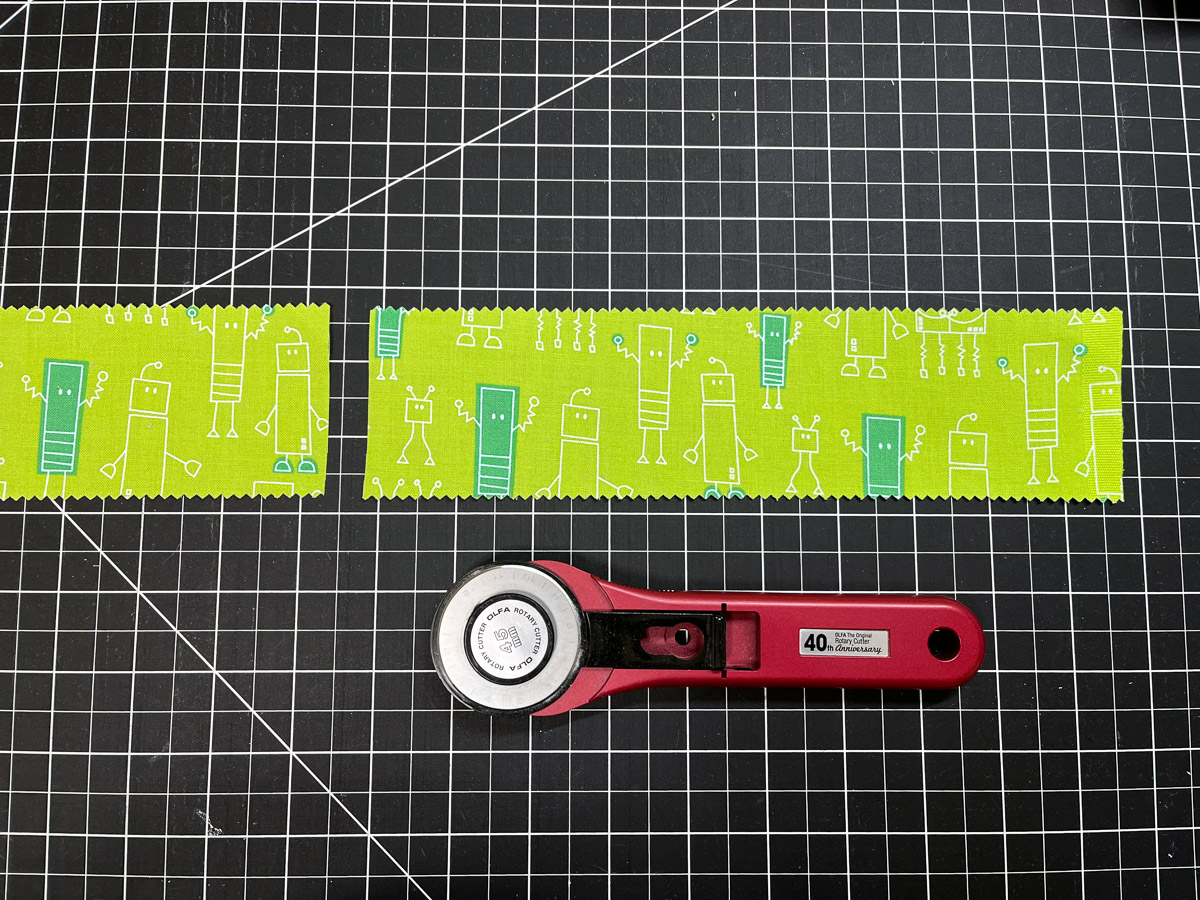
Step One: Prepare the Fabric
This quilt only requires 36 strips from the pack, so remove your least favorite. I removed the lightest (white) strips. Choose a strip to be the first strip and cut 10″ off. This will allow the seams to be offset as the rows are sewn together.
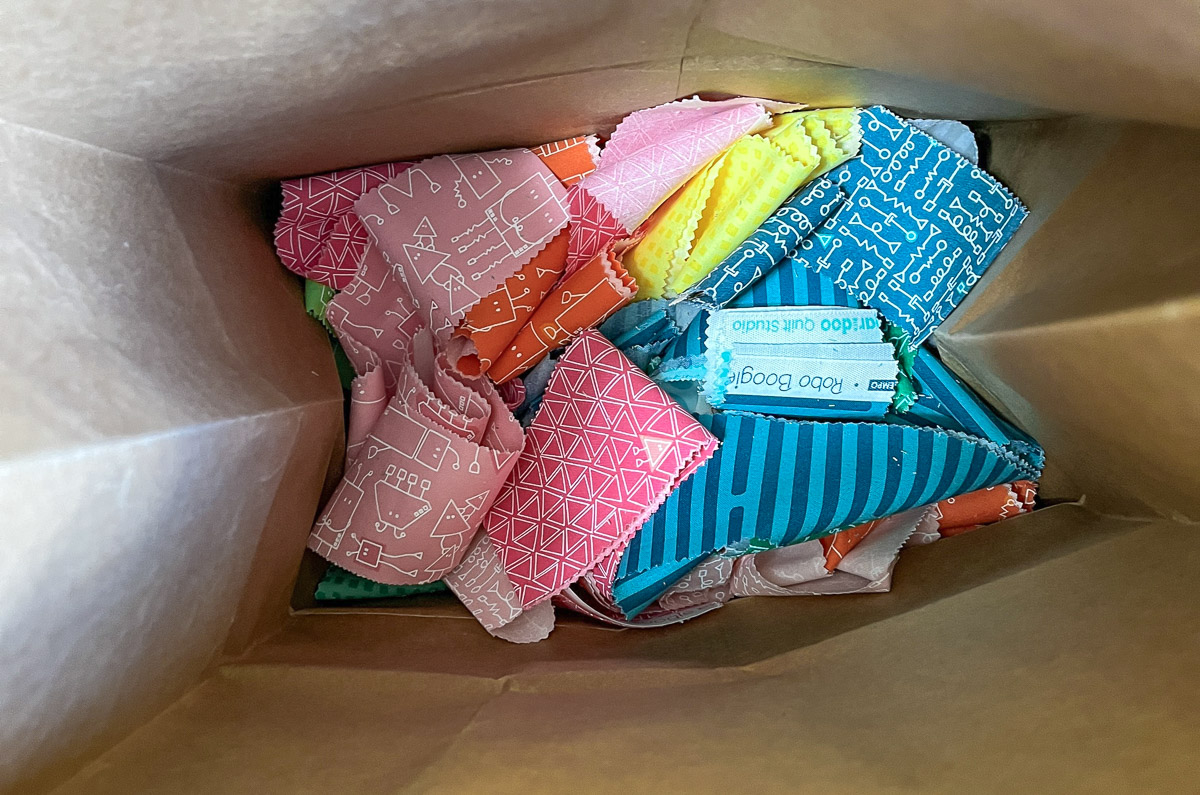
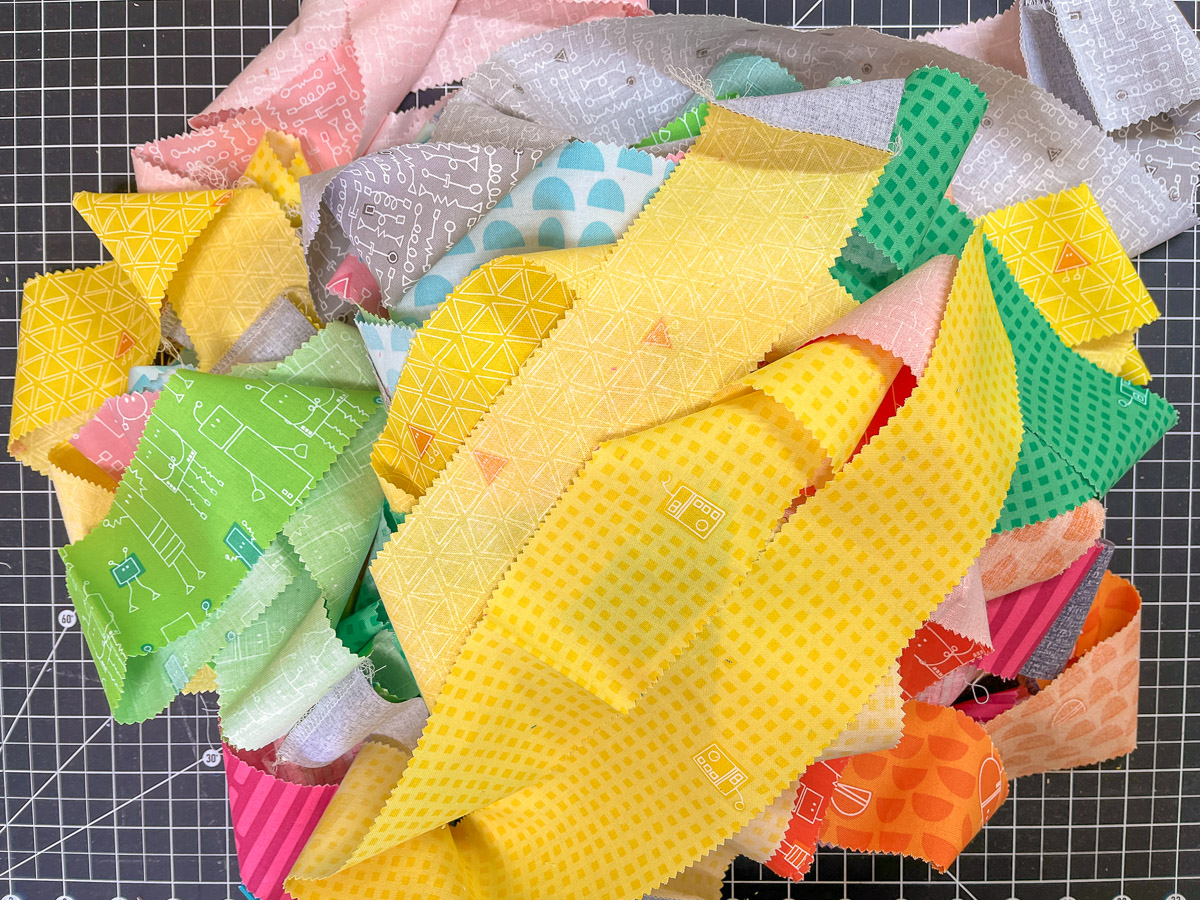
Put the rest of the strips into a large paper bag and give them a good mix. Then set it on the floor by your machine.
Step Two: Prepare the Machine
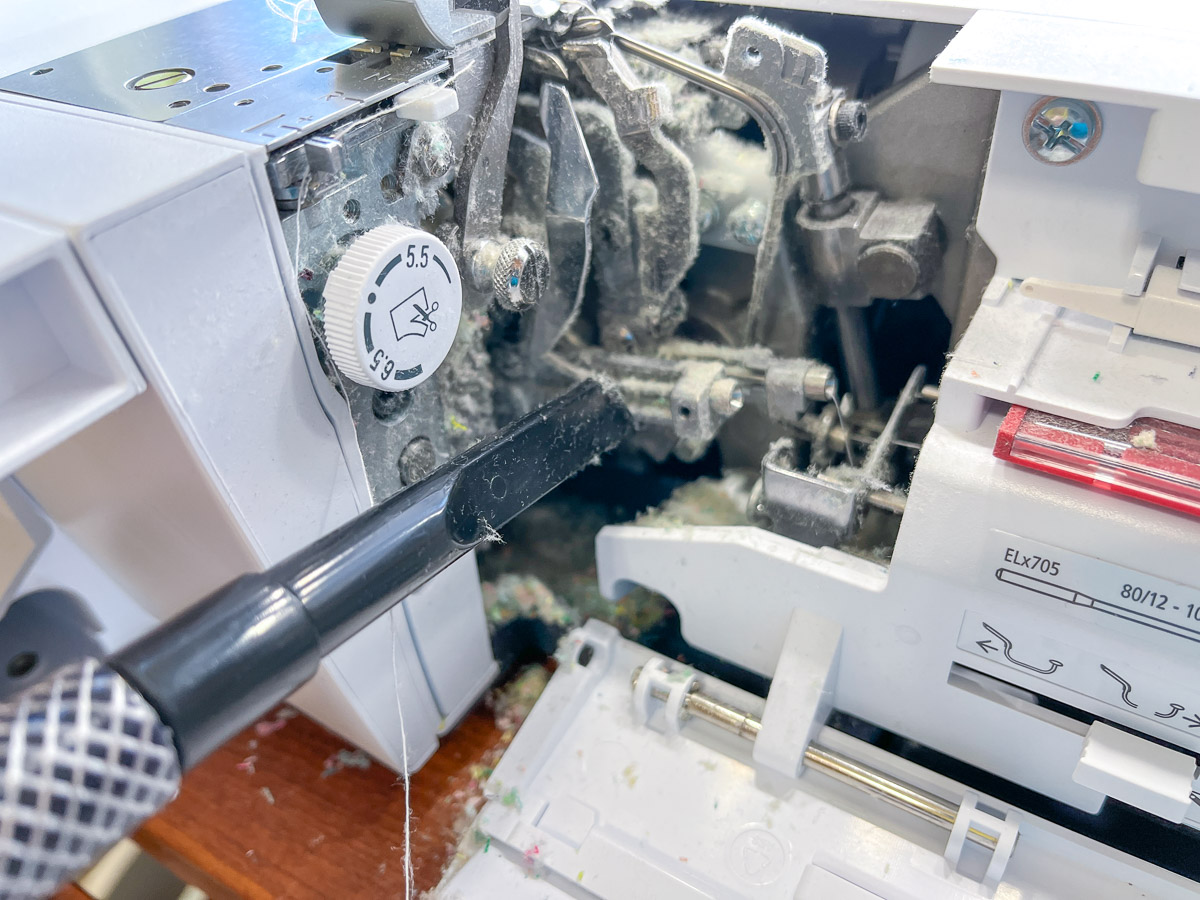
Set the machine for a balanced 4-thread Overlock with a cutting width of 6.

Step Three: Sew a Very Long Strip
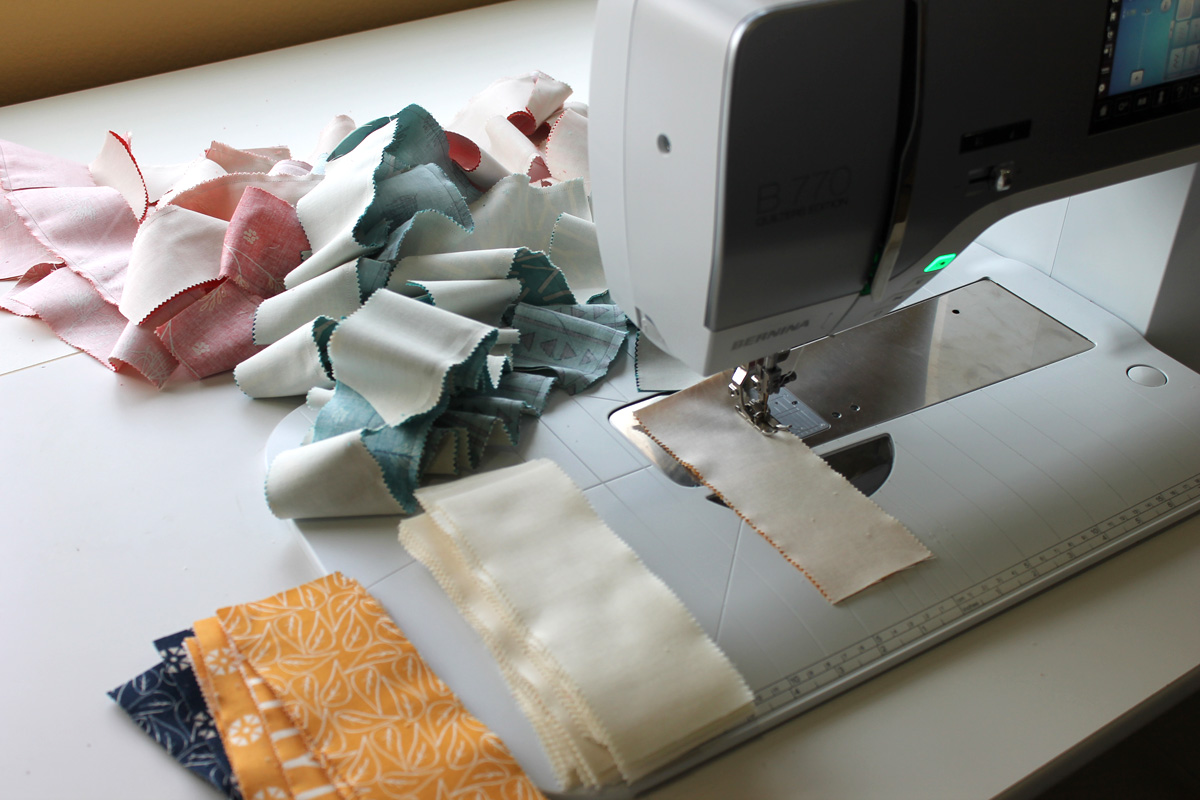
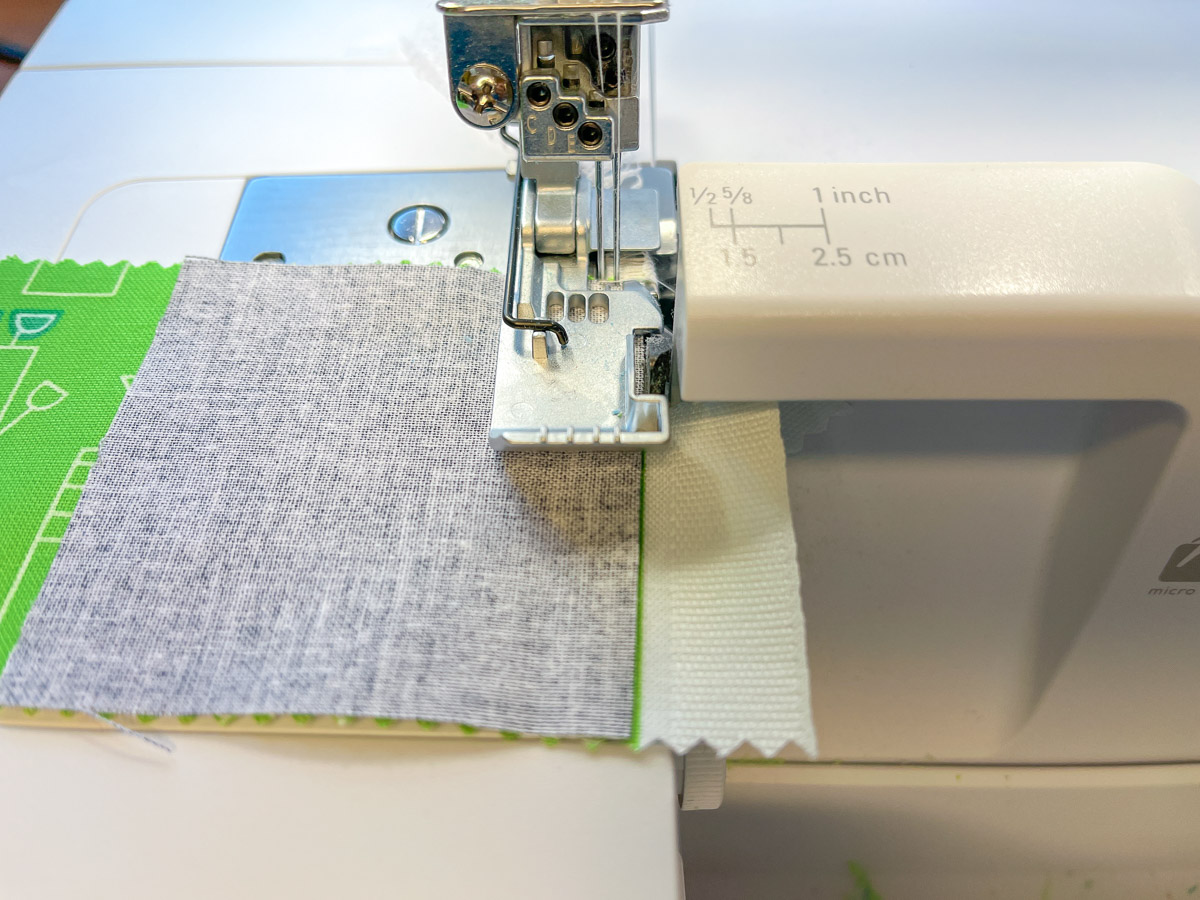
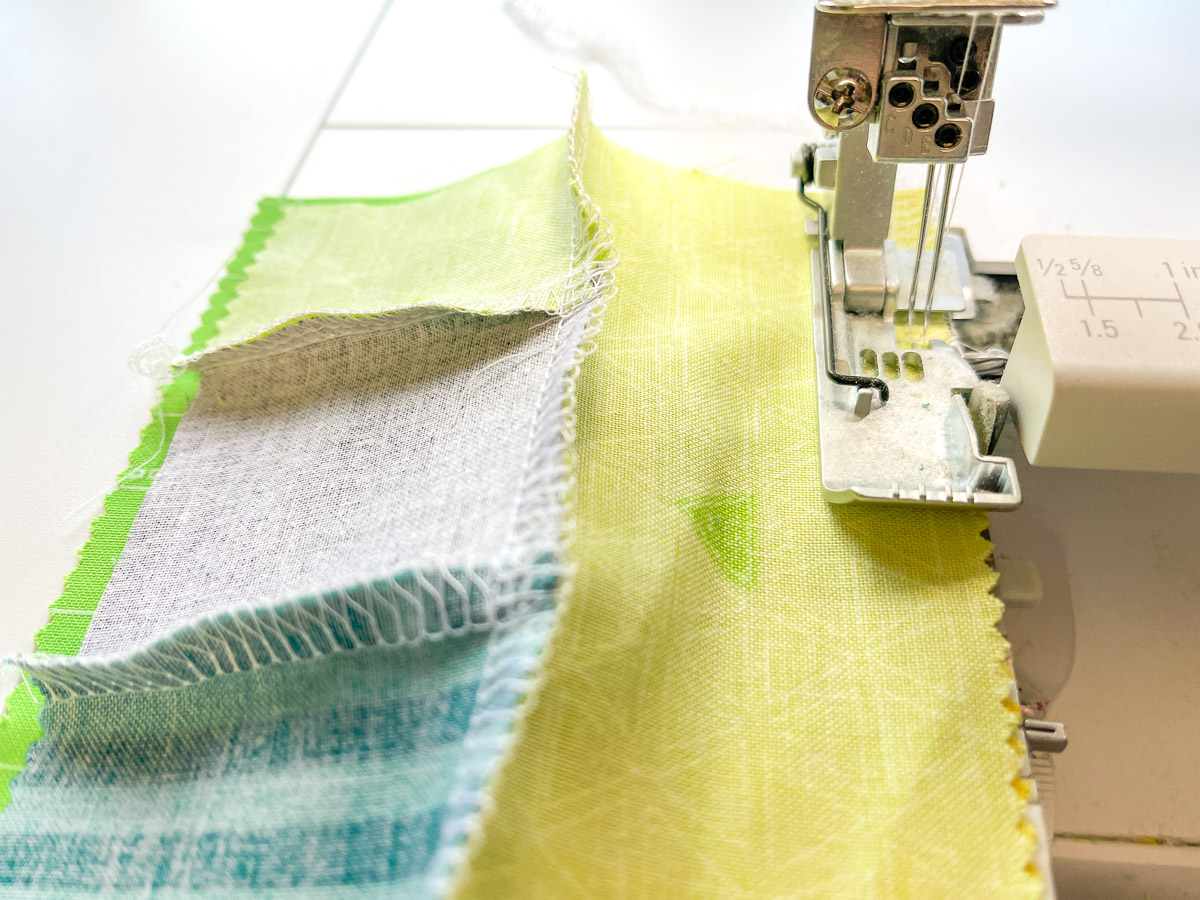
Now the fun begins! Start with the strip you trimmed and attach a 2 1/2″ square, right sides together, to one end. Offset the strip from the square so that you can cut the selvage off the strip with the machine. Sew off a long enough thread tail to bring the square to the front of the foot.
Reach into the bag to get your next strip. NO peeking and NO swapping! Add this strip to the opposite side of the square you just sewed, trimming off the selvage as before. Continue until you have sewn all the strips and squares. There is not a square at the very beginning or end of this long strip. I know you will be tempted to cherry-pick a strip, but trust the randomness of the process. Your quilt will look terrific!
When you are done, you will have a very, very long strip measuring almost 1800″. (To put that in perspective, about half a football field!) Don’t worry about pressing the seam allowances at this point. The short little seams along the squares will be finger-pressed as we join the rows.
Step Four: Sew First Row
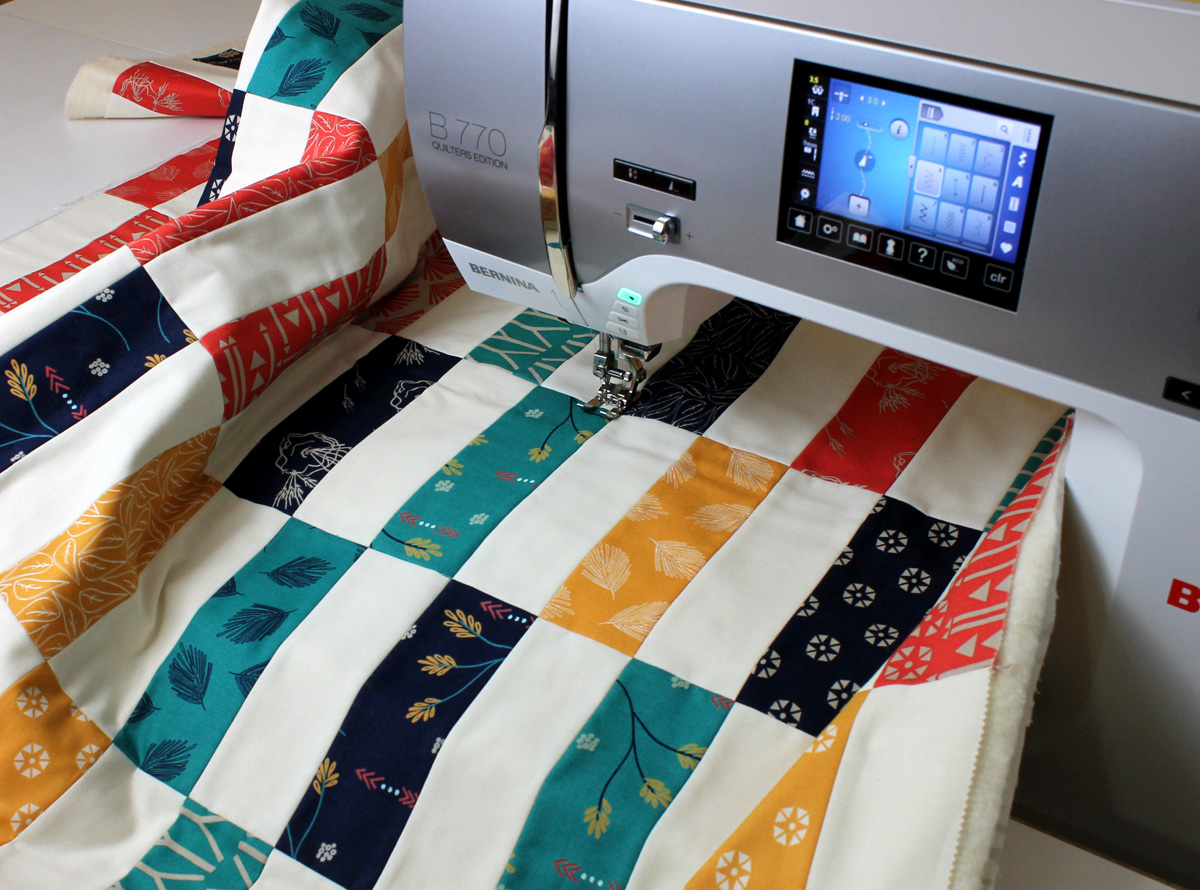
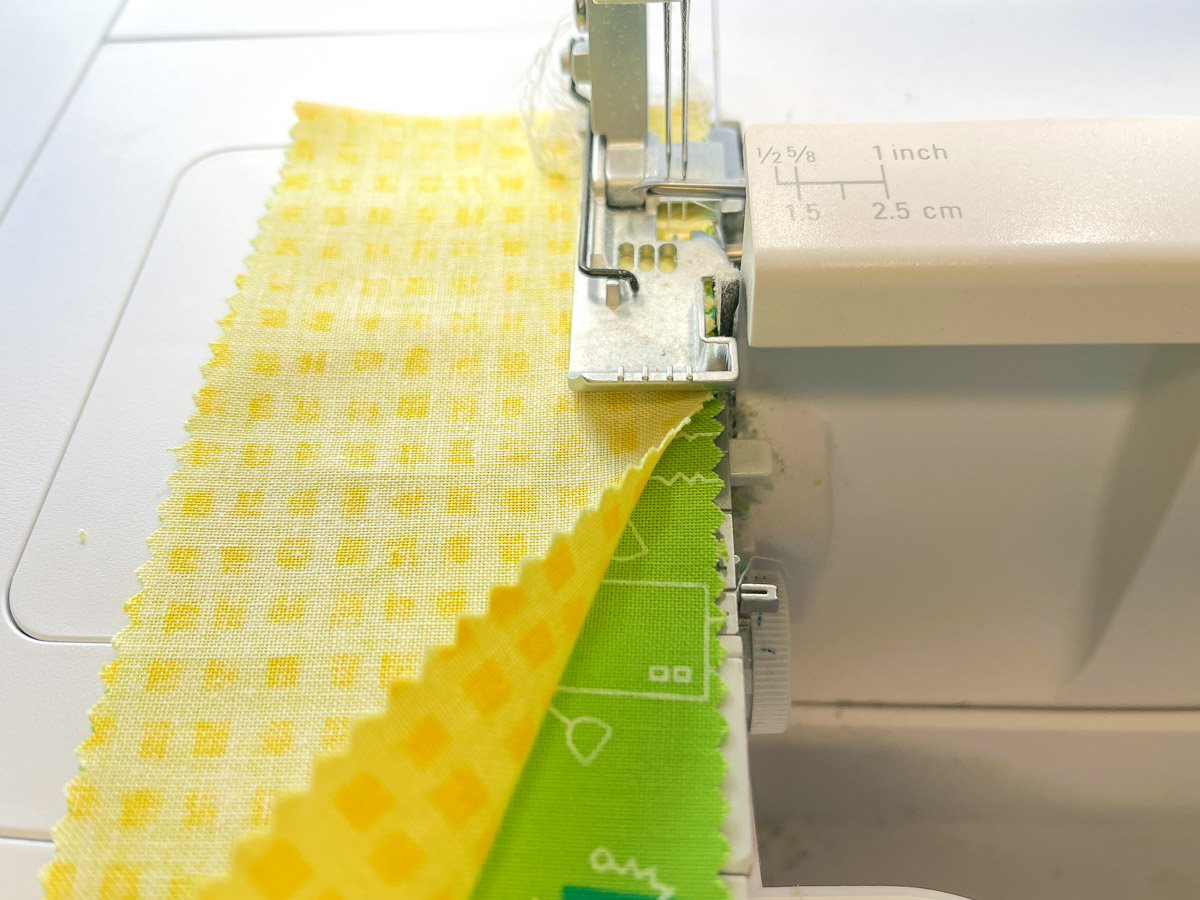
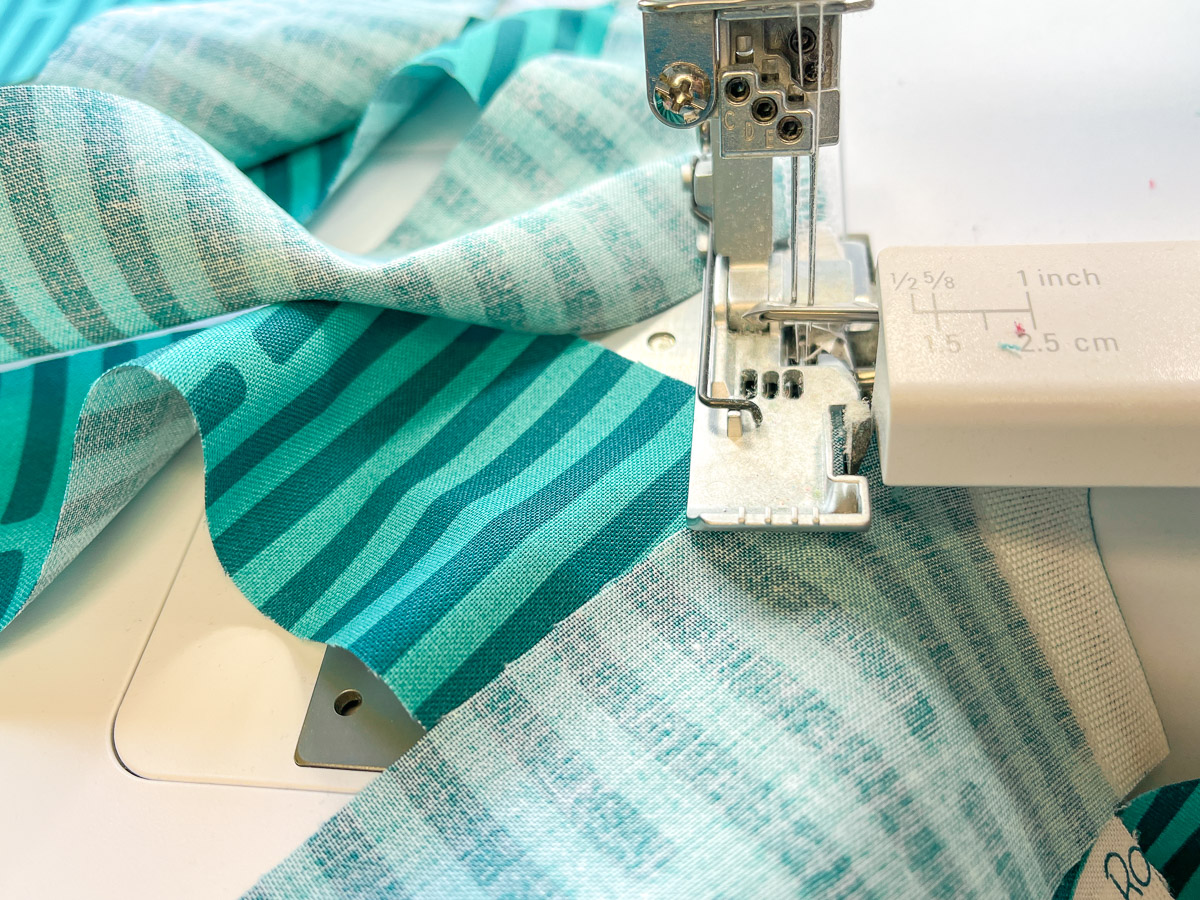
Fold the long strip in half, matching the short ends right sides together. Sew along the long edges, skimming the knife. I guided the fabric along the right edge of the presser foot. It’s ok to sew fast! Finger press the seam allowances toward the squares.
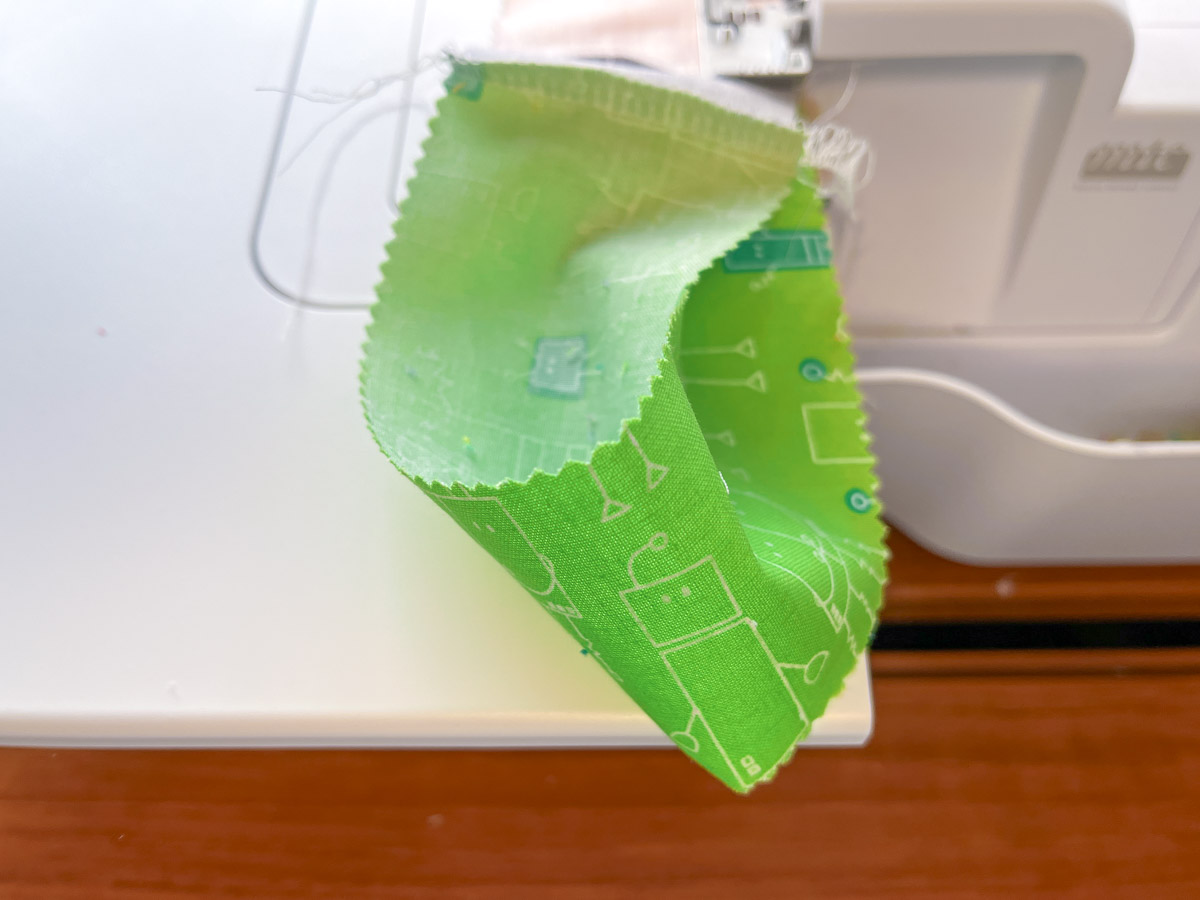
When you get close to the end, cut the fabric on the fold. It might have twisted, but once you cut it, it sorts itself out. Don’t worry about the ends being perfectly even. After sewing the top, we will square everything up.
Step Five: Sew Second Row
Fold the strip set in half again, lining up the beginning and end. Sew along the long edges. You can see that you are now sewing a row of two strips to another row of two strips. Pause near the end to cut the fold.
Step Six: Sew Third Row
Now there are four rows of strips sewn together. Fold the fabric again and sew as before.

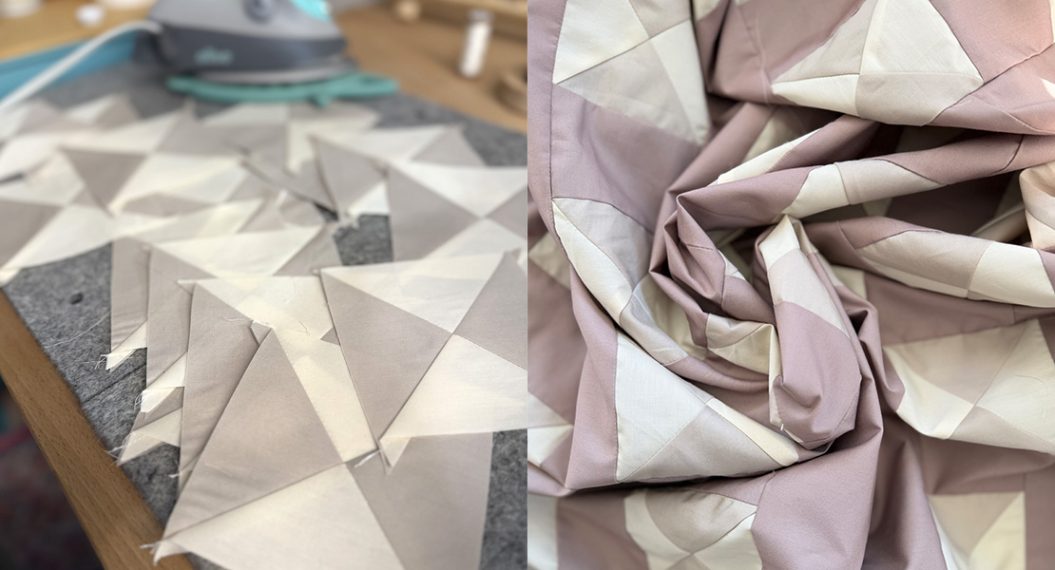
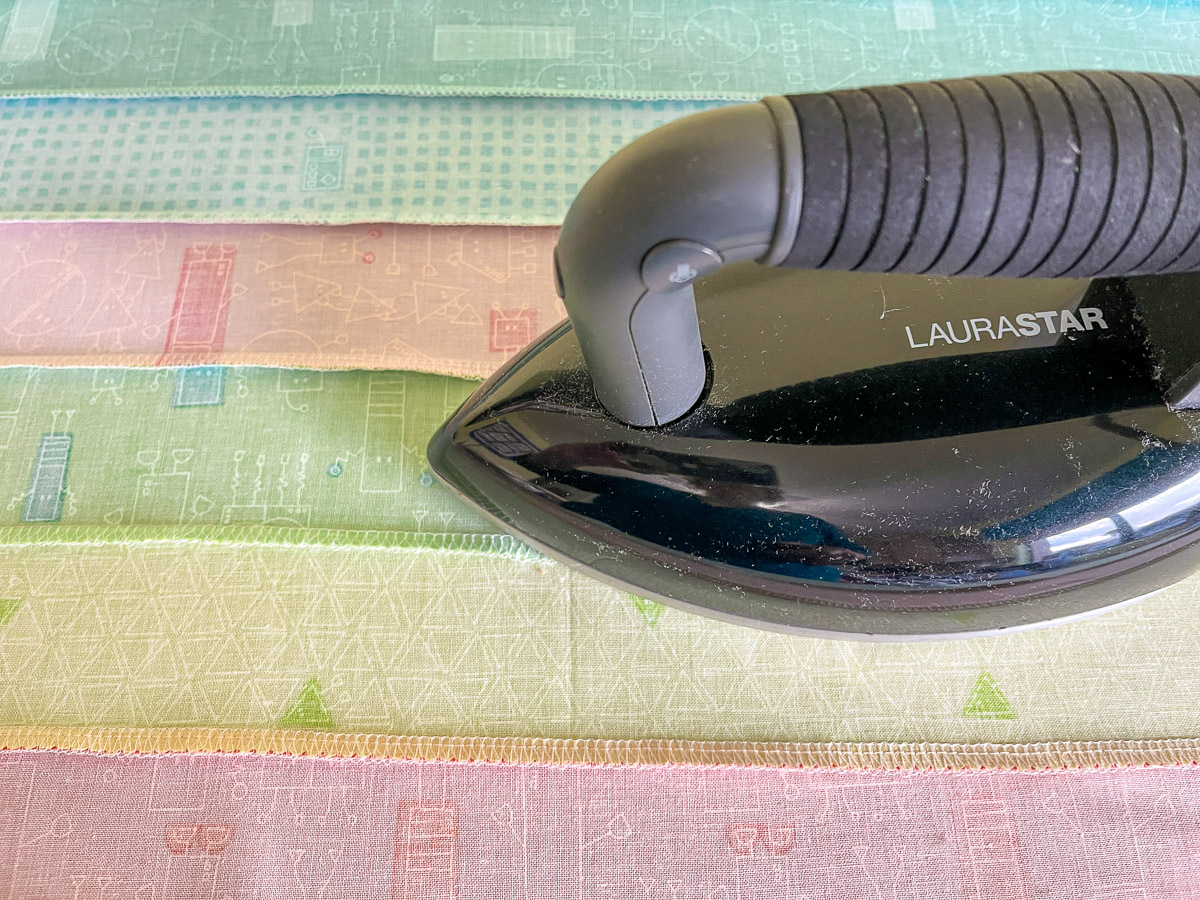
Step Seven: Pressing
Continue in the same manner until you have 32 rows. NOW it’s time to press! Press all the long seam allowances in the same direction. Then square up the uneven edges.
Wasn’t that fun? It didn’t take as long as you thought, did it?
Step Eight: Binding and Backing
I like to sew my binding at this point, since the machine is set up and ready to go. Join the binding strips together at an angle and let the knife of the serger trim the excess fabric. Press the binding strip in half, wrong sides together, lengthwise.
Cut the backing fabric and piece together (on the serger!) so that it is about 6″ bigger all around than your quilt top. Cut your batting to this same size. You will need the extra amount when hooping during the embroidery quilting process.
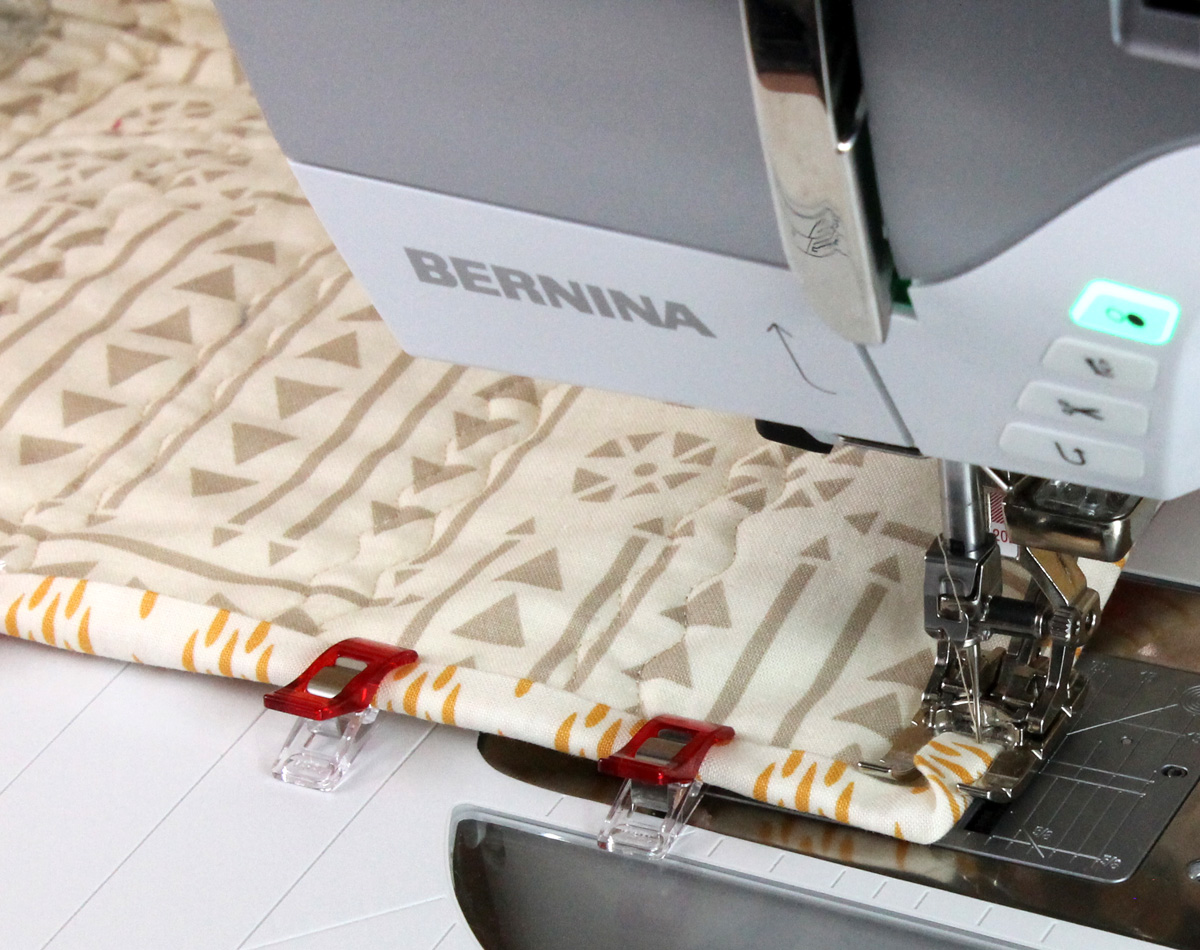
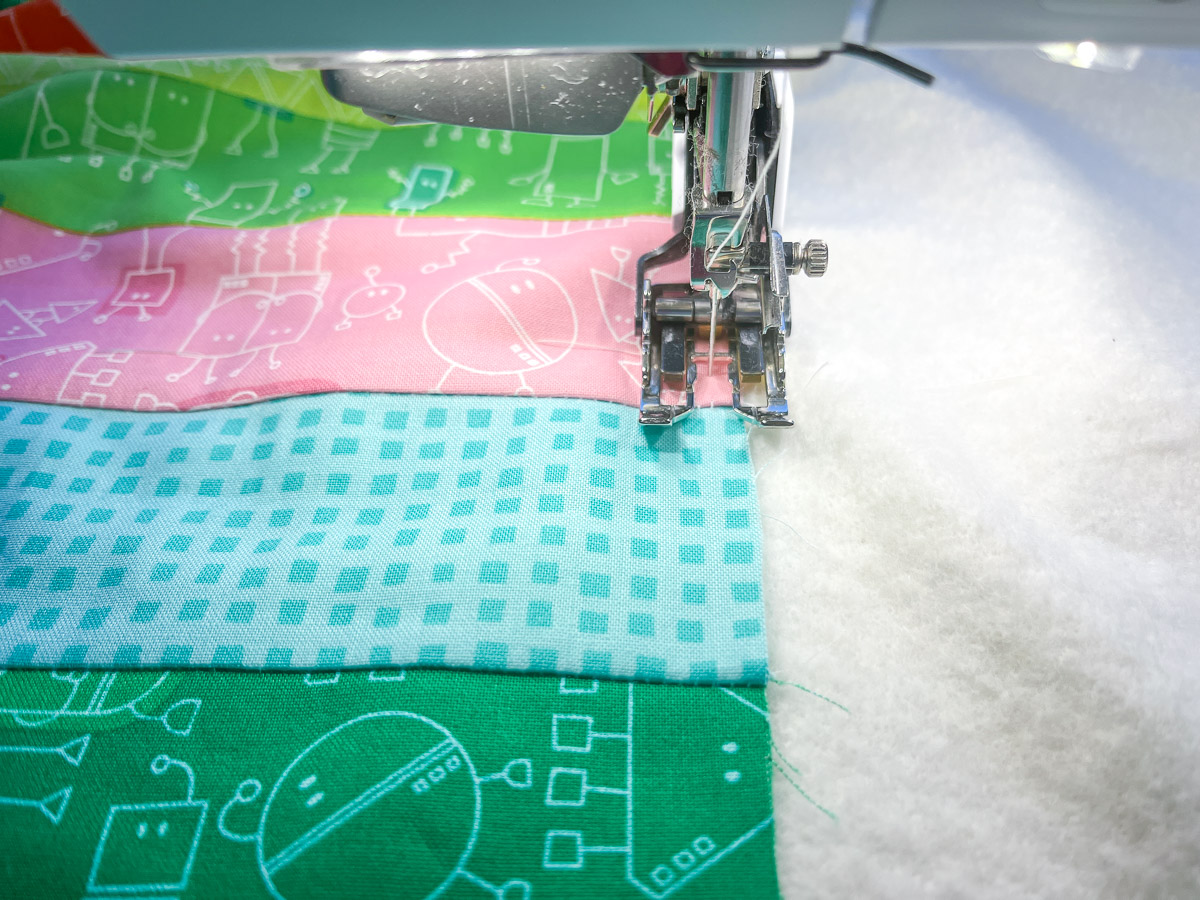
Step Nine: Basting
Baste the quilt, batting, and backing together in your favorite method. I hand-basted my quilt with long stitches. I normally use pins, but since I am quilting with embroidery, I want to avoid having them get in the way. Long hand stitches are also quick and easy to remove. I used my Walking Foot #50 to stitch the edges down. This keeps my embroidery foot from catching under the quilt during the embroidery process.
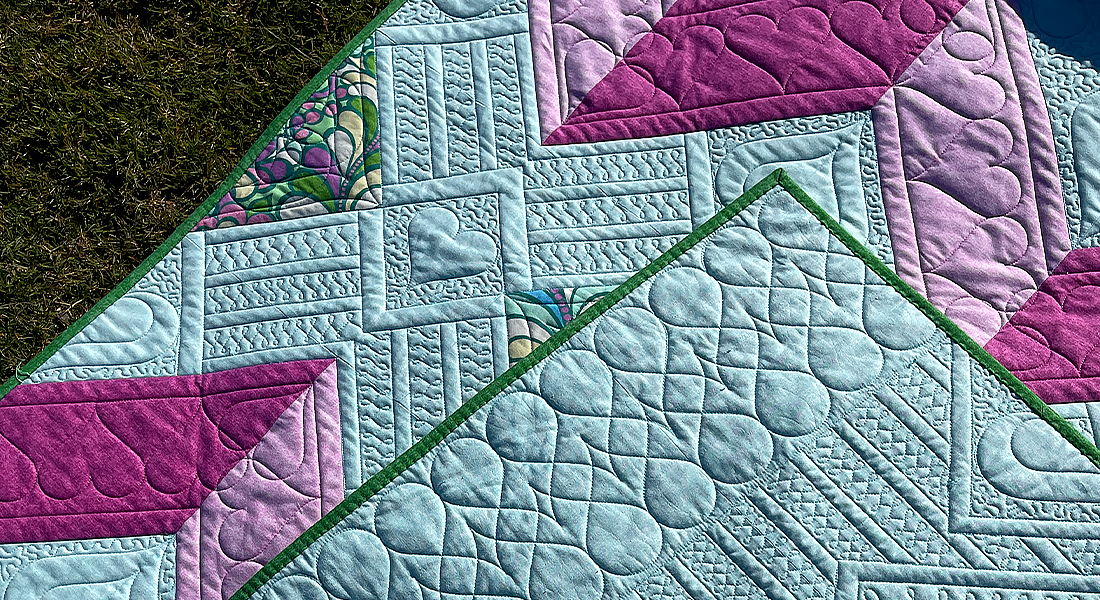
Finally, draw a line 1″ away from one long quilt edge. This will be the starting point for our quilting.
That’s it for today! Join me in Part Two to learn how to quilt an edge-to-edge design using your embroidery machine! In the meantime, show your serger some love and give her a good dusting out!