Personalized Holiday Ornaments
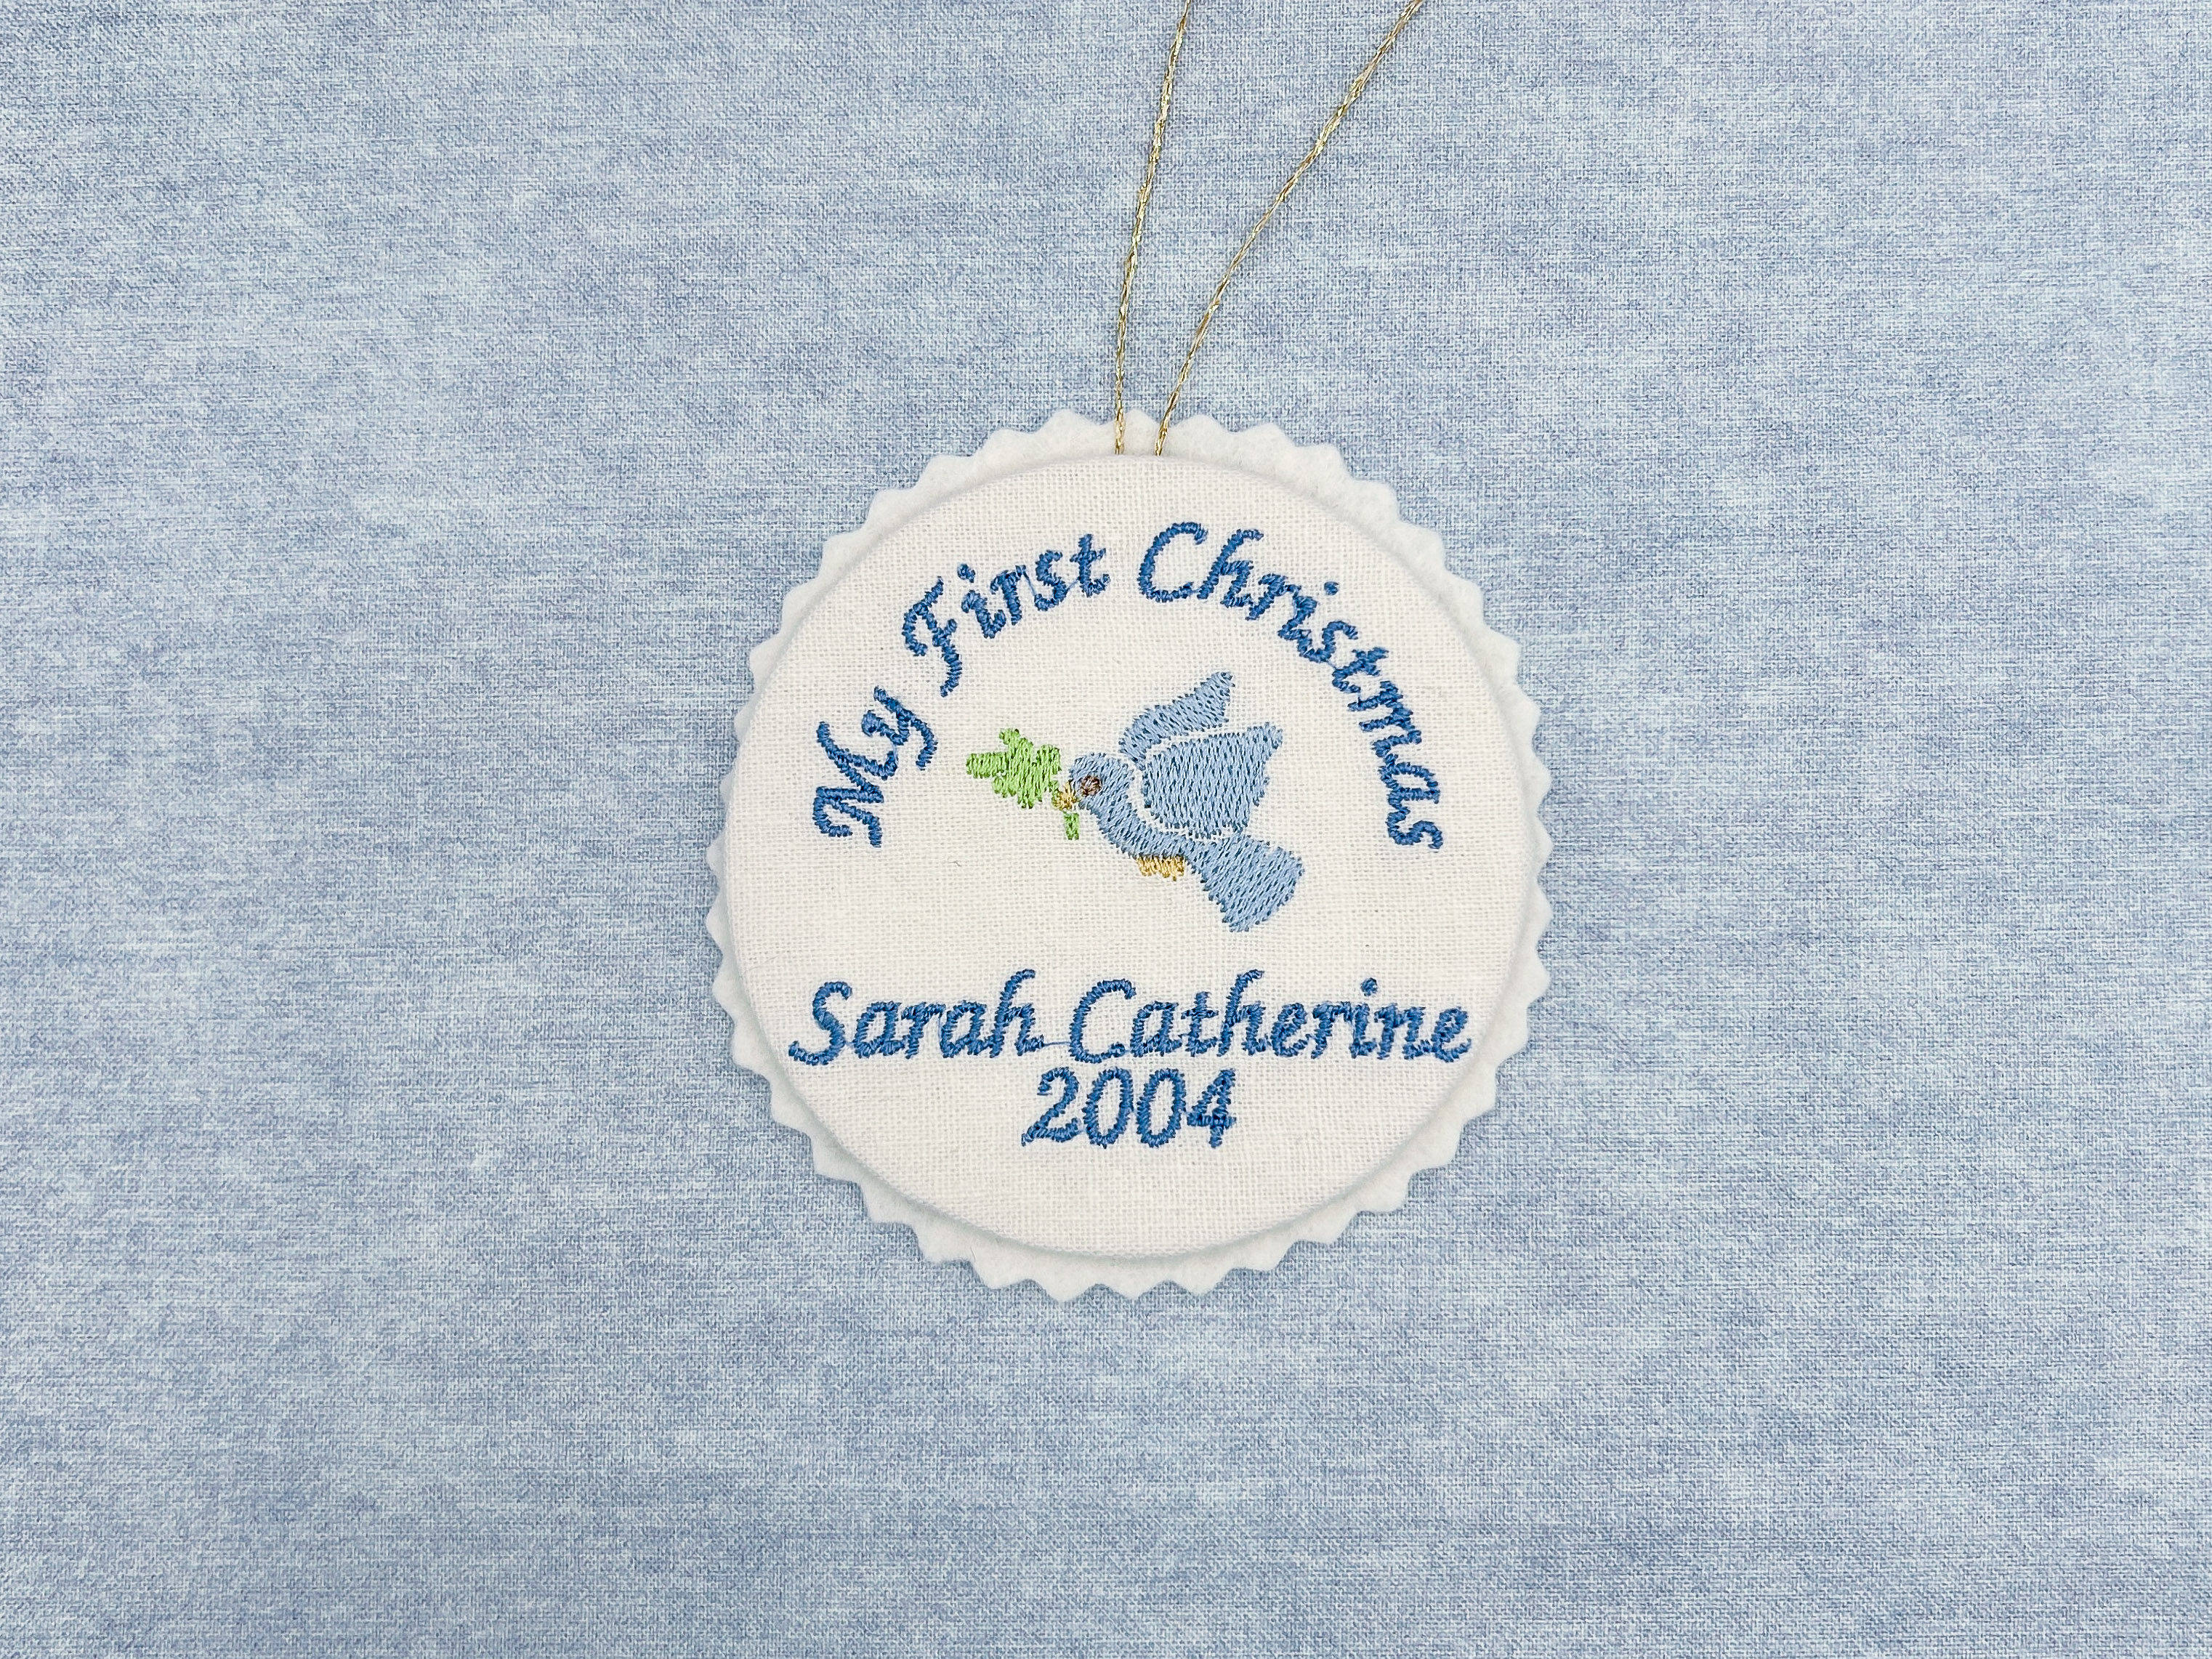
I love making personalized gifts and with the holidays almost here, I decided it was time to get started! These embroidered ornaments are so sweet and special, I had to make one for each child even though they’re adults now. With your BERNINA 990, these ornaments can be made for any and all occasions — simply change the wording and the center design! Who doesn’t love a gift with their name or their loved one’s name? Follow this tutorial to find out how easy and fun these are to create using your BERNINA (and check out different ideas at the end)!
Materials for Making Personalized Holiday Ornaments
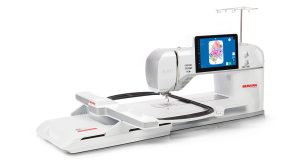
- BERNINA 990
- Embroidery Foot #26L
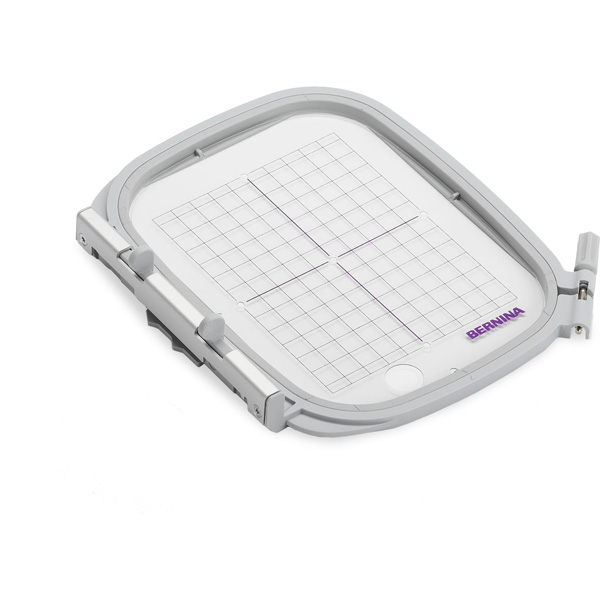
- Medium Hoop
- Golden-Yellow High Thread Tension Bobbin Case
- 8” x 10” Essex Linen fabric, white
- 8” x 10” OESD Ultra Clean & Tear Stabilizer
- 8” x 10” OESD Fusible Woven Stabilizer
- 5” x 5” felt, white
- Isacord Thread, 3641, 3761, 6141, 0741, 1123
- Mettler Metrosene Thread, white
- 3” round wood disc
- 505 Temporary Adhesive Spray
- Aleene’s Tacky Glue
- Pinking shears or rotary cutter with pinking blade
- Handing sewing needle
- Decorative cord
- Optional: fun trim and tiny charms
Step 1: Create your Embroidery Design
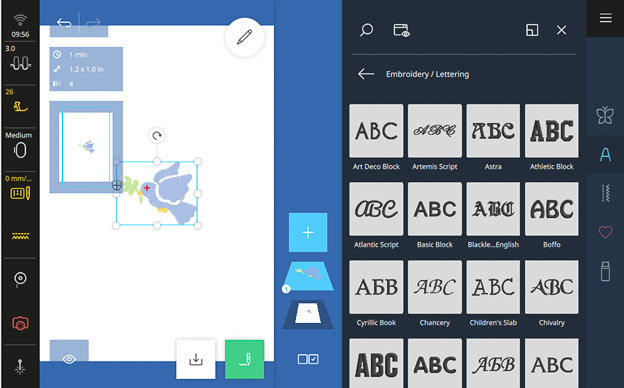
In Embroidery Mode, open the Embroidery Designs Folder and select the Mini subfolder. There, you’ll find 47 designs under 3” that are perfect for accents and small projects.
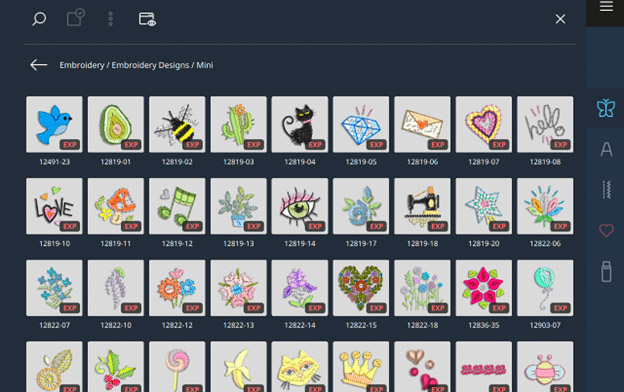
One day, I’d like to make a sample book with all these designs stitched out for future reference. For now, select design #CJ870. Next, select the Medium Hoop in the Status Bar.
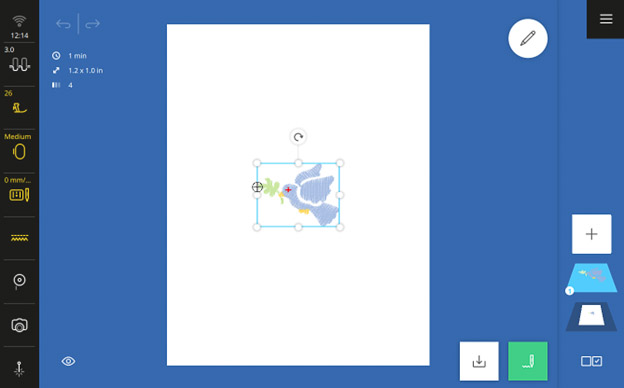
Tap the Add Design icon on the right side. Select the Lettering Tab.
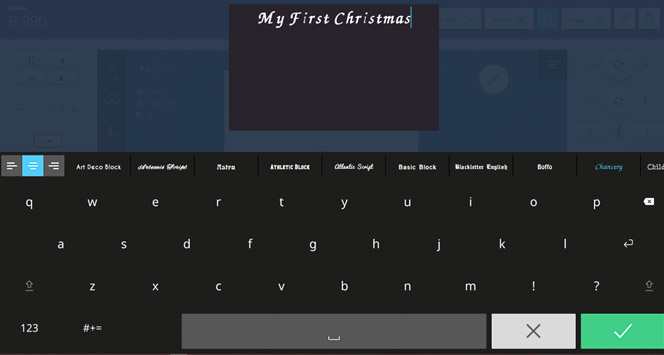
Select the Chancery font and type “My First Christmas.” Tap the Center Alignment icon. Tap the green checkmark to confirm.
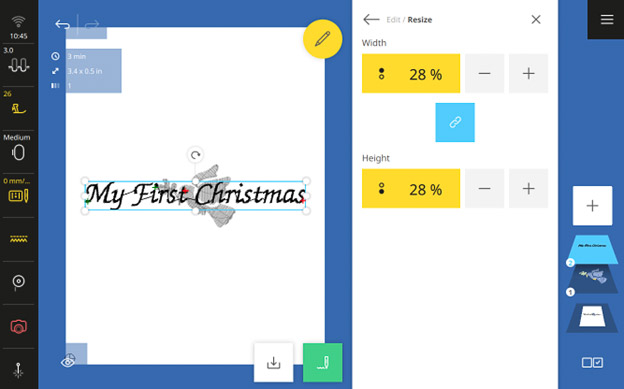
You’ll need to greatly reduce the lettering size, but no worries! With the B 990, you now have customizable lettering that allows you unlimited resizing! Open the Edit Menu and, in the Edit submenu, tap Resize. Decrease Width and Height proportionally to 28%.
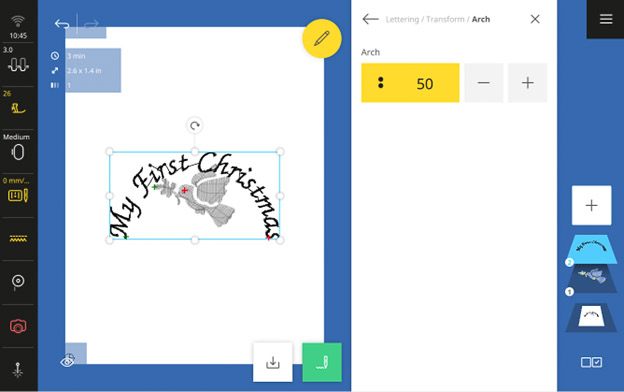
Go back to the Edit Menu. In the Lettering submenu, select Transform. Tap Arch and increase to 50. Don’t move the lettering yet.
Tap the Add Design icon. Select the Chancery font and type the first and middle name of your loved one, tap Enter (line break), then on line two, type the year of their first Christmas. Tap the Center Alignment icon. Confirm with the green checkmark.
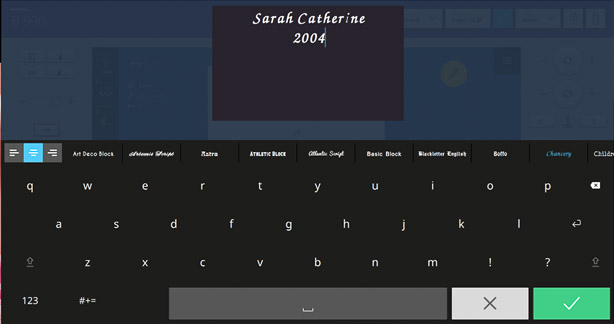
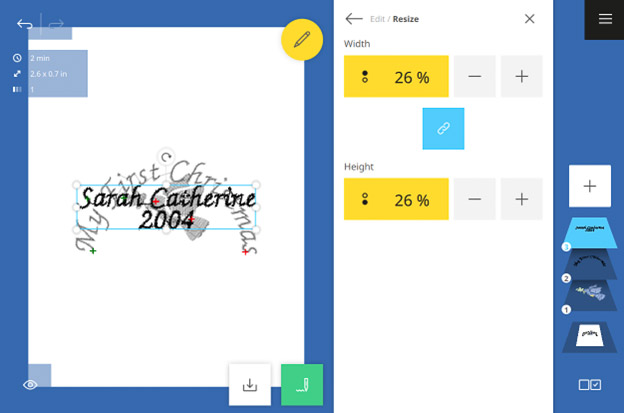
In the Edit Menu, tap on Resize and decrease proportionally until the length is 2.6” / 66 mm. The design dimensions are highlighted in the upper left corner. I had to decrease the size to 26% but your design may be different depending on the number of letters.
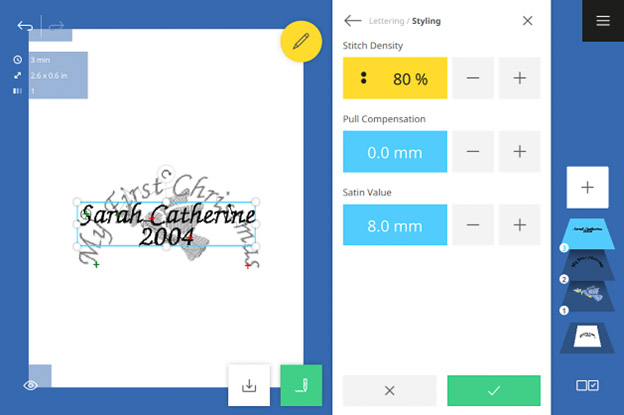
Go back to the Edit Menu and select the Styling in the Lettering submenu. Decrease the Stitch Density to 80%. This is a nice feature to have when reducing the font size as much as we did. Do some testing first and decide what works for you. Try decreasing the stitch density to 90% or not at all.
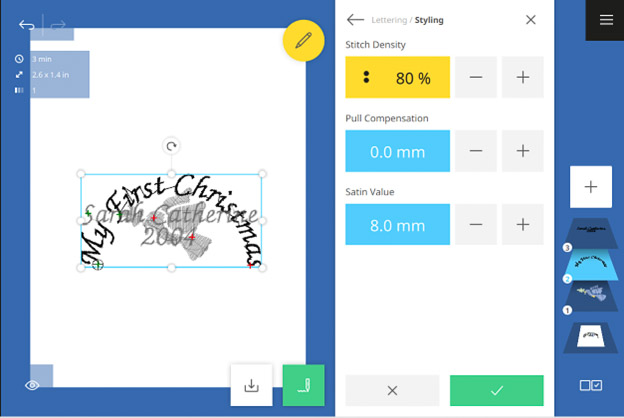
Select Layer 2 (“My First Christmas”) and do the same.
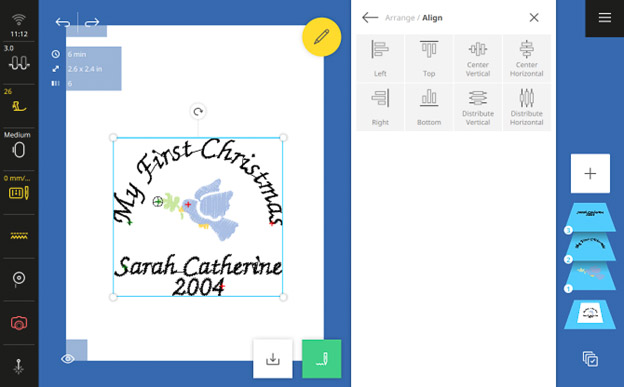
Move the designs, but don’t worry about exact placement. In the Selection Options Menu, at the bottom right corner beneath the Layer Bar, select All Designs. In the Edit Menu, select the Arrange submenu and tap Align. Tap the Center Horizontal icon.
Check your total design size in the highlighted box at the top left corner. Resize and/or re-position the layers until your design is 2.6” / 66 mm x 2.4” / 61 mm so that it will fit on the 3” wood disc.
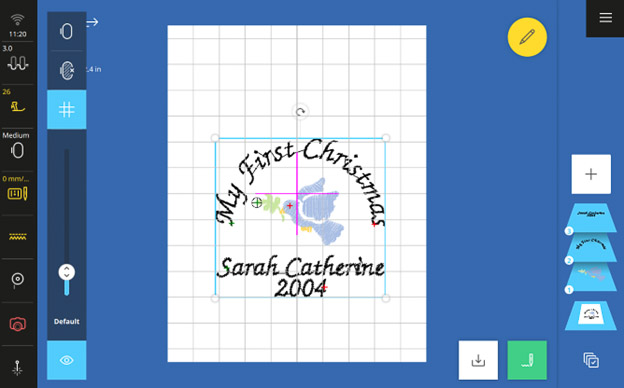
Another way to check the position of each design or layer is in the View Menu. Here, you can add a grid to help with placement (tap the Grid icon twice).
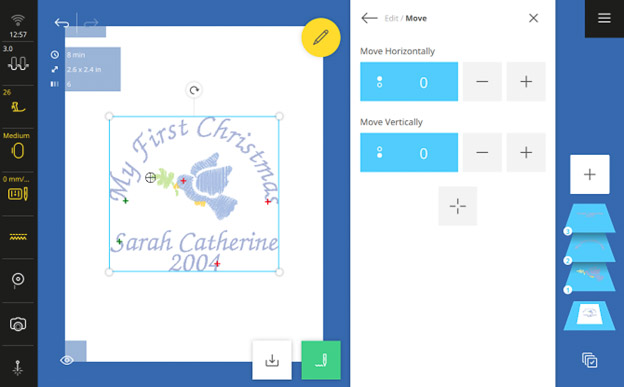
Select all layers by tapping the Base Layer in the Layer Bar. Go back to the Edit Menu and tap Move. Tap the + icon to center the design.
If you would like to change the font colors, begin by selecting Multiple Selection from the Selection Options Menu. Select Layers 2 and 3. In the Edit Menu, tap Colors. Tap on the circular arrow next to the first thread color.
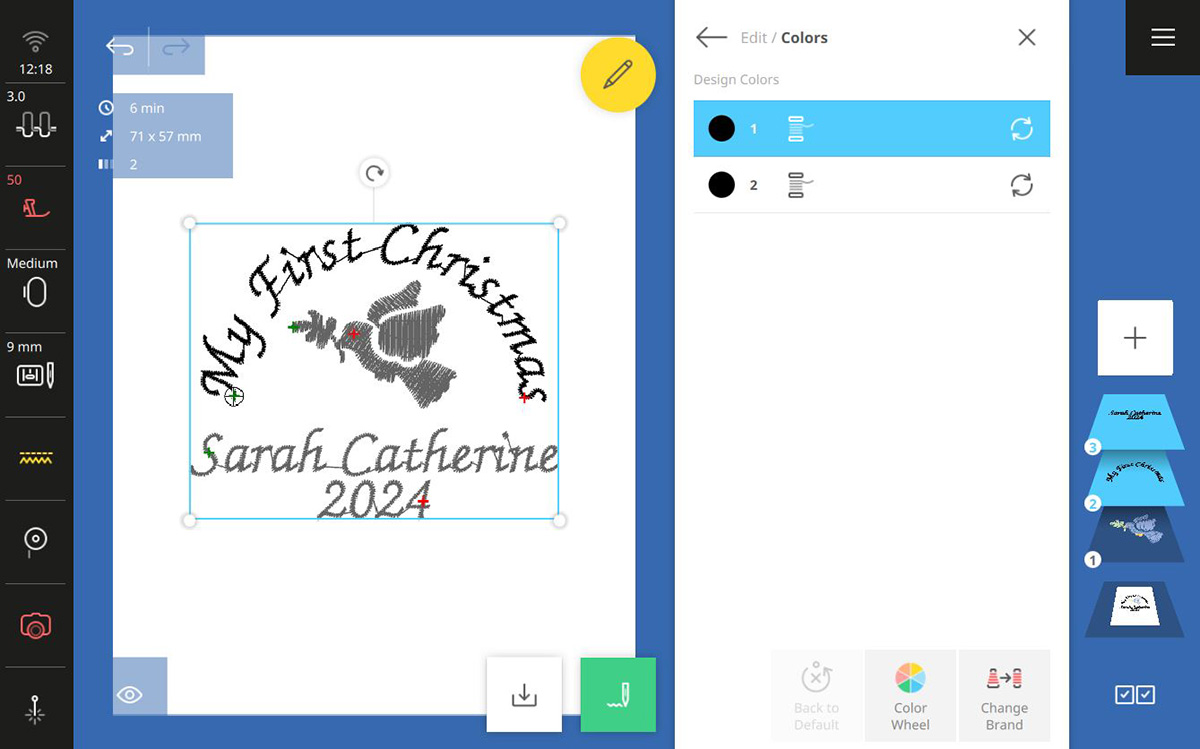
Use the Search icon and type in 3641. This is Isacord Wedgewood. Confirm with the green checkmark.
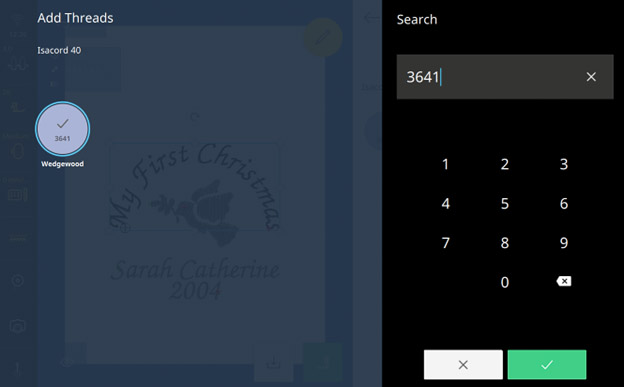
Repeat for the second thread color.
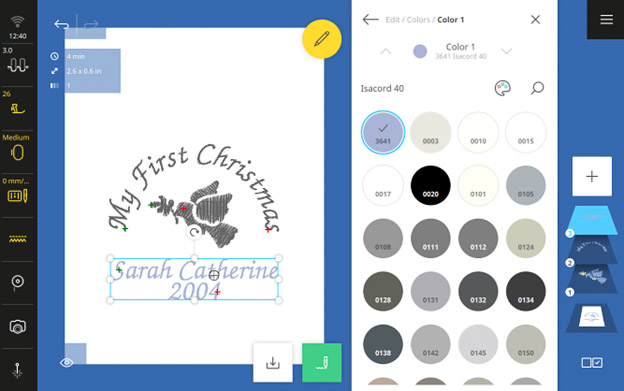
De-select Layers 2 and 3 and select Layer 1. Play around with different colors for the dove to preview before stitching. The colors I used are listed below. But remember, the machine doesn’t know what color you actually put in the needle!
- Color 1, Leaf – 6051
- Color 2, Beak and feet – 0741
- Color 3, Body – 3761
- Color 4, Eye – 1123
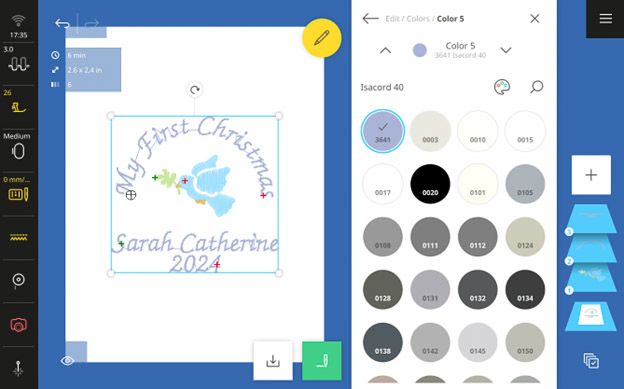
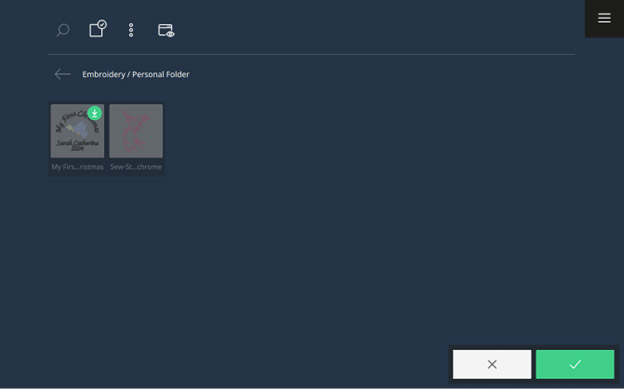
Let’s save the design so you can easily go back to it to make multiple ornaments with different names and Mini designs! Tap the Save icon just to the bottom right of the design. Name your design. Tap the green checkmark to confirm the name.
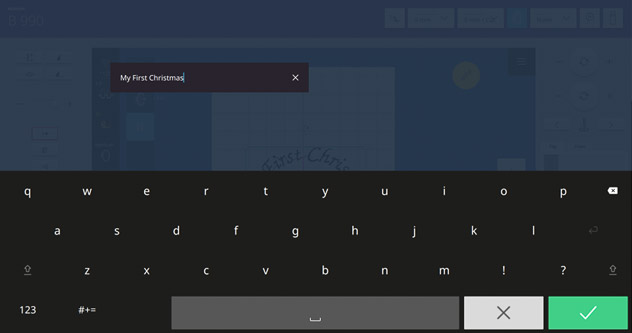
Tap the green checkmark once more.
Step 2: Embroider your Design
Place the piece of fusible stabilizer on top of the linen fabric with the sticky side down. Press. Turn right-side up with fabric on top. Place the Ultra Clean & Tear Stabilizer behind the fabric and hoop.
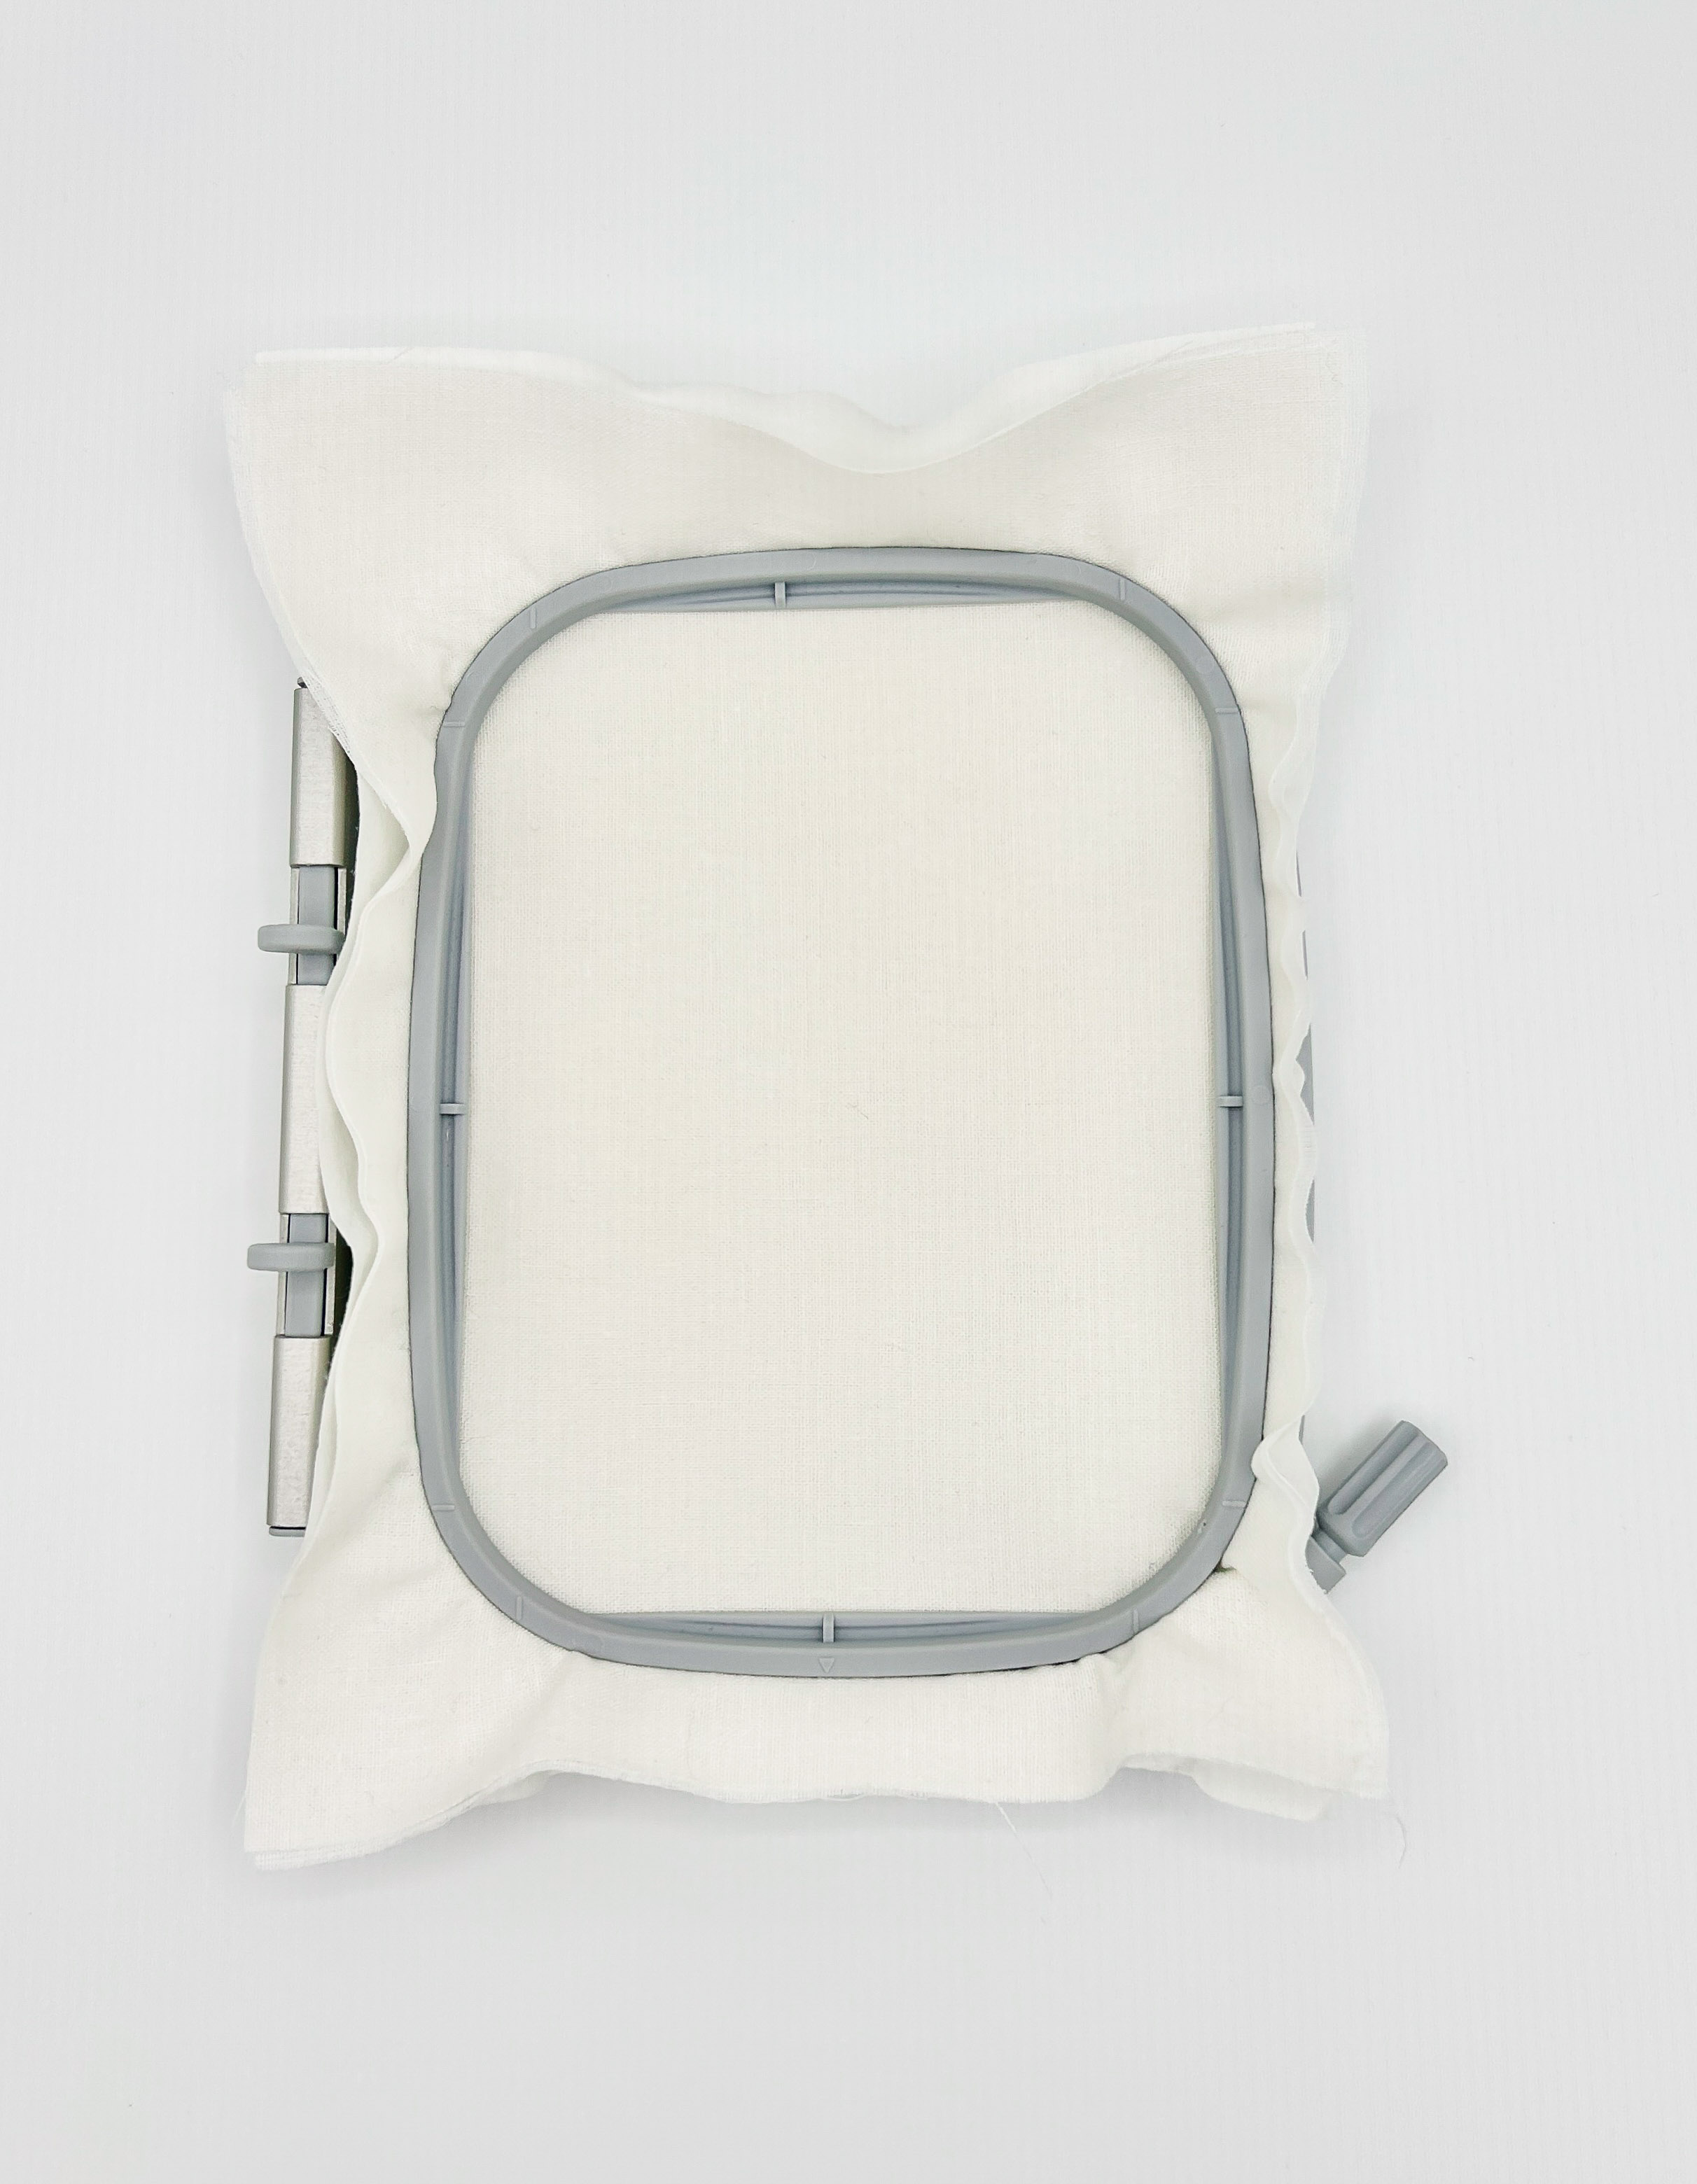
At the machine, select Presser Foot #26L and confirm the Medium Hoop is still selected. Attach the Straight Stitch Plate and the Embroidery Foot #26L to the machine. Notice how the machine automatically recognizes the stitch plate!
Select the Stitchout icon at the lower right (green needle). A Stitchout Summary will appear where you can easily edit common settings. Here are my settings for this design:
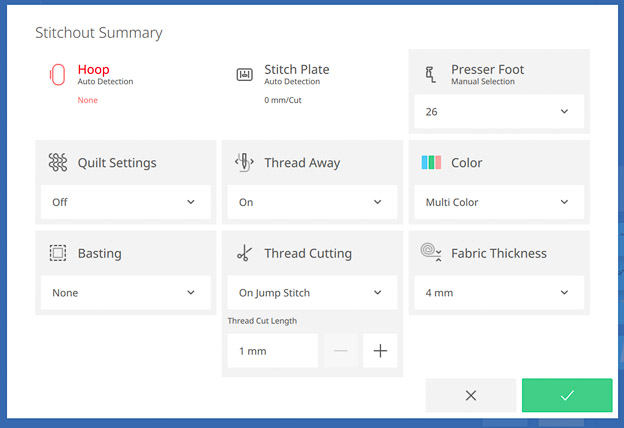
Tap the green checkmark.
Attach the Medium Hoop when prompted. Now, you should be at the Stitchout Screen. Notice all the information at your fingertips, including the thread colors, stitch count, and stitch time. Also, you can go back to the Edit Screen and Stitchout Summary at any time.
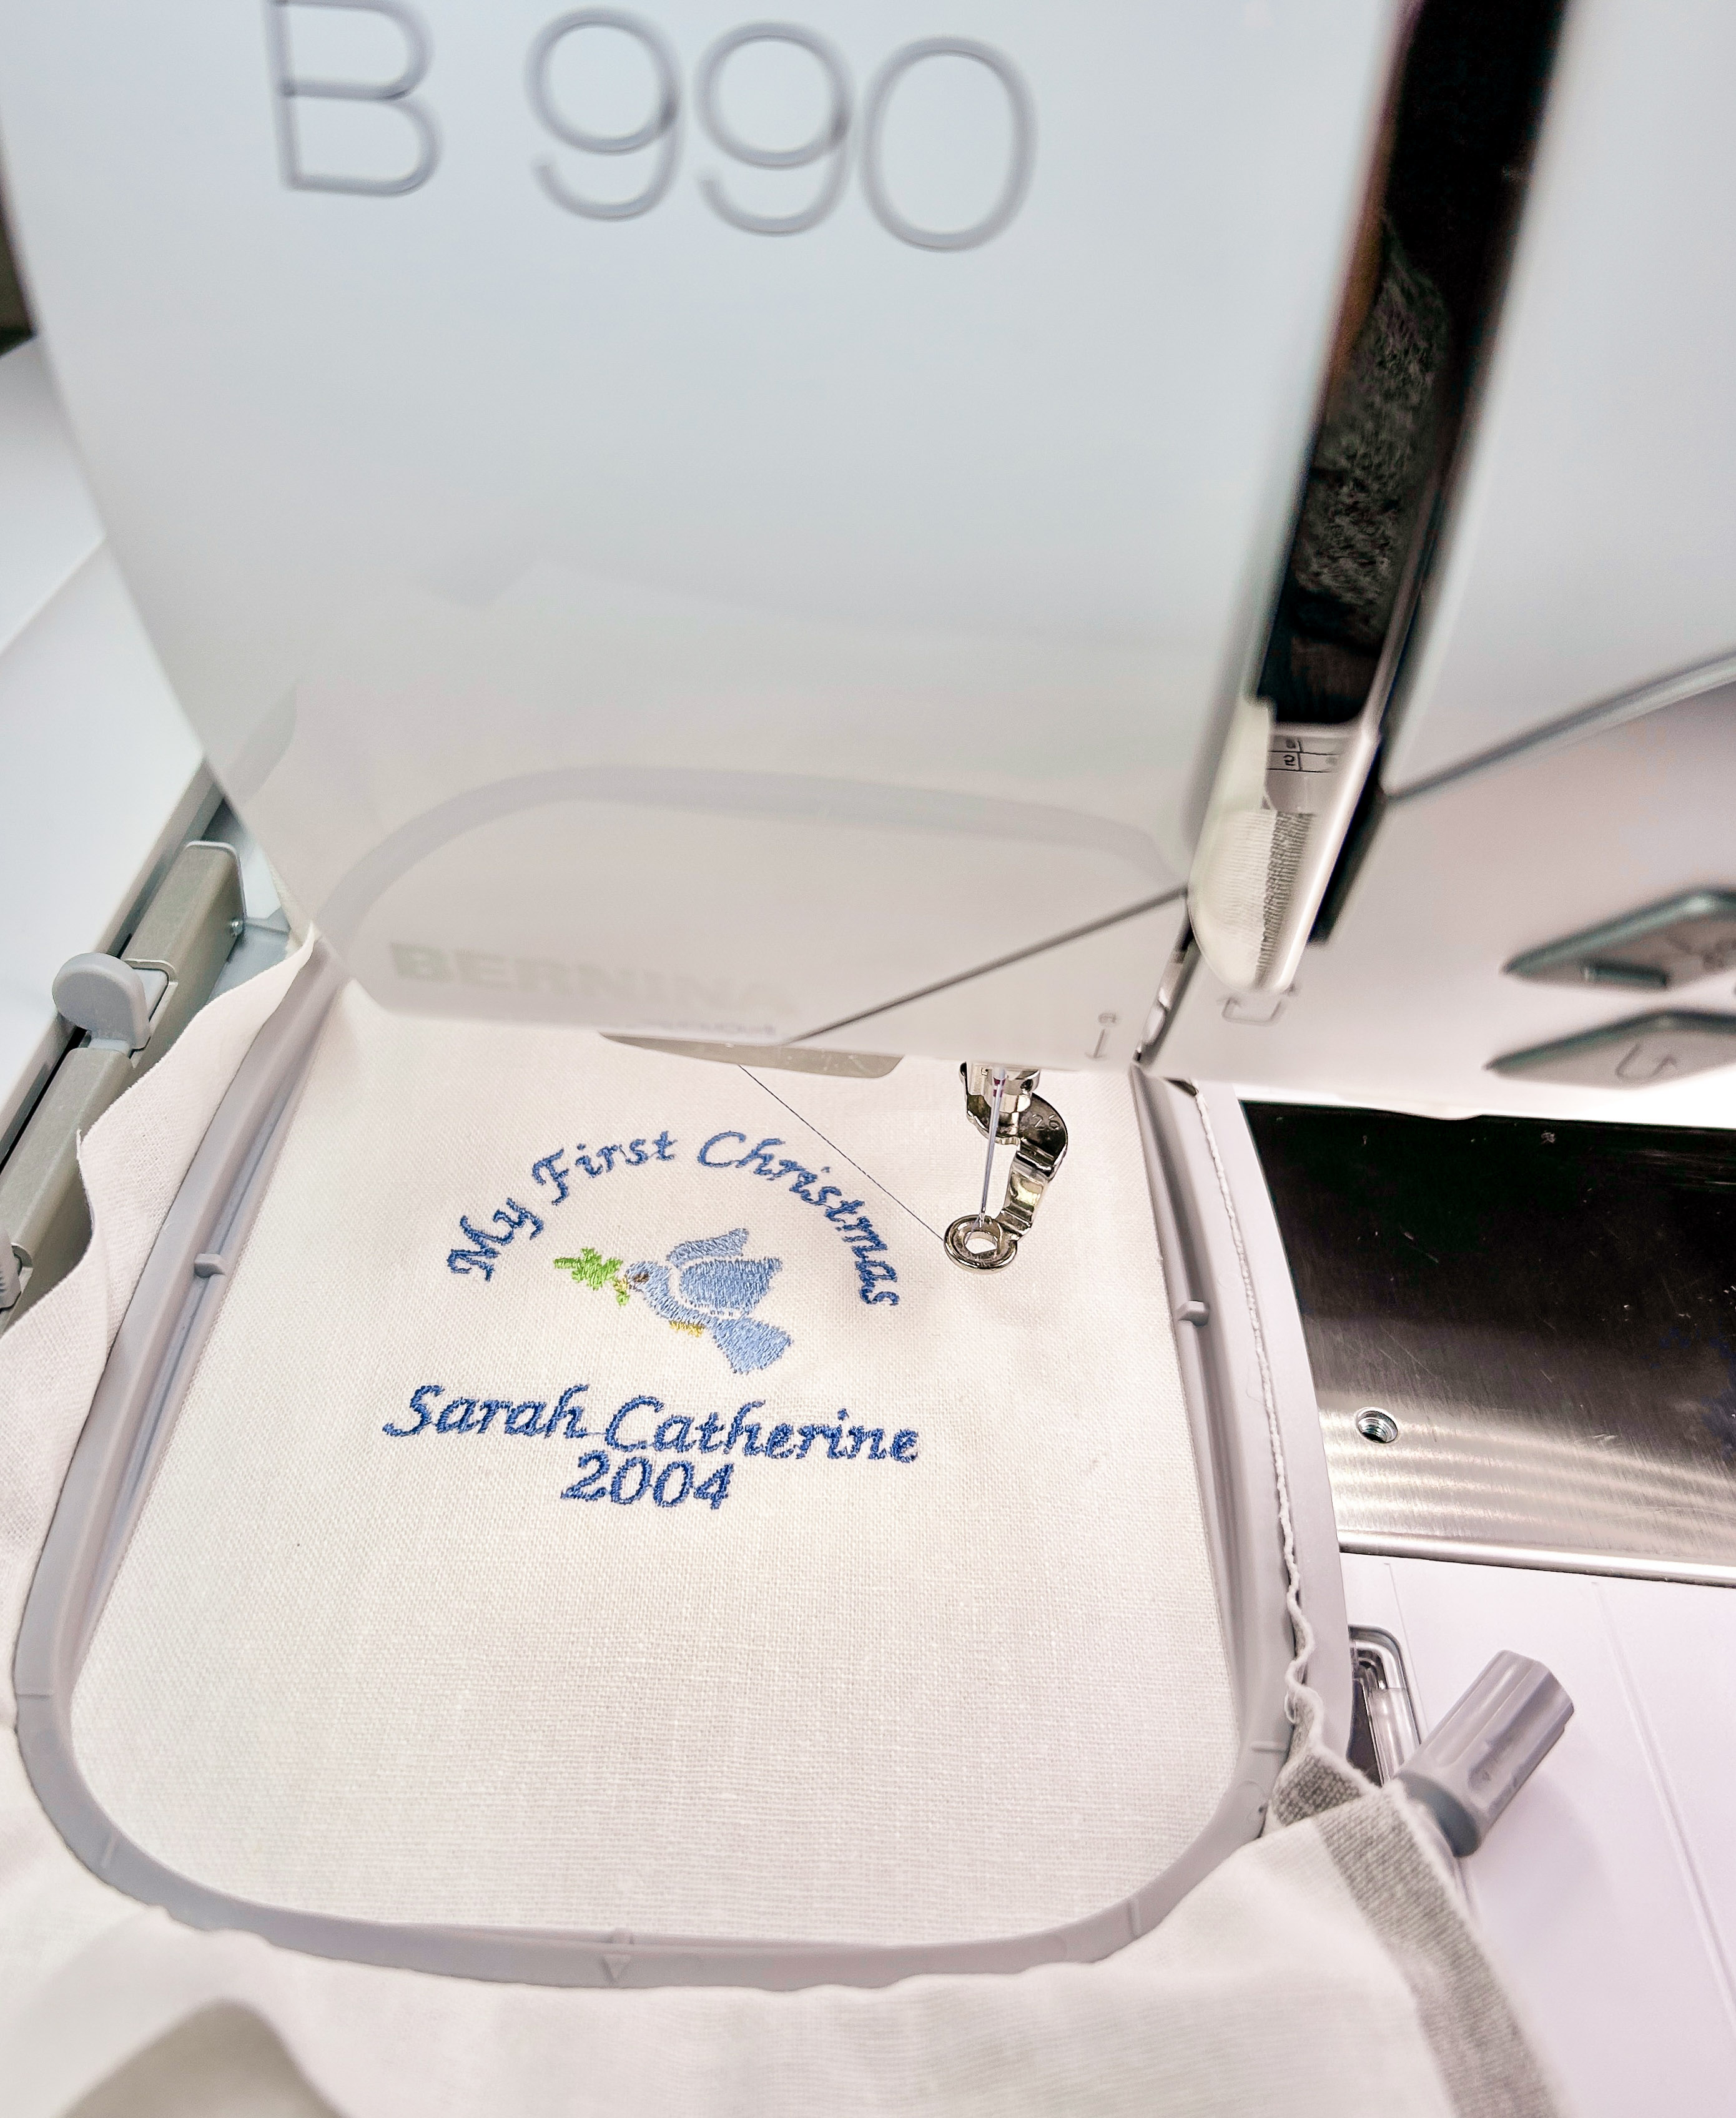
Thread the machine with your first color and stitch out!
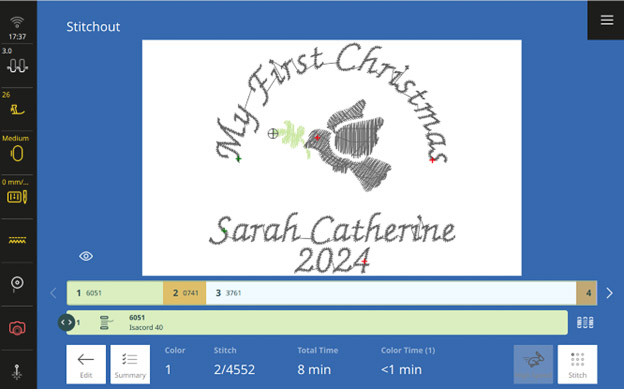
Love it! What a sweet, personalized embroidery design!
Step 3: Make your Ornament
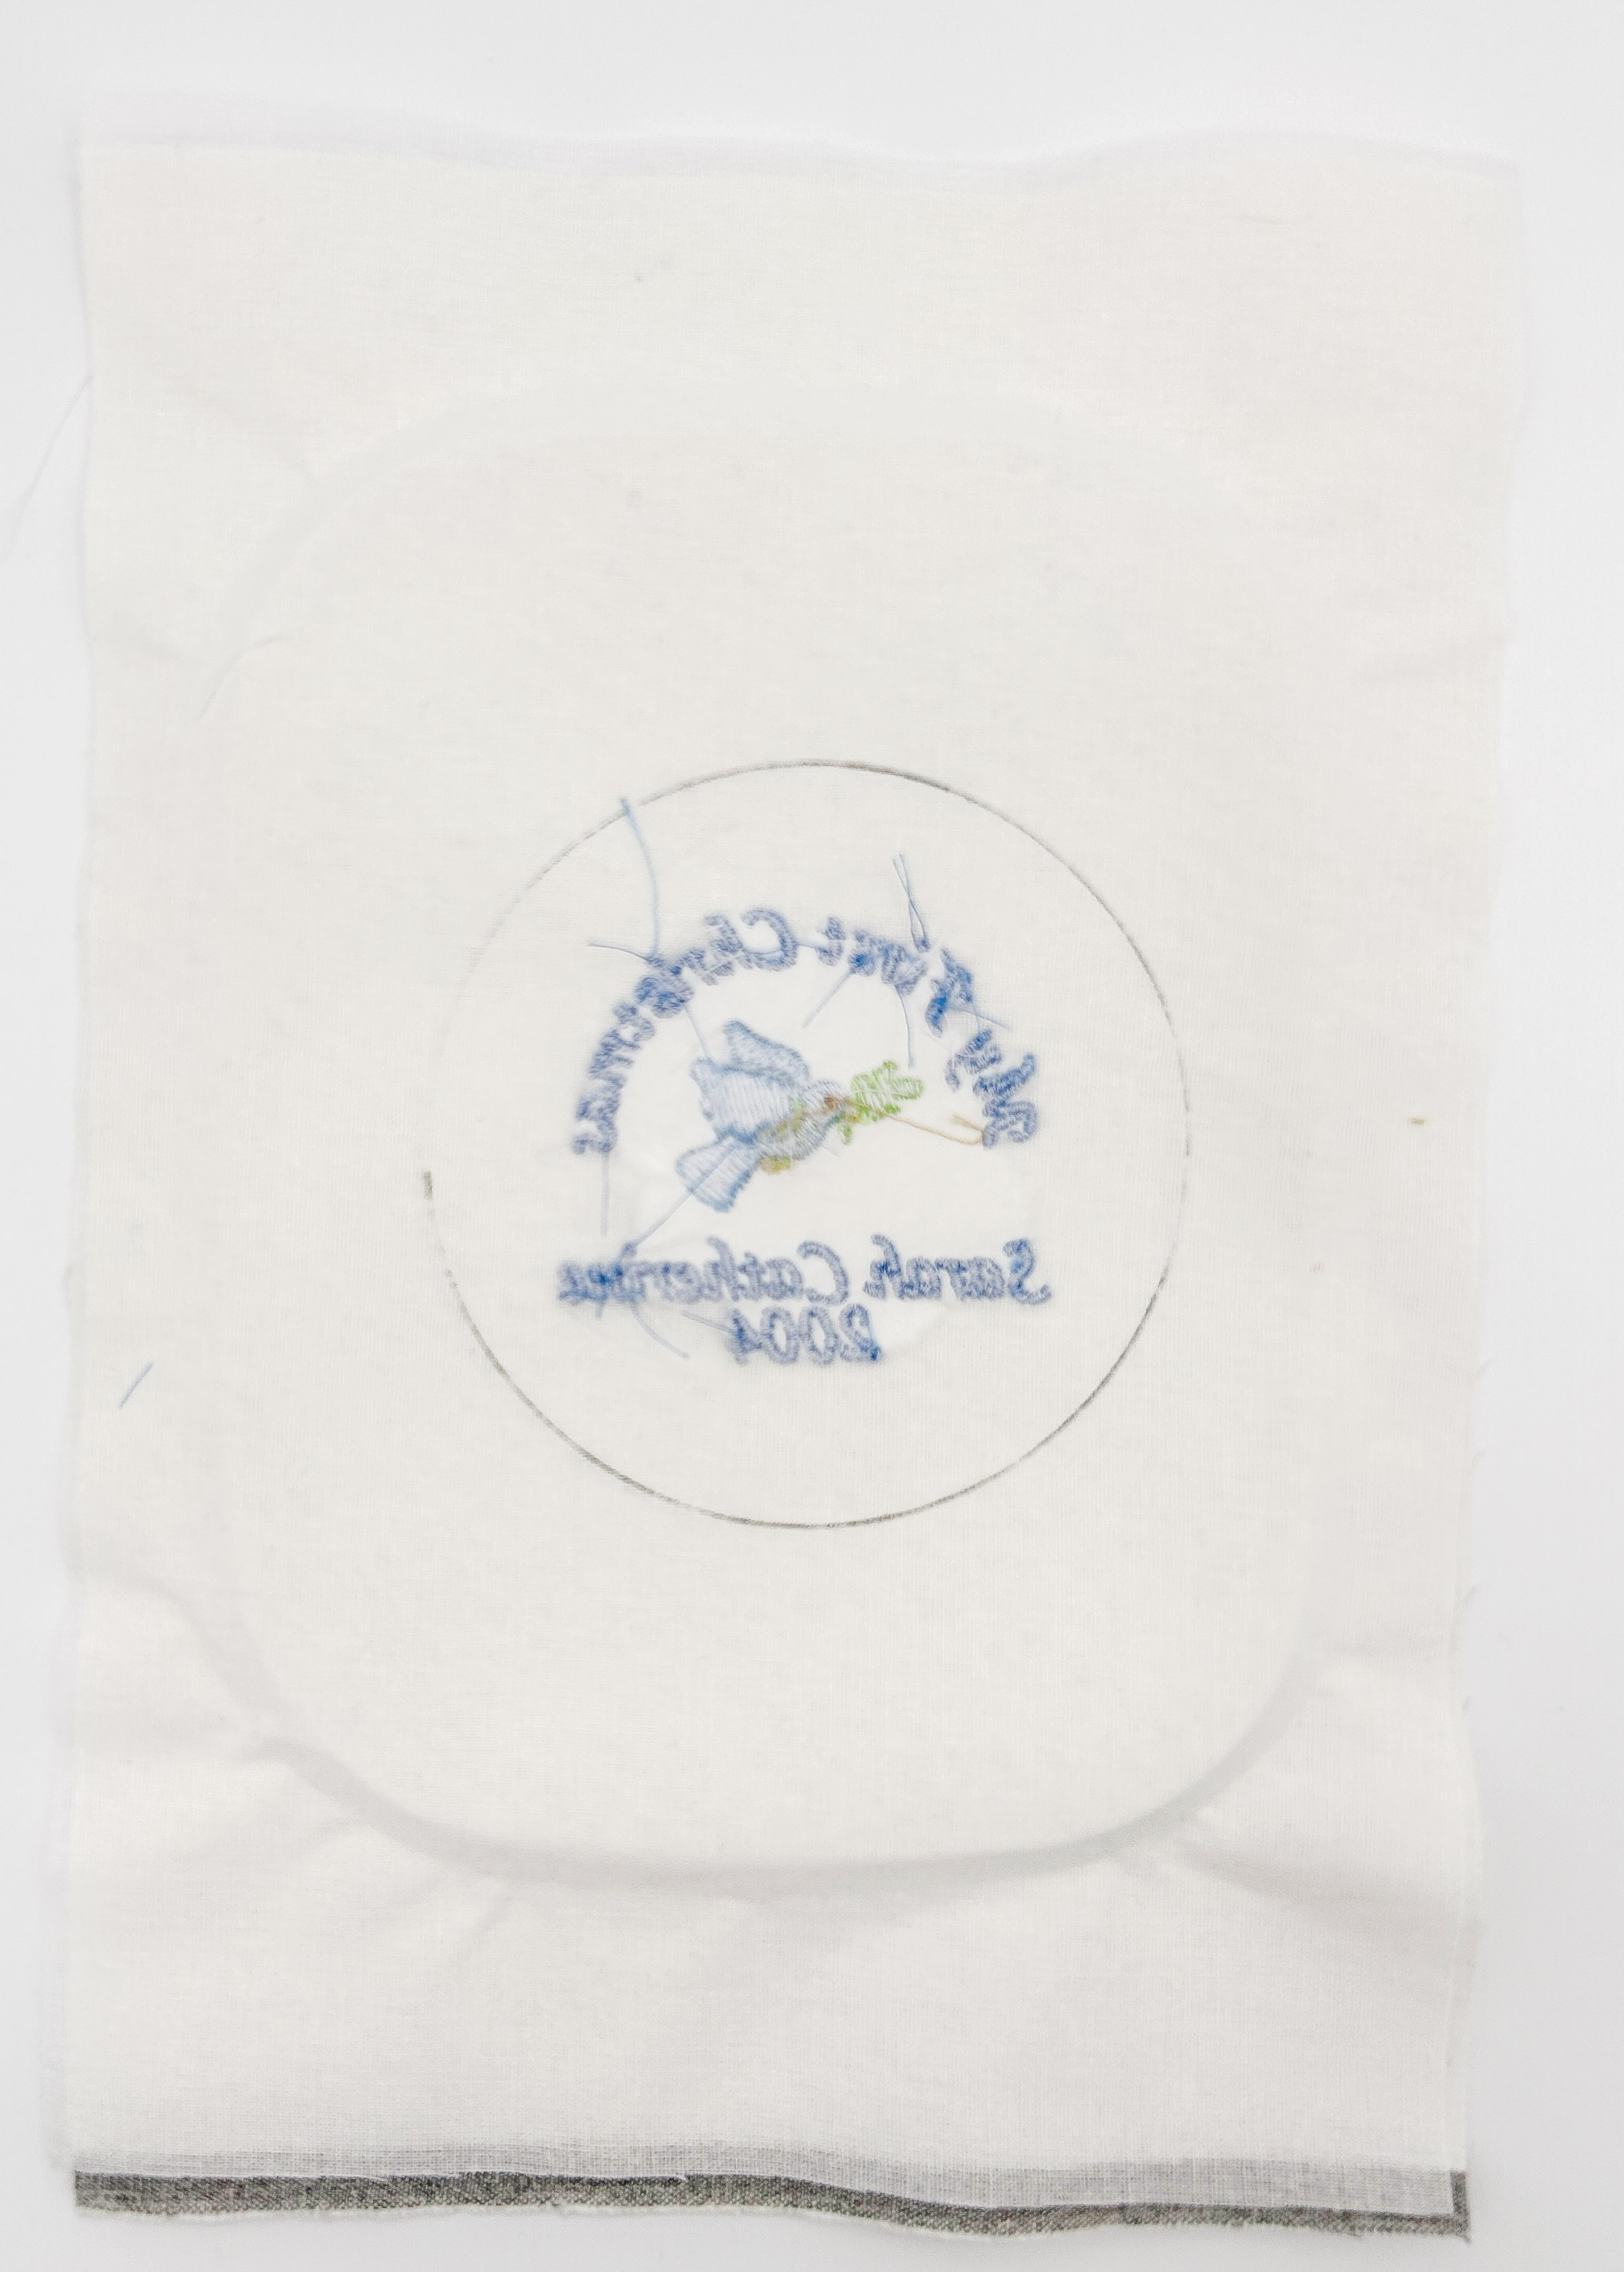
Once your design has finished embroidering, carefully remove the Clean & Tear stabilizer from around the design. Leave it in the center between the dove and the words. Draw a generous circle around the design on the backside. You want enough fabric to wrap to the backside in the next step.
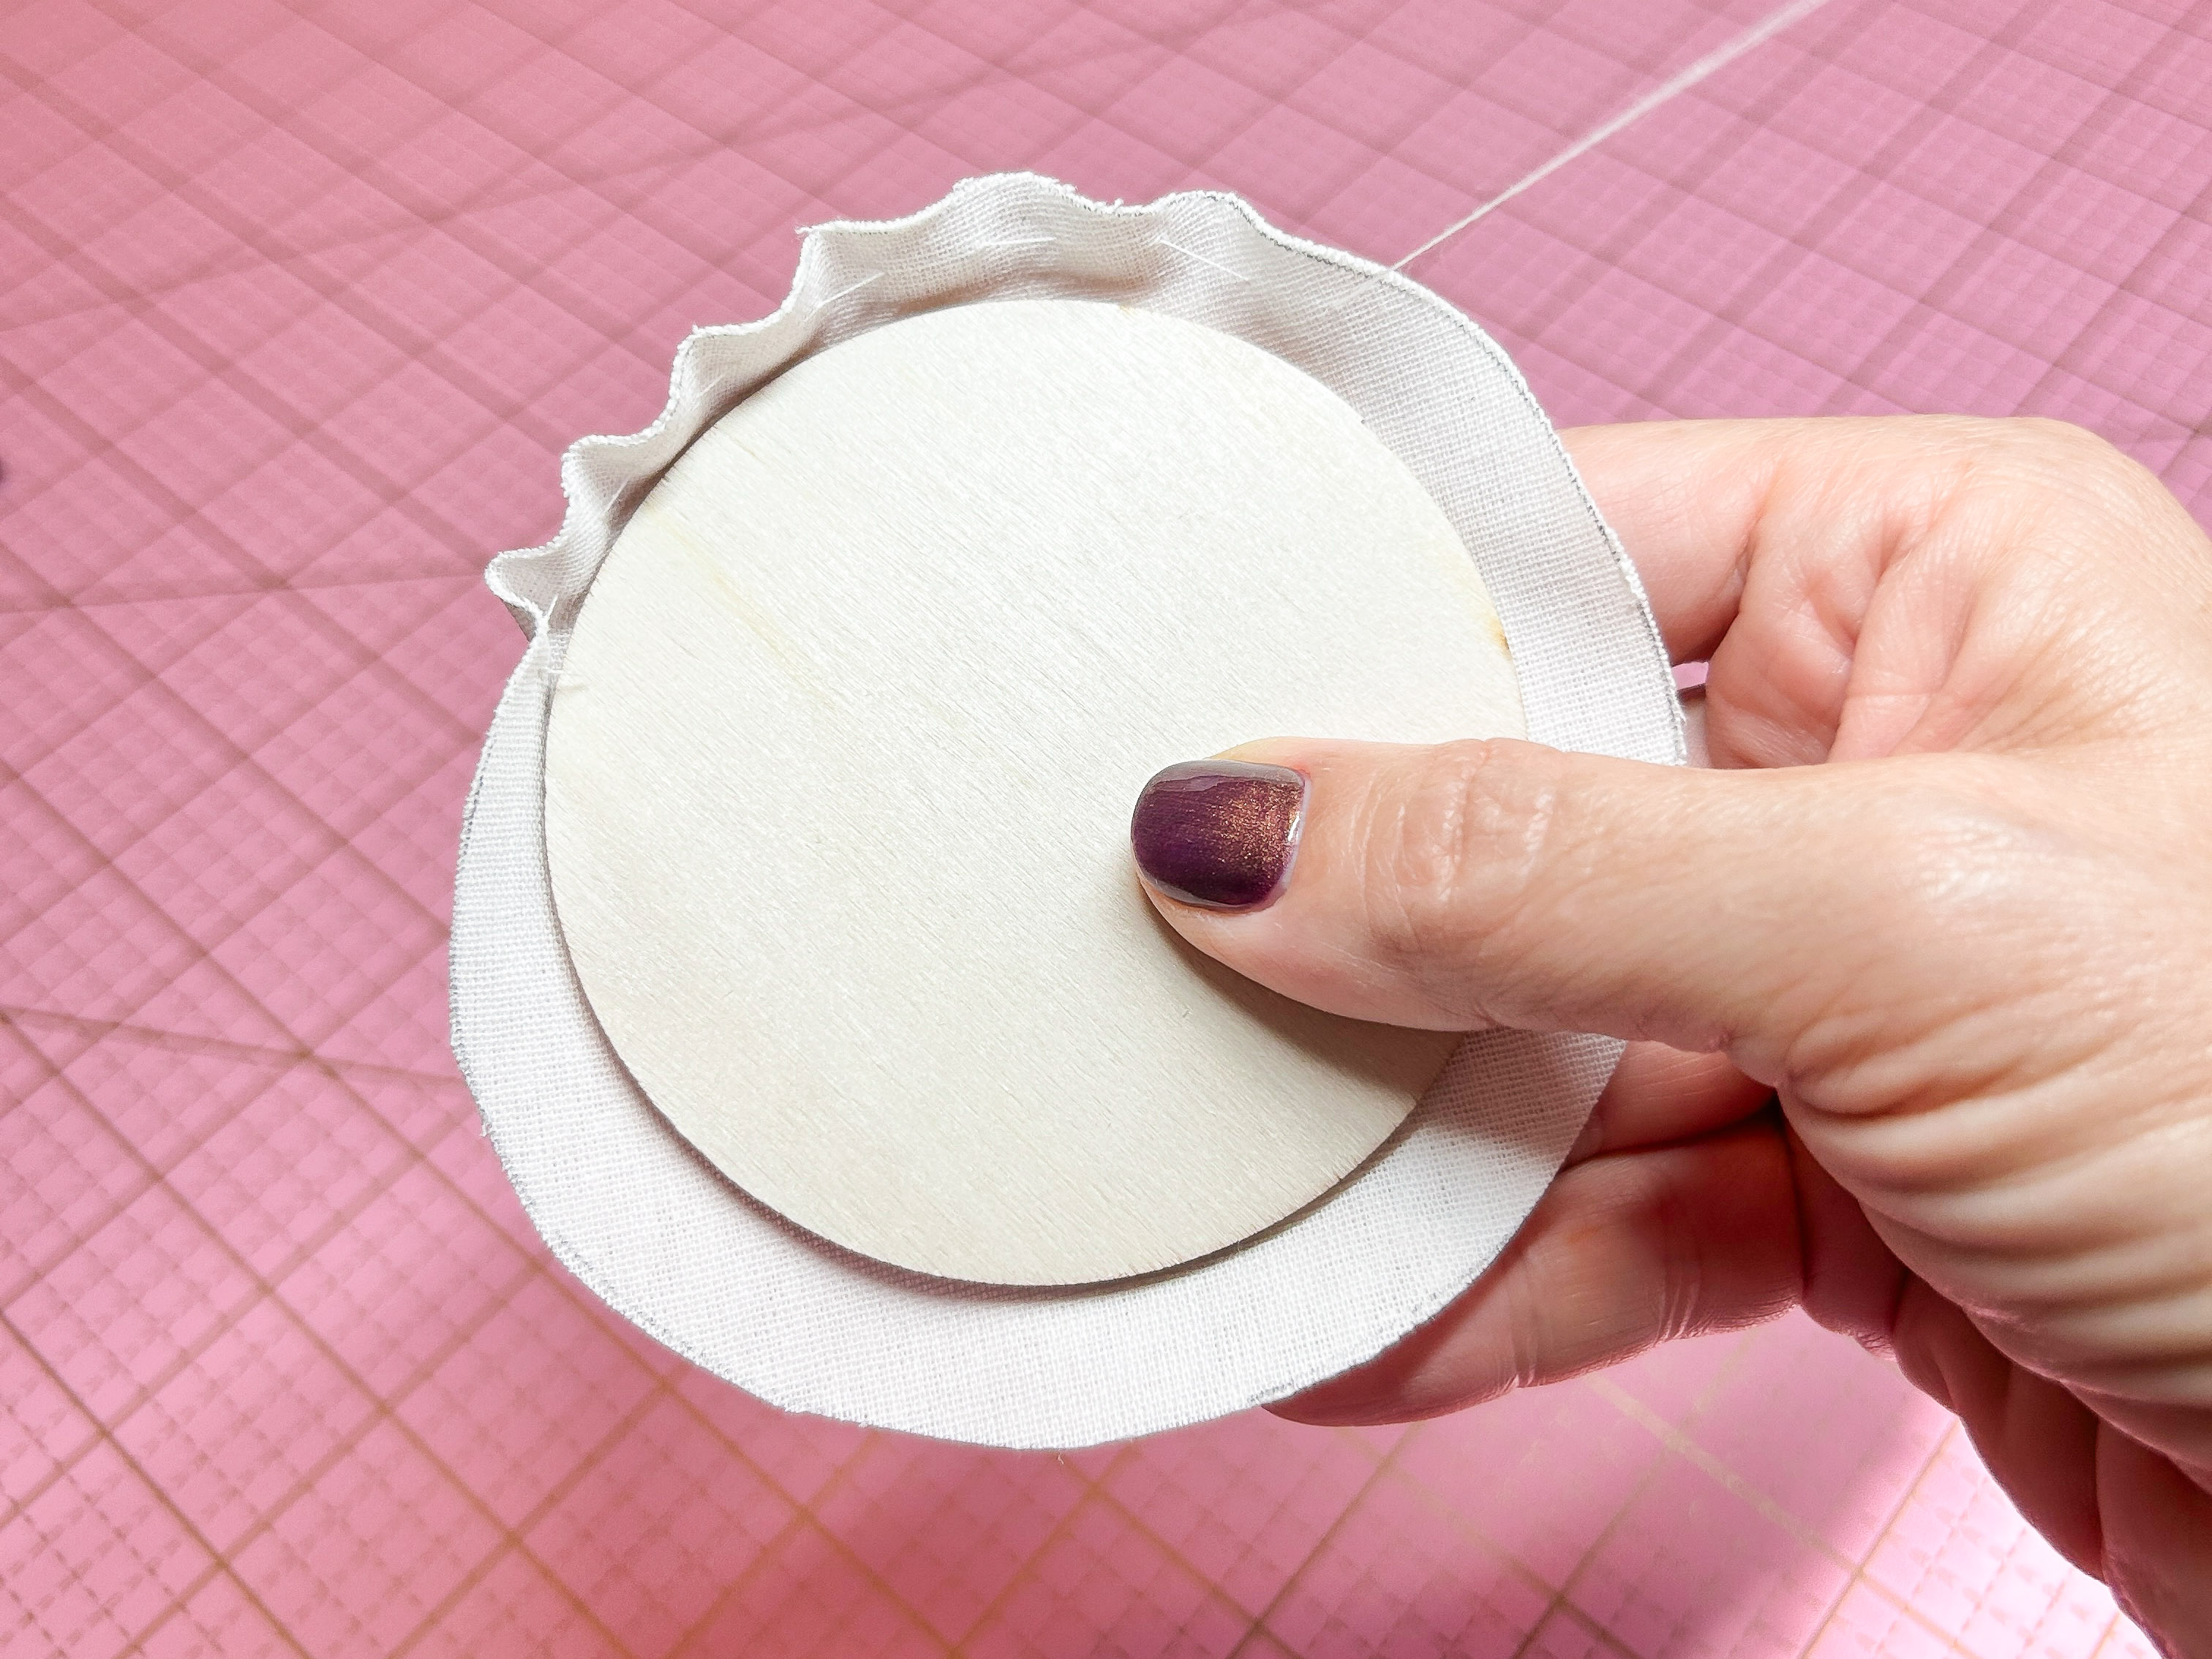
Cut out the circle. Spray the backside with temporary adhesive and place the 3” wood disc in the center. With polyester thread, hand sew a running stitch around the fabric about 3/8” from the edge.
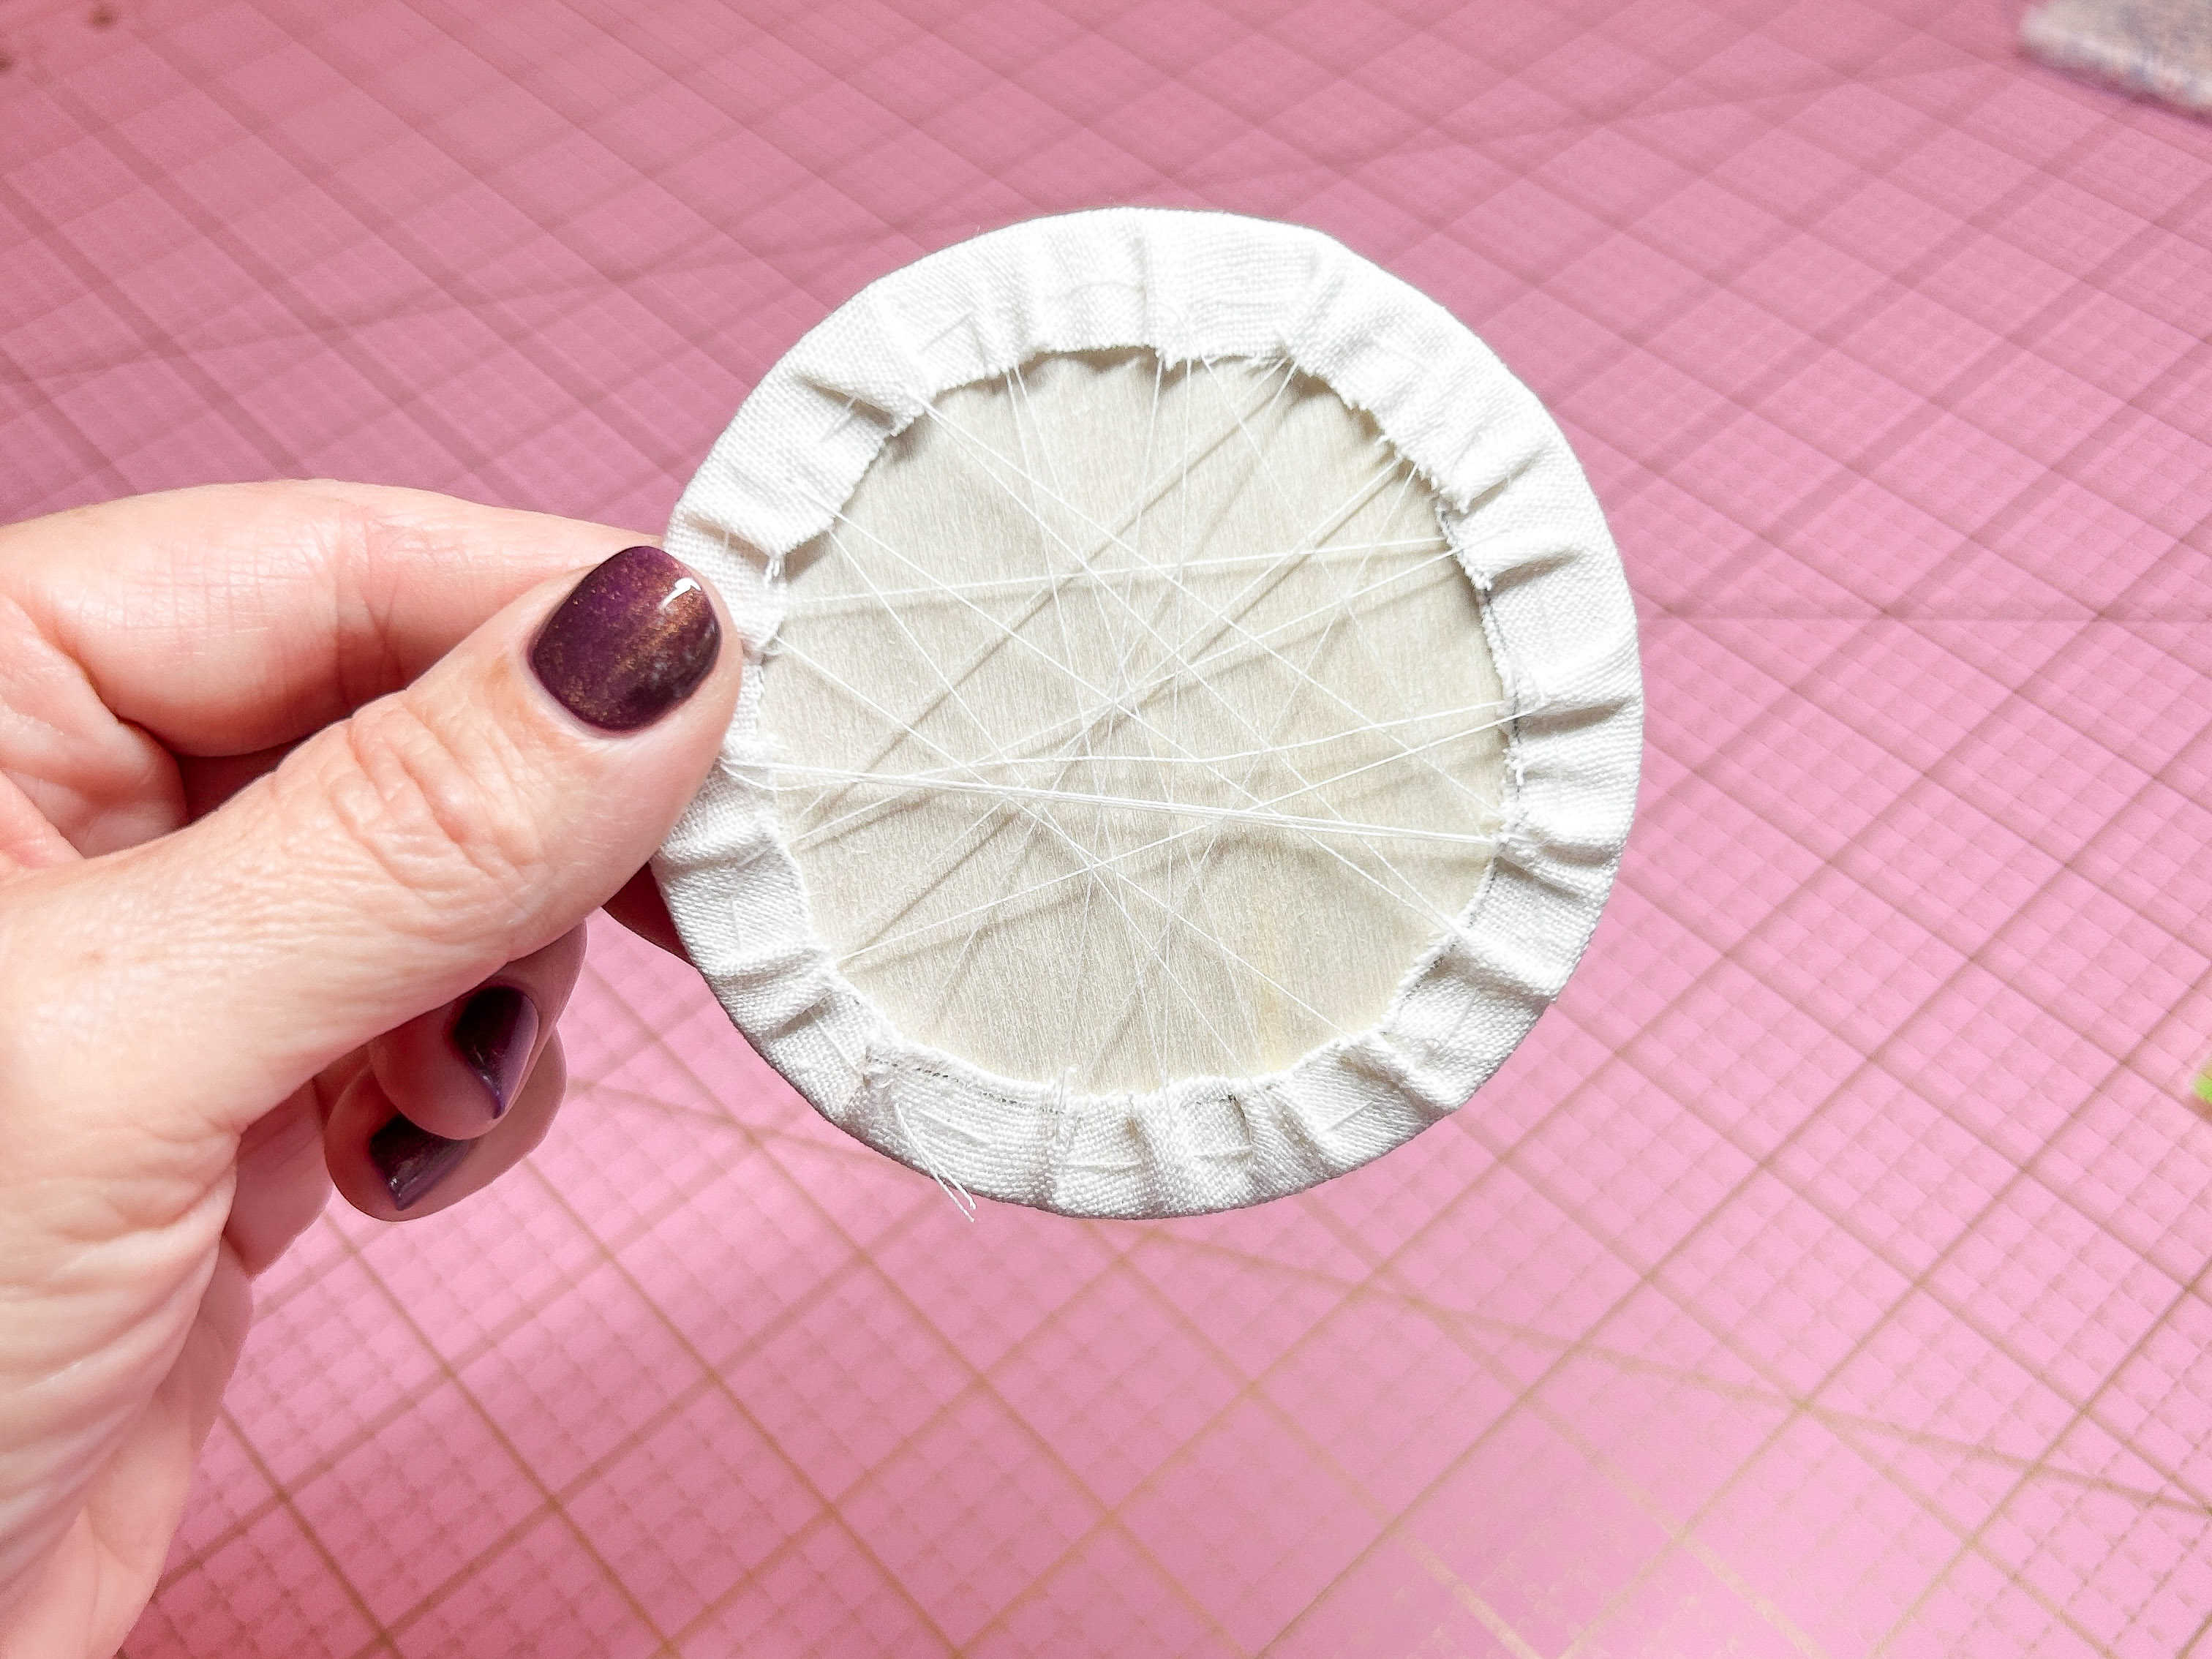
Carefully cinch the fabric and knot to secure.
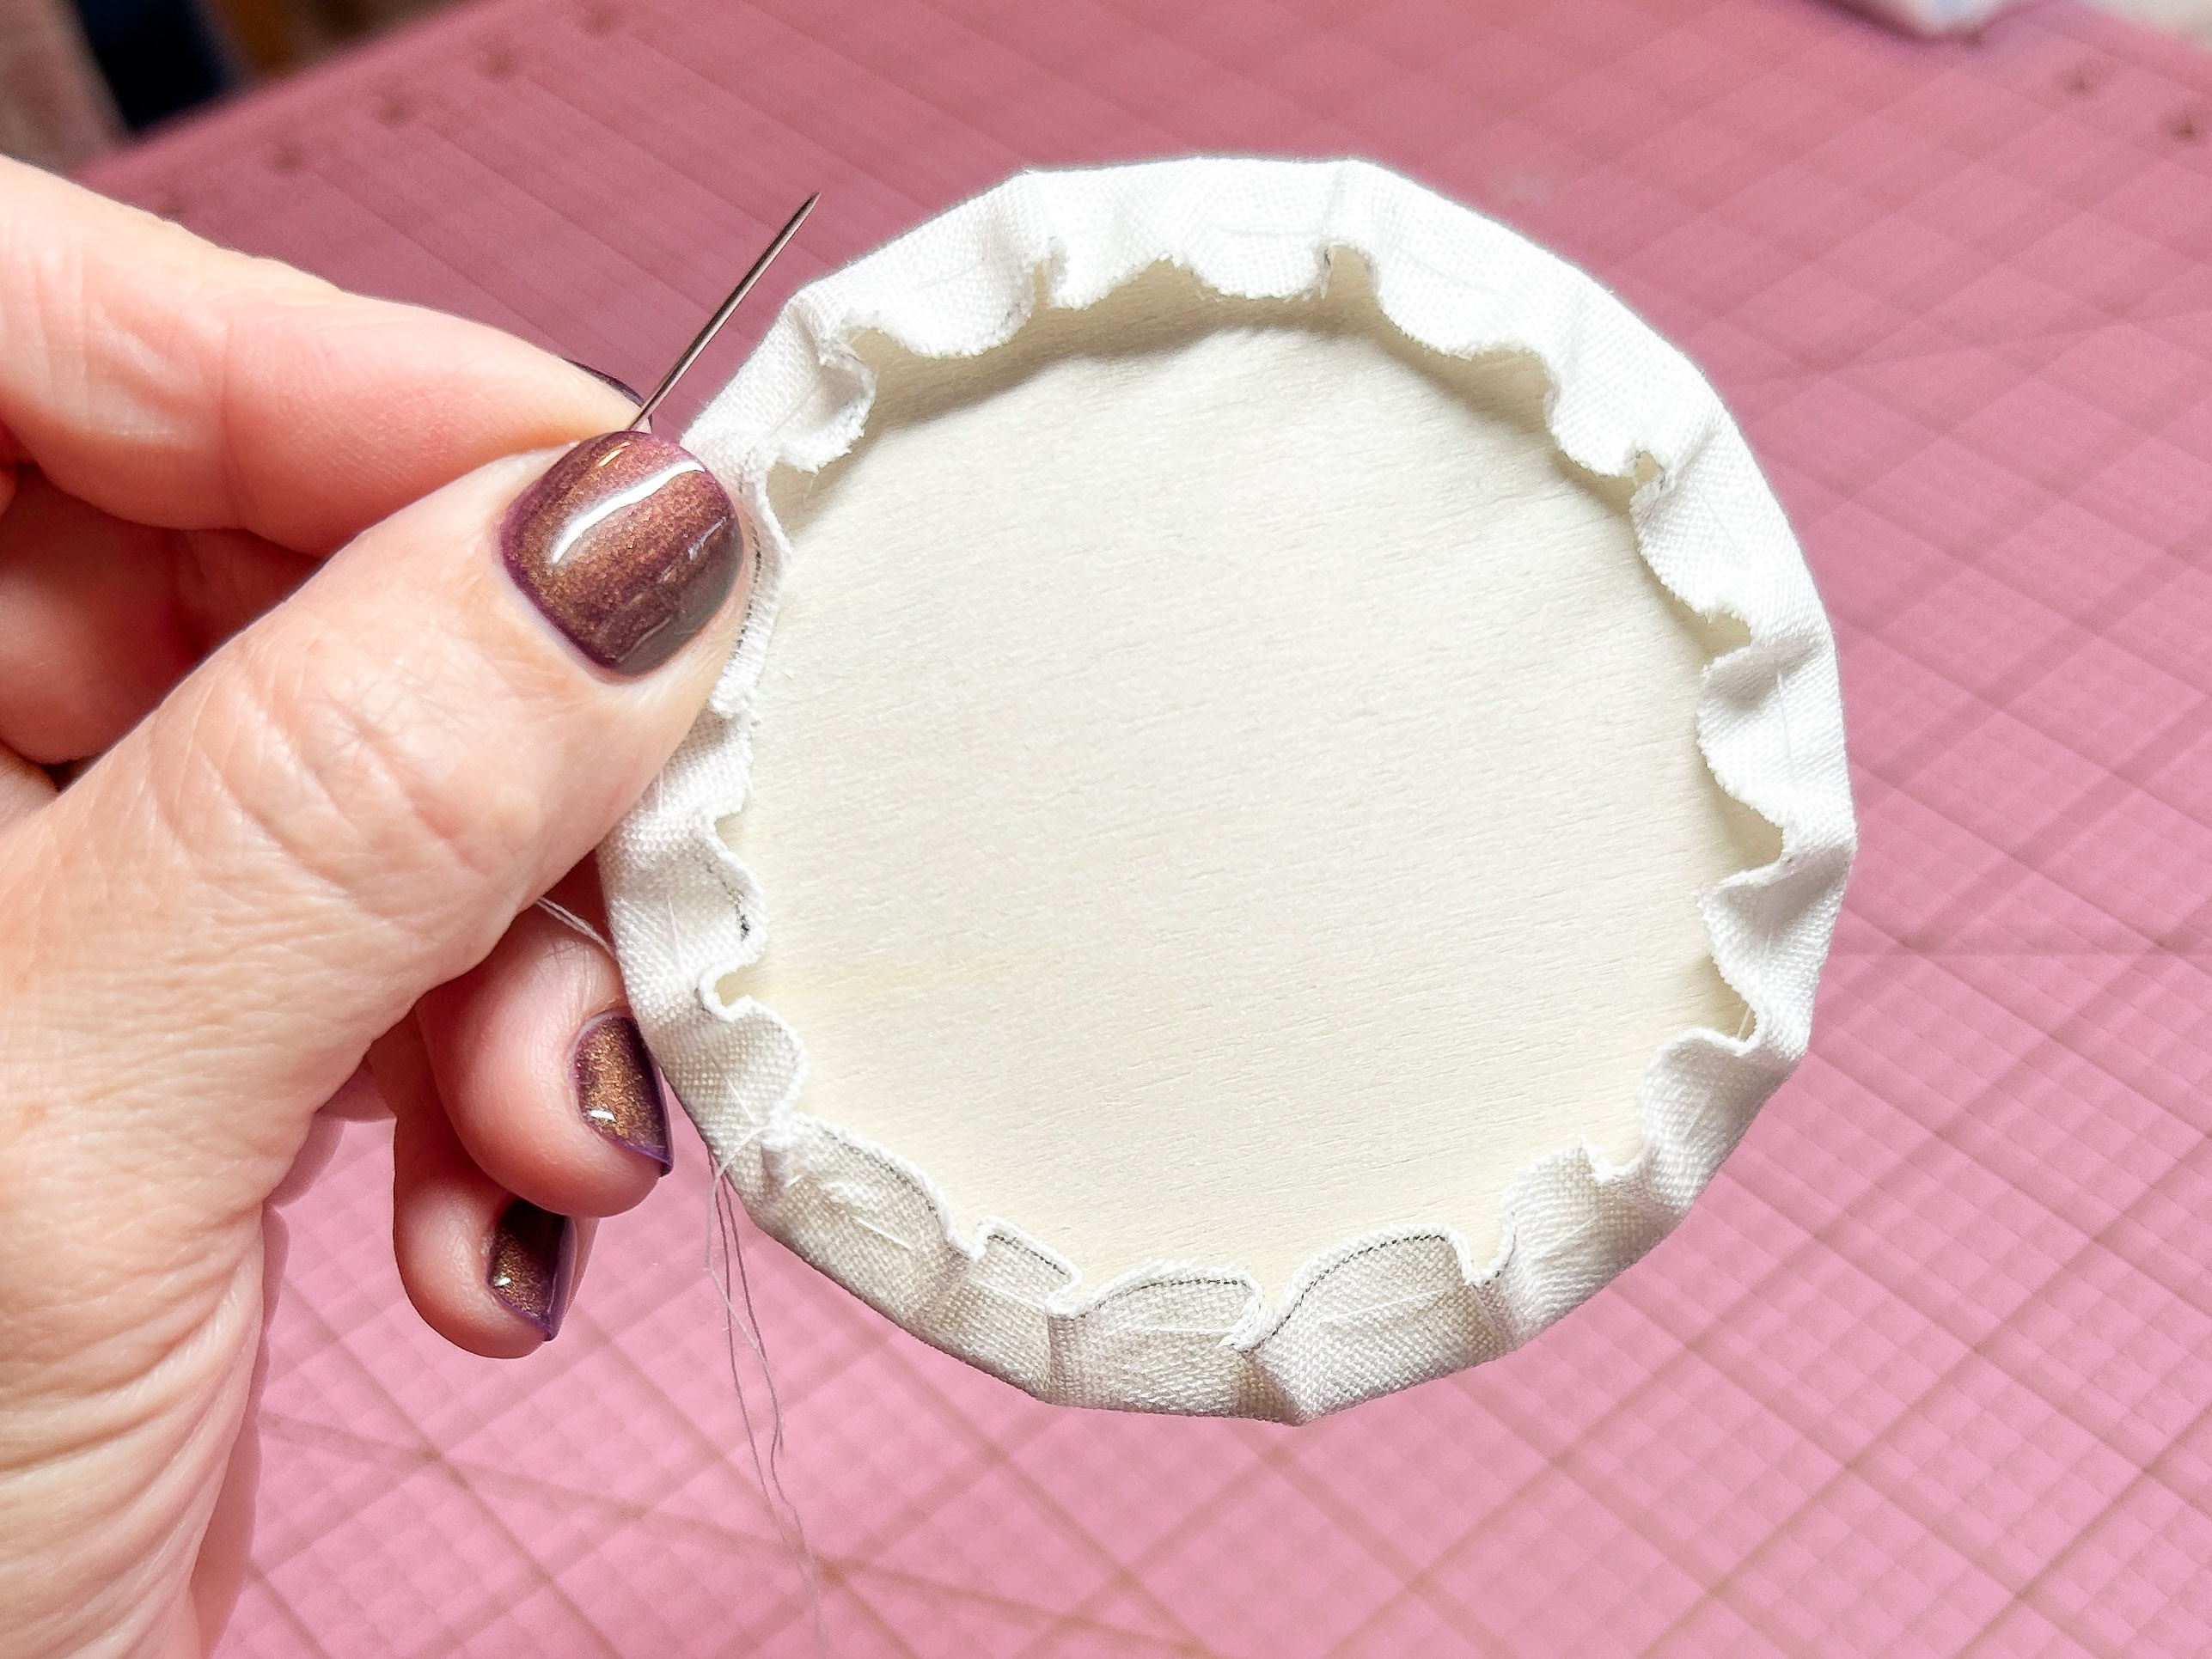
Next, hand sew around the circle, crisscrossing back and forth from one side to the other. This helps to create a smooth edge. Don’t worry about what the back looks like. You’ll cover it so no one will ever see it!
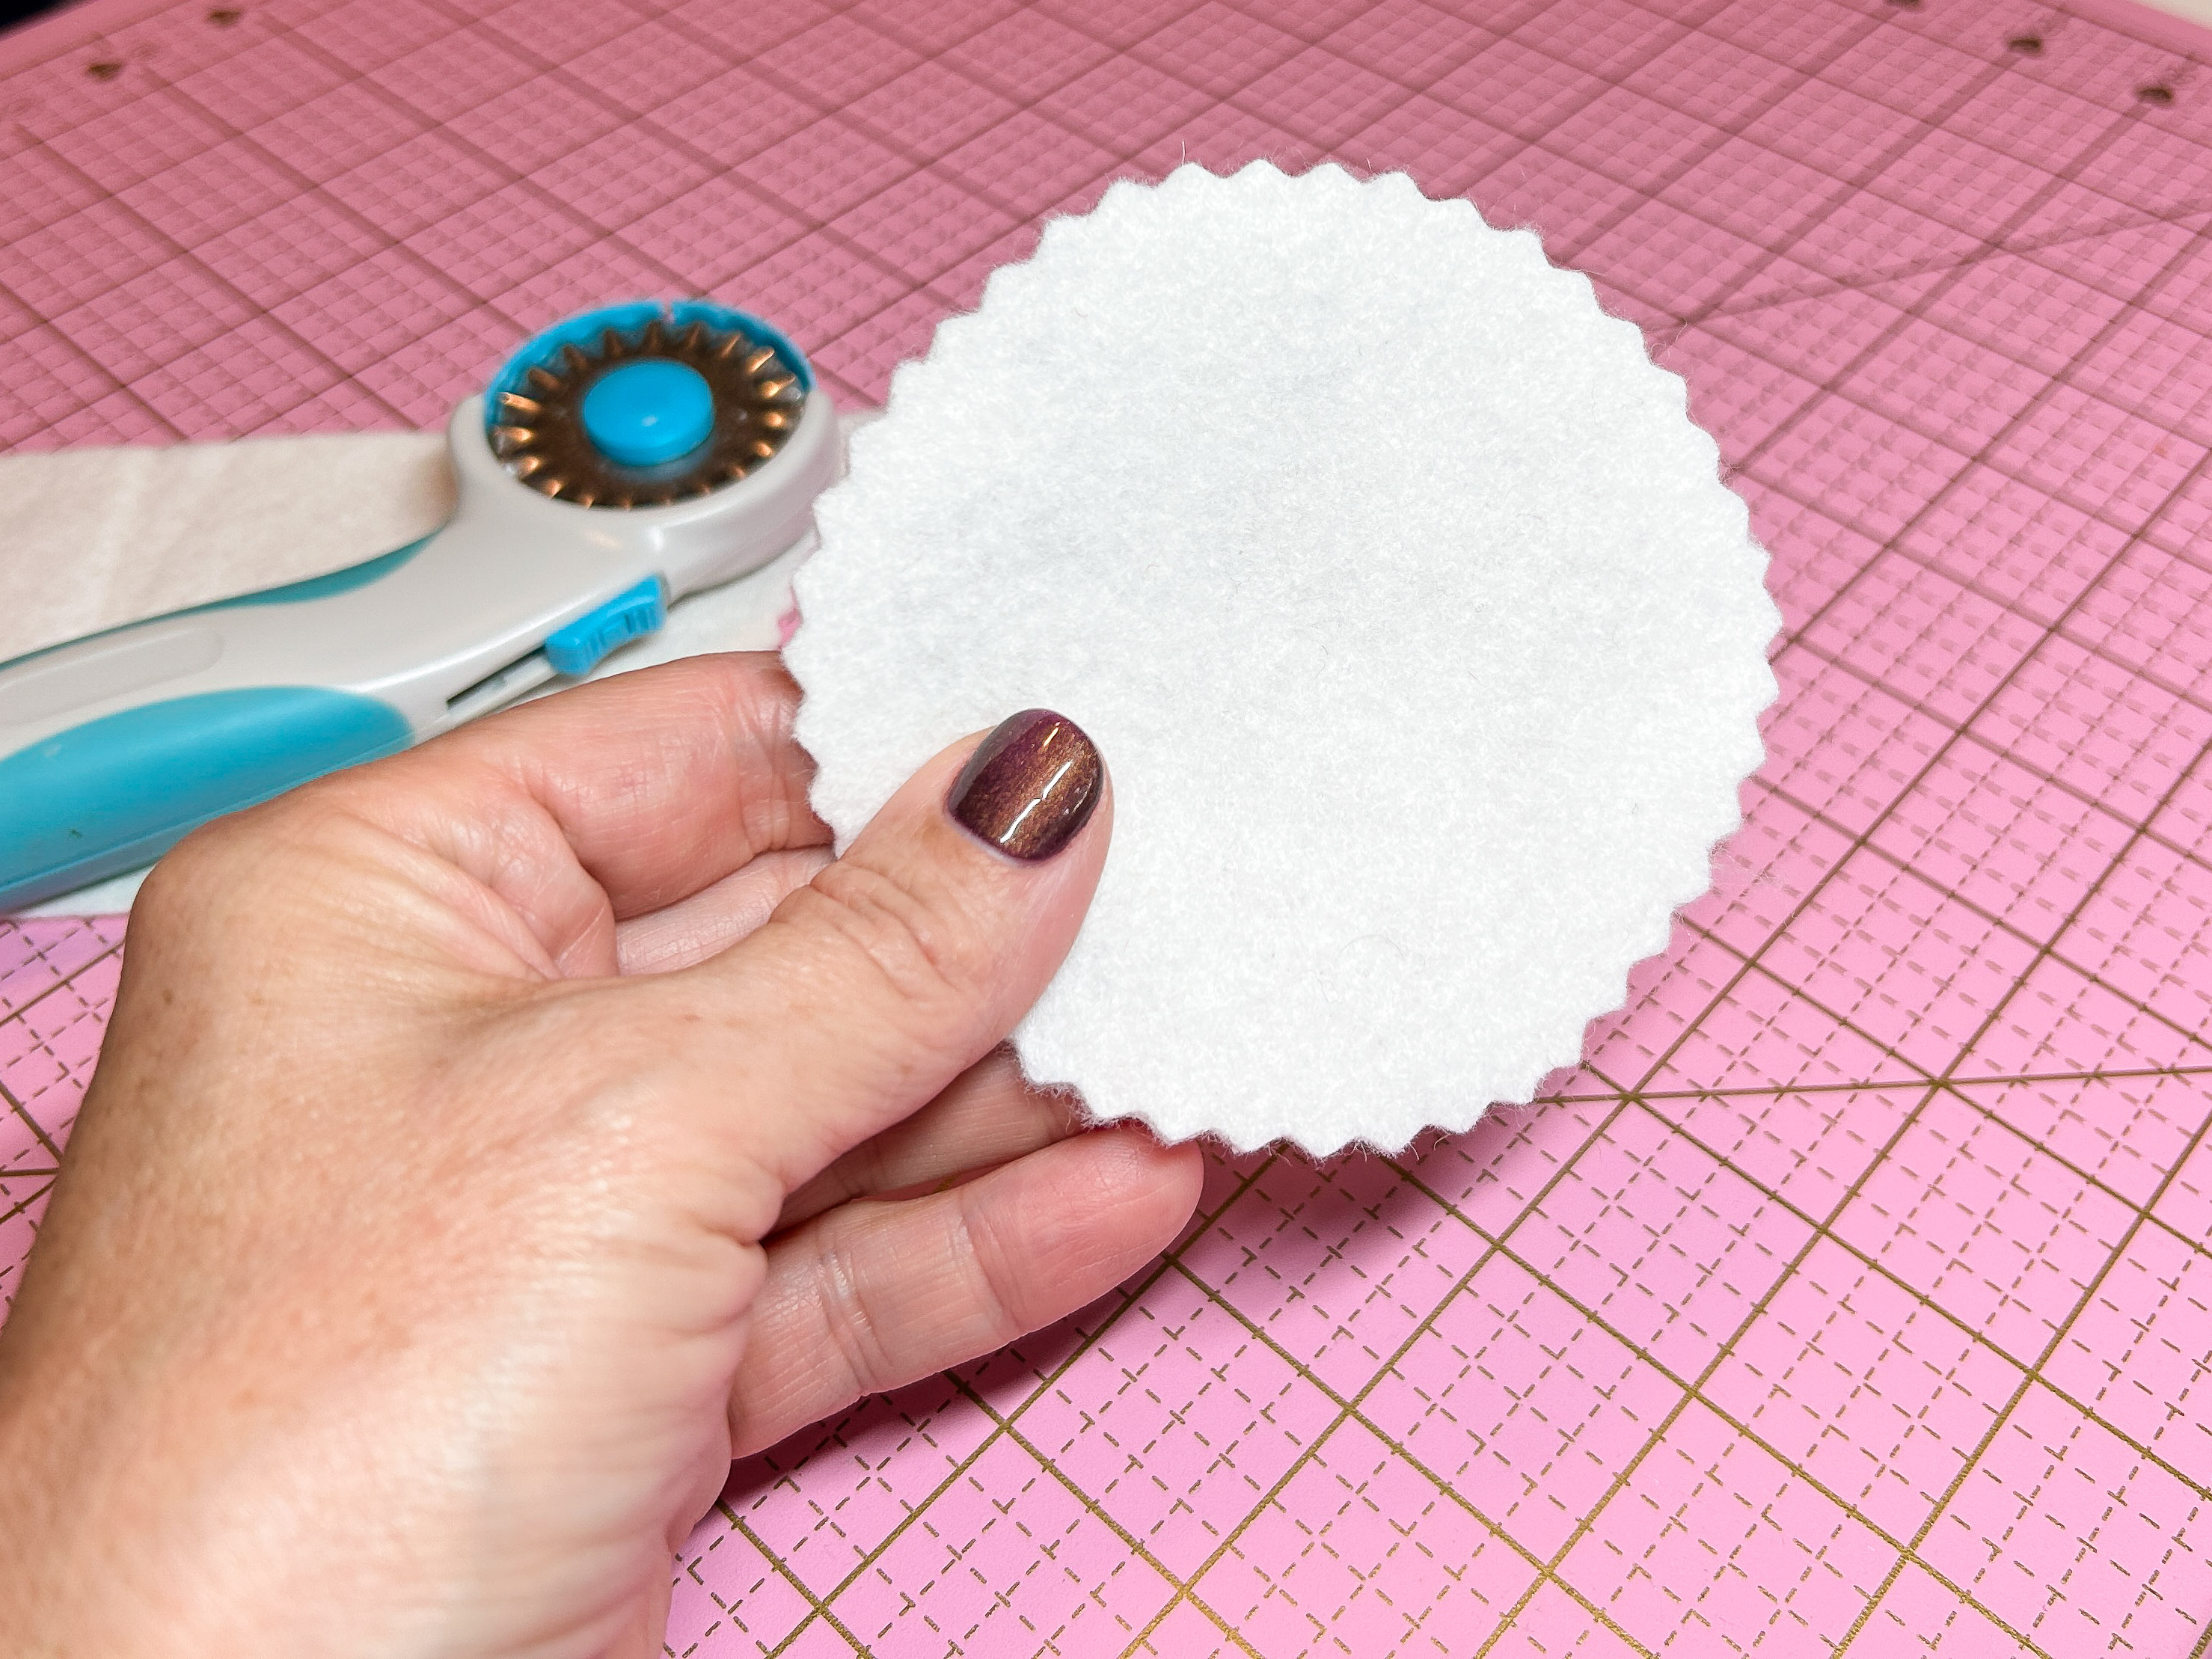
Draw a circle on the felt piece about 3 1/2” to 4” in diameter. Cut out with pinking shears or a rotary cutter with a pinking blade.
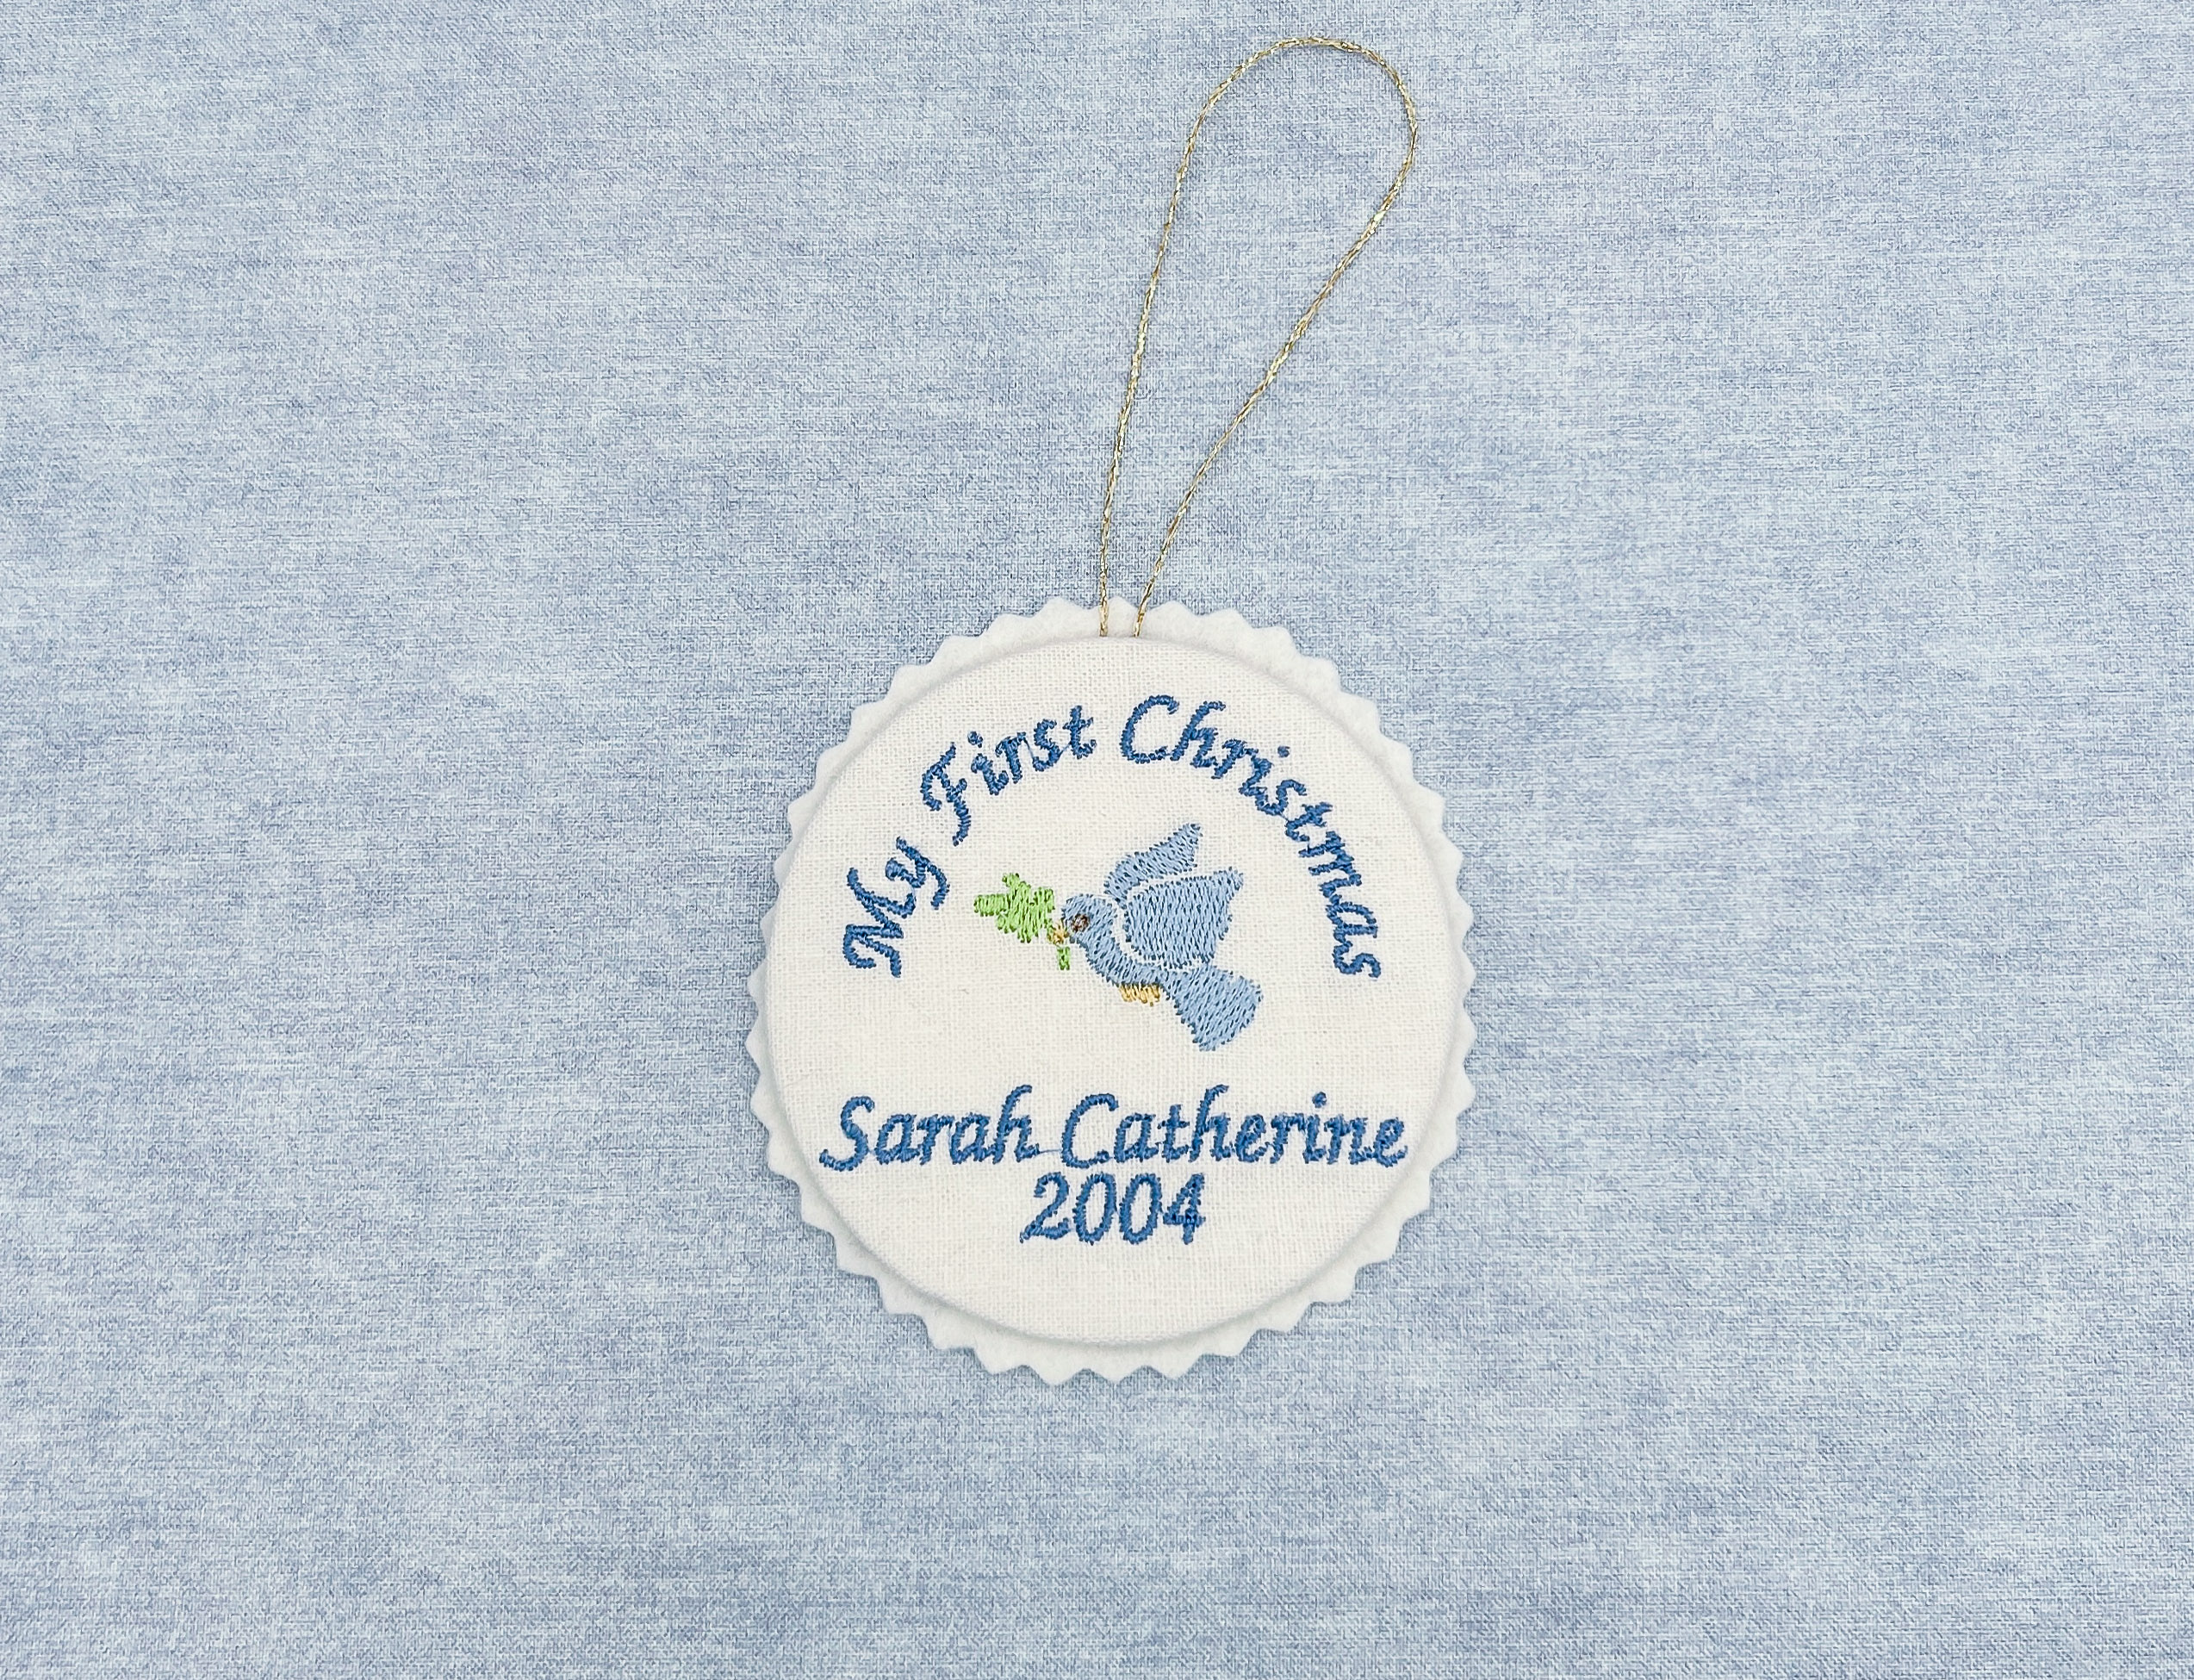
Use Aleene’s Glue to position the felt piece on the back of the ornament. Insert a pretty cord between the ornament and the felt before the glue dries.
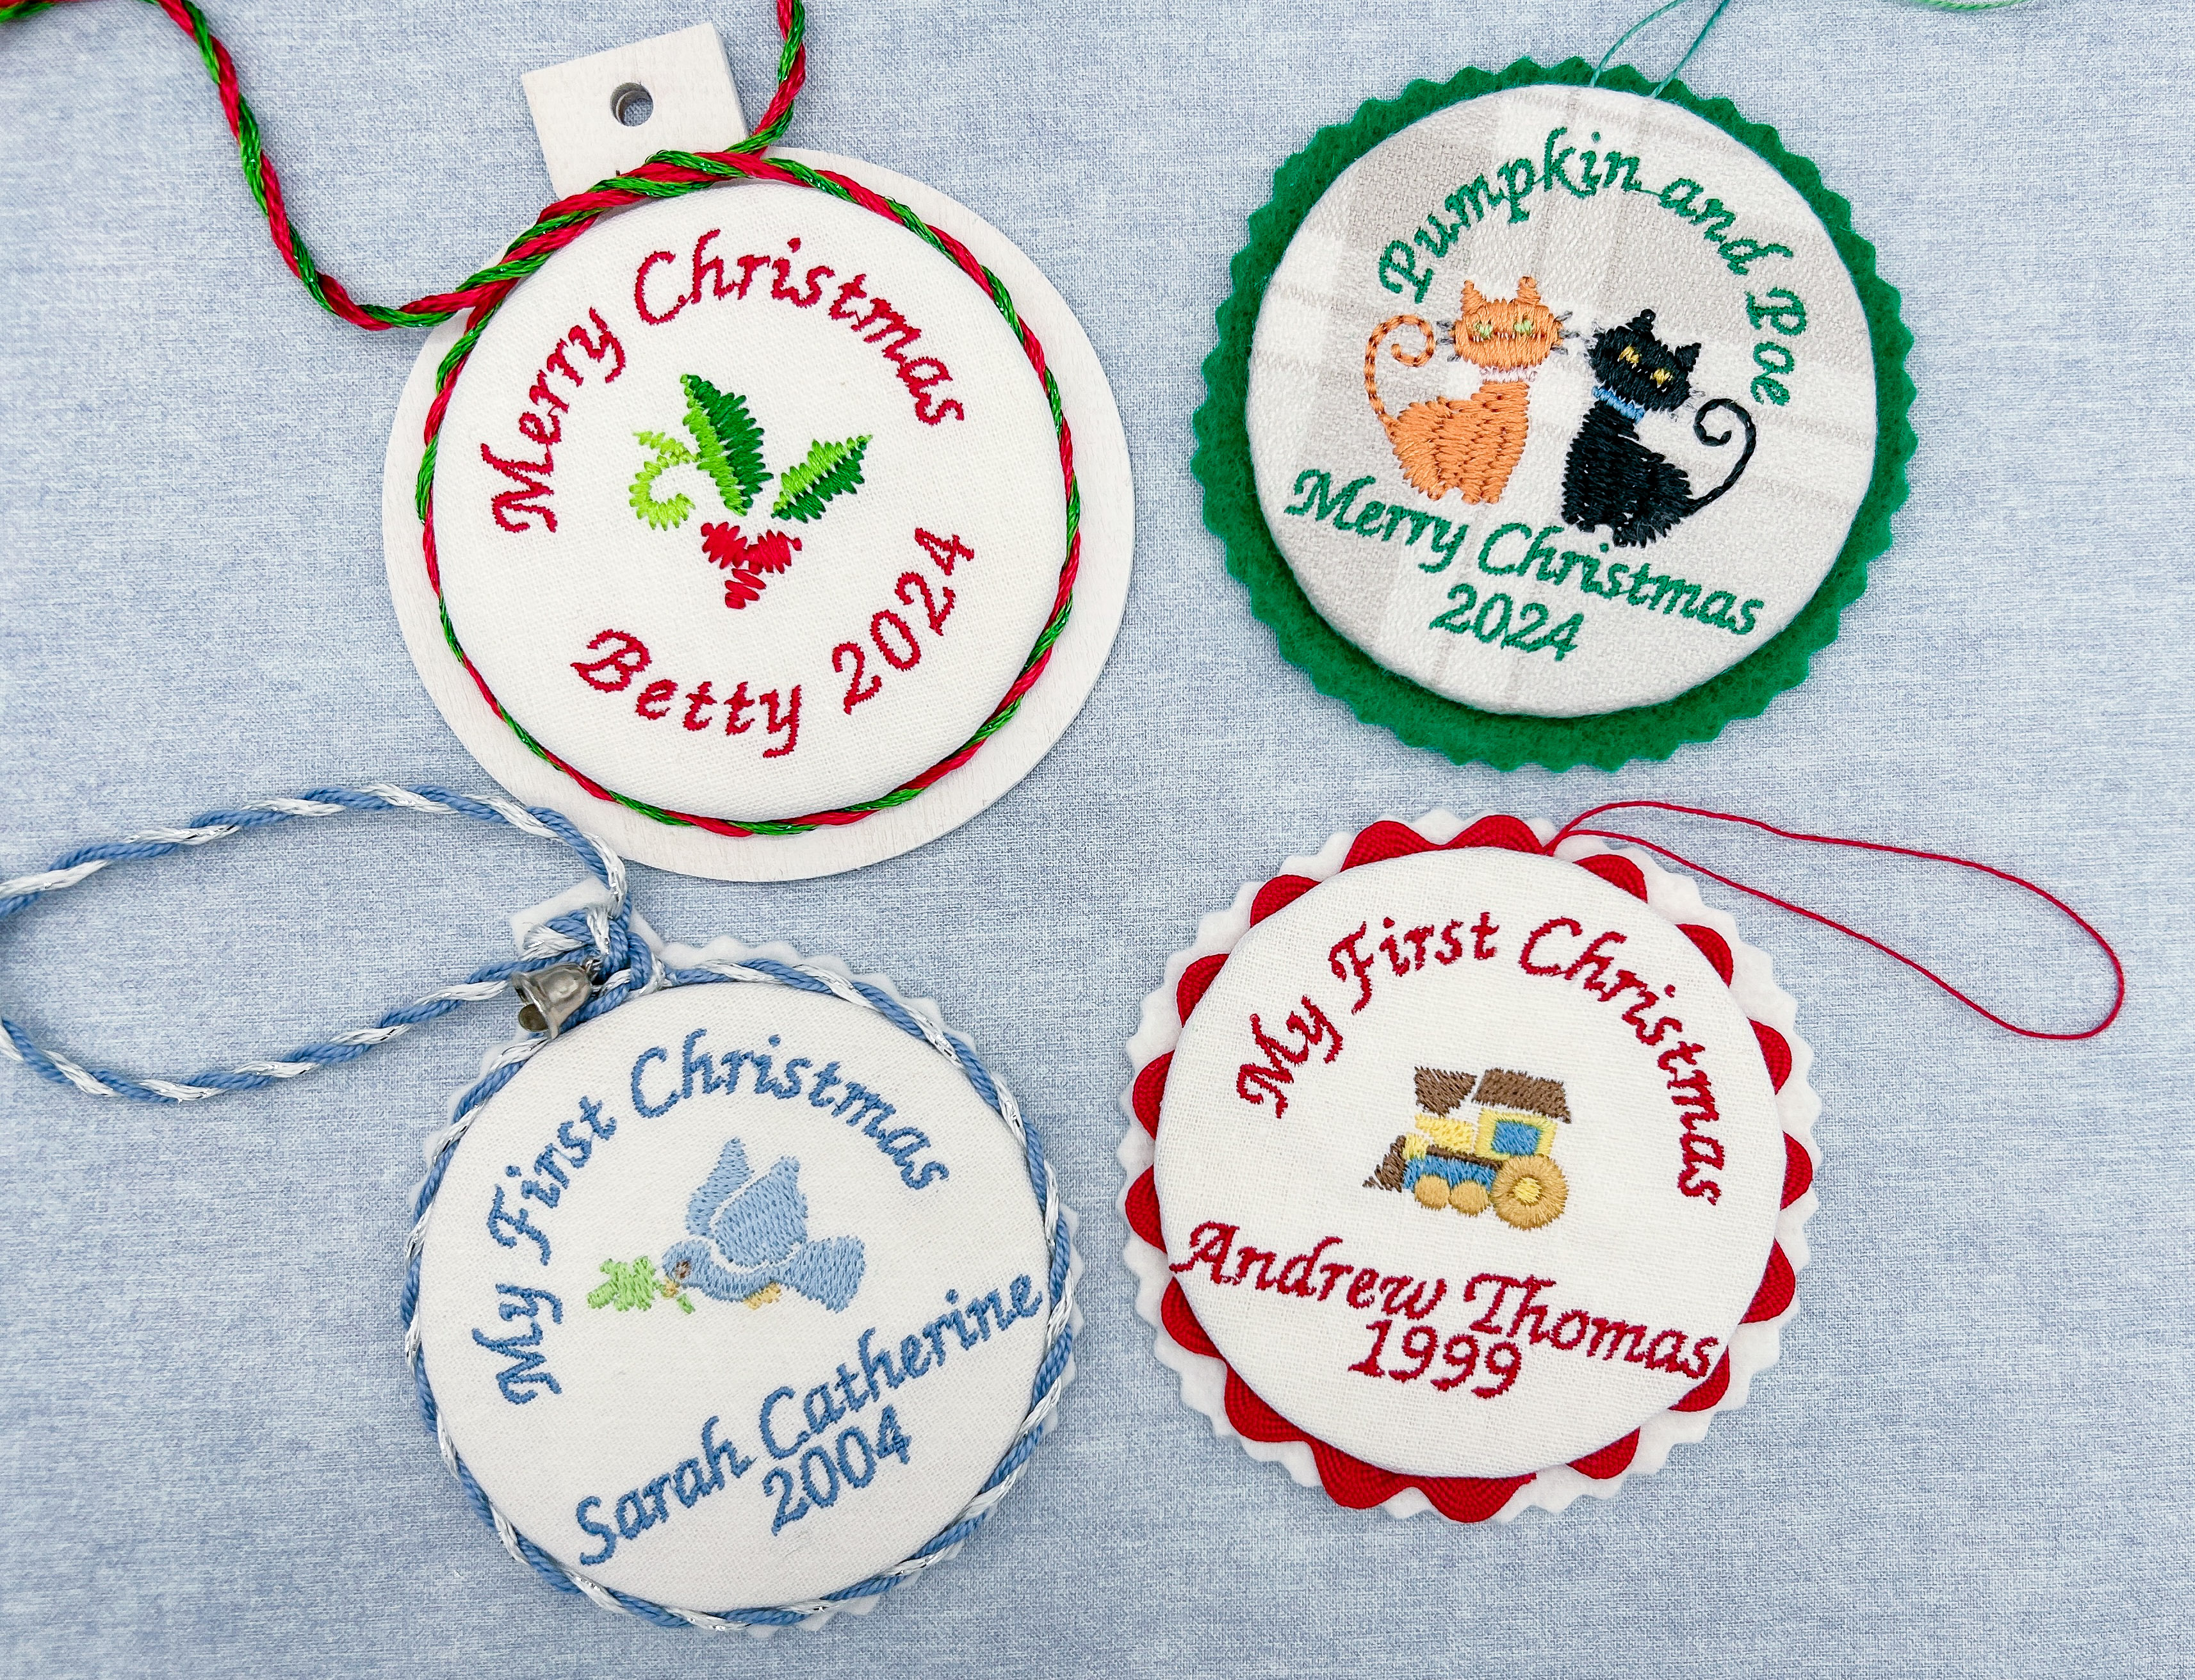
Get creative by adding different cords, small charms, and rick rack. There are so many different ways to embellish these ornaments! For the next one, I’m going to secure a mini pom-pom trim around the edges.
And now you have a beautiful handmade ornament to decorate your or your loved one’s tree this Christmas!
