How to Add Rhinestone or Sequin Trim to a Purse
With the Holidays right around the corner, now is the perfect time to start making your festive outfits! You know what accessory is needed for every fancy event? A glitzy purse!
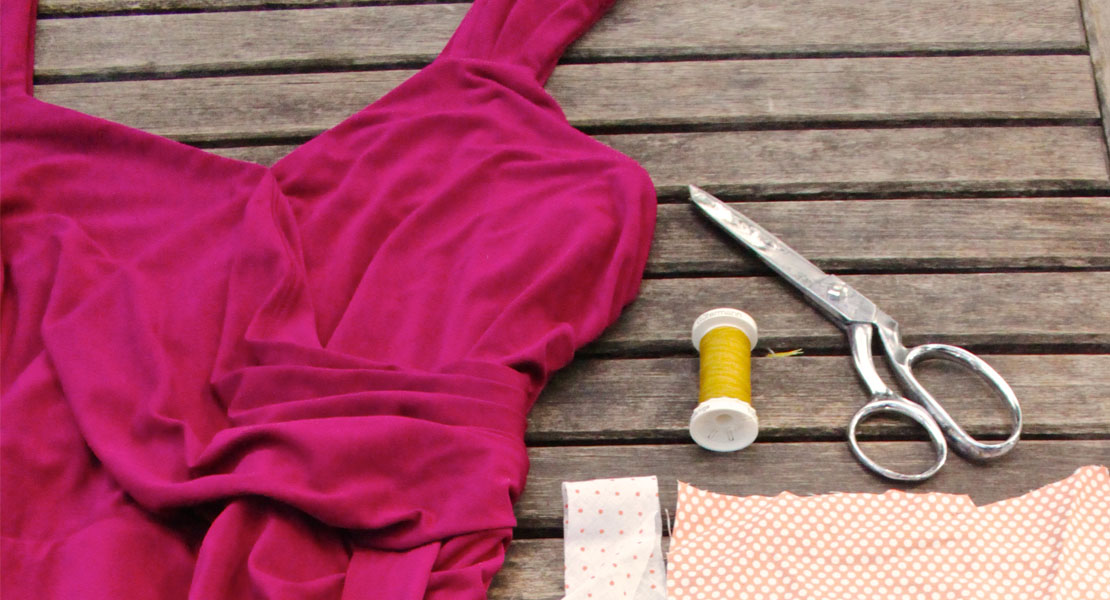
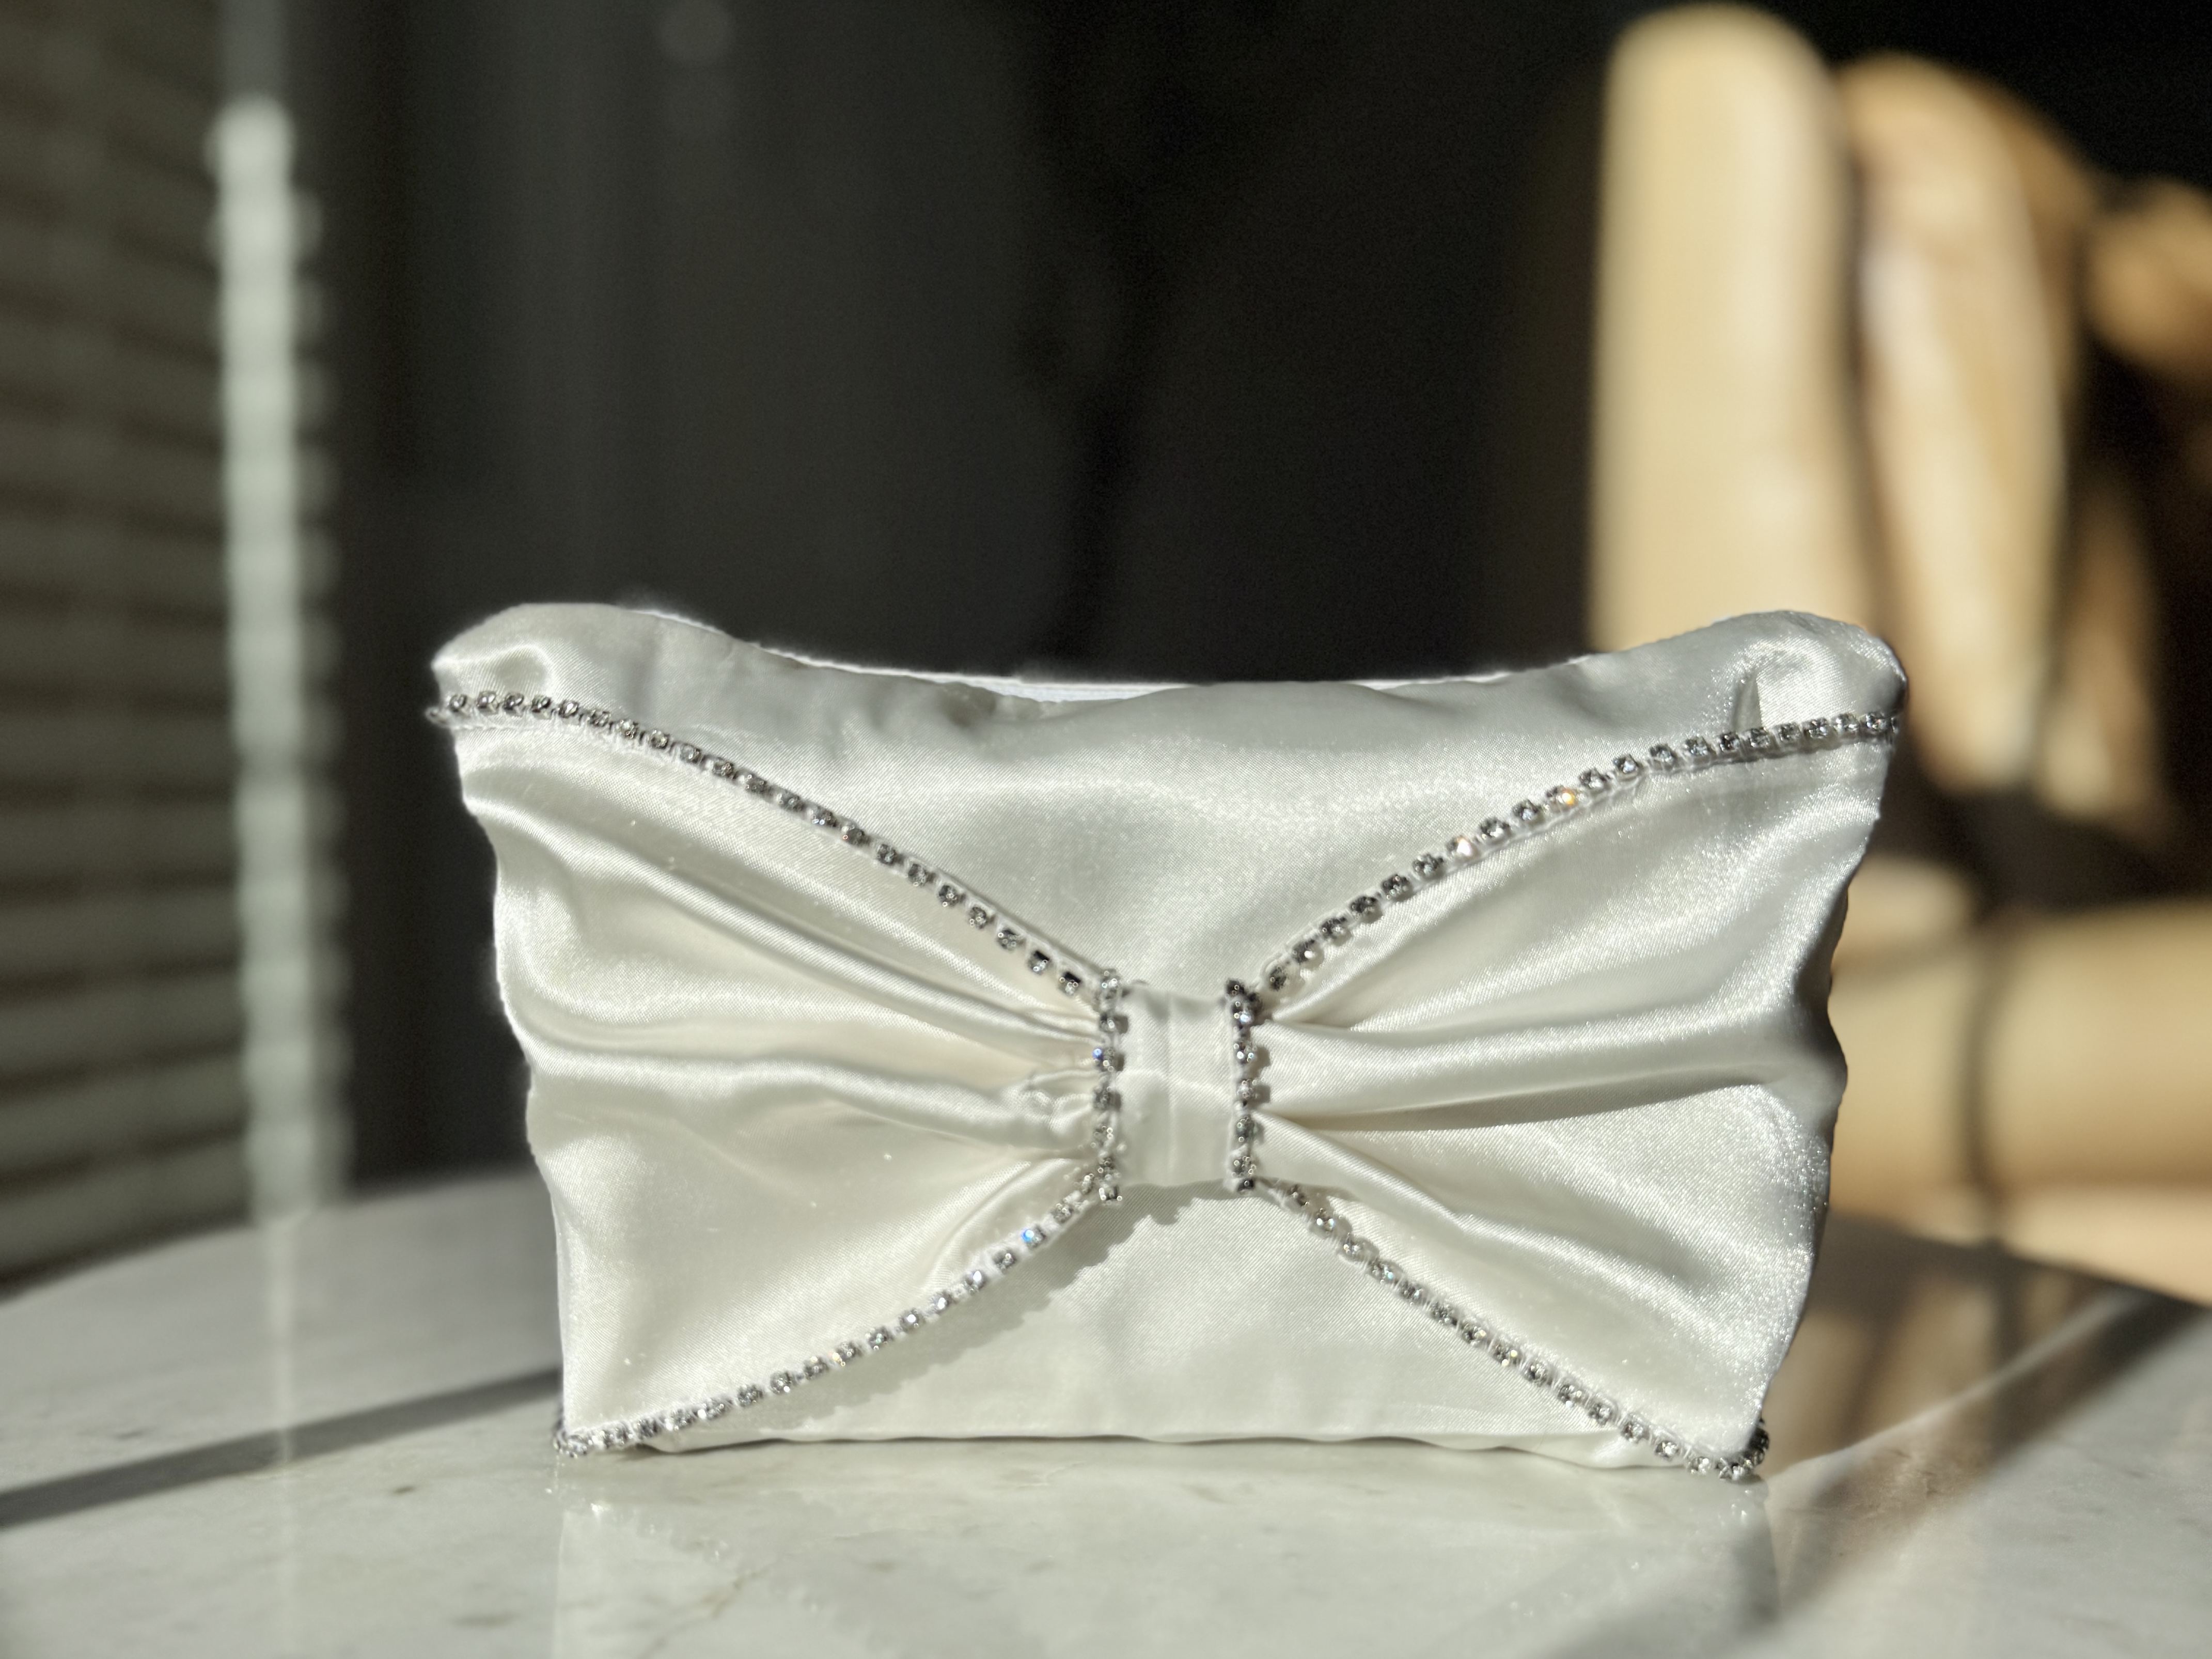
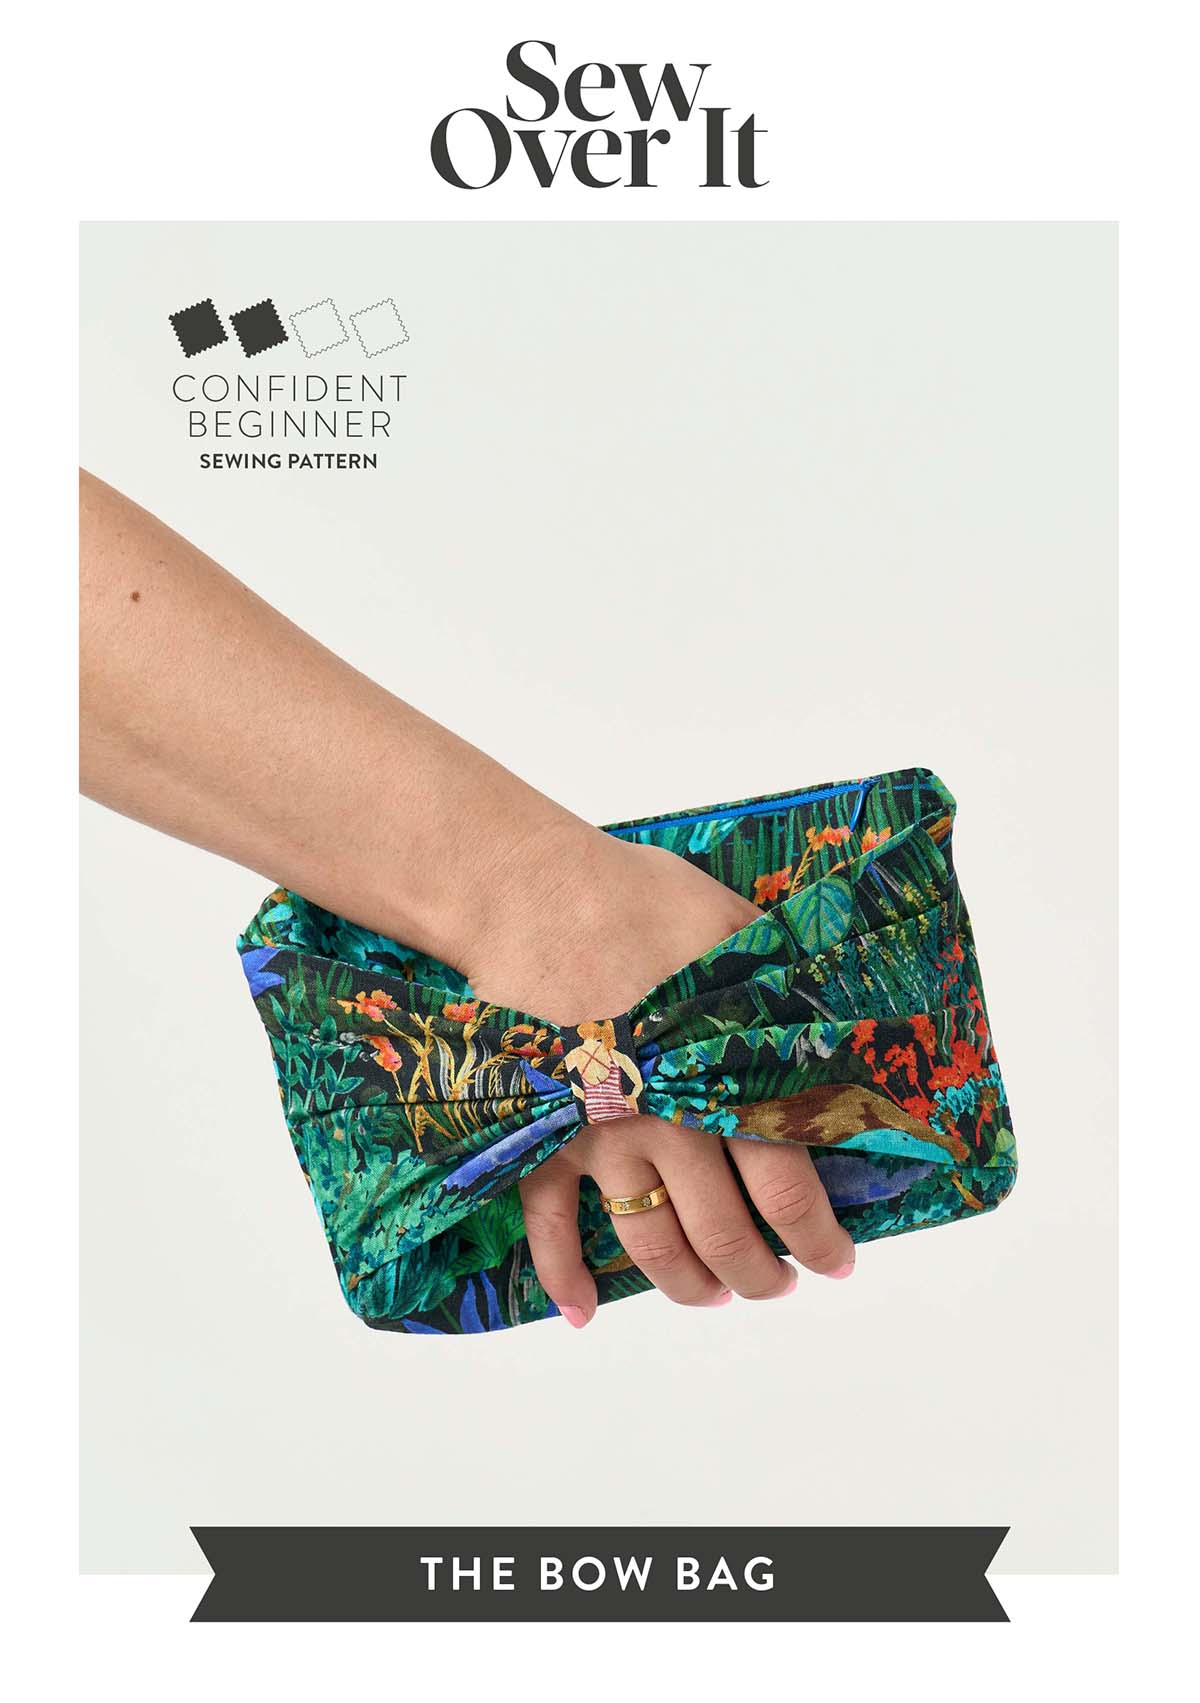 Join me for a sew along to the Sew Over It Bow Bag where I teach you how to add a rhinestone trim using the Beading and Sequin Foot #C15. With sustainability in mind, this bow bag was designed to be sewn out of the scraps of your me-mades, making it the perfect accessory to add to every outfit! It features a boxed bottom and zippered top for easy wear and accessibility. But the coolest design element of this pattern is the front bow that functions as both a cute design detail and a unique functionality for carrying. The bow acts as the pocket in which you hold the clutch! How fun!
Today, we will be elevating this bow design to include a Rhinestone trim. Let’s get started!
Materials to Sew the Bow Bag
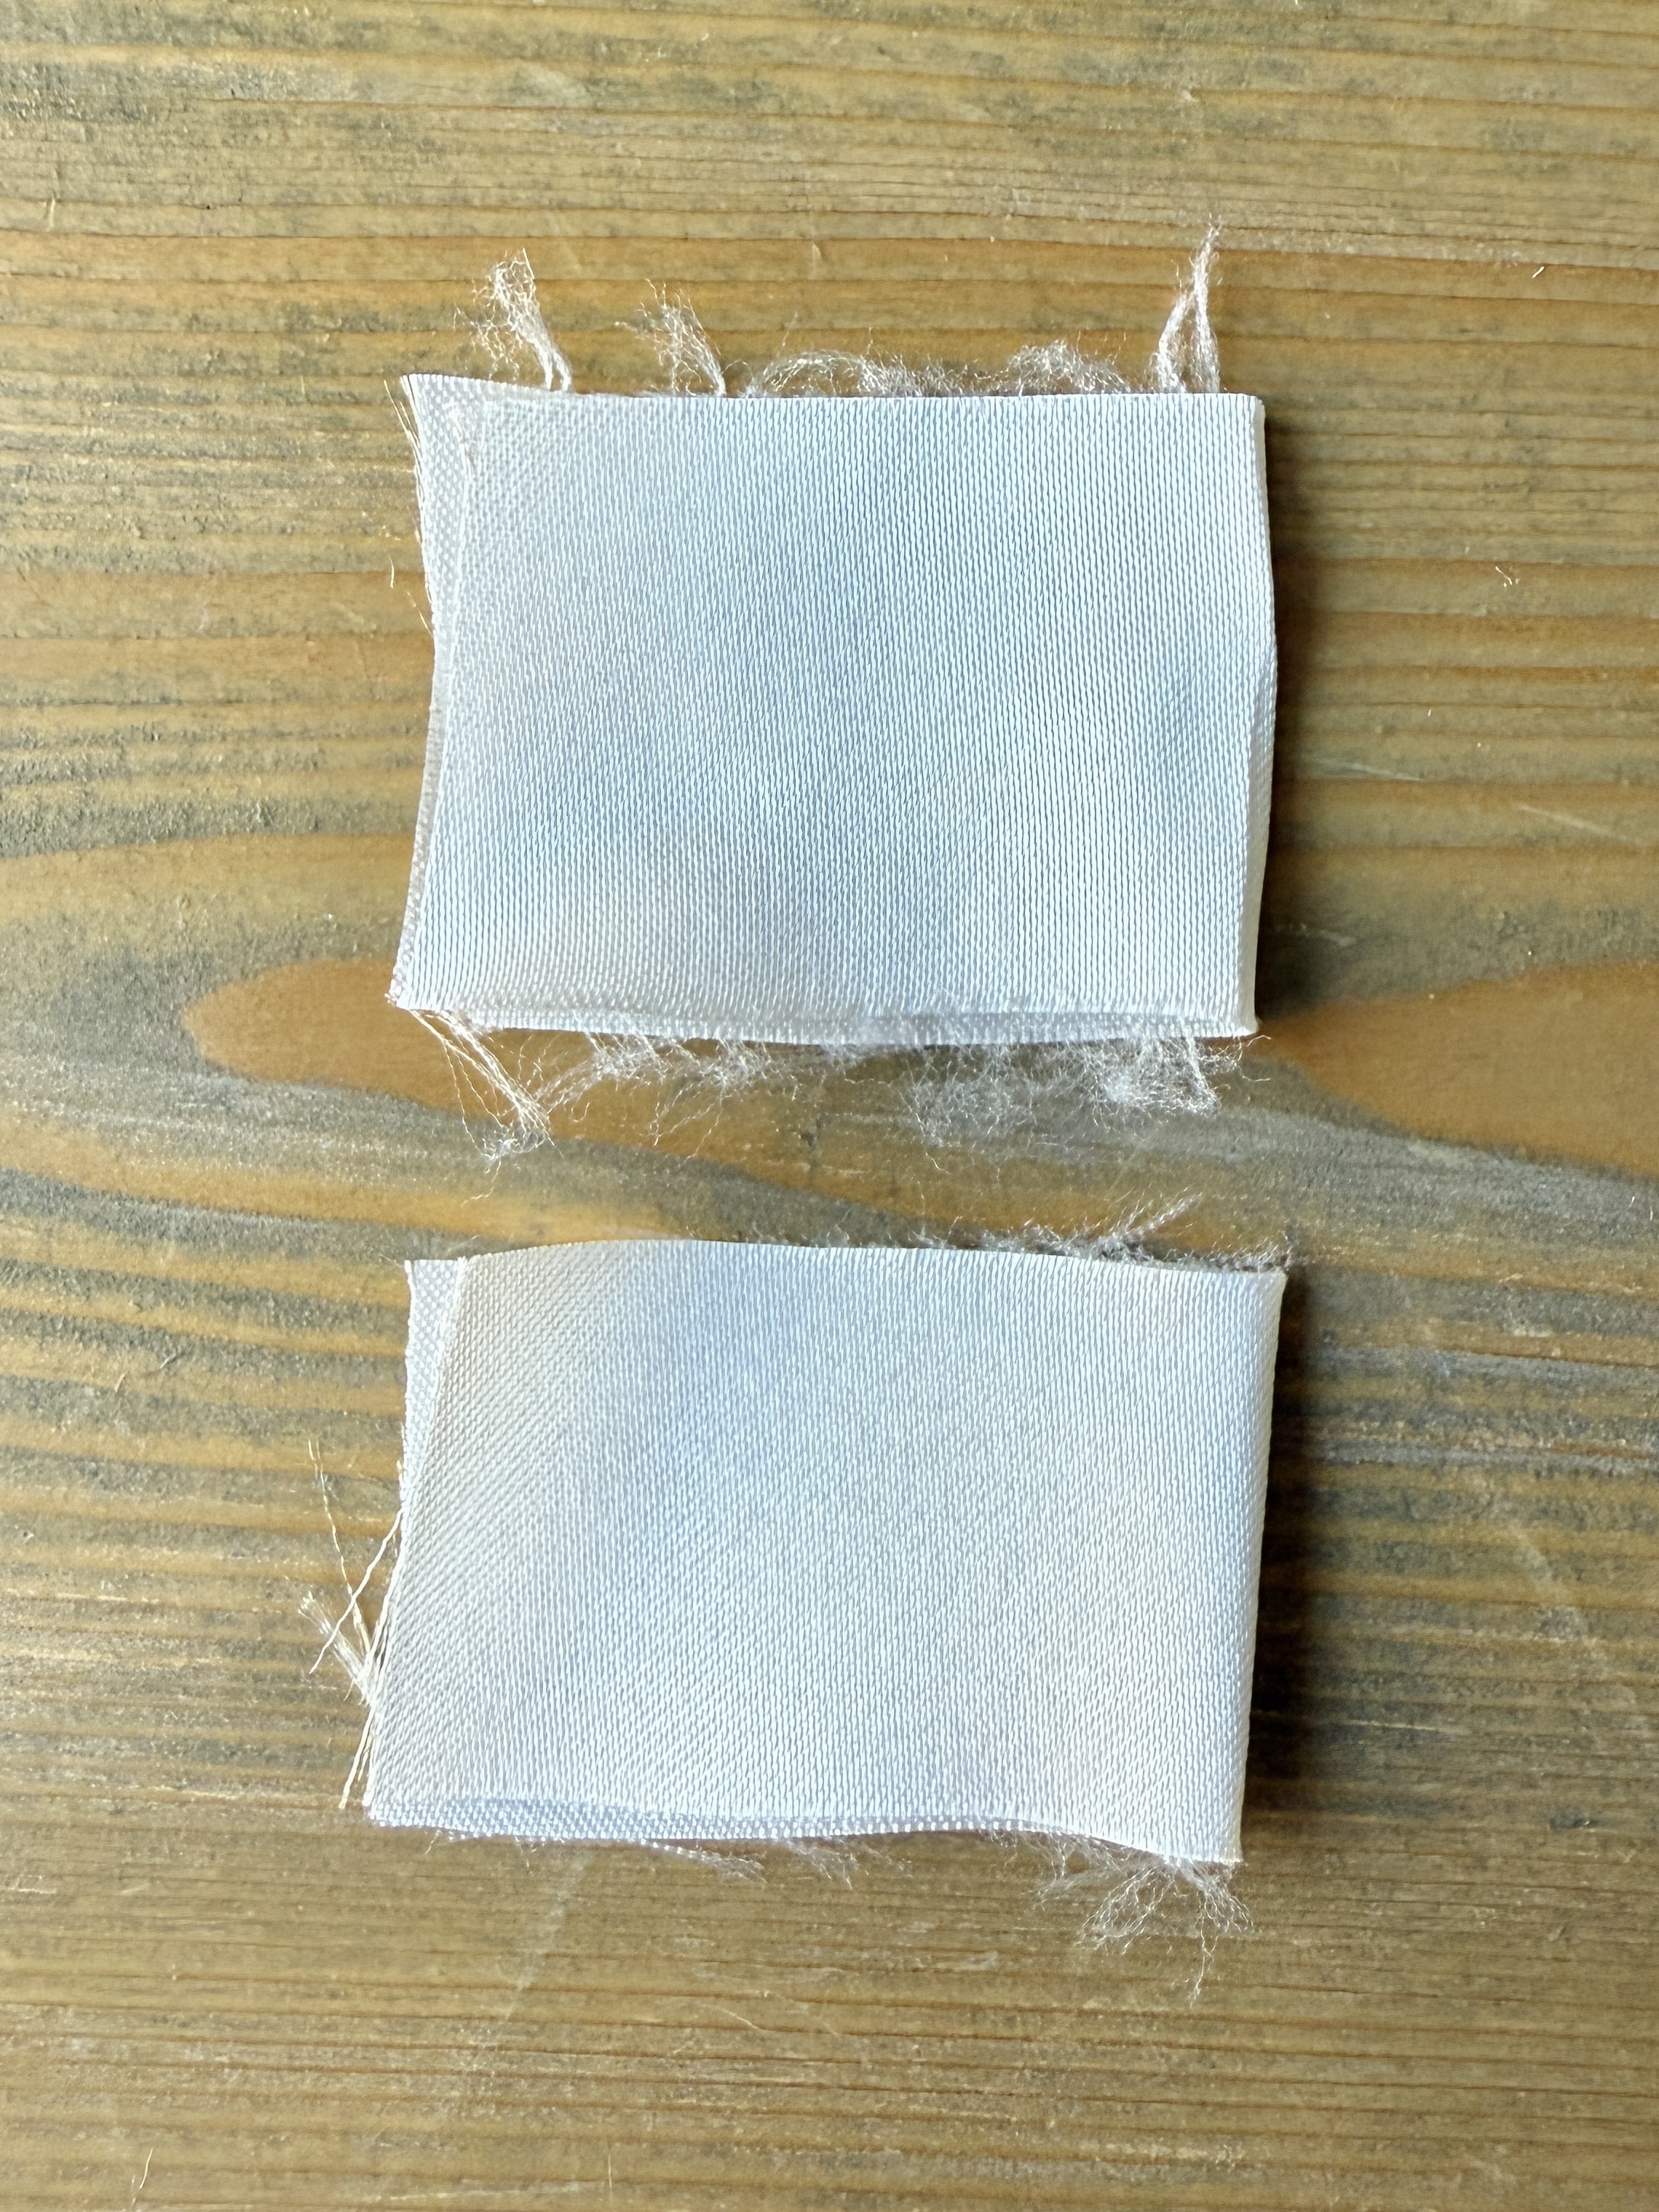
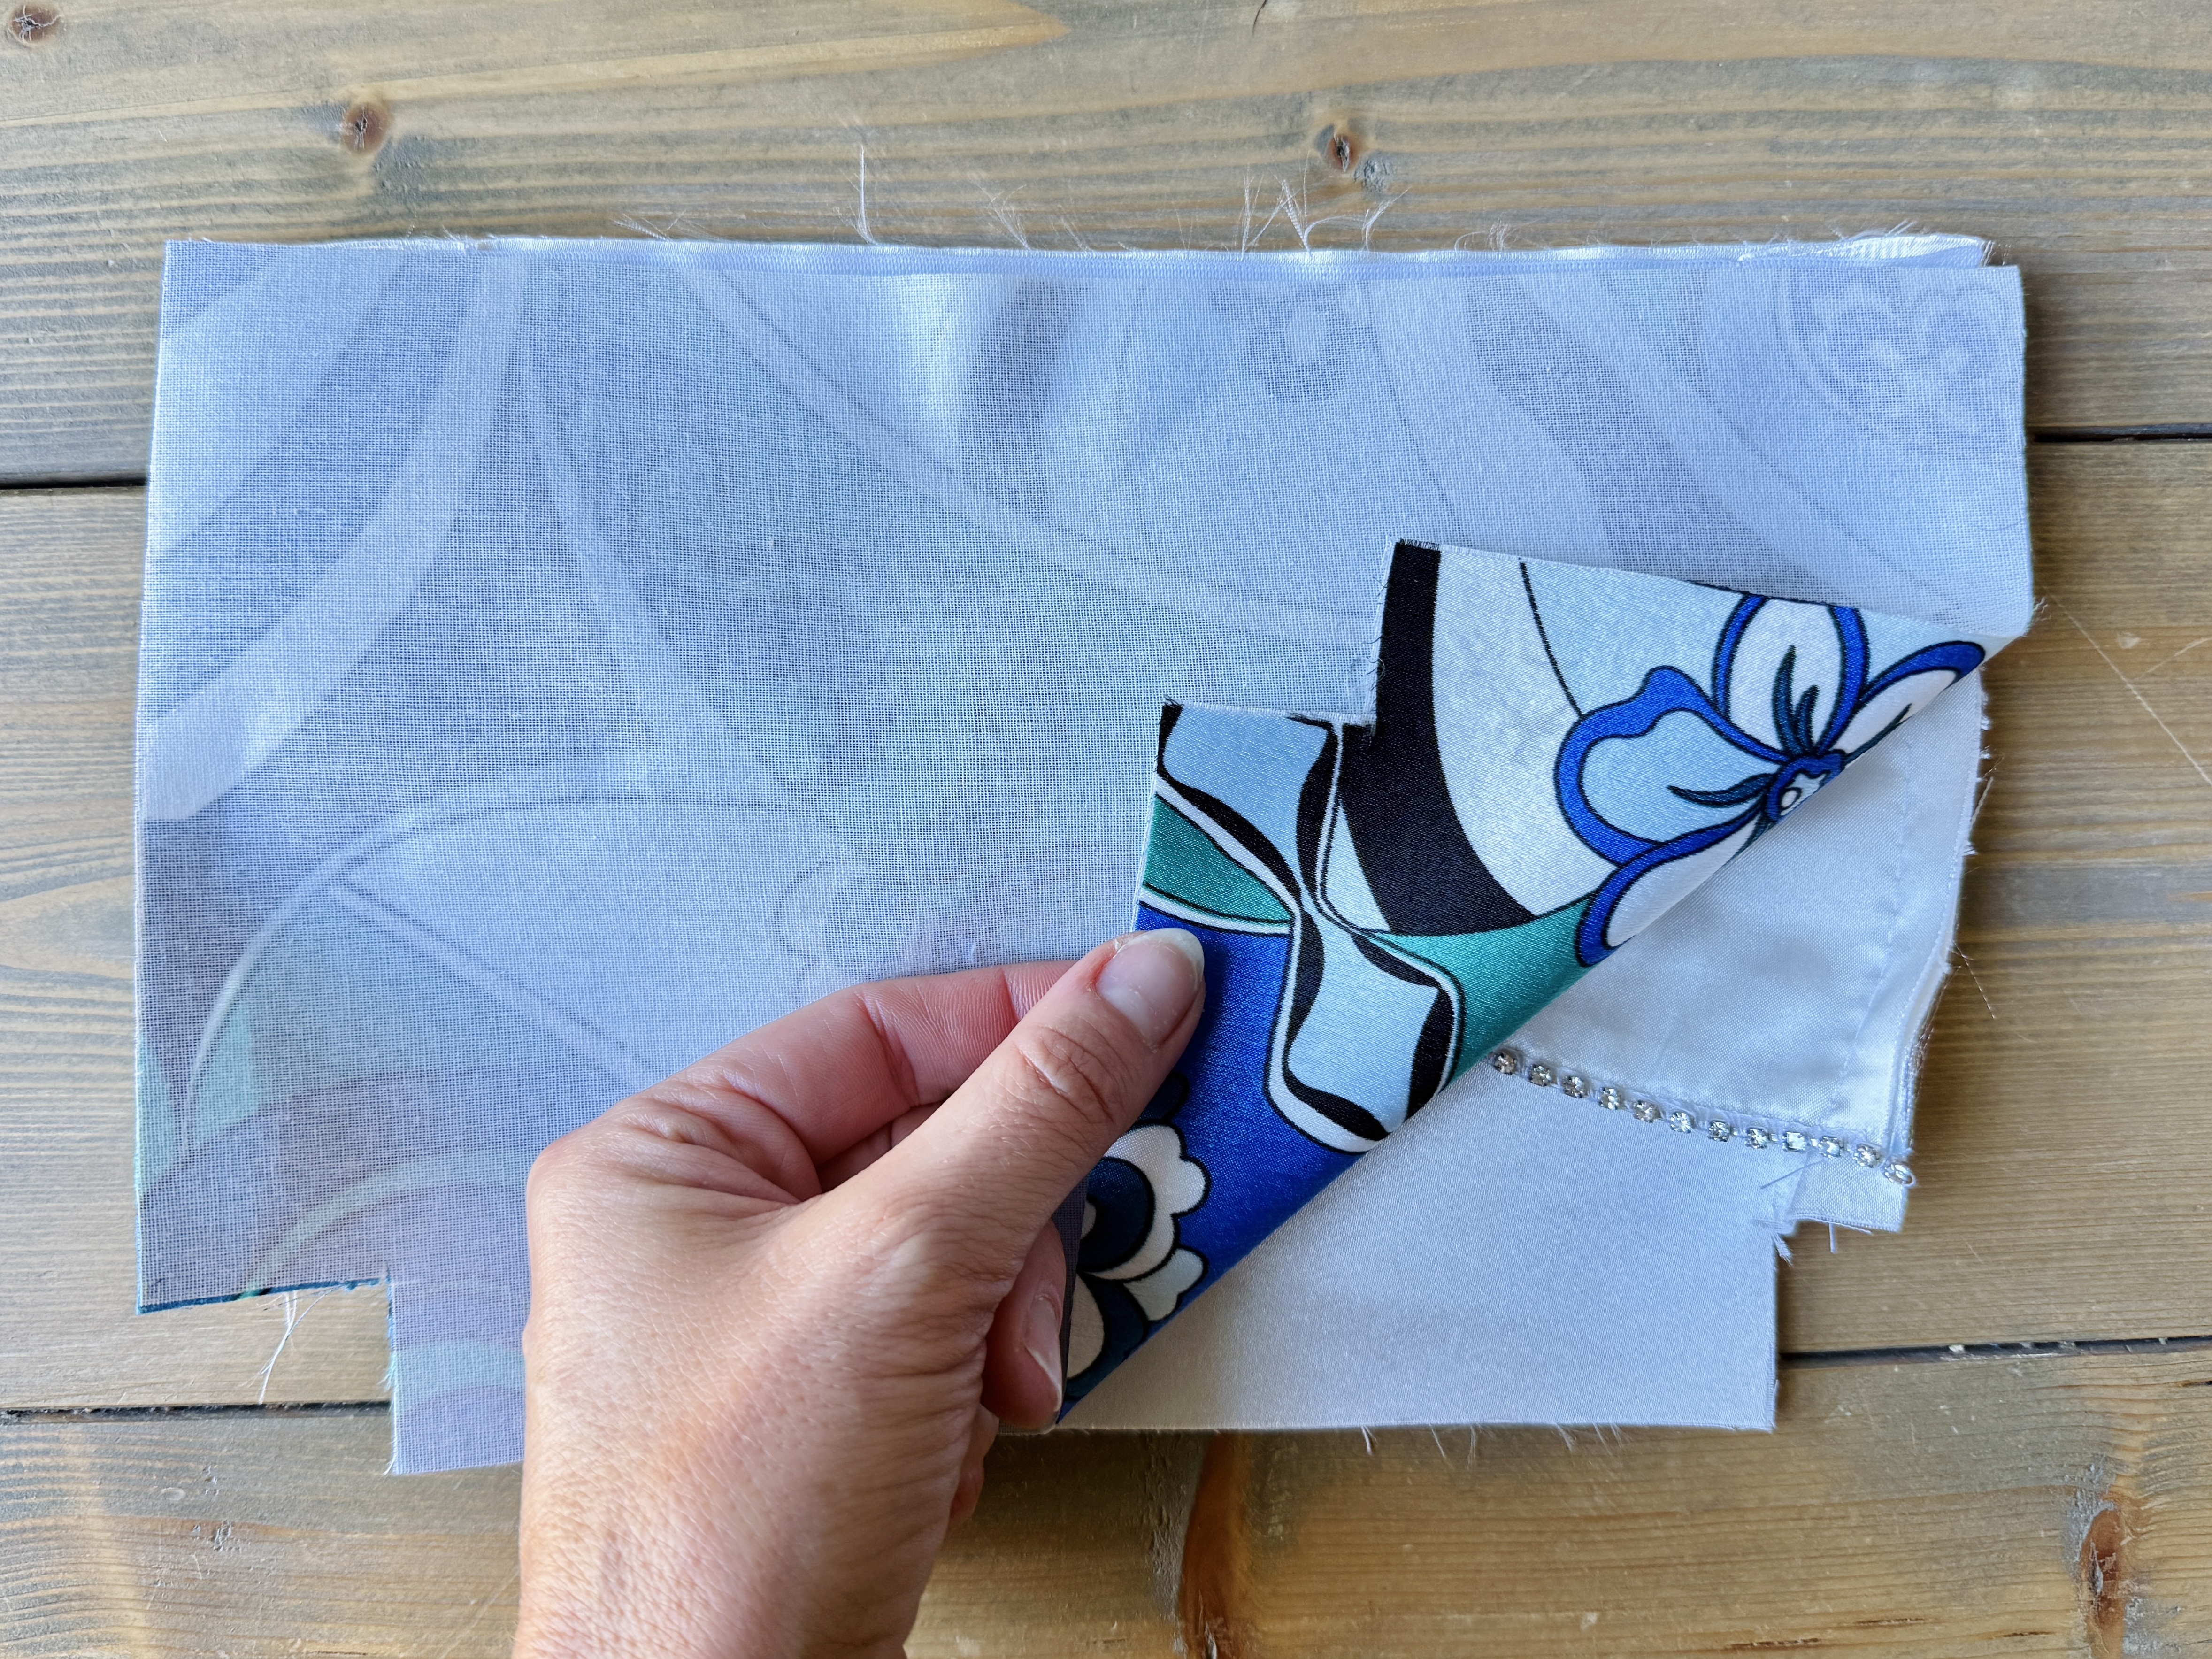
- 2 Pairs of Bag Body (2 Main, 2 Lining)
- 1 Pair of Bow (2 Main)
- 1 Bow Loop (1 Main)
- 1 Pair of Zip Tabs (2 Main)
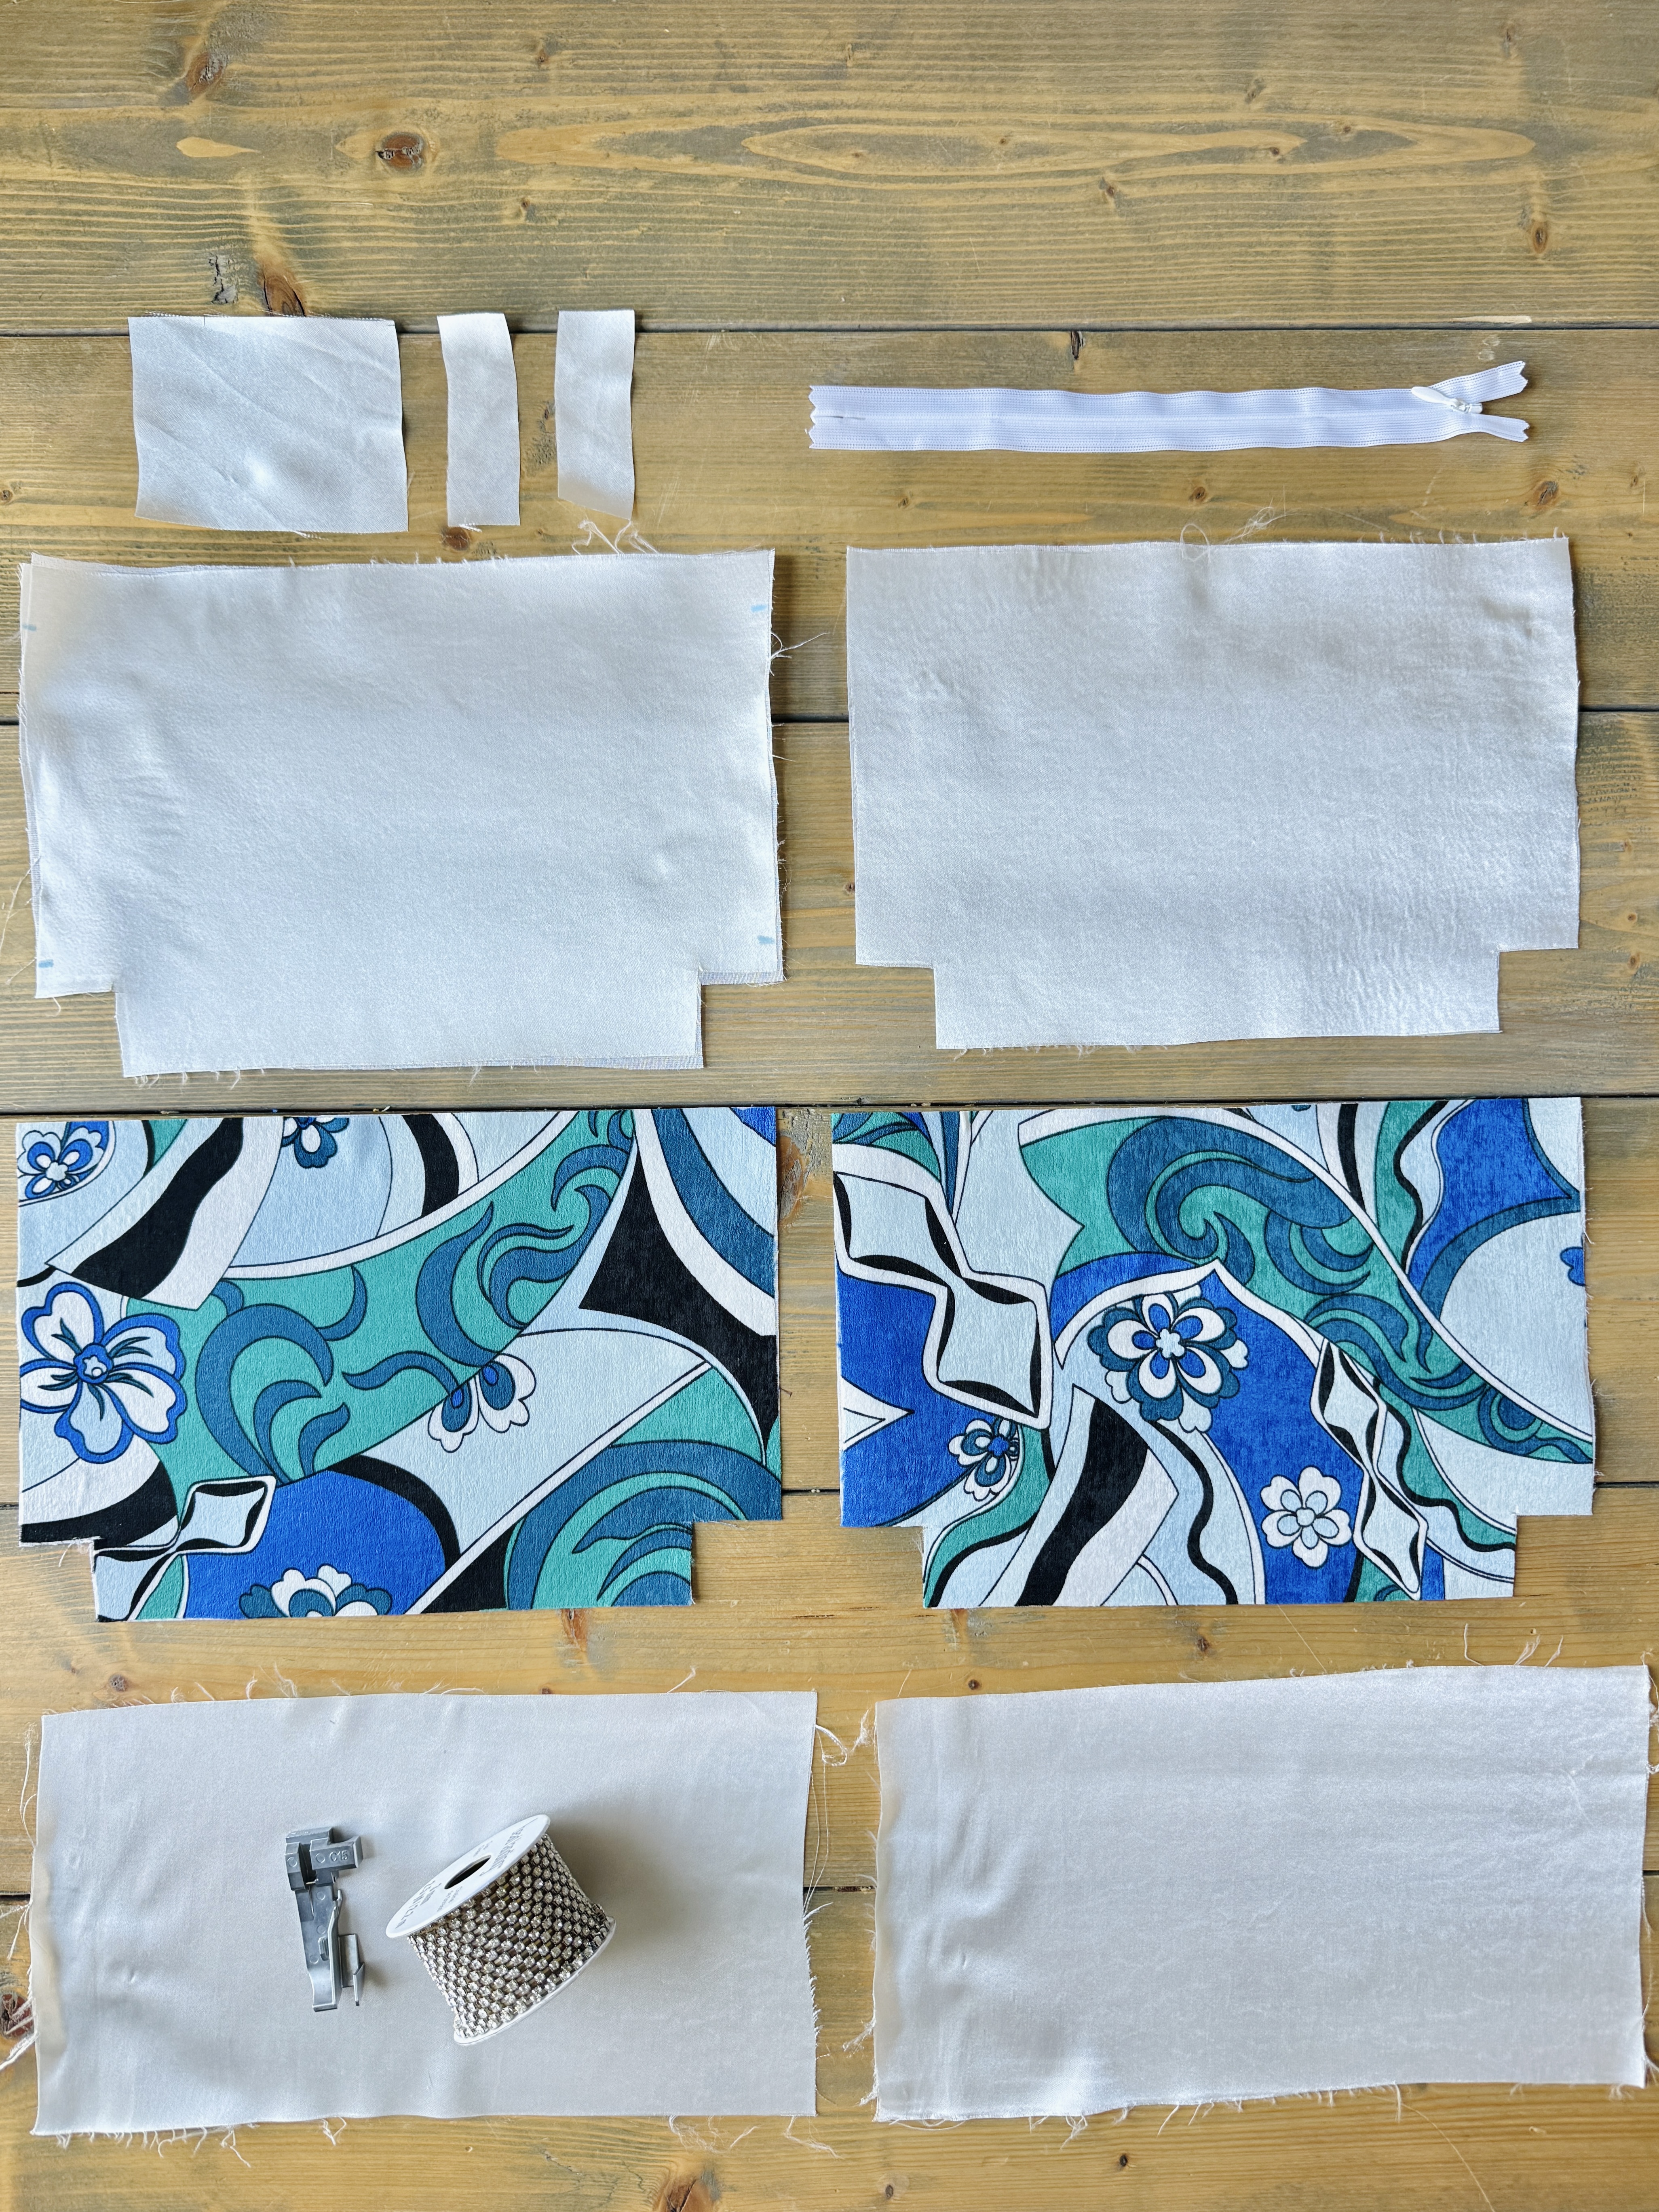
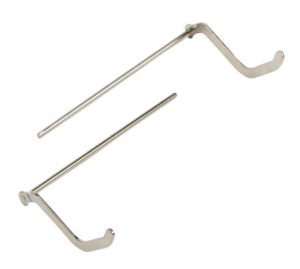
You will additionally need a 10″ zipper (regular or invisible) and your Beading and Sequin Foot #C15.
Interfacing your pattern pieces is also optional. If desired, go ahead and interface the pieces before we begin.
Instructions for Sewing the Bow Bag
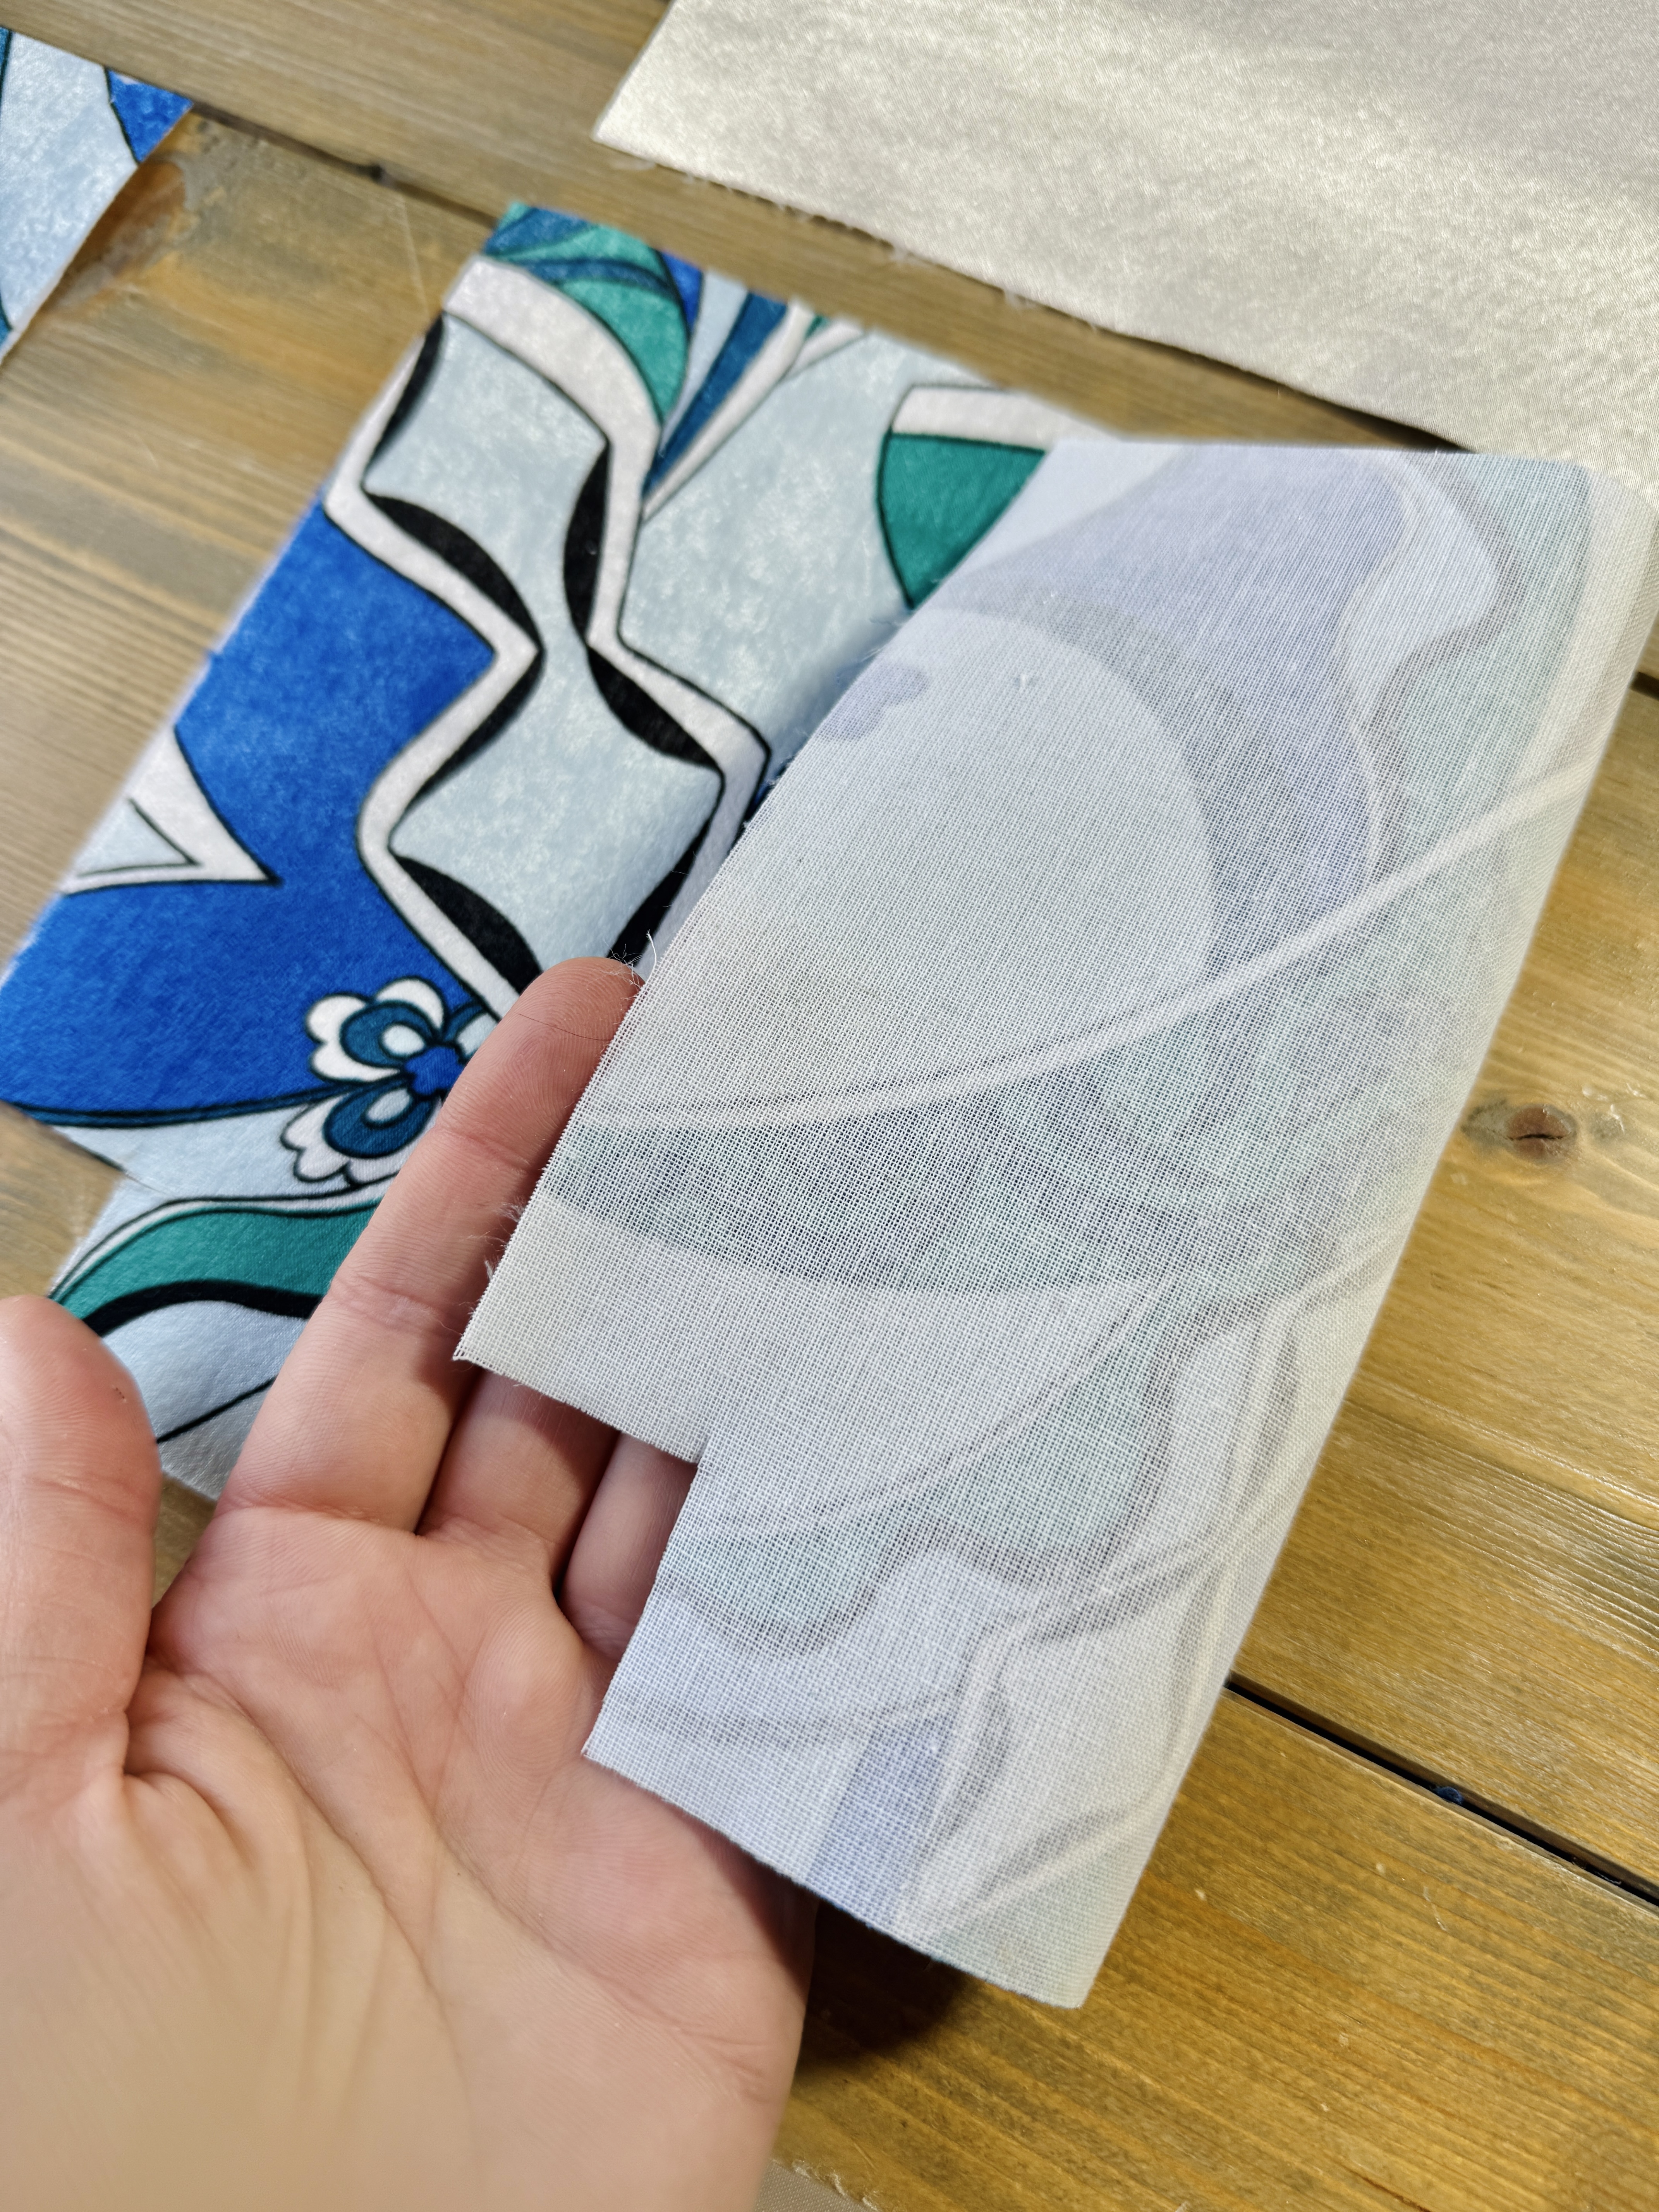
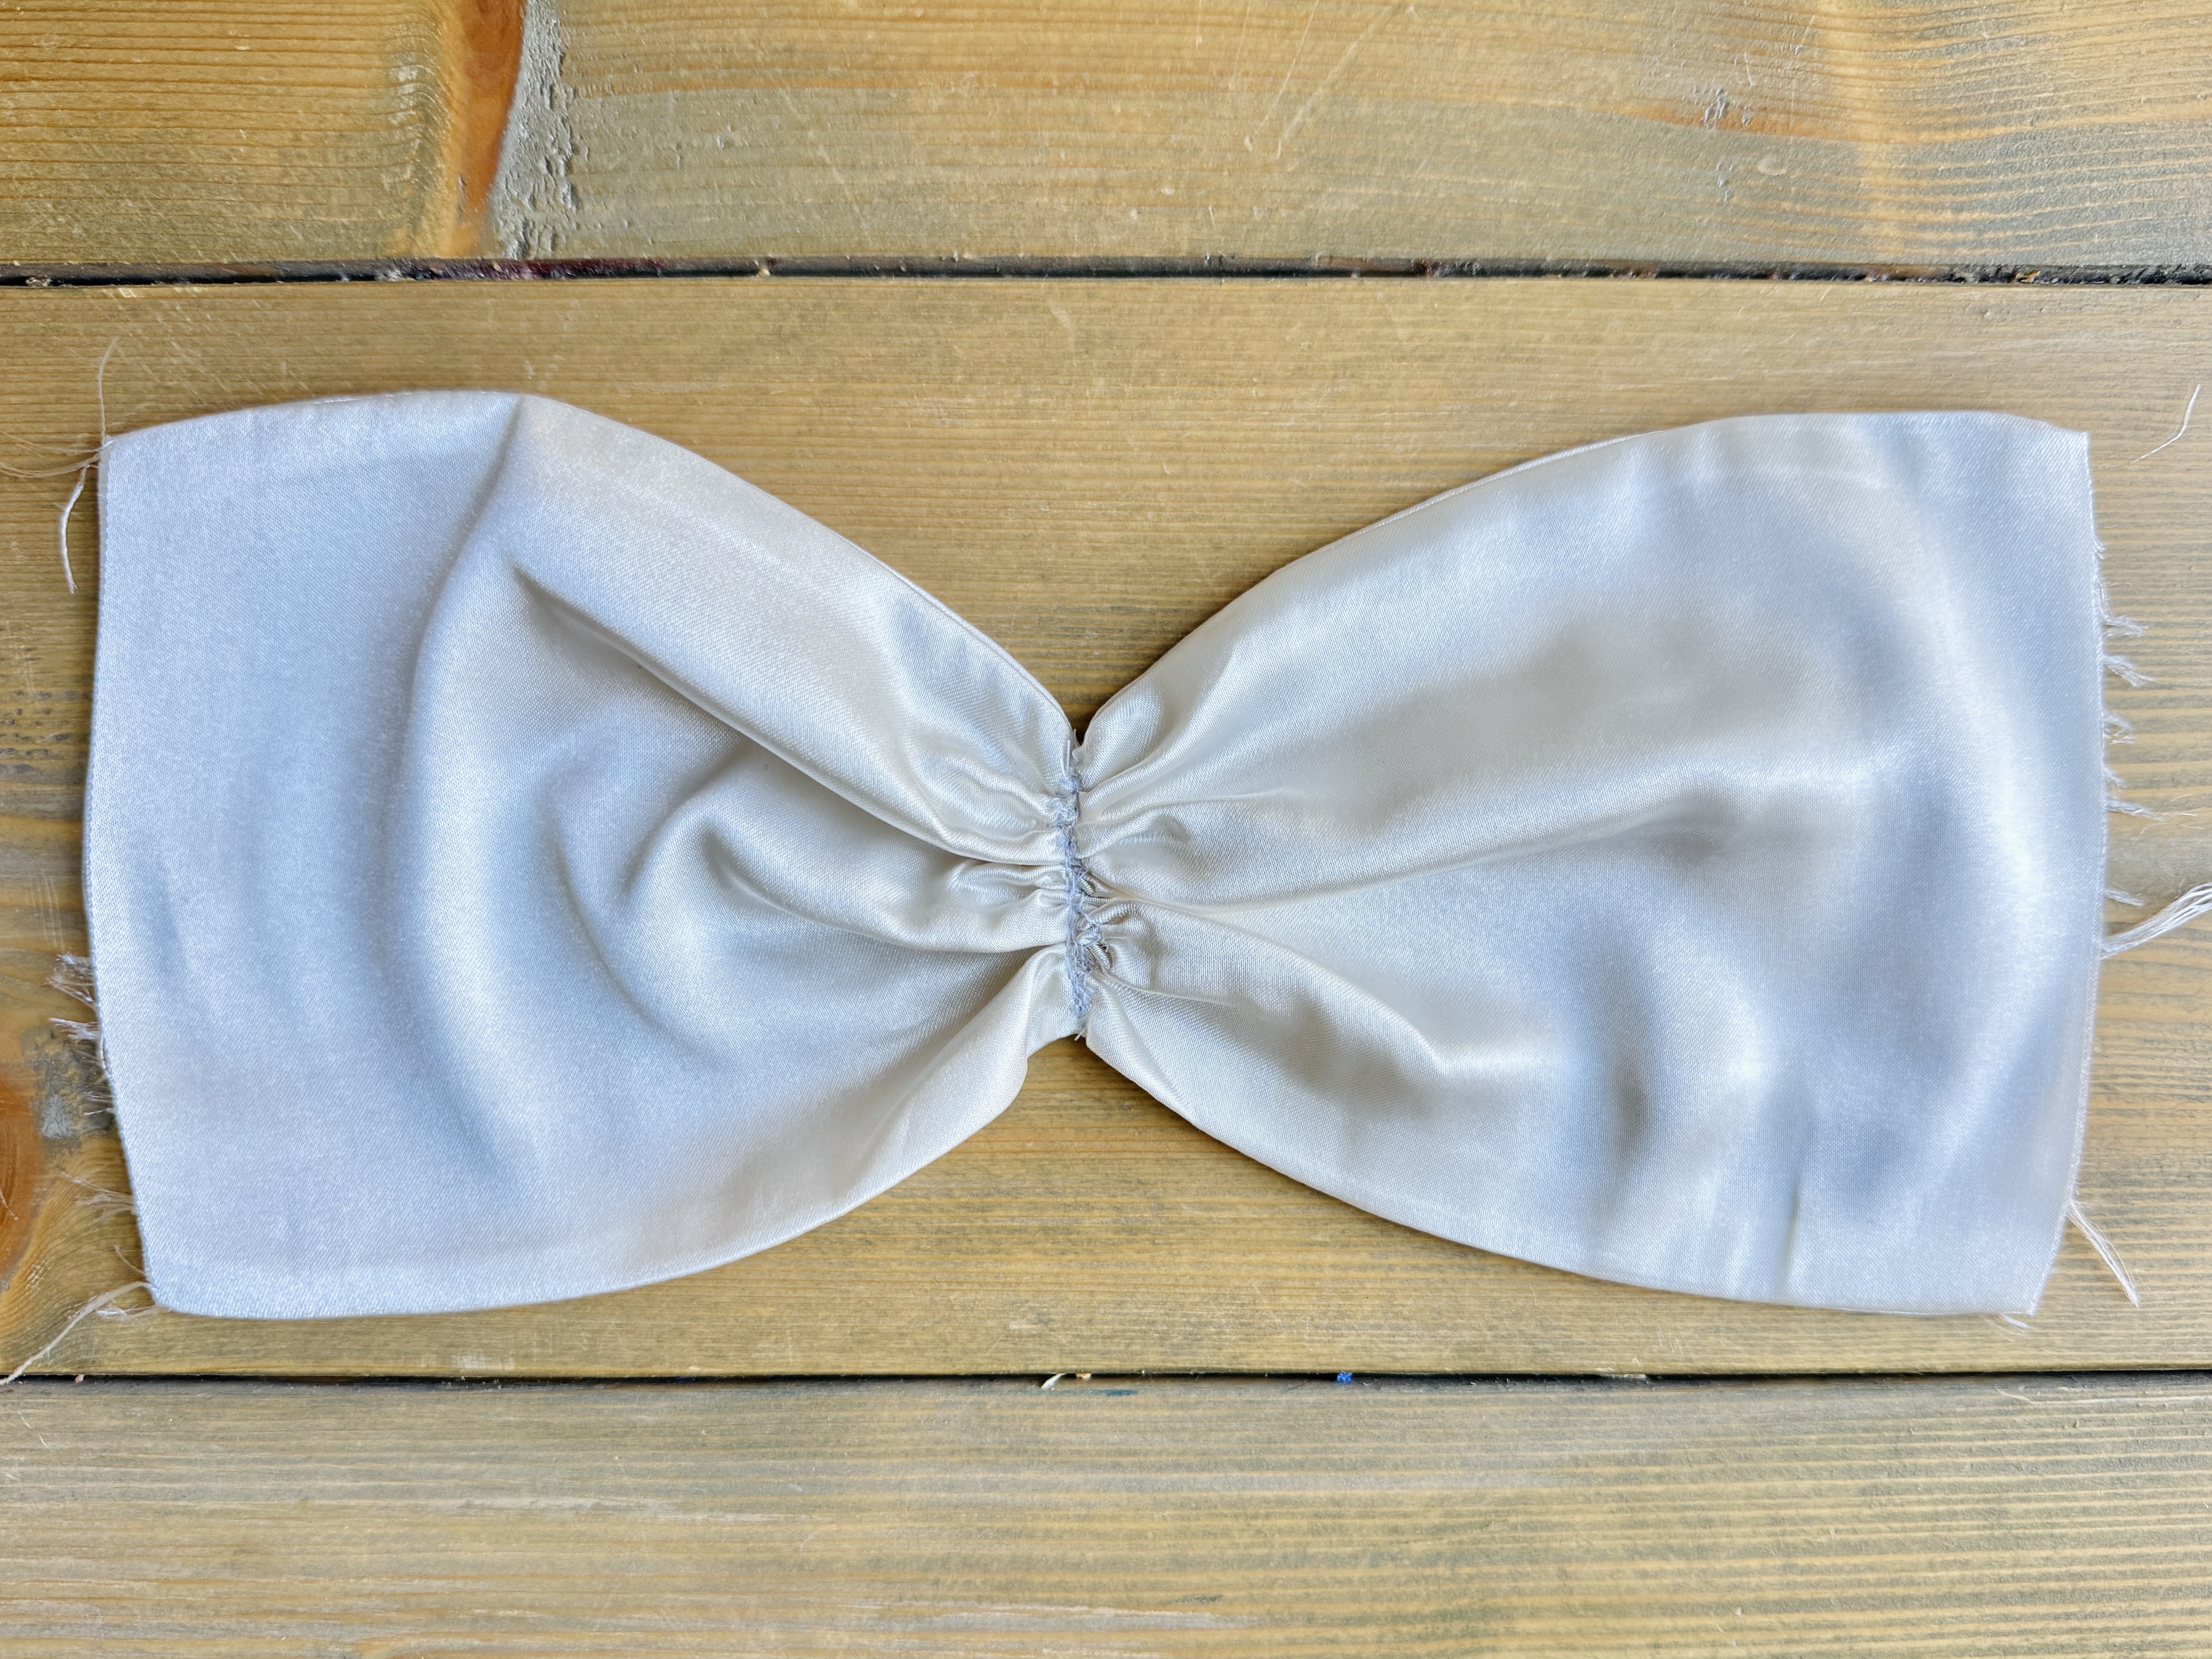
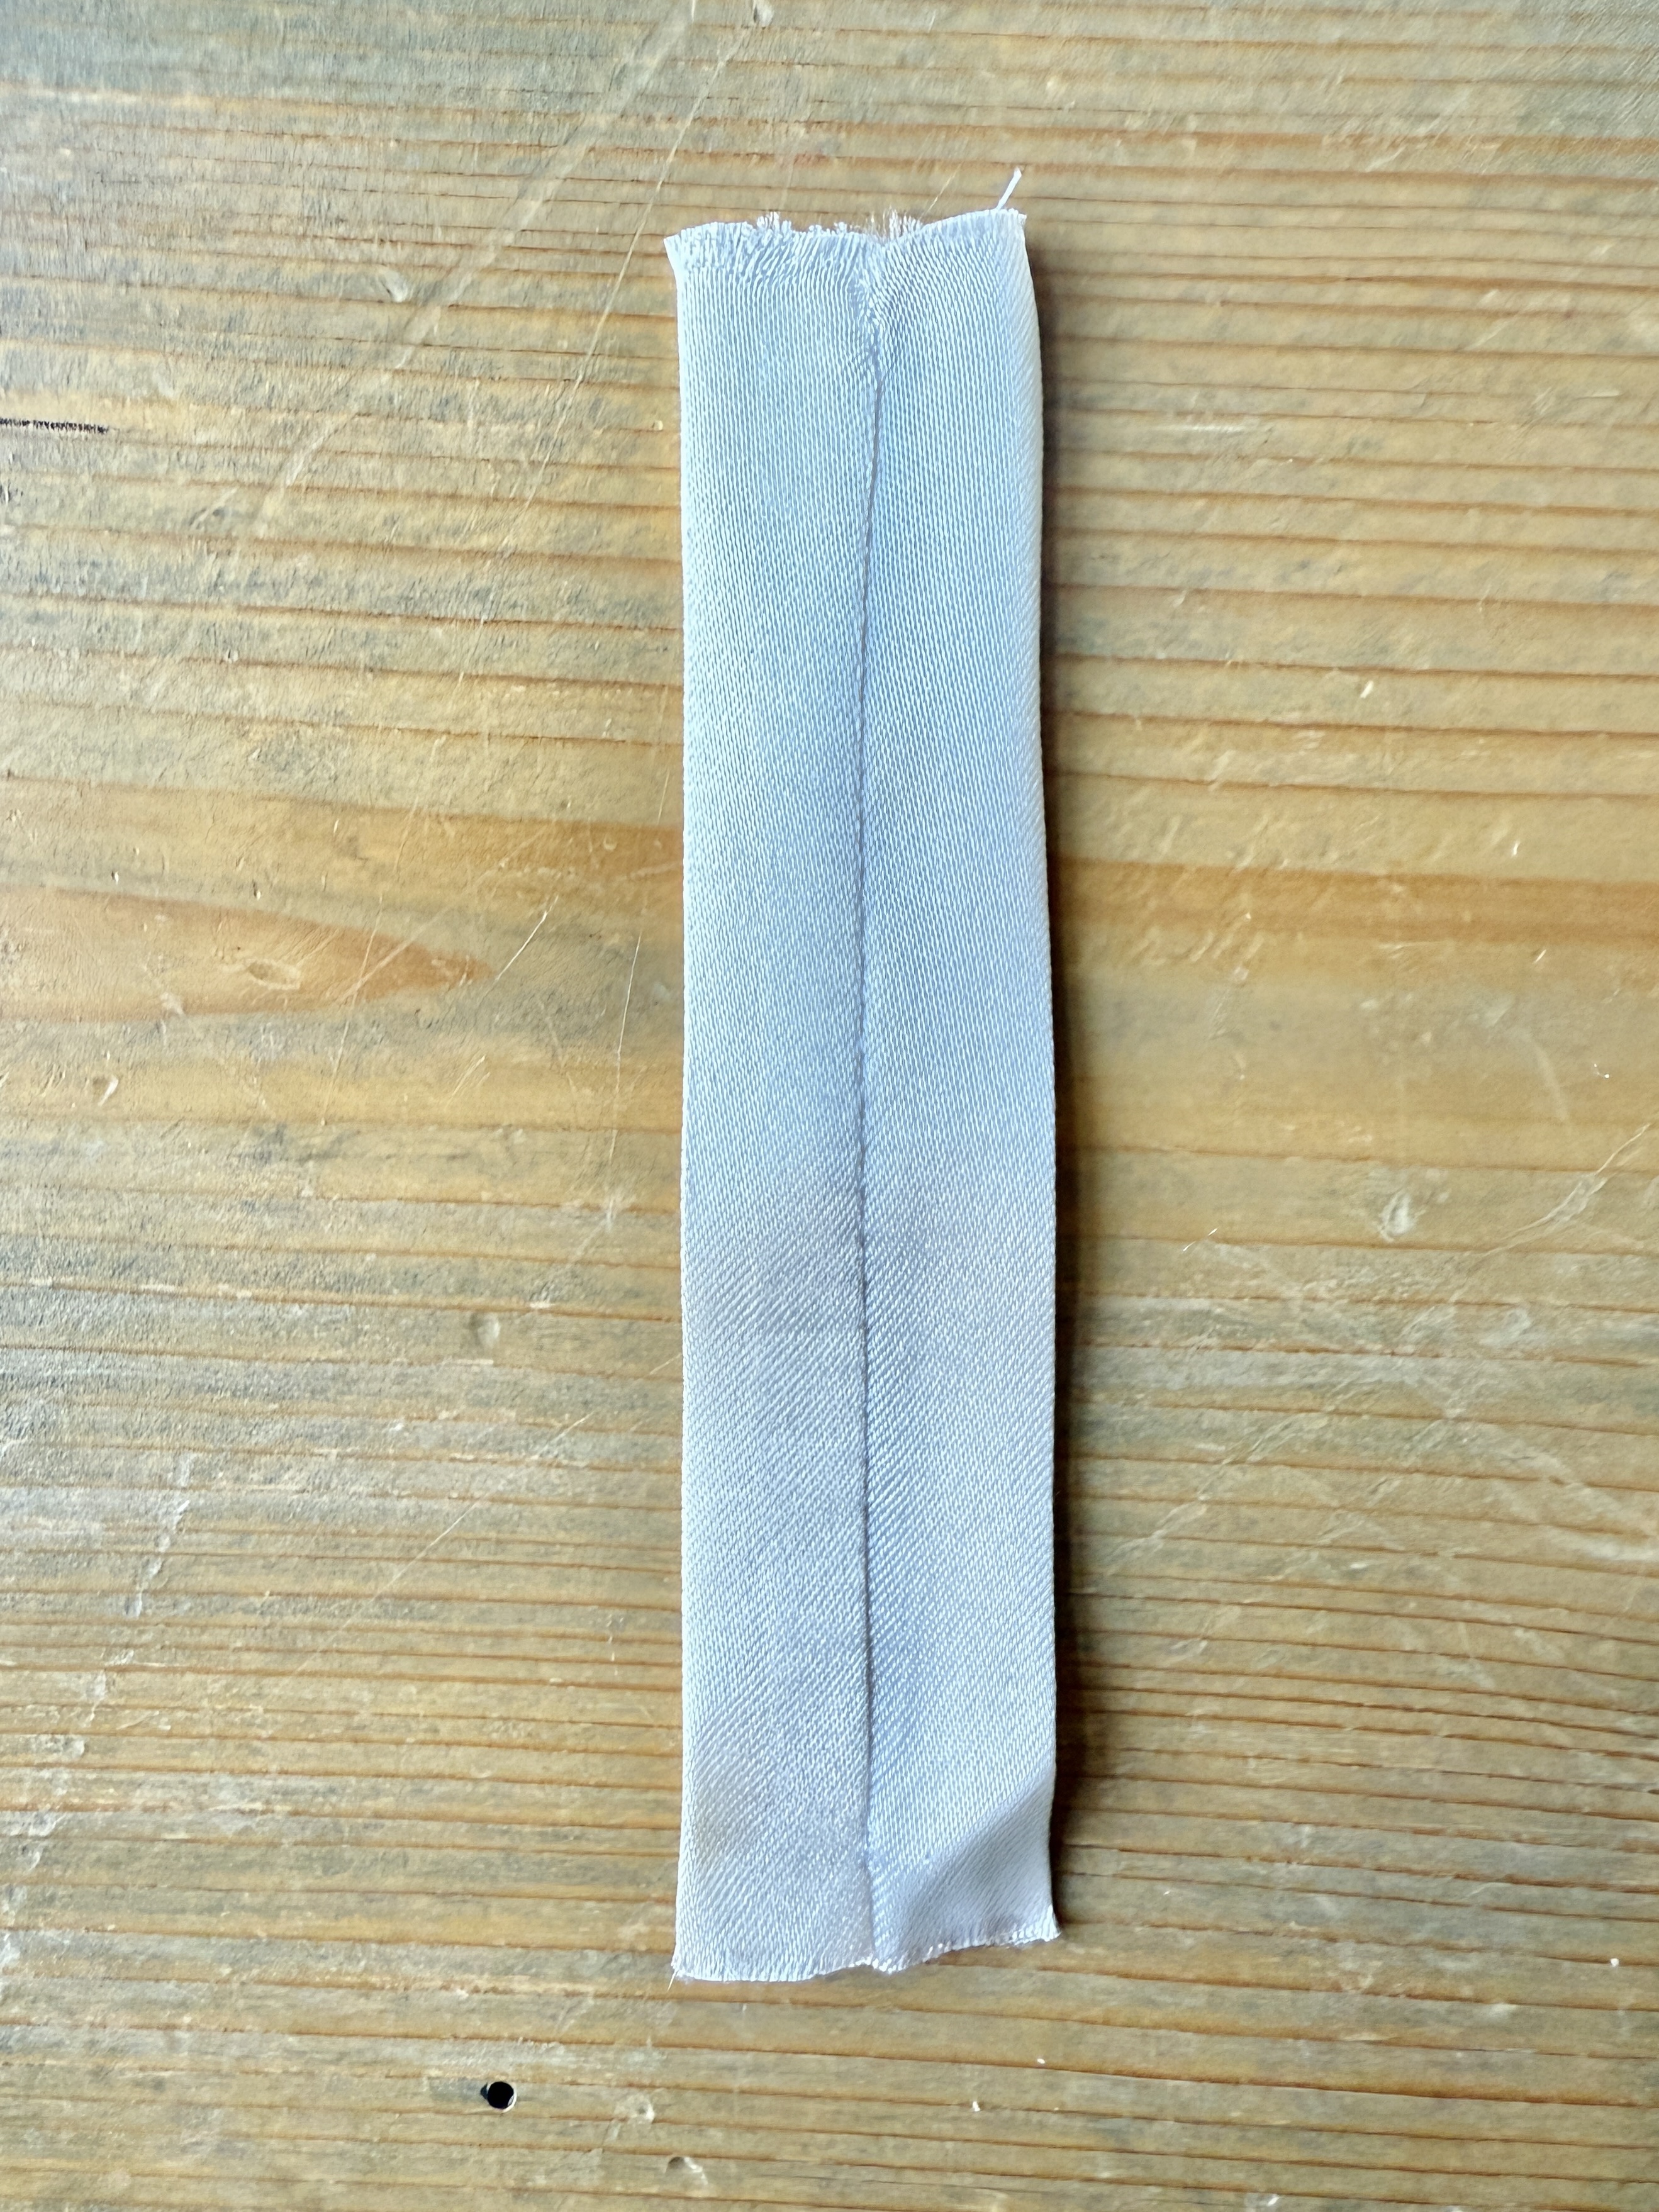
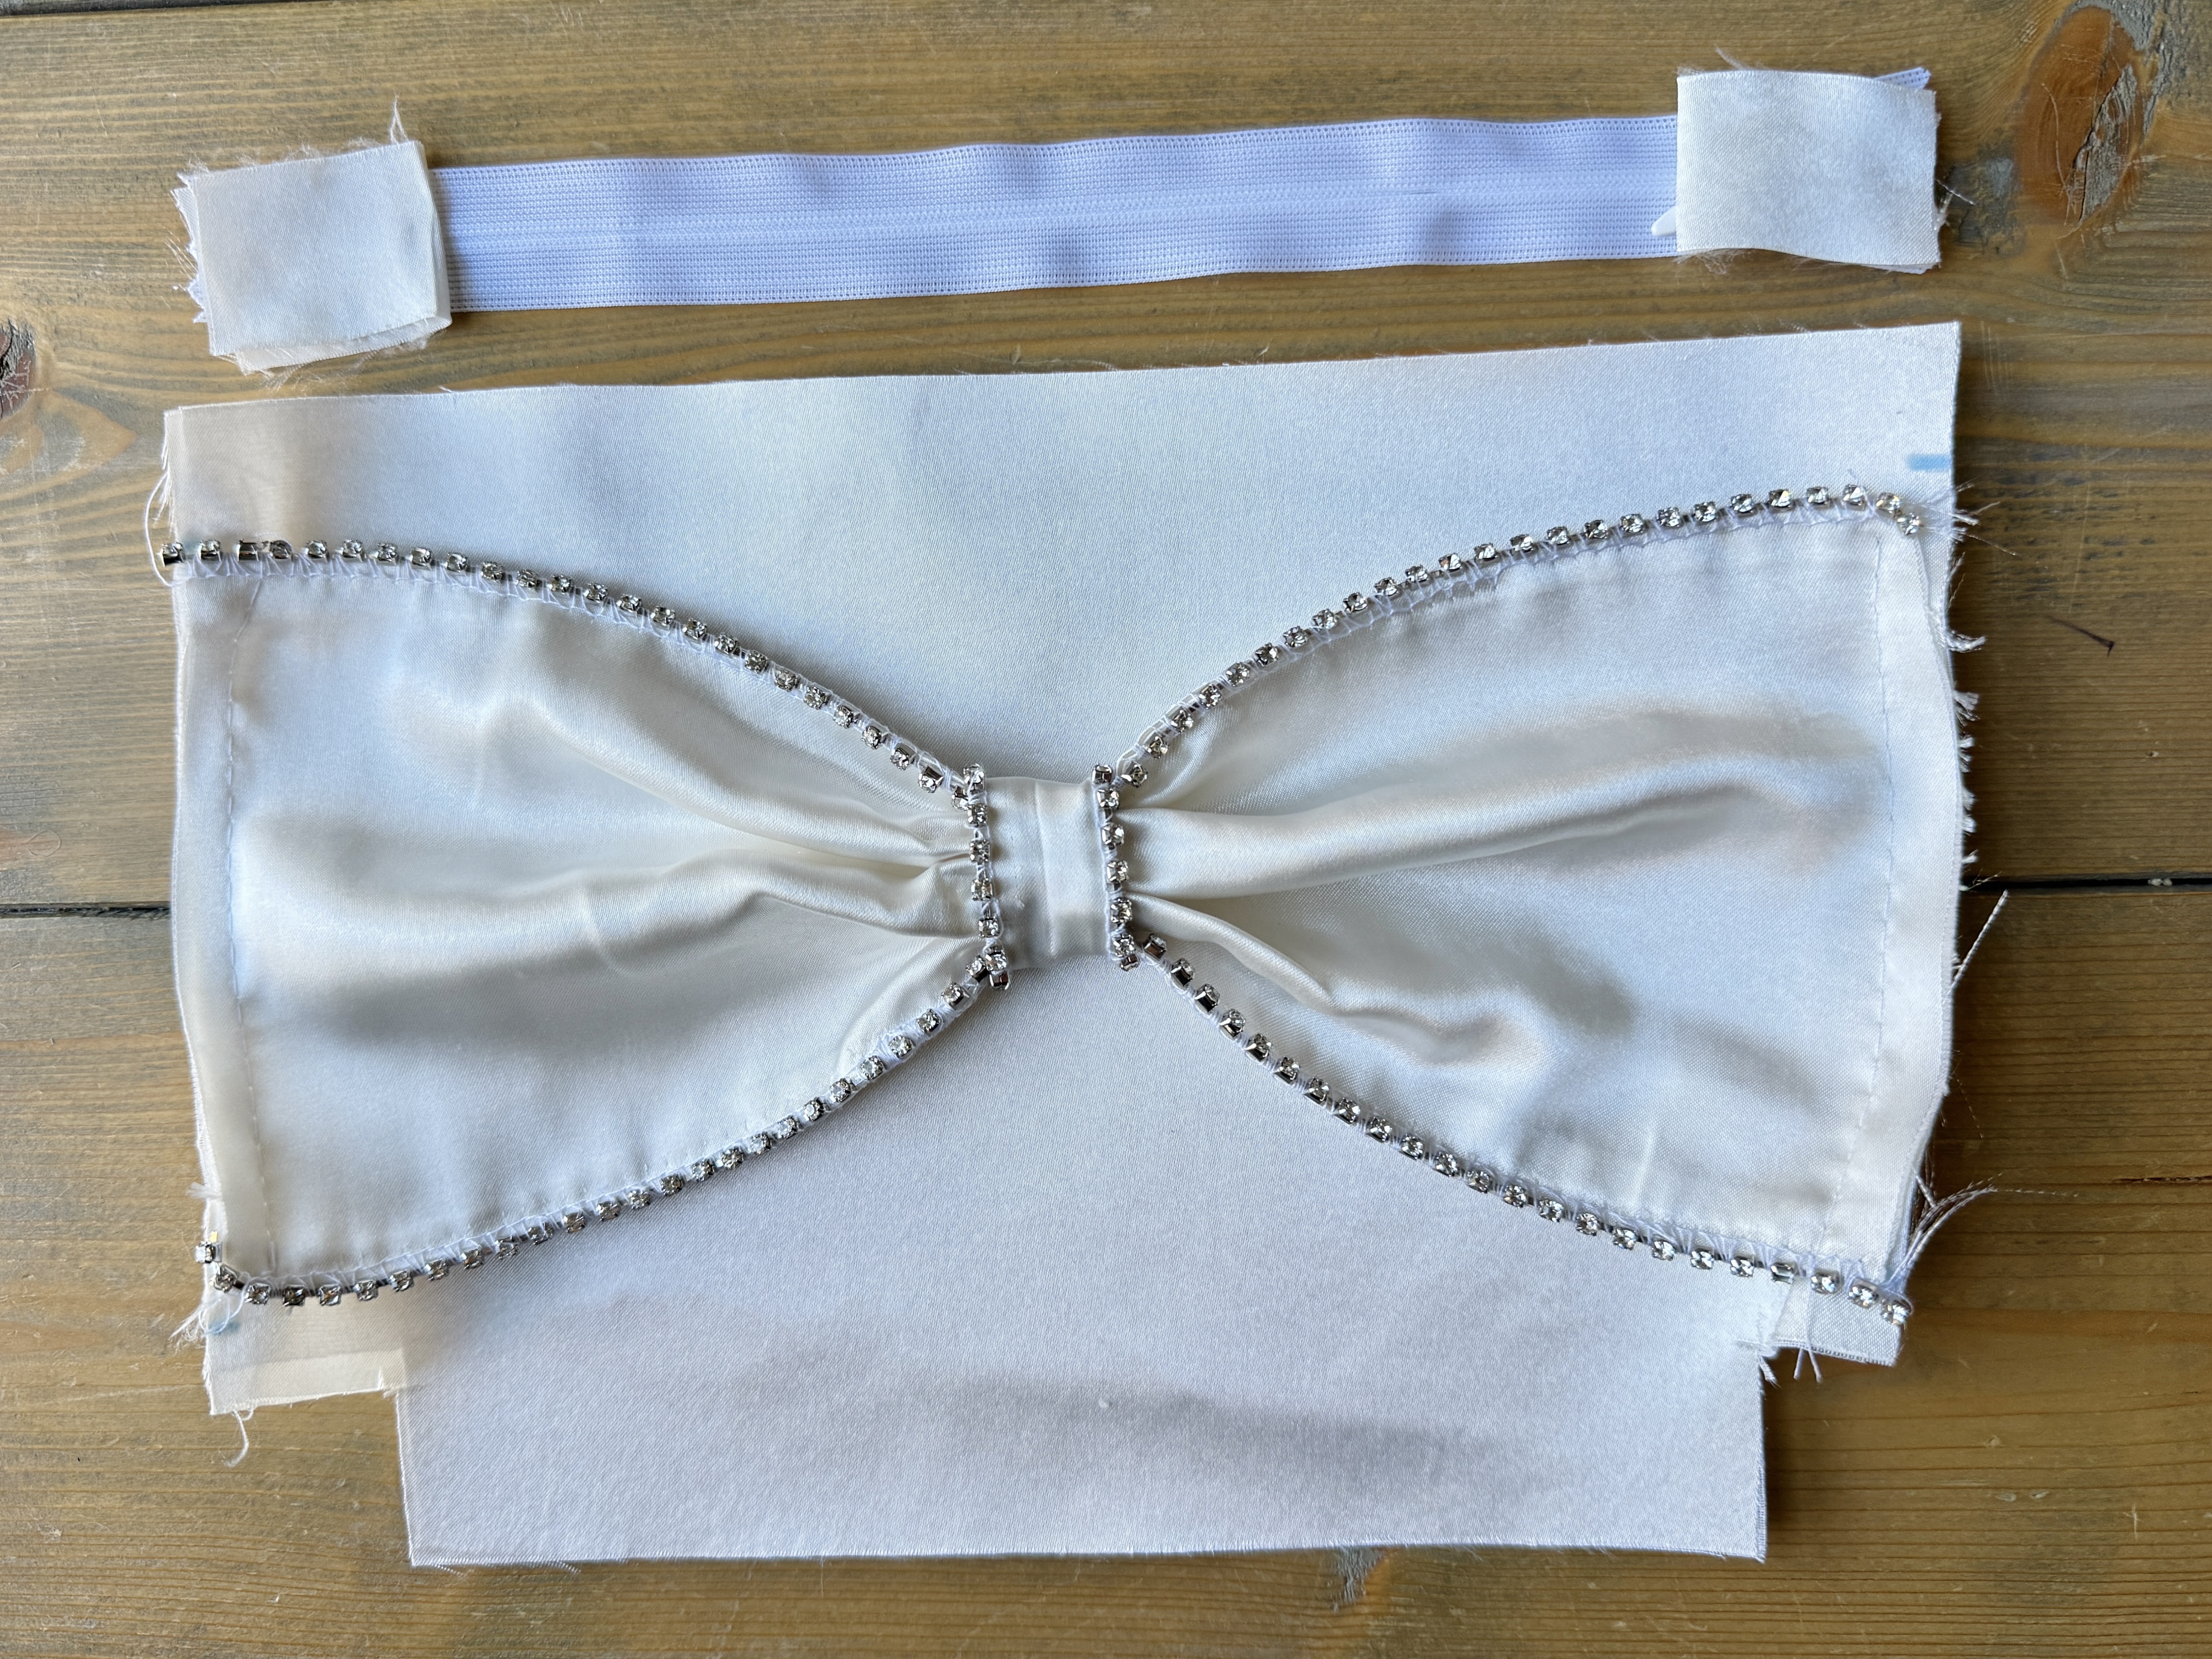
Locate the two bow pieces. With right sides together, stitch along the long sides. The seam allowance for this pattern is 5/8″ (or 1.5 cm).
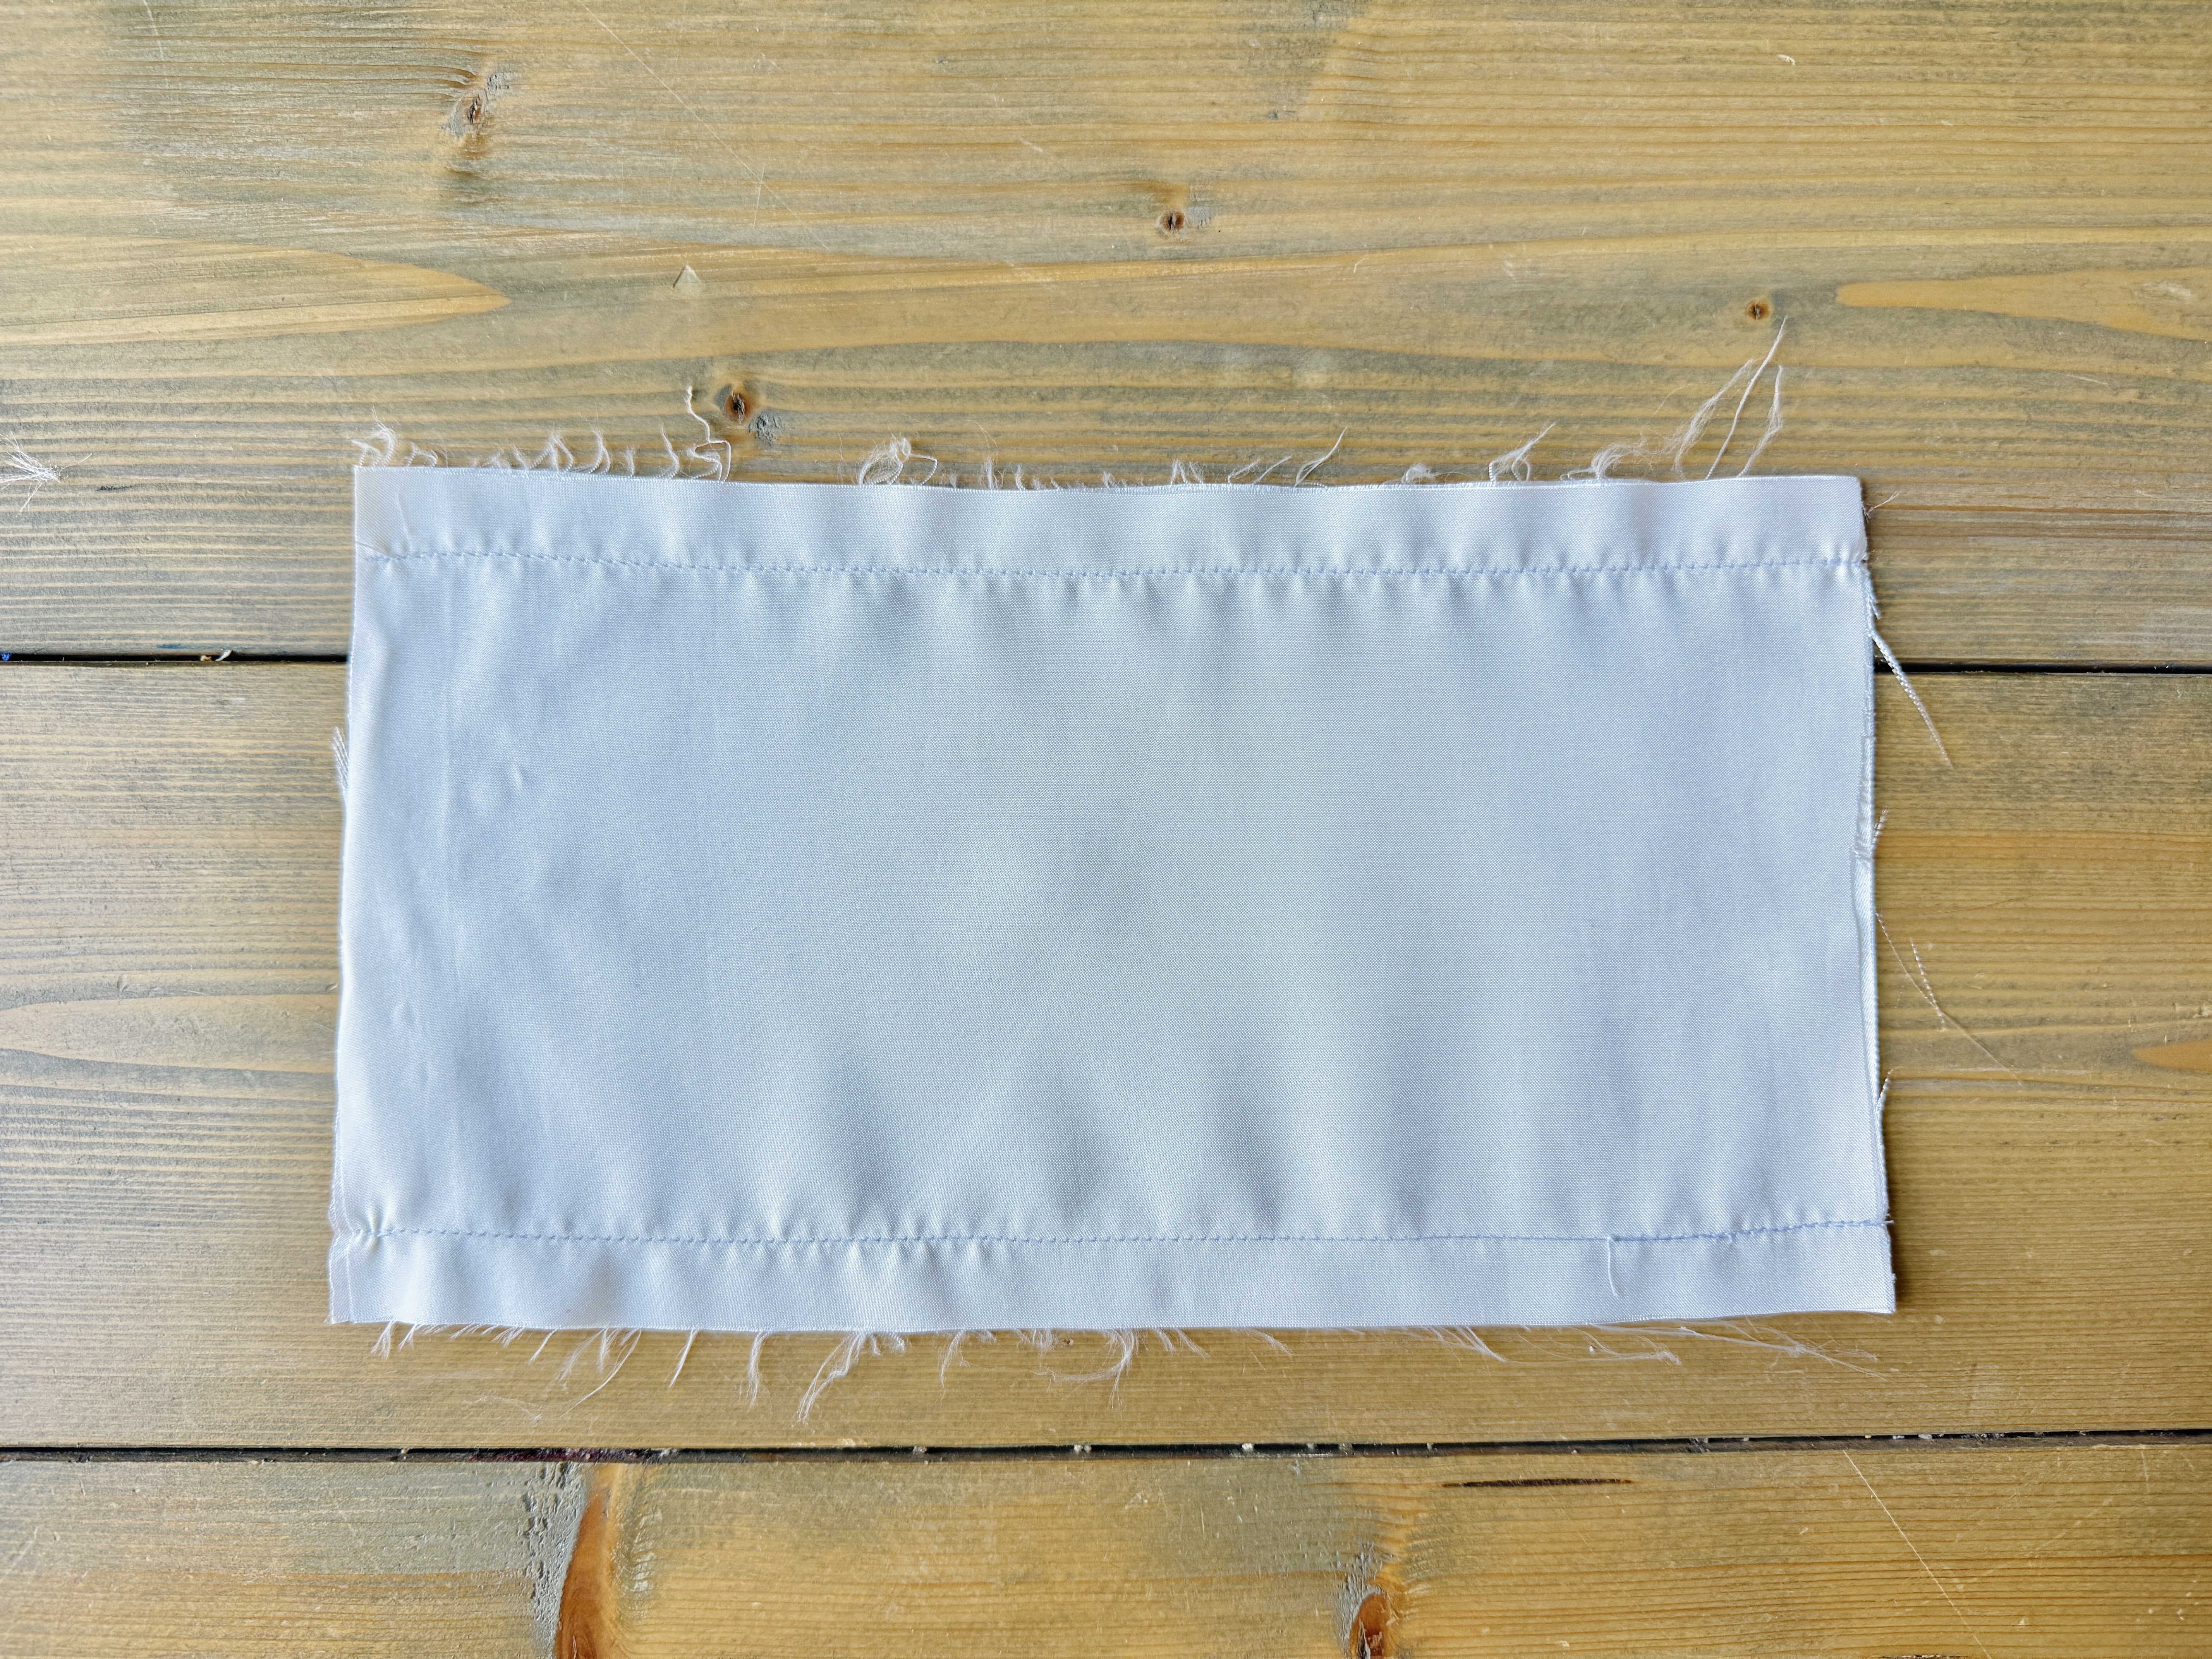
Trim the seam allowances to a scant 1/4″, and turn right sides out. Give the bow a good press.
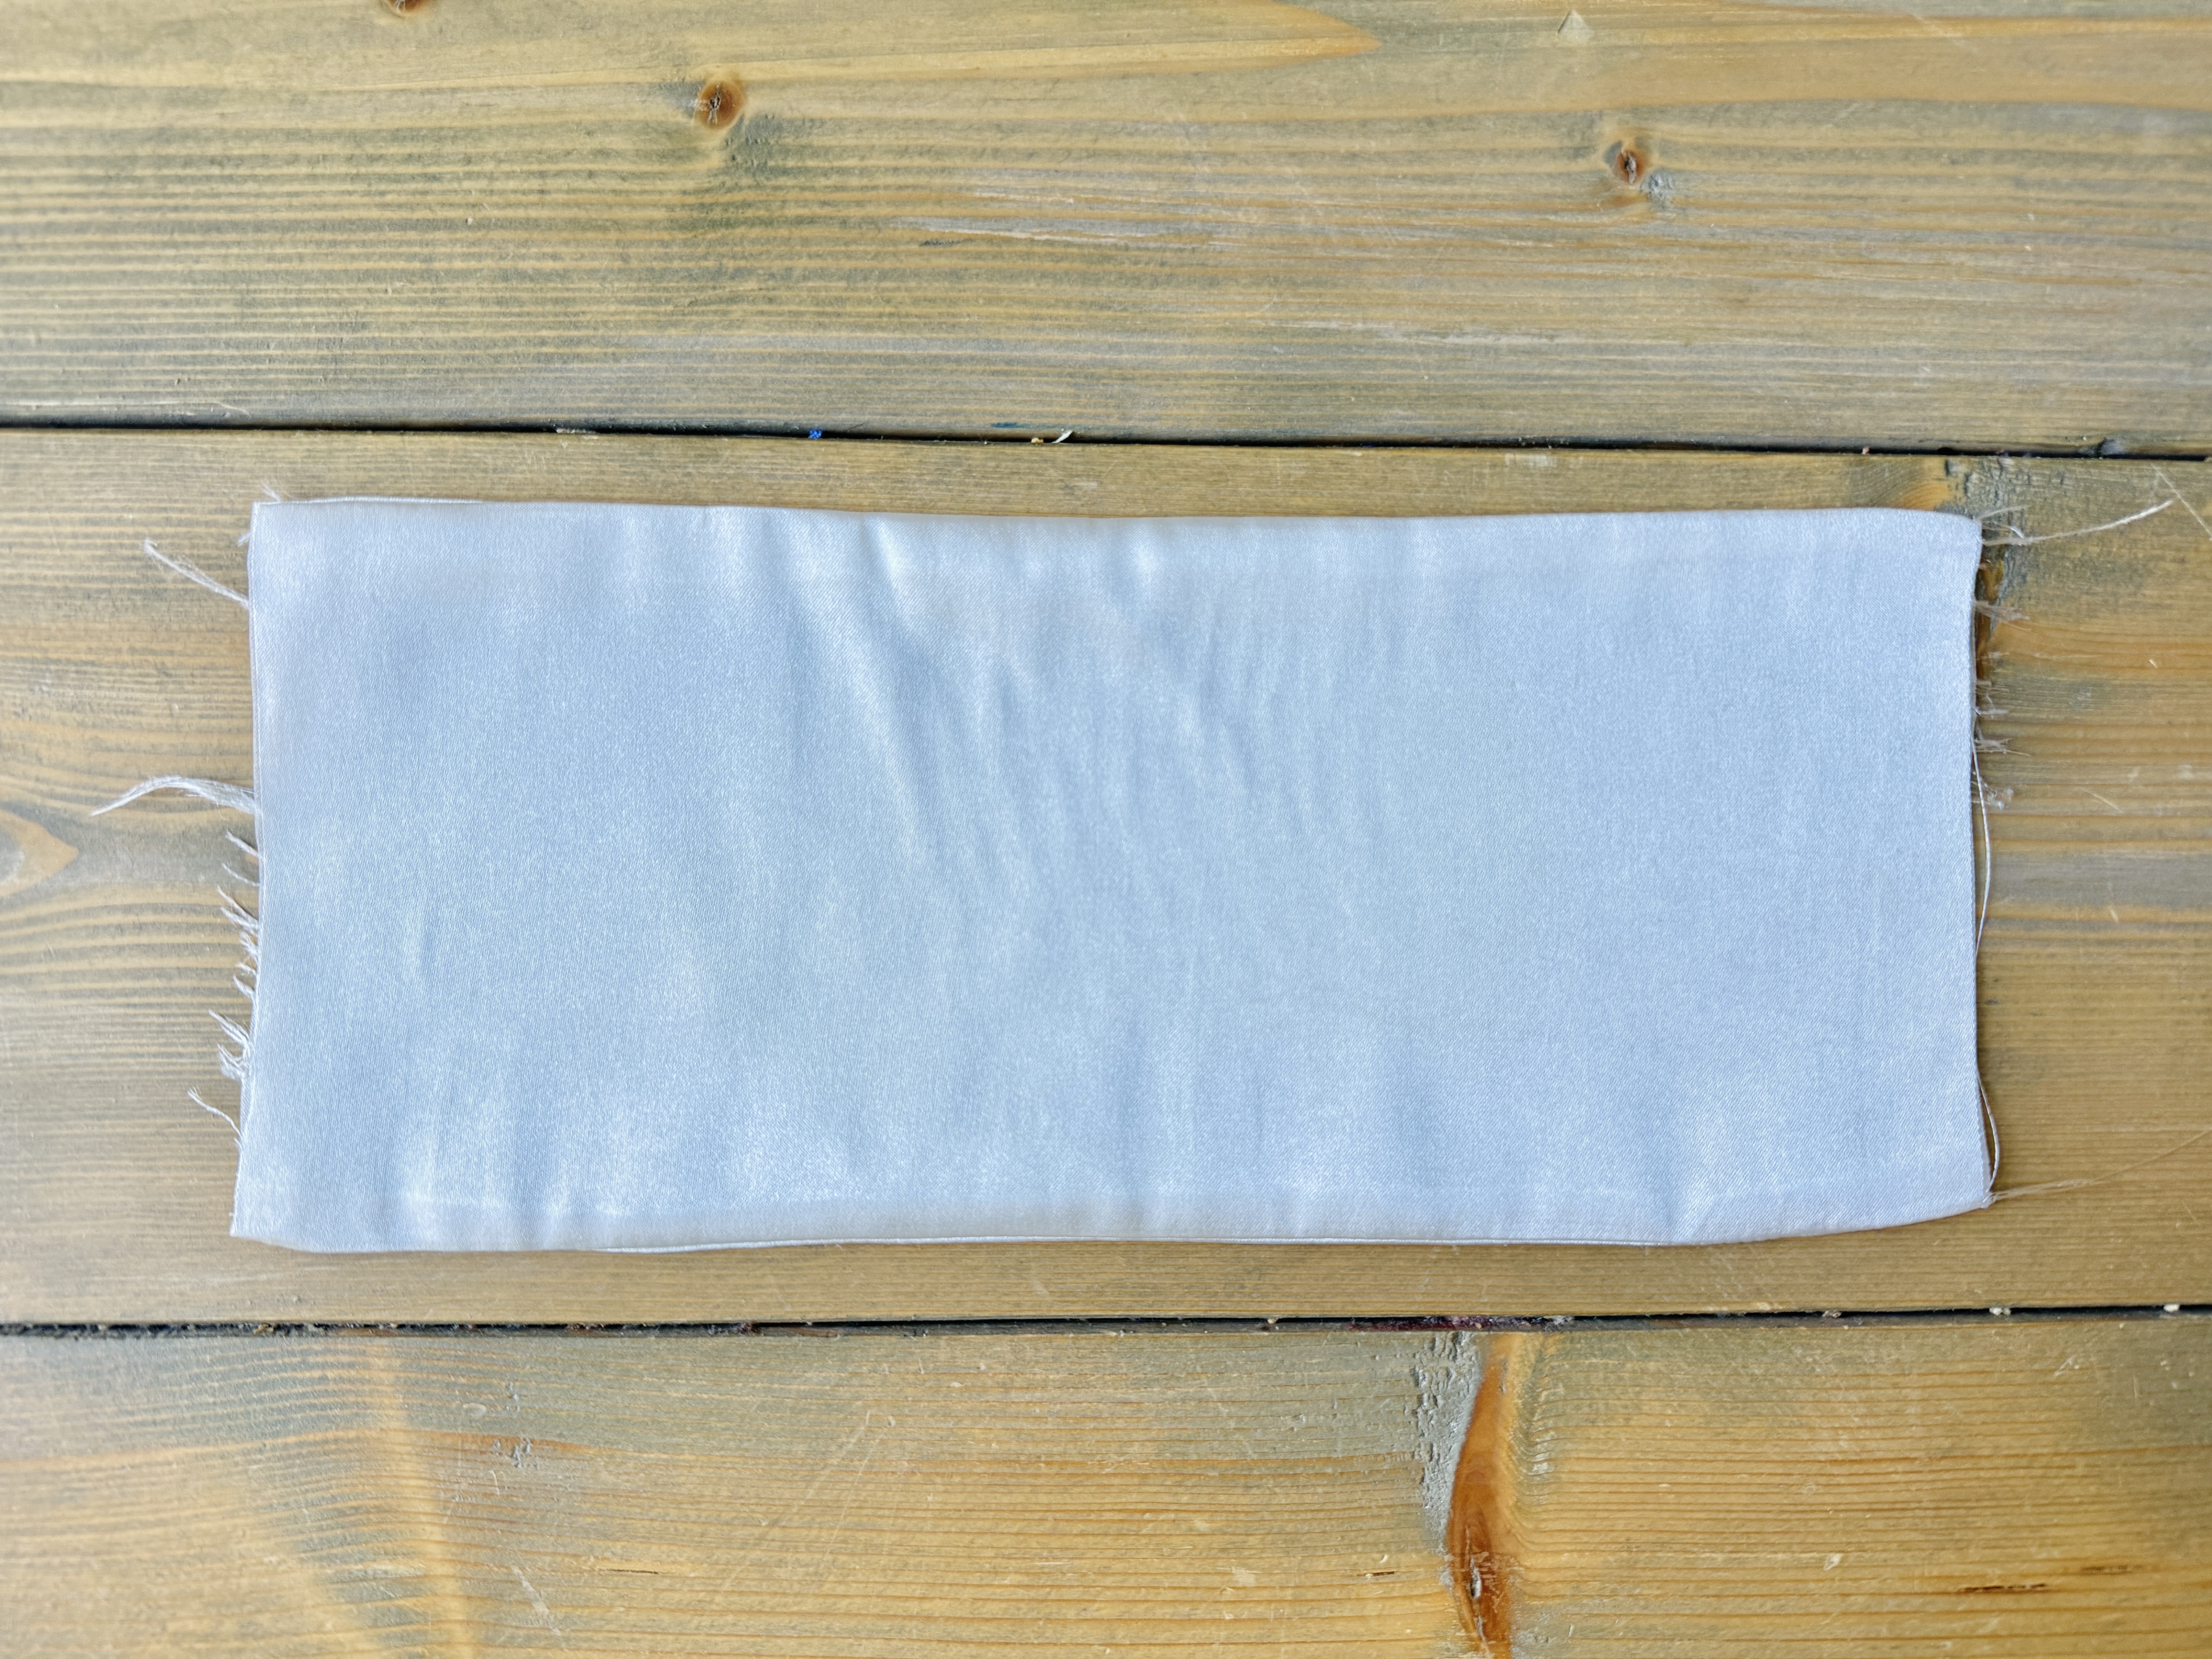
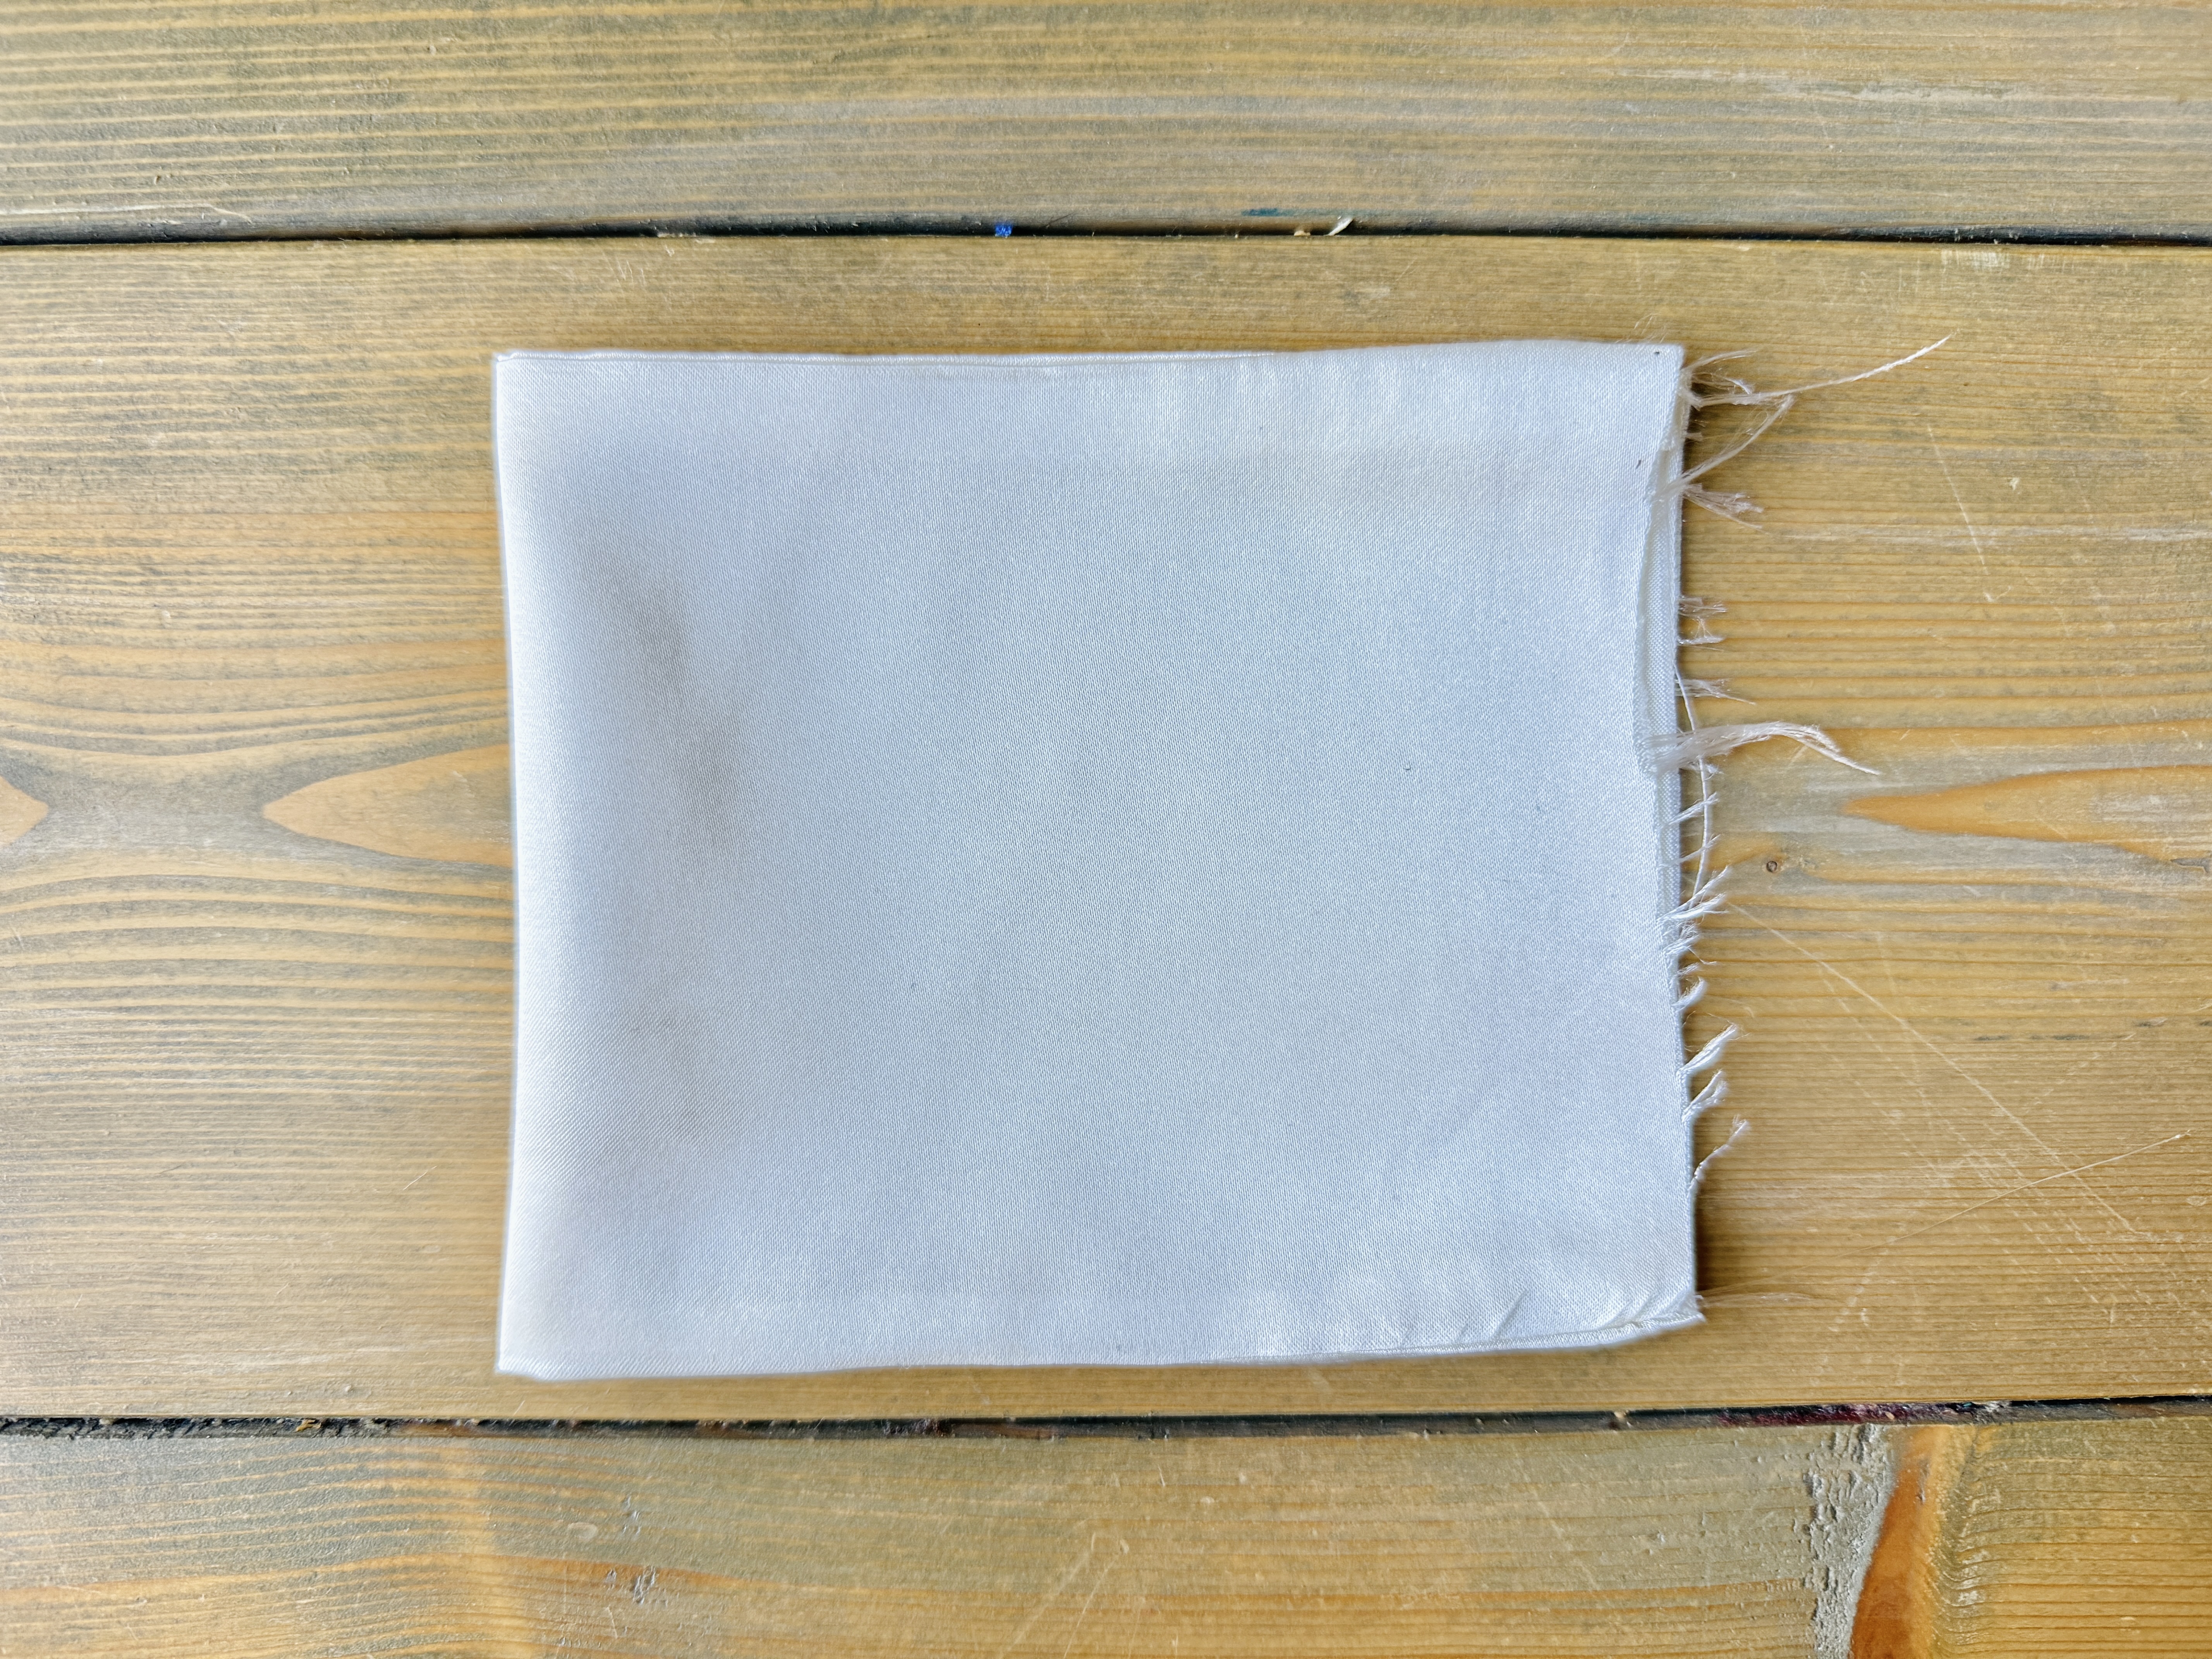
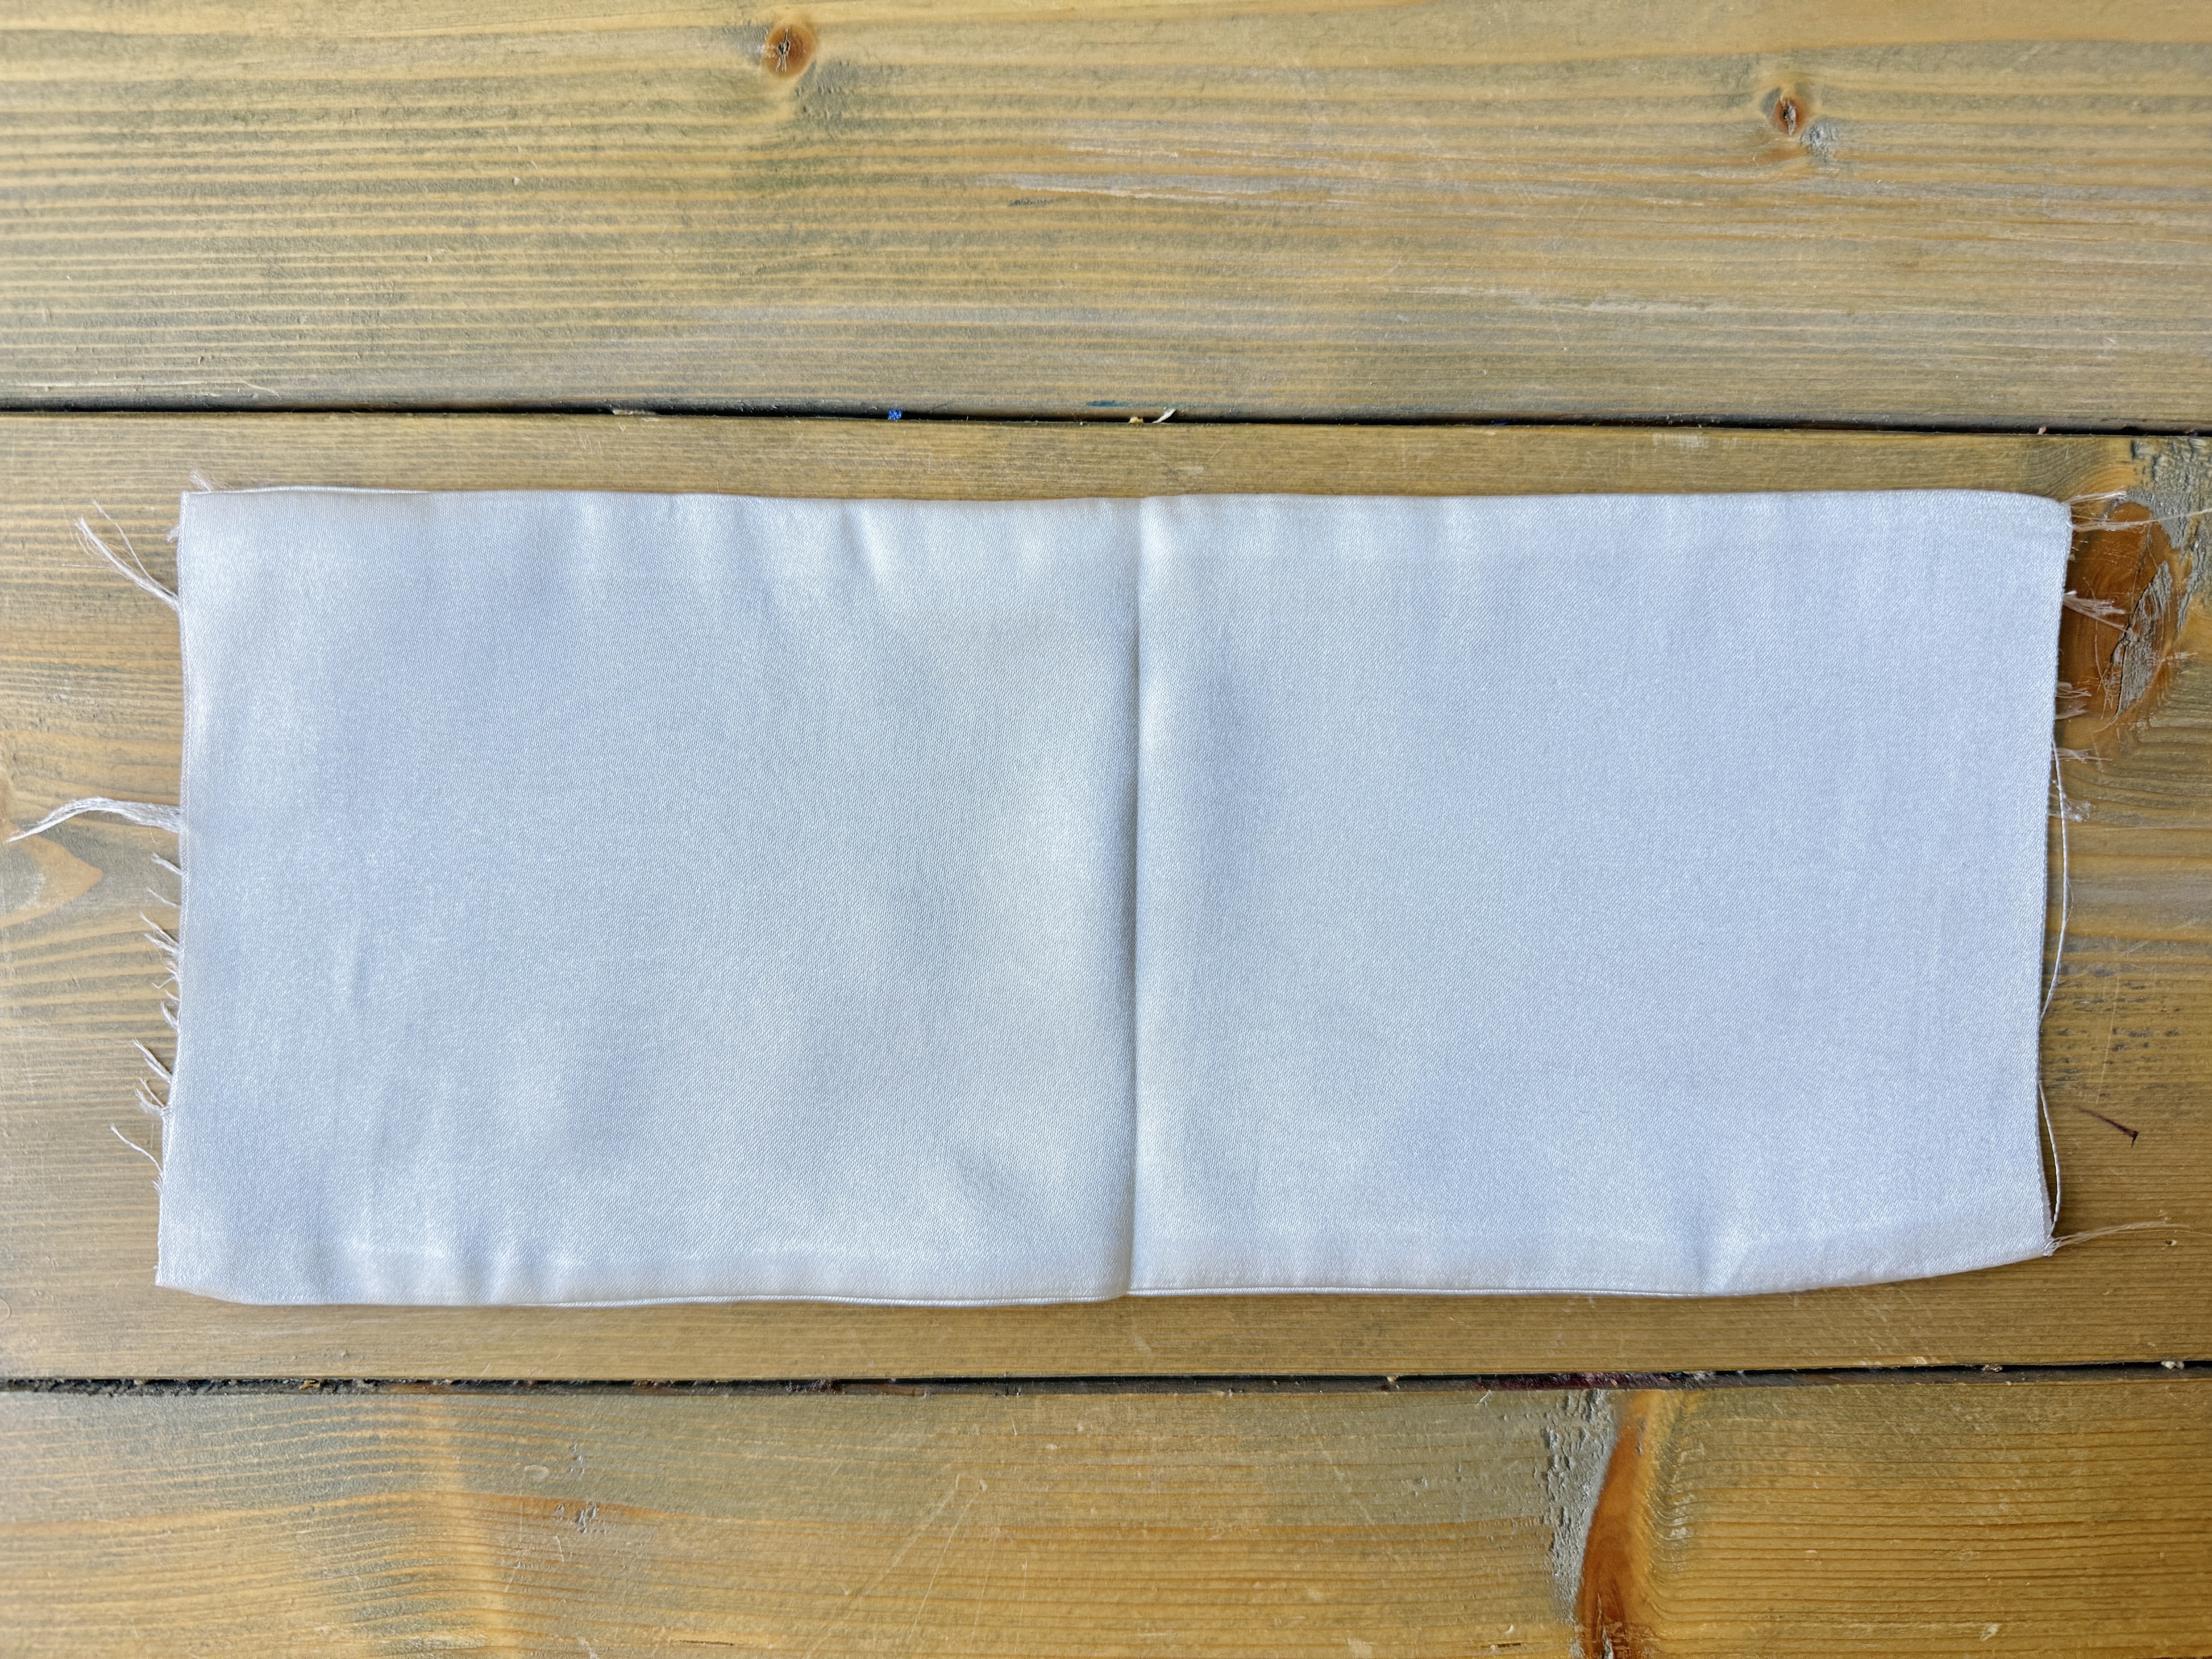
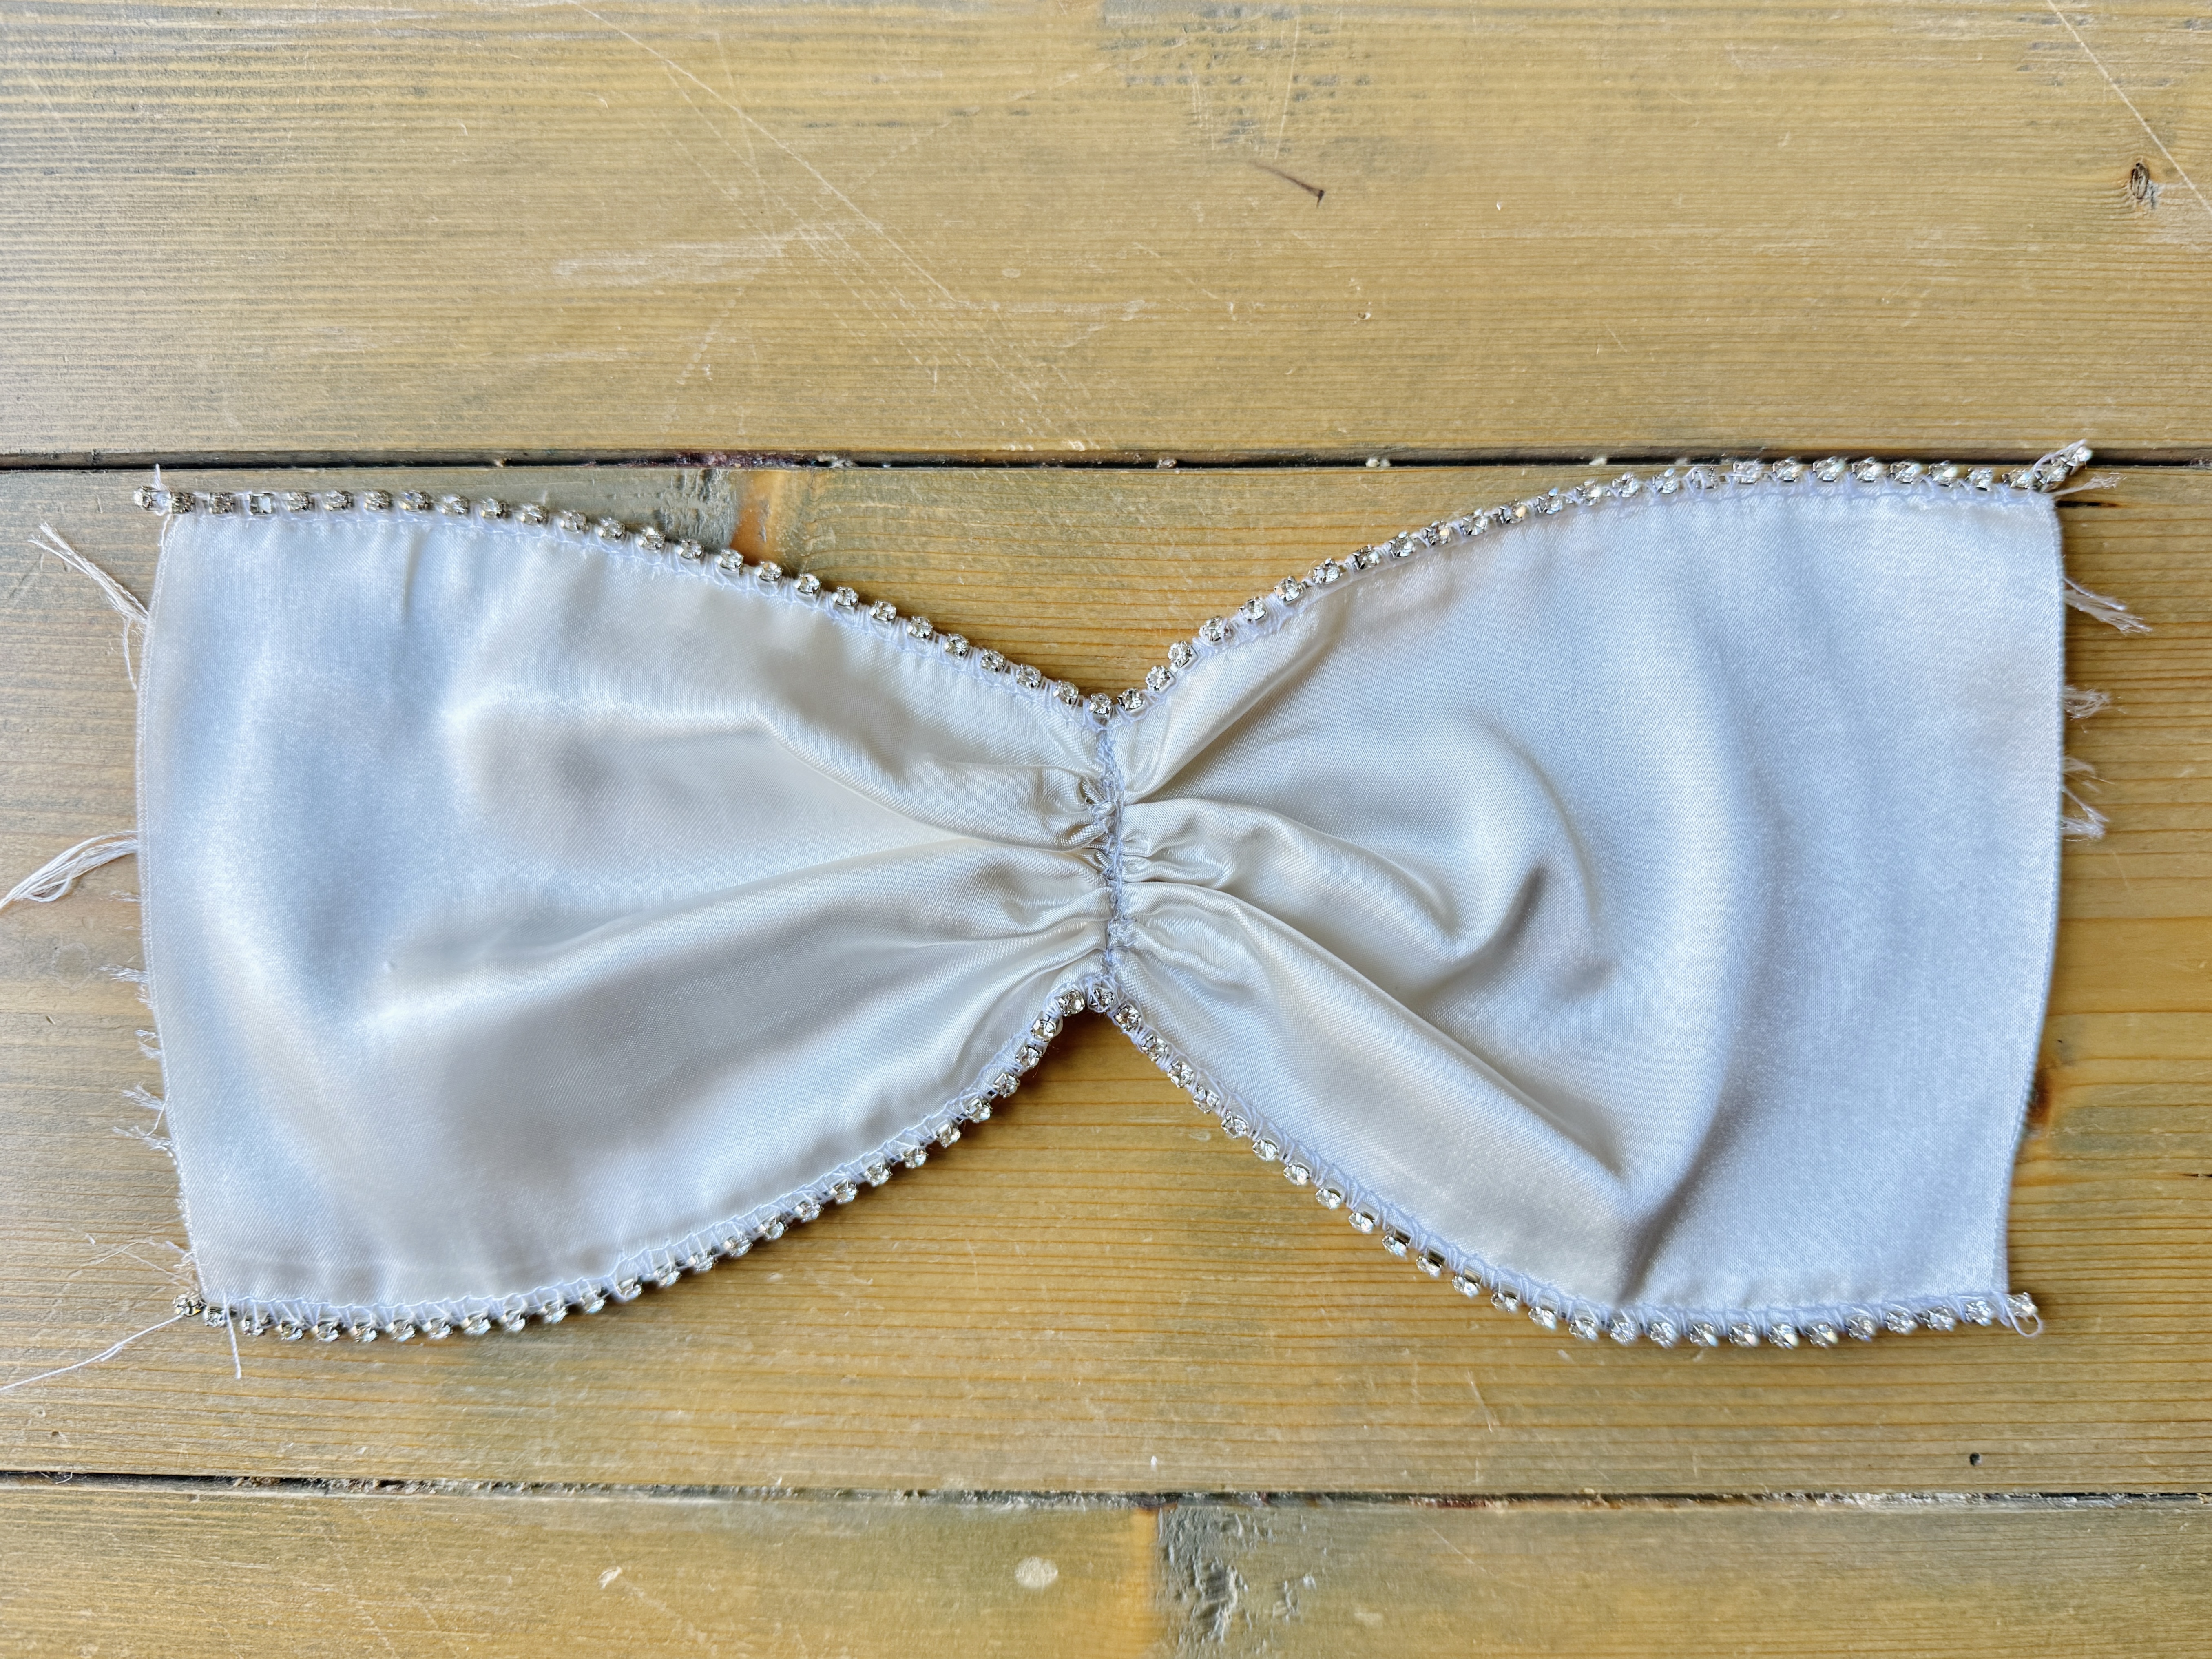
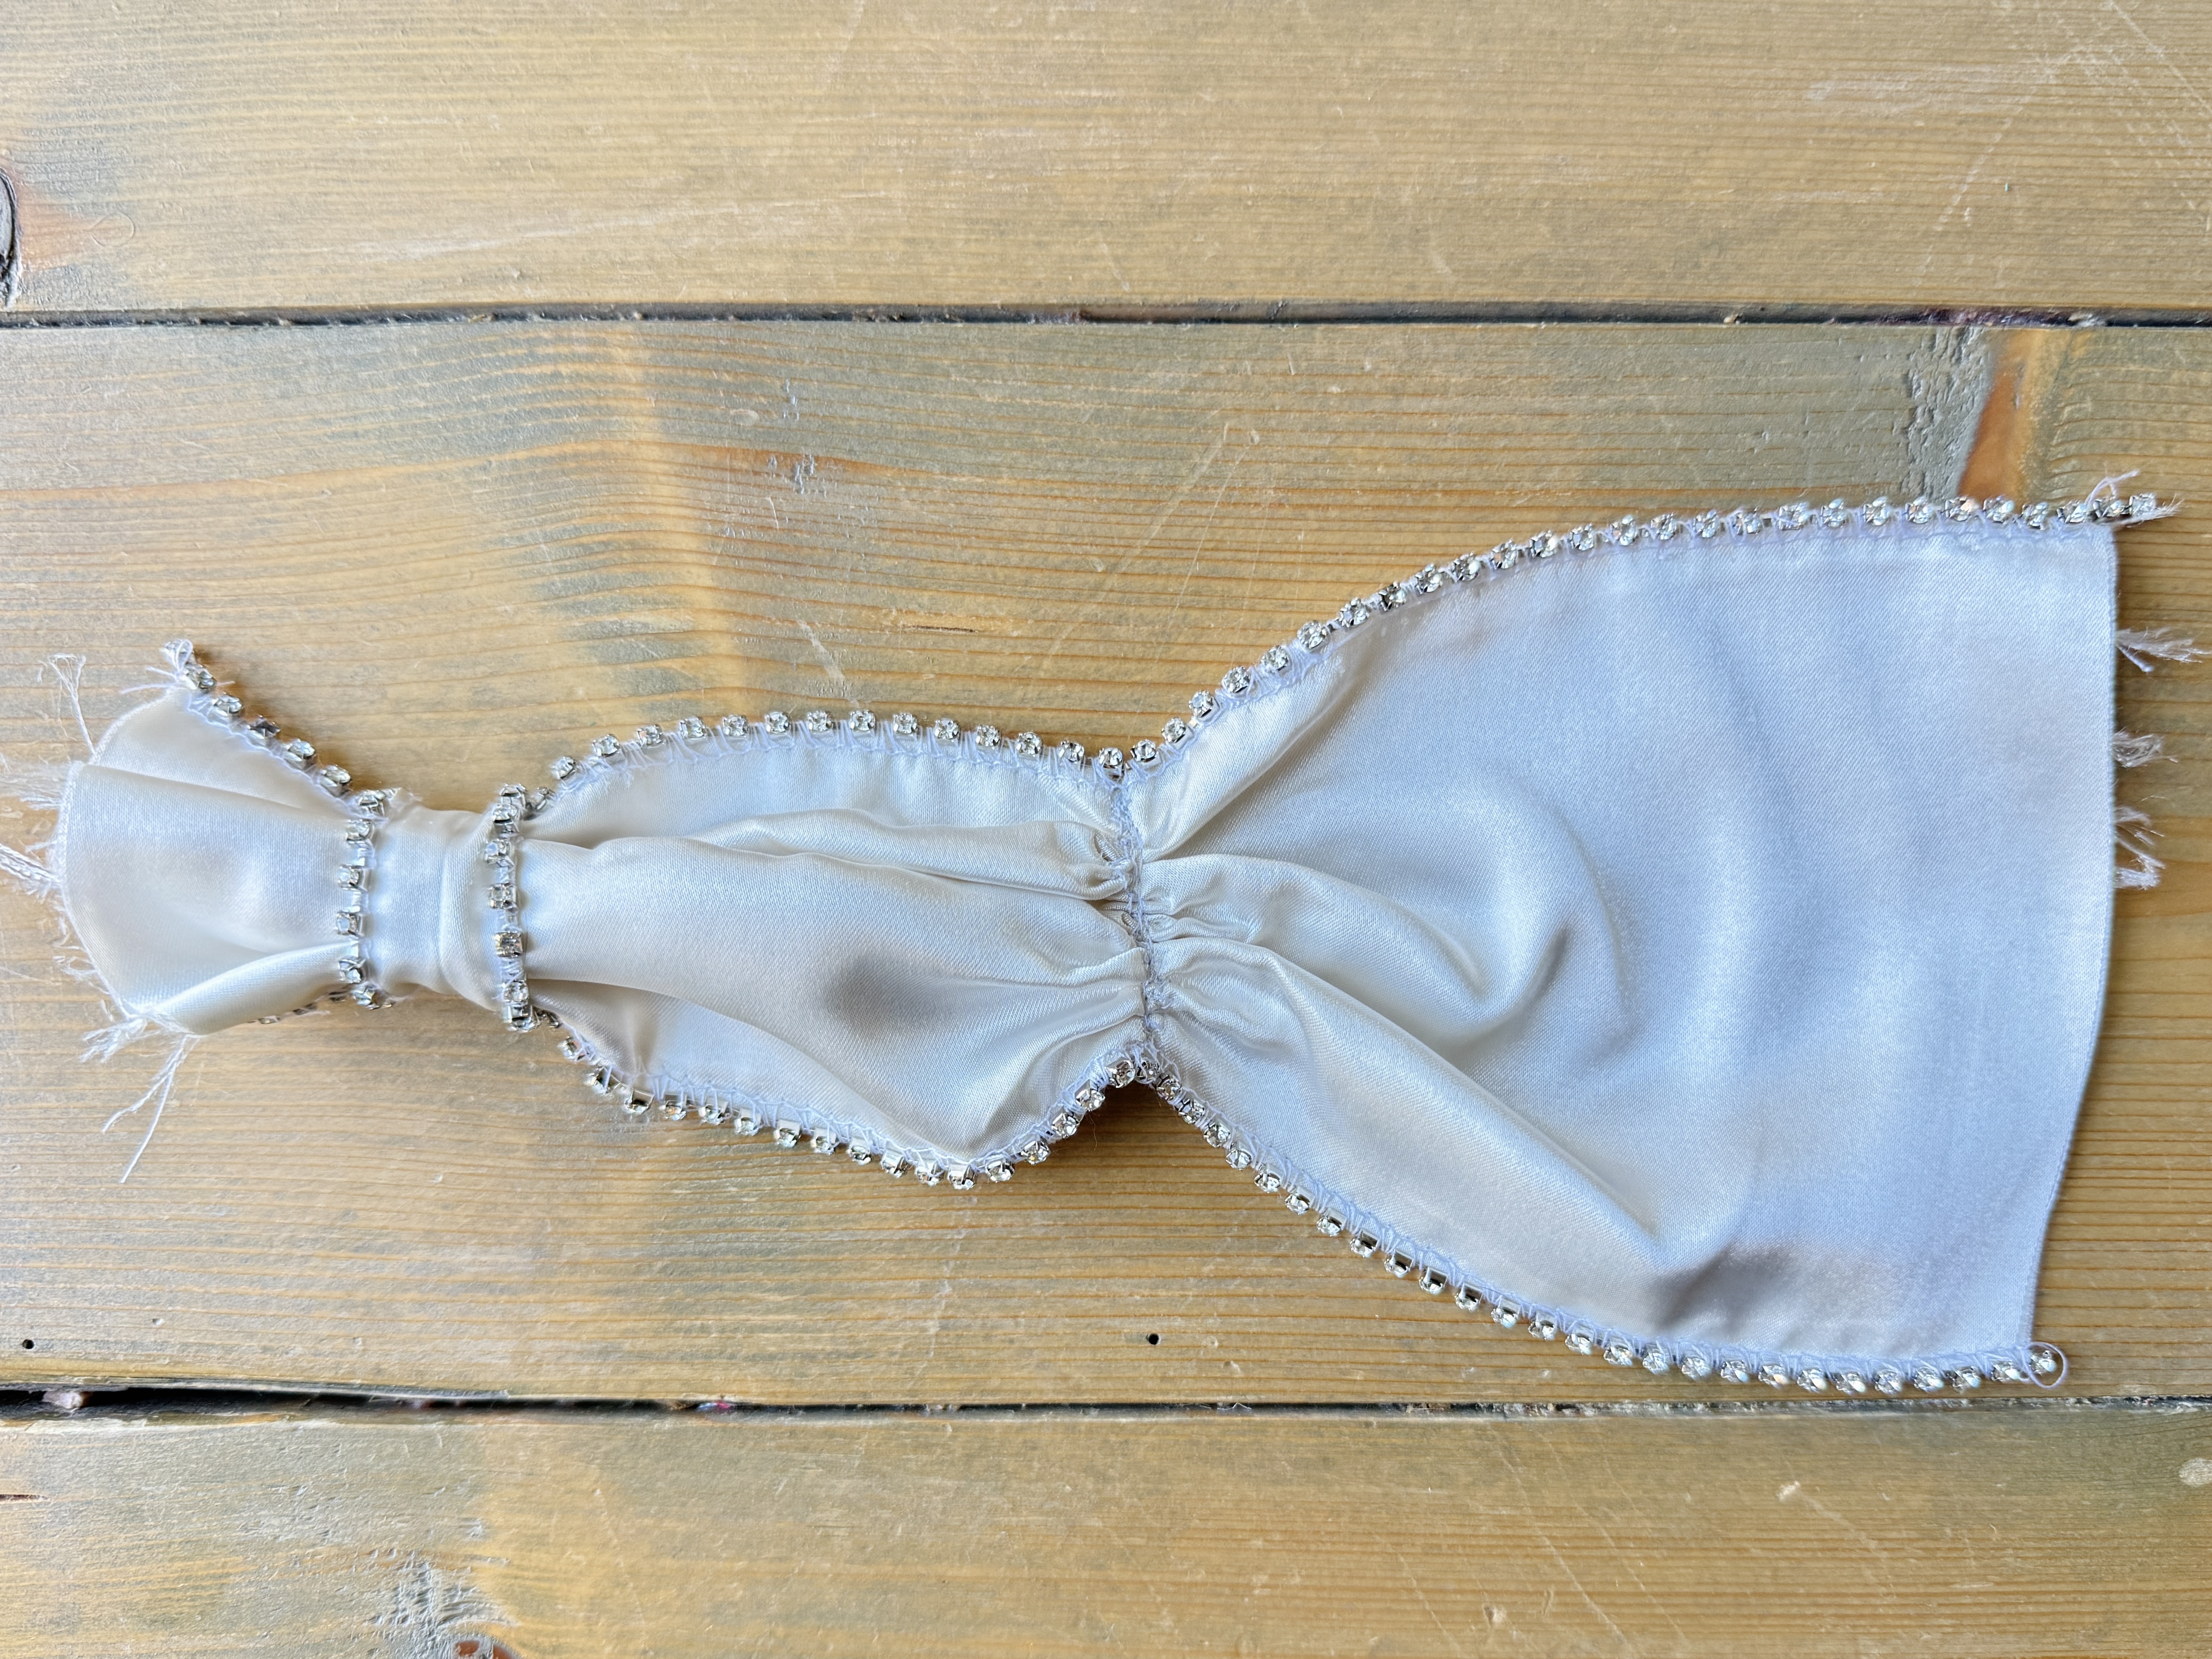
Finding the center point, fold the bow piece in half lengthways. Press to create a memory crease.
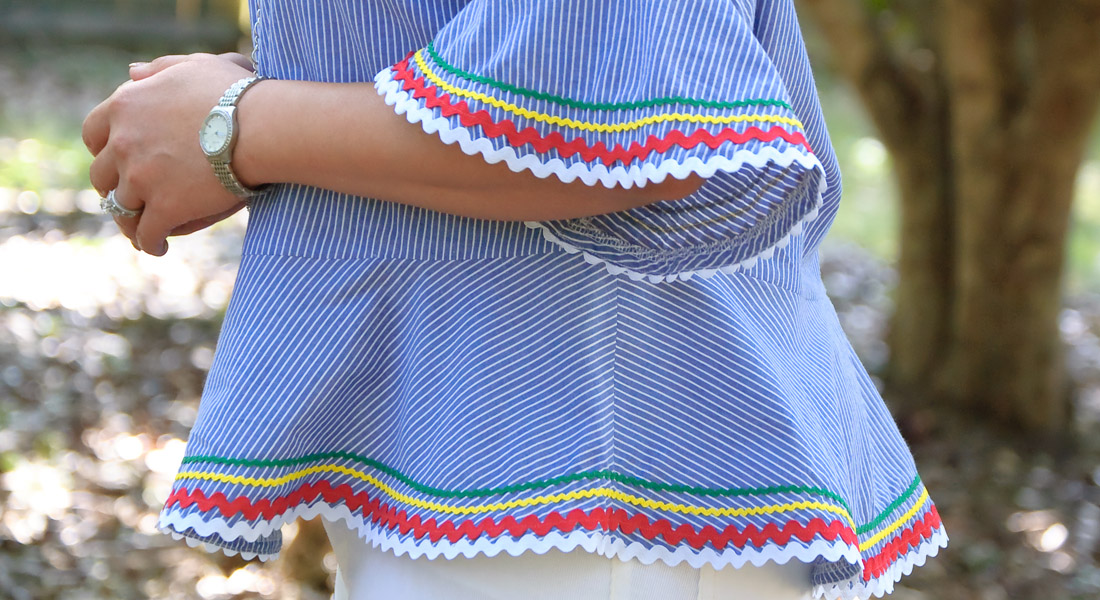
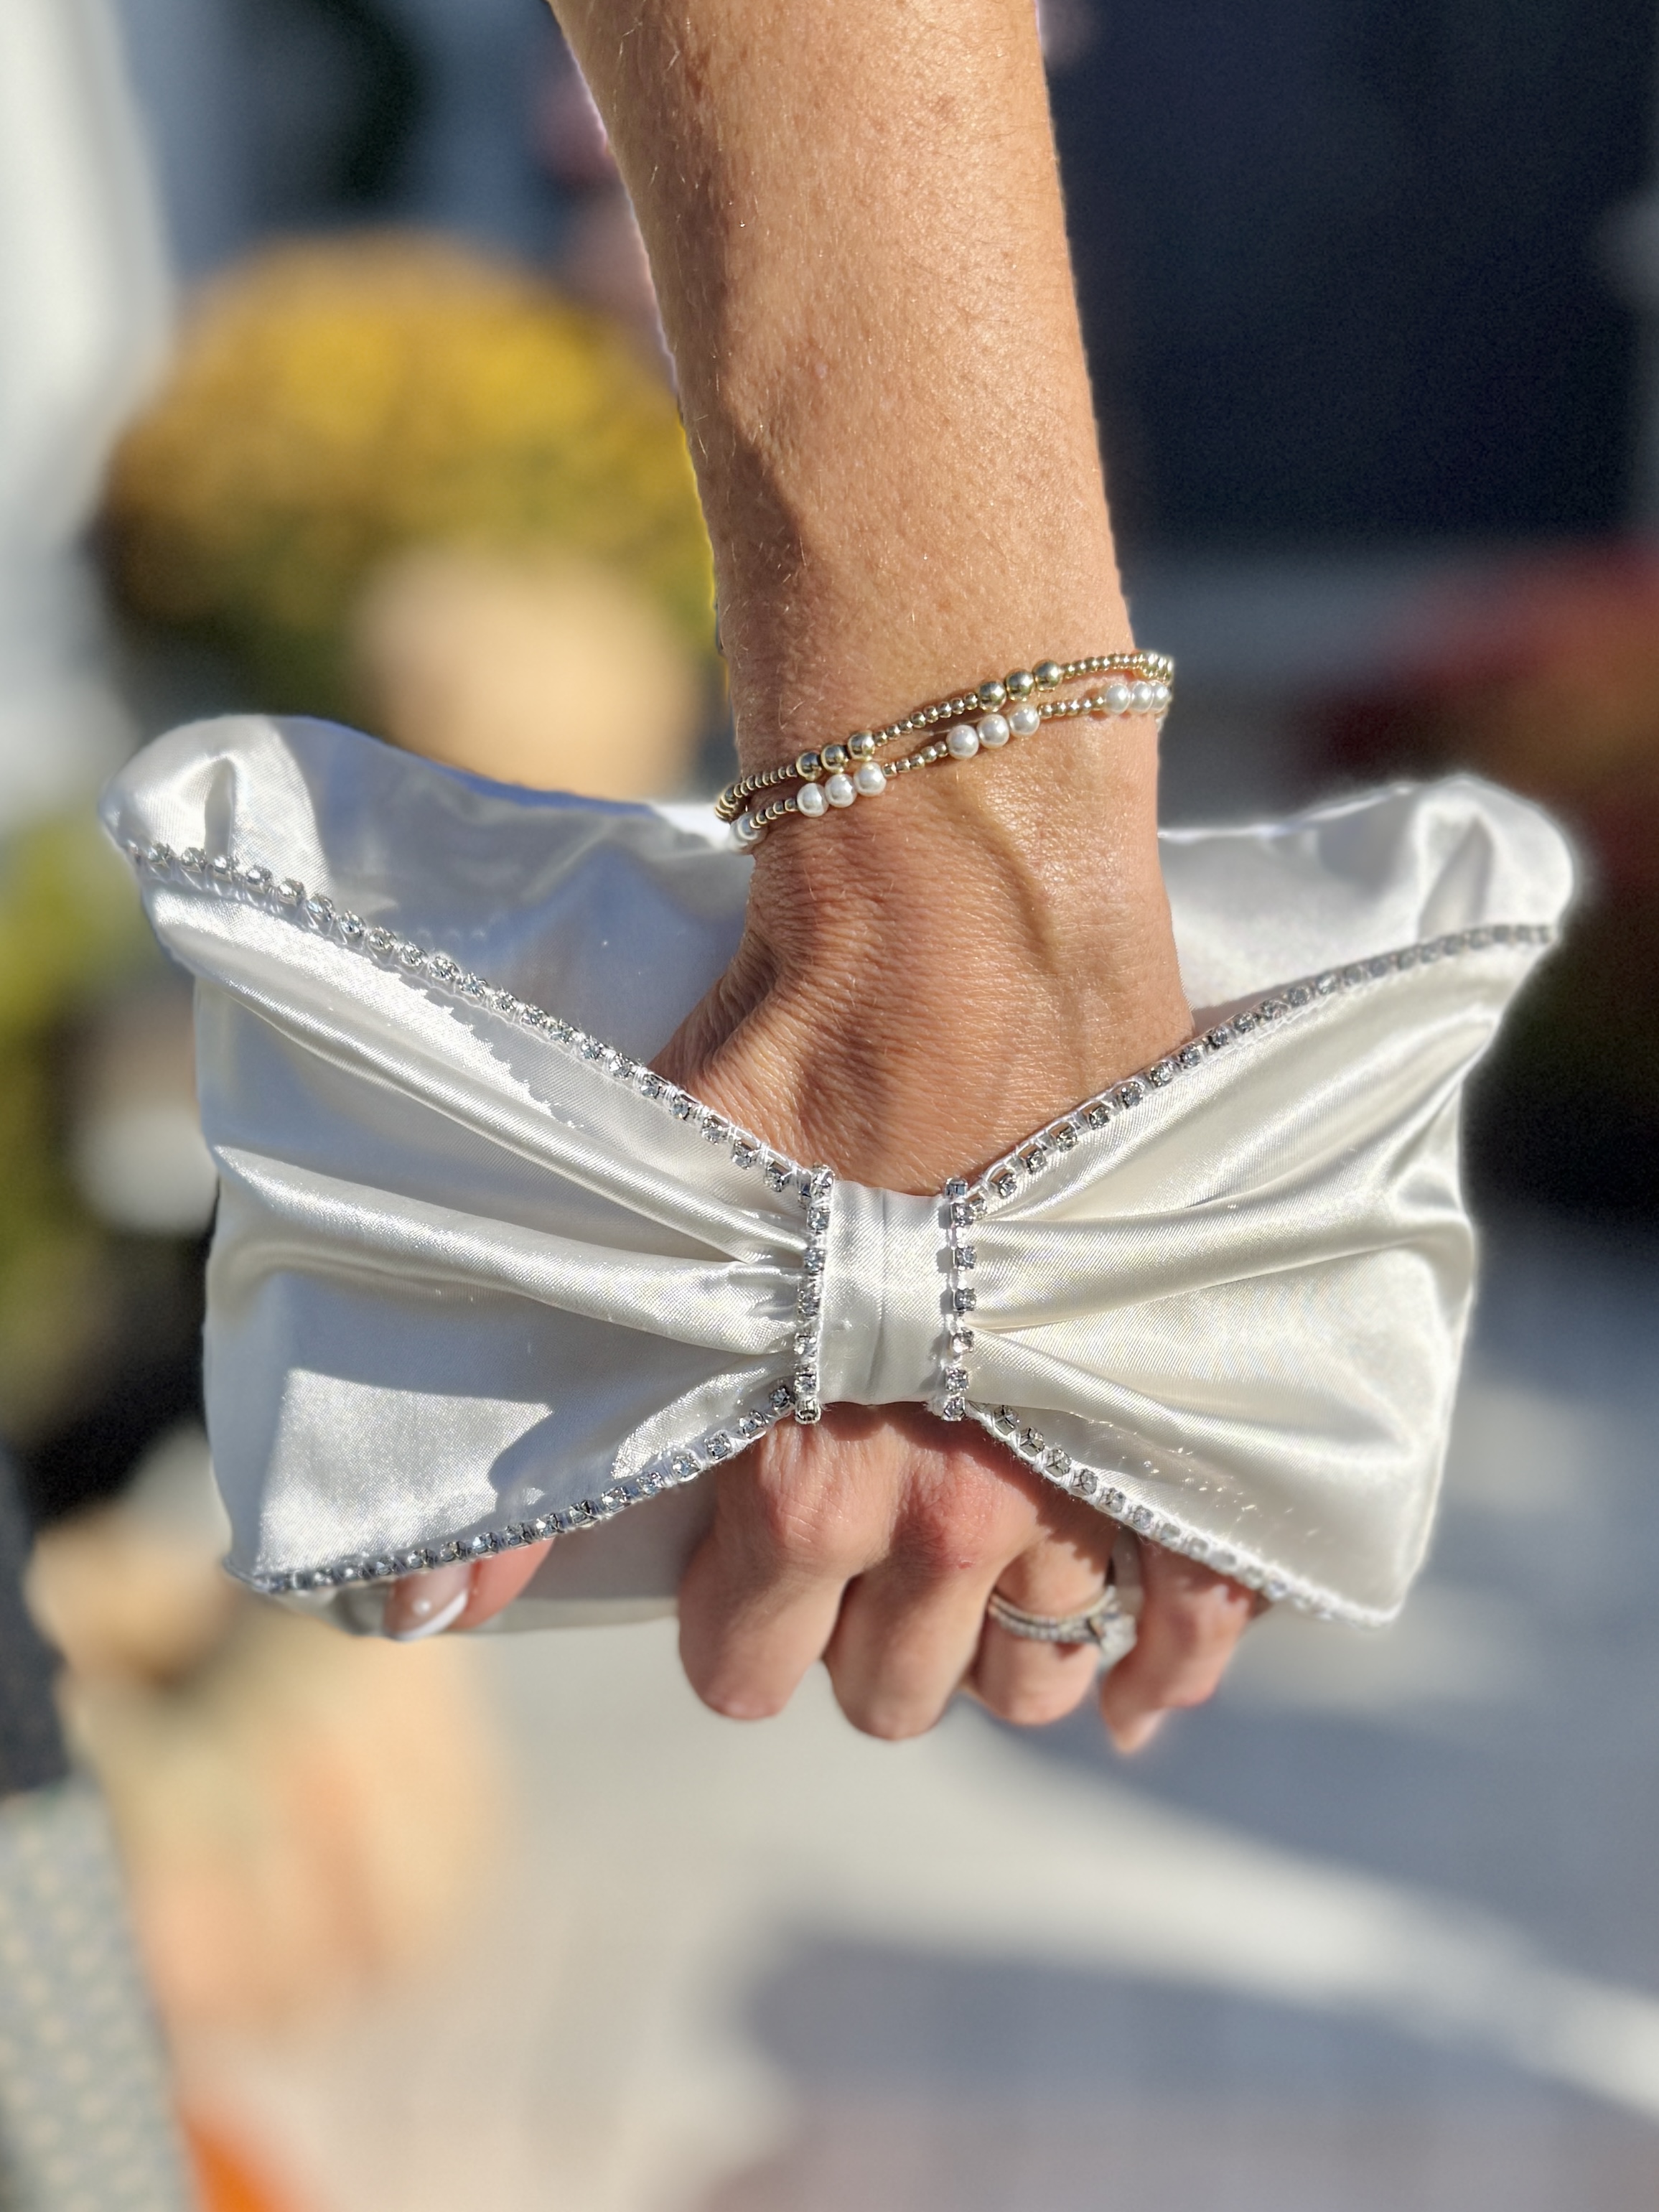
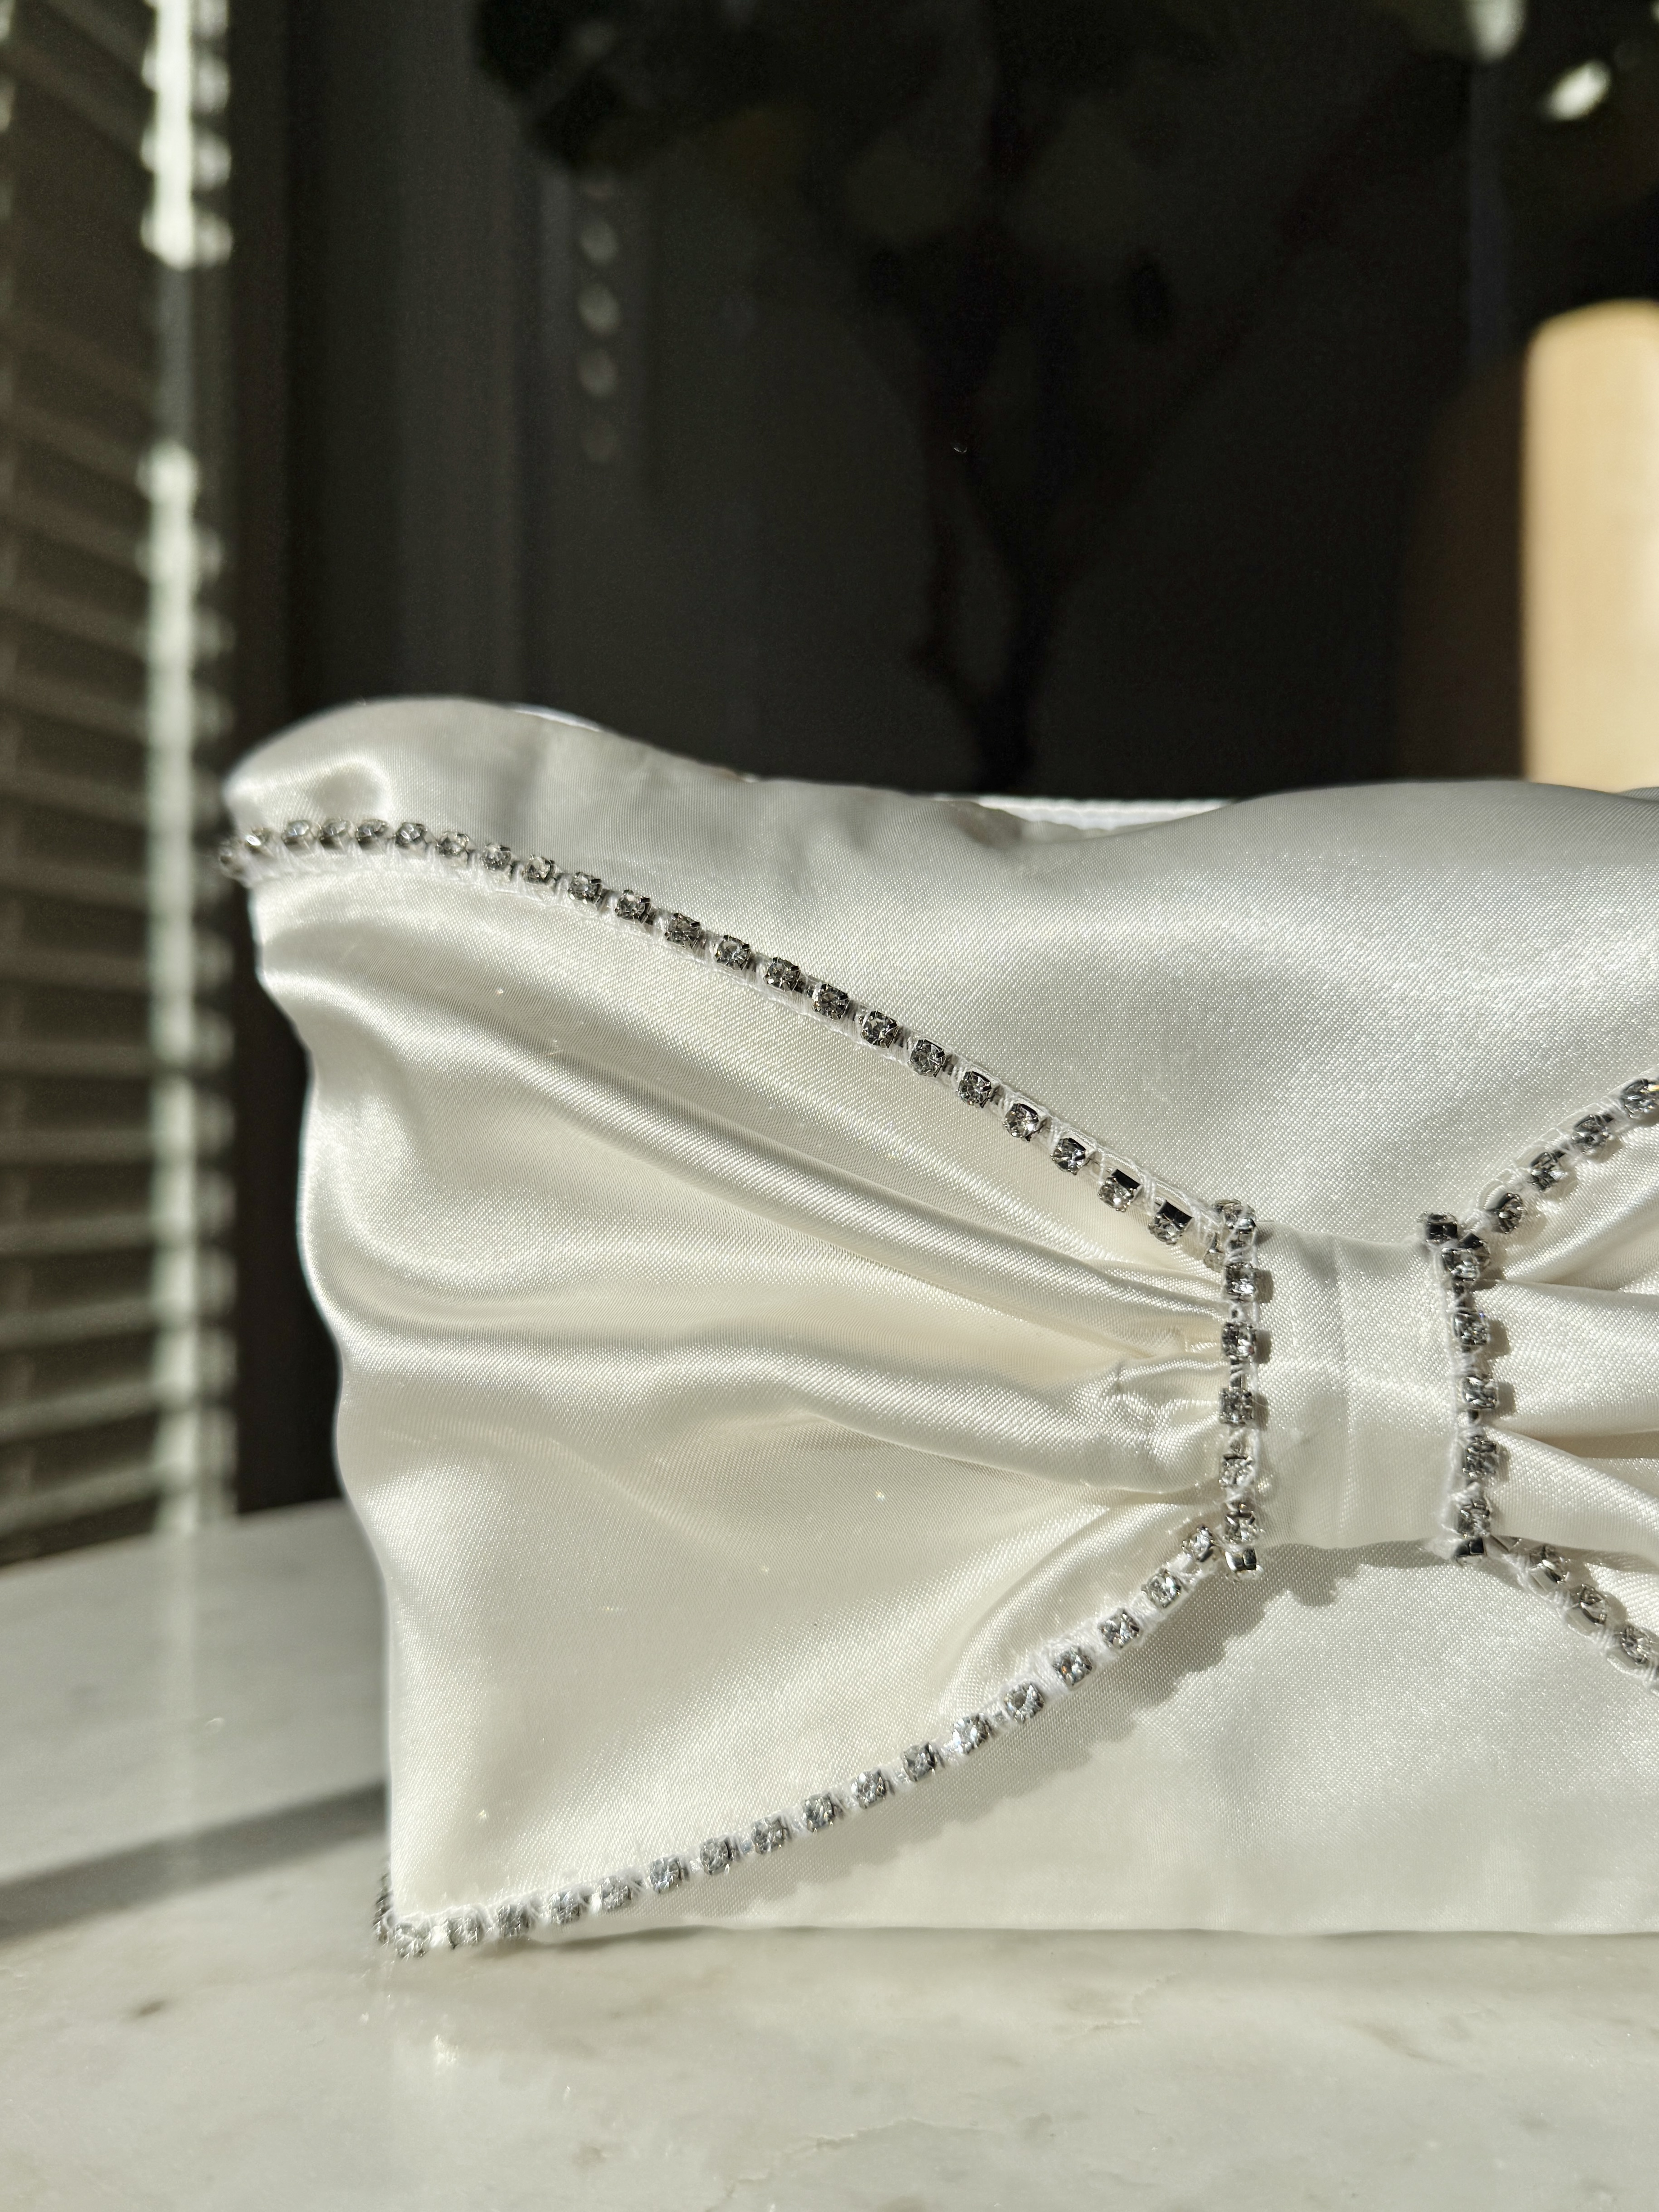
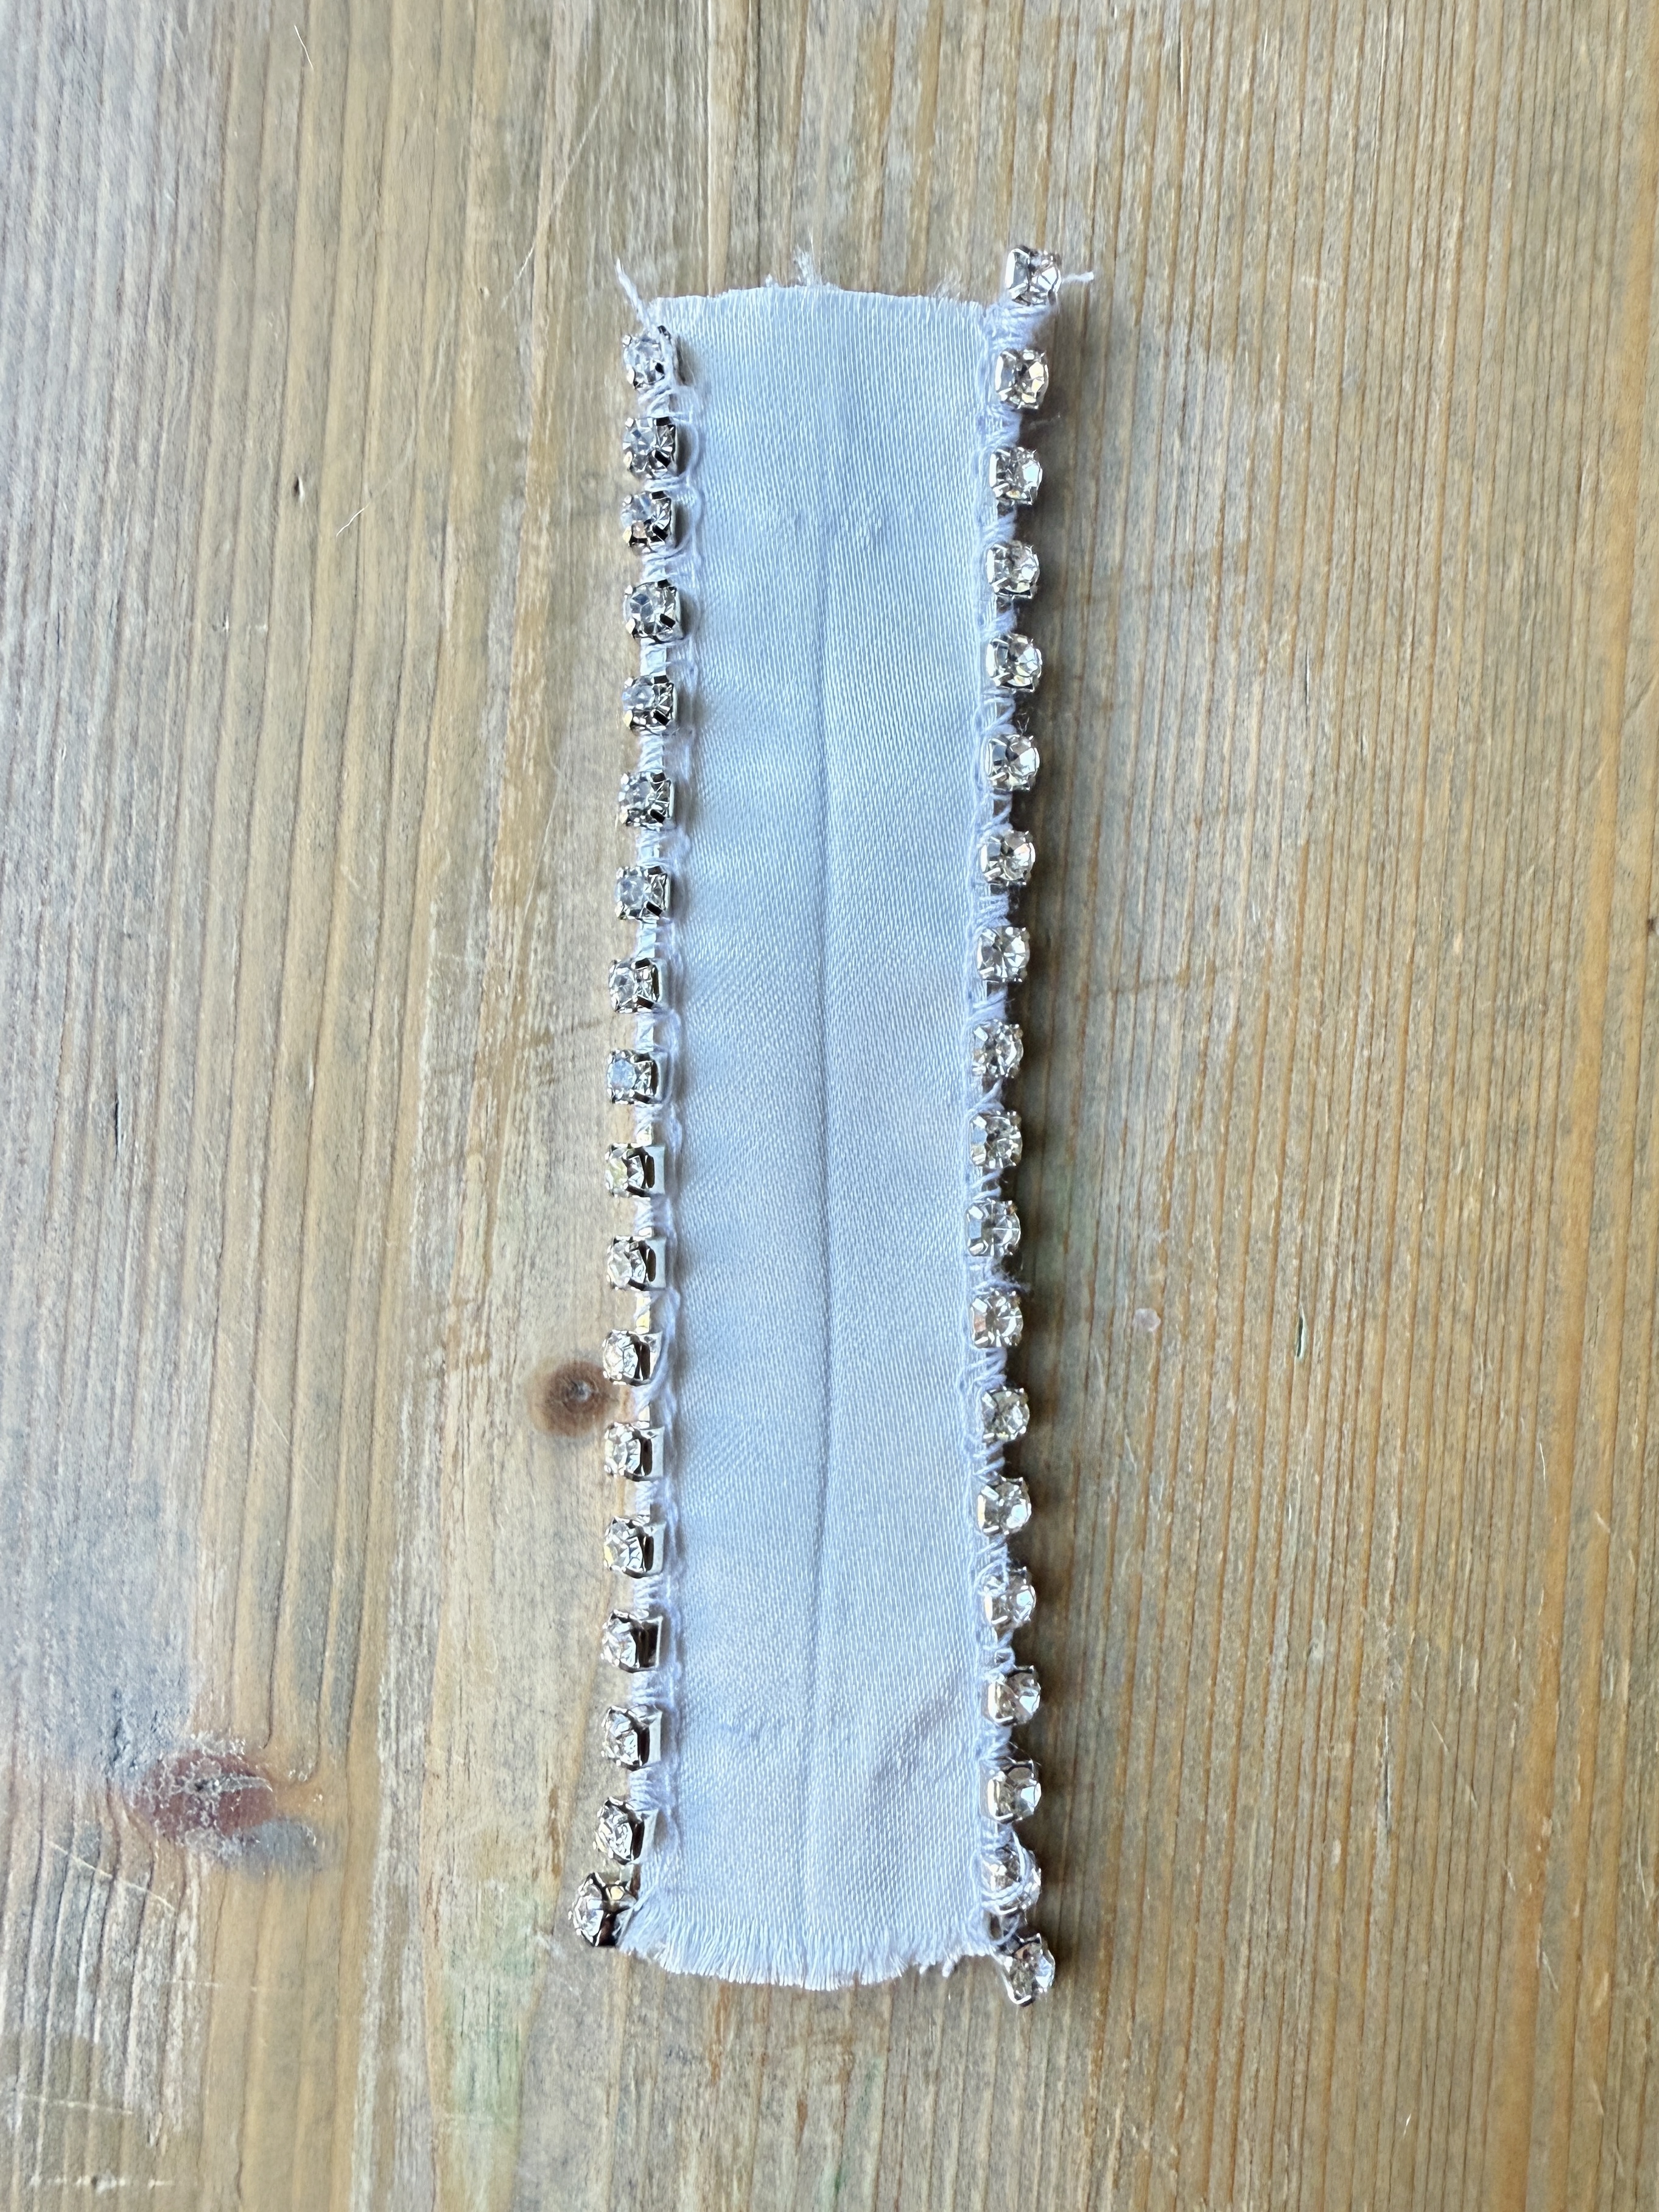
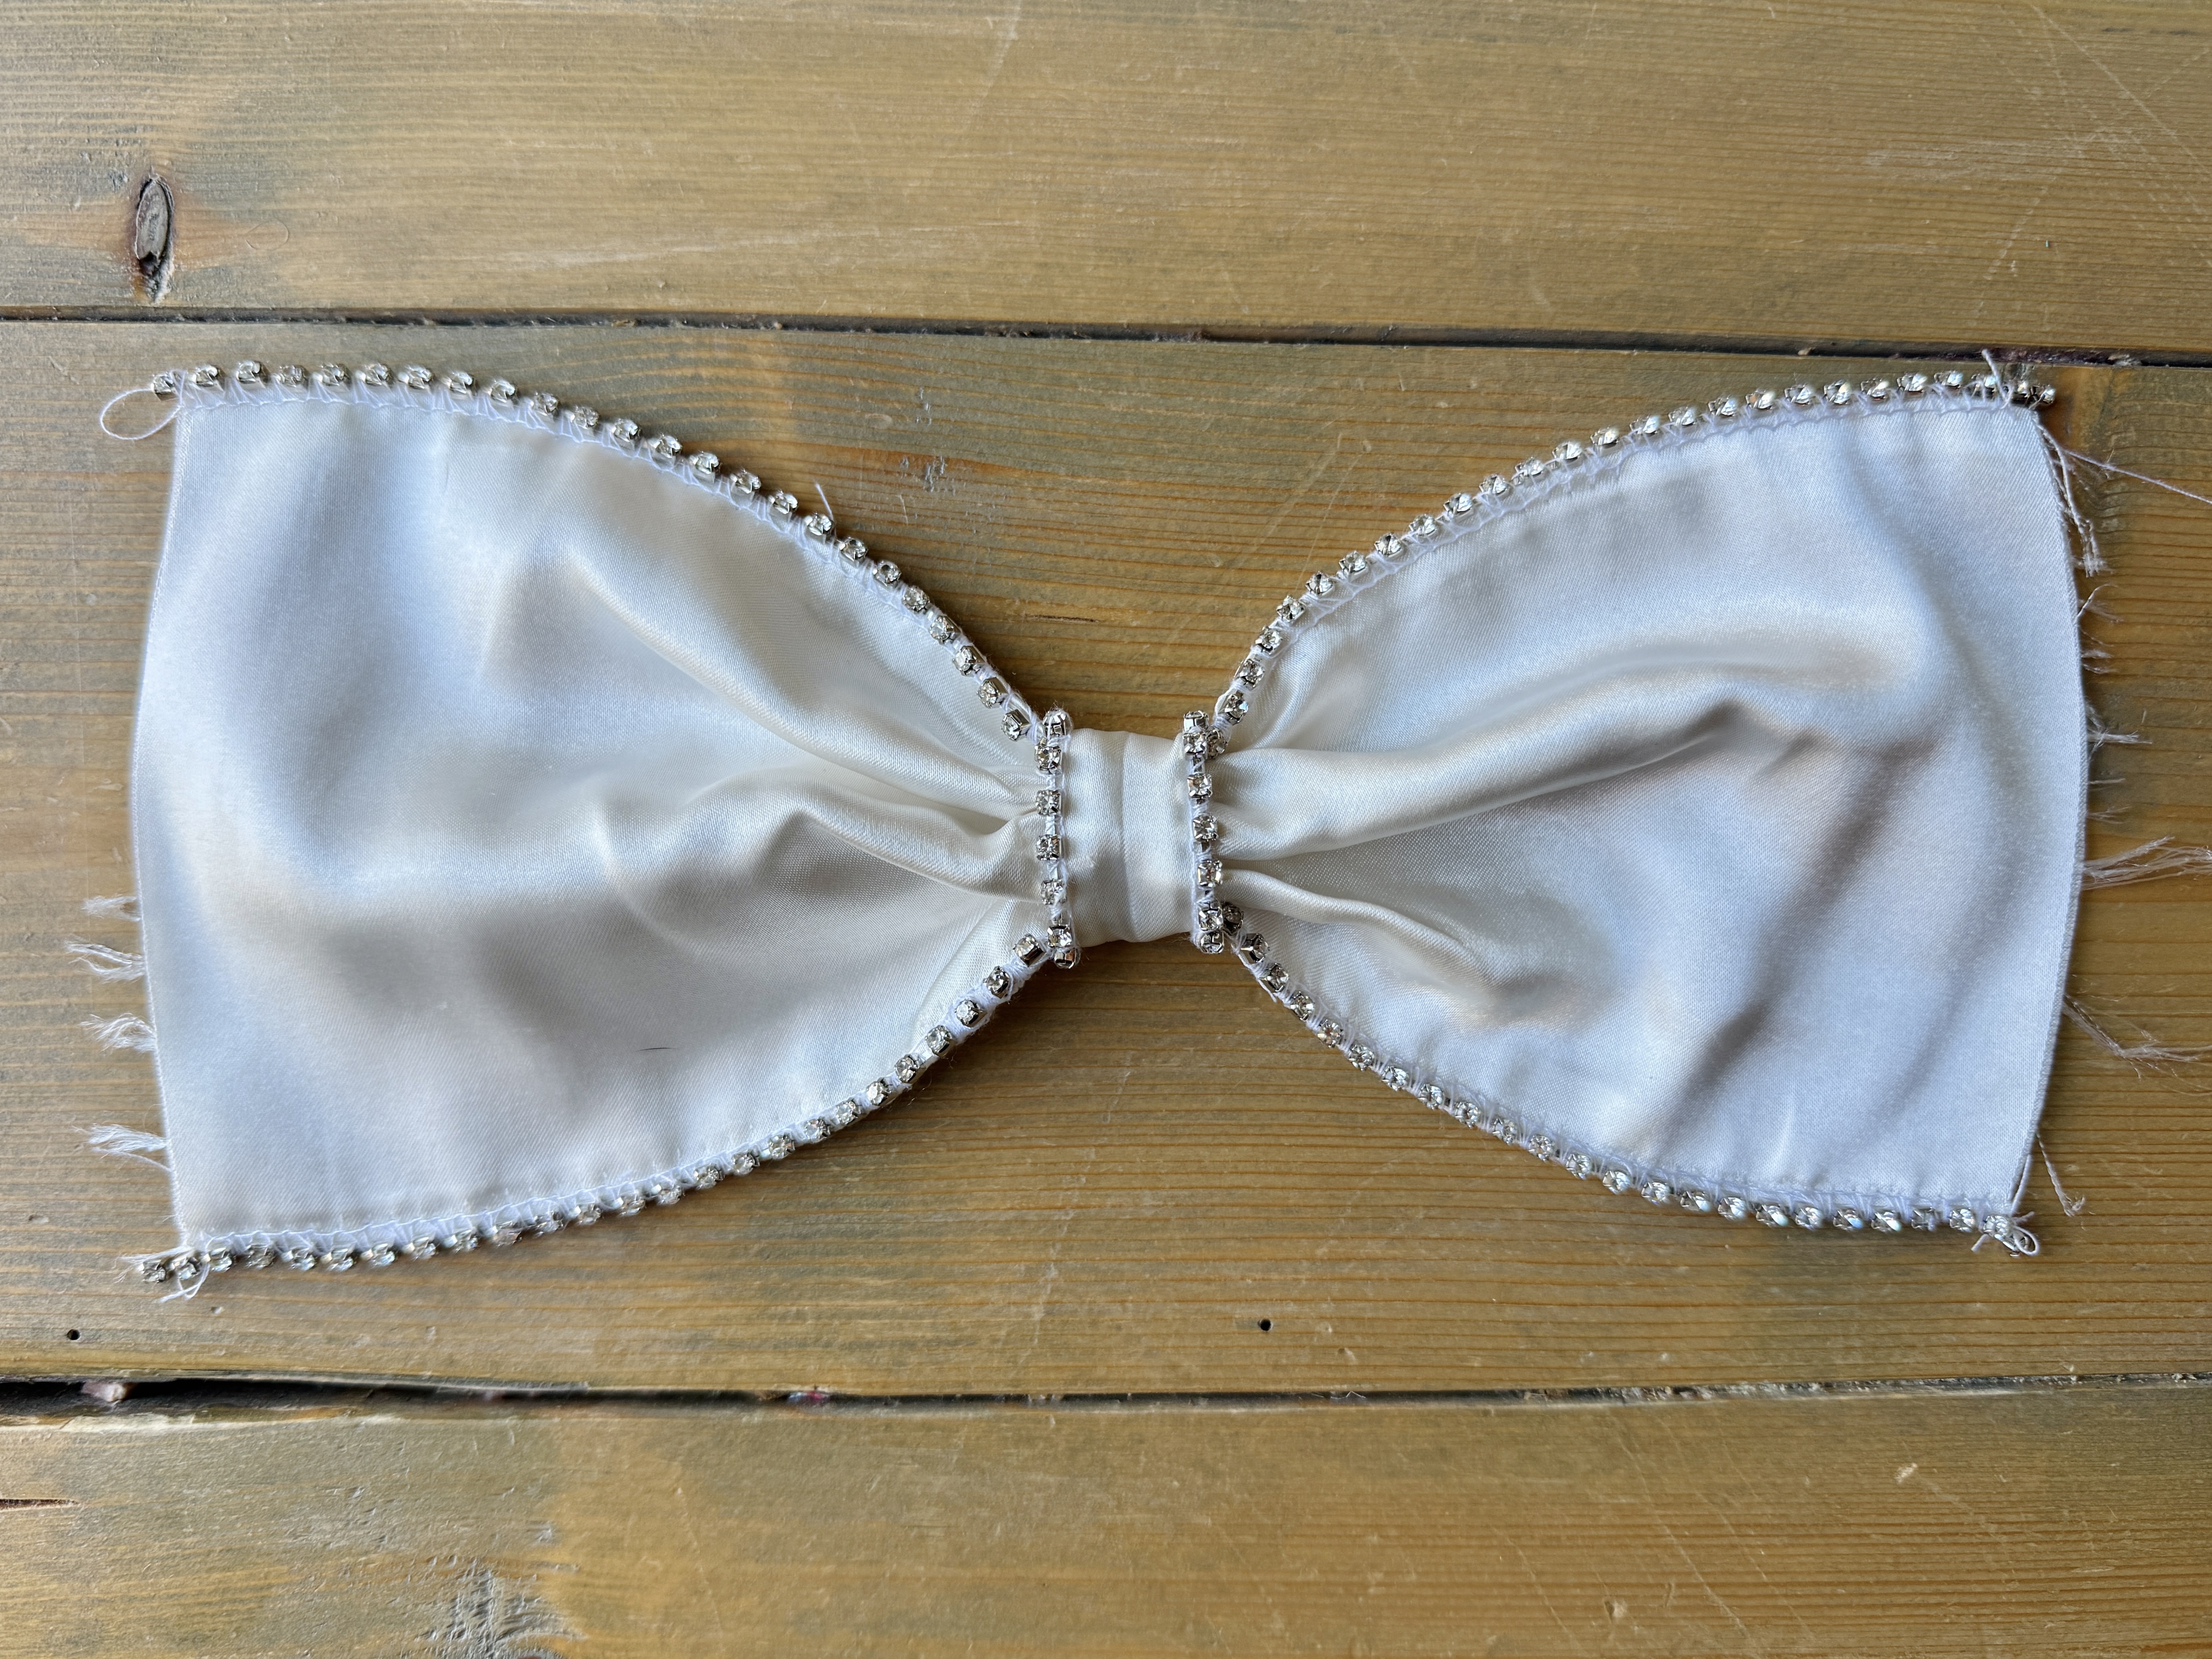
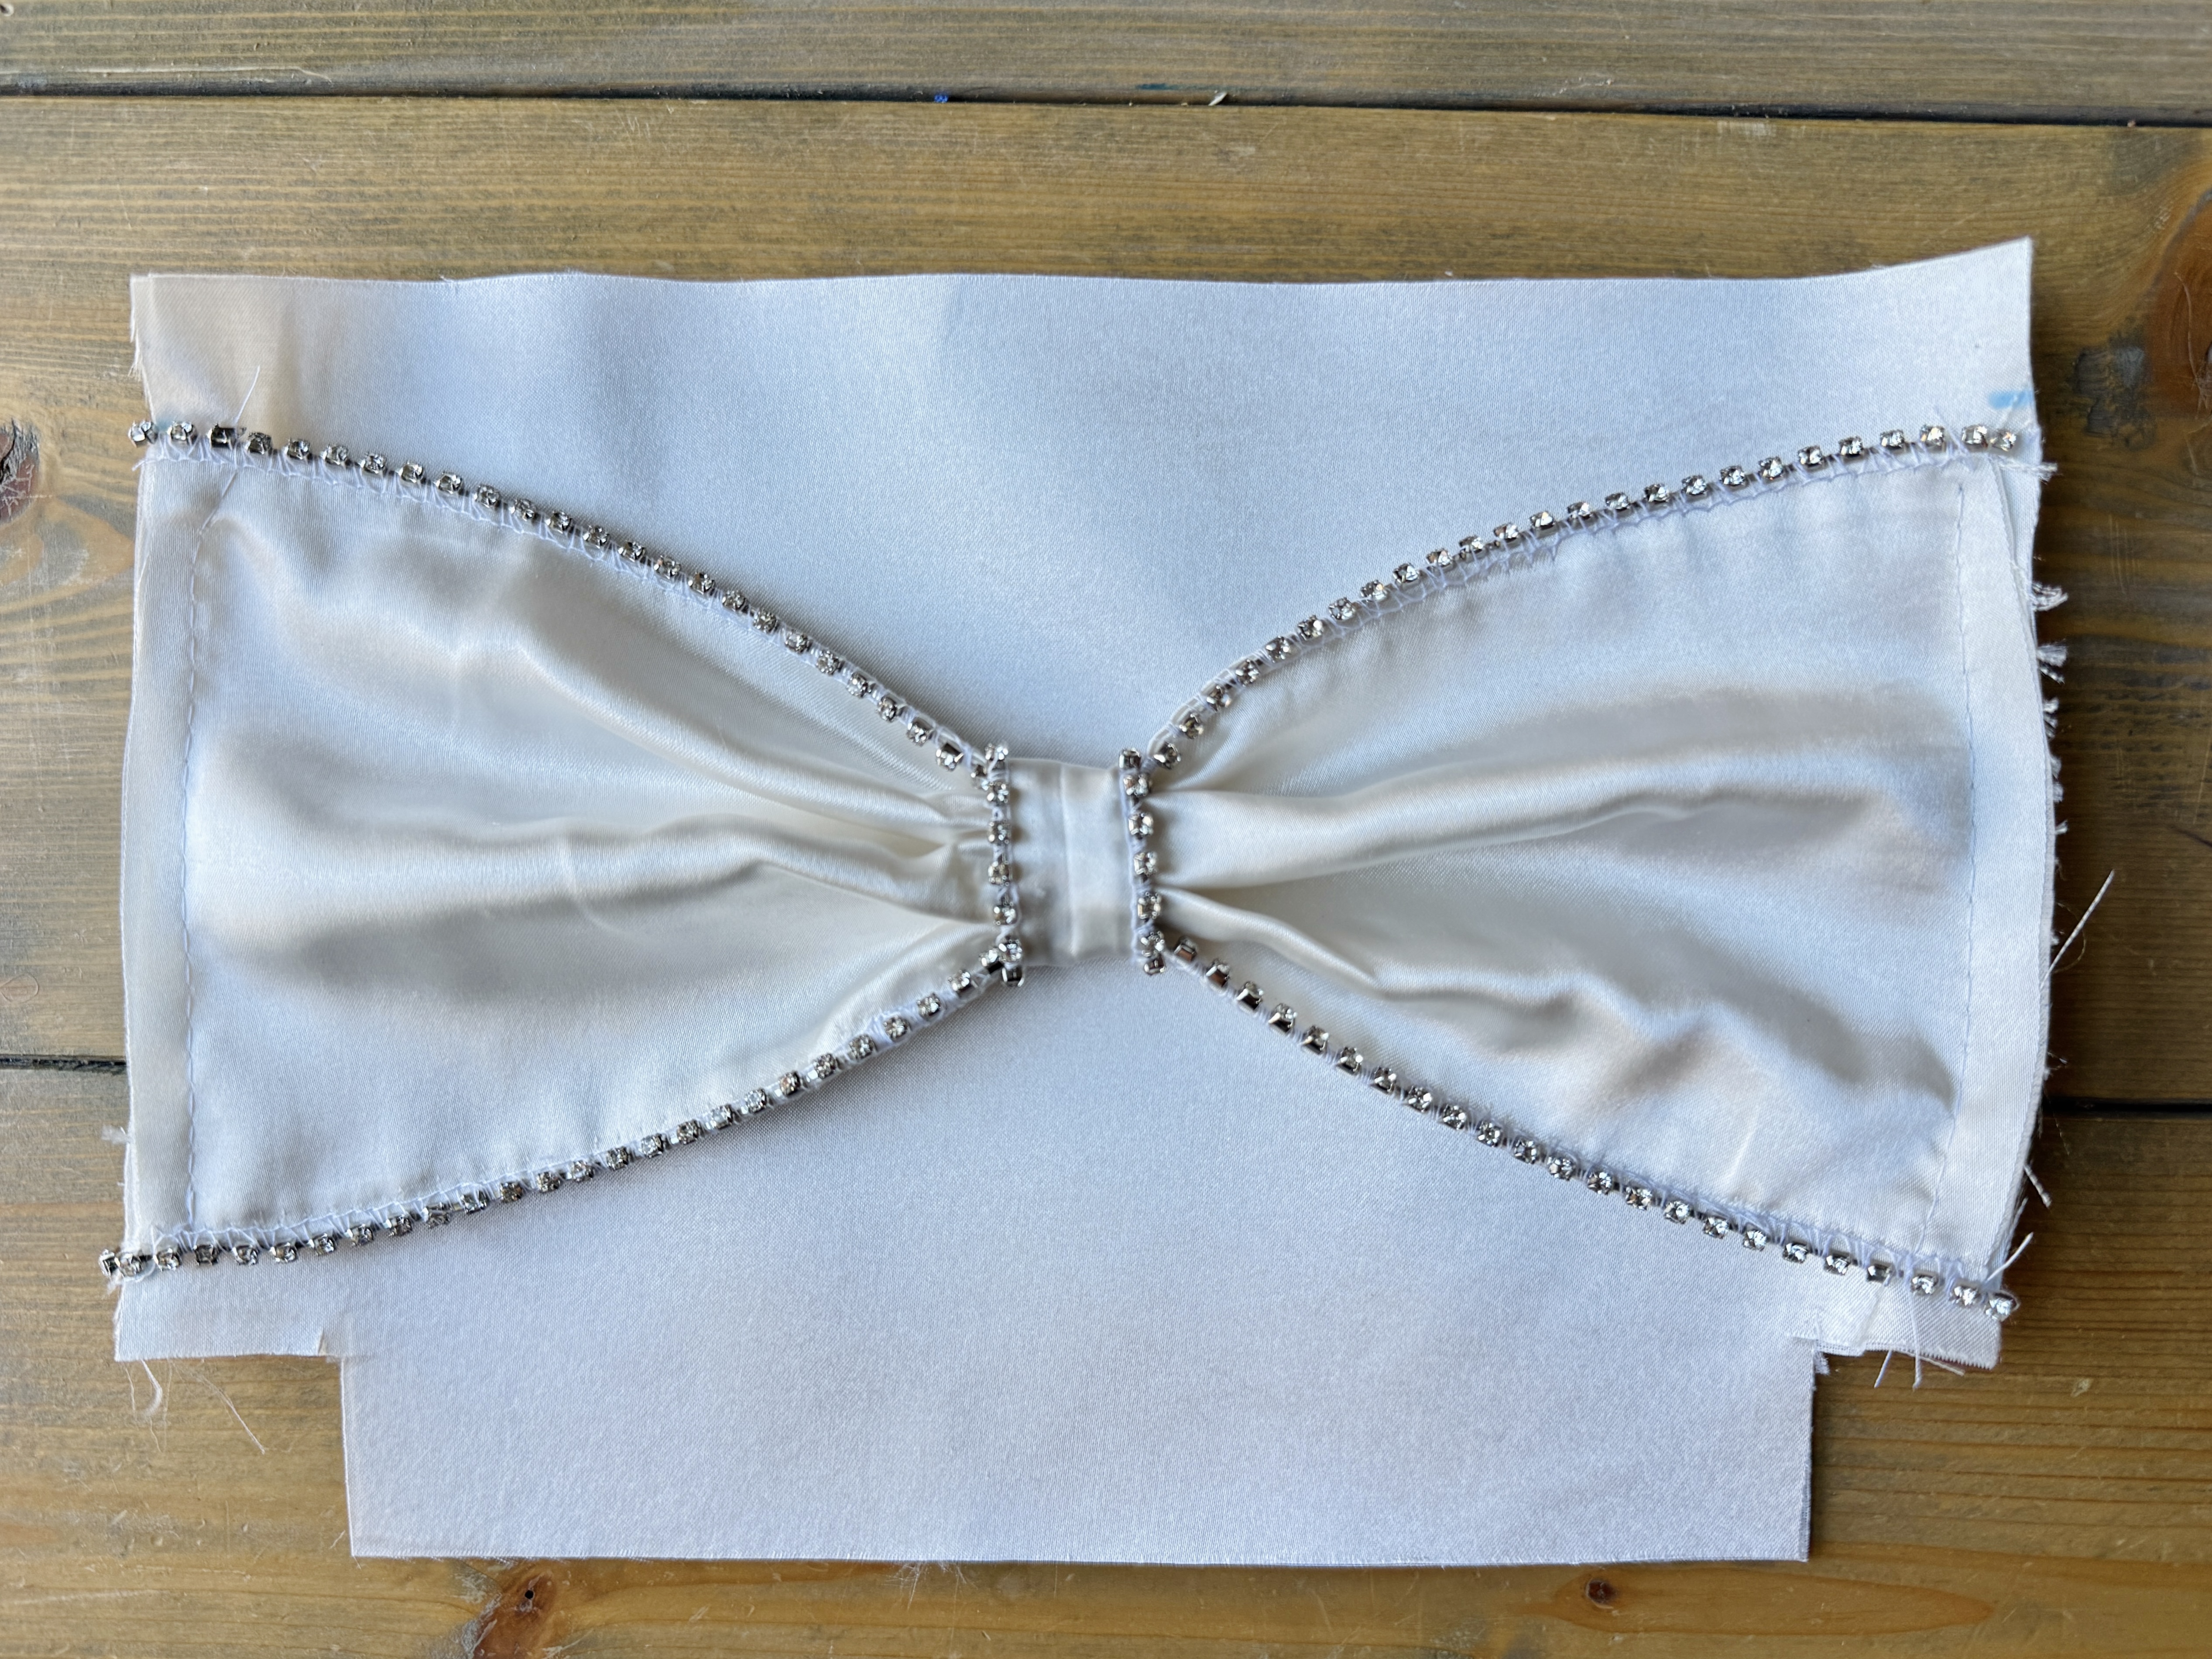
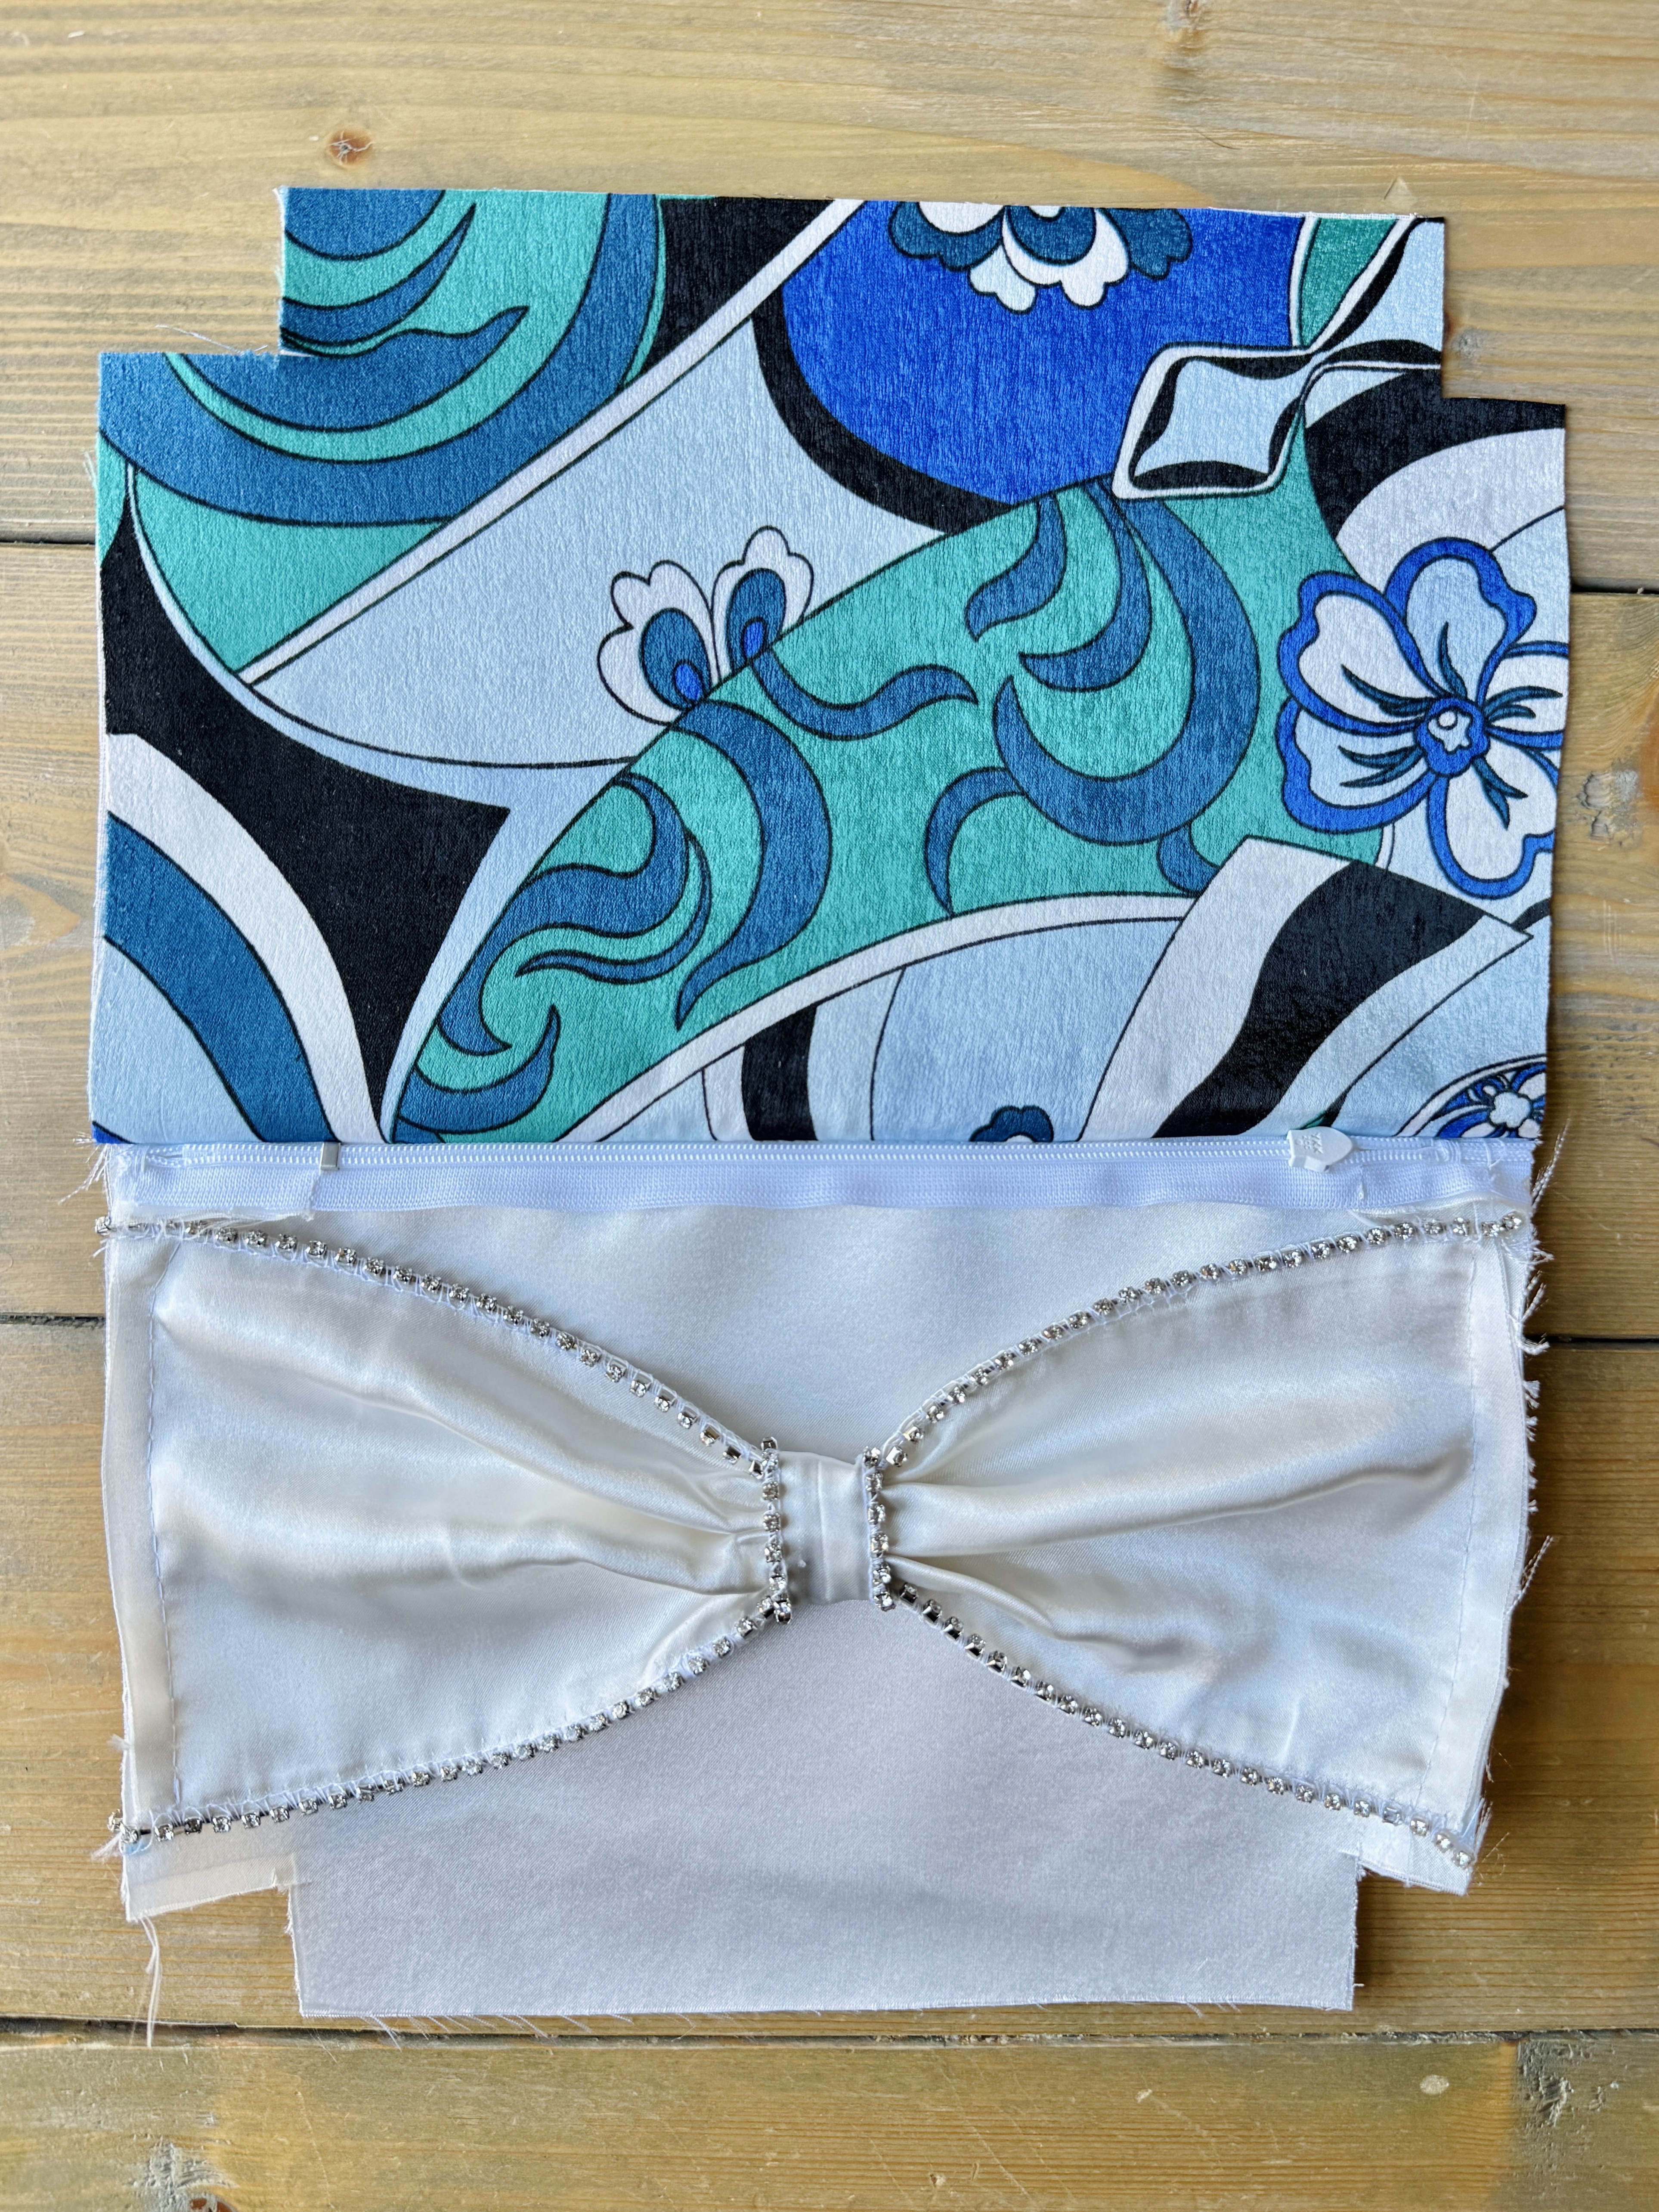
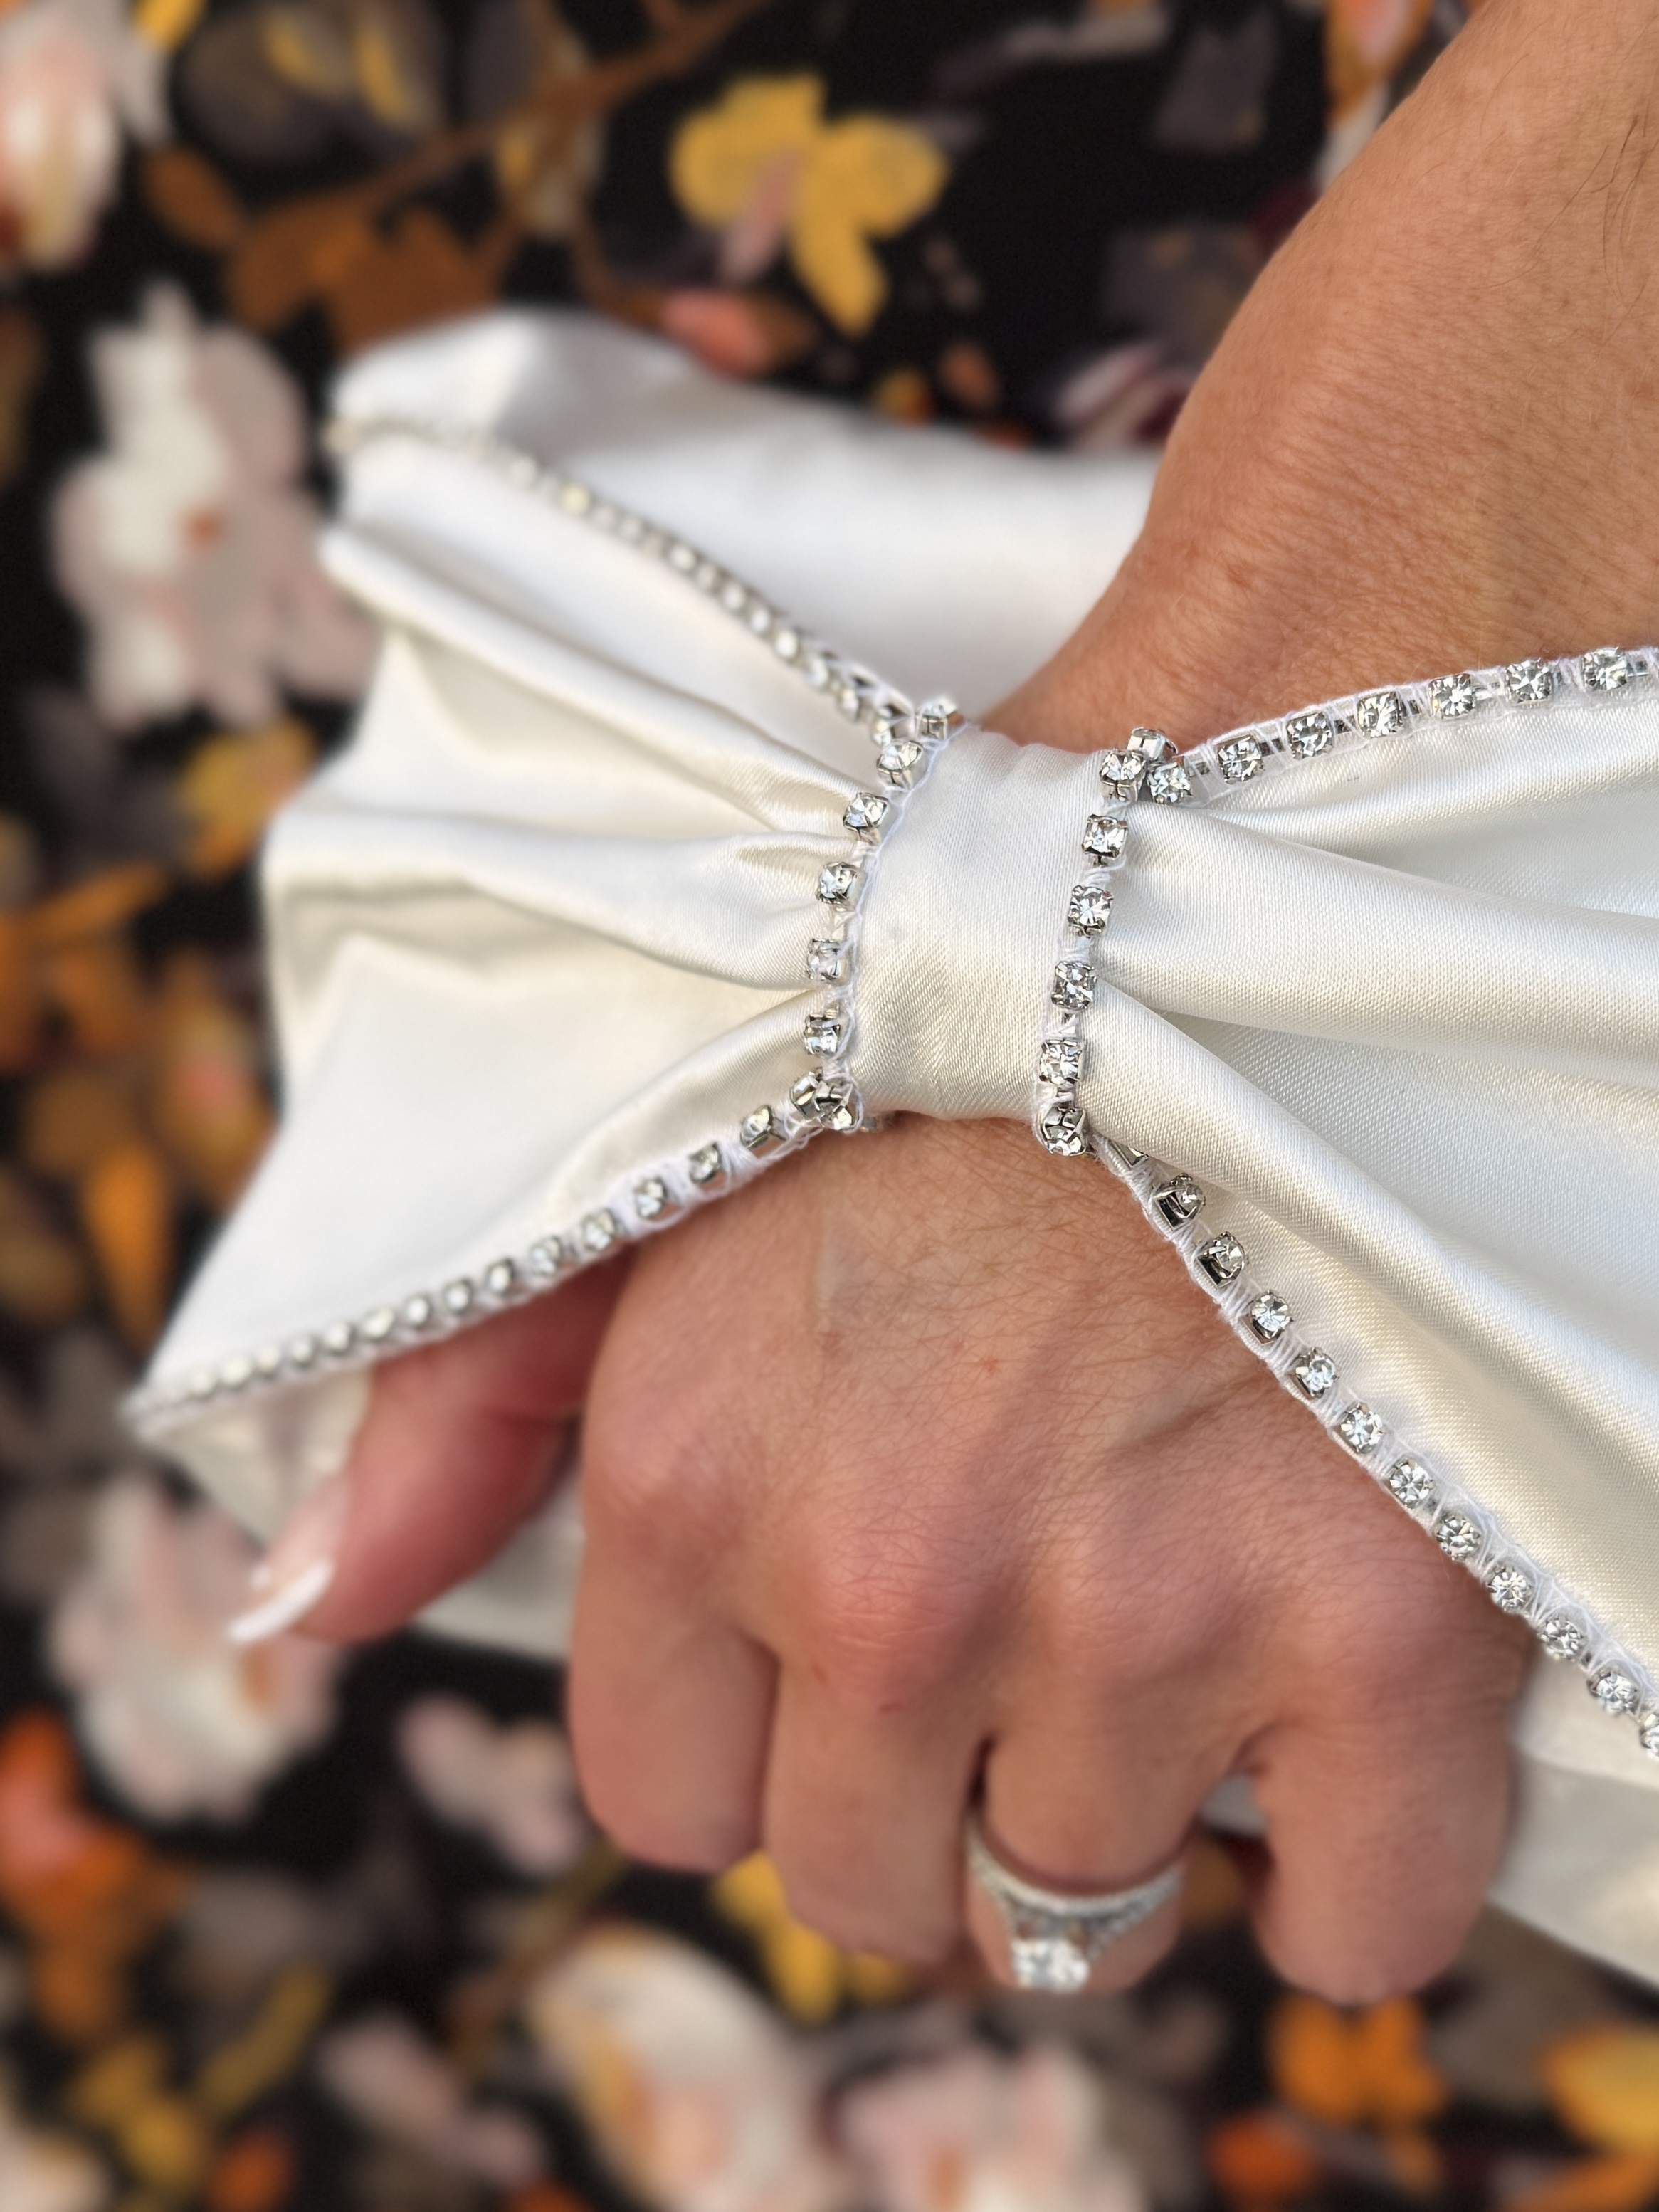
Sew a gathering stitch down the center of the bow, tightening the bow as much as possible. Once gathered, sew back over the stitches to secure them in place. Your bow is now ready to be bedazzled with the rhinestone trim!
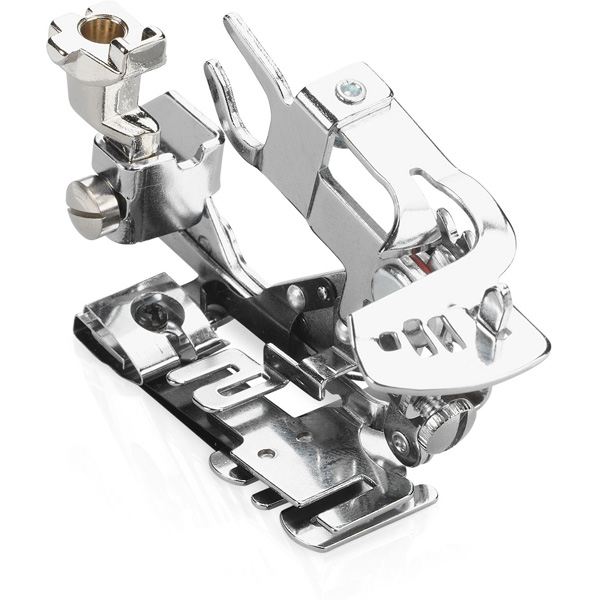
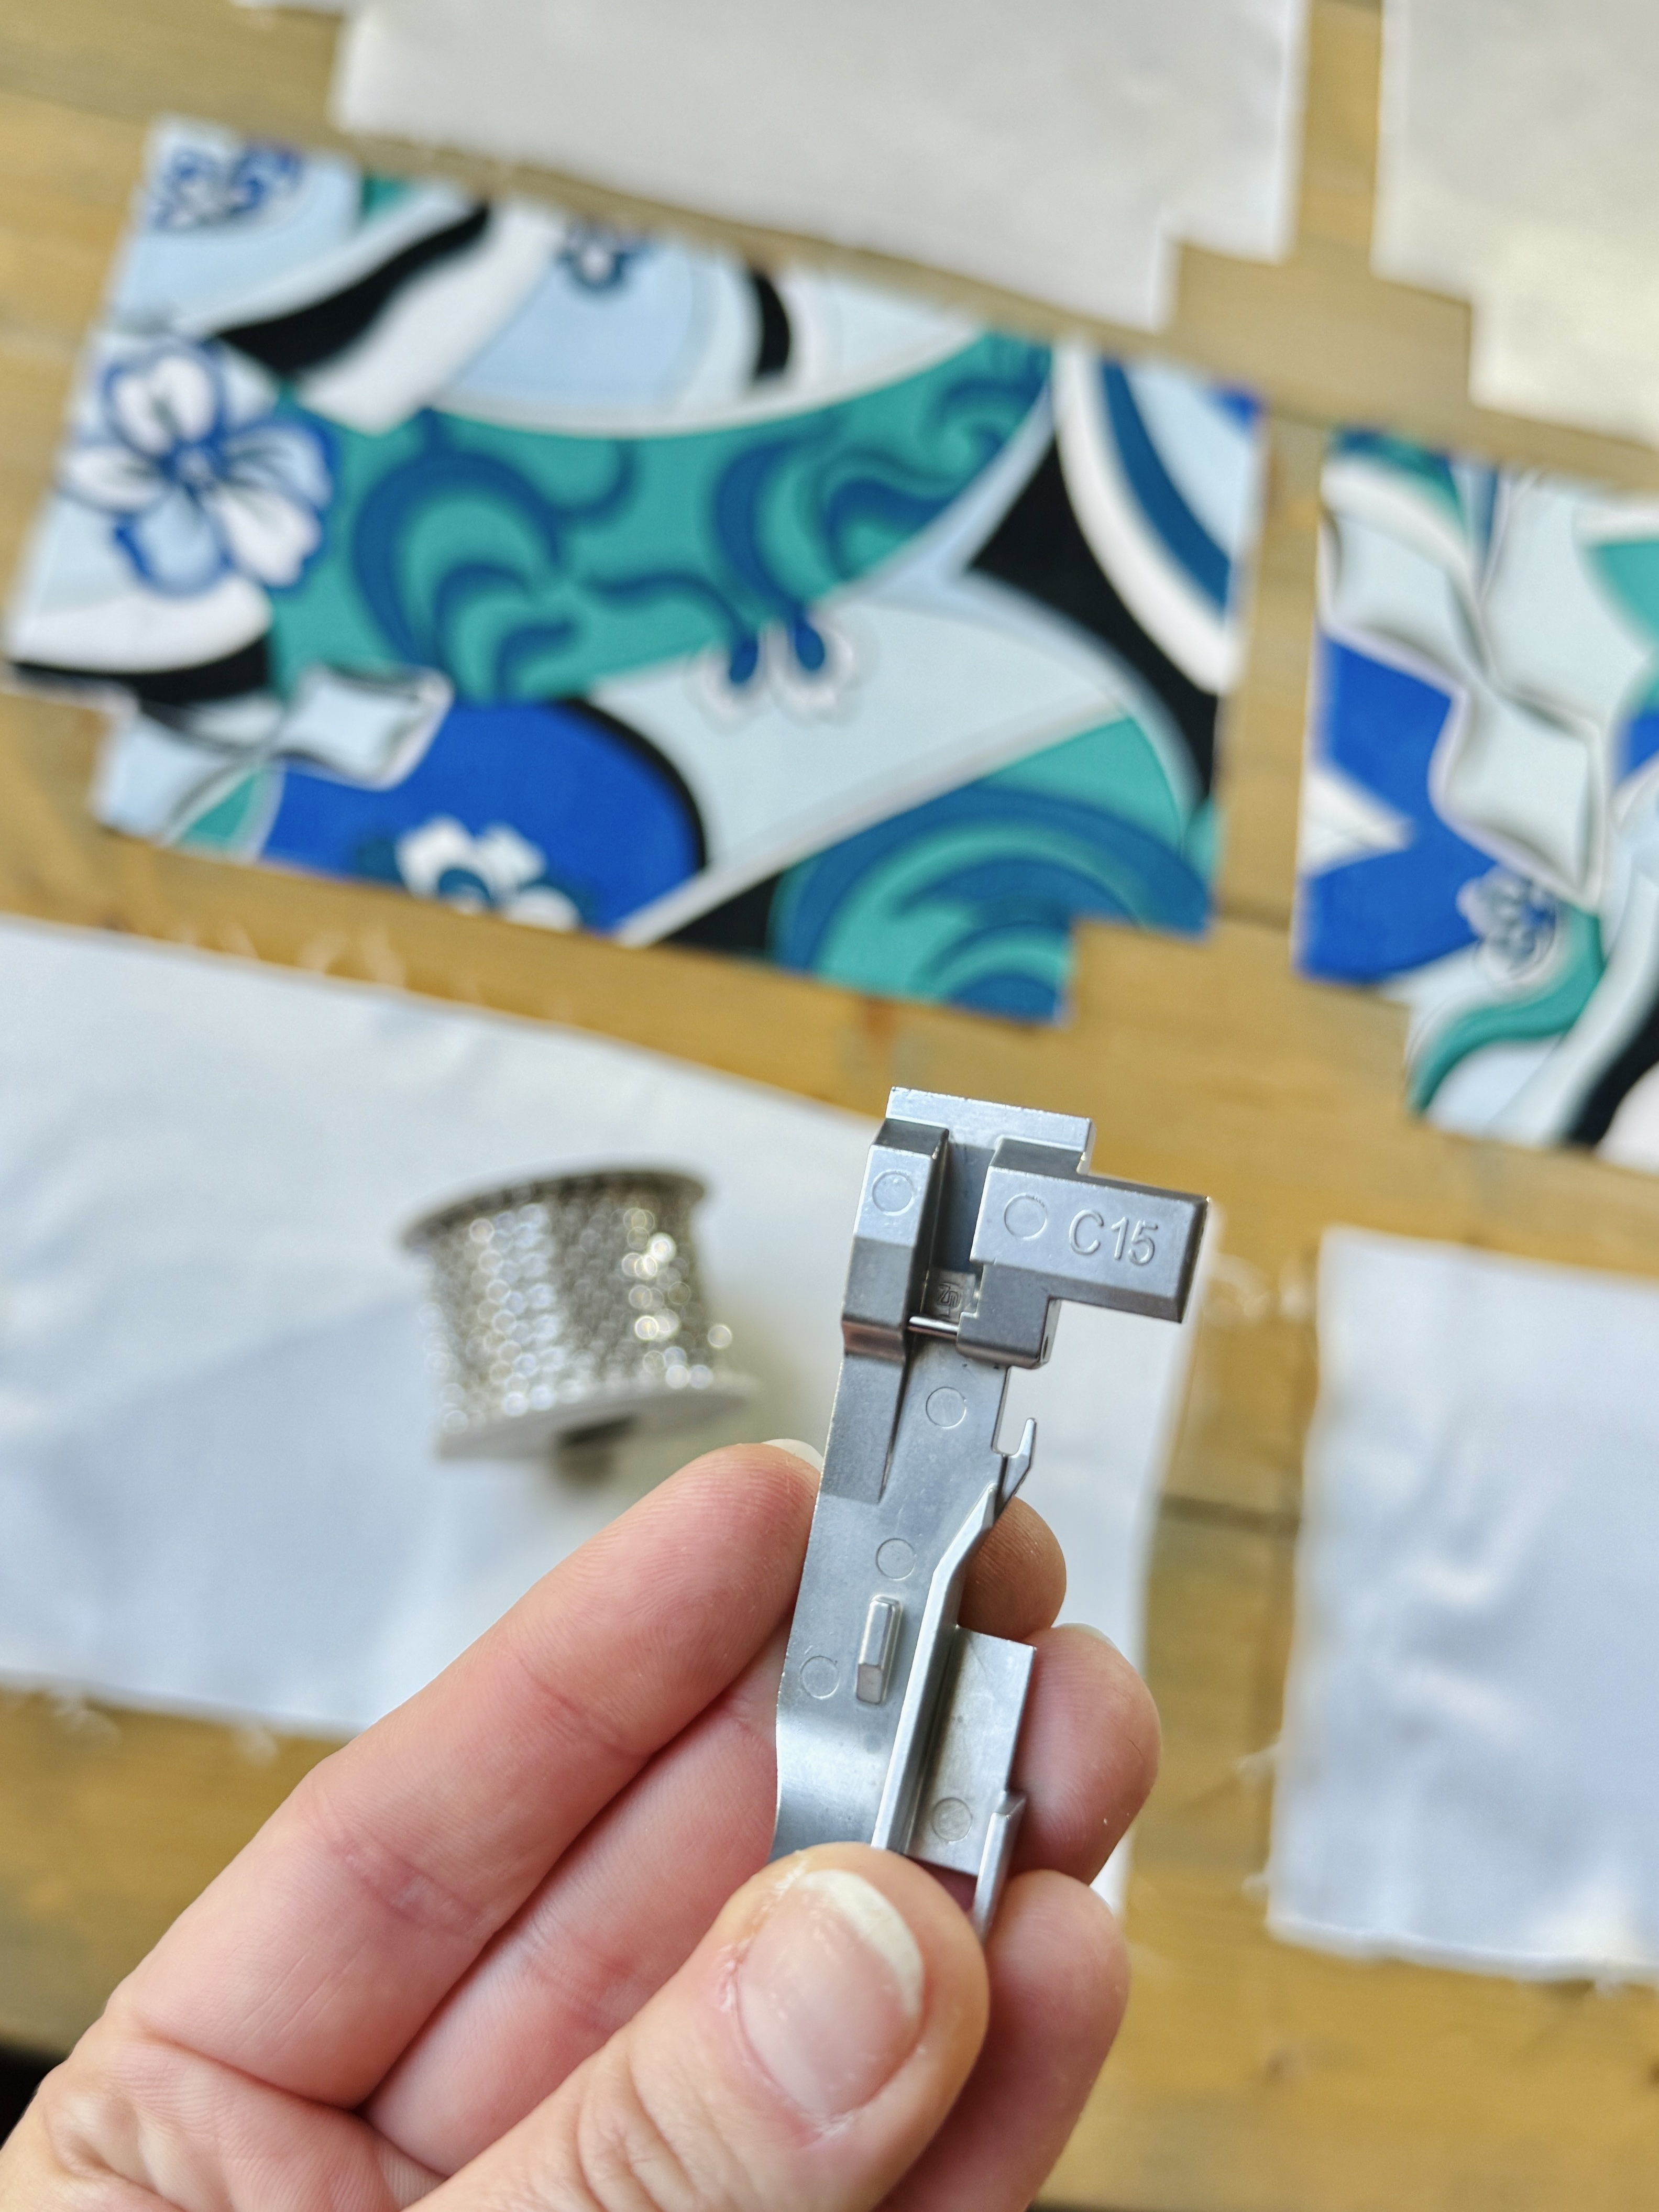
This is where the fun begins! With the Beading and Sequin Foot, strings of beads or sequins up to a maximum diameter of 6 mm can be sewn on easily and quickly. Below is a tutorial on how to use this foot.
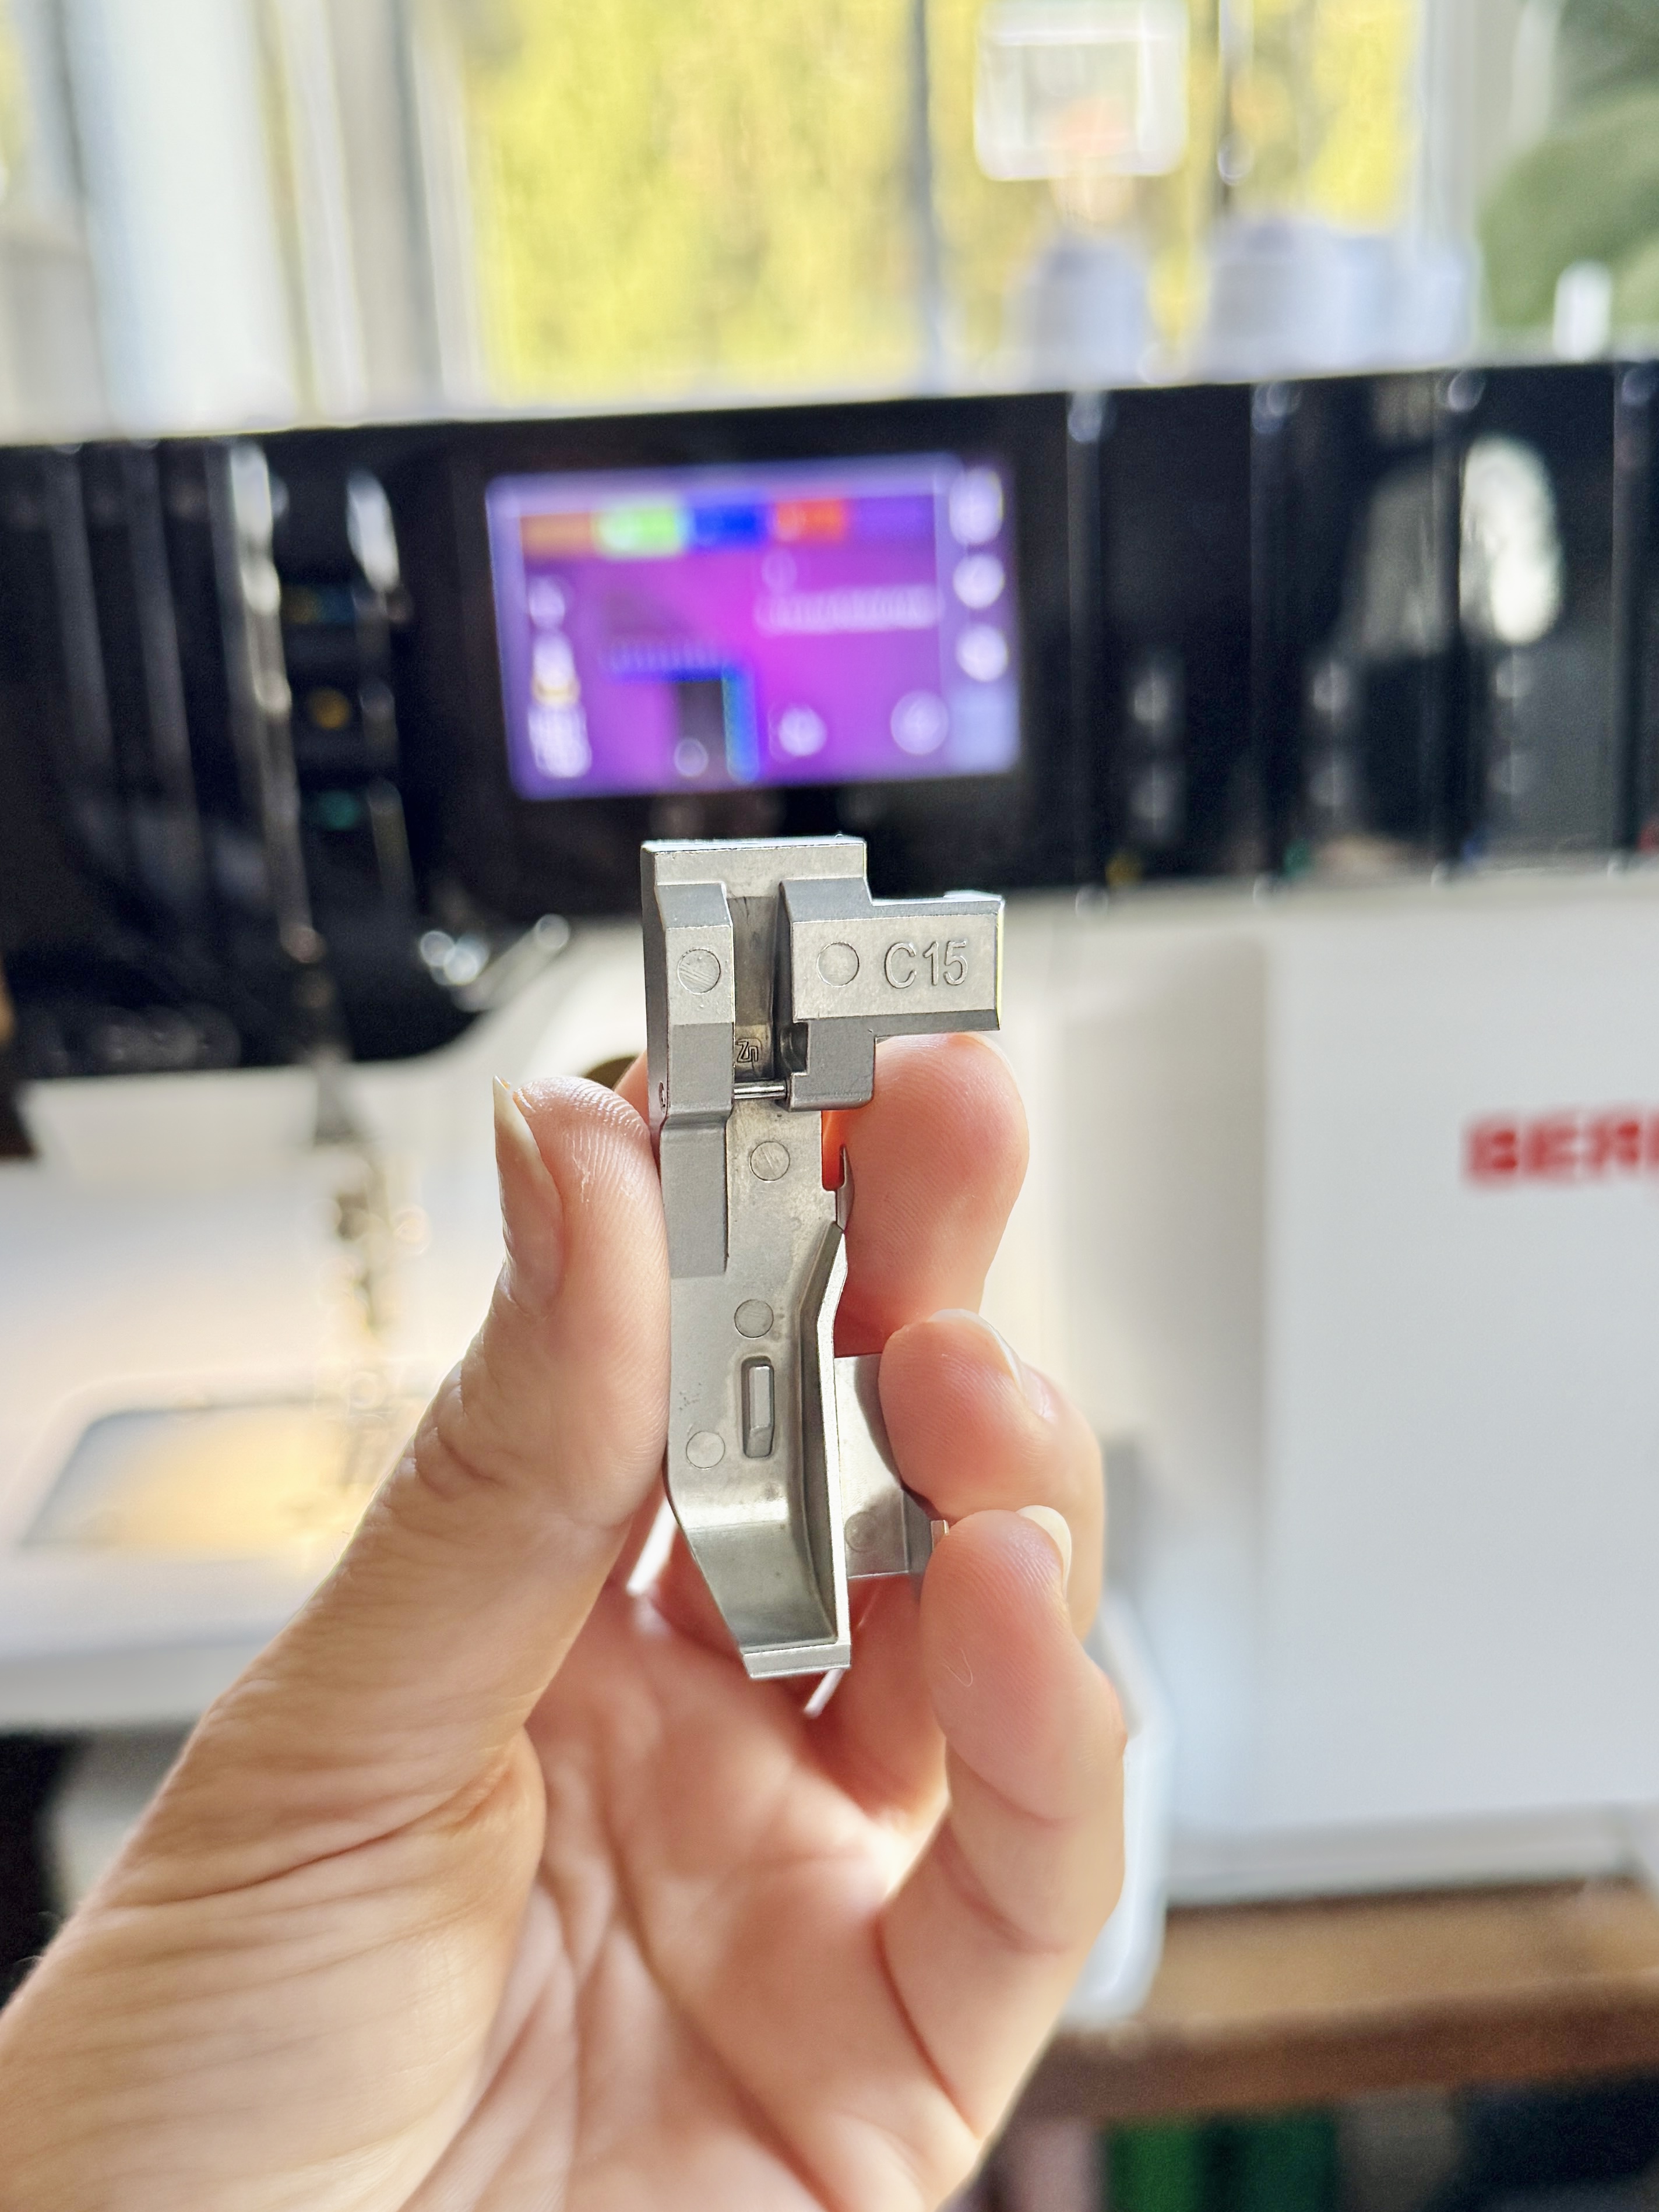
How to use the Beading and Sequin Foot #C15:
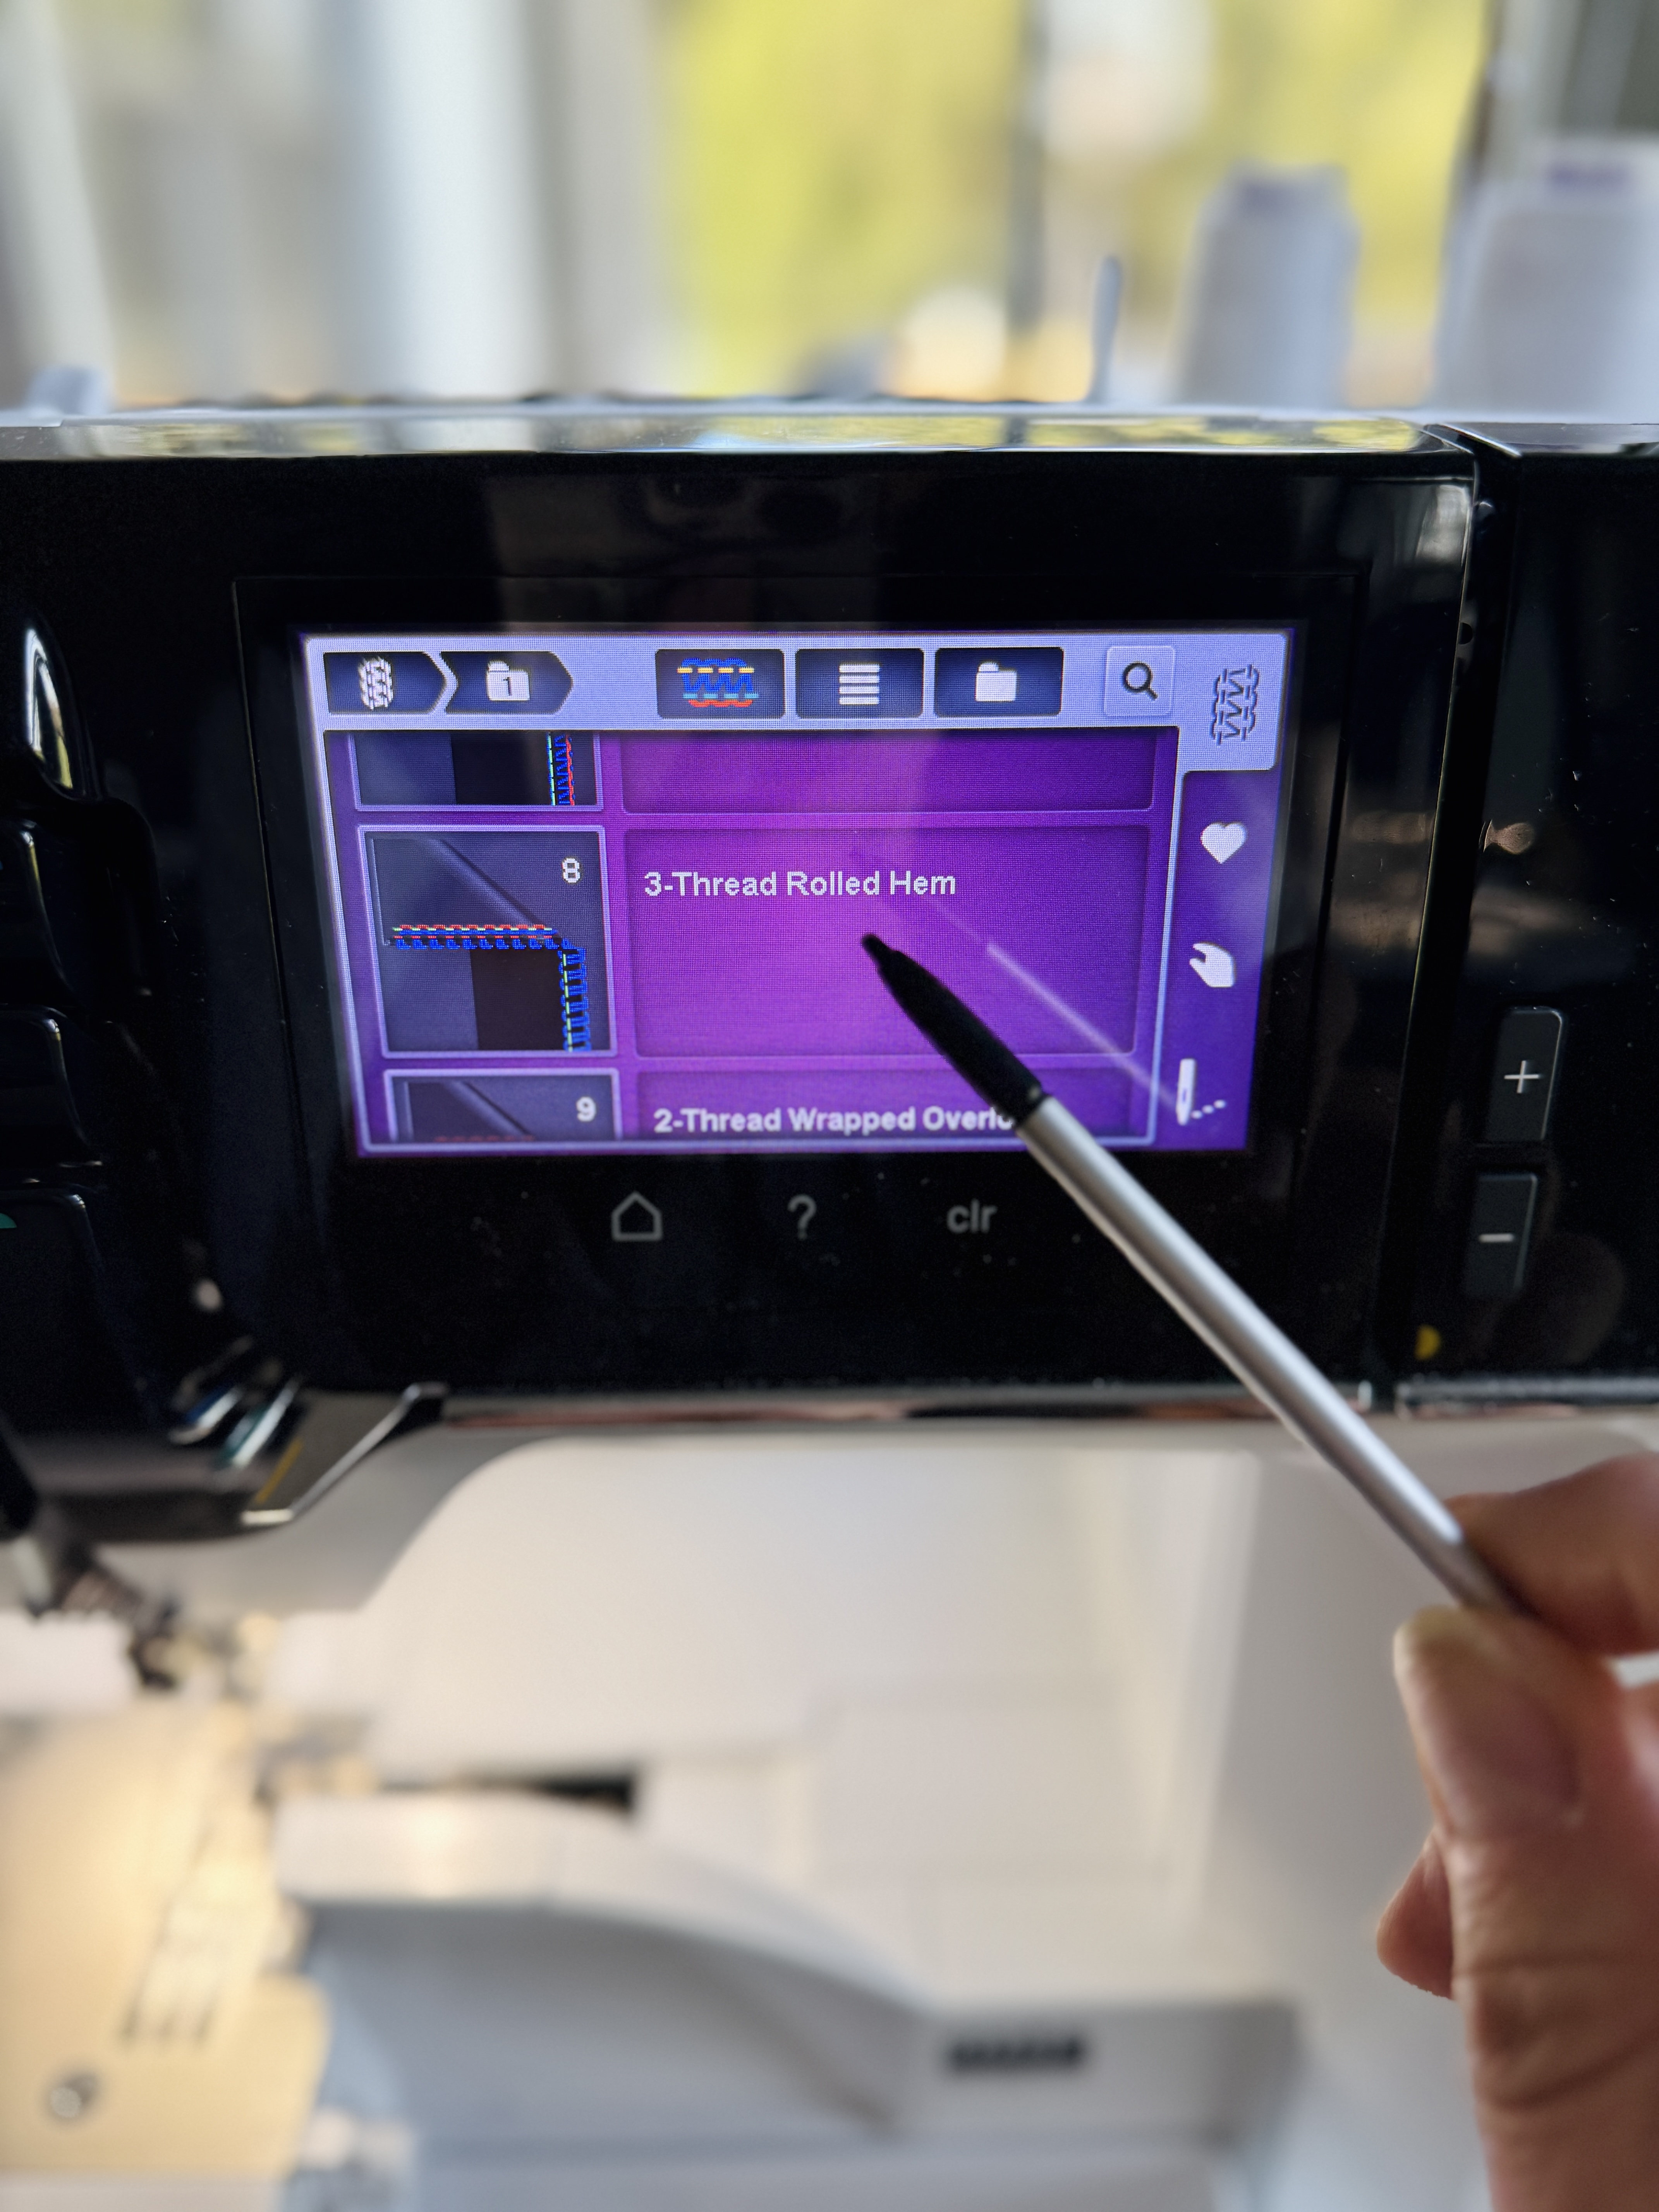
We will begin by choosing stitch #8, which is the 3-thread rolled hem. (Alternatively, you can use stitch #30, which is the 3-thread picot stitch.)
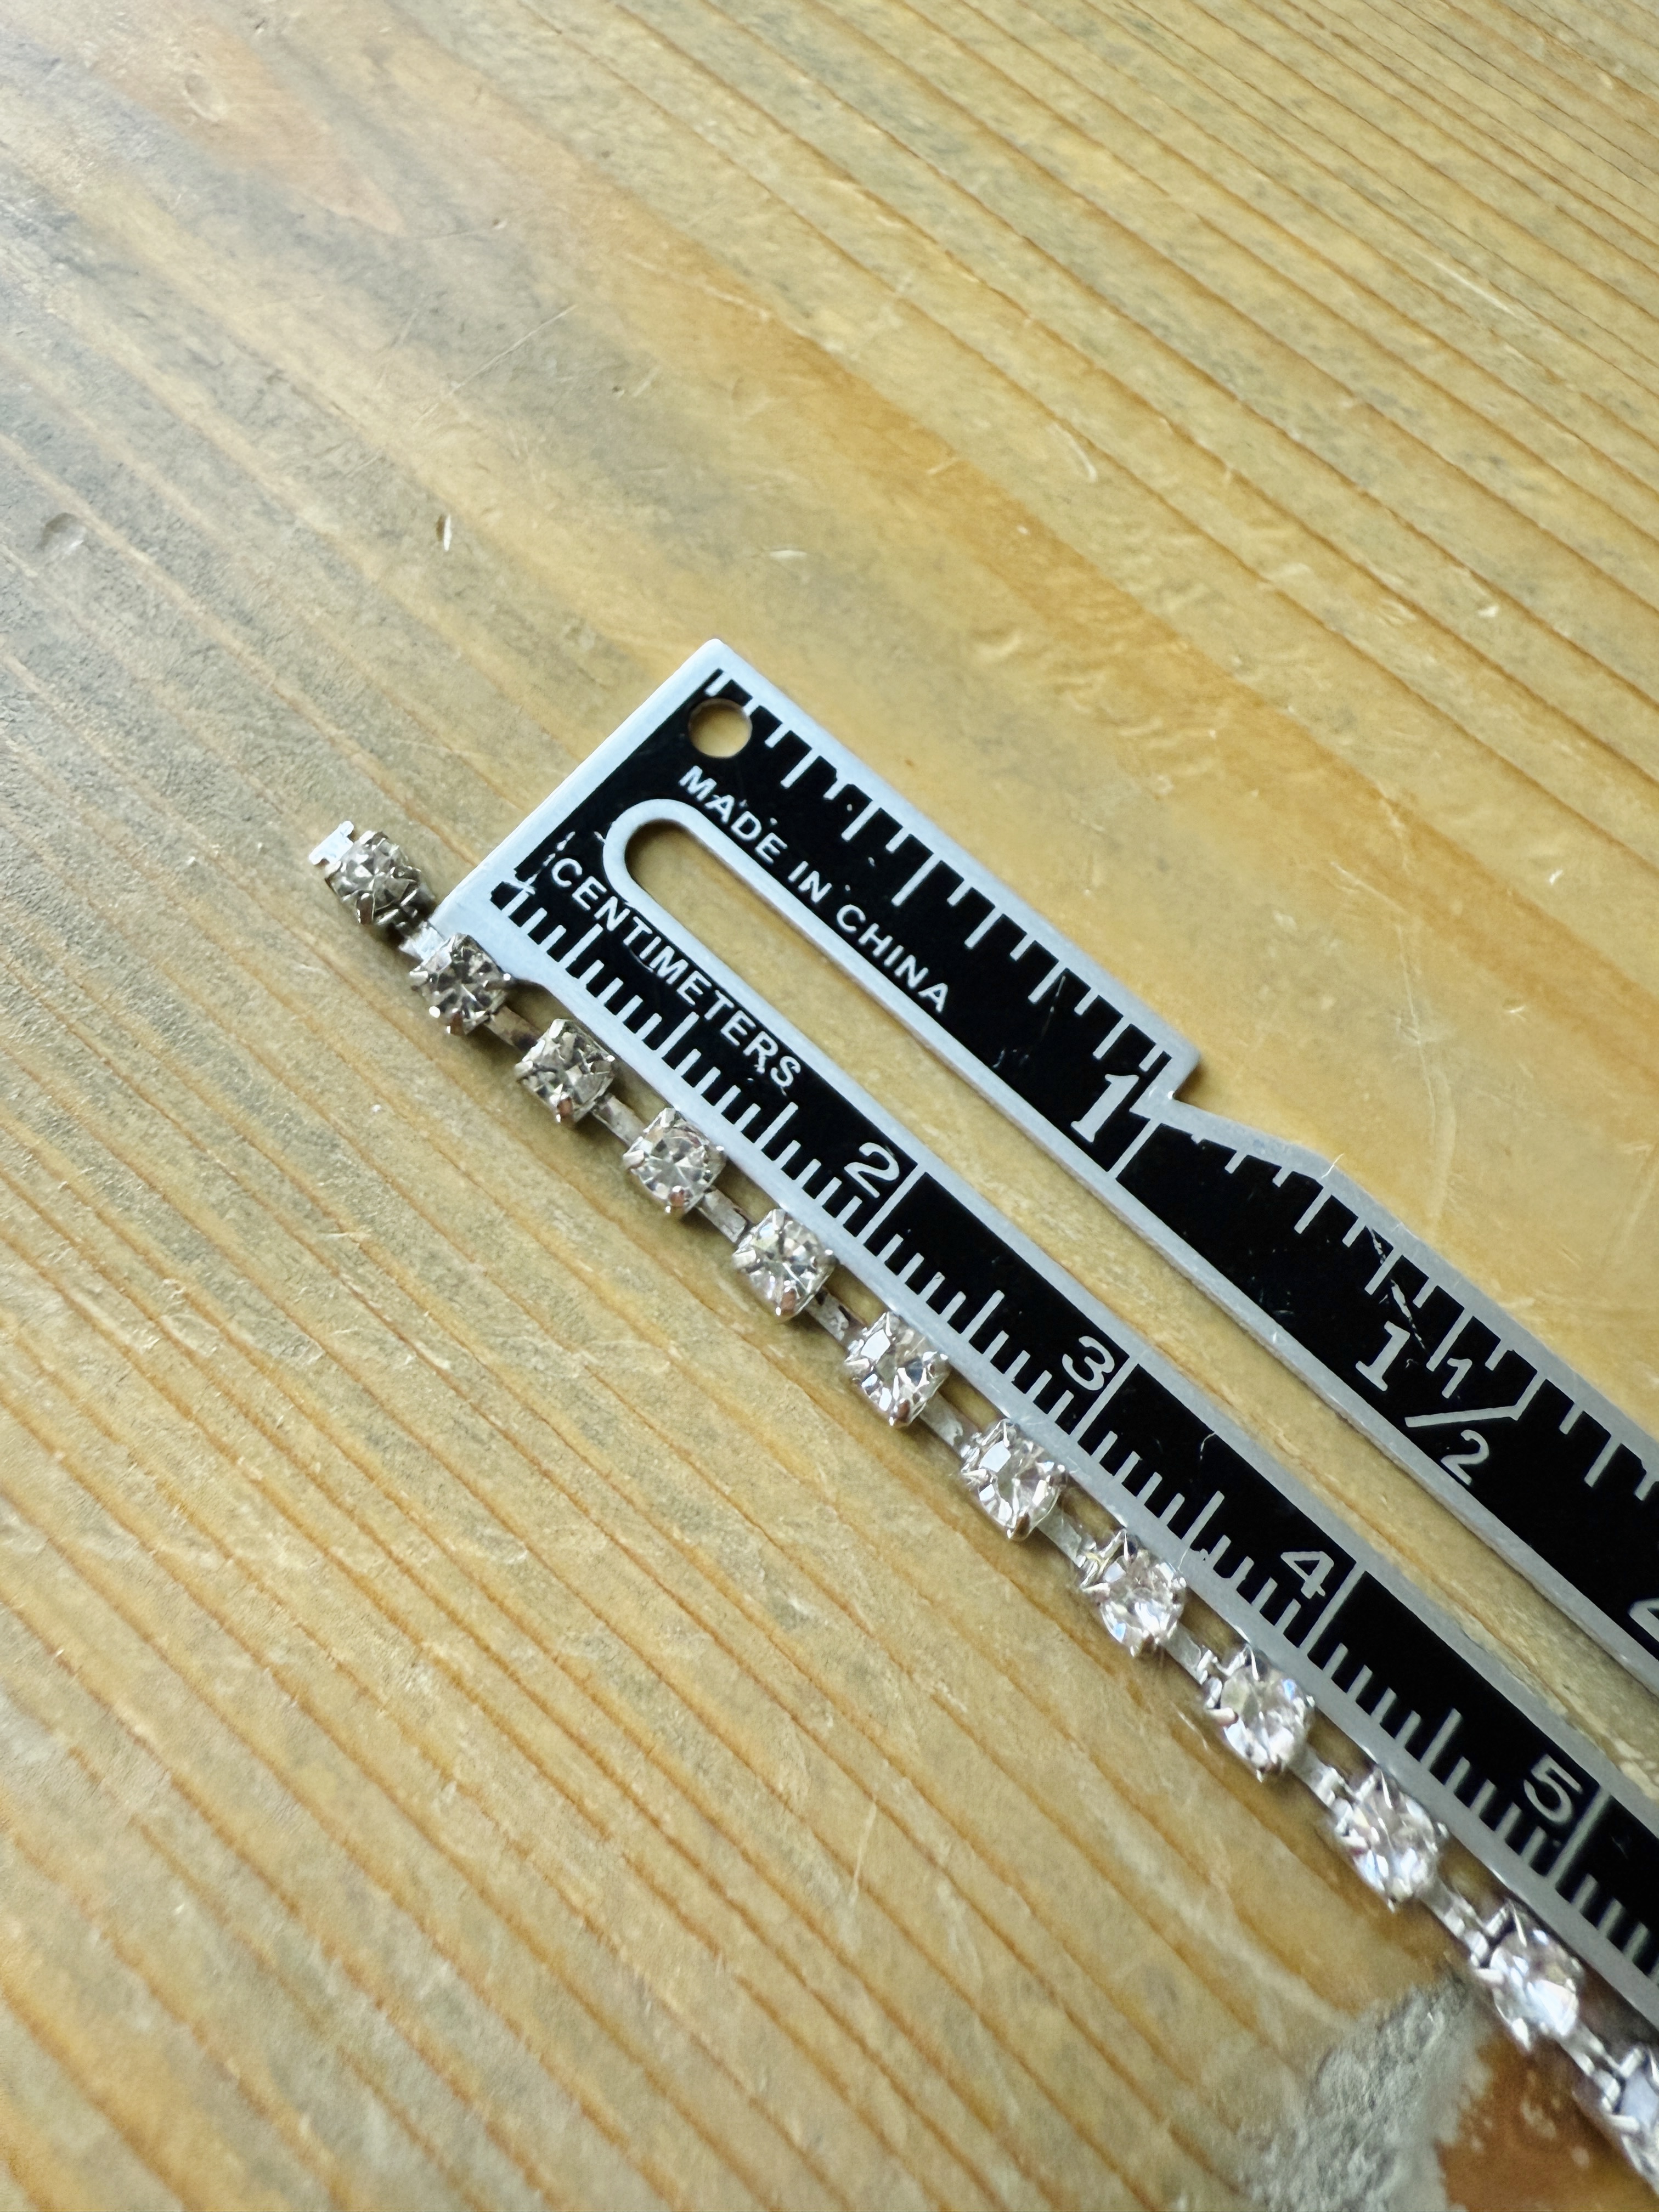
Measure the diameter of the beads/sequins and set the stitch length to that number. Here I am using 3mm rhinestones, so I am setting my stitch length to 3.
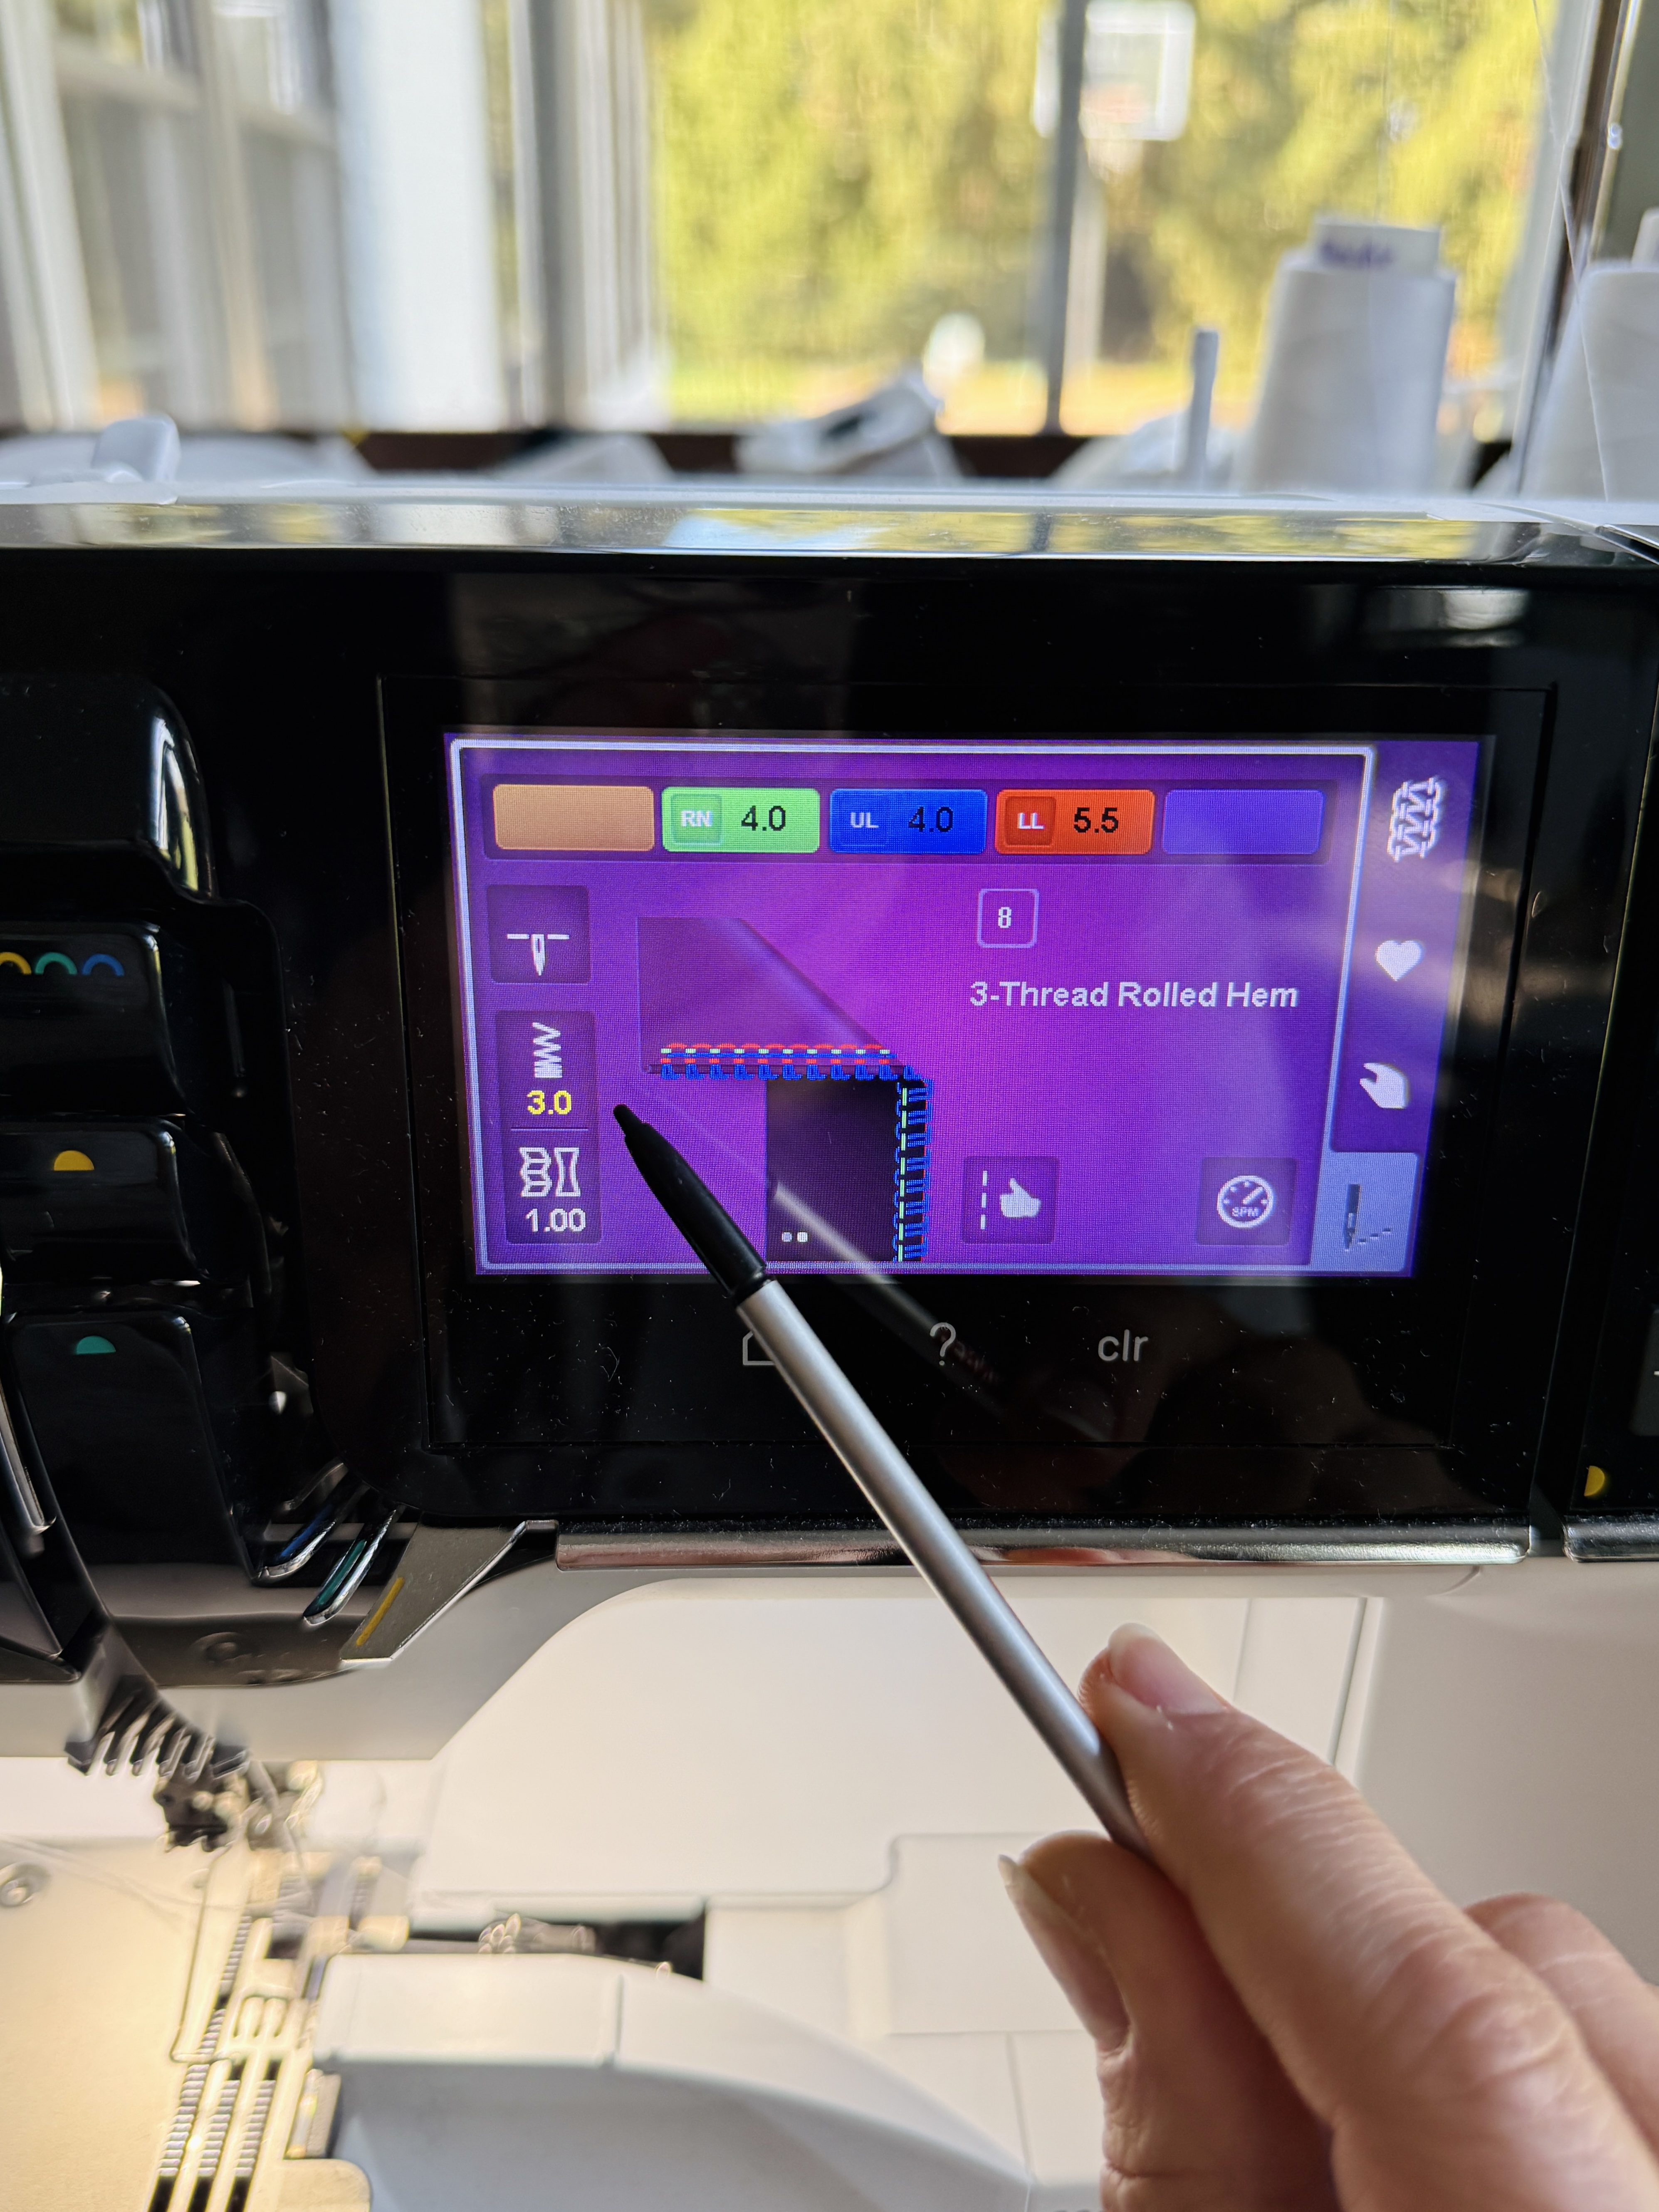
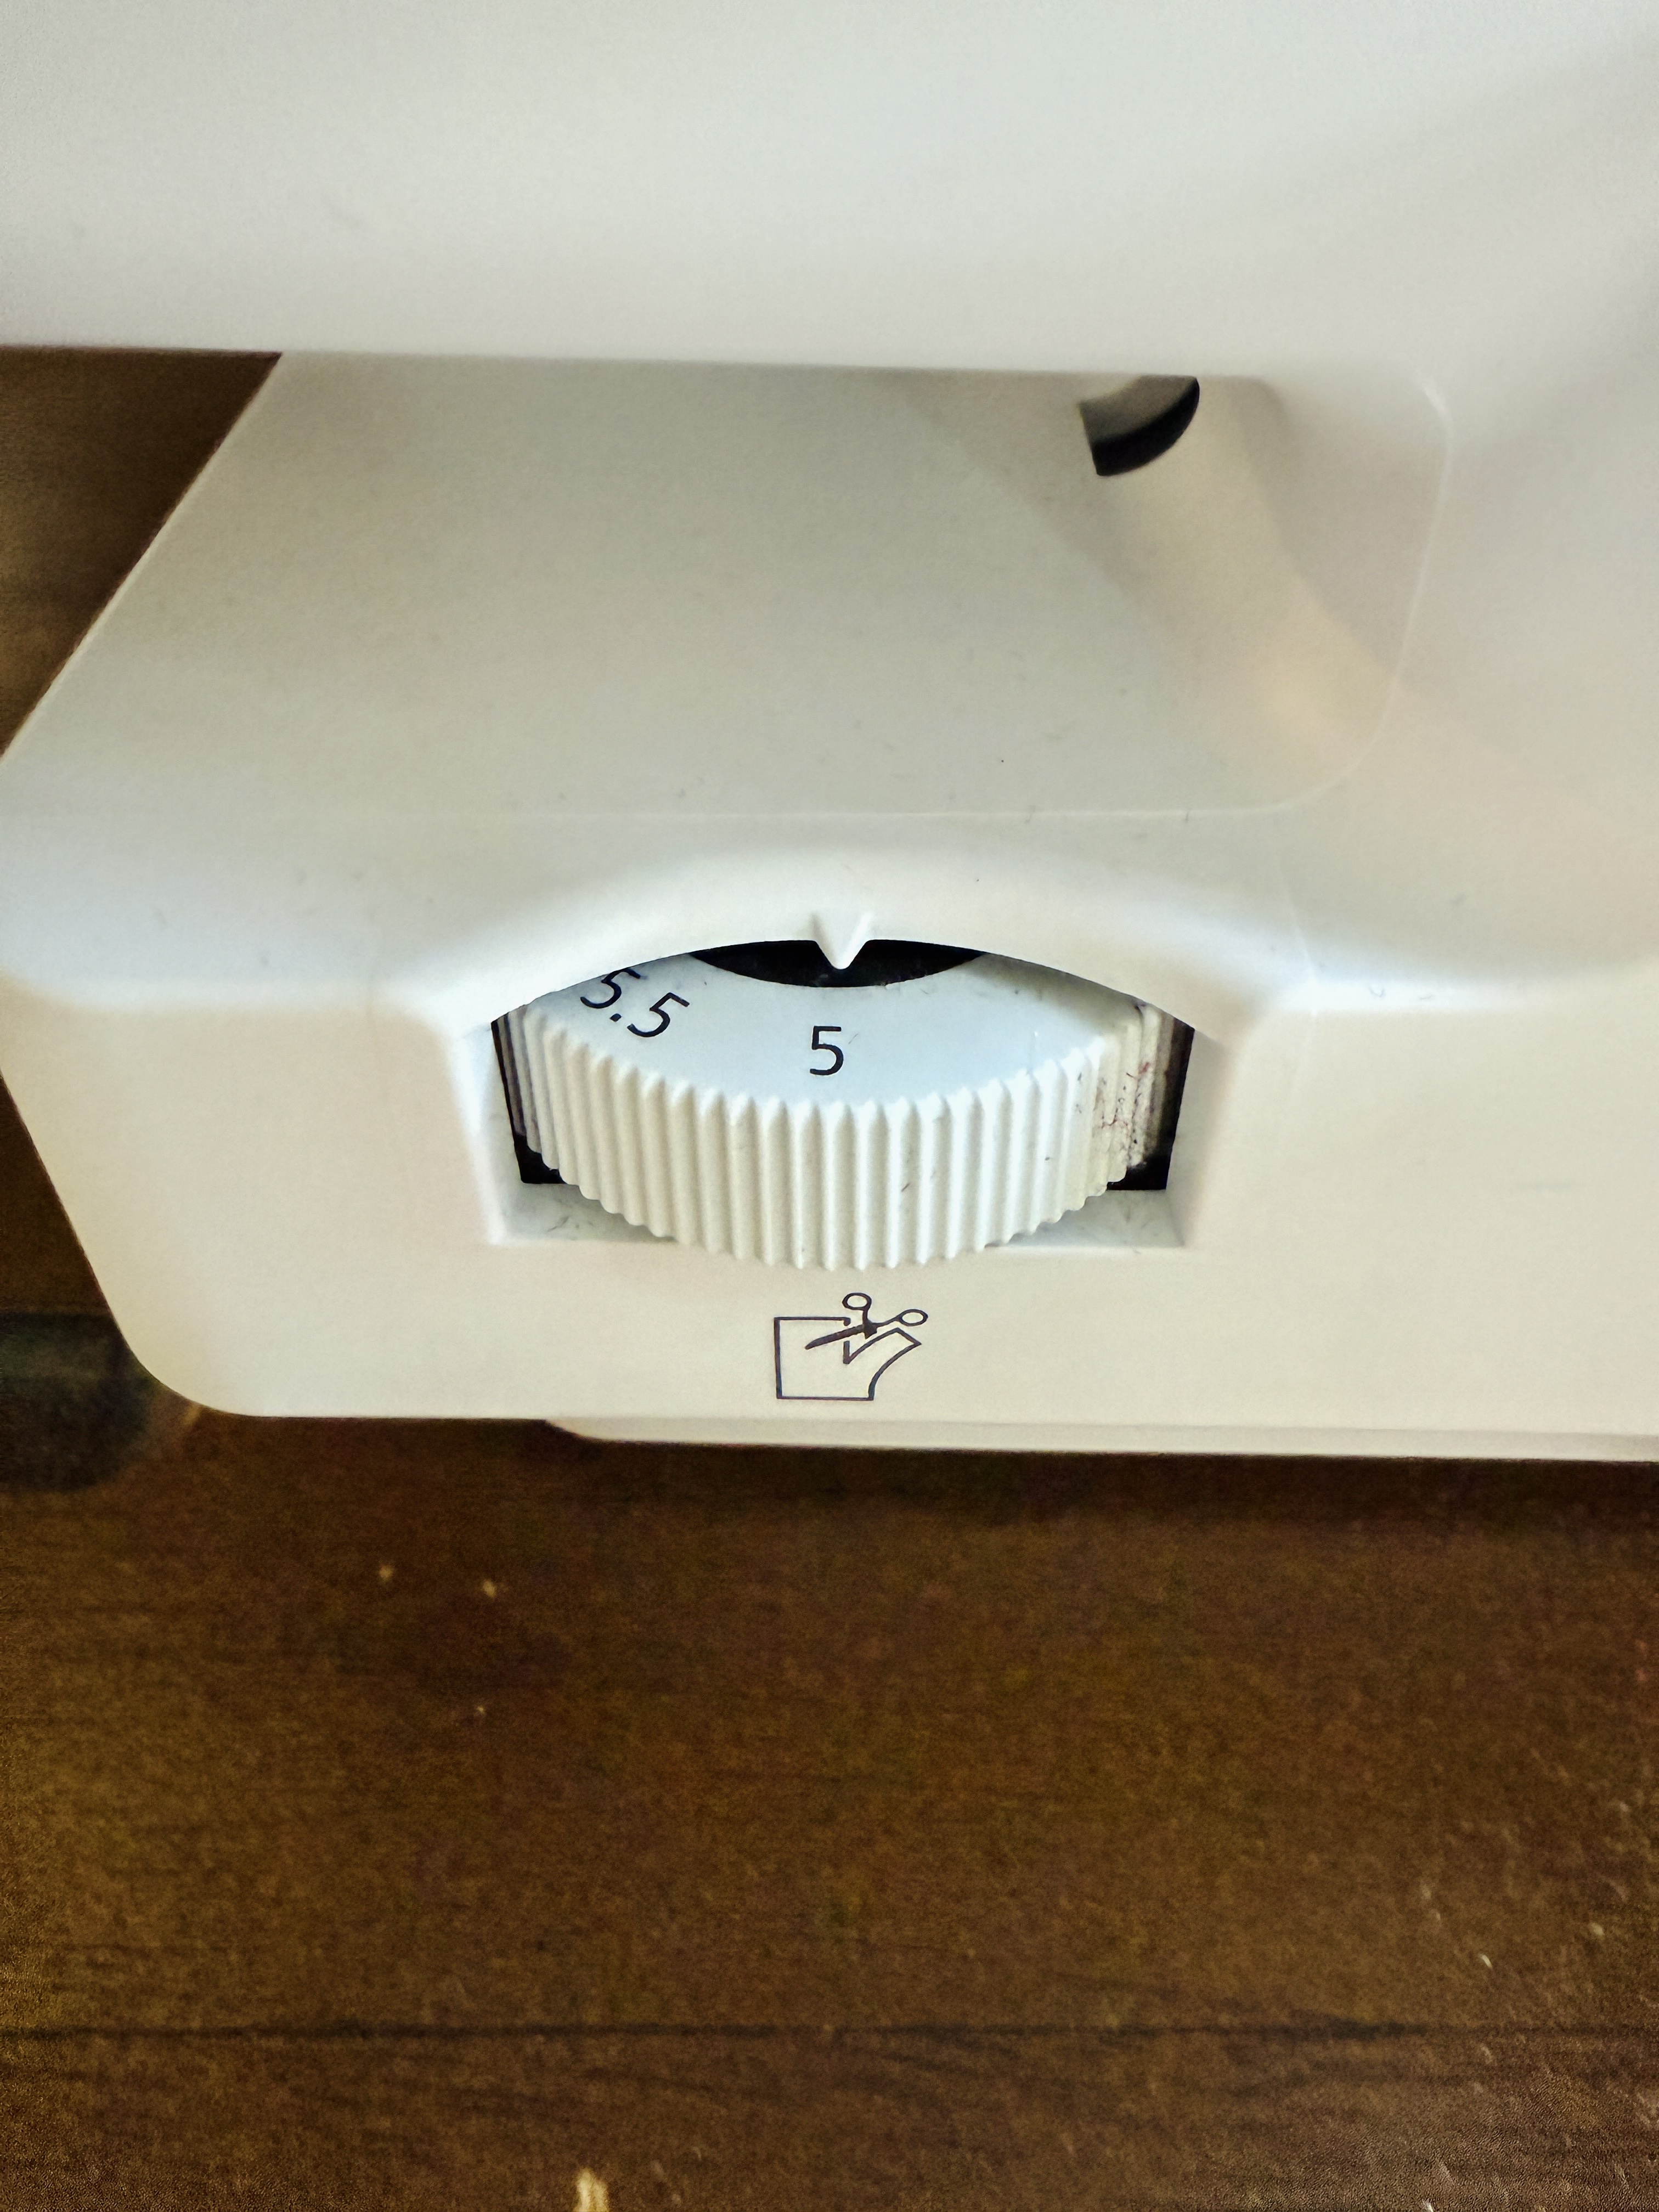
Disengage the knife, and set the cutting width to a 5.
Attach the Beading and Sequin Foot #C15 to your machine, and raise the presser foot.
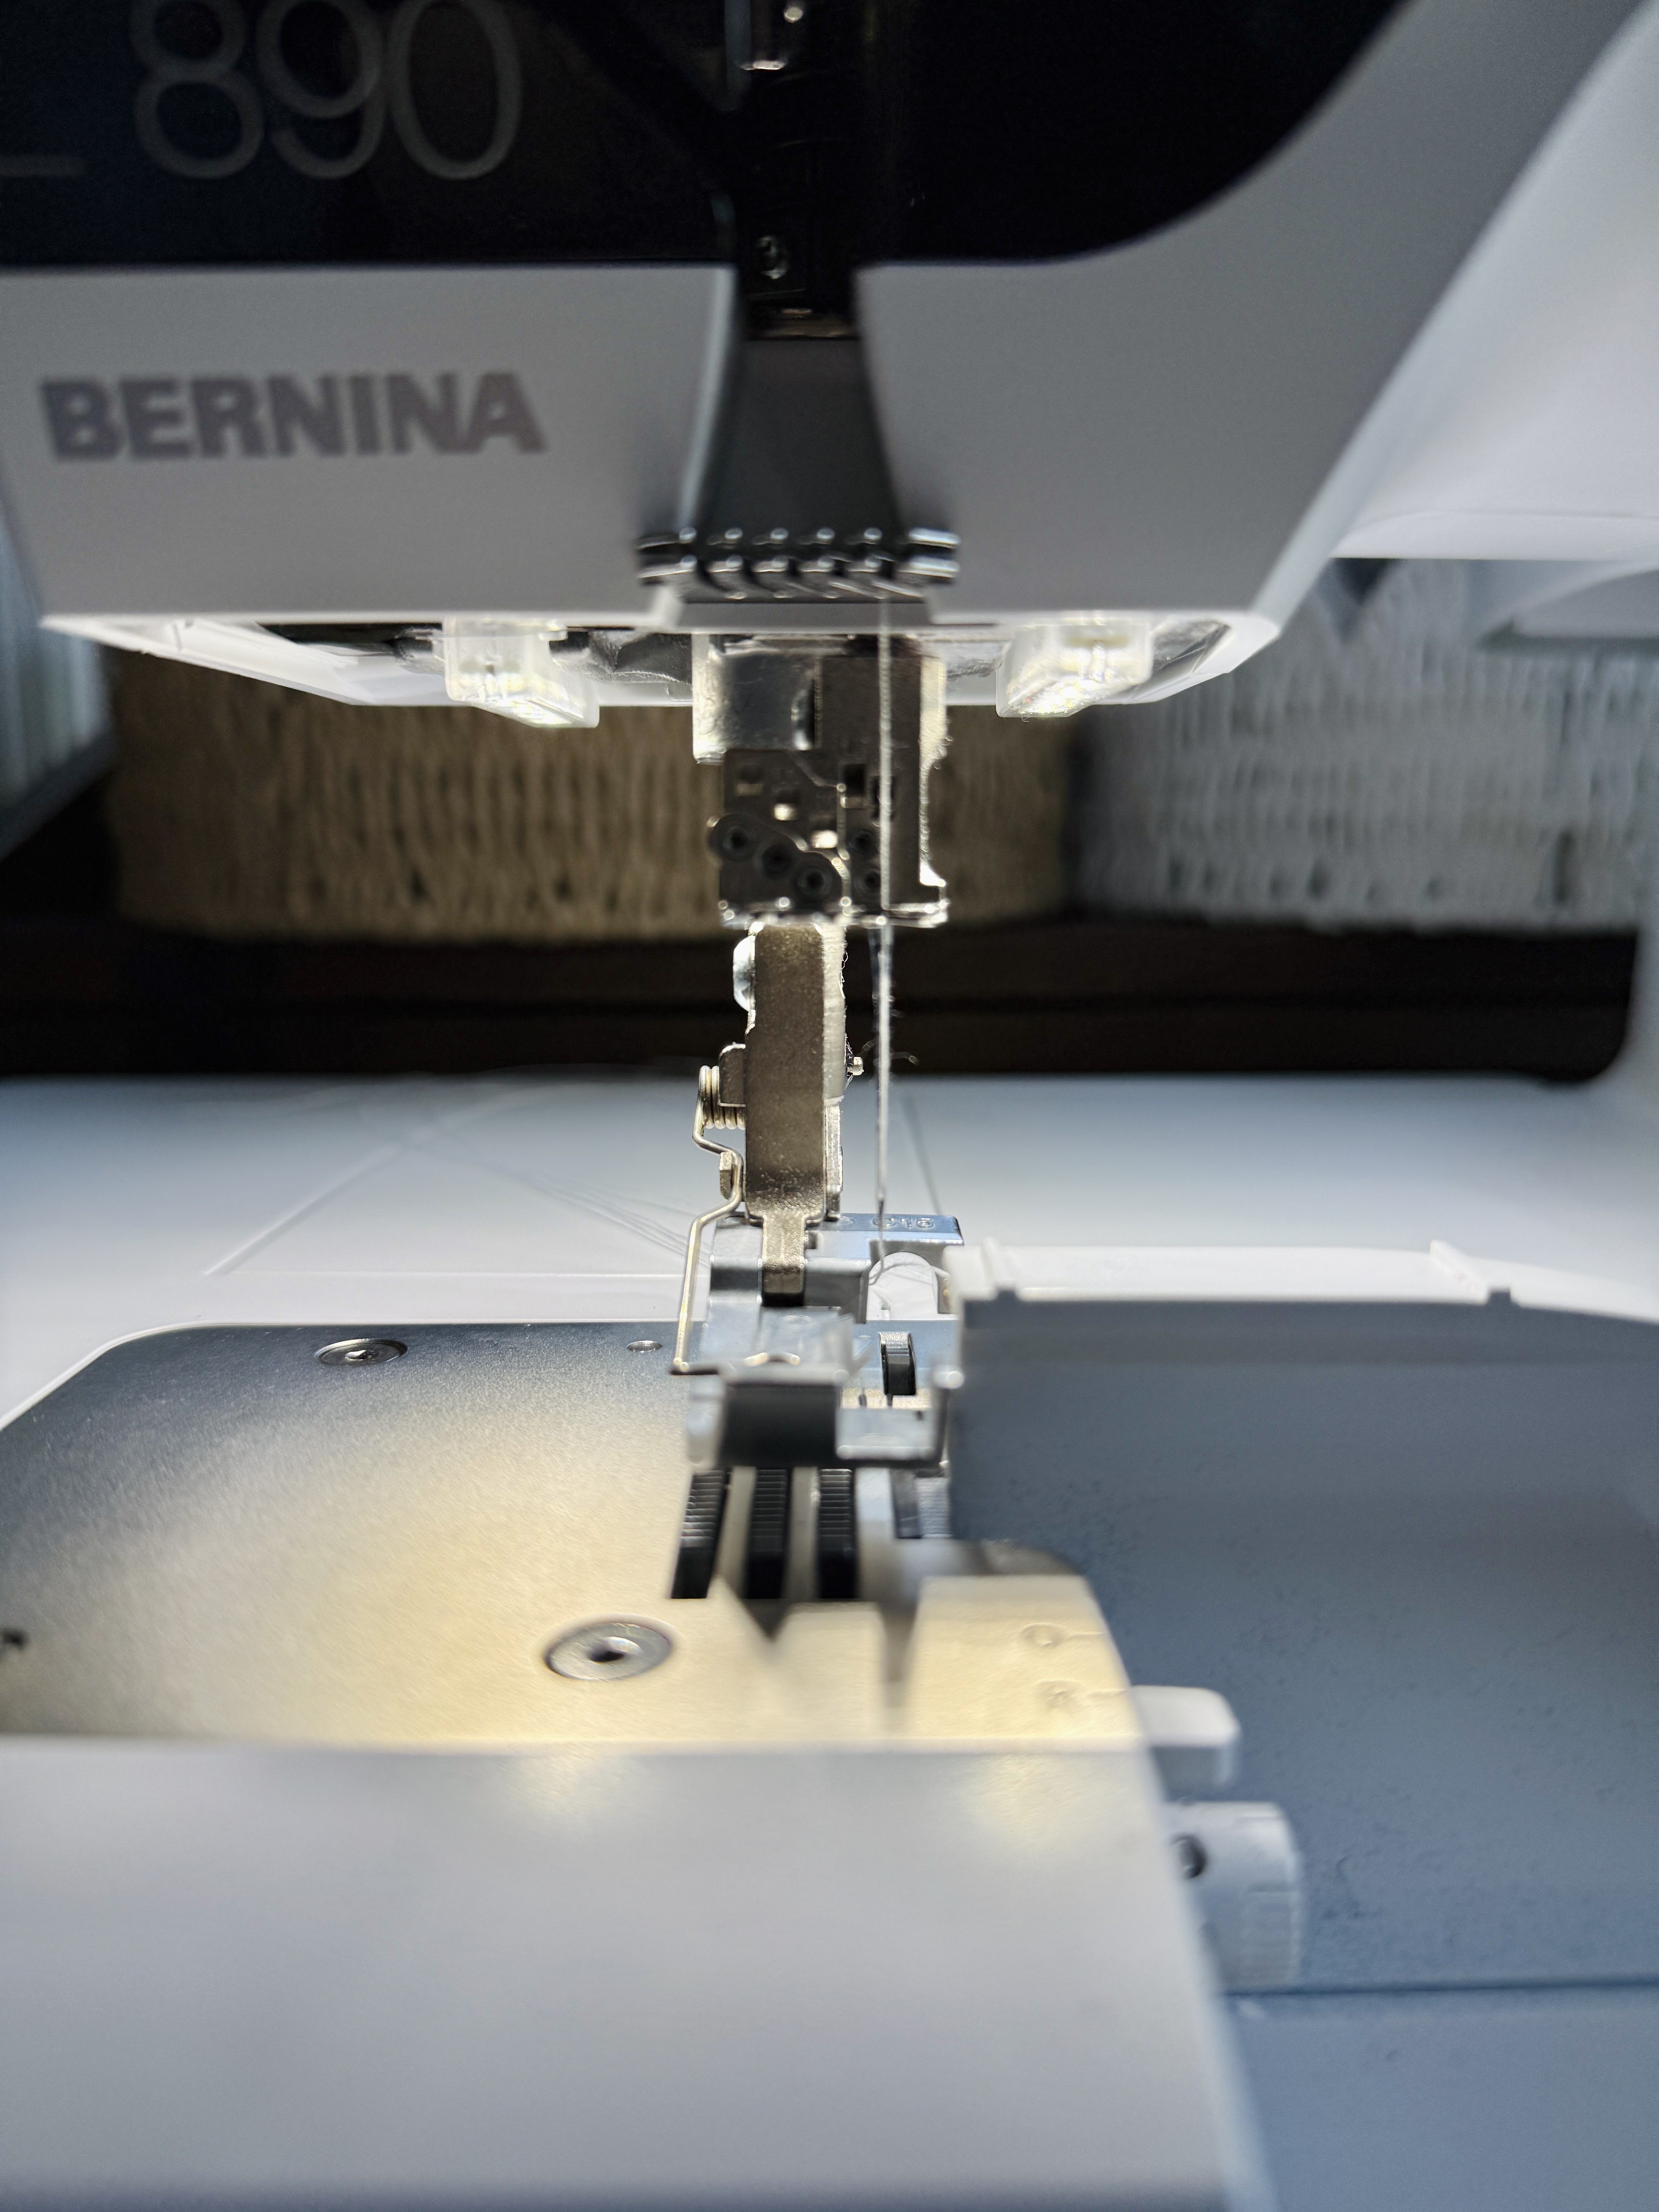
Place your strand of rhinestones through the front guide and under the rear guide. Extend the beads beyond the foot by an inch or so, so that you can hold them in your hand.
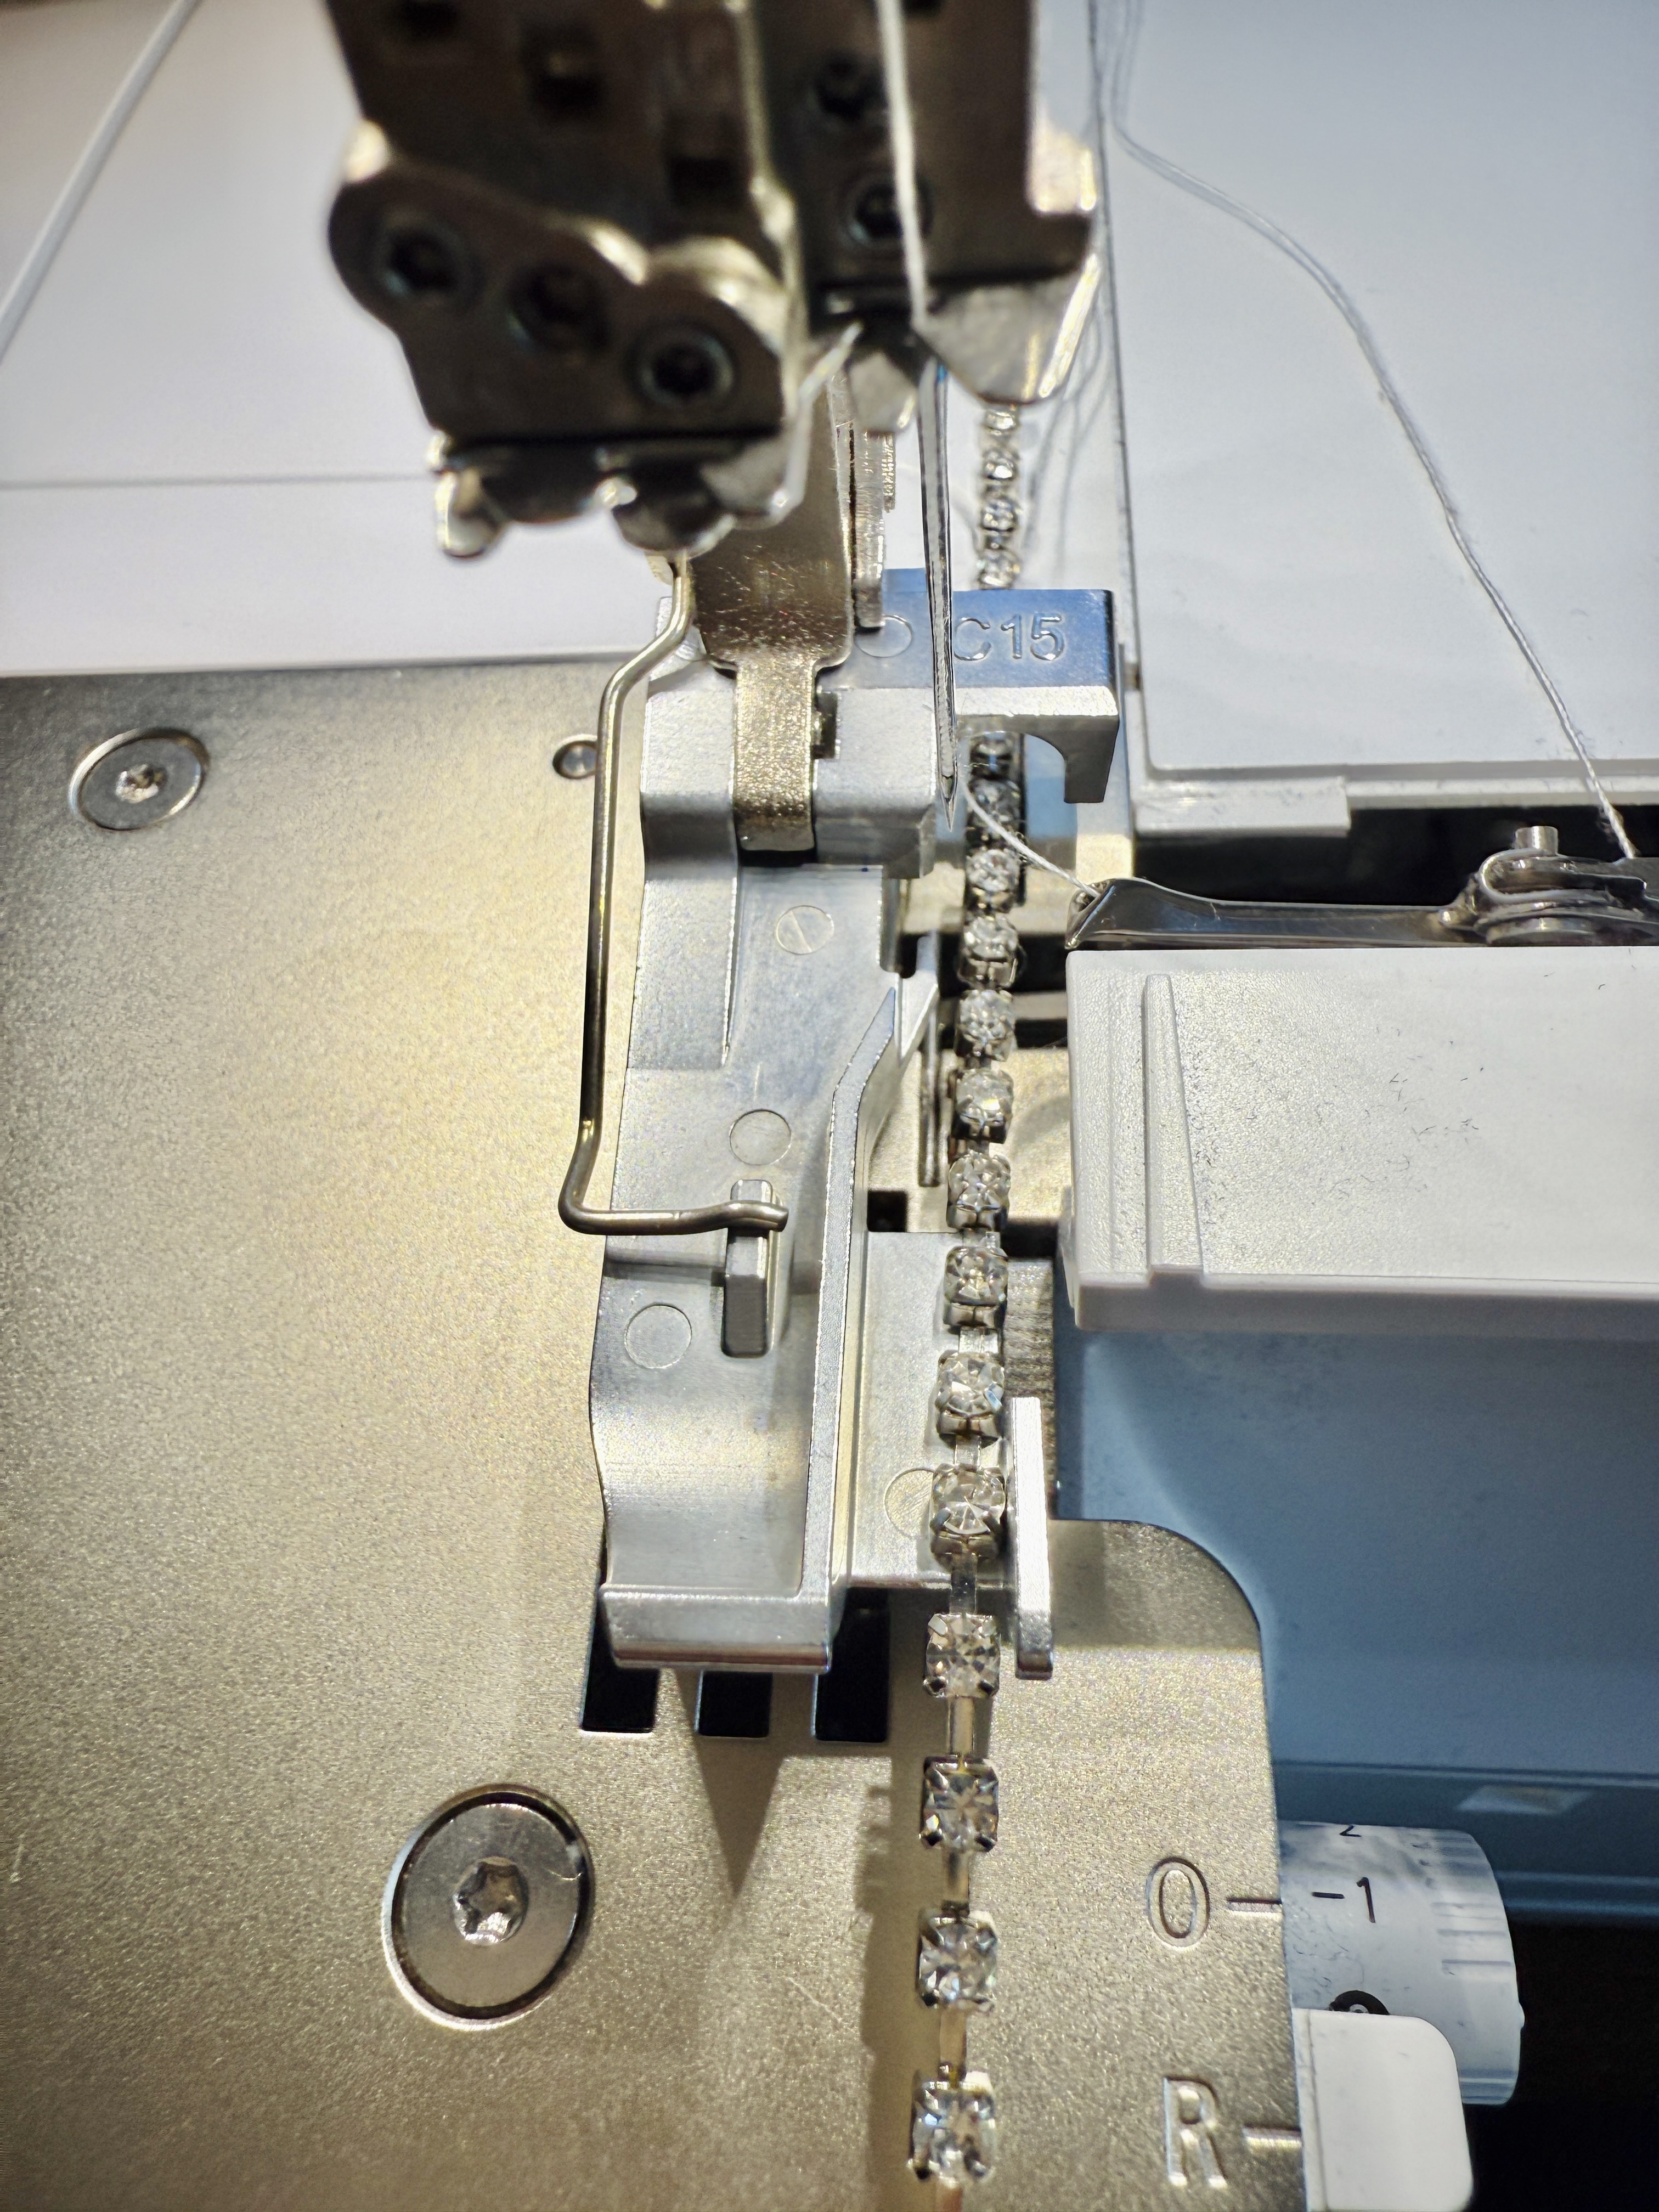
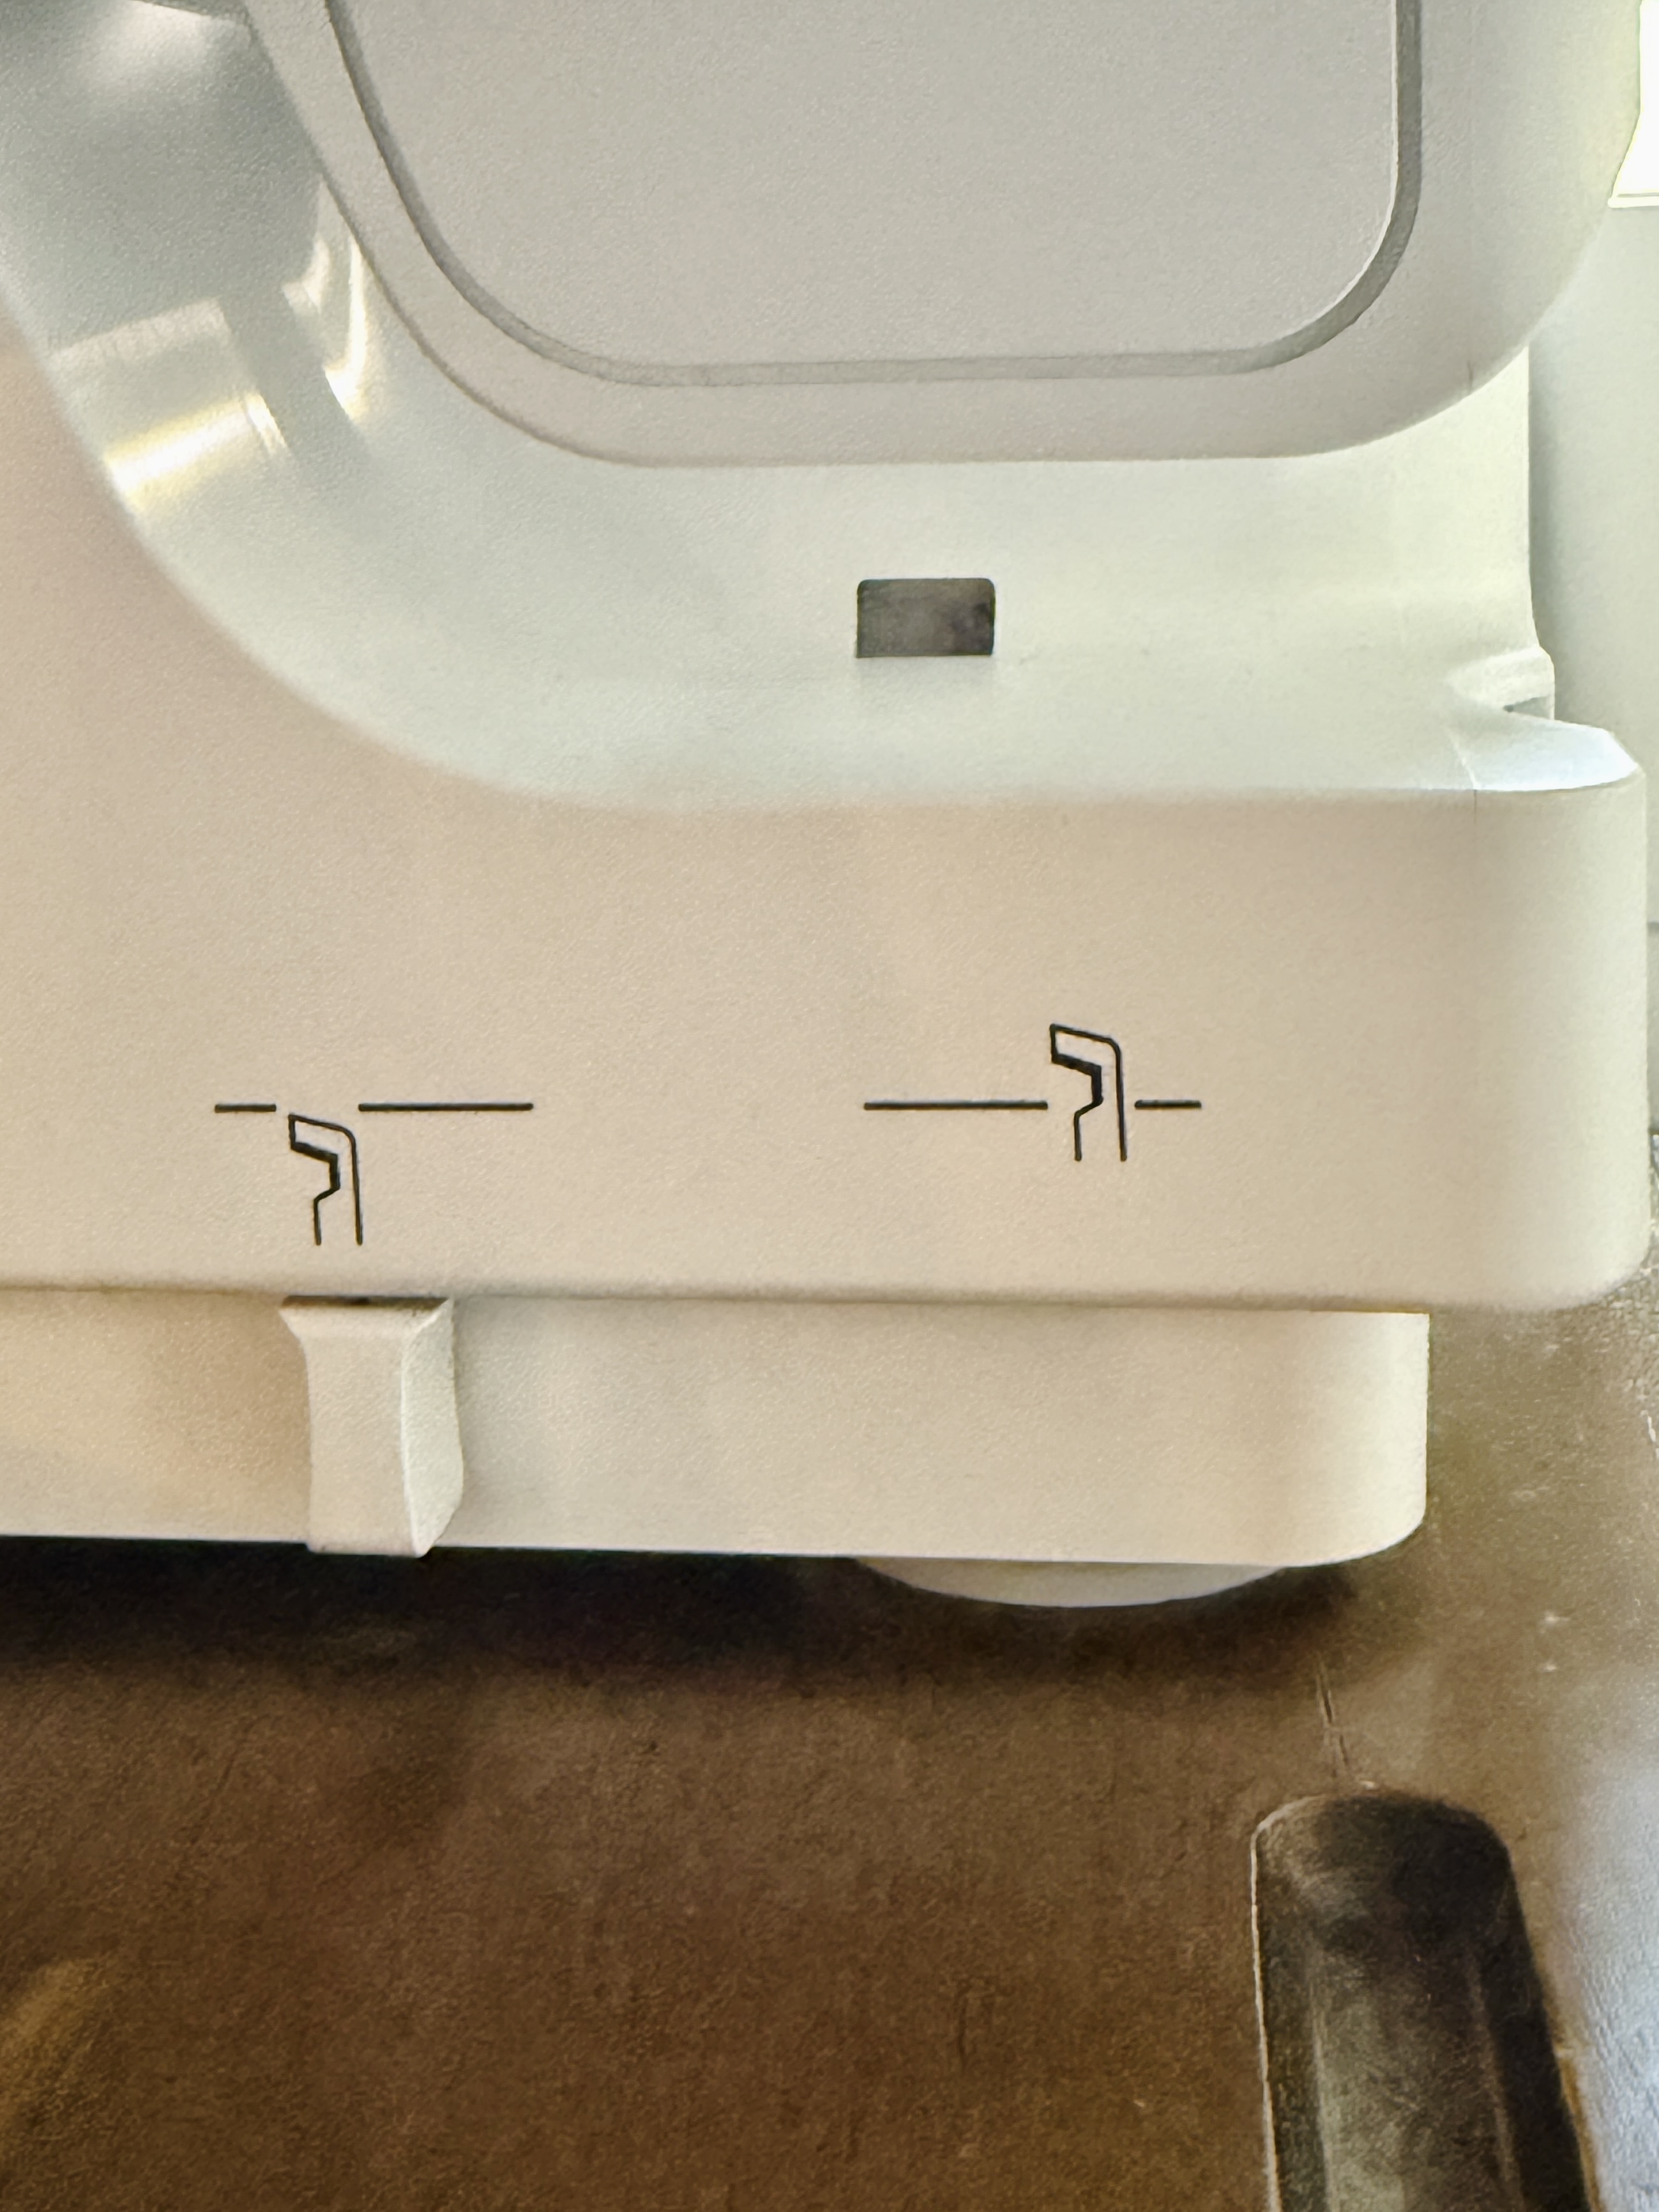
If a right seam guide is available, set it to be centered between the needle and the cutting width. This guide will help keep your fabric in the correct position to add the rhinestone as trim.
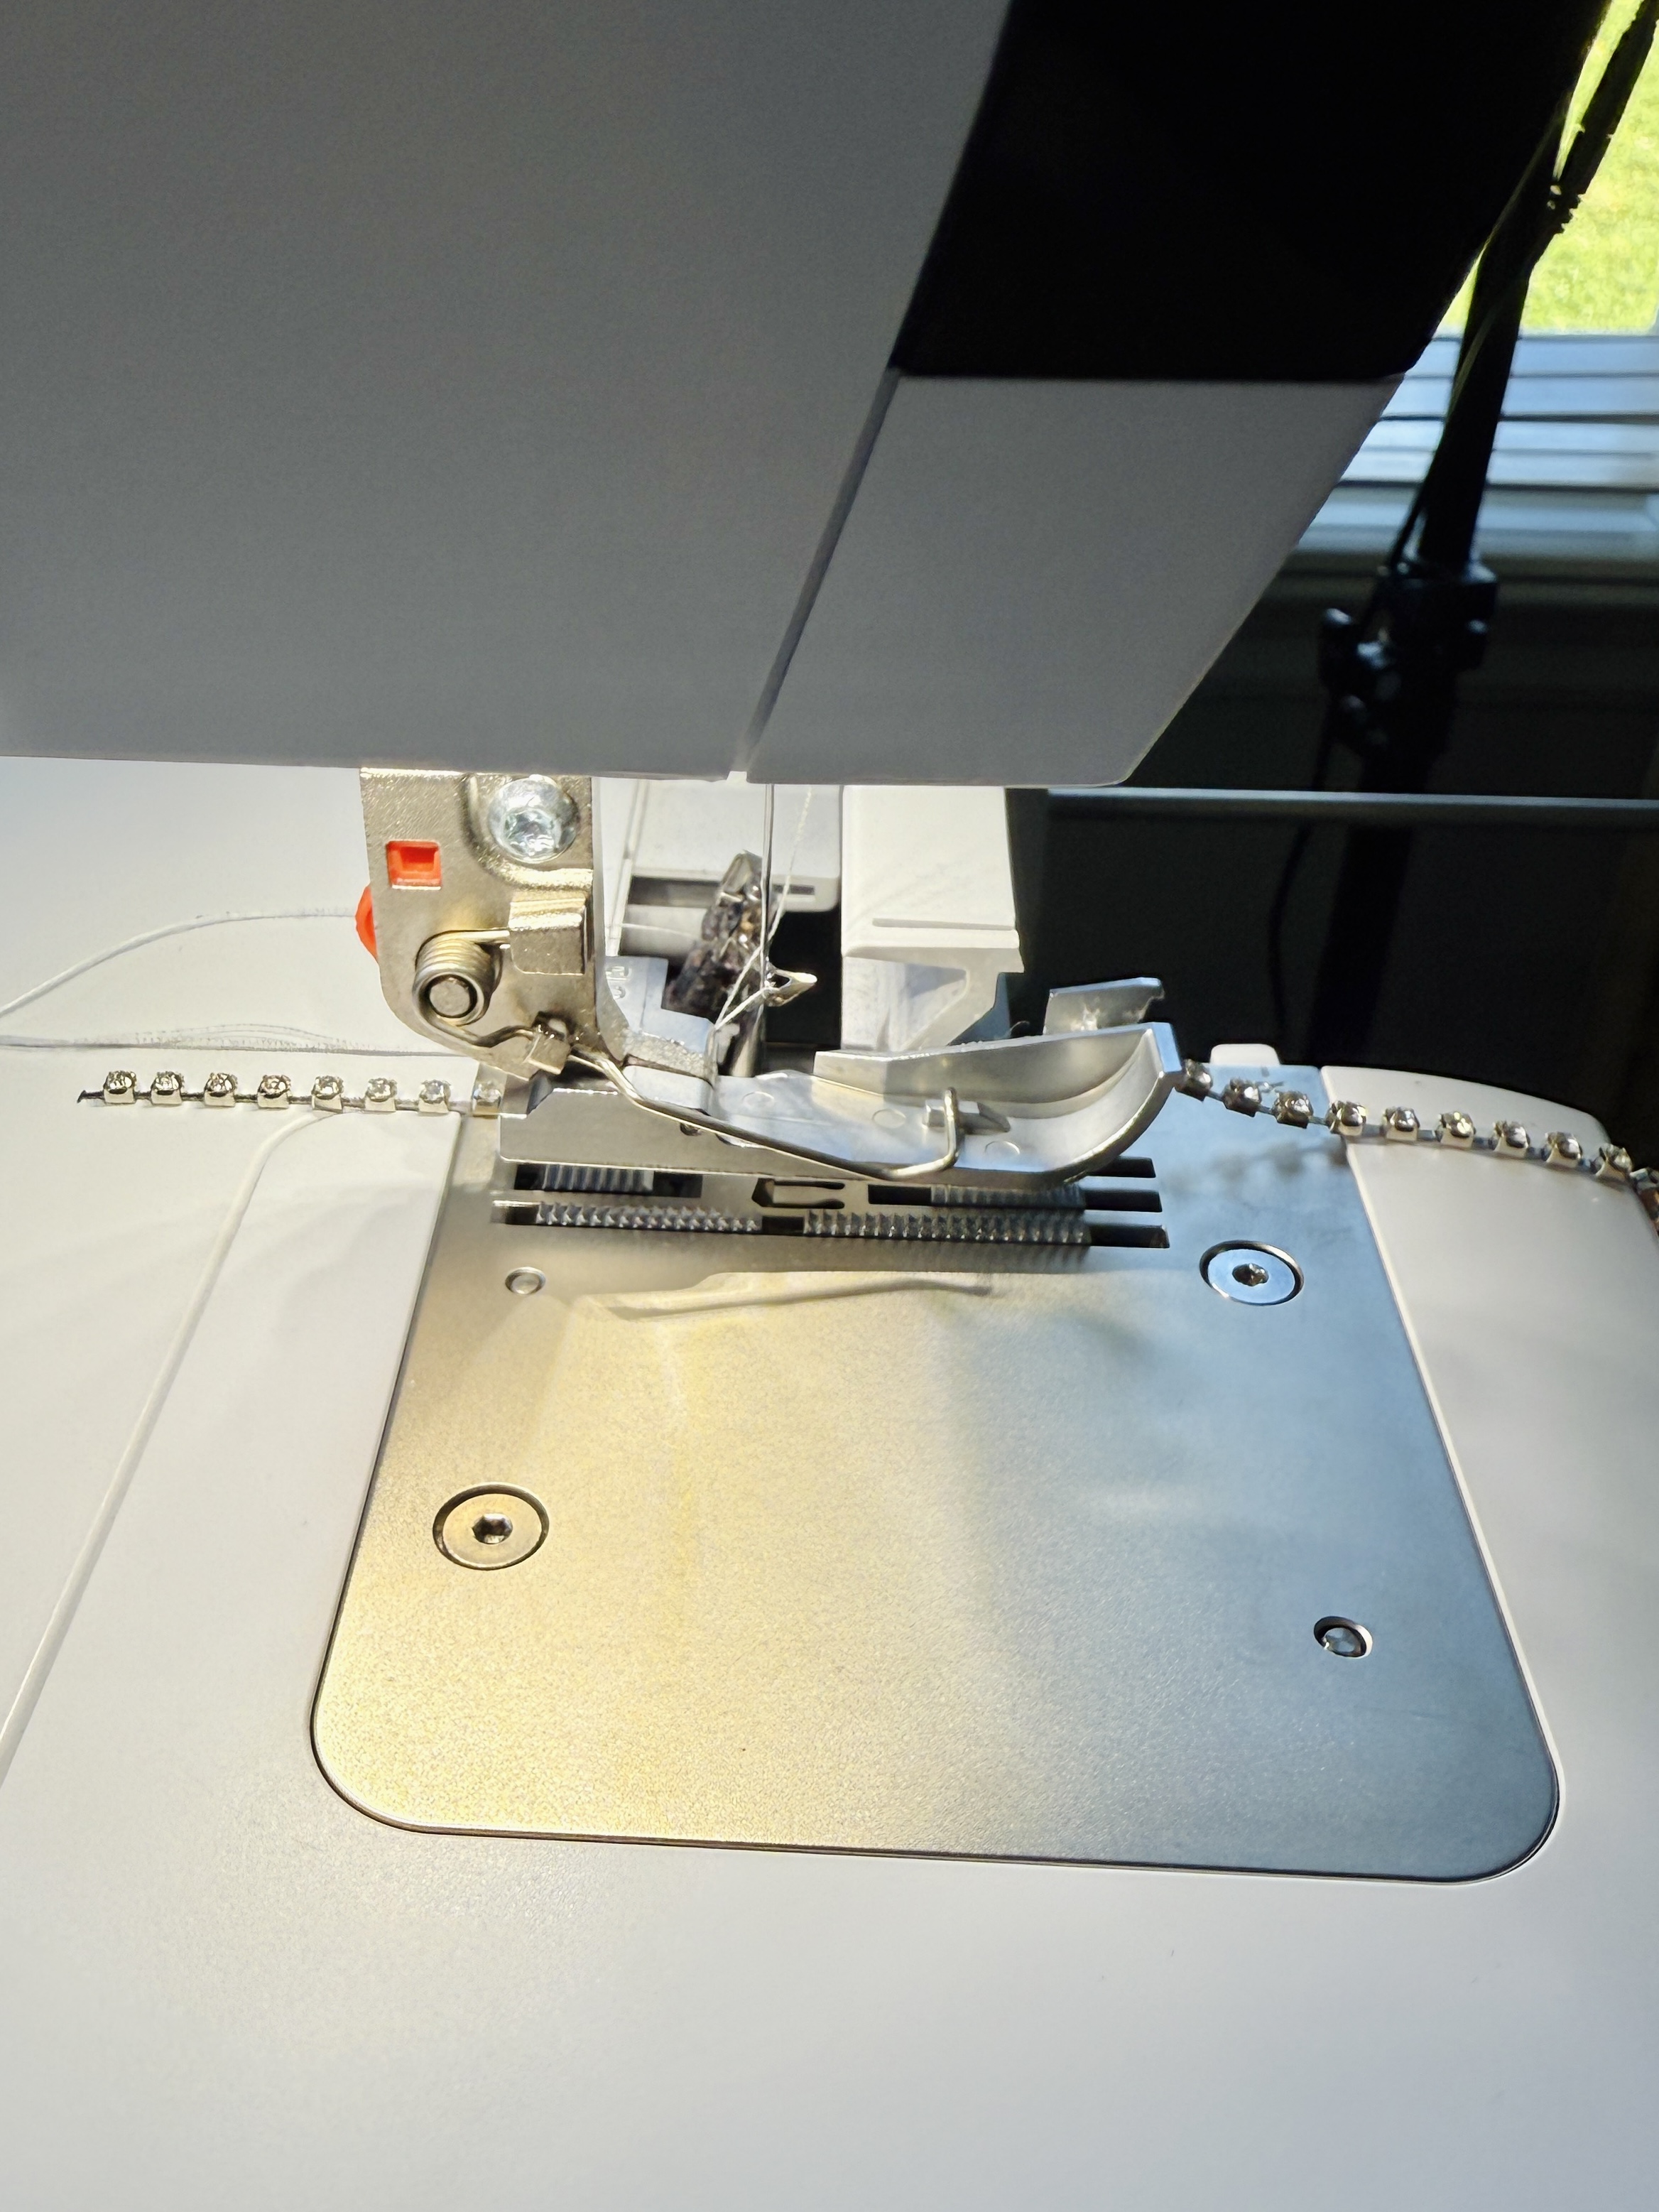
Lower the presser foot and sew a few stitches to stabilize the rhinestones. It is now prepped and ready to attach to the fabric.
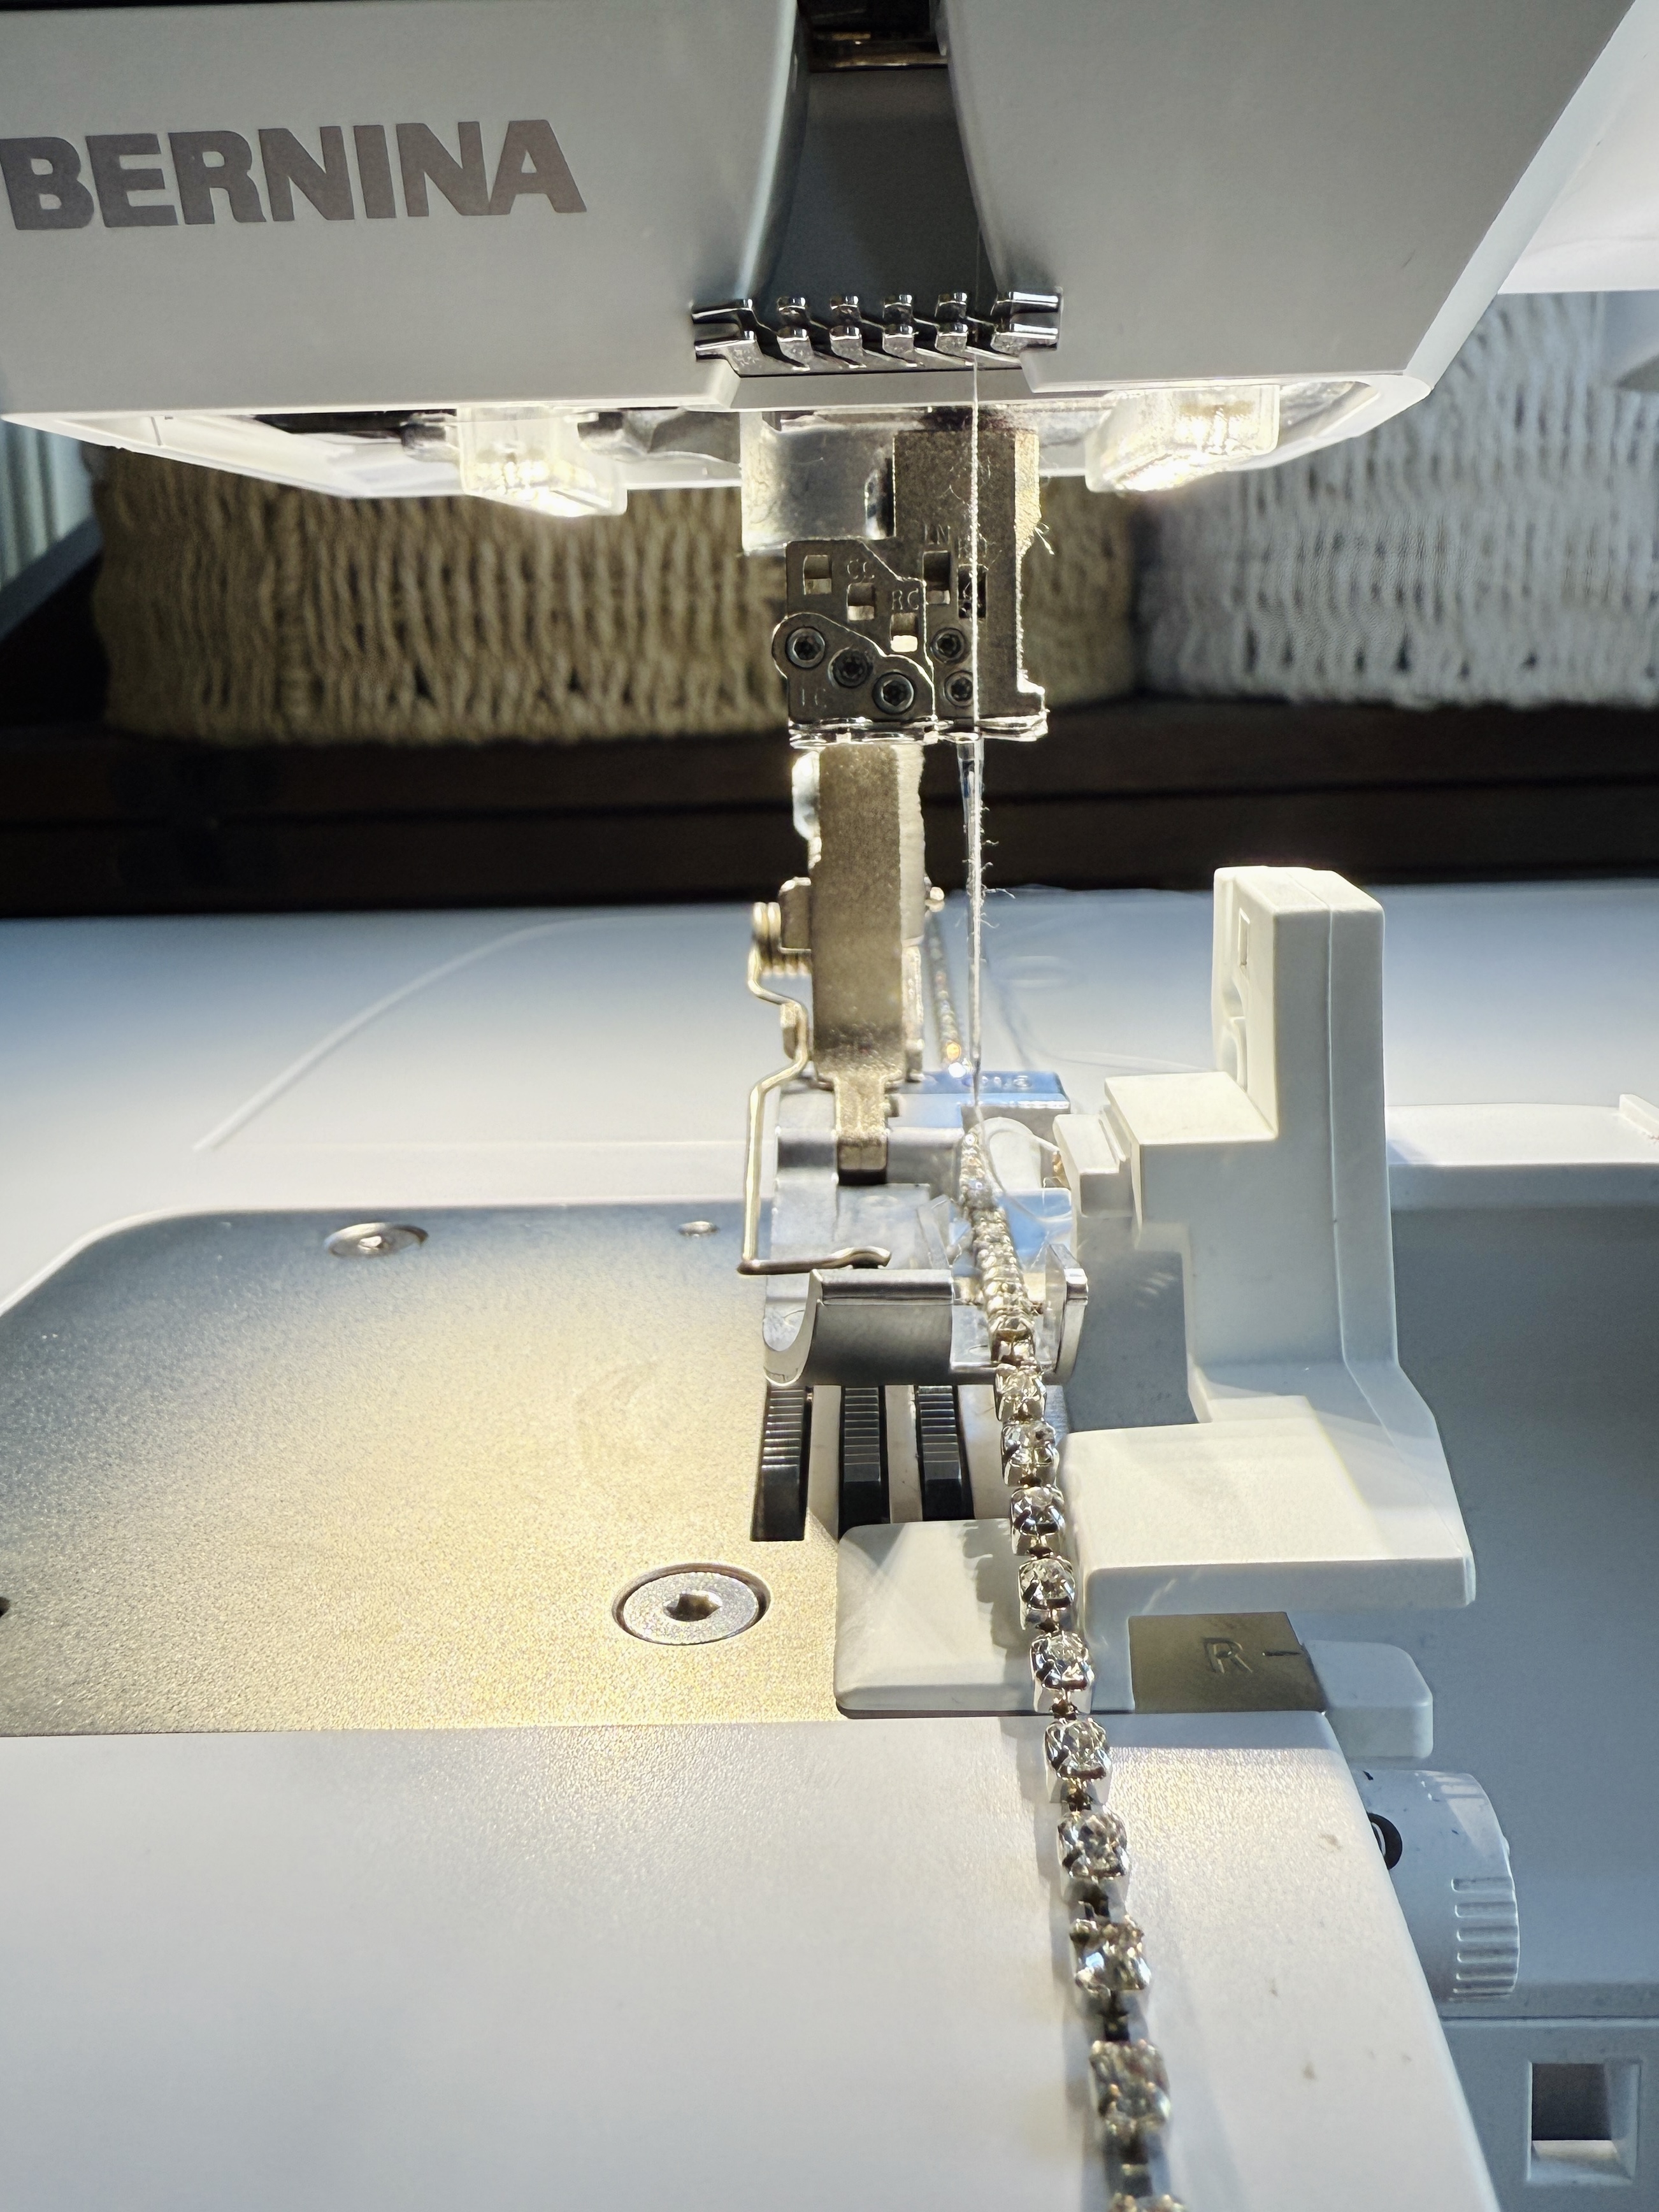
Place the bow piece under the presser foot so that it is aligned with the right edge of the presser foot (or the right seam guide if available).
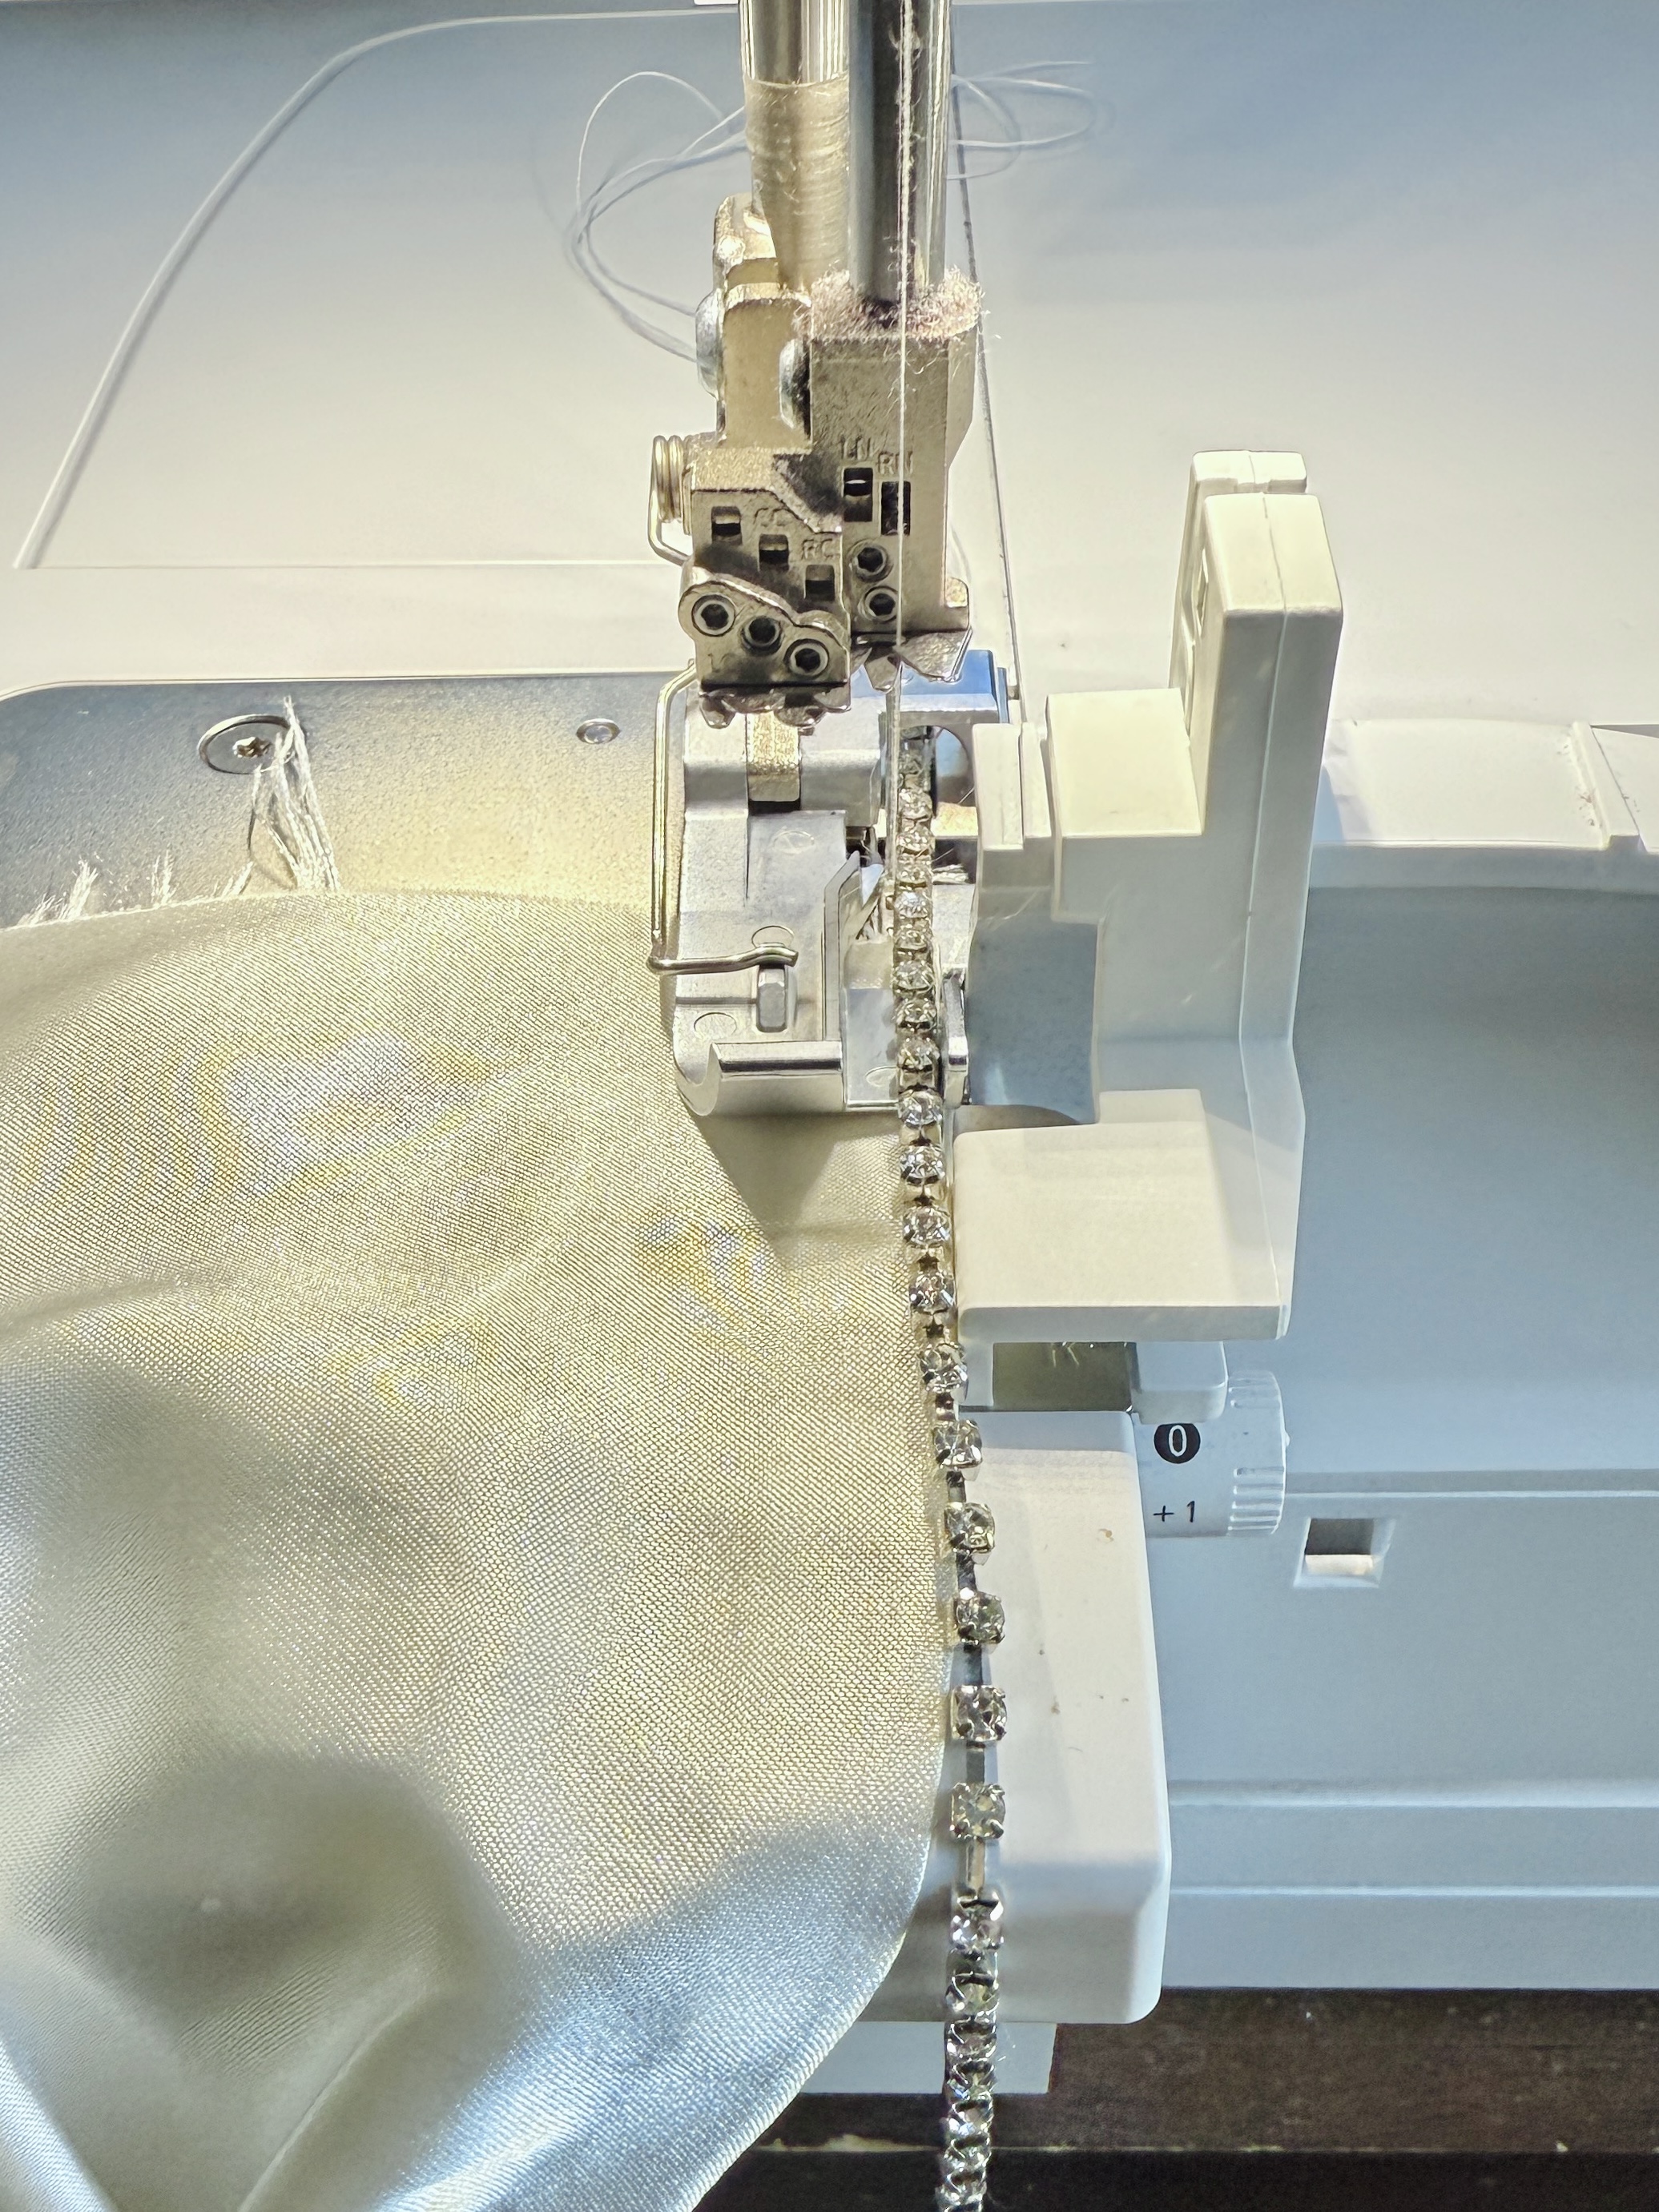
Sew to attach using a slow speed, ensuring that the rhinestones and fabric are moving through the presser foot at the same speed. Clip off excess beading at the end.

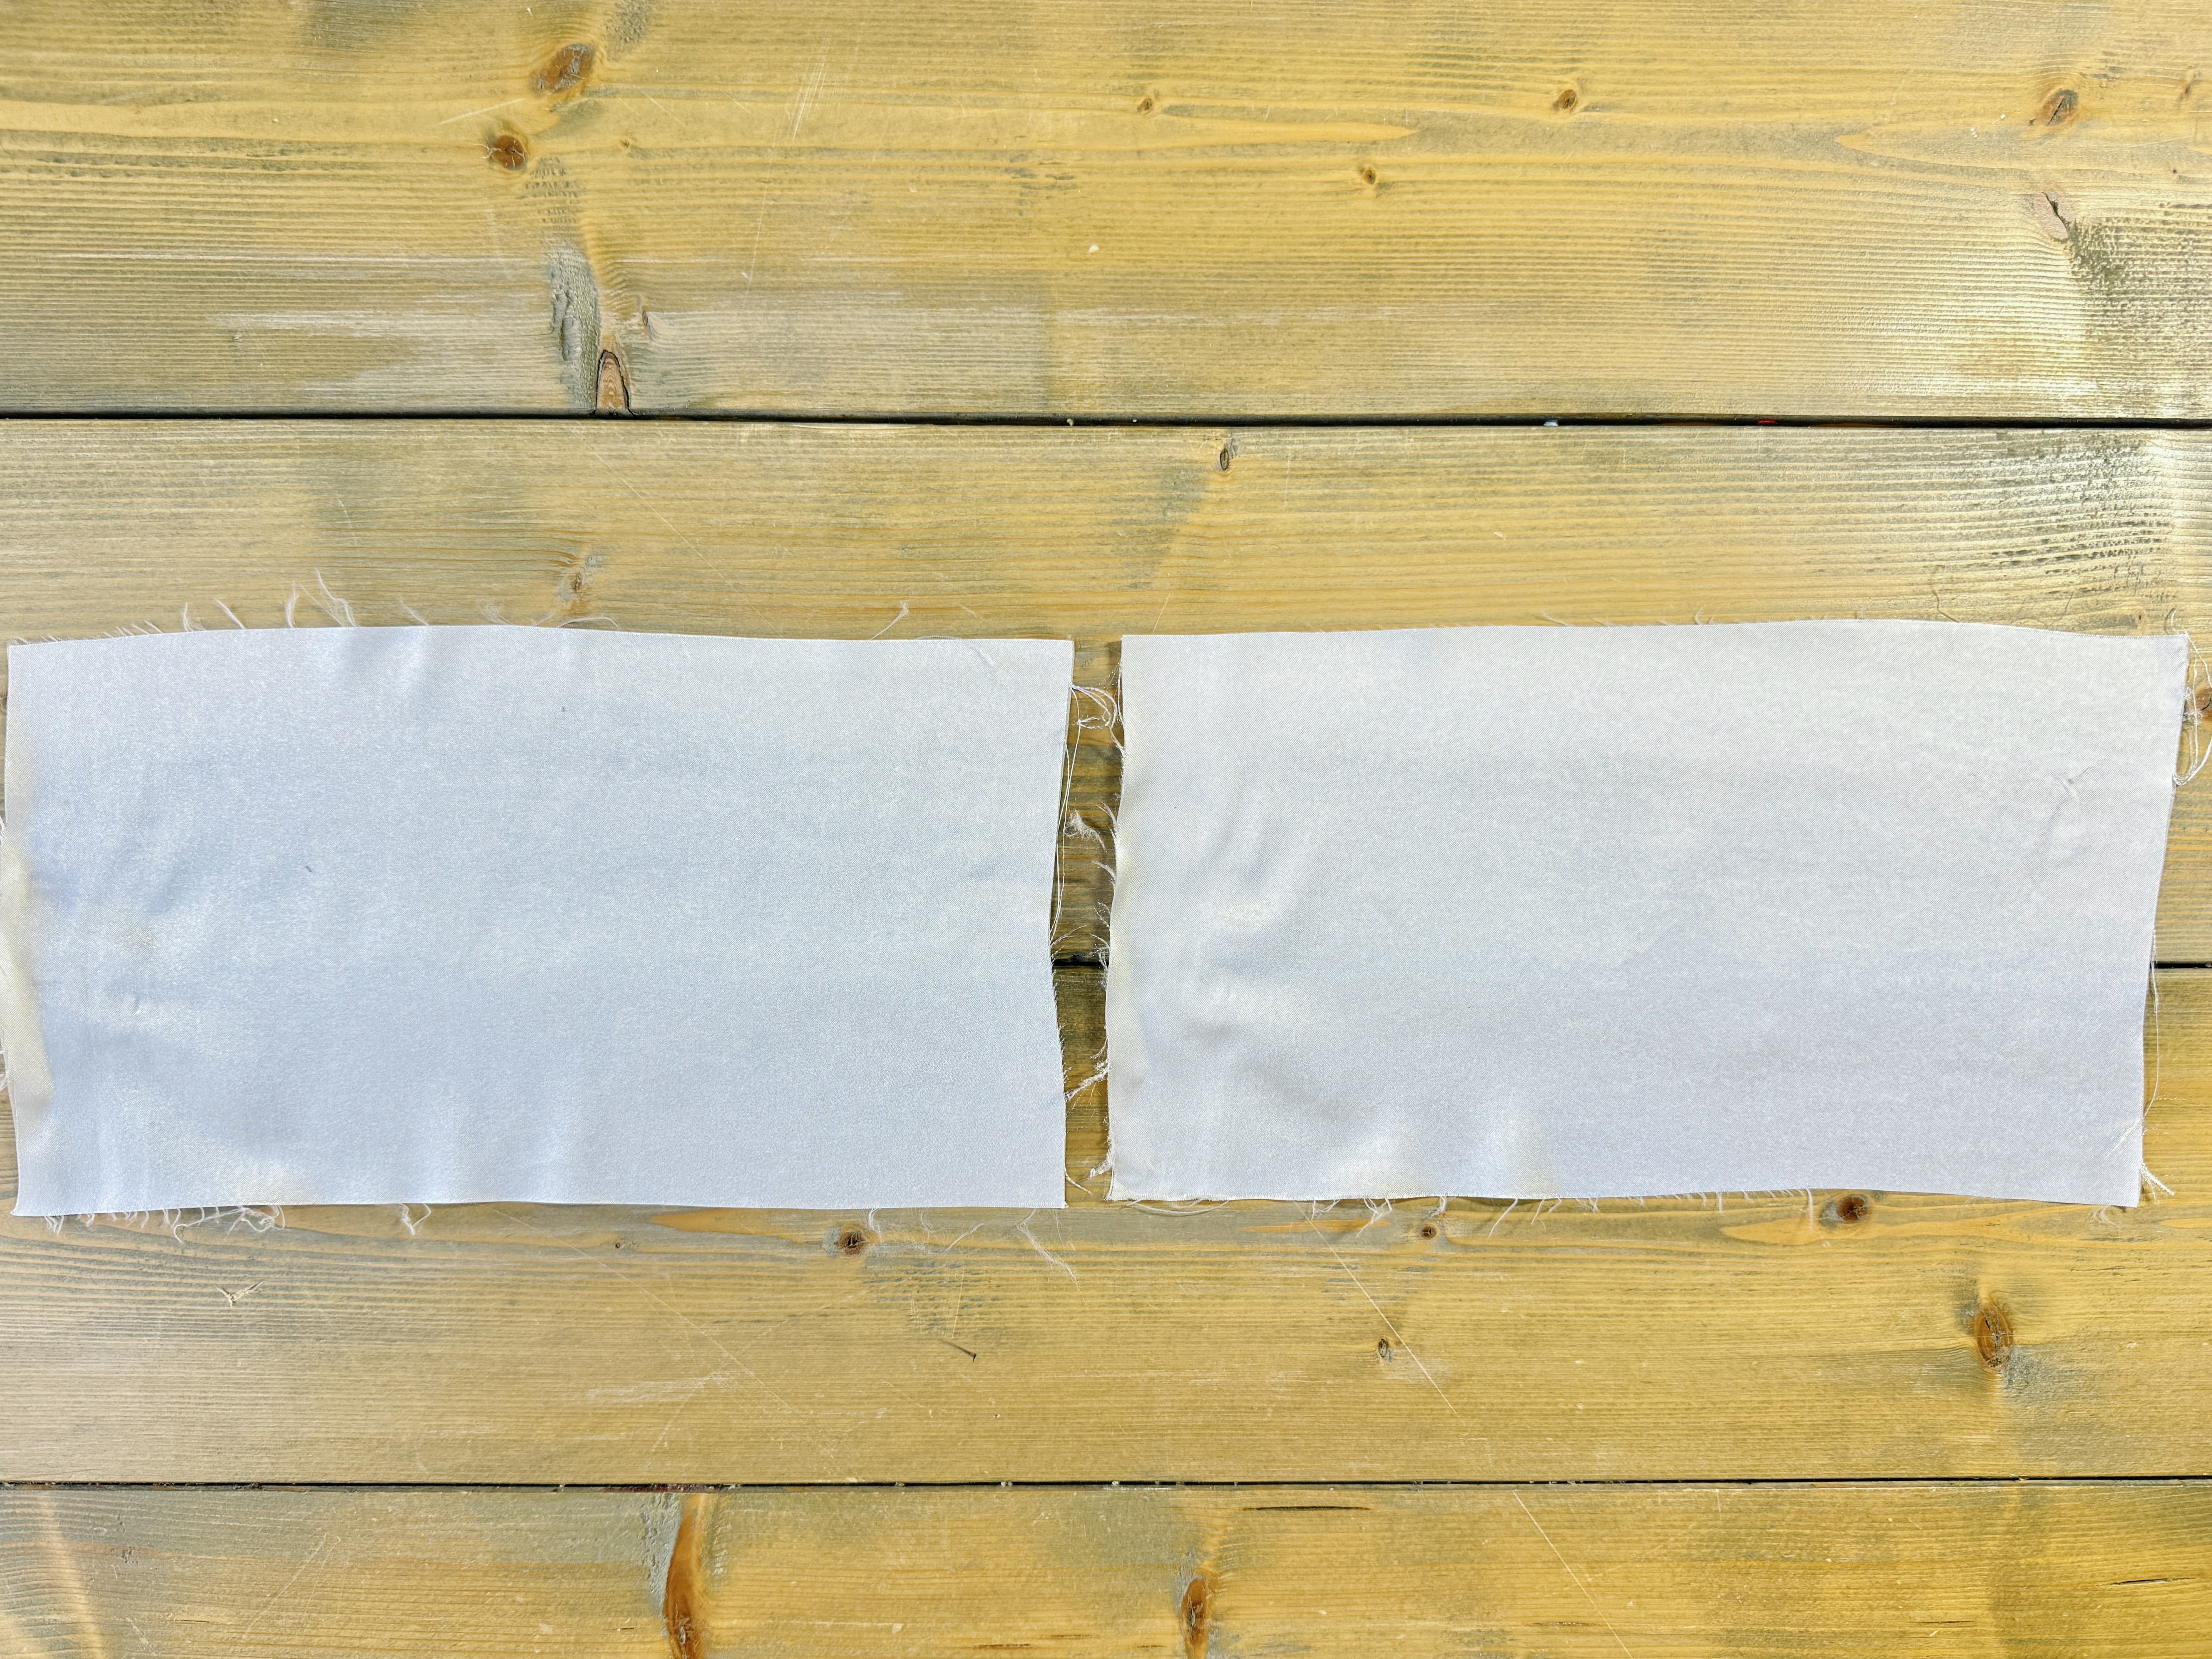
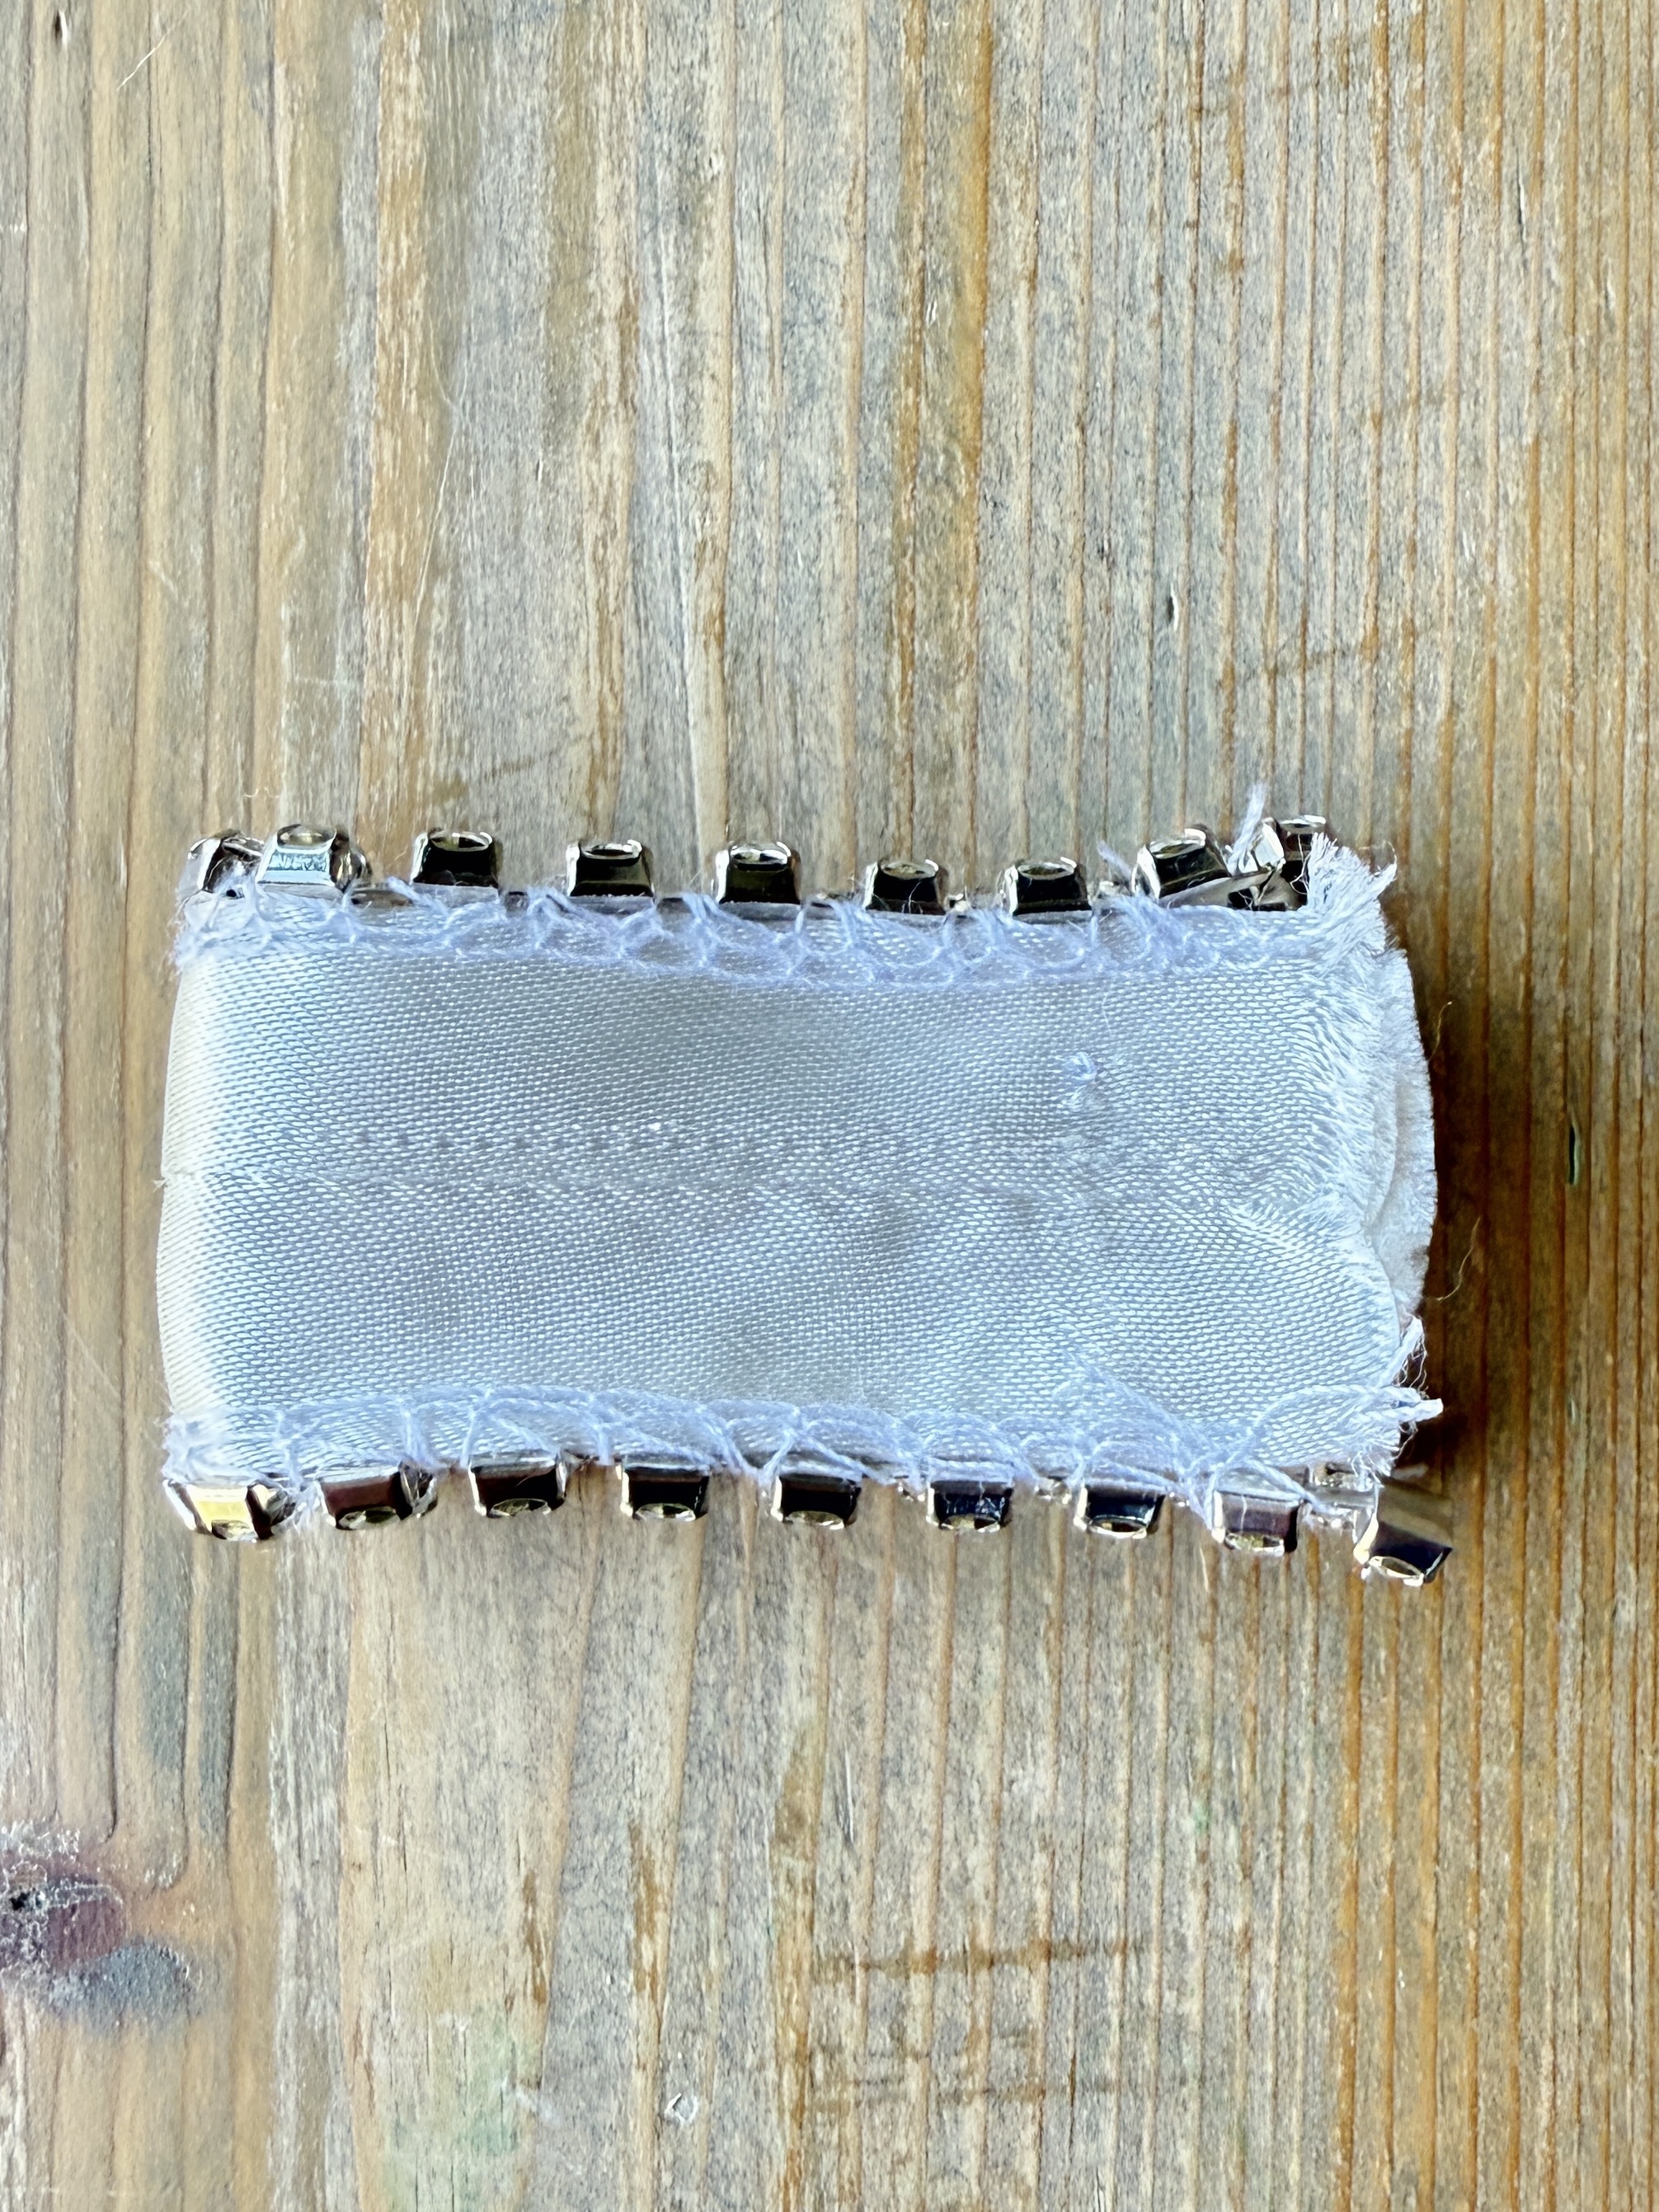
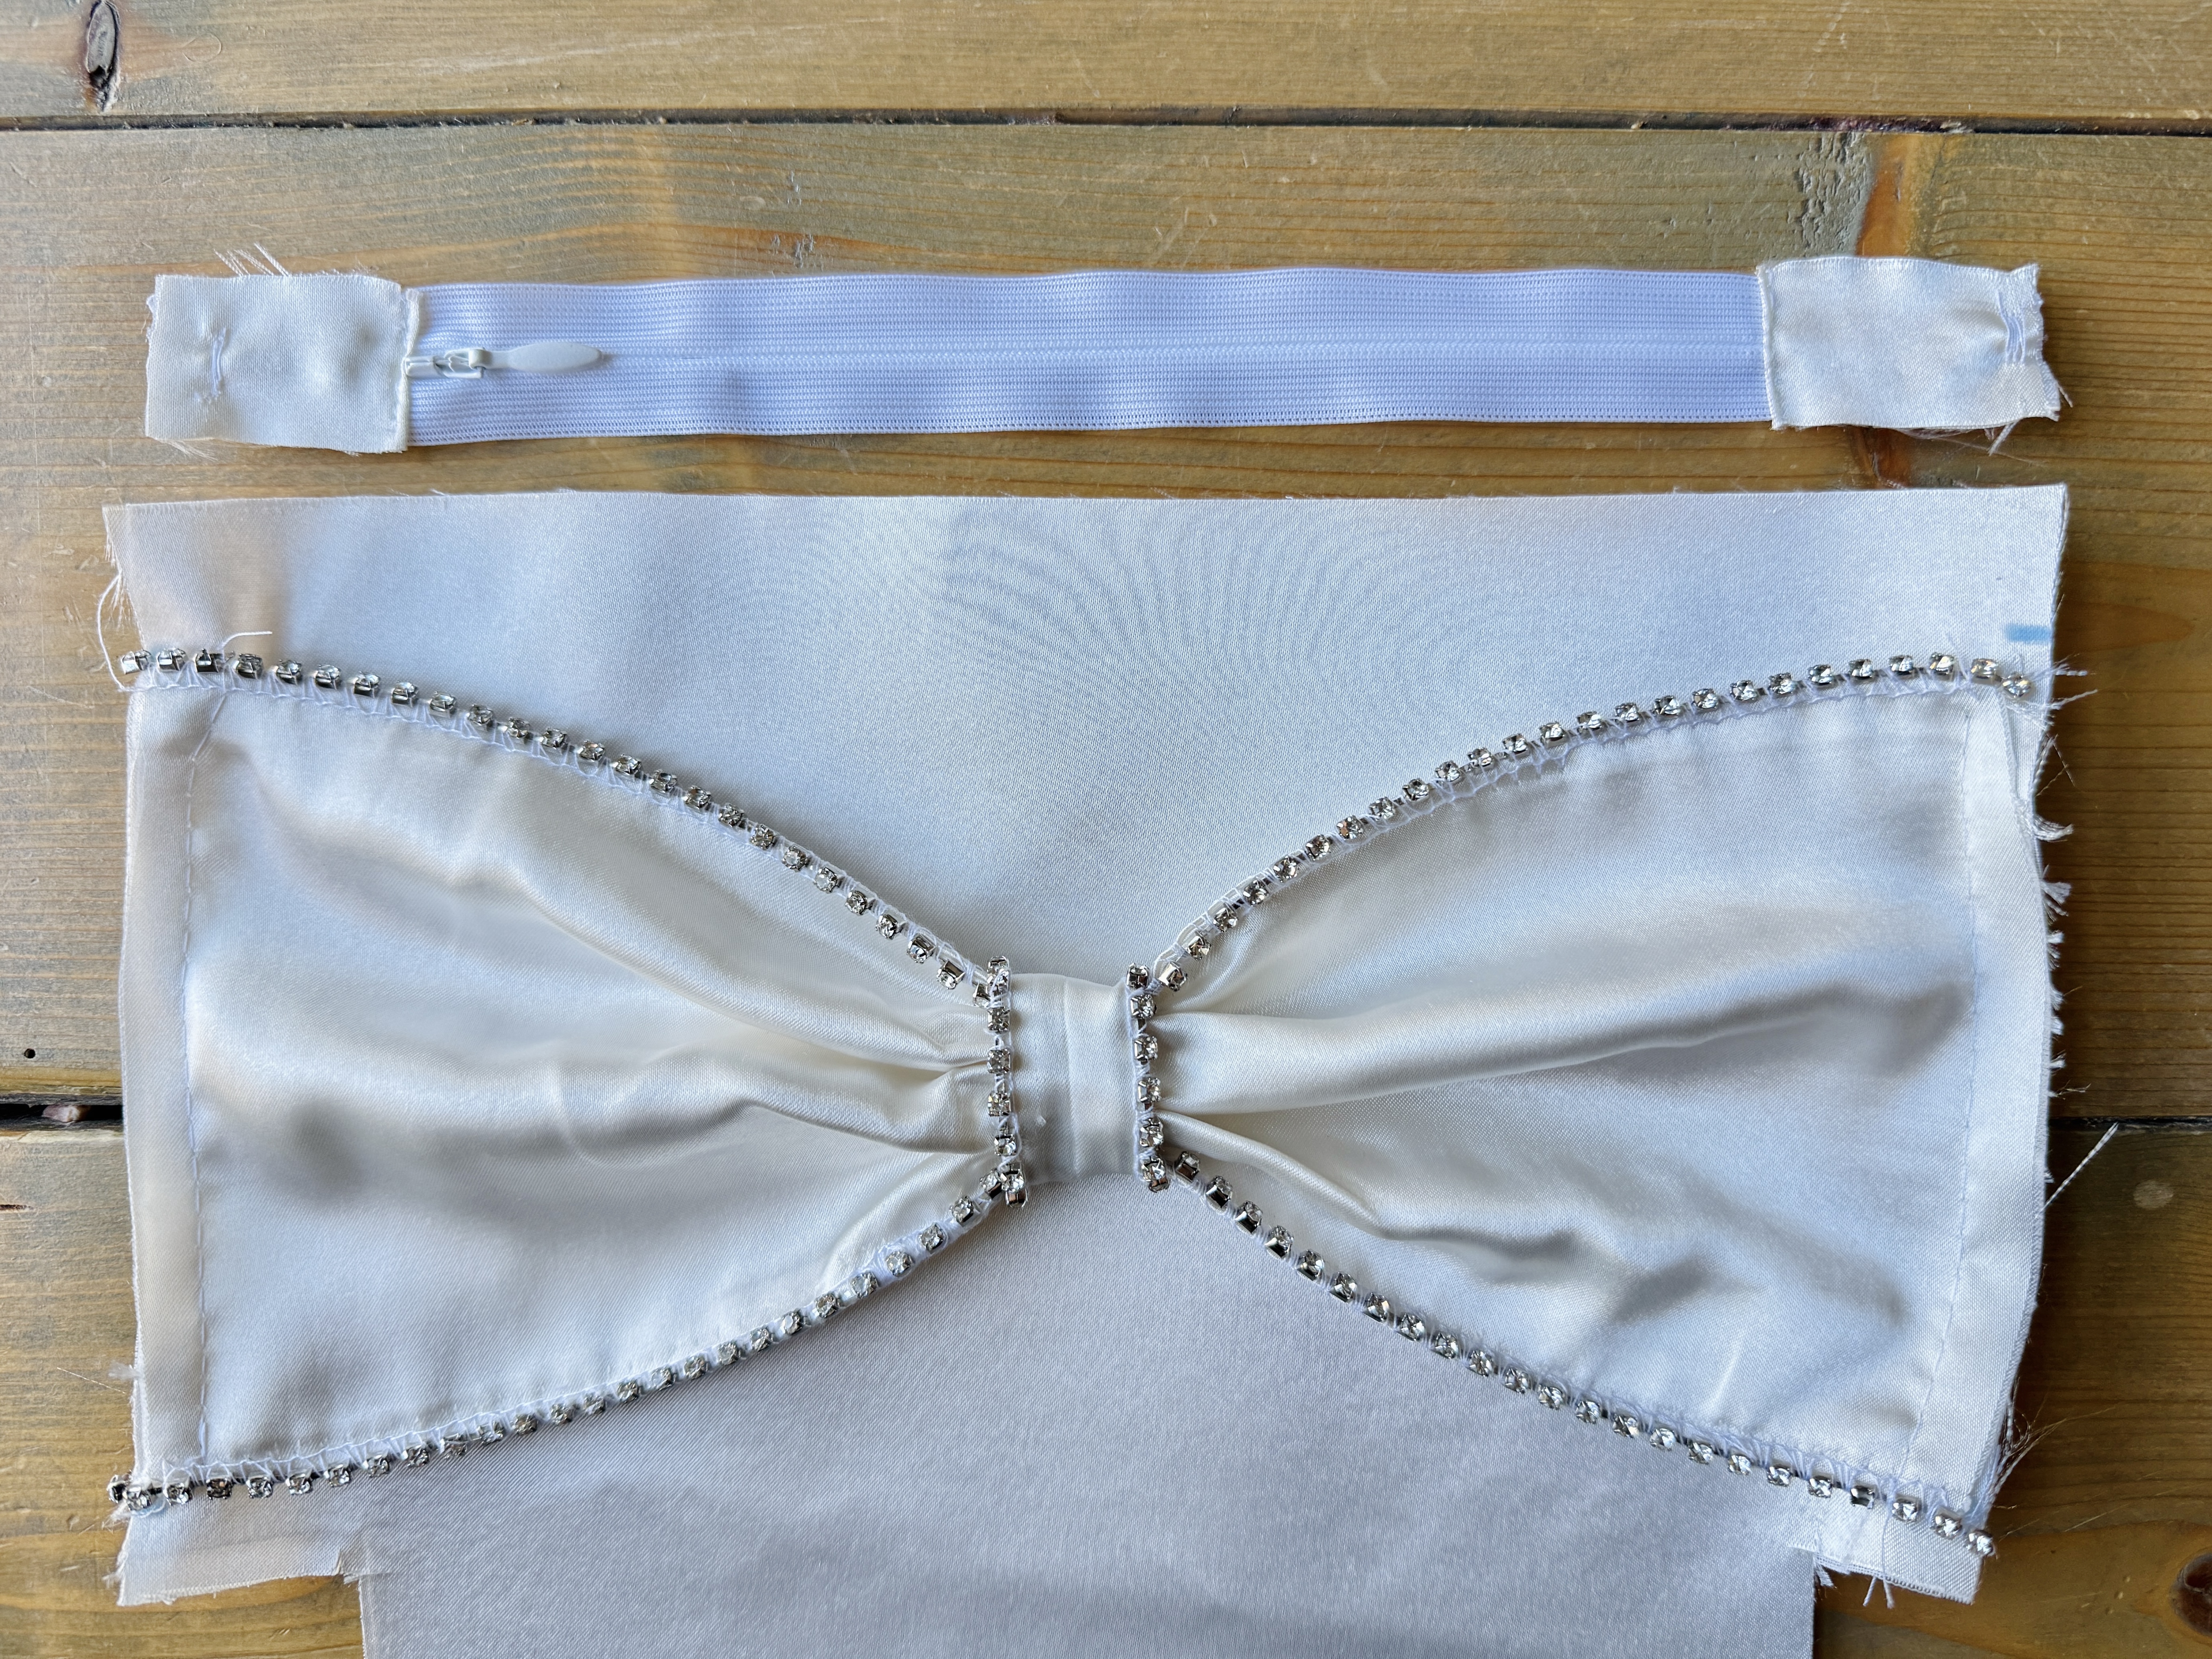
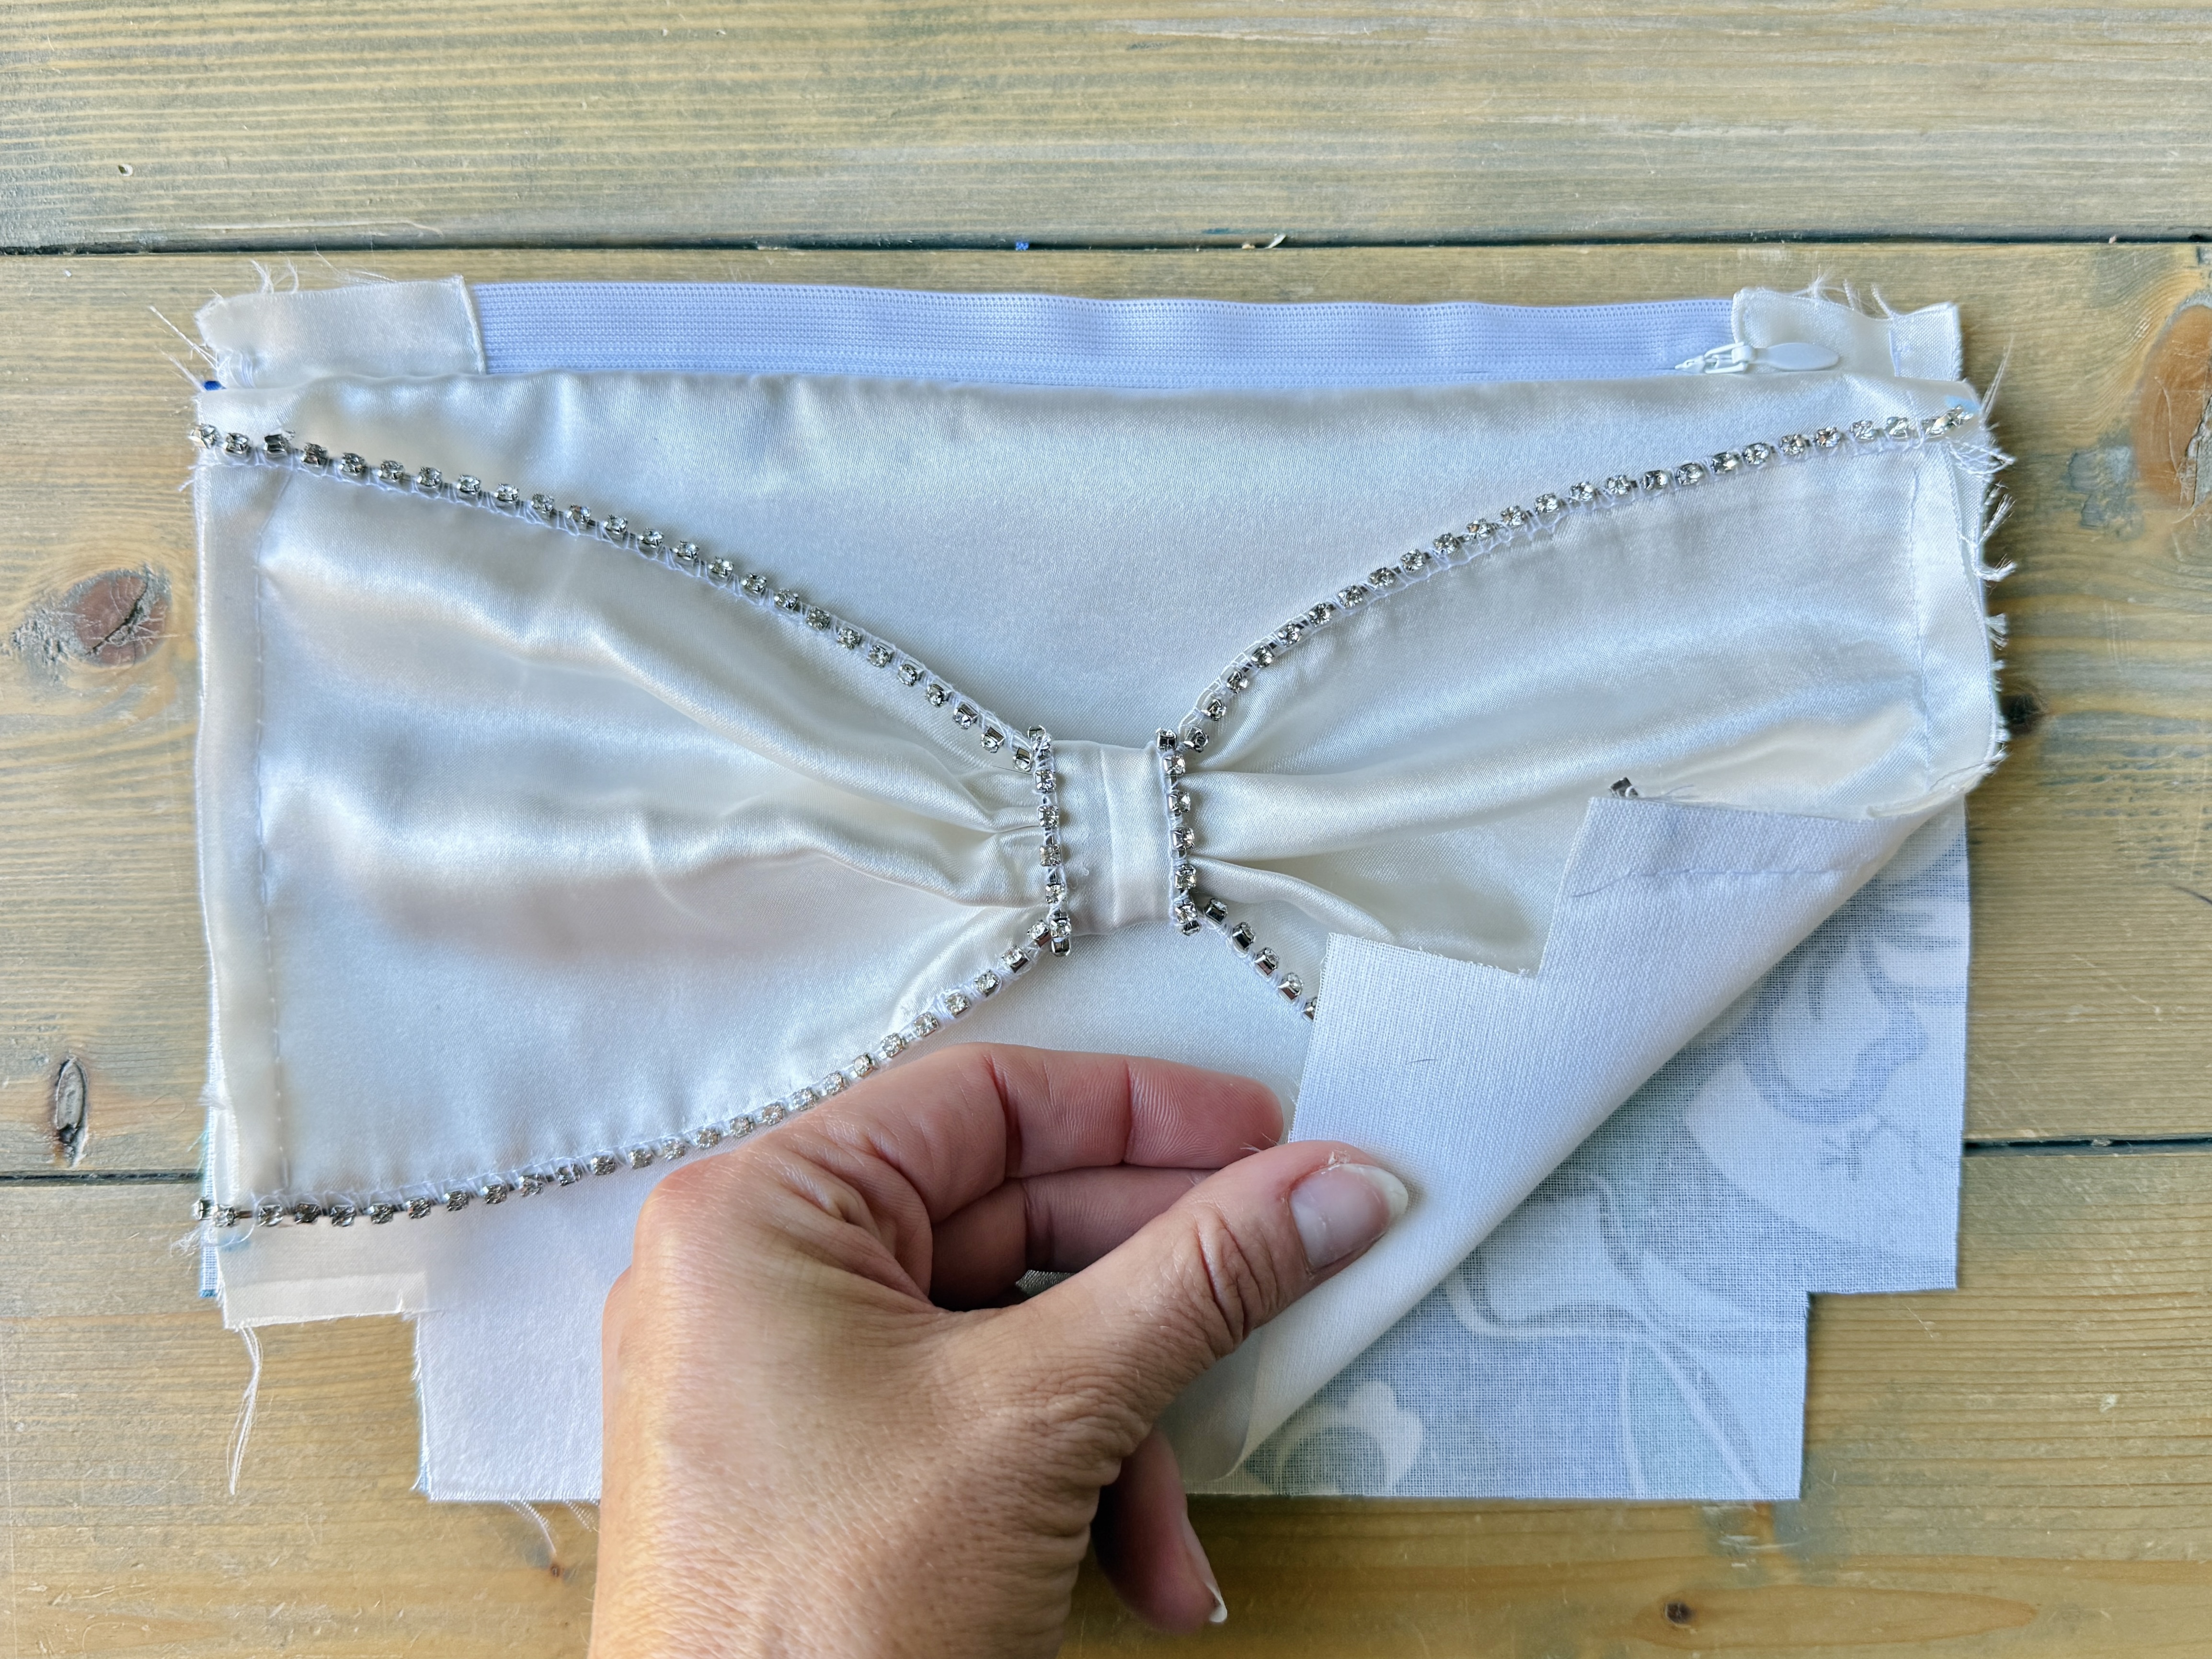
Locate the bow loop piece. With right sides together, sew down the long edges.
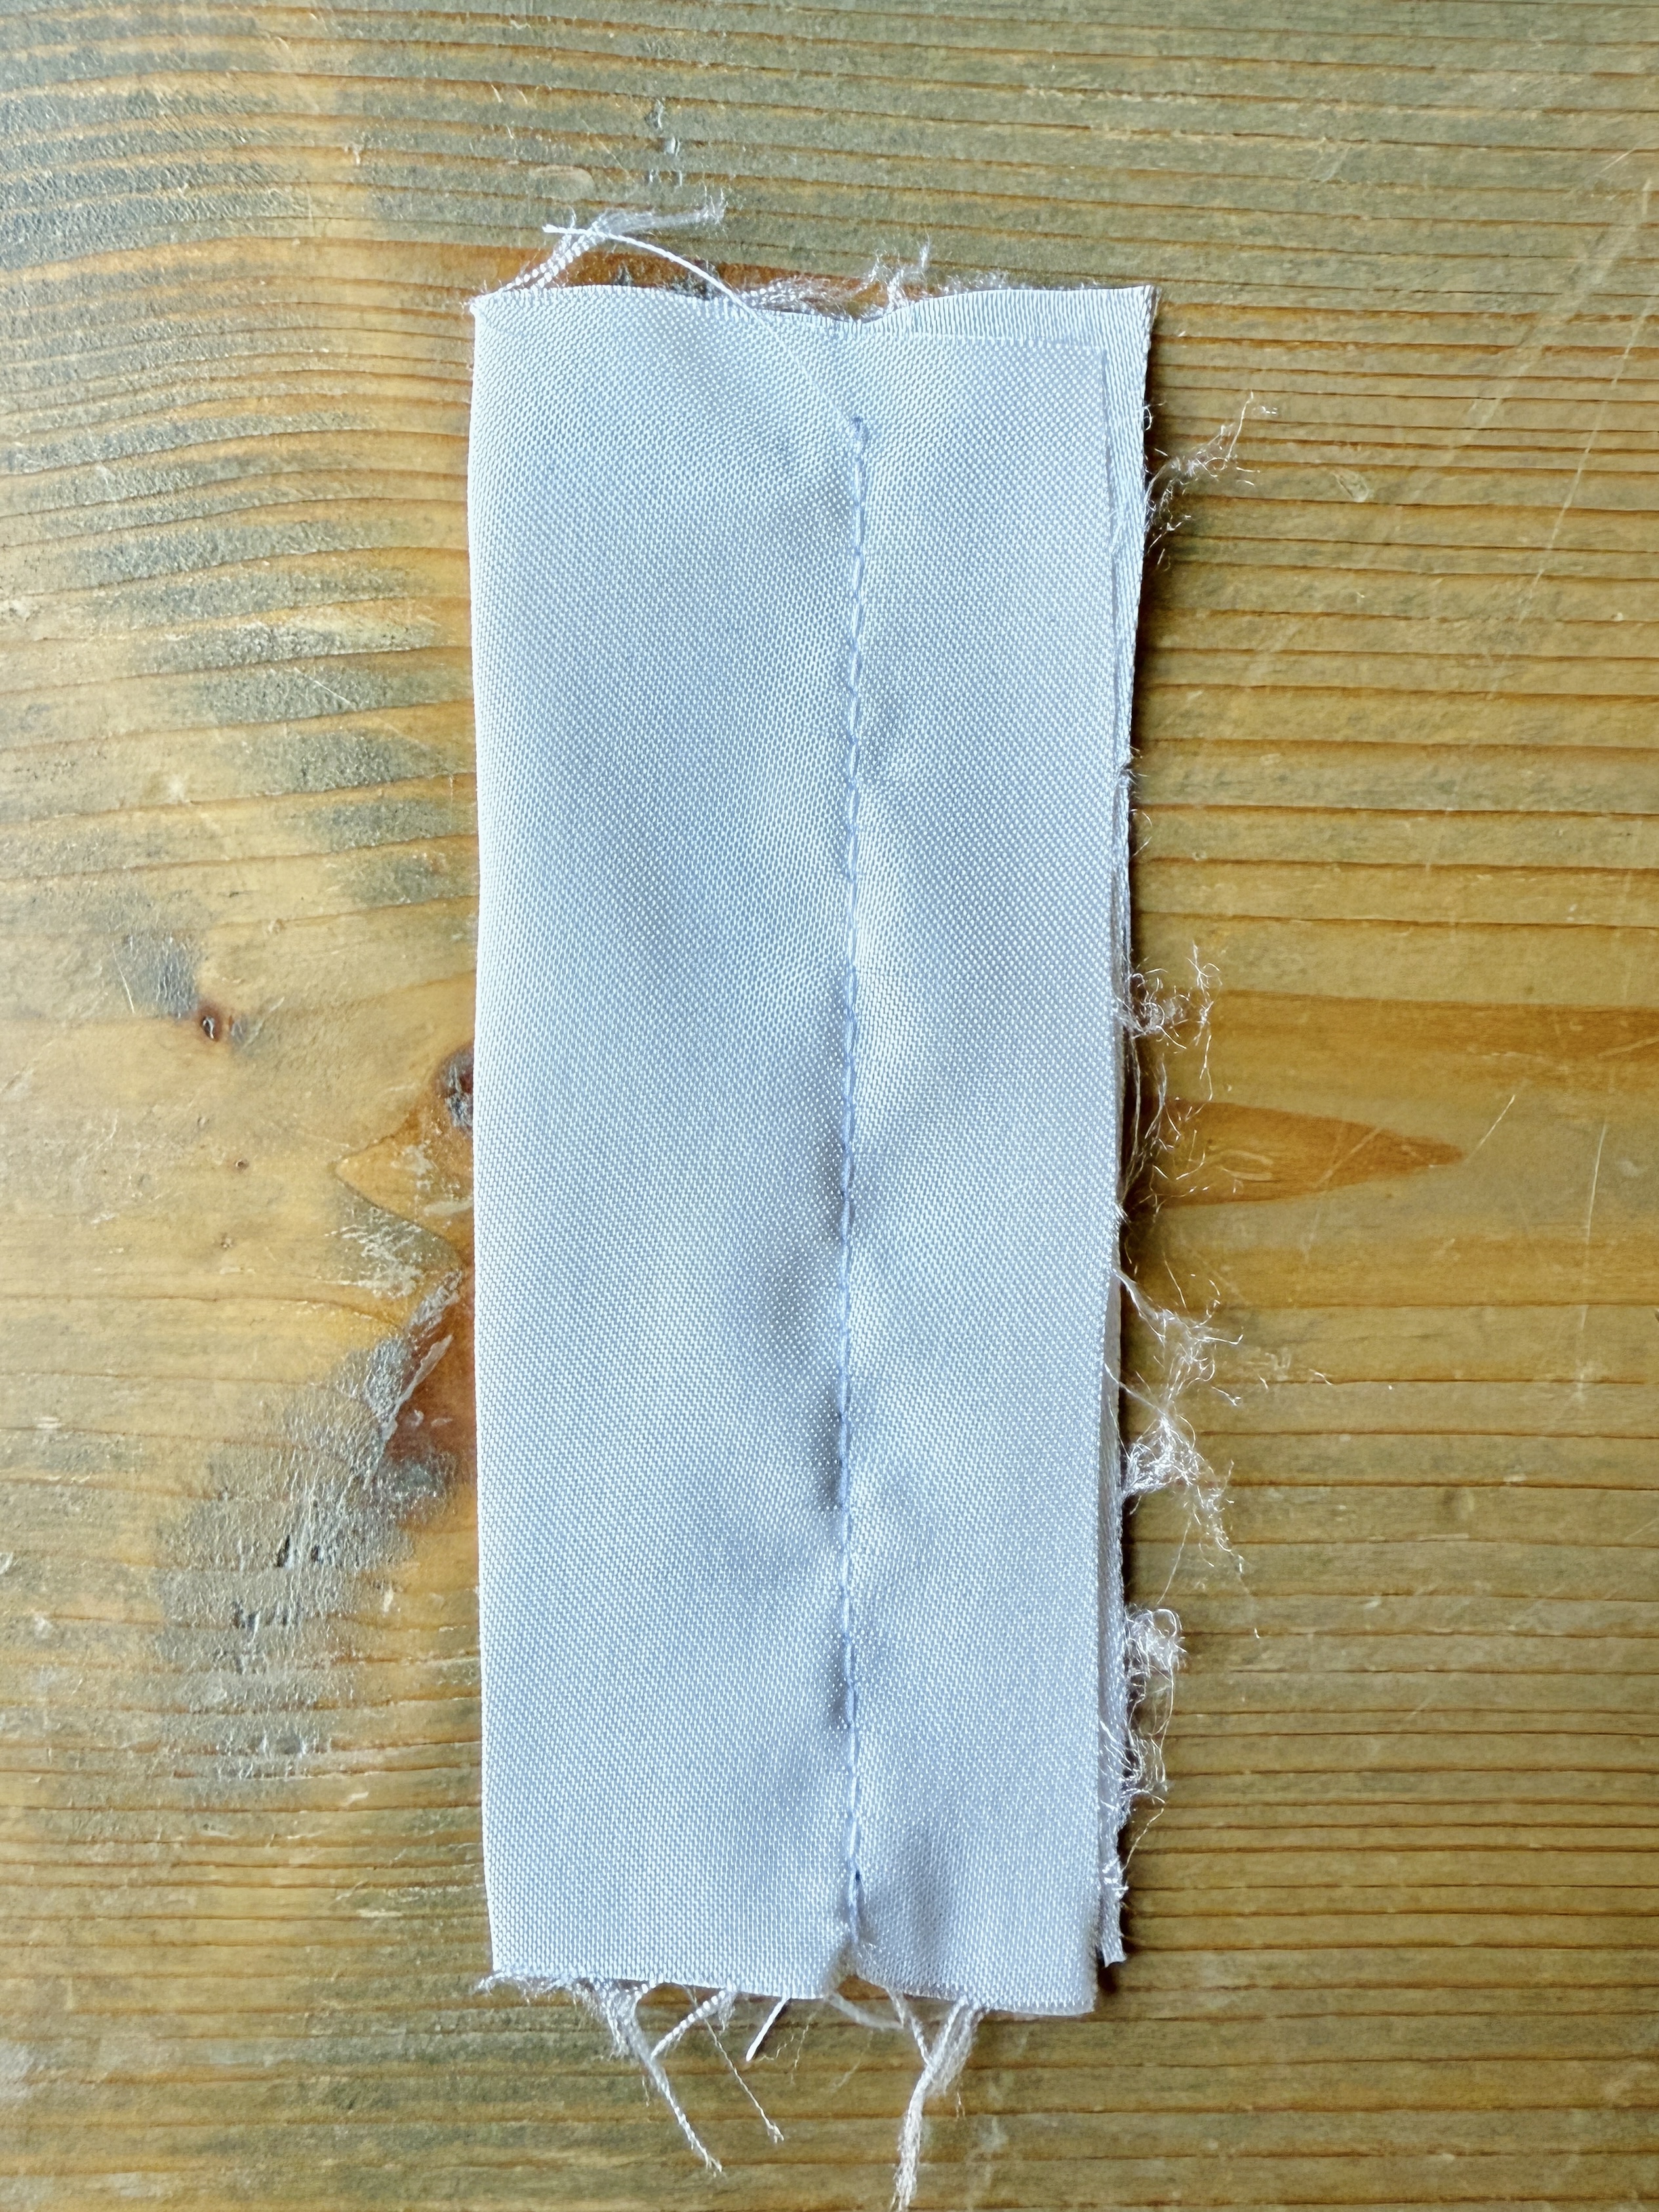
Trim the seam allowance to a scant 1/4″, and turn right sides out. Center the seam line and press.
If adding trim to the bow loop, do so now using the same steps as above.
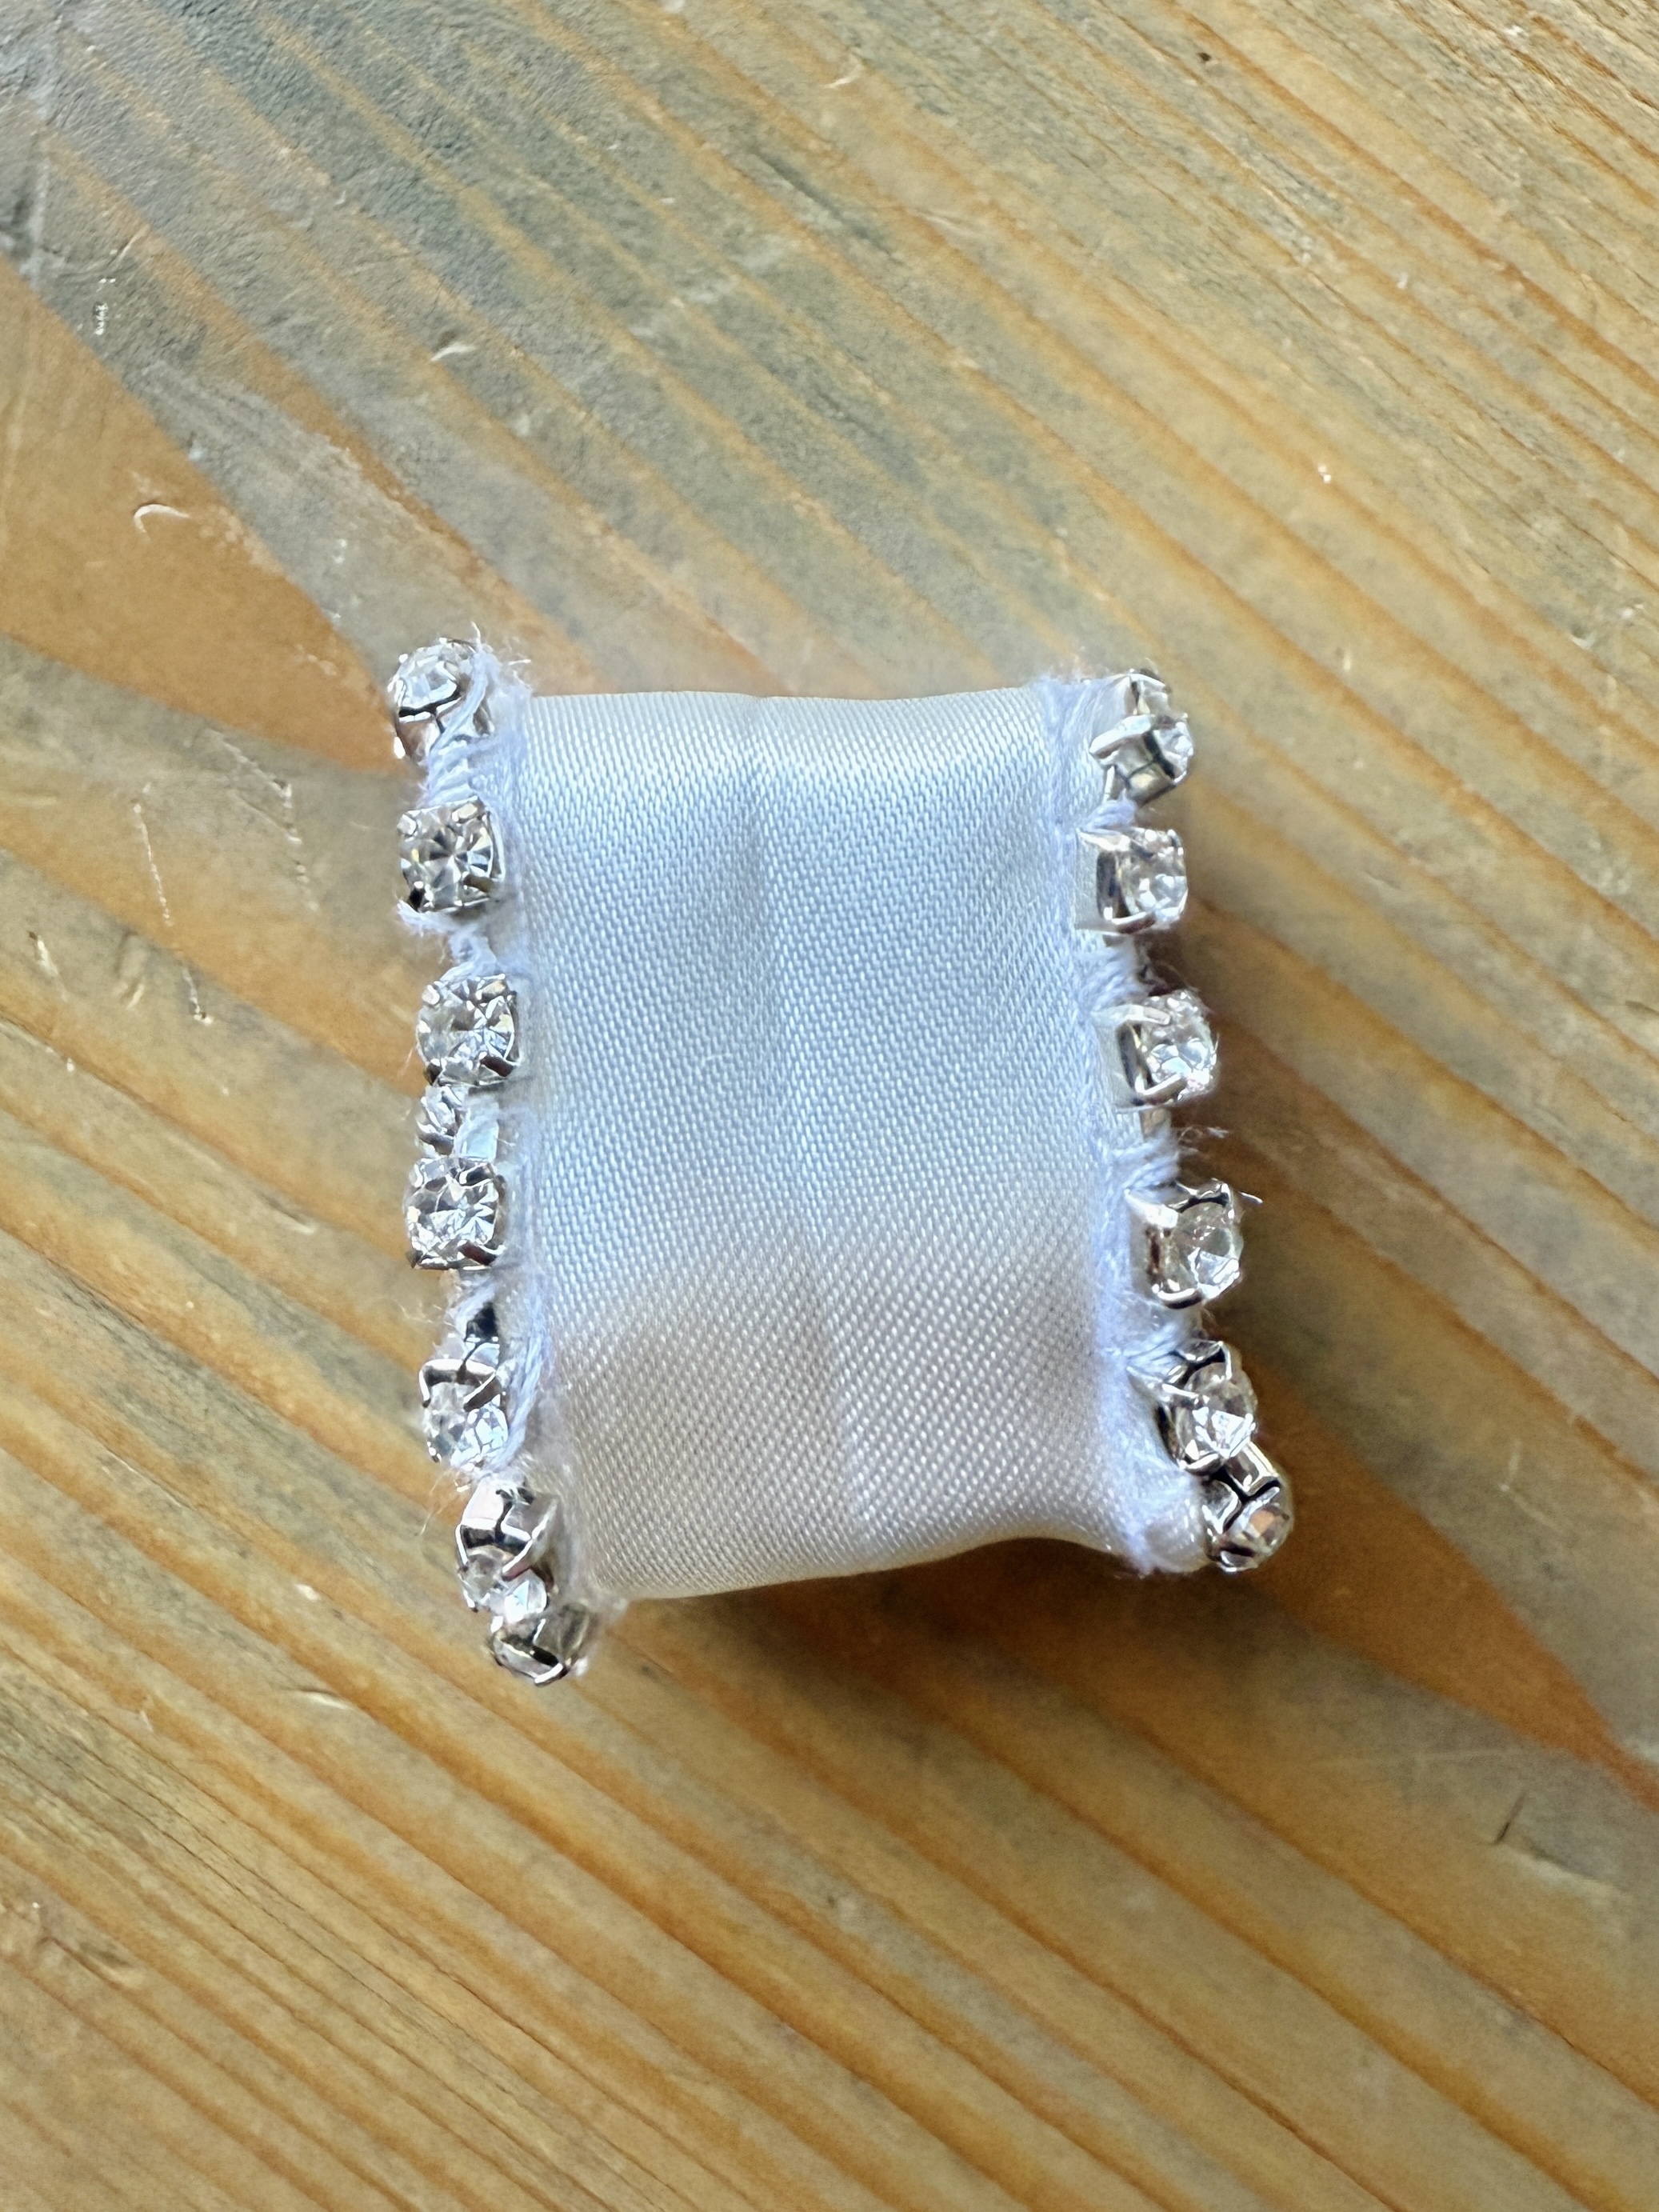
With right sides together, align the short raw edges and stitch across to create a loop. If you attached the rhinestone trim, you may want to hand-stitch this seam. Trim the seam allowance, and turn right sides out.
Pull the bow through the loop and center the loop over the gathered stitches. Once you have the loop placed where you want it, you can either hand stitch a few stitches on the backside to keep it secure, or you can glue it in place.
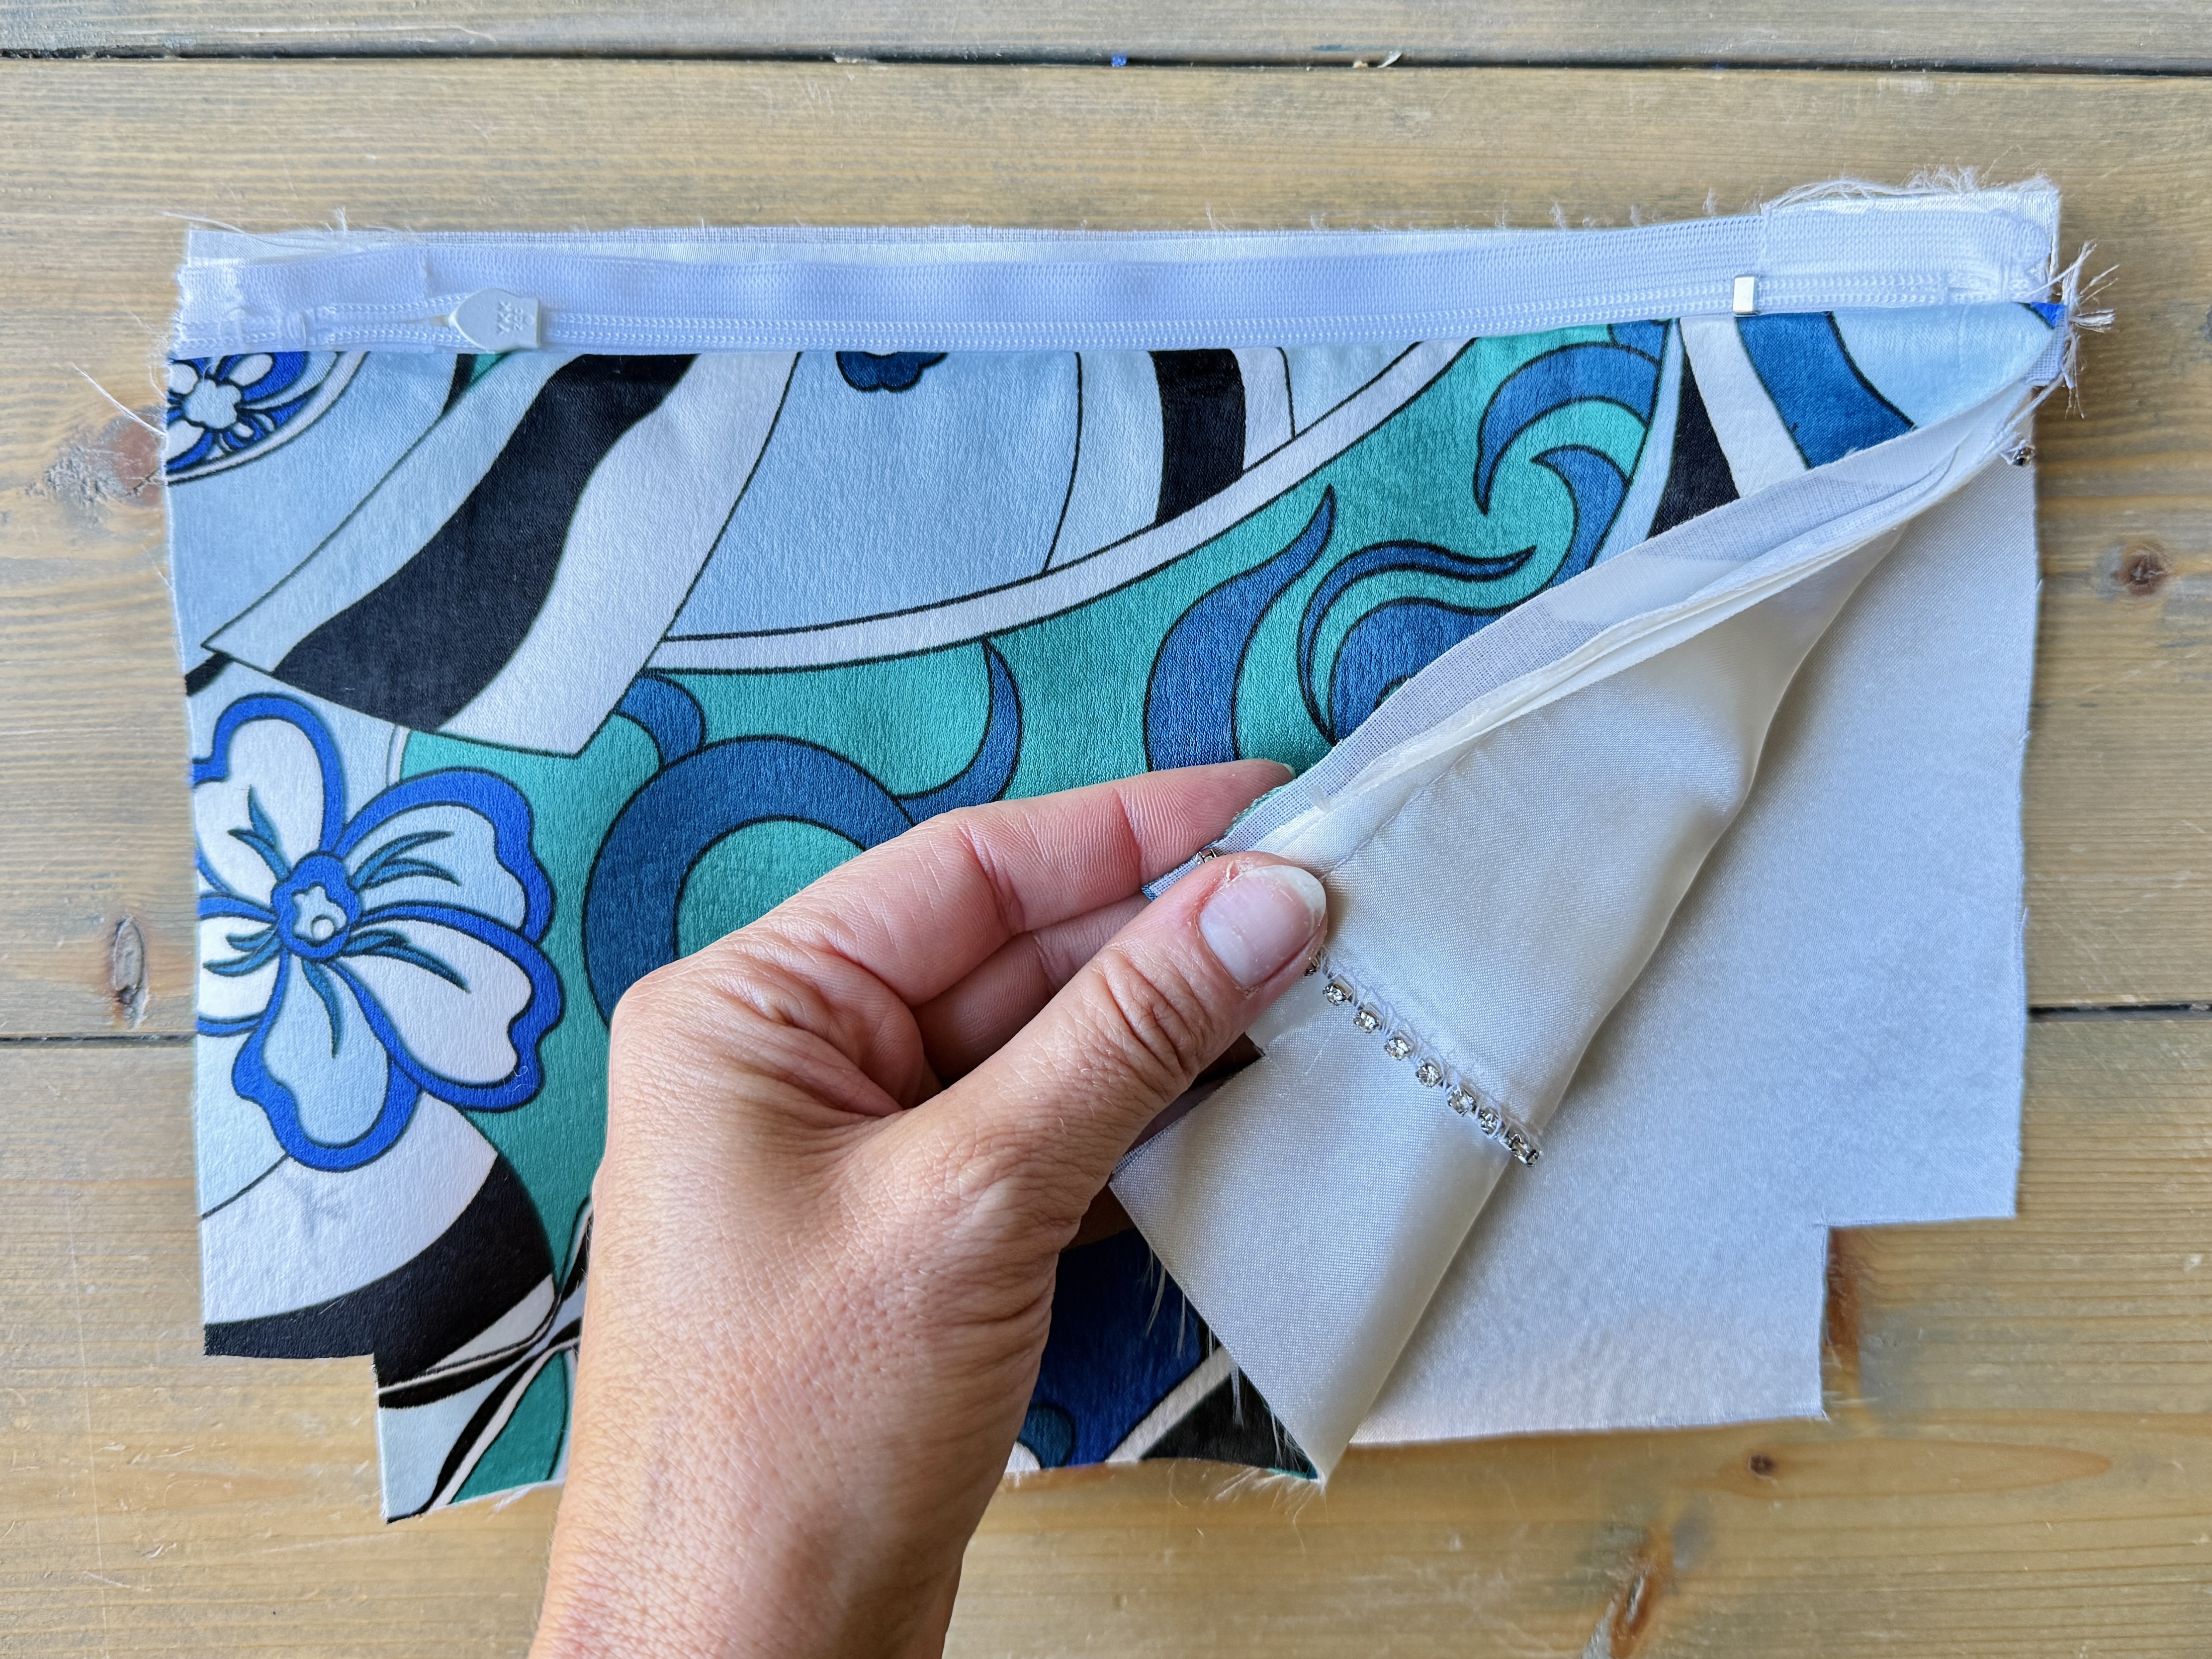
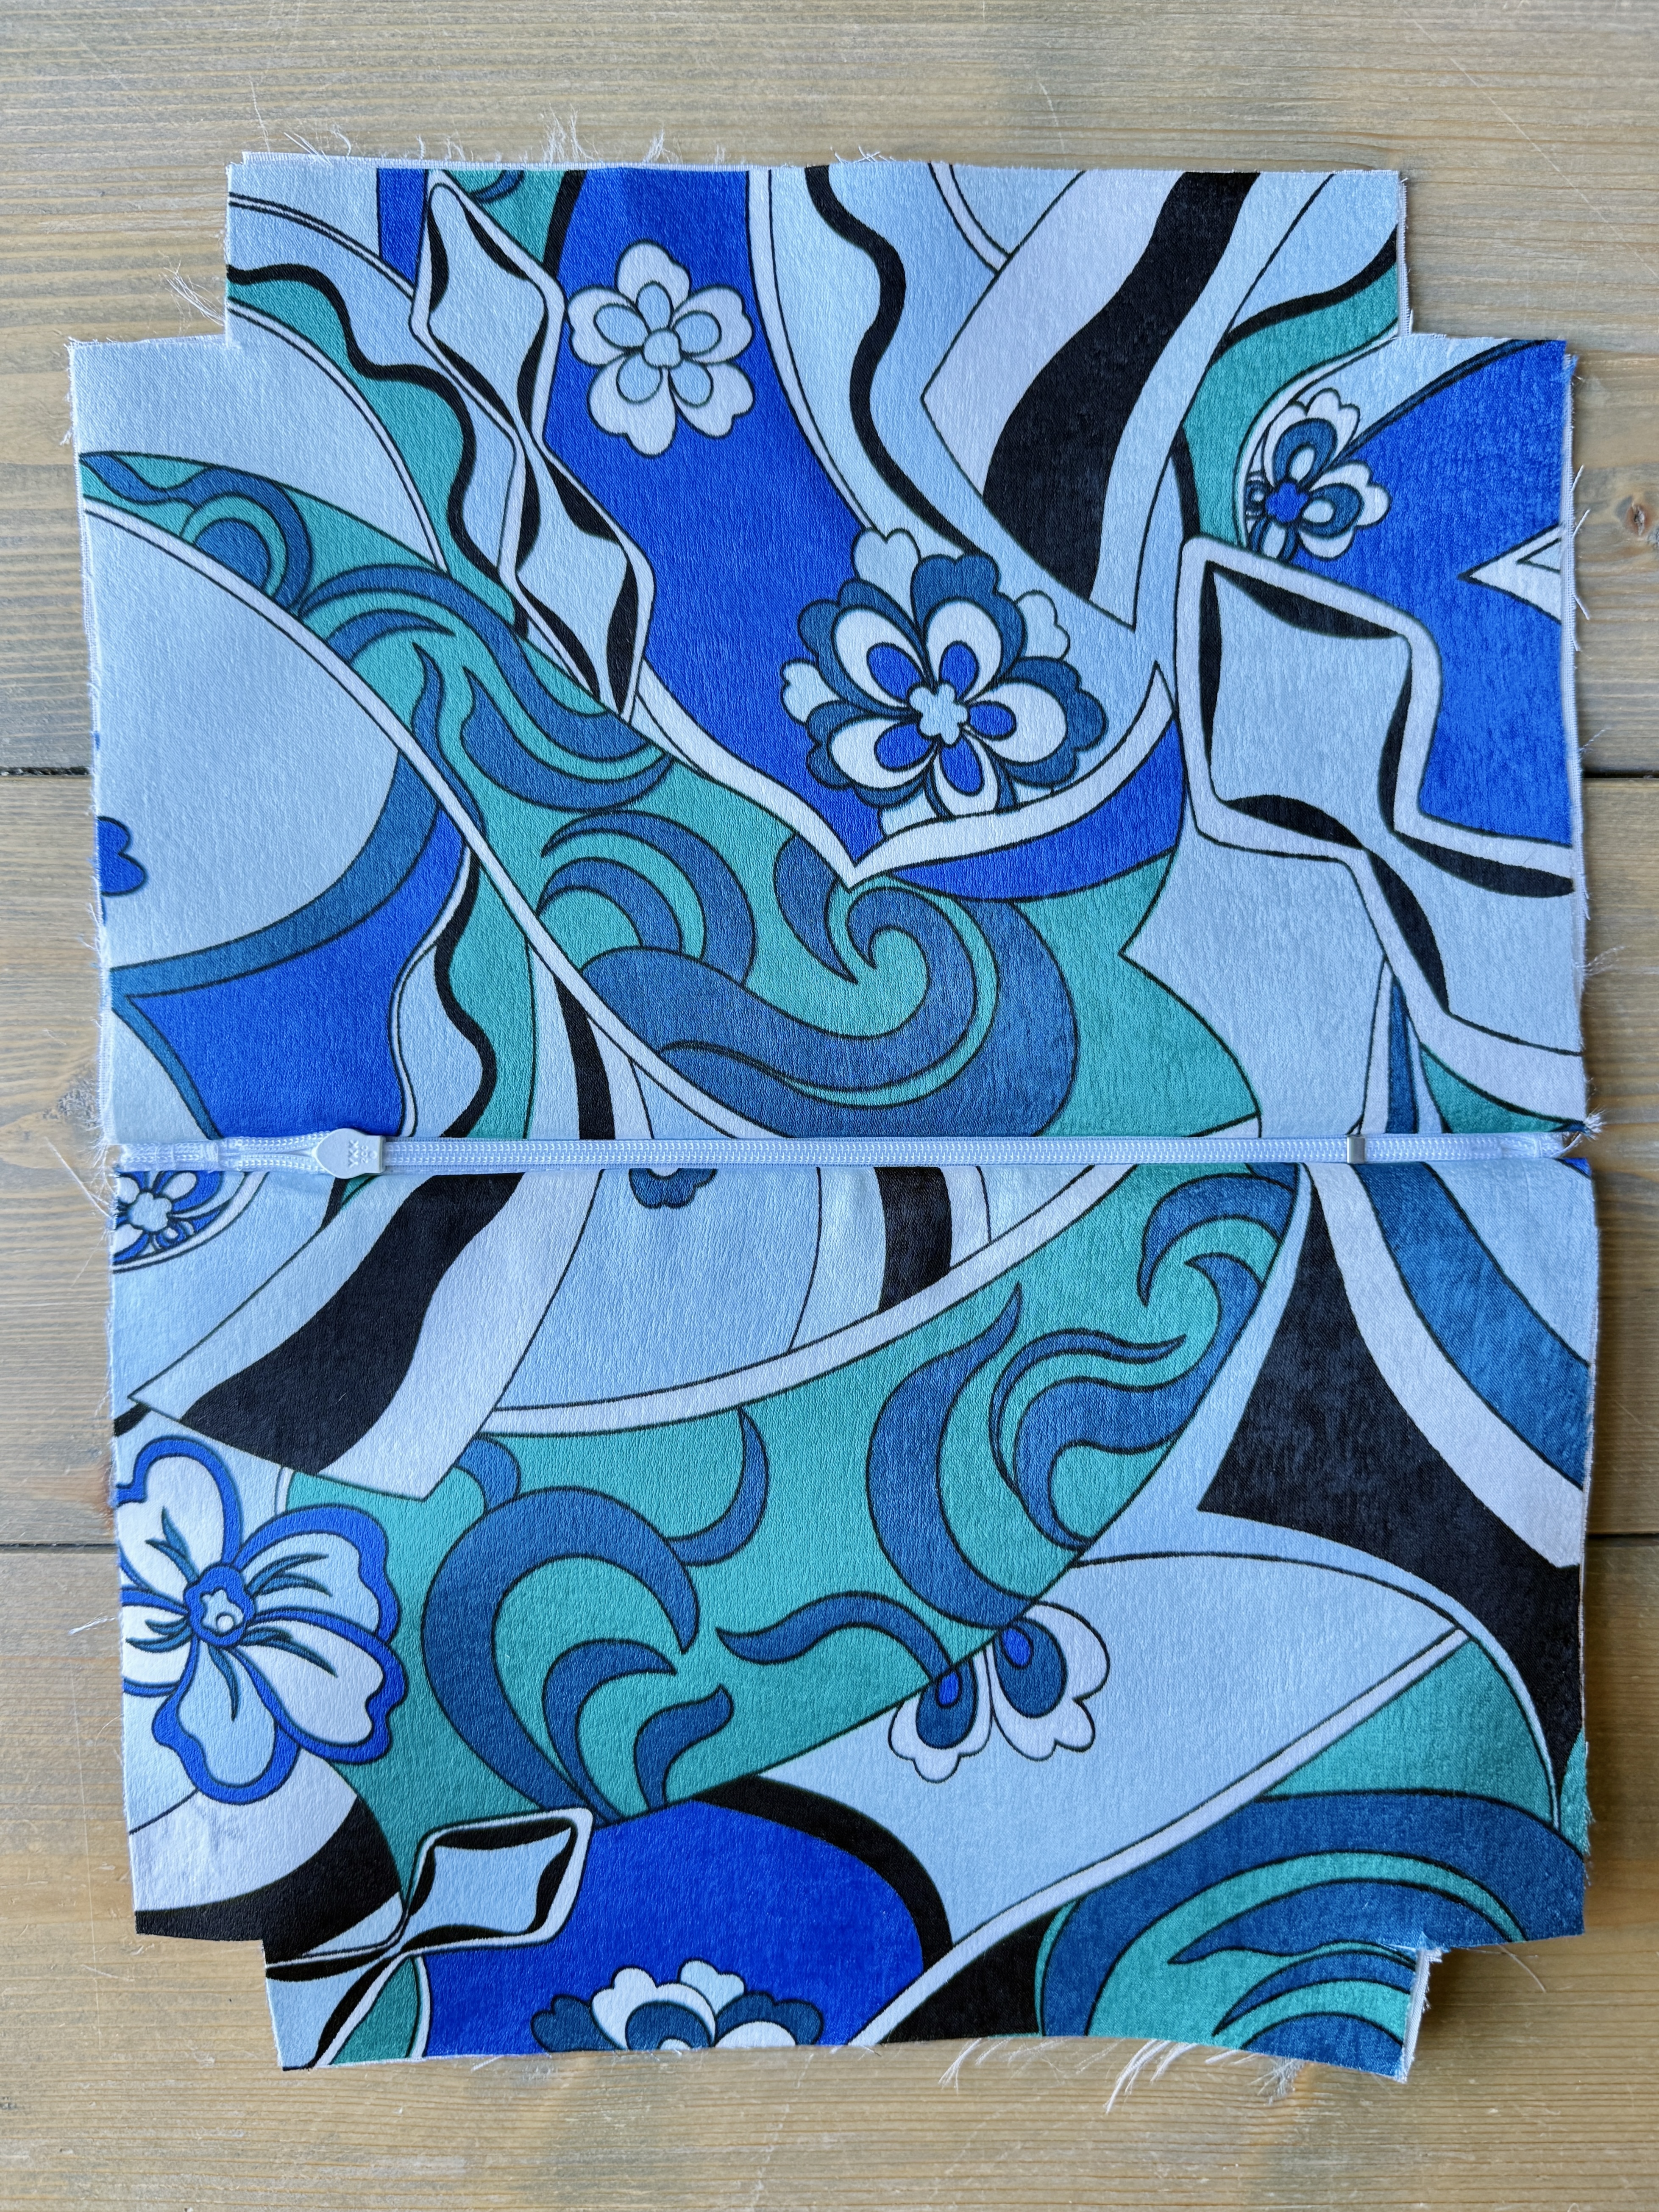
Locate one bag body piece and align the bow on top, matching the notches. Baste in place.
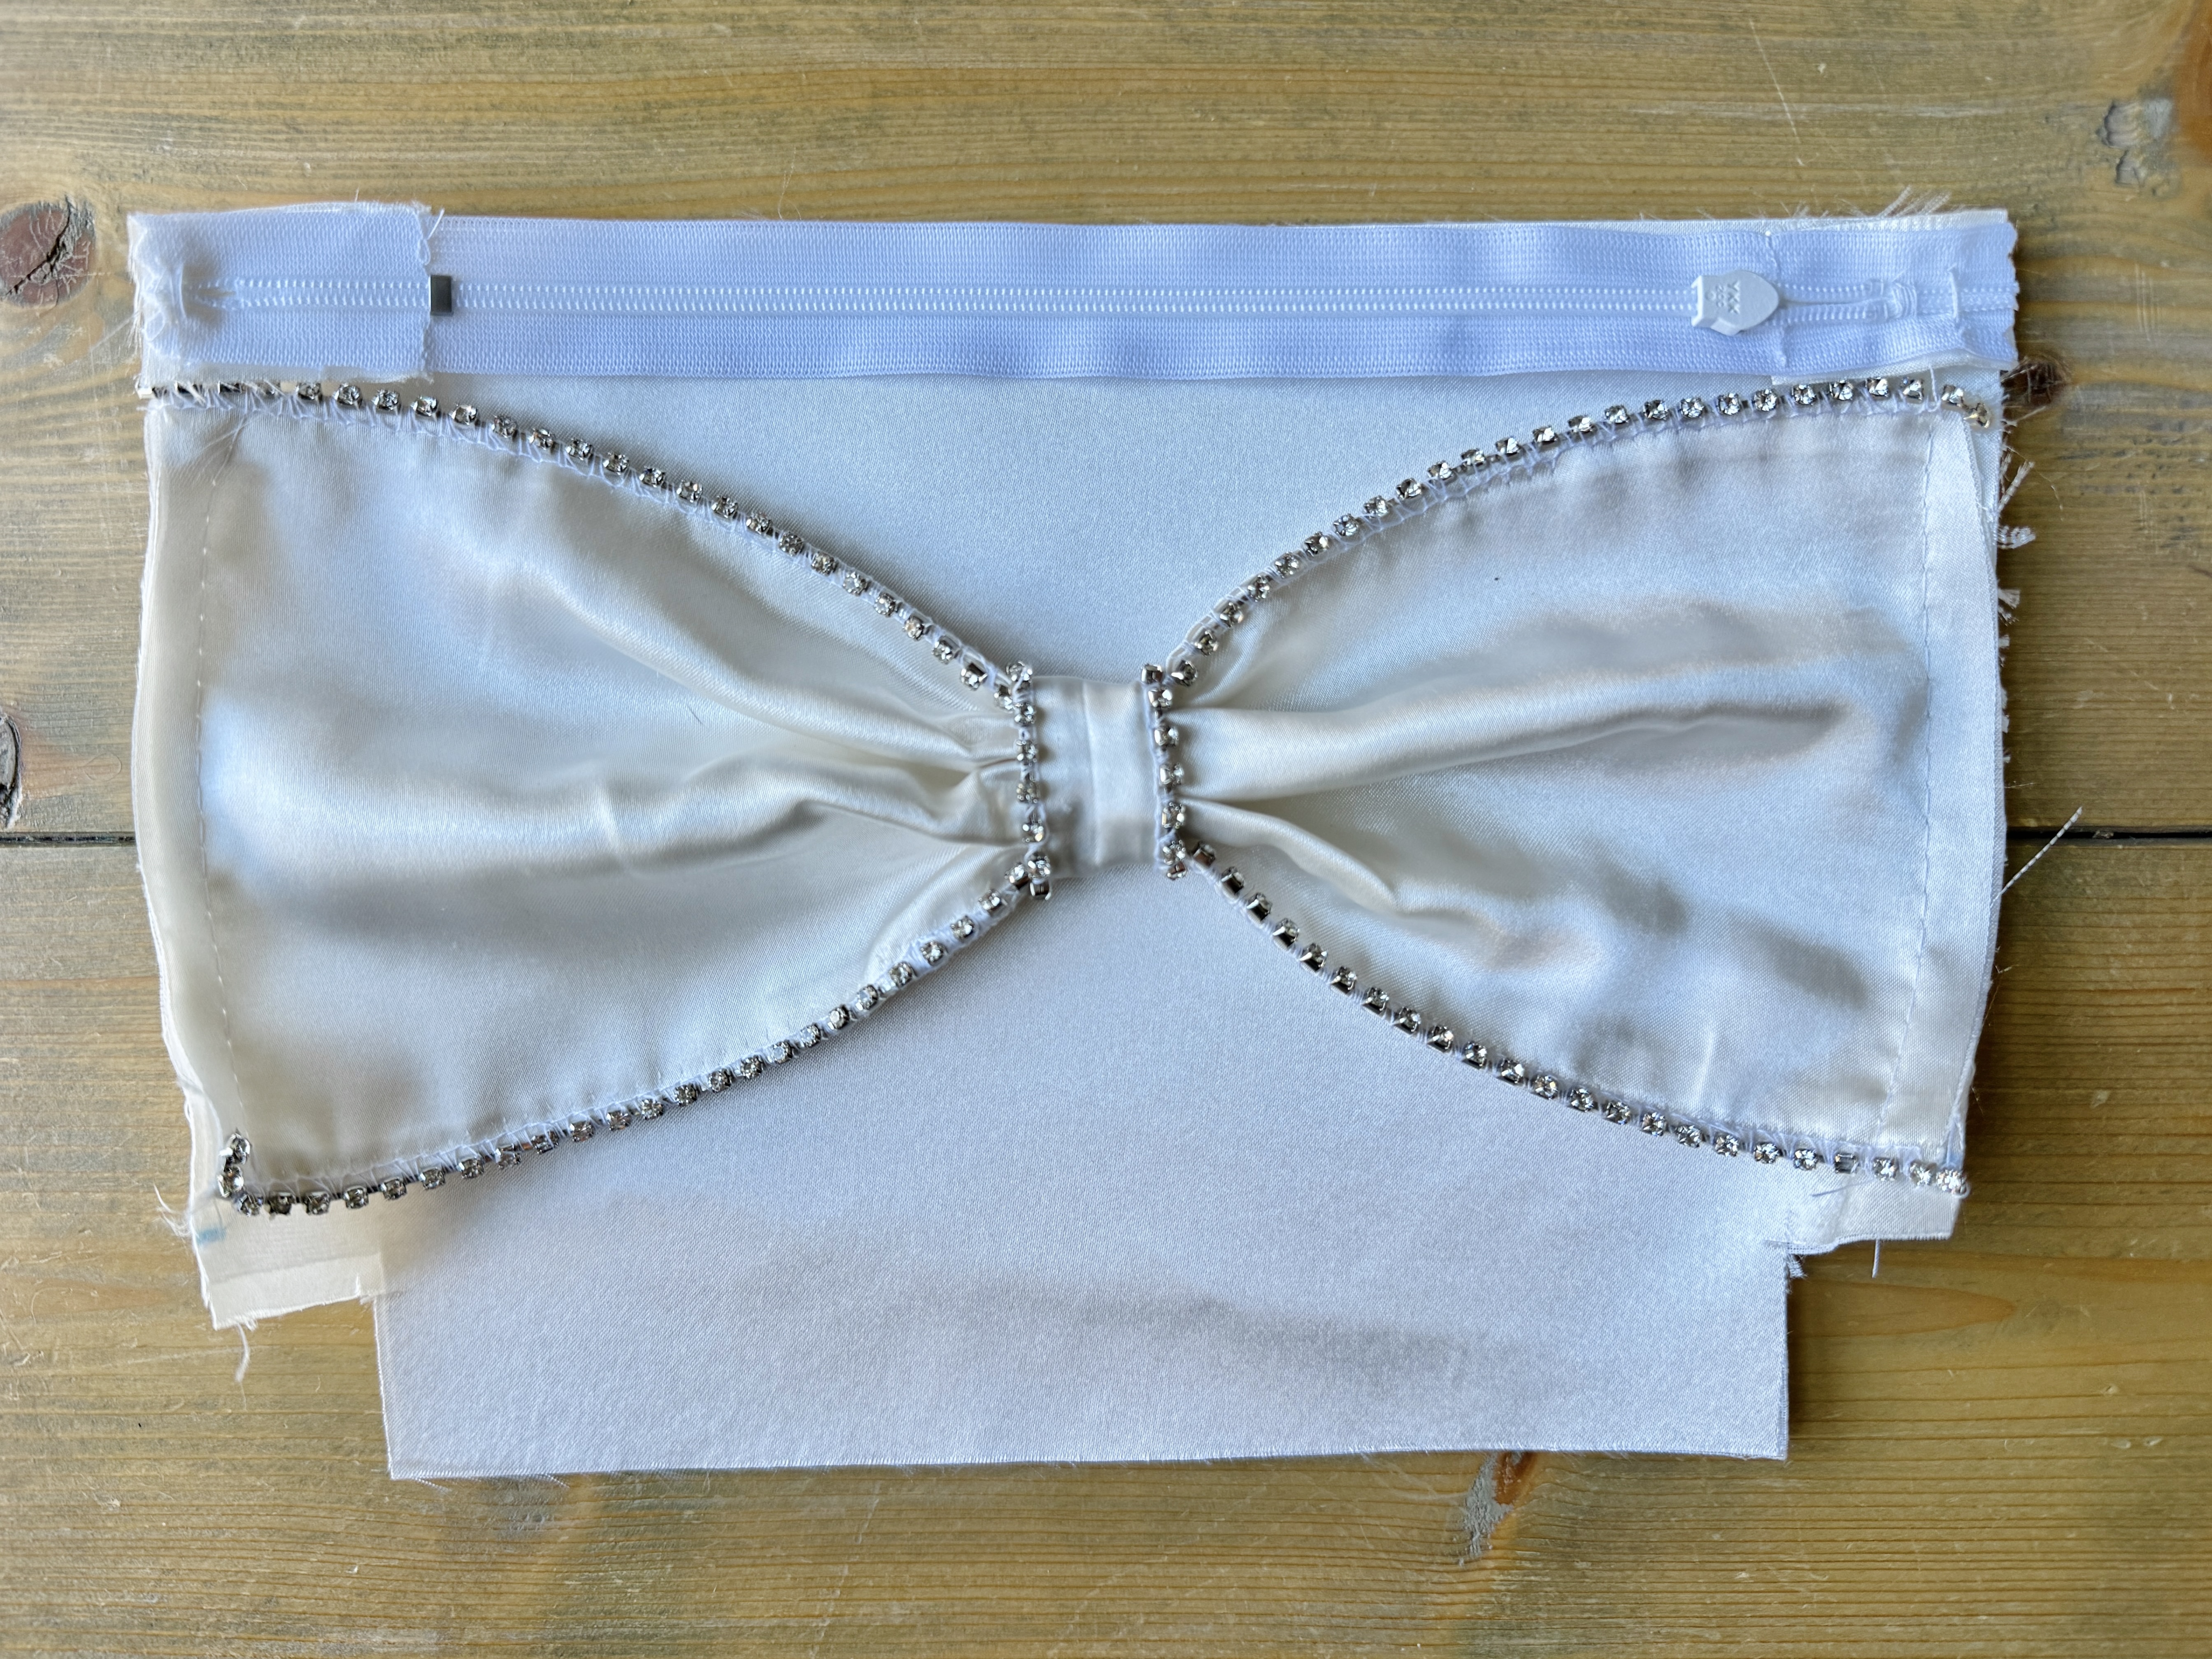
Locate the zip tabs. Fold in half and press flat.
Locate the zipper. With the zipper closed, lay the zip tabs on top so that the folded edge is on the side of the zip and the raw edges are on the exterior edge.
Using a scant 1/8″, edgesttich the zip tabs in place along the folded edge. If the zip/zip tabs is longer than the top edge of the bag body piece, trim off excess.
Lay the bag front right sides up. With right sides together, align the zip with the top of the bag. Using a zip foot, sew the zip to the bag.
Locate one lining piece. With right sides together, place the lining piece over the body piece, sandwiching the zipper. Stitch across the top again using a zipper foot.

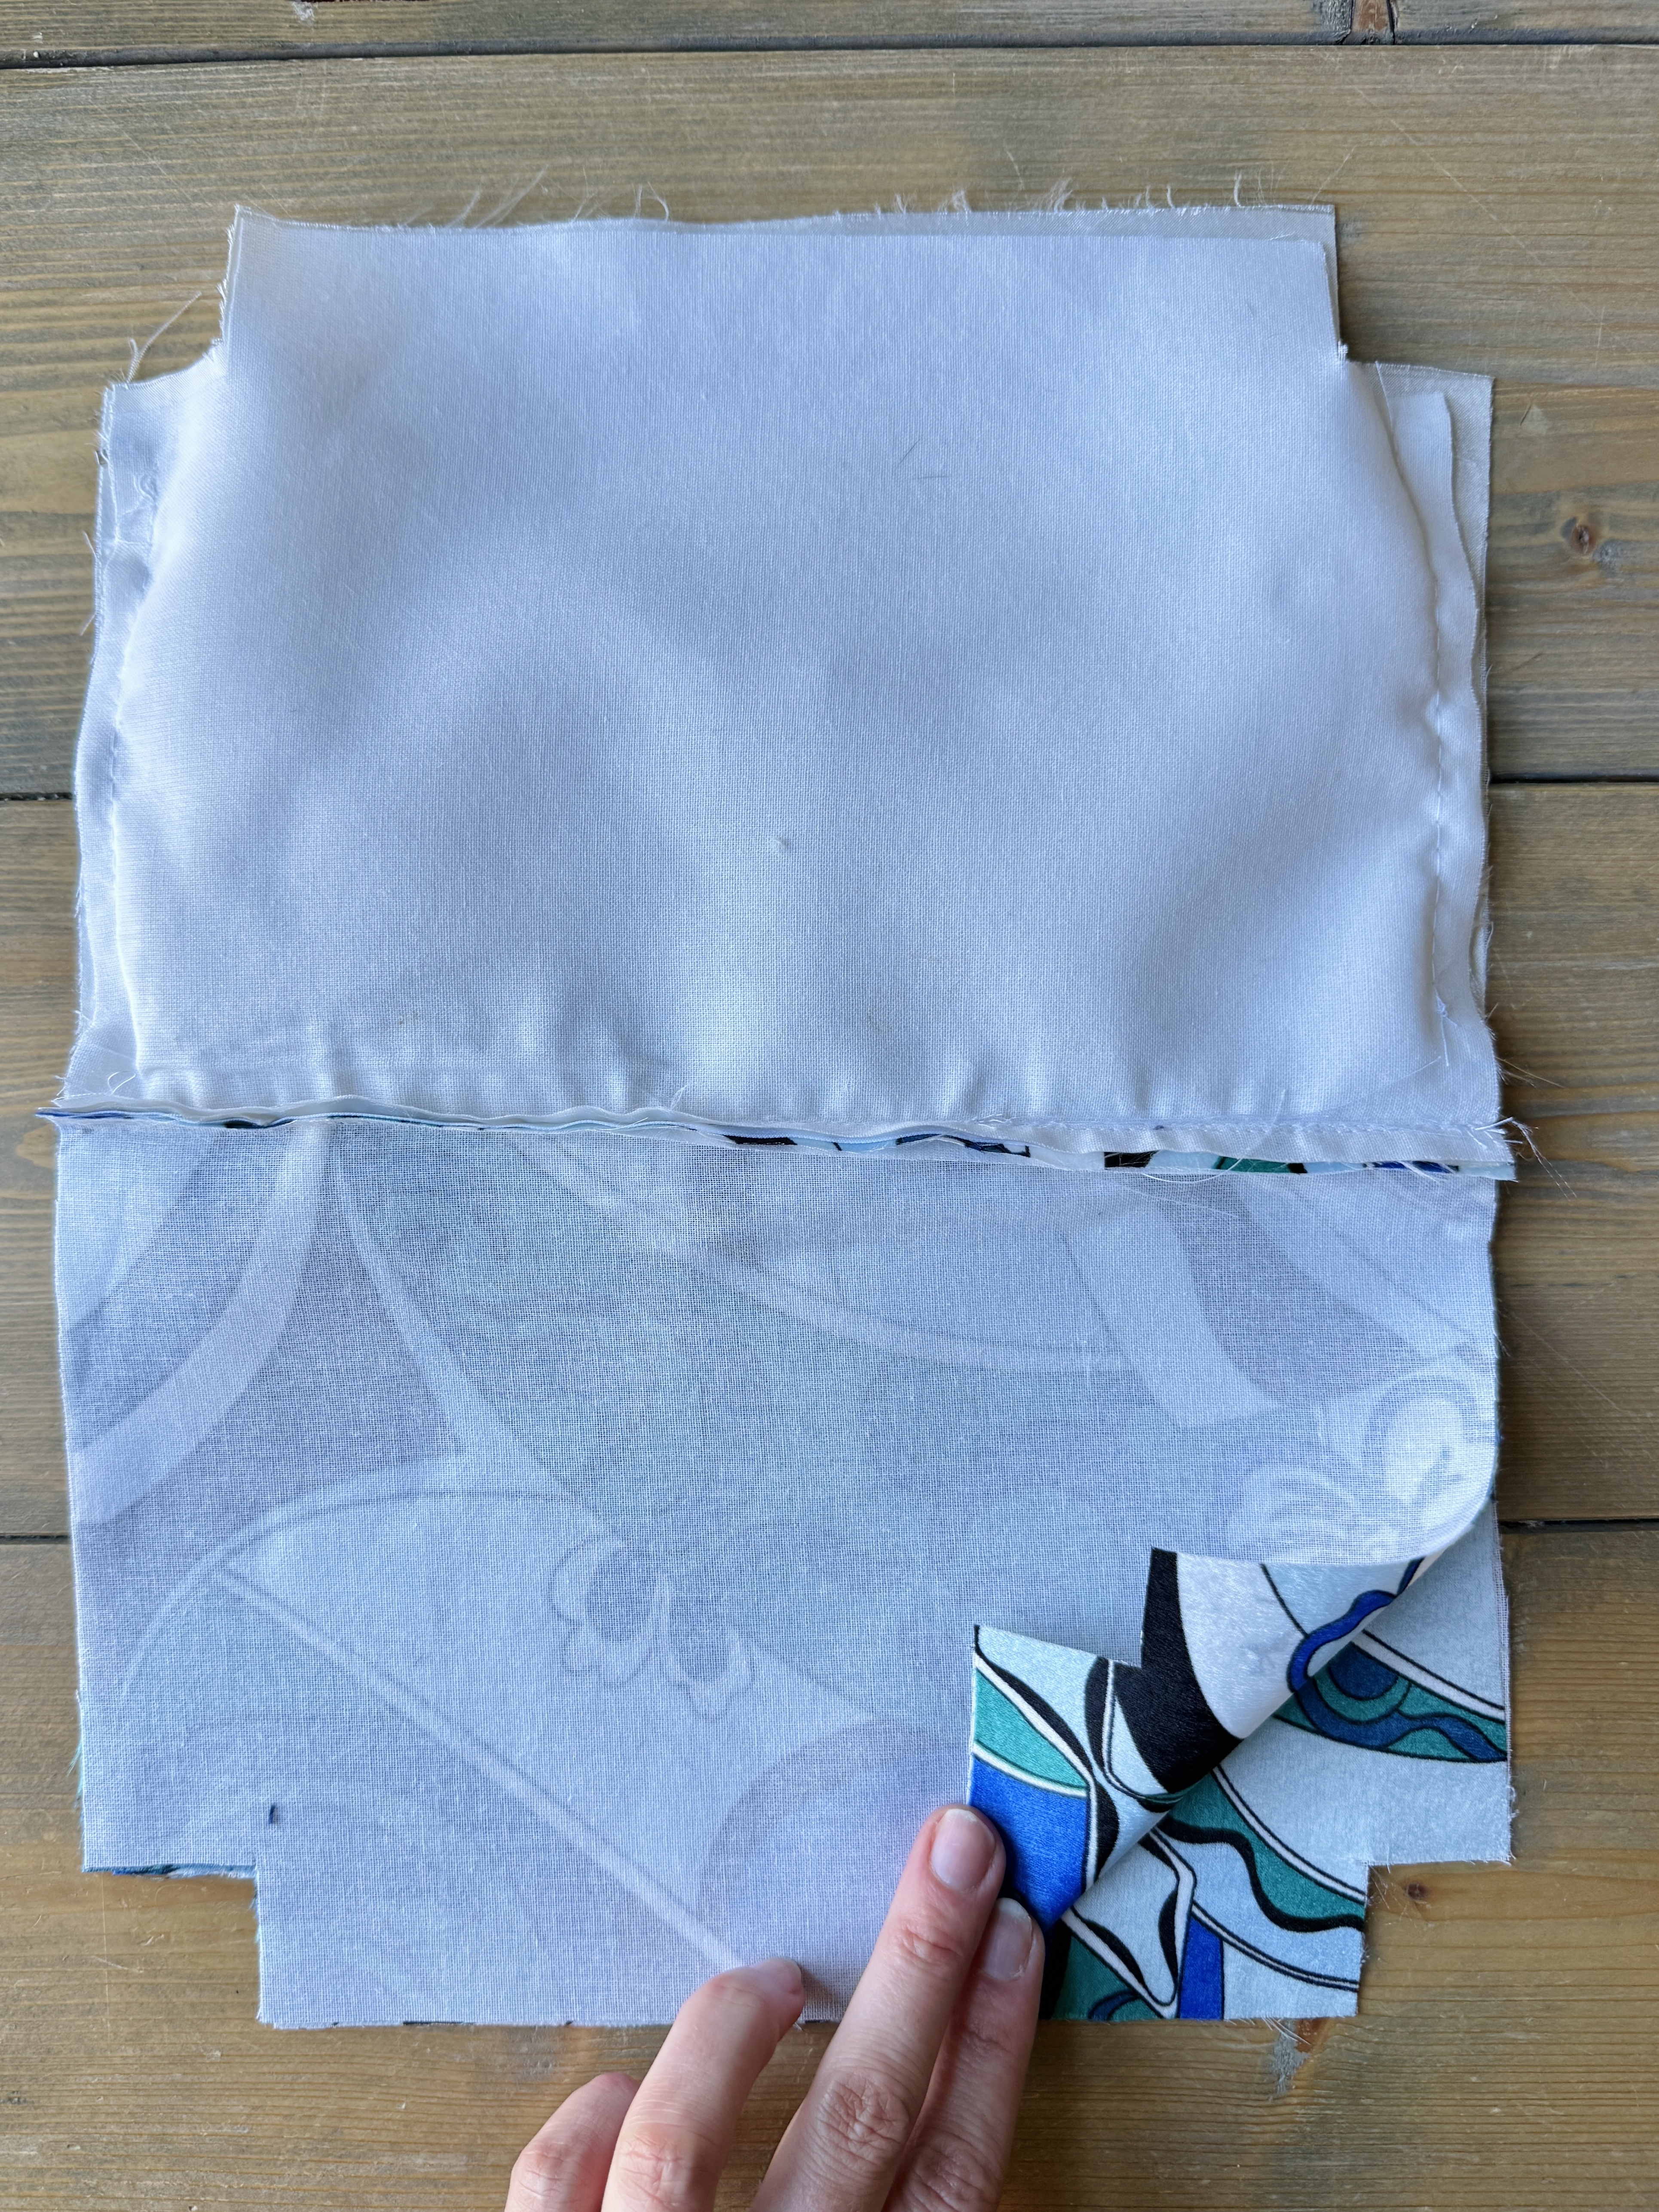
Separate the bag’s main and lining so that they are now wrong sides together. The zipper will be sticking out between the two layers. Give a good press.
Repeat the previous steps with the remaining main and lining pieces on the other side of the zipper.
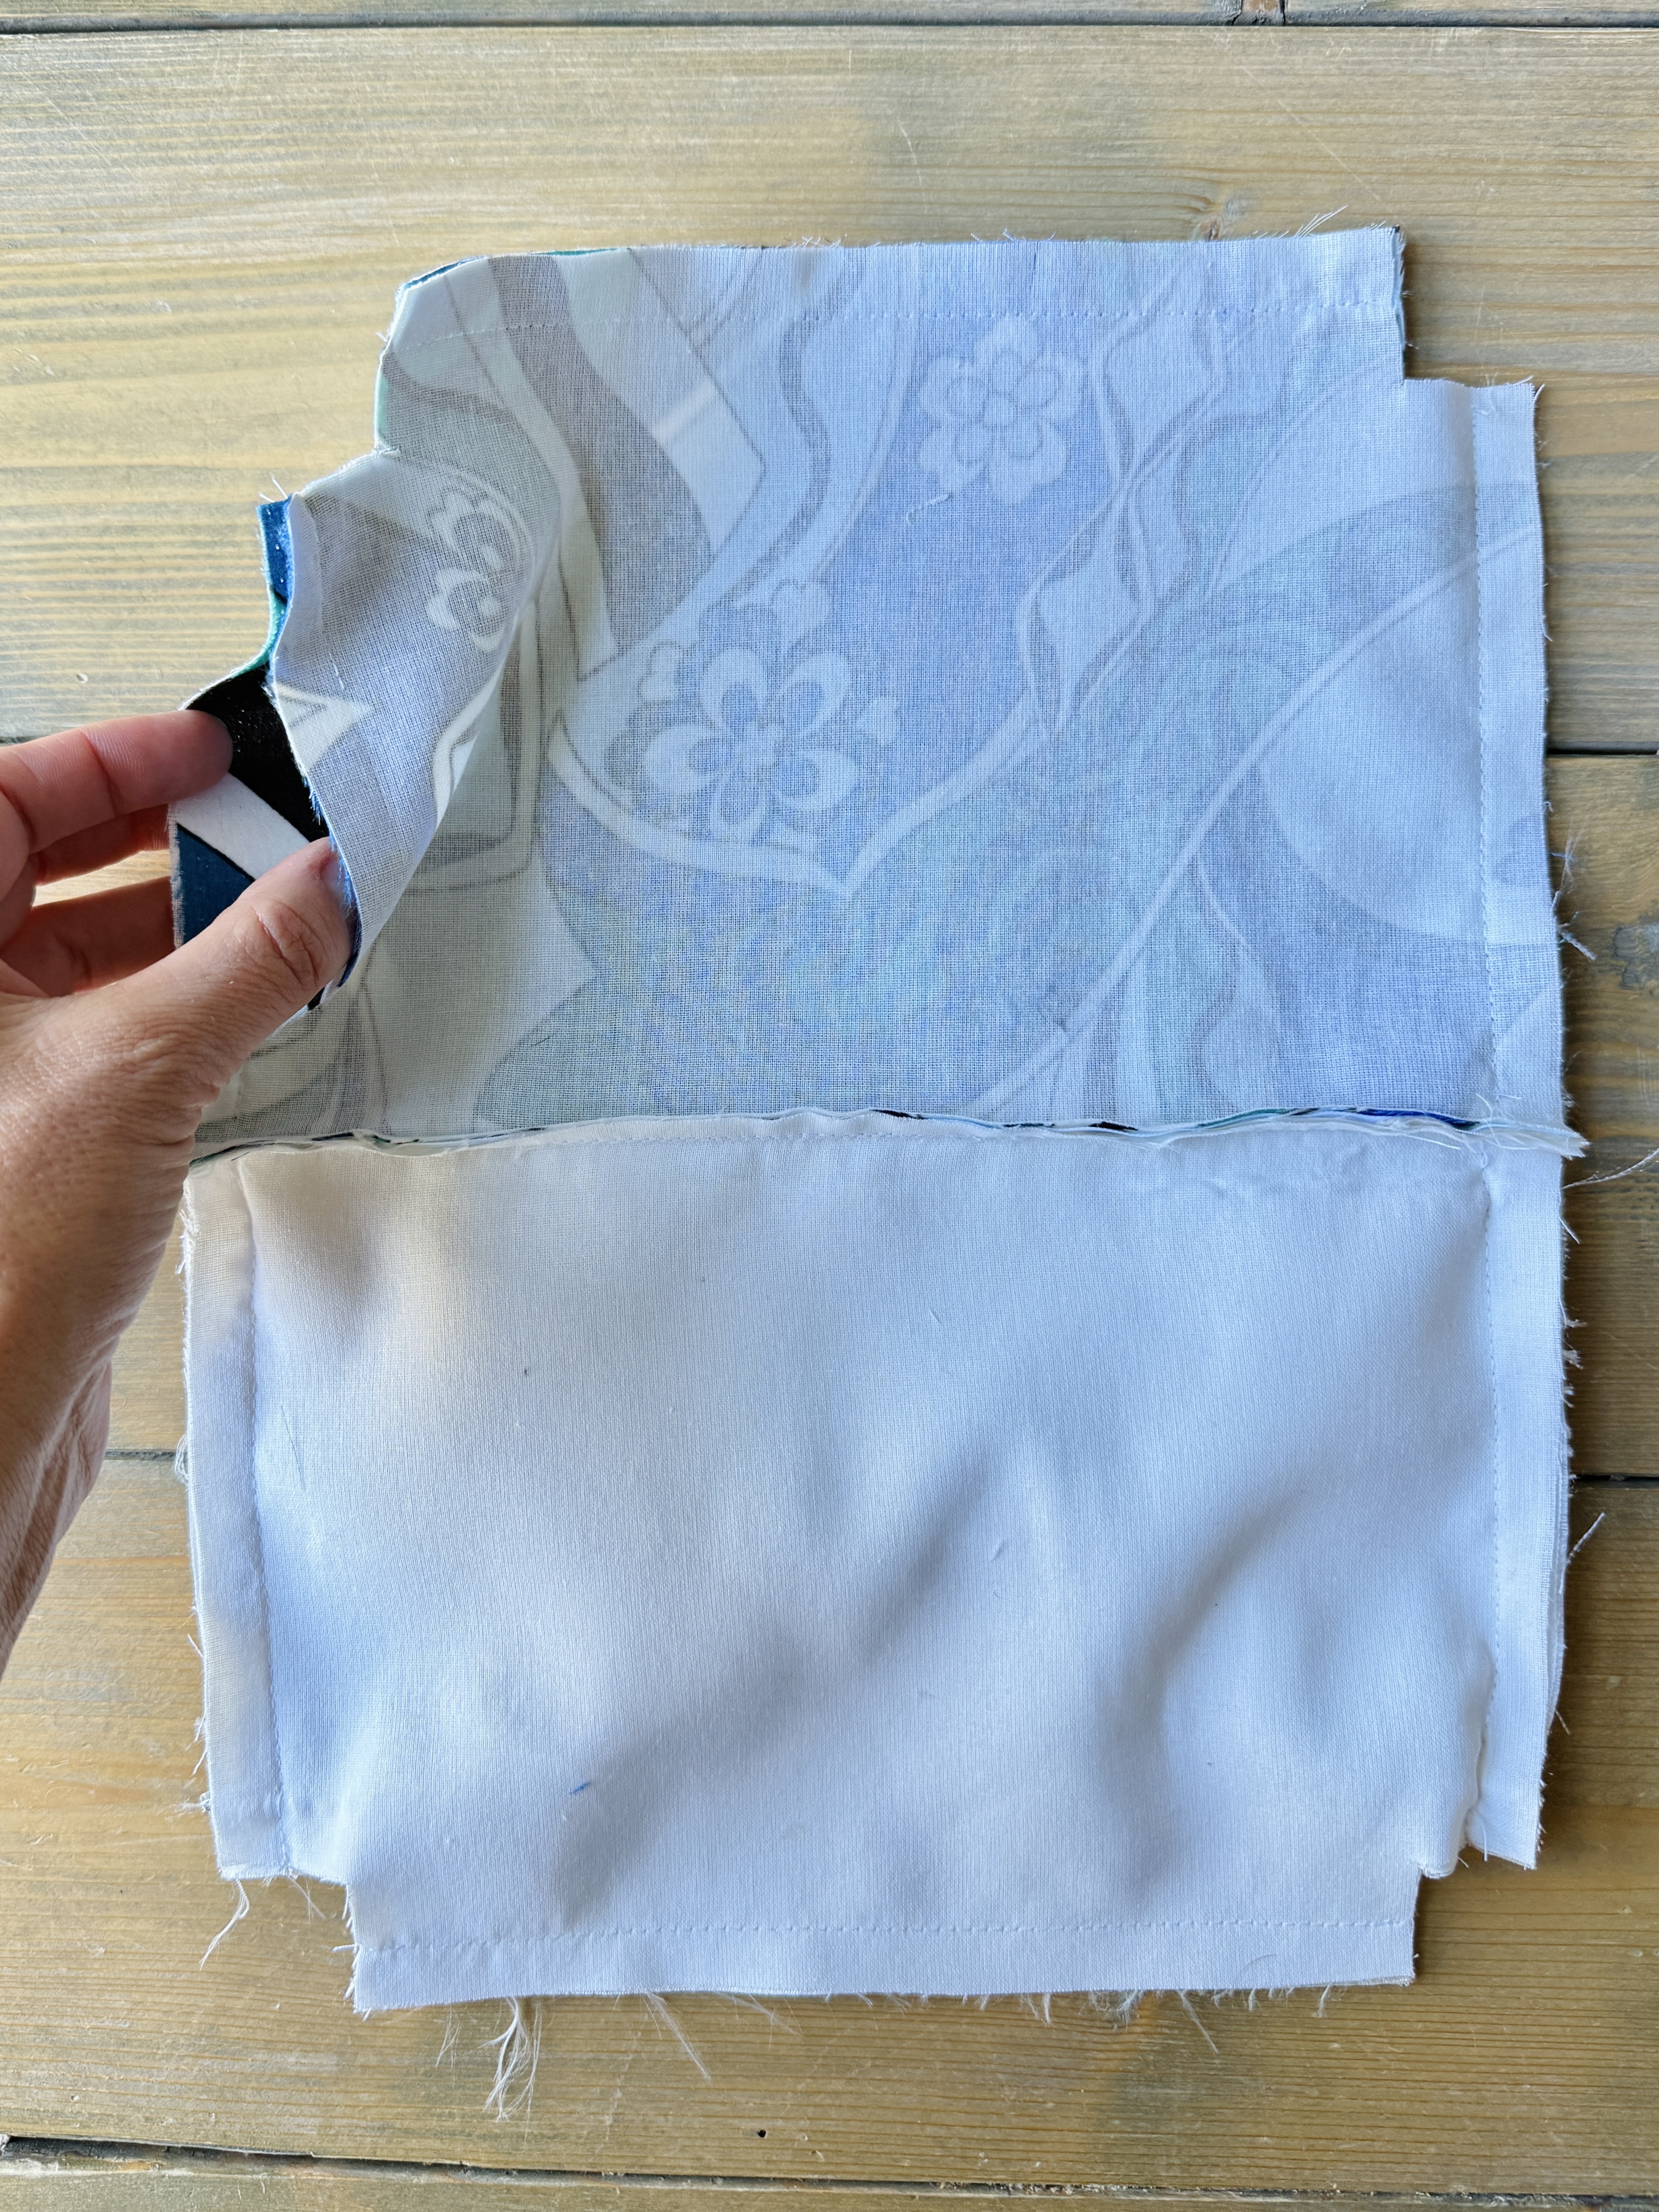
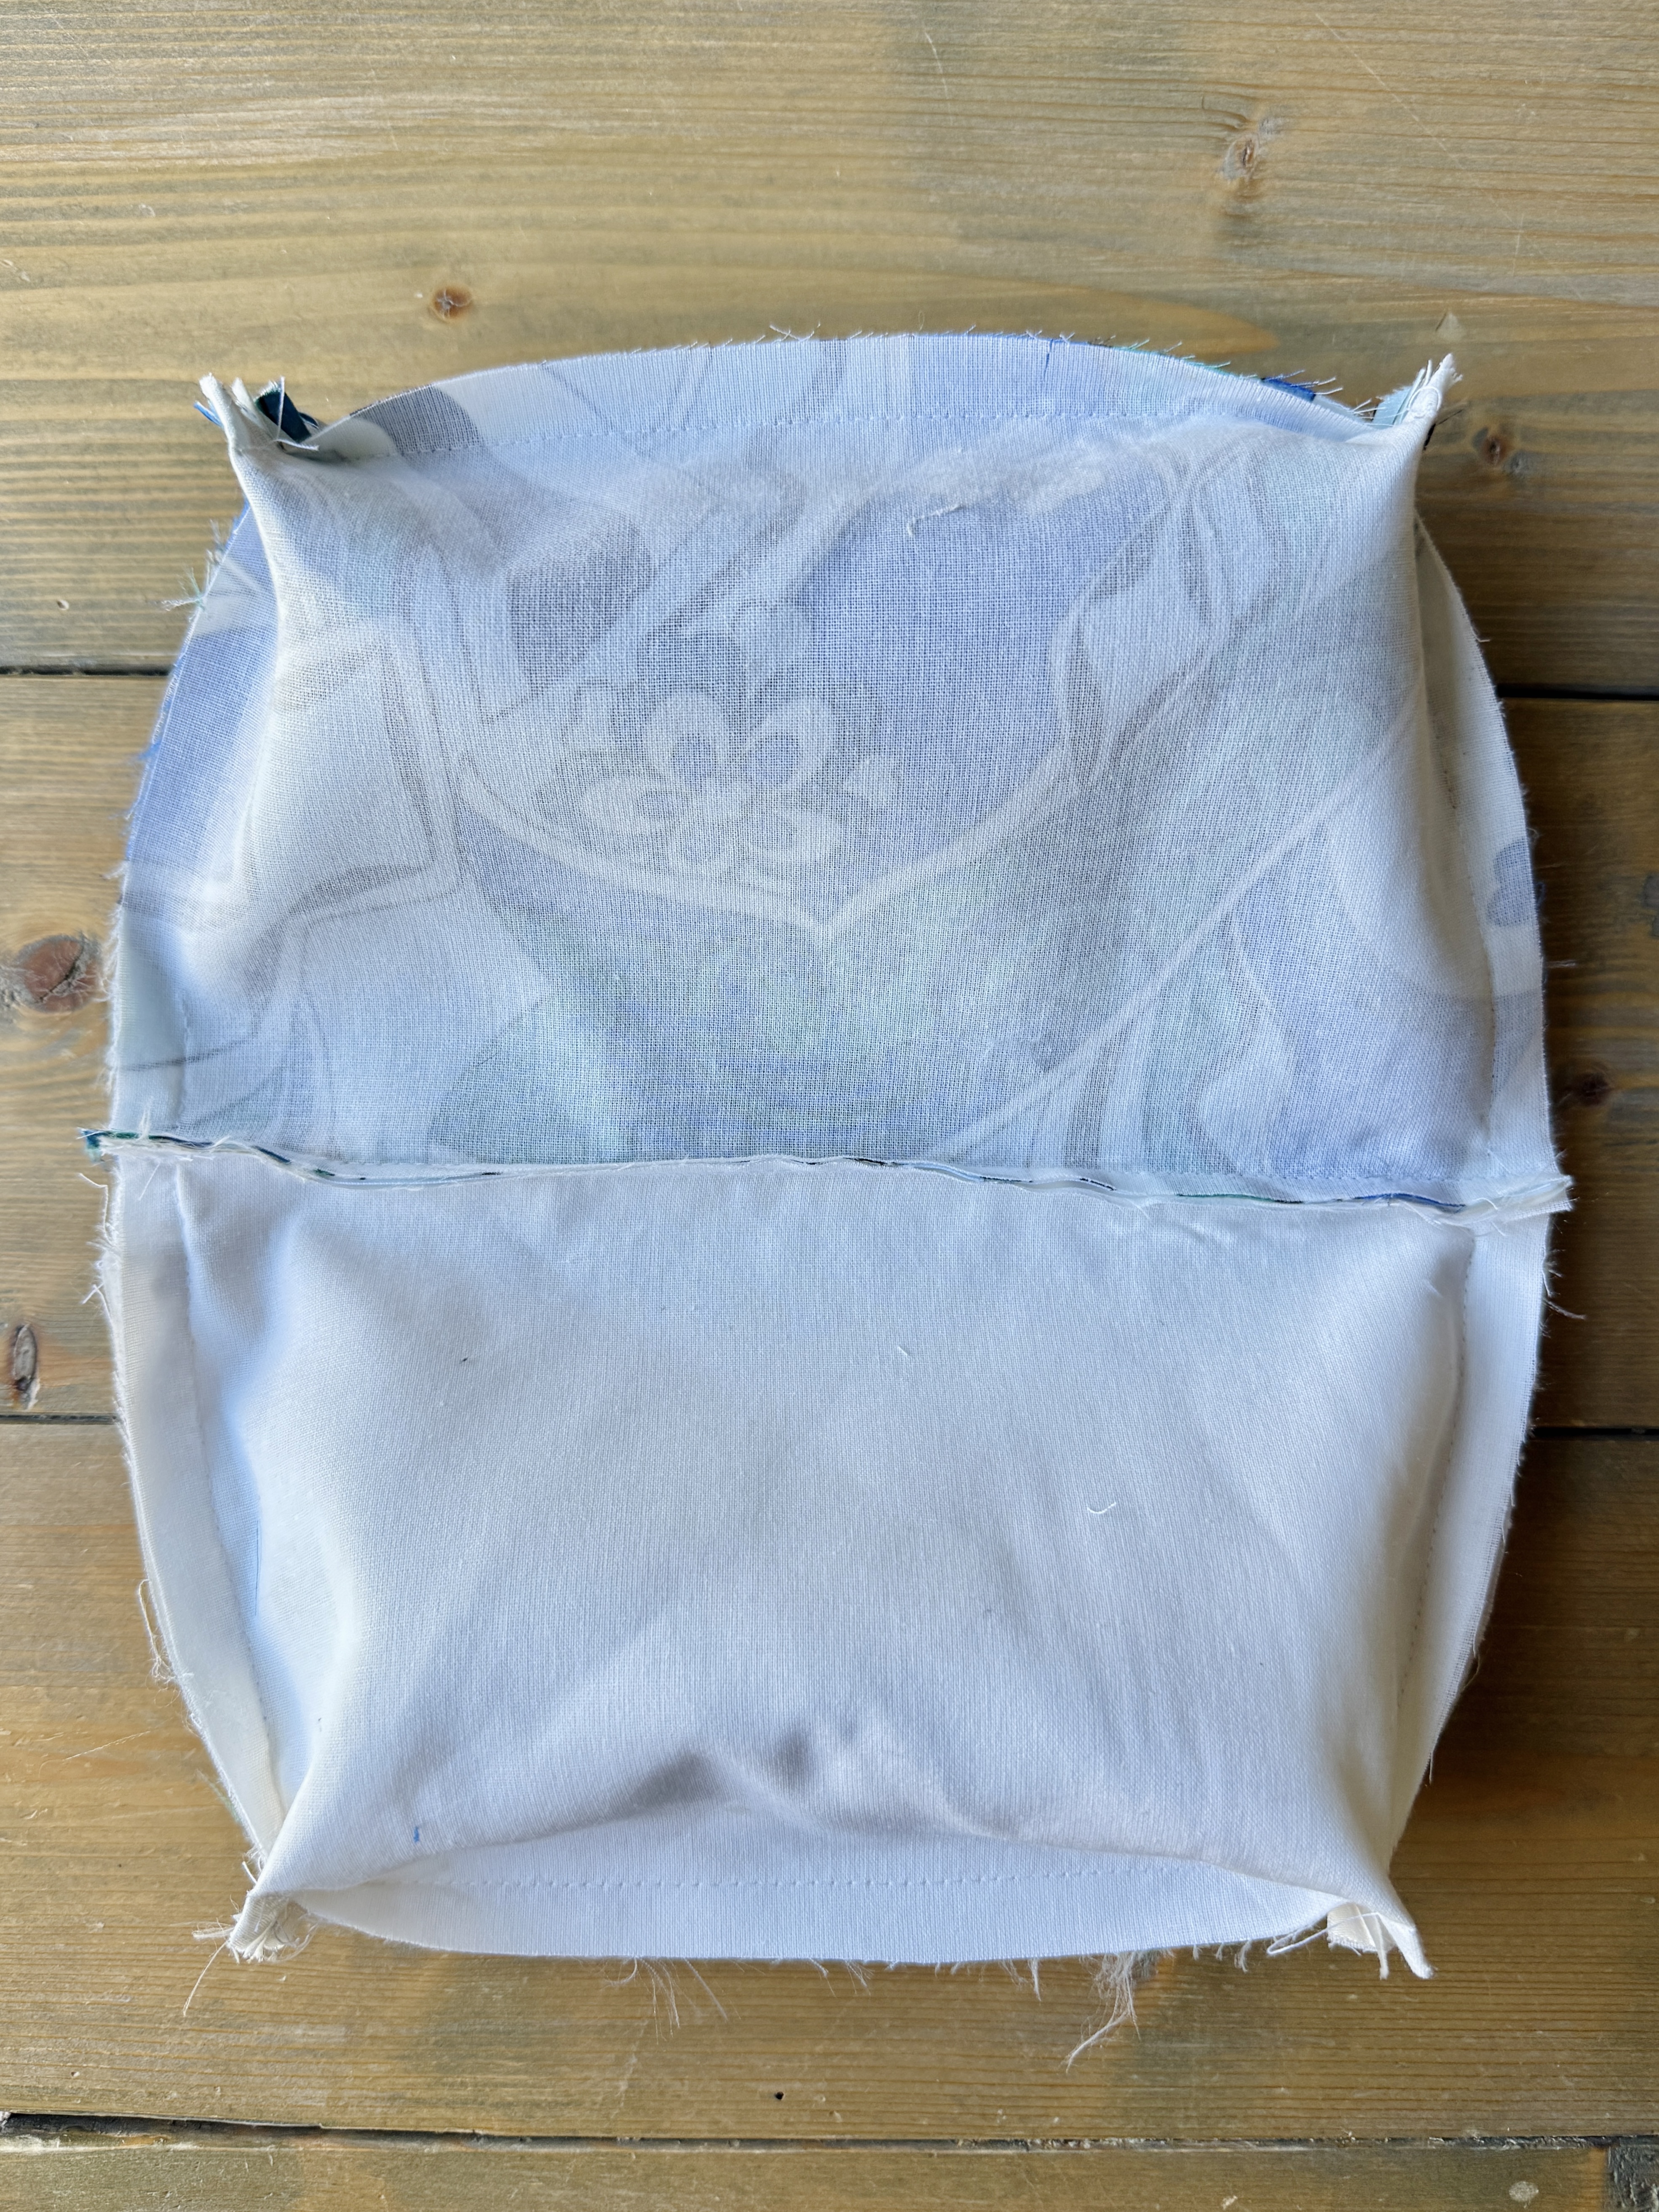
Open the zipper all the way. Align the main pieces and lining pieces, right sides together.

Sew the bottom edges and the side edges of the bag, leaving a 2″ gap on one side of the lining open. You will turn the bag right sides out through this gap in a future step. The bottom corner squares will not be sewn at this step.
To create the box at the bottom of the bag, align the bottom and side seams together on the main and lining pieces.
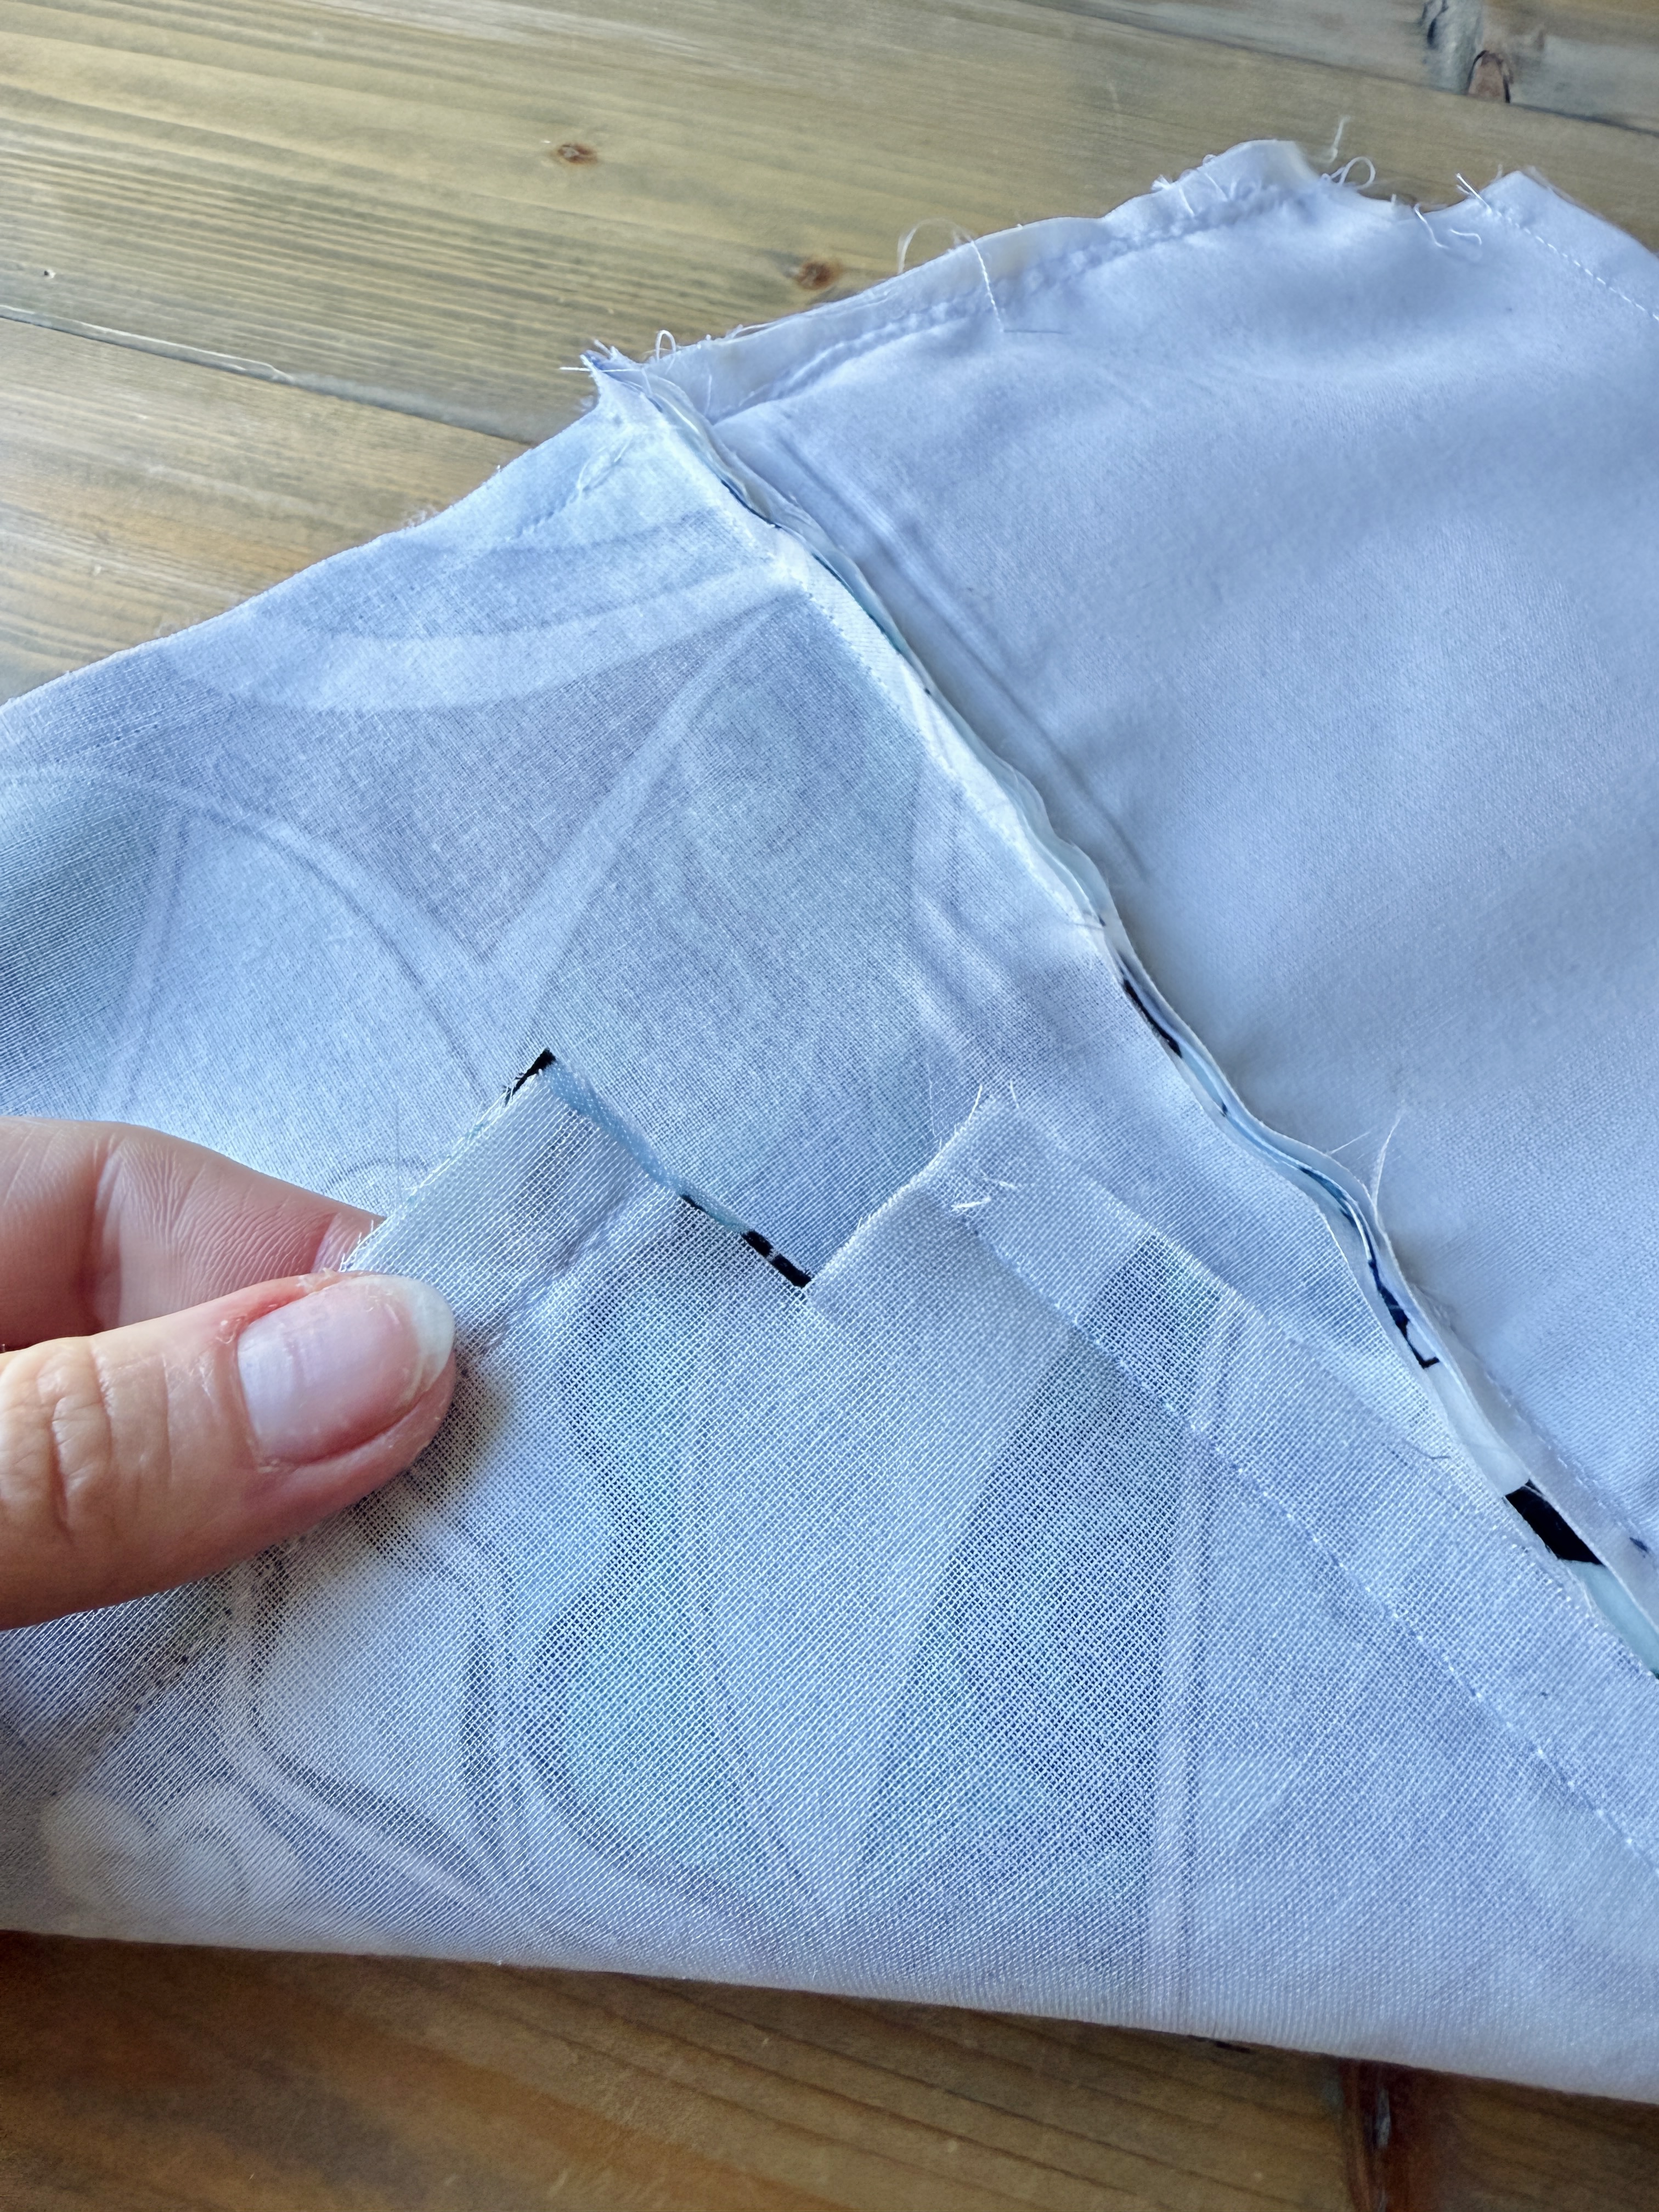

Sew all four corners together.
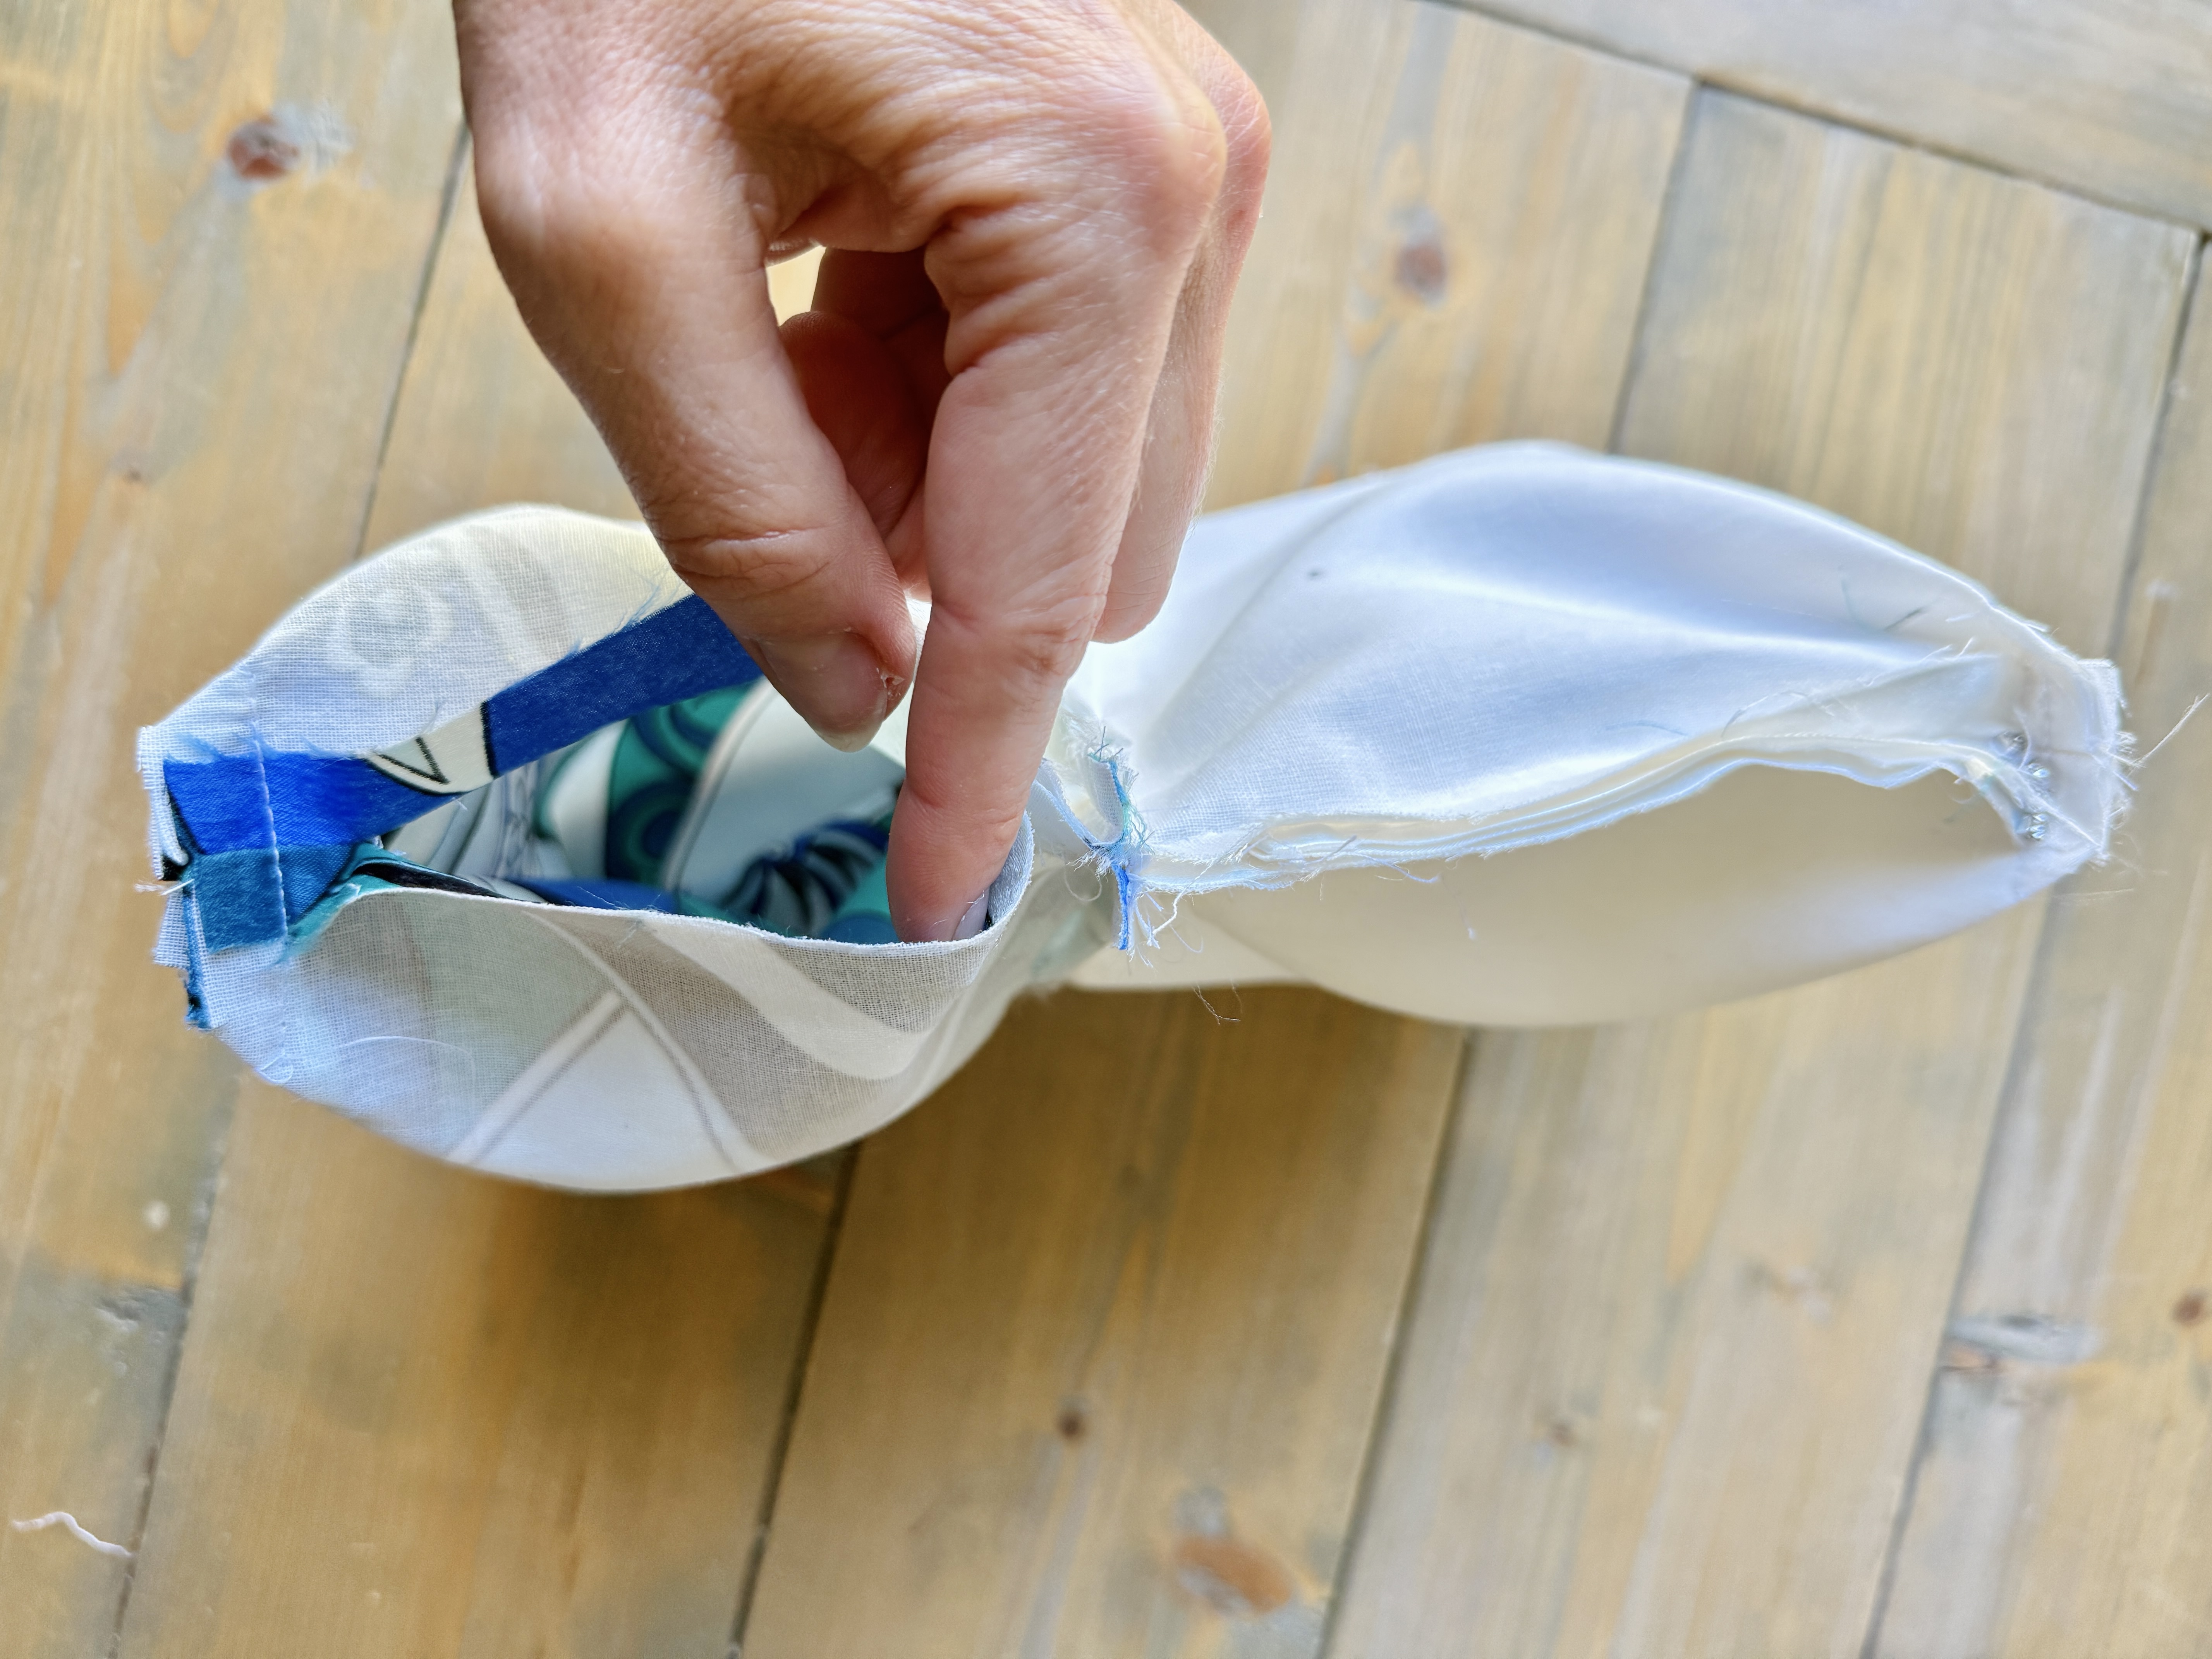
Turn the bag right sides out through the opening in the side seam of the lining piece, and close the hole up with some hand stitching.
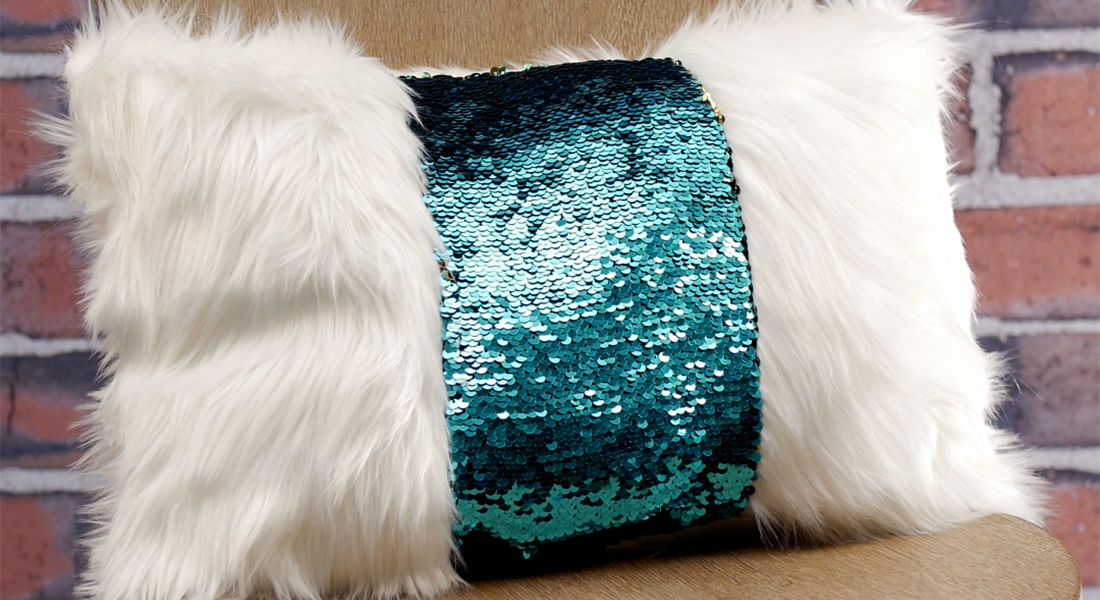
You now have the perfect glitzy clutch to take to any formal event! Imagine having a custom clutch to wear to weddings, formals, balls, vacations, fundraisers, holiday parties, you name it. You can literally make one to wear to every occasion!
I hope this tutorial was helpful and inspired you to get started on adding trim to any of your makes! Make sure to tag @berninausa if you recreate this look!