Sewing an Athleisure Set, Part Three

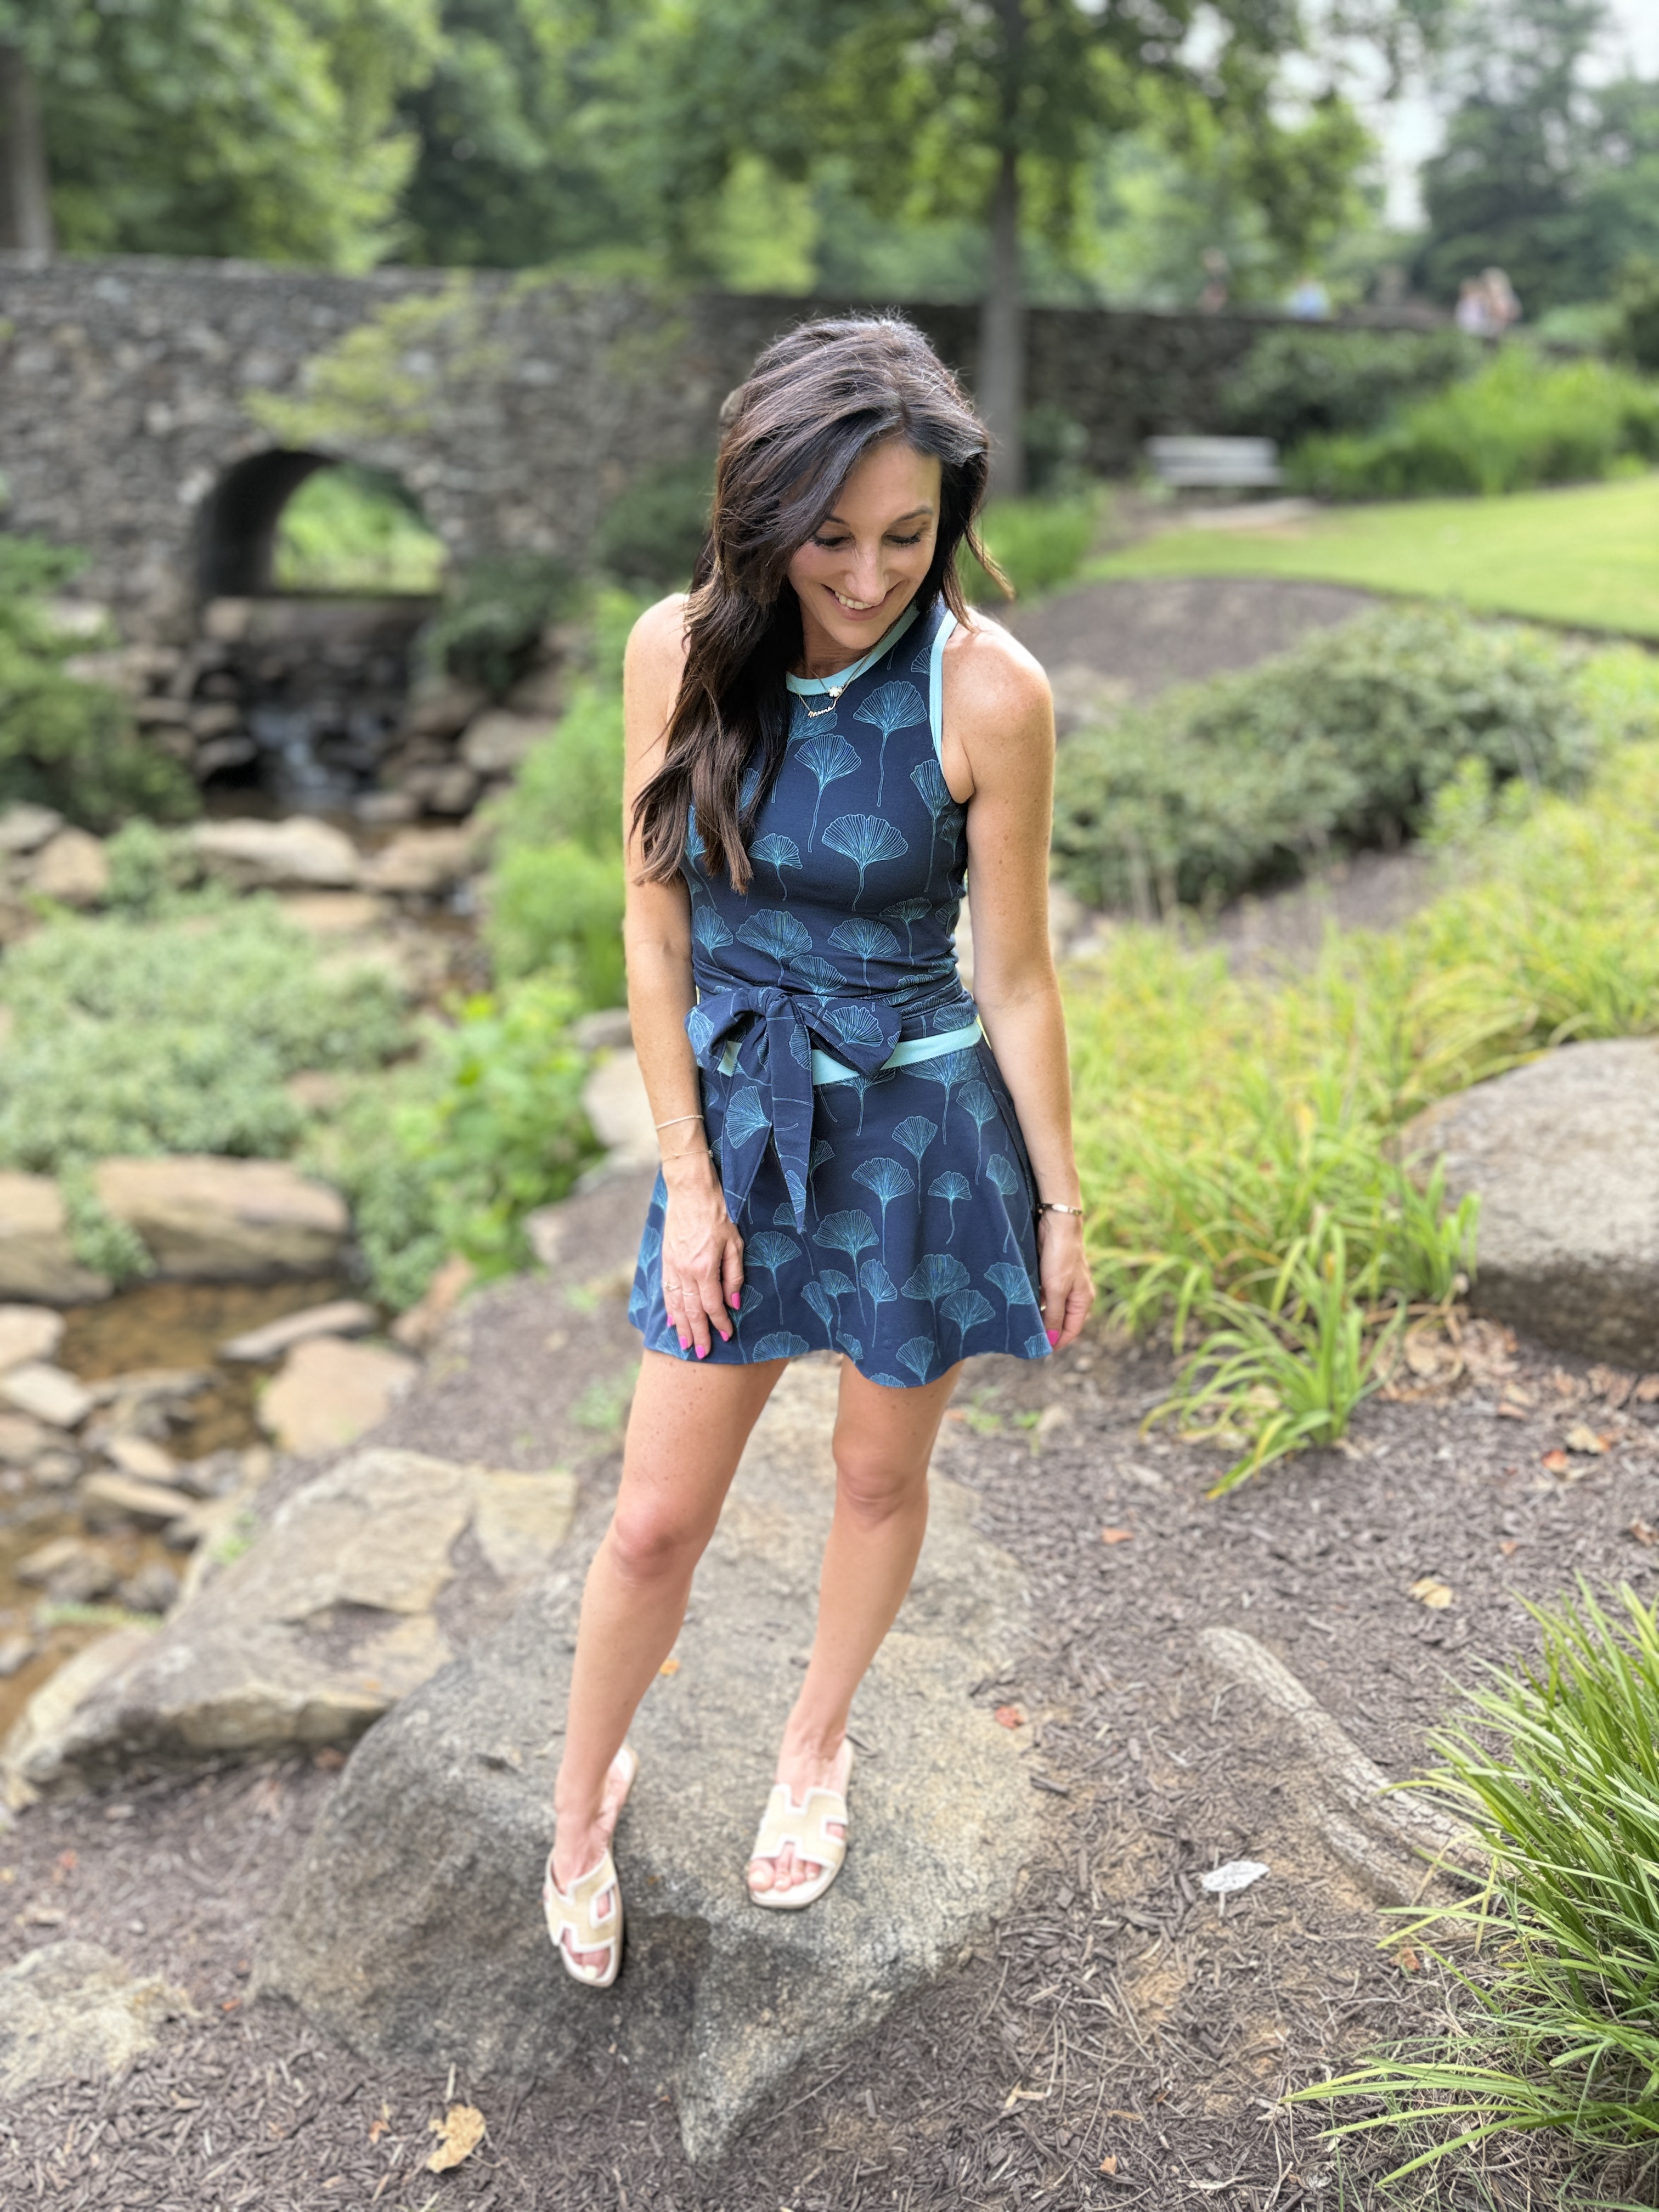
Welcome to the third and final part of my sewing an athleisure set series! Today, we will move on to the Serena Skort.
If you missed parts one and two, you can find them here:
Constructing the Serena Shorties
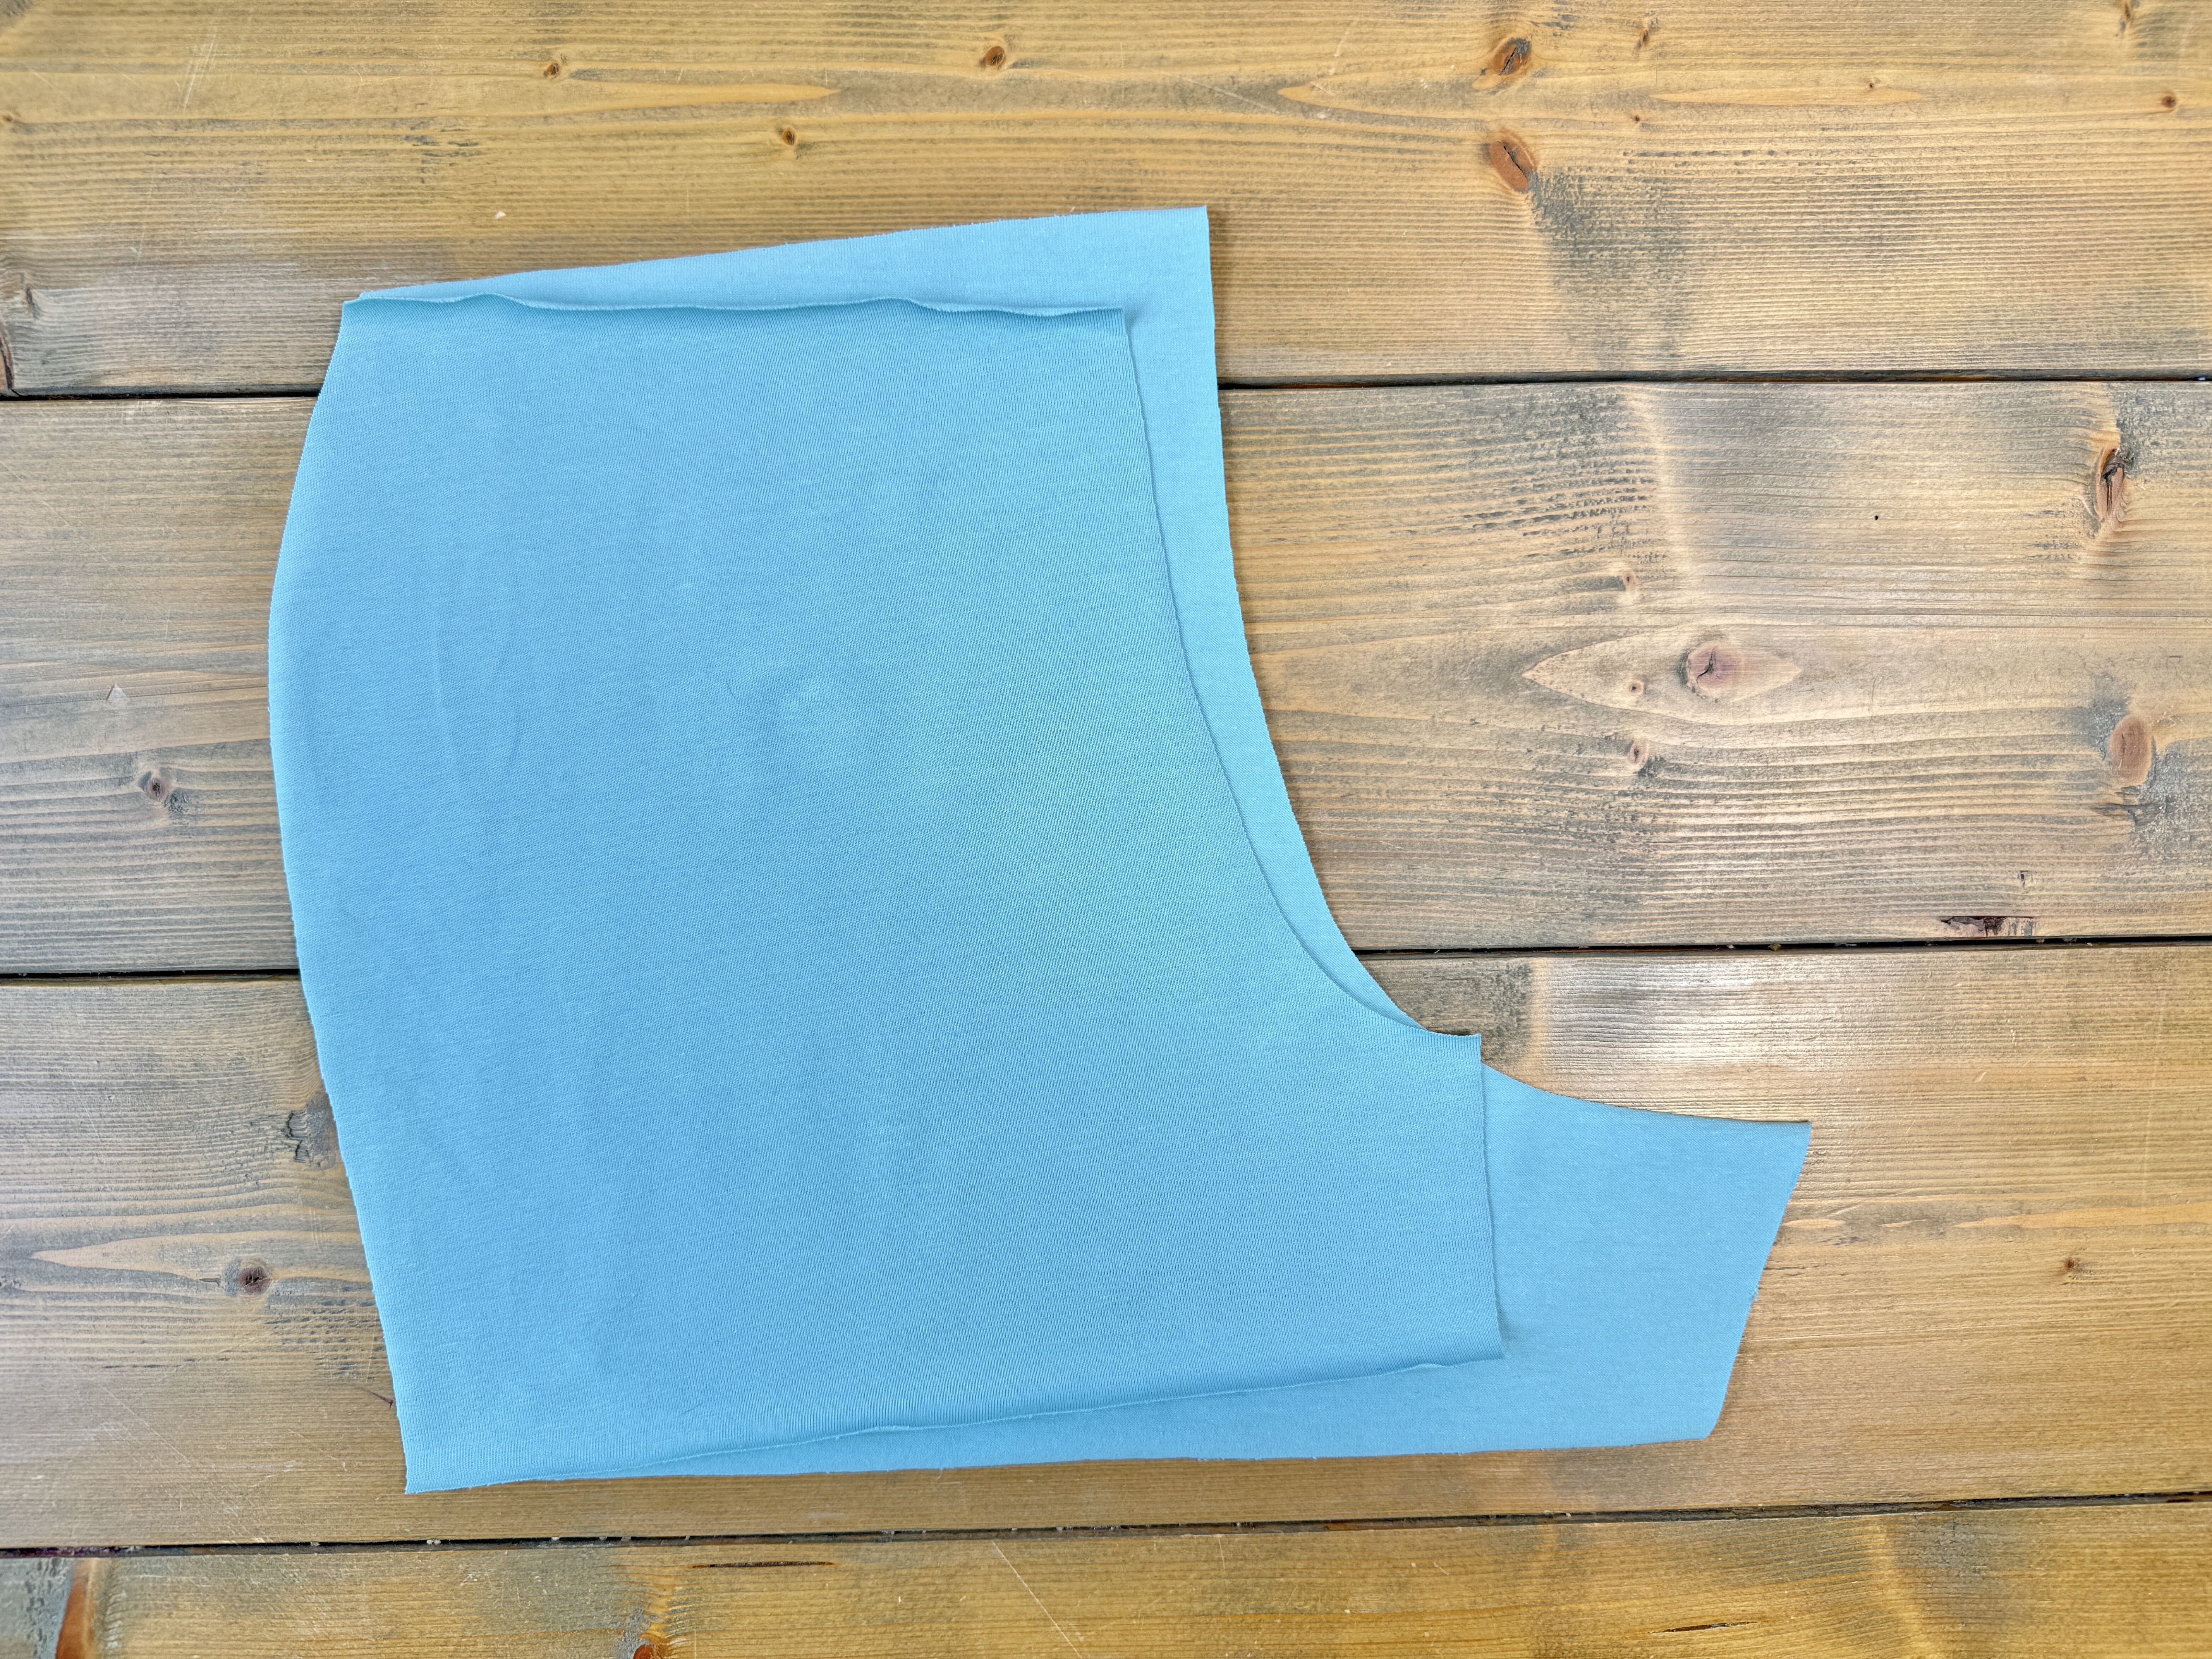
Locate the front and back shorties pieces. Match one front with one back piece, right sides together, aligning the side edges.
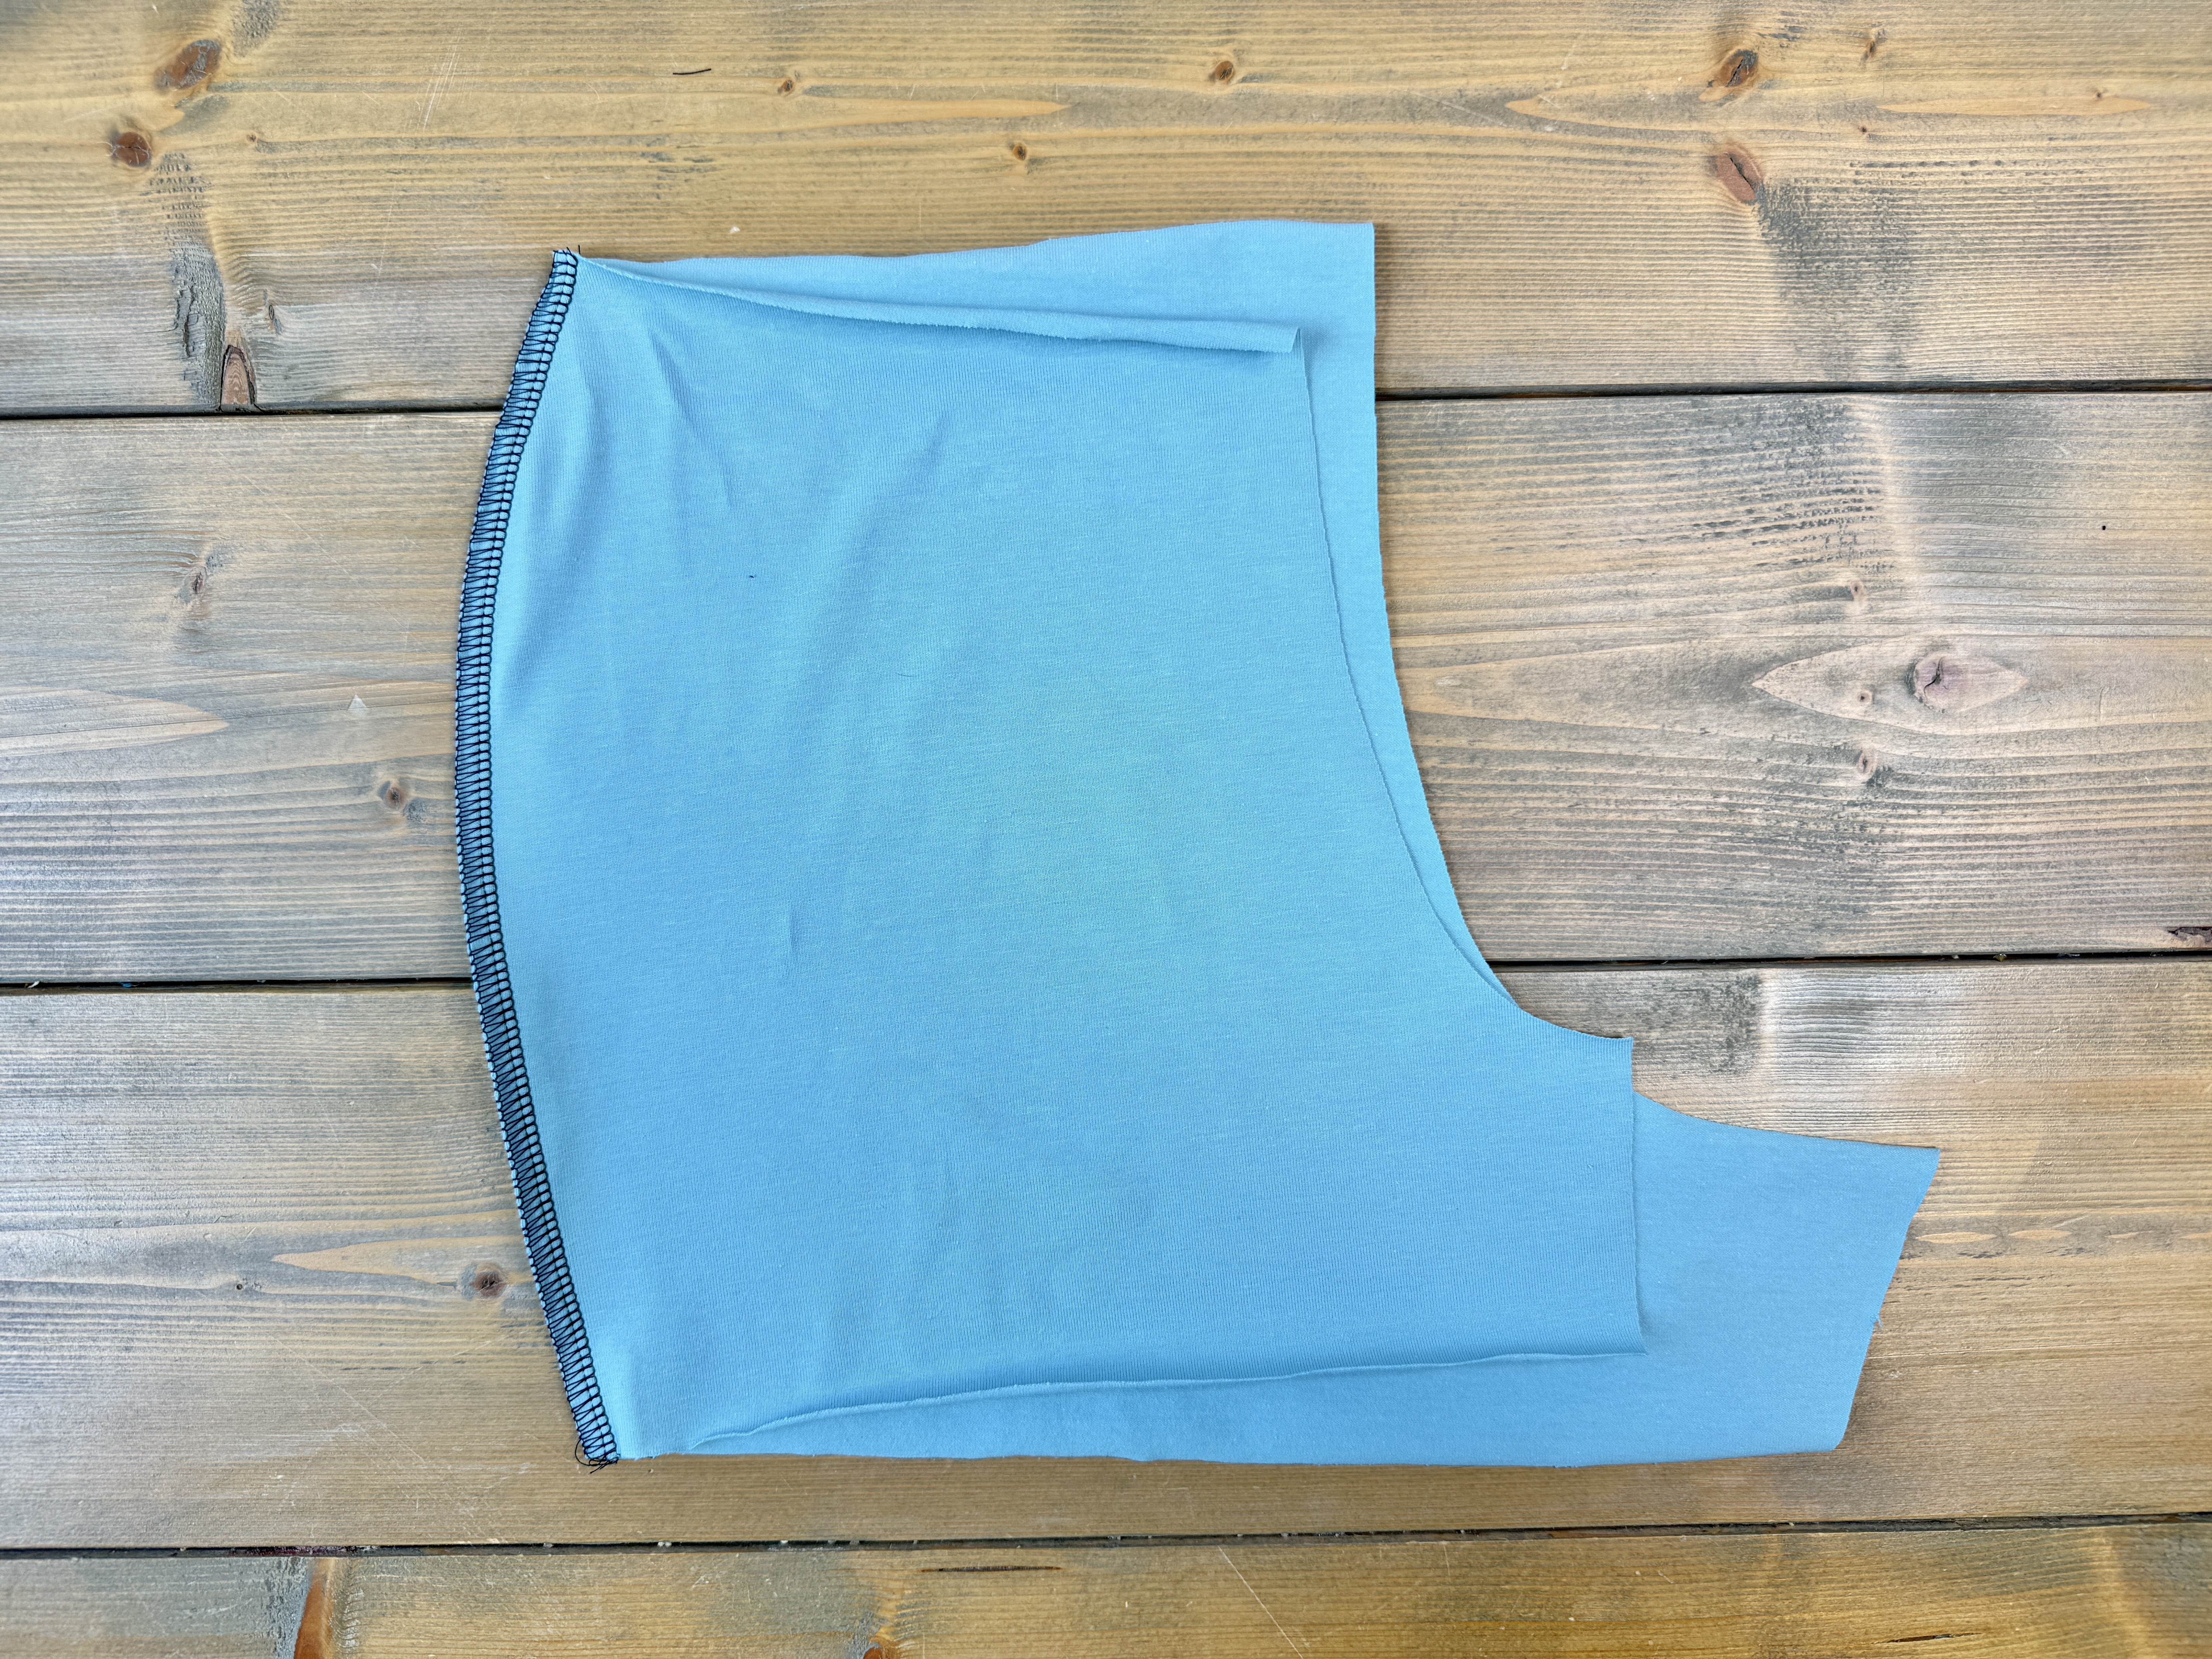
Stitch along the side seam, and press towards the back. Repeat for the remaining front and back set.

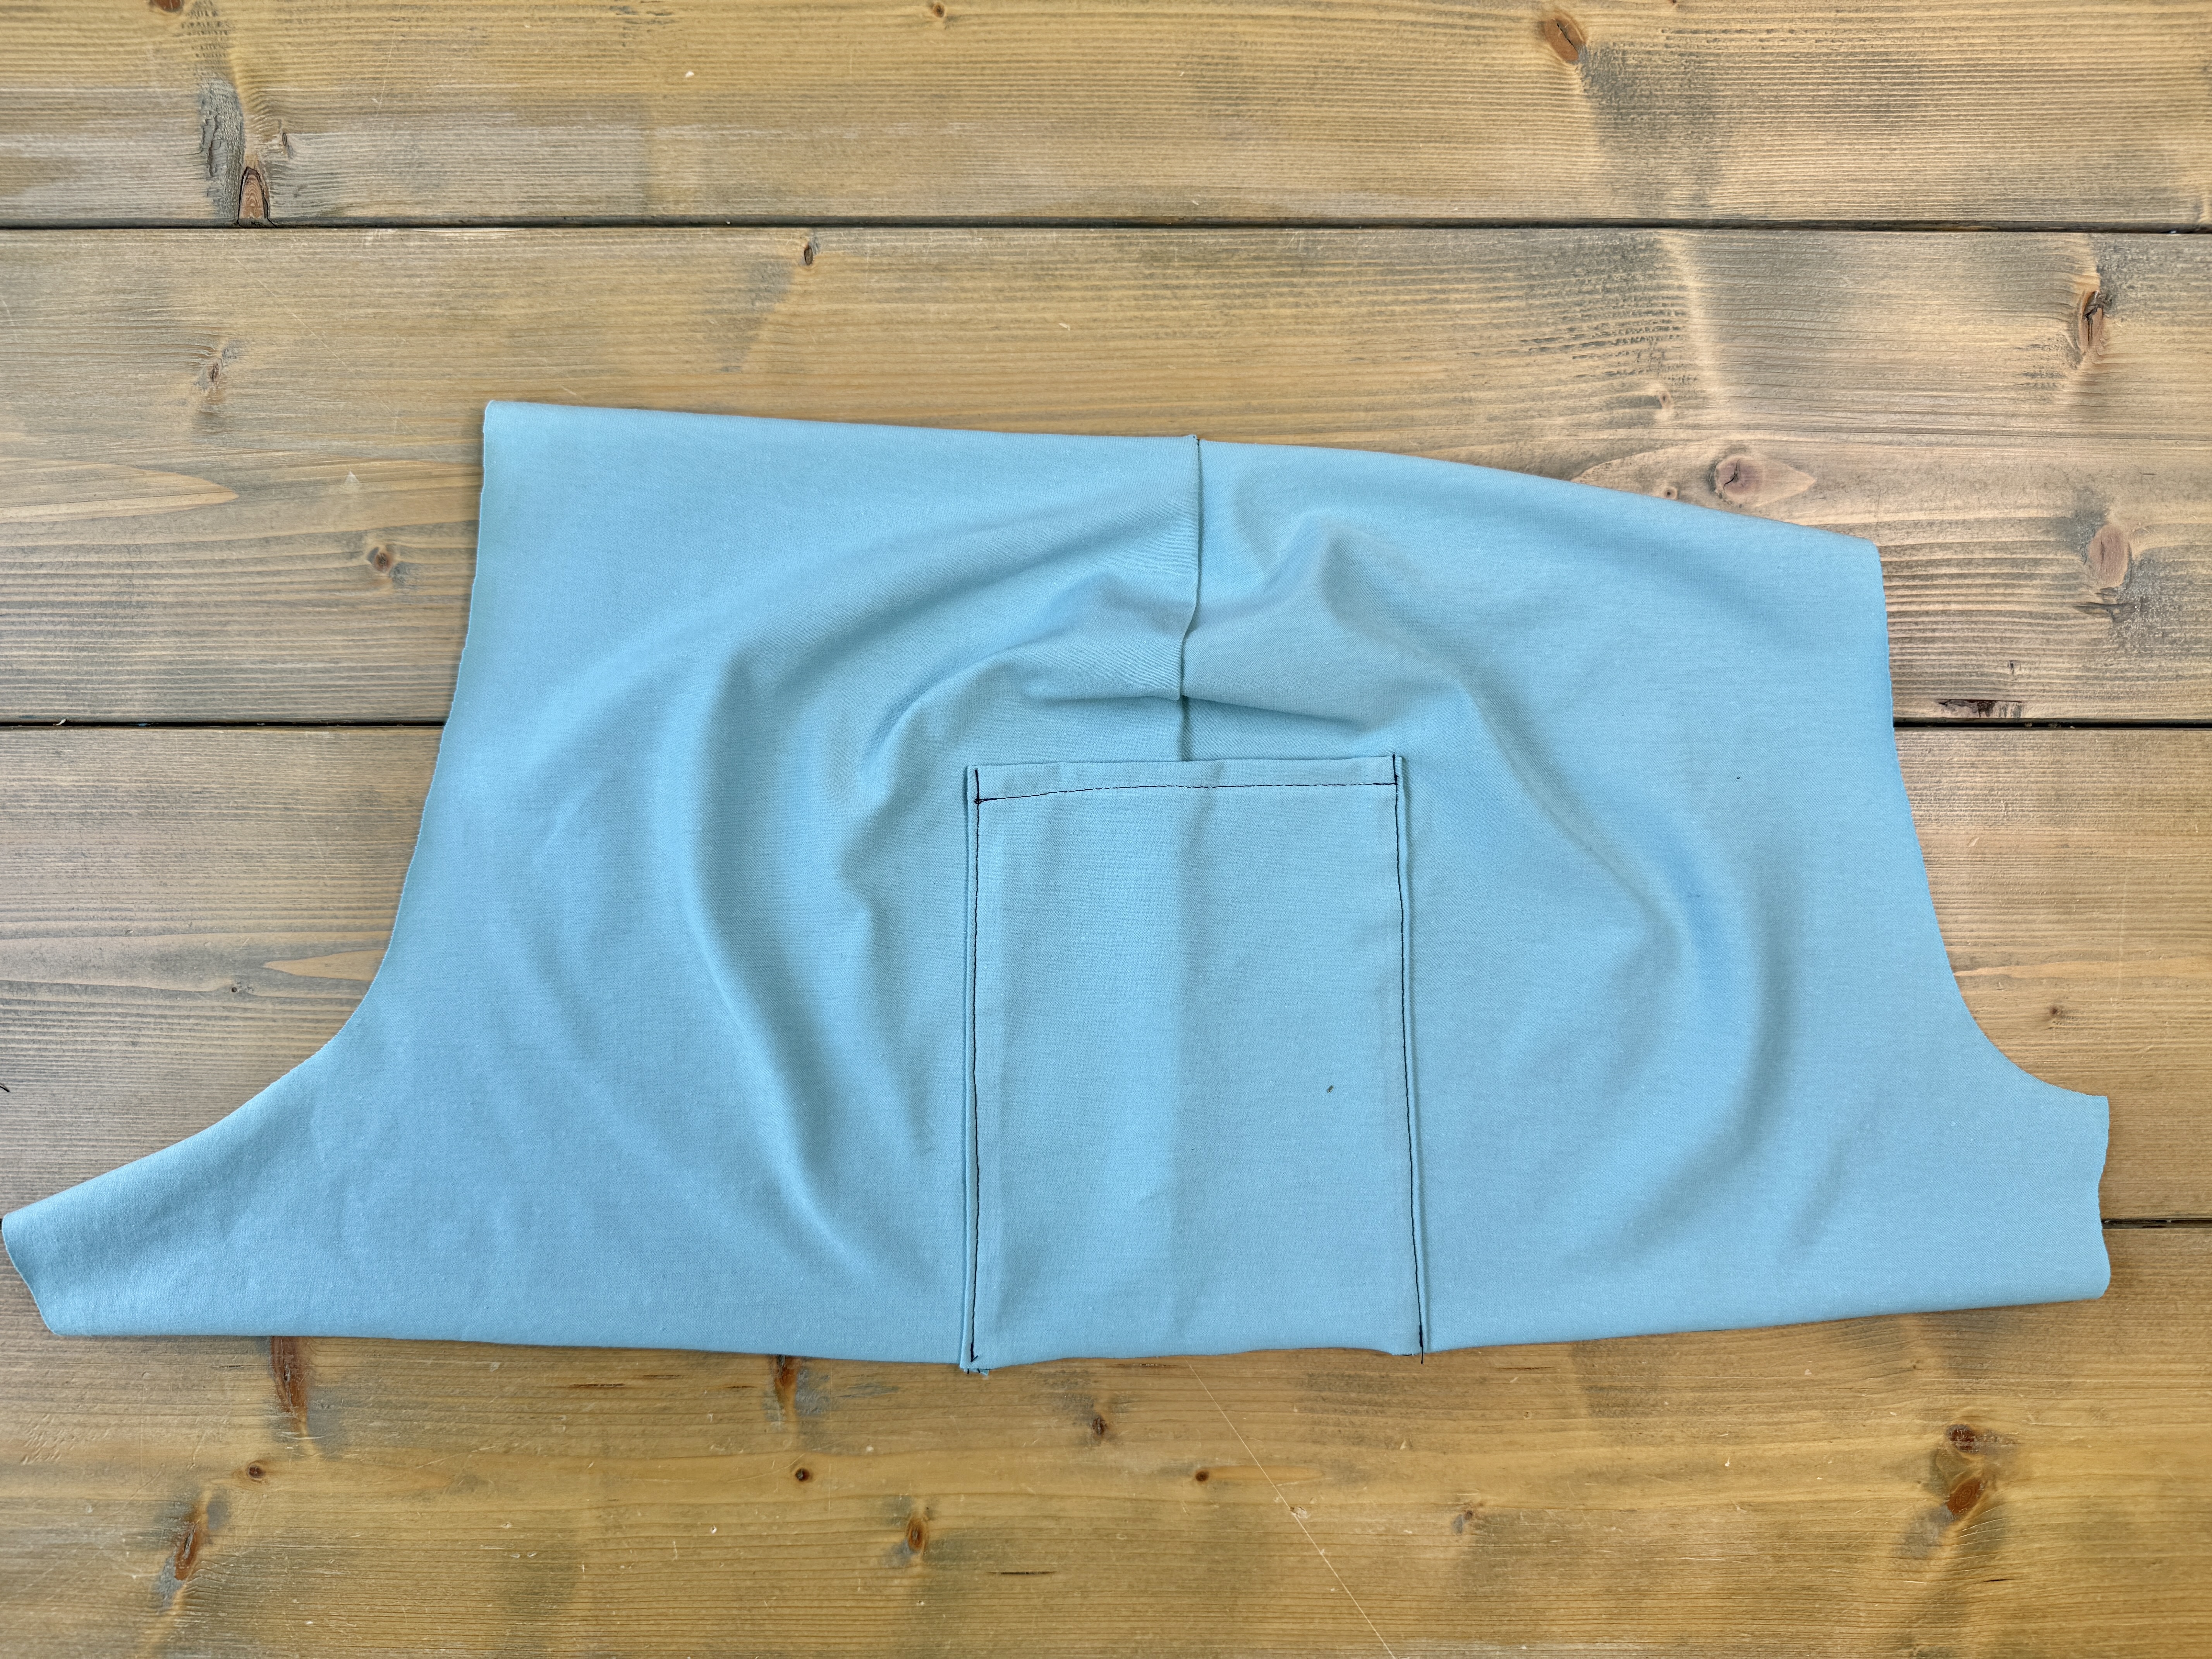
Locate the patch pocket piece. Serge along the outer edges of the pocket, leaving the bottom edge raw.
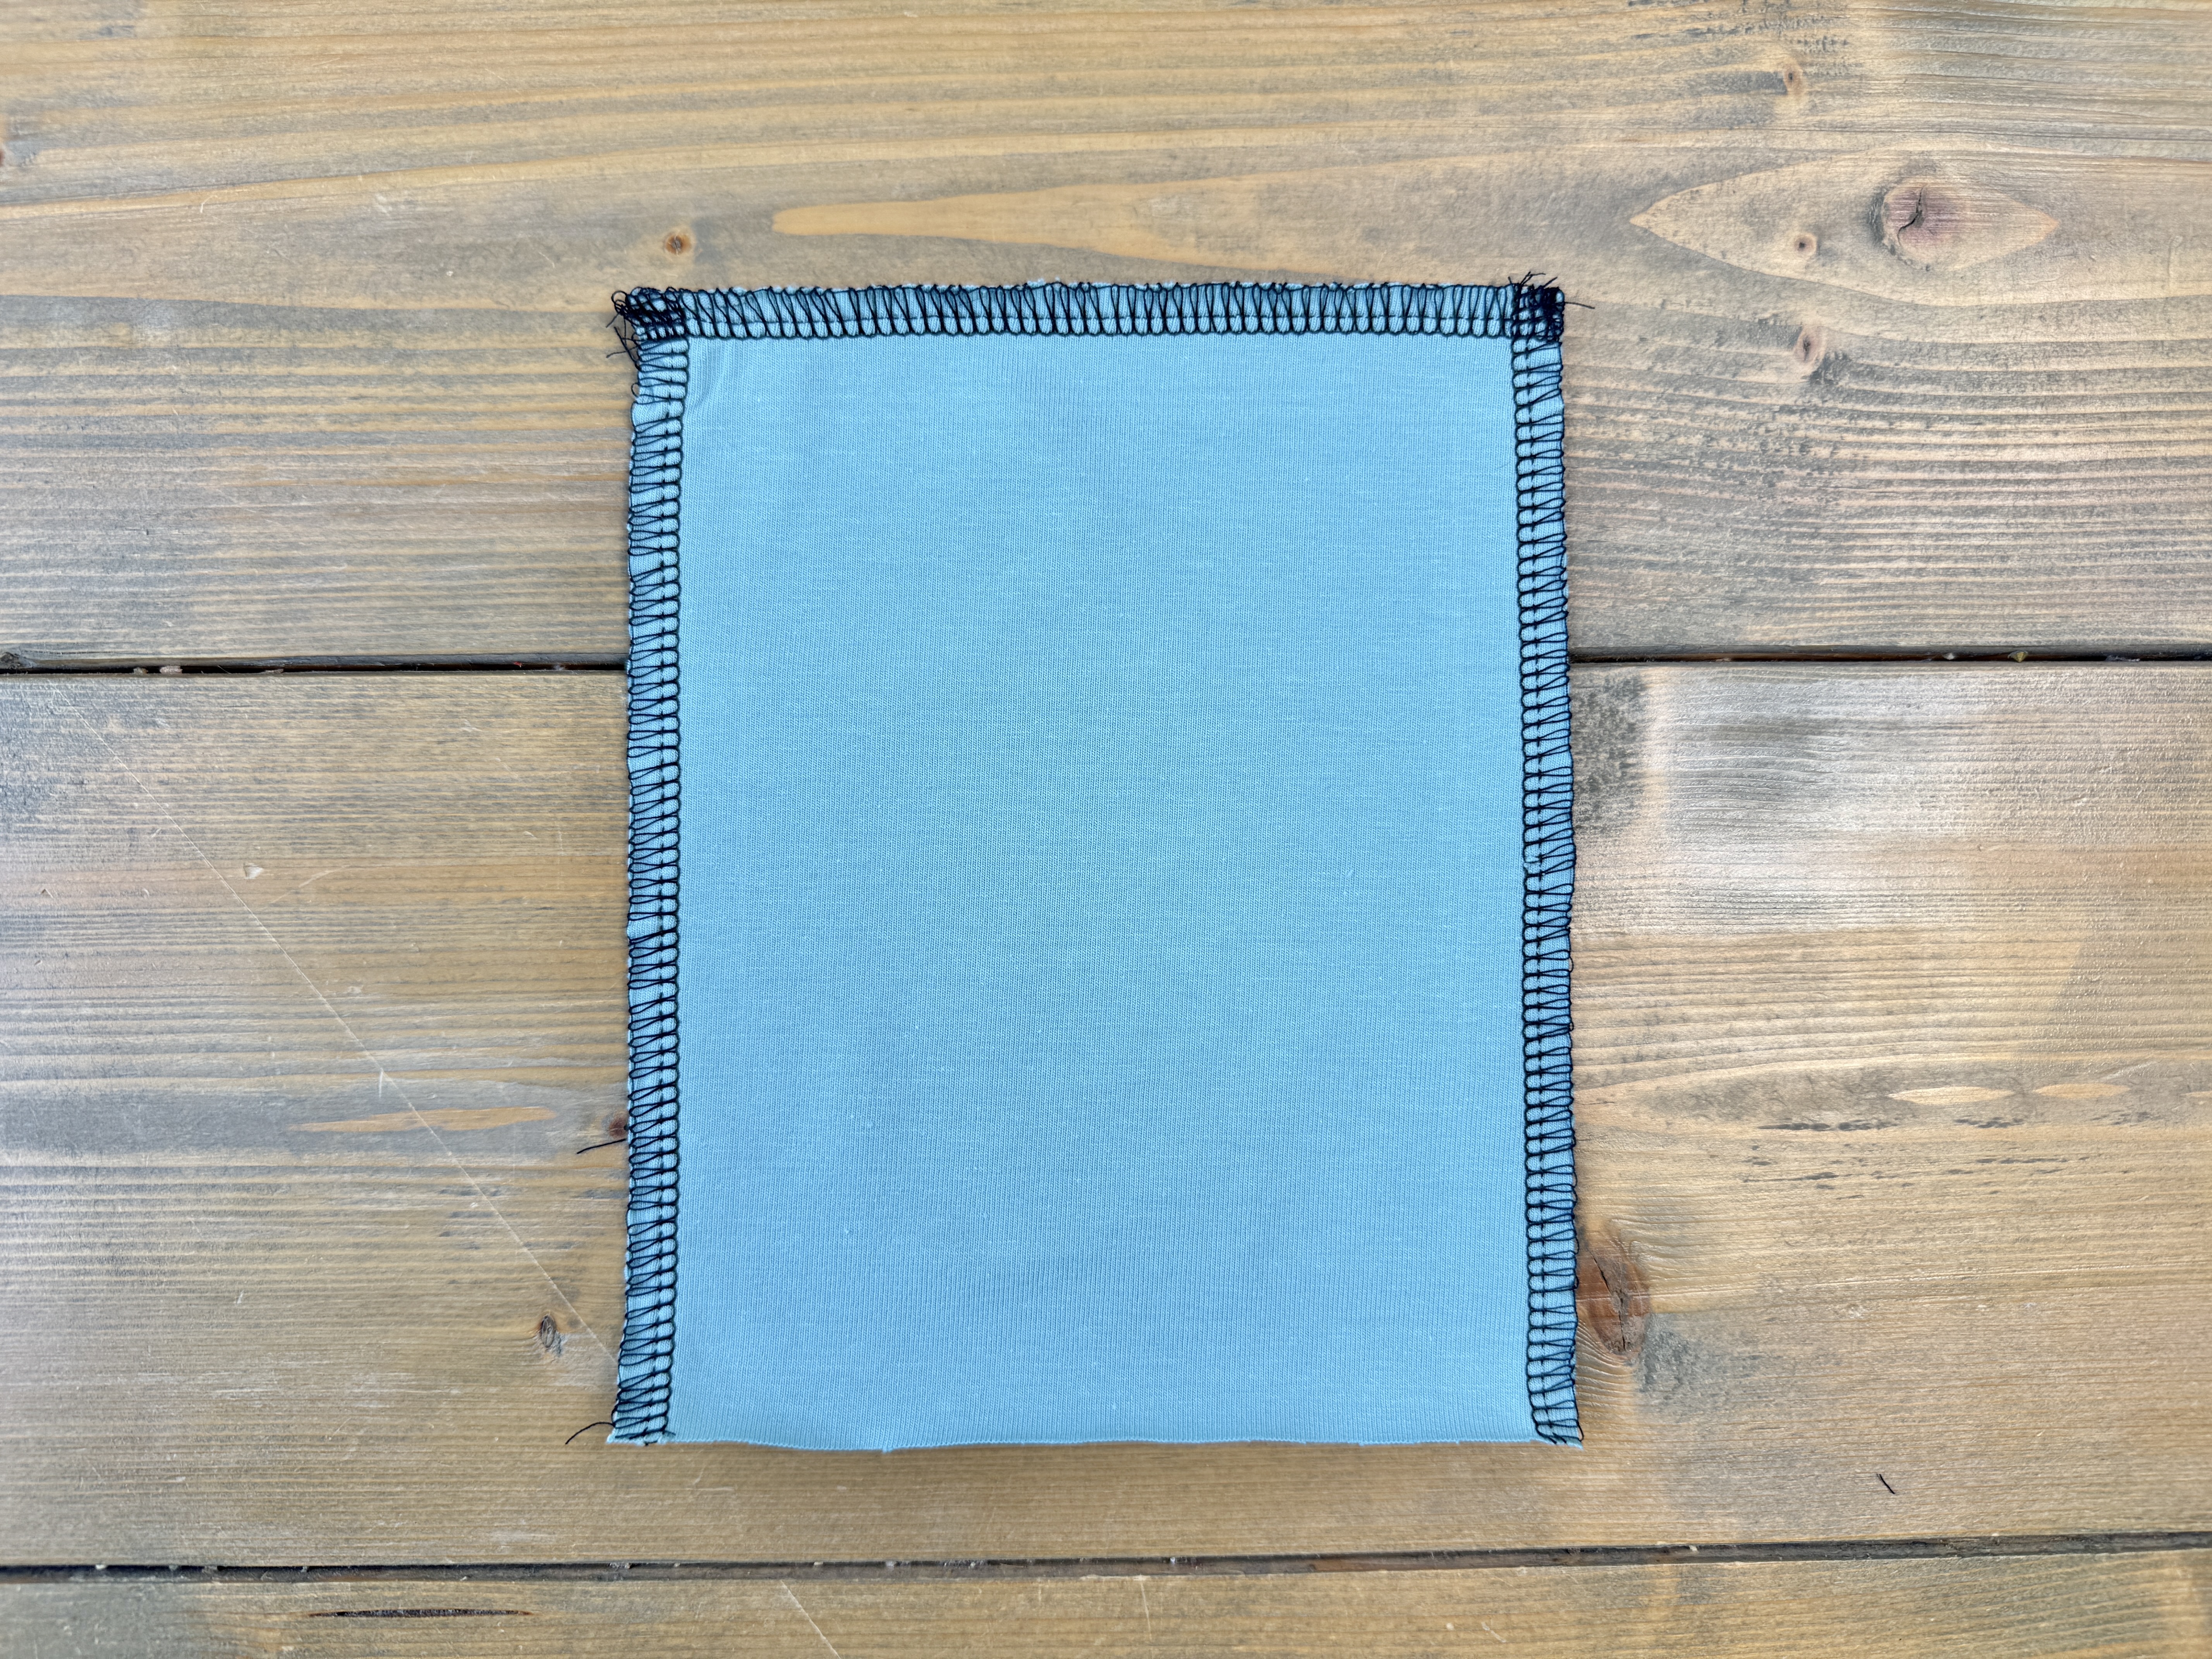
Fold and press each serged edge 3/8” towards the wrong side of the pocket. Pin in place.
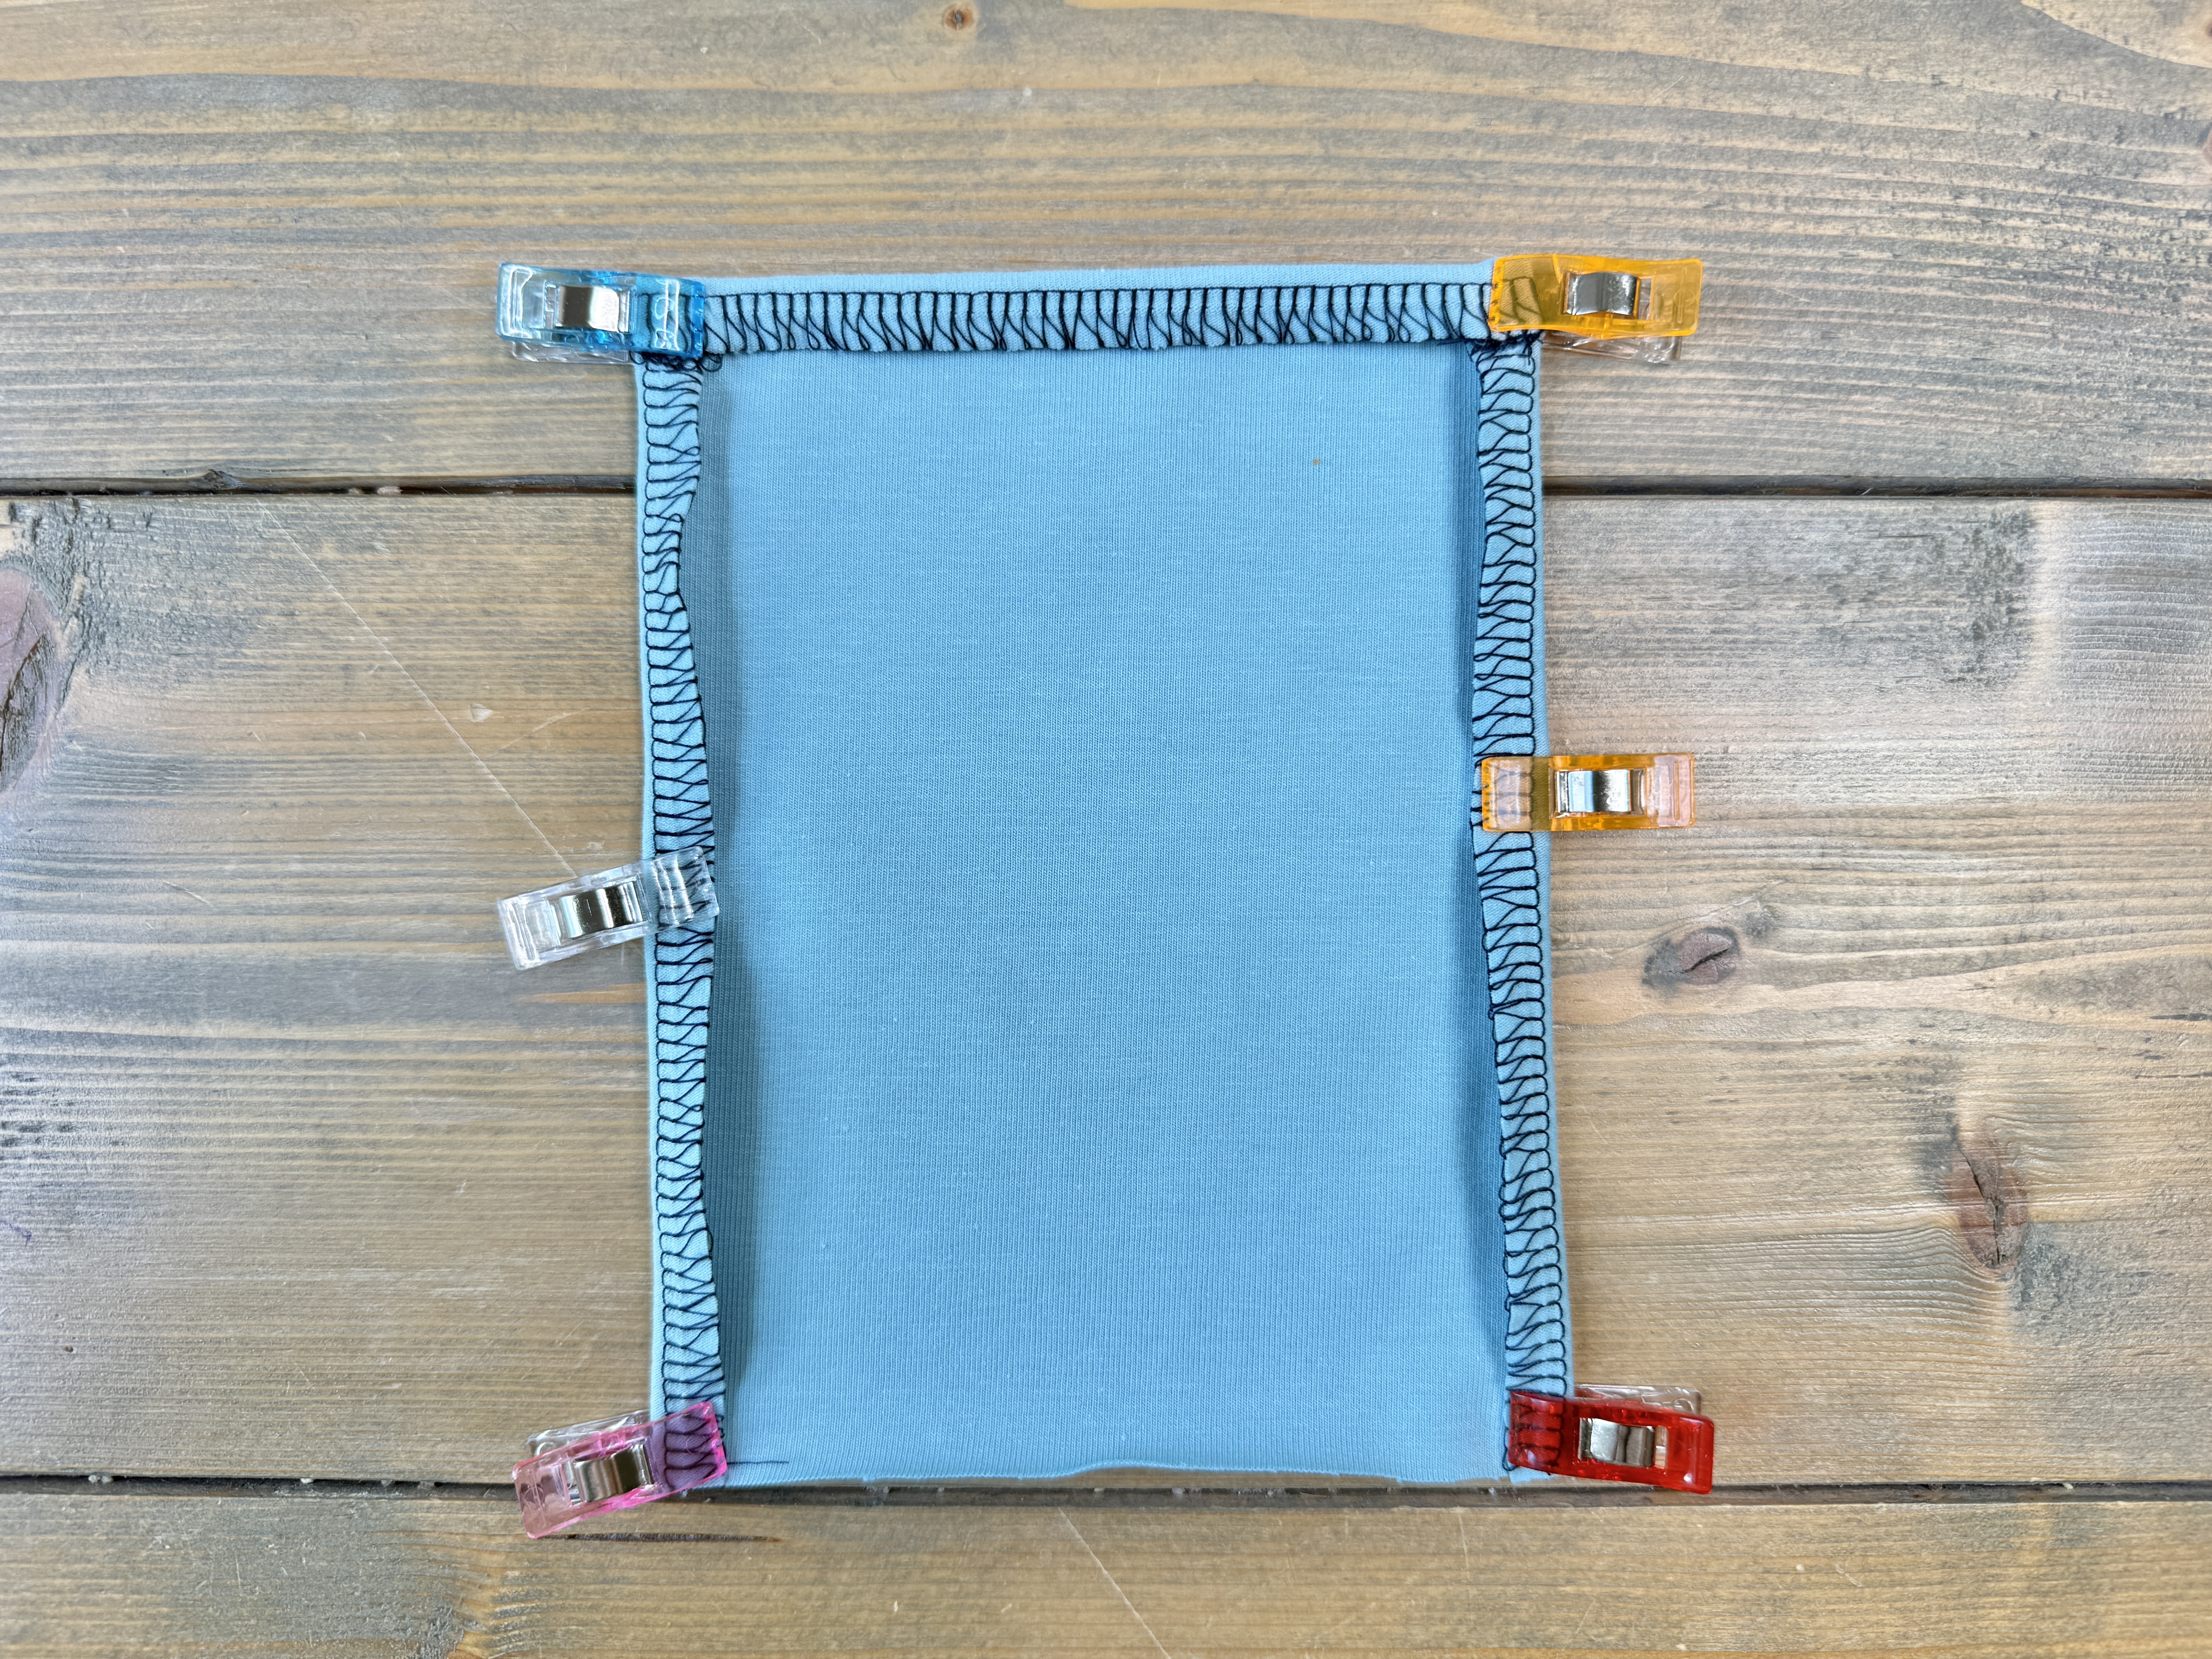
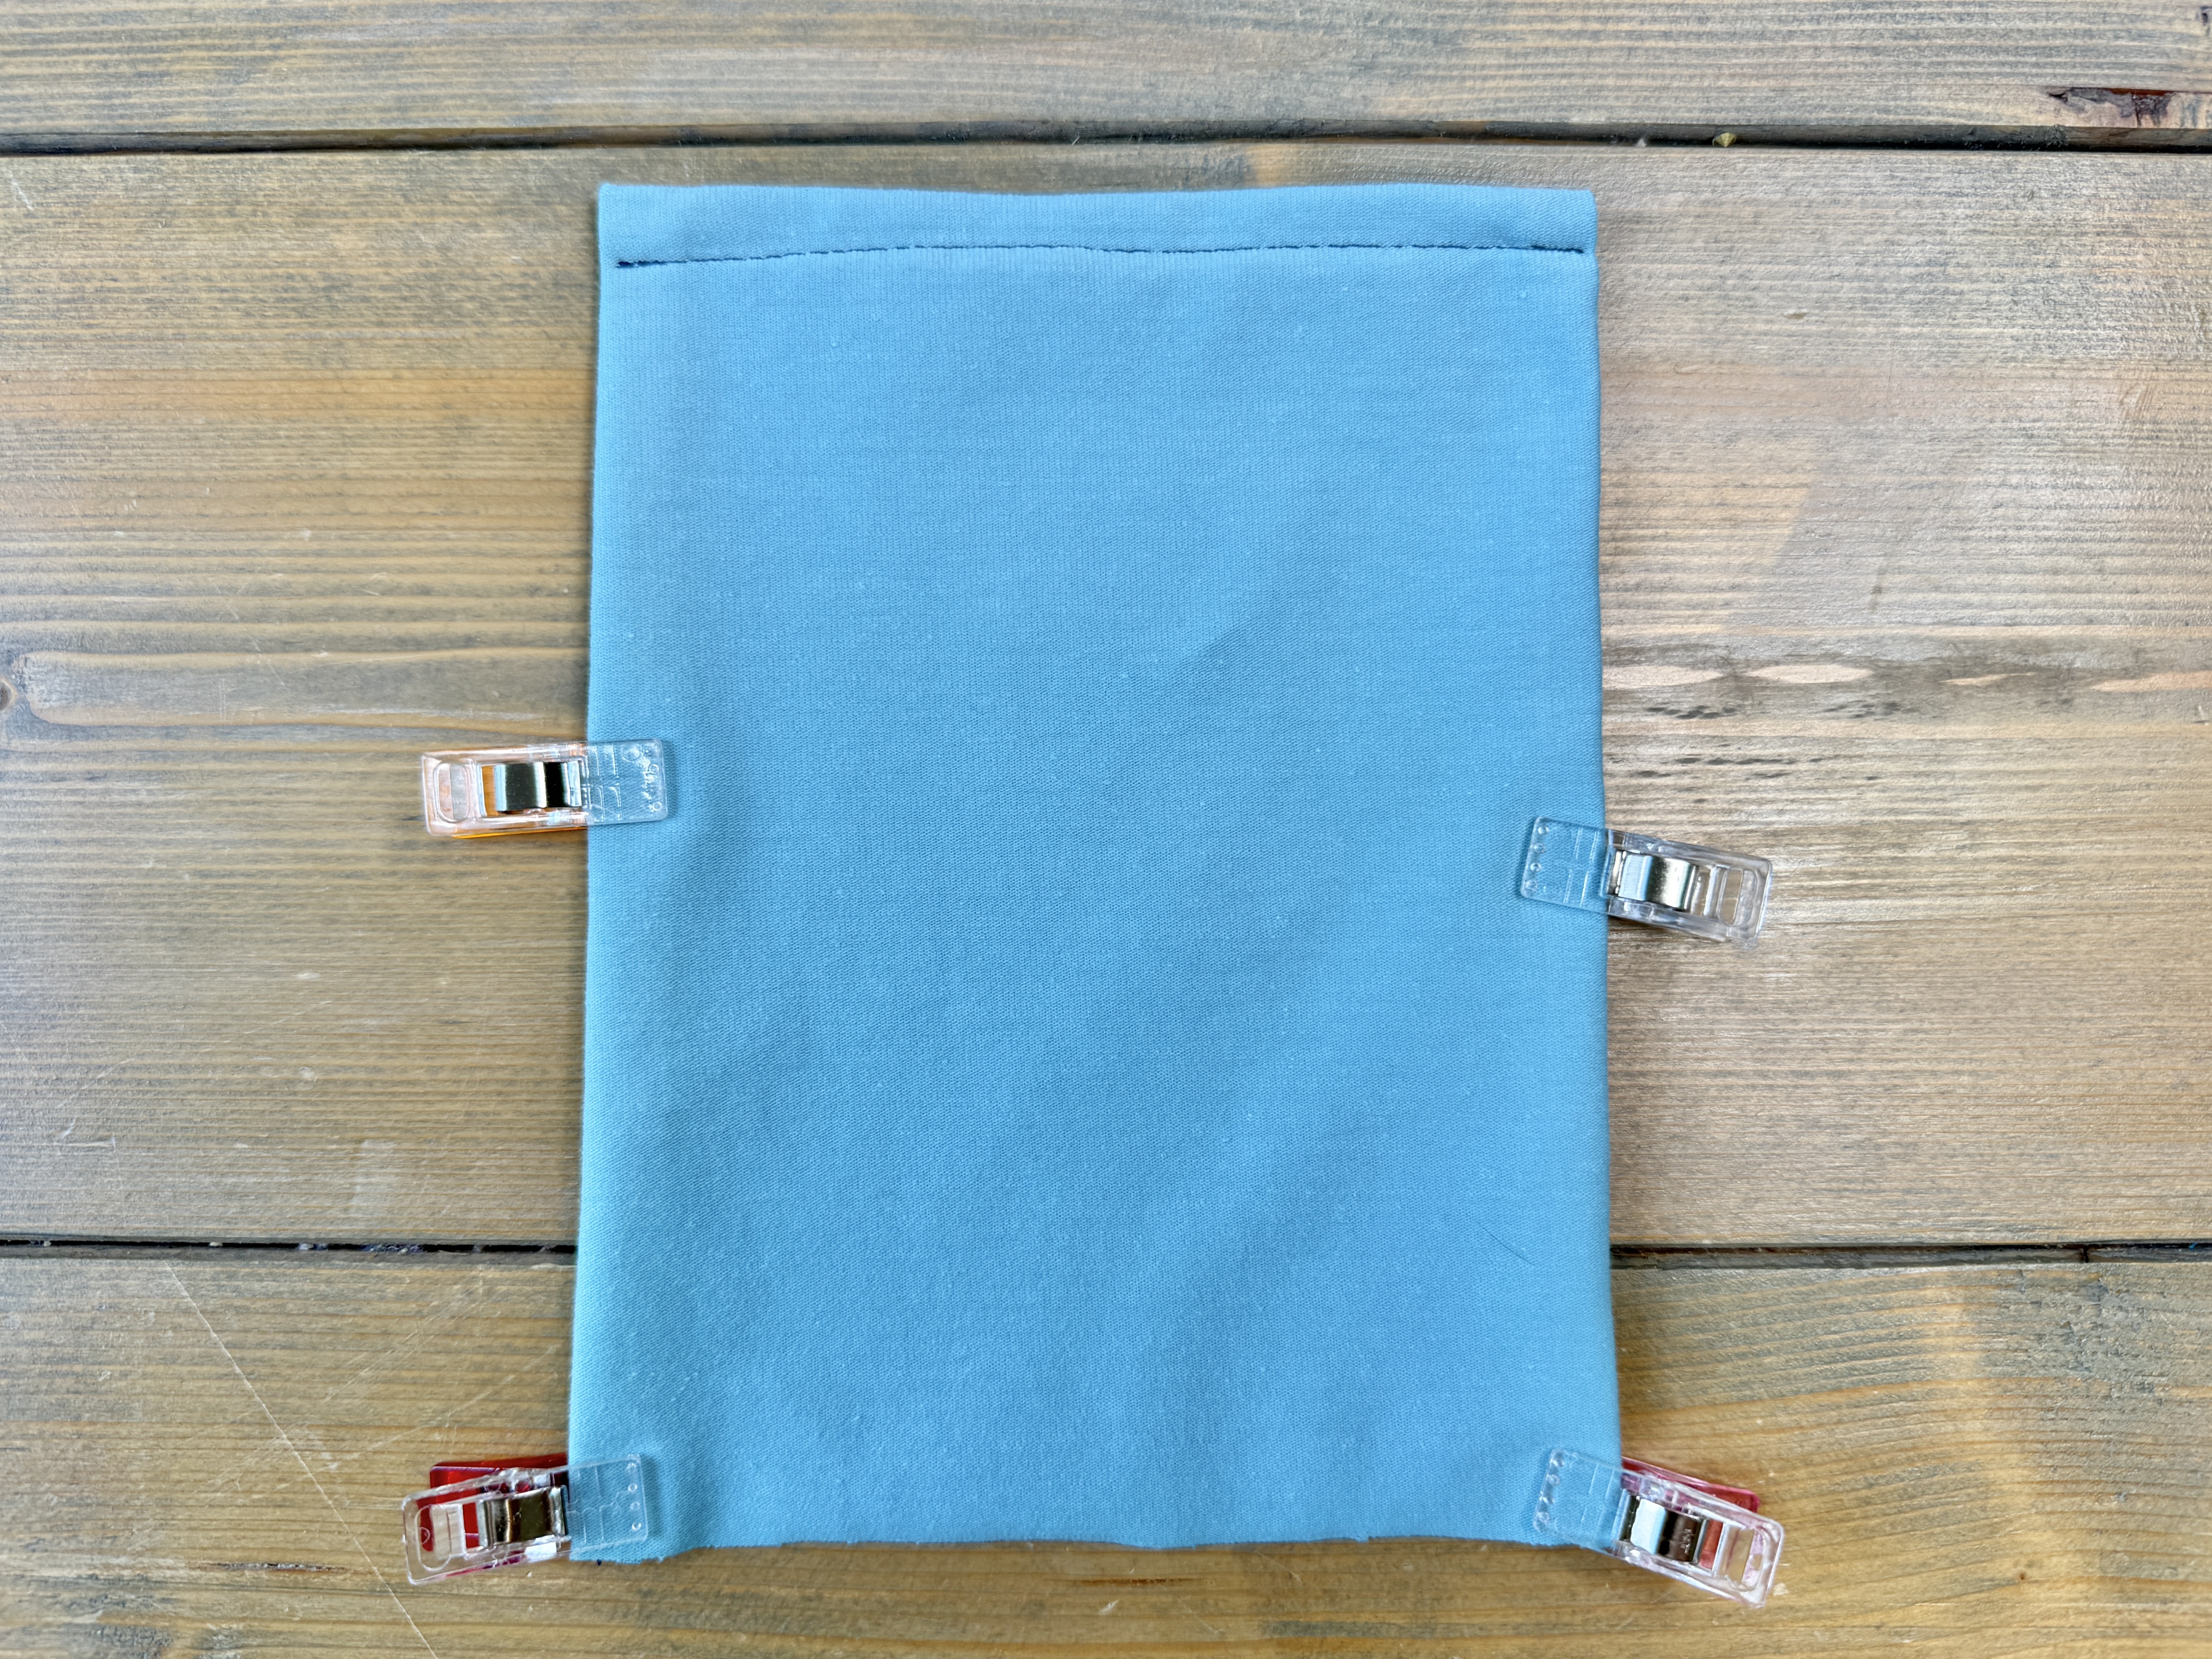
Stitch across the top edge to secure the fold.
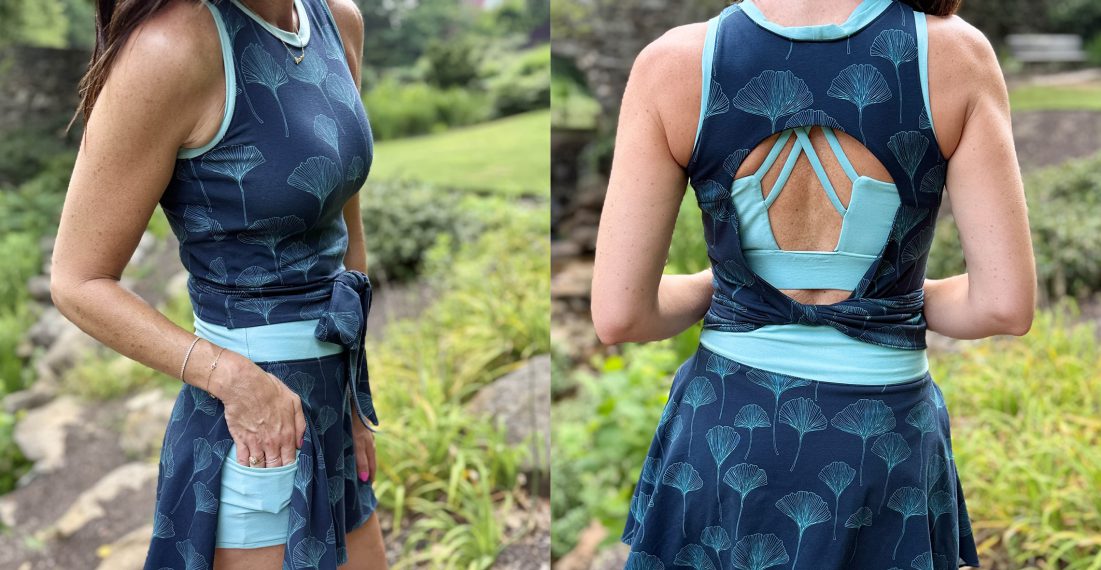
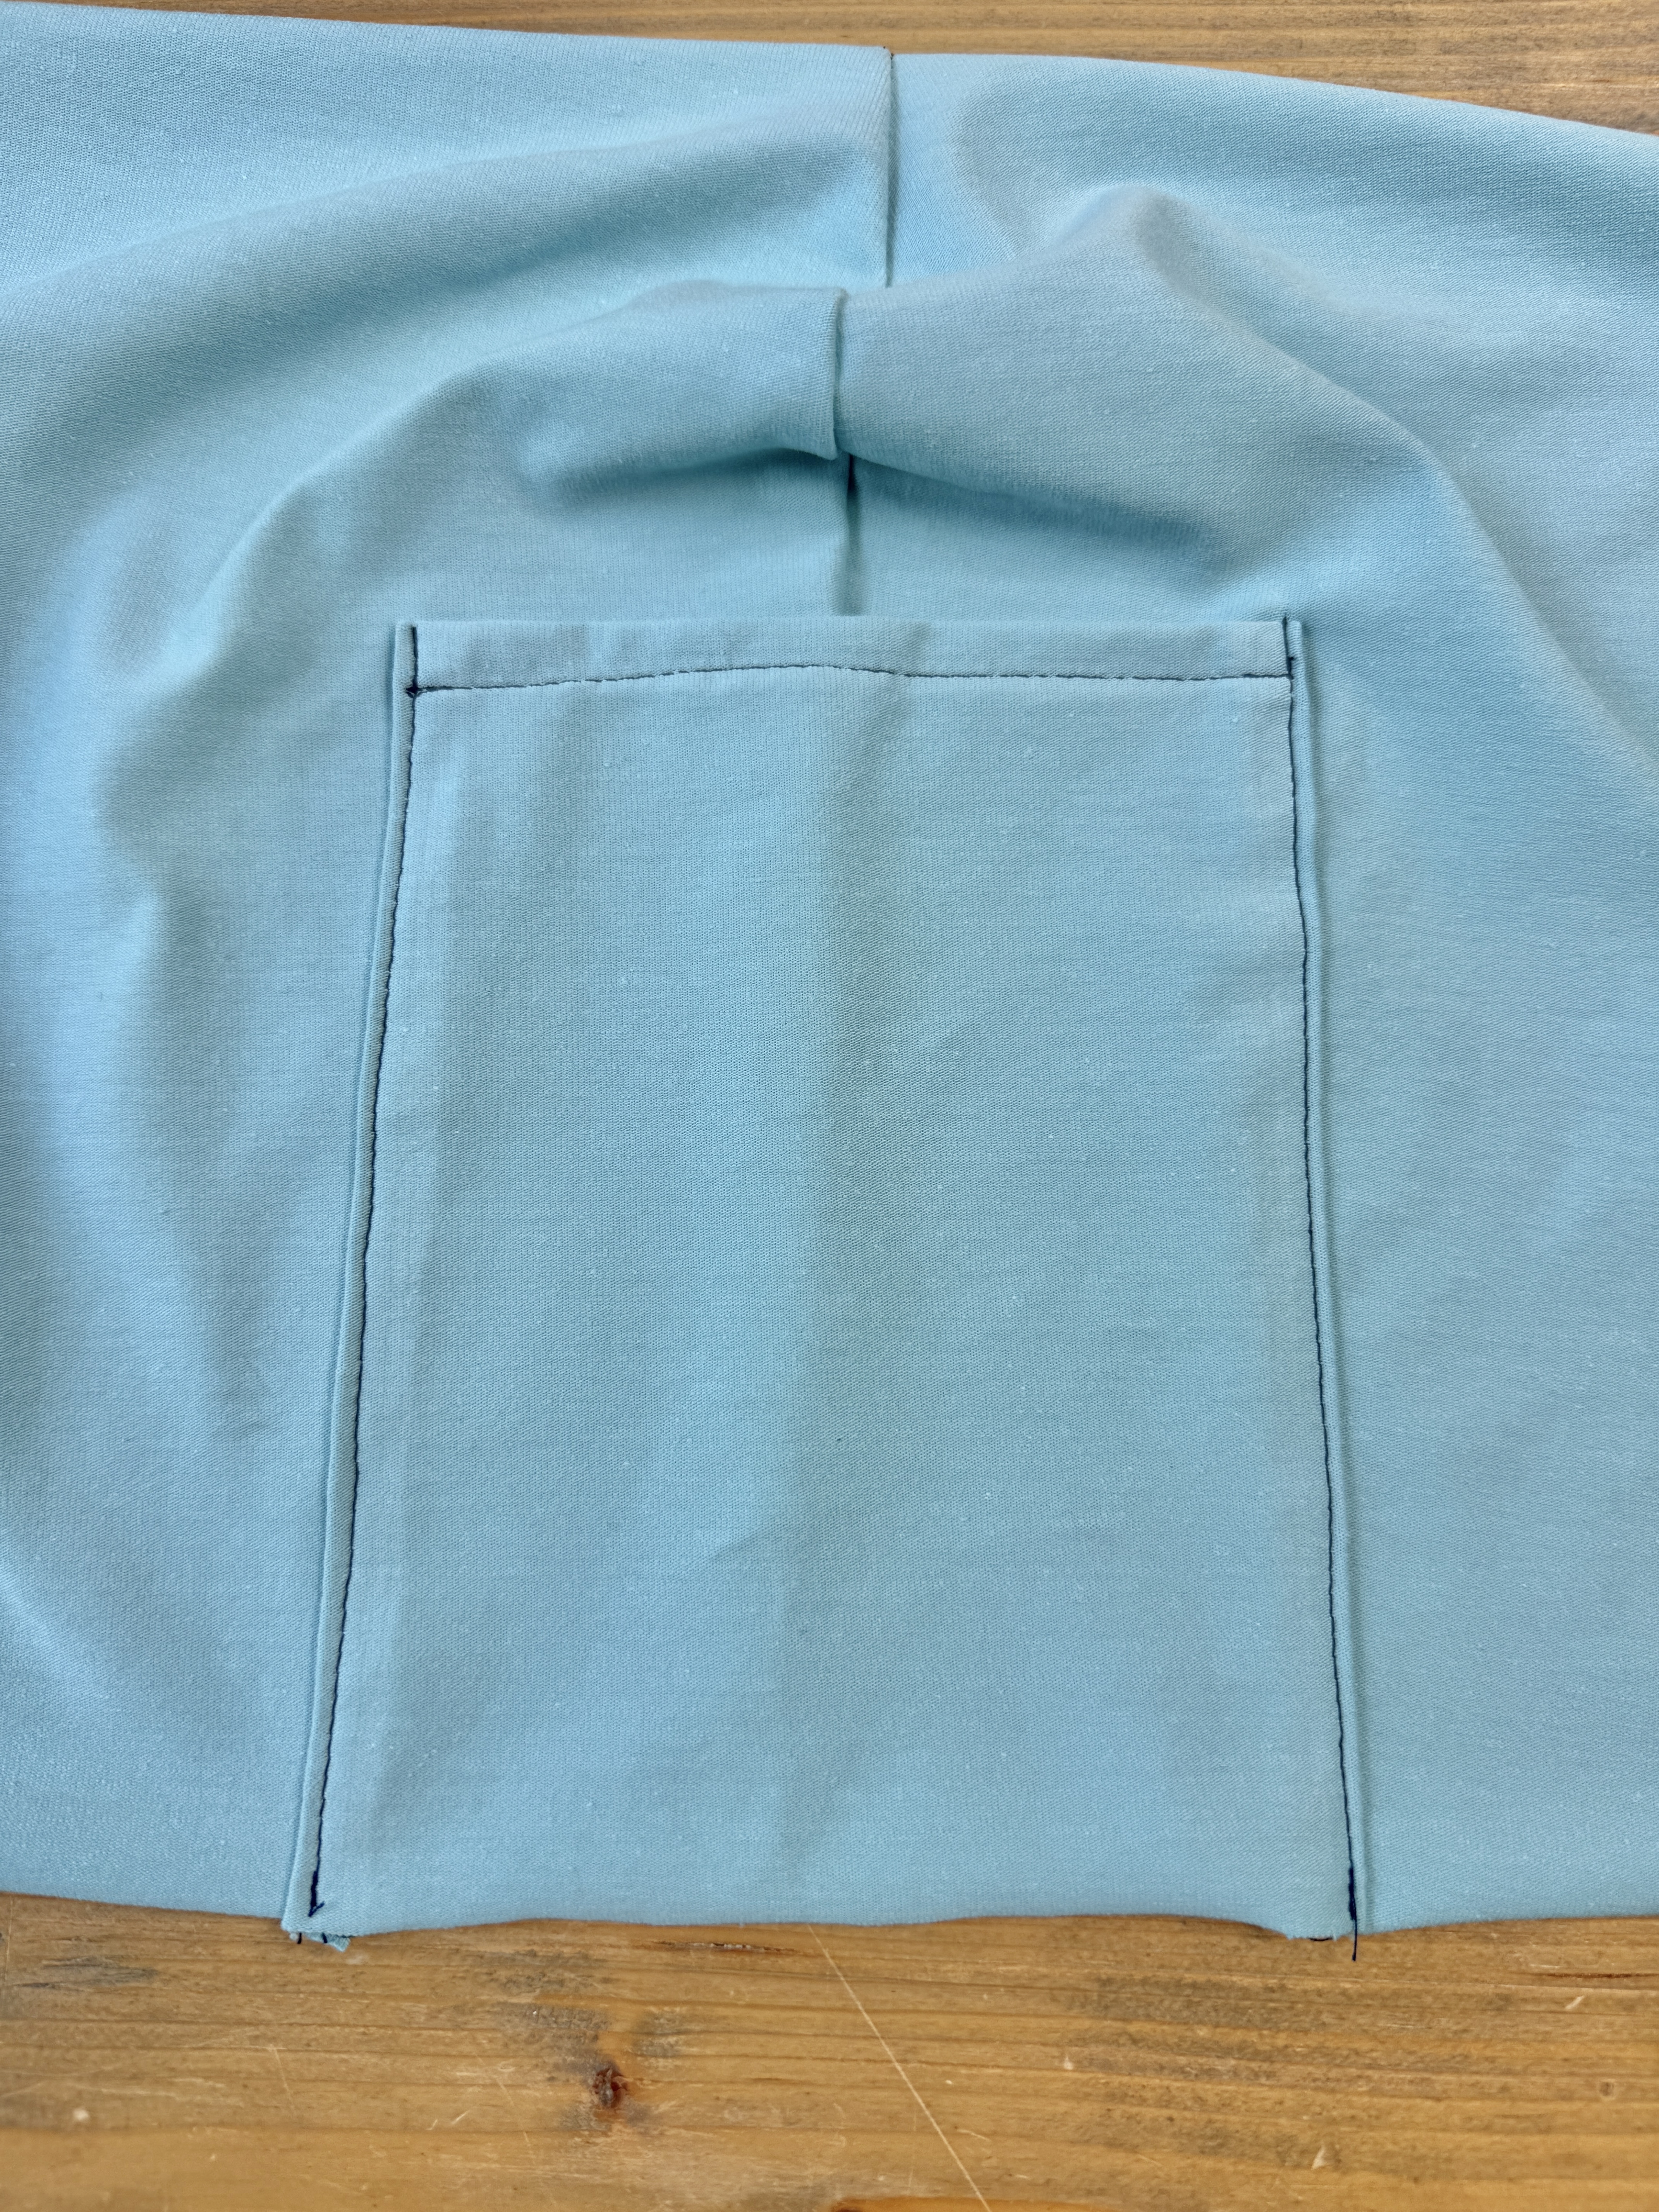
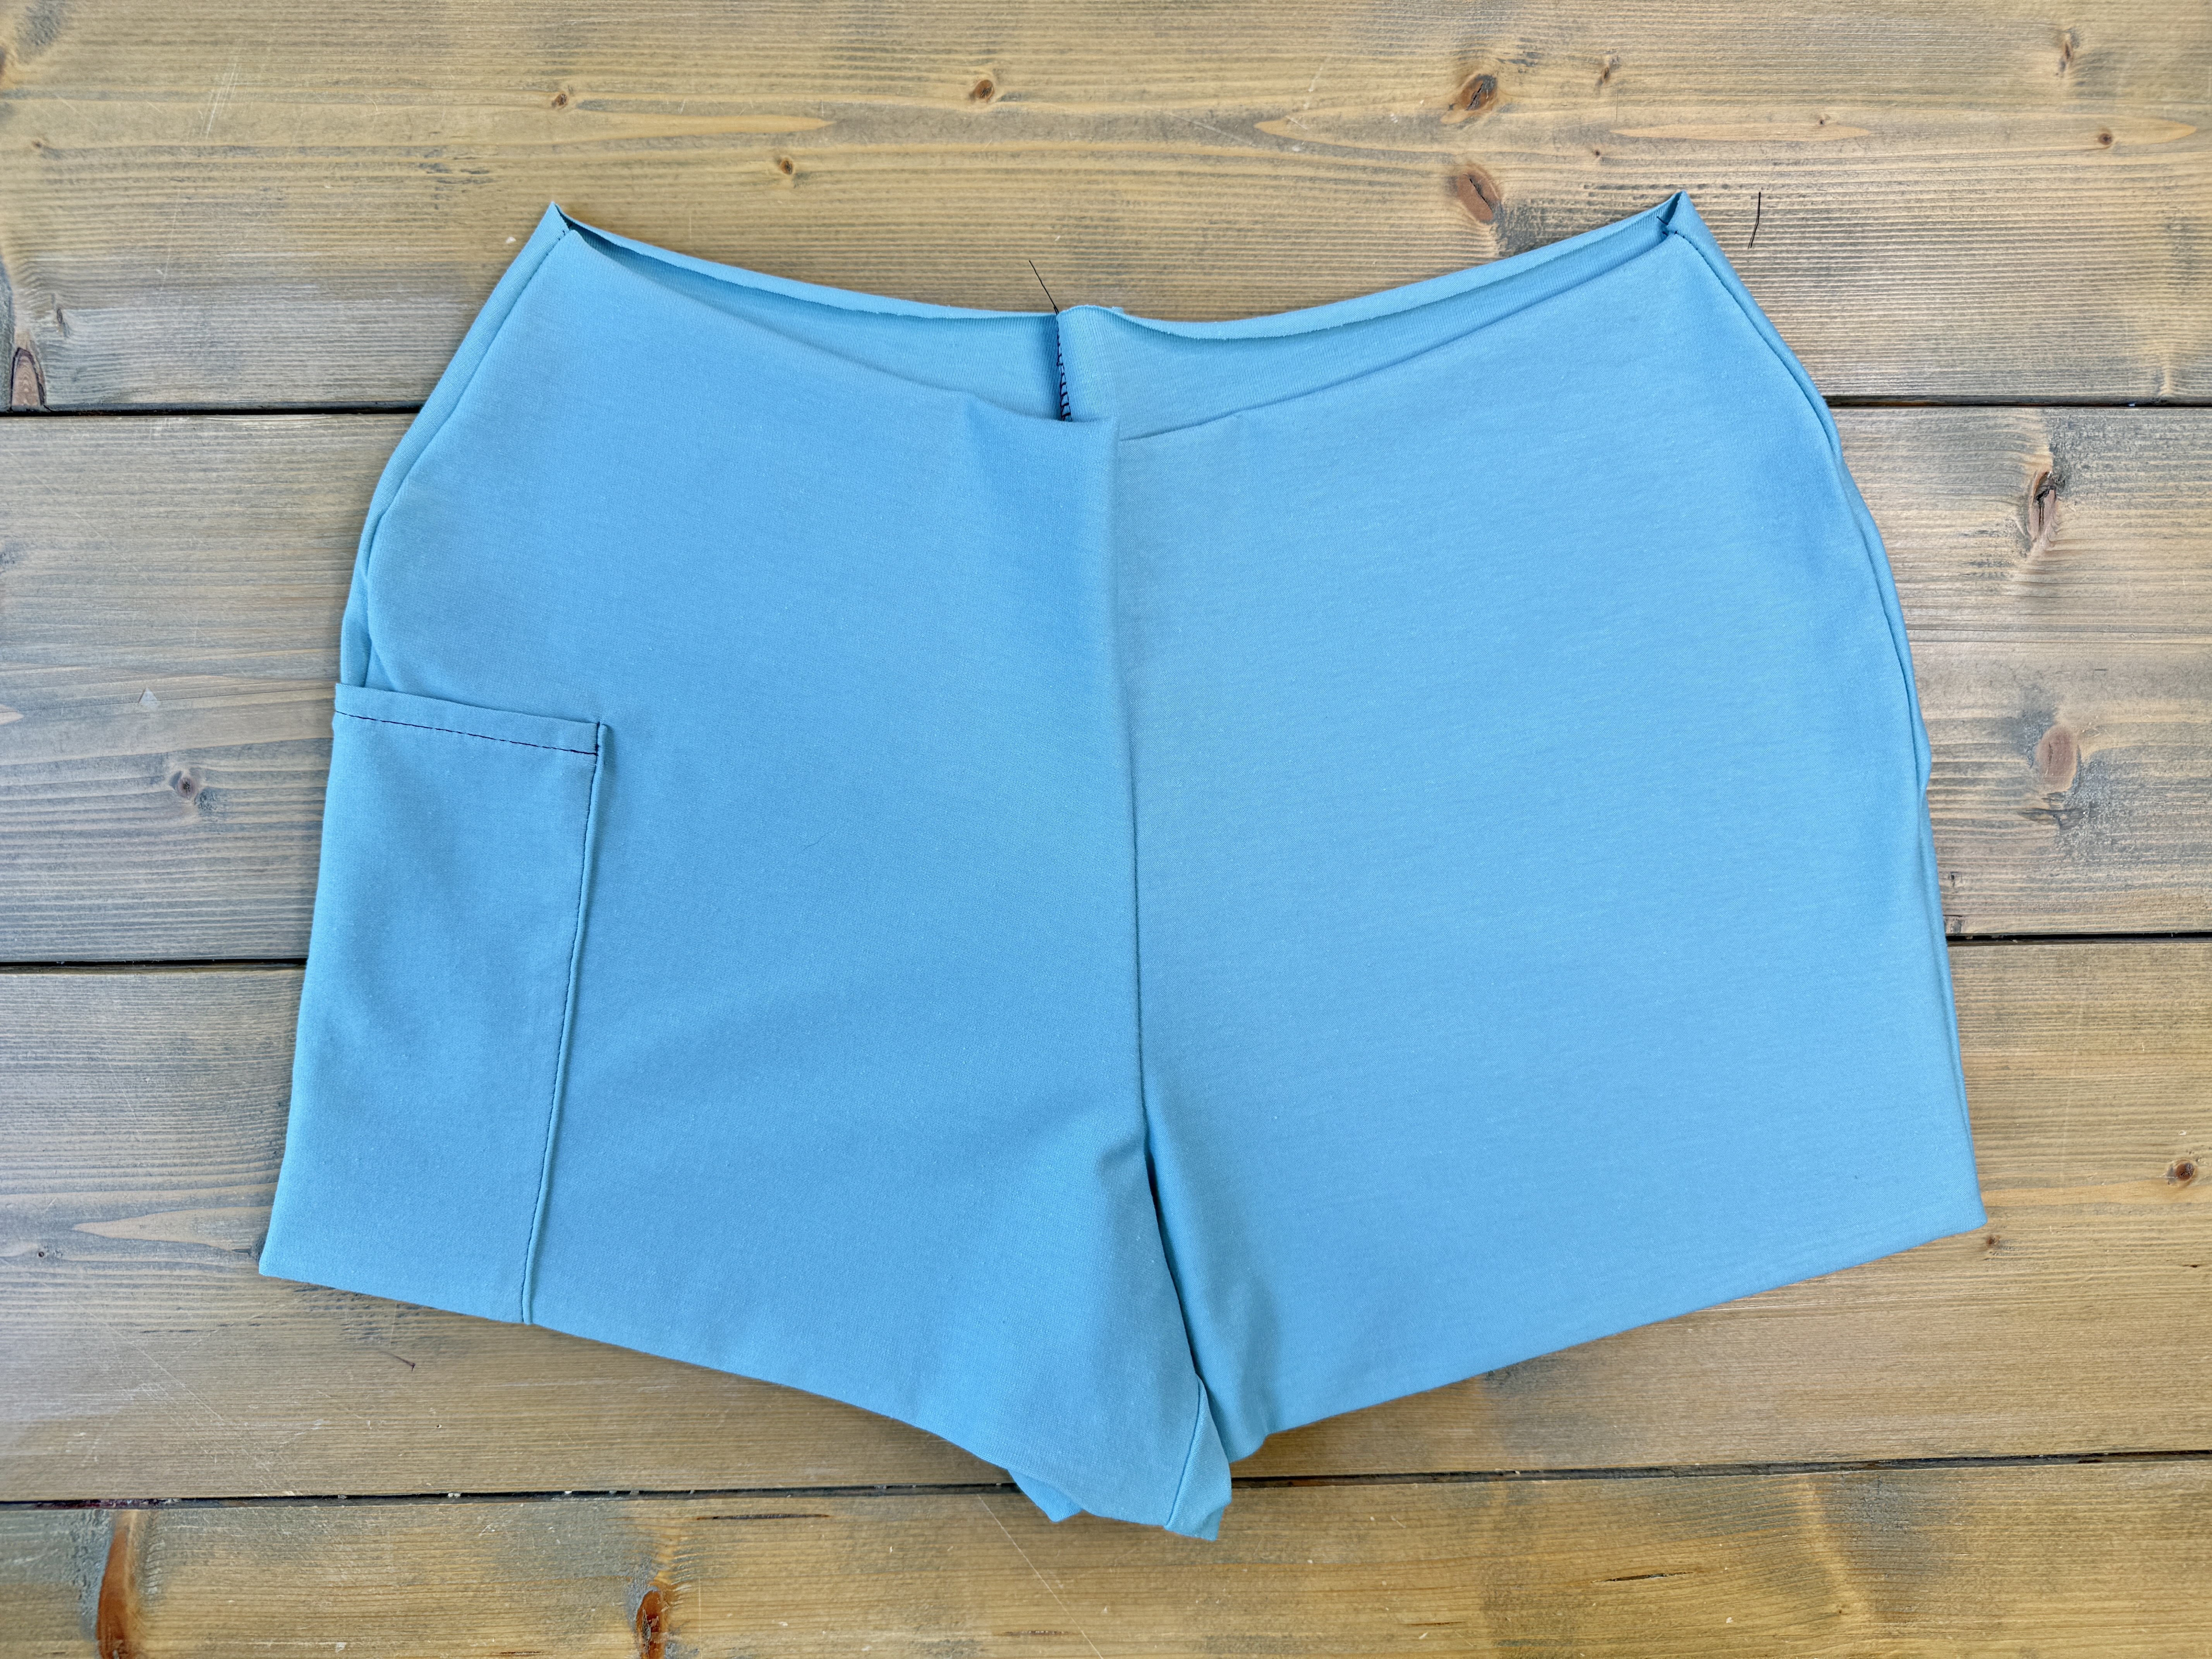
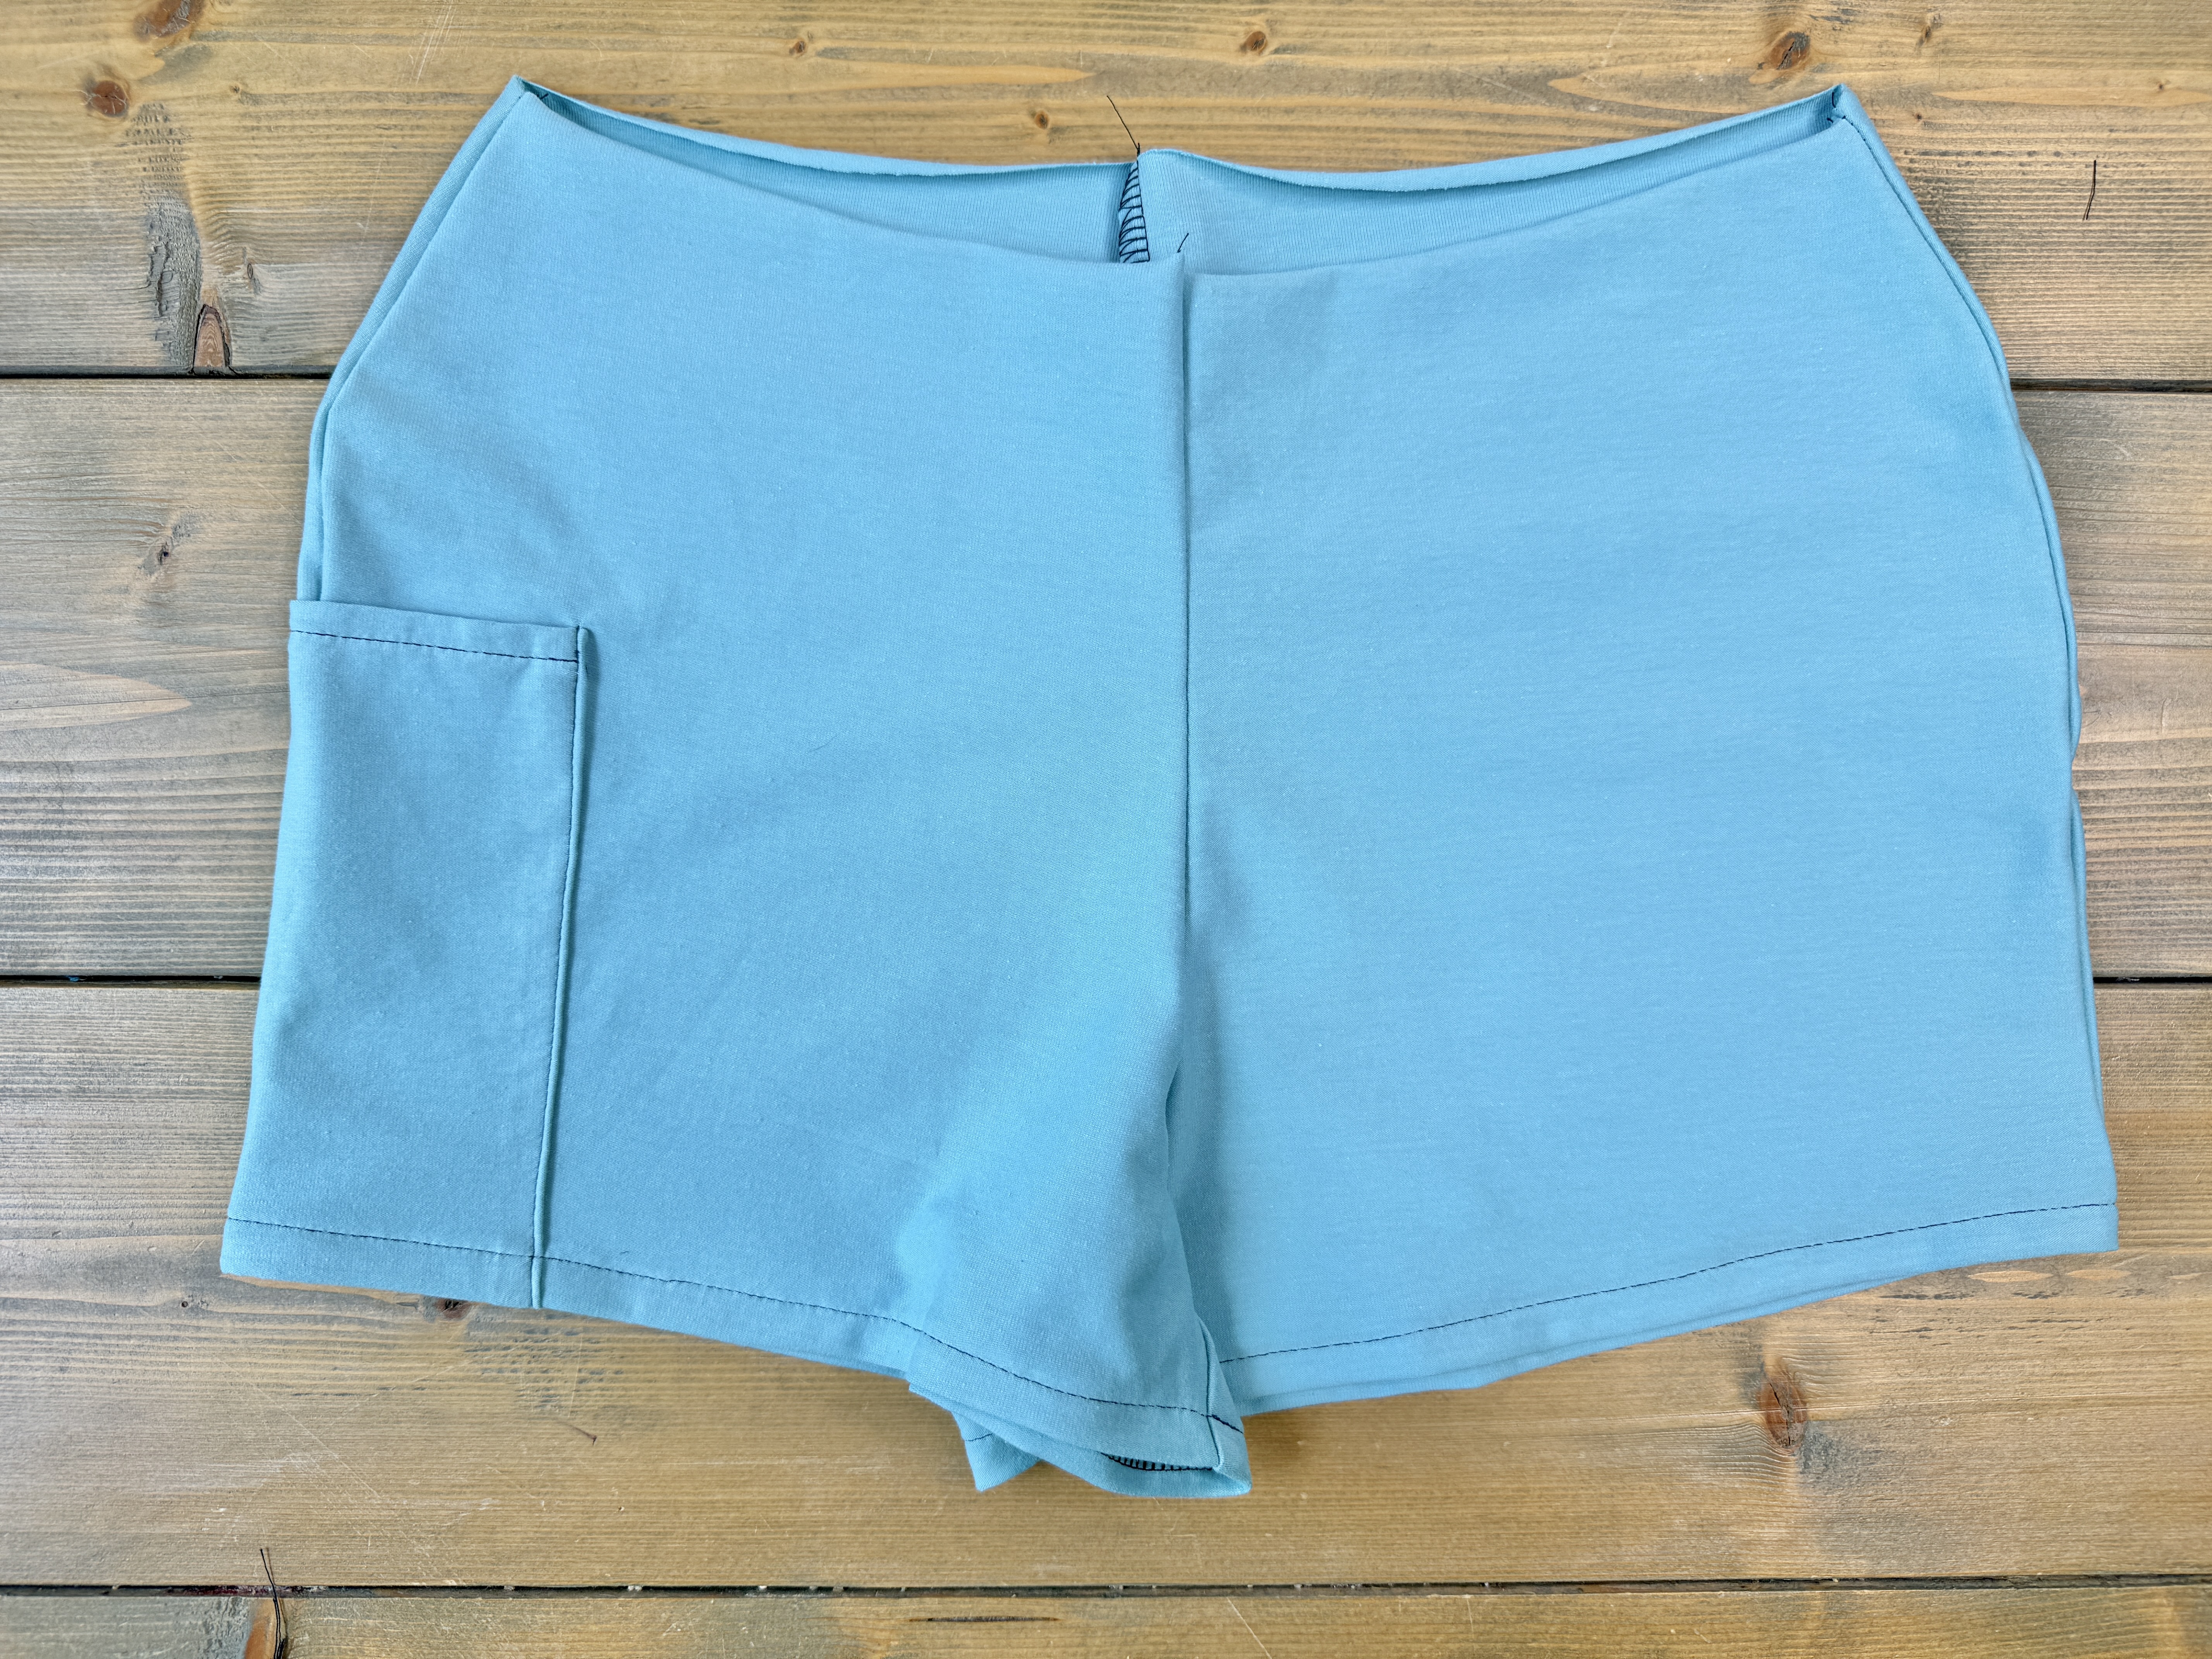
Locate one shorties piece. Place the pocket centered on the side seam, aligning the bottom edge of the pocket with the bottom edge of the shorties. The wrong side on the pocket will be touching the right side of the shorties.
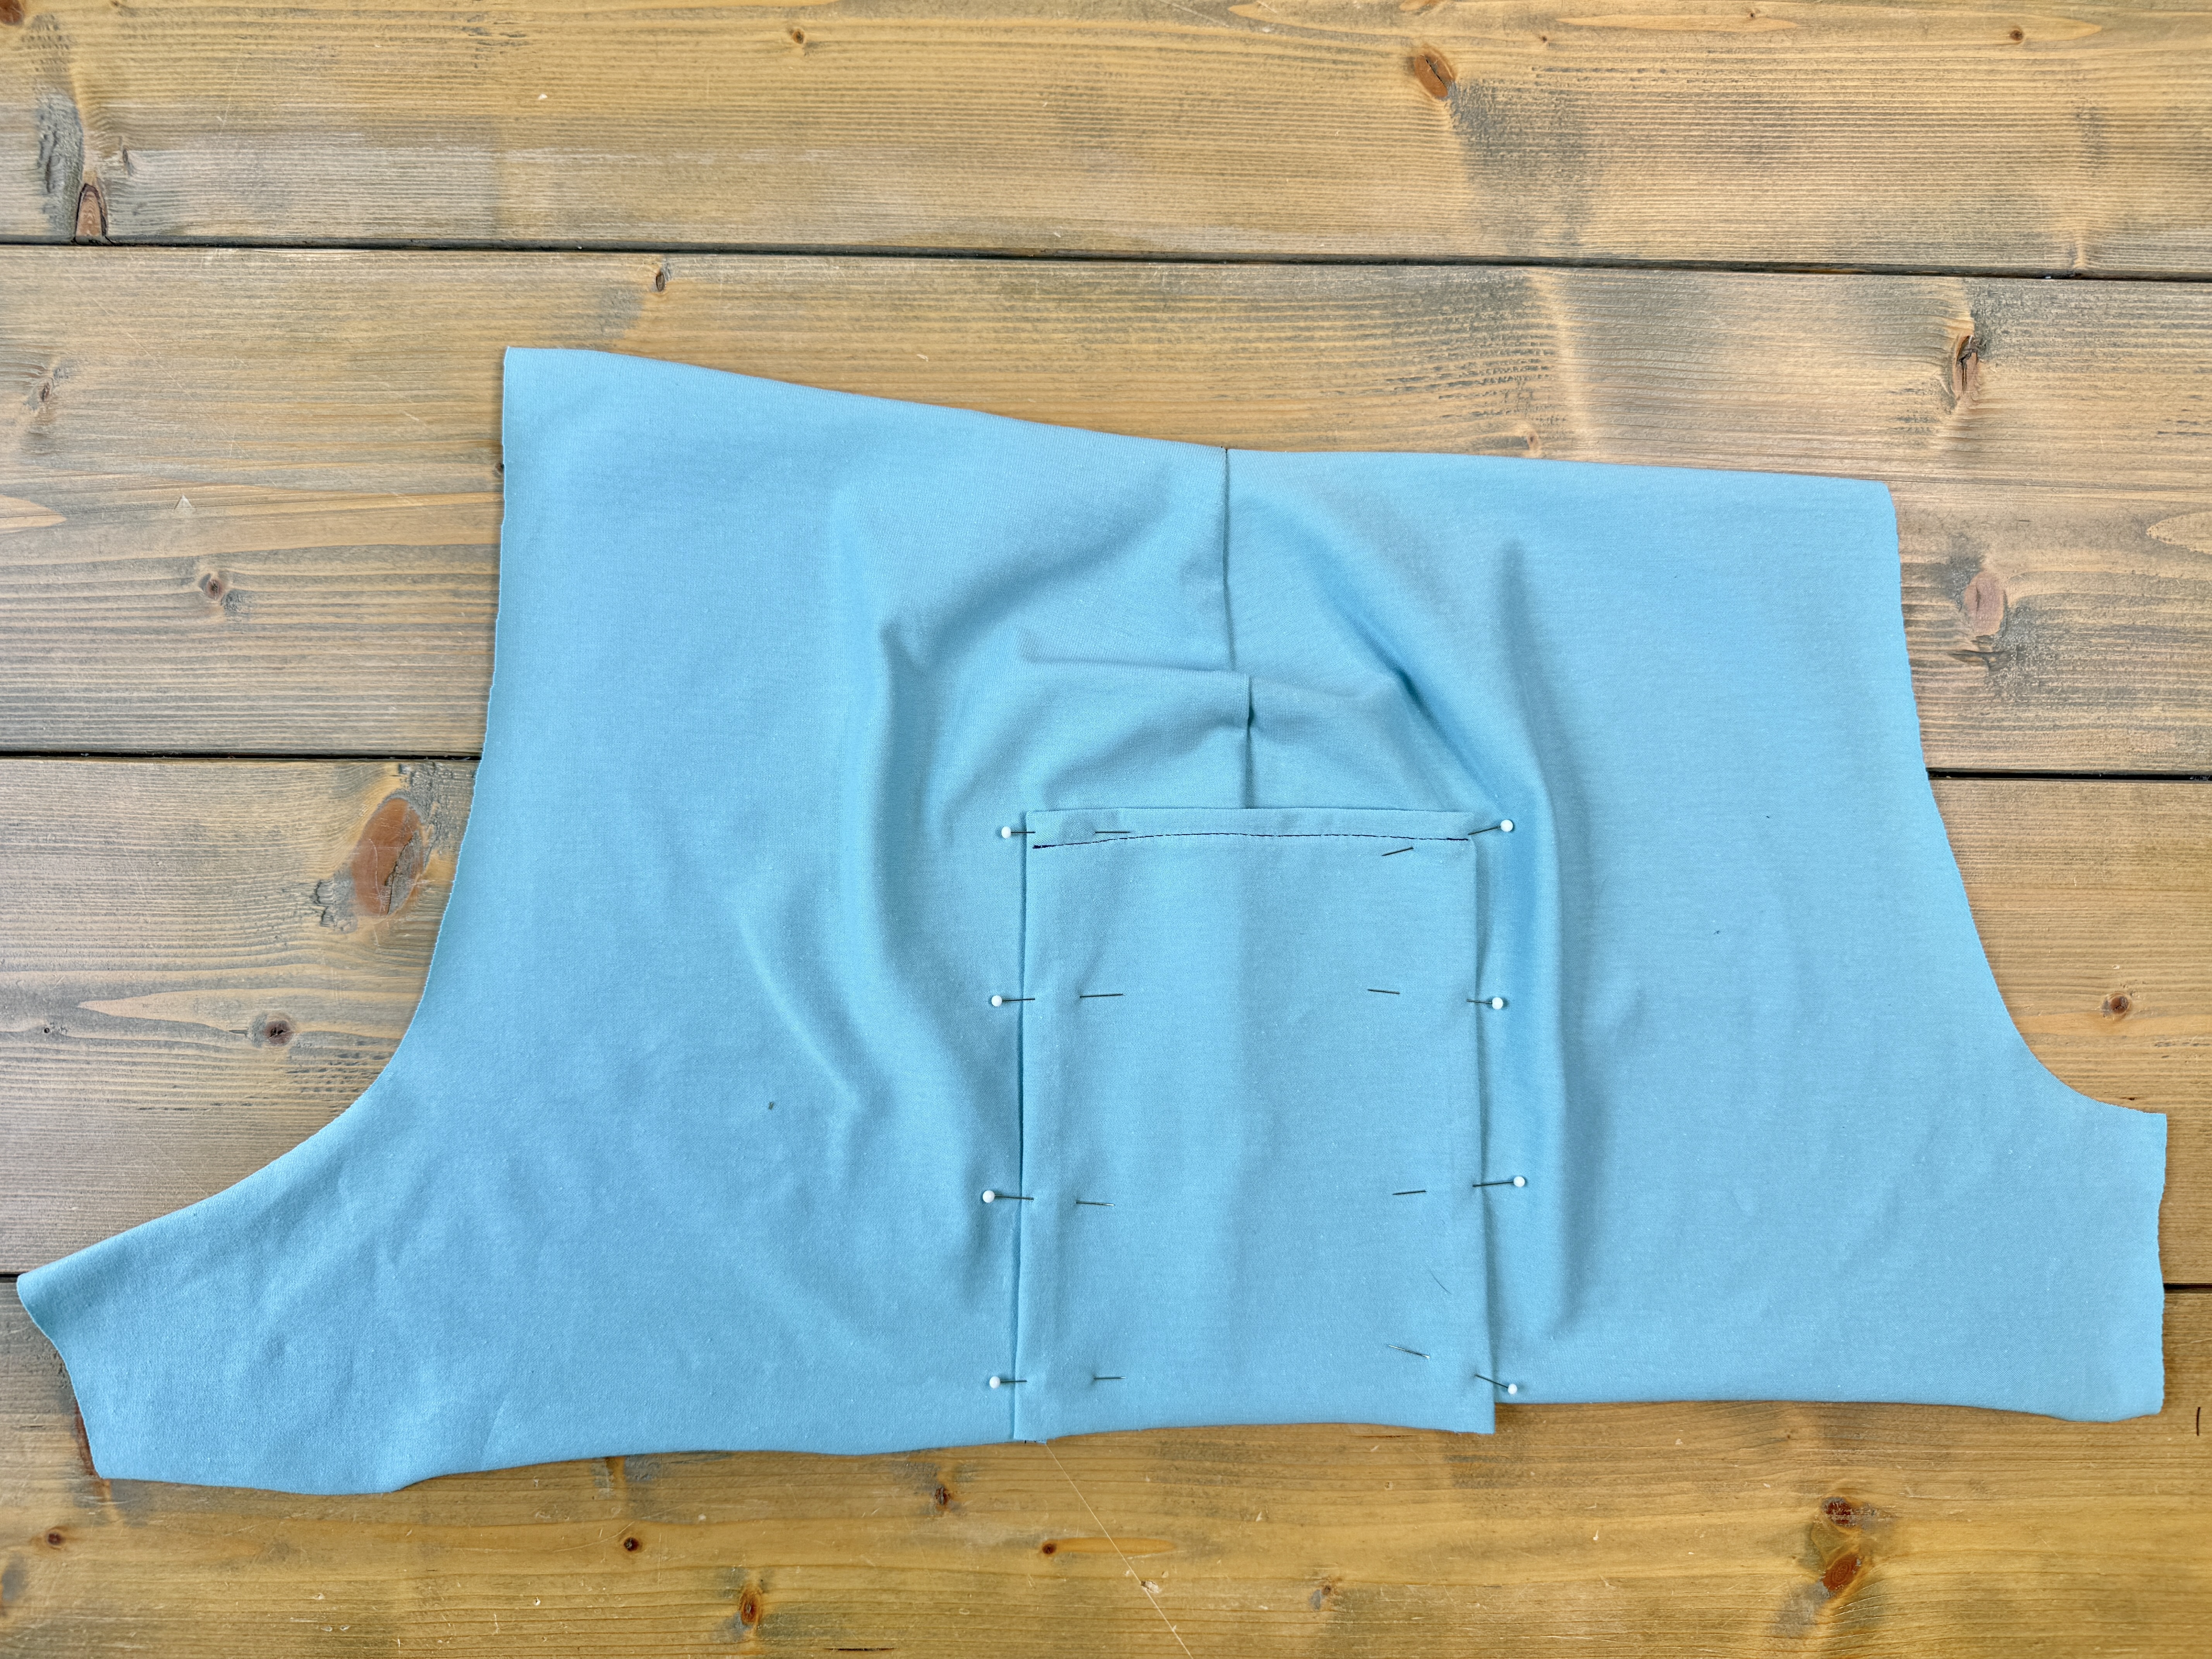
Edge stitch the pocket to the shorties along both long edges, leaving the top and bottom un-sewn.
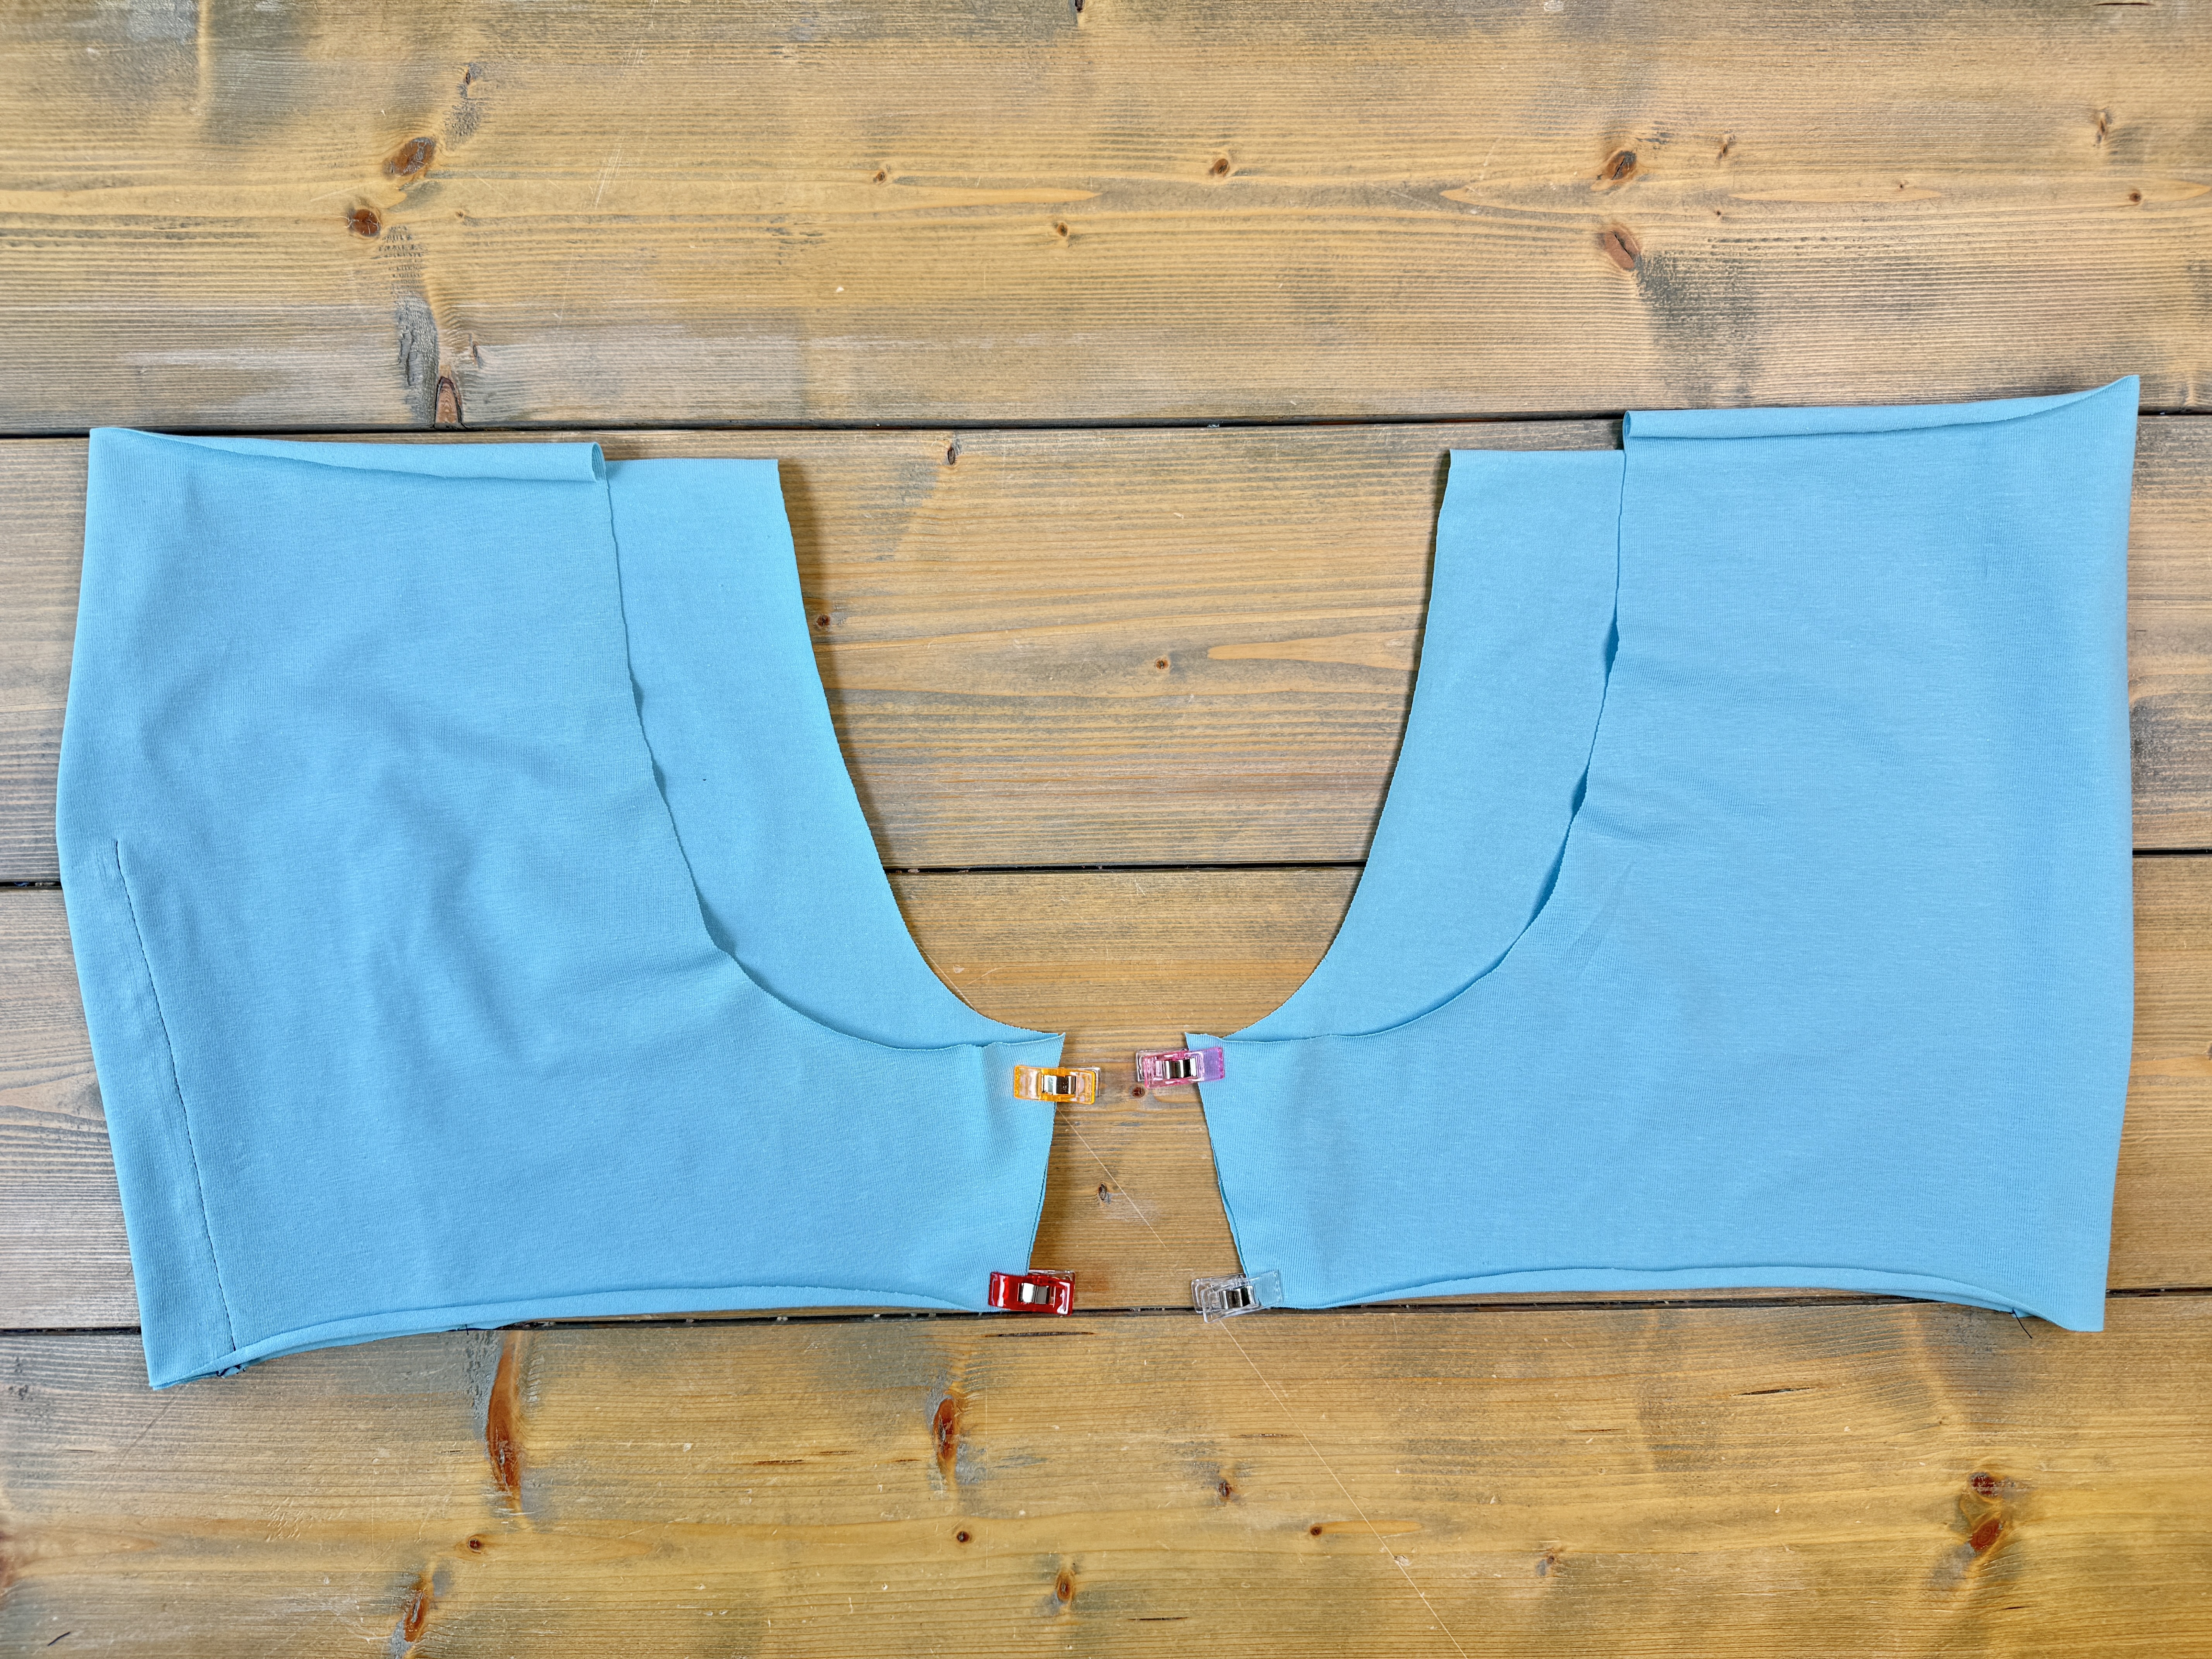
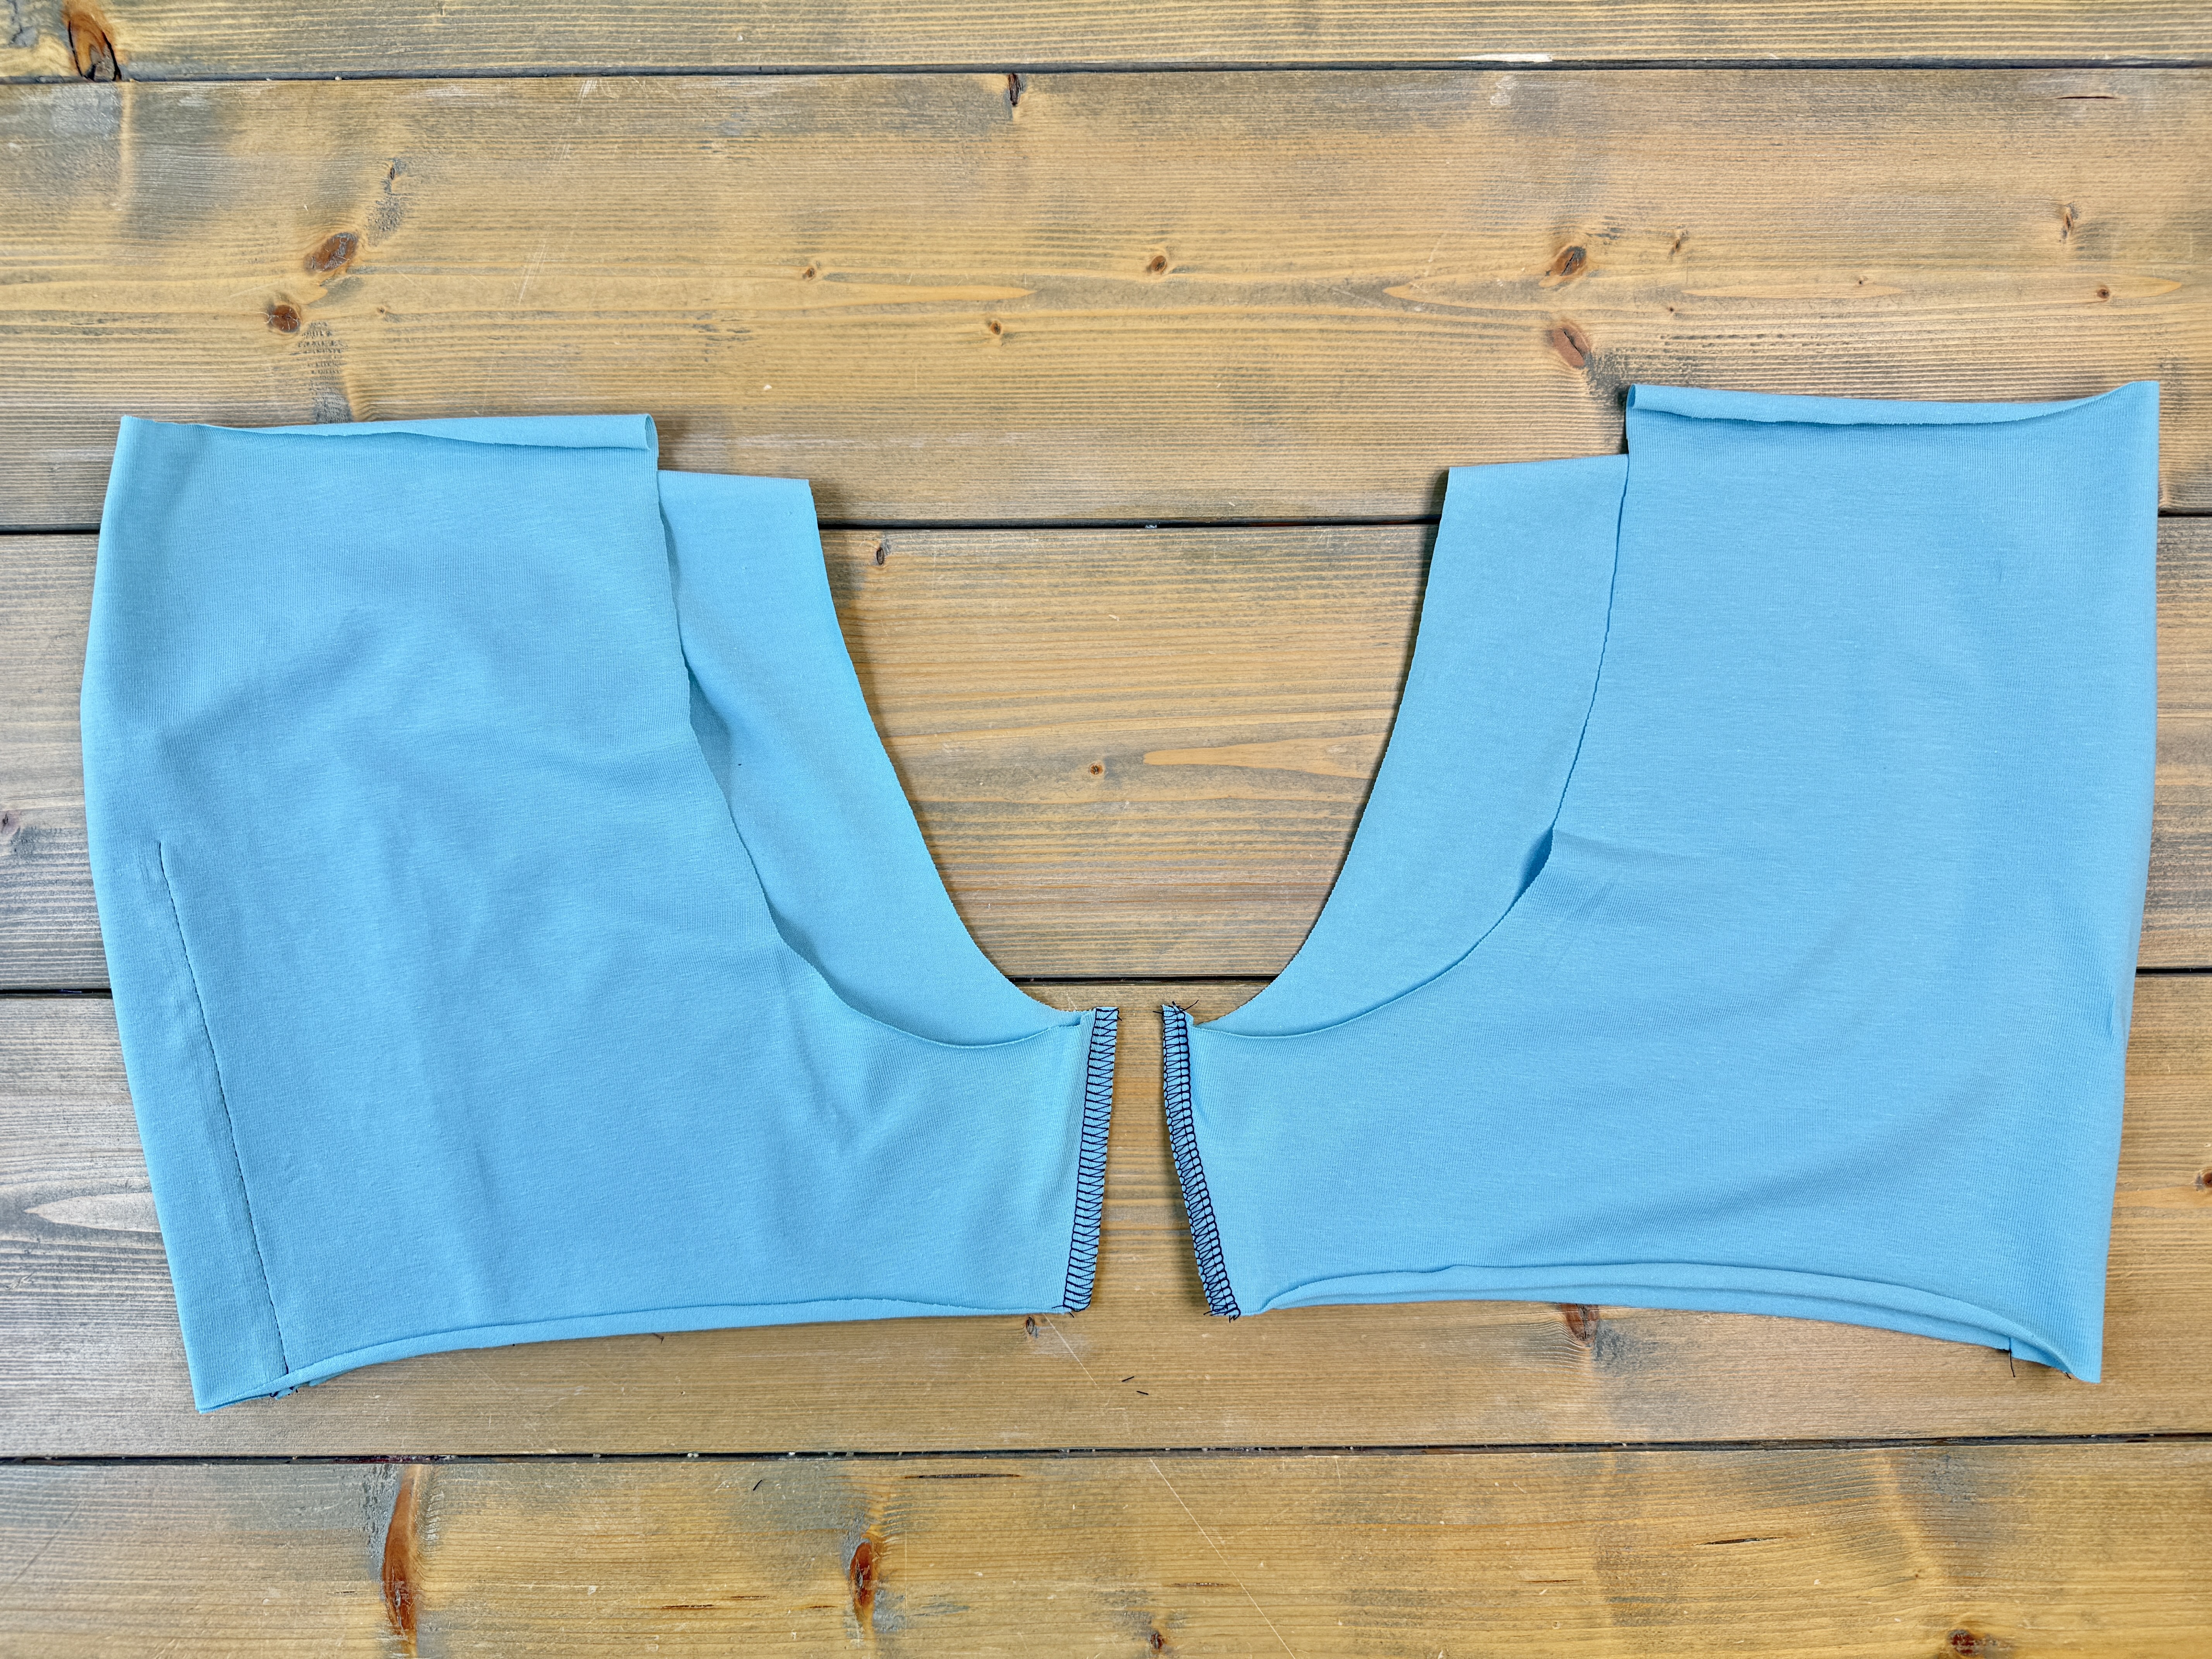
Match both shorties front to back pieces along the inseam, right sides together. Stitch in place, pressing the seam allowance to the back.
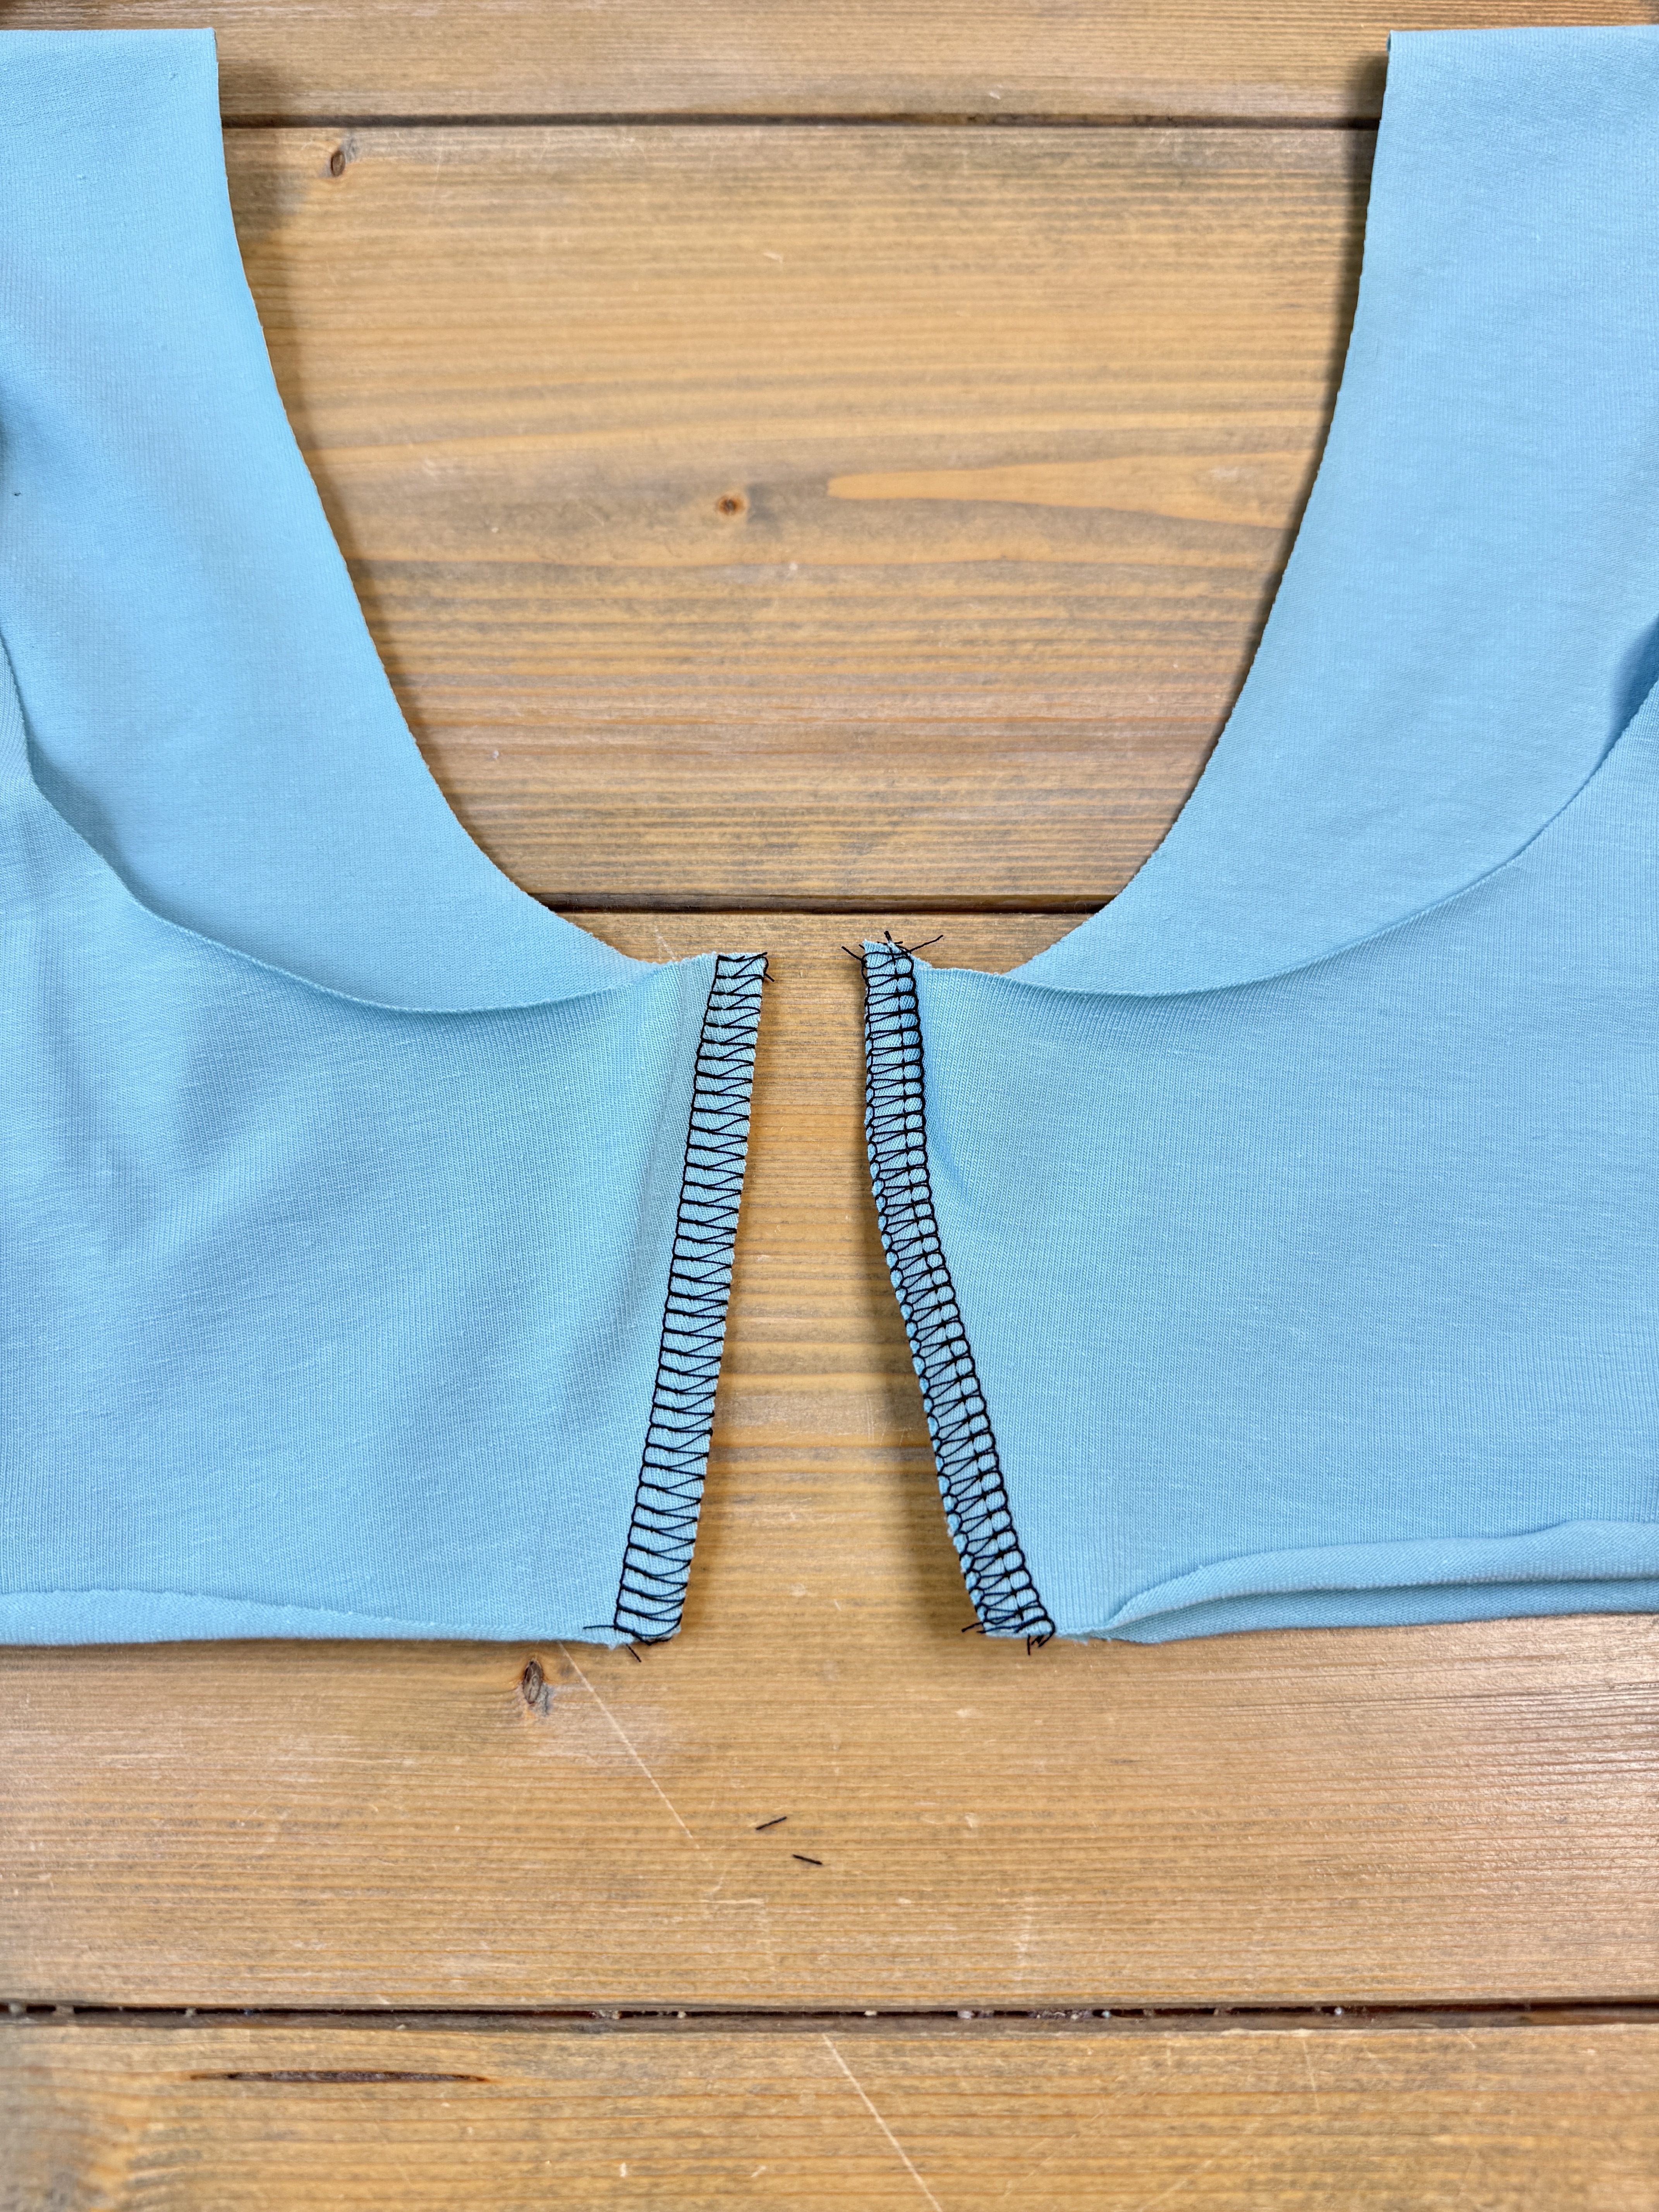
Turn one set of shorties wrong sides out, and keep the other right sides out. Slide the right sides out shorties into the wrong side out shorties, aligning the crotch curve. The shorties will be right sides together.
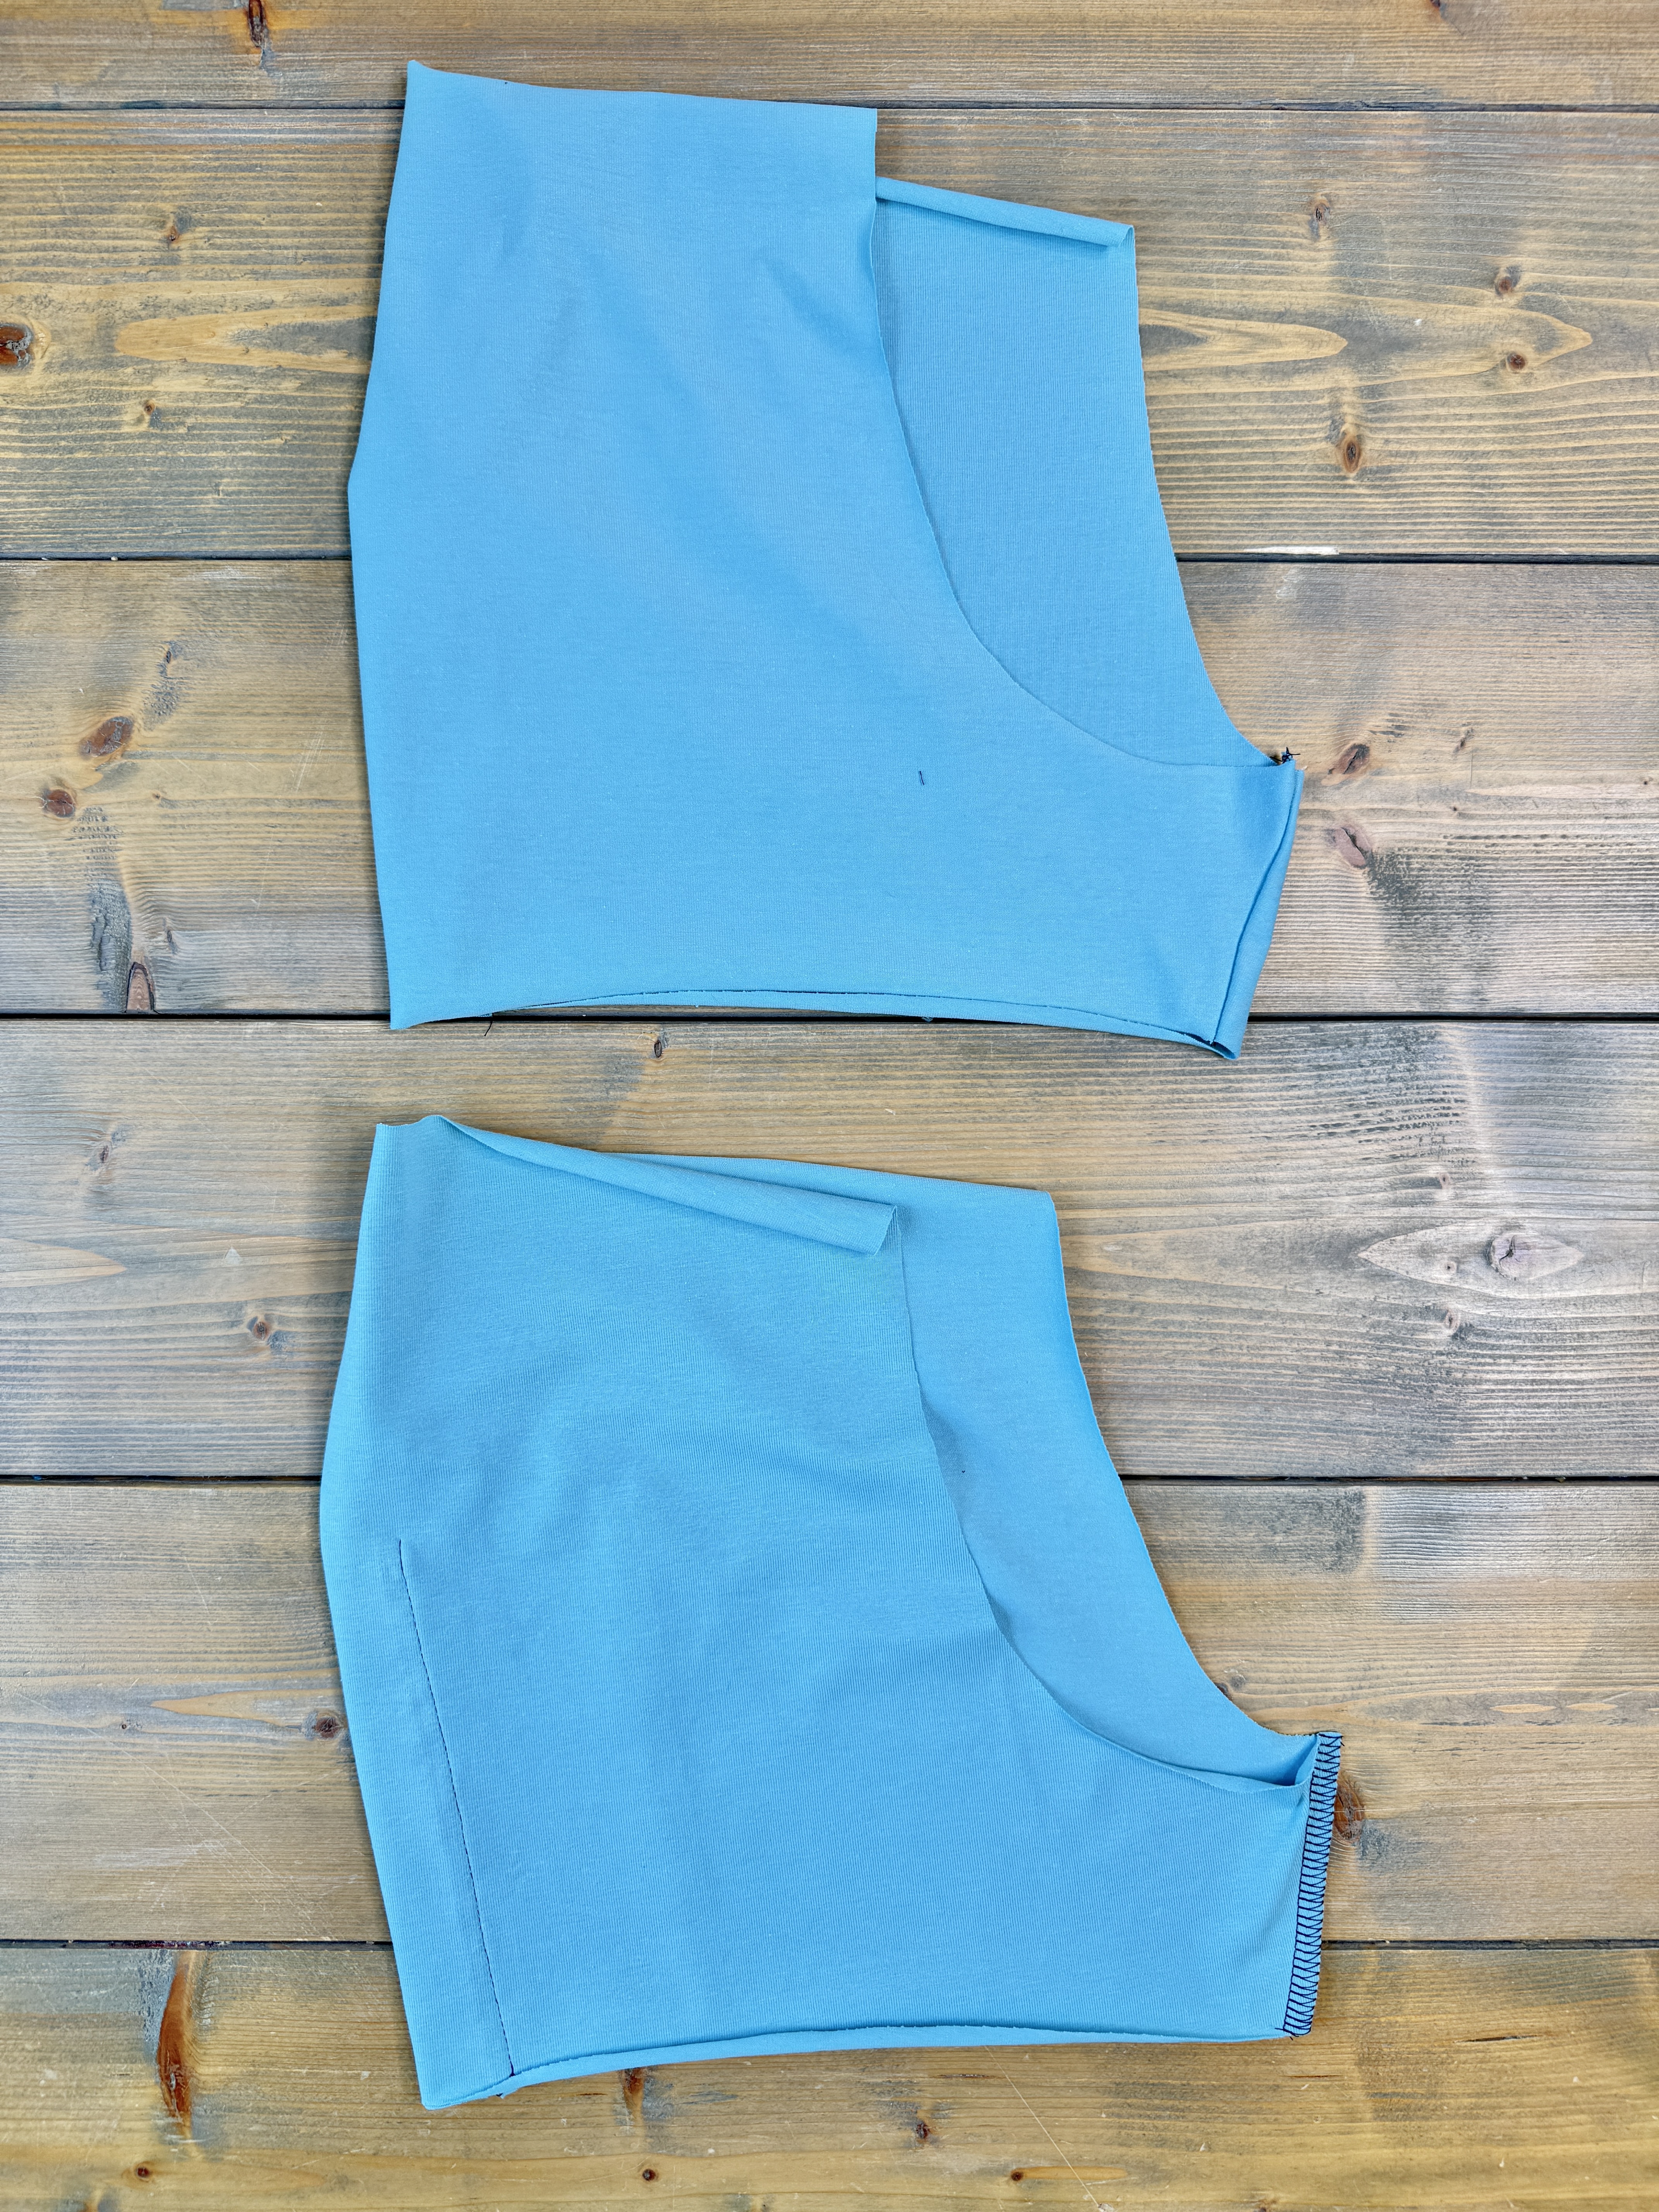
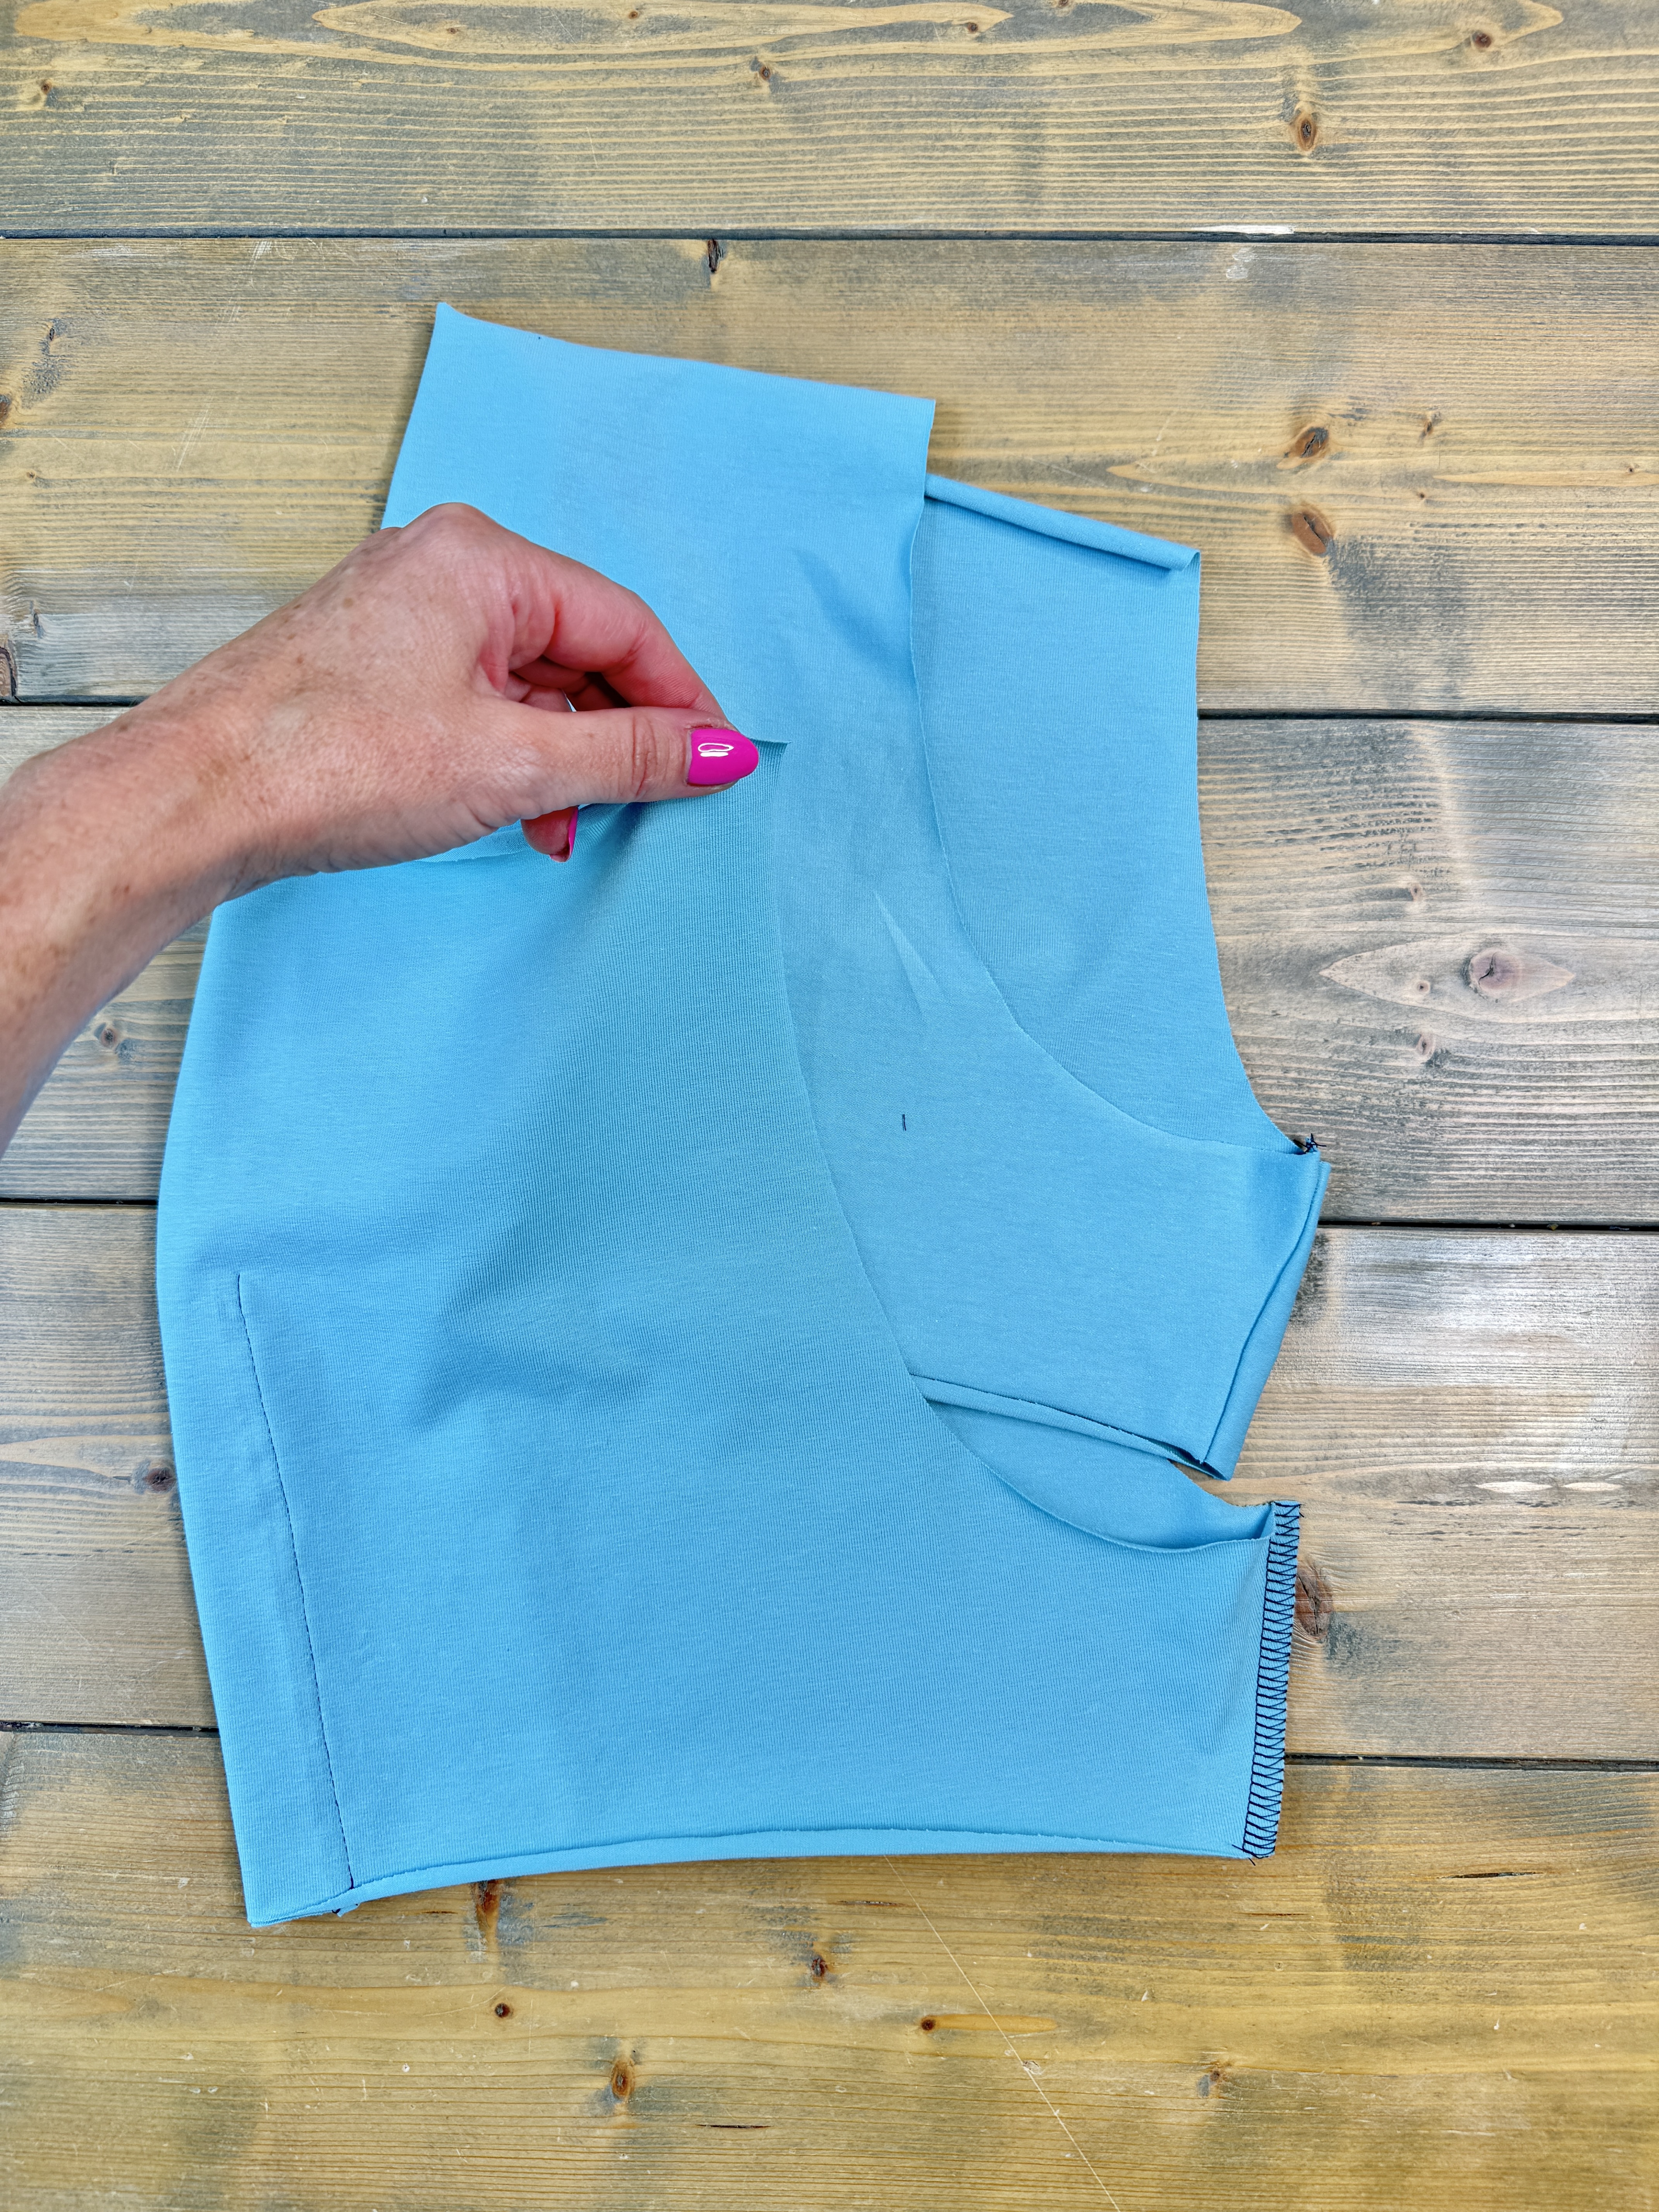
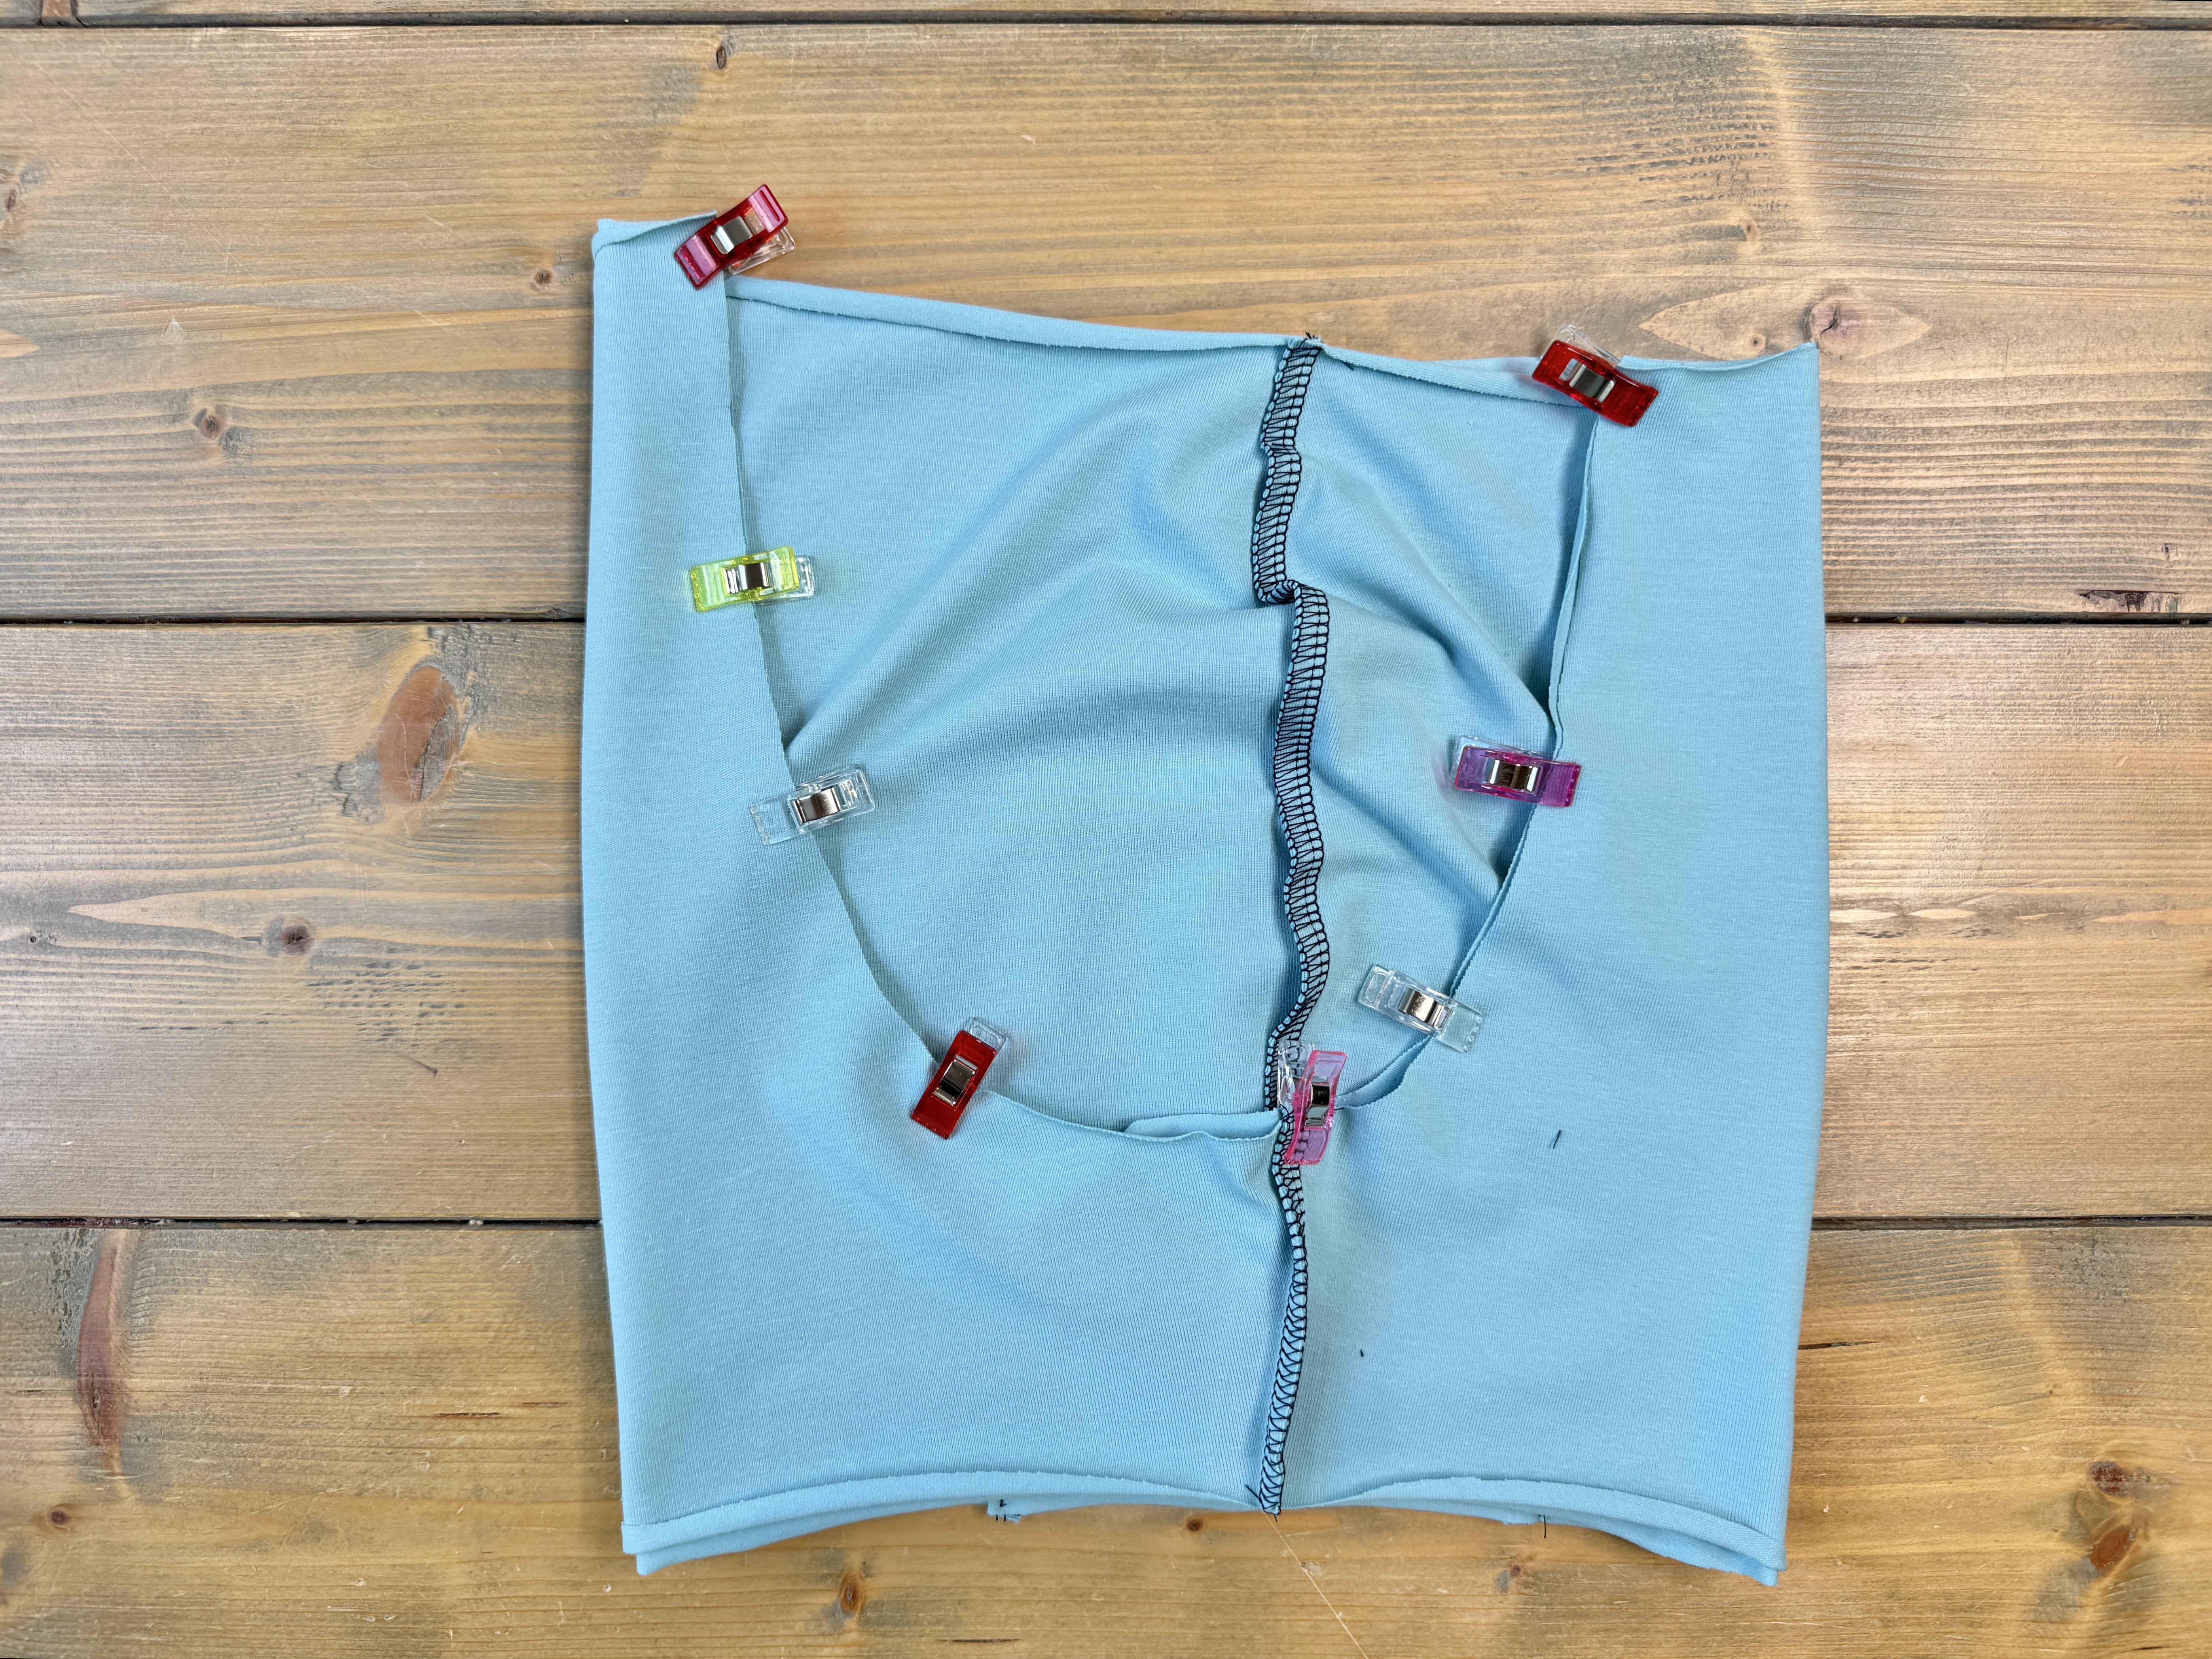
Pin along the crotch curve. Stitch along the crotch curve.
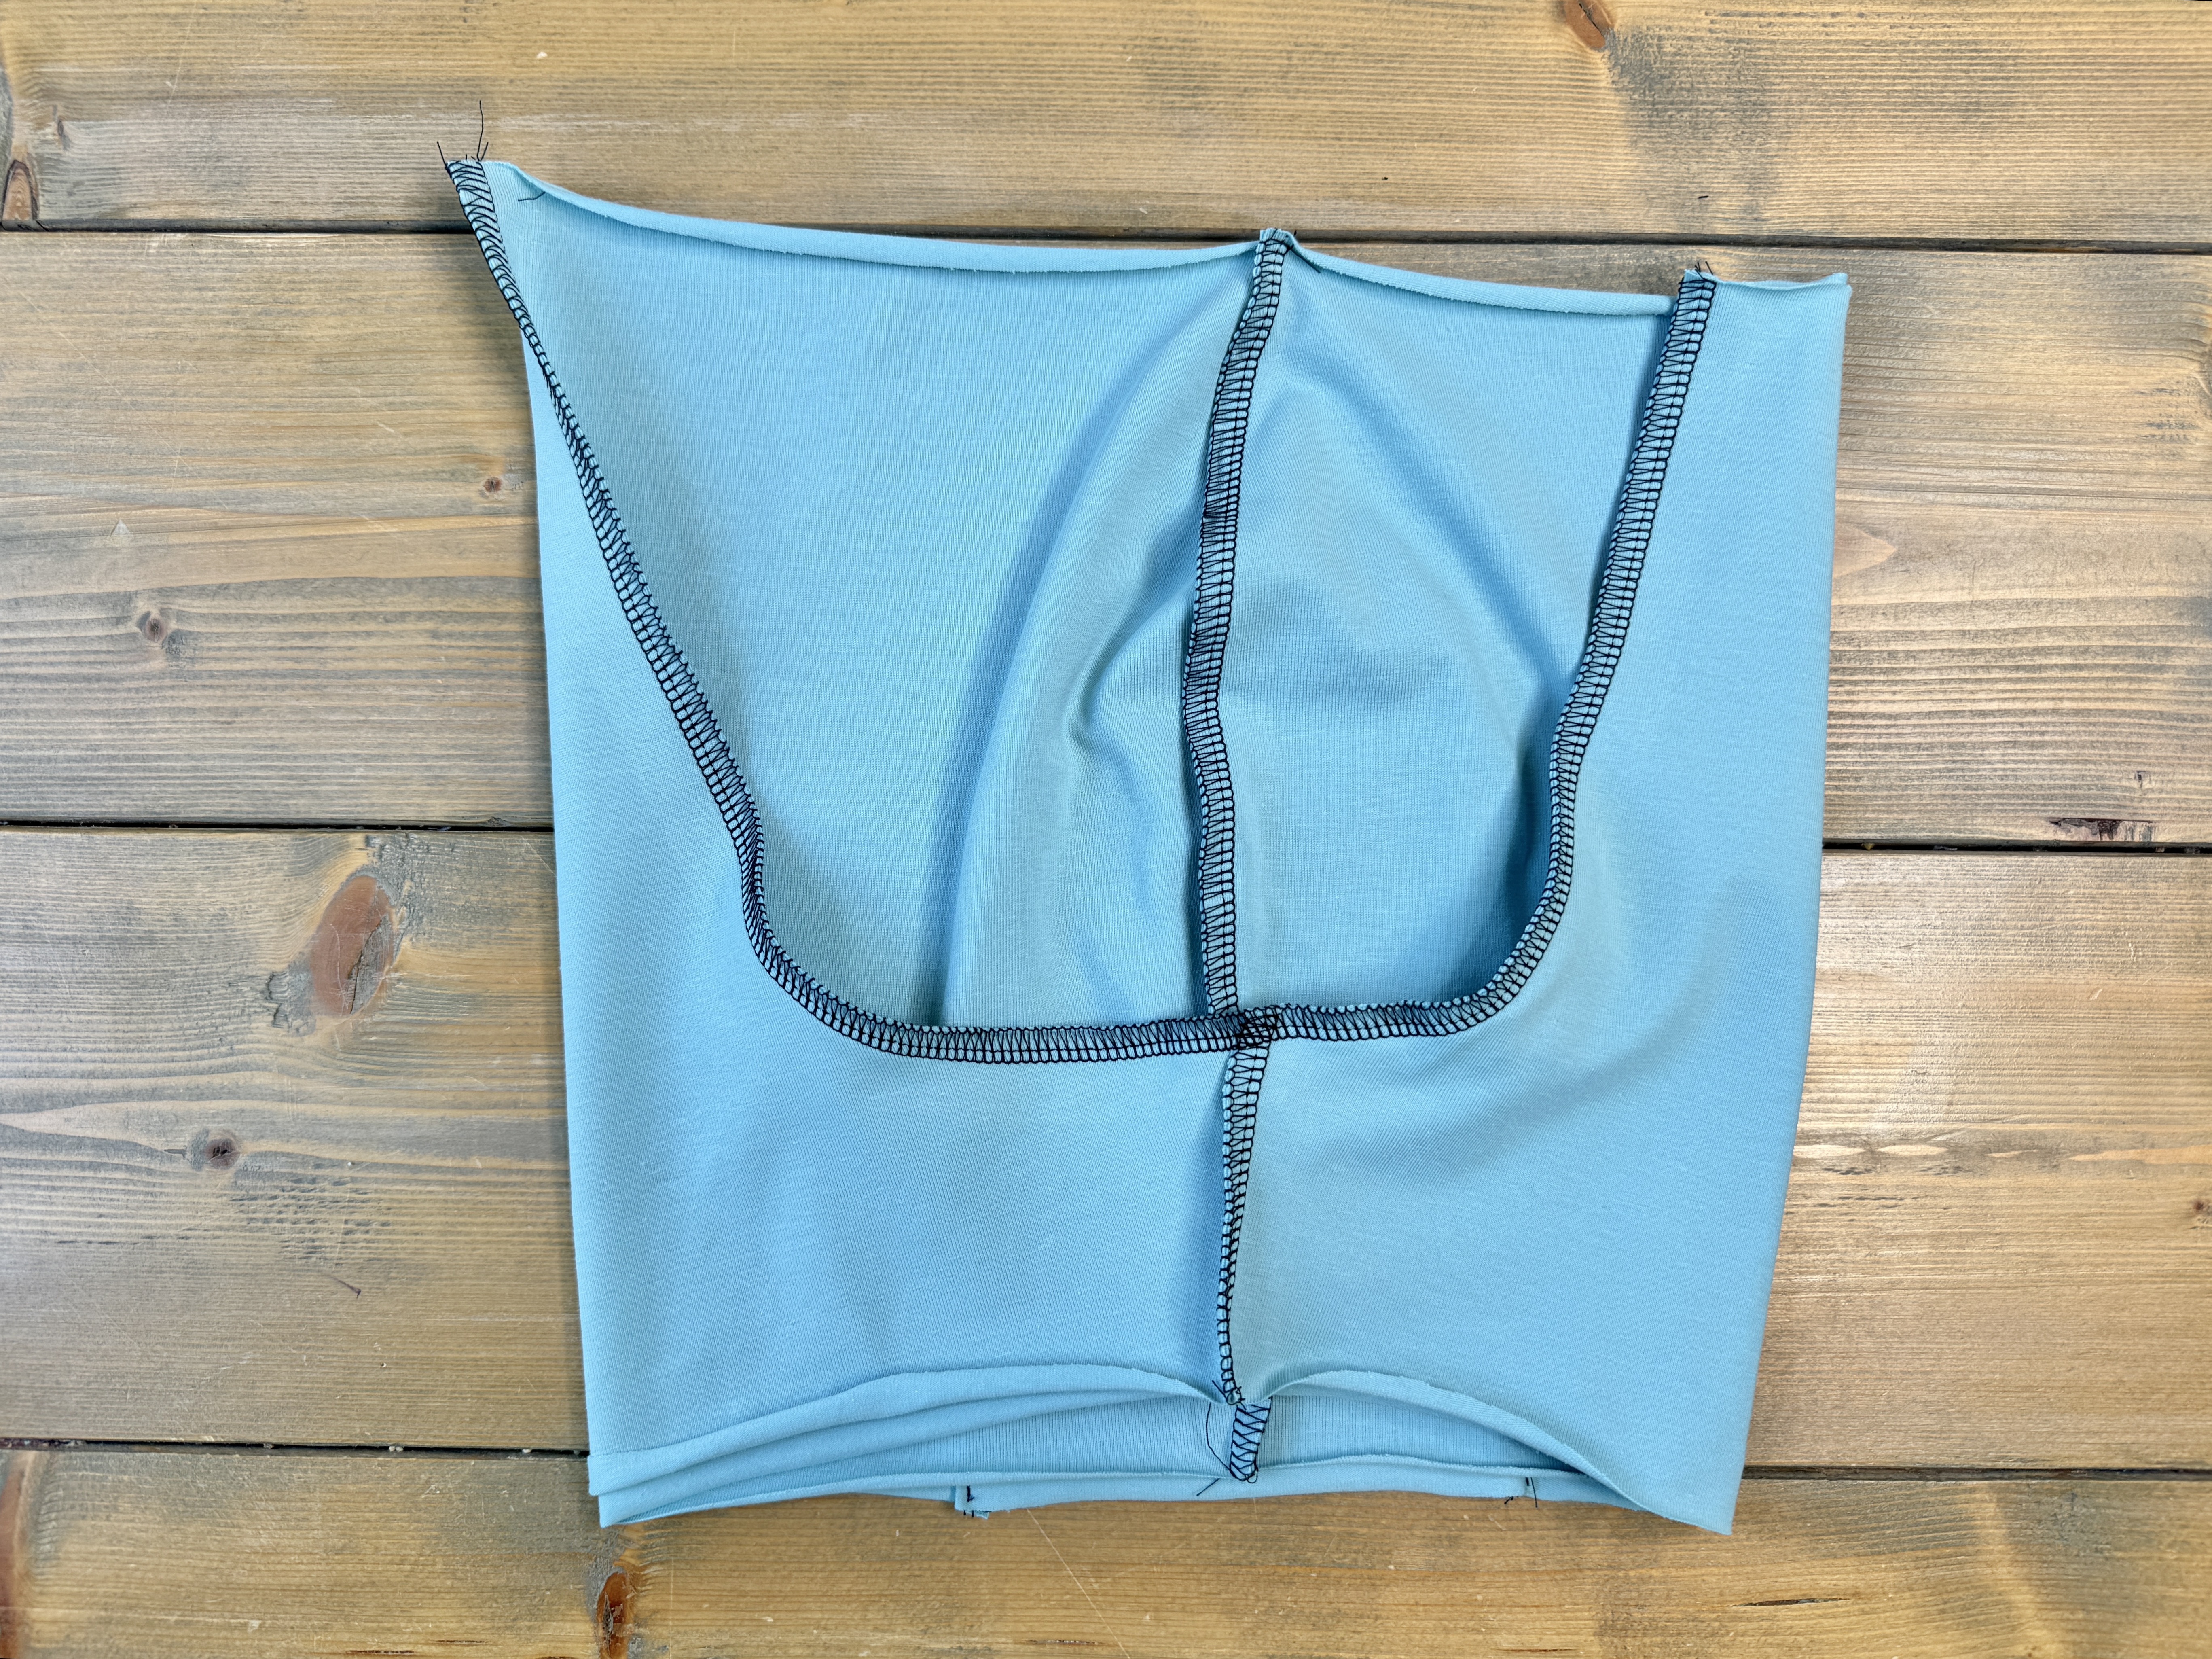
Turn right sides out. Press the bottom hem up 1/2” to the wrong side. Topstitch the hem in place.
Constructing the Serena Skirt
The next step is to hem around the outer edge of the skirt pieces. This can be done in different ways, but I find using the Straight Stitch Hemmer Foot (#64) the easiest!
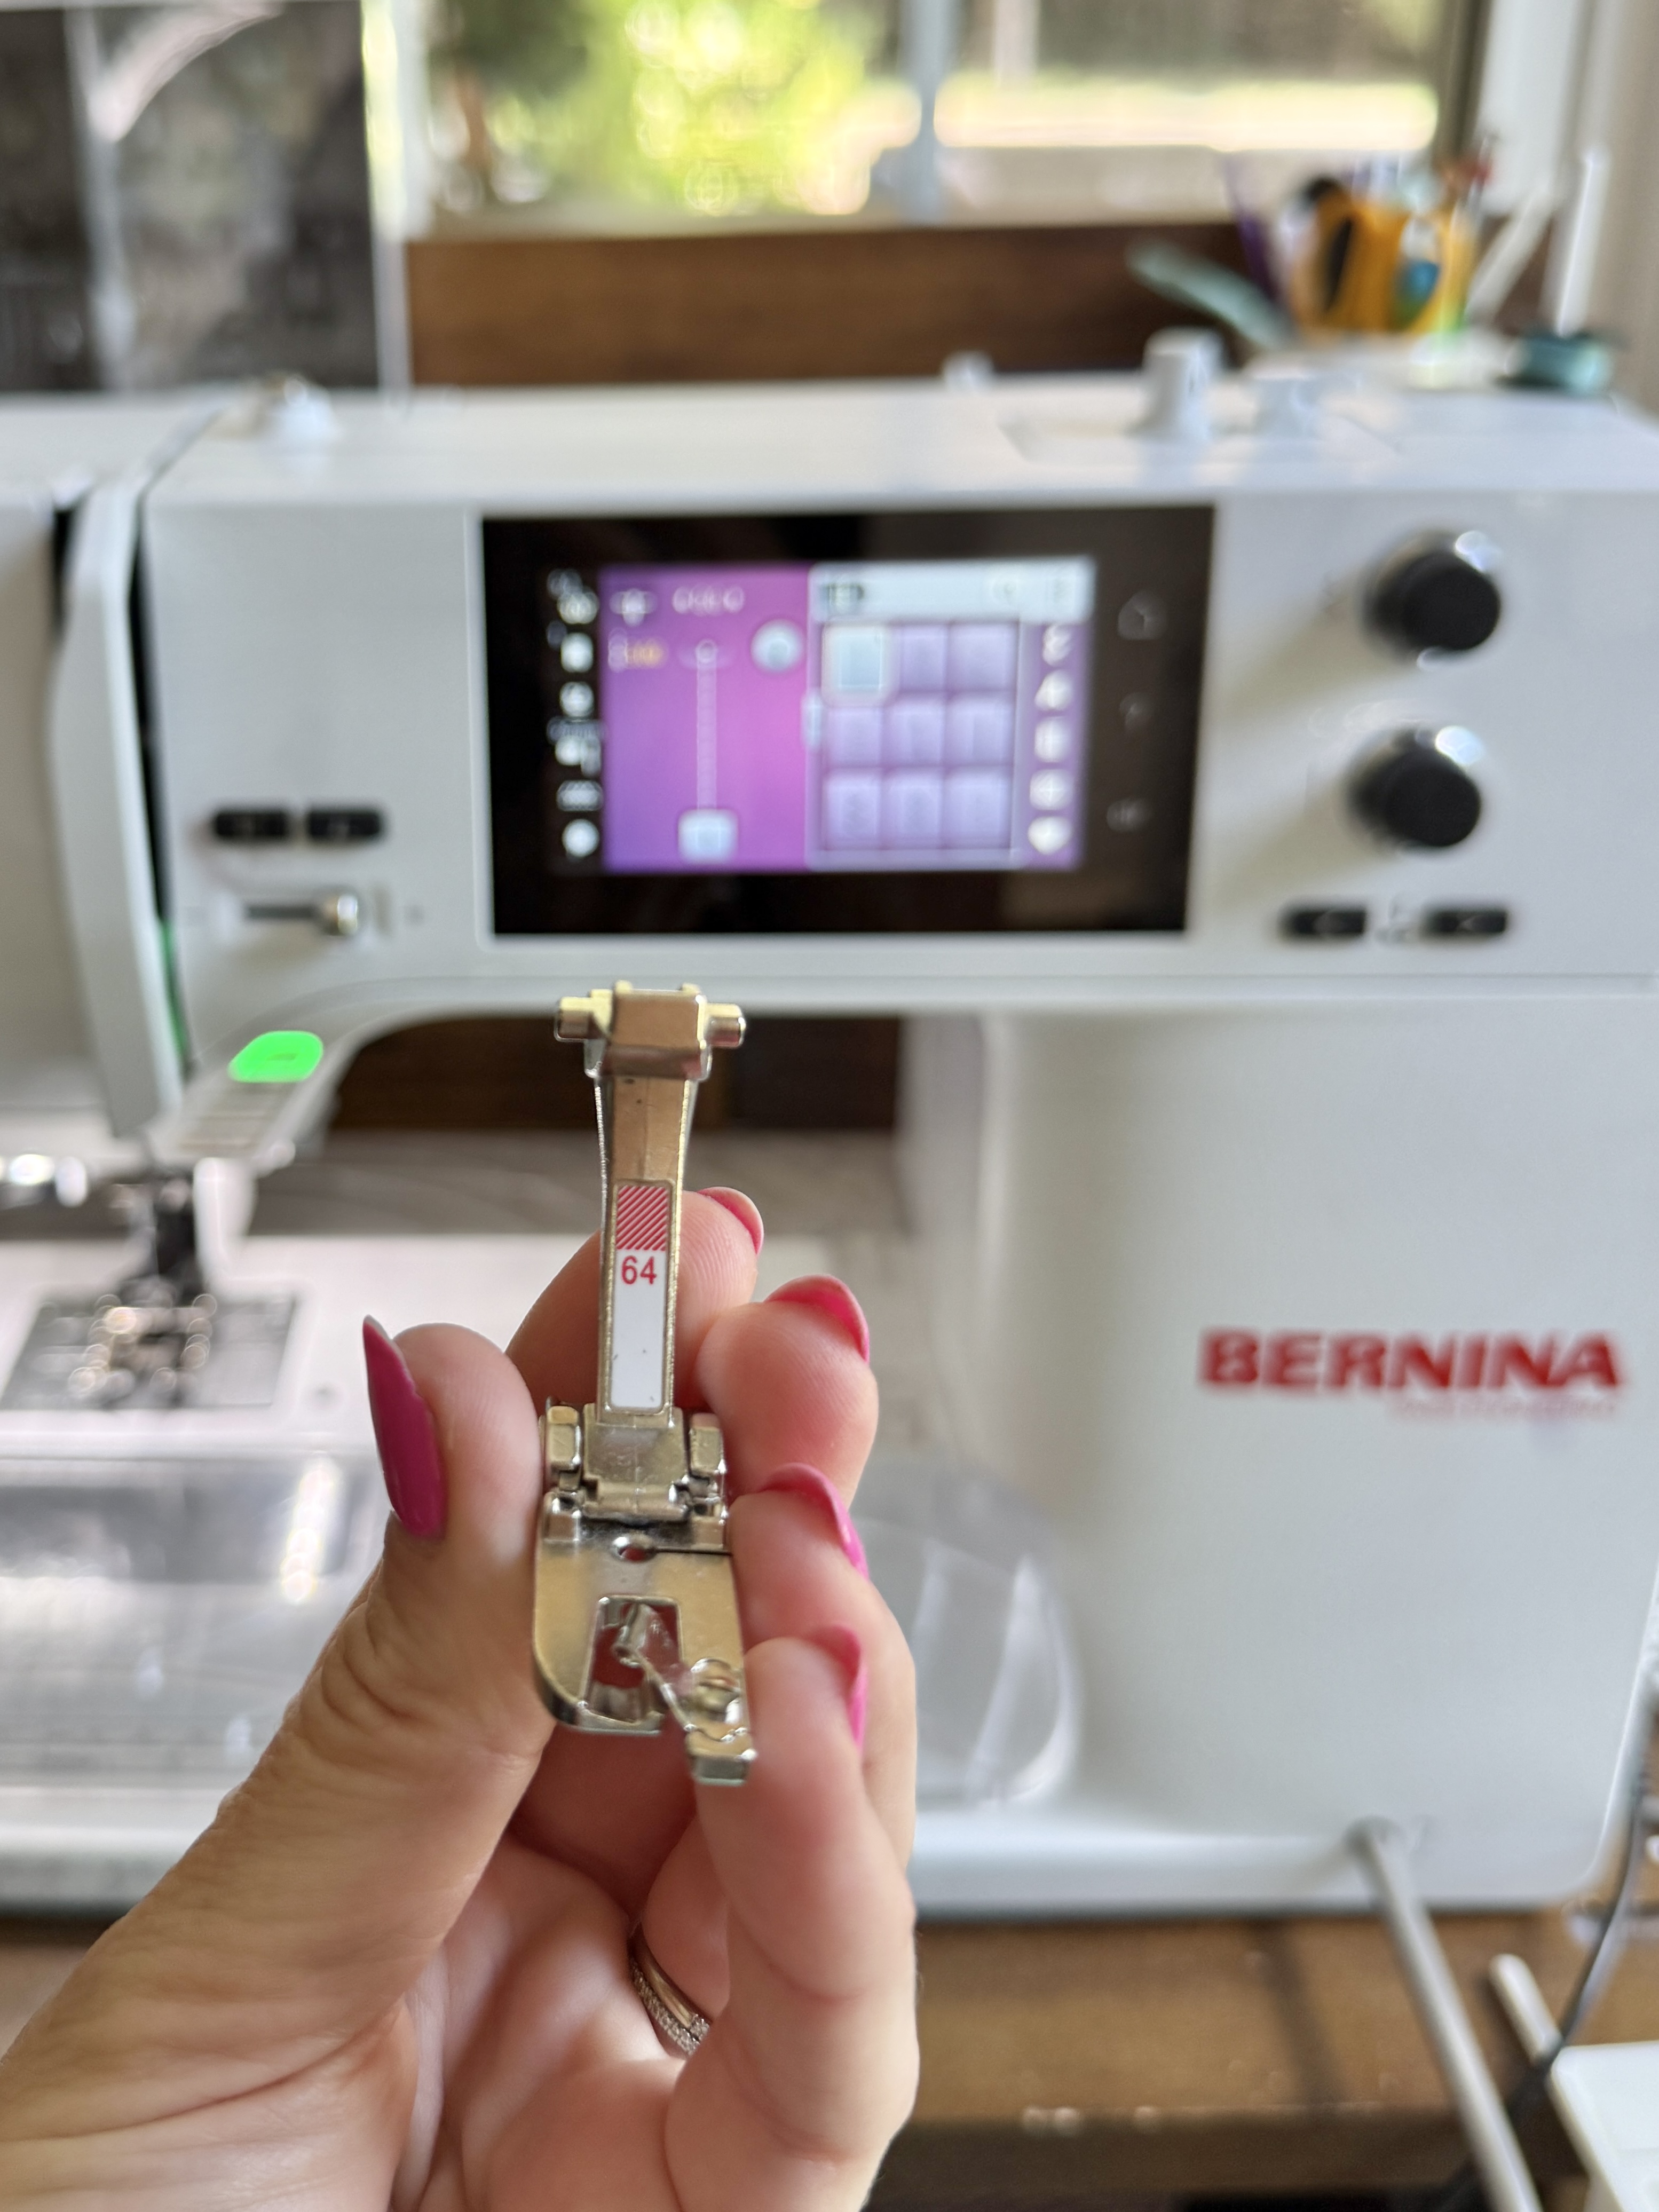
Placing the fabric wrong sides up, slip one end of the skirt into the presser foot and stitch around the entire bottom edge of the skirt. The presser foot will create a double fold on the fabric – just make sure not to stretch the fabric while sewing!
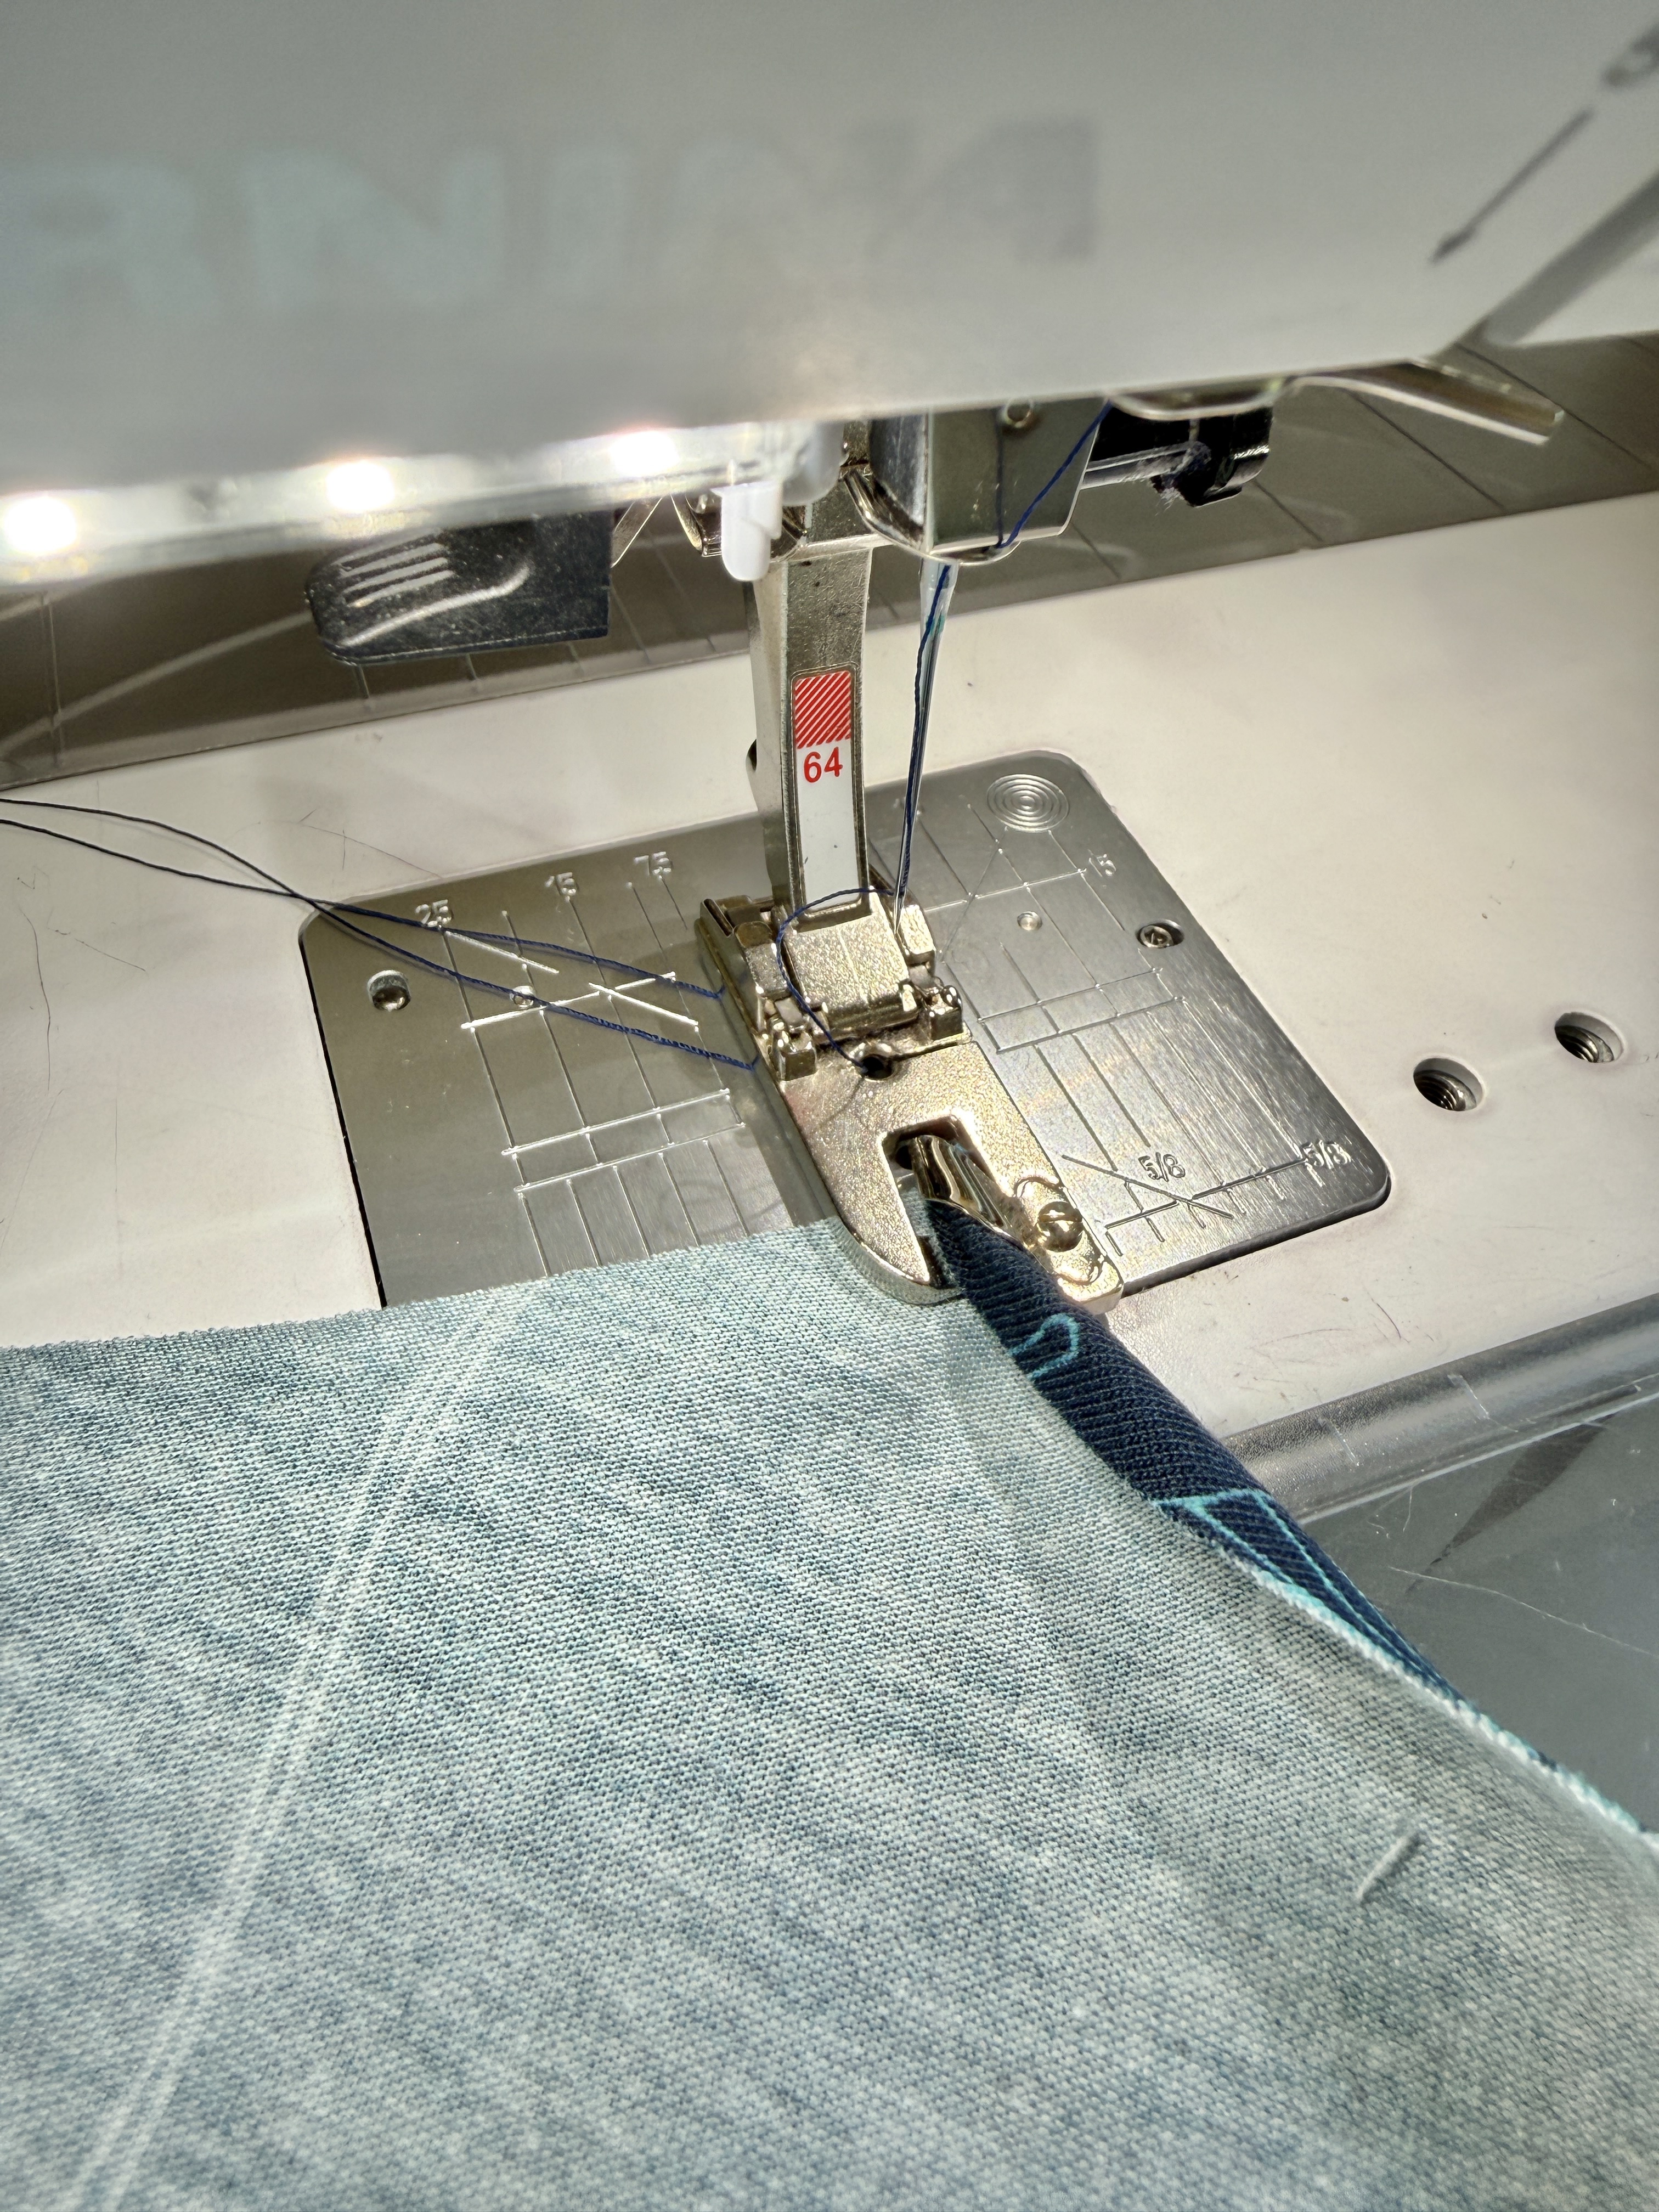
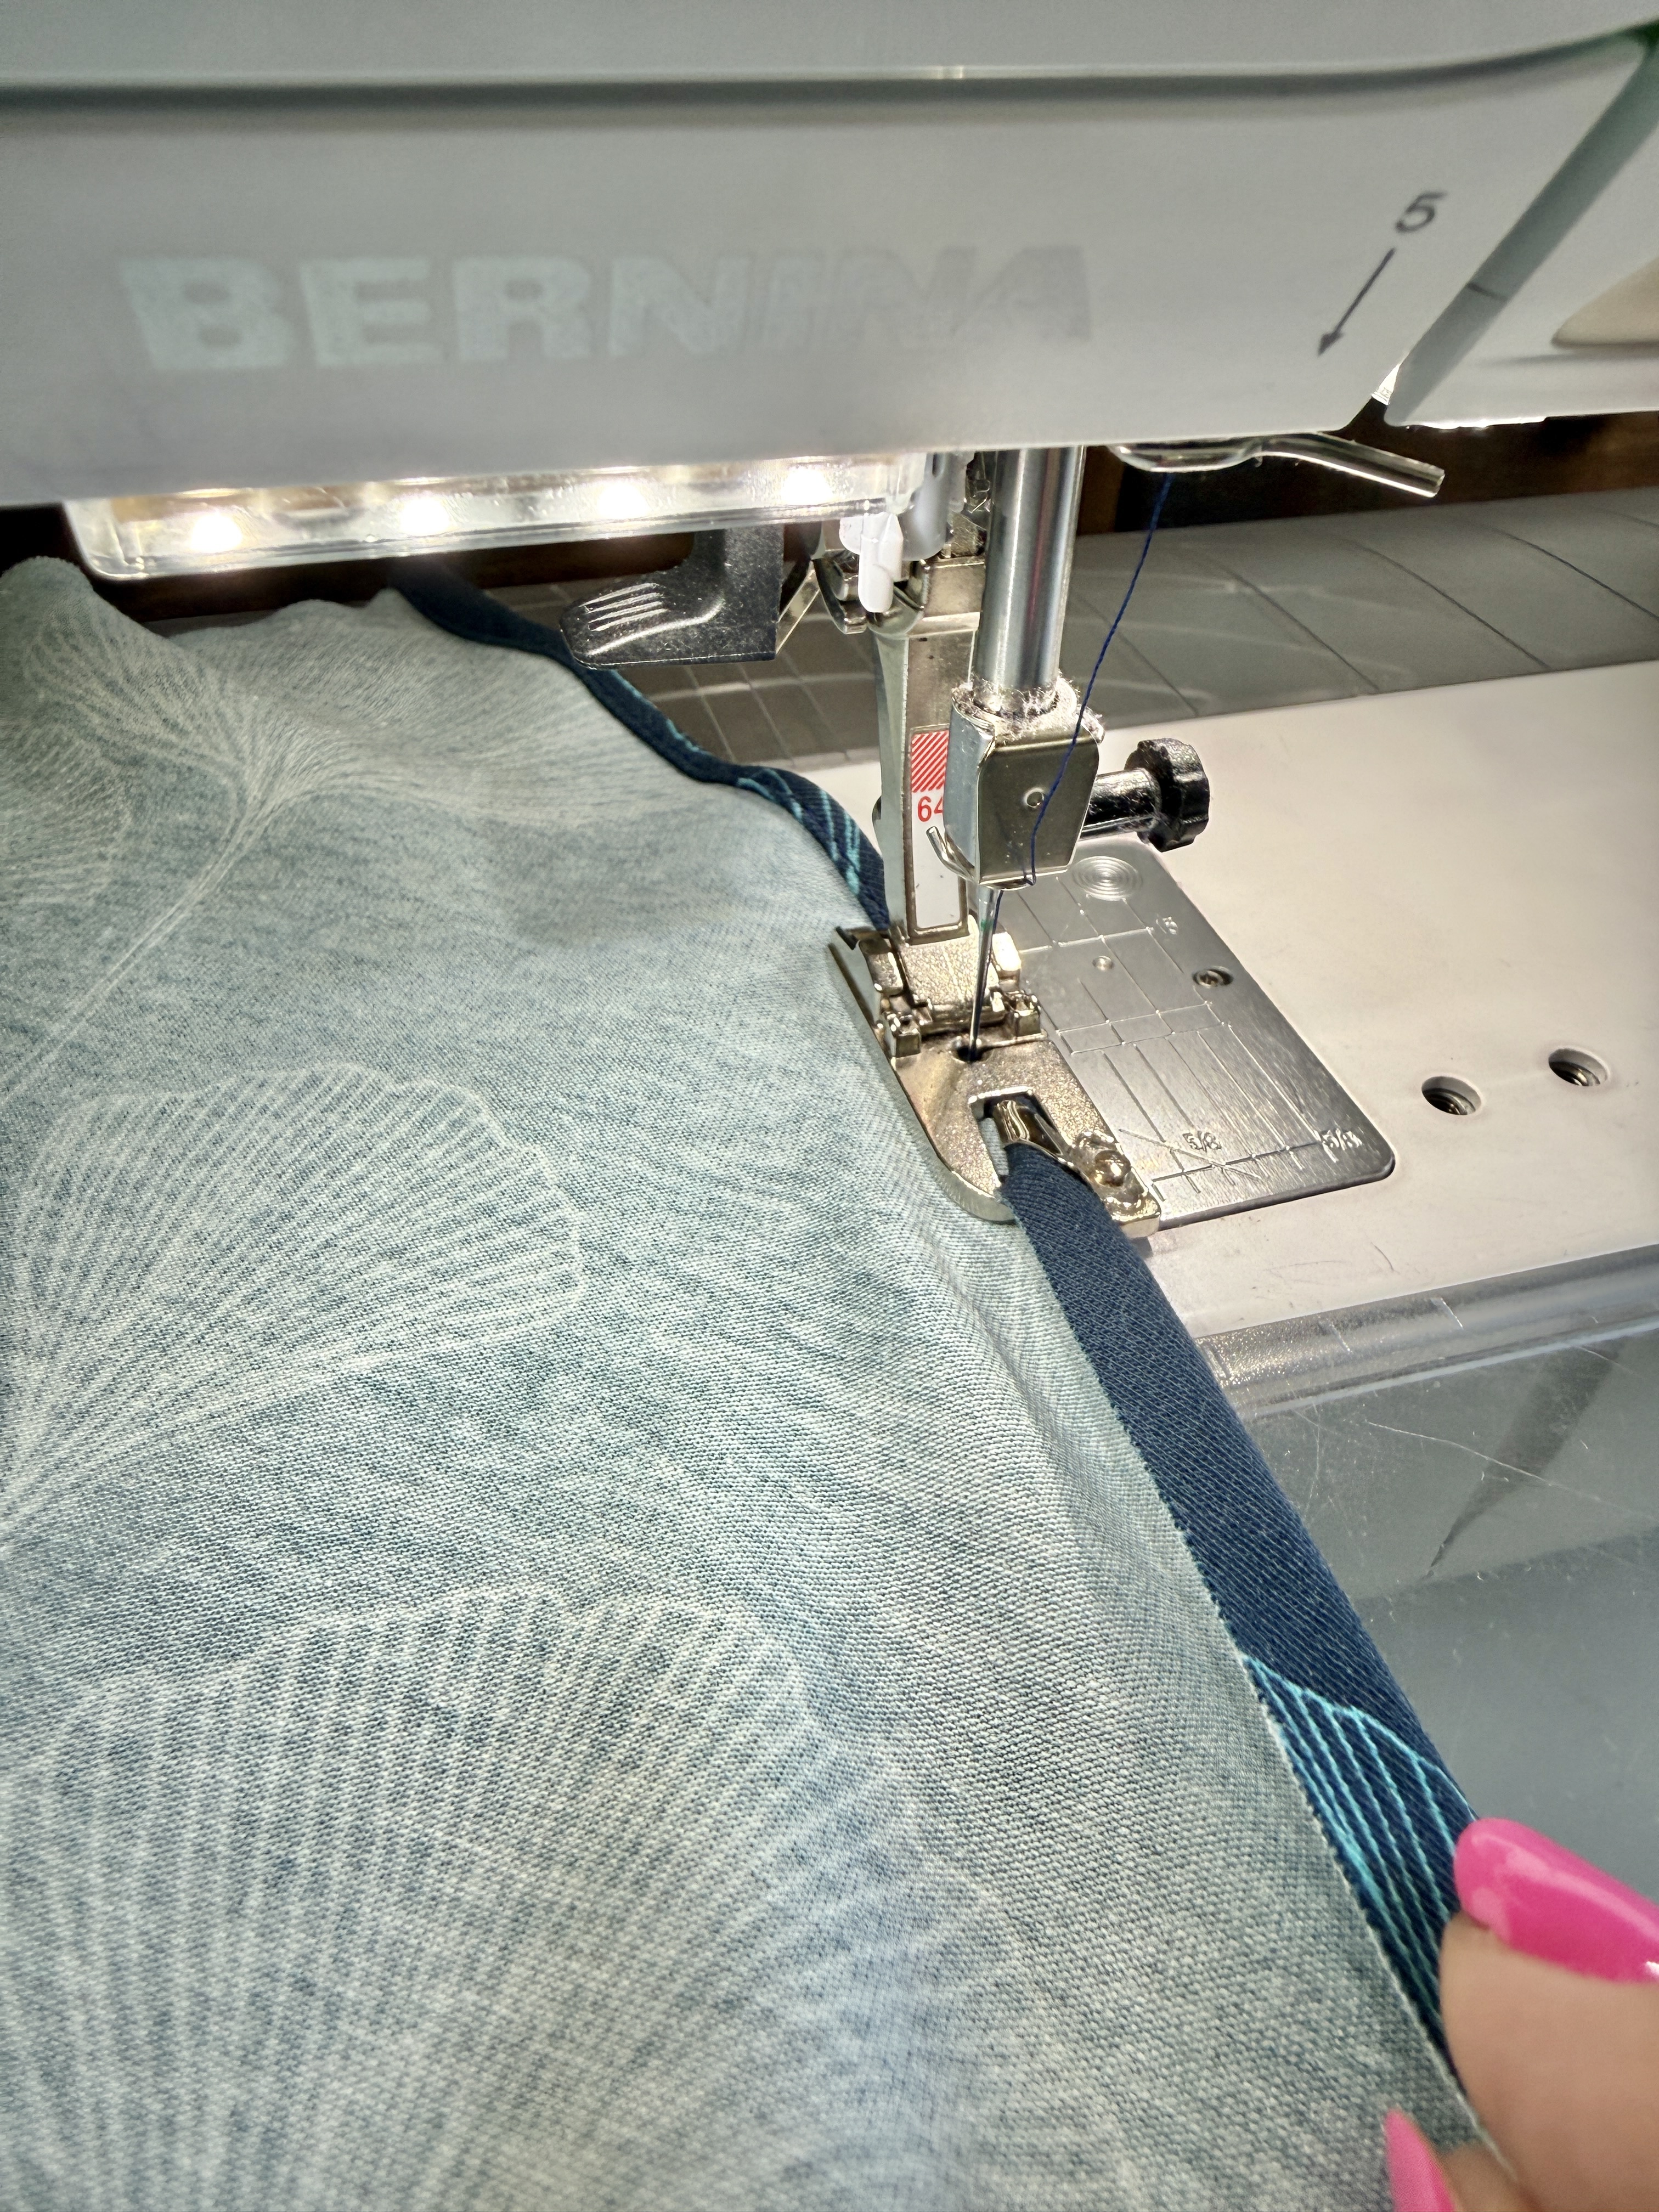
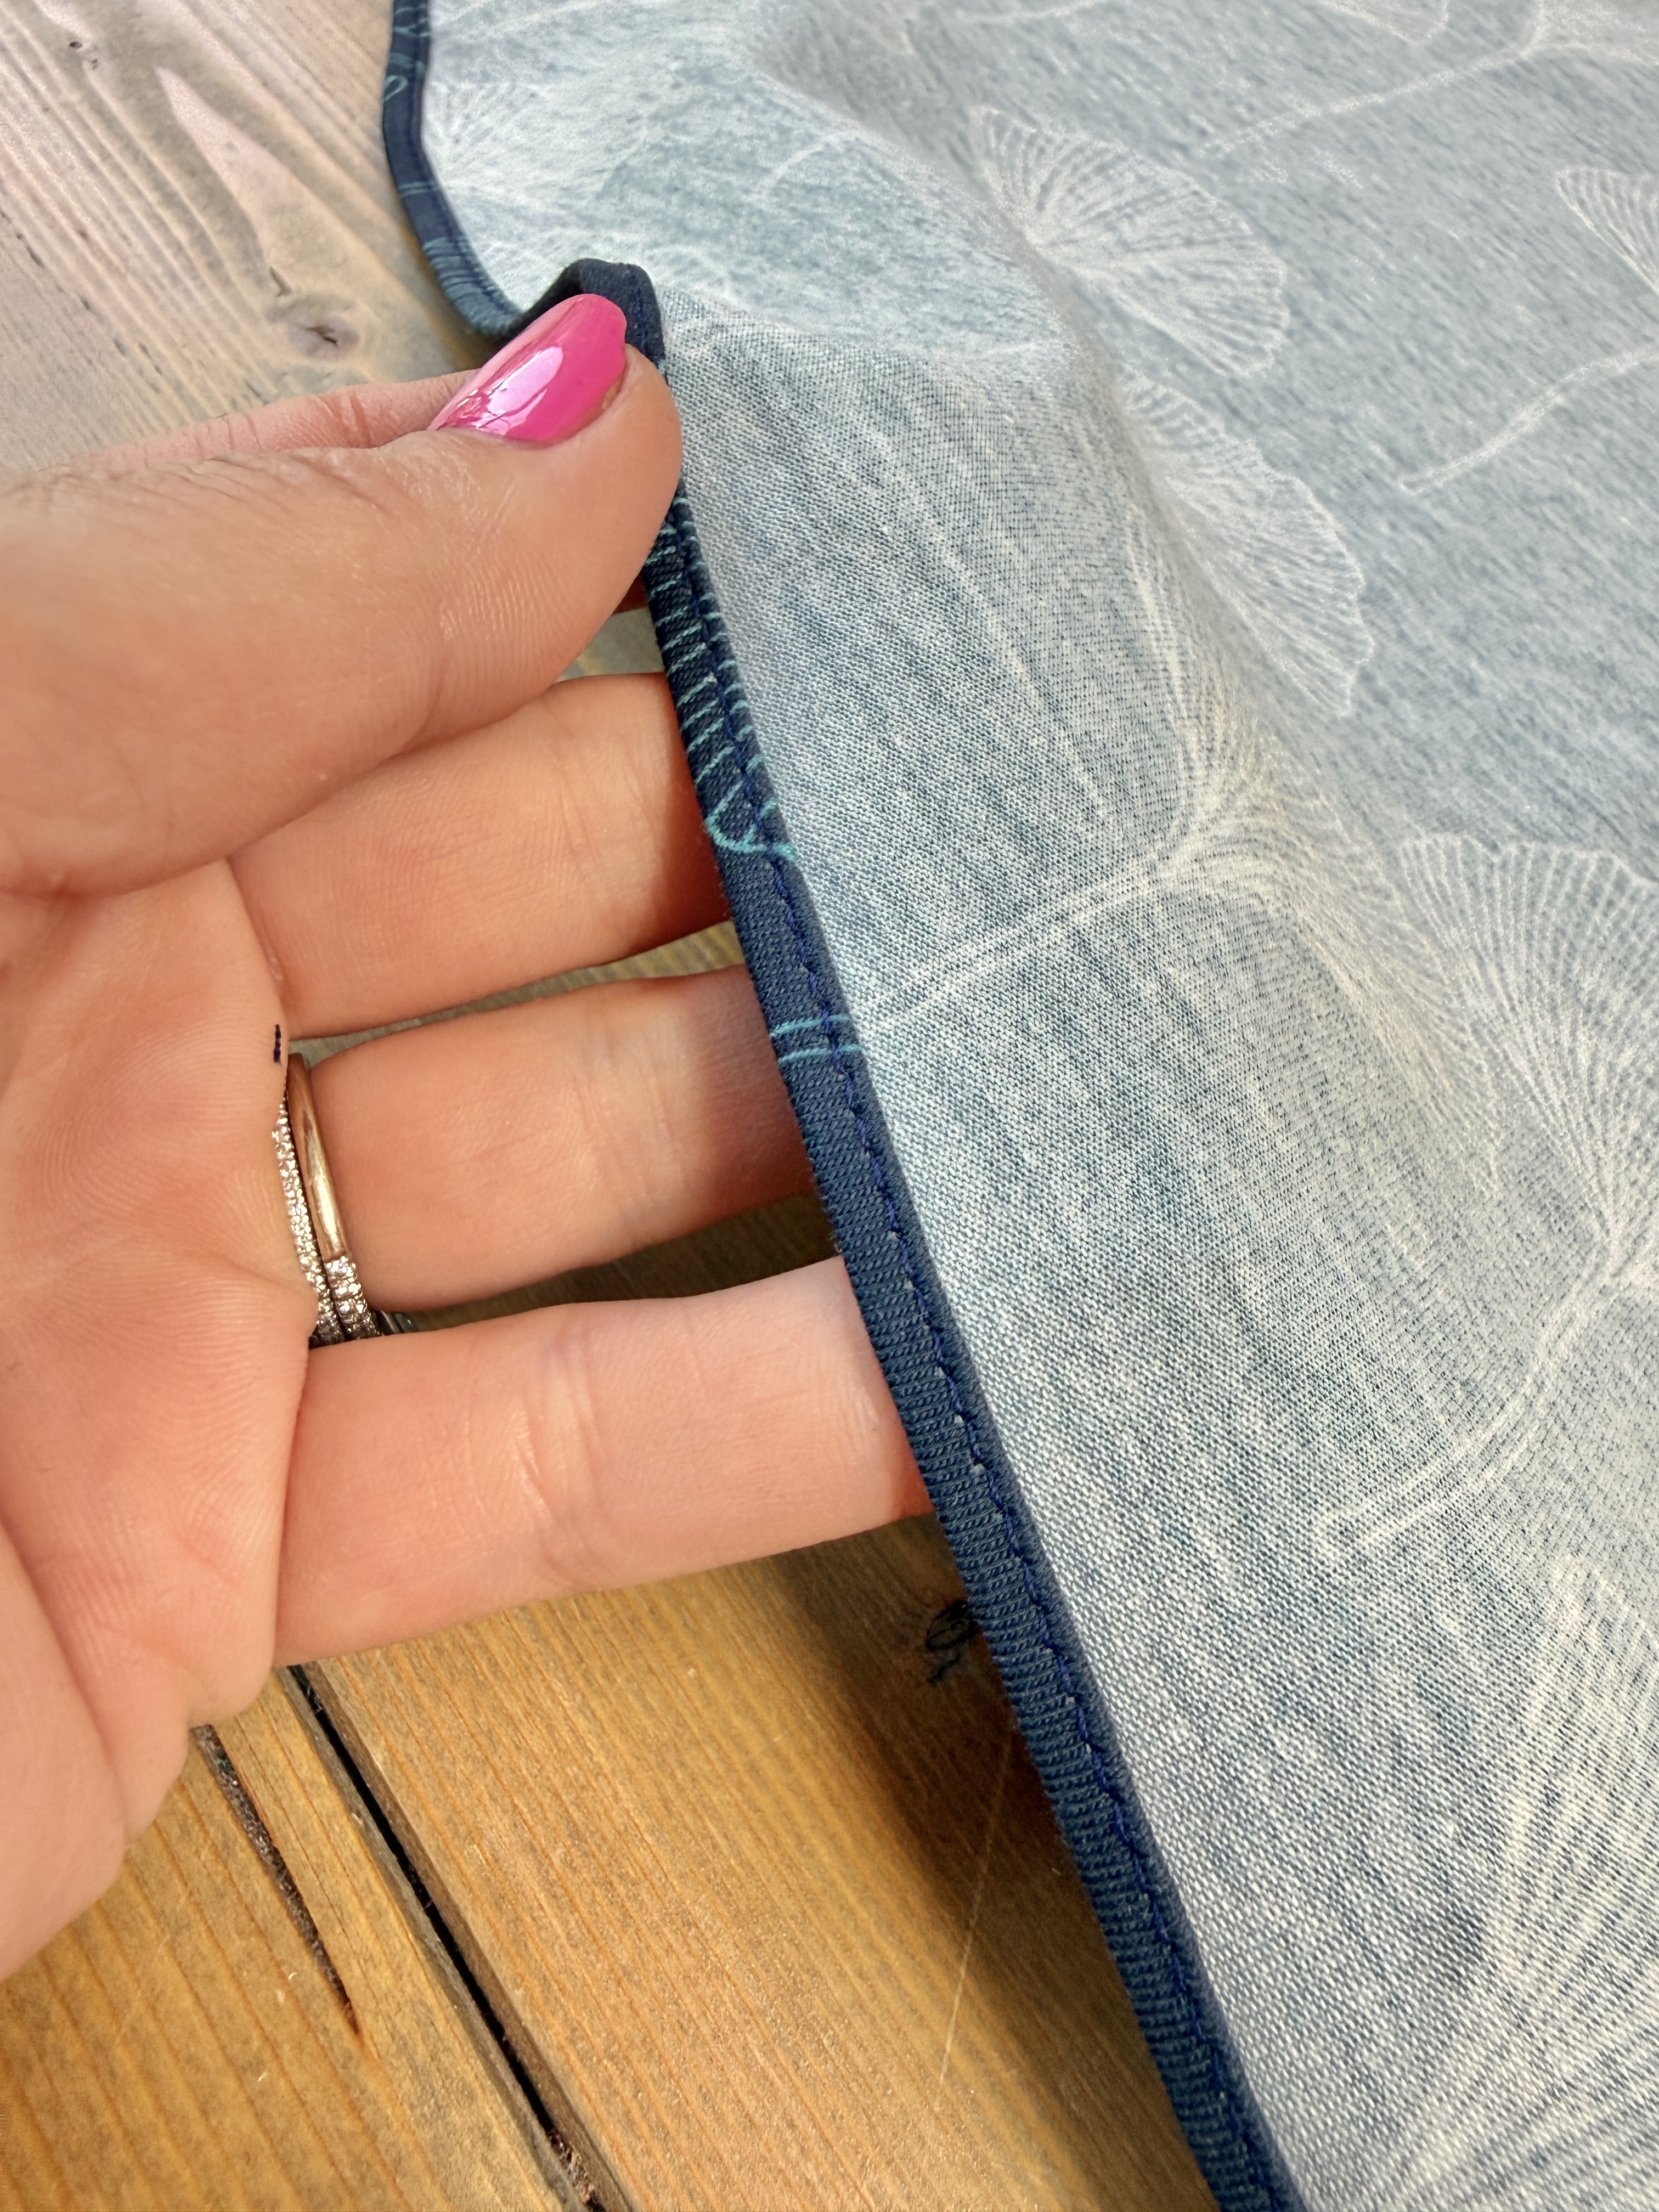
Using the steam setting on your iron, press the skirt hem flat. Minor waves from sewing are to be expected.
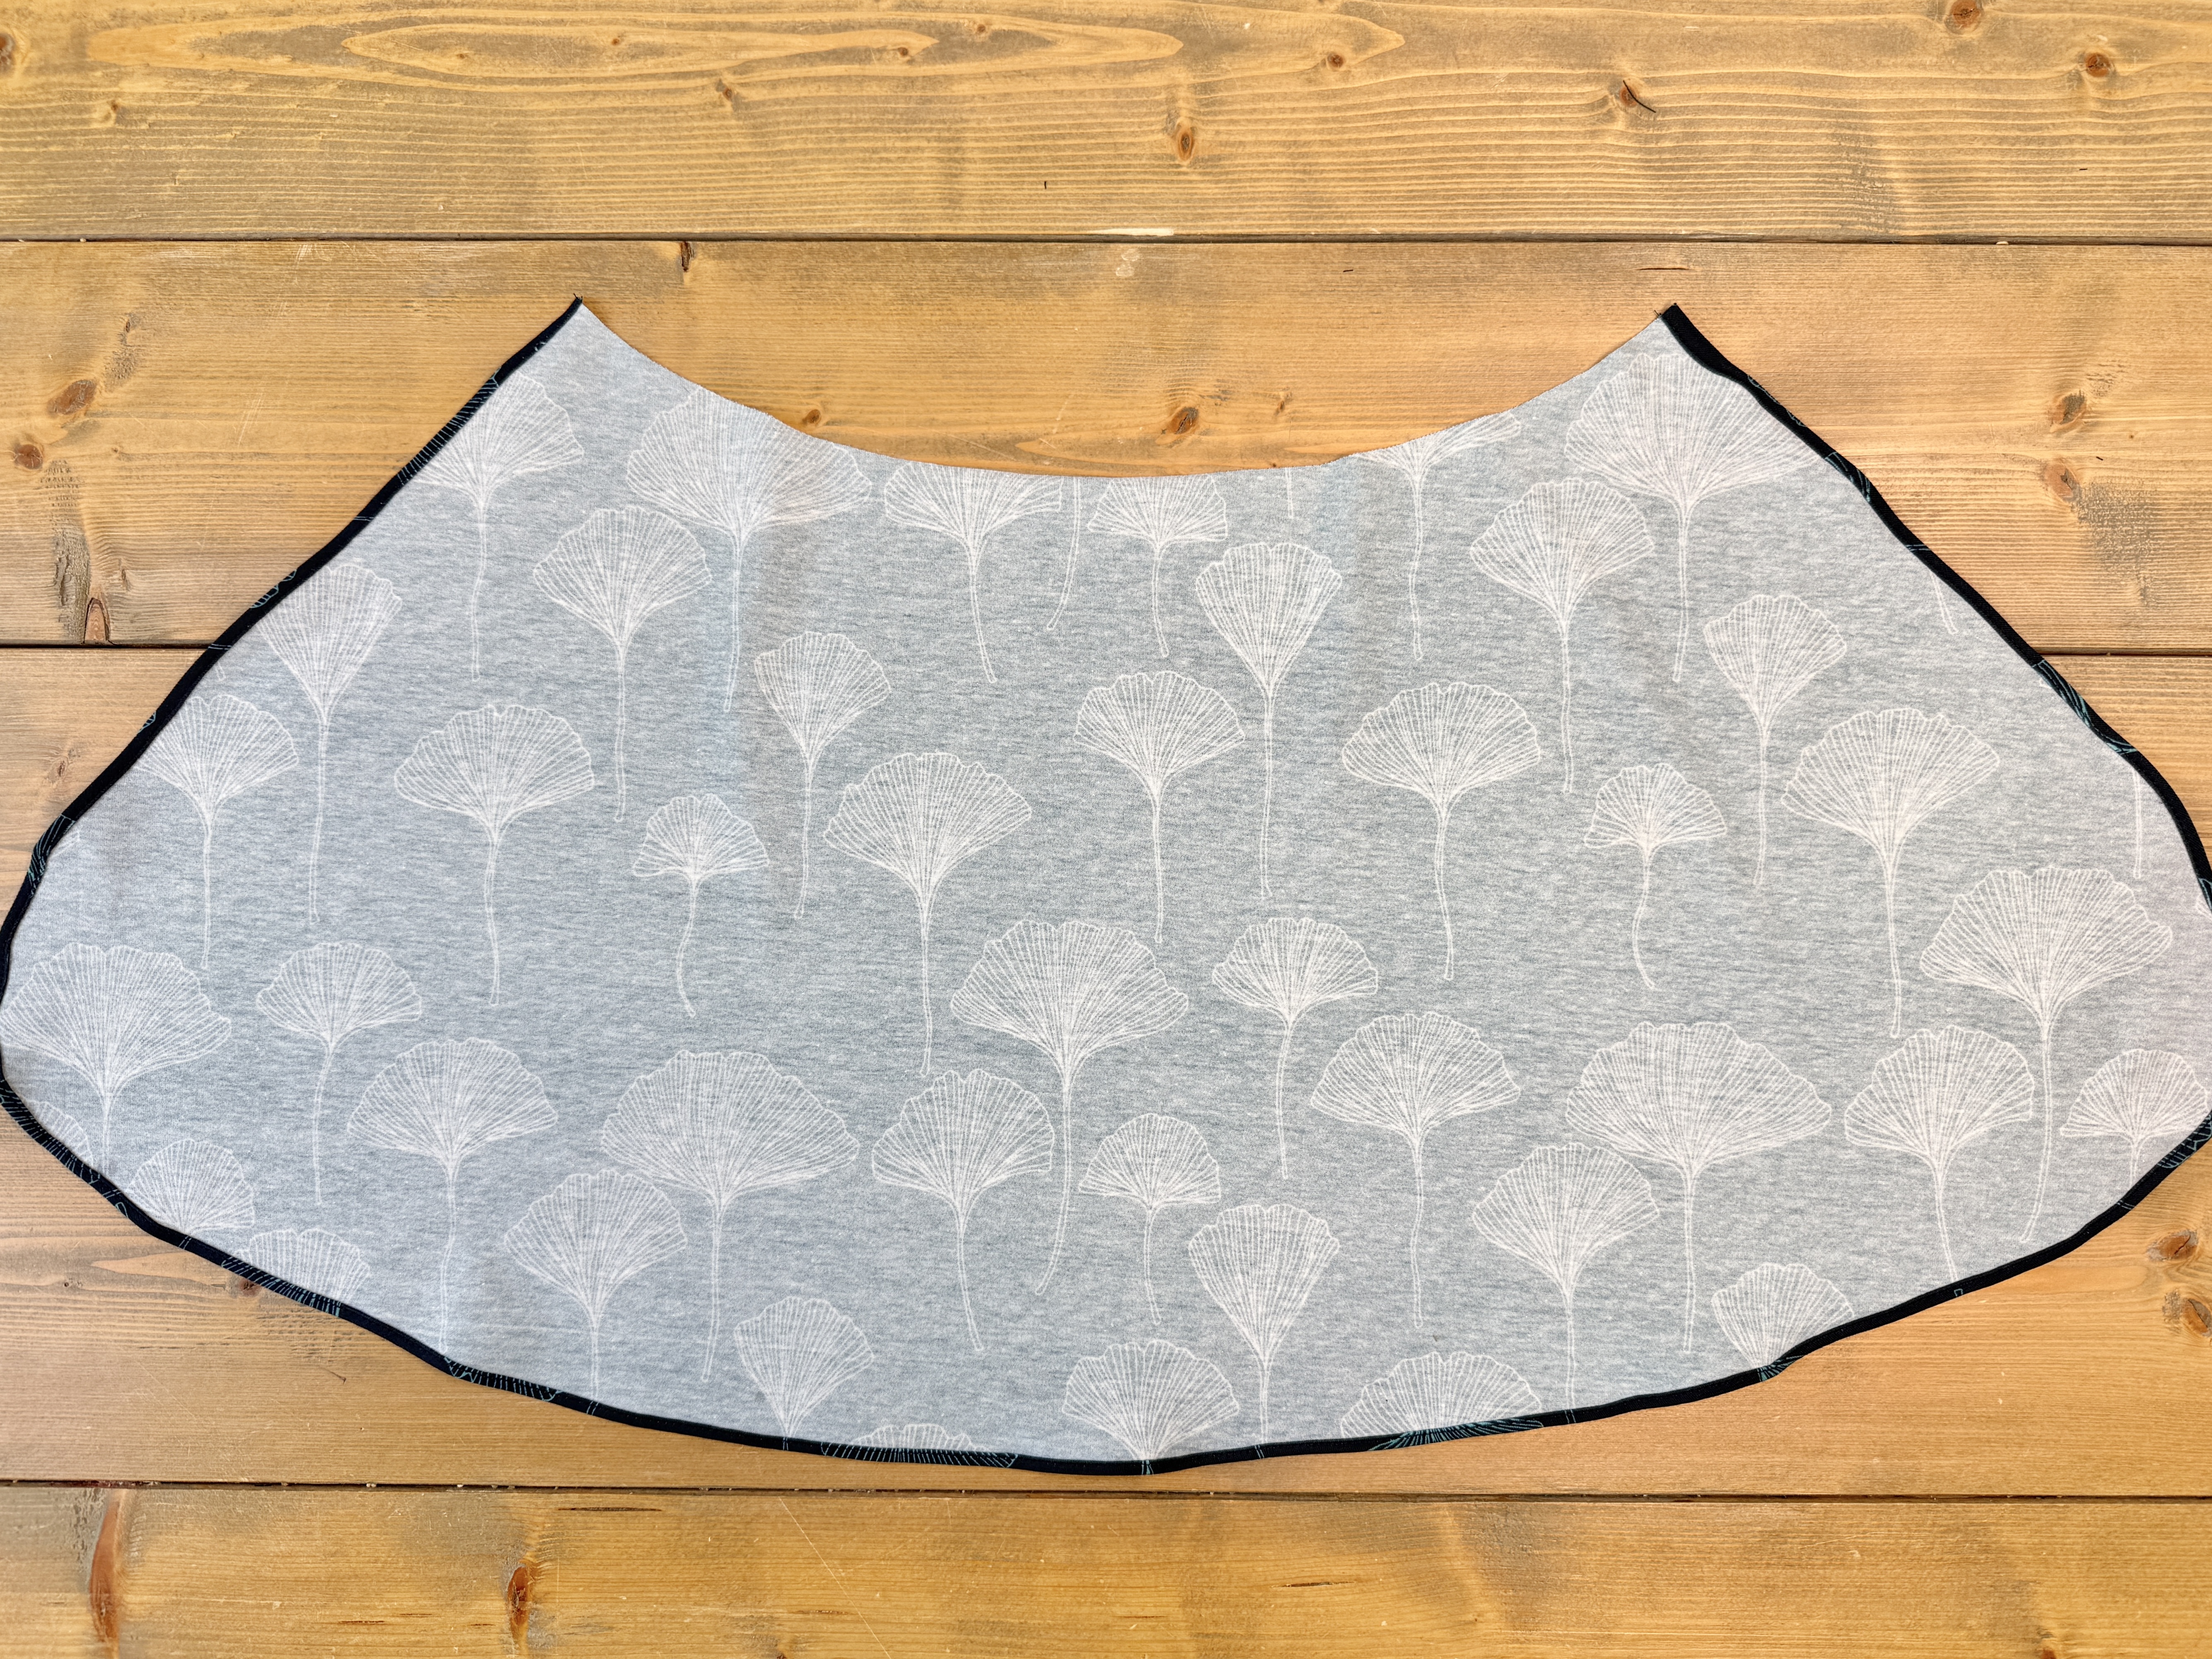
With the skirt front and back facing right sides up, overlap the skirt back piece overtop of the skirt front piece by 1.5”. Baste in place. Repeat for the opposite side.
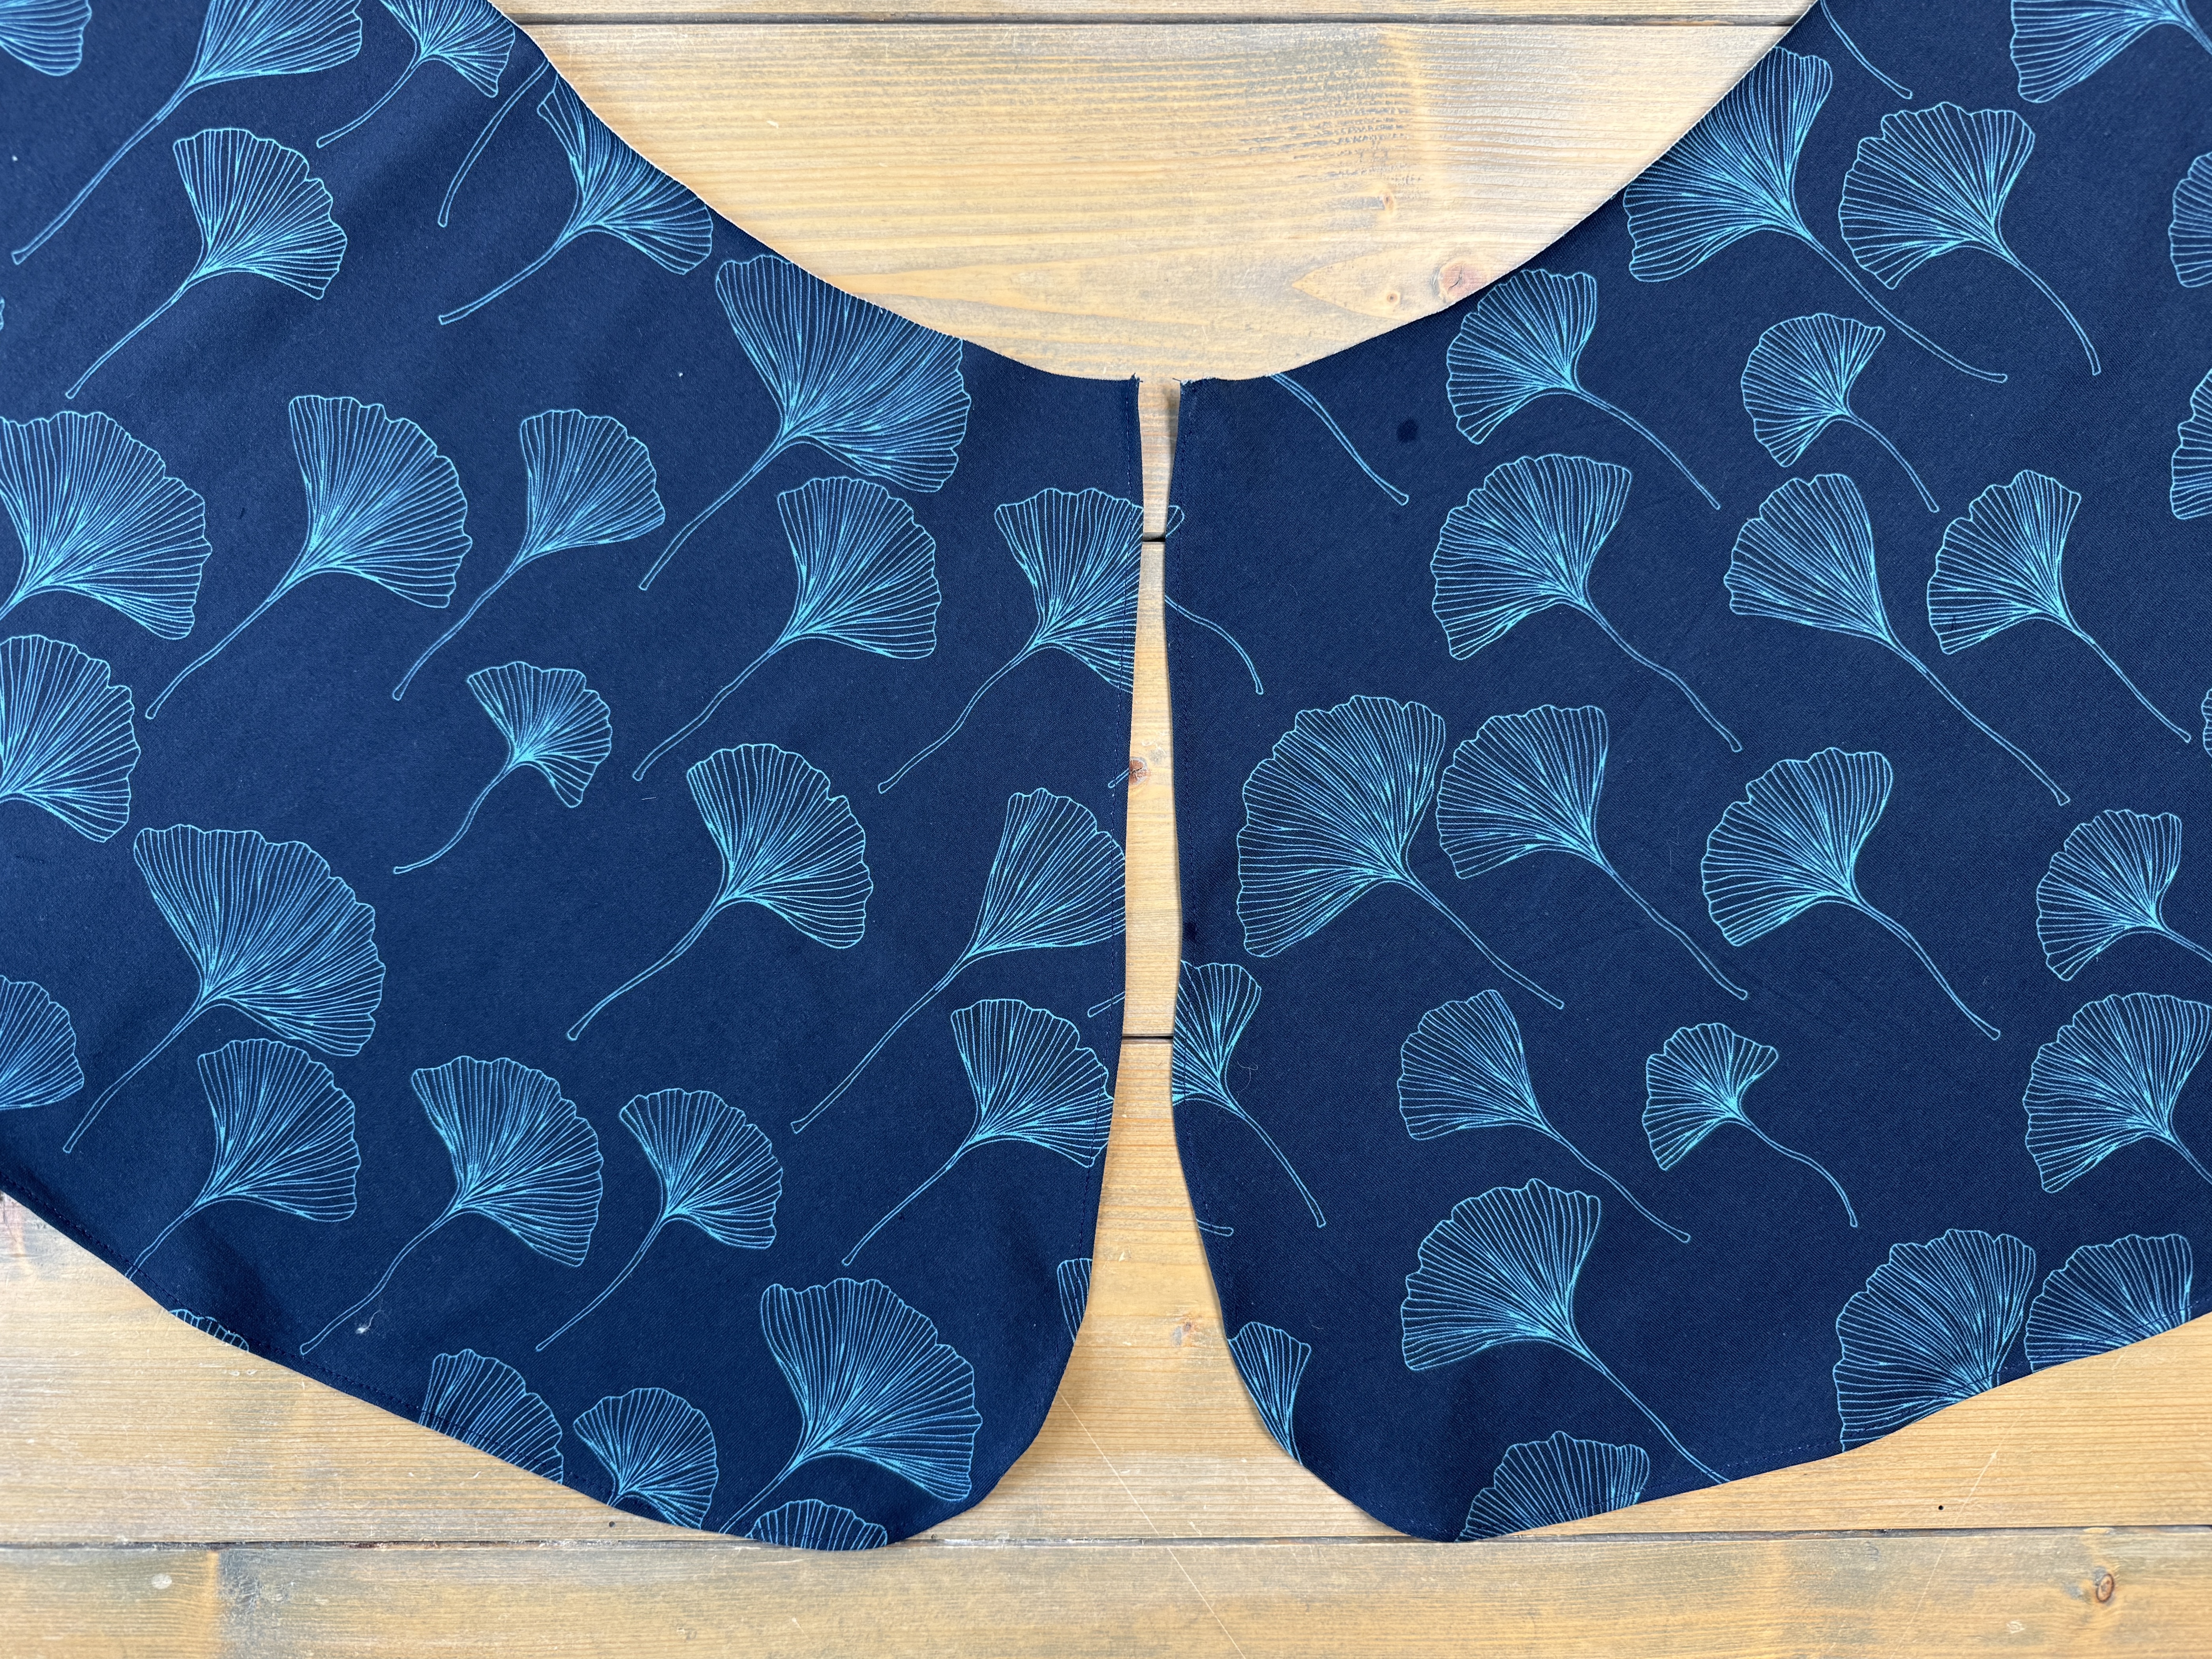
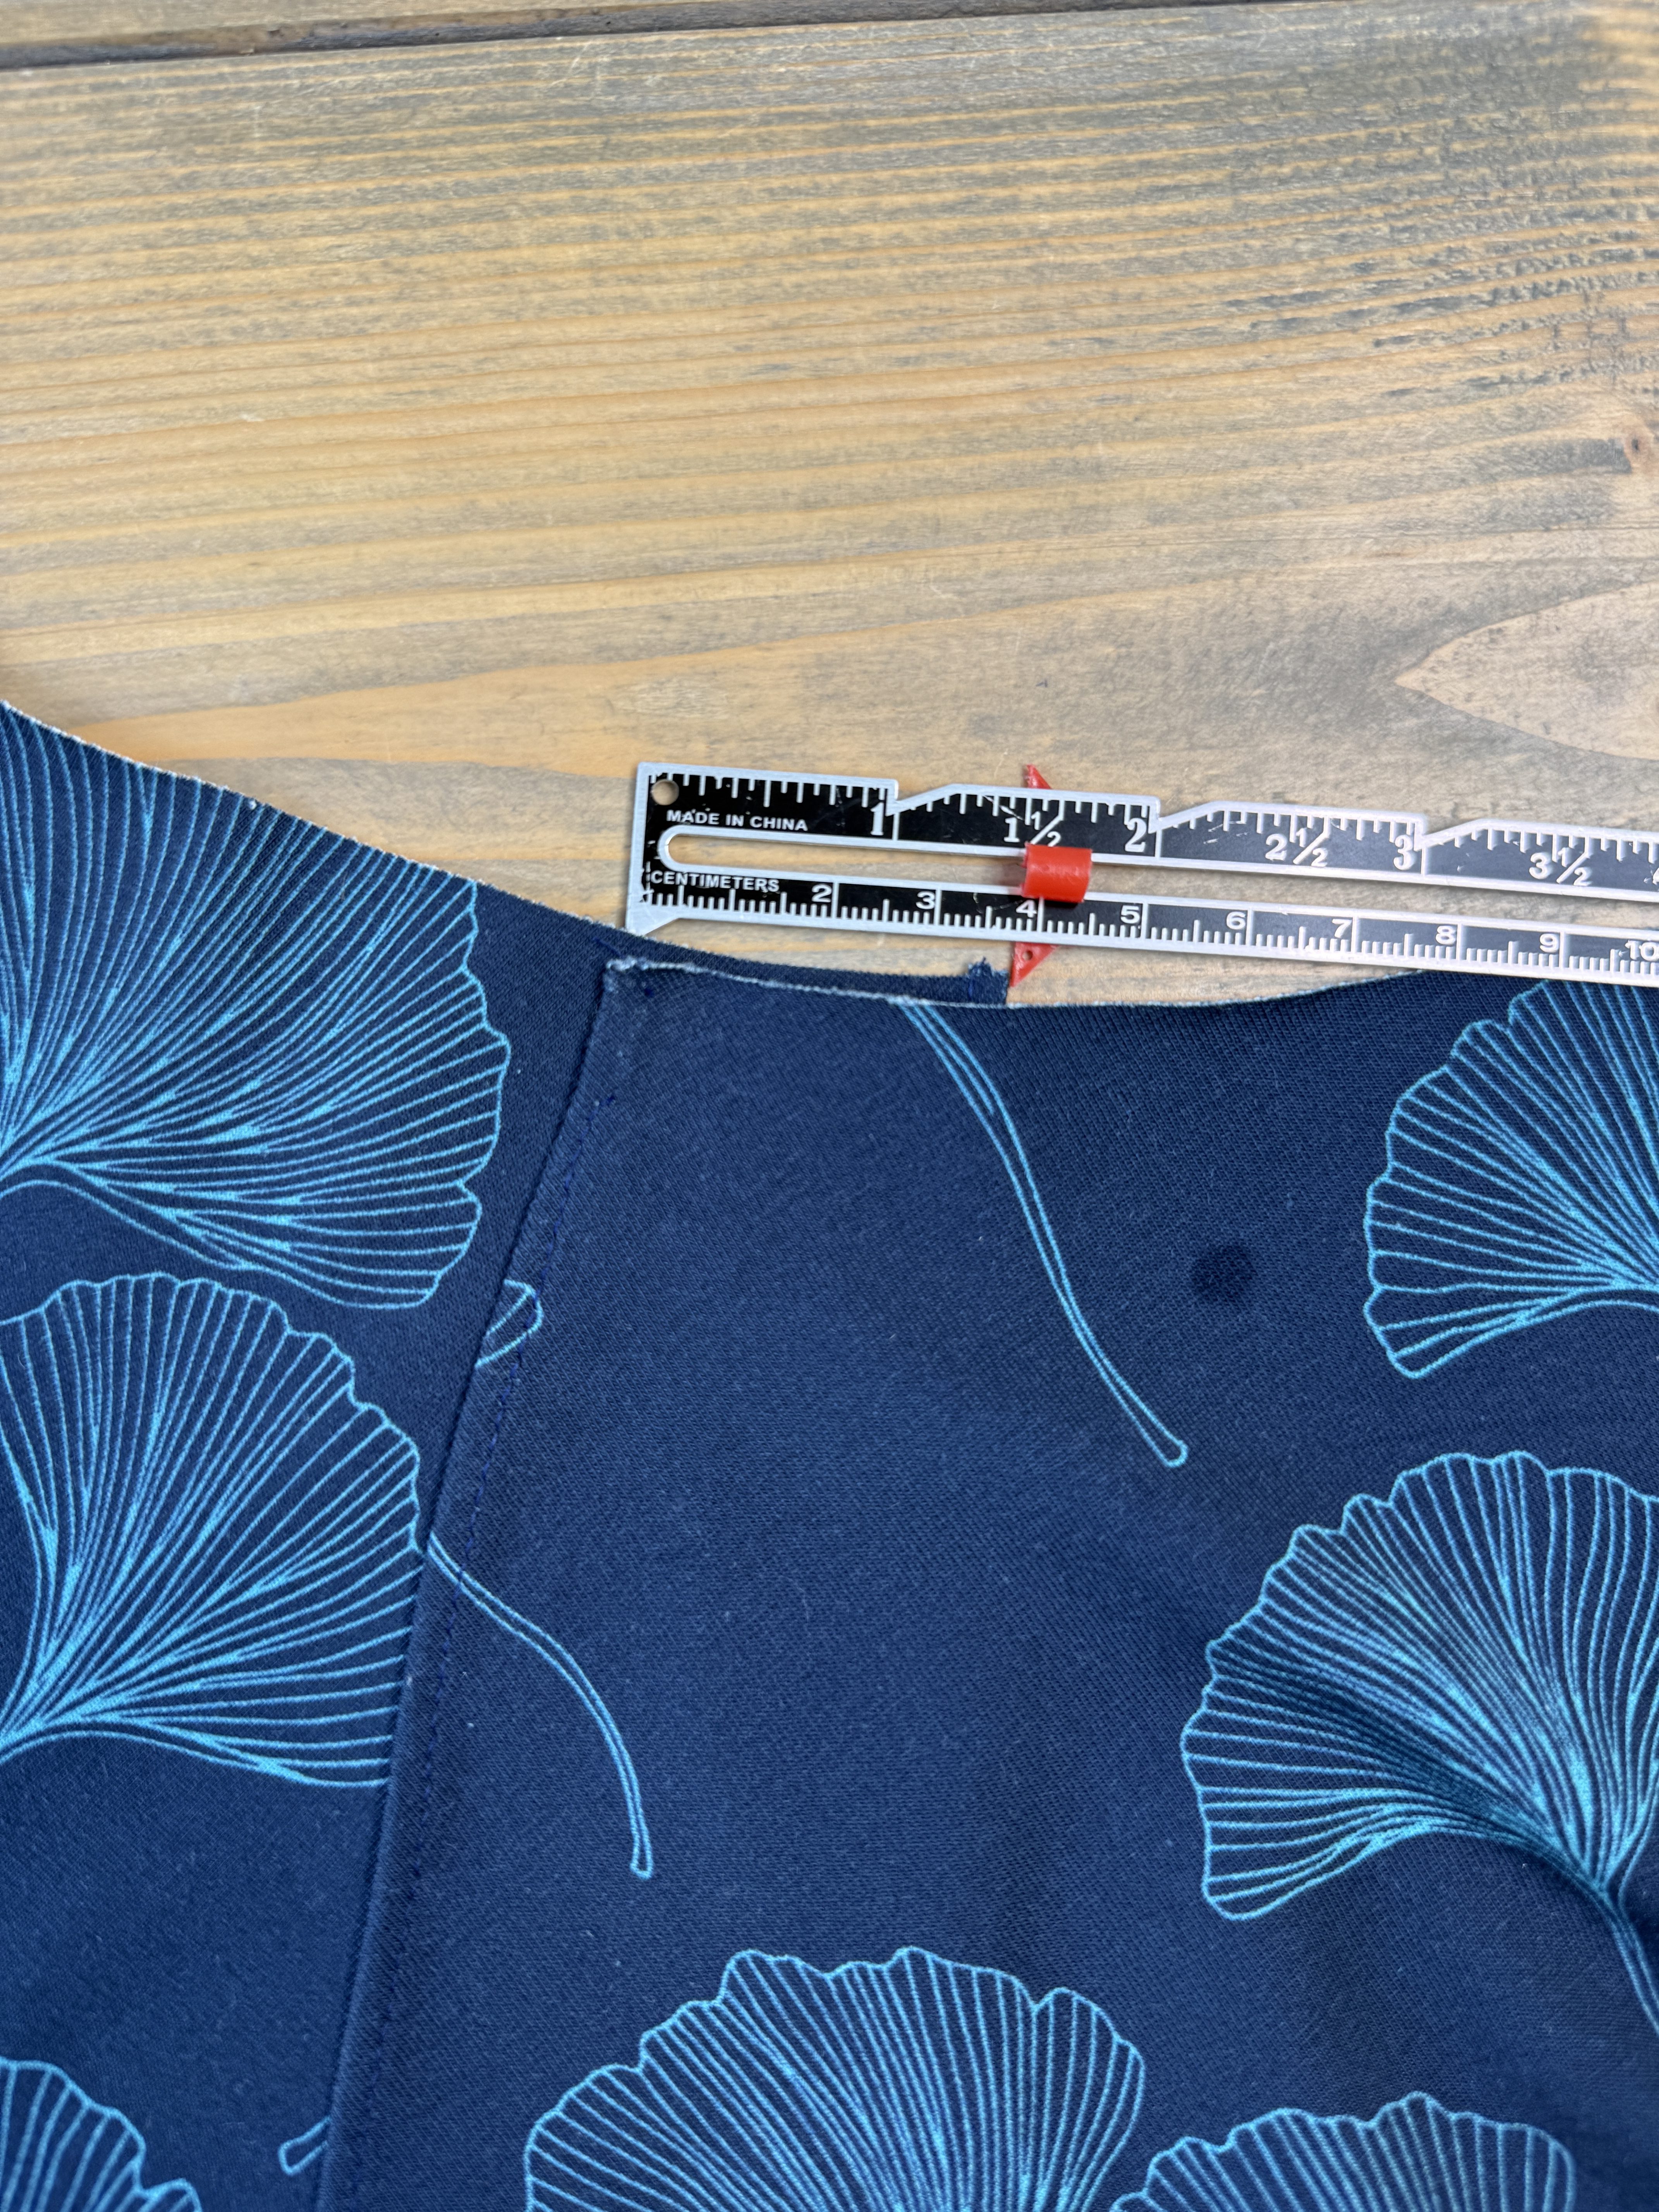
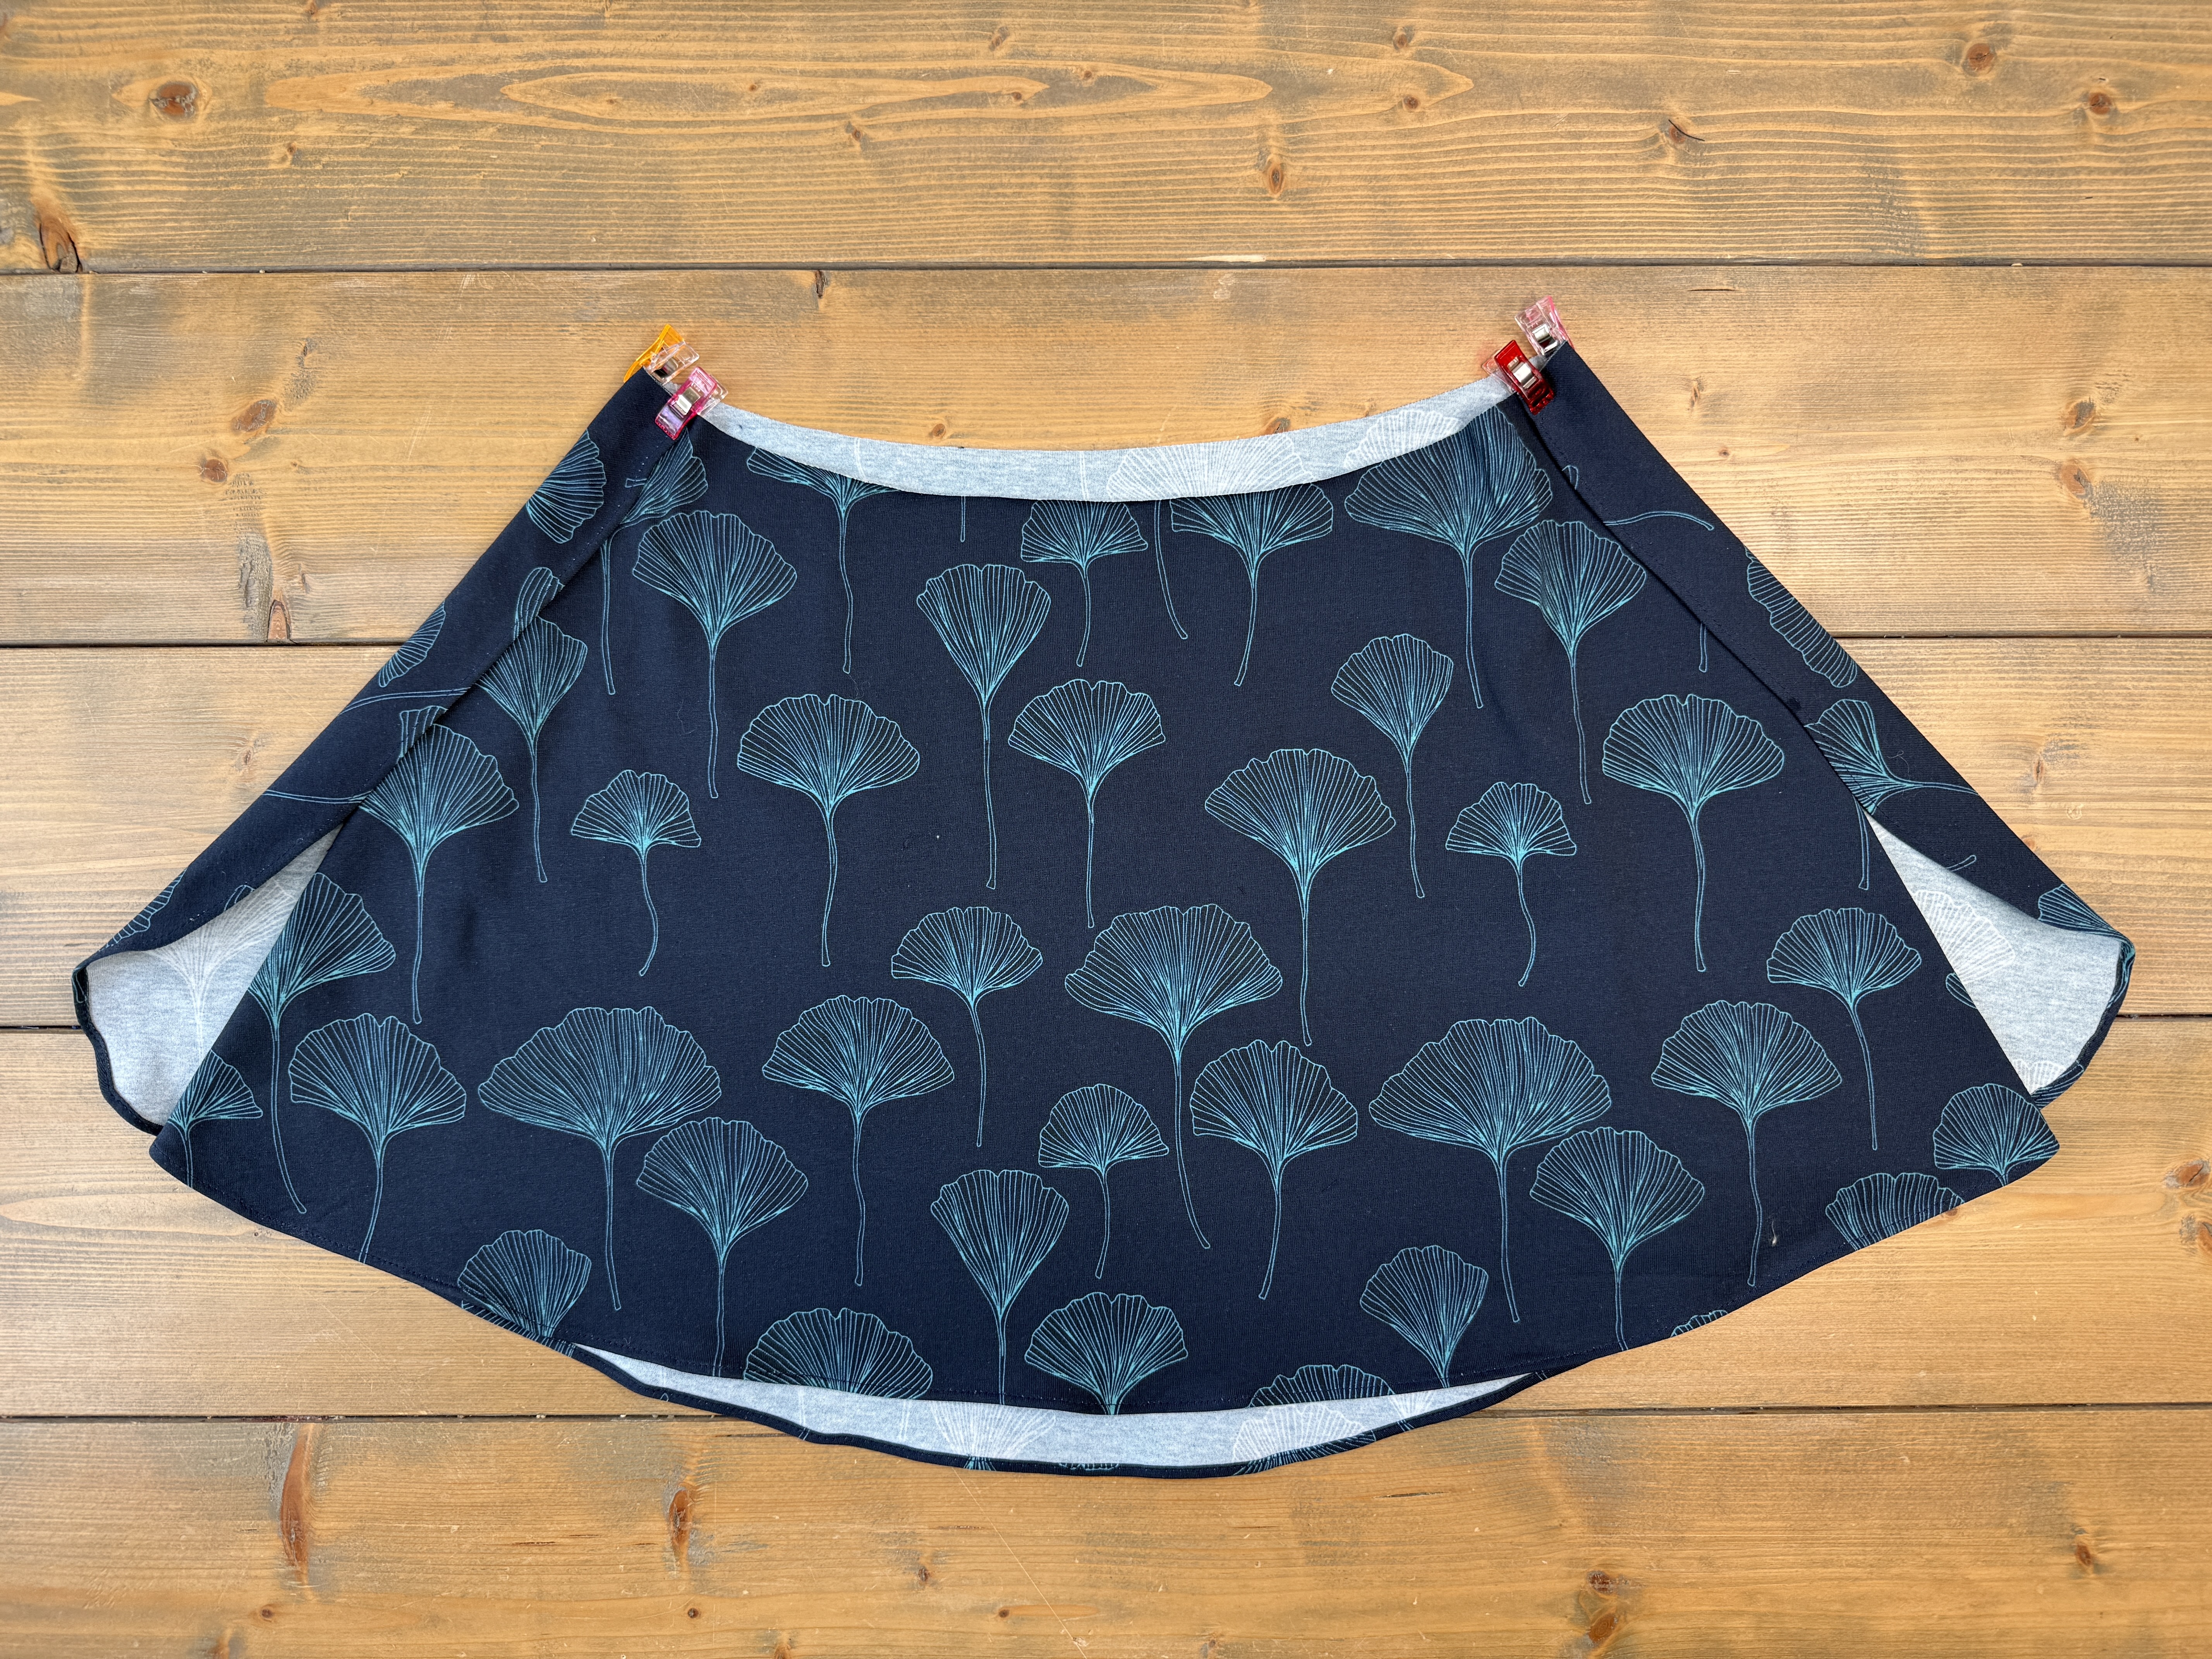
The skirt will now be one tubular piece.
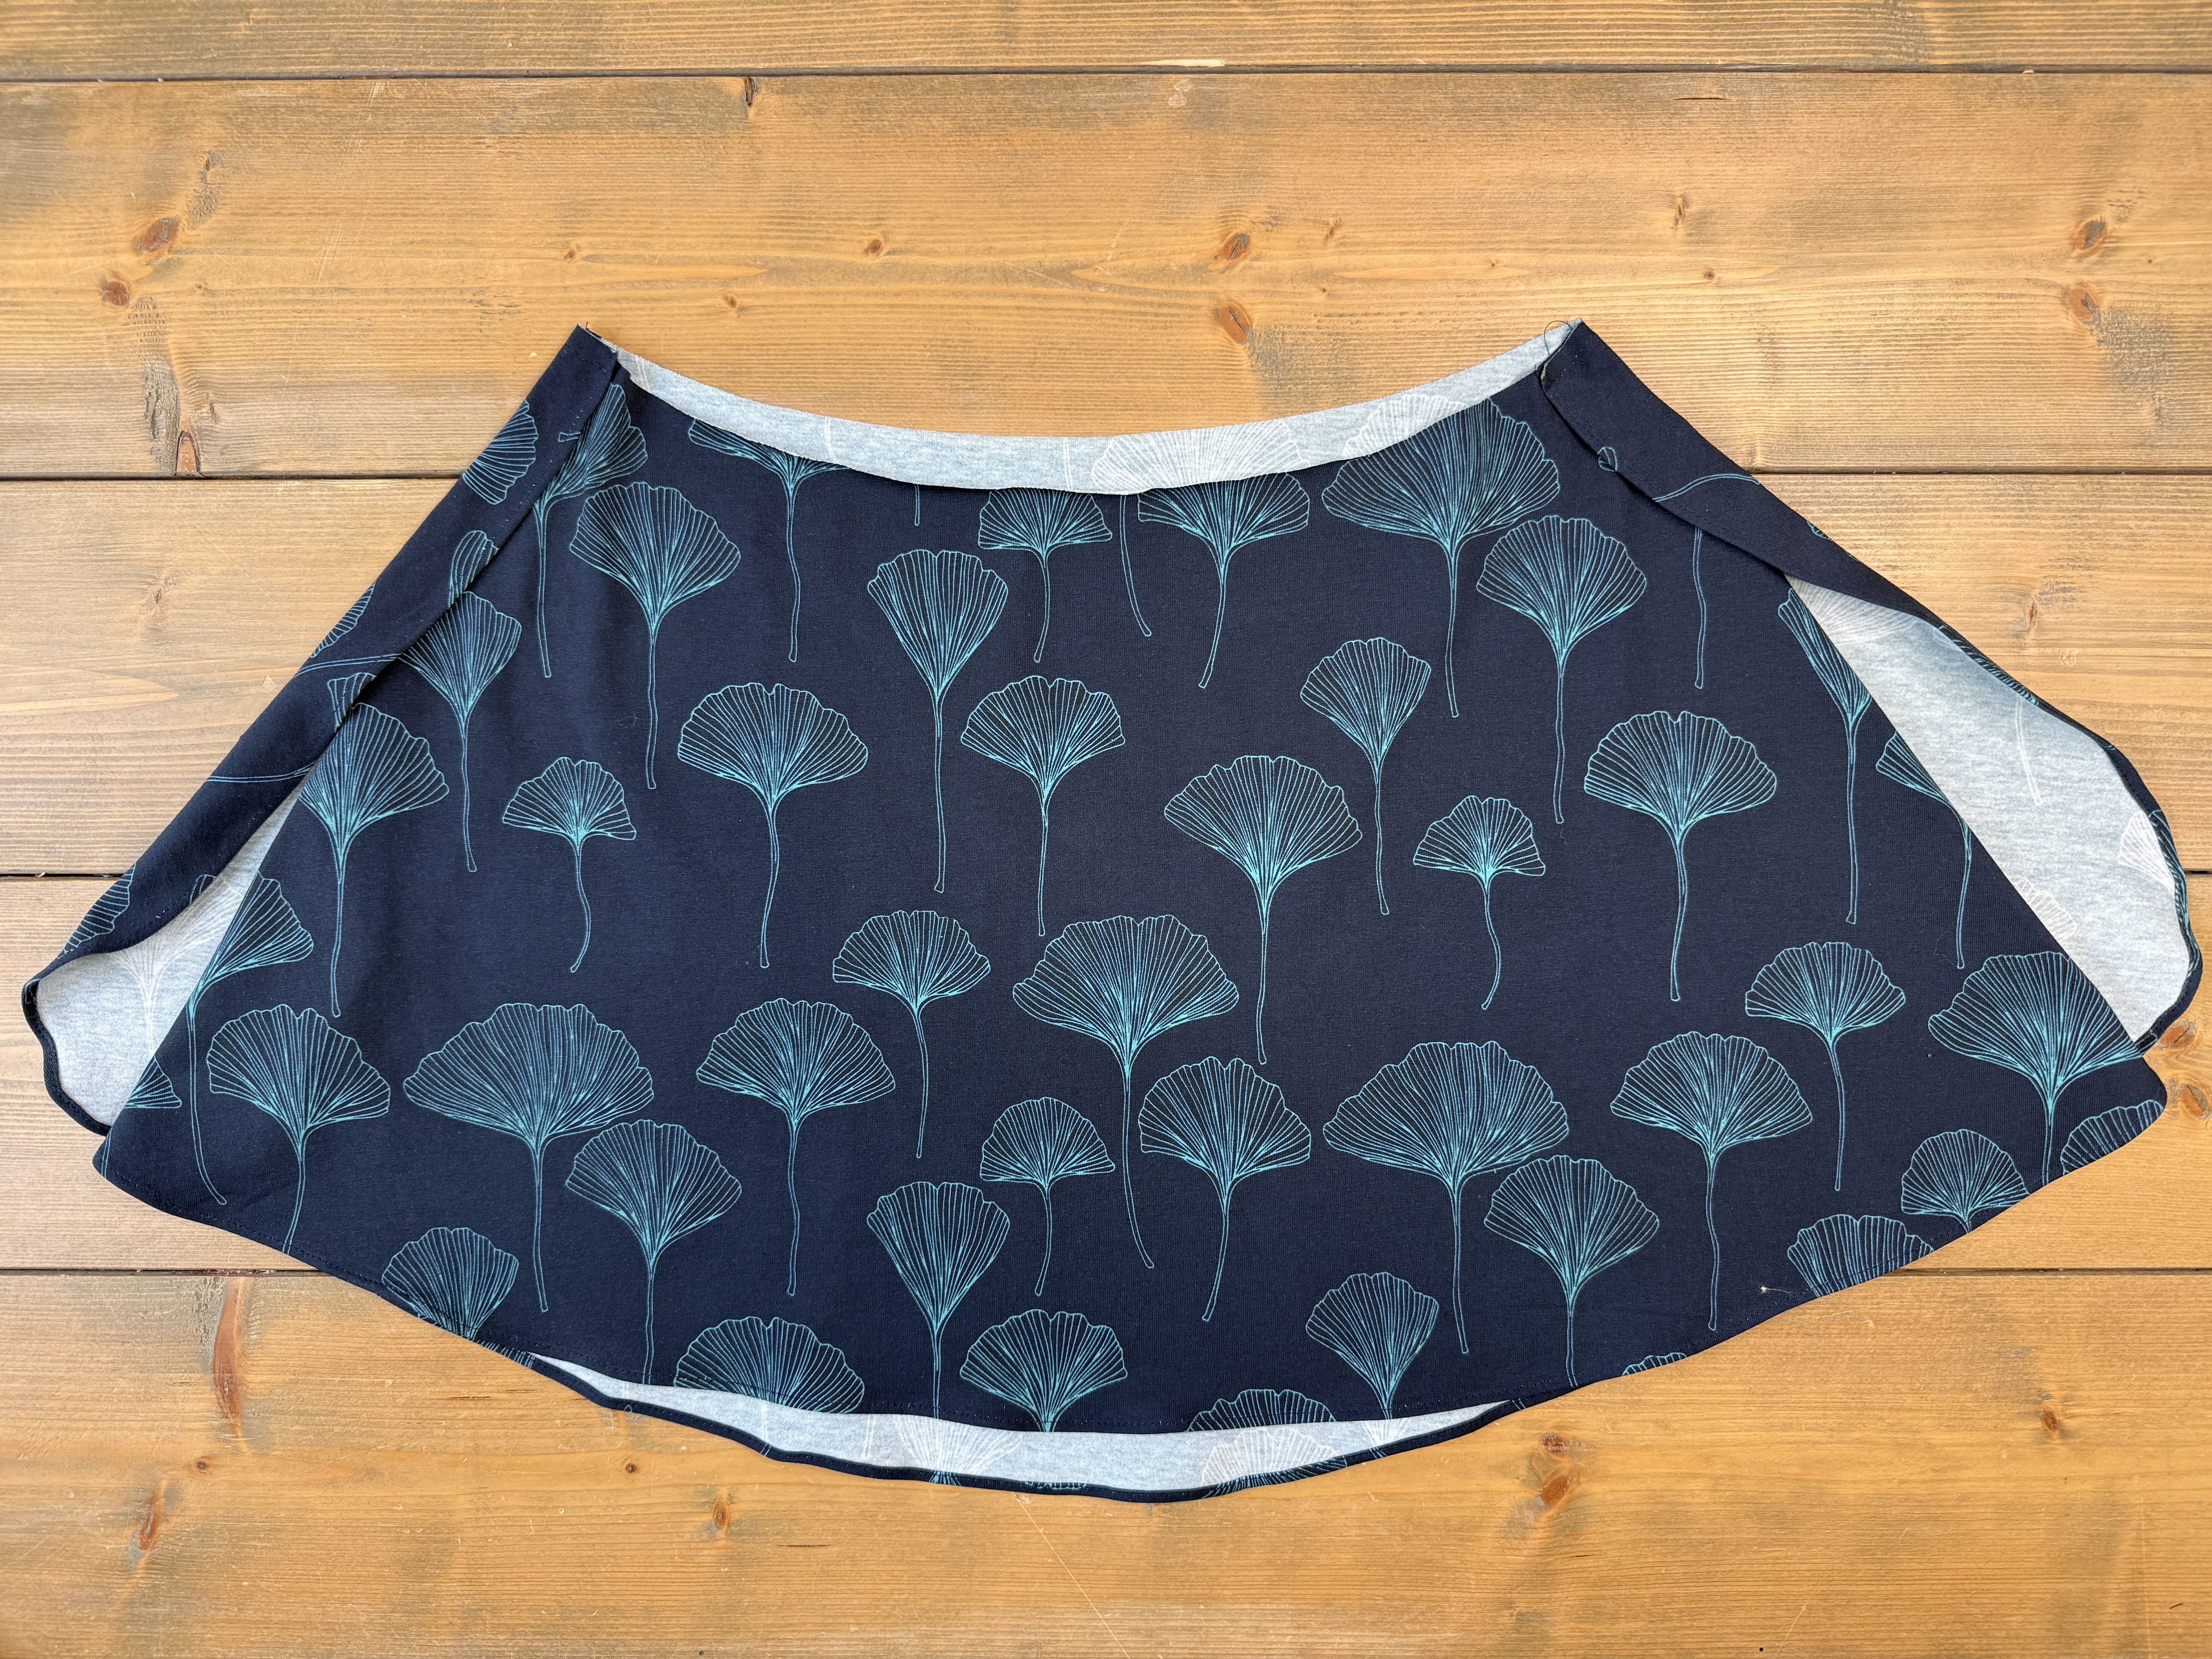
Locate the shorties. Slip the skirt overtop of the shorties, aligning the overlapped portion with the side seams.
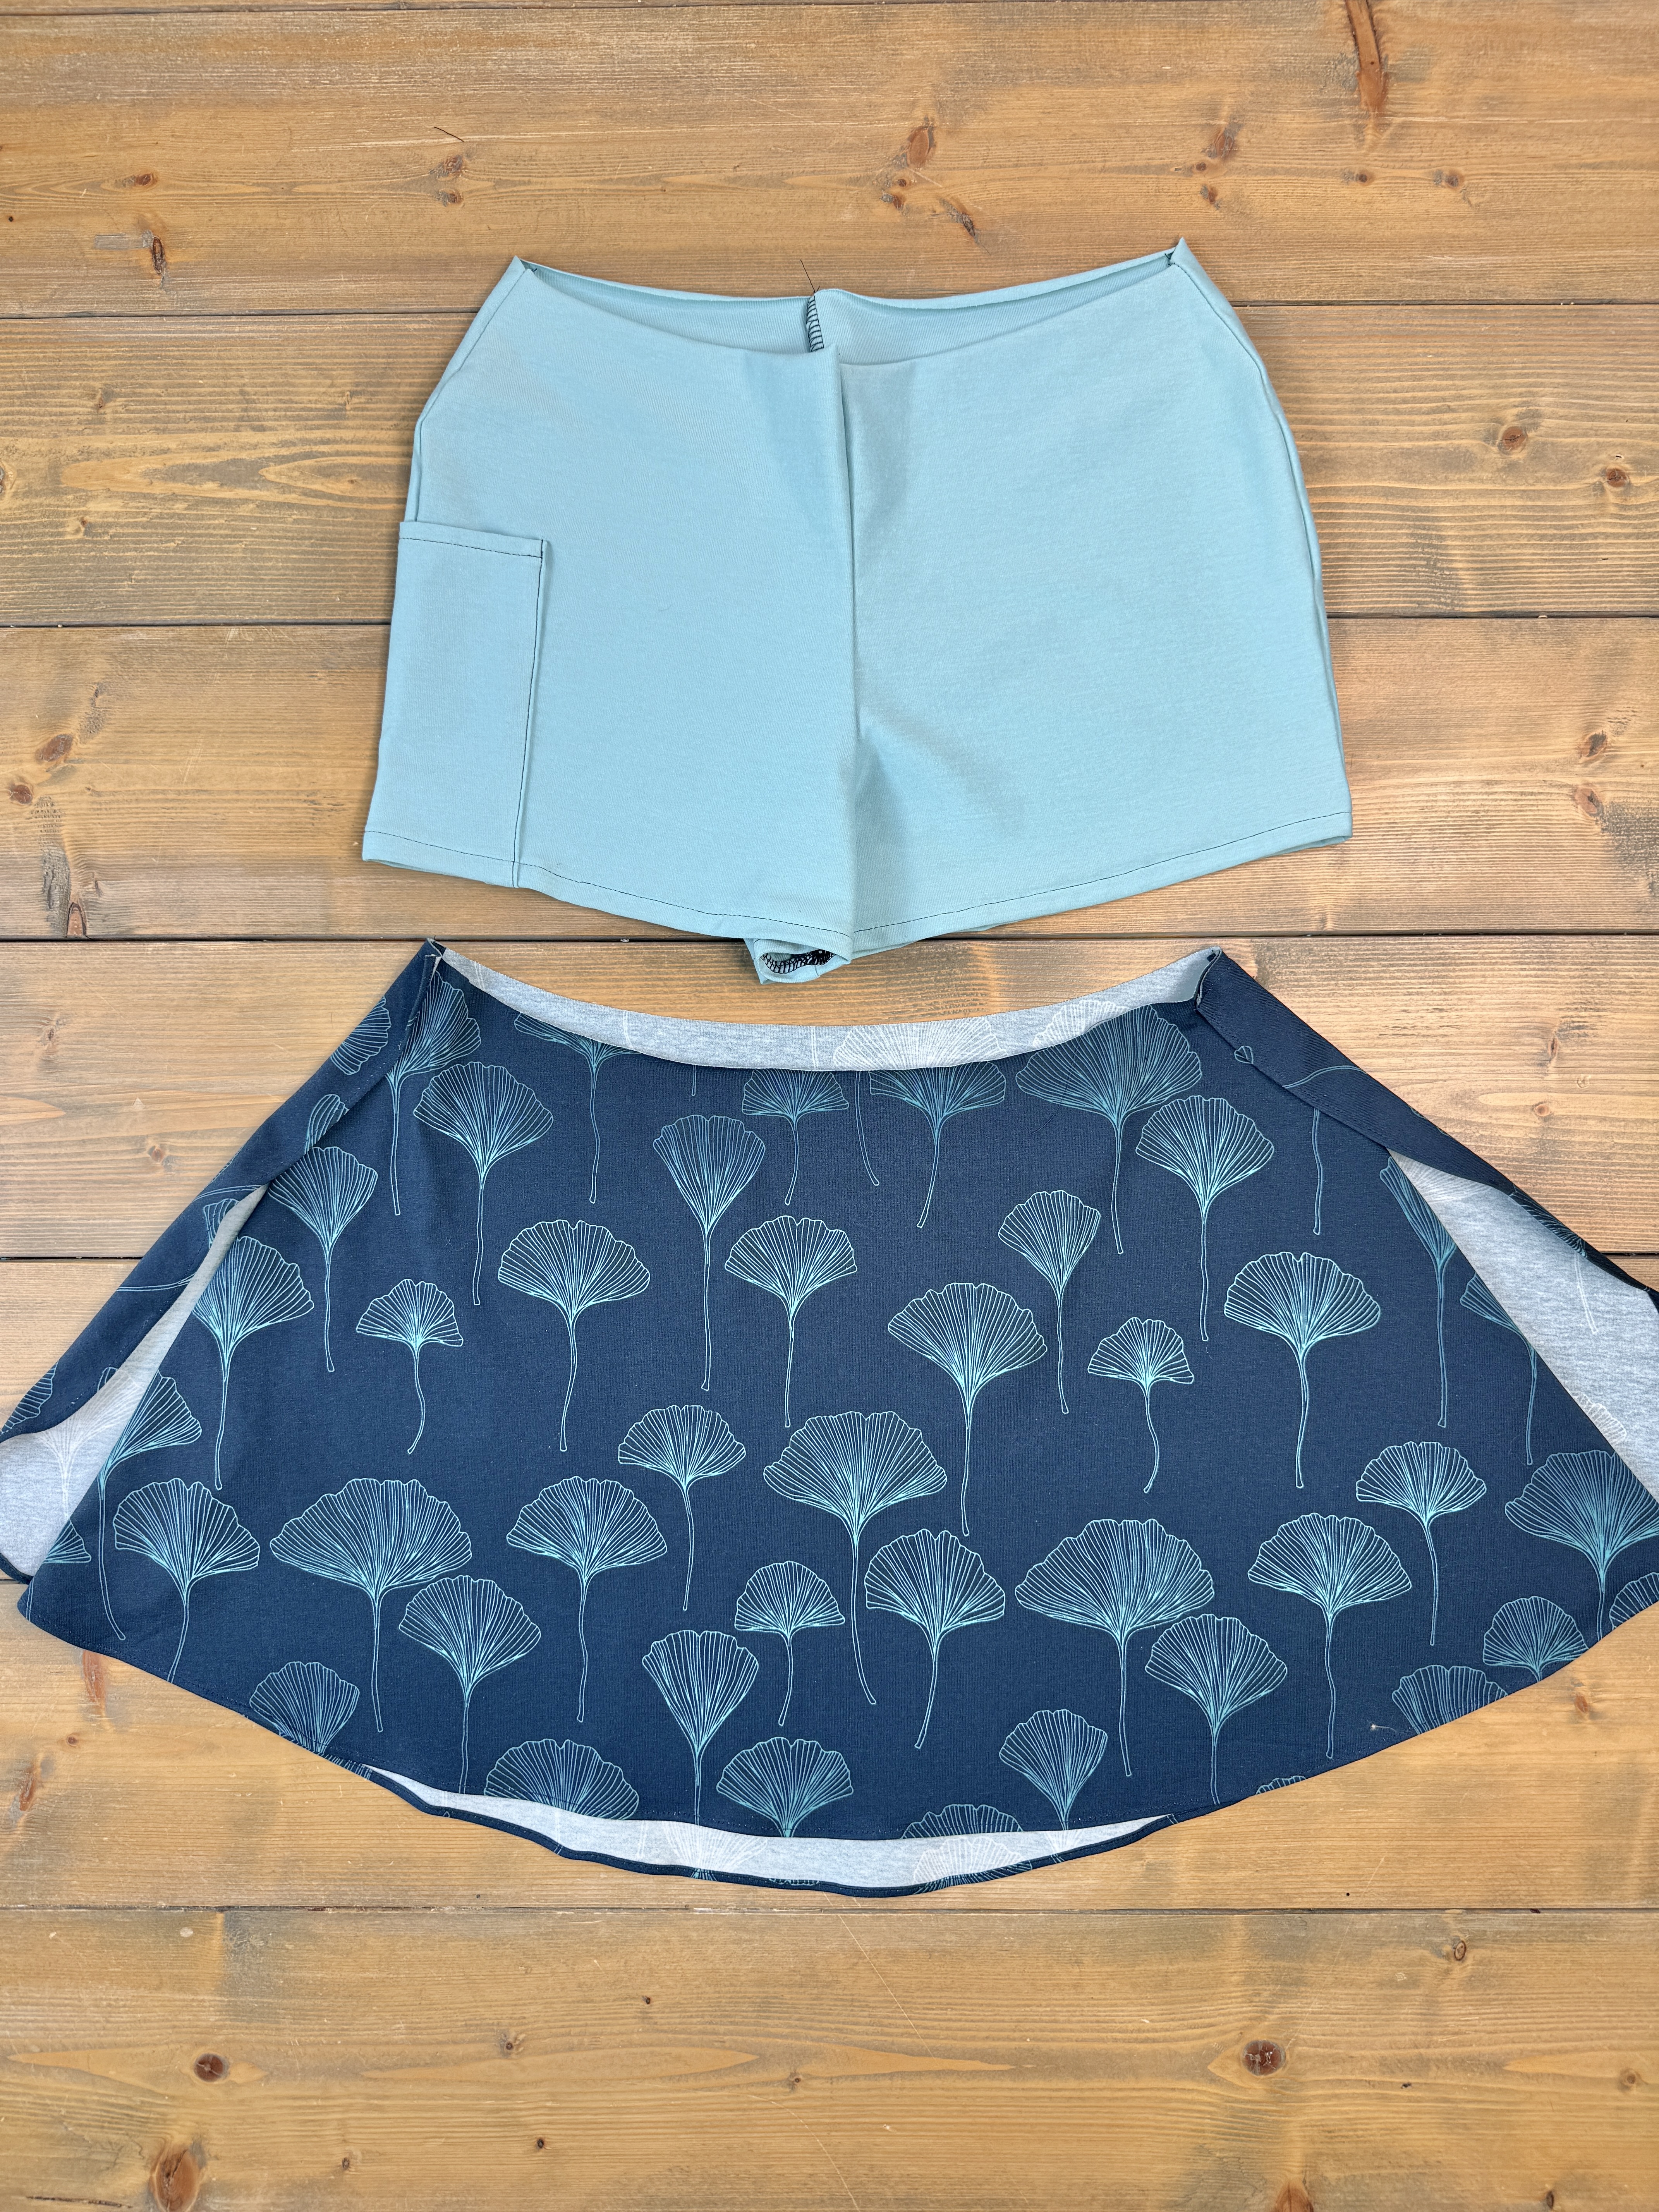
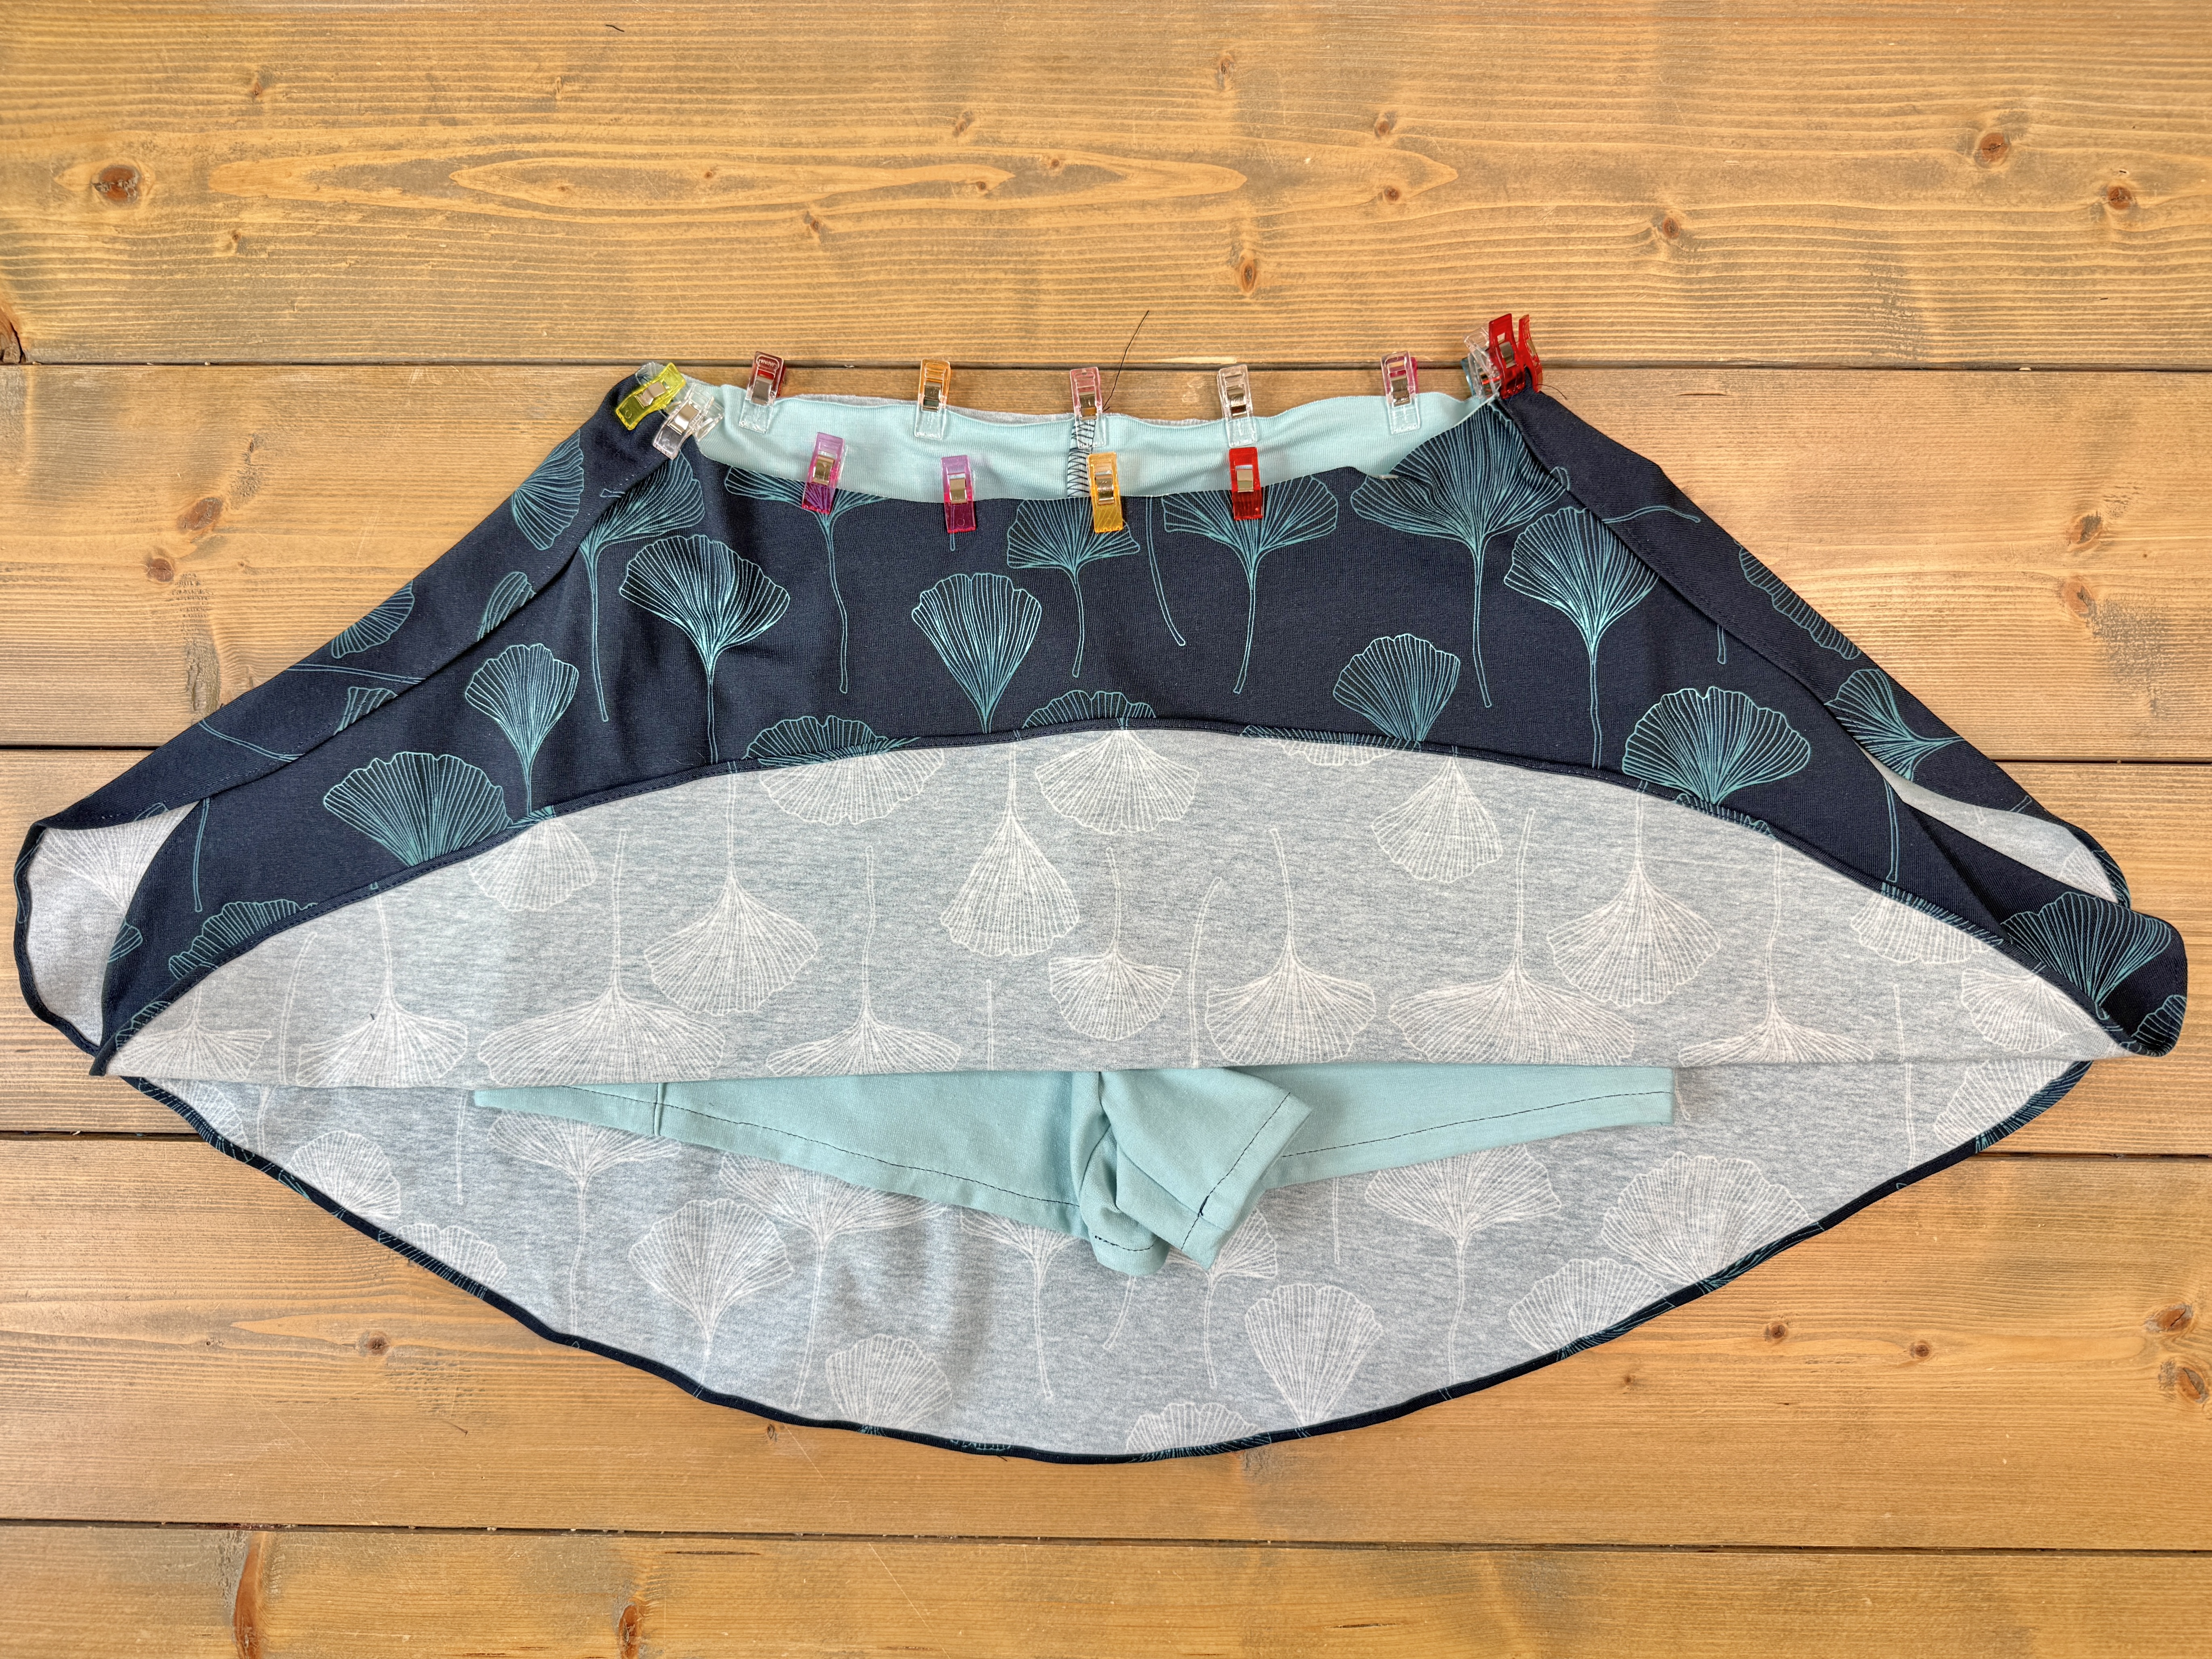
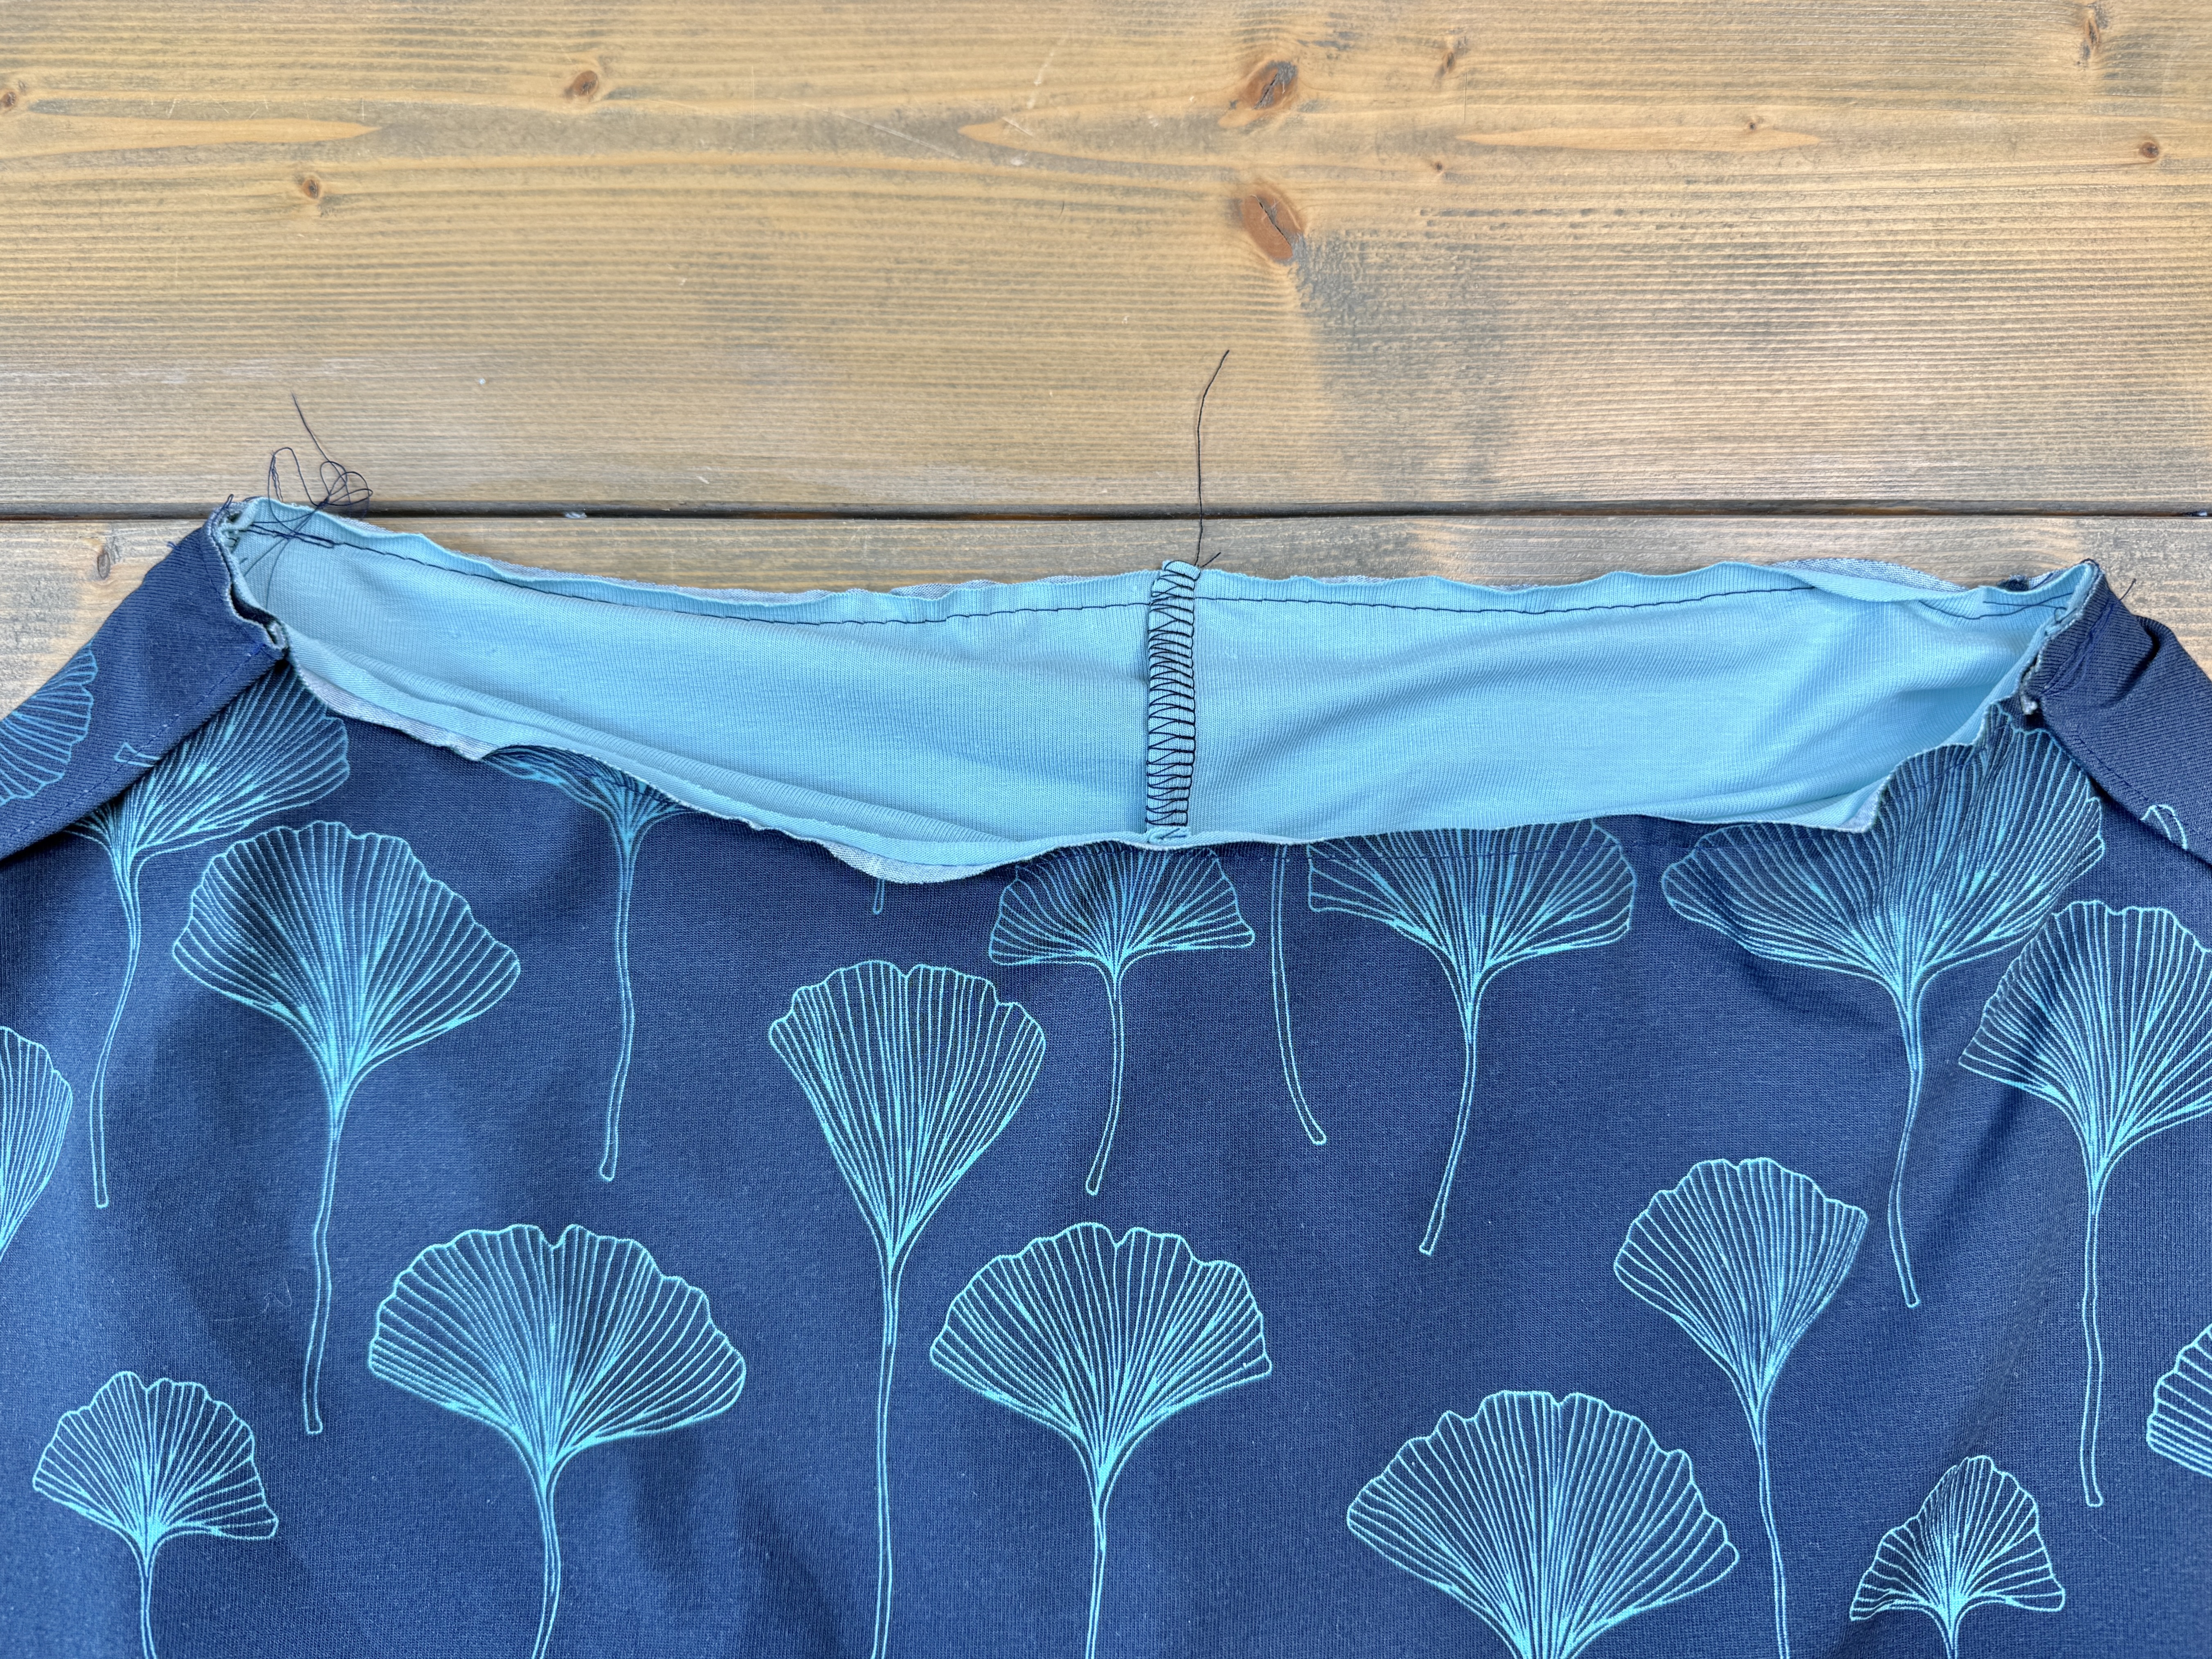
Baste the skirt to the shorties along the top waist edge.
Attaching the Serena Waistband
Locate the front and back waistband pieces. With right sides together, stitch the short side seams together, making sure to pivot at the V point.
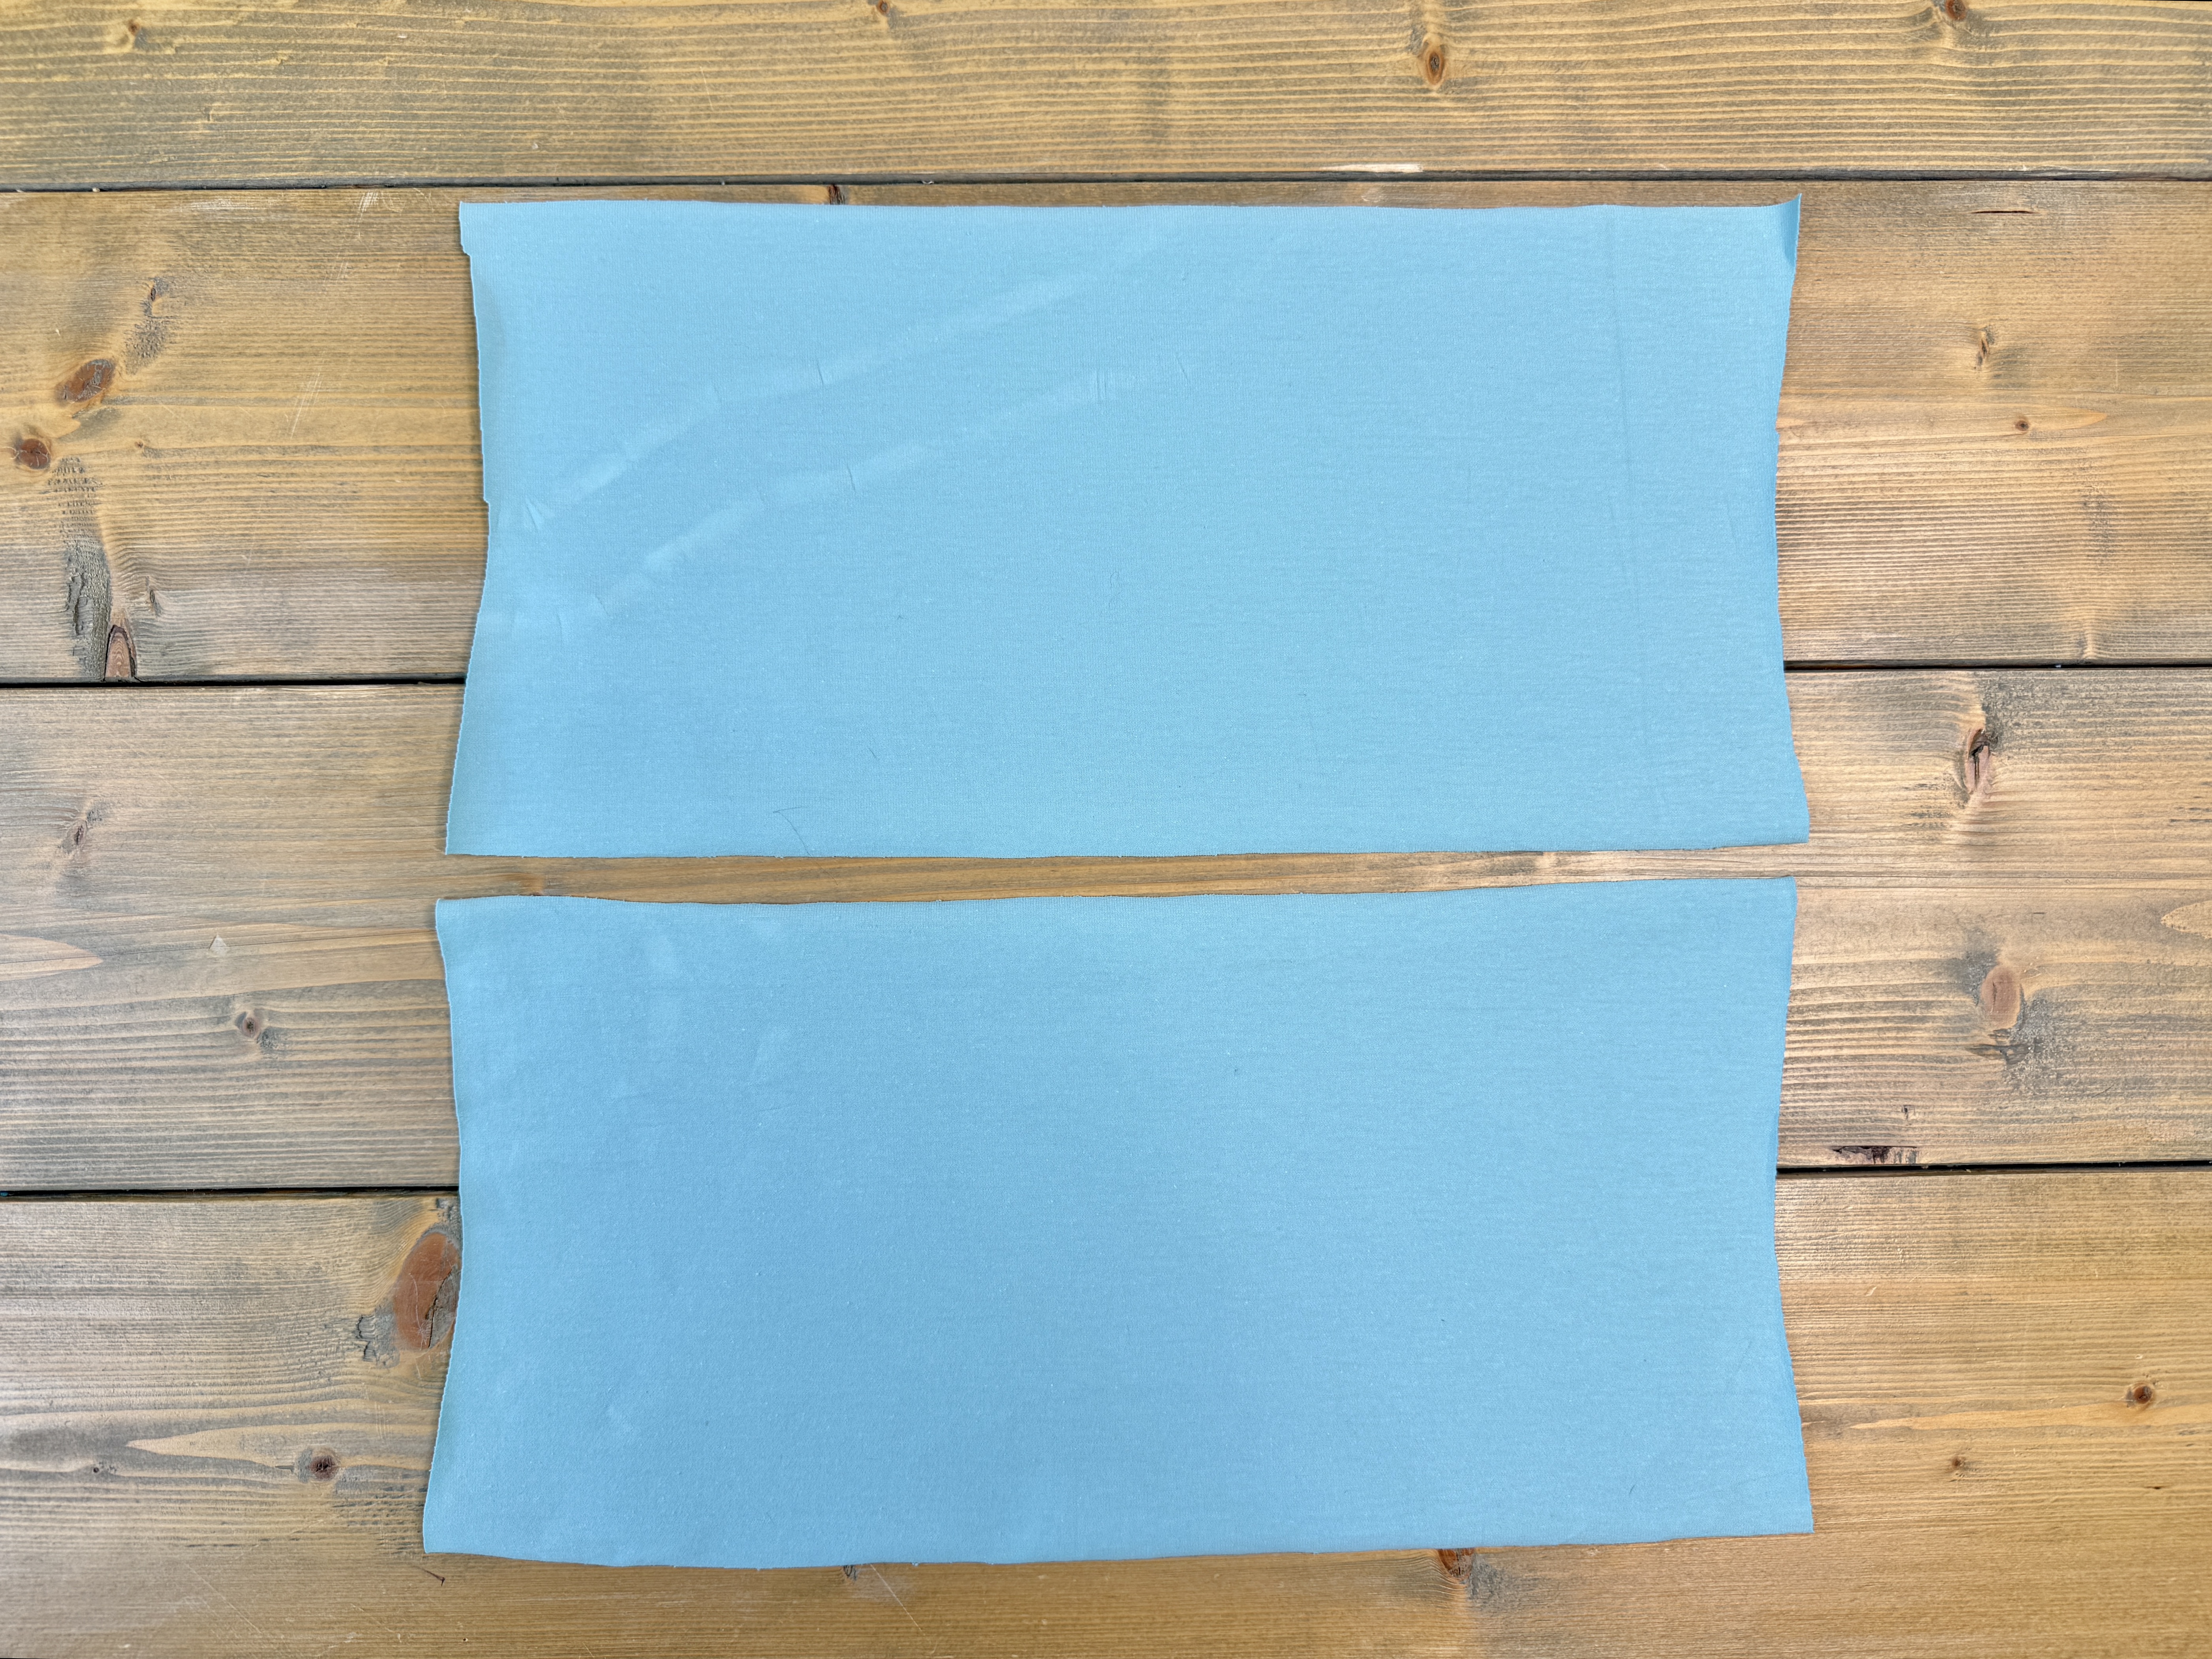
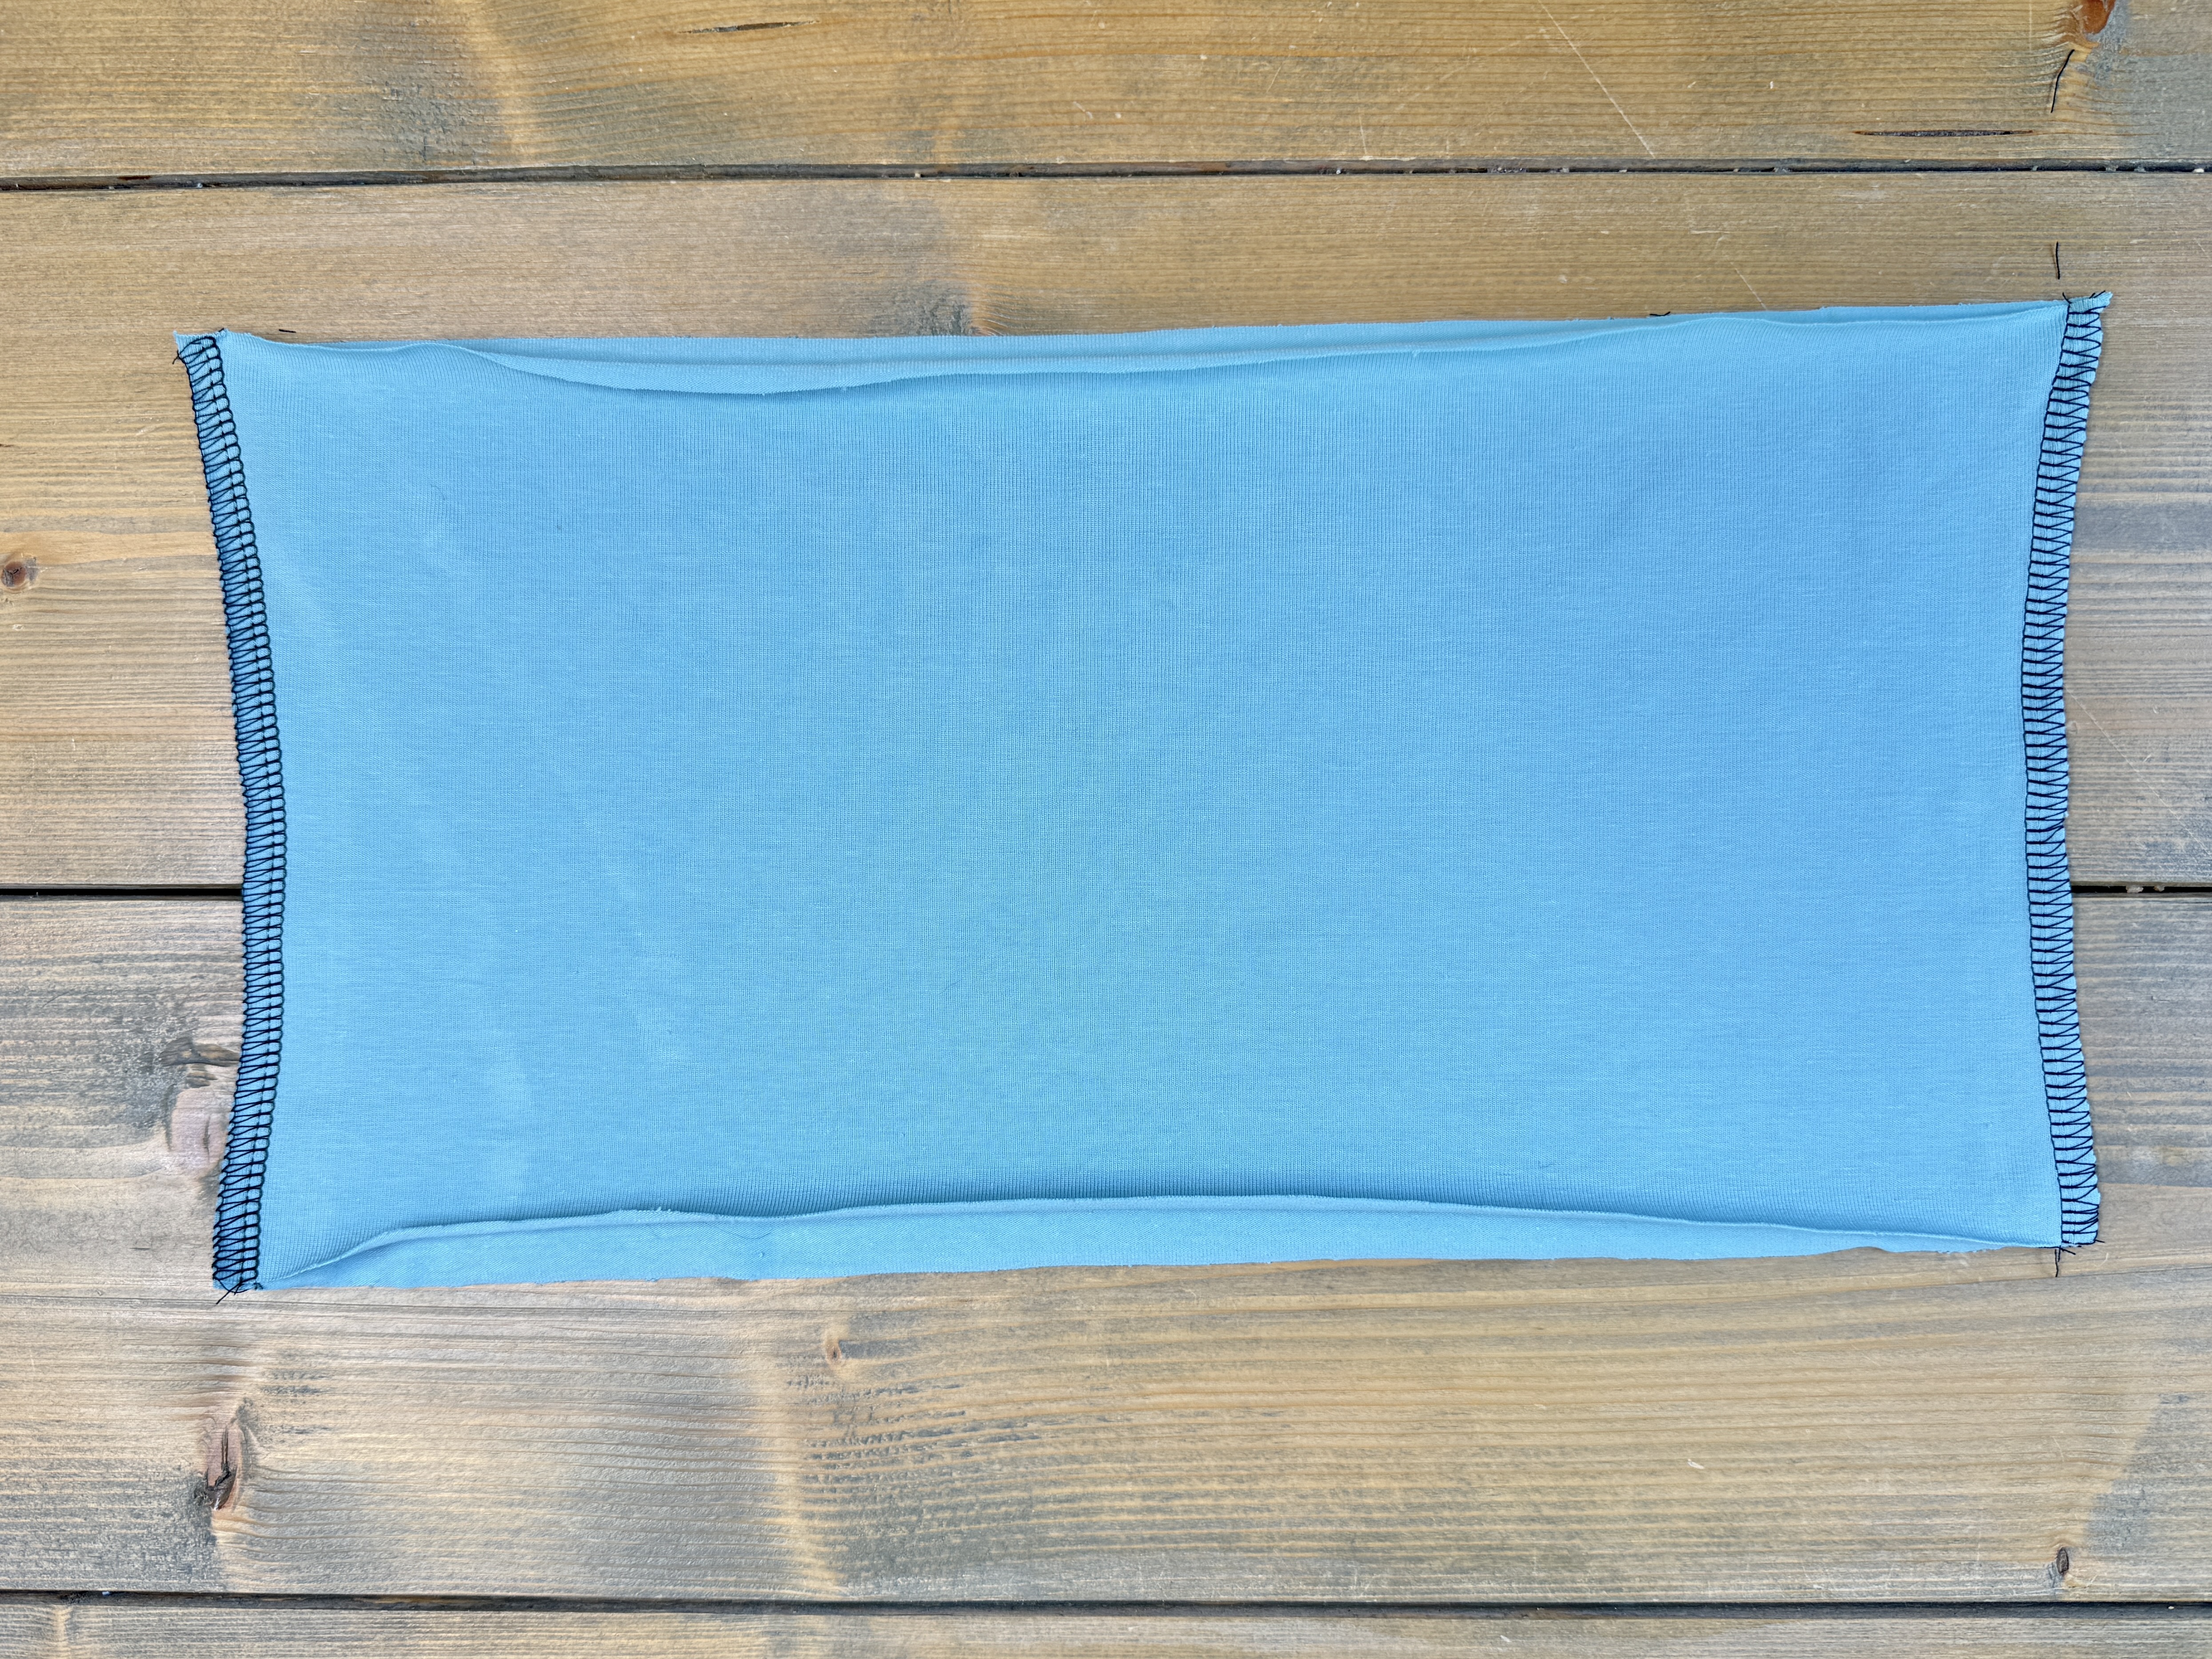
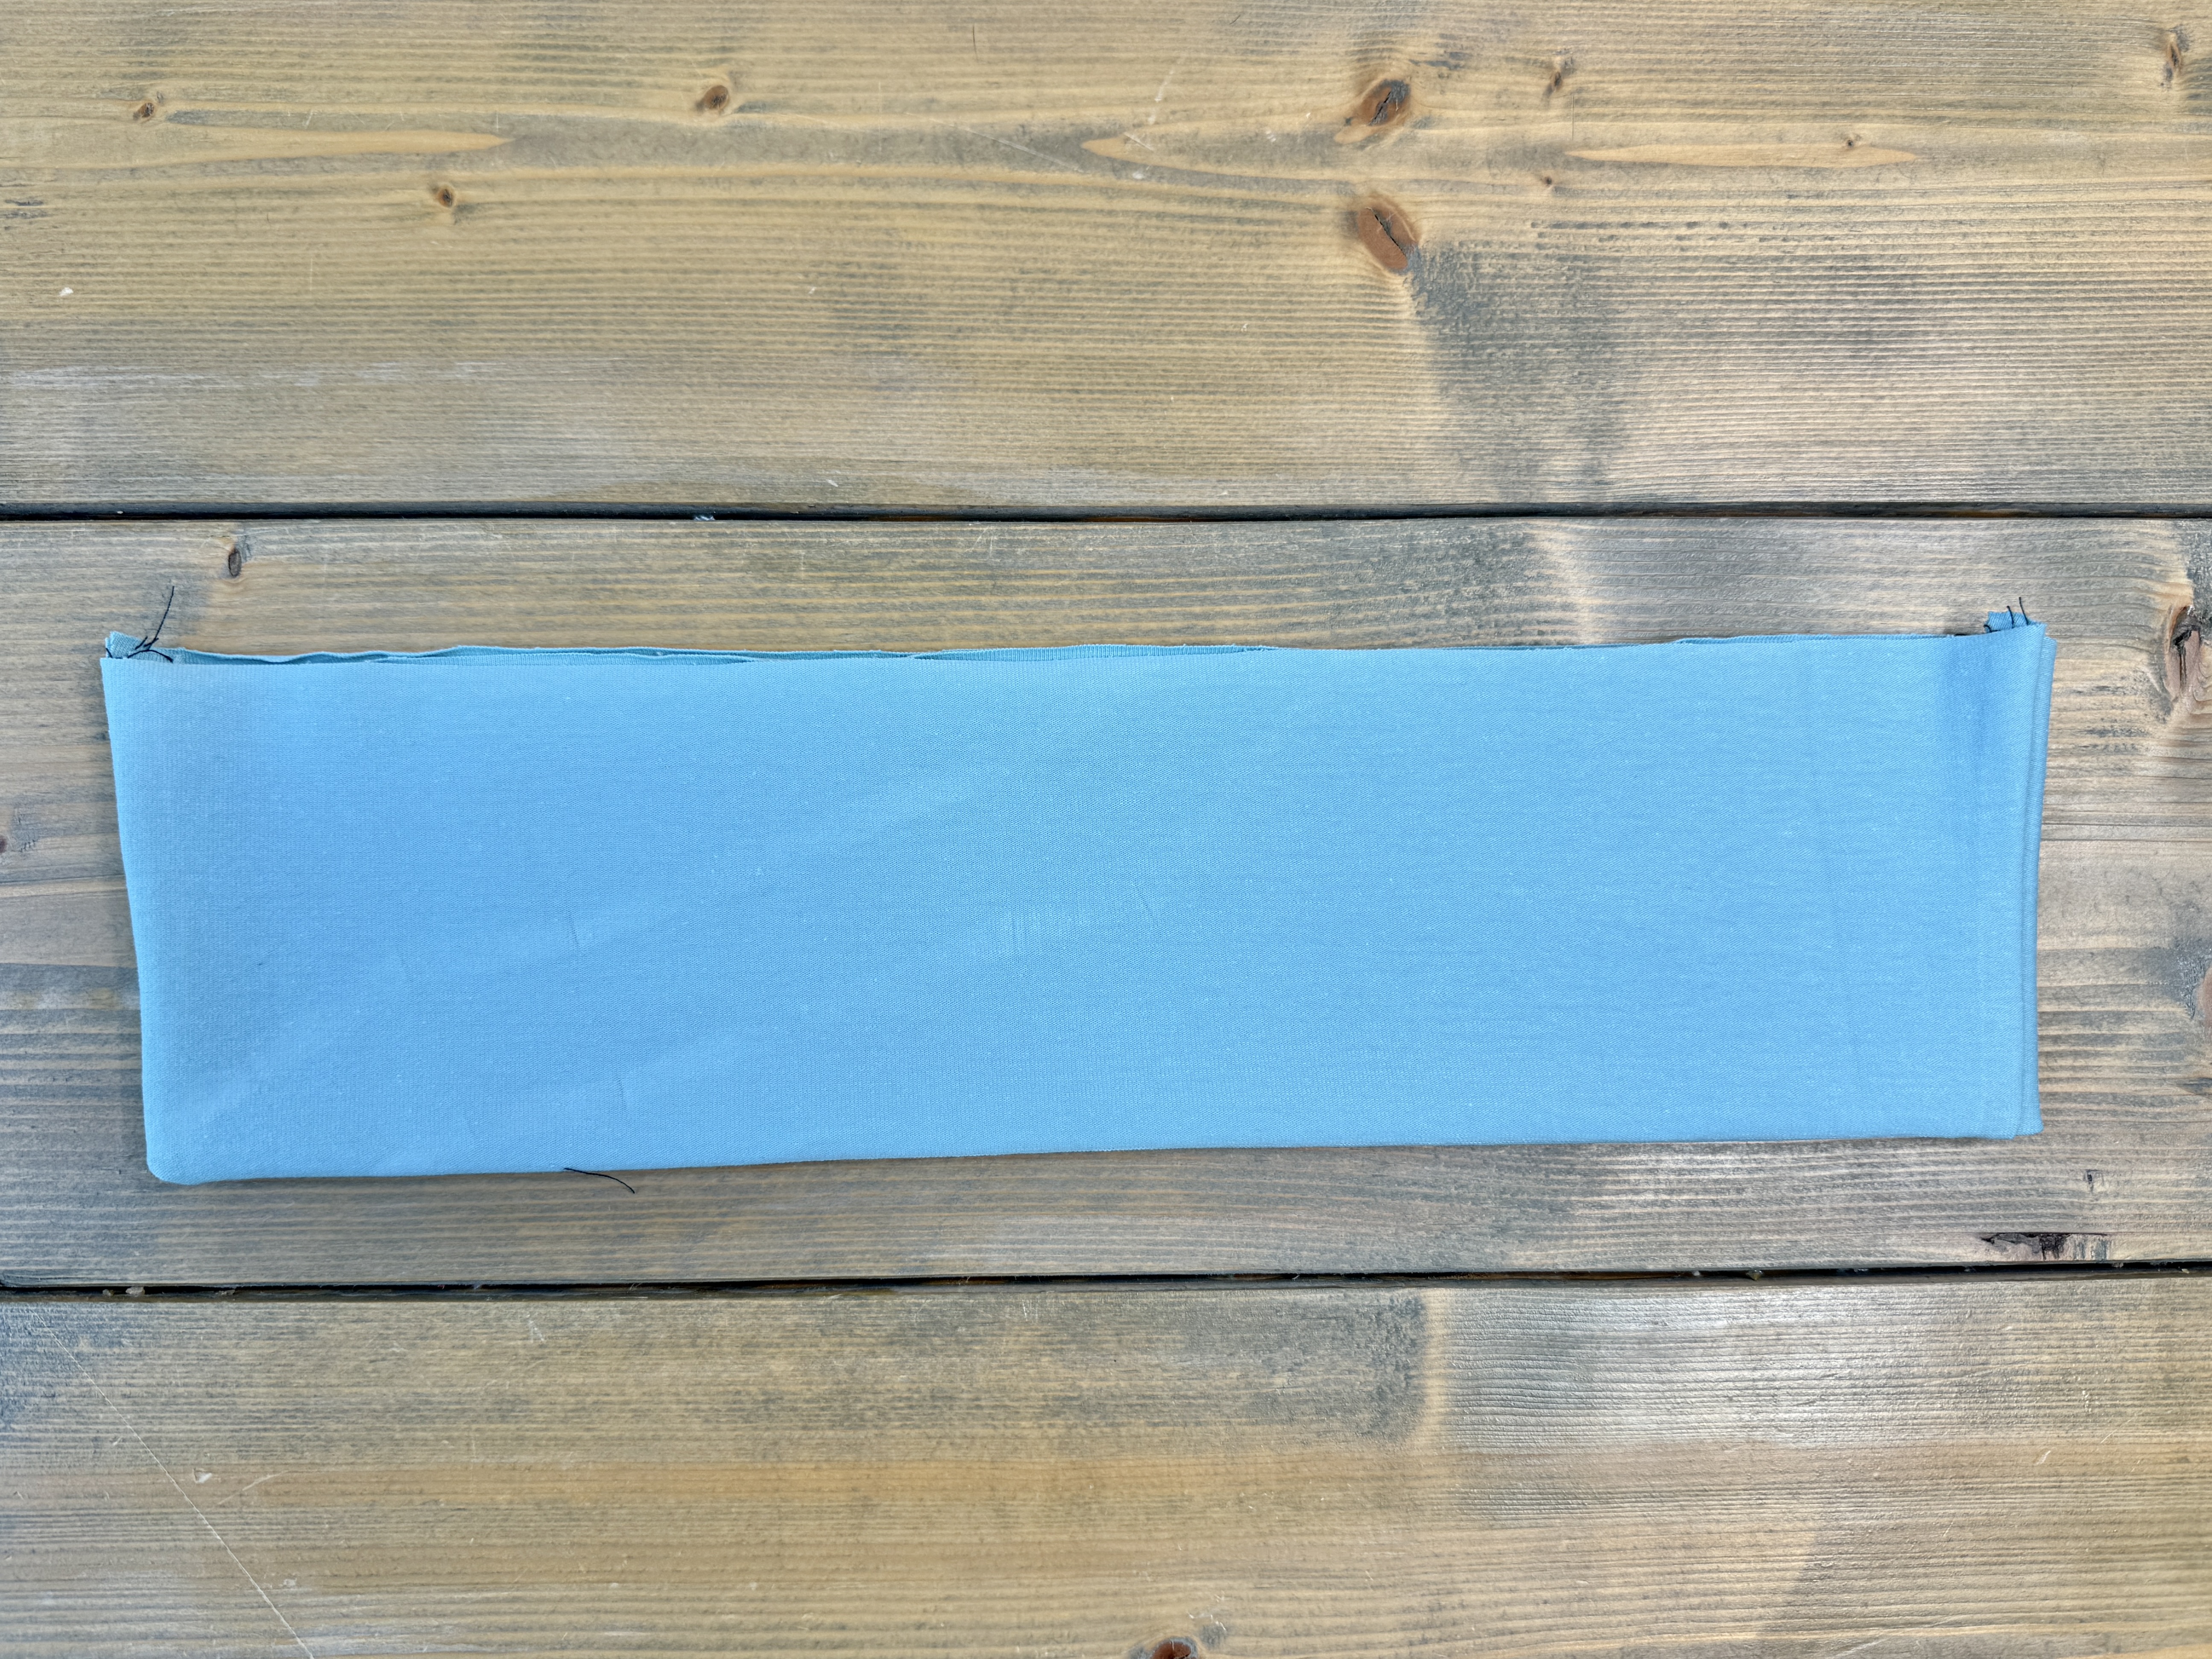
Fold the waistband in half longways, so that the wrong sides are touching and the long bottom edges are aligned. Press.
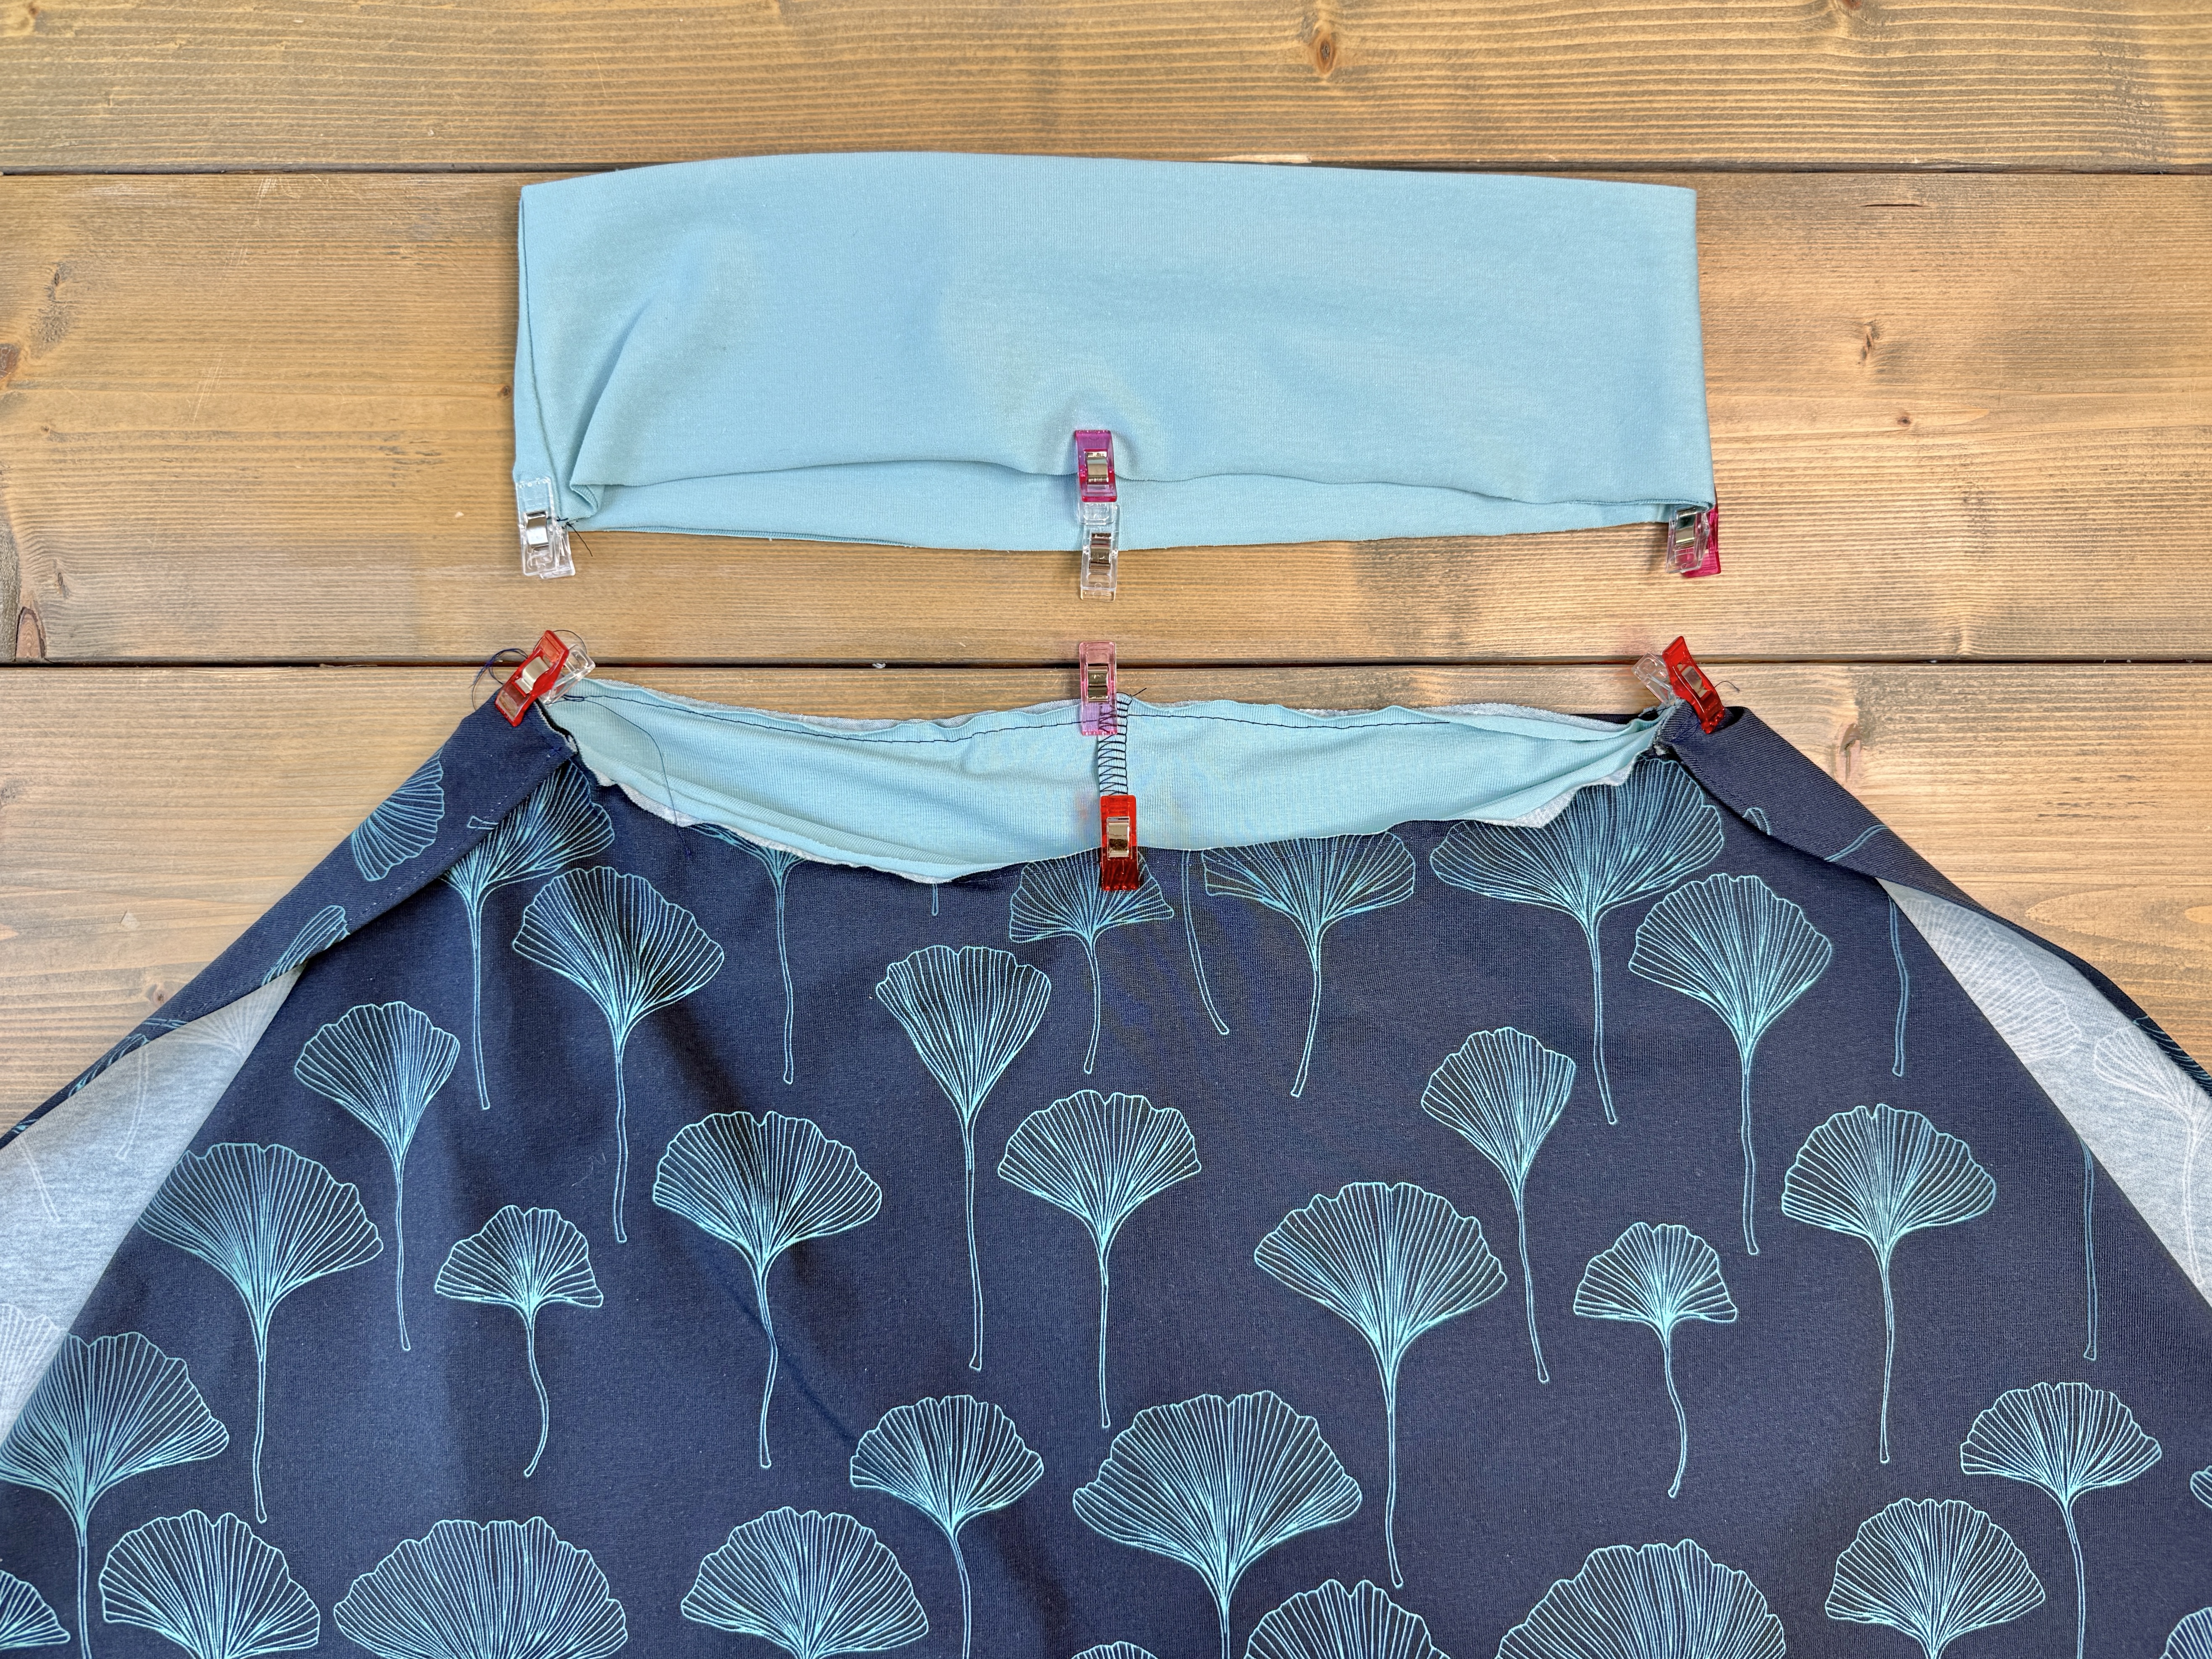
Quarter off the waistband and the skirt waist opening. Slip the waistband over the skirt, matching the quarter points with the skirt quarter points and pin in place.
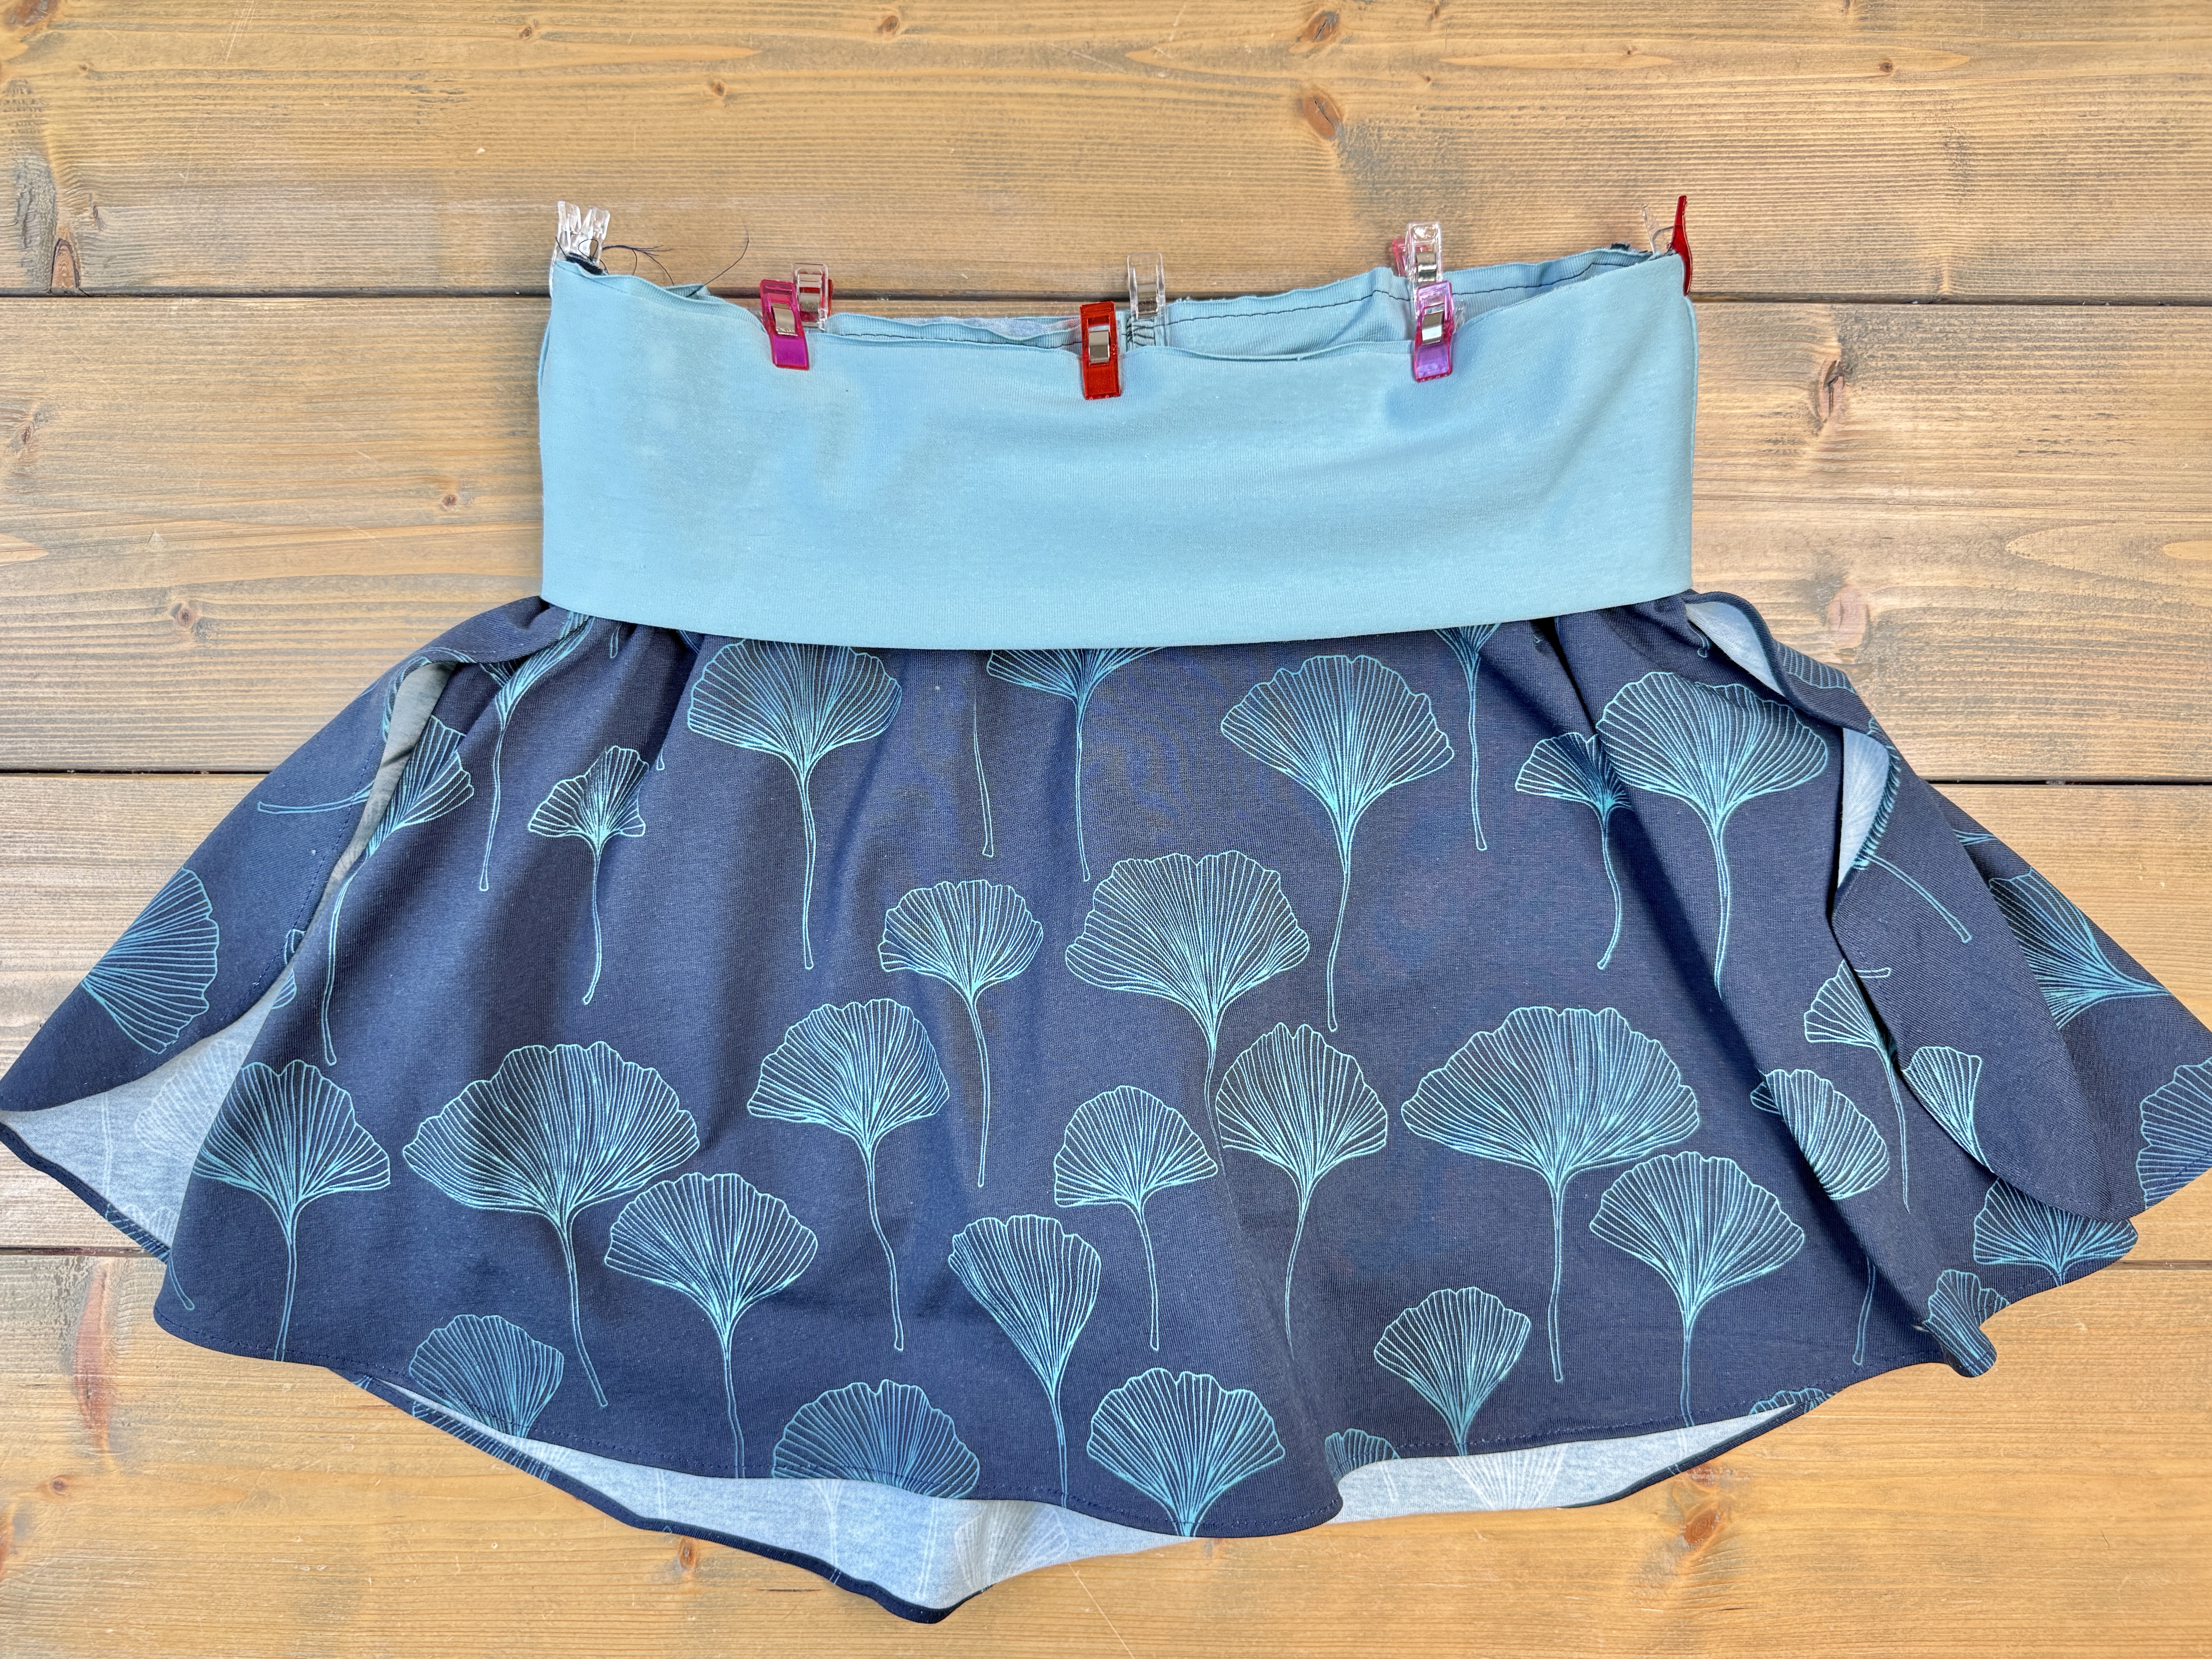
Stitch the waistband to the skirt, slightly stretching the waistband as you go.
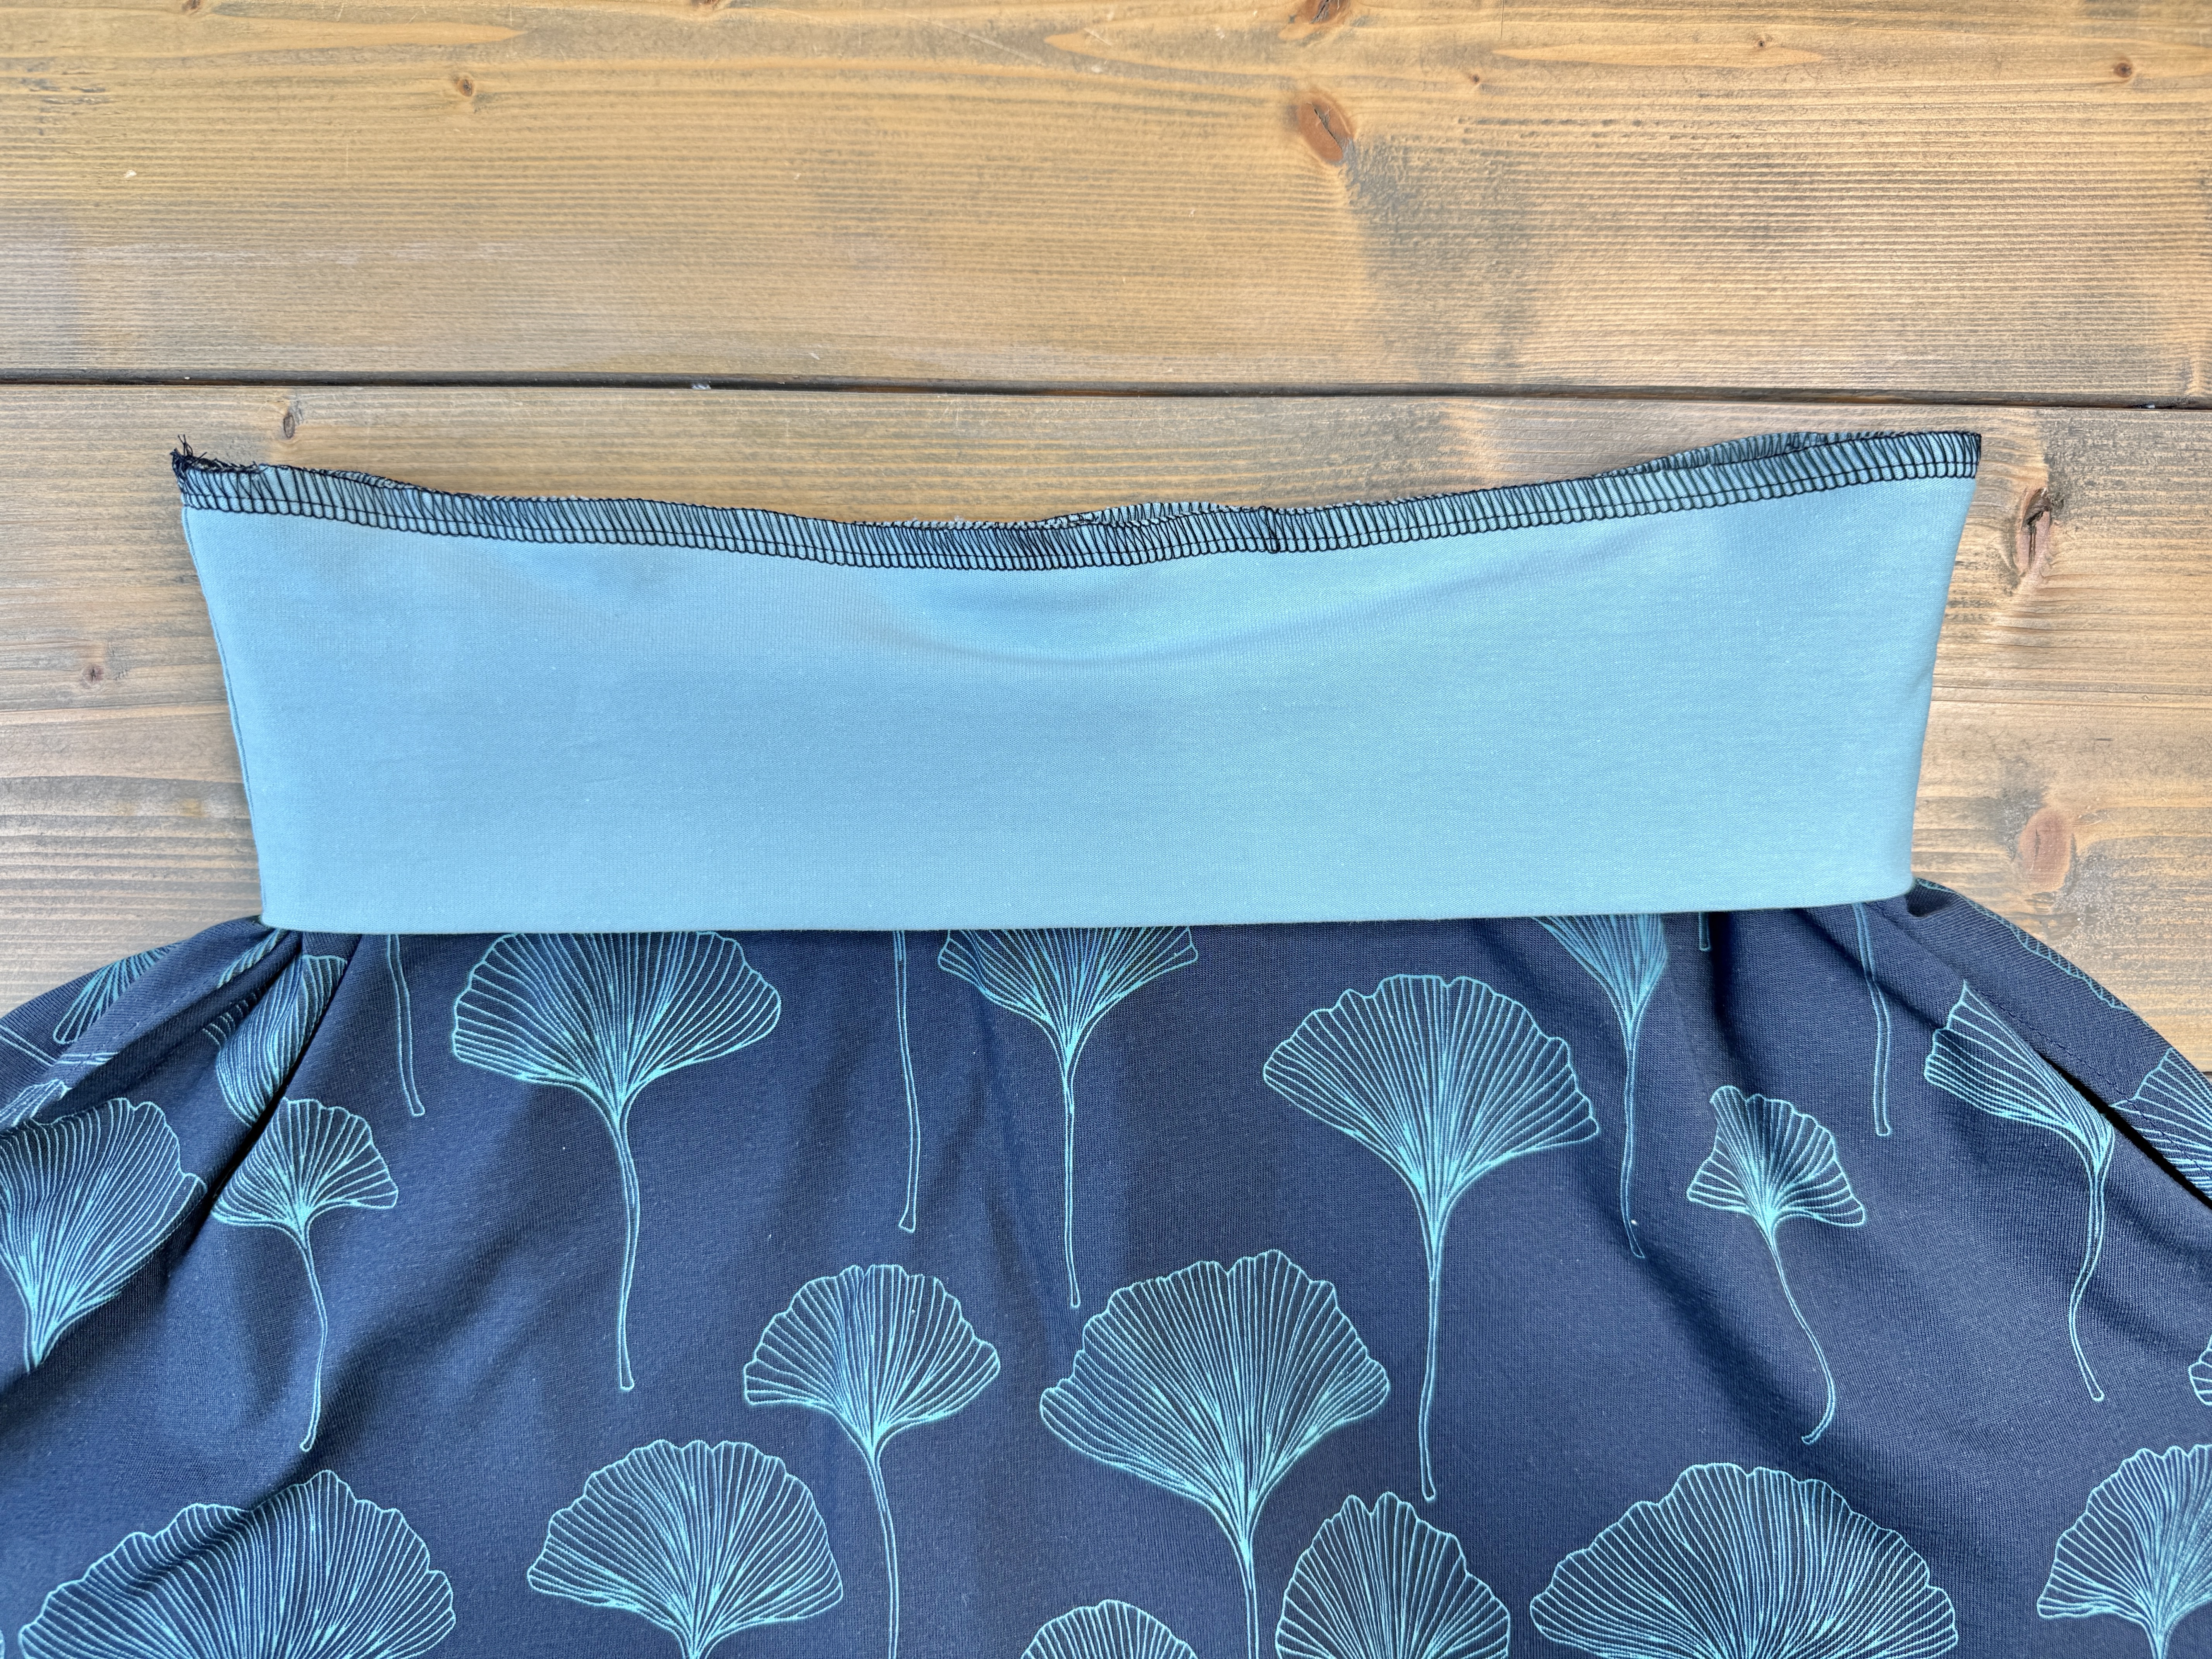
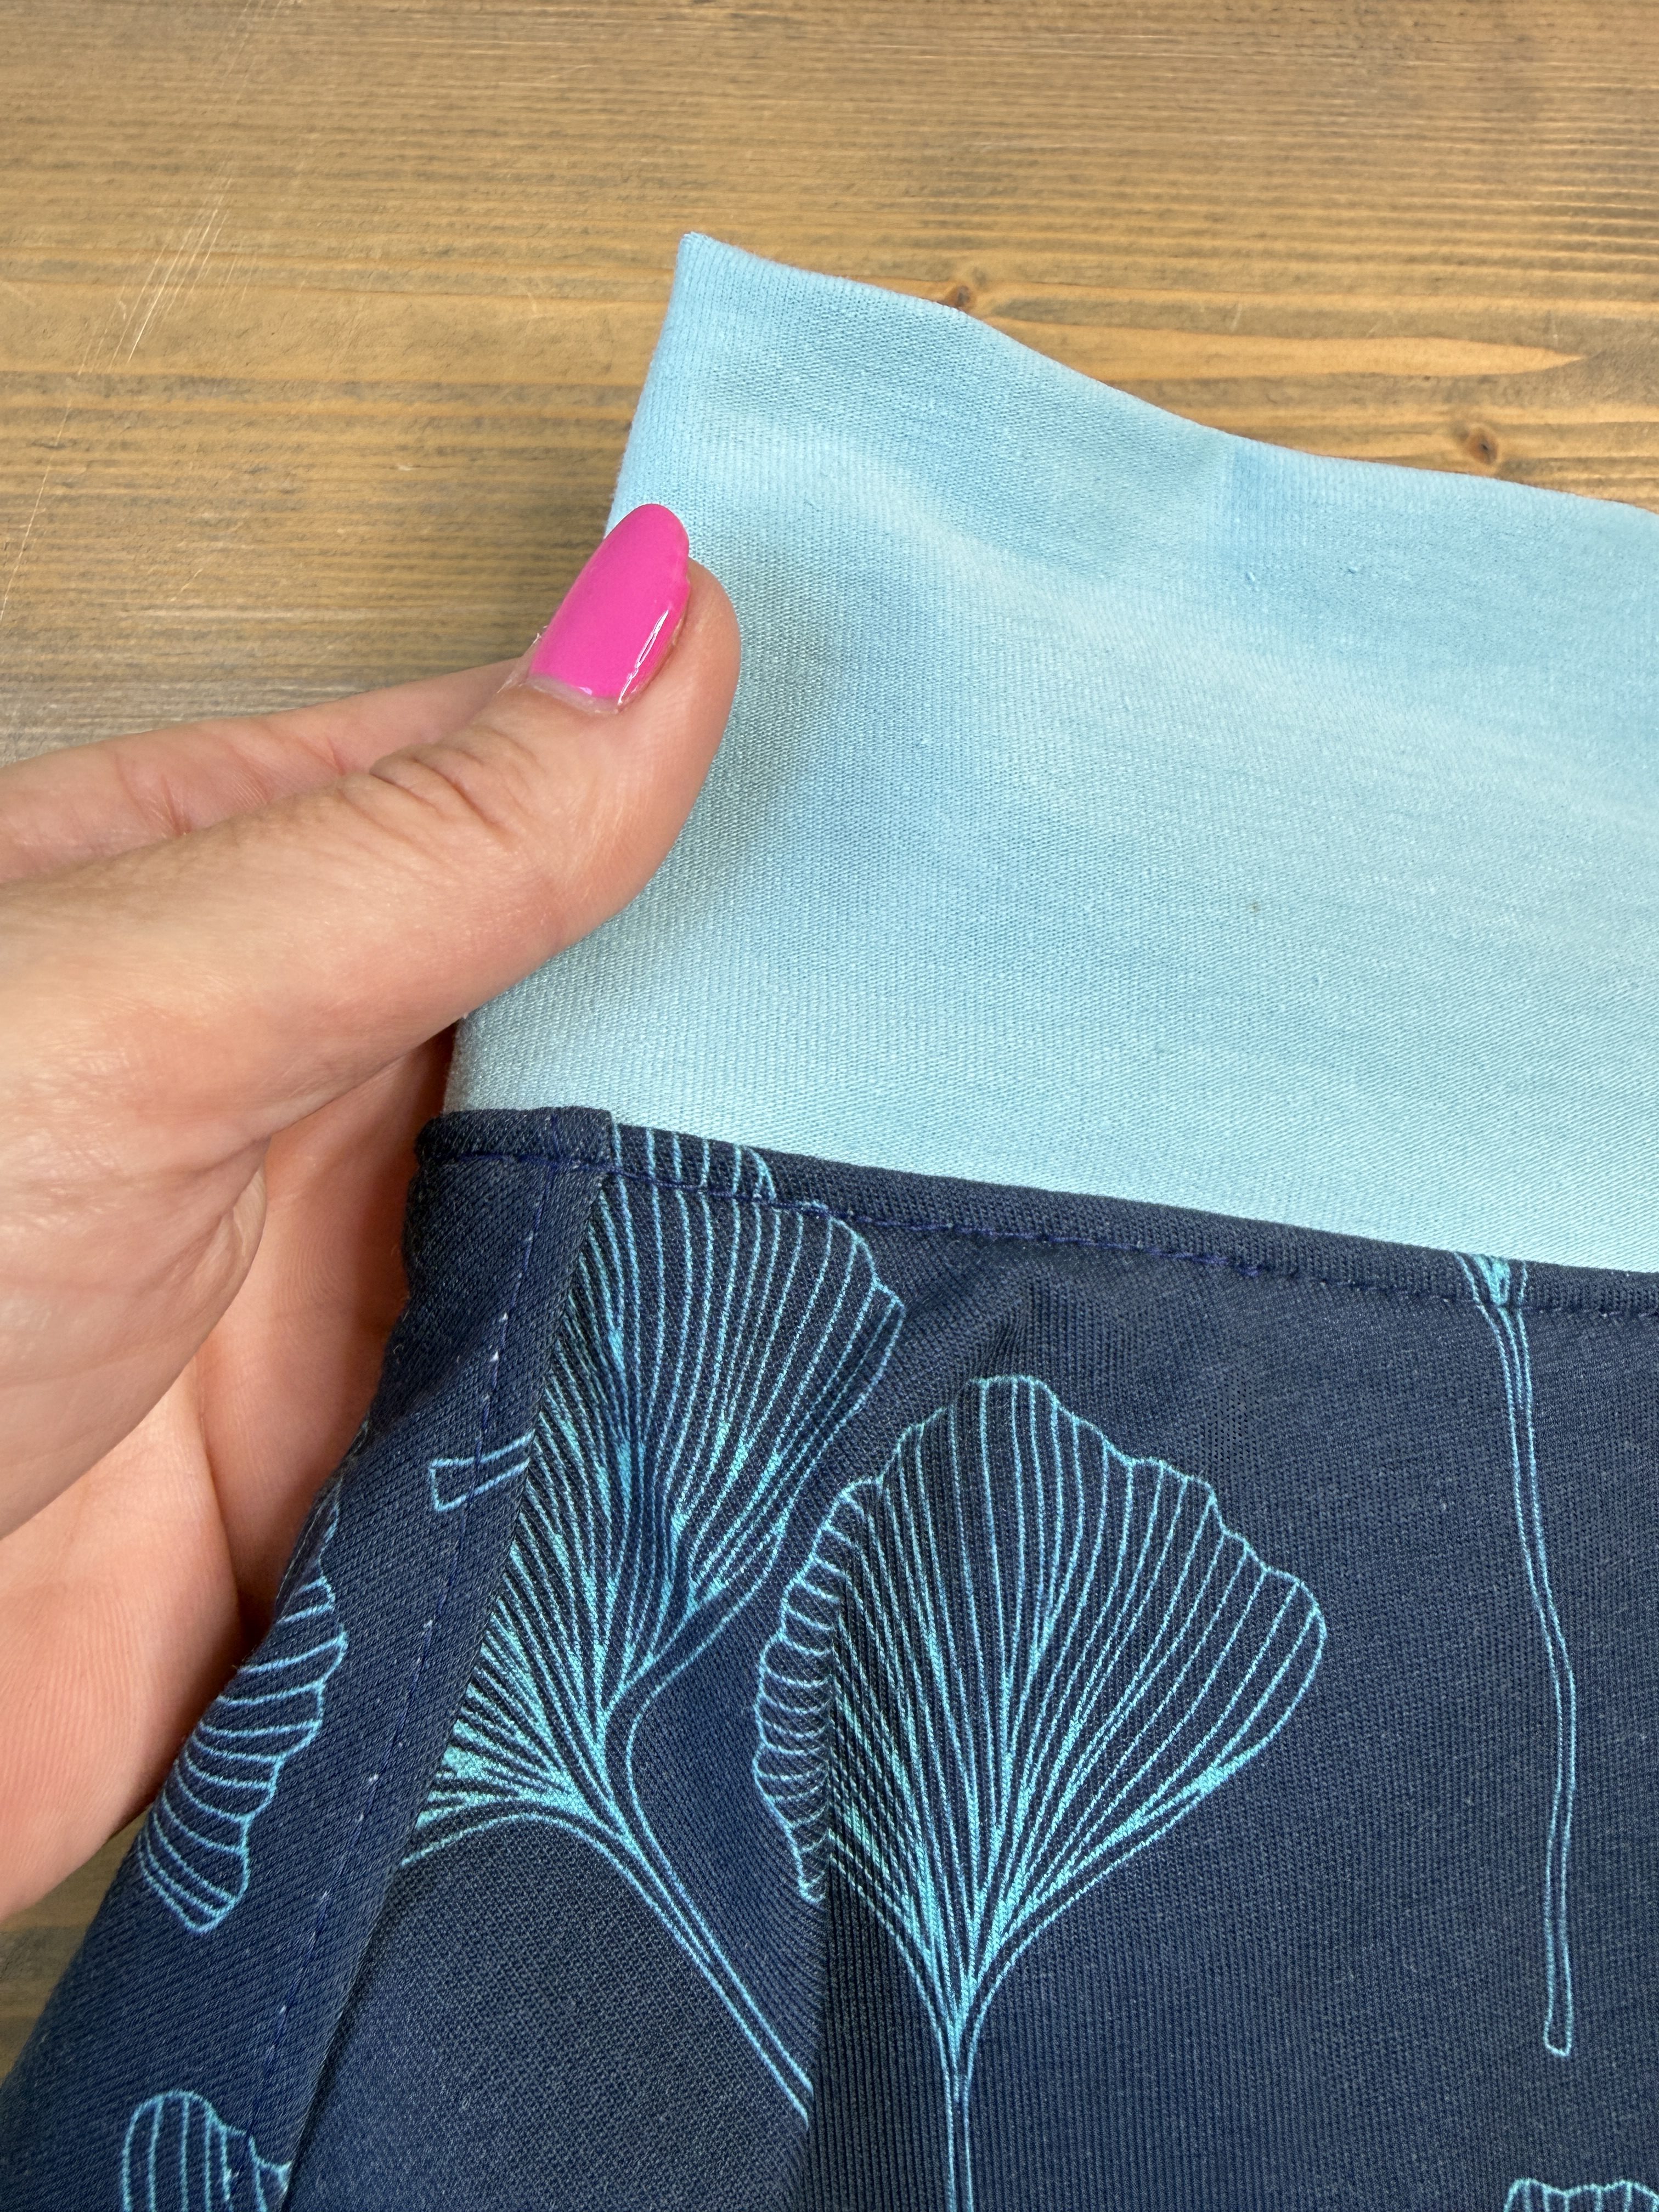
If desired, you can topstitch the seam allowance down to the skirt piece.
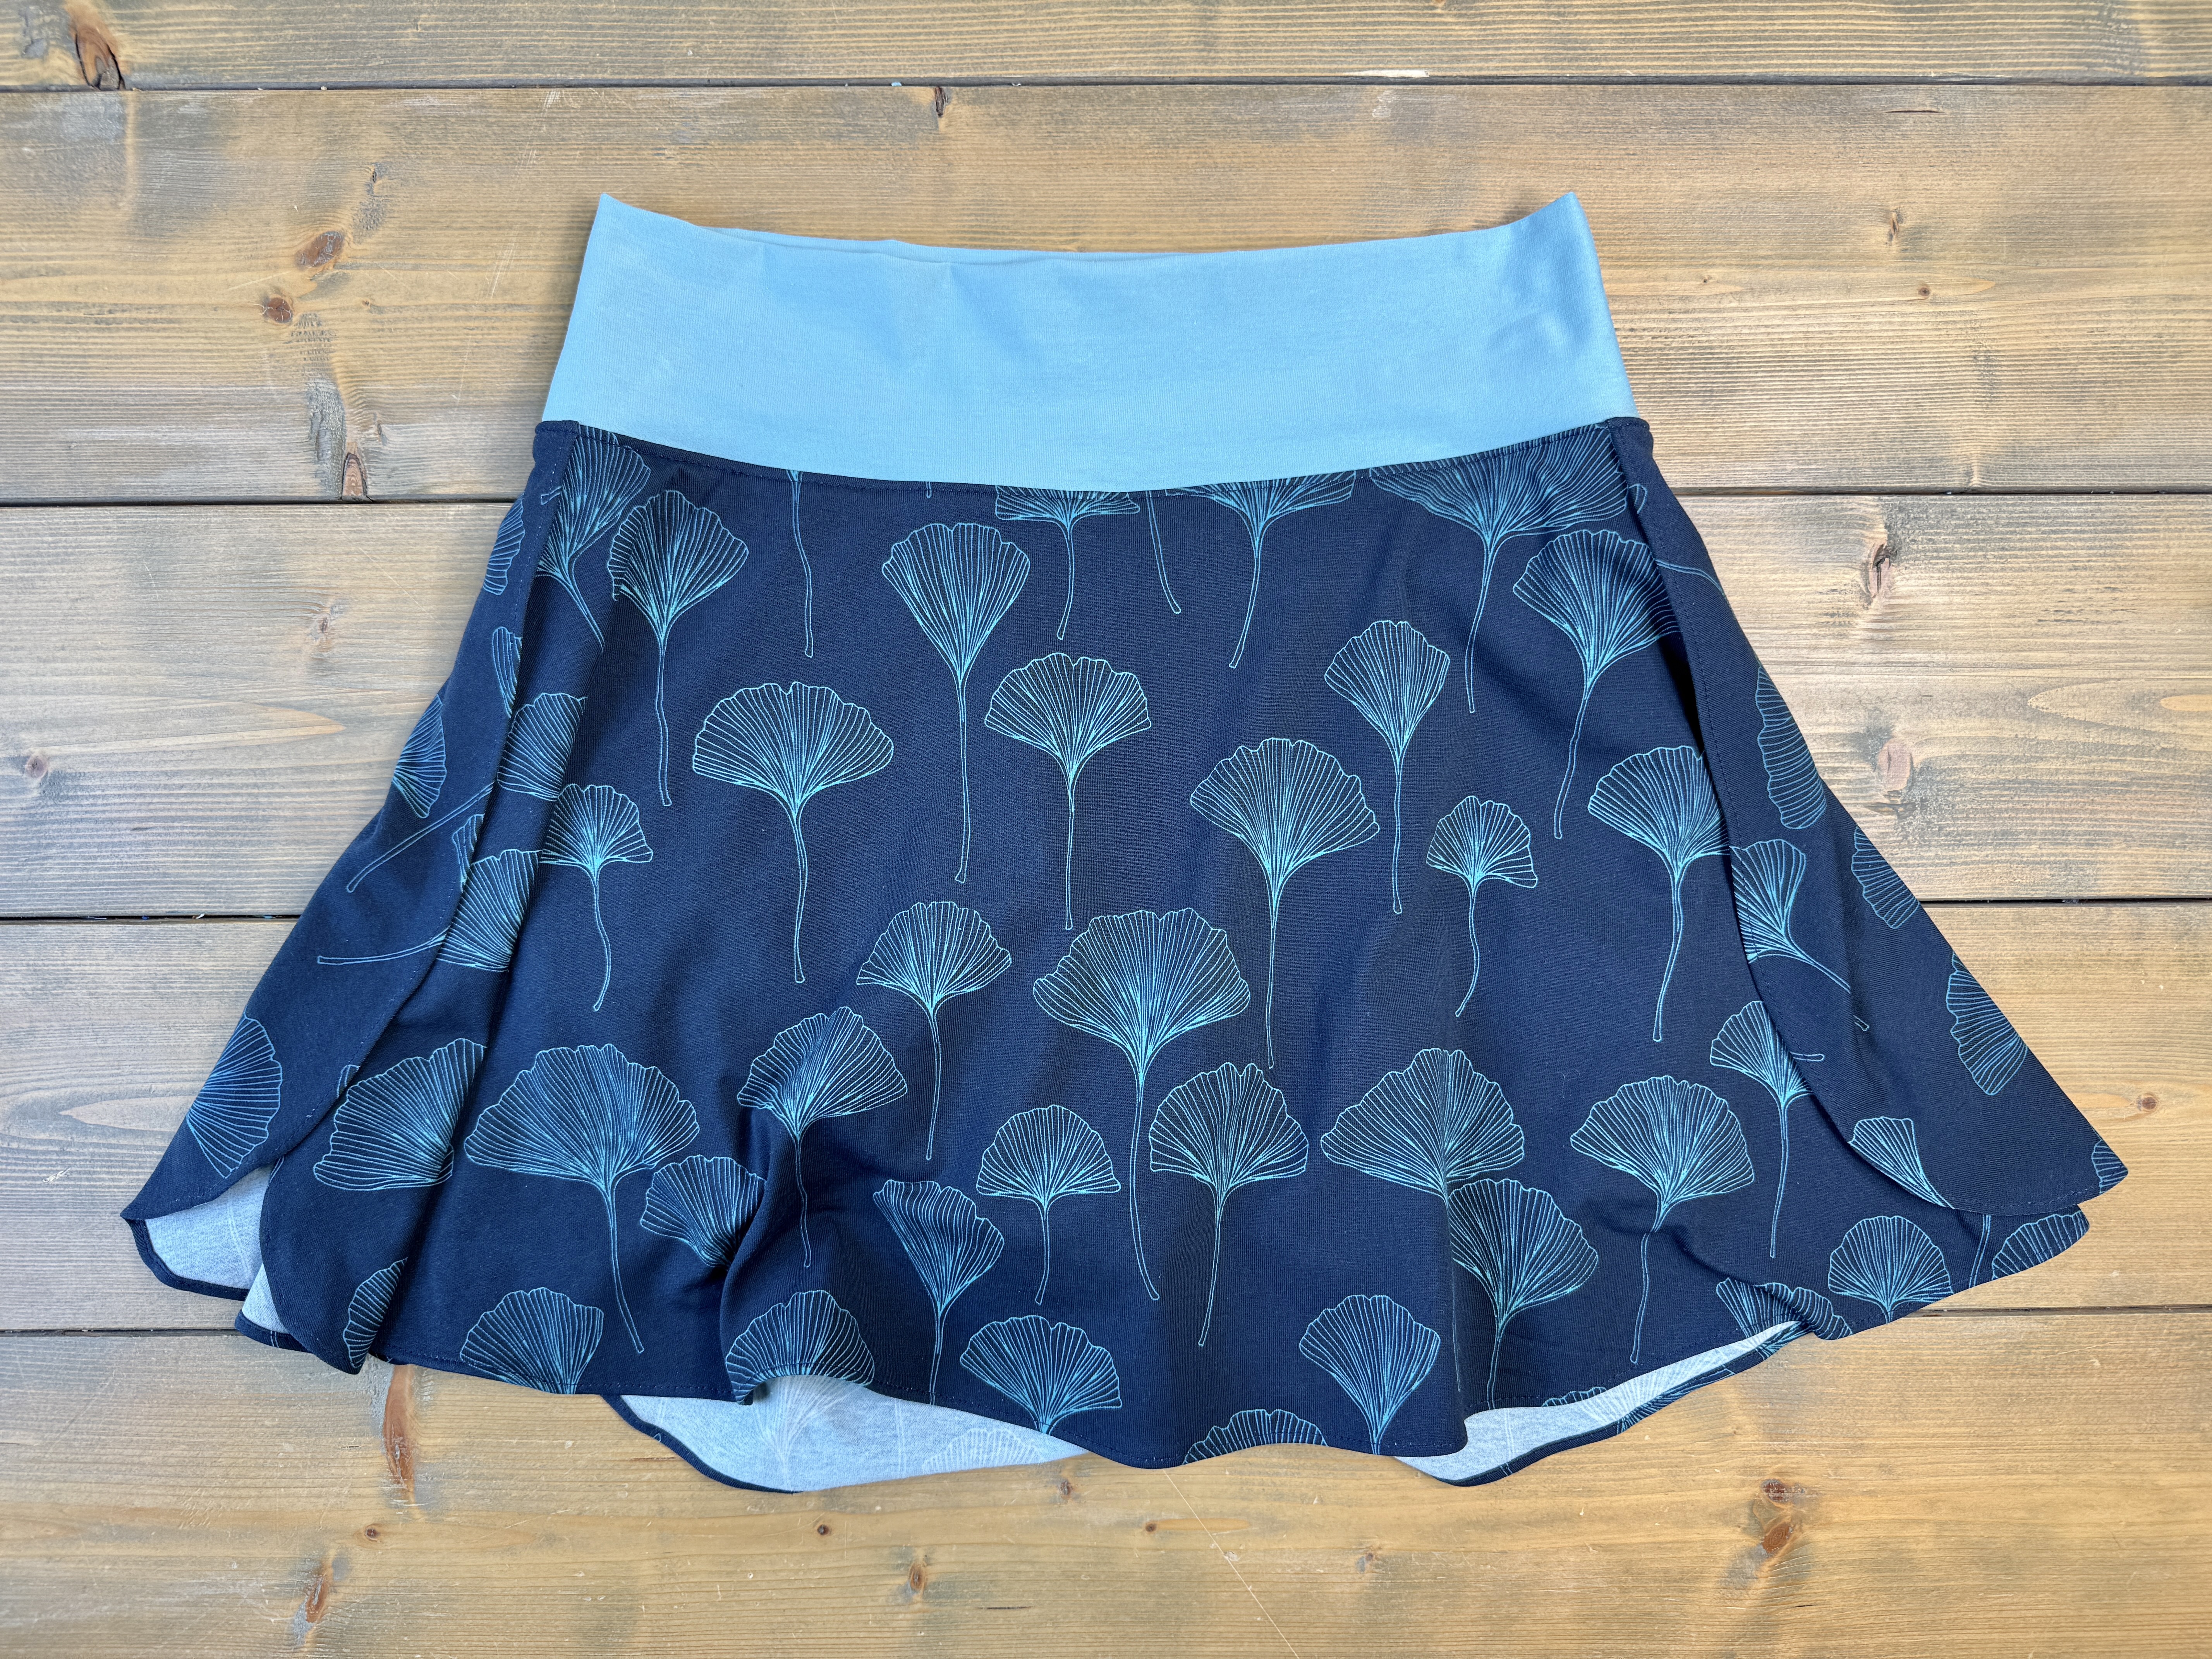
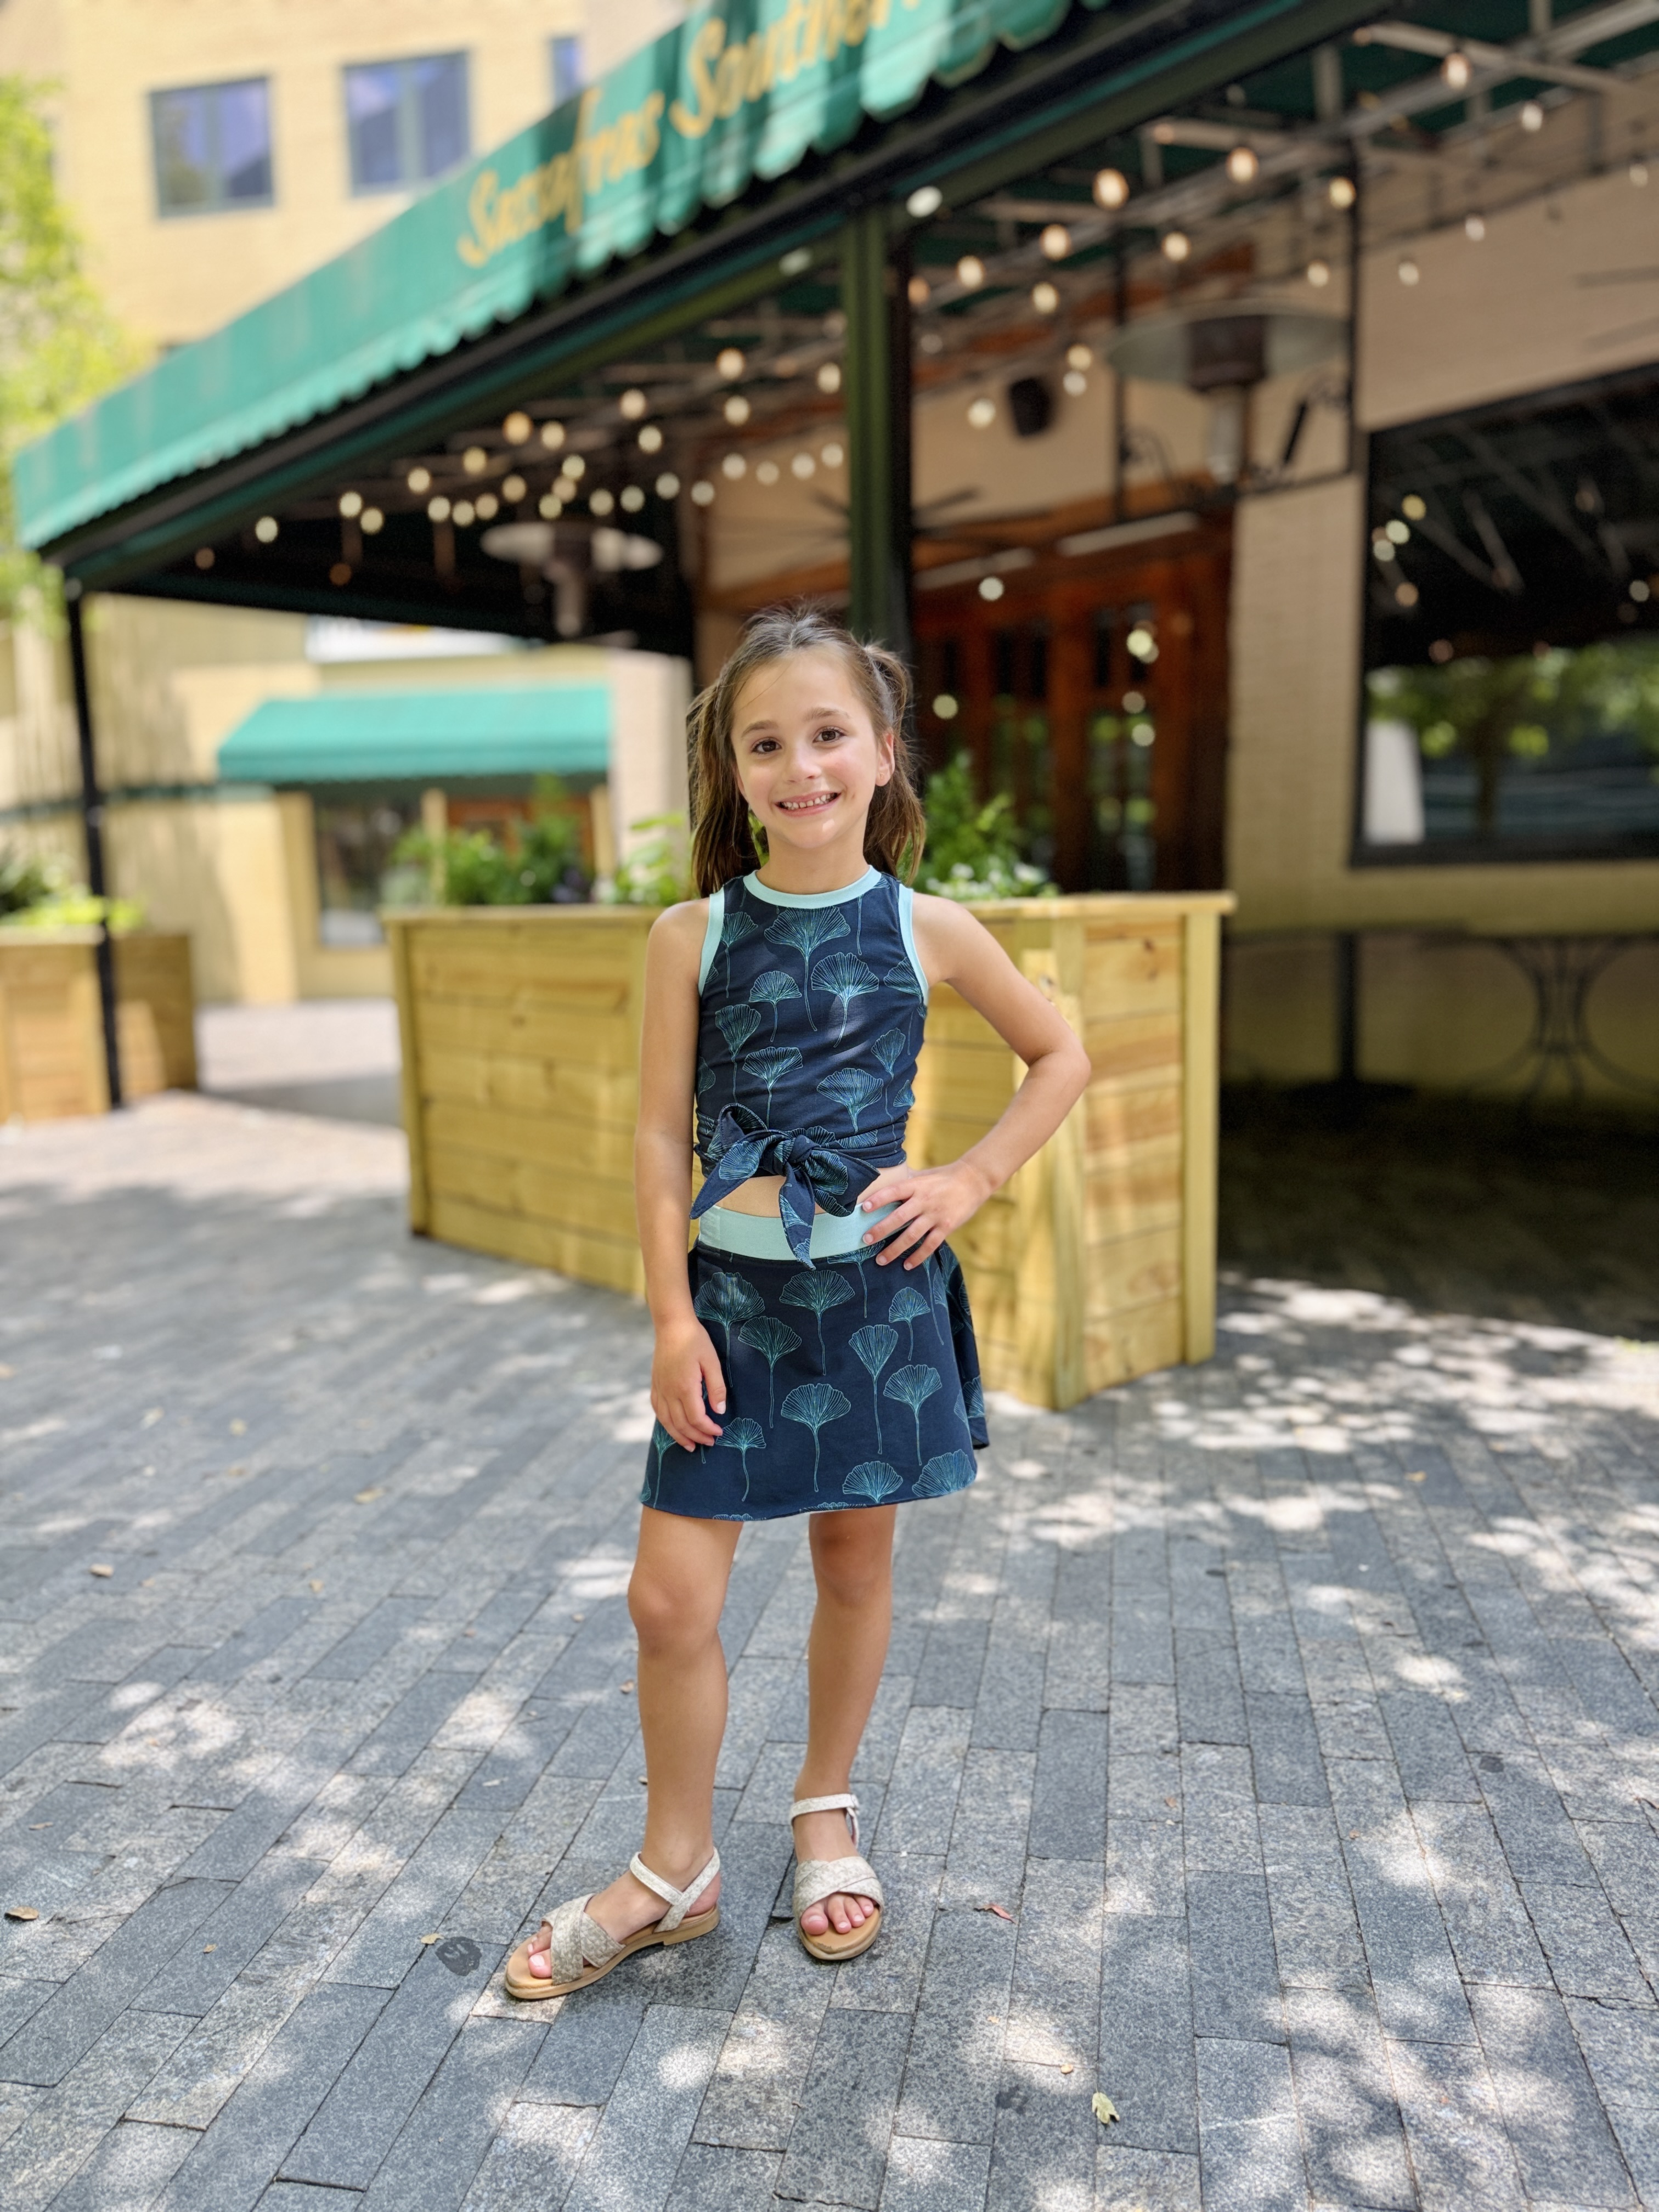
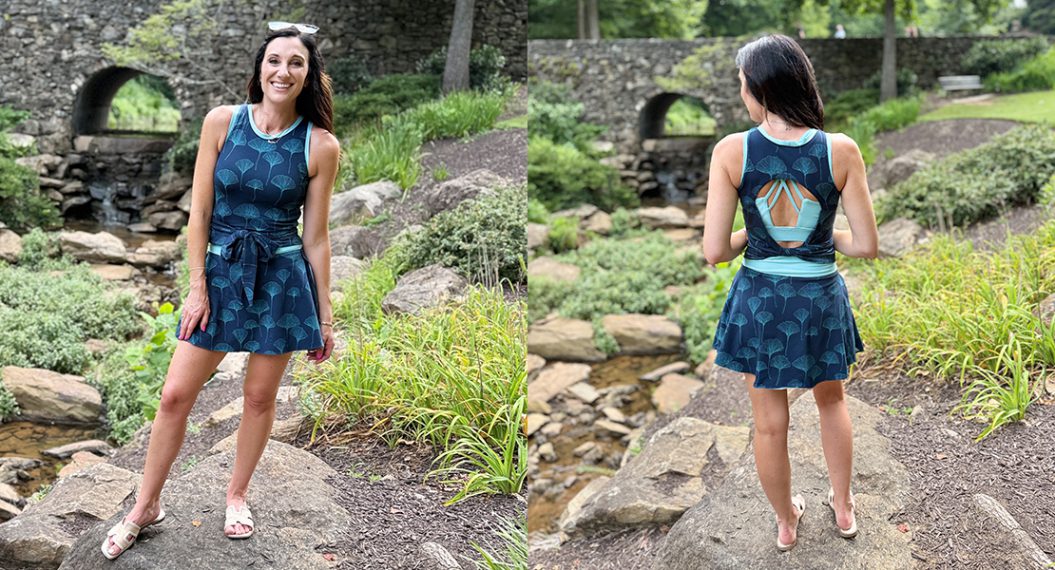
You are all done! You now have the cutest athleisure set that can be worn to a gym class or out to coffee with a friend! Bonus: You can make a matching set for your little one to match!