Serger Lace Wall Hanging, Part Three

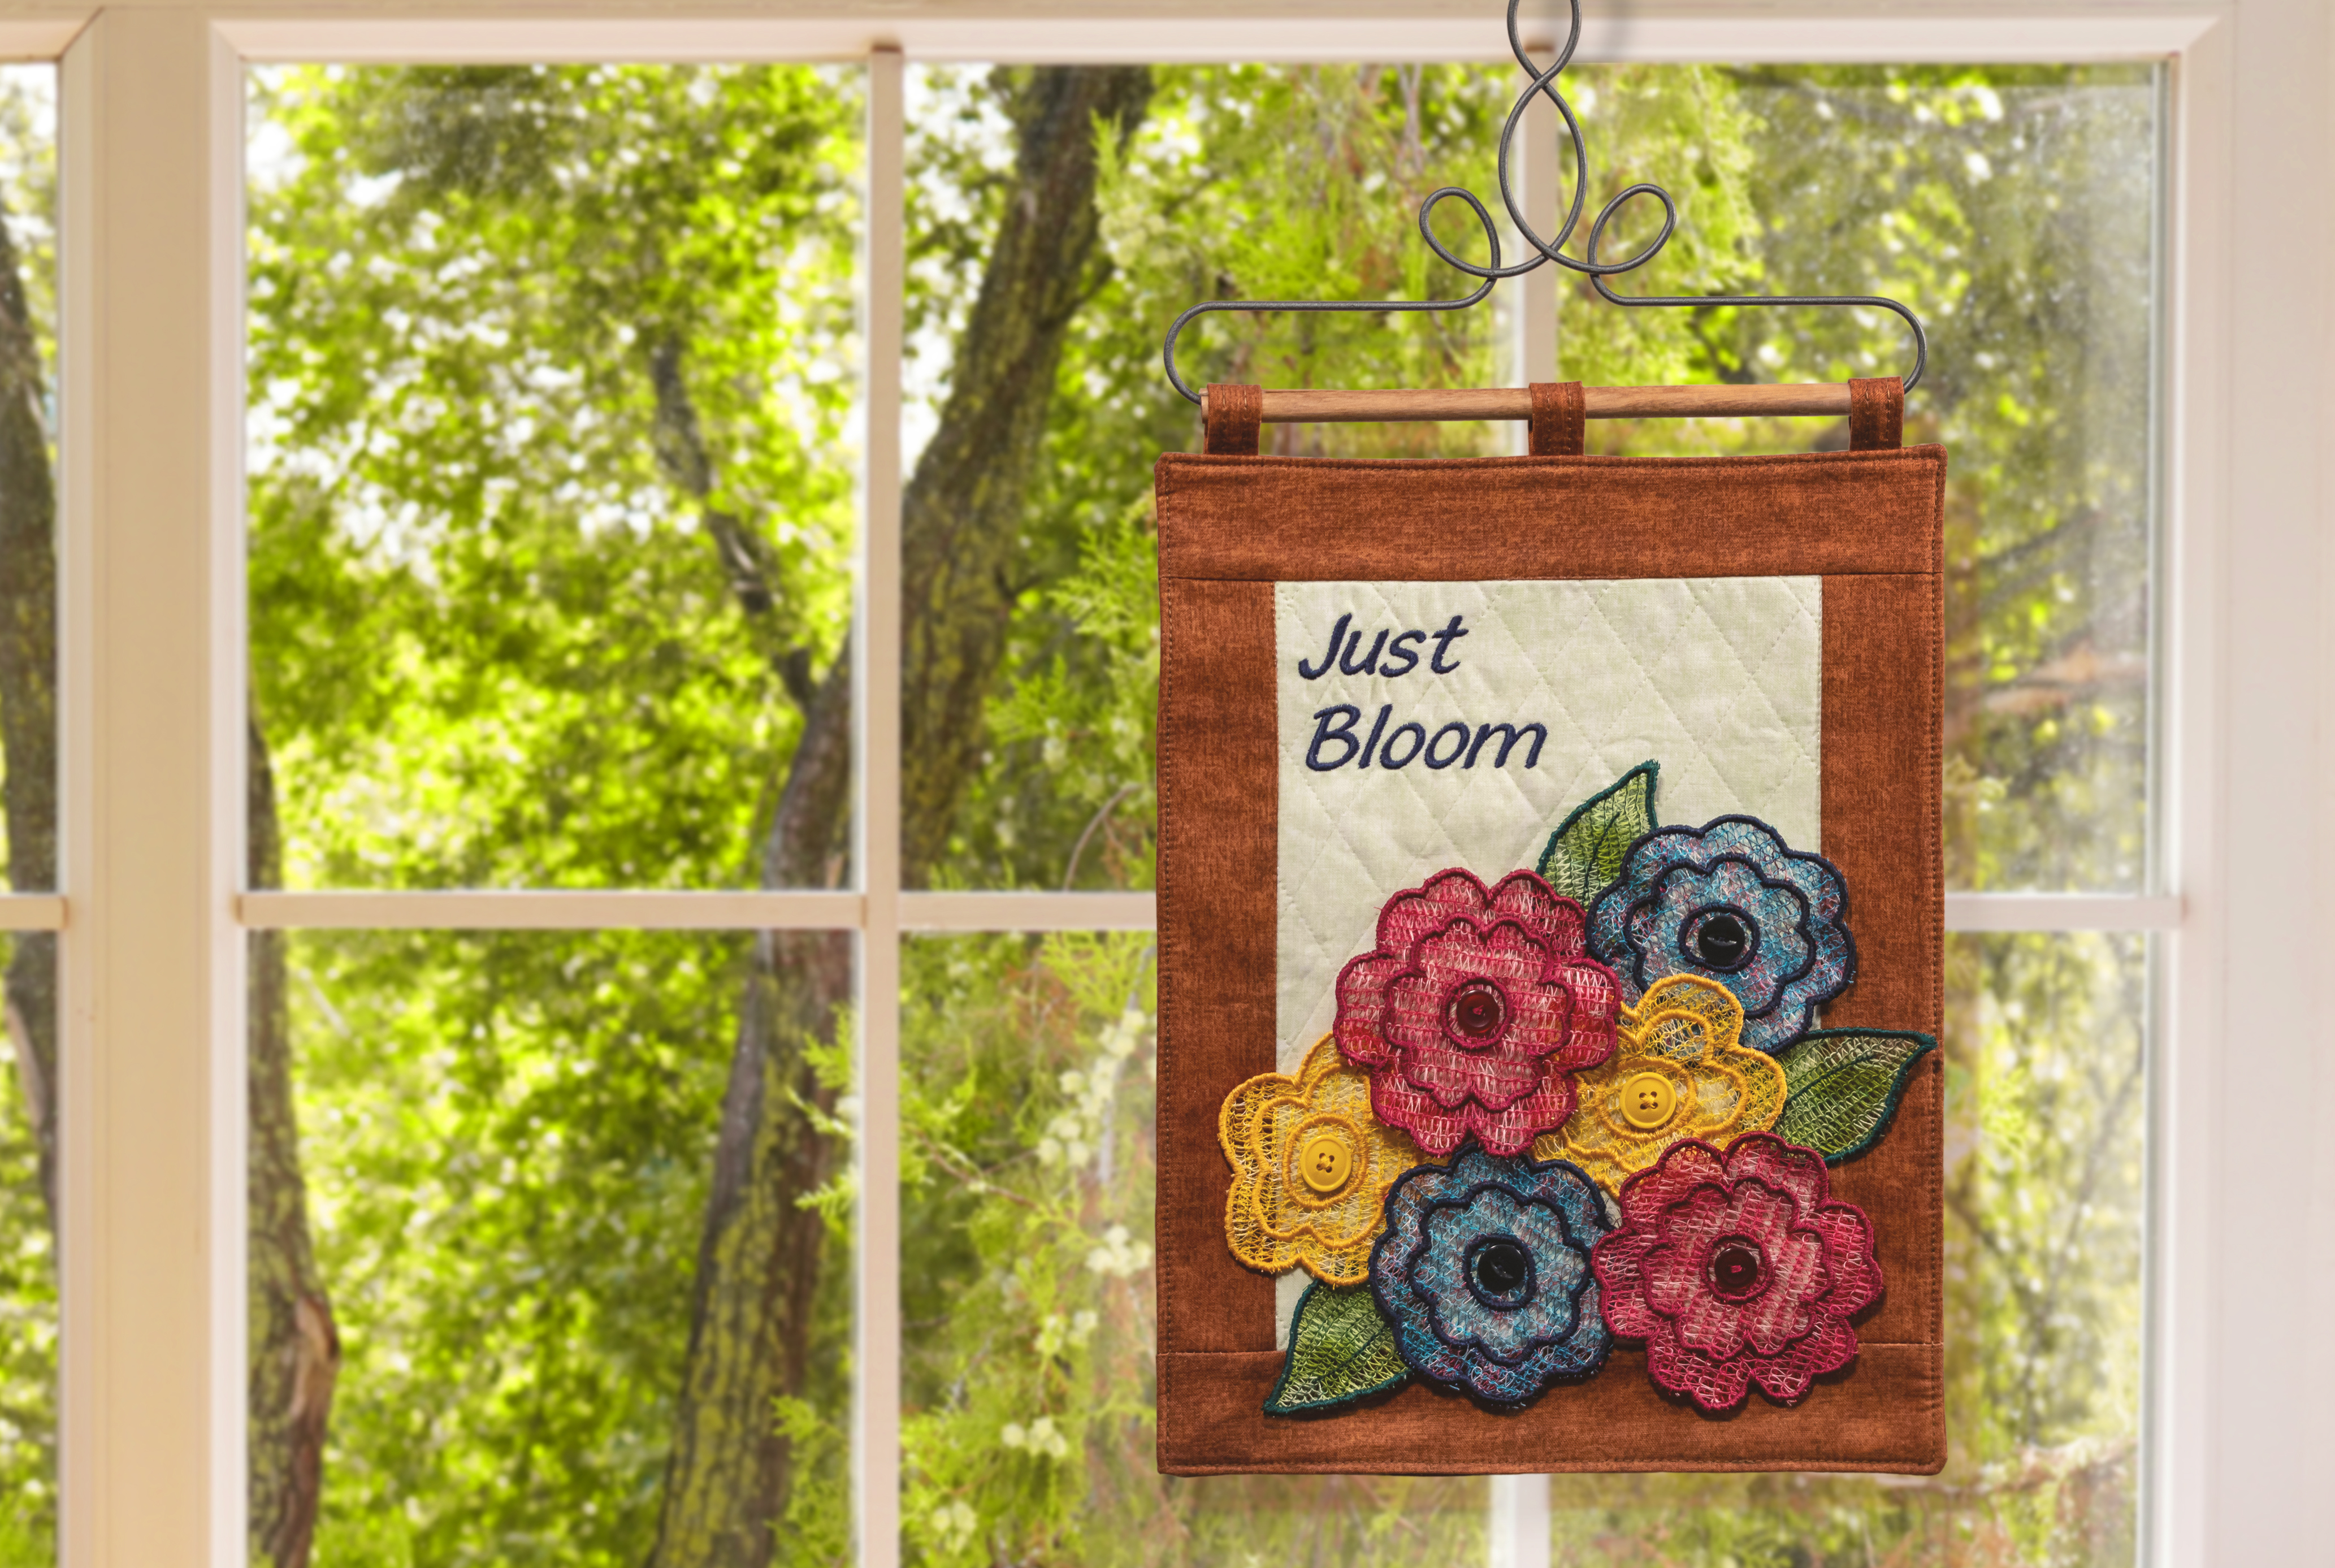
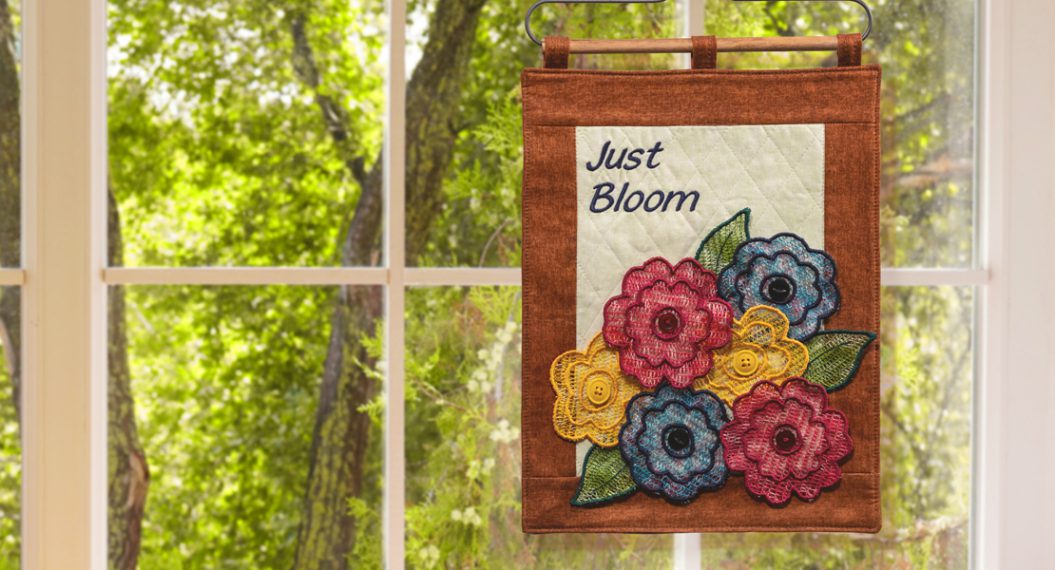
Now that you have made your serger lace appliqués, it’s time to put the wall hanging together in Part Three of the Serger Lace Wall Hanging project. We will mostly sew, but there is a small amount of embroidery, too.
Click HERE for Part One and the complete supply list. Part Two is HERE.
Step One: Piece and Quilt the Wall Hanging
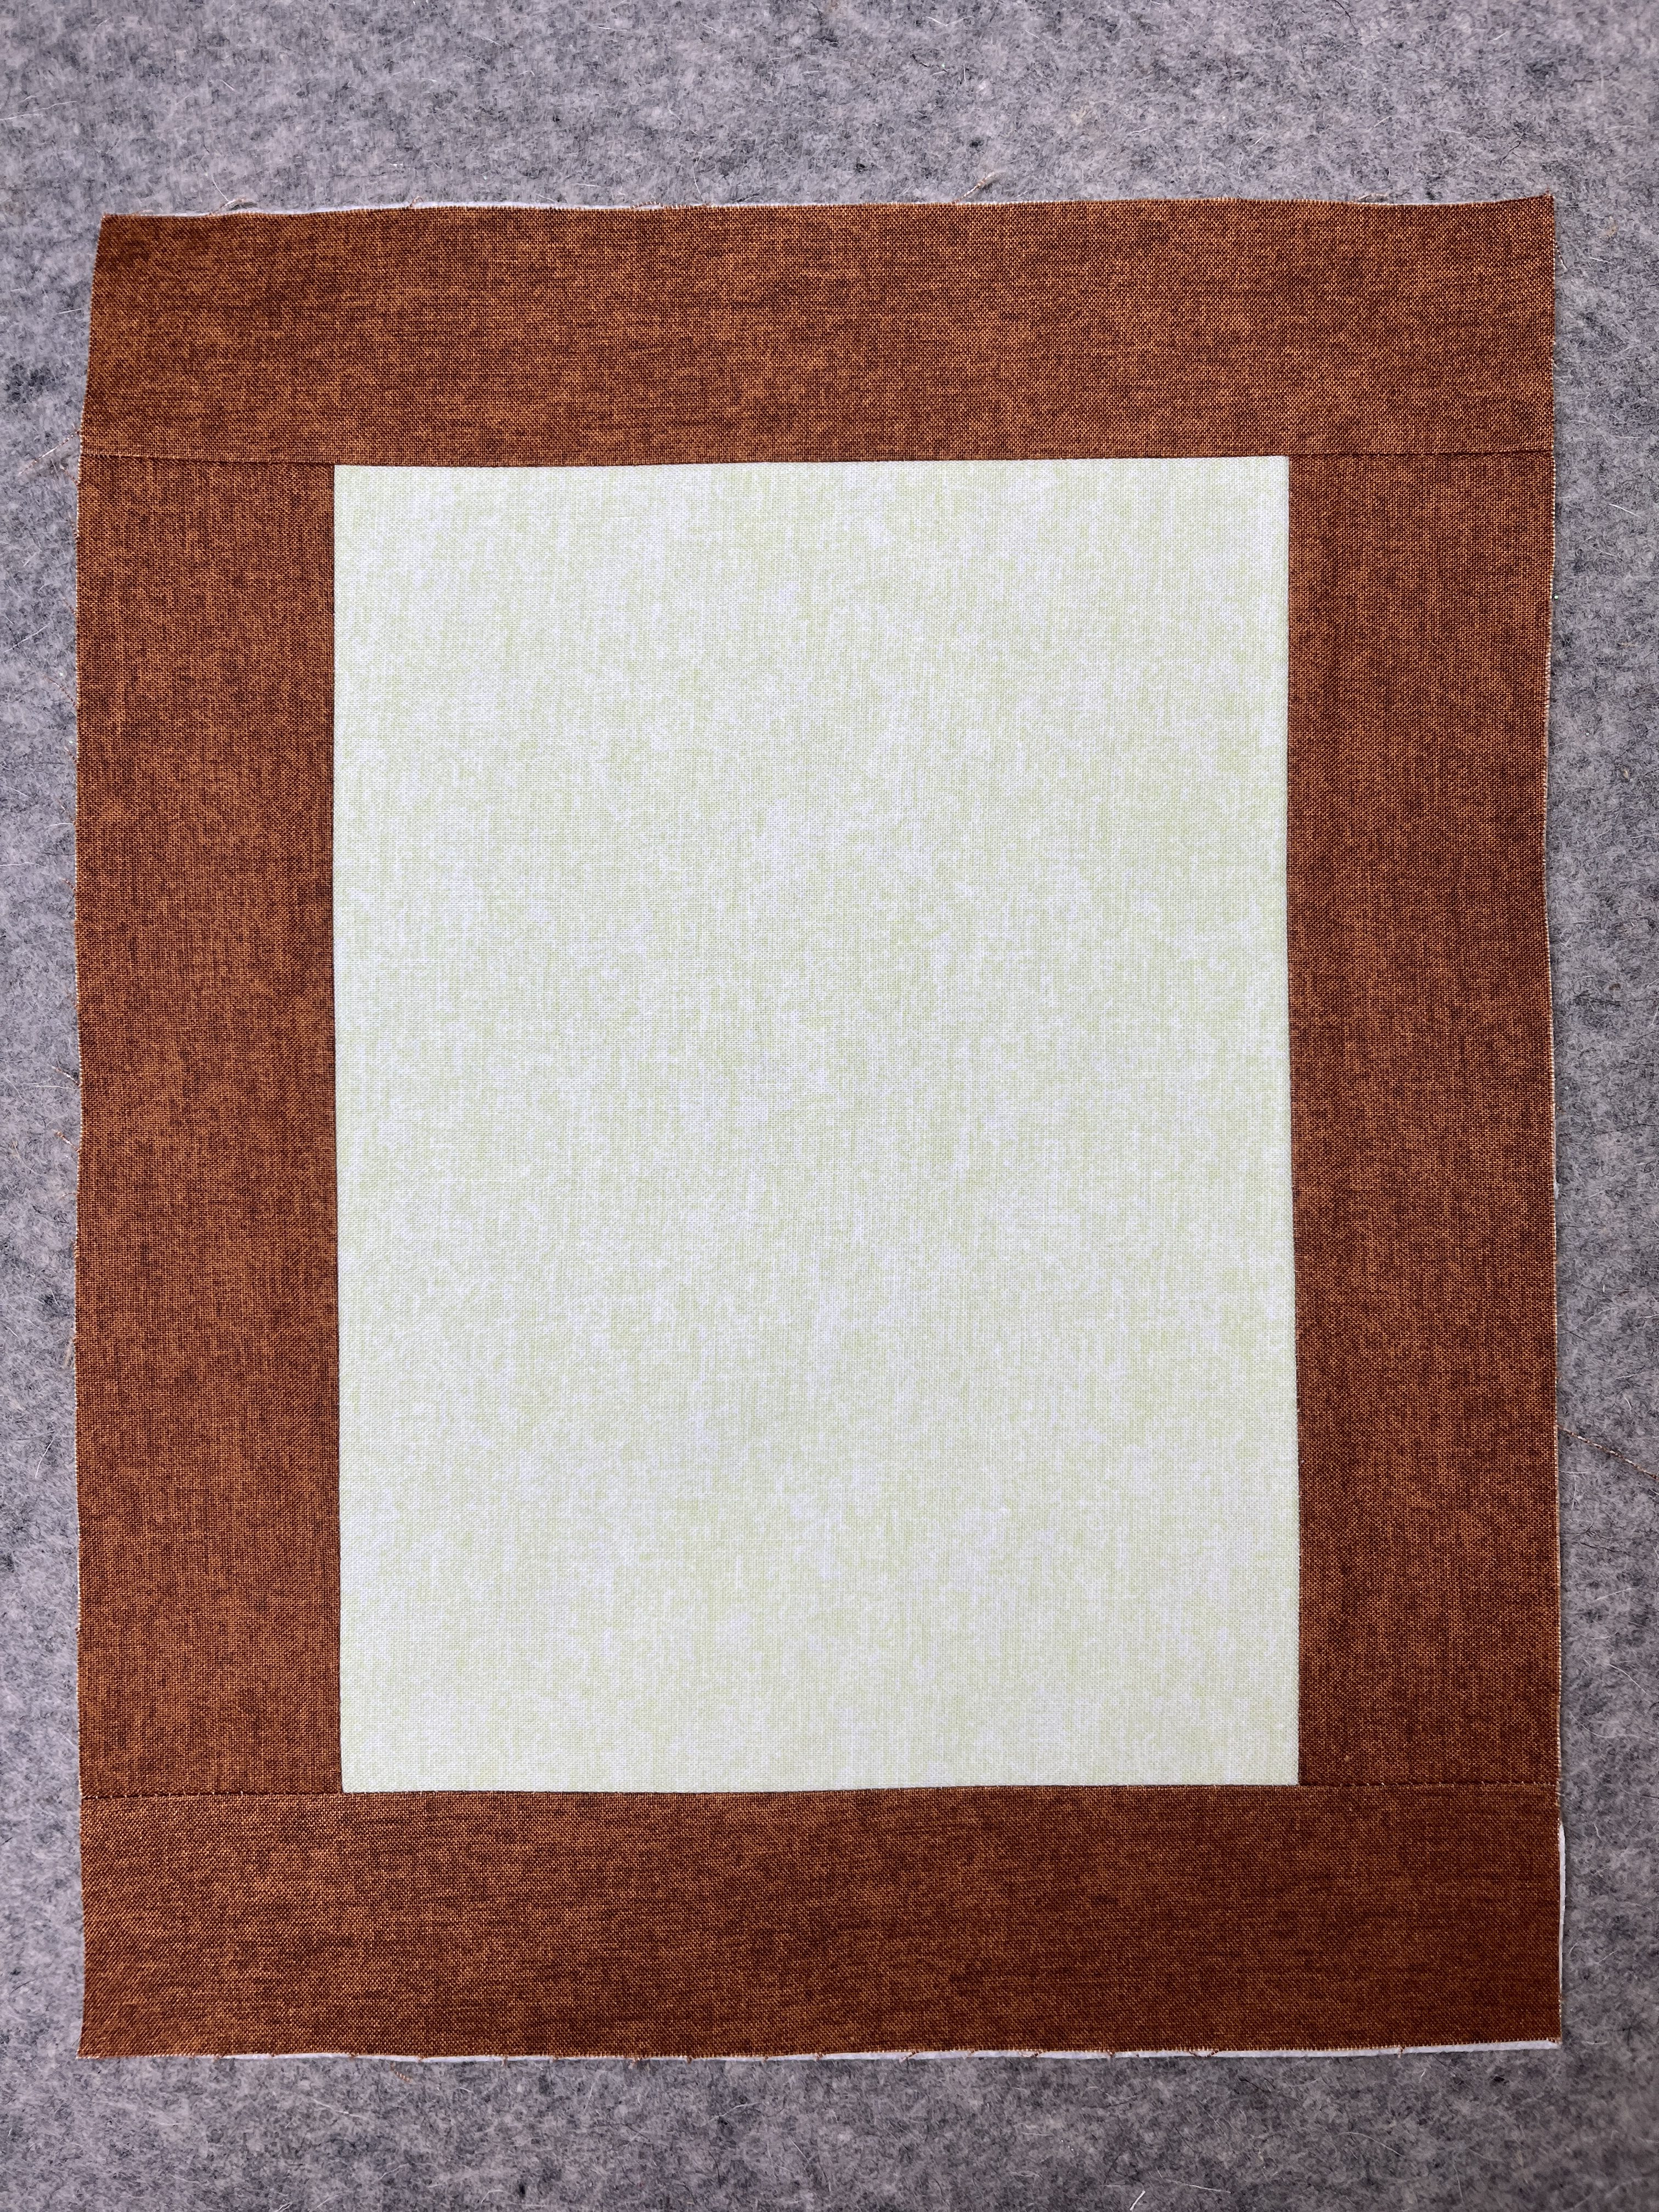
Attach Patchwork Foot #97D and sew the side, top, and bottom brown borders to the light green rectangle with a 1/4″ seam. Press towards the borders. Fuse the fleece to the wrong side. Trim any excess fleece. The wall hanging should measure about 9 3/4″ wide by 12 1/4″ tall.
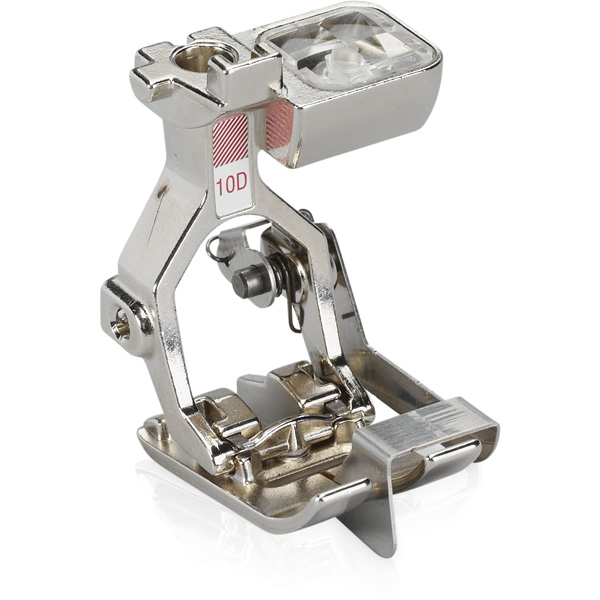
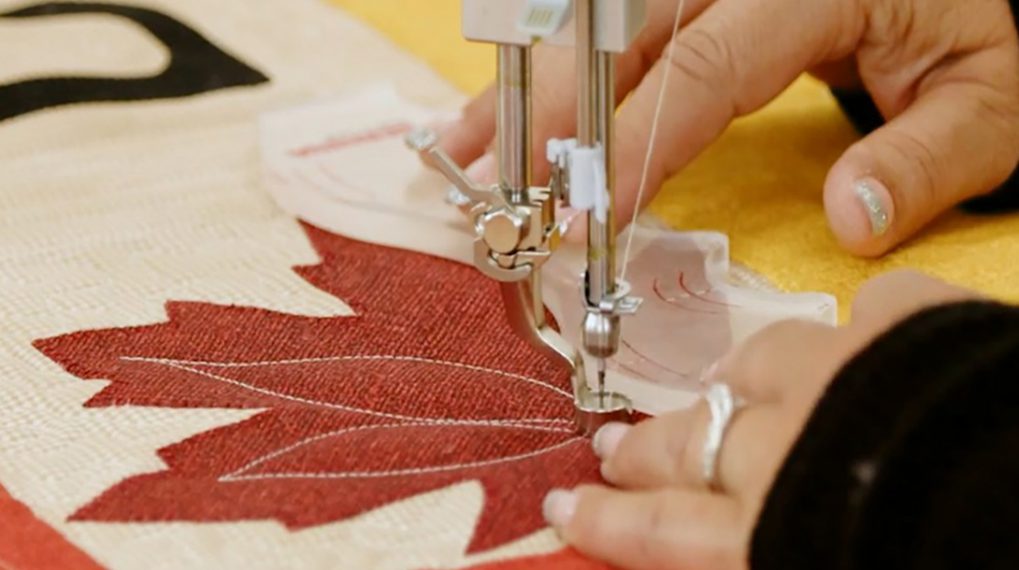
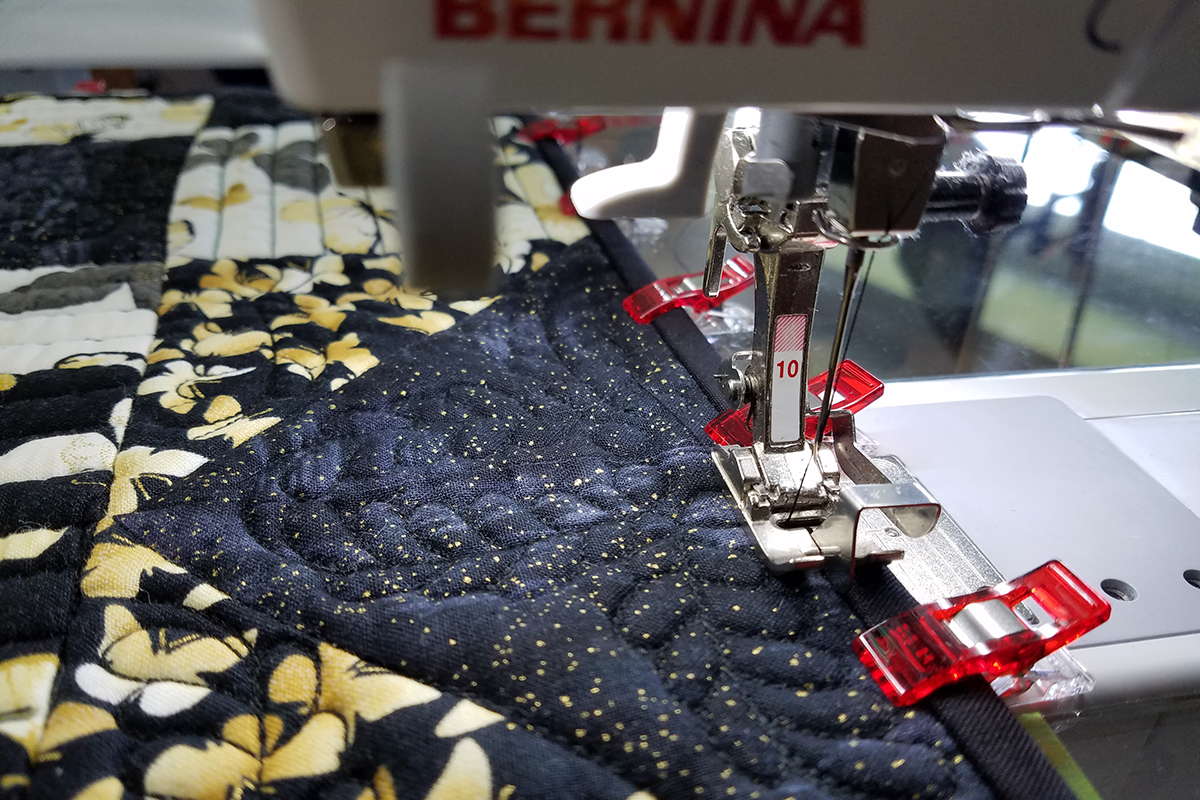
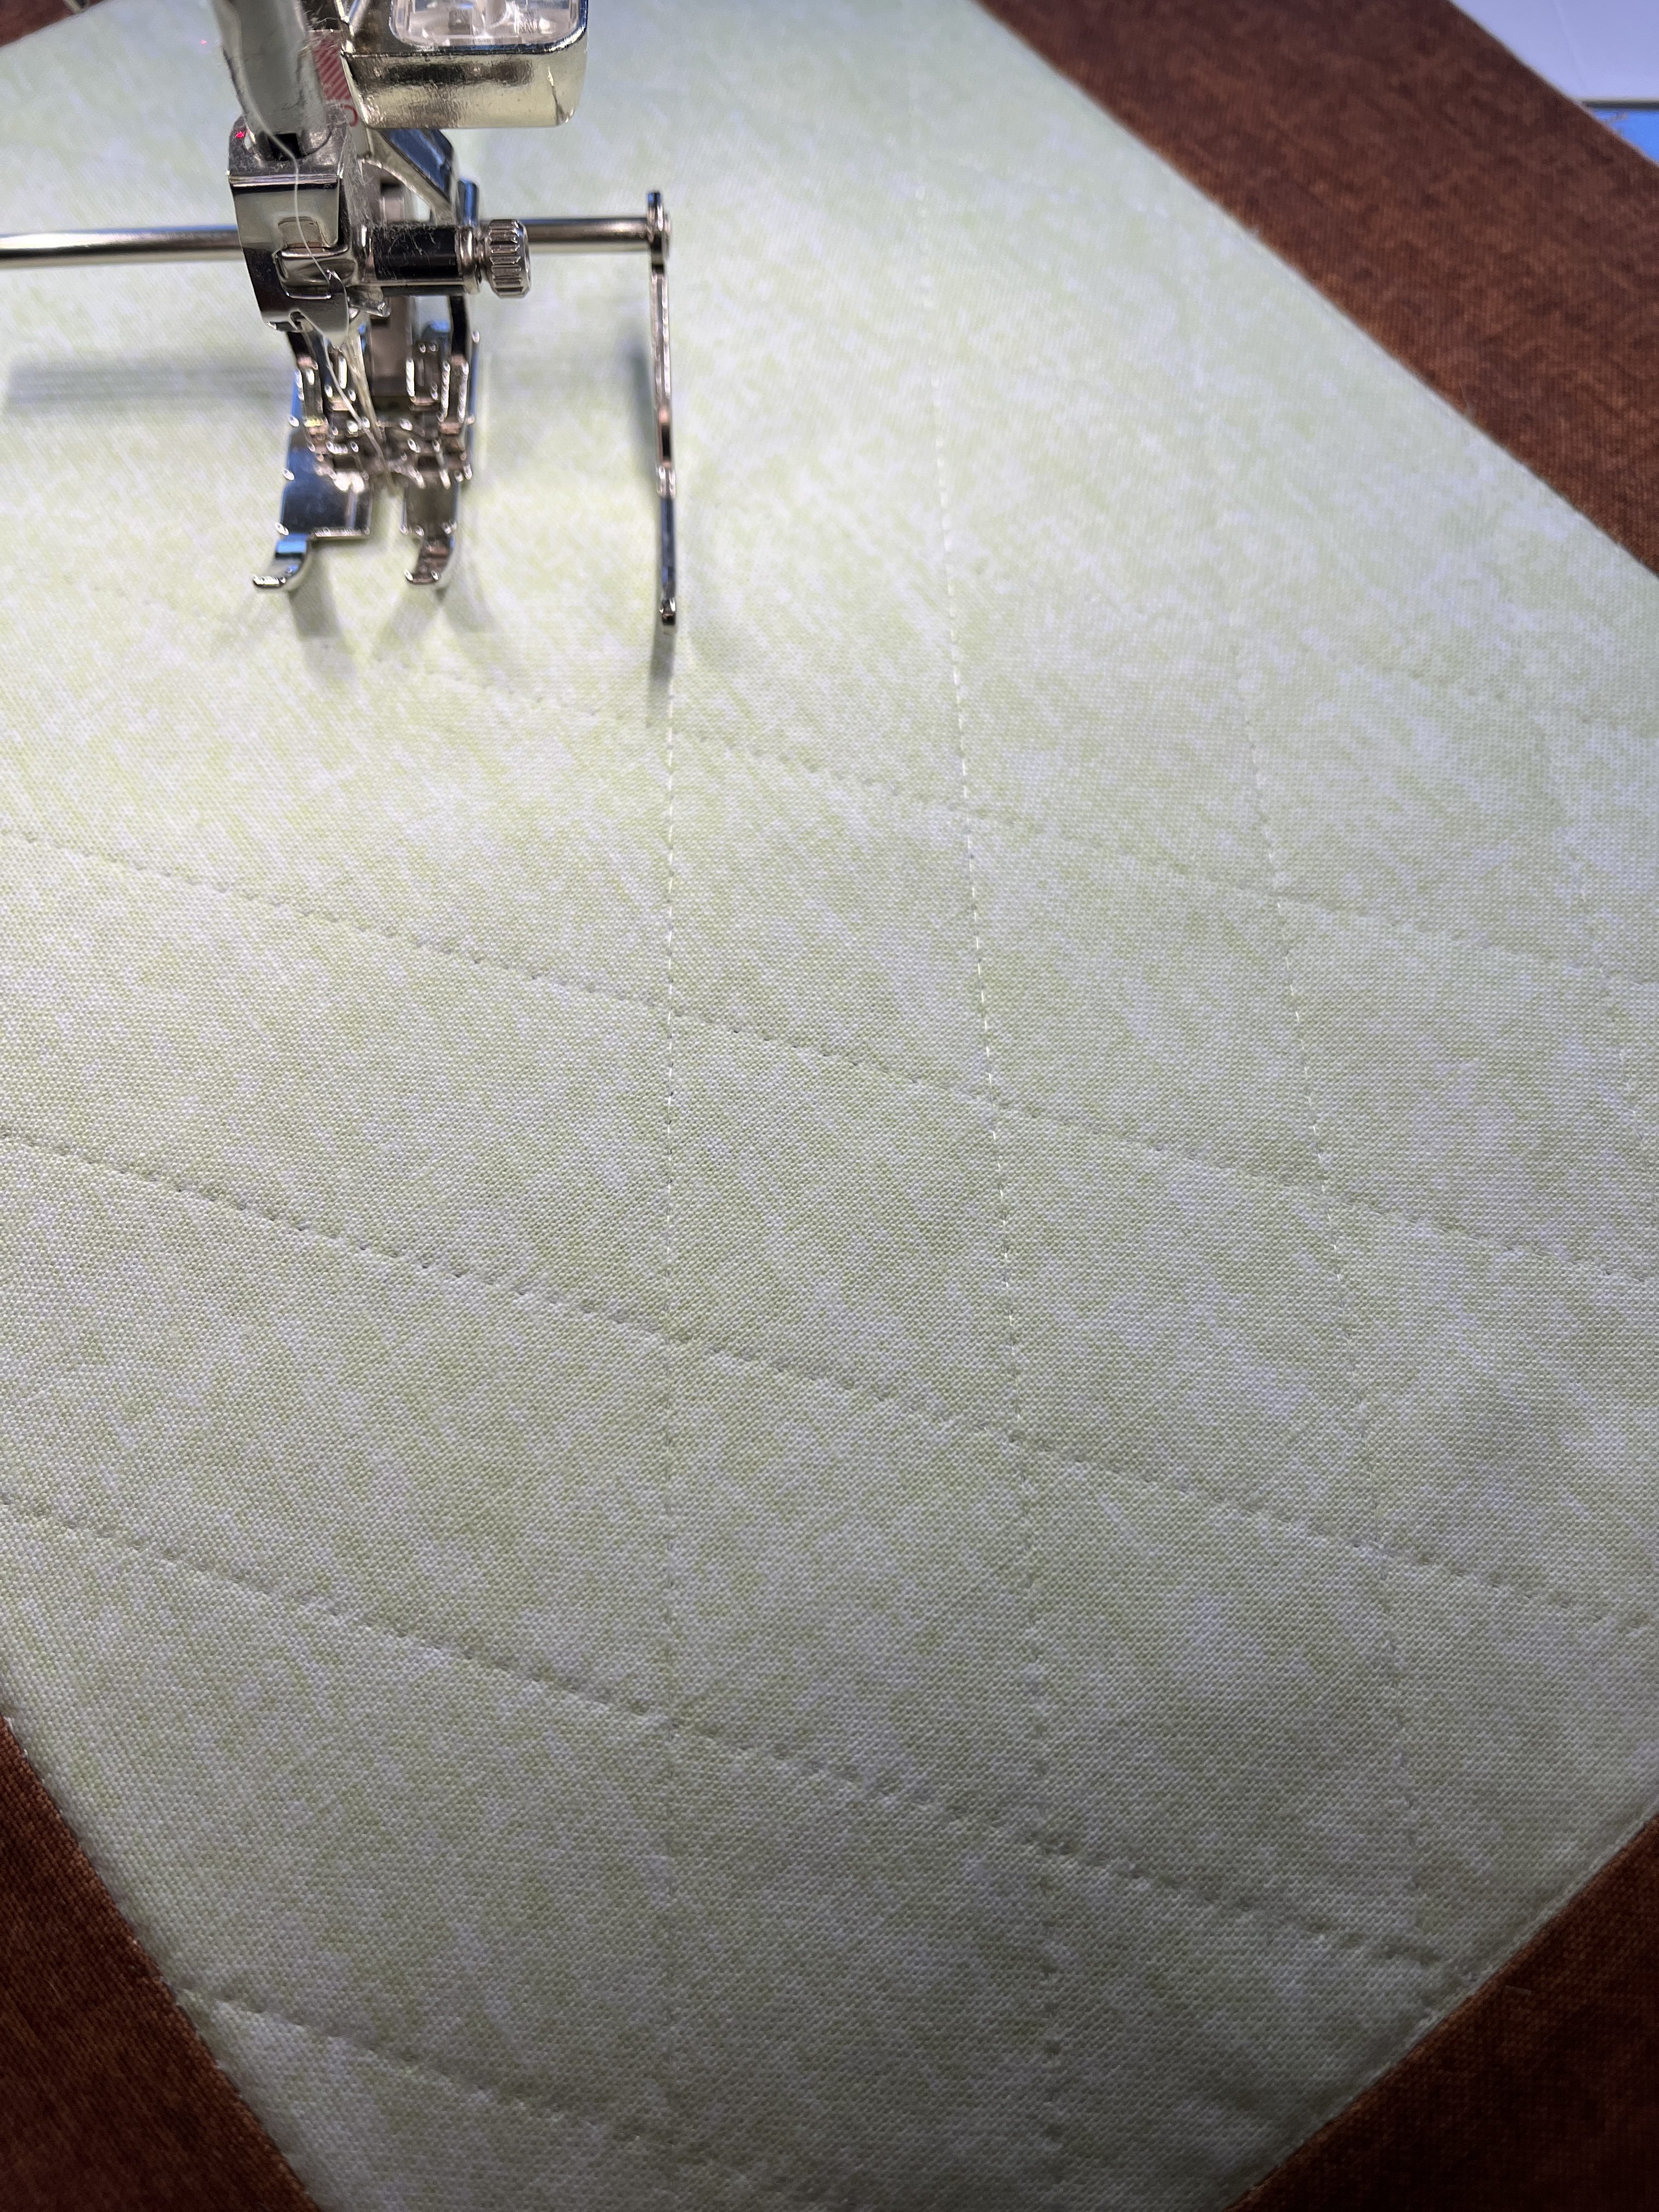
Quilting is only through the top and the fleece (do not add the backing yet). Stitch in the ditch with the Edgestitch Foot #10D around the green rectangle. Attach the Patchwork Foot #97D and insert the Right Seam Guide so that it is 1” away from the needle. Stitch a diagonal crosshatch on the green rectangle using matching or invisible thread in the needle. Begin by stitching corner to corner and then stitch the additional lines 1” apart.
Step Two: Embroider Lettering
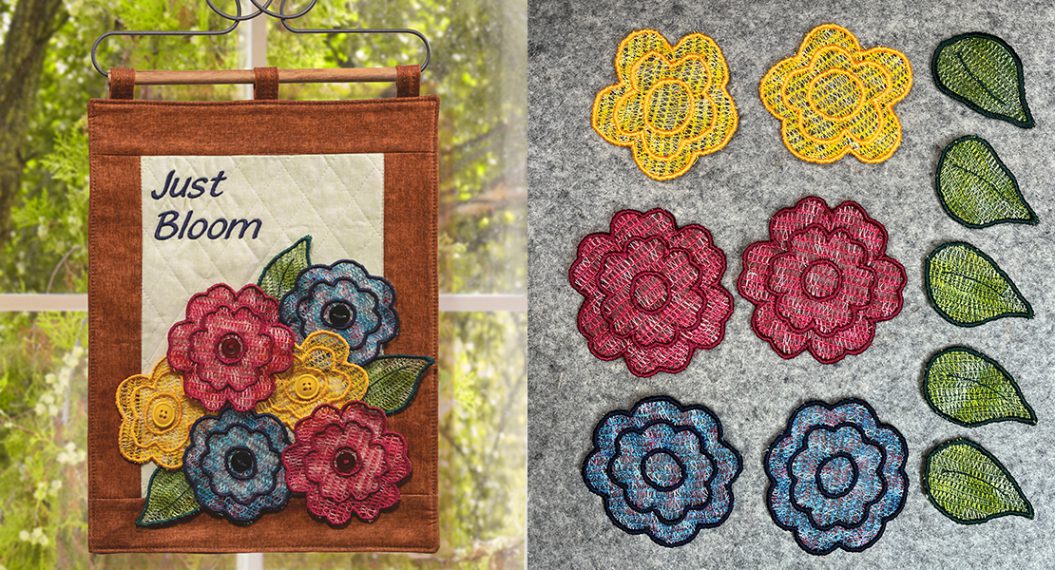
Play with different arrangements of your appliqués and letter placement. I recommend placing the leaves underneath the flowers. Avoid overlapping the flower centers as buttons will be sewn there. Take a photo of your final arrangement to remember where everything goes! Mark placement line crosshairs on the wall hanging for your lettering.
Note: The center of my lettering is 1 1/4″ down and 1 3/4″ over from the upper green corner.
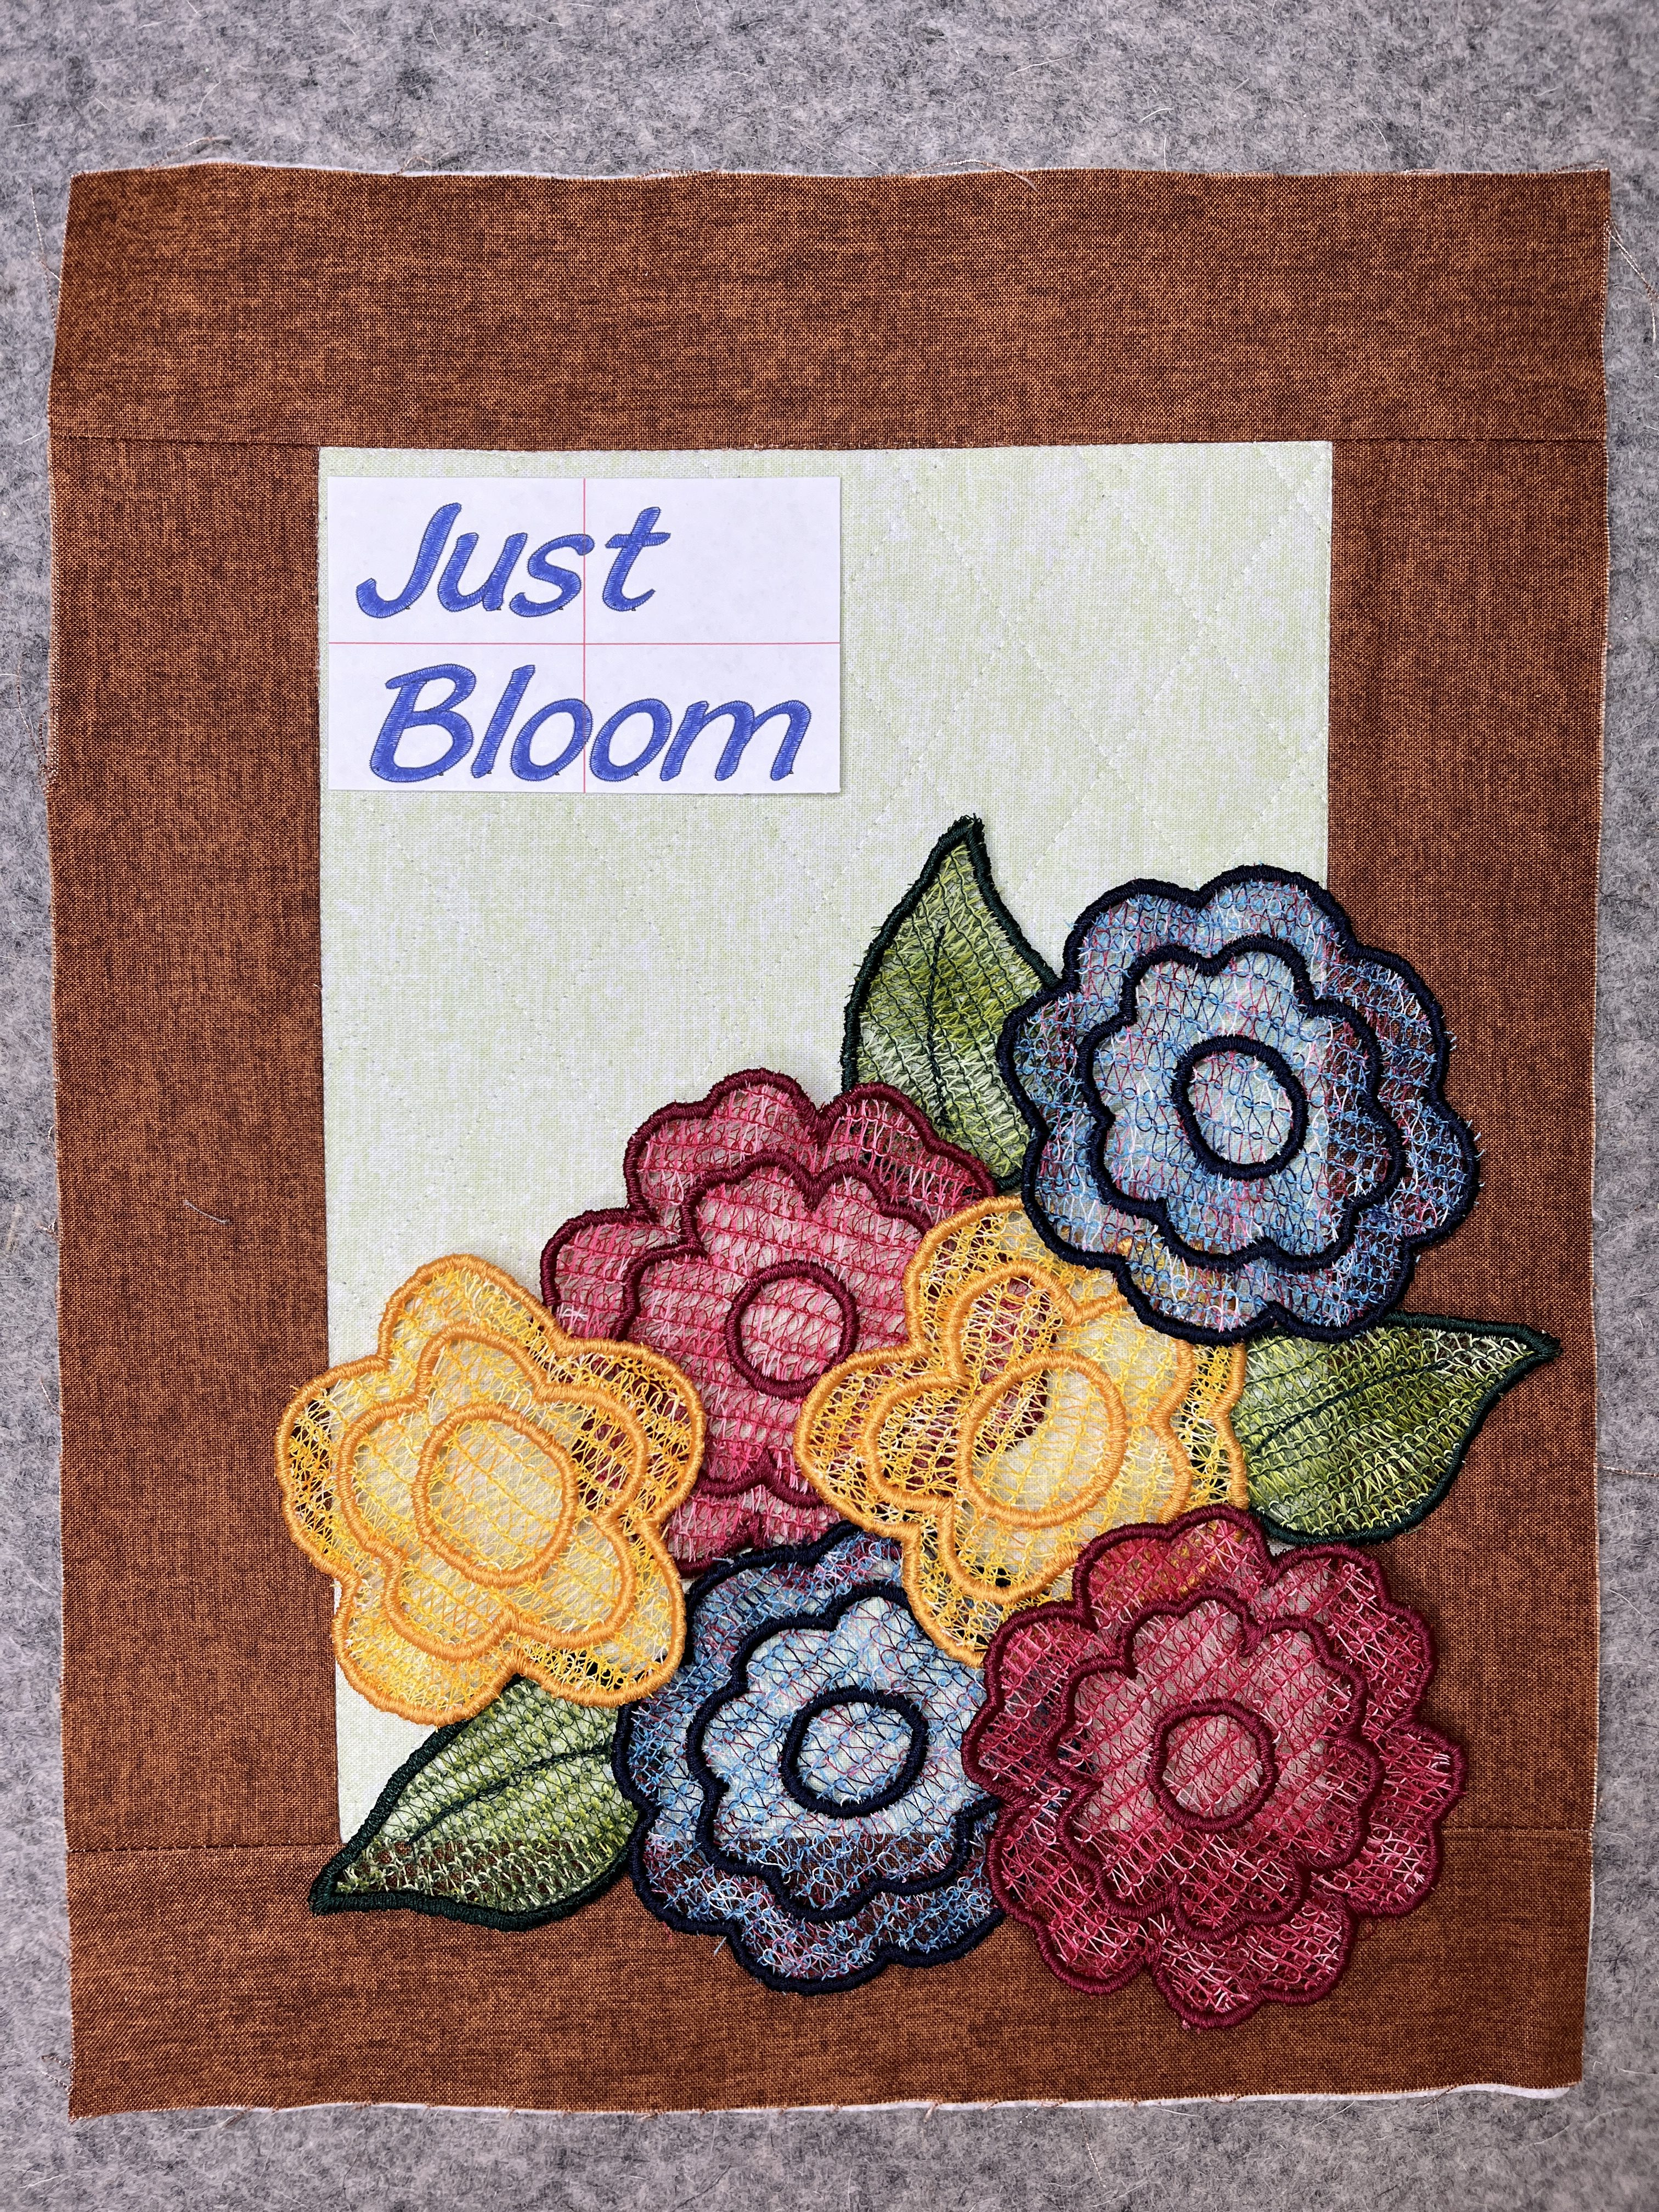
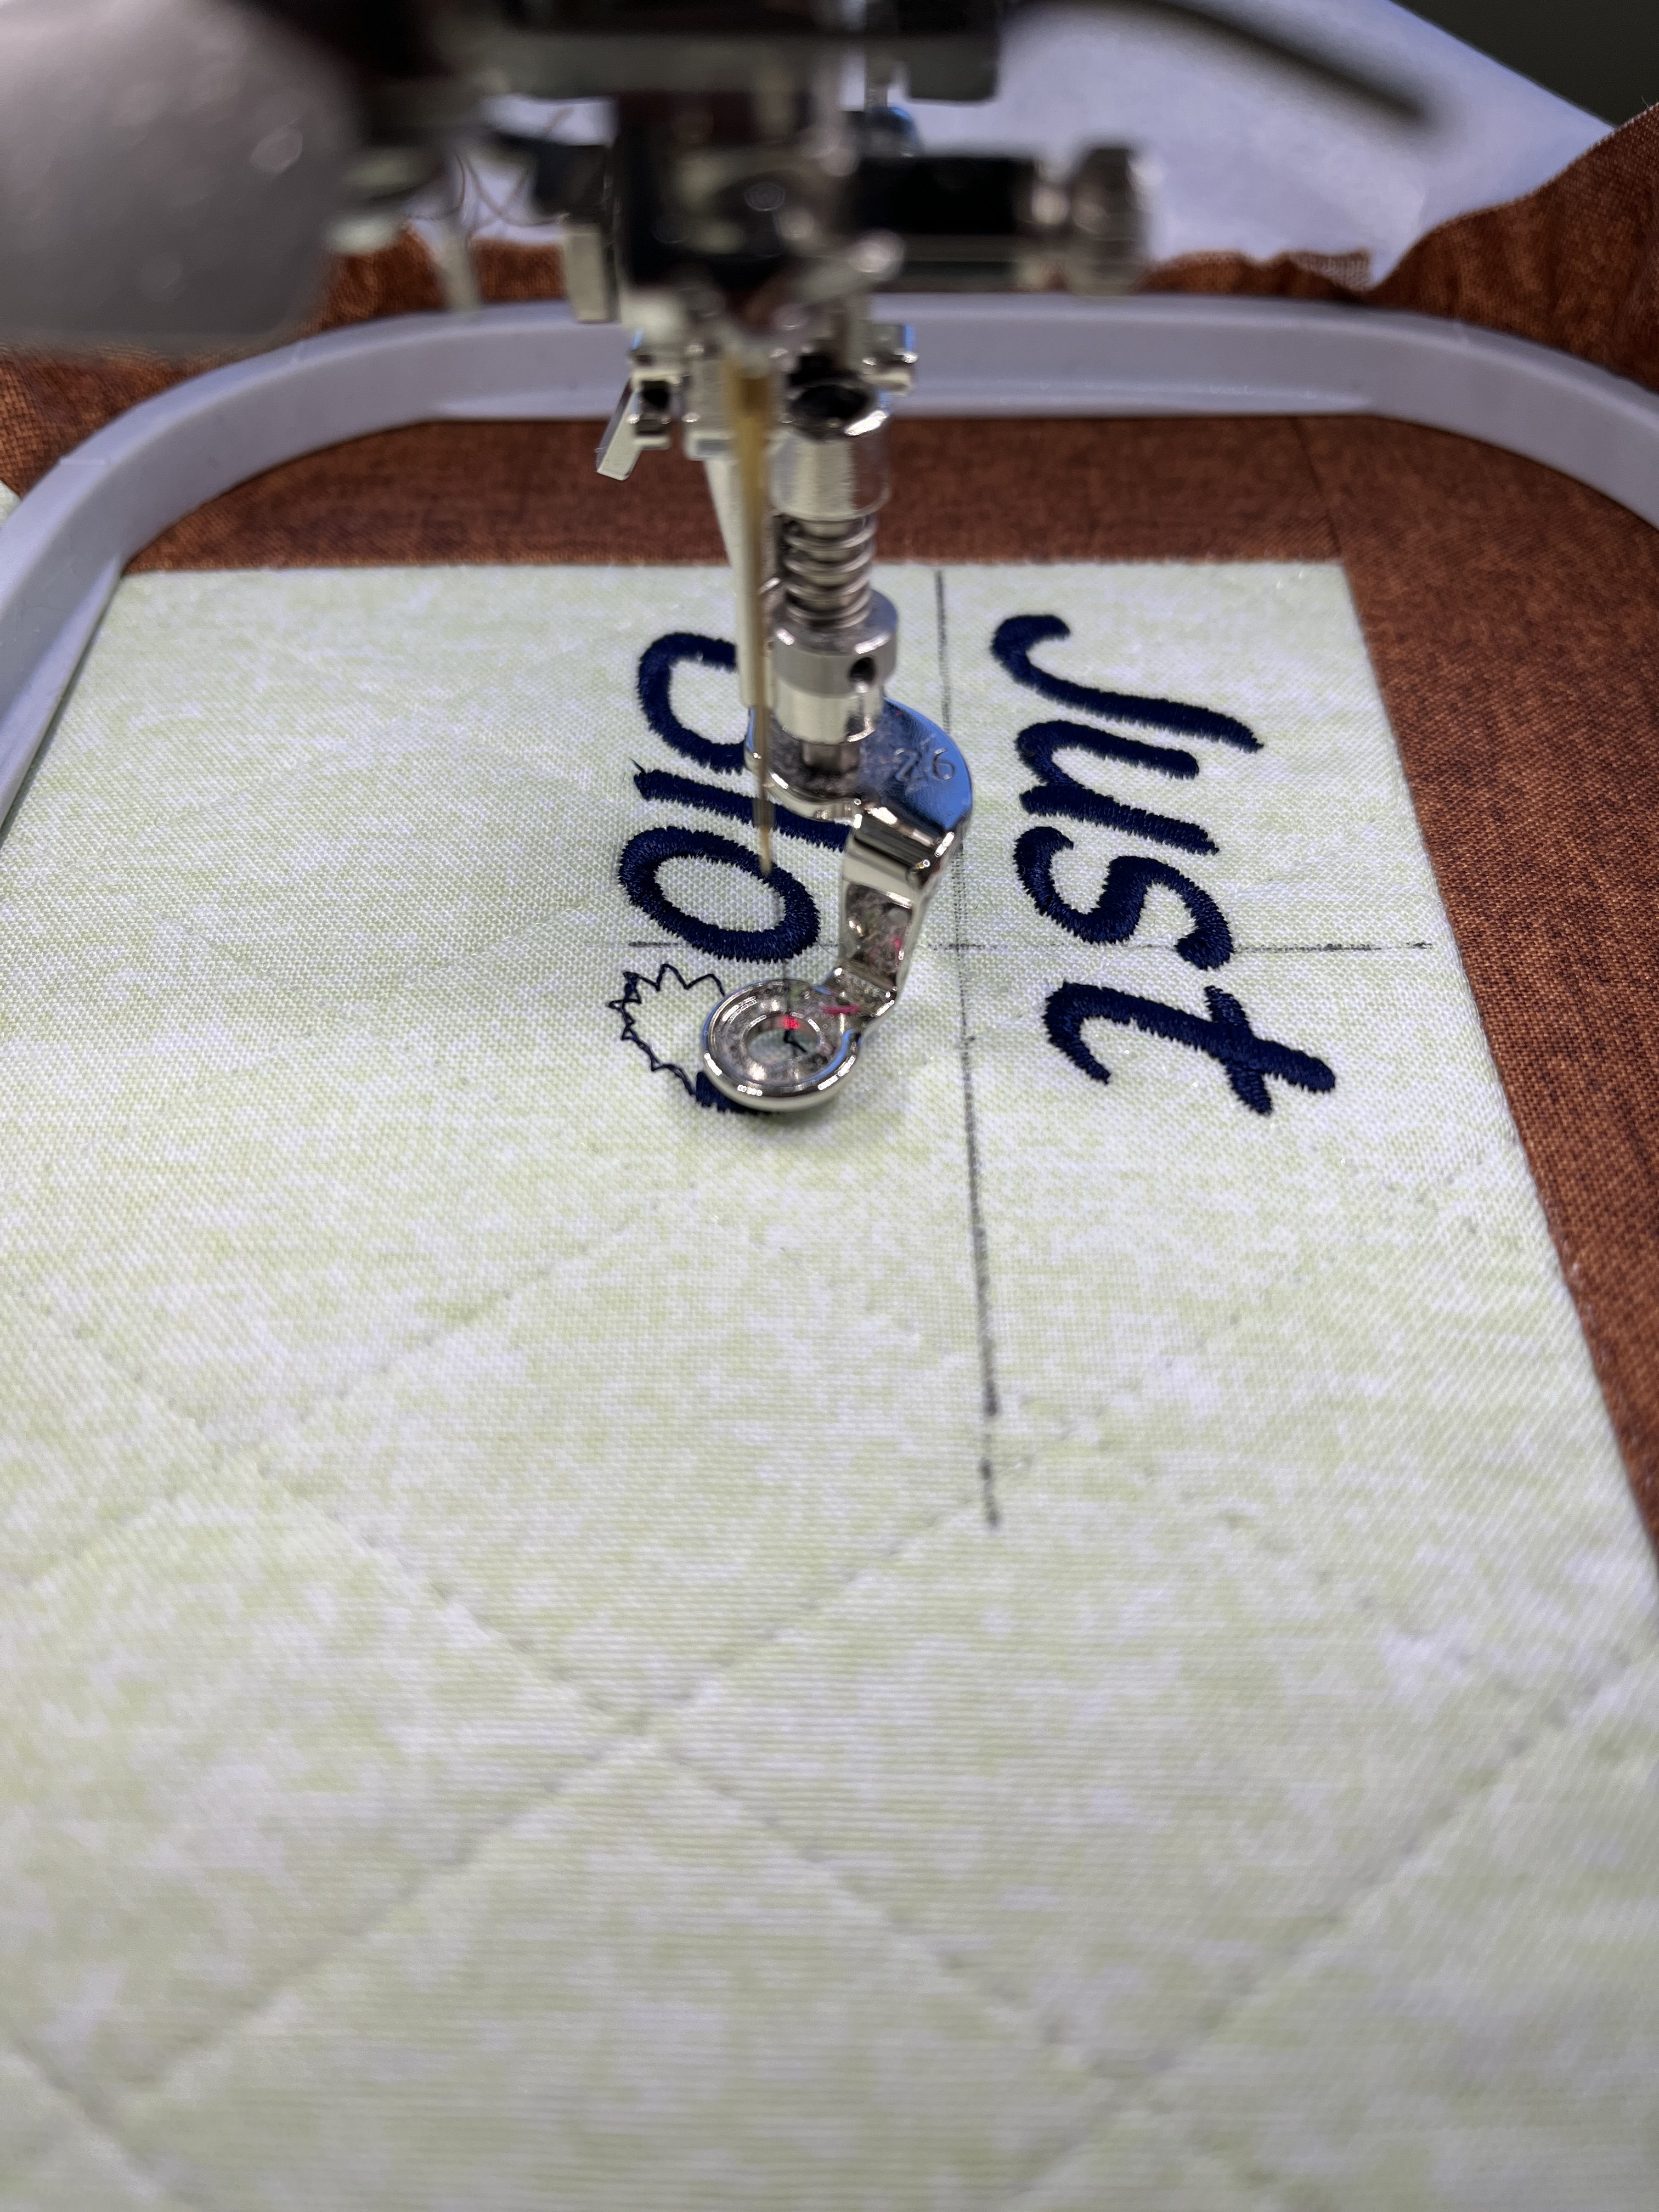
Hoop the wall hanging in the Medium Hoop with Ultra Clean and Tear Stabilizer. Thread the needle in the desired color (I used dark blue). Use Pinpoint Placement Grid to position the lettering. Make sure to rotate as needed! Embroider the lettering. Remove the stabilizer when done and press.
Step Three: Attach Leaves and Flowers
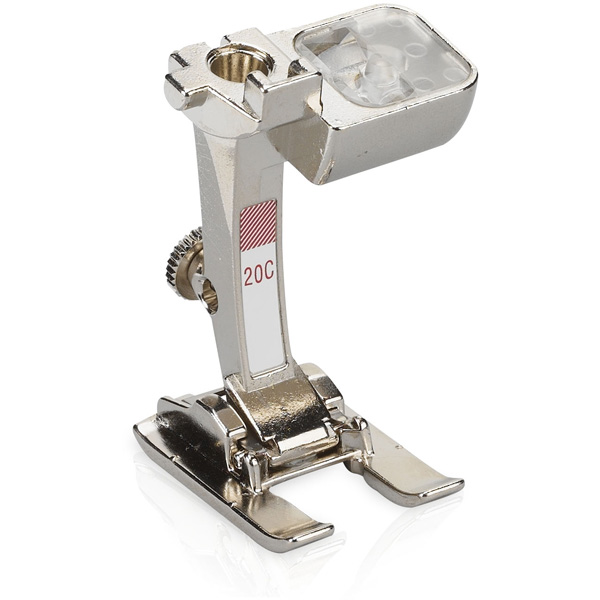
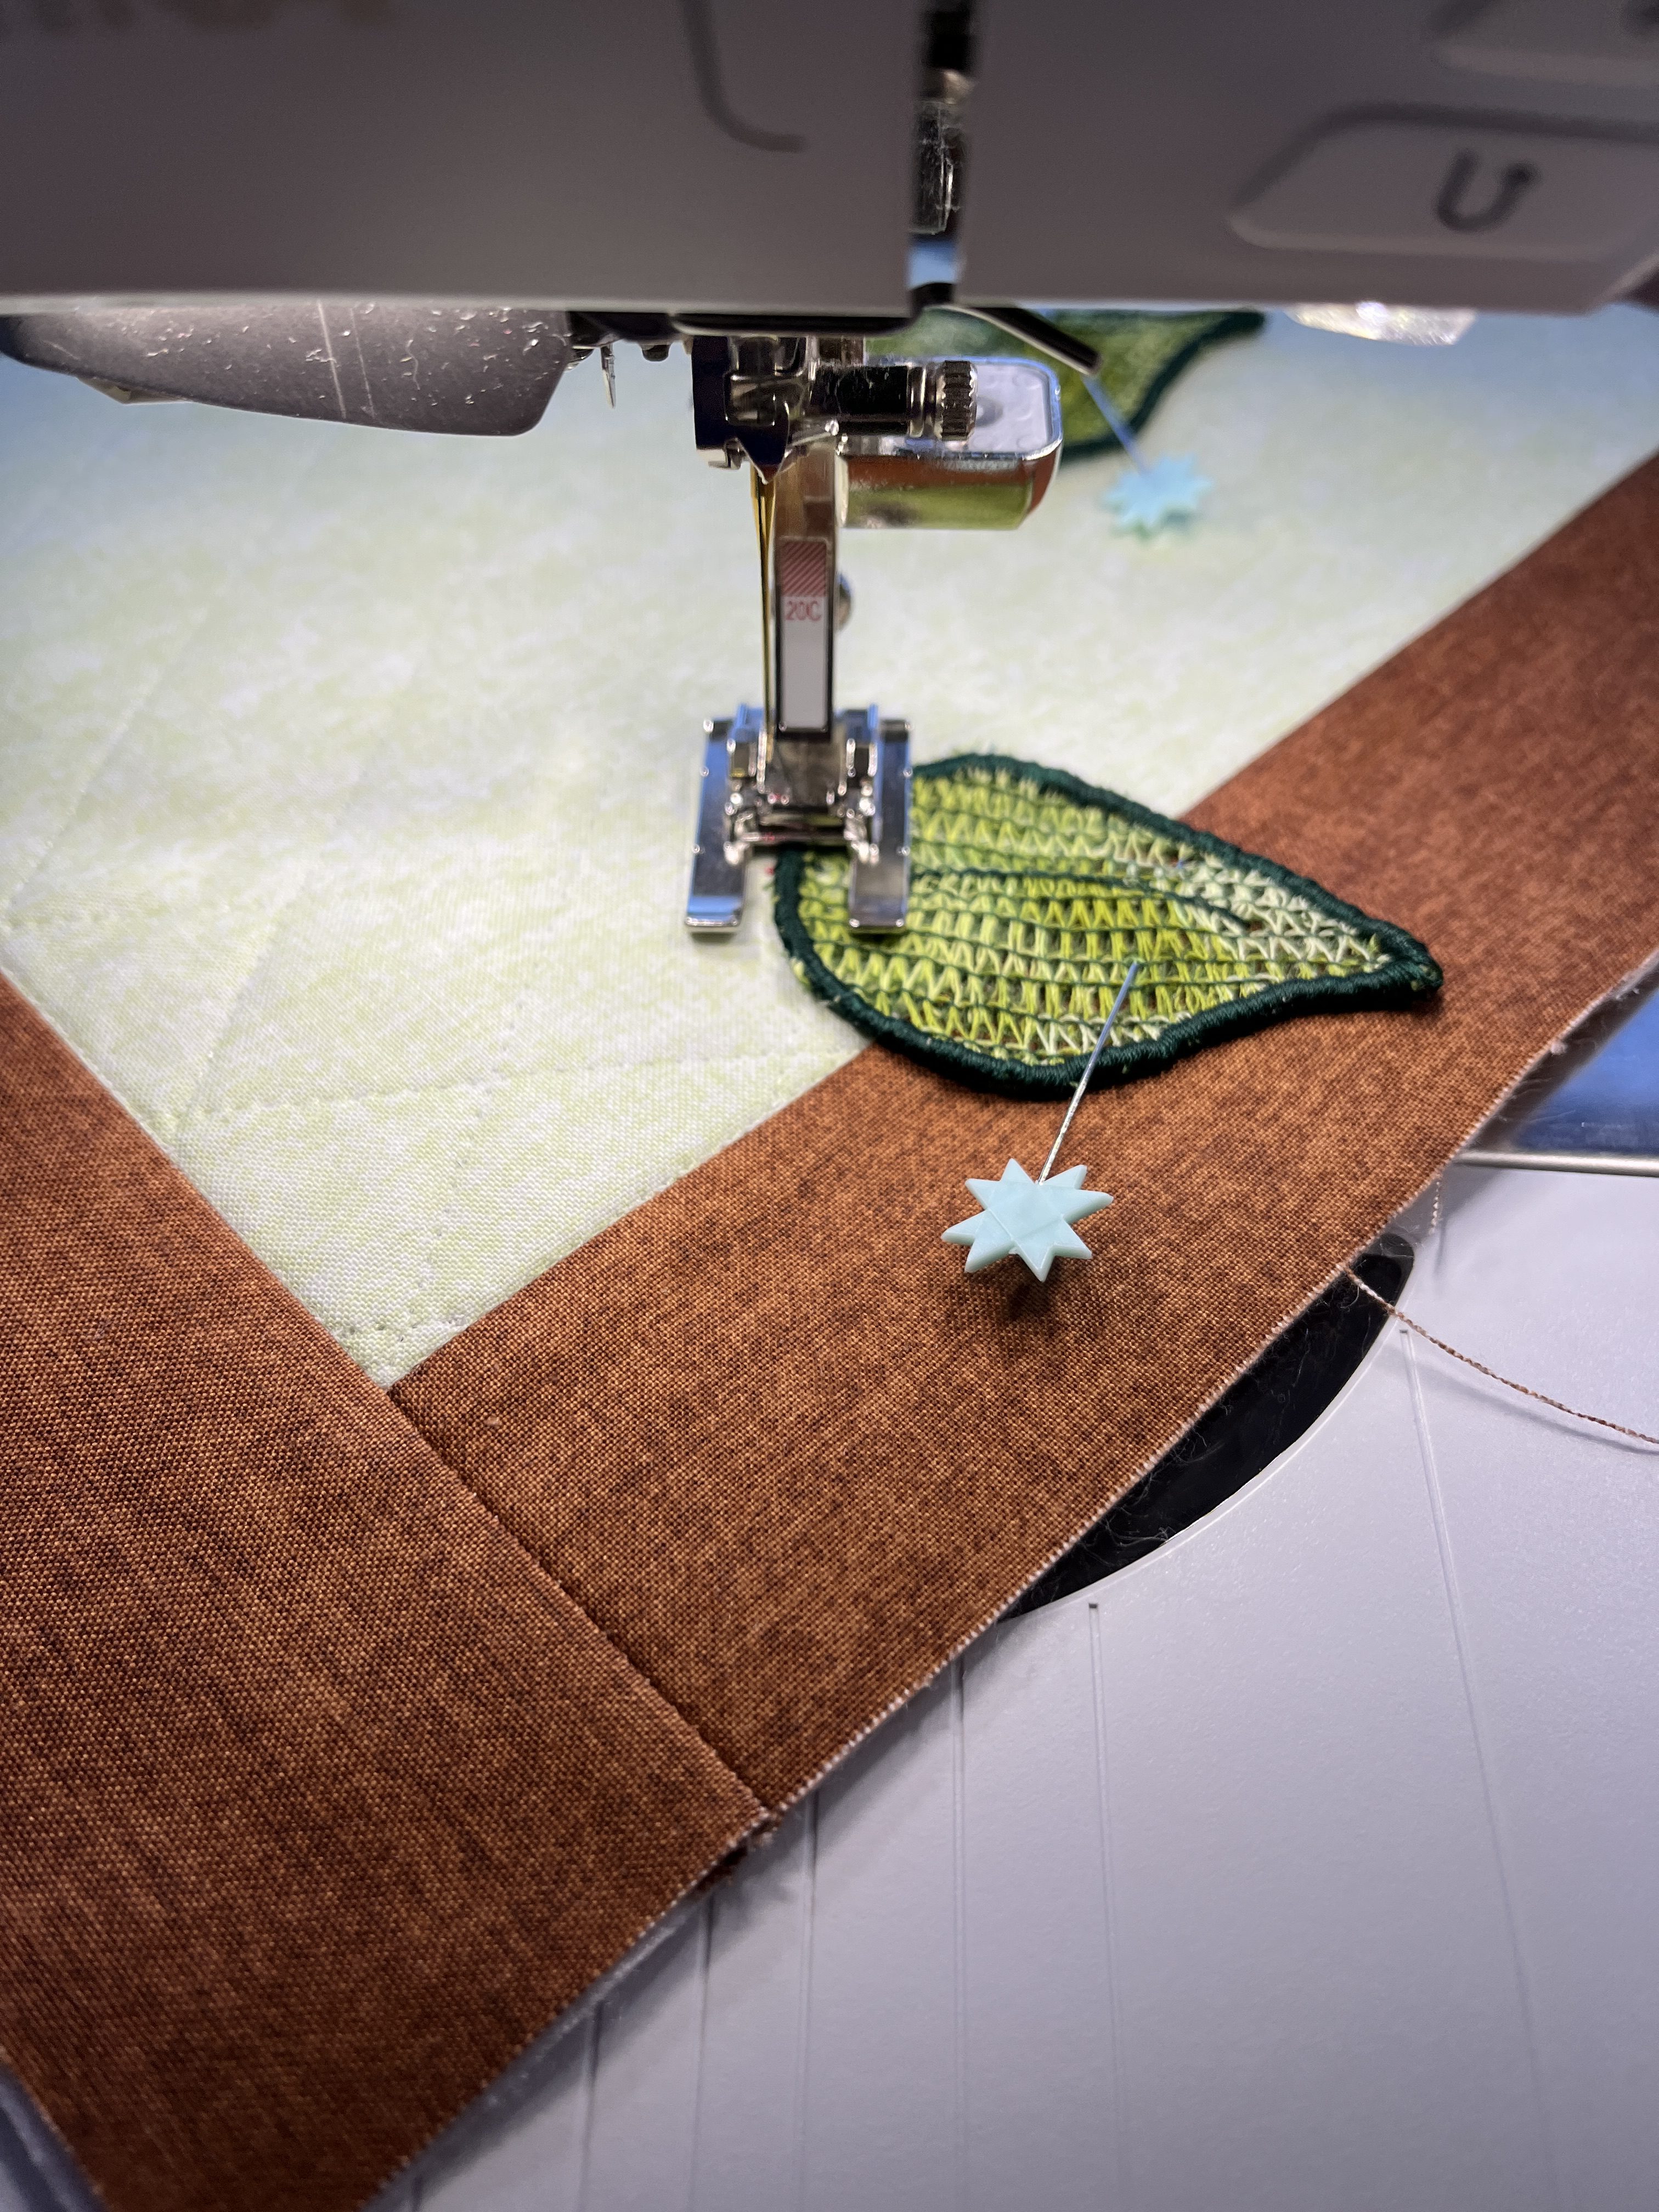
Place your appliqués as before. Pin the leaves in place and remove the flowers. Using the Open Embroidery Foot #20C and the Bartack stitch #25, stitch each leaf down at the curved bottom end. I stitched three bartacks on each leaf. Do not stitch the leaf tips down. Note that this stitch is a programmed stitch, so press on the foot control until the stitch is complete or use the start/stop button on the machine.
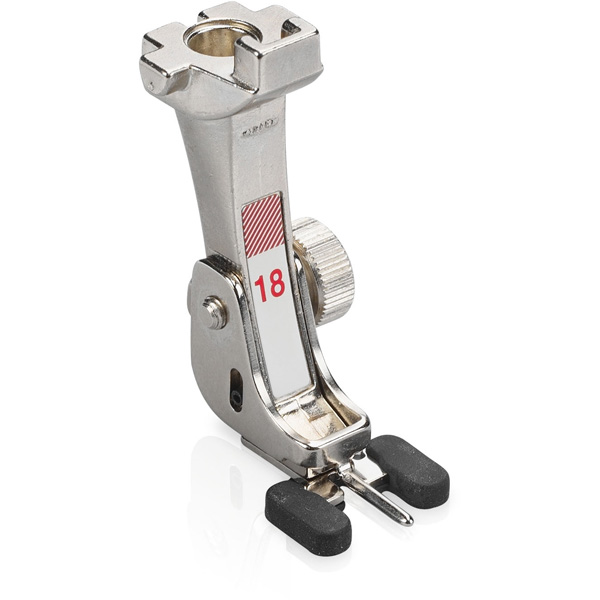
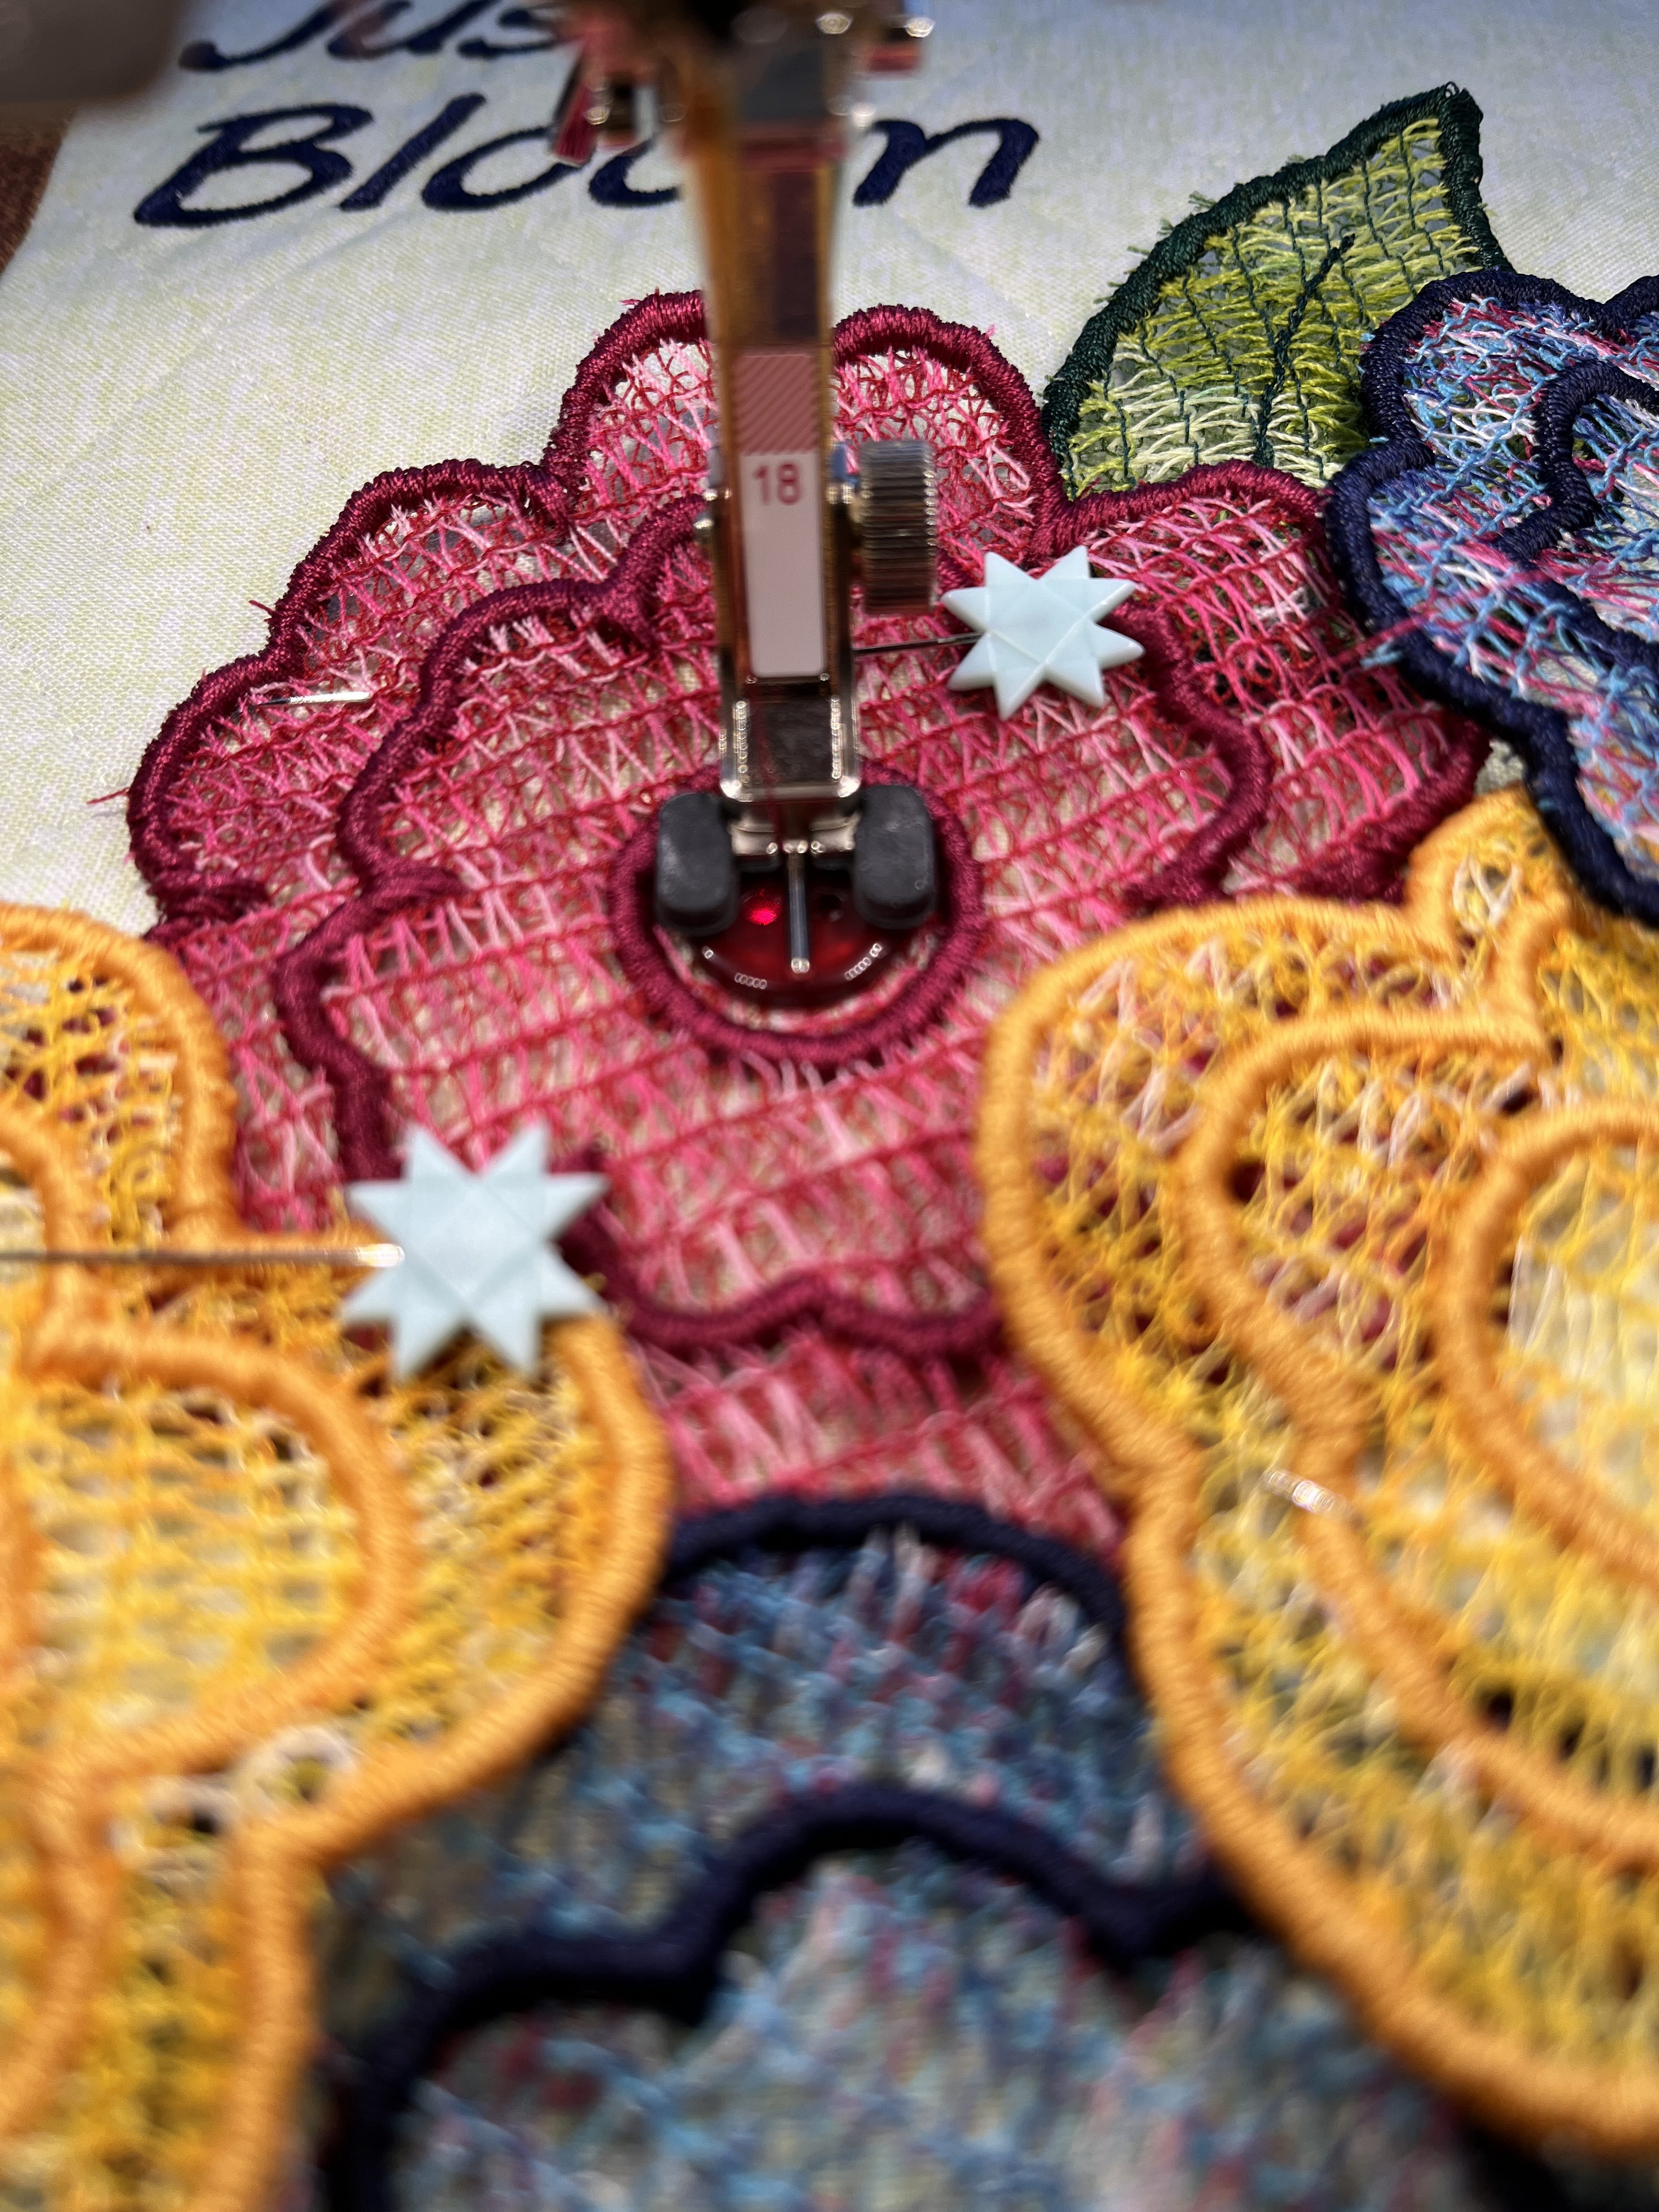
Pin the flowers in place. Attach the Button Sew-on Foot #18 and select the Button Sew-on Stitch #60. Sew a button to each flower center, attaching the flower appliques to the wall hanging. Use matching or contrasting thread as desired.
Tip: Use Mirror Left/Right and the laser to precisely place the button under the foot without having to turn the handwheel!
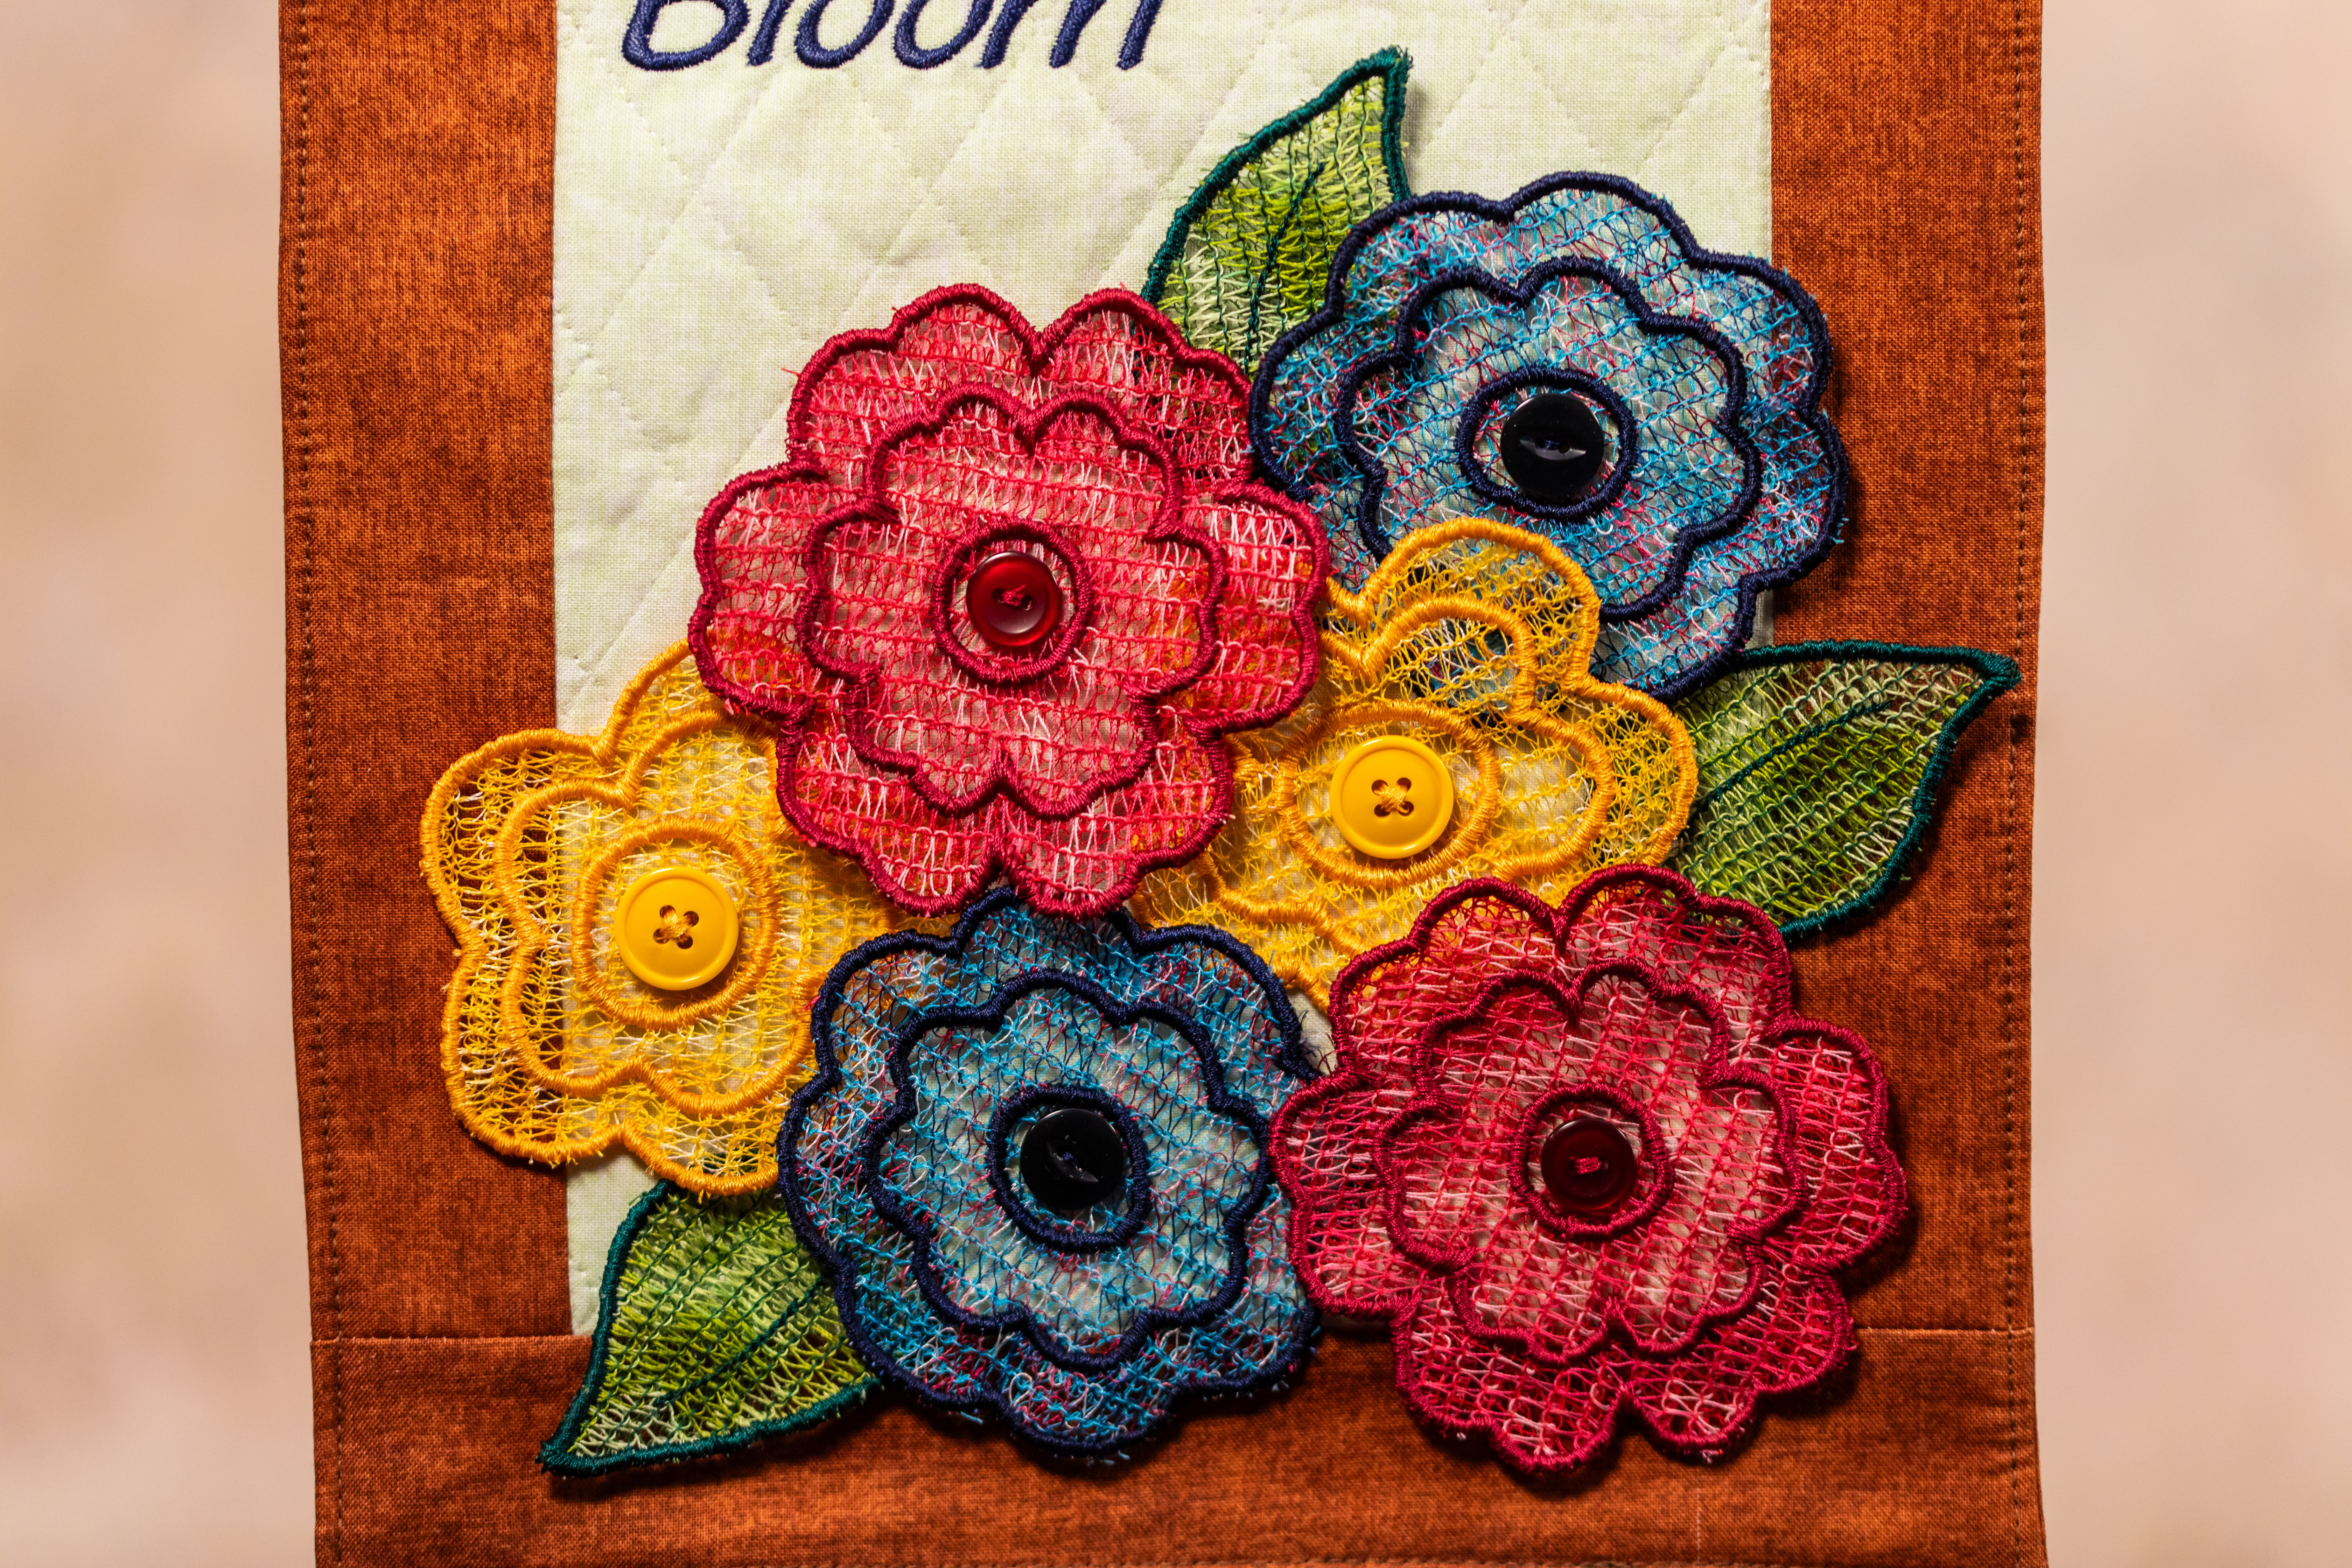
You can adjust the layers as desired when done by tucking flowers under each other.
Step Four: Finish Wall Hanging
Fold the belt loops in half and clip at the top of the wall hanging. One is in the center, and the other two are 3/4″ from each side. Allow about 1/4″ to extend above the top and make sure that the folds at the bottom are even. Baste in place.
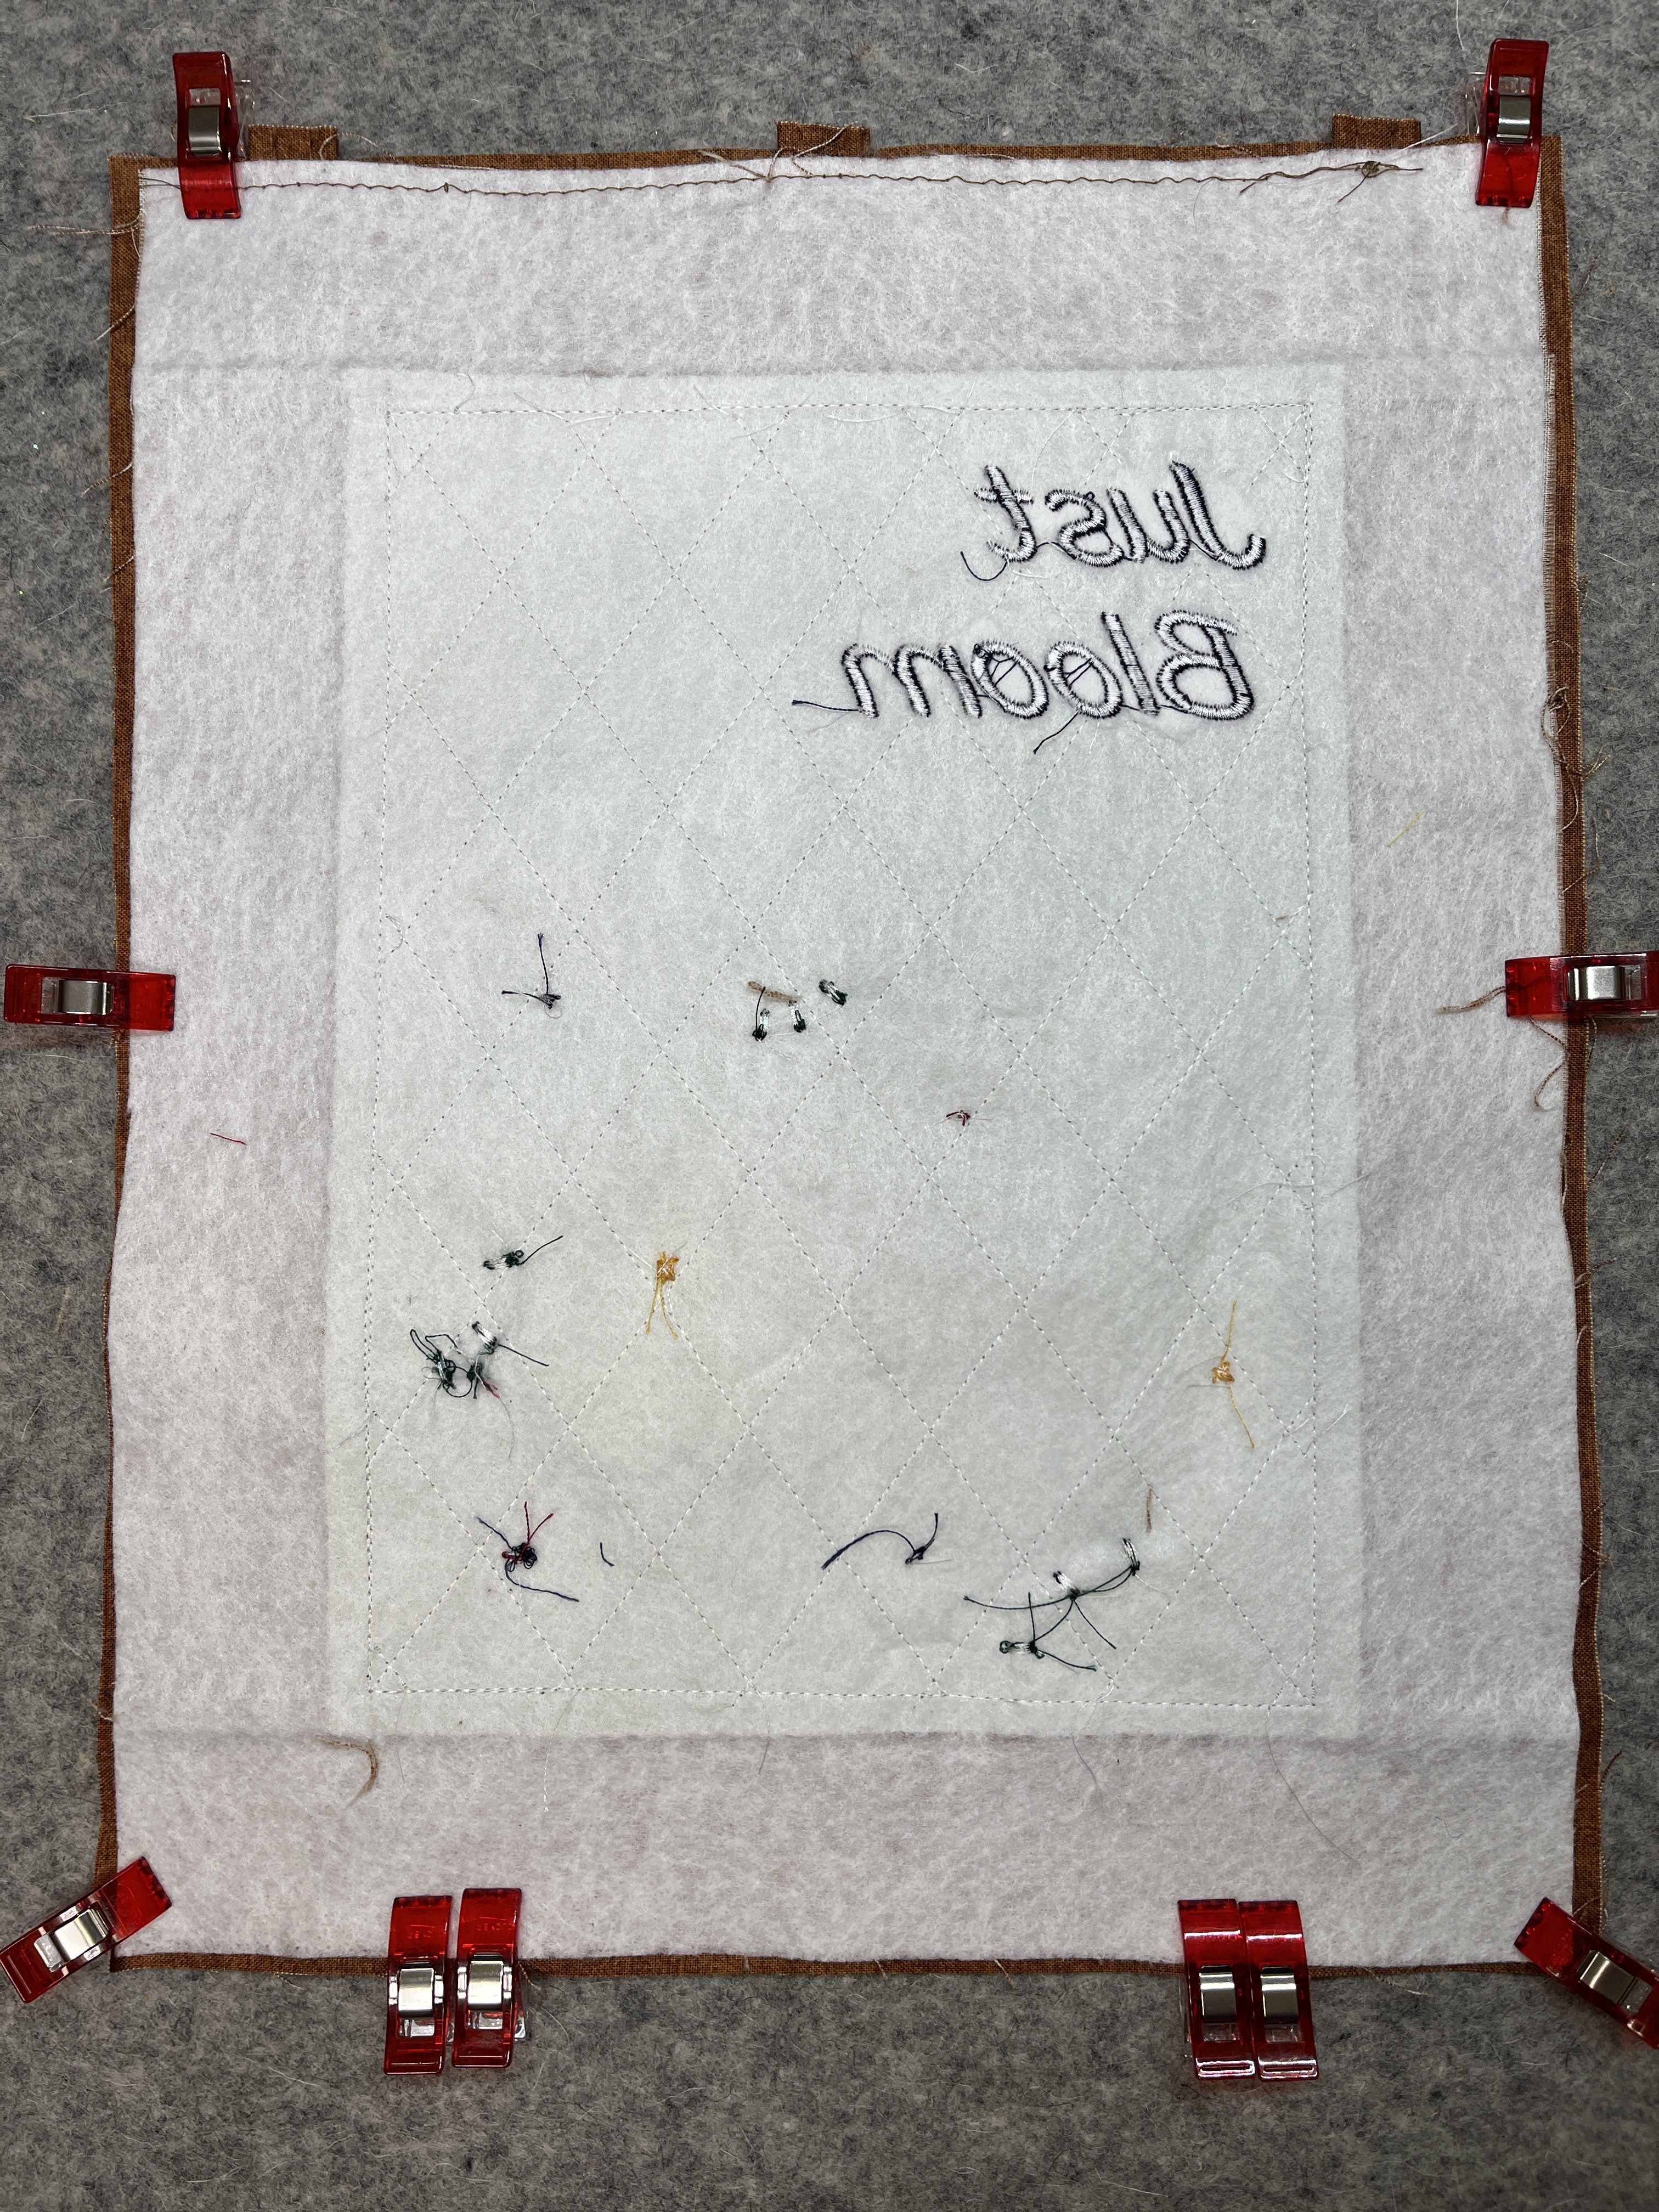
Center the front to the back right sides together. (Note: The back is cut slightly larger to allow for the bulk of the appliqués.) Sew together with a 1/4″ seam, easing as needed. Leave 4” open at the bottom for turning.
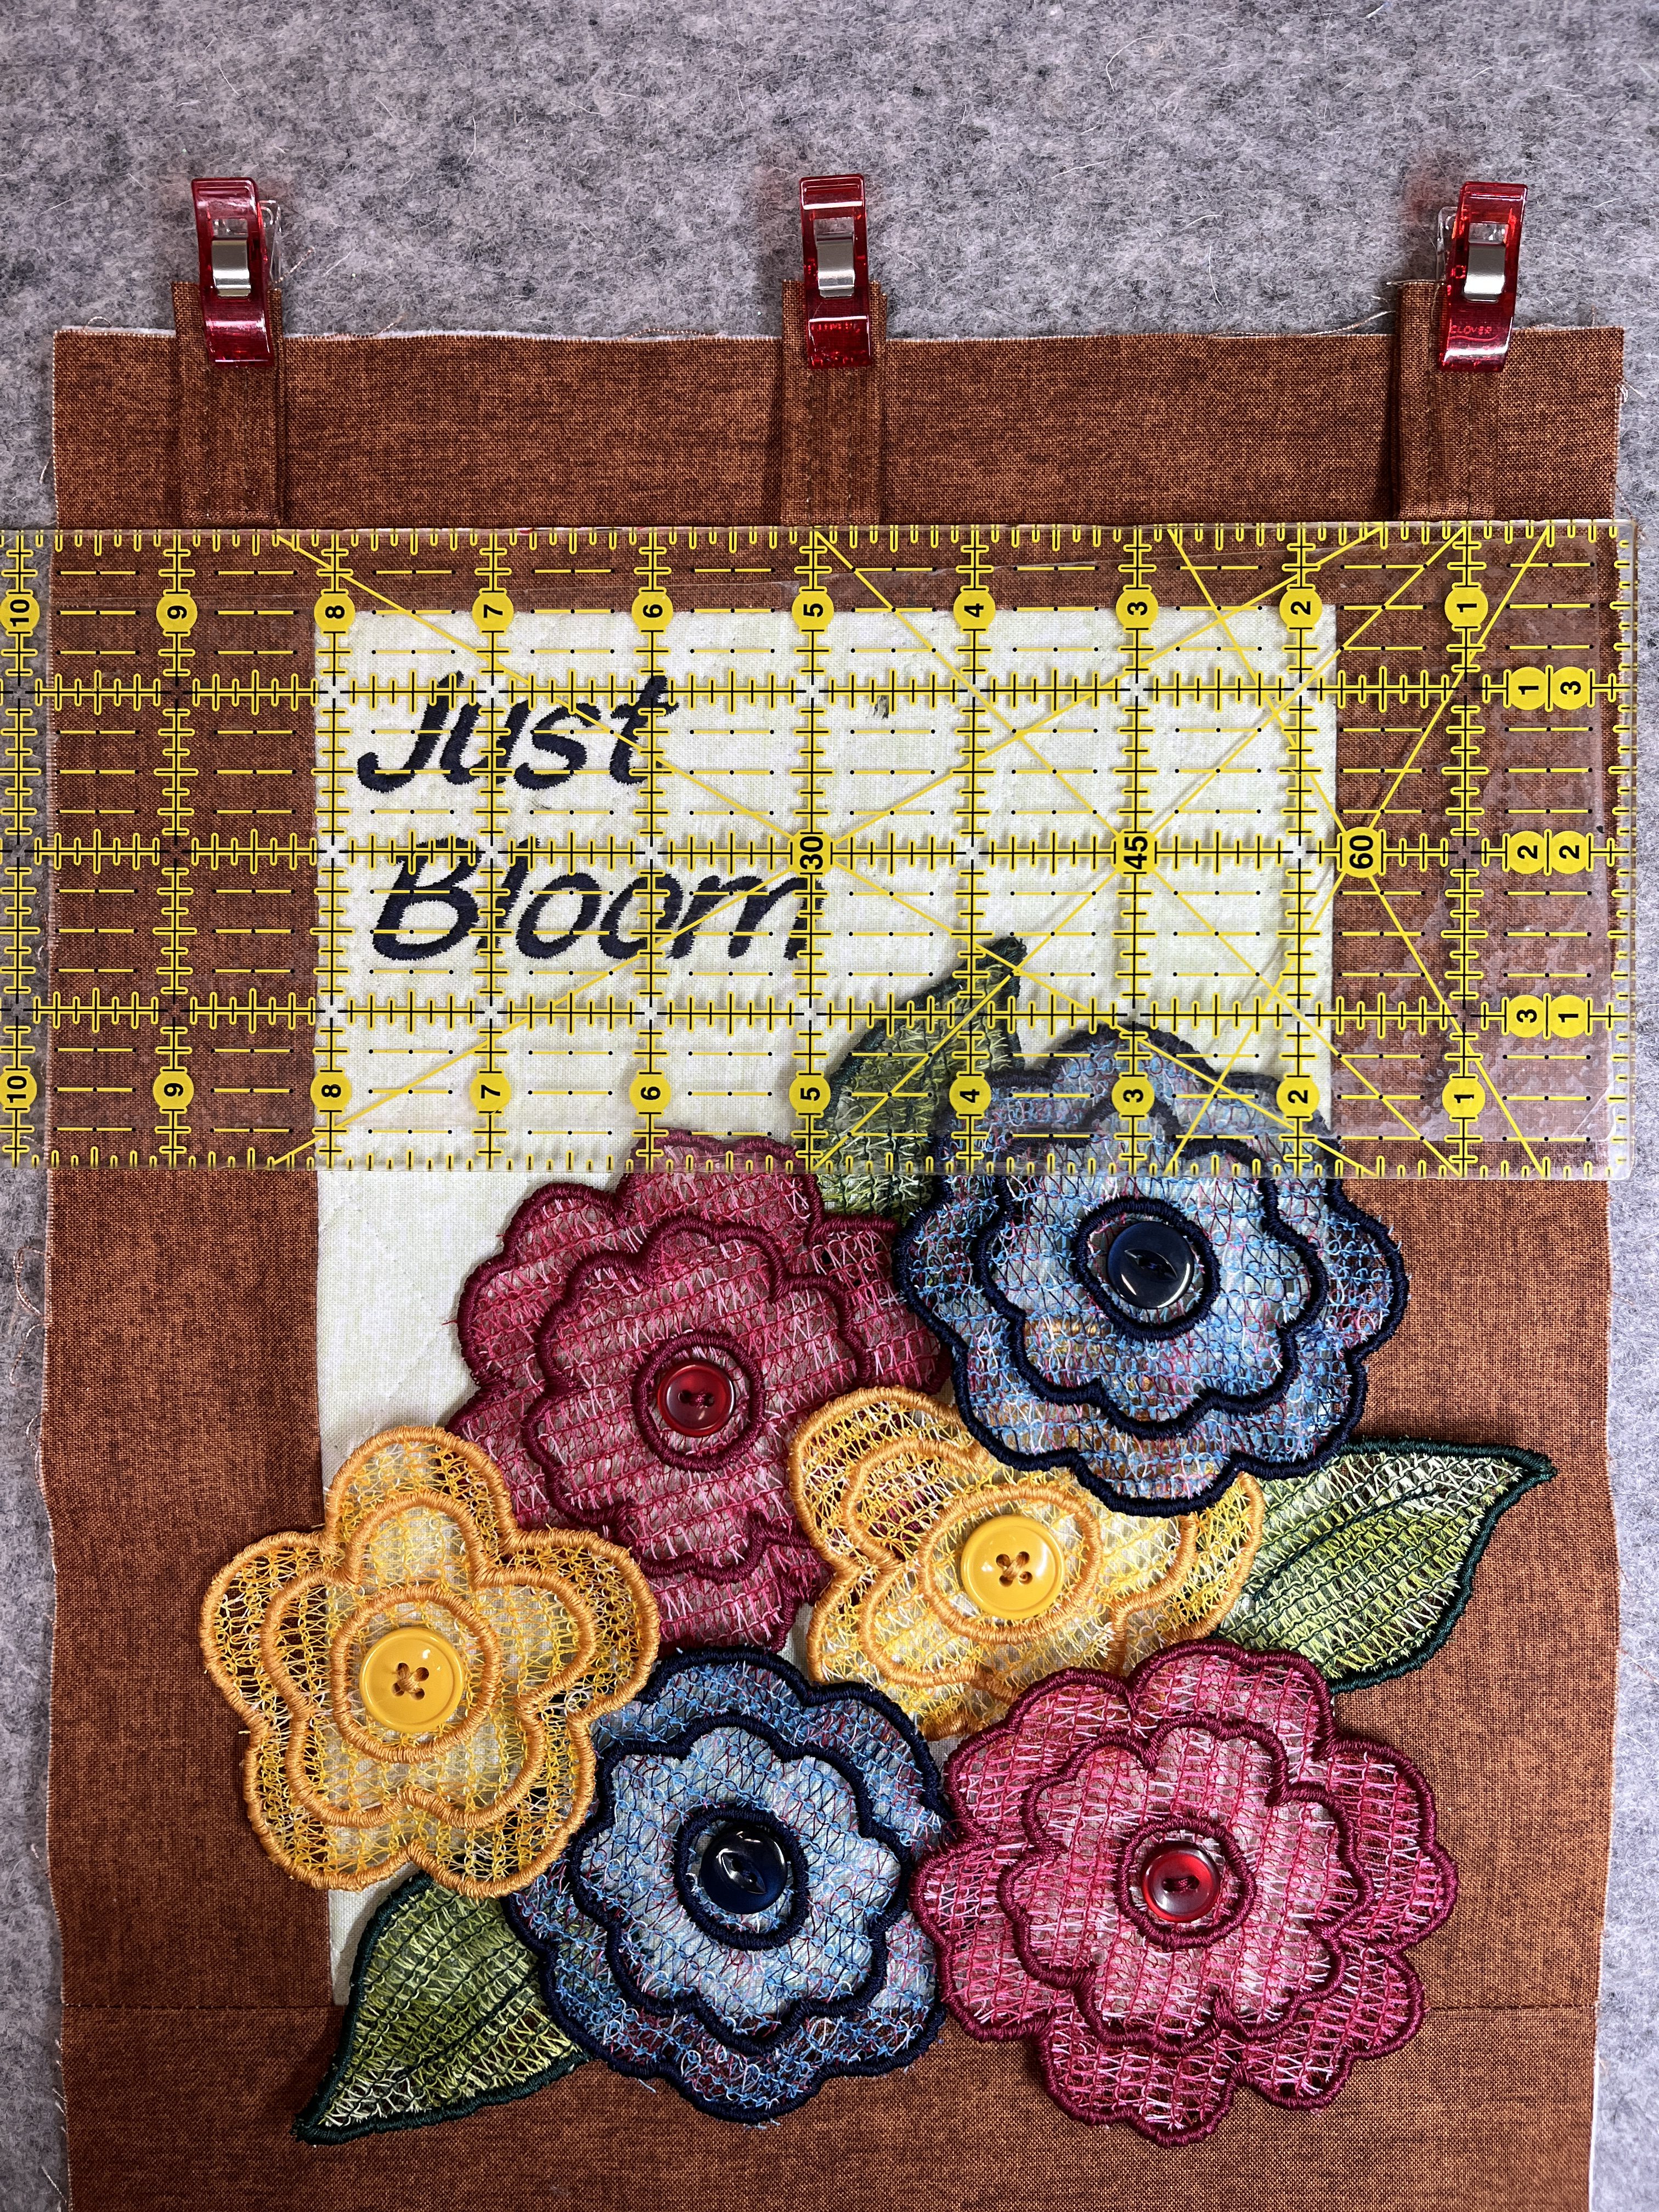
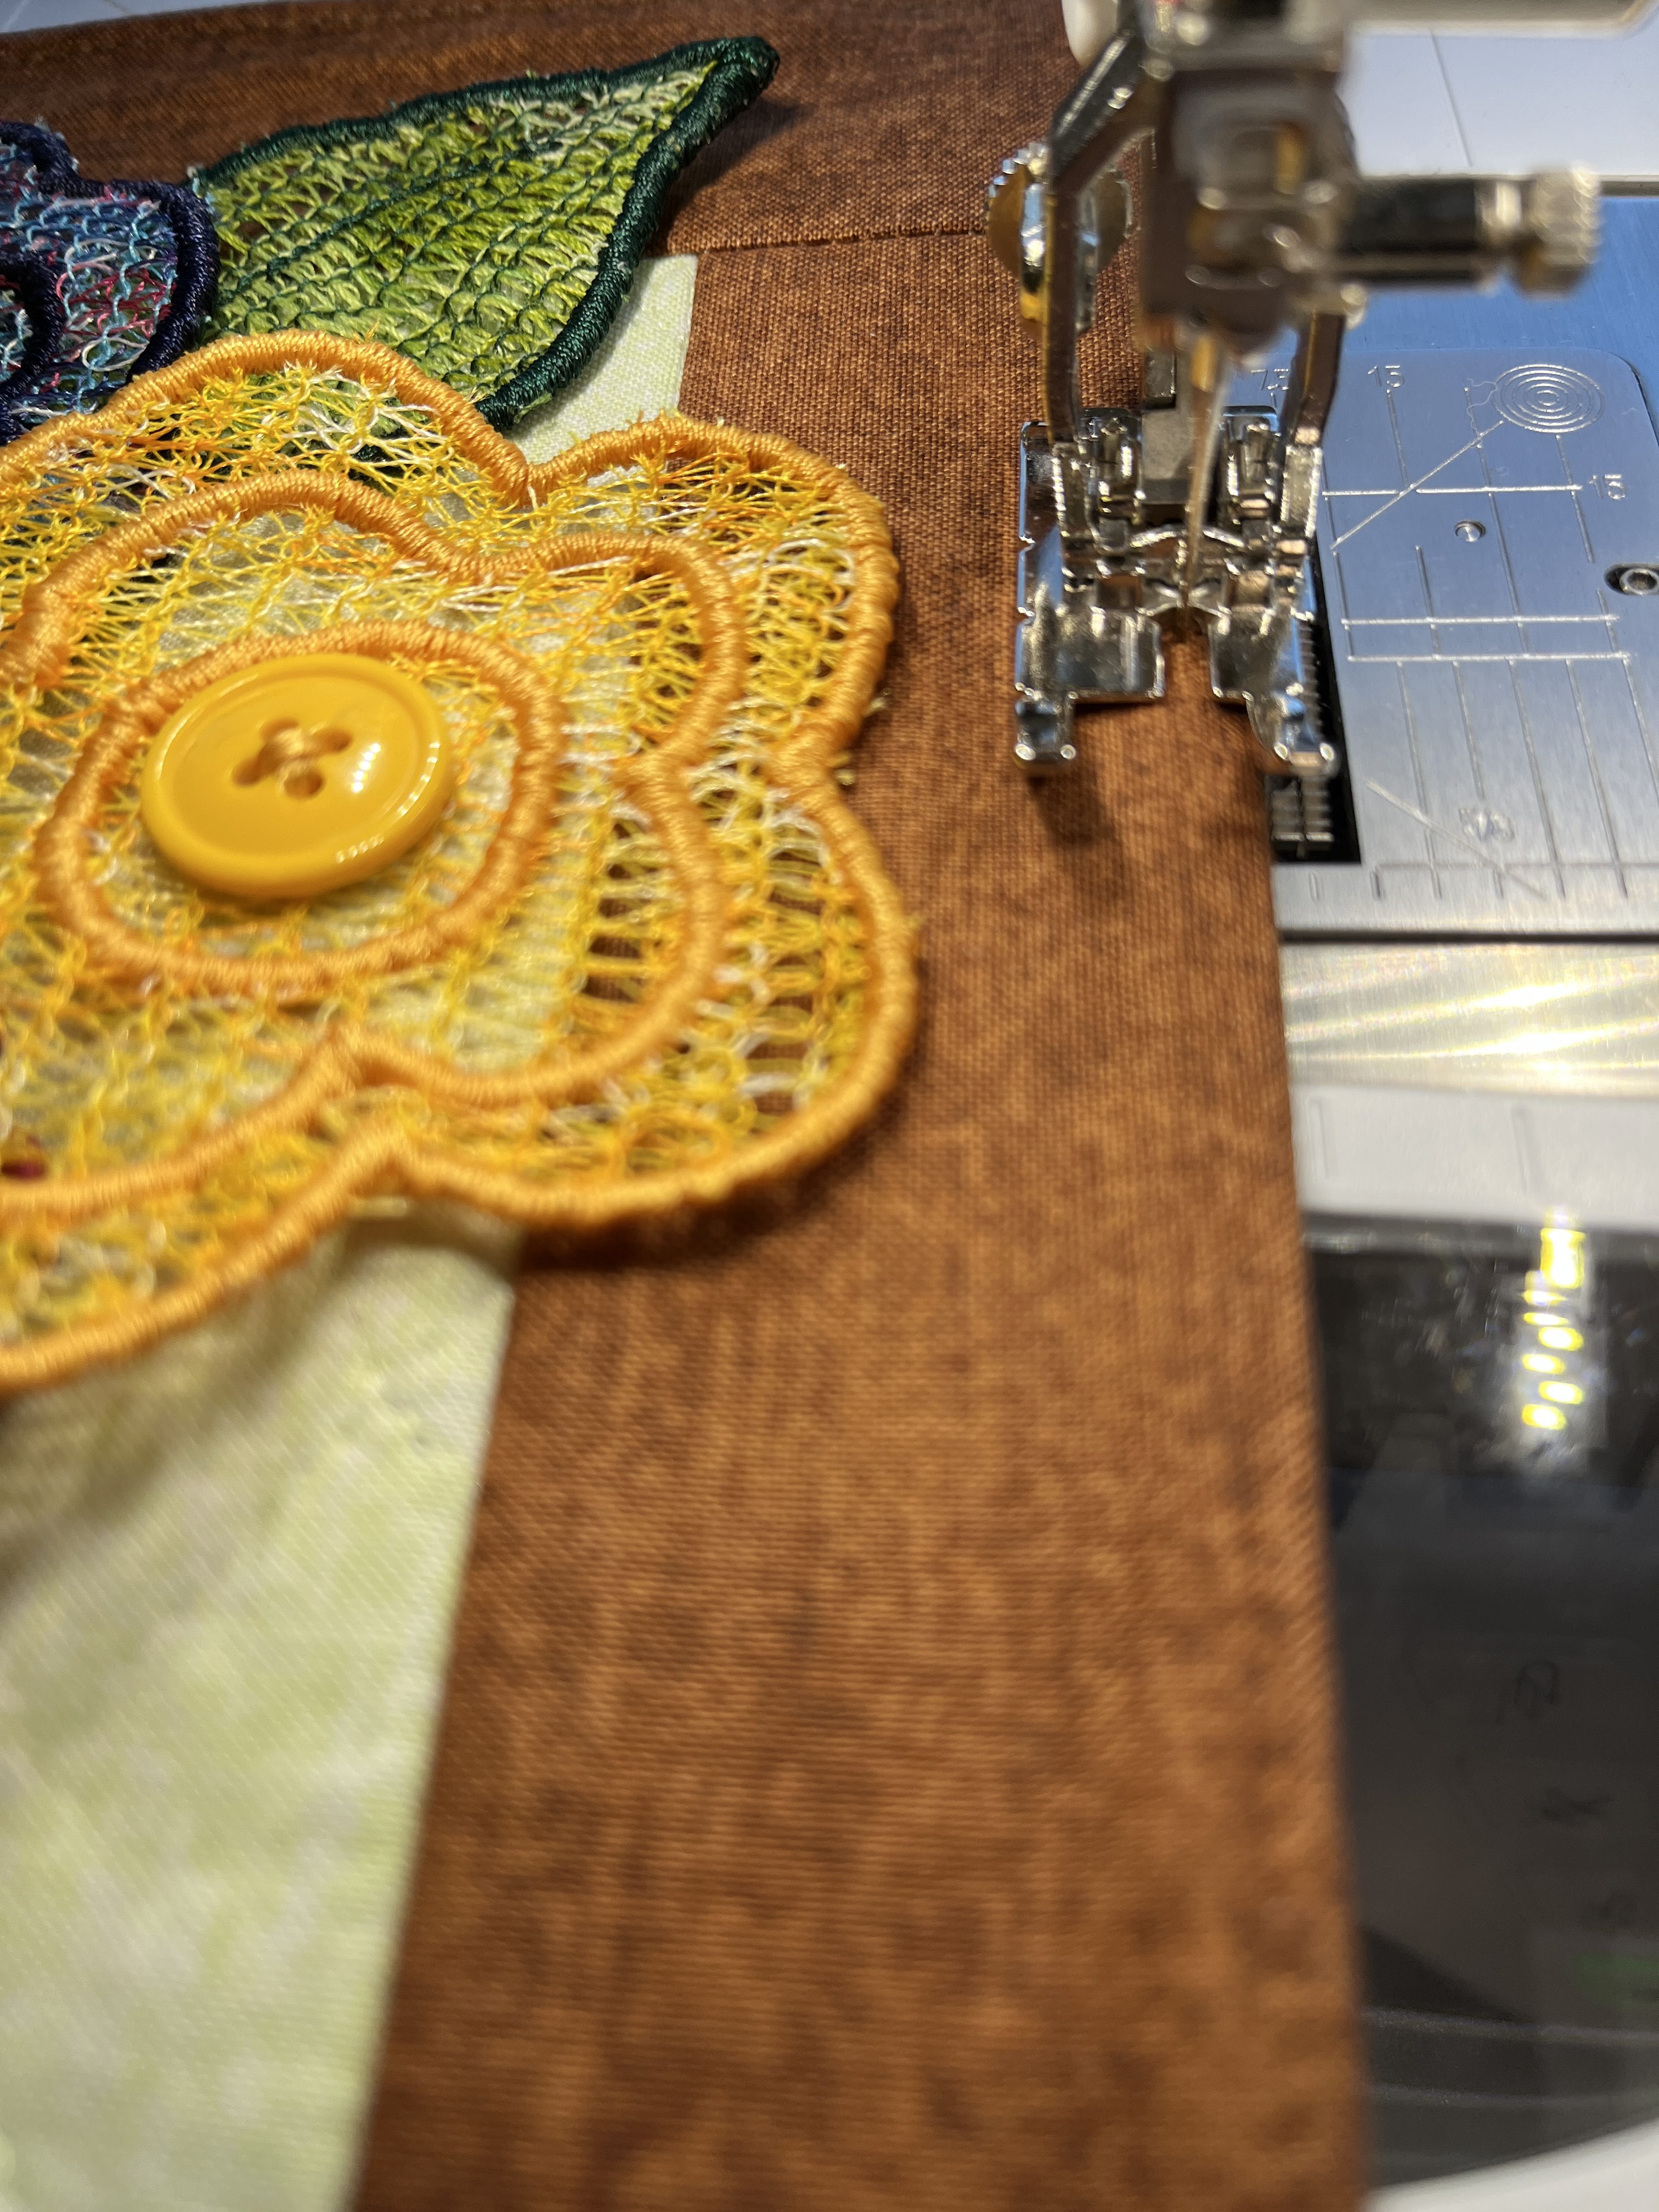
Trim any excess backing and the tops of the hanging tabs. Clip corners. Turn and press. Topstitch around all four edges about 1/8” away from the edge, sewing the opening closed as you go. Guide along the inner right toe of the Patchwork Foot #97D.
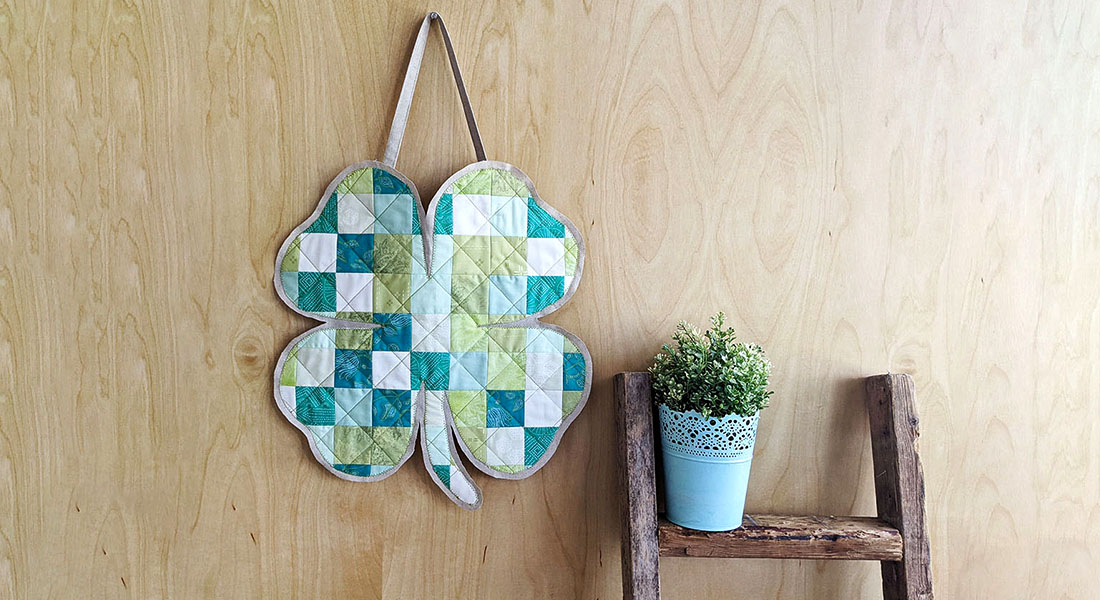
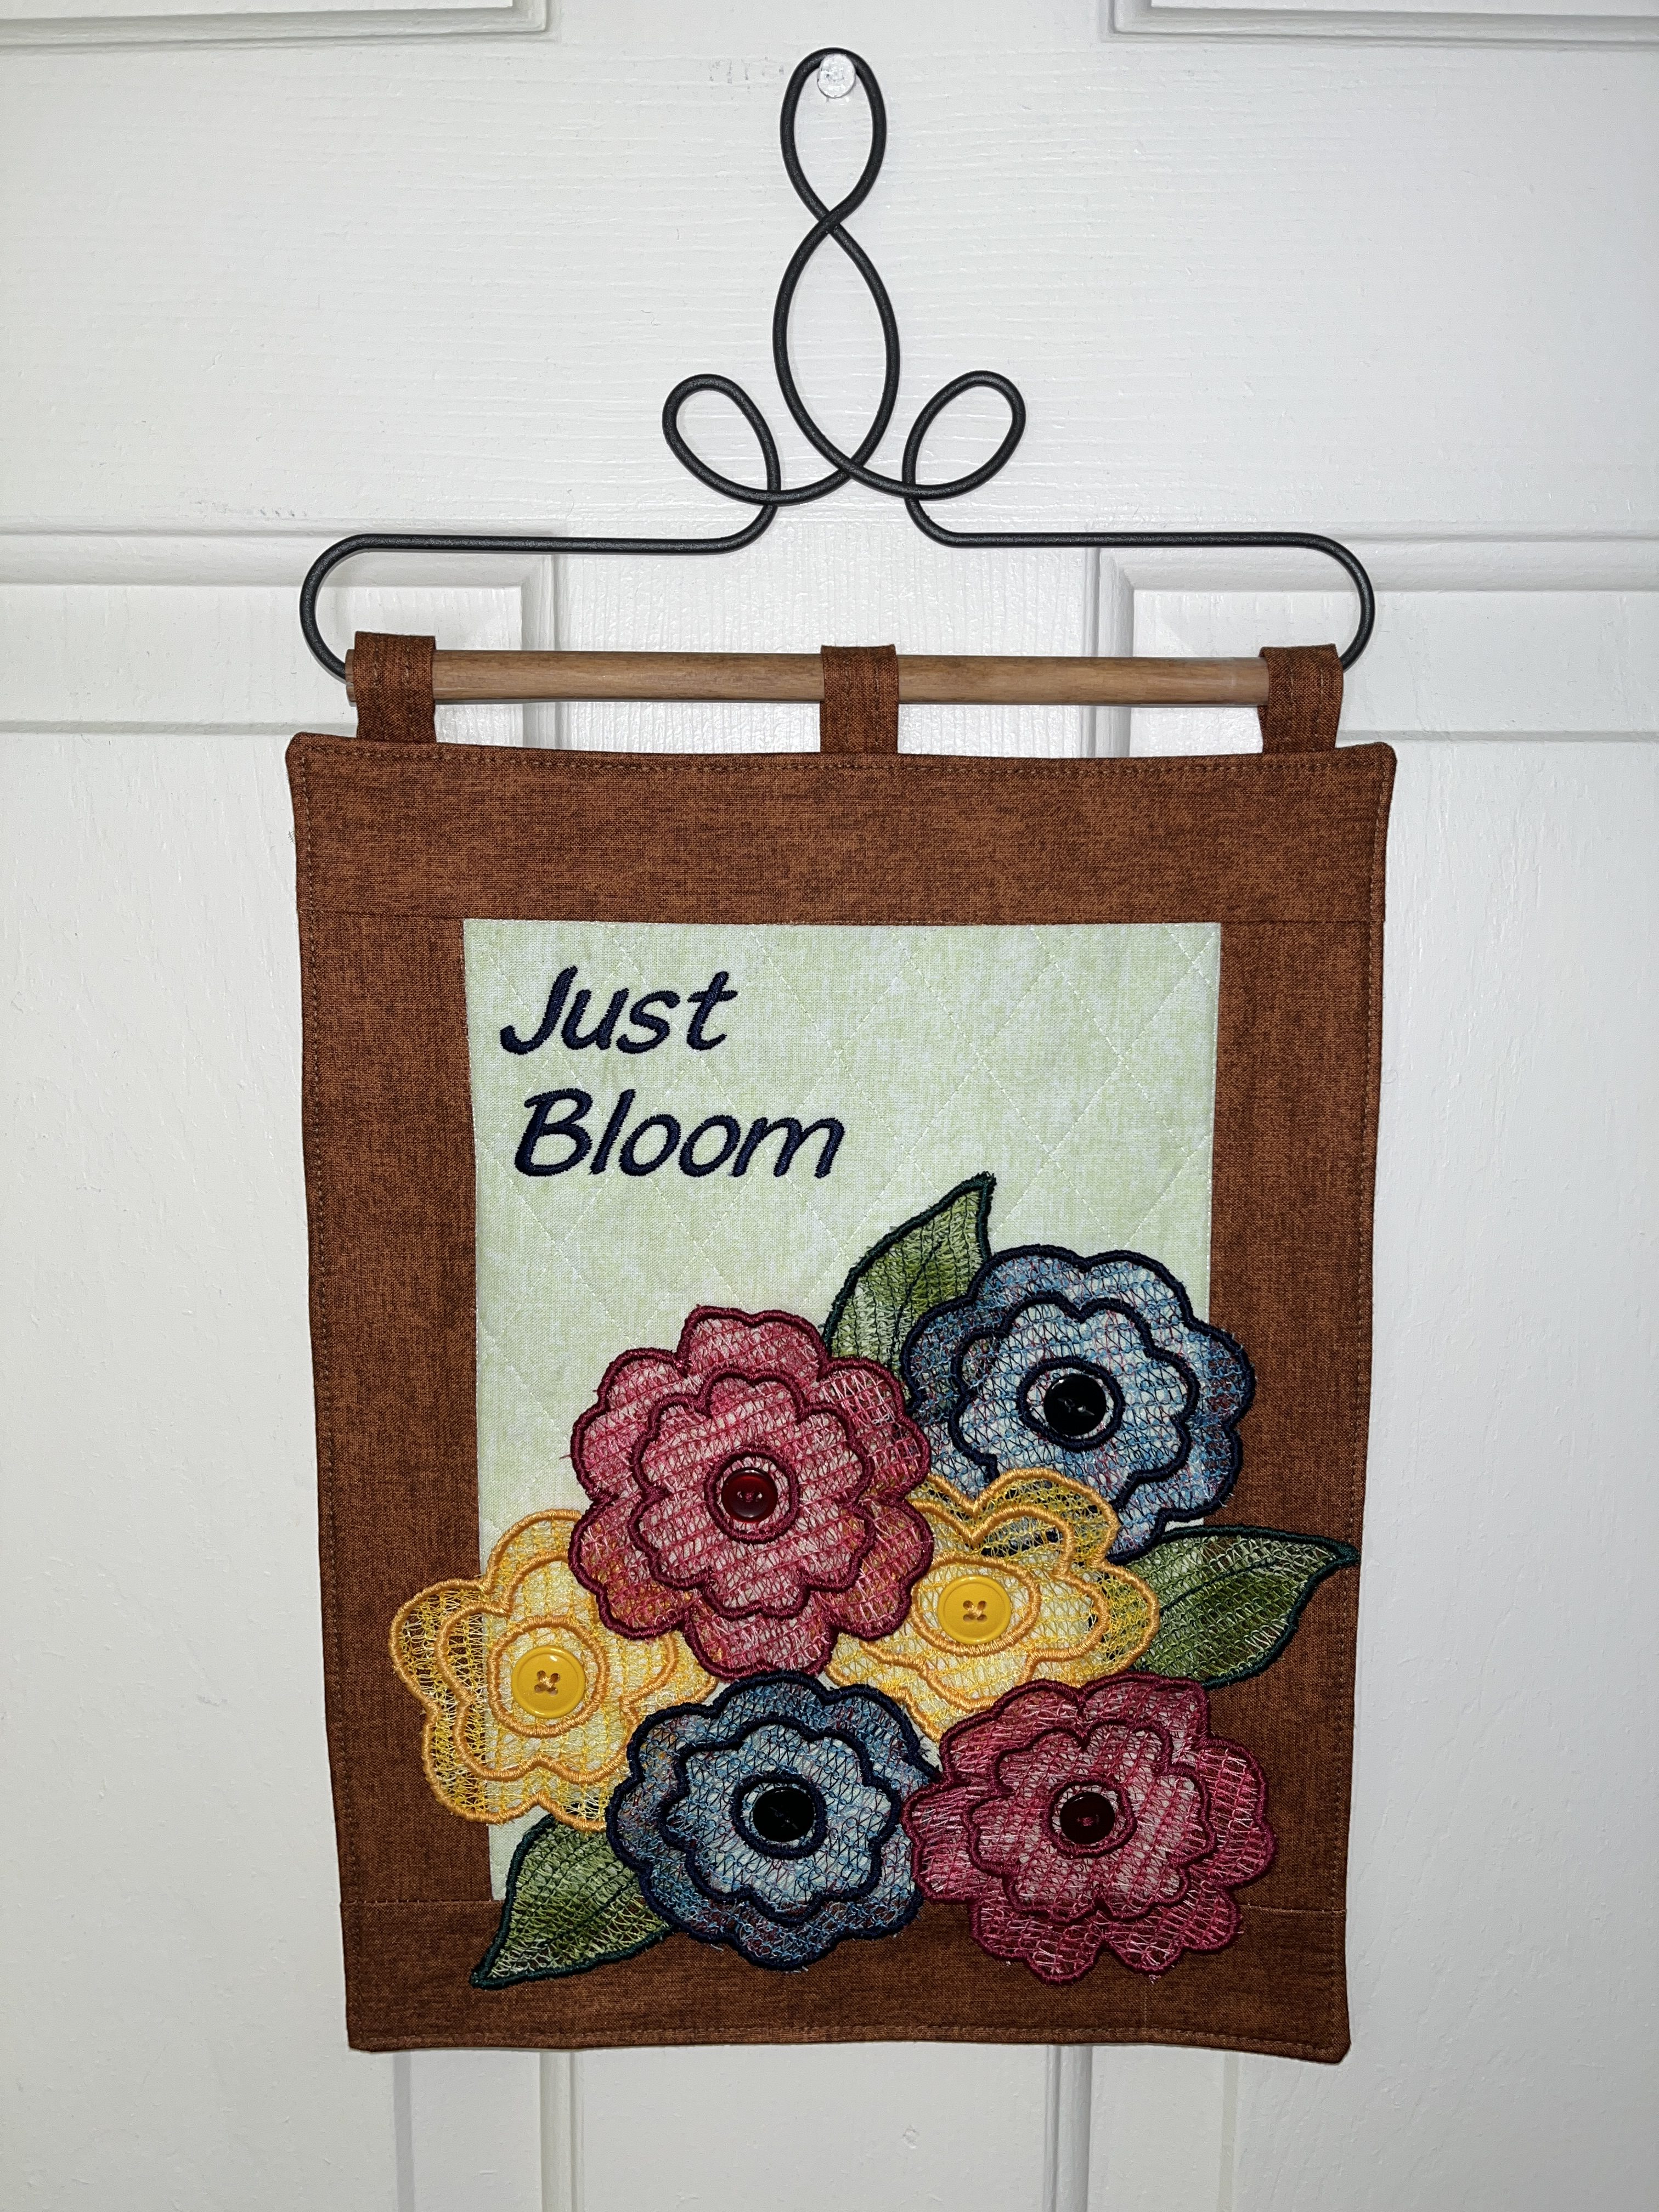
Your beautiful wall hanging is complete! Display with a mini quilt hanger or a dowel rod and some ribbon.
I hope you enjoyed this serging, embroidering, and sewing adventure. What else can you create with serger lace? Let us know! We’d love to see what you make, so be sure to tag us on Instagram and Facebook at @BERNINAUSA.
Until next time, happy creating!