Serger Lace Wall Hanging, Part One

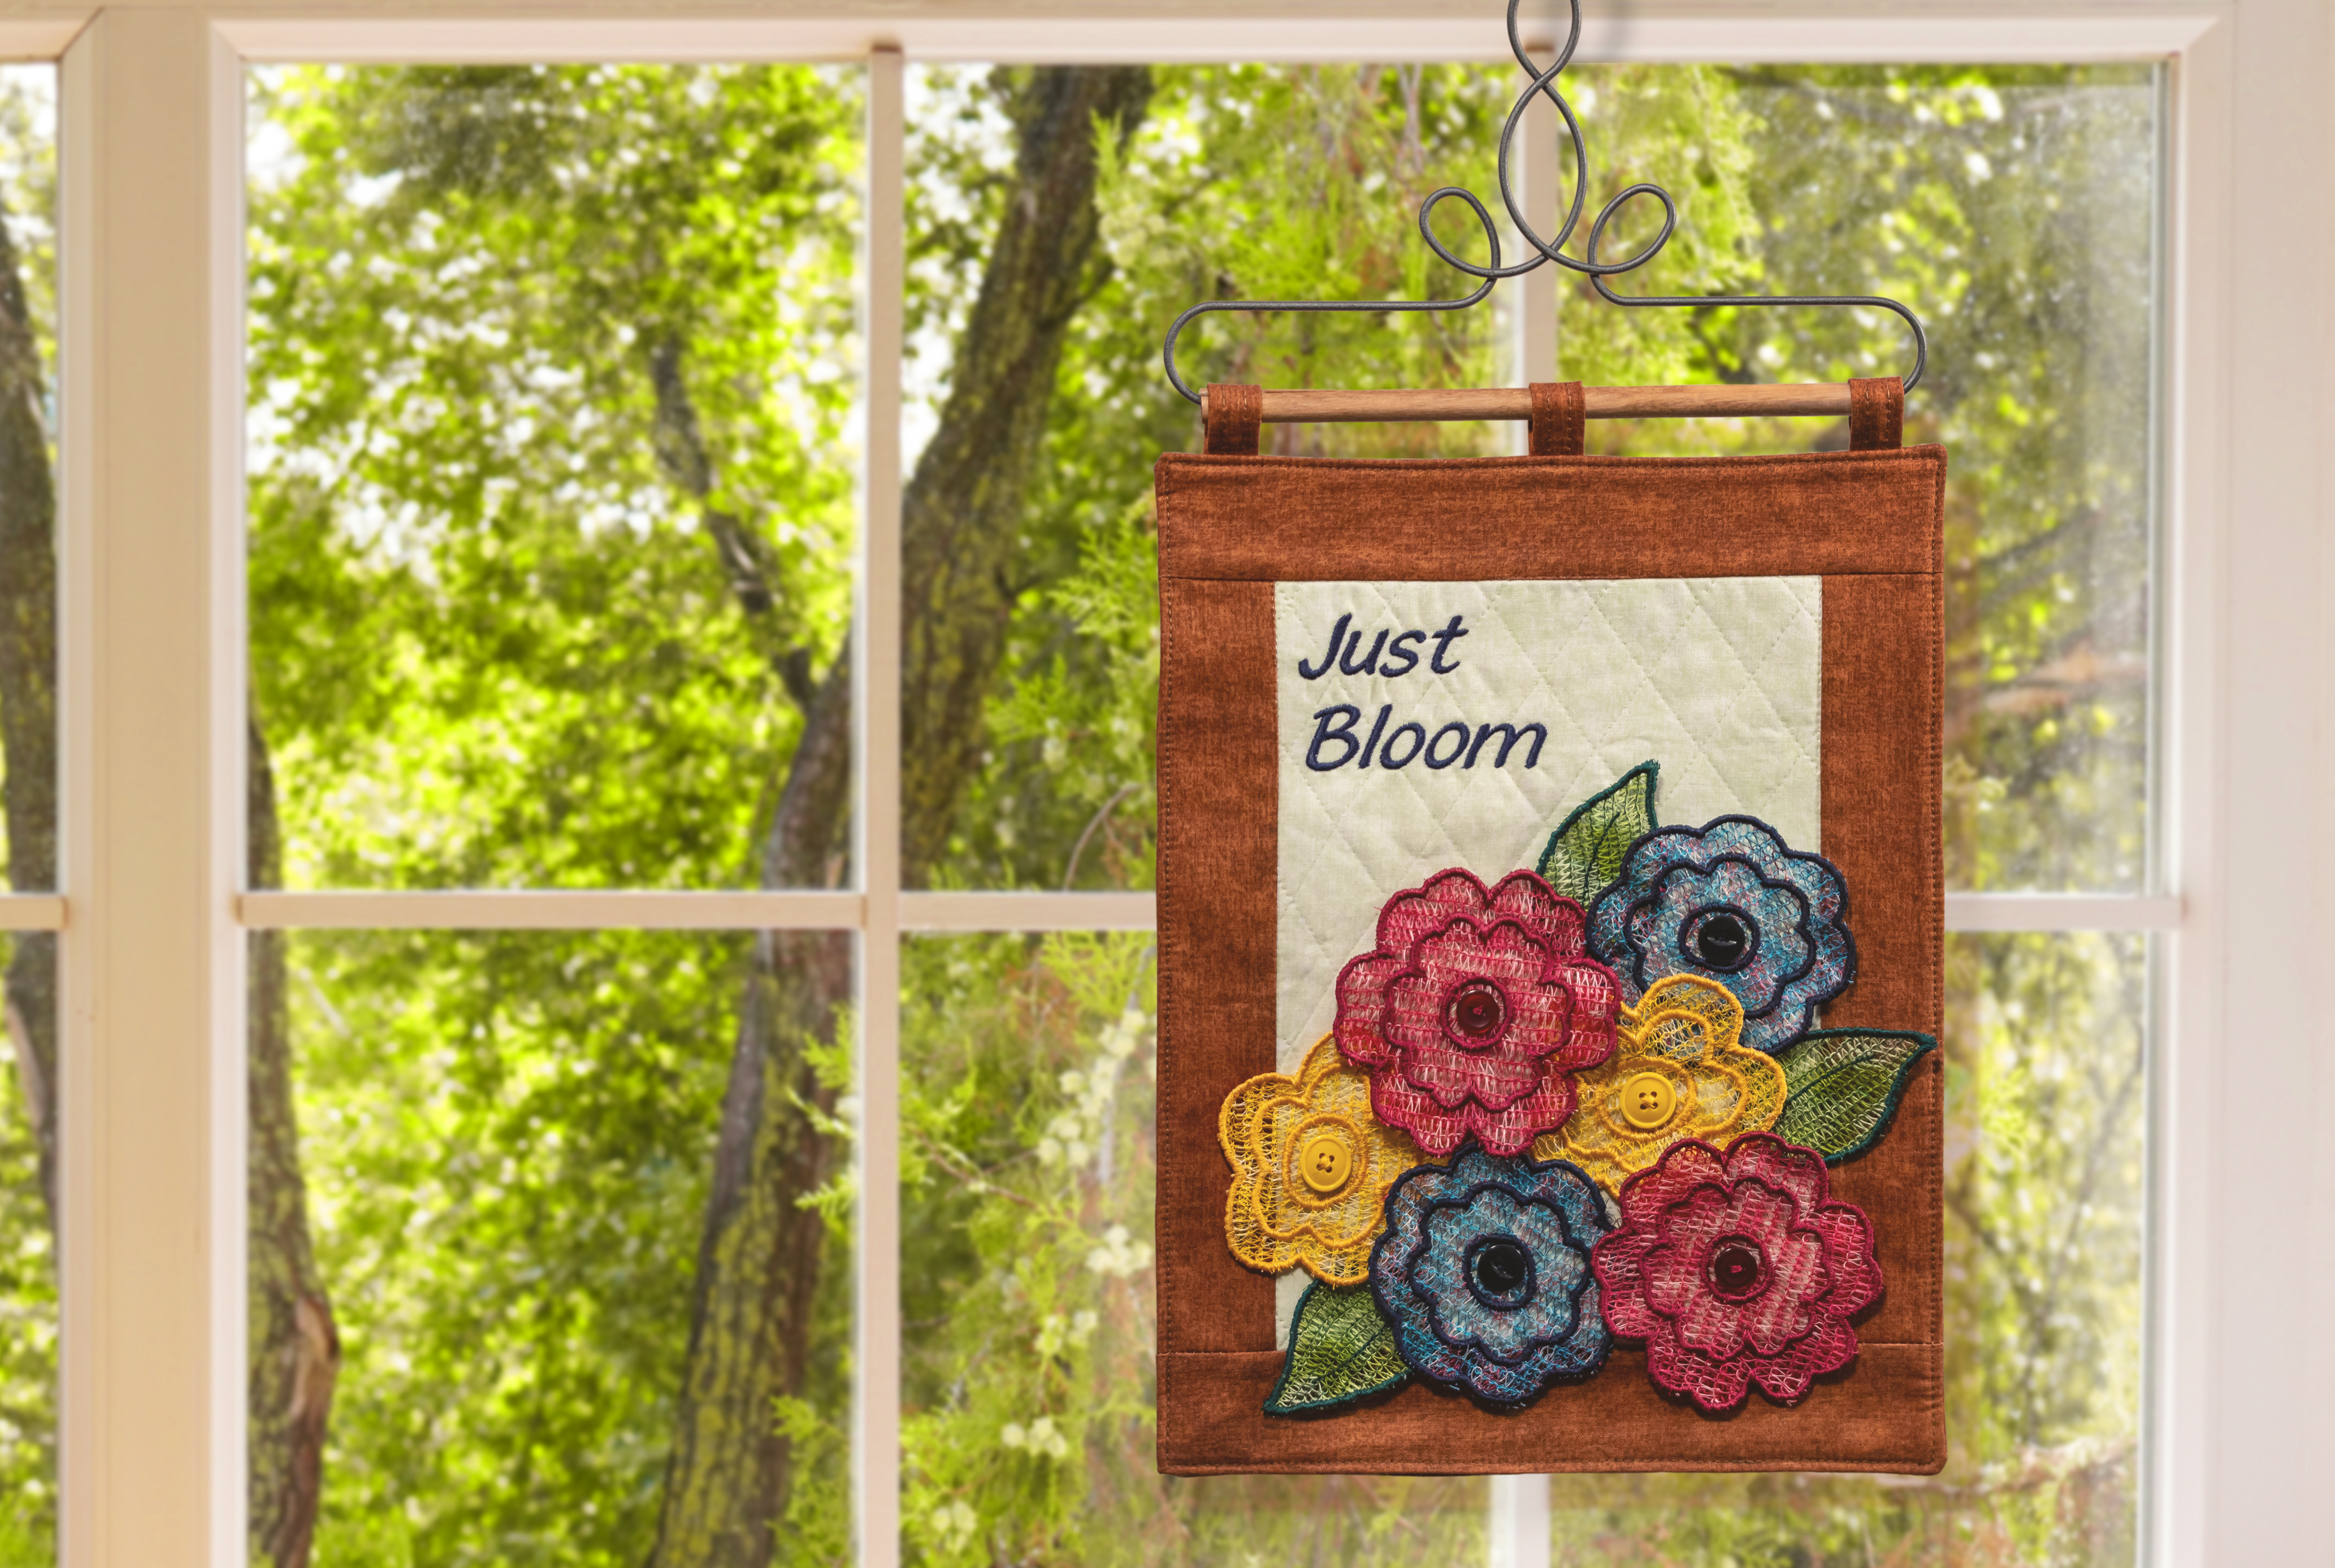
Did you know that you can make fabric with your serger? In this three-part series, you will learn how to create lacy fabric with your serger, make simple shapes in software, and put it all together with your sewing and embroidery machine. Let’s have fun in the sewing room today!
The complete supply list is below.
Materials for Making the Serger Lace Wall Hanging
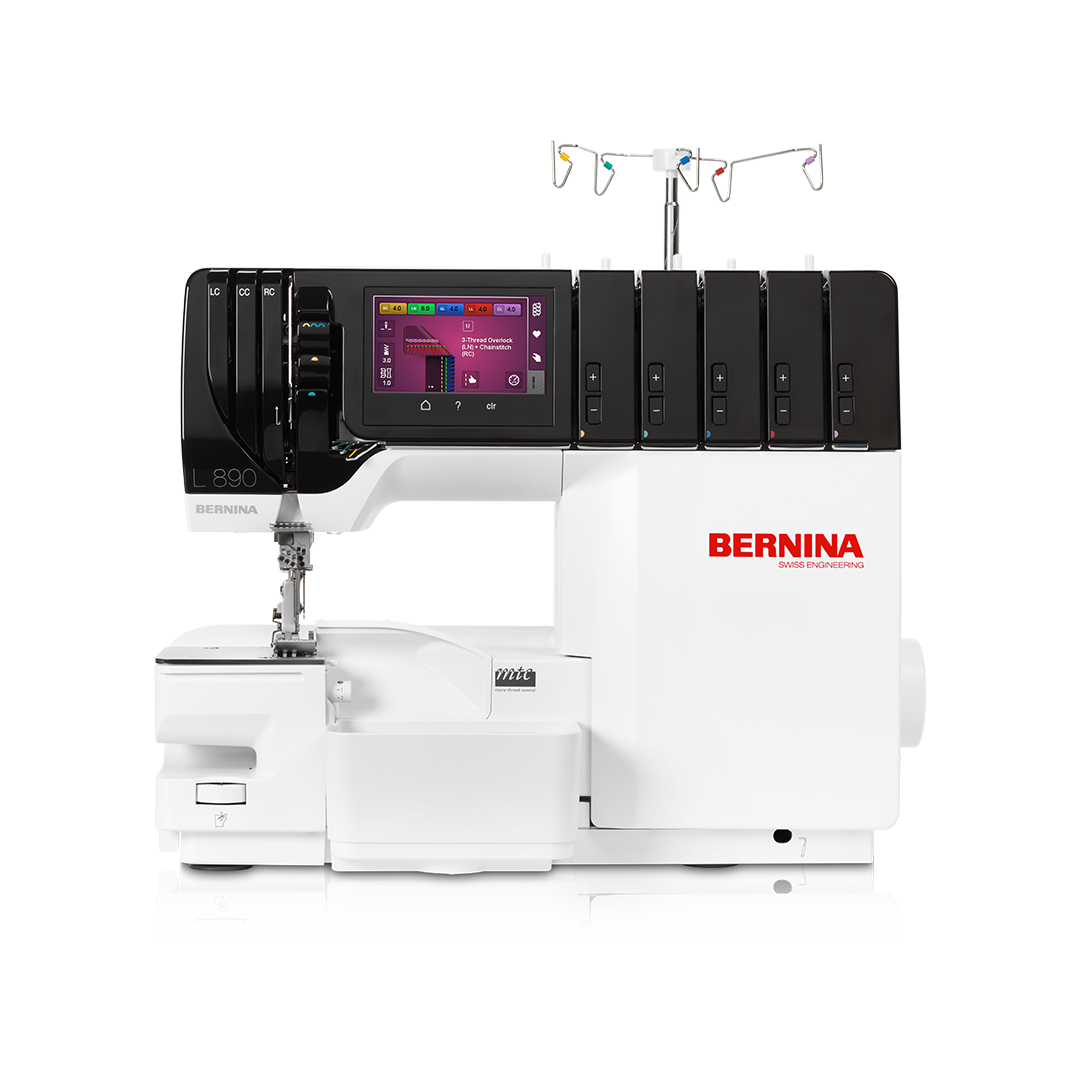
- BERNINA L 890 (Overlock and Coverstitch are used)
- Sewing and embroidery machine (I used the BERNINA 790 PRO)
- BERNINA 9 DesignerPlus Embroidery Software
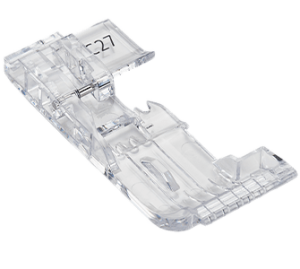
- Clear Foot #C27
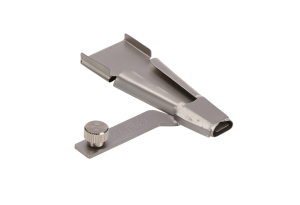
- Belt Loop Folder #C30 15/30 mm
- Accessories Holder
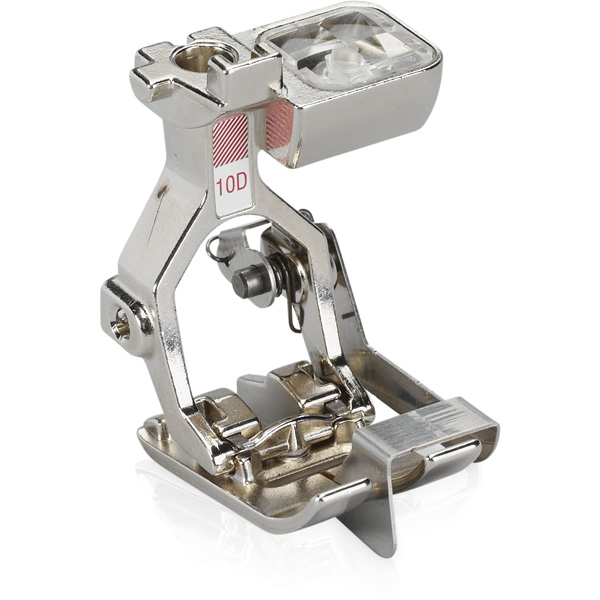
- Edgestitch Foot #10D
- Button Sew-on Foot #18
- Open Embroidery Foot #20C
- Patchwork Foot #97D
- Embroidery Foot #26L
- Right Seam Guide
- Straight Stitch Plate
- 9 mm Stitch Plate
- Large Oval Embroidery Hoop
- Medium Embroidery Hoop
- Cotton Fabric:
- Fat quarter of brown fabric
- Cut (1) 1 1/4″ x 21” strip for hanging tabs
- Cut (1) 10” x 12 1/2″ rectangle (back)
- Cut (2) 2″ x 10” rectangles (top and bottom borders)
- Cut (2) 2″ x 9 1/2″ rectangles (side borders)
- Fat quarter of pale green fabric
- Cut (1) 7″ x 9 1/2” rectangle (center)
- Fat quarter of brown fabric
- OESD Fuse and Fleece:
- (1) 10” x 12 1/2” rectangle
- OESD AquaMesh WashAway Stabilizer:
- (16) 1” x 10” strips PER COLORWAY (I used 64 strips total)
- (4) rectangles to fit Large Oval Hoop
- OESD Ultra Clean and Tear Stabilizer
- Expert Embroidery Tape TearAway
- Assorted 40- and 50-weight threads for flowers and leaves
- 3 threads for each colorway (sample used reds, yellows, blues, and greens)
- Tip: Consider using variegated threads and/or different shades of the colors in the loopers for depth and variation. Don’t forget your stash of quilting and embroidery threads!
- Thread for hanging tabs, piecing, and quilting
- Embroidery thread to coordinate with serger thread colors
- ELX 80/12 needles
- Microtex 80/12 needle
- Embroidery 80/12 sharp needle
- Assorted flat buttons for flower centers (1/2” to 5/8” in diameter)
- Small quilt hanger (a 10” dowel and ribbon can also make a nice hanger)
Part One: Making the Serger Fabric
The idea for this project was inspired by the book “Creative Serging” by Nancy Bednar and Anne van der Kley. It is full of techniques and projects showing off the creative side of the overlocker. If you have been serging a while, you may even have this book tucked in your sewing library (publishing date 2005).

Making lace fabric is different than making serger lace on a fabric edge. It will be a little stiffer because of the stabilizer and will lay flat.
Step 1: Make Serger Lace Fabric
Set up the machine for a 3-thread Overlock Wide (LN) #3. Attach the Clear Foot #C27. Thread with coordinating colors in the needle and loopers. Use the default settings.
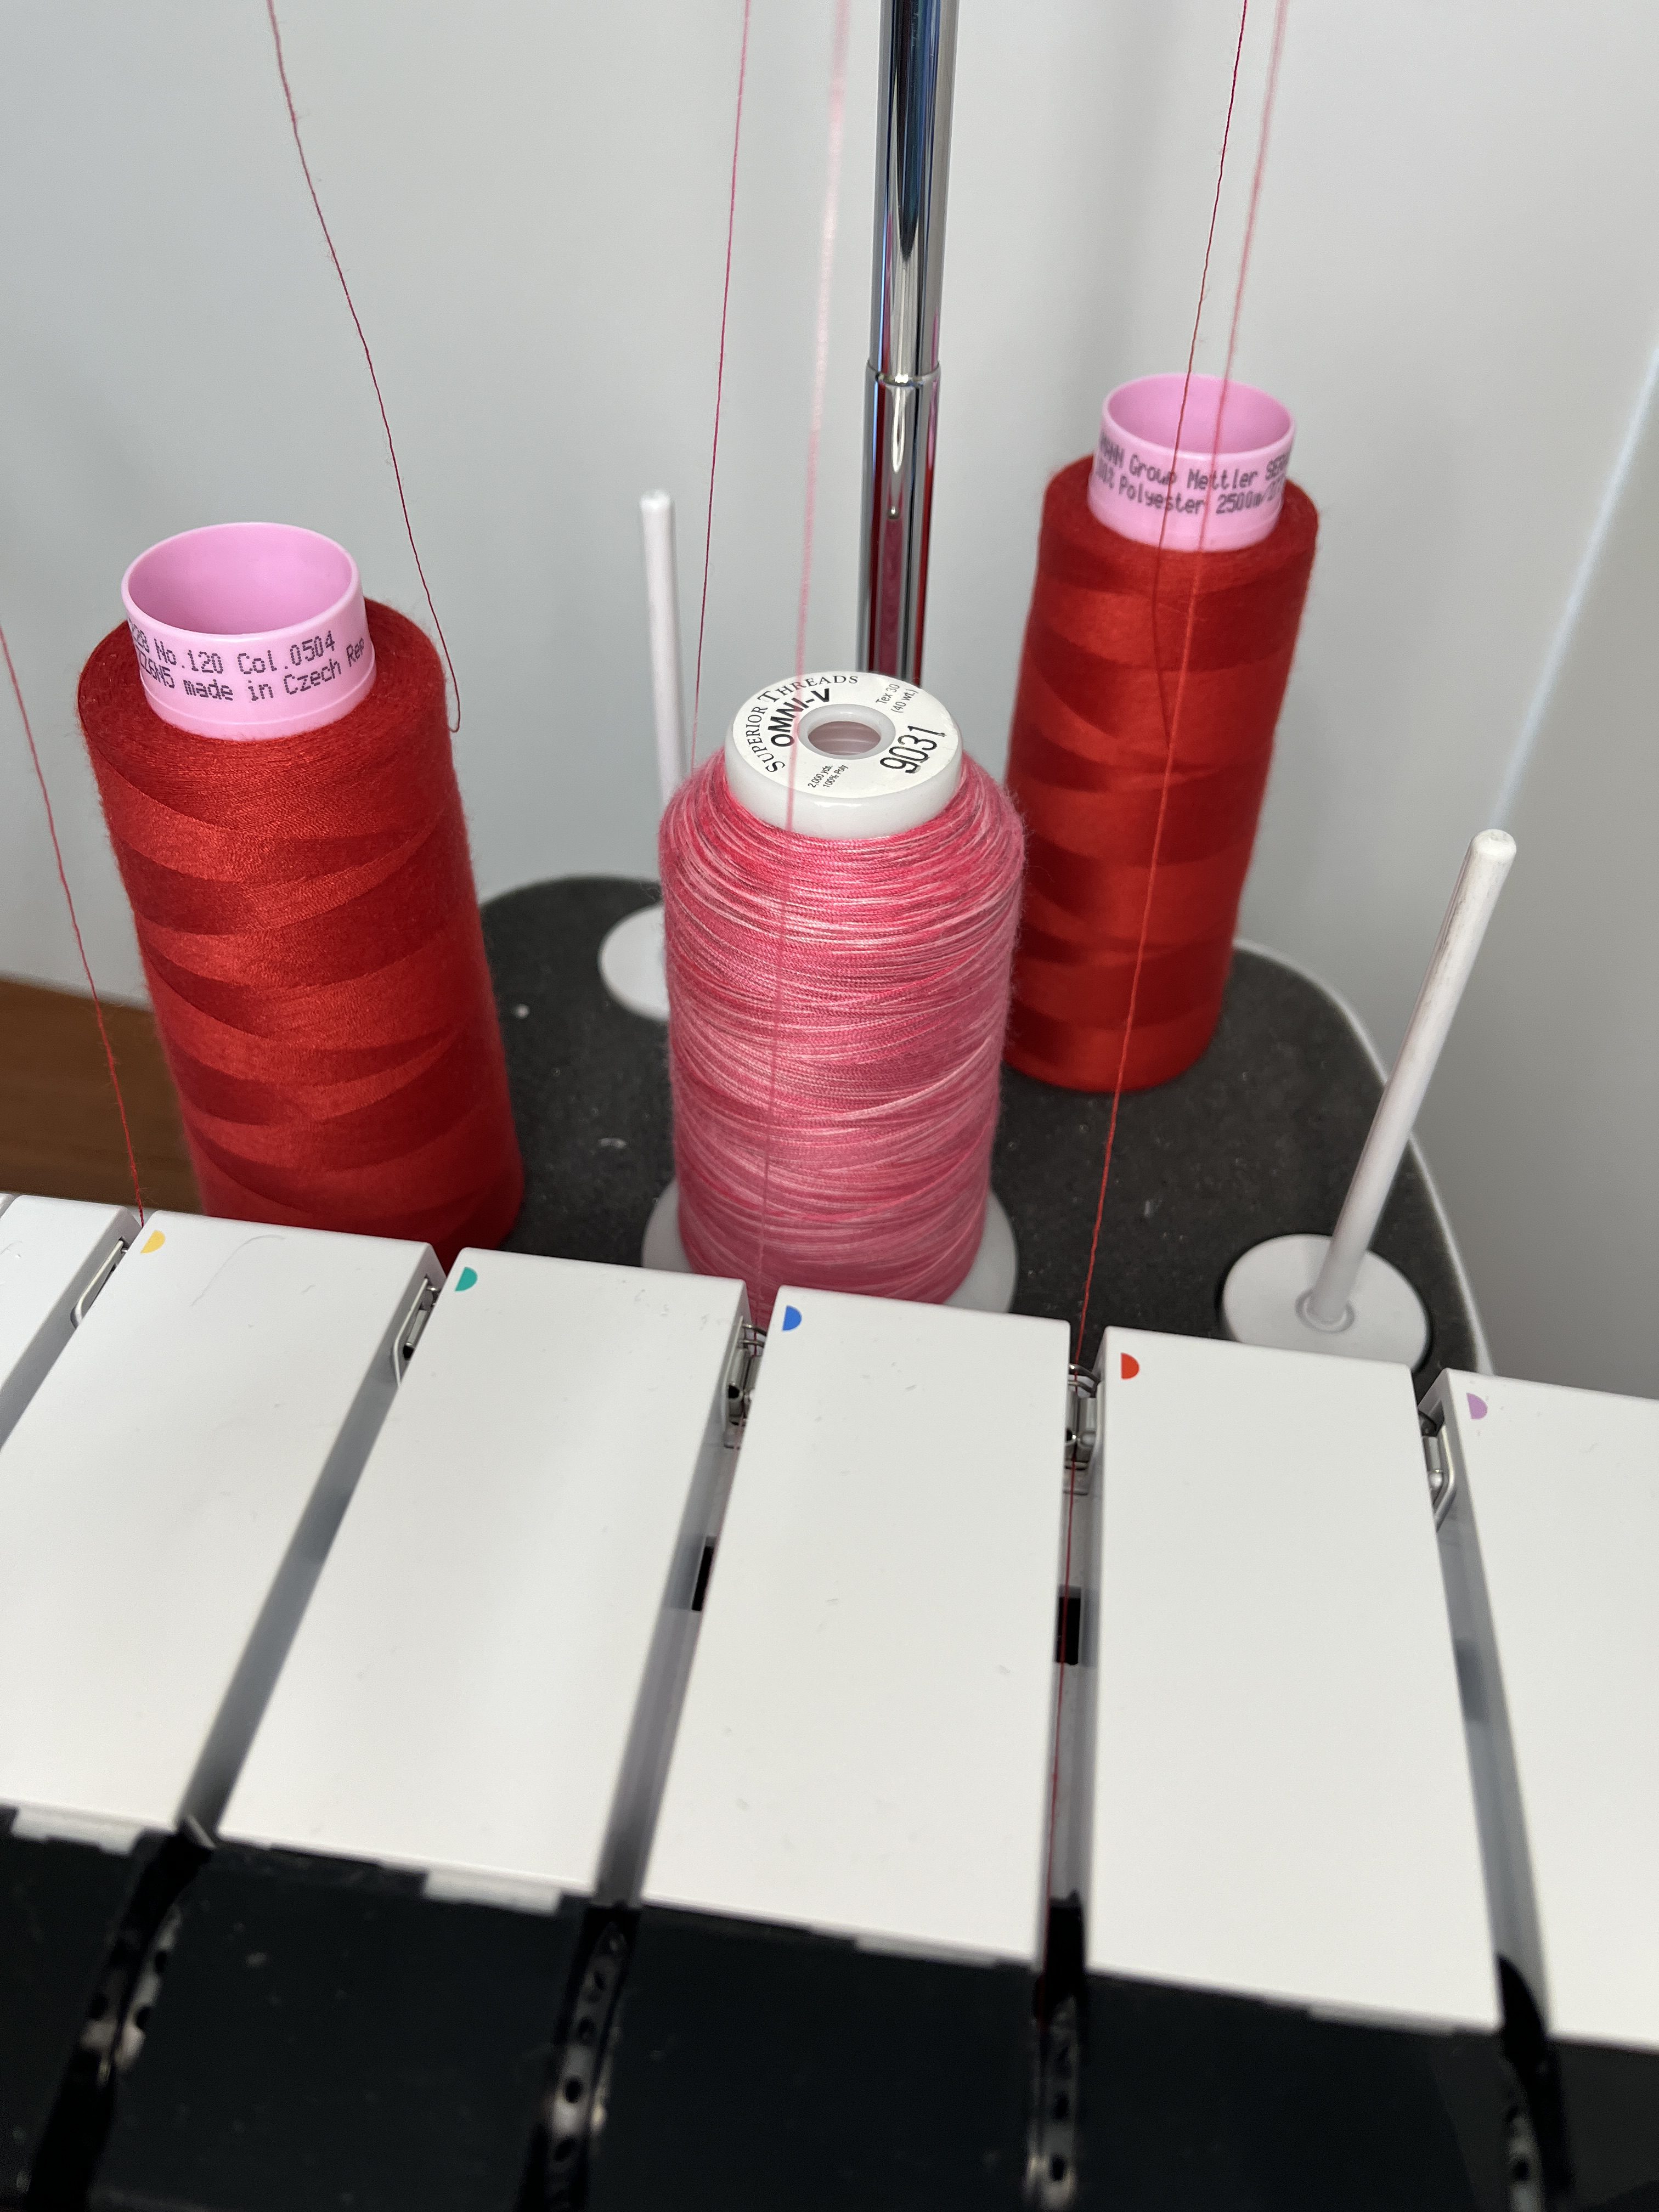
Serger fabric is made up of multiple rows of serger stitching, with each row attached to the previous row. Water-soluble stabilizer, such as OESD AquaMesh WashAway, is used to create the foundation. When it is removed, the thread will retain a little of the stabilizer, giving a slight firmness to the lacy fabric.
Sew along one long edge of the stabilizer strip, trimming a very small amount as you go.
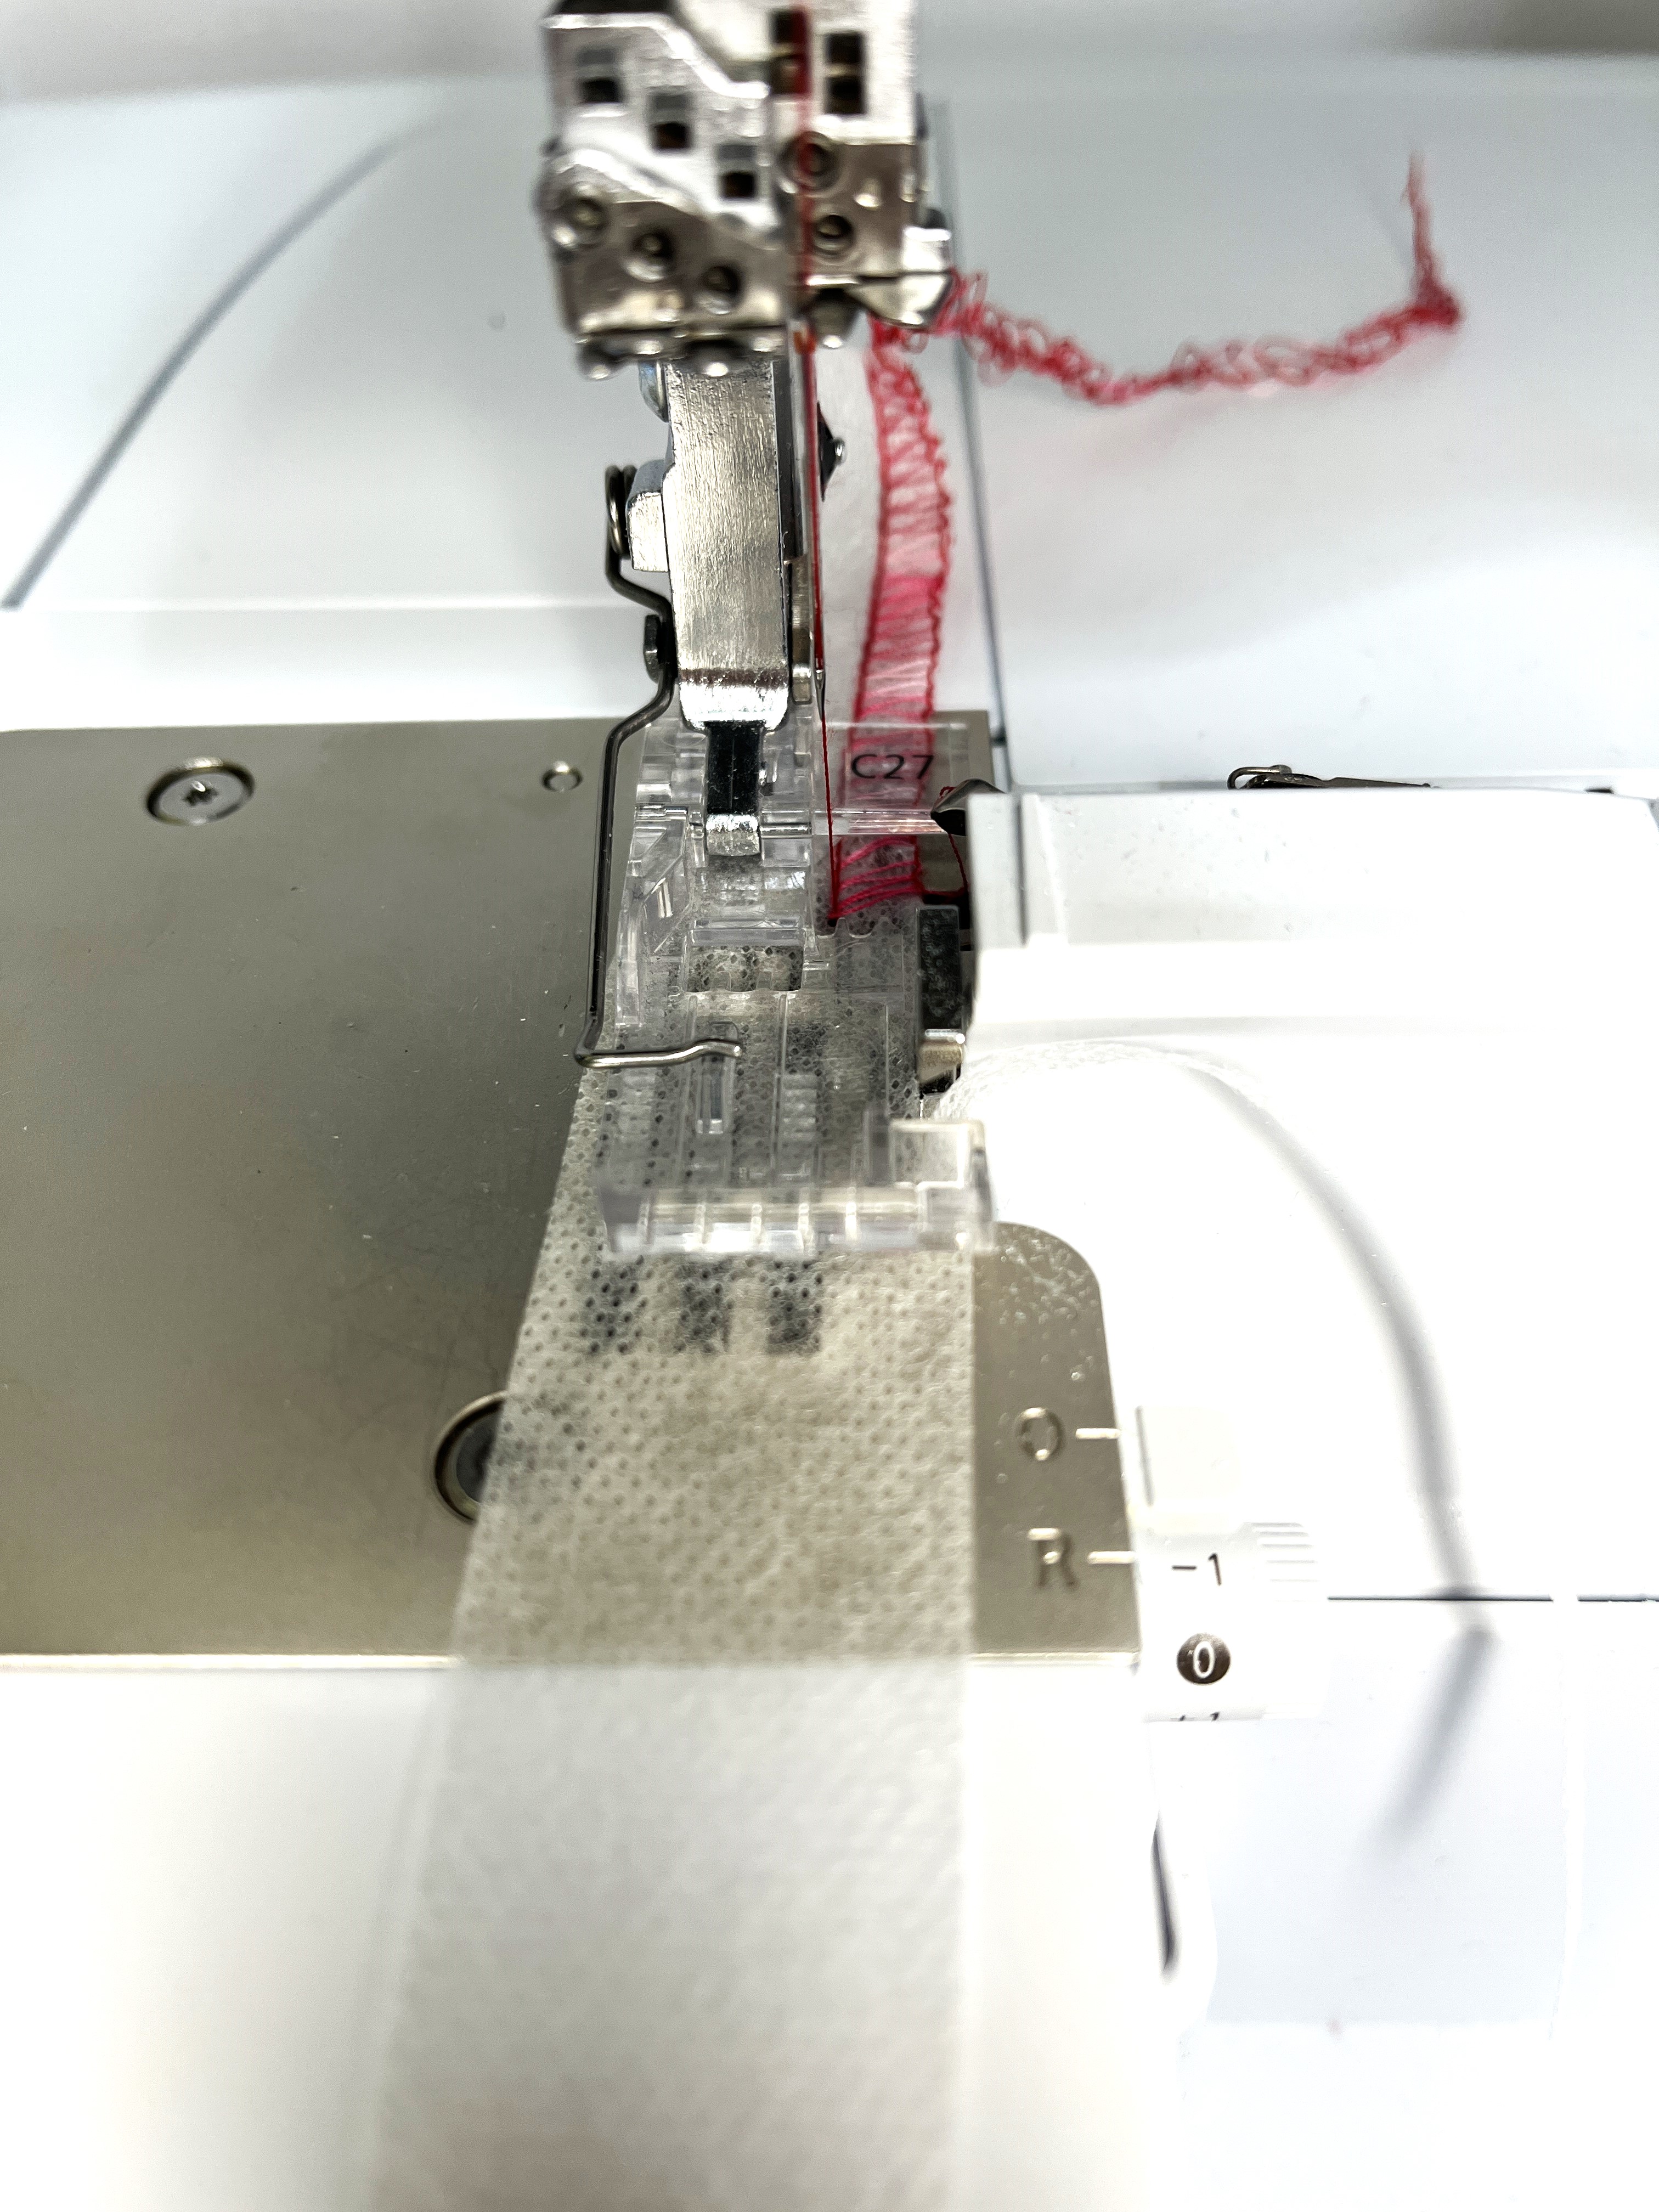
Chain off a few inches and rotate the strip without flipping it. Serge on the other long edge with the needle entering just inside the stitches of the first row, covering about 1/8-1/4” of the previous stitching. The excess stabilizer will be trimmed as you sew.
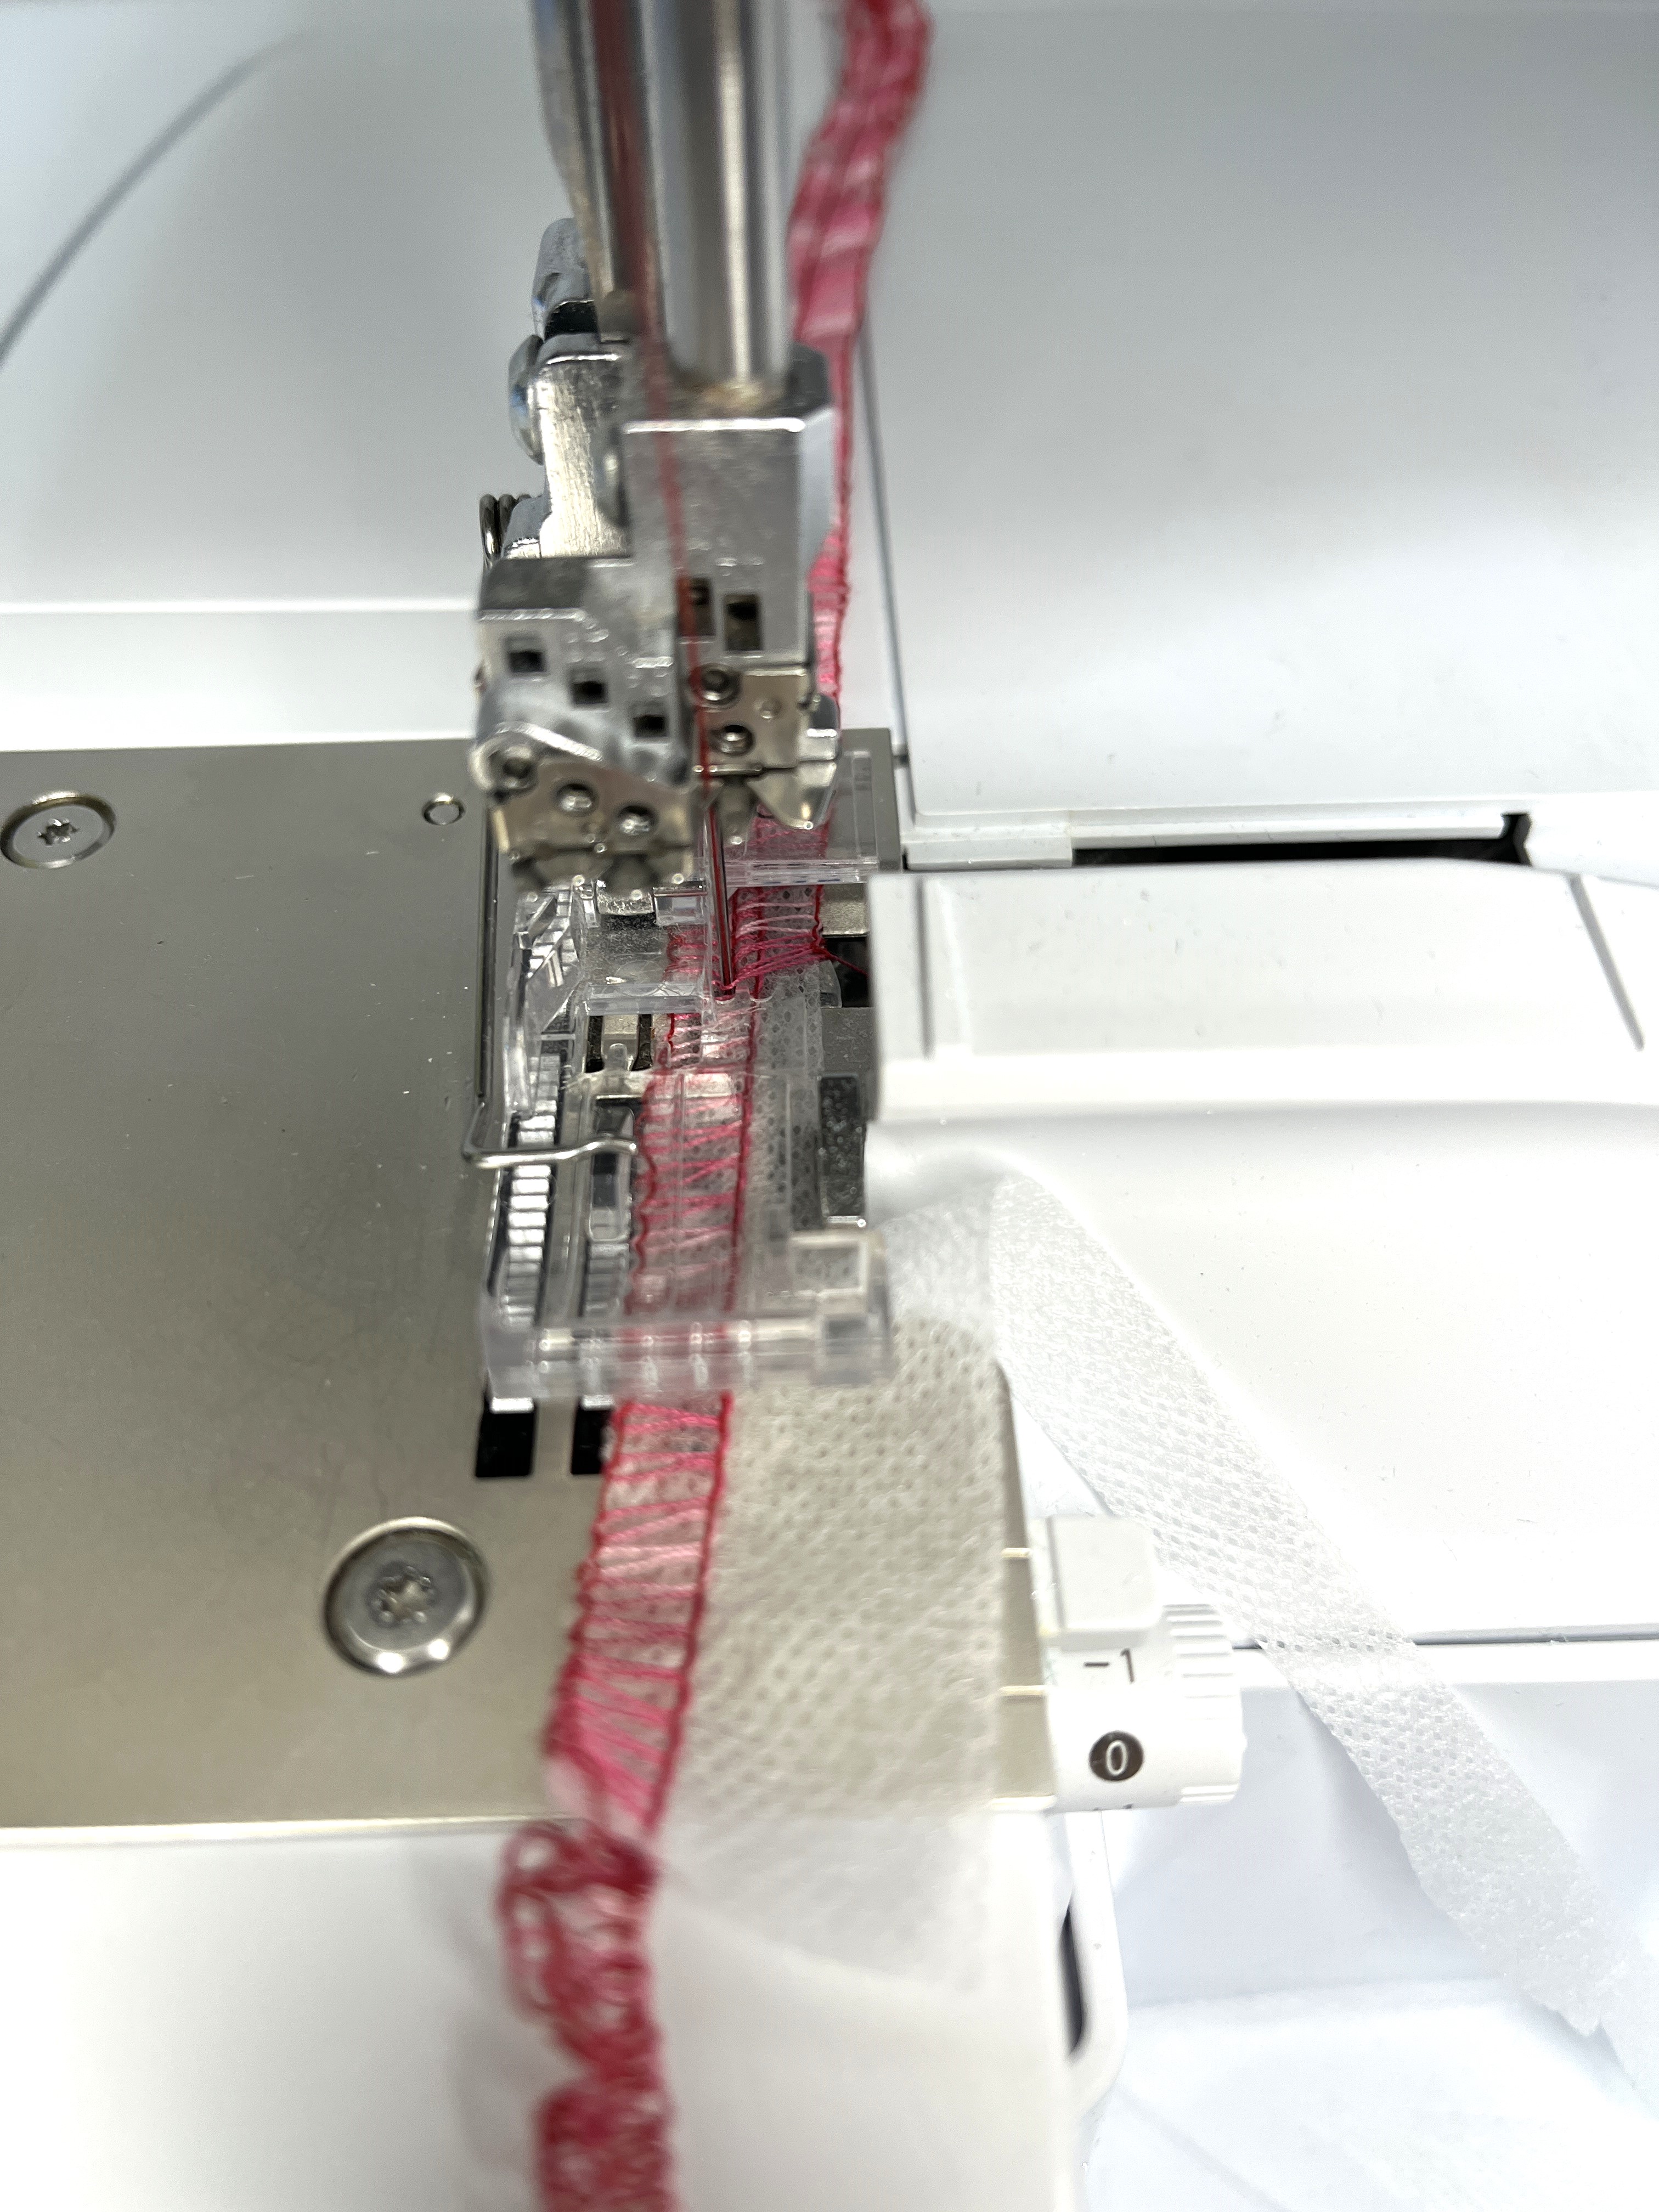
Stitching is now covering the stabilizer on both long edges.
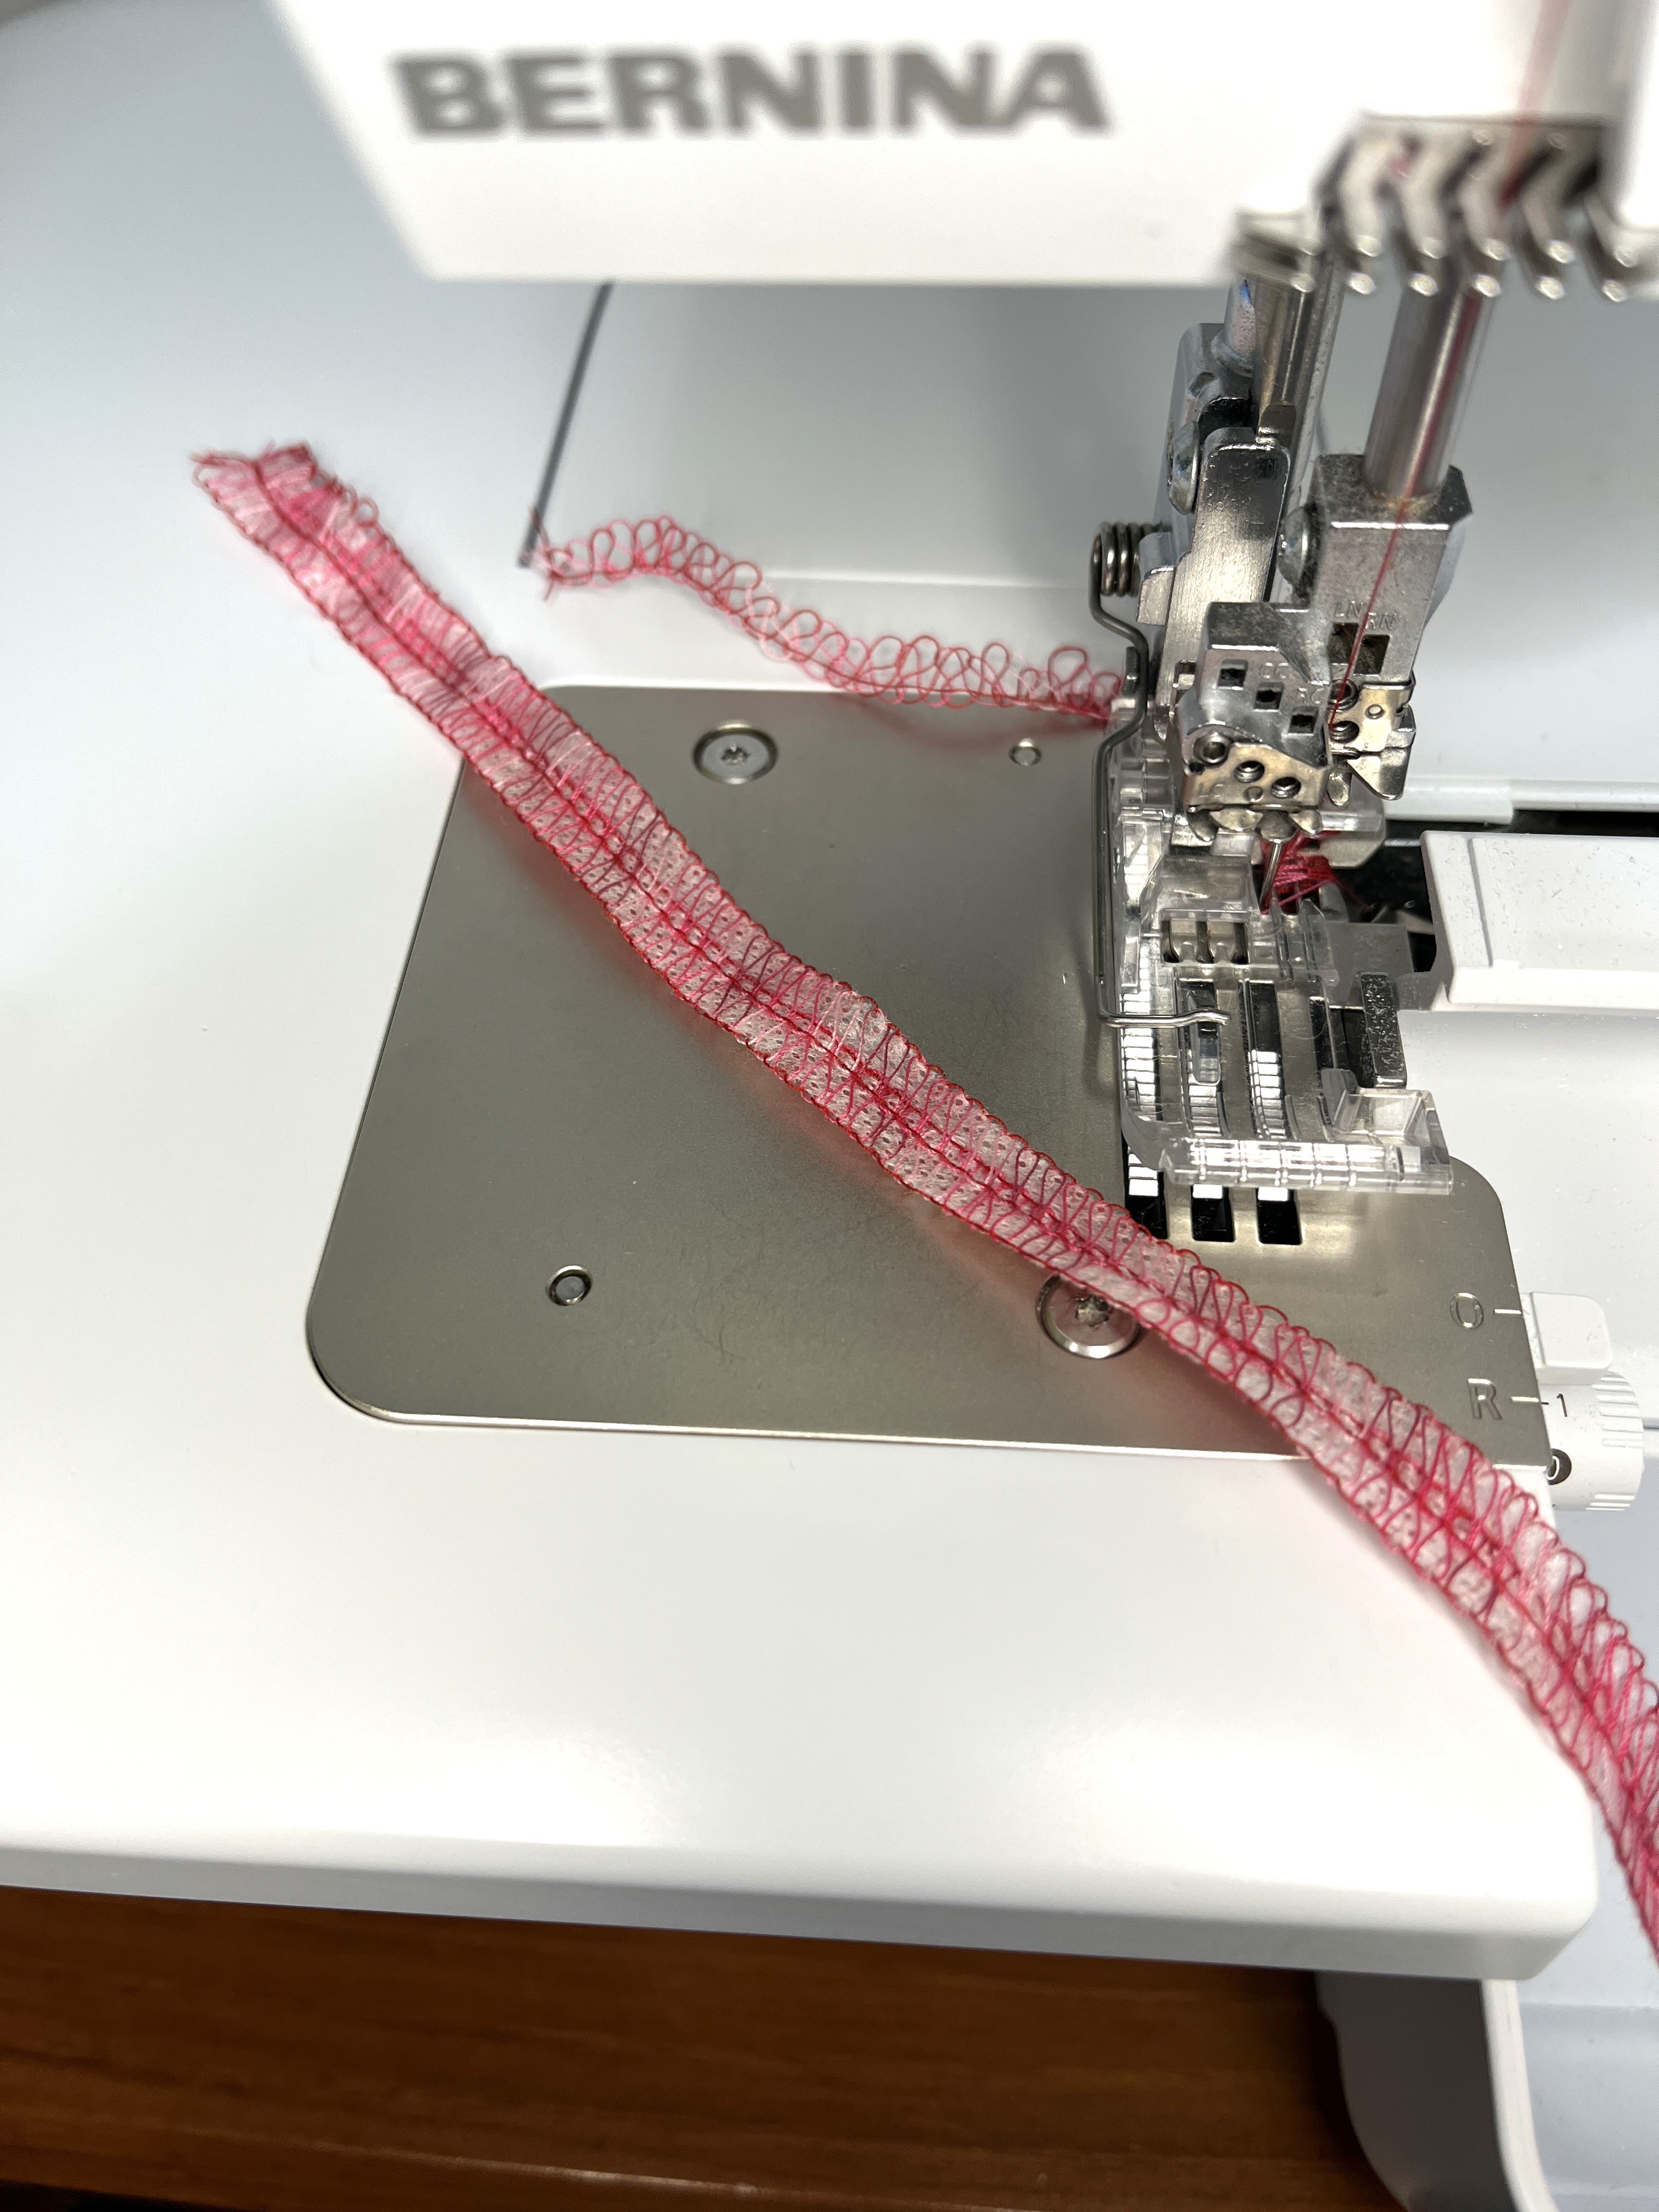
Place this sewn piece on top of another strip of stabilizer with a generous 1/4″ of stabilizer to the right of the stitching. Serge with the needle just inside the previous stitching and trim the excess stabilizer.
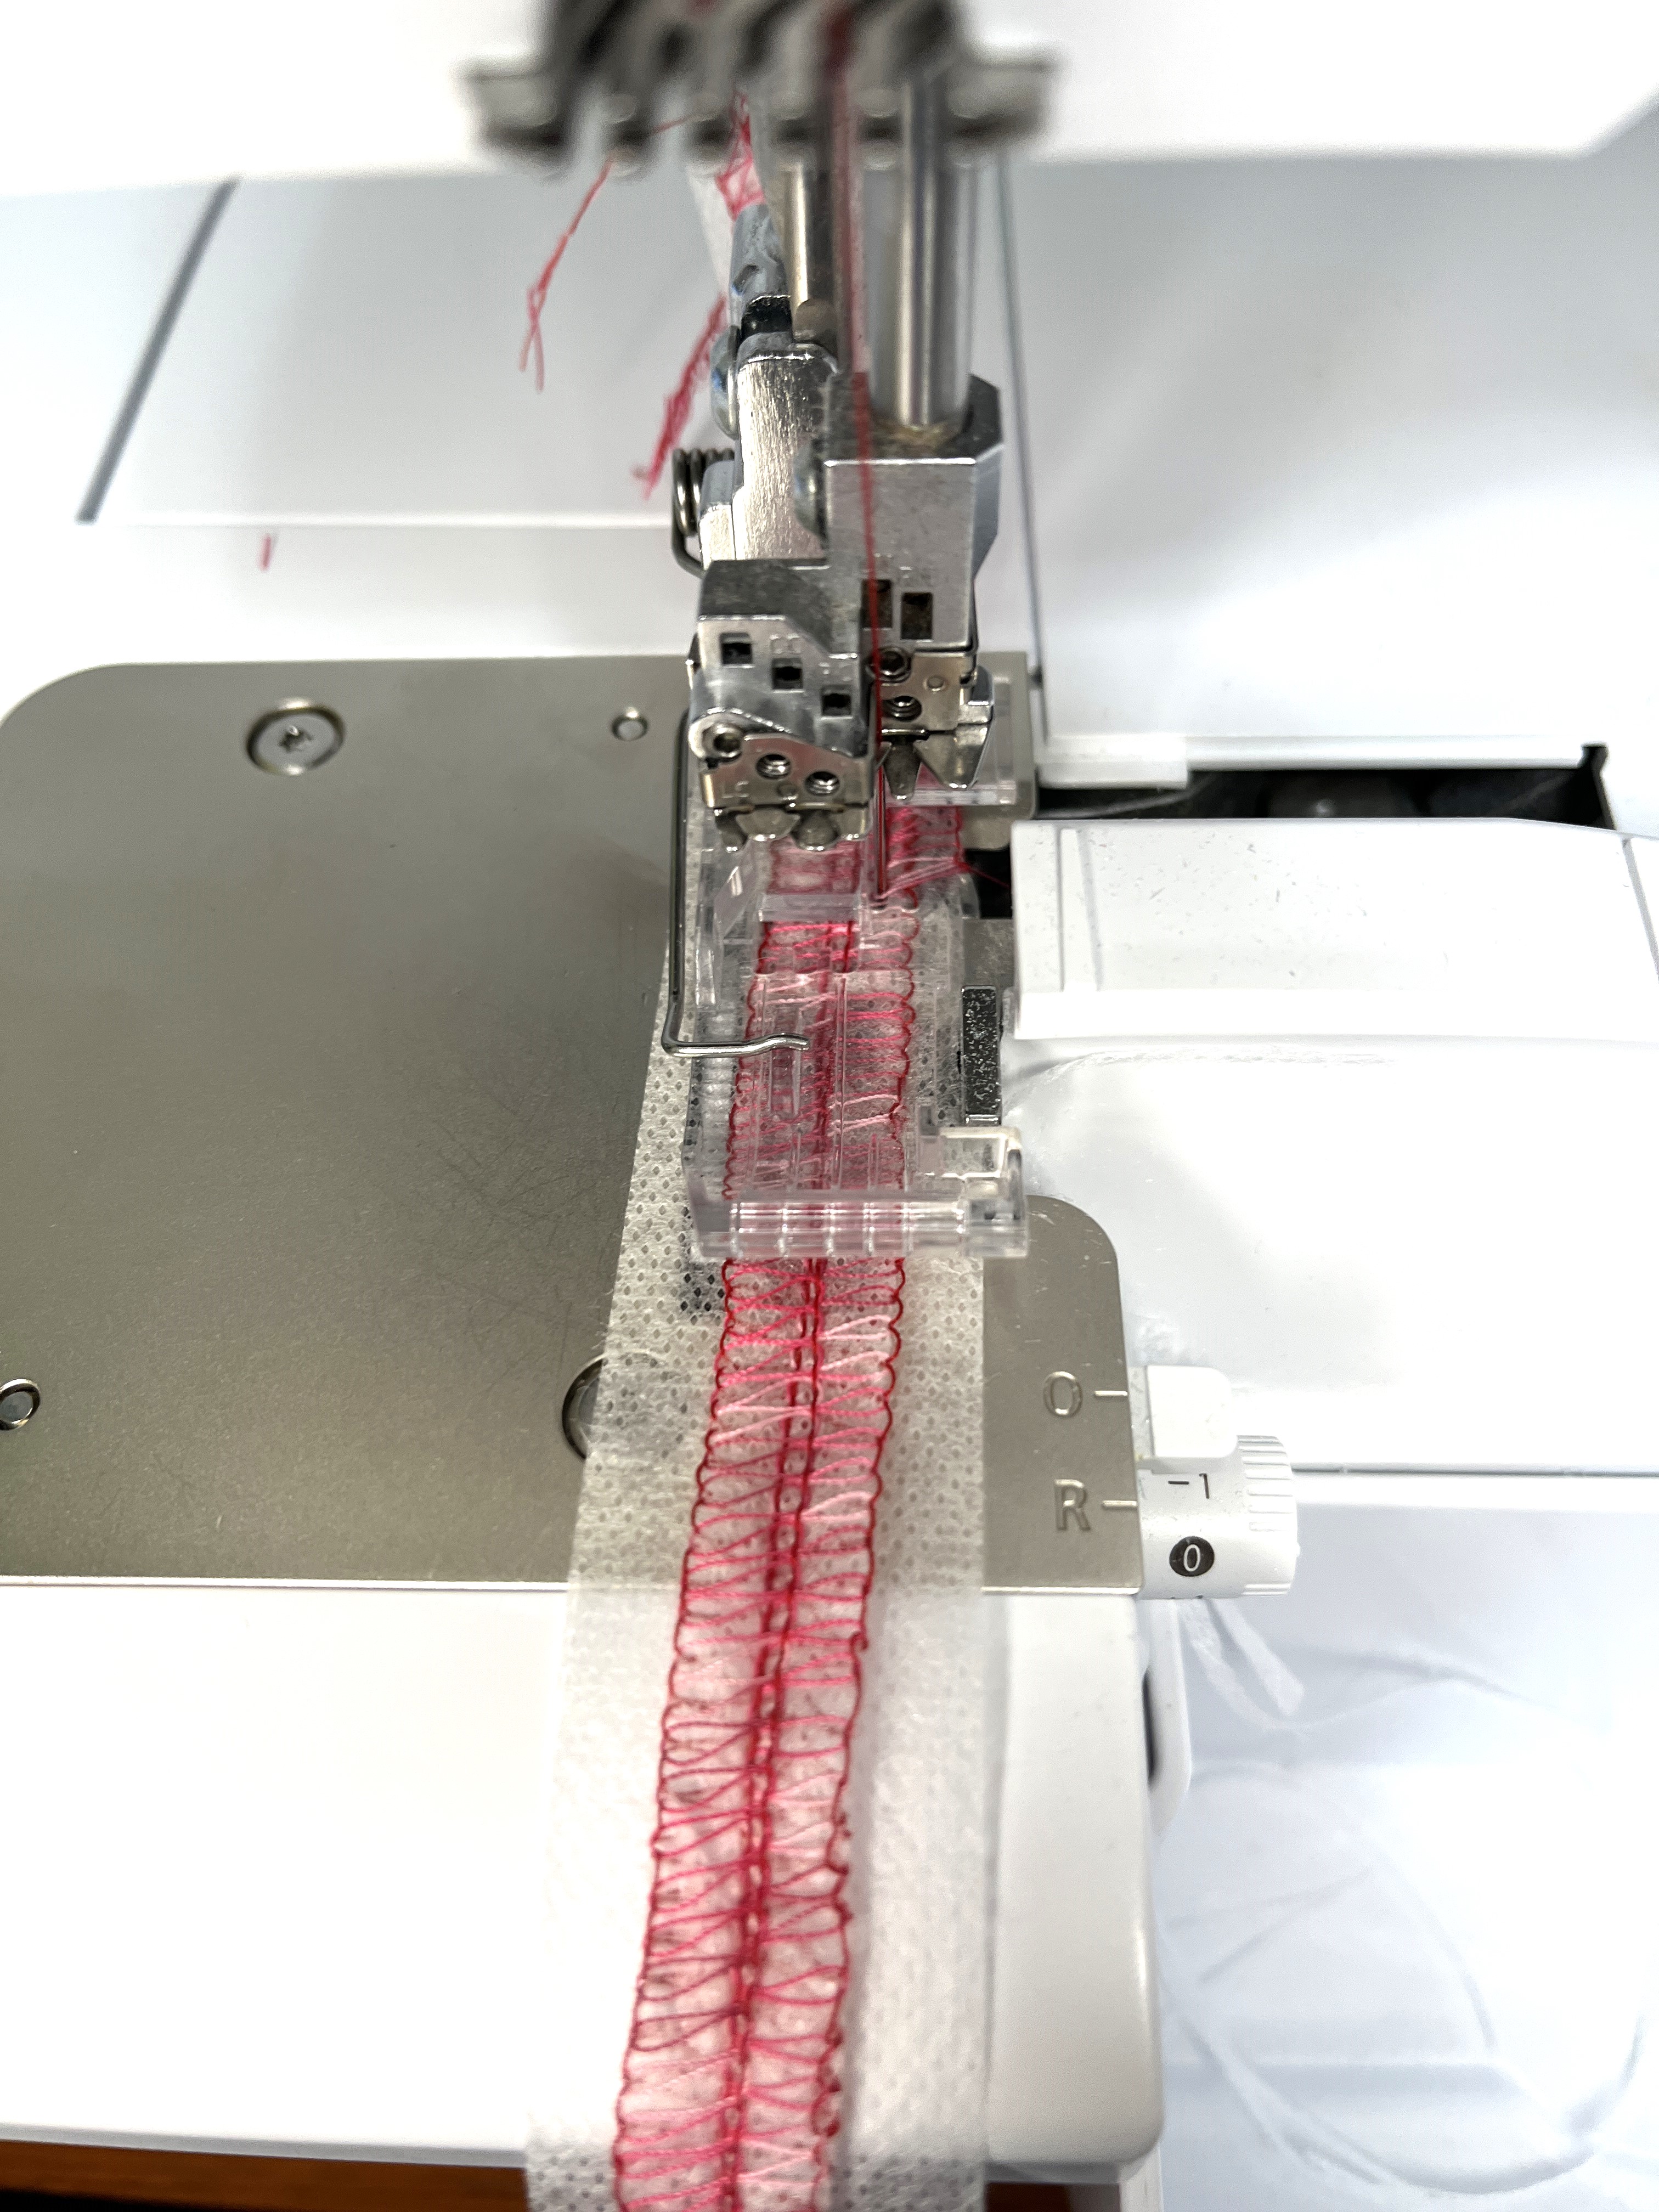
Fold the left long edge of the stabilizer strip under the stitching and to the right and stitch as before.
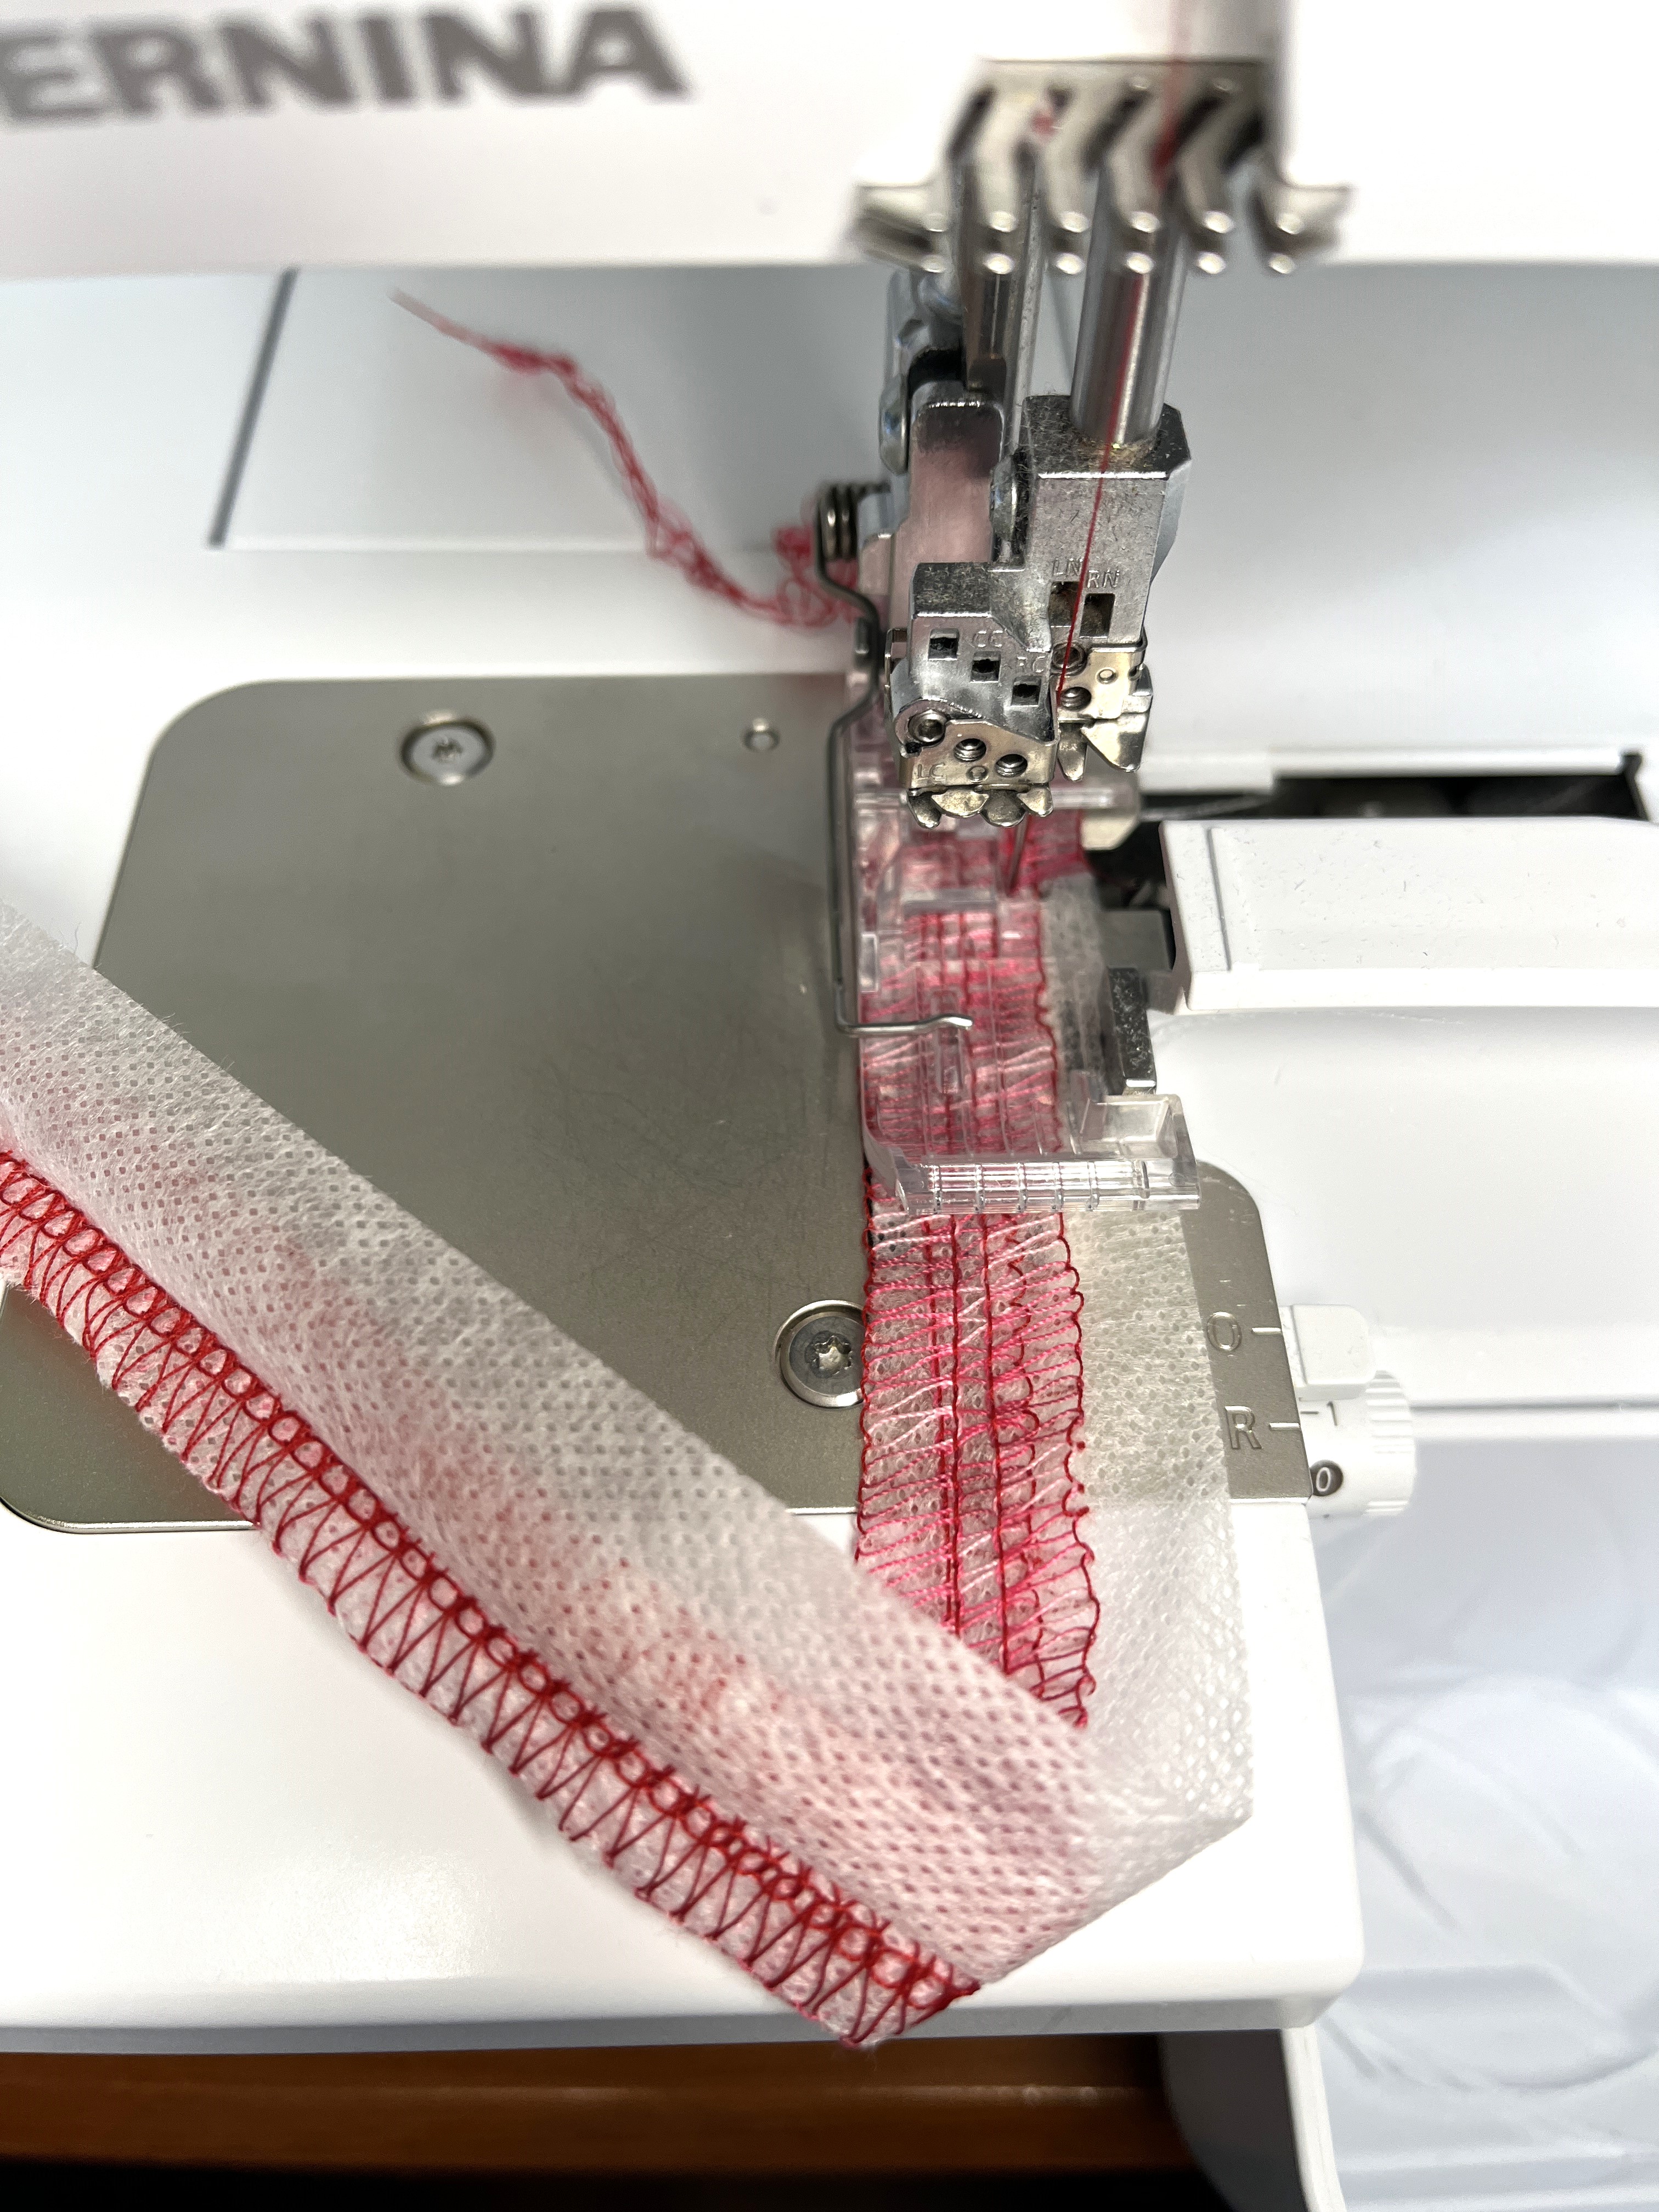
You now have four rows of stitching. Continue adding 1” strips until the serger lace fabric is about 5” x 10”, using about 16 stabilizer strips.
Tip: Add strips to opposite sides (alternating sewing from the top and bottom) to prevent the serger lace from bowing.
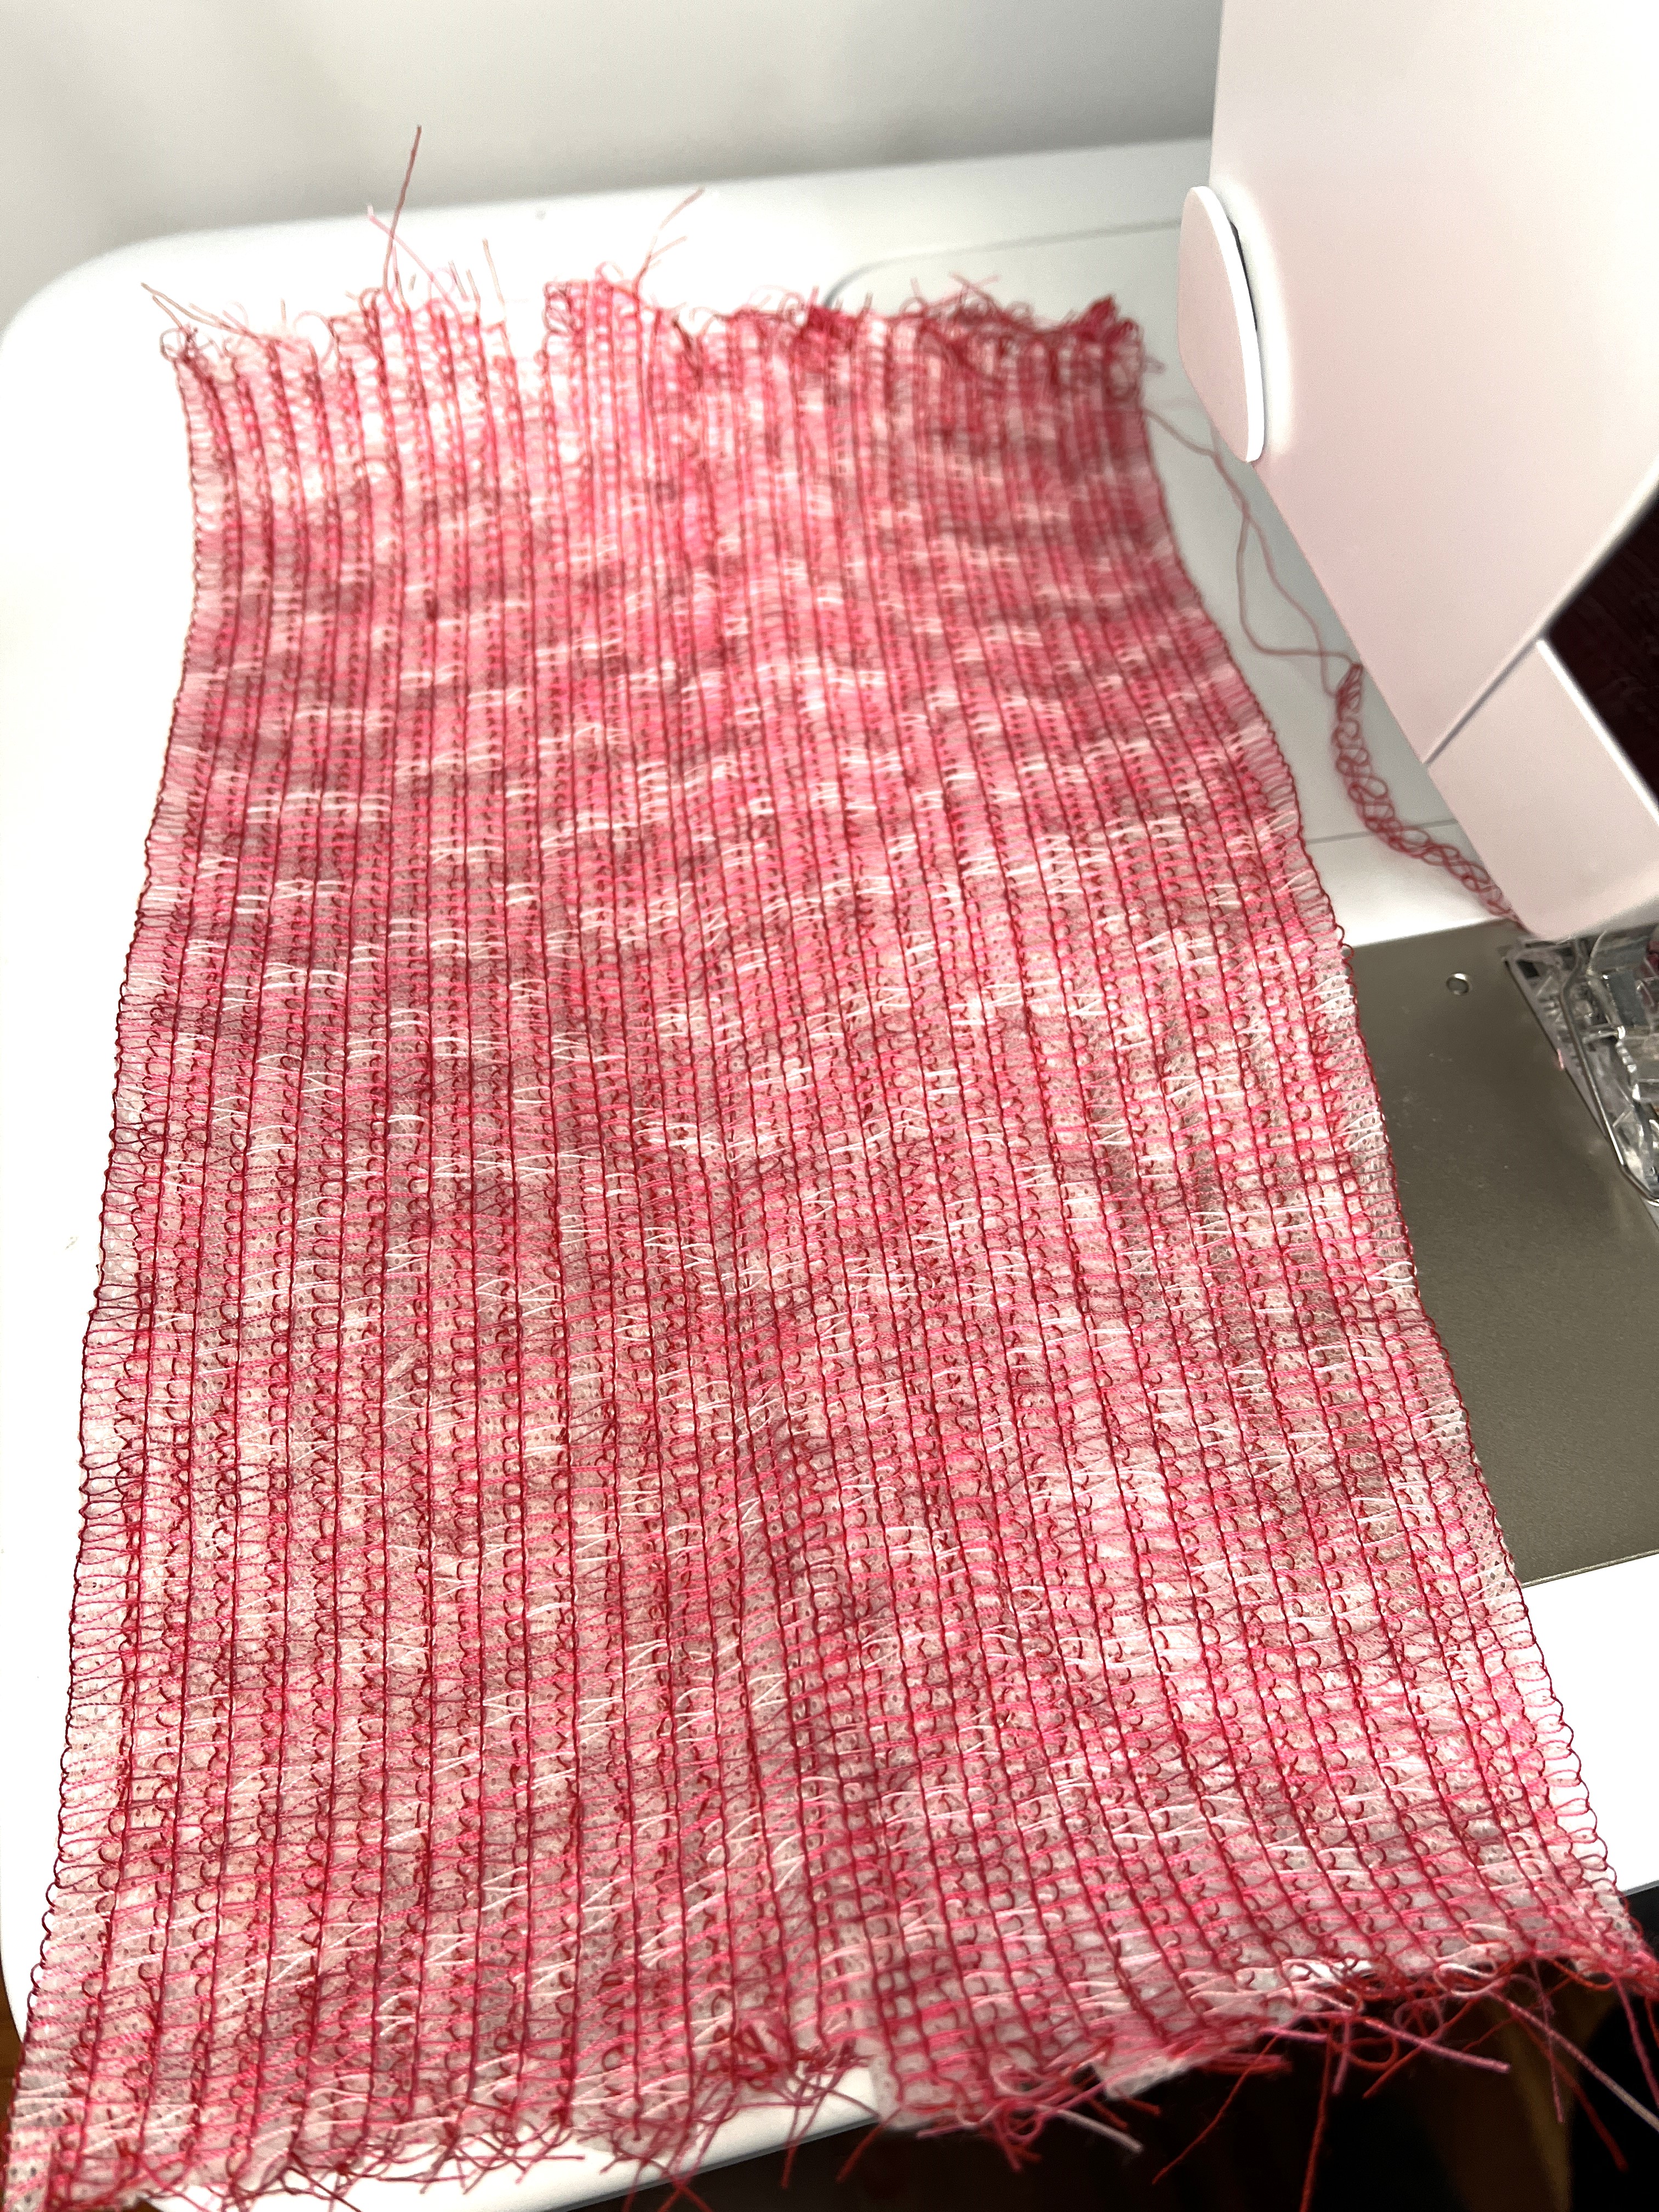
Set aside and repeat the above process to make the serger fabric for all your flowers (sample has three colors of flowers) and leaves.
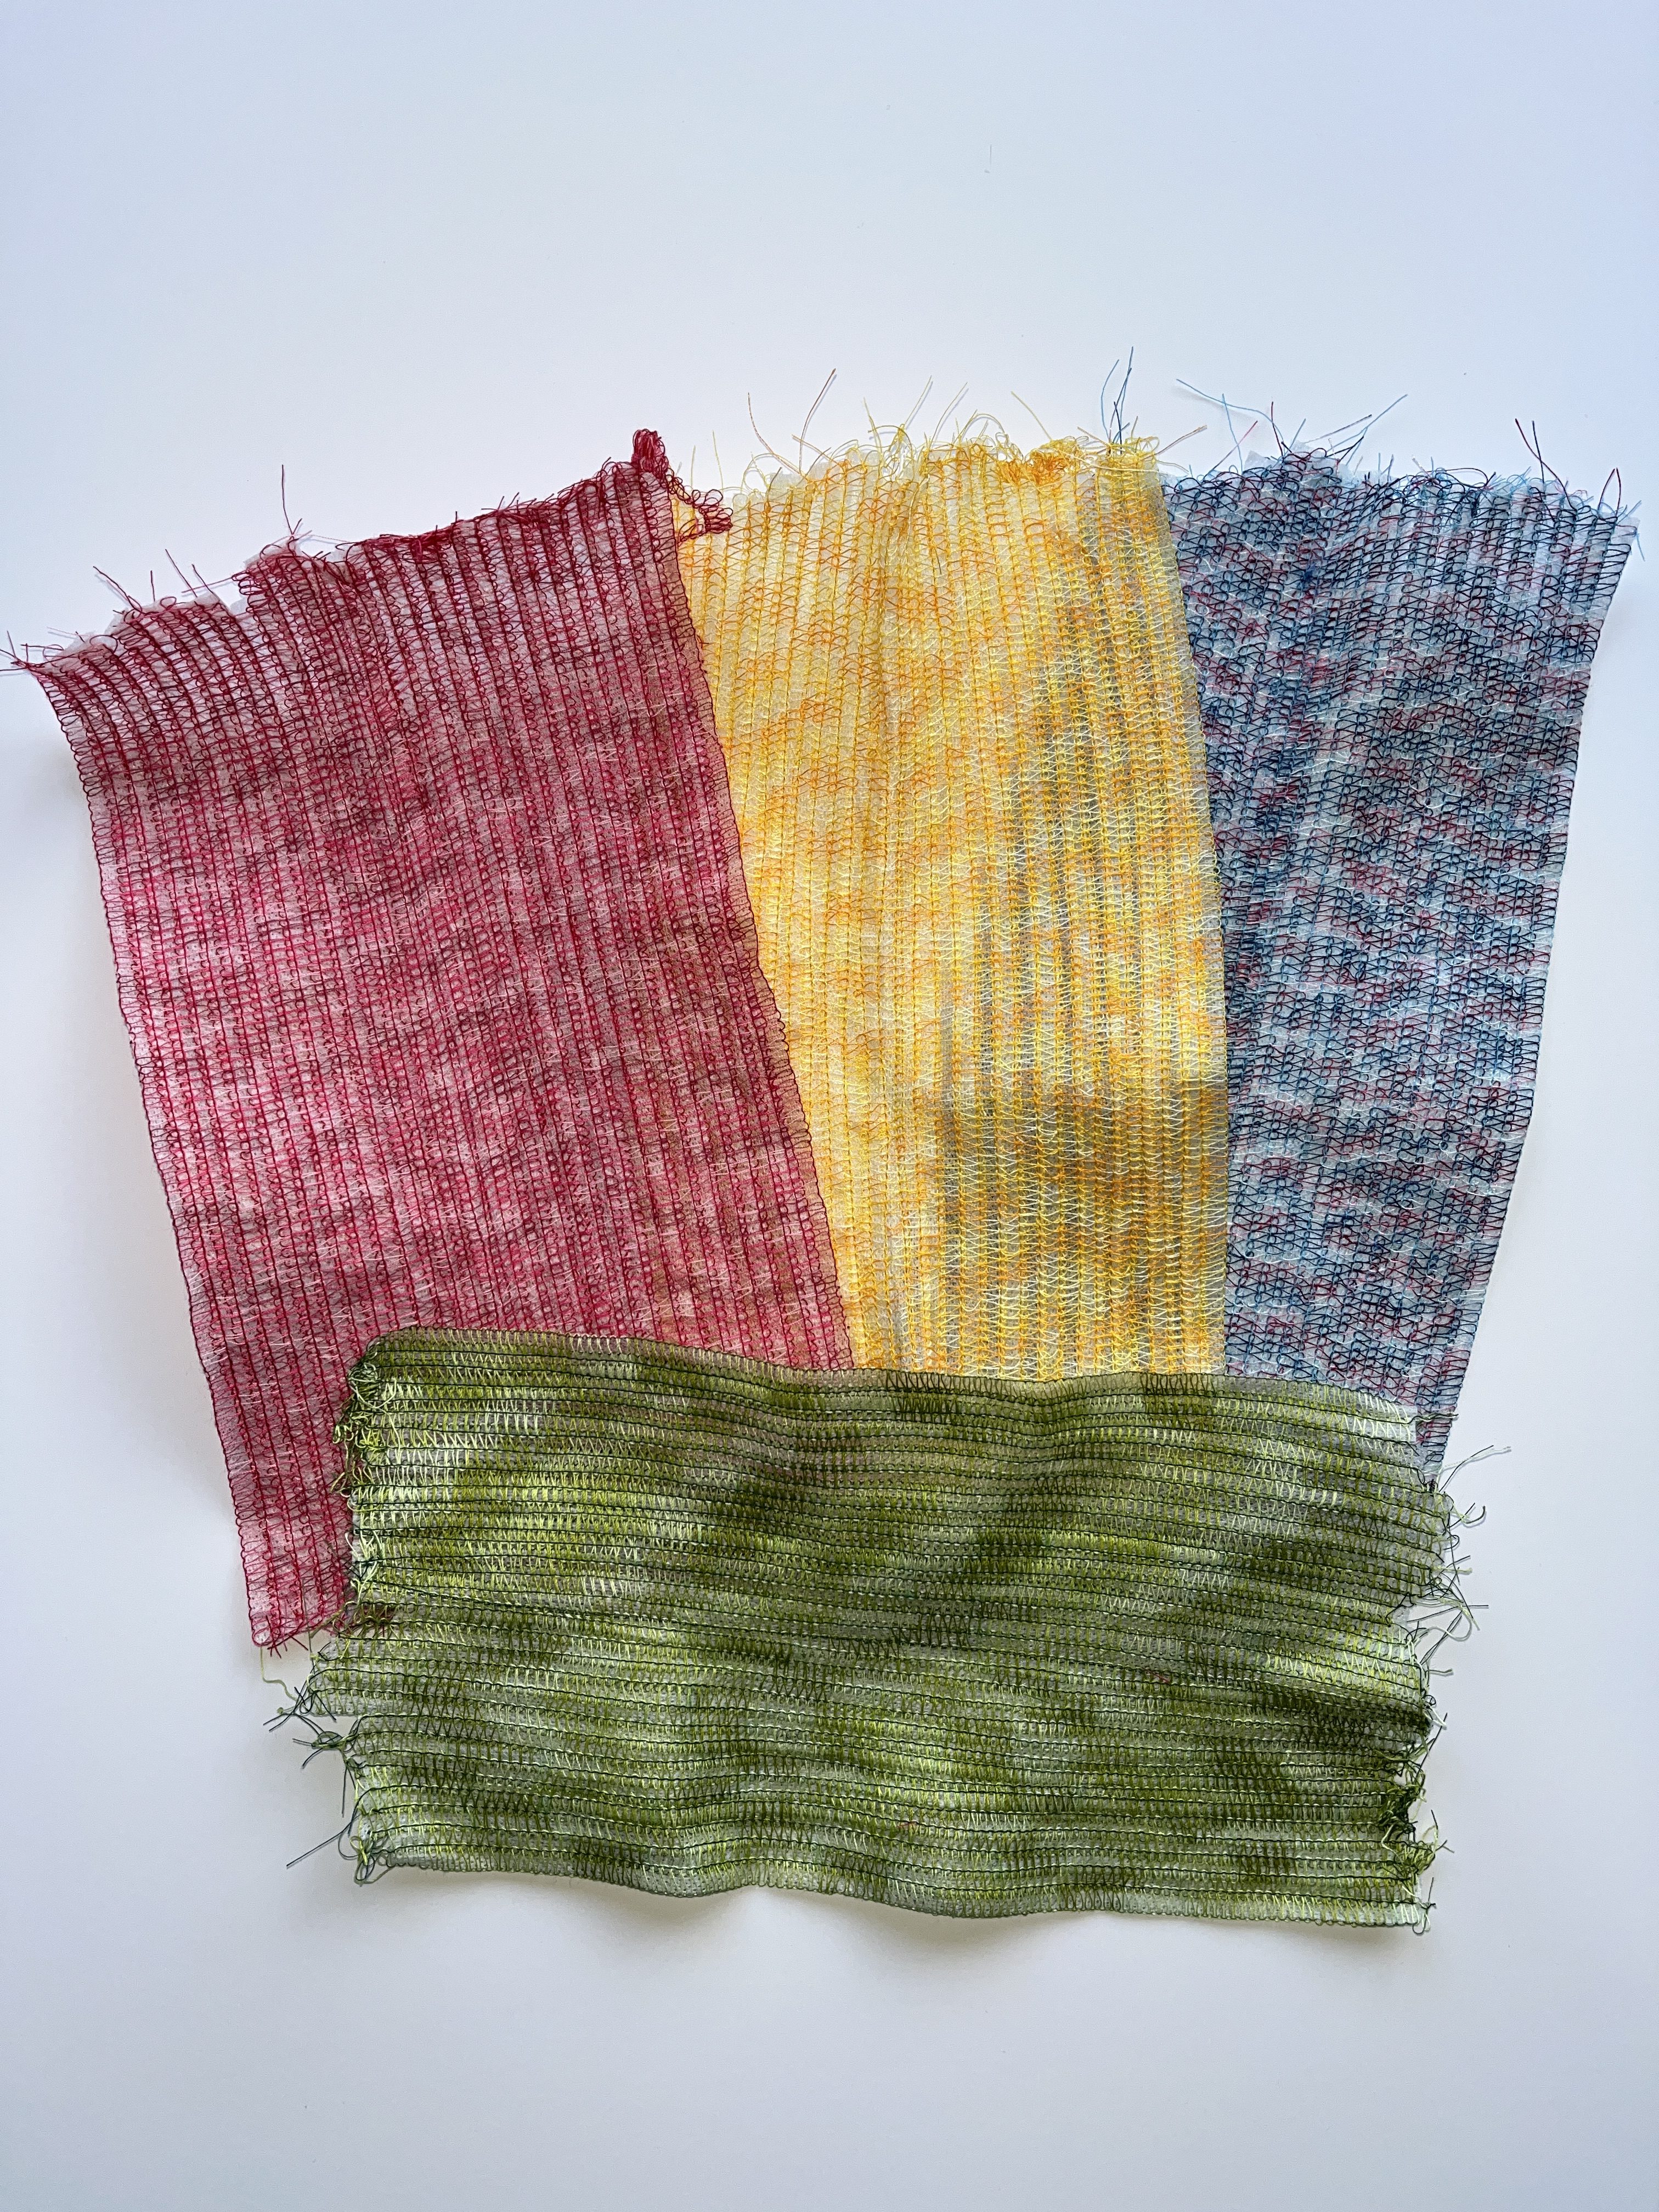
Do not remove the stabilizer yet. This will be done after we create the flower appliqués.
Step 2: Make Hanger Tabs
Set the machine for the 3-thread Coverstitch 6mm LC-RC #22 and thread to match the hanging tab fabric. Attach the Accessories Holder and insert the Belt Loop Folder #C30 15/30 mm, centered on the needles.
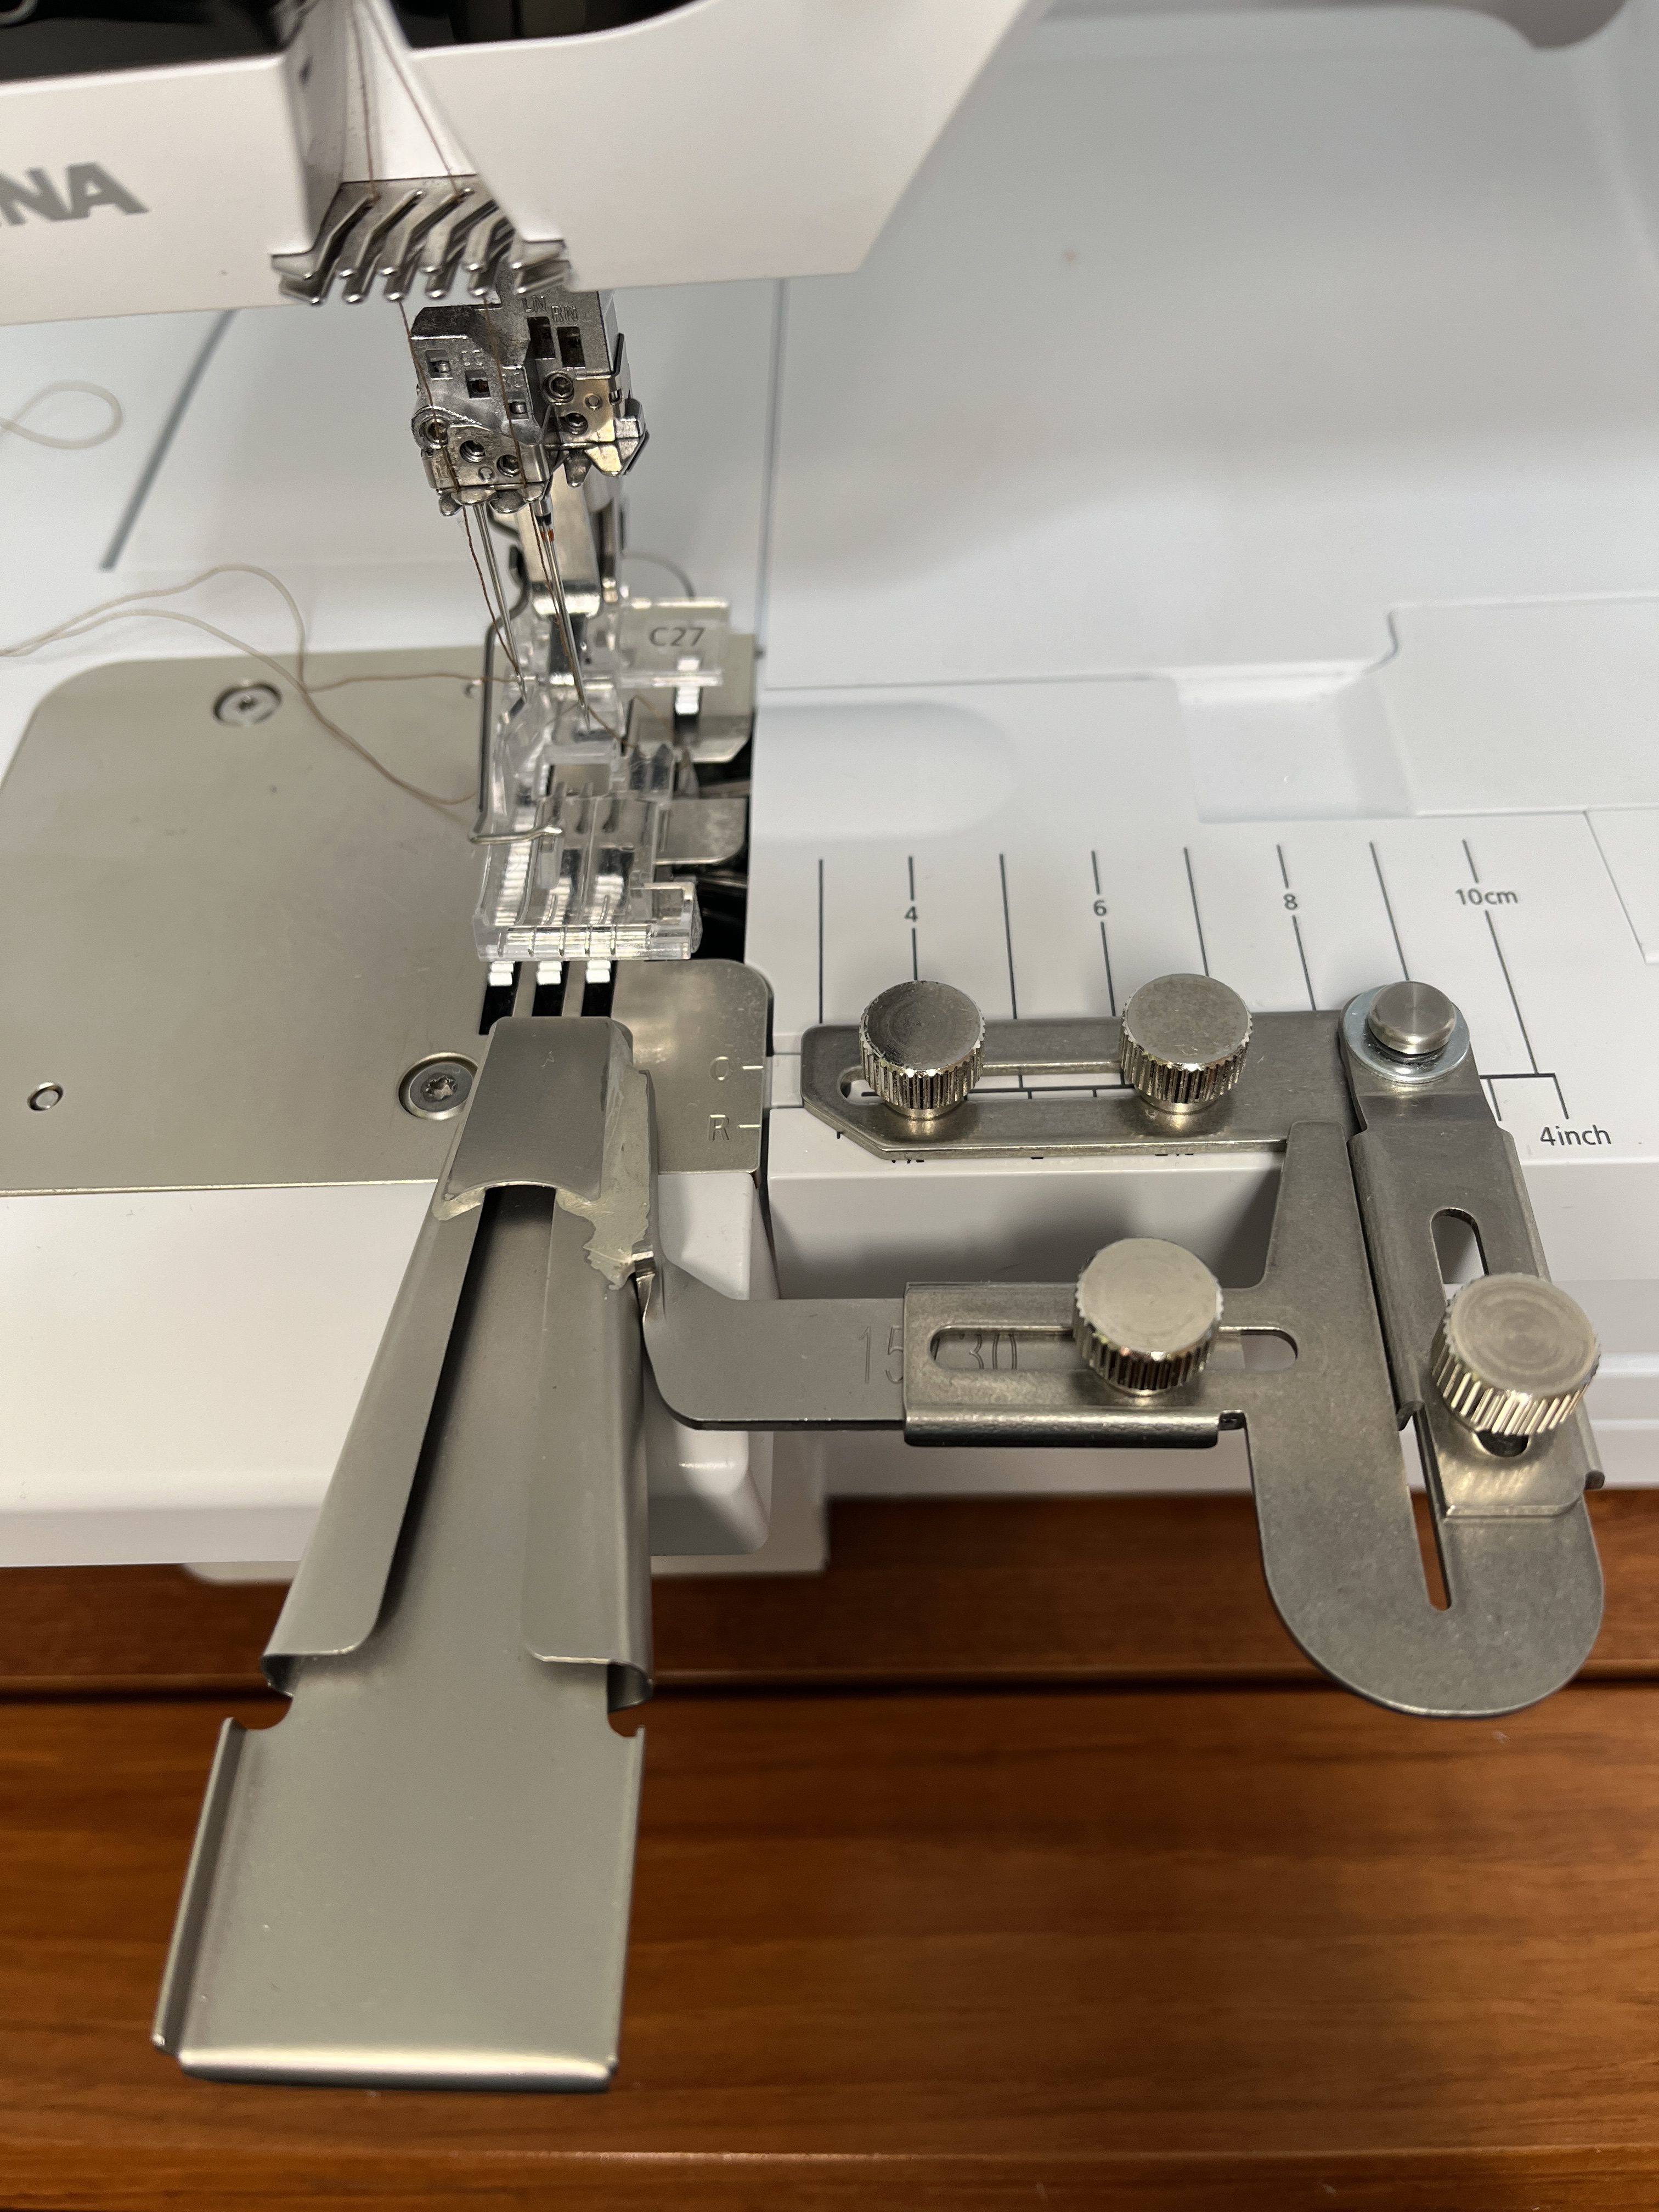
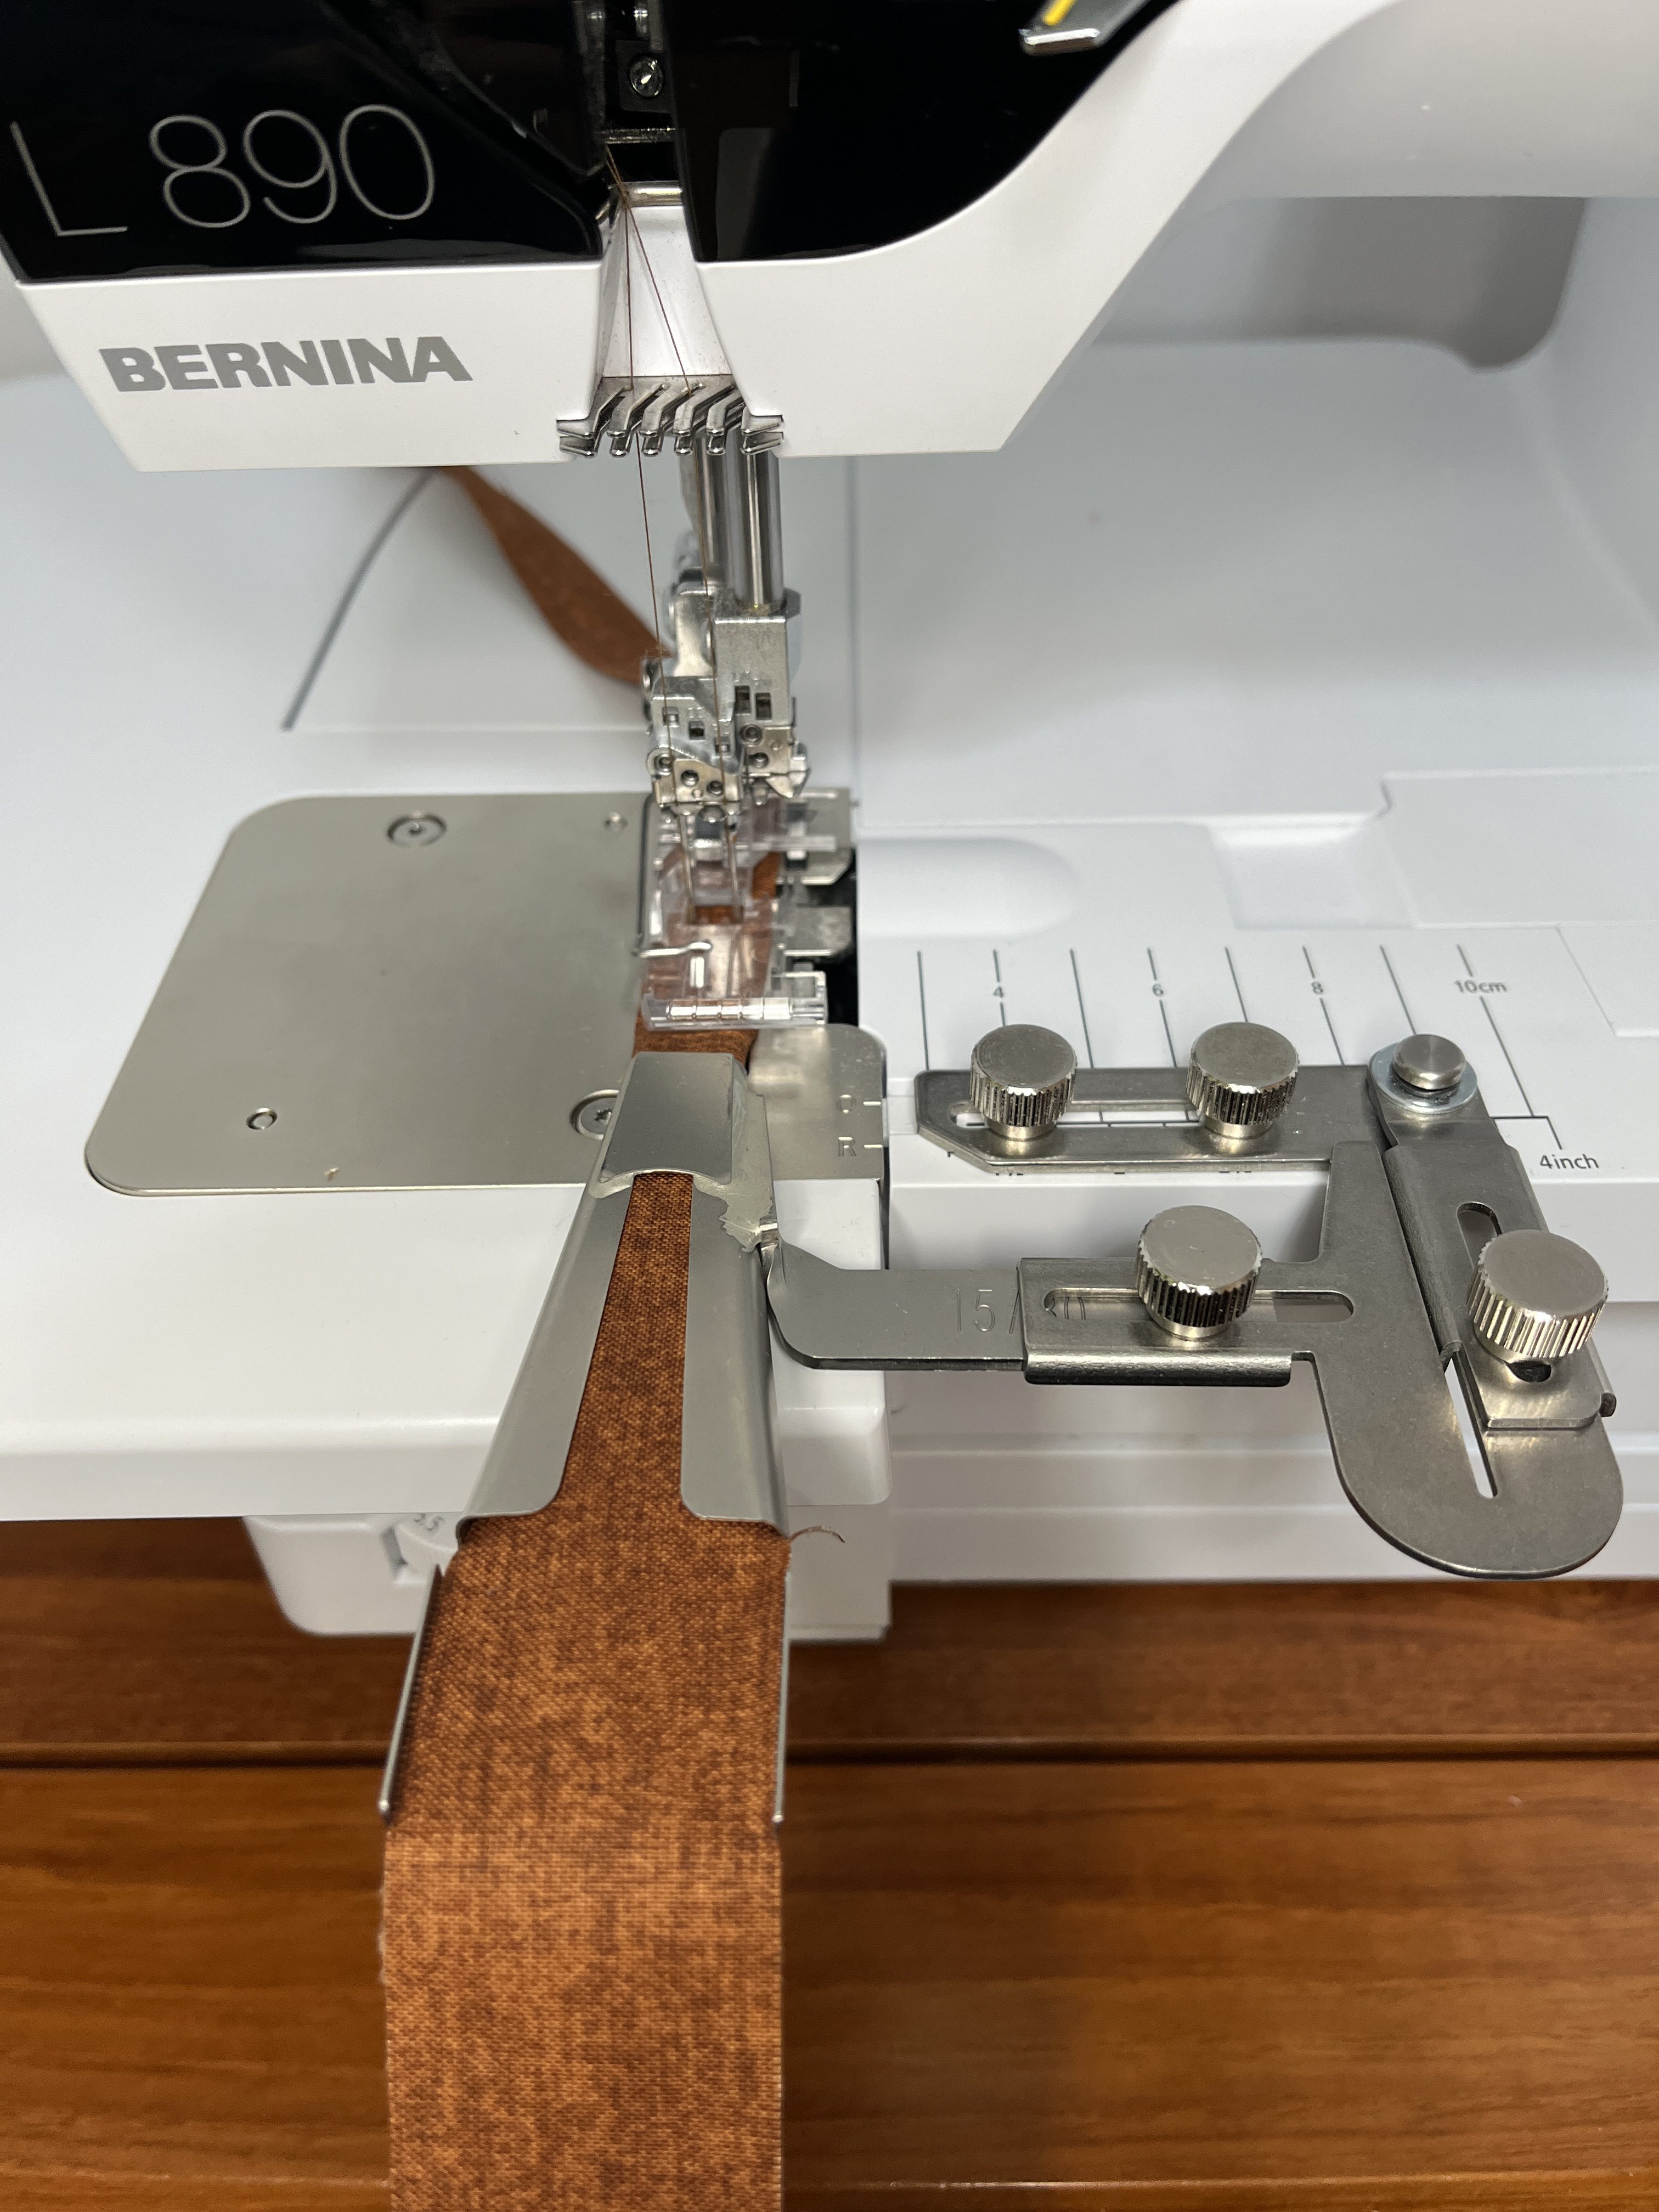
Make a long belt loop using the 1 1/4″ x 21” strip of brown fabric. Check needle placement after sewing an inch or two.
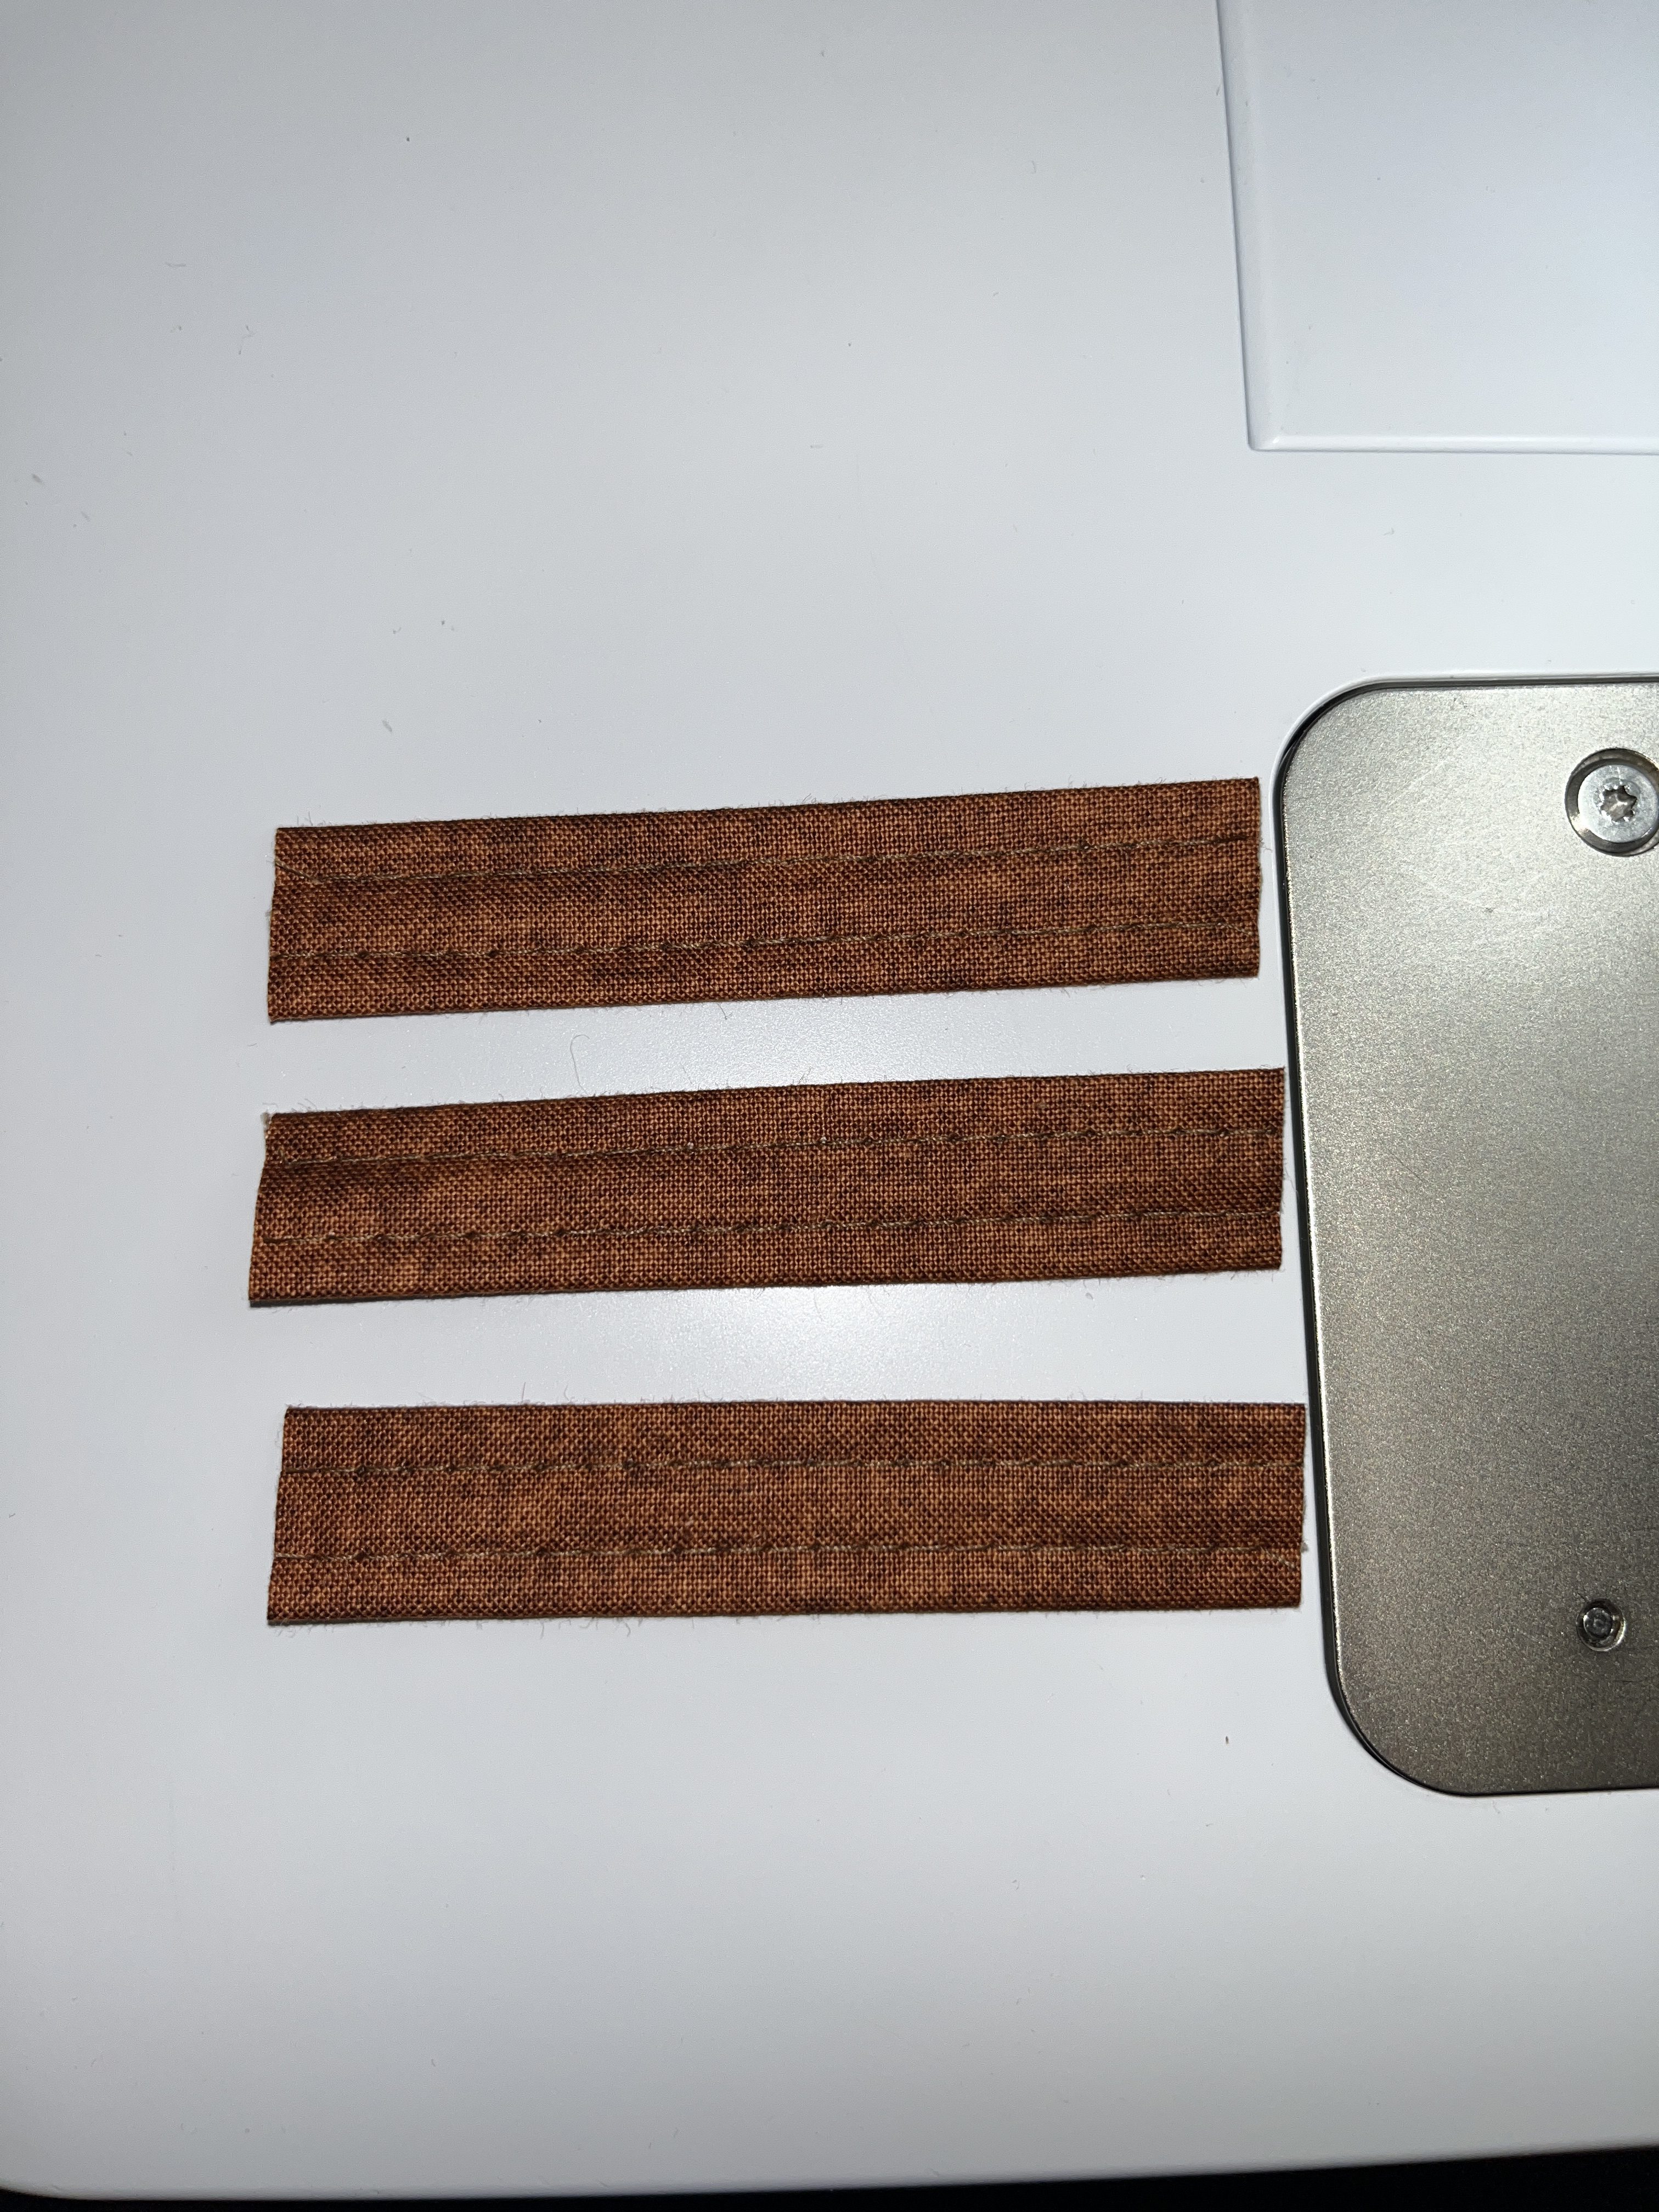
Cut the belt loop strip into three 3” pieces and set aside.
That’s all for today. Join me in Part Two where we will create the flower and leaf shapes in software and stitch them out.
Until next time, happy serging!
Used Products
What you might also like
One comment on “Serger Lace Wall Hanging, Part One”
Leave a Reply
You must be logged in to post a comment.
This looks like a fun project!!