Sasquatch Shoe Sachets from T-shirts
The winter season is a great time to share your love of handmade with friends and family. While there have been some posts here on WeAllSew to help inspire you, I particularly loved Philippa’s take on her wreath tradition. It’s fun to see others repurpose everyday materials in creative ways! I’m a bit partial perhaps but that’s just because I wrote the book on t-shirt upcycling. The Upcycled T-shirt challenges you to conquer your fear of sewing with knits (without a serger!) and change the way we consume and create. Today we’re doing just that! I’m going to show you a quick and easy project that you will want to give everyone on your list and it will cost less than a $.50 to make using t-shirt sleeves! Read on to learn how to maximize your yardage from a t-shirt, the best BERNINA stitches for sewing with knits and how to use a home printer for image transfers—plus we’ll explore some essential oil recipes and their benefits for odor eating Sasquatch shoe sachets.
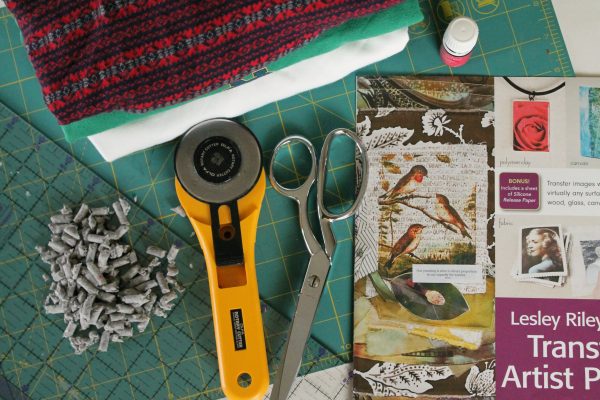
Materials to sew the Sasquatch Shoe Sachets:
- 1 t-shirt (or 2 t-shirt sleeves)
- 2 scrap white t-shirt pieces 3.5” x 4.5”
- Rotary Cutting Tool with Mat
- Ballpoint Needles
- Lesley Riley Transfer Artist Paper
- Essential Oils
- Fresh News Small Animal Liter
- Coordinating Thread
- Sasquatch_Pattern
- Reverse pattern foot #1/#1C/#1D
- Optional BERNINA Feet:
Walking foot #50
Open embroidery foot #20/#20C/#20D

Prep Work:
We’ll be filling our sachets with a product called Fresh News which are soft small pellets made from recycled news paper and baking soda as an alternative to cedar or dried lavender. To add scent and cleansing properties I’m opting to use essential oils. Any combination of Eucalyptus, Lemongrass, Bergamot, Cypress, Pine Needle and Lavender will help control any shoe odor working to keep them so fresh and so clean. Preparing the fill only takes a few seconds, scoop 2 cups of pellet into a zip lock bag or container you can seal. Add 6-10 drops of essential oil into the bag and shake, shake, shake. Leave the bag sealed while you prepare and sew.
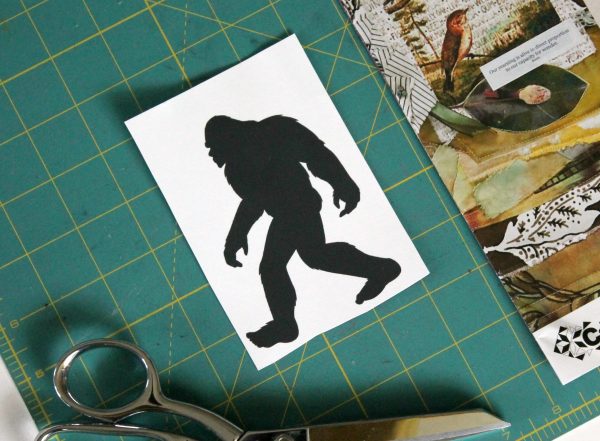
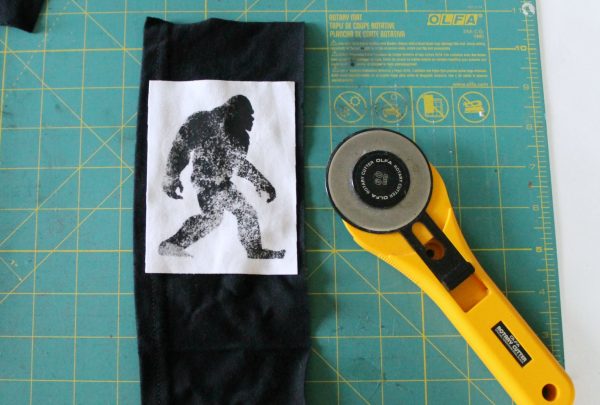
Download the Sasquatch Pattern (a printable PDF). Print a copy directly onto the white side of Lesley Riley Transfer paper. You will have 4 transfers on 1 sheet of paper. Cut to size.
We’re only using the sleeves of your t-shirt in this project. You can visit my blog or pick up my book for more projects to use up the rest of the tee like knotty t-shirt Christmas ornaments, unique tshirt gift wrap bows, and build your own monster appliqués!
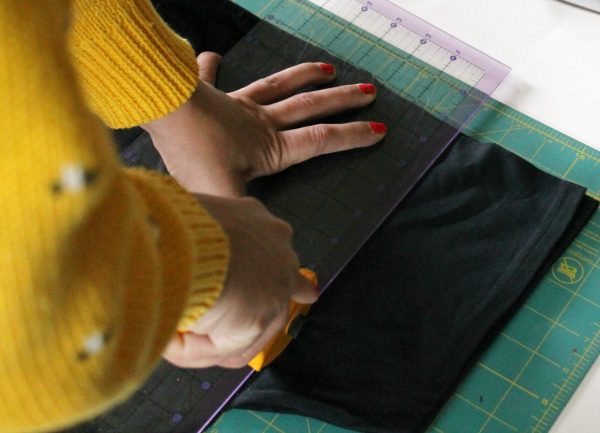
Fold the shirt in half lining your sleeves together and lay it flat on the cutting surface. Use your rotary cutter with a clear straight edge ruler. I’m using a 60 mm rotary but I have multiple sizes and use them, for the most part, interchangeably. For precise cutting align your ruler edge with the grid marks on your self healing mat. Cut the sleeve away from the shirt. Here I am cutting through both sleeves at the same time.
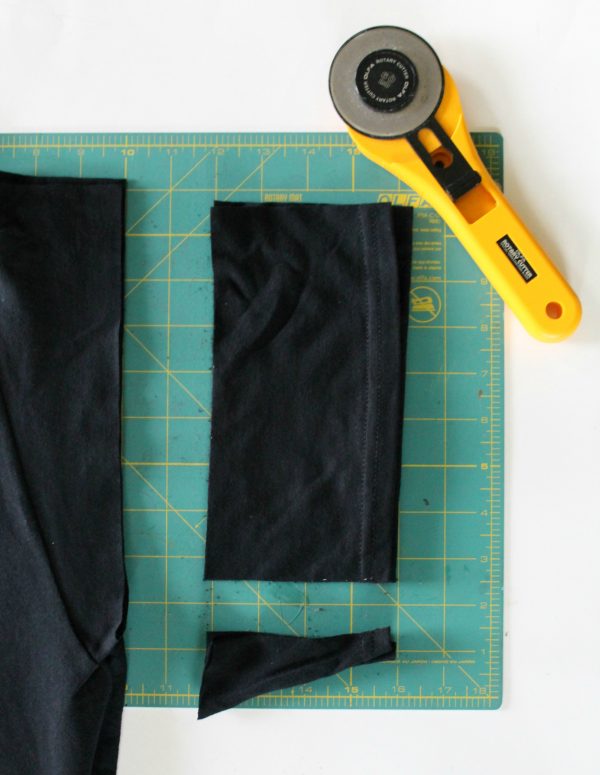
You want to cut 4” x 8”. You need 4 rectangles per pair. Note: Sleeves, just like t-shirts come in all different shapes and sizes. You’ll notice that I chose to leave the hemmed edge on, that was intentional. When we unfold this piece it will be 4” x 16” because the top of the sleeve is still connected.
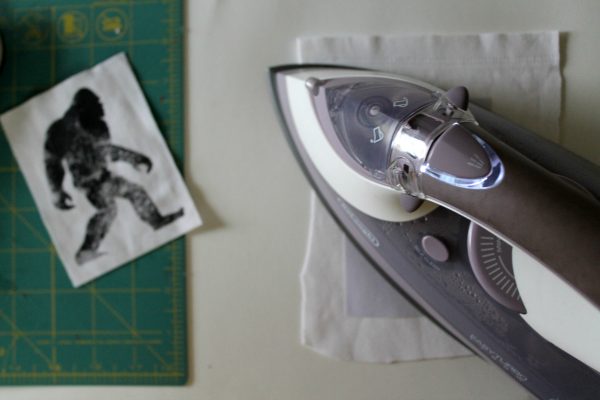
Transferring Your Image To Fabric
Using dry hot iron, press the image side down onto white scrap pieces. The white scrap measurements are 3.5”x 4.5”. Follow directions on the package for best results.
Lay one cut sleeve flat, right side up. There is a crease line in the fabric where it was previously folded while attached to the shirt (top of sleeve). Check placement for your Sasquatch patch to fit onto sleeve on top half. Use pins or spray baste to keep the patch in place while sewing.
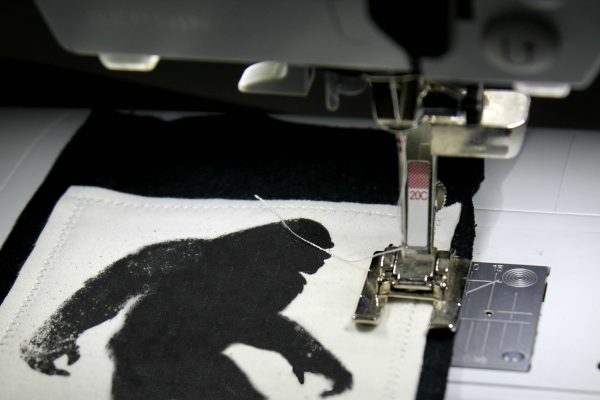
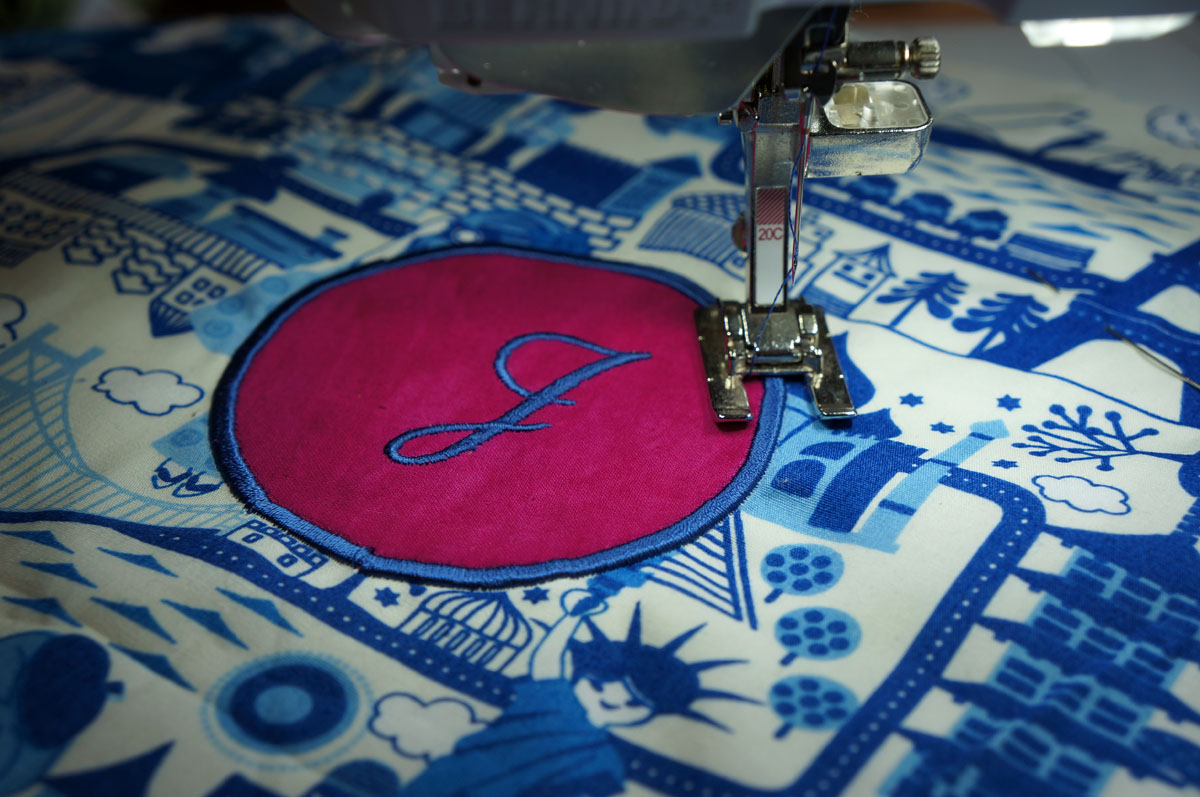
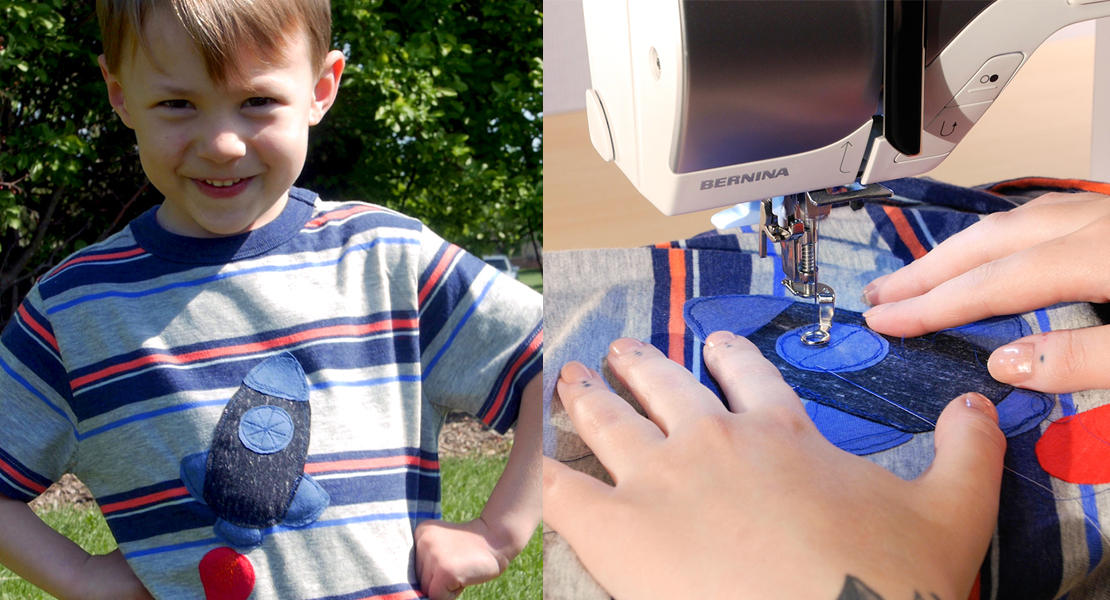
Appliqué Sasquatch onto your sleeve cut out. You can choose to use an elongated straight stitch with a standard presser foot or take advantage of the BERNINA Open embroidery foot #20/#20C/#20D foot and use any decorative stitch.
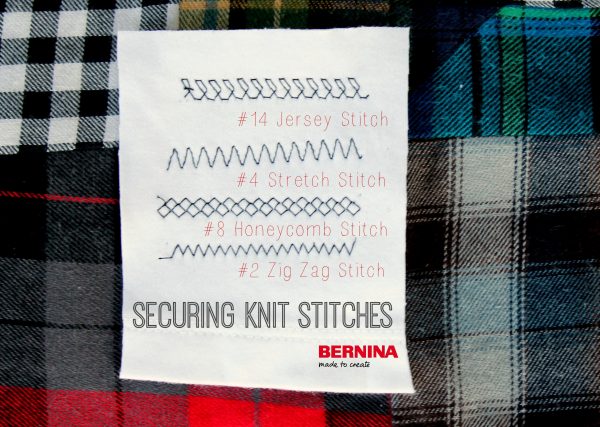
Next we’re going to top stitch sew 3 sides of the sachet bag with a 1/4” seam, this will leave us with a raw edge. If you prefer a more finished look here are a few of my favorite stitches that will secure your edges but allow them enough give with the stretch of the material.
The above stitches are coordinating stitches to my BERNINA 580. Please refer to your manual if you are unable to locate them with the given number. When in doubt a simple zig-zag will always work but I would love for you to try out the #8 honeycomb or the #14 jersey stitch if you’ve never used them before.
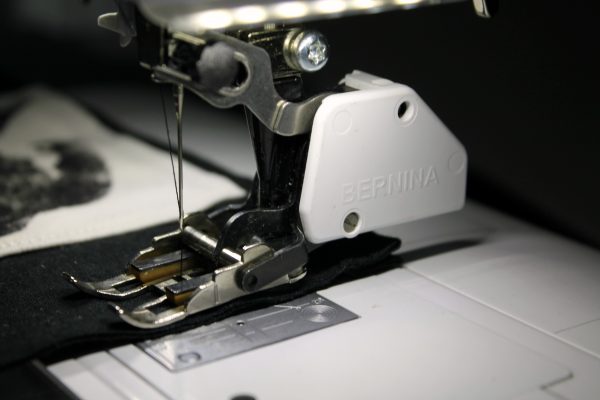
Another fantastic tool I often recommend for sewing with knits especially for beginners is the Walking Foot #50 attachment. Knit (t-shirt fabrics) have a tendency to shift/stretch while sewing with them. The Walking foot #50 helps to feed both the bottom fabric and the top fabric evenly through the machine as you sew to prevent uneven stitches and shifting. Using a zig-zag and my Walking foot, I sewed around 3 sides of the sachet bag leaving the top open.
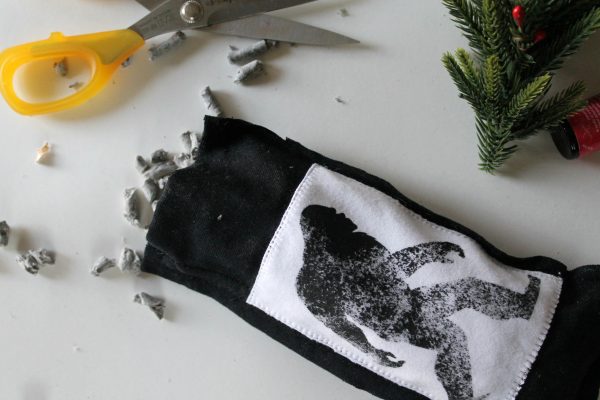
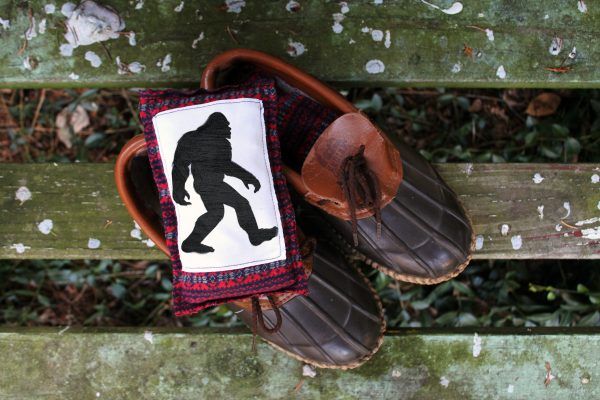
Fill your Sasquatch shoe sachet 3/4 full with the newspaper pellet/essential oil mix we made up earlier. Sew the top closed. Just like that you’re shoe sachets are ready to use or gift. But don’t get them mixed up with gifting used ones. Depending on how often you use them and how stinky the shoes really are-essential oil sachets will last for up to three months. When it’s time to refresh-you can unpick the top seam and dump out the newspaper pellets into your compost or yard-they’re biodegradable!
Wishing all of you smell good shoes and the happiest holidays this season! I would love to hear how your shoe sachets turn our, share your favorite essential oil combinations, or feel free to ask any of your sewing with knit questions with a comment below.






2 comments on “Sasquatch Shoe Sachets from T-shirts”