Designing Custom T-Shirts with Sprout Patterns
Hey everyone! Julie Eilber here from the blog Jet Set Sewing. We fashion “makers” love to create our own clothes with the help of our BERNINAS. Now, thanks to Sprout Patterns, we can design our own fabric and have the pattern printed right on the yardage! Here are a few tips if you decide to give it a try:
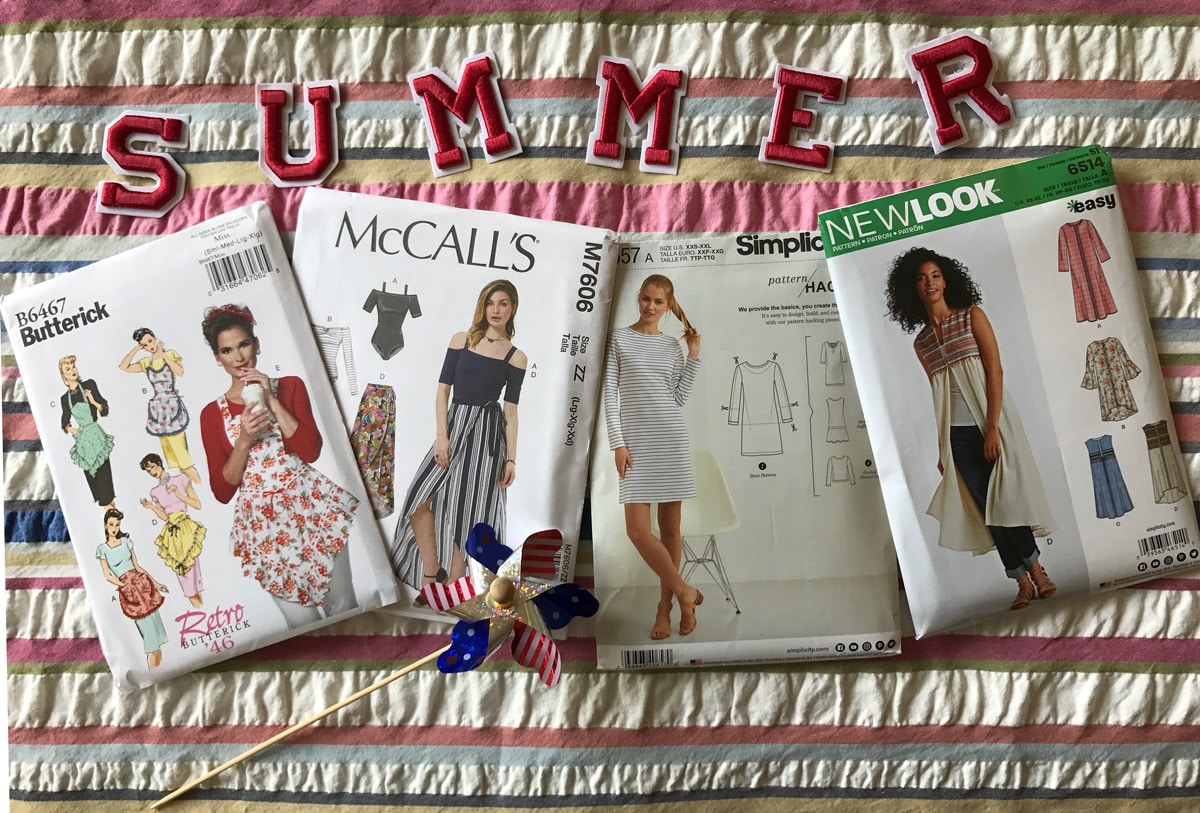
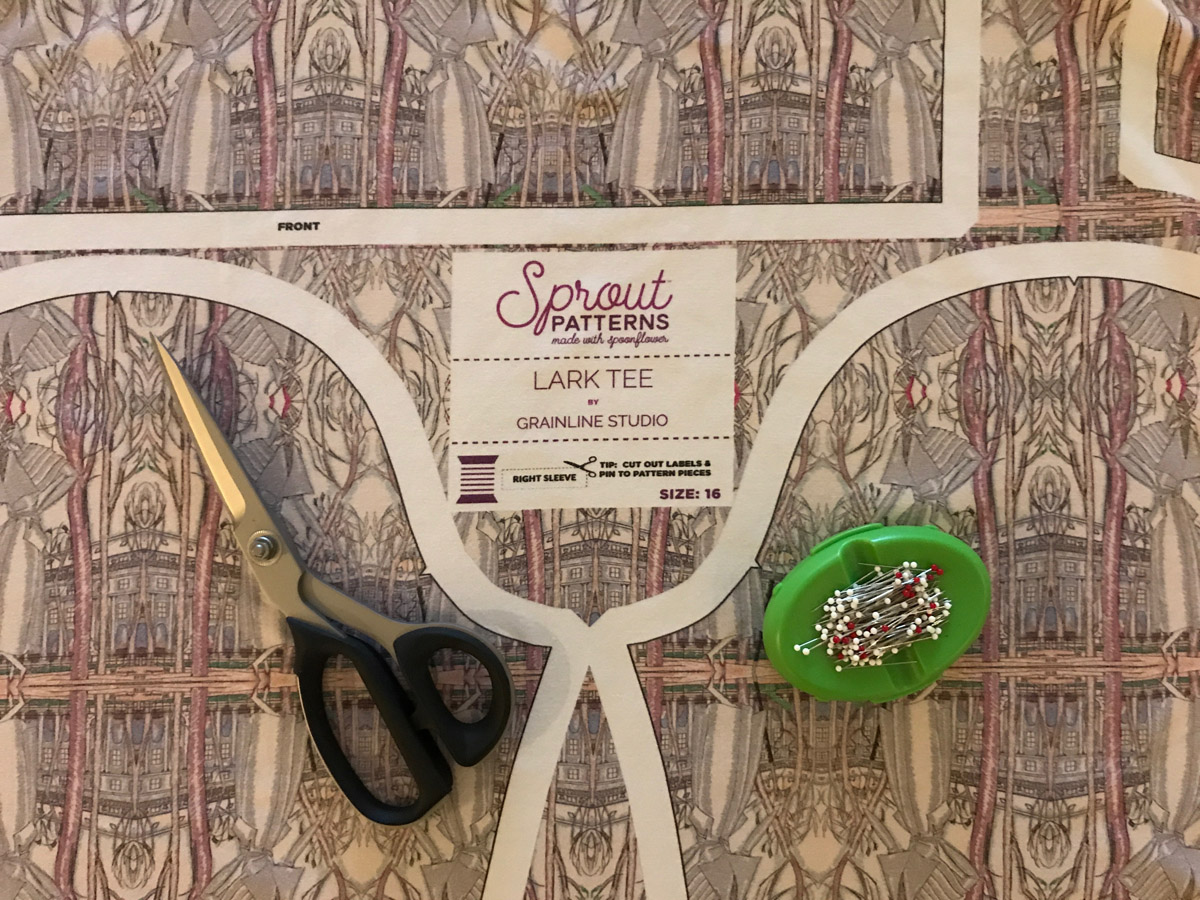
Sprout Patterns (part of Spoonflower) offers familiar independent patterns from companies like Colette, Cashmerette, and Named Clothing. You choose the pattern, size, and fabric design, then the pattern pieces are printed directly on the fabric, ready to cut – no pinning needed!
To give it a try, I chose the popular Lark Tee from Grainline Studios, since there was a lot of helpful information about the cut and fit of the pattern on the Pattern Review website.
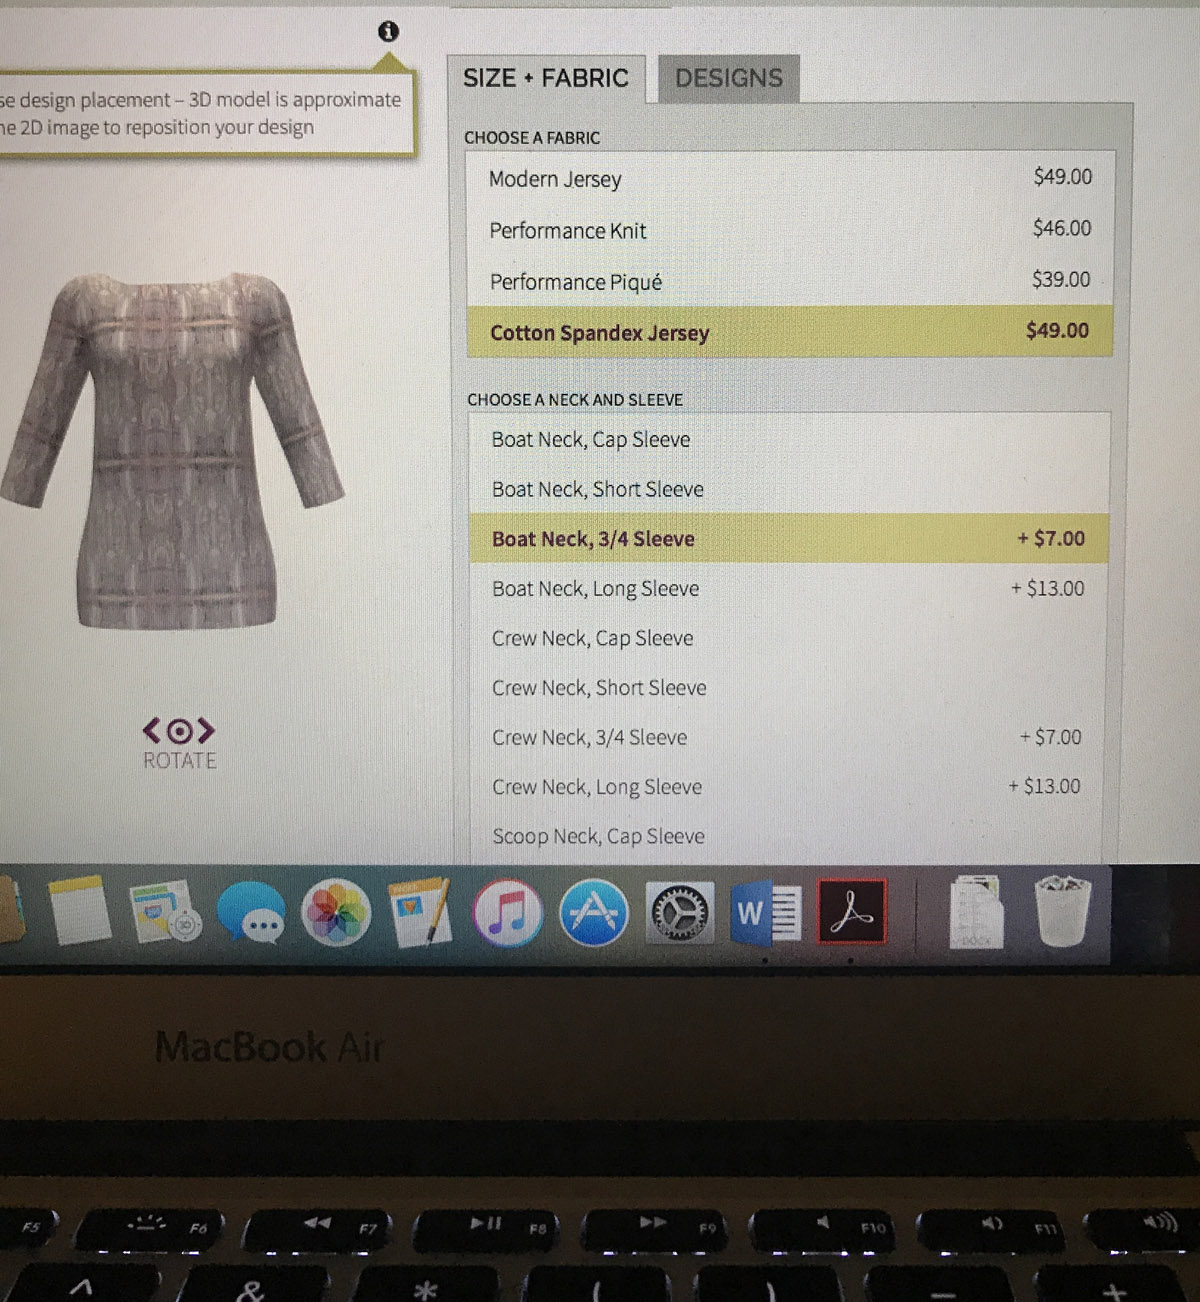
I used the size chart to select my size, and since I was between sizes, I chose the next one up to give myself some “wiggle room” for the fit. There were several knit fabrics available, so I picked cotton/spandex jersey (because who couldn’t use a little extra spandex in her life). Then I selected the neckline (boatneck) and sleeve length (3/4 sleeve).
For the fabric design, I chose a print I had created earlier on Spoonflower, using 1920s fashion artwork that I’d uploaded from my collection. (You can find more information about creating fabric on Spoonflower here) But I also could have chosen from any of the thousands of fabric designs already available on Spoonflower for my tee.

By dragging my mouse over the layout of the flat pattern pieces, I was able to move the design around on the fabric to center it and match it at the side seams. That way, the design would flow nicely from front to back. (The design is printed from the 2-D model on the left, not the 3-D model on the right.)
One heads up: I chose this pattern because it was simple and stretchy, and I was reasonably certain that it would fit based on my measurements. I knew that once the pattern pieces were printed on the fabric, I wouldn’t have any way to change the fit. If you generally need to do a lot of fit modifications on your patterns, you may want to create a fabric design and have it printed directly on yardage, through a service such as Spoonflower or My Fabric Designs, then use your own modified pattern to pin and cut the pieces.
When the fabric arrived from Sprout a couple of weeks later, I threw it in the washer and dryer to prep it, as shrinkage is built into the sizing. I was thrilled that I wasn’t going to have to do the dreaded pinning and cutting on jersey, which is always a pain!
Even though you’re supposed to cut on the black cutting line (a ¼” seam allowance is already built in), I left some extra room beyond it, because cotton jersey has an annoying tendency to roll up on the edges.
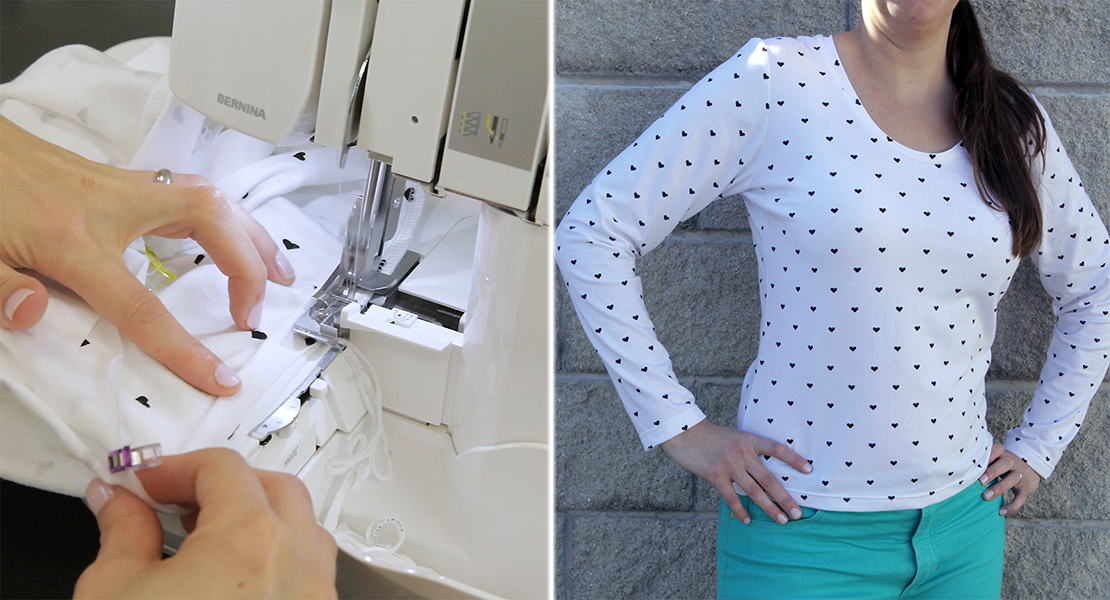
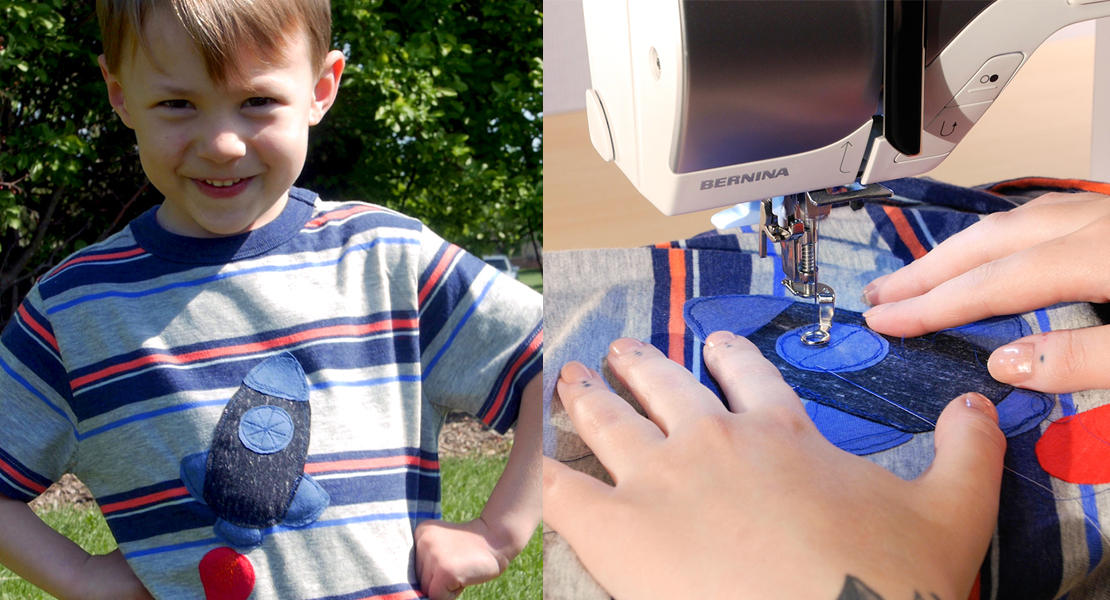
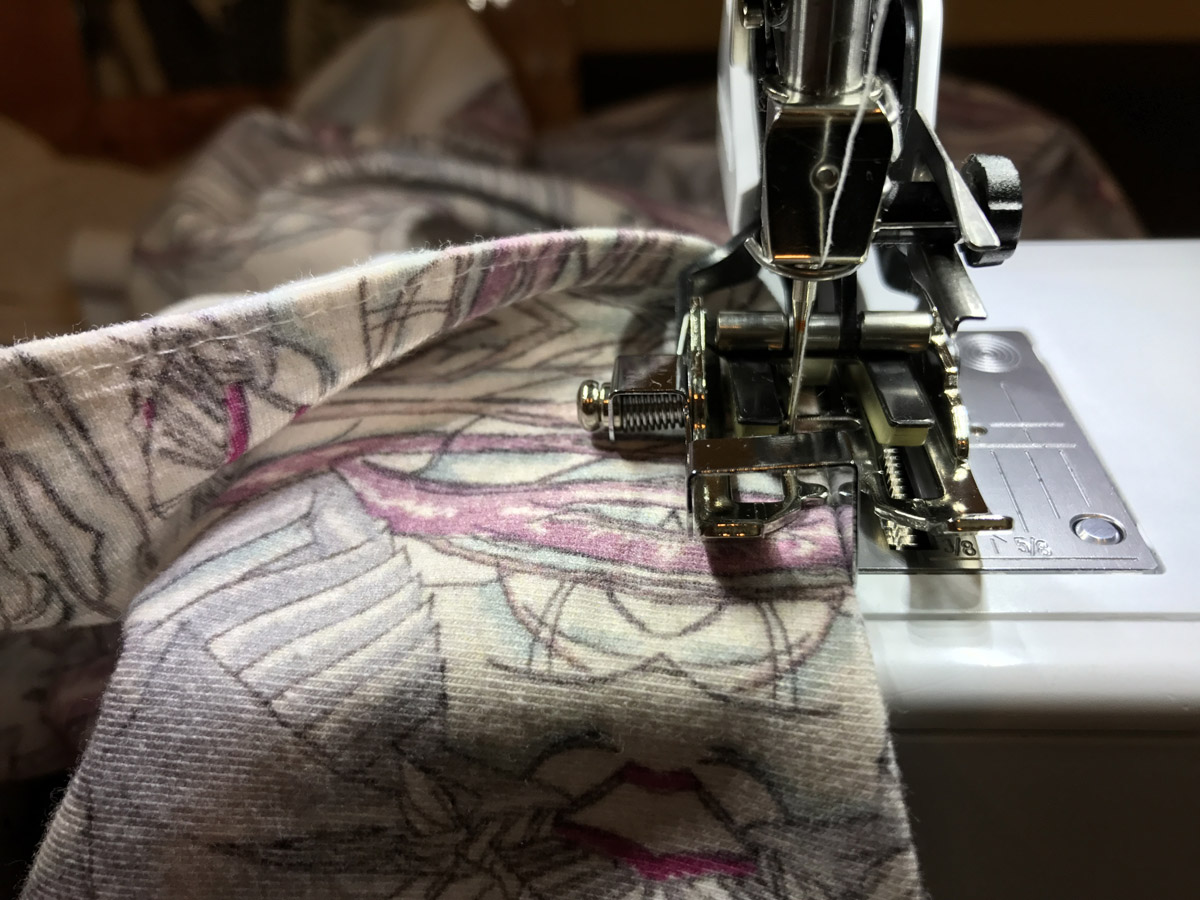
This pattern is can be sewn a number ways—you can certainly use a serger—but my BERNINA 560 (the world knows him as Karl) has so many clever tricks that I decided to stick with him to stitch it up. I got out my trusty BERNINA Walking Foot #50 to ensure an even feed for this stretchy knit.
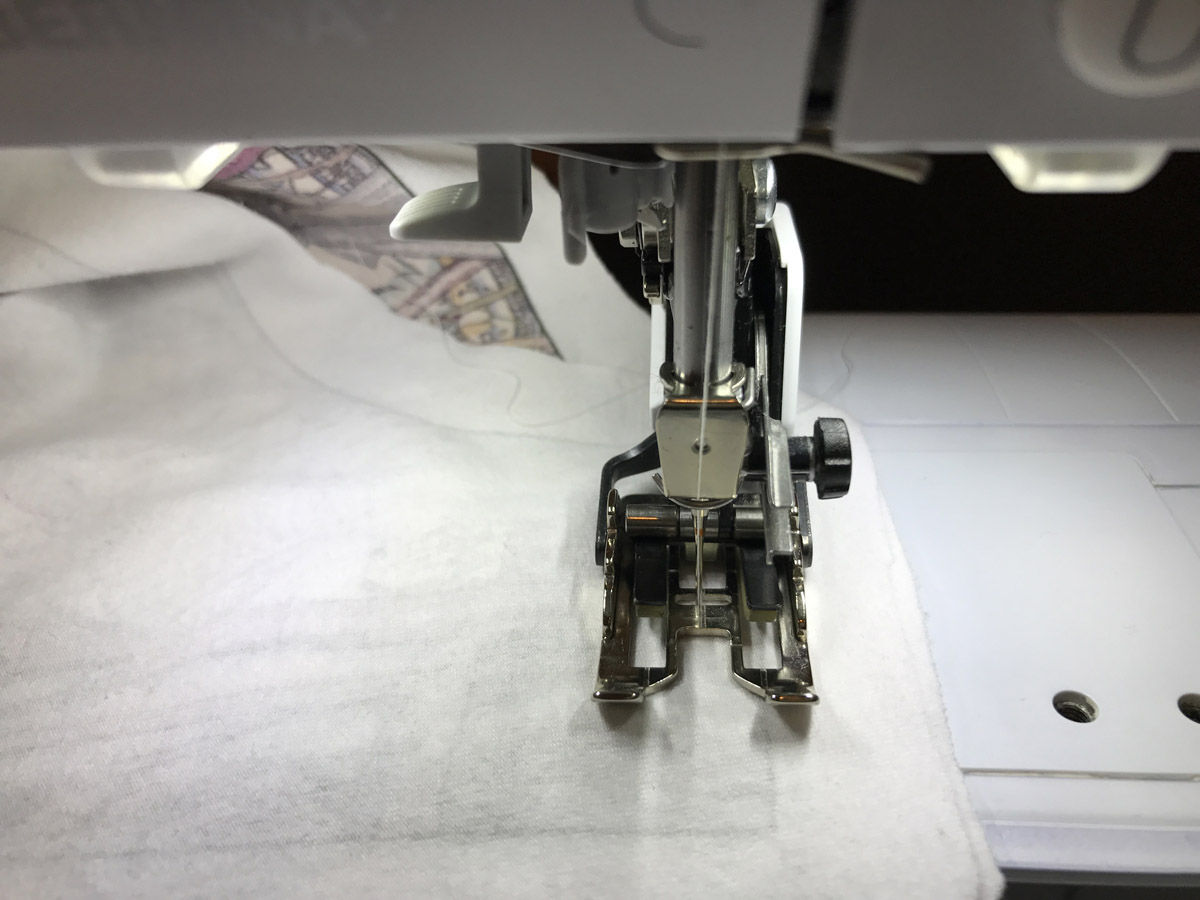
I usually sew knit seams with a long, narrow zigzag first to check the fit (because a zigzag is relatively easy to pick out with a seam ripper—don’t ask me how I know). For this ¼” seam, I just lined up the black cutting line (I could see it through the fabric) with the ¼” notch in the foot and away we went!
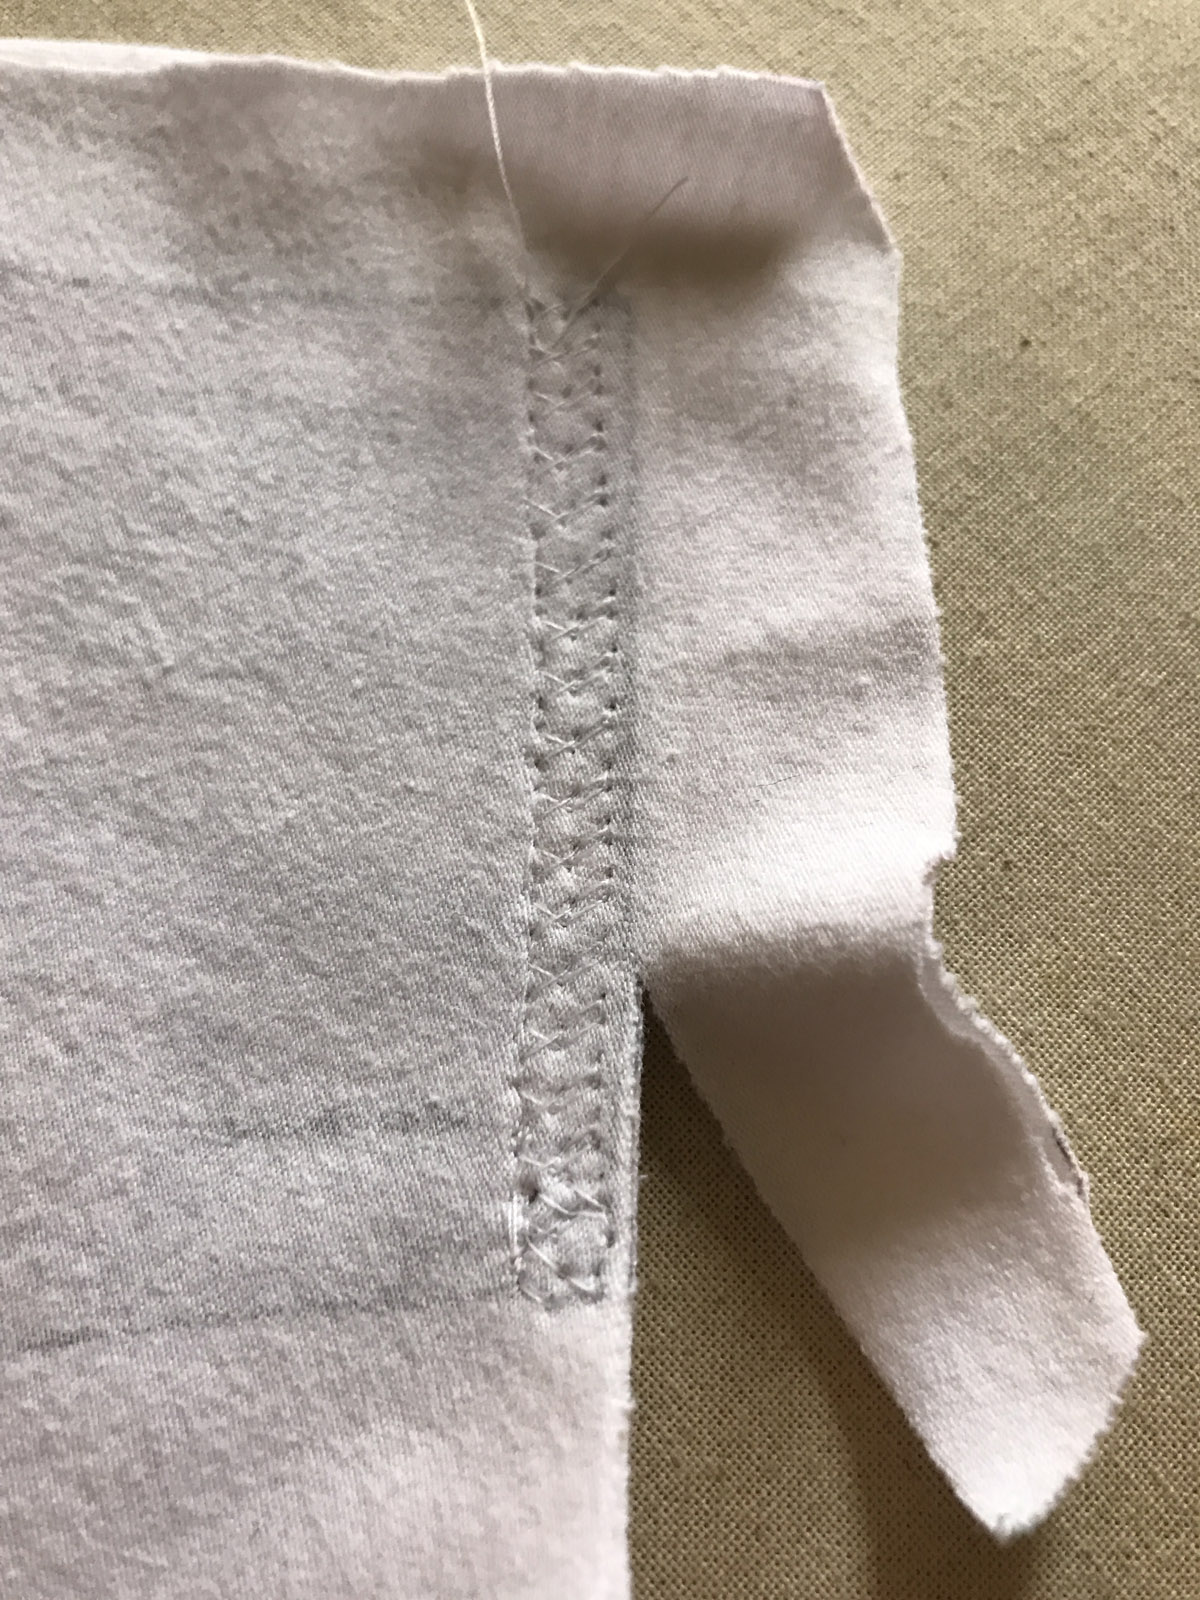
Then I finished the seams with a stretchy jersey stitch, and trimmed them to make them nice and neat.
After I sewed the shoulder seams, I skipped ahead and finished the neckline, so I wouldn’t have to fiddle with it once the sleeves were attached. I used 1/4″ Lite Steam-a-Seam 2 (a permanent mesh fabric glue that’s attached to paper tape) and a steam iron to glue the edge of the neckline inside. Using Steam-a-Seam really helps to keep knits flat and smooth when you hem them, but it doesn’t make the fabric stiff.
Then I trimmed the neckline down to the cutting line:

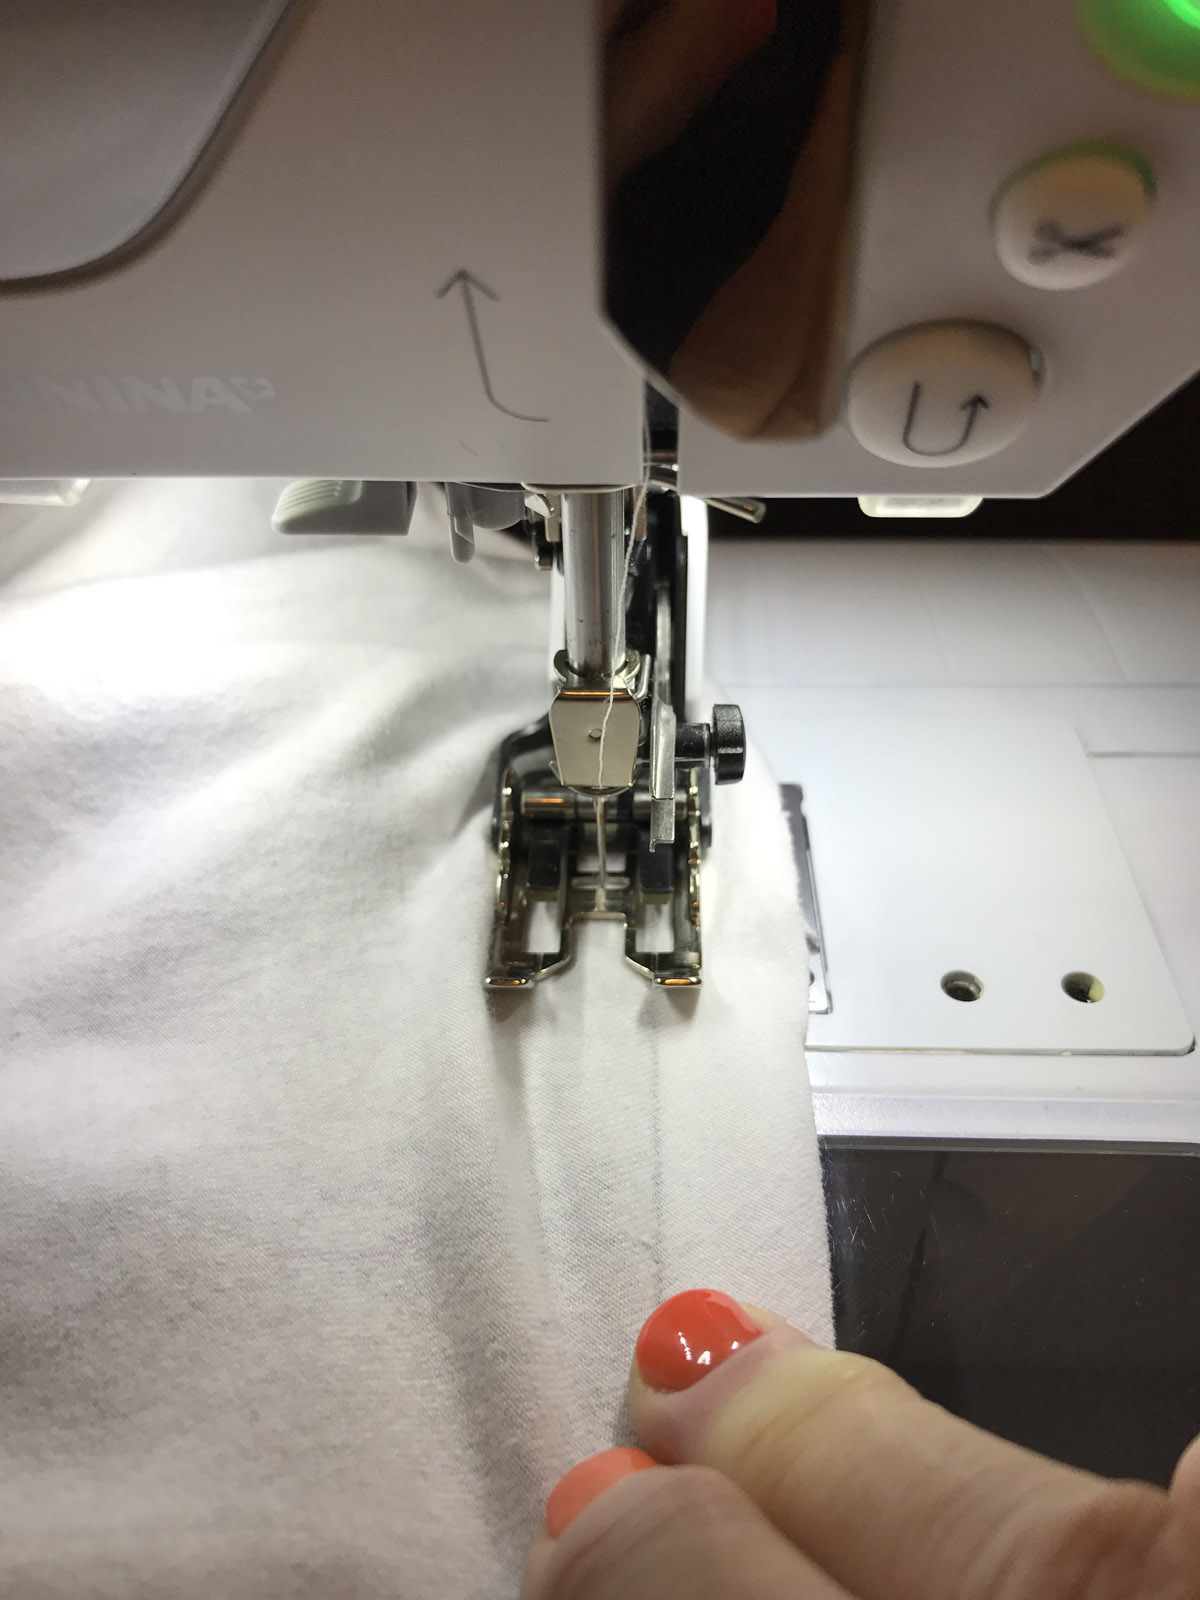
Walking Foot #50 comes with three interchangeable sole plates, so I switched to the plate with the central guide to keep my edgestitching even. Then I moved the needle position all the way to the left, and finished the neckline with a very narrow zigzag to allow a bit of stretch if needed.
I tend to go a bit overboard with pinning when it comes to attaching knit sleeves (because I generally sew them flat without gathering). To keep the jersey manageable, I pinned and sewed half of the sleeve cap at a time.

I still needed to use a bit of ye olde “Stretch and Sew” technique, pulling on the sleeve-meets-armhole seam to line it up. I don’t mind taking a little extra time inserting sleeves – it pays off!
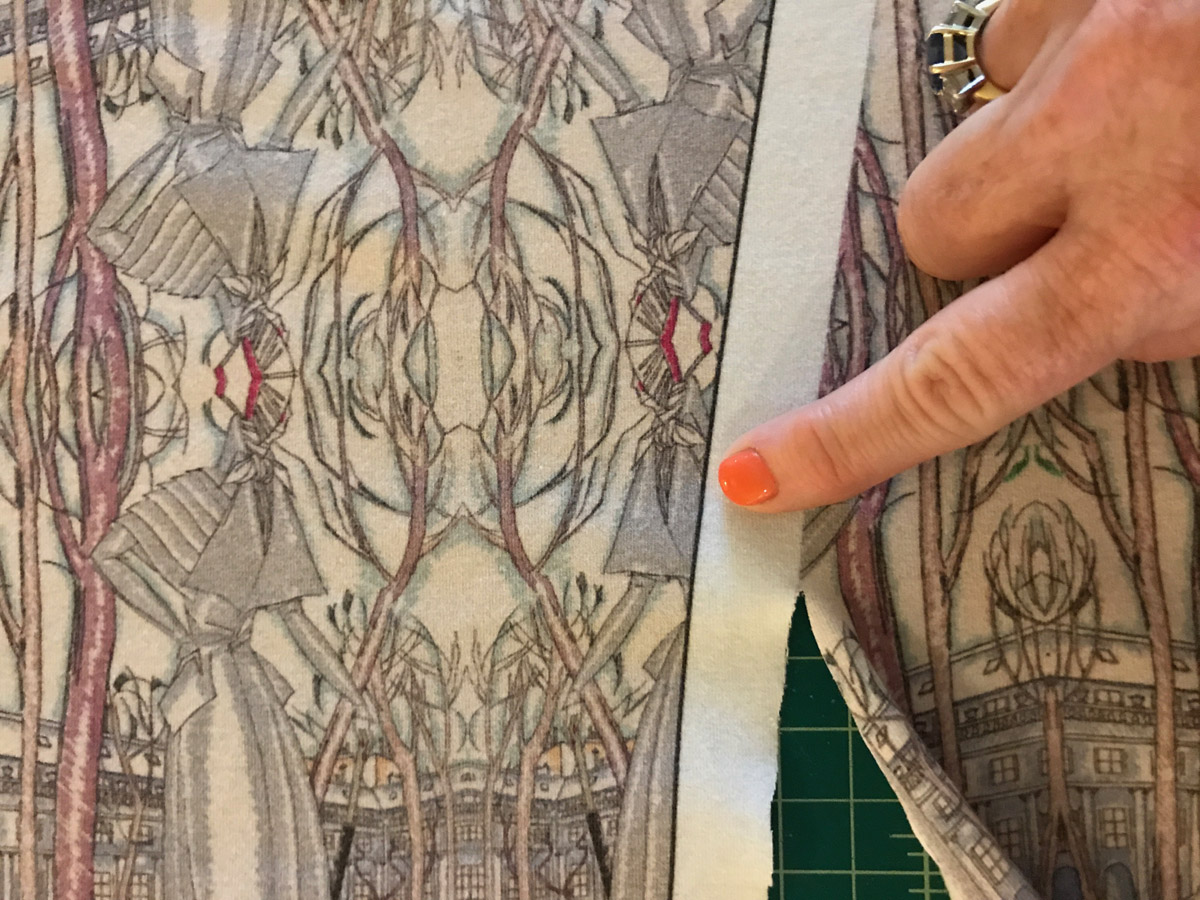
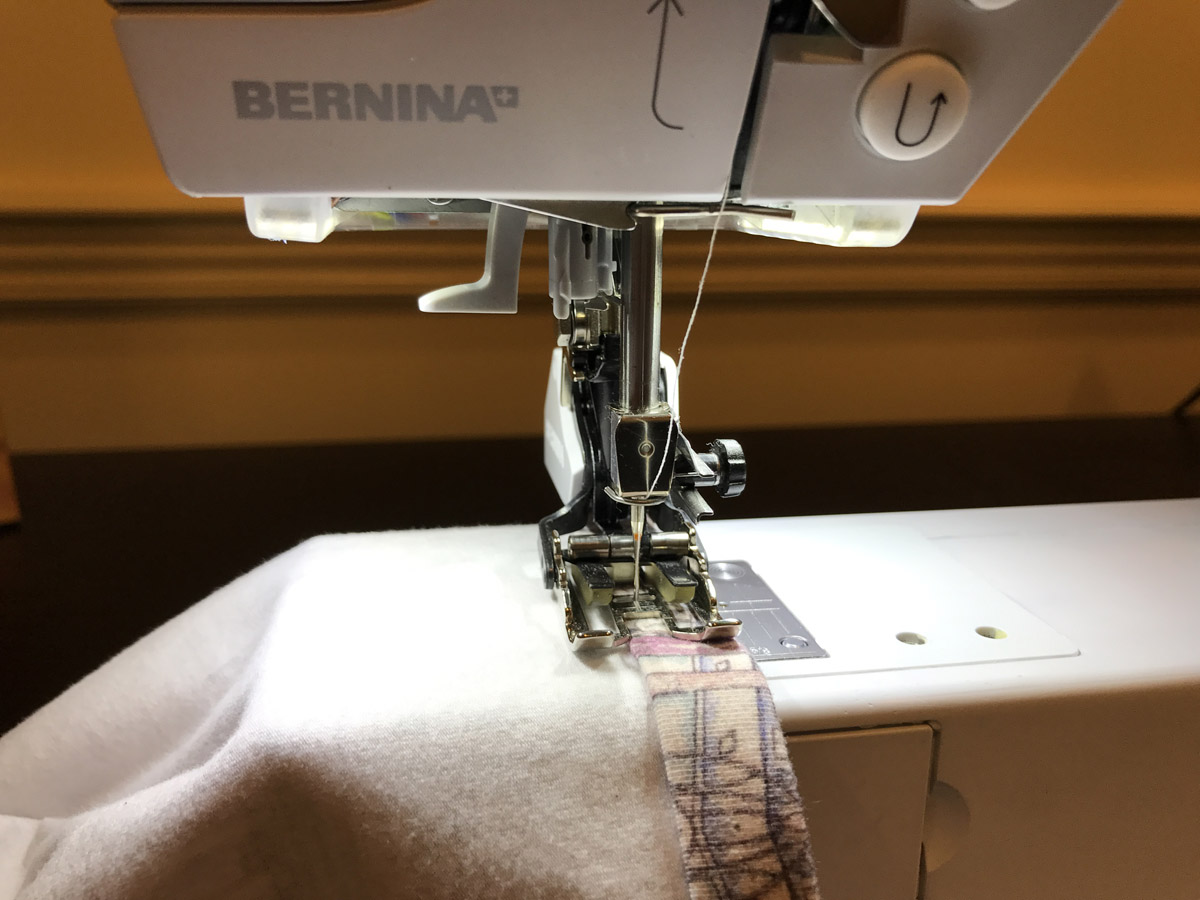
To match the designs in the fabric at the side seams, I used Washaway Wonder Tape, a sticky temporary tape that washes out, to keep everything in place as I sewed. No pinning needed!

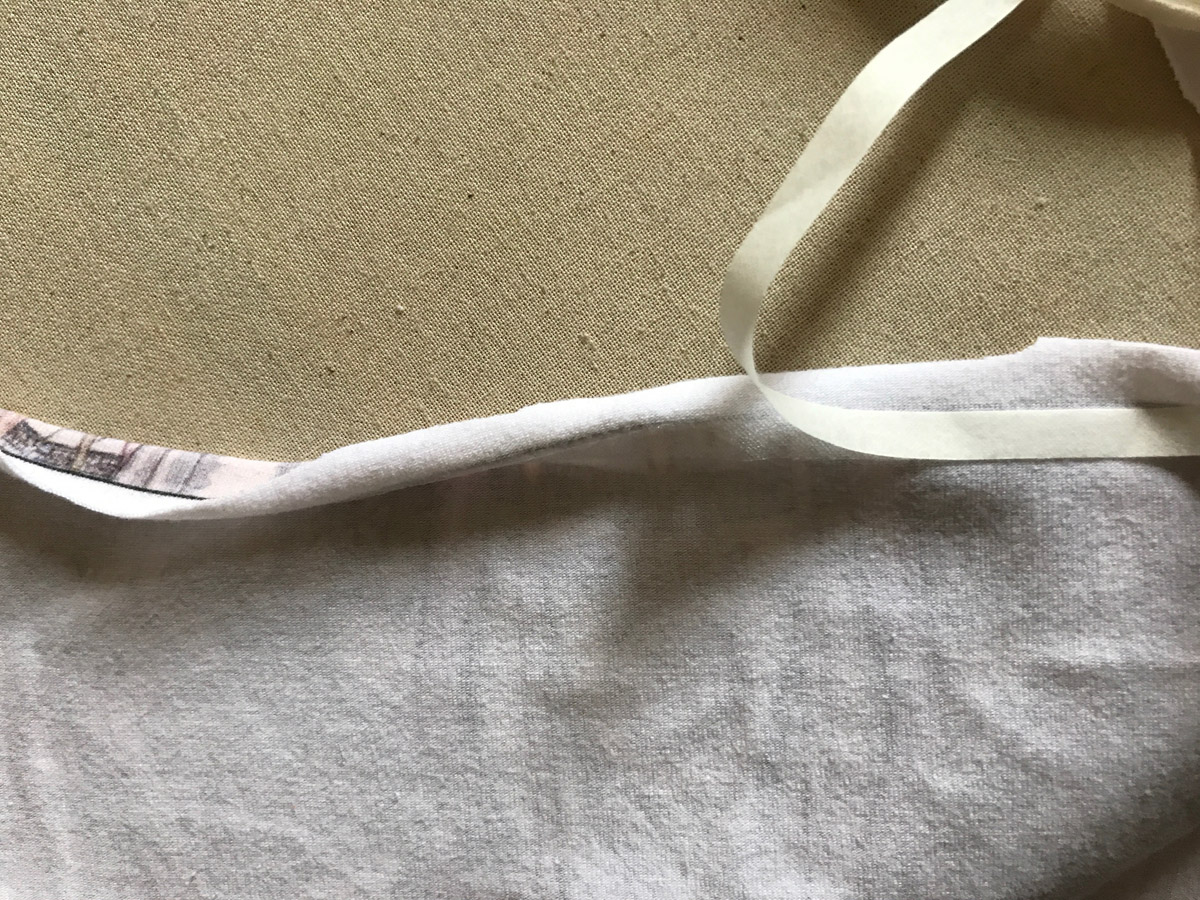
To hem the sleeves and the bottom of the tee, I used ½” Lite Steam-a-Seam 2 to keep the edges flat. I lined up the tape along the raw edge, then turned the edge ½” toward the wrong side and pressed with steam to stick it down. Then I turned the hem over again to cover the raw edge.

From there it was easy to make 3/8″ hems with Walking Foot #50 and a very narrow zigzag.
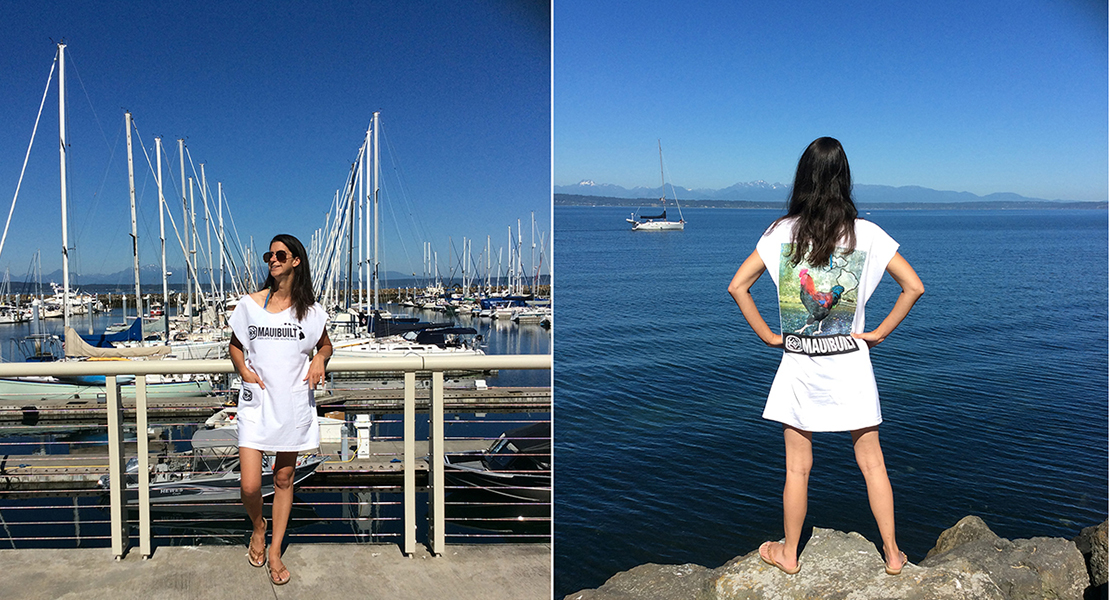
I was very pleased with the finished tee!
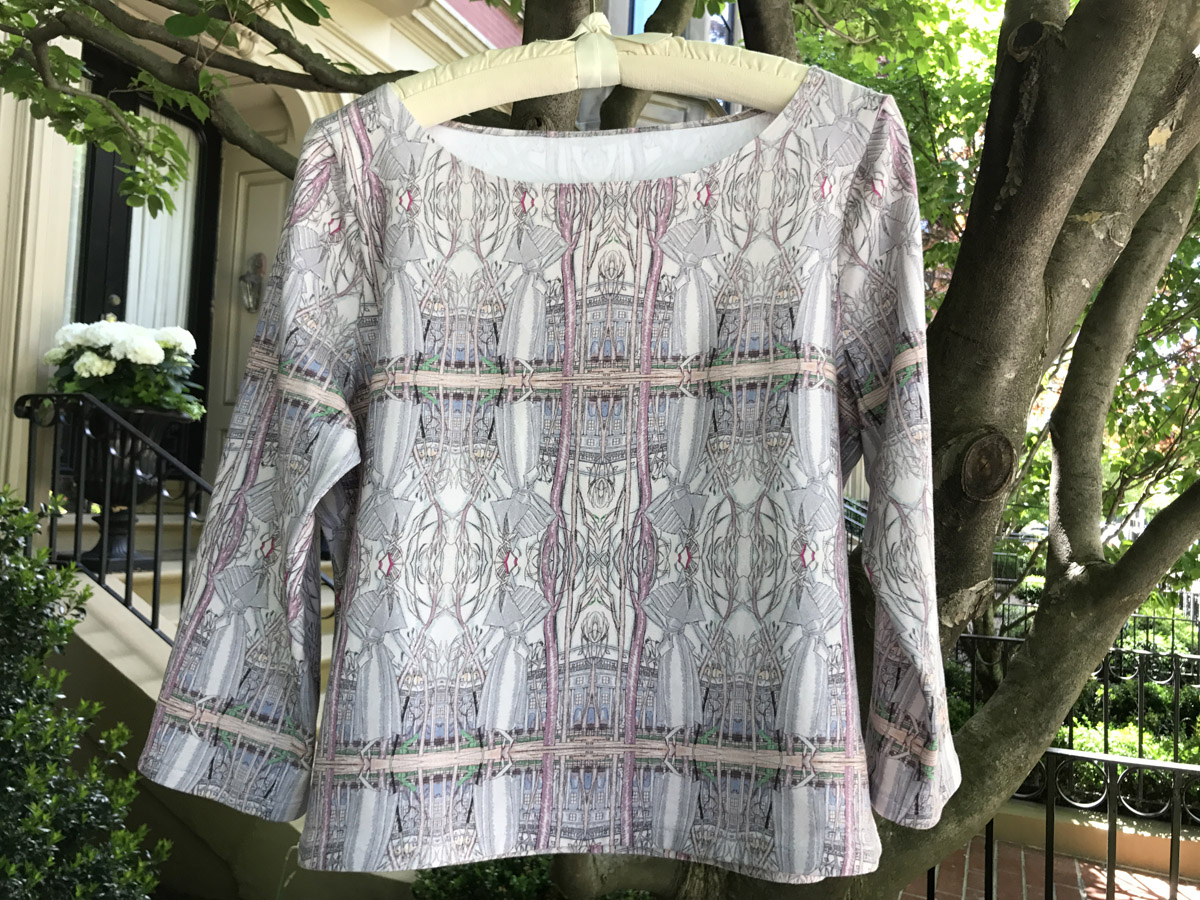
Even though the amount I paid ($57) is quite pricey for a tee, the fabric is sturdy, the pattern is chic, and to top it off, I’m wearing something made out of fabric that I designed. All in all, an enjoyable make!