Adding a Child’s Drawing to a Keepsake Baby Blanket
This project uses a child’s drawing to personalize a simple baby blanket. It’s a quick afternoon project, and a great way to add a little one’s creation to a gift for a new baby in the family. Read through to the end for other drawing ideas.
Materials to Add a Child’s Drawing to a Baby Blanket
- Drawings—use a photocopier or image editing software to shrink or enlarge your image to the desired size
- Tracing Paper
- Pencil
- Transfer Pen (I used Sulky’s Transfer Pen)
- Two 39″ Square pieces of fabric (I used vintage flannel and a piece of a vintage cotton sheet)
- Two colors of cotton/poly or similar thread
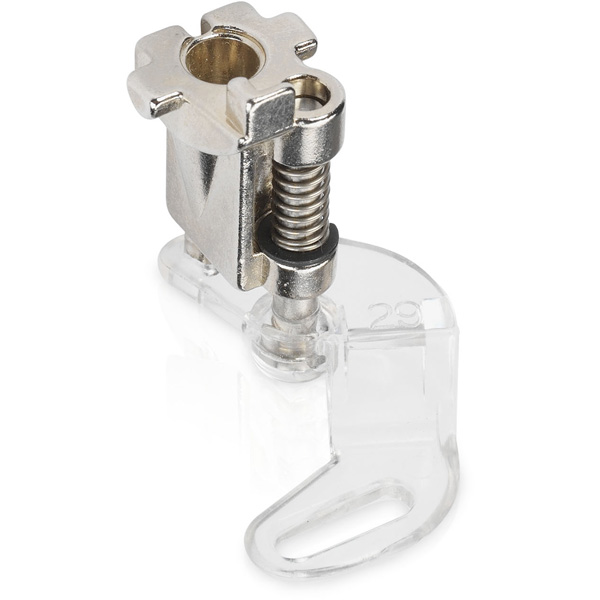
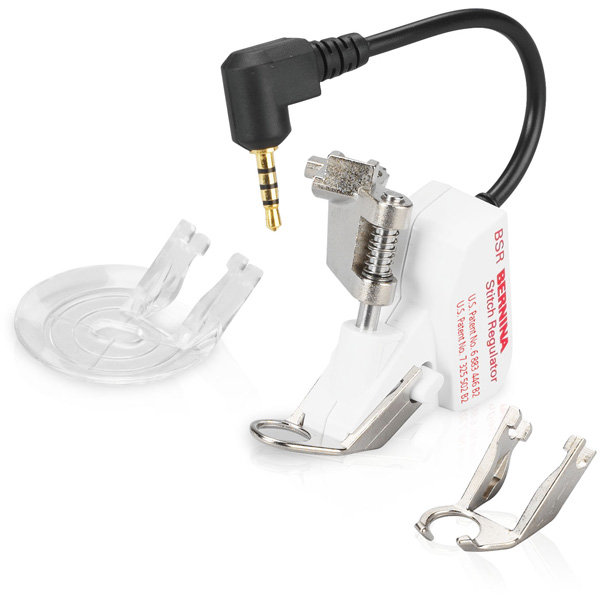
- BERNINA Stitch Regulator Foot (BSR) or the BERNINA Free-motion embroidery foot #29
- Iron and Ironing Surface
- Masking Tape
- Rip away or Wash away interfacing (I used Paper Solvy)
- Tweezers or Seam Ripper
- Scissors
- Your sewing machine; I sew on a BERNINA 770
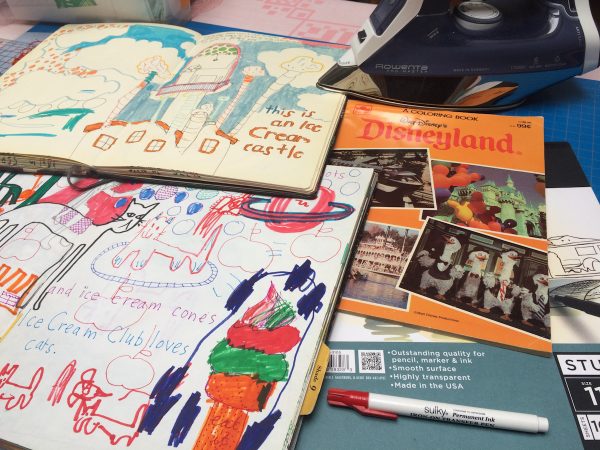
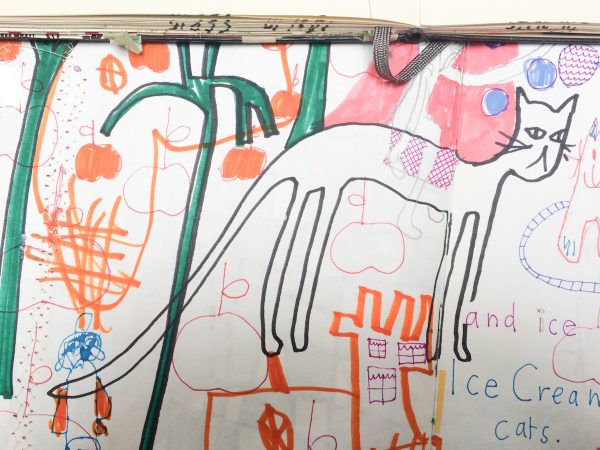
1.) The first step of this project is to make some drawings. I designed this project to highlight kid’s drawings, mainly because I love drawing with kids. When my godson was younger we used to play a game called “switch” in which we would both draw in sketchbooks until one of us yelled “switch!” at which point we would switch books and start drawing into the other person’s doodles. Sometimes we would give each other directions such as “draw an elephant eating popcorn” or “draw four cats with ice cream cones.” The prompts get pretty silly when you’re drawing with kids, which is all part of the fun.
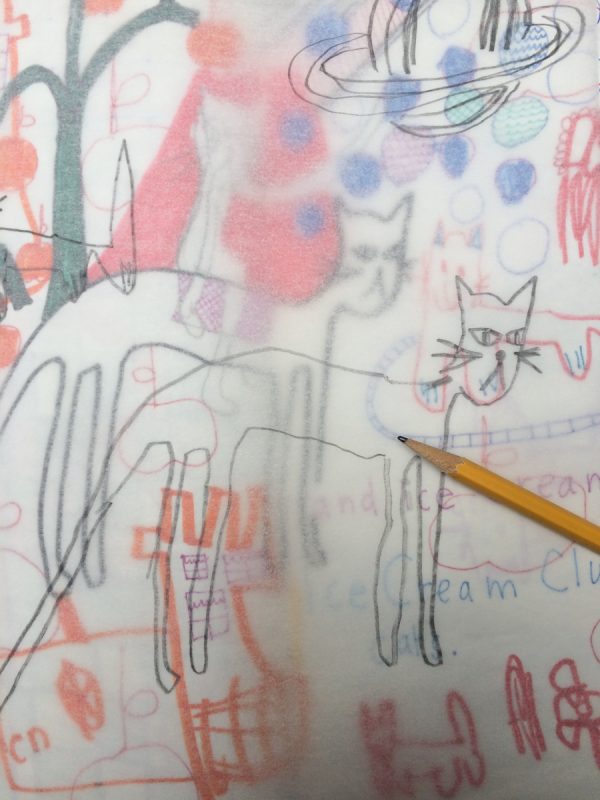
2.) Once you’ve got a nice collection, and after your kids are taking a nap (and gee, for your sake, I hope your kids take a nap….) get out a piece of inexpensive tracing paper and trace around a few of your favorite images until you find one that looks great traced. Images that are primarily line drawings make the best tracings, and will work best for this project. If your image isn’t the size you’d like, simply enlarge it or shrink it using a photocopier or scanner. Not into drawing? You can always trace an image from a favorite children’s book or coloring book, assuming you aren’t planning on selling your finished product.
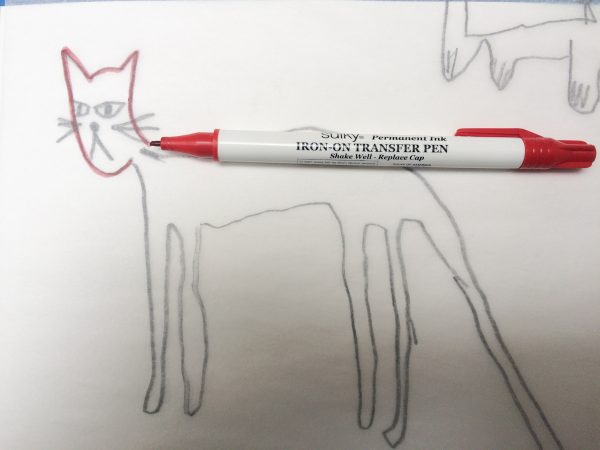
3.) Now flip your tracing over and draw over the pencil lines using your iron on transfer pen, as seen below. These are a lot like paint pens, and you’ll need to press down a few times to get the ink flowing. I recommend doing that on a scrap piece of paper so you don’t get a weird blob on your final transfer.
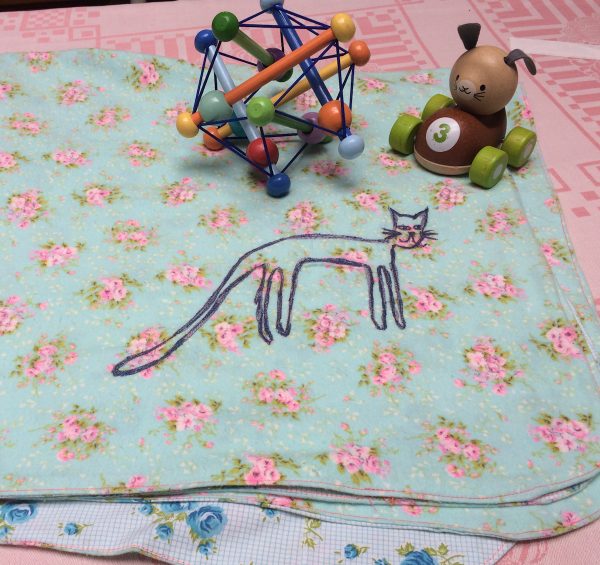
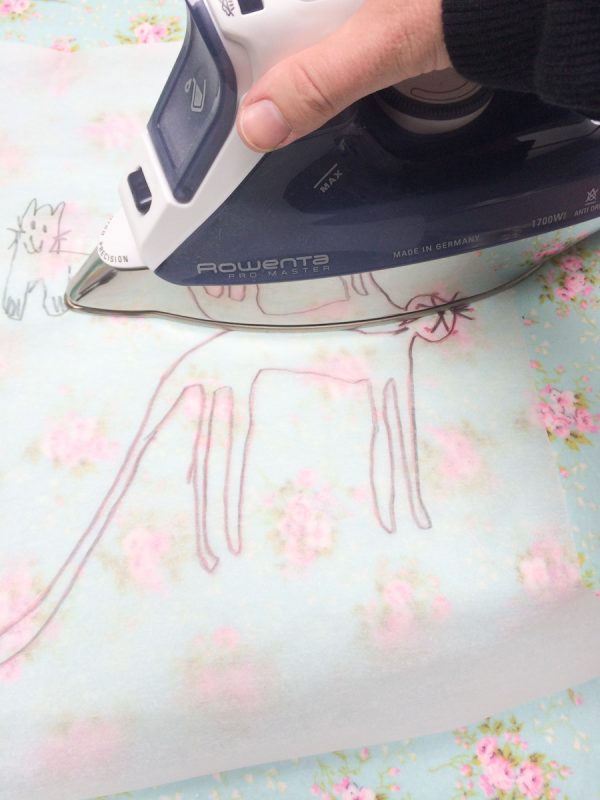
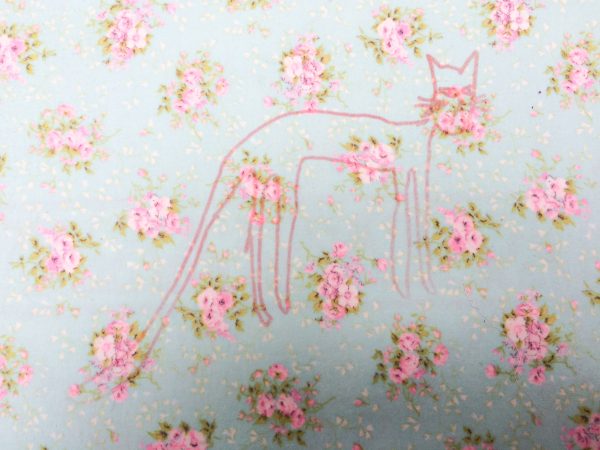
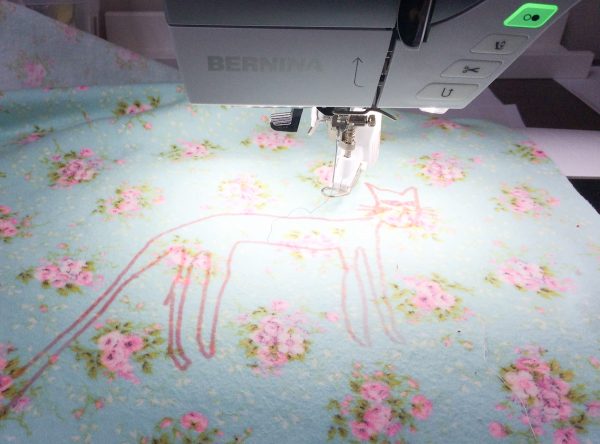
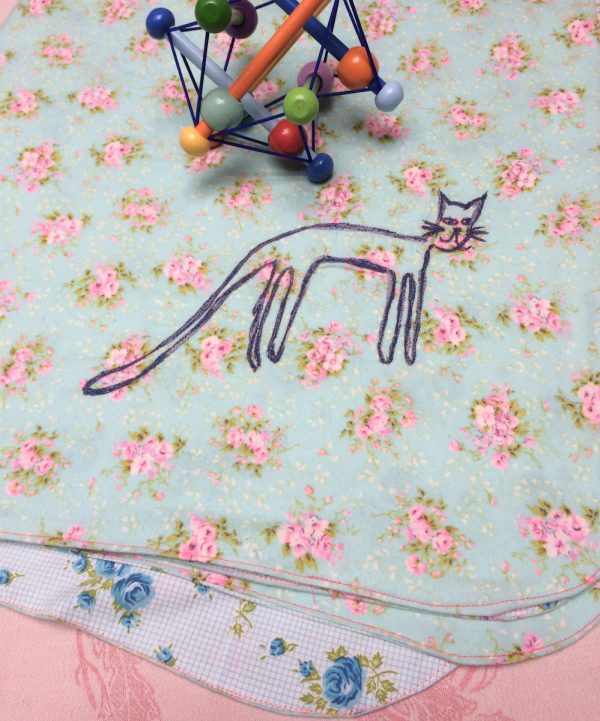
4.) Ready to iron! Get your fabric ready by ironing your cloth until it is flat and wrinkle free. Lay your tracing down on your cloth and figure out where you’d like the image to go. For this project, I decided to put the cat drawing in the lower right hand corner. Since this is a baby blanket, it’s nice to have the drawing off to the side and away from the baby. It’s your project though, so you decide where you’d like your image to go. When you’re ready, iron your fabric one more time to preheat the cloth. Place your image transfer pen side down, and pressing firmly and evenly with the iron, begin to iron over the tracing paper. Be sure that your iron does not have water in it, and that it is on the hottest setting. Holding the iron down over half the paper, lift the paper up on one corner to check if the image is transferring. If not, keep ironing until the image is fully transferred. Be sure not to move the paper during this process, or you will get a weird double image. It’s probably a good idea to do a test transfer first with a small doodle just to get the hang of this process. It’s not rocket science but practice makes perfect.
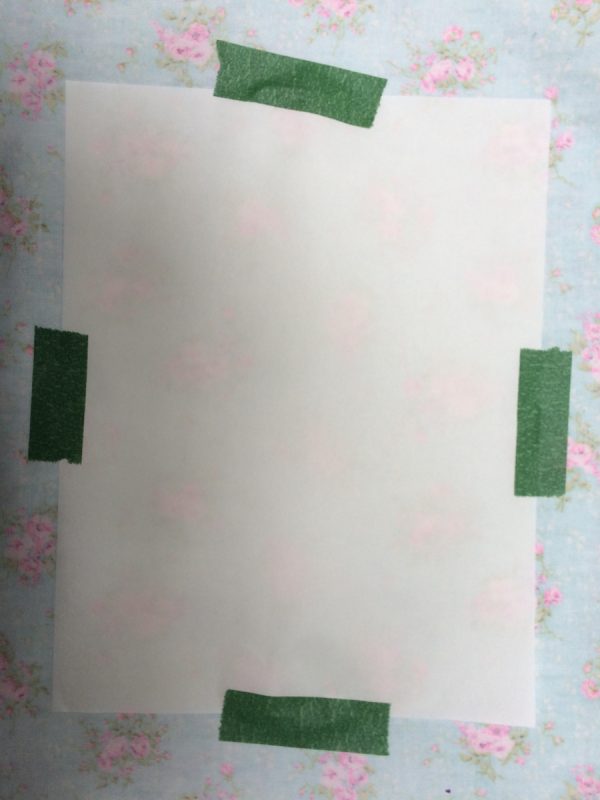
5.) Before you get ready to stitch, I recommend adding a little bit of stabilizer to the back side of your fabric. Tape it in place with masking tape or baste. Hold your fabric up to the light to be sure that the stabilizer is in the right place, underneath your transferred drawing.
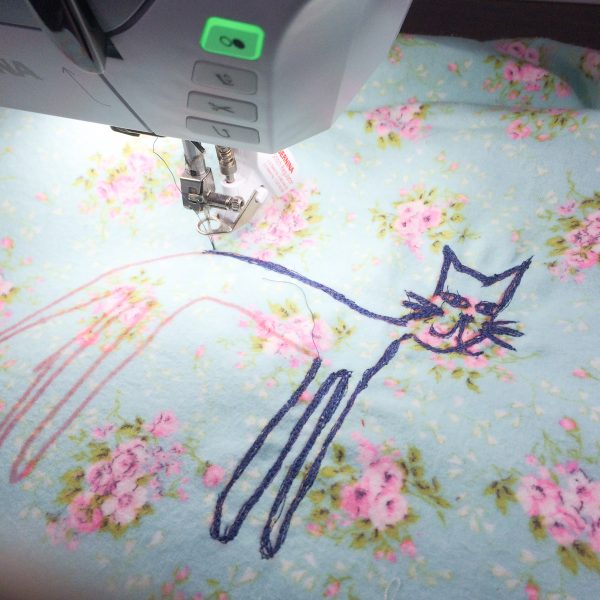
6.) Lower the feed dogs and install the BSR on your machine. Thread the needle. Stitch! When stitching over a transferred image like this, be sure to take lots of breaks to lift up the foot and check on your progress. If you’re going from one side of the image to another, be sure to snip the threads first using the thread cutter to avoid lots of carried over threads. Since the nature of these transfer pens is to transfer a fairly thick line, I used two colors of thread to cover the transferred lines and create some shading within the image. I also transferred in red and stitched in blue to illustrate the difference for you guys, but you could use a similar color to make it a little easier on yourself.
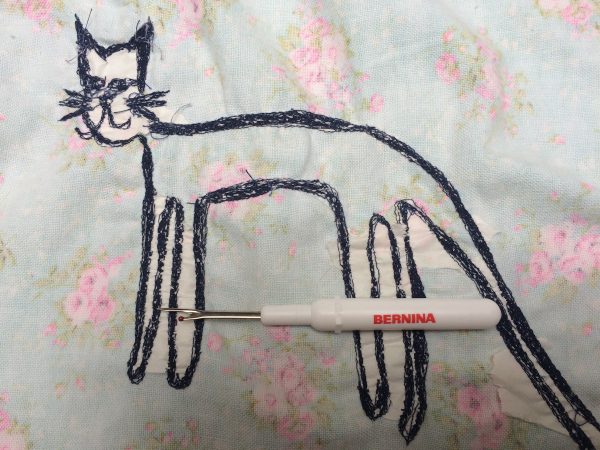
7.) When you’re finished stitching, flip your cloth over and remove the stabilizer. Use a seam ripper (carefully!) to remove any stubborn bits of stabilizer.
8.) Sew right sides of your fabric together, leaving an 8″ opening. Turn right sides out, and iron flat. Top stitch, closing the opening and finishing the edges.
Sewing Notes
- I did not use a single pin for this project.
- I used the lid from a tin to cut curved corners with my rotary cutter
Design Ideas
- For a fabulous shower gift, dig out one of mom’s childhood drawings to recreate for her new baby’s blanket
- Multiple kids in your family? You could include a drawing in each corner; on each side.
- Stuck on what to draw? Dig out Pictionary and invite your friends over to play. That always results in a pile of fabulous drawings.
