Sea Birds Baby Quilt Tutorial
Hello everyone! Hayley here, reporting from the BERNINA of America headquarters! I have an easy quilt project for you today. This baby quilt is a quick finish with simple strip piecing and a few half square triangles. For beginners, this is a great way to practice consistent piecing techniques and for those of us who have already made our fair share of quilts, this is a speedy and satisfying (even last minute) project.
Baby quilts are almost completely utilitarian. They’re a necessity and they get beat up. Baby quilts go through a lot. They have a tough life. Let’s just take a minute to say a prayer for all the baby quilts out there who have been worn threadbare by a life of being played on, dirtied, washed, and loved to death. Thank you, baby quilts. As much as I love to give a thoughtful, handmade gift like a quilt, I know what its life will be like once it leaves my hands. So I keep it simple. Big piecing, bright colors, and simple design are where it’s at.
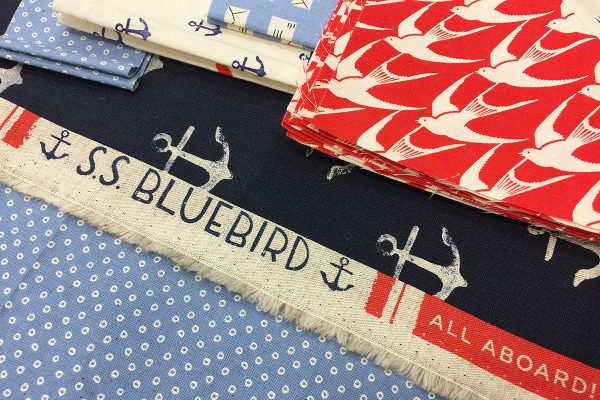
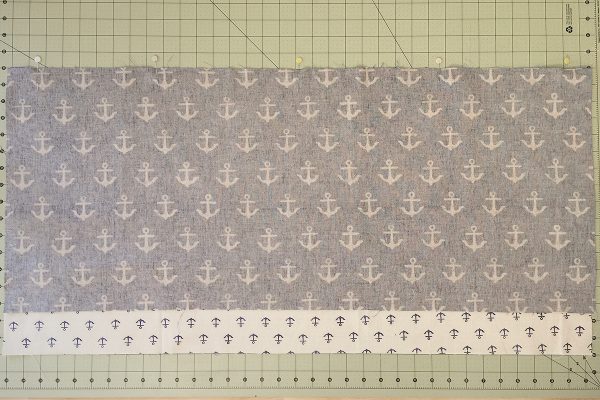
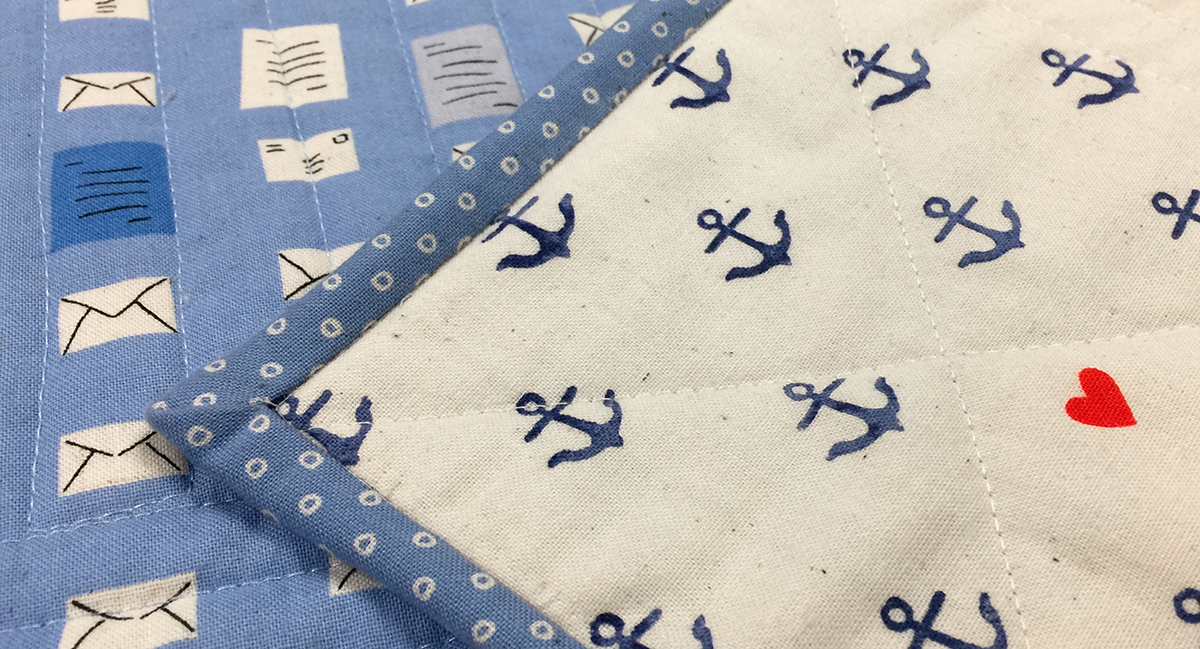
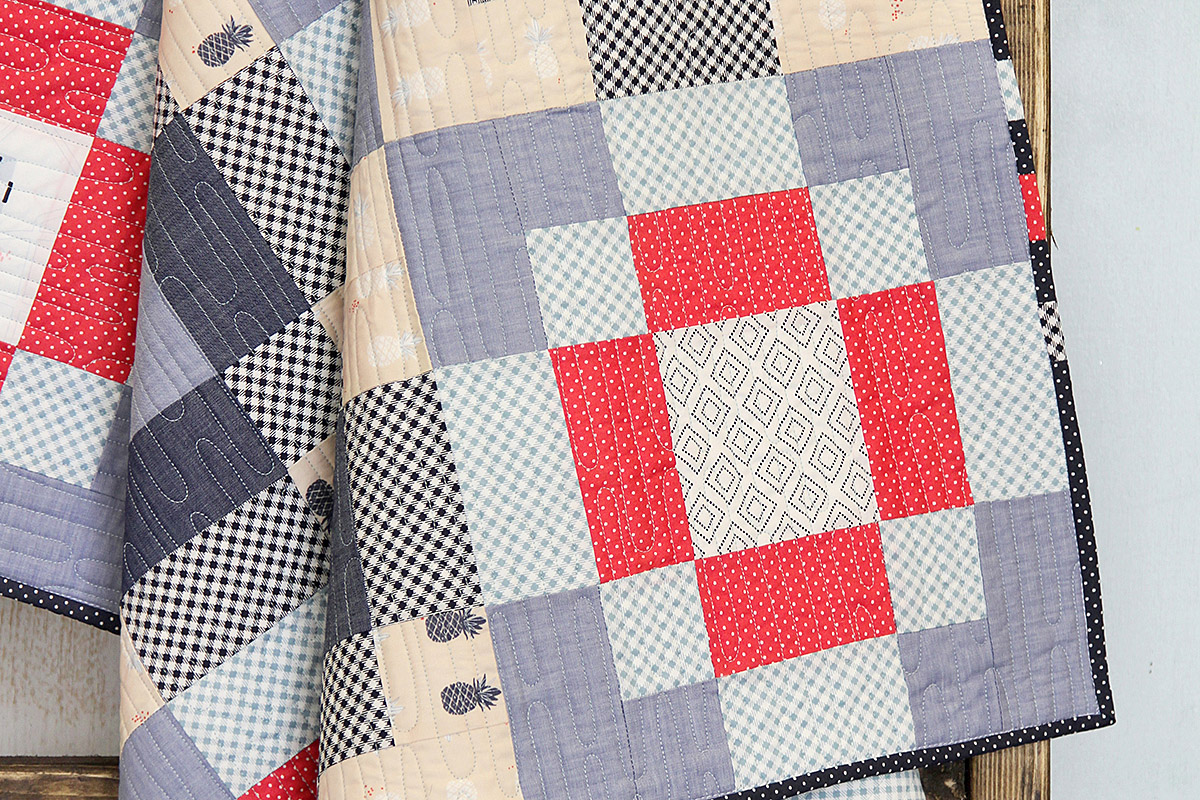
My Sea Birds quilt features big pieces, which not only sew up fast but are also a great way to show off the prints you choose. For this one, I’m using prints from Cotton + Steel’s S.S. Bluebird collection. The unbleached cotton prints in this line, like the cream color with tiny anchors and hearts, are unbelievably soft. Plus, the navy anchor print on a cotton/linen blend prints a little extra texture and durability but will still wash up soft and cozy.
Alright, you’ve heard enough of my spiel. On to the quilt!
Materials to Make a Sea Bird Baby Quilt
Fabric yardage
- Fabric A: 1/2 yd
- Fabric B: 5″ x WOF (width of fabric)
- Fabric C: 1/4 yd
- Fabric D: 5/8 yd
- Fabric E: 1/4 yd
- Backing: 1 ½ yds
- Binding: 3/8 yd
Notions
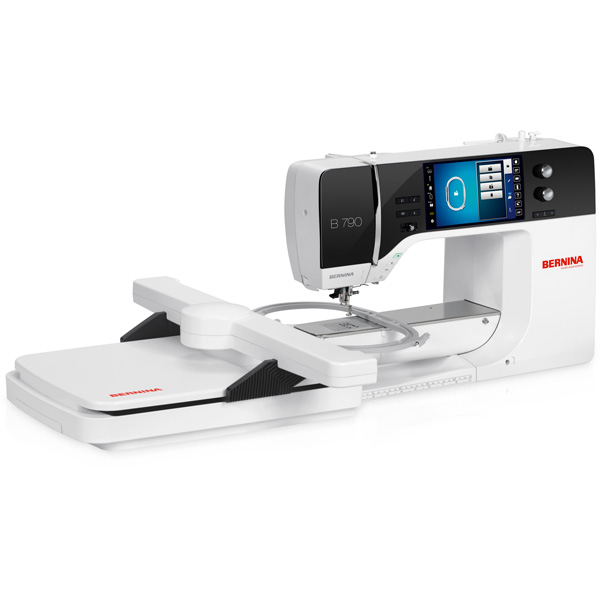
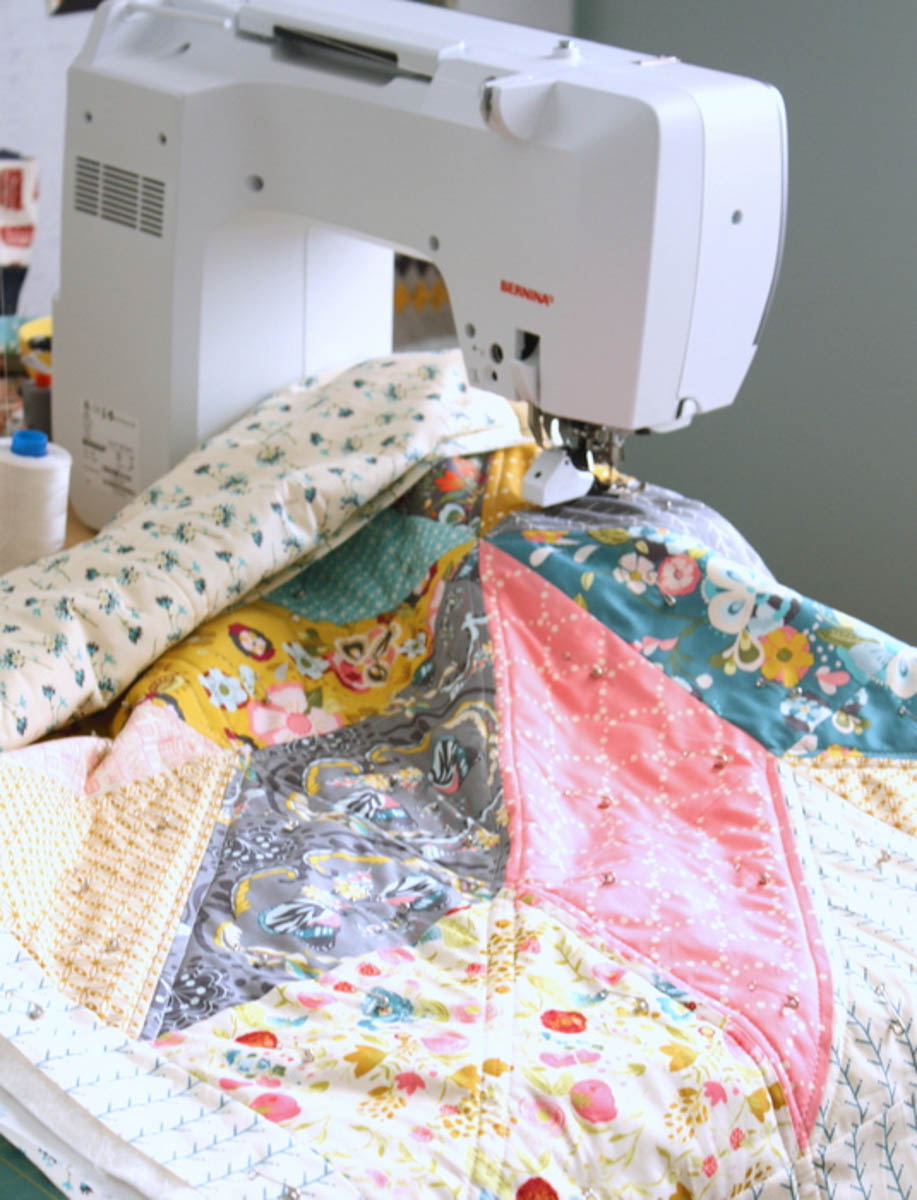
- Sewing machine (I’m using my BERNINA 790)
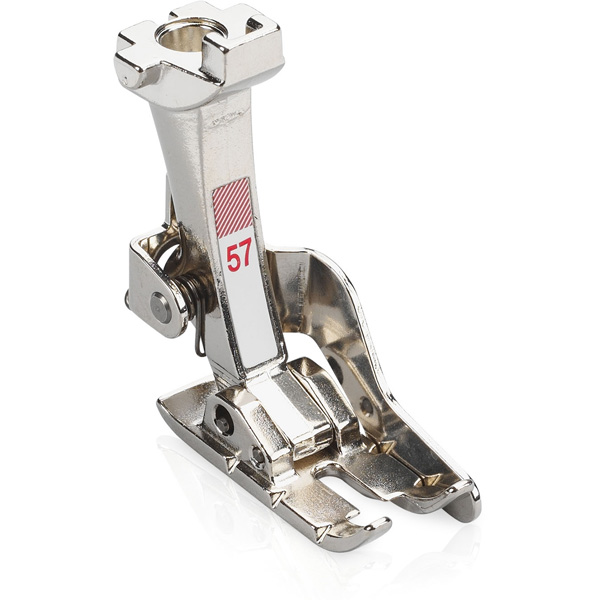
- Patchwork foot (#97D recommended but #57/#57D and #37 are also good choices)
- Cotton thread (I’m using Aurifil 50wt in color #2615, my go-to neutral silver)
- Batting (I’m using an 80/20 cotton and polyester blend Eversewn batting)
- Rotary, ruler, cutting mat
Cutting Directions
Fabric A: (1) 14.5″ x 35.5″
Fabric B: (2) 2.5″ x 35.5″
Fabric C: (5) 8″ x 8″
Fabric D: (5) 8″ x 8″, (2) 5.5″ x 35.5″
Fabric E: (2) 3.5″ x 35.5″
All seams are sewn at ¼” allowance and pressed open.
Piecing The Sea Birds Baby Quilt
I pieced this all using my Patchwork foot#97D with Dual Feed engaged. Since I have precut my strips to meet my desired finish size, using dual feed will make sure that nothing stretches or pulls to affect the finished size. My fabric will move through the machine and stitch together more evenly.
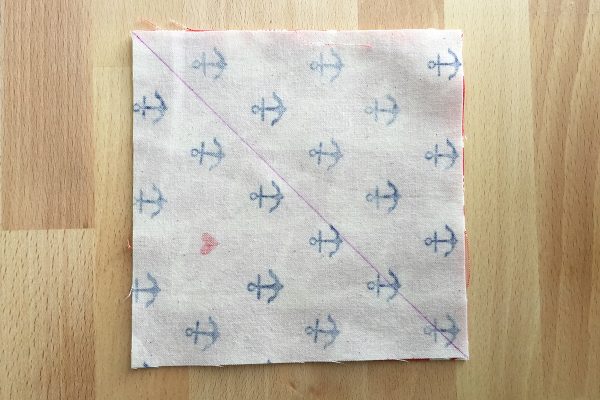
1. Pair up the 8″ squares (one of Fabric C, one of Fabric D) and place right sides together to make the HST’s (half square triangles).
2. Using a marking utensil (ideally disappearing, water soluble, or otherwise nonpermanent), draw a diagonal line between opposite corners of each pair. This will be your guideline for piecing.
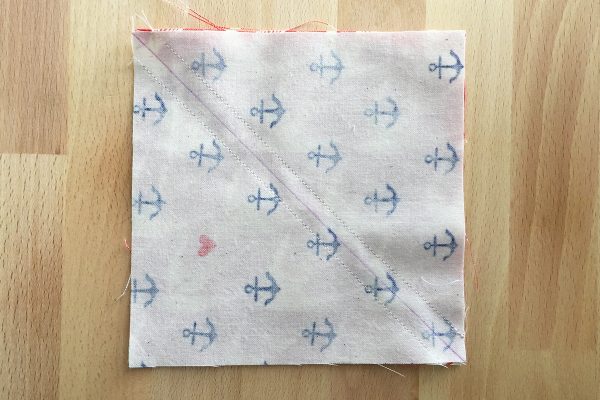
3. Using your favorite patchwork foot, stitch a scant ¼” seam on both sides of this drawn guideline.
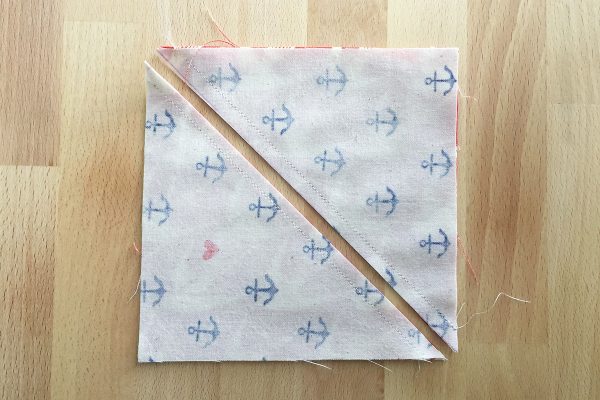
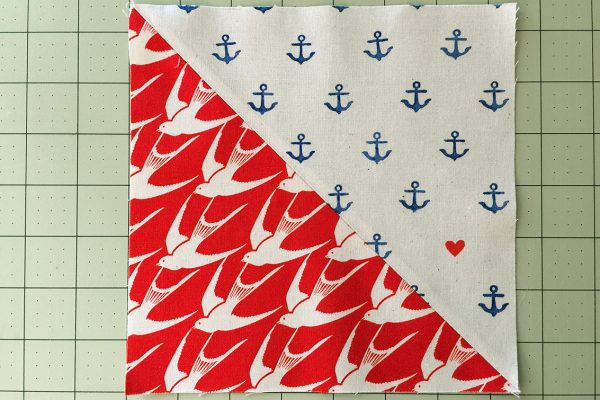
4. When two seams are sewn, cut along and through the drawn guideline. Press.
5. Trim to 7.5″ x 7.5″.
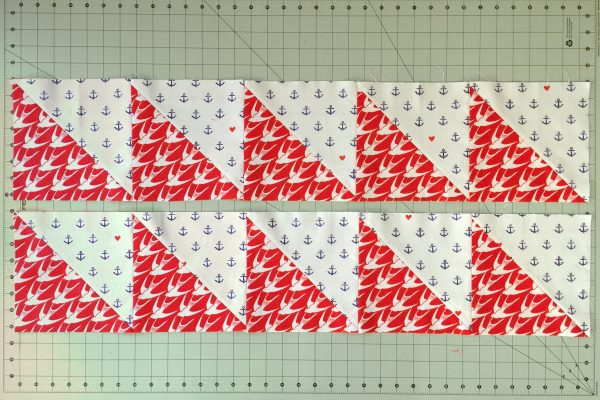
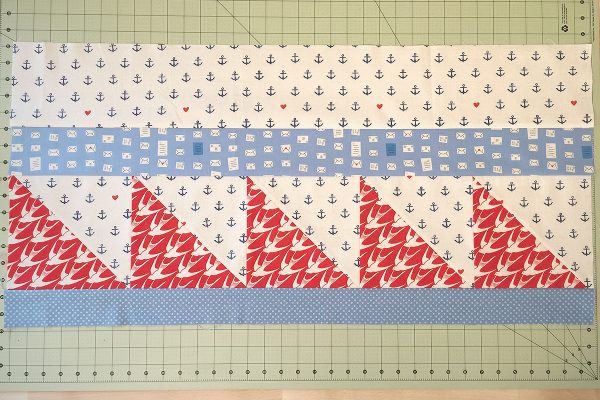
6. Piece half square triangles together in two rows of 5 and press.
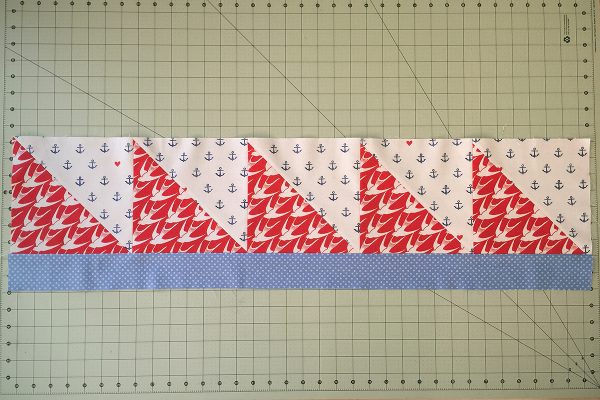
7. Attach Fabric B strip to the bottom of each row of HSTs.
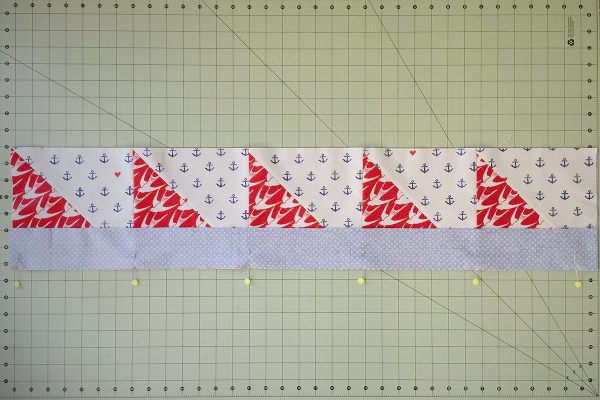
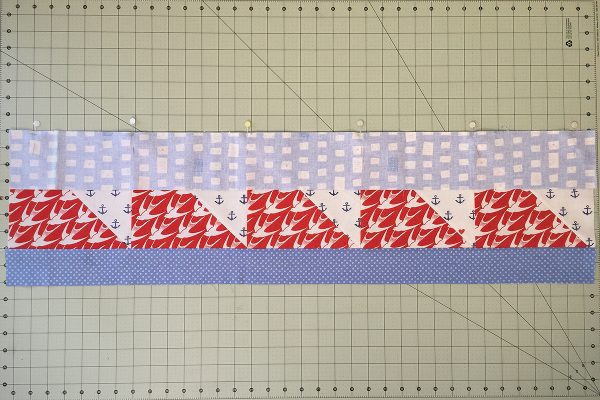
8. Attach Fabric E strip to the top of each row of HSTs.
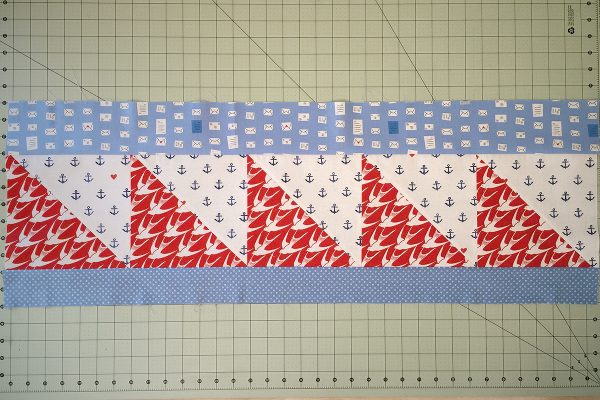
9. Attach Fabric D strip to the top of Fabric E strip.
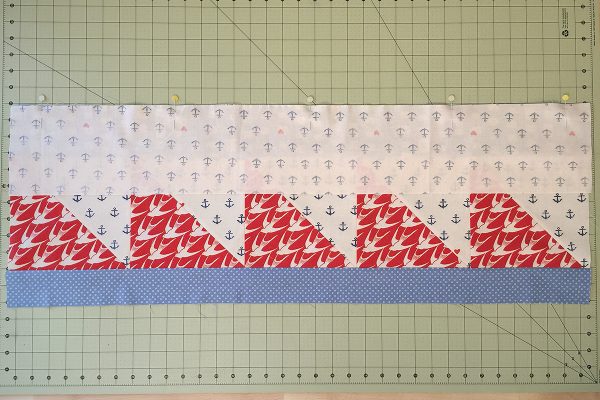
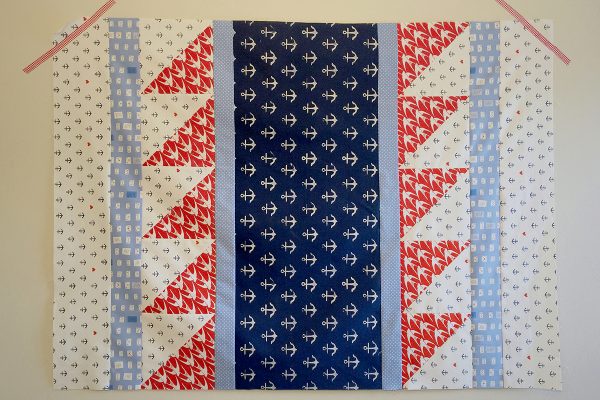
10. Attach pieced sections to either 35″ side of Fabric A strip.
11. Baste, quilt, and bind as desired.
How easy was that?! I told you it was easy. Now go off and piece quilts for all the babies!
What you might also like
6 comments on “Sea Birds Baby Quilt Tutorial”
-
-
I love this Sea Birds baby quilt. Are there kits available?
[email protected]
Thanks.
Sue -
Judging from the first picture, I’d guess that the last picture is the quilt top without quilting and binding. What a great baby boy quilt!
-
I love the swallows flying toward the center, and the rows of tiny anchors following. Won’t that take ten 8” squares of fabric C, and ten 8” squares of fabric D? About a quarter yard more of C and quarter yard more of D, to keep direction? I am struggling with the mental gymnastics!
-
Great question! Yes, if you’re looking to keep directionality on prints, you would need ten 8″ squares of each. I’d written fabric requirements for solids, blenders, or disregarding directionality– that’s what I typically reach for on quilts!
-
-
I too would like a photo of the completed quilt I also would like the diminutions at the beginning of the instructions
Fun quilt, I have the exact fabric
Leave a Reply
You must be logged in to post a comment.
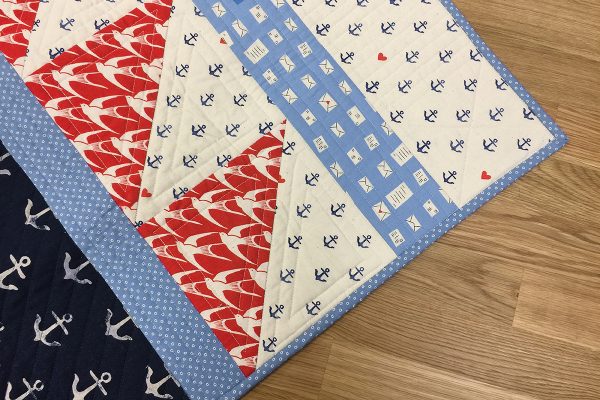



Loved the “spiel” but couldn’t you give us at least 1 picture of the whole quilt, completed? Even a “utilitarian” baby quilt deserves a picture!