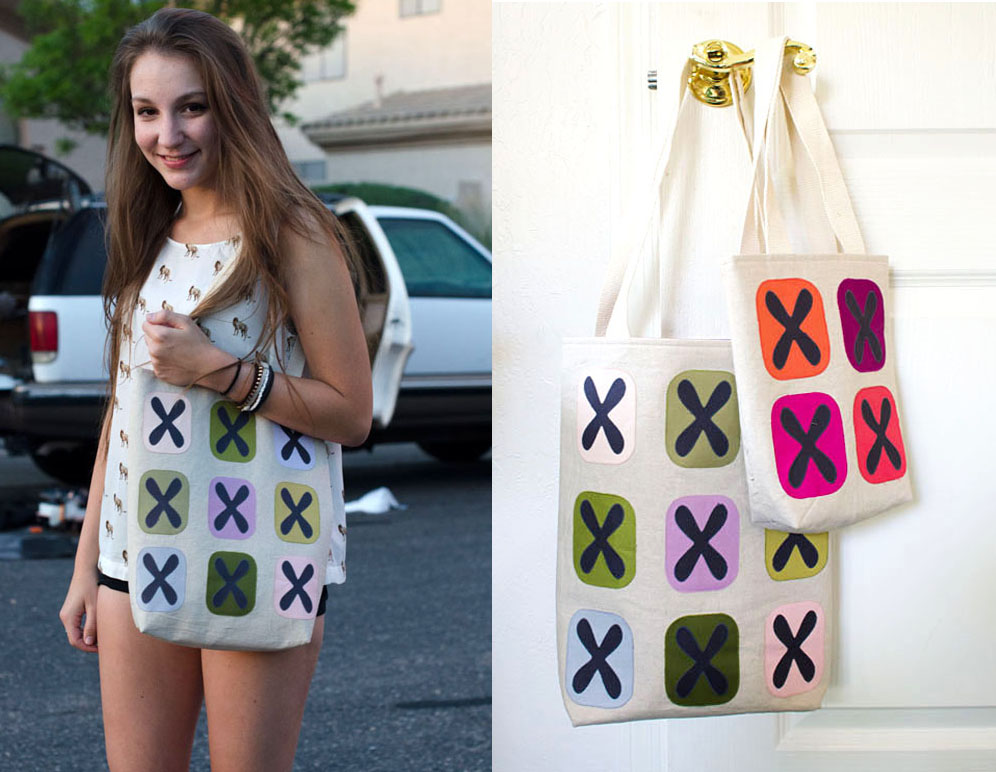
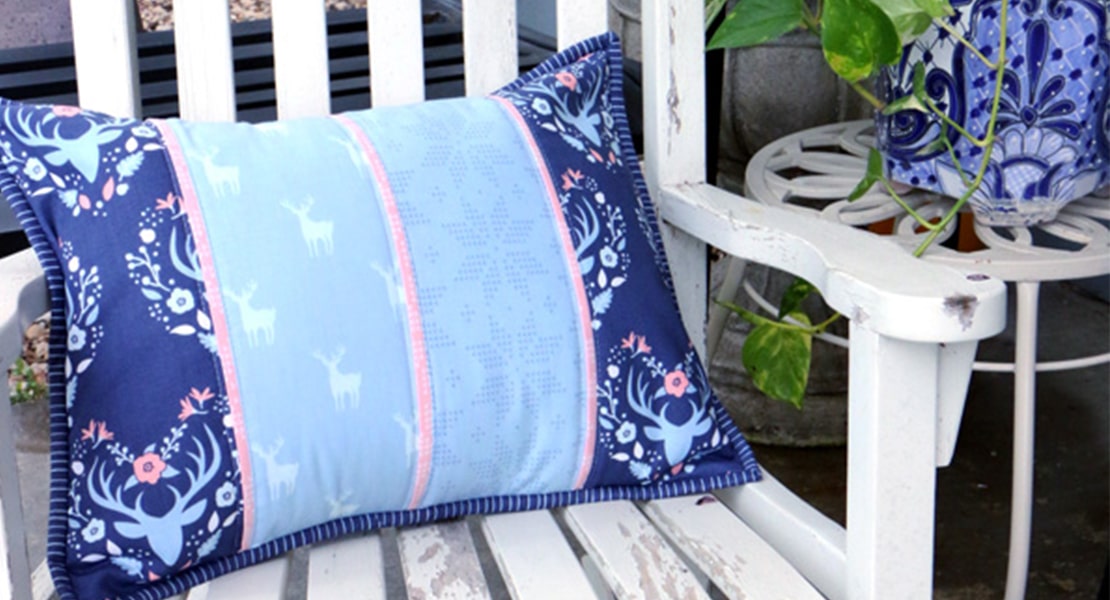
Odd Fellows Chain Large Tote Bag
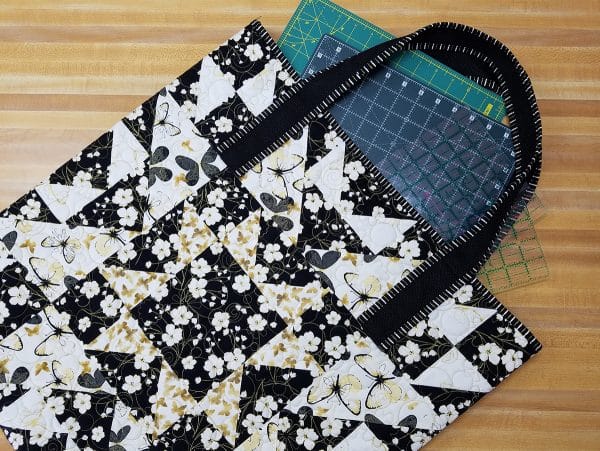
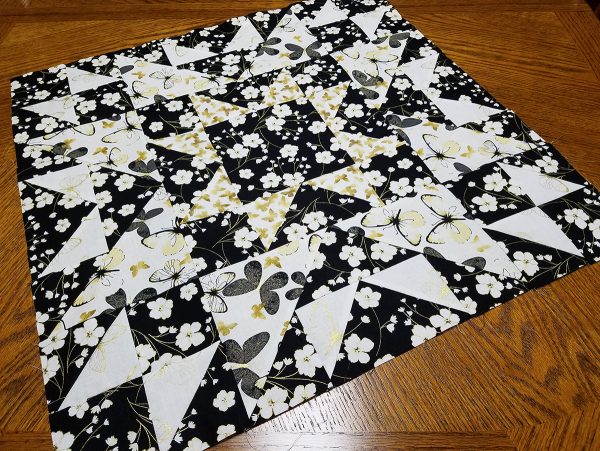
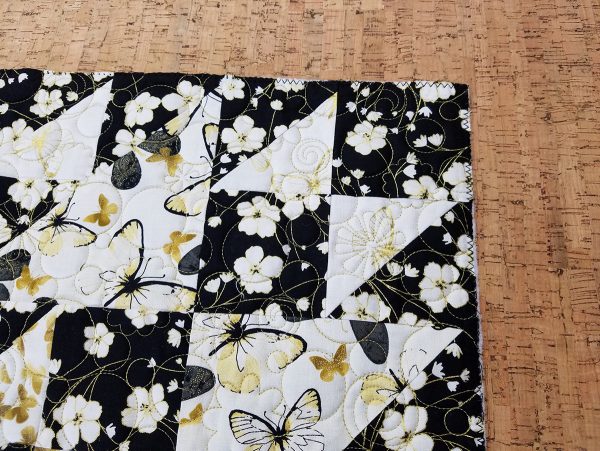
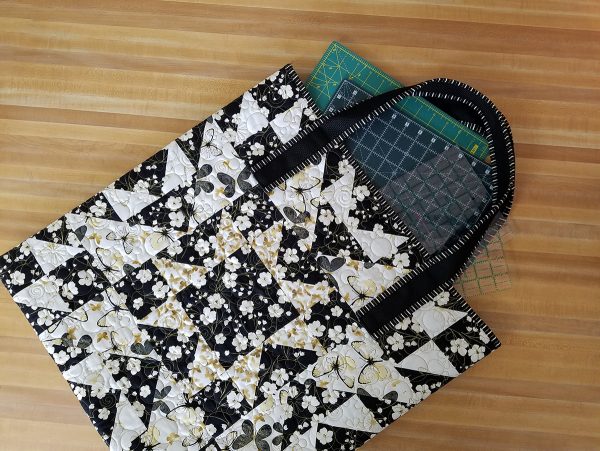
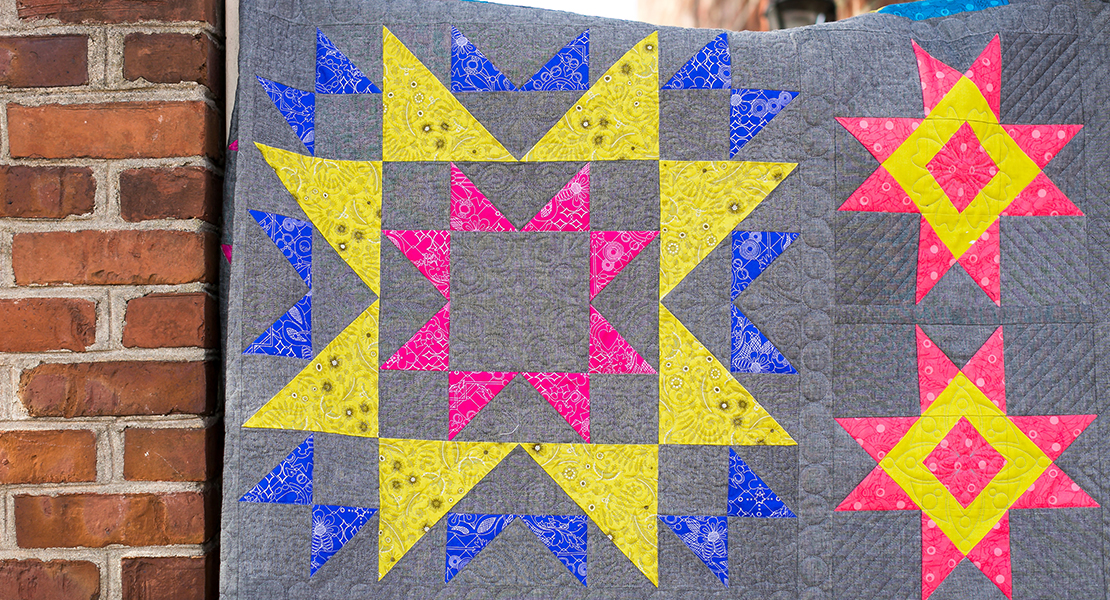
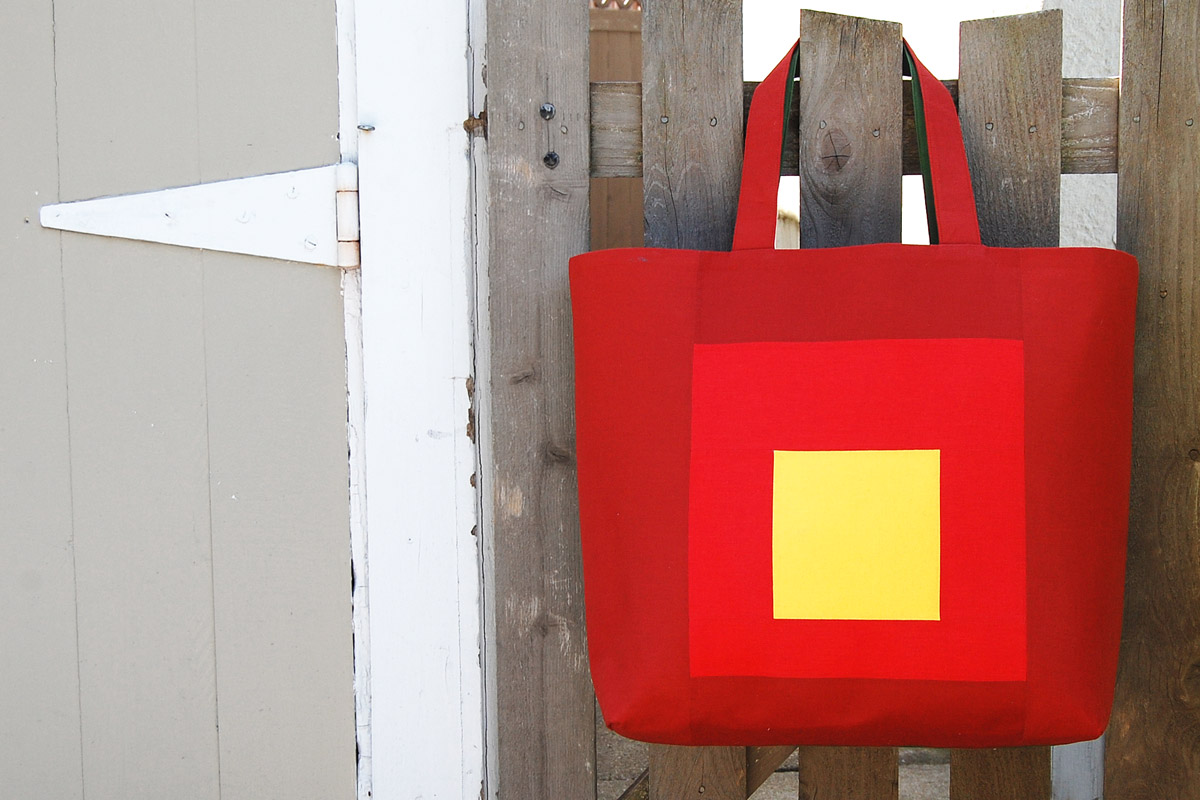
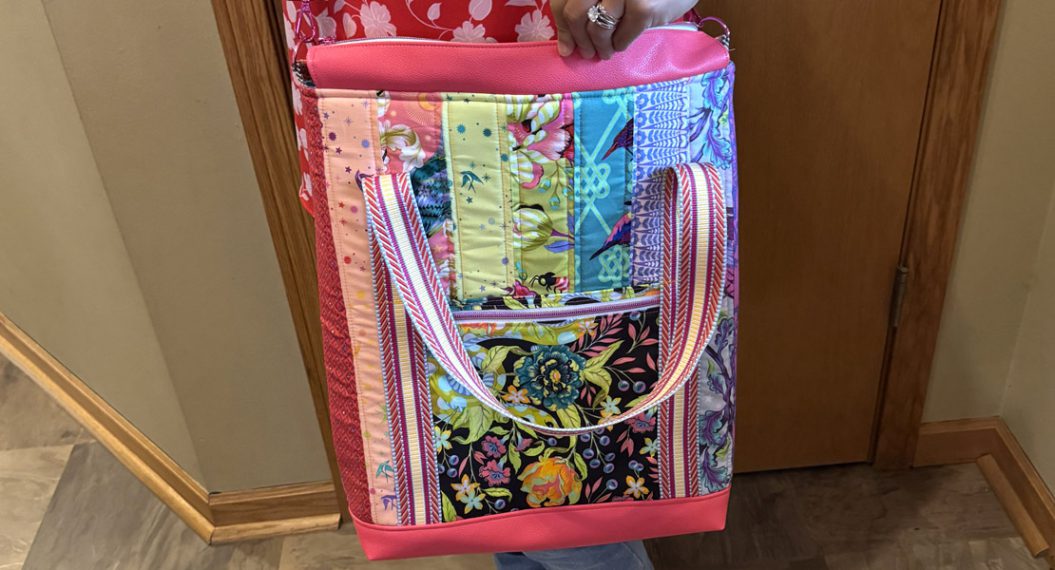
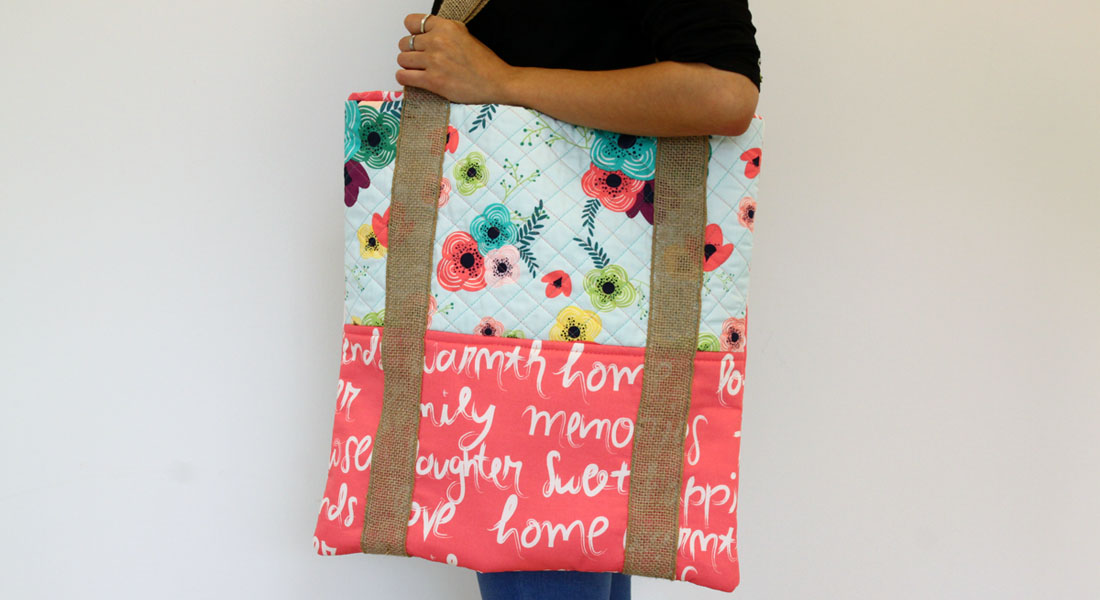
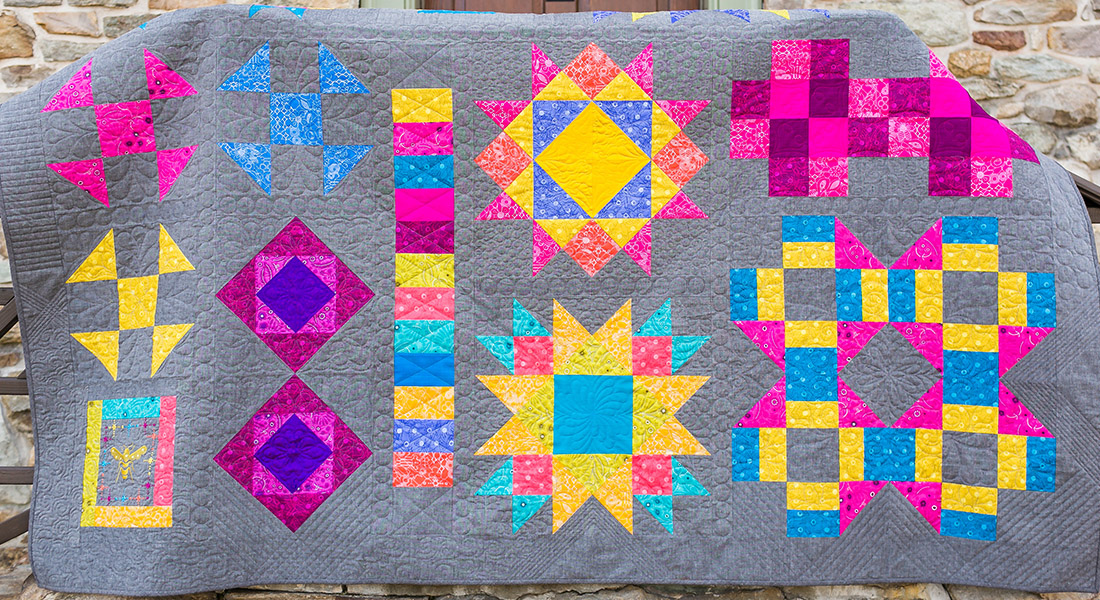
The Odd Fellows Chain Block is a nice 24 inch square, and I thought it would be the perfect size for a great tote to carry my cutting mats and rotary rulers back and forth to class. I added a little trim to give an added boost and put cork fabric on the back for a new and different look. This block was “quilt as desired” in the Block 11 post, so I used BERNINA Q-matic Longarm Automated Quilting System on my BERNINA Q 24 on the frame to quilt this block.
Supplies To Create An Odd Fellows Chain Large Tote
4 different fat quarters to construct the block with an extra fat quarter for Fabric D (I used New Traditions fabric collection by Benartex)
1 fat quarter for binding: Cut to binding width to size recommended for your size binder
Batting: Cut 27” x 27”
Backing: Cut 28” x 28”
2 yards of 2” wide webbing for handle: Cut into 2 one yard pieces
Binder Attachment #88
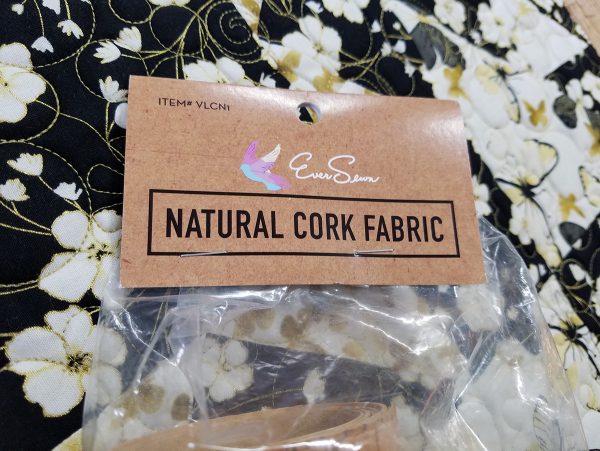
1 package (1 yd x 27”) Natural Cork Fabric by Ever Sewn
Instructions To Create An Odd Fellows Chain Large Tote
Piece the Odd Fellows Chain Block following the instructions from the BERNINA Block of the Month Block 11 by Nina McVeigh.
Layer the pieced block, the batting and the backing to create a quilt sandwich. Use any of the quilting techniques from previous blogs that you desire, or experiment with your own quilting technique to quilt the layers together.
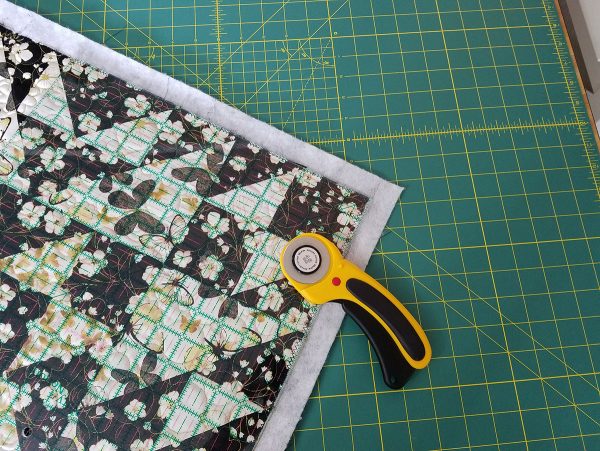
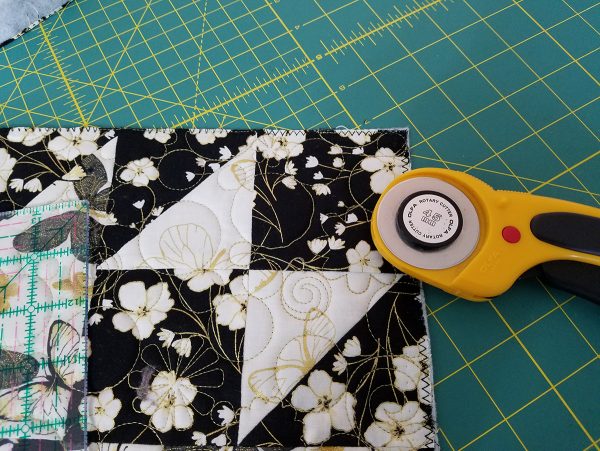
After you have quilted the block, it is time to trim and square it up.
Place the quilted piece you have just trimmed over the Eversewn Cork Fabric and cut the Cork Fabric to the same size.
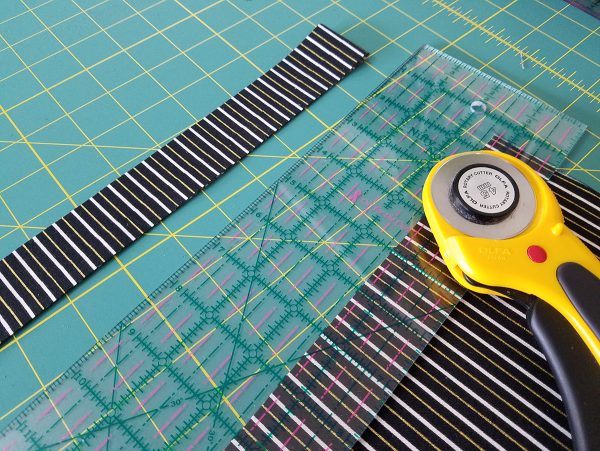
Cut the fabric for the binding as recommended for the size of your binder. There are three different sizes of binders: 28 mm (scant 1/8”), 32 mm (1/4”) and 38 mm (scant 1/2”). I used the 38mm binder, so I cut my strips 1-3/8 inch wide. Since we are only using the binding on straight edges, it is fine to cut the strips on the cross grain of the fabric instead of on the bias. Cut approximately 12 strips.
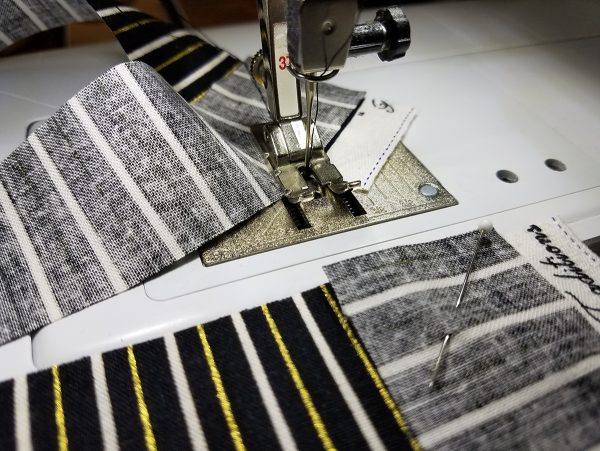
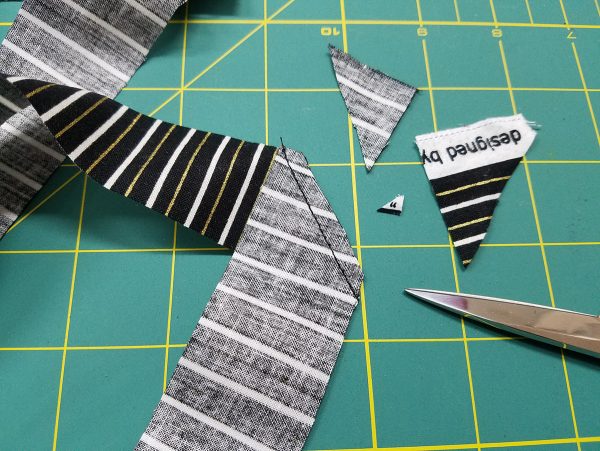
Stitch all strips end to end using the 45 degree angle as we do with quilt binding. The diagonal seam will create a flatter seam to pass through the Binder Attachment and will lay nice and flat in the finished project.
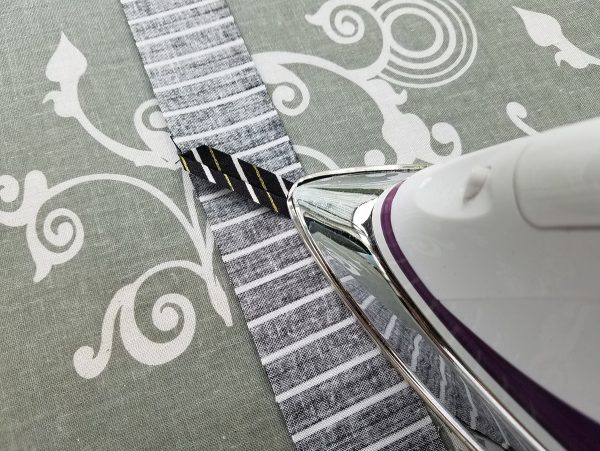
Trim all seam allowances to ¼ inch and press seam open. Don’t forget to trim off the corners of the seams too.
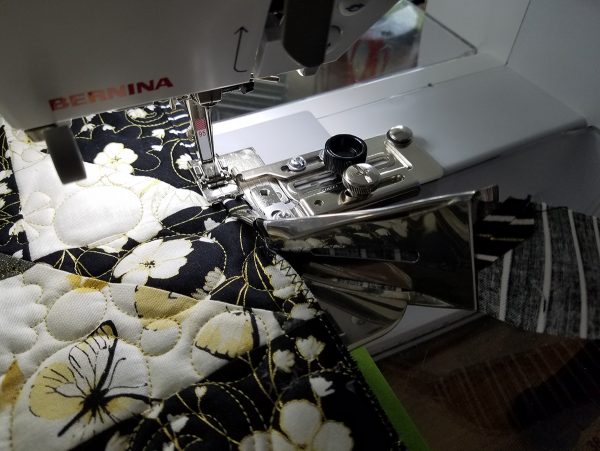
Set up the binder on your machine. Click here for a great video tutorial on how to set up the binder.
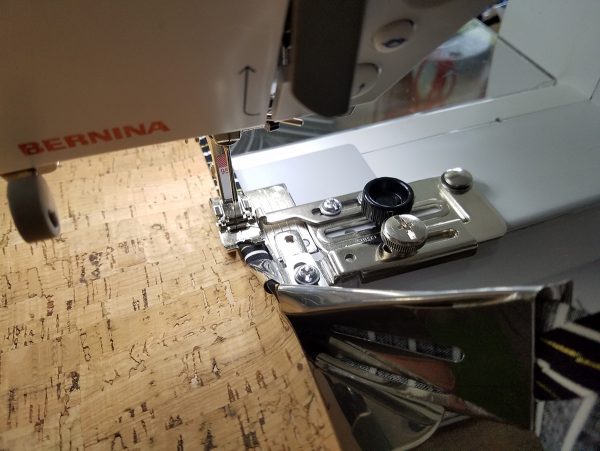
After viewing the video, load strip into the Binder with Foot #95 attached and bind the top edge of the quilted piece. This will be the top of the tote.
Bind the top edge of the cork piece. This will become the back of the tote.
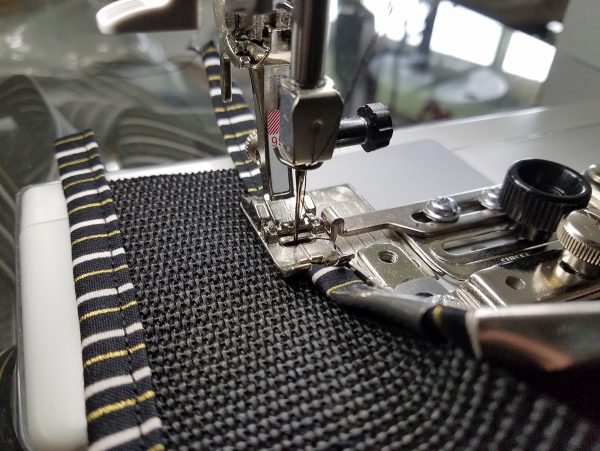
Bind each long side of both webbing pieces for handles.
You are now ready to assemble tote using all four pieces you have just bound.
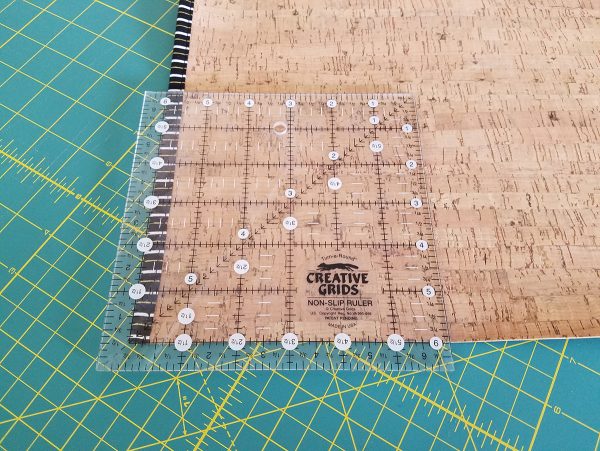
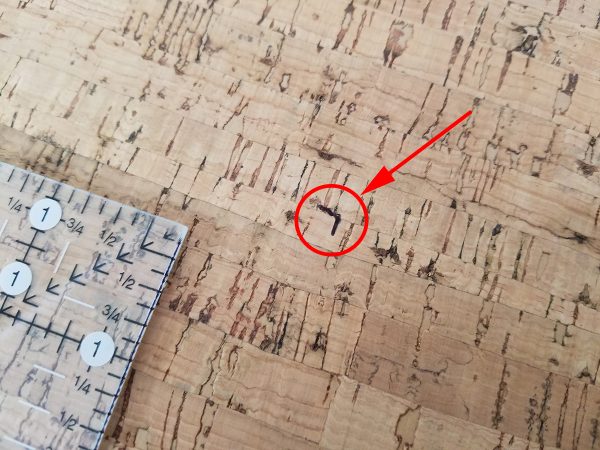
Start by marking the position for the handle on the cork side of the tote. You will need to measure with a ruler 6” over and 6” down.
Mark the corner of the ruler for the placement line.
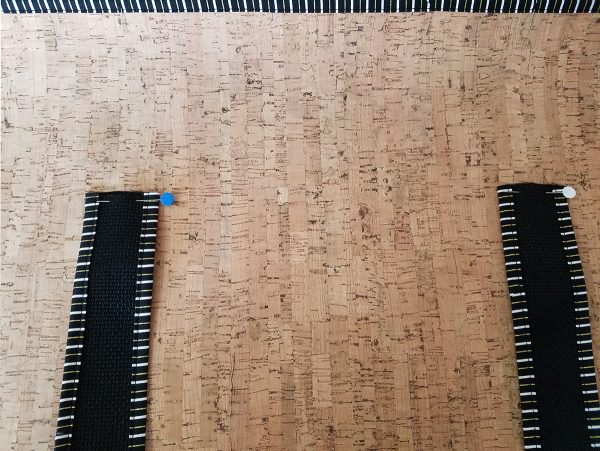
Place the handles in place with the raw edges toward the top of the tote.
Stitch across the raw edges of the handle.
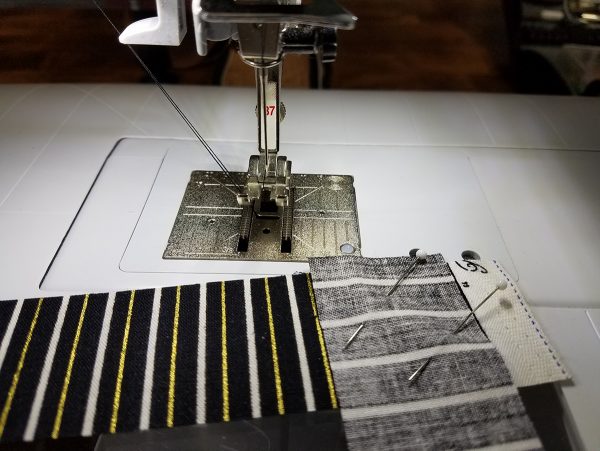
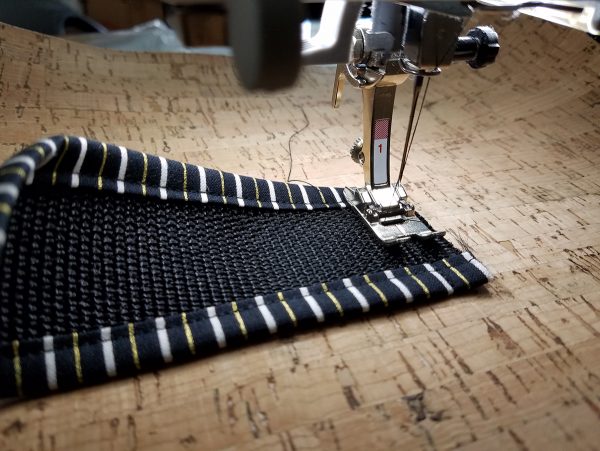
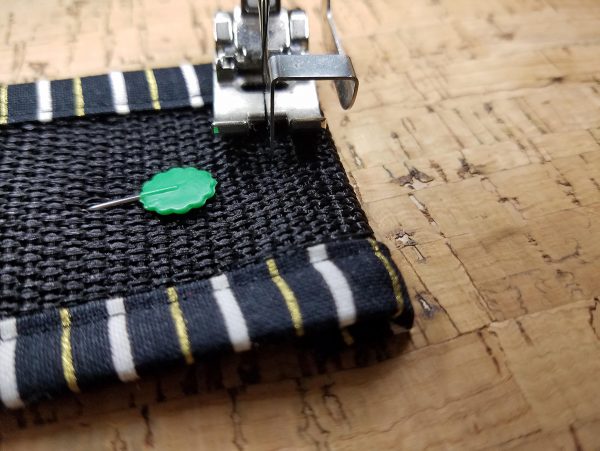
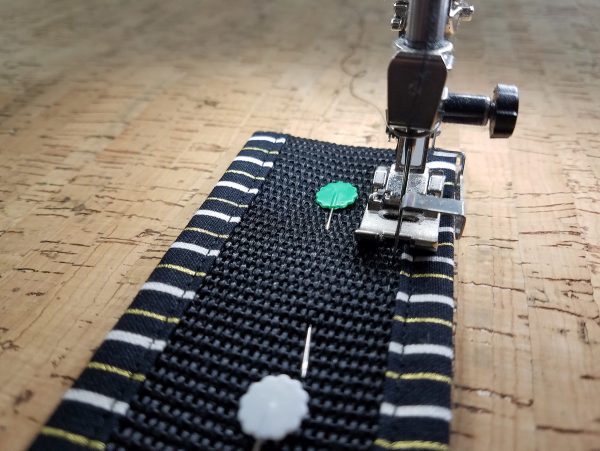
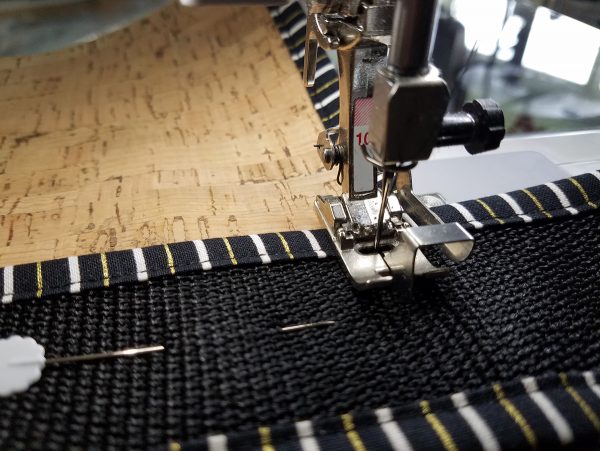
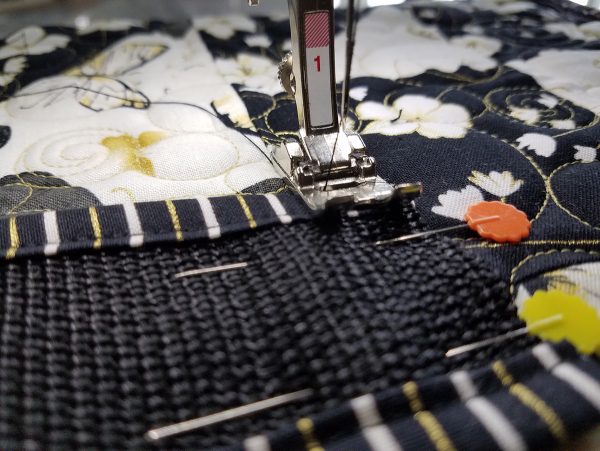
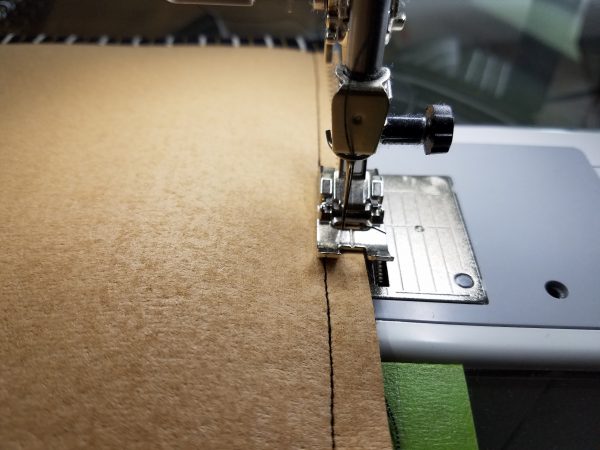
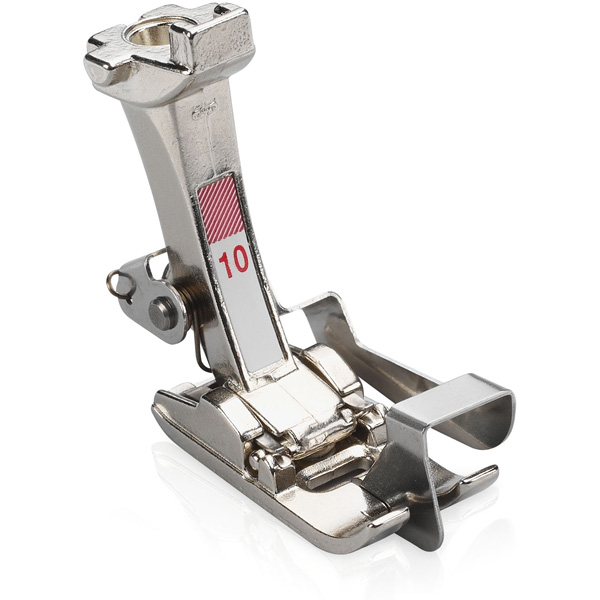
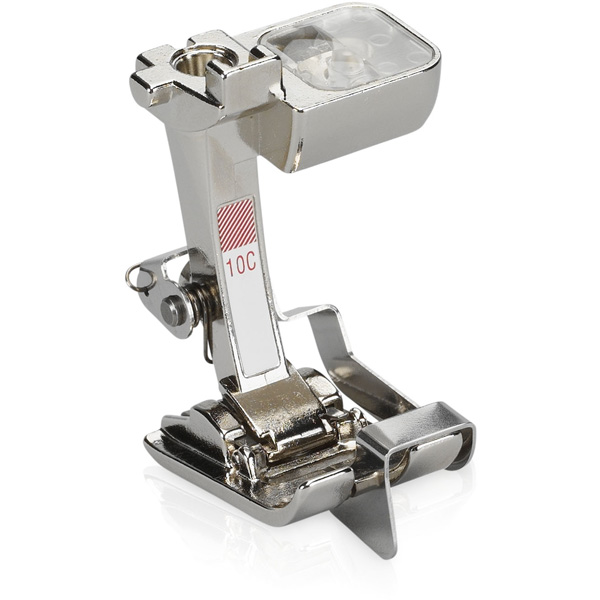
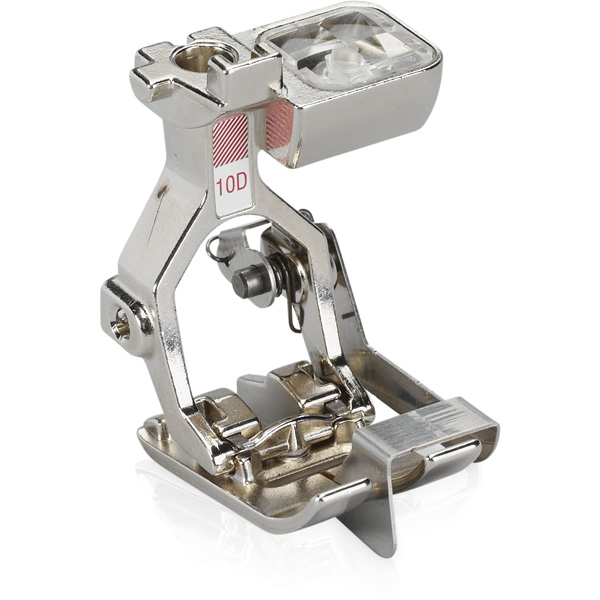
Fold up and pin. Stitch across the folded edge using Edgestitch Foot #10/10C/10D.
Pivot and stitch up one side of the handle.
Pivot at the top of the tote, and continue to stitch across the top.
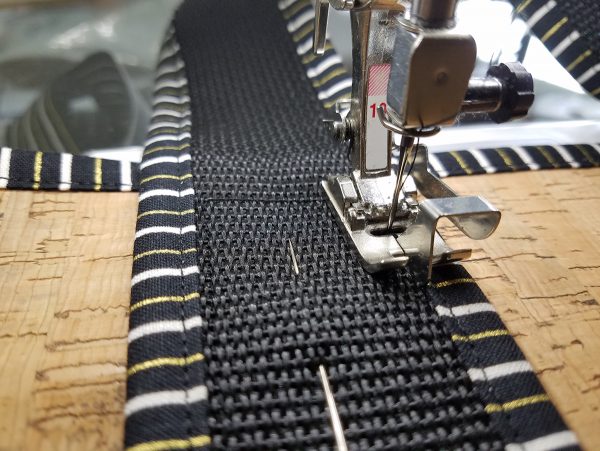
Then pivot and stitch back down the other side of the strap.
Stop stitching when you reach the folded edge.
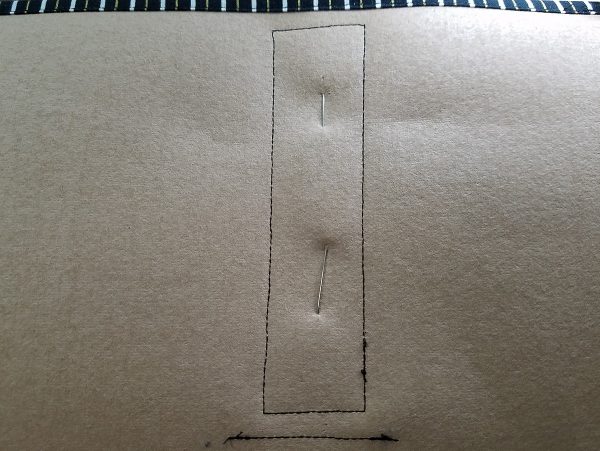
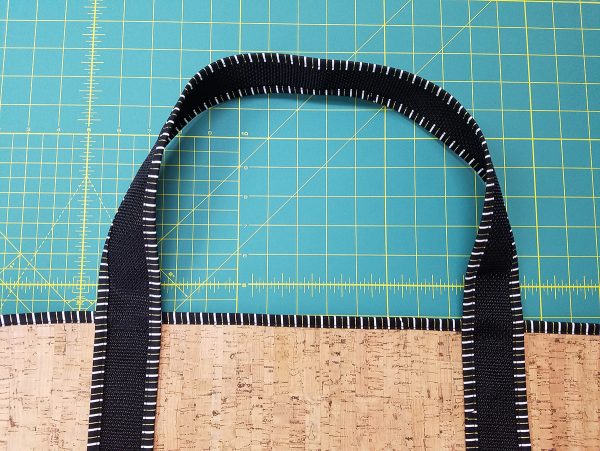
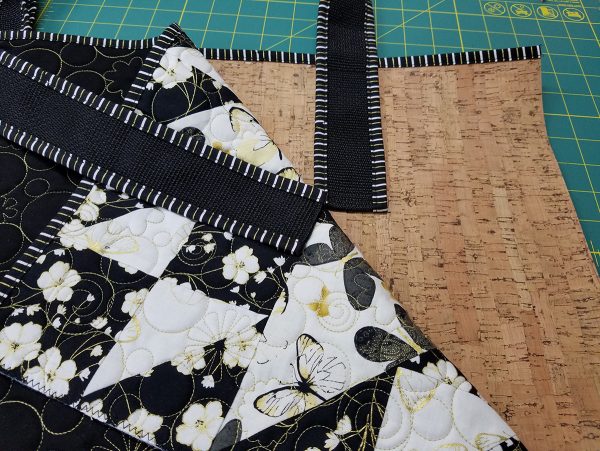
You should see a rectangle on the back side of cork.
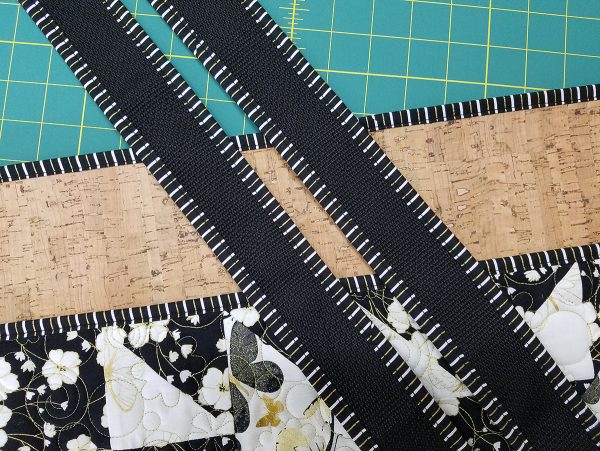
The handle will now extend above the top of the tote.
Now you are ready to stitch the handles to the quilted and pieced front.
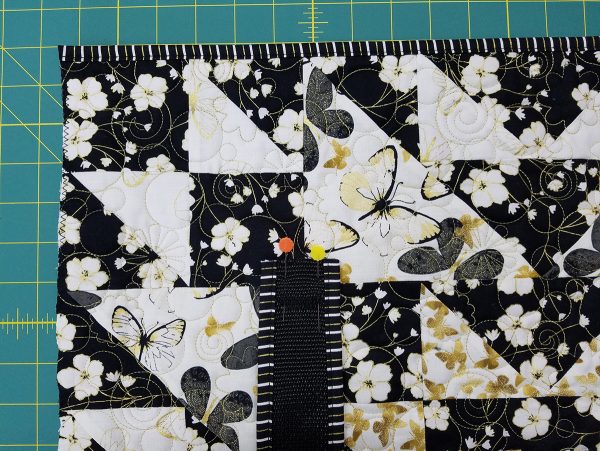
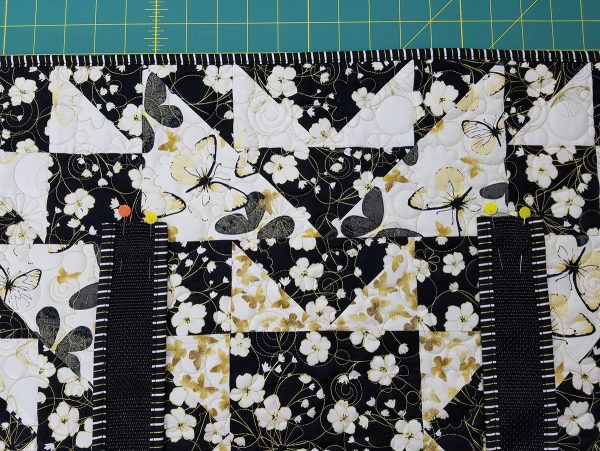
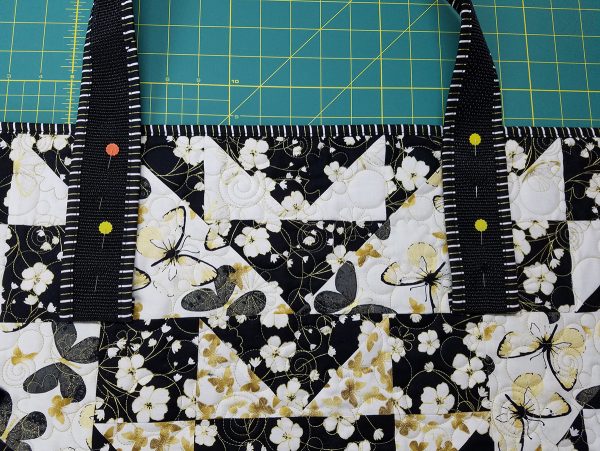
Pin each end of one handle on the right side of the front piece. To find the position come in and over 6 inches, this will put you two small blocks over and two small blocks down.
Place handle so that you can stitch across the raw end of each end of handle with it hanging down to the bottom of the tote.
Stitch across the raw edges of the handle.
Fold up and pin handle in place.
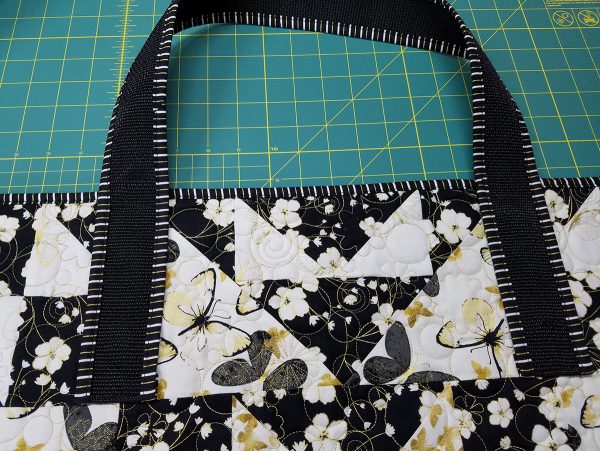
Just as you did on the cork side of the tote, use Edgestitch Foot #10/10C/10D to stitch across the fold and up the side. Continue to stitch across the top of the tote. Then pivot and stitch back down the other side of the strap. Pivot and stitch across the folded edge.
The handle will now extend above the top of the tote on the quilted side.
Lay front and back right sides together with raw edges even. Make sure the binding is at the top and your handles are going up.
Make sure the top edge is even.
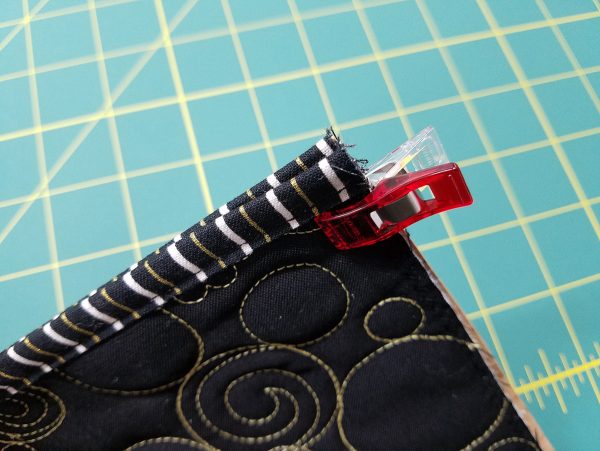
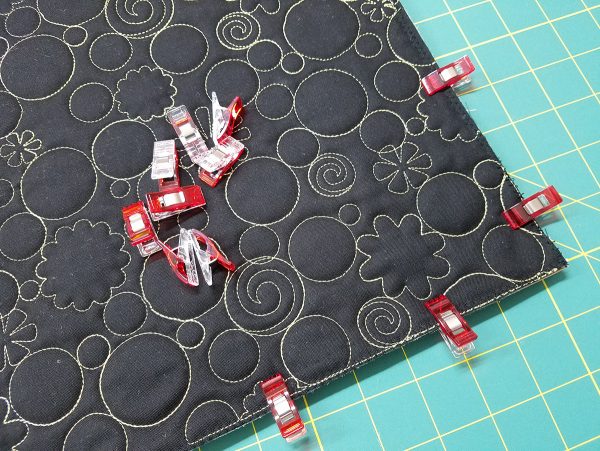
Use clips to hold the sides and bottom together.
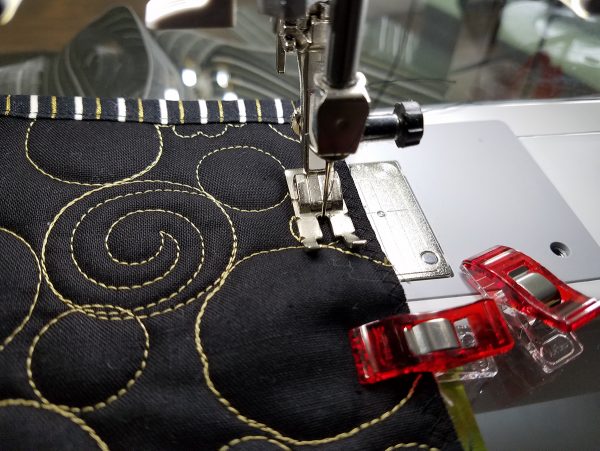
Use a 3/8 inch seam to stitch around the tote.
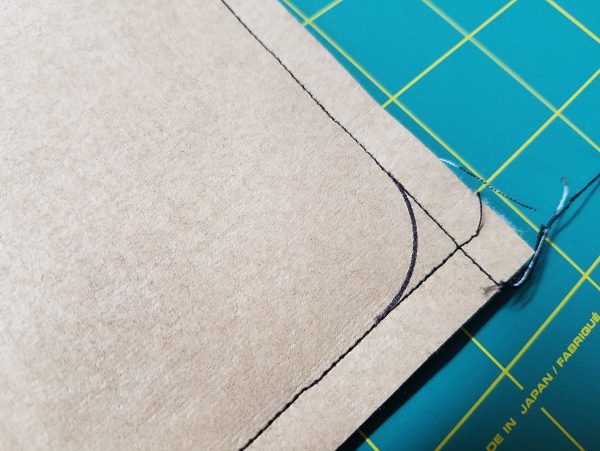
I found that it was hard to get the corner to point out when I tried to turn it right side out, so I rounded the corner and re-stitched it.
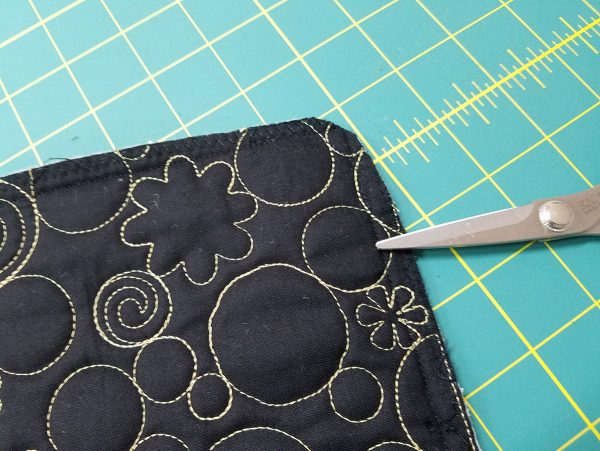
Trim off excess.
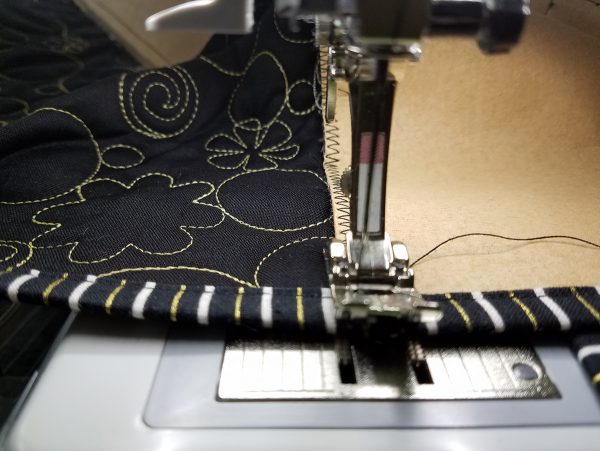
Clean finish the seams on the inside with a zig zag or you can use your overlocker to finish them.
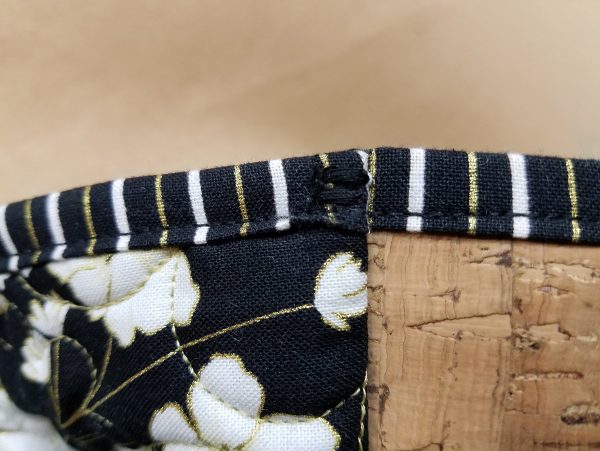
I used a bar tack to hold the seam allowance flat on each side of tote top.
Congratulations you have a very nice tote for class!
