How to Sew With Clear Vinyl
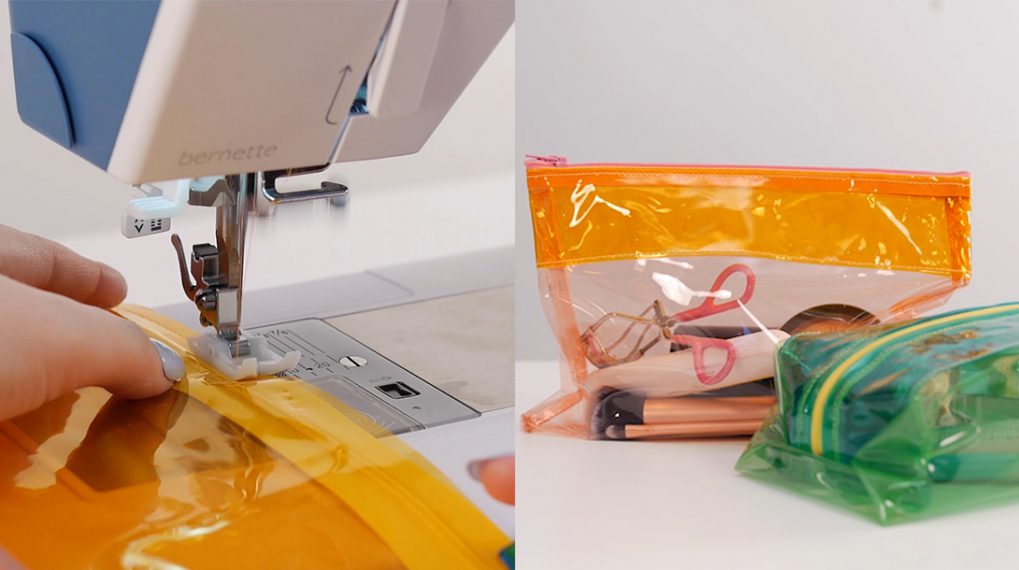
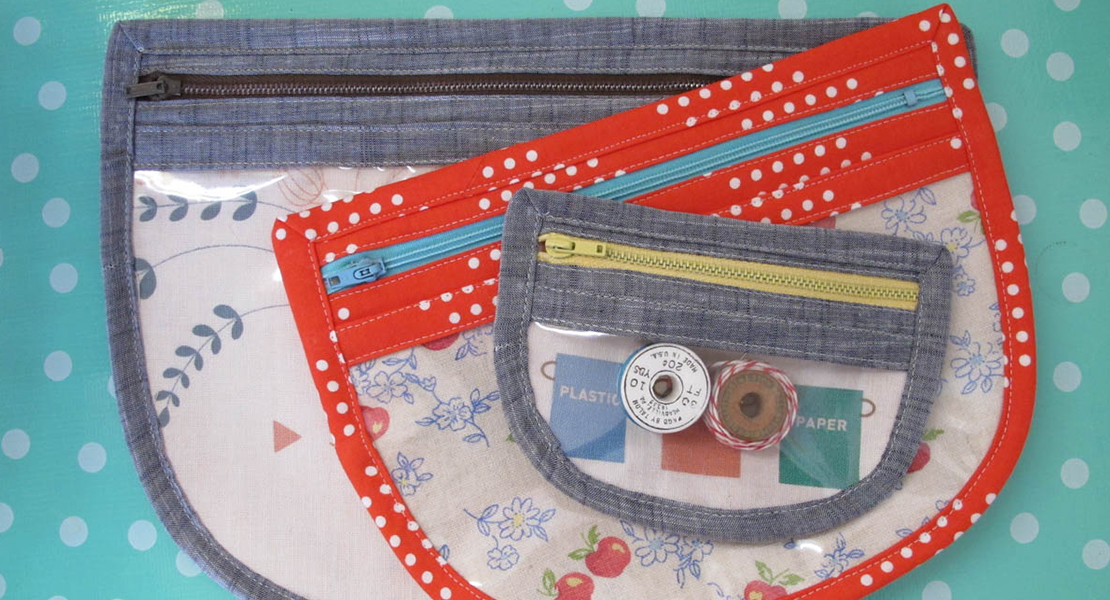
Clear vinyl zip pouches are practical to contain small items while still having a clear view of what’s inside. They’re easy to sew if you know how to work with vinyl, and they make great gifts for teachers, friends, and fellow sewists! Read on to find some of our favorite vinyl zip pouch tutorials along with some helpful tips for sewing with this sticky material.
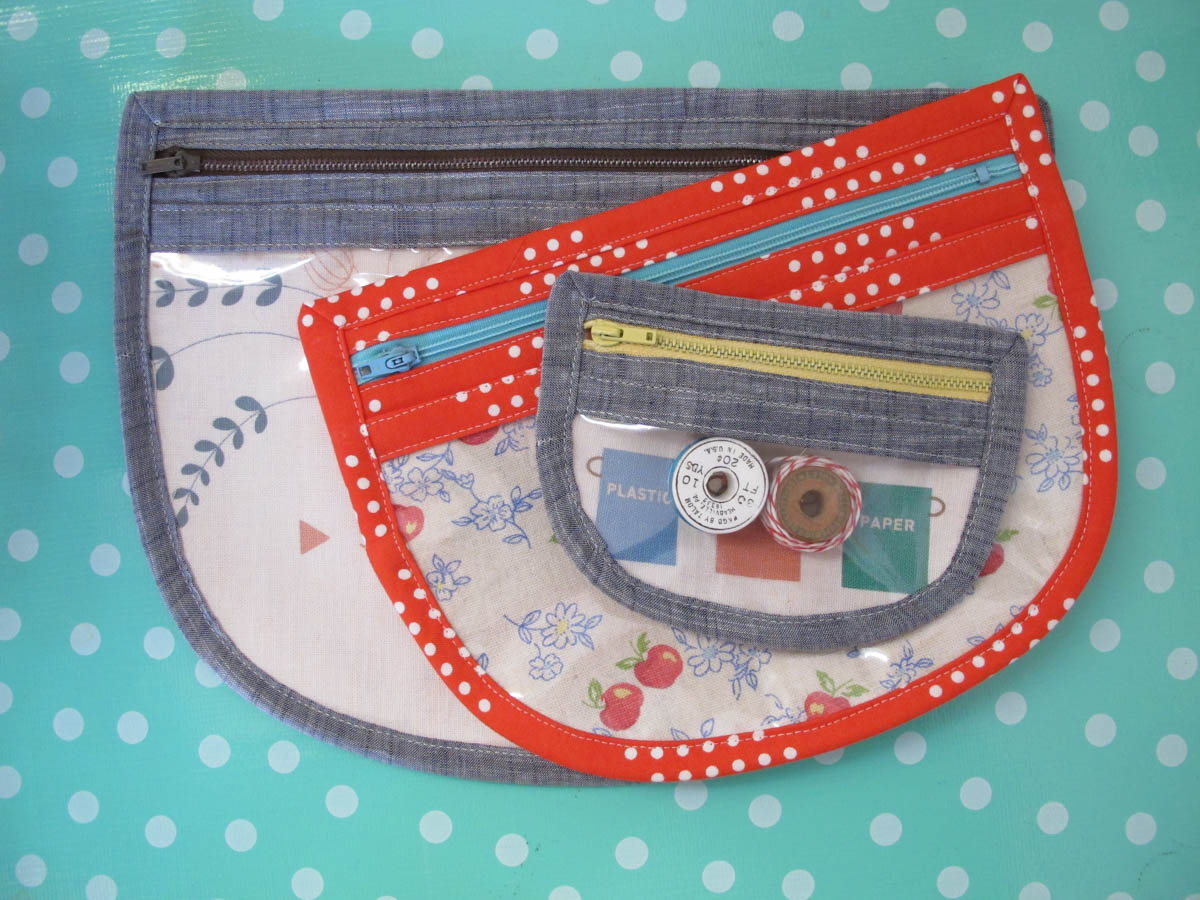
Make a set of zip pouches with fun fabrics and a clear vinyl window with Penny Layman’s Rounded Vinyl Zip Pouch tutorial here.
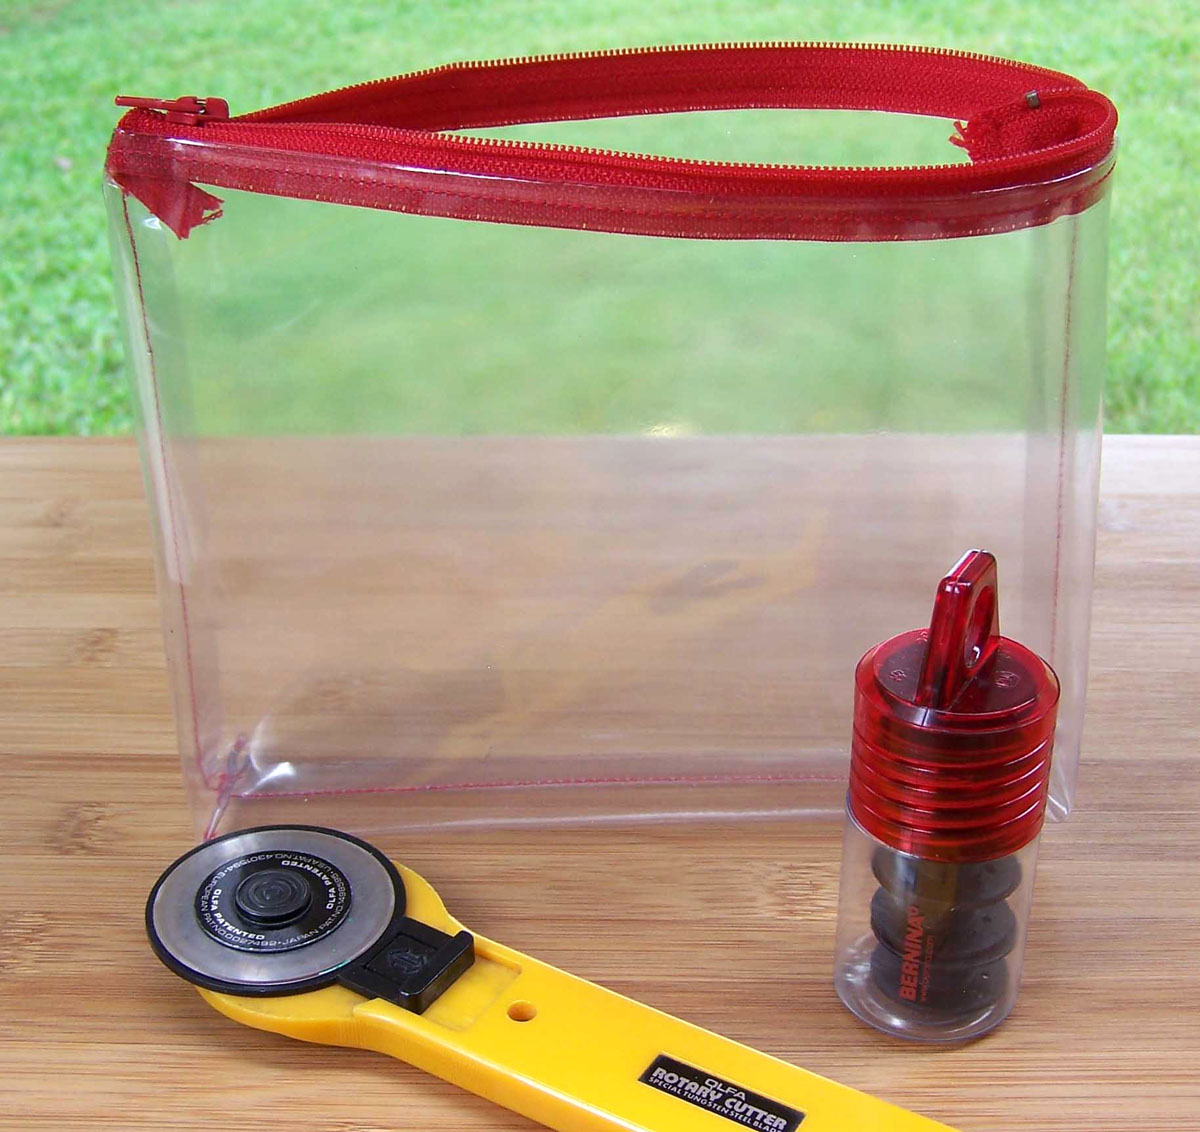
Create a simple clear-view zipper pouch with Nancy Mahoney’s easy tutorial here on WeAllSew.
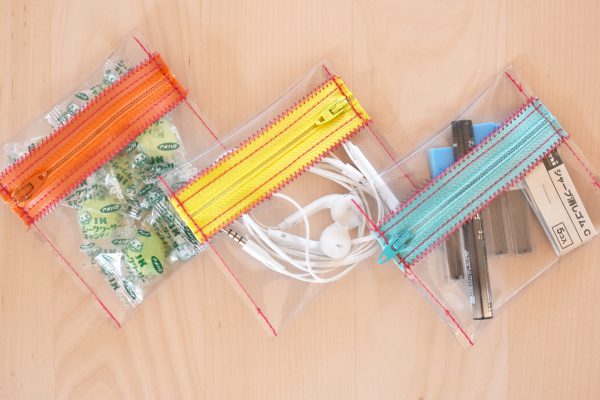
Check out my super simple tutorial to sew these Clear Vinyl Mini Zip Pouches here.
How to Sew With Clear Vinyl
Clear vinyl fabric has different properties than other materials you may be used to sewing with.
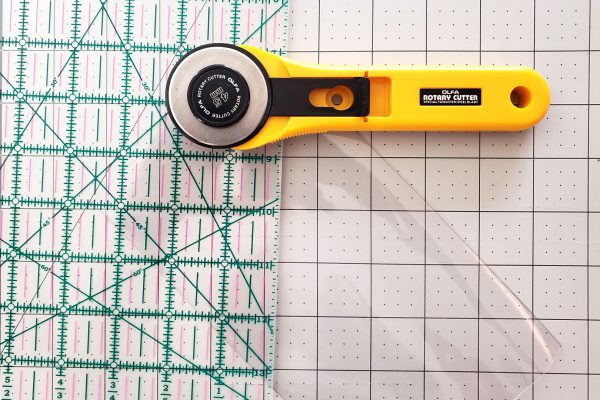
Make sure that your work surface is clean and free from anything that may scratch the vinyl. If you need to mark your vinyl, use chalk that will easily rub off, and avoid any marker that won’t wipe off the clear vinyl. Use a rotary cutter, cutting mat, and acrylic ruler or straight edge to easily cut clear vinyl. If you will be cutting lots of vinyl, consider a second rotary cutter dedicated only for vinyl.
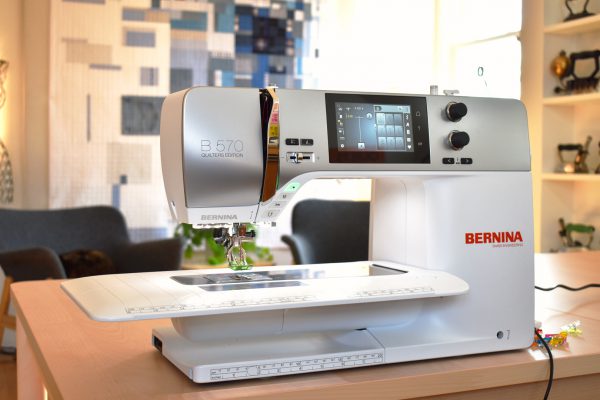
Set up your sewing machine to work with clear vinyl.
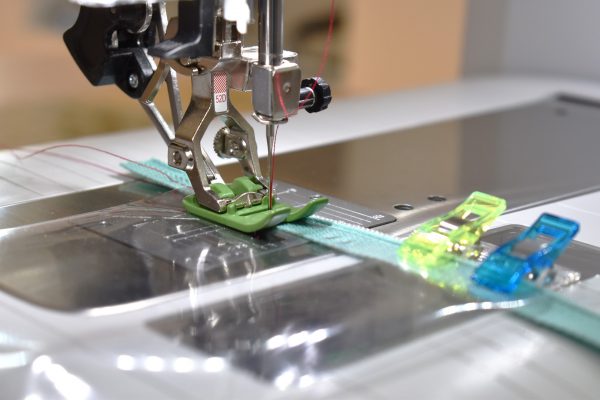
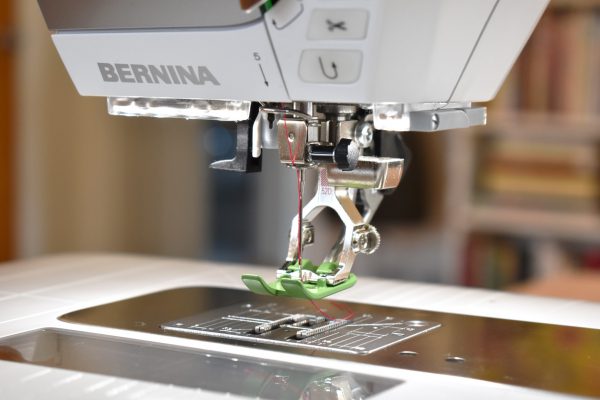
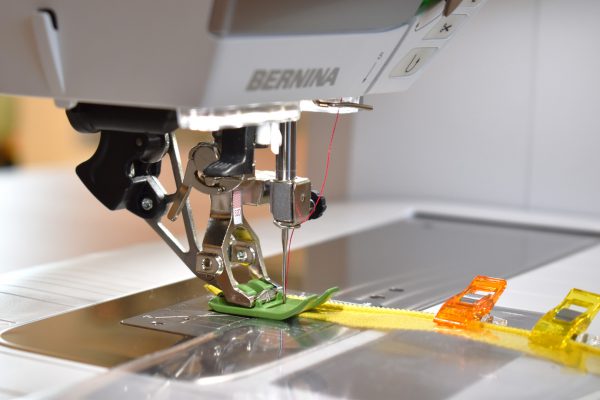
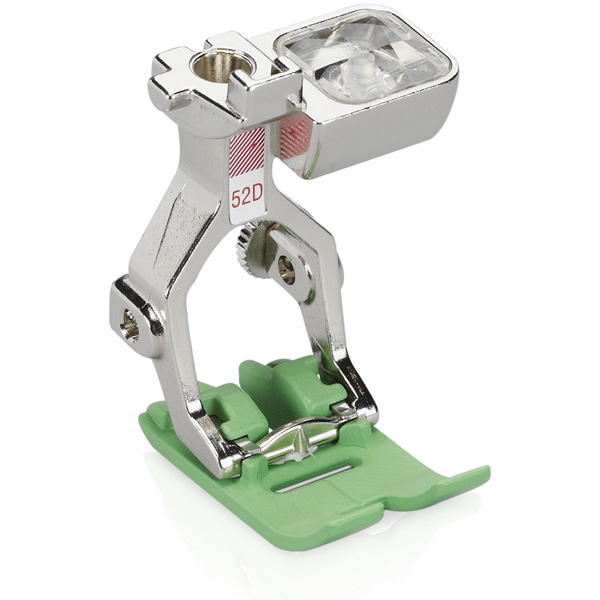
Use a non-stick foot such as Zigzag foot with non-stick sole #52D. The non-stick coating on the sole is engineered to slide smoothly over plastic and vinyl surfaces. Using the Dual Feed feature with my B 570 QE in conjunction with the D style non-stick foot also offers smoother feeding of the vinyl when sewing.
When choosing a needle to use with clear vinyl, use a leather needle size 90/14 or denim needle size 90/14. I recommend a strong, 100% polyester thread.
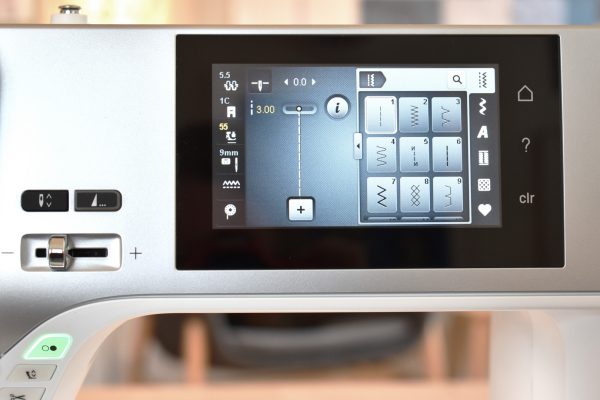
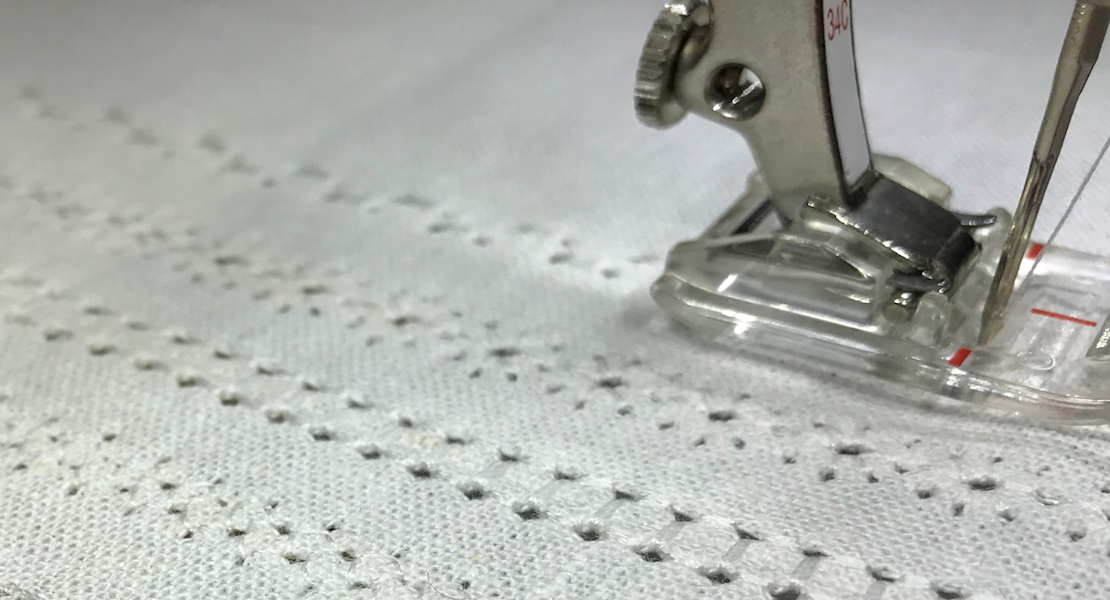
Update your stitch length to 3.0mm or higher. When sewing with clear vinyl, the needle holes remain in the material after stitching. If the needle holes are too close together, they may act as a perforated edge that can tear.
Slow down your sewing speed when working with clear vinyl to give the sticky fabric time to feed evenly through the machine while stitching.
I recommend lowering the presser foot pressure if you have a current BERNINA 5 or 7 series machine to 55 or 60 to help keep the feed dogs from leaving marks on the underside of the clear vinyl.
To hold pattern pieces in place, use clips (Clover clips or small binder clips) in place of pins that will leave permanent holes in the material.
Using all of these tips together will help you sew through clear vinyl with ease!
Don’t forget to store your clear vinyl carefully, any sharp fold or crease can damage the fabric by leaving a mark or creating a small hole. Store clear vinyl rolled up and away from direct sunlight or heat sources.


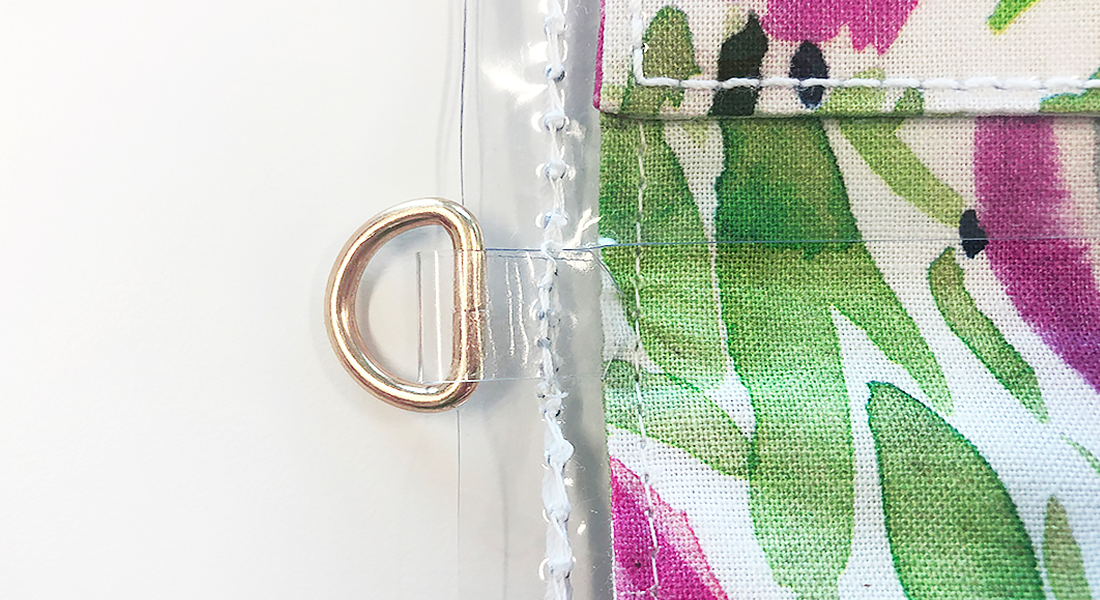
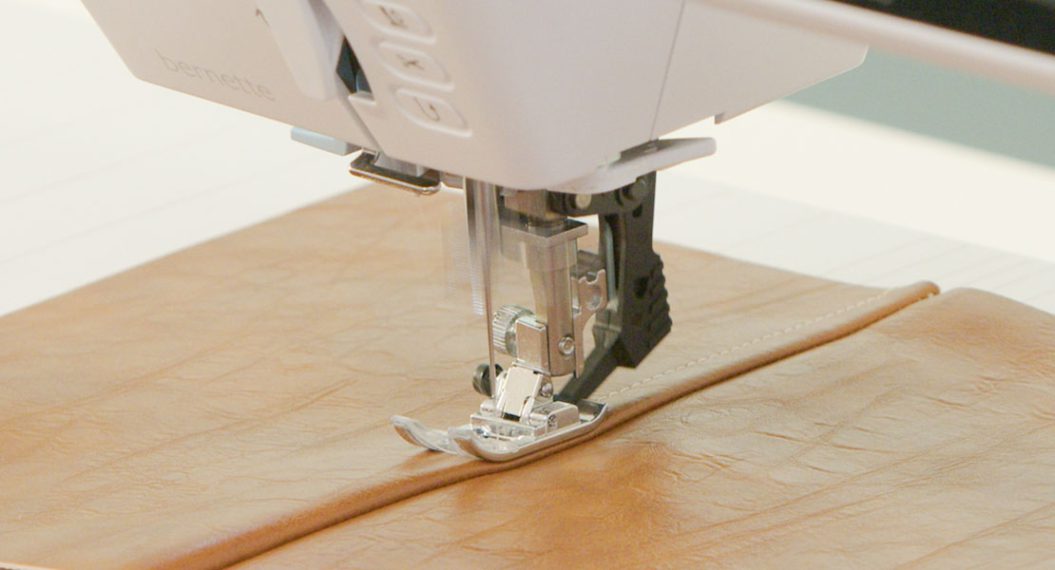
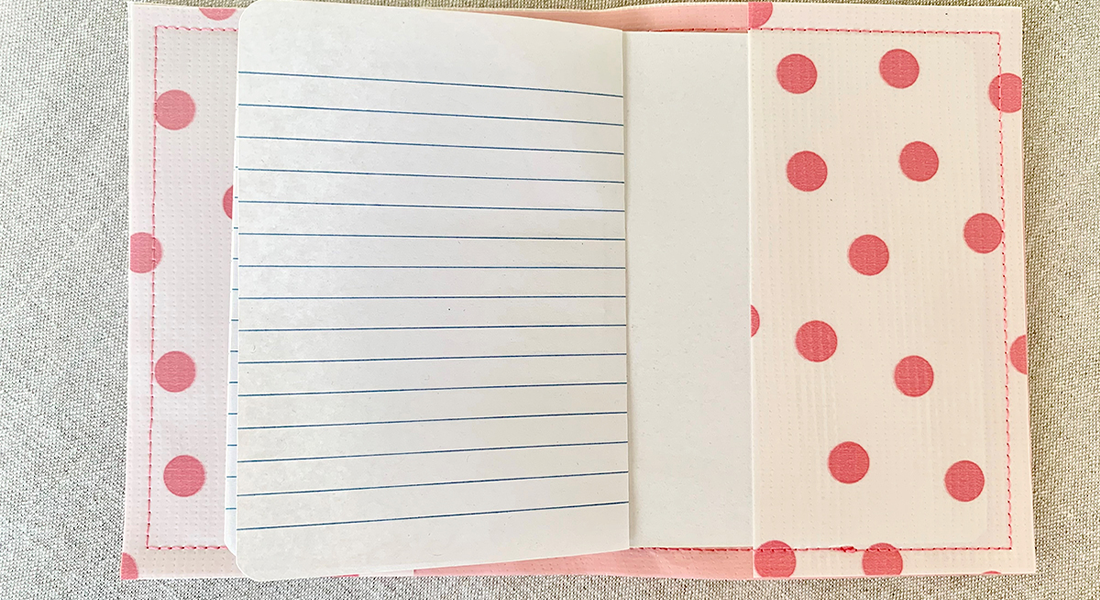



two additional hints:
1) to avoid the feed dogs scraping the coating off the #52 foot, be sure to use a scrap fabric leader at the beginning and ending of your stitching
2) to avoid any marks that the feed dogs might leave on your vinyl, use a strip of thin tissue such as Golden Threads paper on the bottom side of your vinyl (the side next to the feed dogs). Simply tear the tissue away once the stitching is completed.