DIY Laundry Bag with Appliqué
Suds your Duds Appliqué Laundry Bag
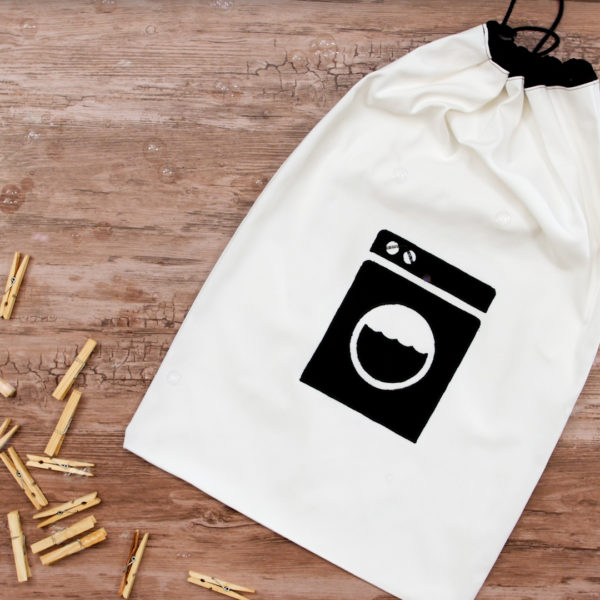
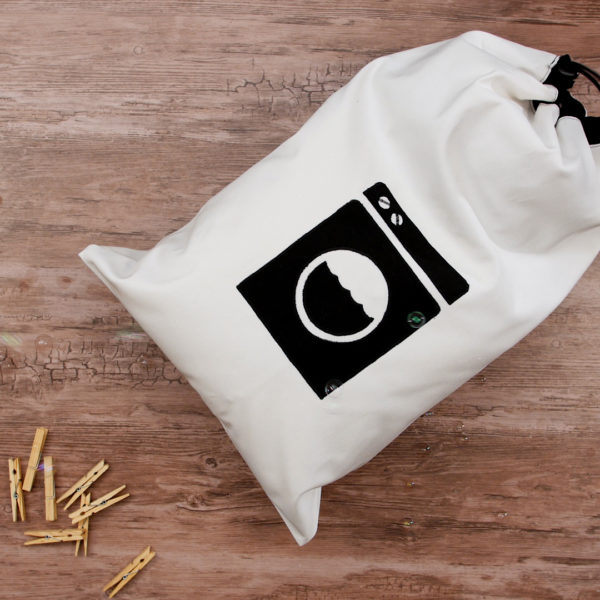
Are you looking for an appliqué project that is loads of fun? Keeping up with all that dirty laundry can be a hassle. Whether you create this simple drawstring bag to pack in your suitcase or make it for that college student dorm life, this laundry bag is the perfect project to try some curved edge appliqué.
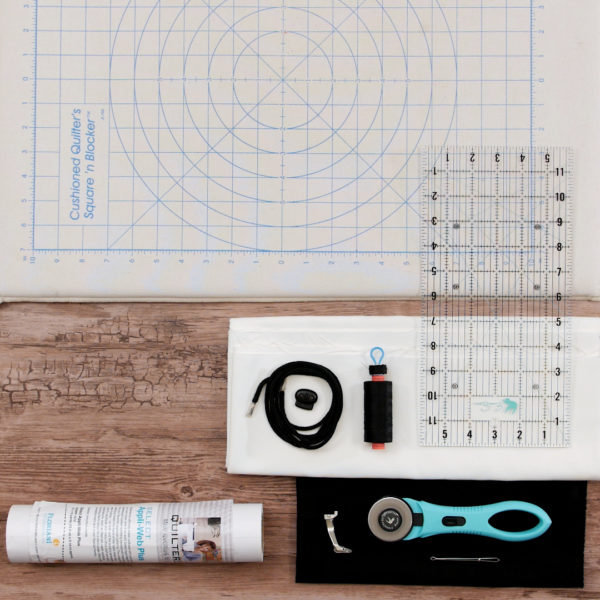
Materials for Sewing a Laundry Bag
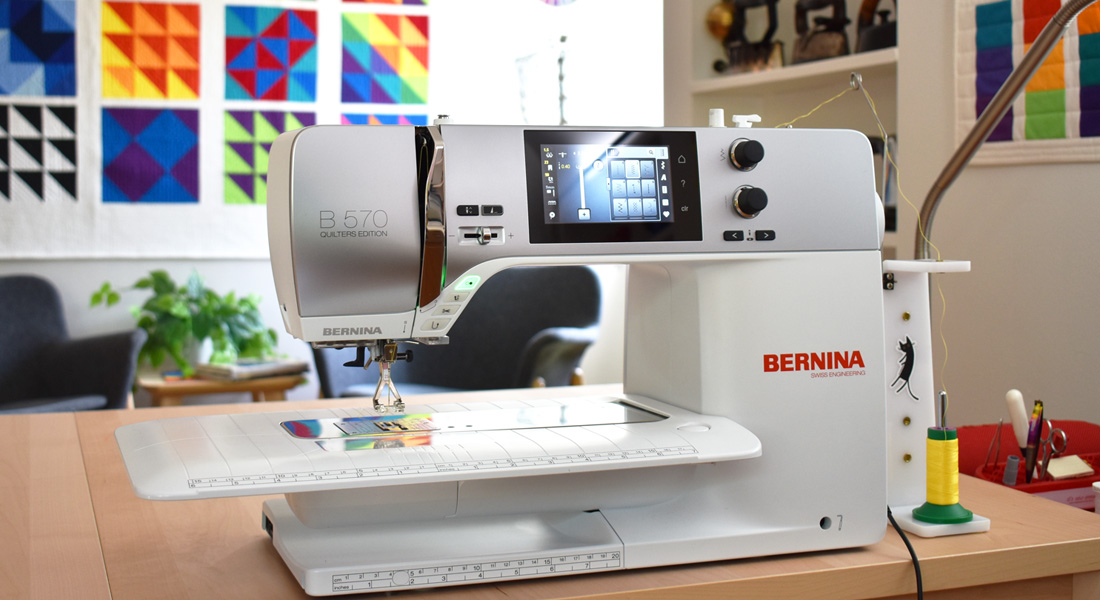
- BERNINA 570 QE
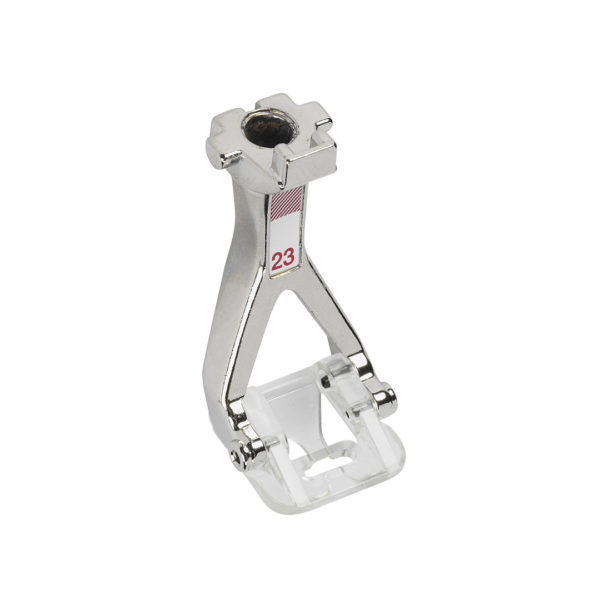
- Clear Appliqué Foot #23
- Fabric:
- Canvas
- Cotton (drawstring channel & appliqué)
- Fusible Web
- Drawstring Cord
- Cord Stop
- Silhouette Cameo Cutter
- Rotary cutter
- Cutting mat
- Acrylic Ruler
- Iron
- Metrosene all-purpose thread
- 80/12 universal needle
- Bodkin
- Snips
- Pins or Wonder Clips
- Wash & Wear Laundry Bag Appliqué Template
Steps to Sew a Laundry Bag
Step 1. Cut and prepare fabric
- Canvas (Main Body): 18” x 50”
- Cotton (Casing): 3” x 34”
- Cotton (Applique): 8” x 10”
This project will finish at approximately 17” x 24” in size. You may choose to make your laundry bag any size that you wish, just plan accordingly.
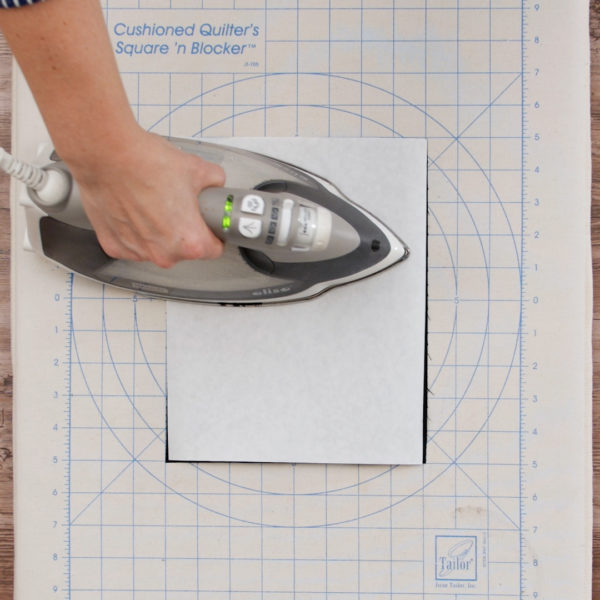
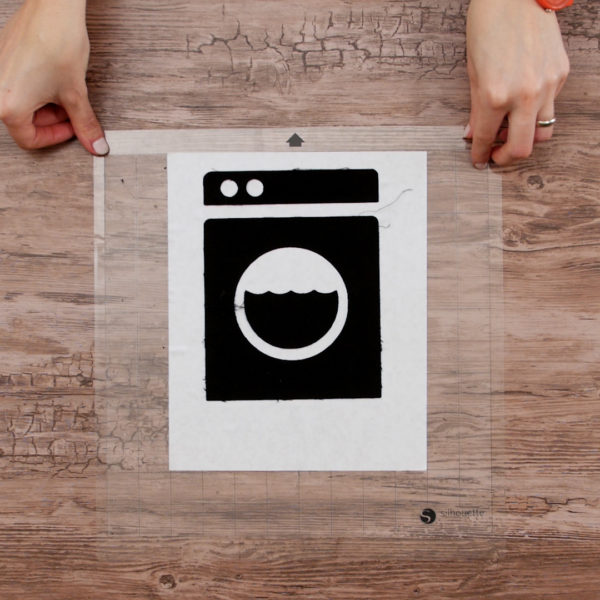
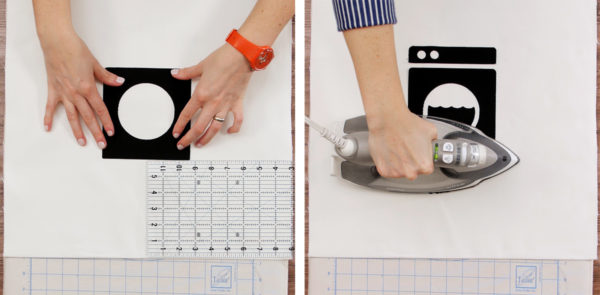
Prepare the applique fabric by adding a fusible web to the wrong side of the cotton fabric. Then cut out your design. Mirror the image if working with the fusible side up.
You can download a template for this appliqué design here.
Tip: Using a digital cutting tool like the Silhouette Cameo cutter makes for precise cutting of curved edges. I set it up to cut around the perimeter of the design twice and then trimmed up frayed edges with scissors. If you want to use a cutter, you can download an .eps of our washing machine design here. Follow the manufacturer’s instructions for using the file.
Step 2. Prepare for appliqué
From the bottom folded edge, measure up 6” and place the bottom edge of the applique in the center of the bag. Using an iron, fuse the applique in place following the recommended fusing directions that are included with the fusible web you choose.
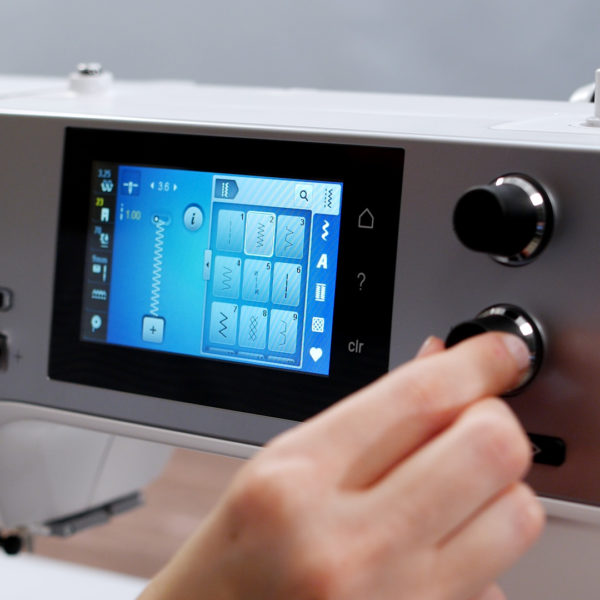
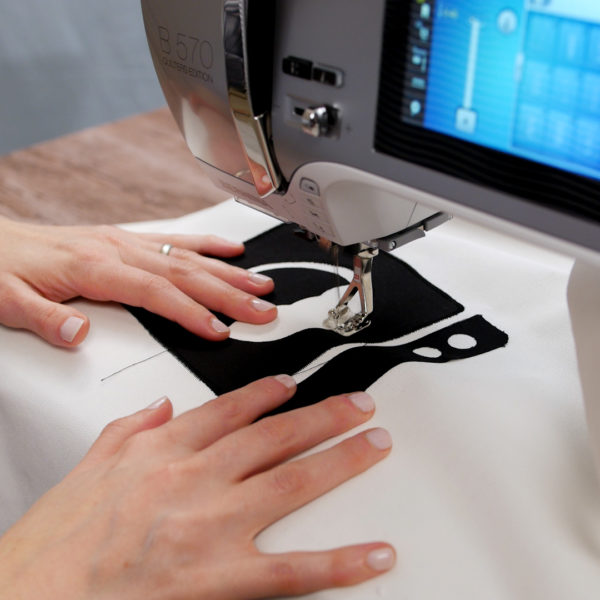
Select and set your machine for a satin stitch. It is always best to test out the settings before you begin the project. For a project with so many curves, it is best to select a narrow satin stitch. Take advantage of your needle position as well. Move the needle to the right to follow outside edges and to the left to follow inside edges.
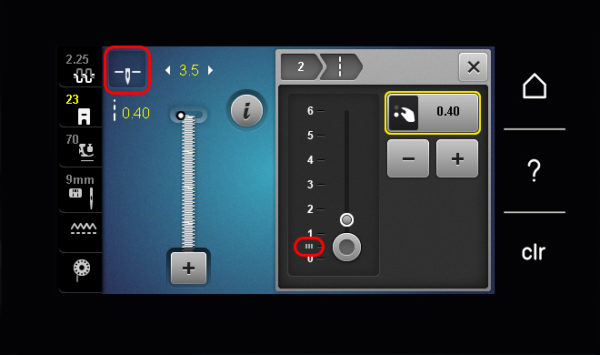
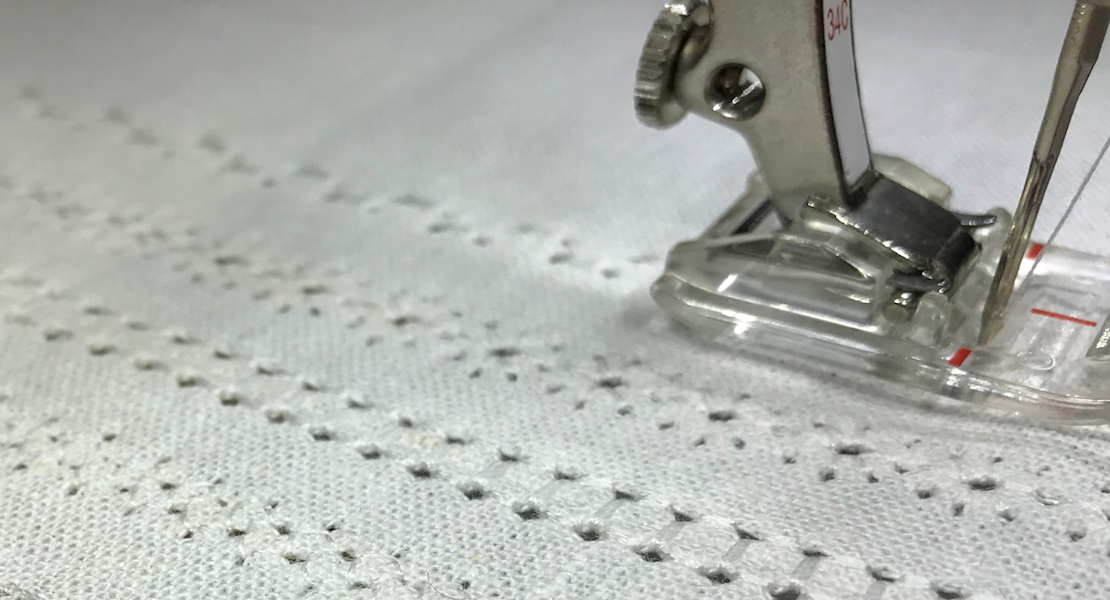
I set my stitch width to 3.5 mm and my stitch length to 0.4 mm. The BERNINA B 570 QE has a touch screen that easily illustrates the stitch as you make the changes. Have you ever wondered what the “III” on your stitch length indicator means? It is the recommended satin stitch setting. If you set your stitch length too short, the thread could pool up and jam your machine. If it is too long, then you will see spaces underneath. A good rule of thumb is to start at the “III” setting and adjust from there by doing a test sew. For applique you will appreciate having your needle stop down in the fabric. This will allow you to have the most control when turning corners and with start/stops.
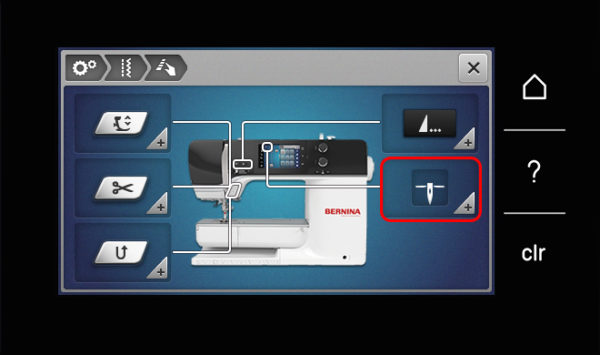
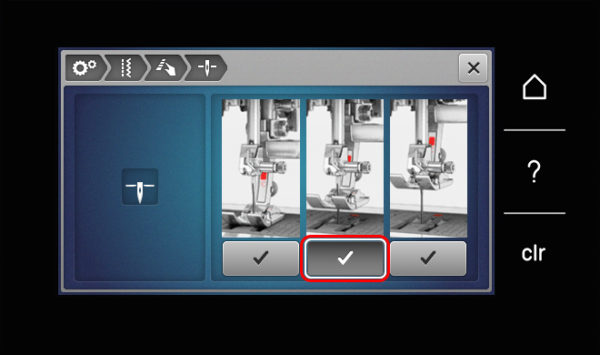
Another great feature on the new BERNINA 5 Series is the option for hover. Hover is a function of the needle up/down feature. To turn the hover option on, go to the set-up menu and select needle up/down.
There are three icons for programming the hover. The middle icon is adjustable hover and this allows you to program the presser foot height between 0 and 7 mm. My personal preference is 3 mm. This allows for some fabric thickness, while not raising too high. In my opinion, hover is one of the best features added to the current machines.
Step 3. Stitch applique
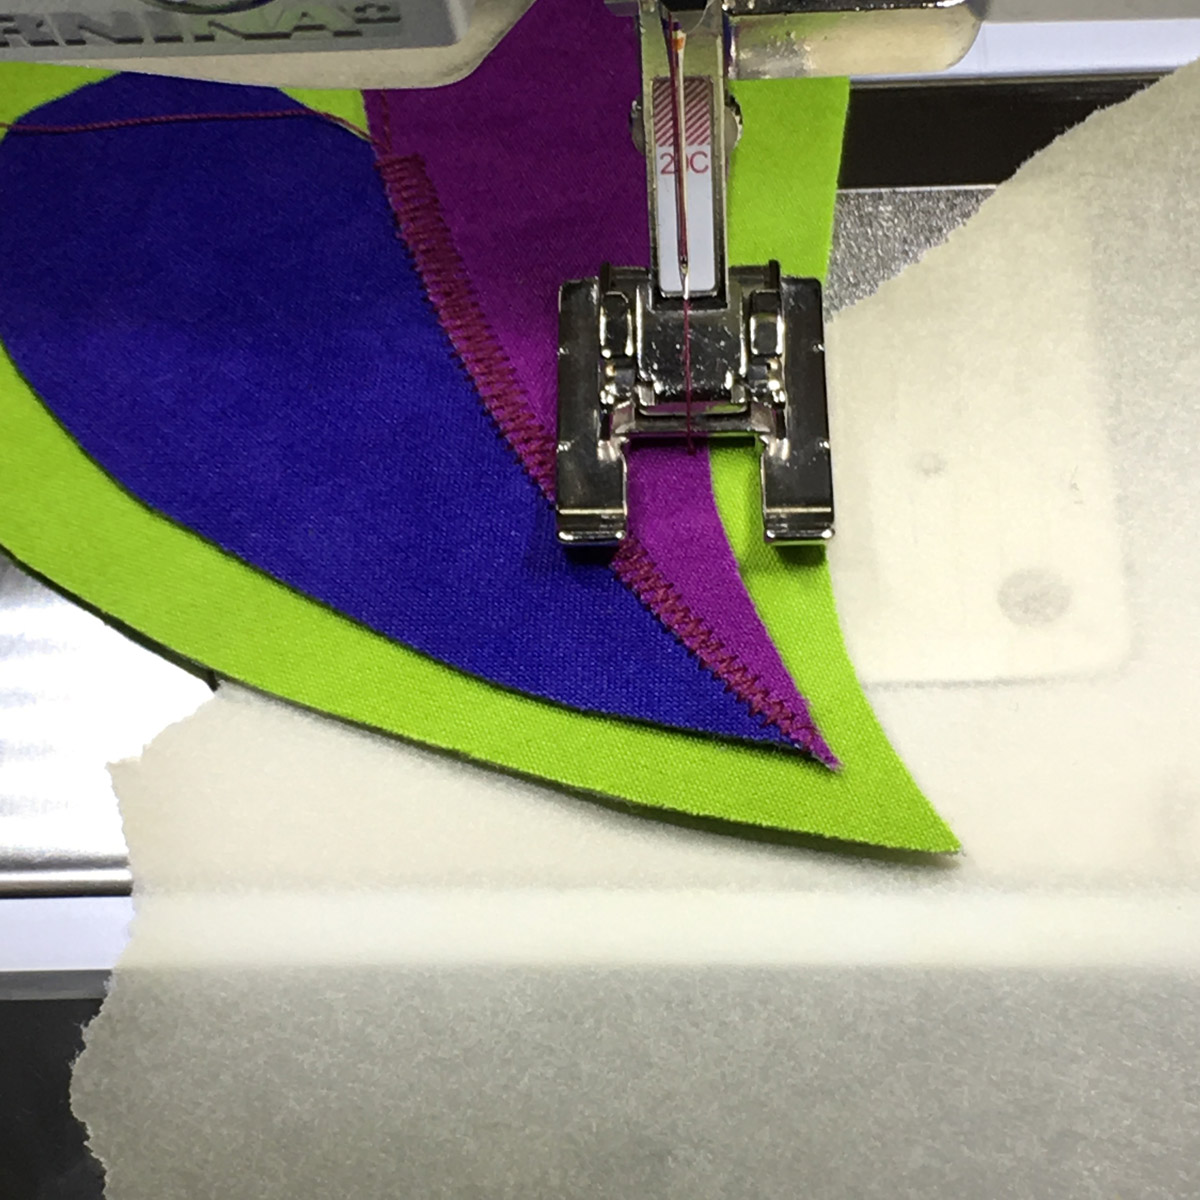
Attach the Clear Applique Foot #23 to the machine. This presser foot has a narrow channel and a clear sole. The shortened toe of the foot allows you to easily anticipate the raw edge, while keeping it aligned. This foot is especially great for sewing curved edges with narrow satin stitching. The maximum stitch width for this foot is 5.5 mm.
Tip: For a raised stitch, consider adding a narrow cord under the presser foot, placing it in the groove on the sole of the foot.
Satin stitch over all raw edges of the applique, stopping with needle down and pivoting as needed.
Step 4. Assemble the Bag
A drawstring bag is one of the most versatile things to know how to sew. There are several ways of making them. You can make them lined or unlined, boxed corners or flat, have a split channel or an integrated channel, you can use buttonholes or grommets, there are so many possibilities!
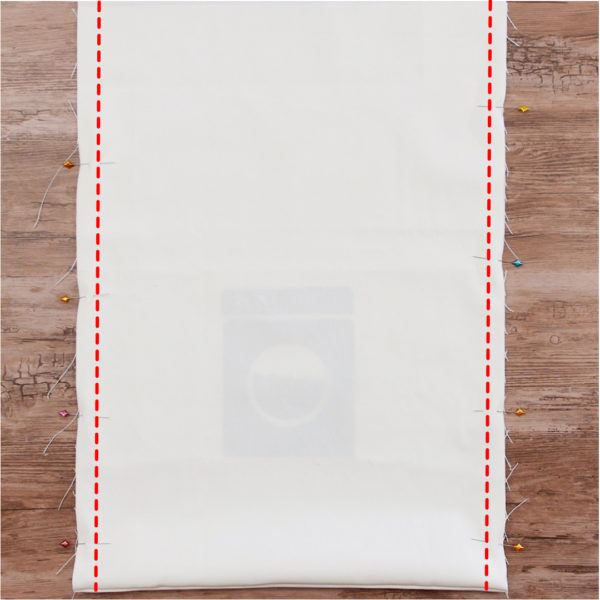
For this option, I have the fold along the bottom of the bag. Once the applique is in place, sew the side seams with a ½” seam allowance. I did this with my L 460 overlocker, but a sewing machine works just fine too. If you are not lining the bag, I suggest taking the time to finish the raw edges.
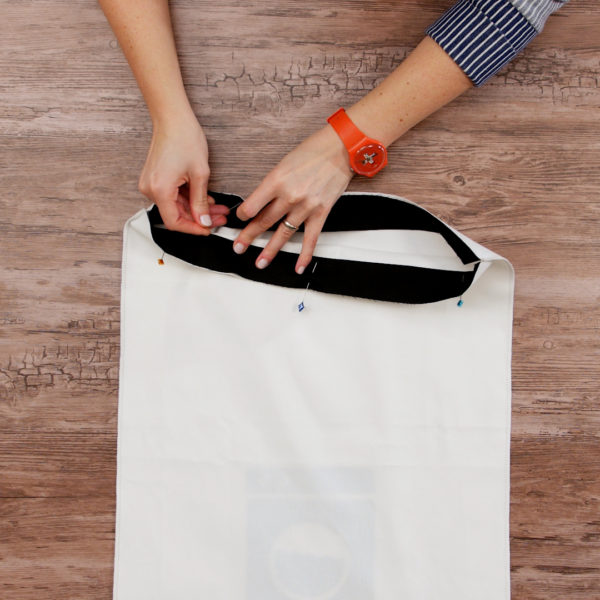
Next you will add the channel. Fold the short ends of the channel under ½” and press or sew in place. Then fold the channel in half along the long side and pin along the perimeter of the bag opening with right sides together. Sew the channel to the bag body with a ½” seam allowance. Press the seam allowance toward the bag and, if you’re feeling fancy, edgestitch it in place.
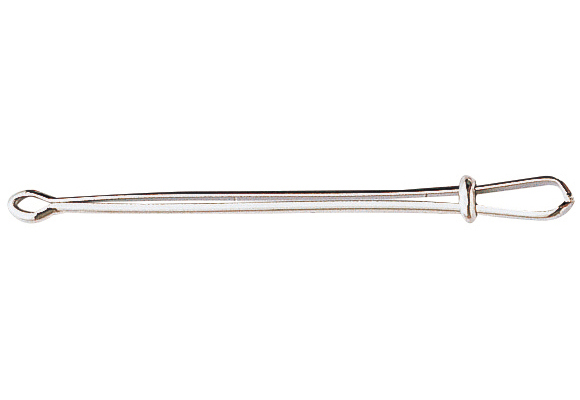
A bodkin is a very clever tool to have in your sewing toolbox. One end has a clamp with a sliding ring to tighten and the other end is a lace through eye great for cords or laces.
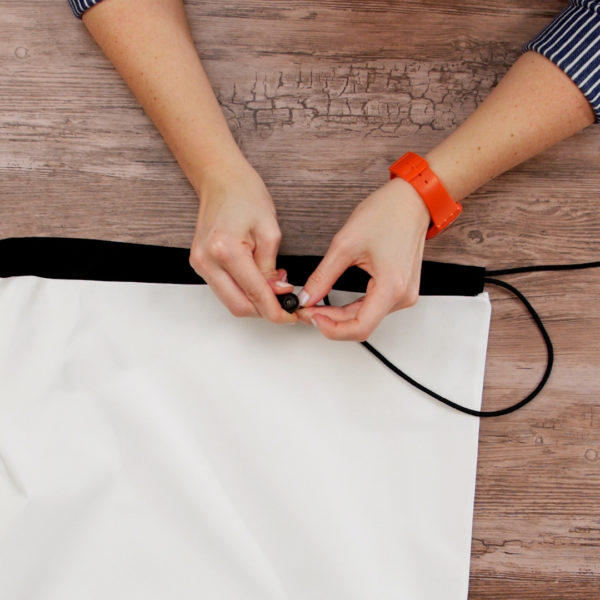
The final step is to thread the drawstring cord through the channel and add a cord stop to the end.
Now if only doing all that dirty laundry were so simple, it’s time to suds your duds!
