Father Christmas Ornaments
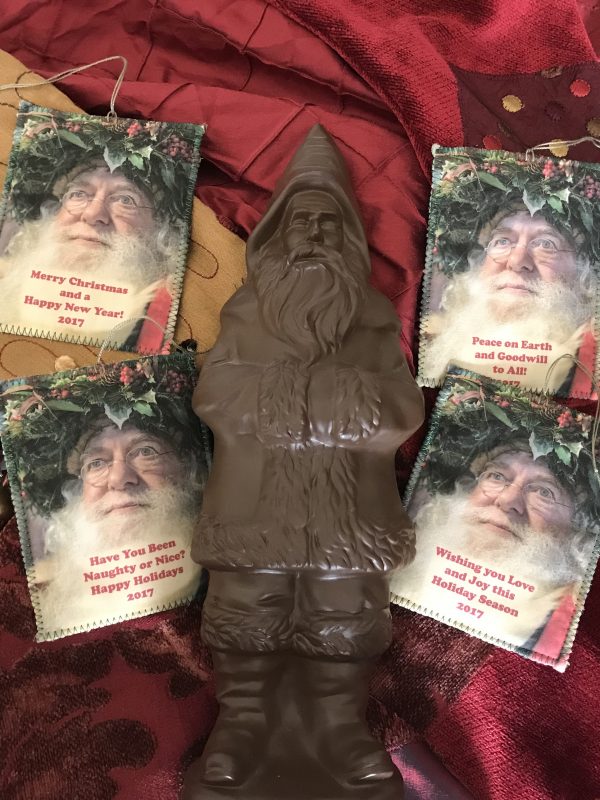
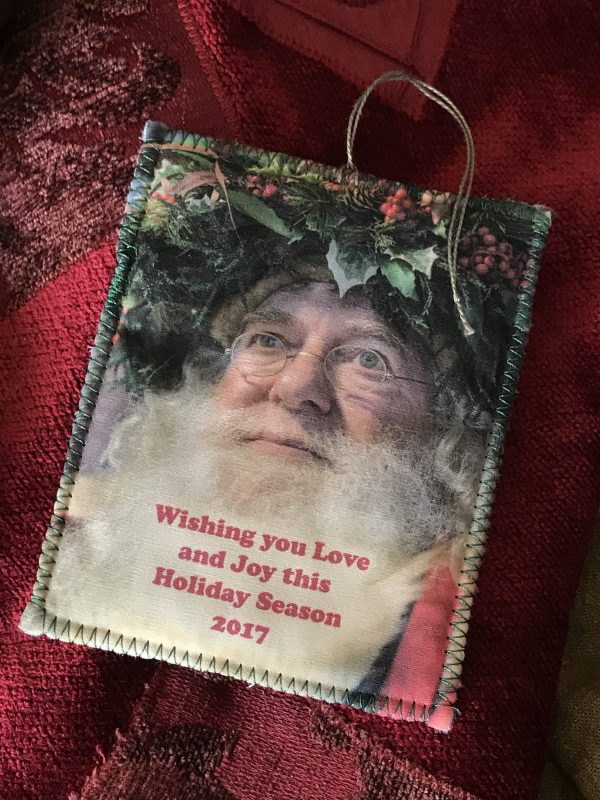
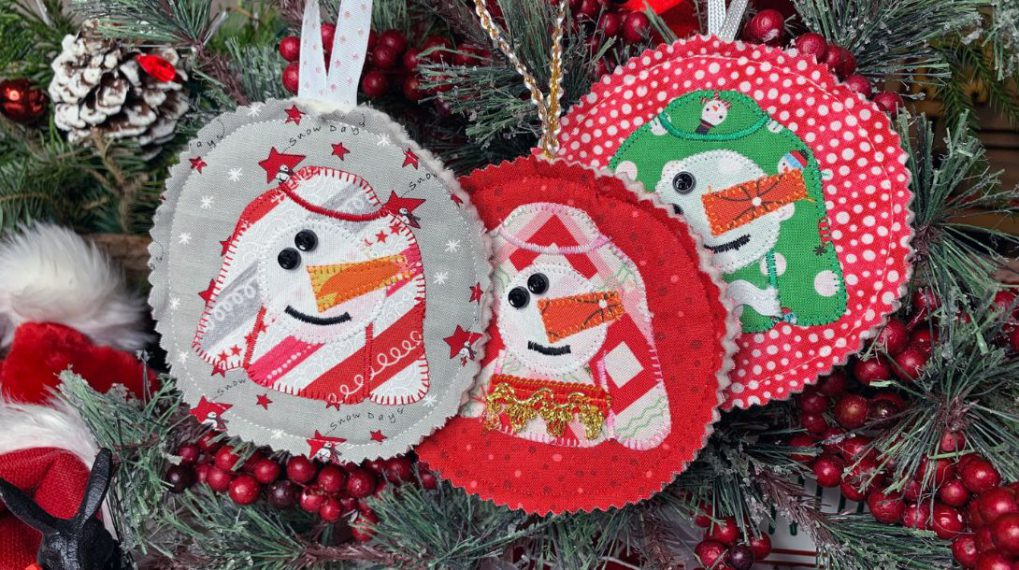
This is a fast and easy project to create a set of four holiday ornaments for your Christmas tree or to give to family and friends. This project can be done using any zig-zag sewing machine.
This year when I was visiting Father Christmas, he reminded me that he is NOT Santa Claus. He is Santa Claus’ father. His messages of Goodwill are for people of all faiths and his tradition is more about giving peace and joy rather than receiving material goods.
There are many traditions that are celebrated at this time of year, and you may find images that are more appropriate for your faith during the holiday season. Be aware there is a price for the royalty-free images that you find on the internet. Many times, the price you pay is giving them your email address and the resulting spam you may get in your inbox.
The image of Father Christmas and his messages I have provided here for the ornaments to be printed can be downloaded. The images of “Father Christmas” are for non-commercial use only, and for your use as a follower of the weallSew blog.
Materials to Create Father Christmas Ornaments
- 1 8.5×11-inch sheet of printable Inkjet fabric (Threads Cotton Poplin)
- 1 Fat Quarter of green or red fabric
- 1 Fat Quarter of batting (Ever Sewn: Needle Punch 100% Polyester Batting)
- Temporary Fabric Adhesive (505 Spray and Fix)
- Threads to match fabric and basic sewing supplies
- Red or Green Perle cotton or other heavy weight thread
Equipment to Create Father Christmas Ornaments
- BERNINA sewing machine (I sew on a BERNINA 770 QE)
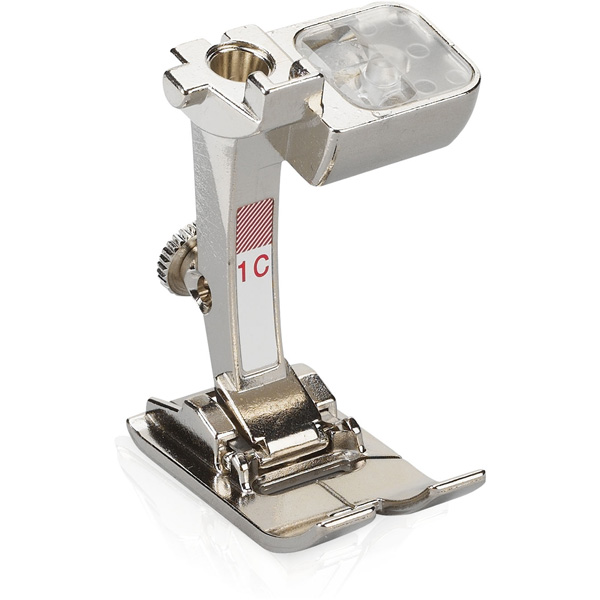
- BERNINA Reverse Pattern Foot 1C
- Rotary Cutter
- Cutting Mat (Quilter’s Select)
- Basic sewing kit
- Large-eye hand sewing needle
- Download the Father Christmas Image here
Directions to Create Father Christmas Ornaments
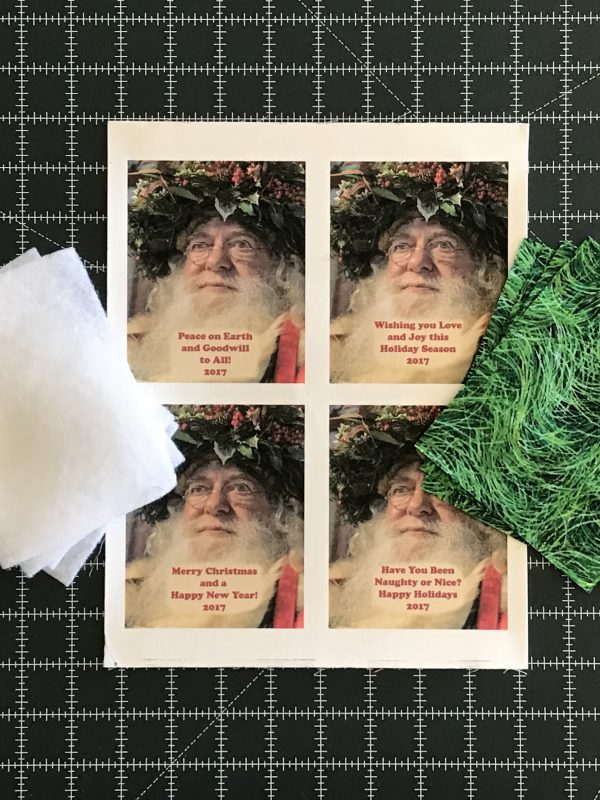
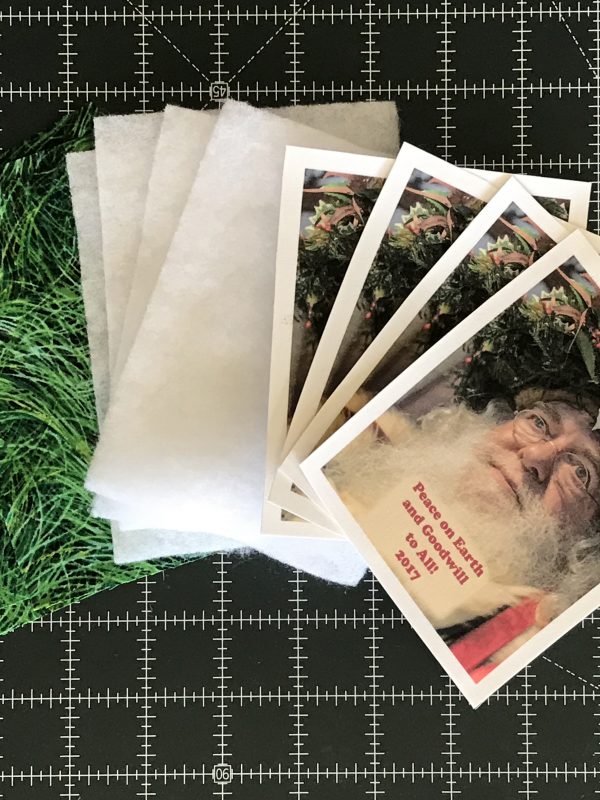
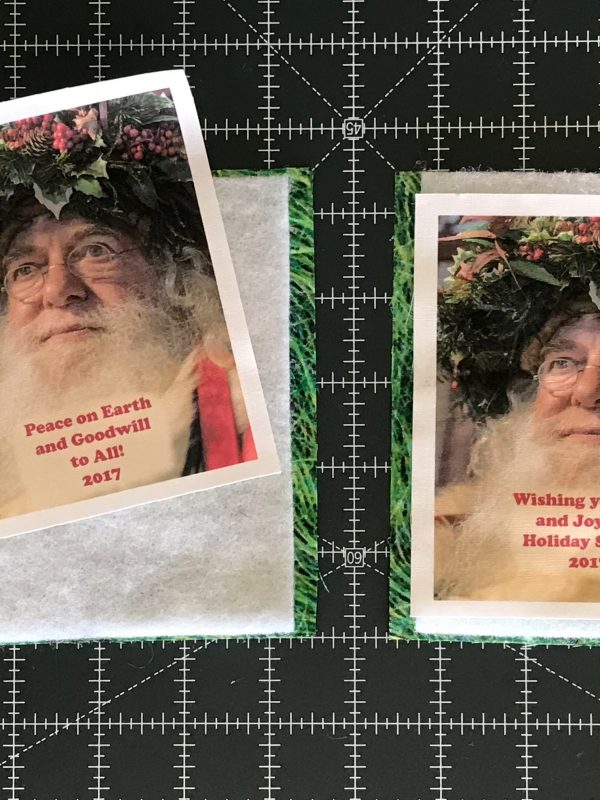
Download the four images of Father Christmas and print them using your inkjet printer on an 8.5″ x 11″ sheet of cotton poplin fabric. I used Threads Inkjet Printable Fabric, available from Brewer. Press and cut four (4) pieces of fabric 4.5″ x 5.5″ for the back of the ornaments. The batting I used is the Ever Sewn Needle Punch 100% Polyester Batting that is exclusively distributed by Brewer. Cut four rectangles of batting 4.25″ x 5.25″.
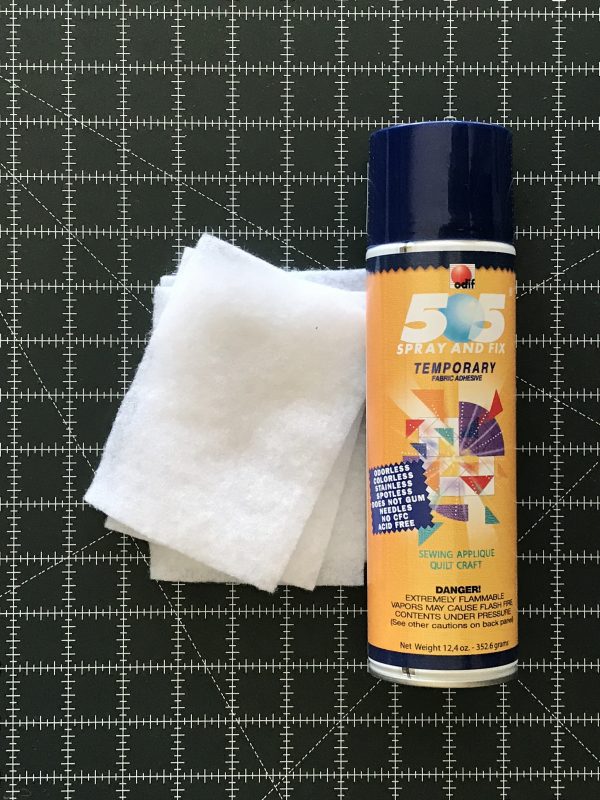
Spray one side of your batting with a fabric adhesive. I used 505 Spray and Fix that I purchased from local BERNINA Dealer.
Place the batting adhesive side down on the wrong side of the backing fabric. Then apply a coat of the fabric adhesive to the top of the batting that has not been sprayed. Then position your cut out image of Father Christmas on top of it to create your fabric sandwich.
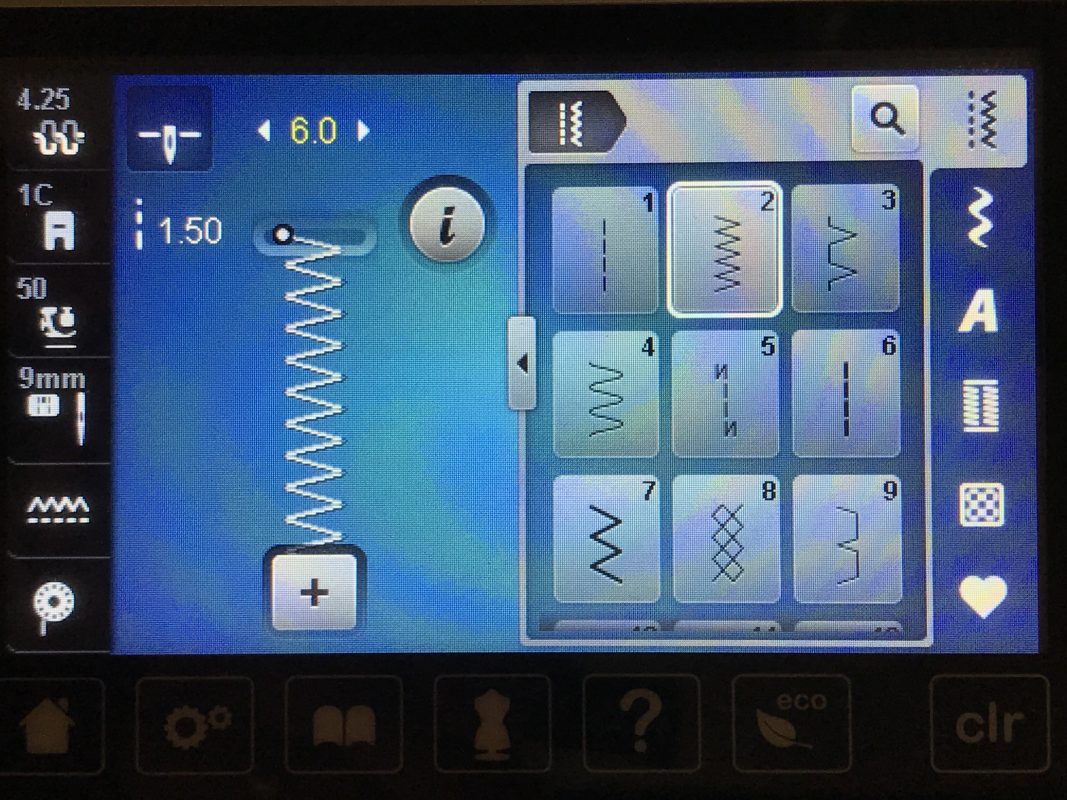
Trim the excess fabric from your ornament sandwich. Set your zig-zag wide. My settings on BERNINA 770 QE were 6.0 width and 1.5 height.
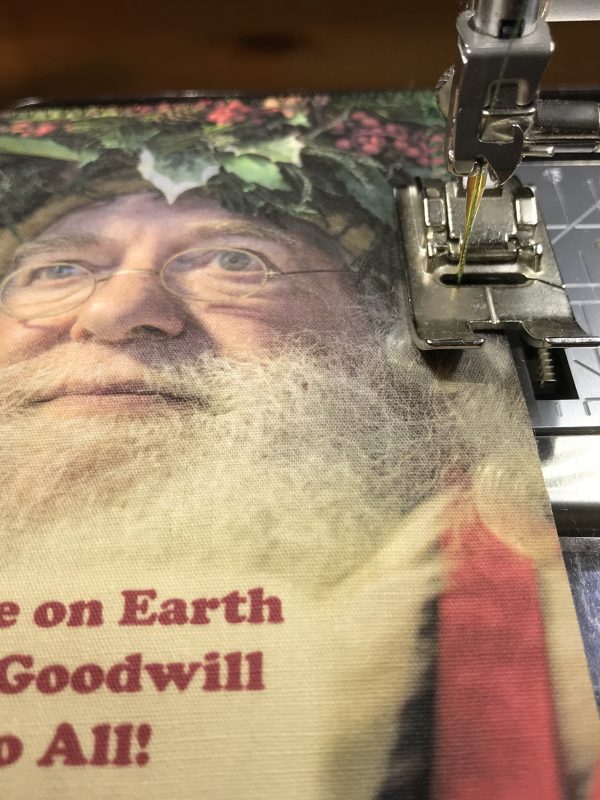
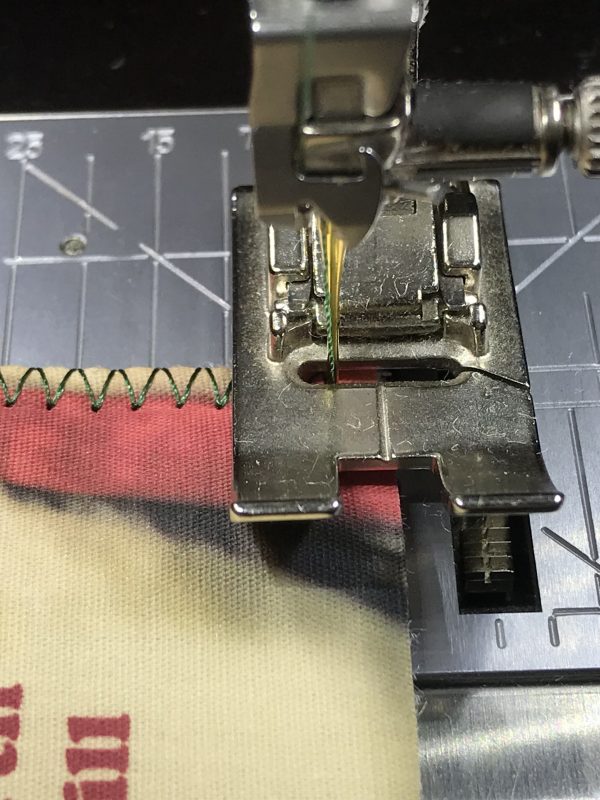
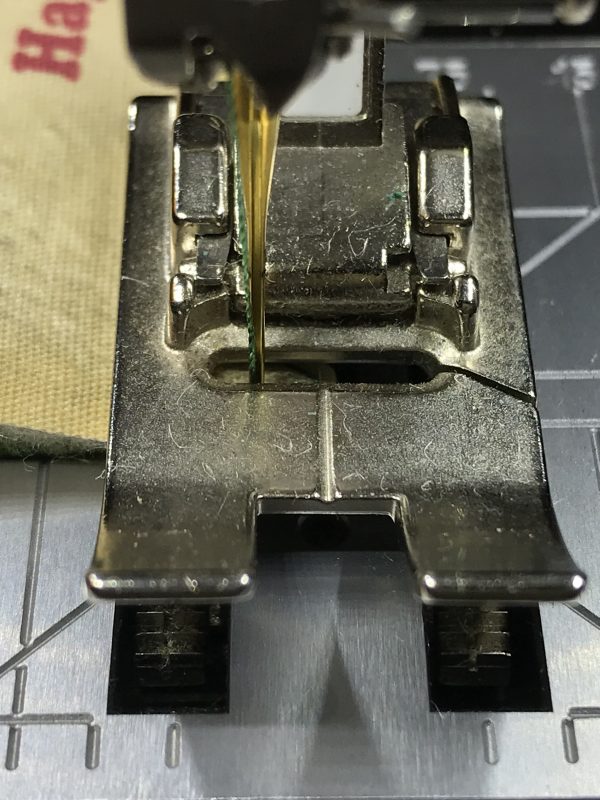
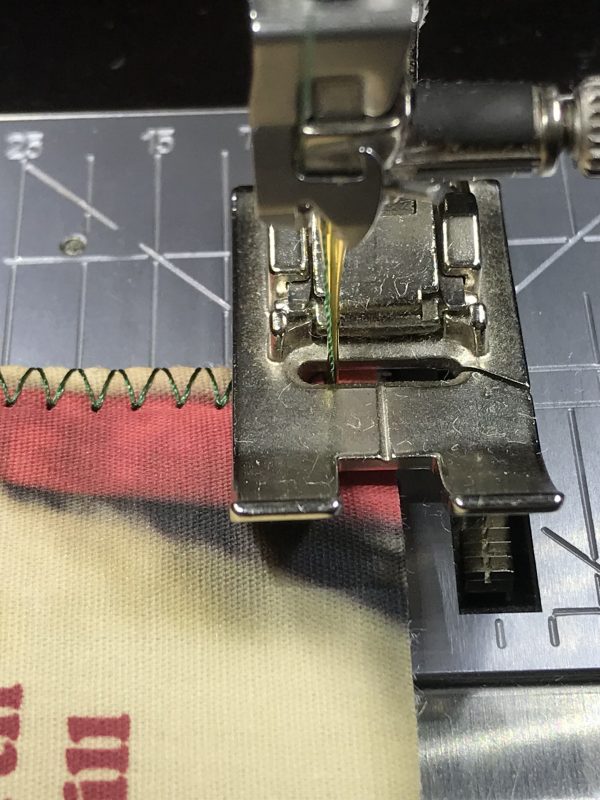
I used the reverse pattern presser foot 1C to secure the edge of the ornament.
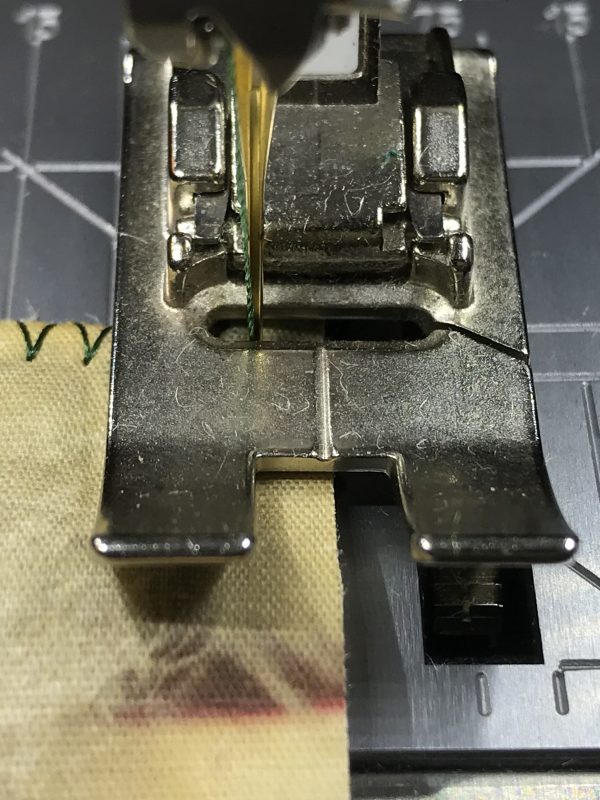
Guide the edge of the fabric into the center of the presser foot, so that the needle goes into the fabric on one side and over the edge into the air on the other side.
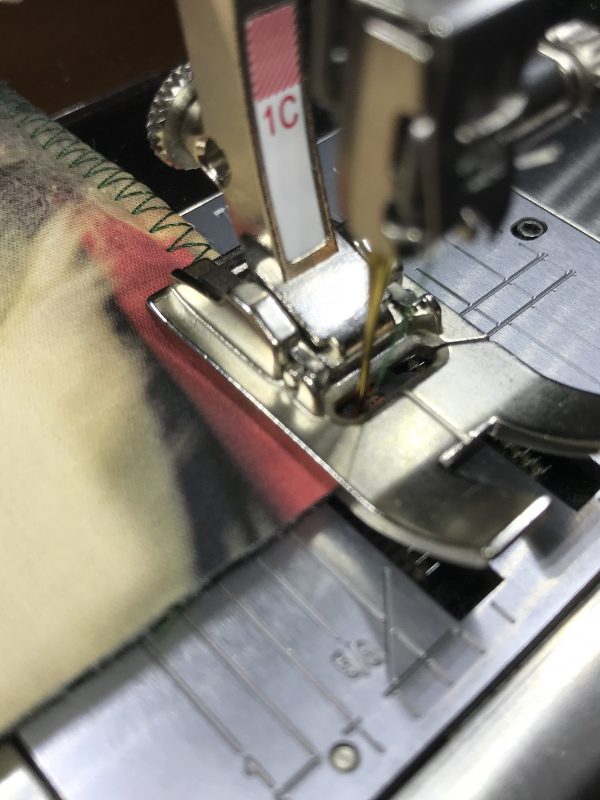
Using needle down, stitch up to the corner of the fabric leaving about one stitch length from the edge.
With needle down in the fabric, raise the presser foot and rotate the fabric 90 degrees. Continue zigzag stitching around all sides to create the border edge stitching on all ornaments.
Cut a 10-inch piece of perle cotton thread, and using a large eye needle thread take a stitch through the center top of the ornament. Knot the ends to create the hanging loop. Your ornament is ready to hang on your tree. Repeat the process for the other three ornaments.







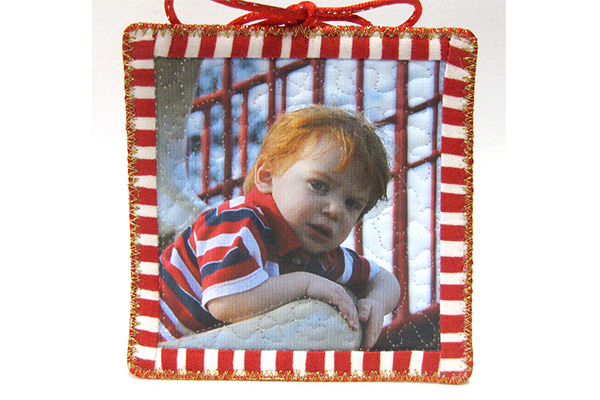

I love the picture but could you provide and undated version to use next year. I can put the date on the back.