Holly Jolly Ornament Tutorial
Happy holidays from BERNINA Ambassador Joanne Sharpe. Joanne is an artist and teacher with a specialty in mixed media art from upstate New York. Look for her new book “The Art of Whimsical Stitching” (Interweave) coming in April 2016.
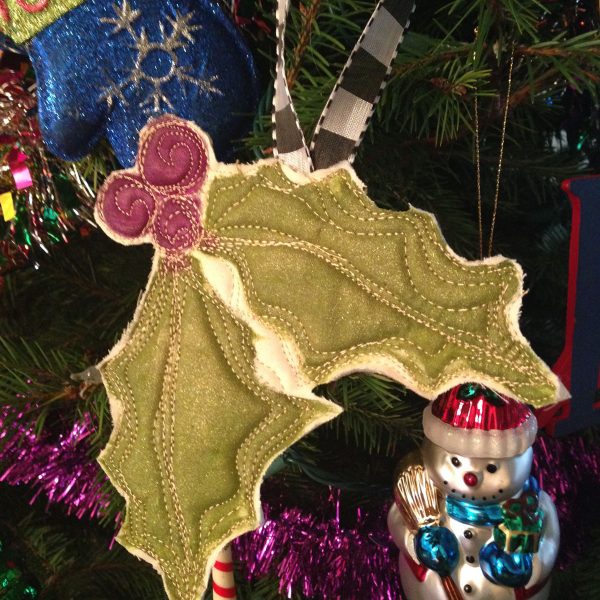
Oh how I love to make art with my BERNINA! Enjoy this Holly Jolly Ornament tutorial to create simple, and adorable hand made fabric ornaments with a little bit of paint and free motion stitching. These “holly jolly” ornaments make a fun gift tag on a gift, and then can be reused each year as a holiday decoration. Don’t be afraid to pick up a brush to make whimsical shapes to add texture and embellish with free-motion stitching on your machine. This is an easy project that can be completed in one afternoon. Handmade holidays are the best!
MATERIALS:
- Fabric paint in greens and reds—I use So Soft by DecoArt available at craft stores
- Fabric paintbrushes (I use Tulip brand)
- White/natural muslin fabric (18″ x 24″ will make about 8 ornaments)
- Soft and Stable batting 18″ x 24″ (I use ByAnnie brand)
- Green batik or patterned fabric for backing
- Disappearing ink fabric marker
- Quilting template plastic (optional to make template)
- Decorative ribbon
- Scissors for fabric and applique
- Metallic thread (I use Floriani-color gold)
- Free-motion embroidery foot #24 or BERNINA Stitch Regulator
- Sewing machine
- Holly Jolly Ornament Pattern downloaded and printed: Holly Jolly Ornament Pattern
Make your Holly Jolly!
Instructions to make a Holly Jolly Ornament:
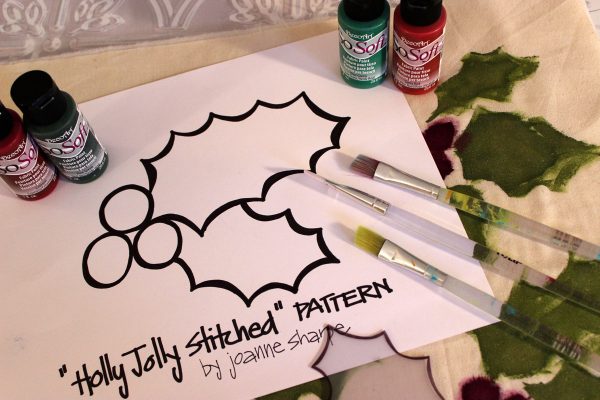
1. Make your holly pattern.
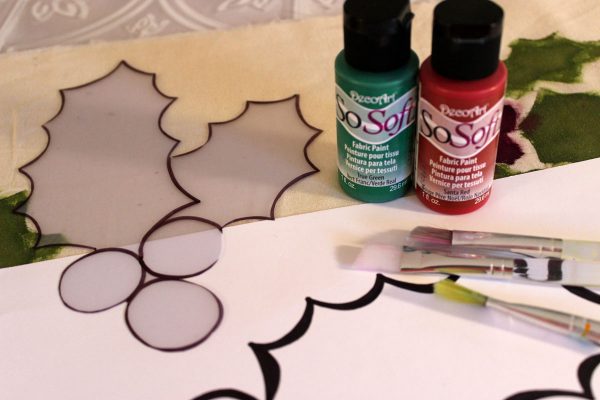
Print out the pattern, or if you’re really brave, draw your own free hand holly with berries. If desired, make a reusable template from quilting plastic by tracing the design onto the plastic with a permanent marker (like a Sharpie) and cut out.
2. Trace the pattern on to the fabric.
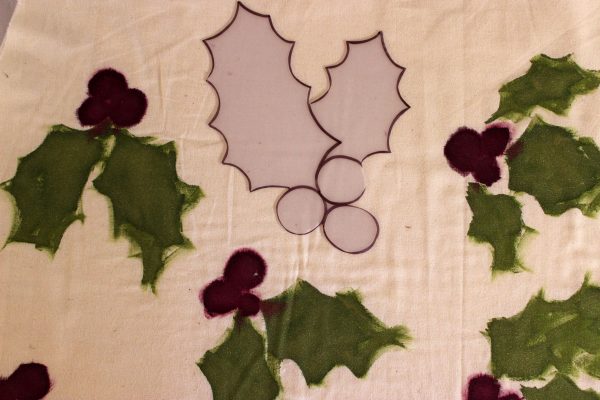
Place your Soft and Stable batting under your muslin fabric. Use the paper or plastic template and trace the shape multiple times filling up the surface, fitting in as many as you’d like.
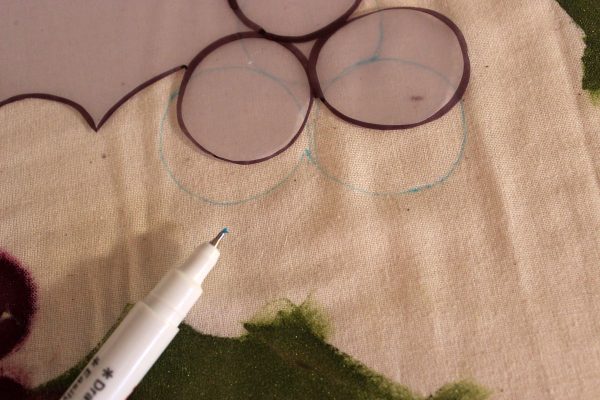
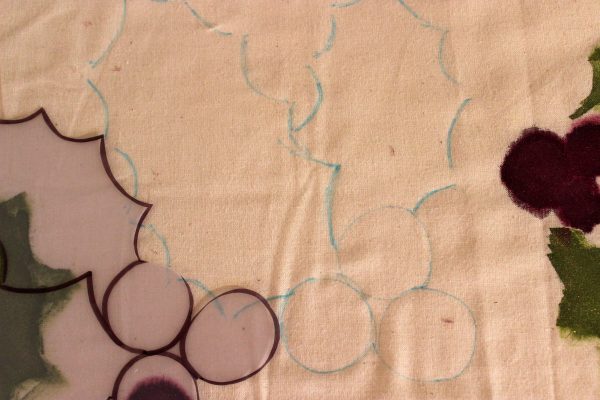
Trace with a disappearing ink fabric pen that will vanish when you add paint over the lines.
3. Paint the fabric shapes.
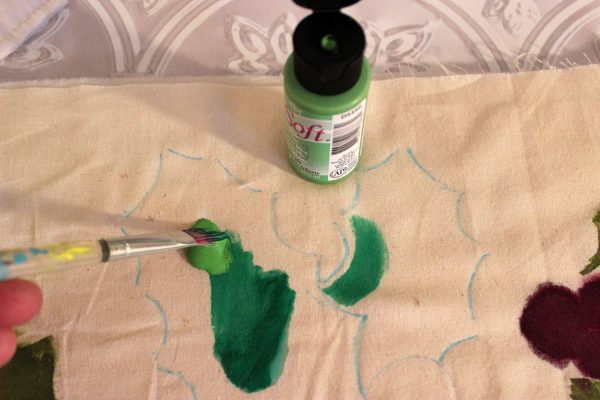
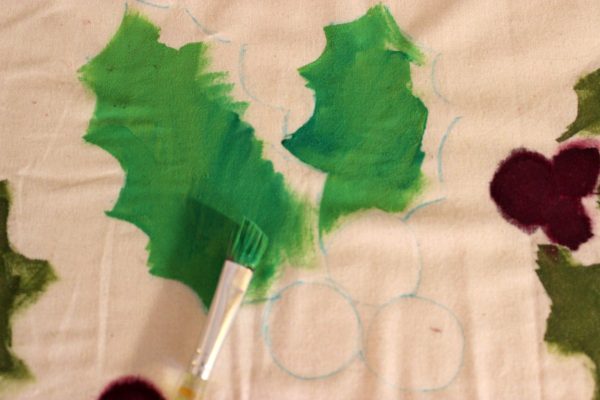
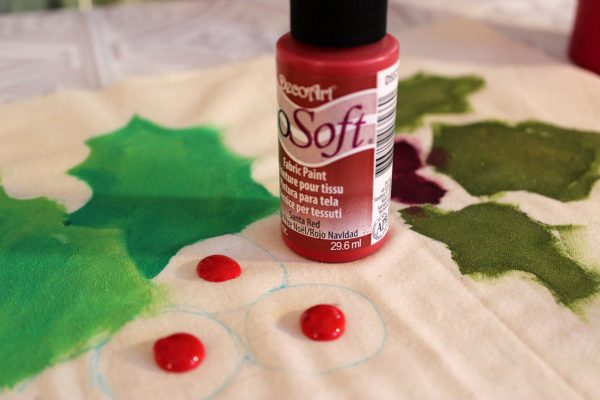
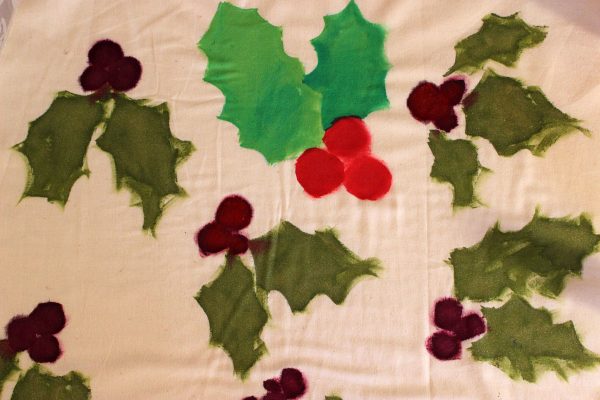
Choose your favorite reds and greens for the holly leaves and berries. Loosely paint the shapes (they don’t have to be perfect) that you traced on the muslin and allow to dry completely before you go near your sewing machine.
4. Cut your all over pattern.
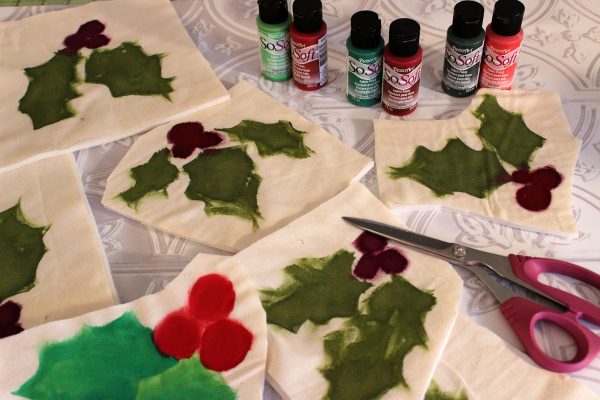
Rough cut around each shape leaving about 2″ around the painted image.
5. Add the backing.
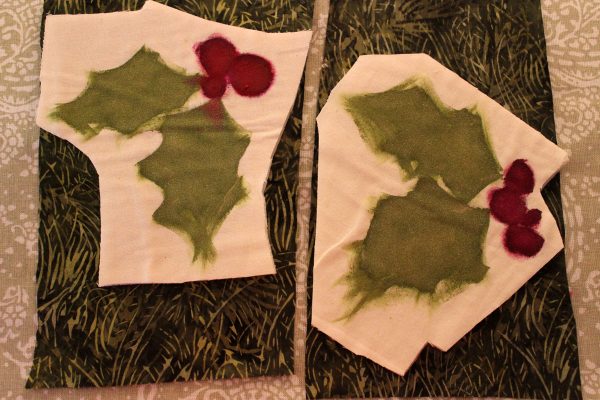
Rough cut green fabric for the backing of each piece, with about 2″ of fabric extending around the entire shape. Take the “sandwich” over to your sewing machine.
6. Stitch your shapes.
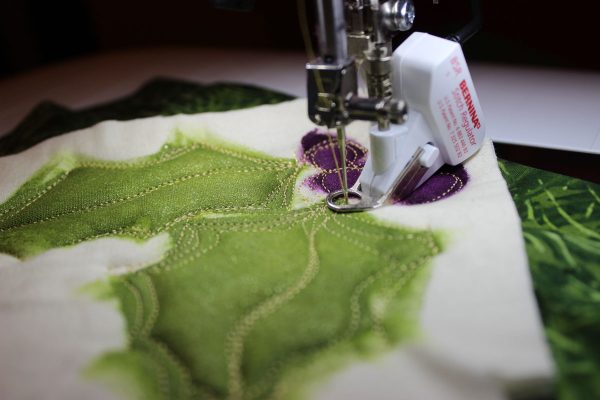
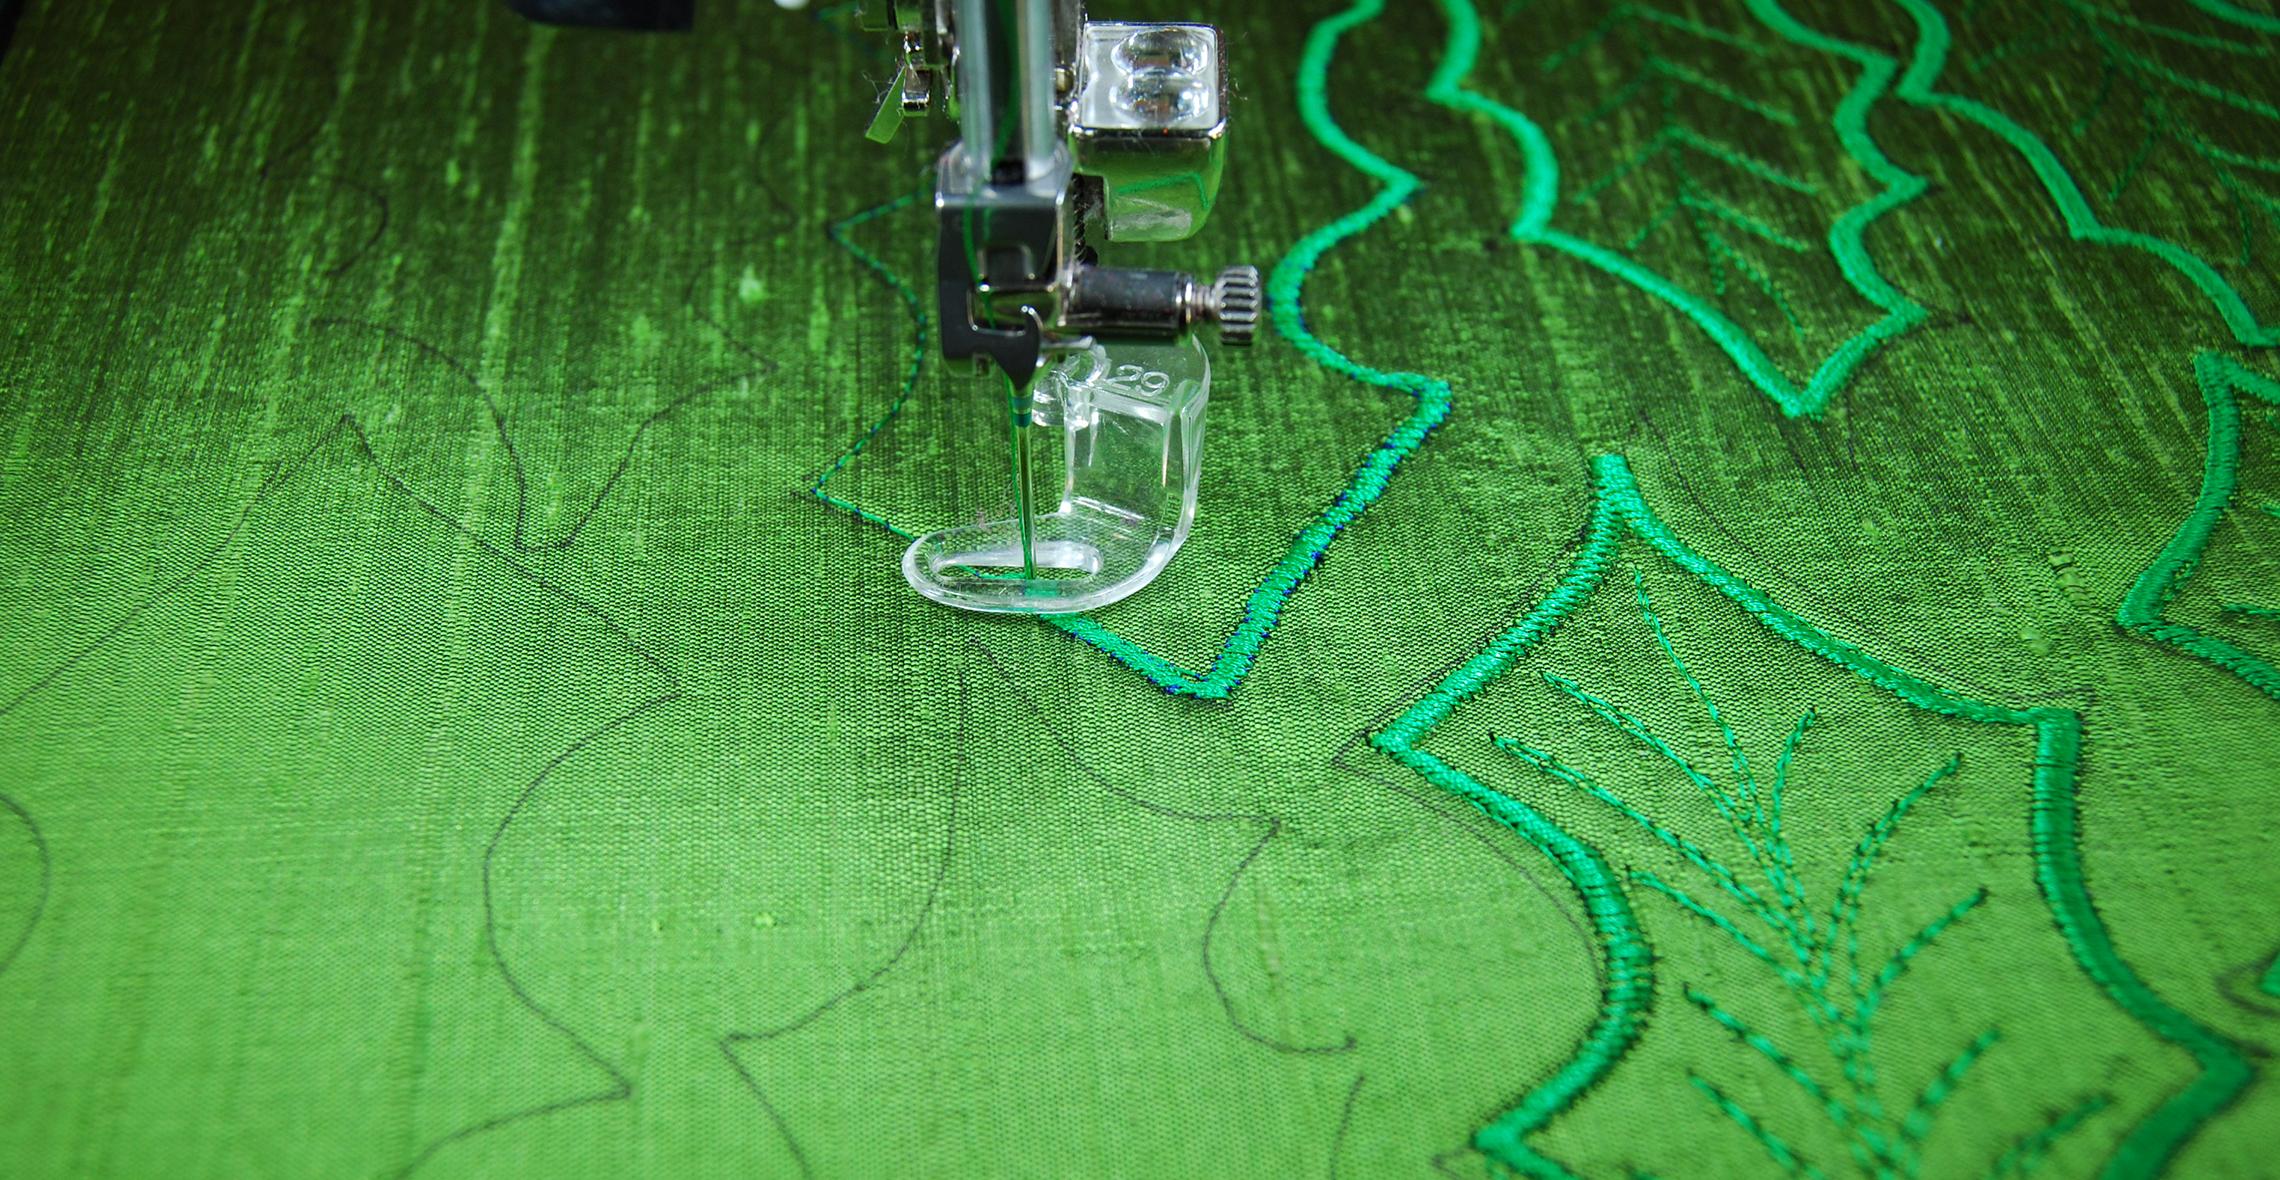
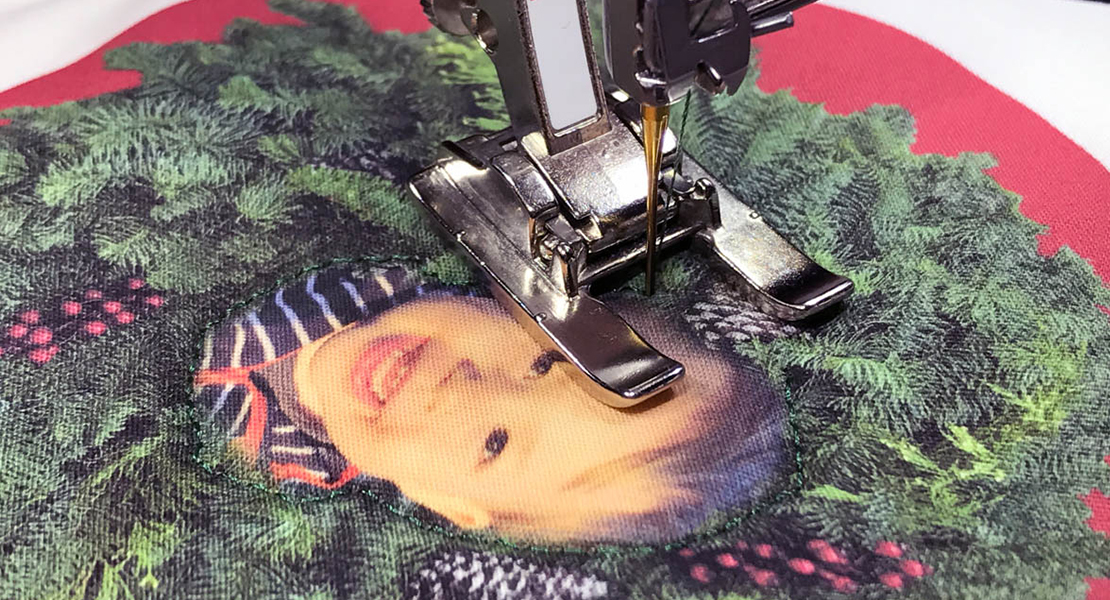
This is the fun part! Think of your gold thread as a colored pen to draw the details and outline of the holly shape. With the BERNINA Stitch Regulator, or your desired method of free-motion stitching, sew and follow the shape of the holly leaves and berries. Use 2-3 loose, “sketchy” thread lines so that the piece looks more artistic and intentional, not like you were frozen in fear to draw over your painting with free motion sewing! Here’s the secret, this is why you painted multiple pieces.
7. Cut out the holly.
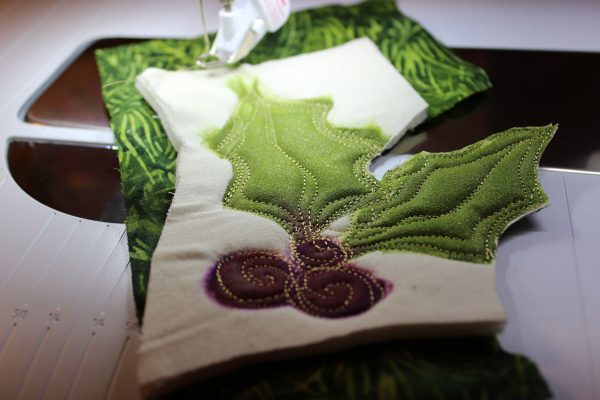
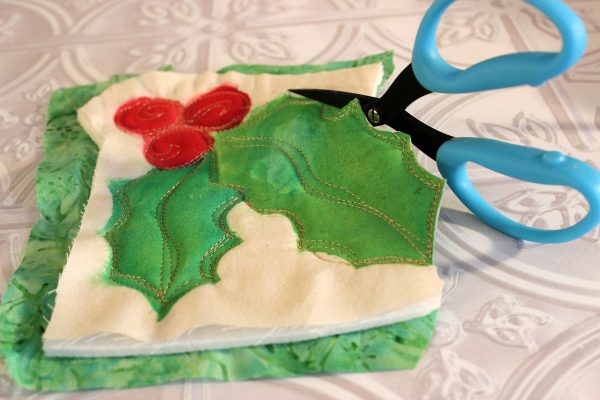
When the stitching is complete, use your best, sharp applique scissors to fussy cut the holly shape at the stitching line leaving a nice raw edge.
8. Add a decorative ribbon hanger.
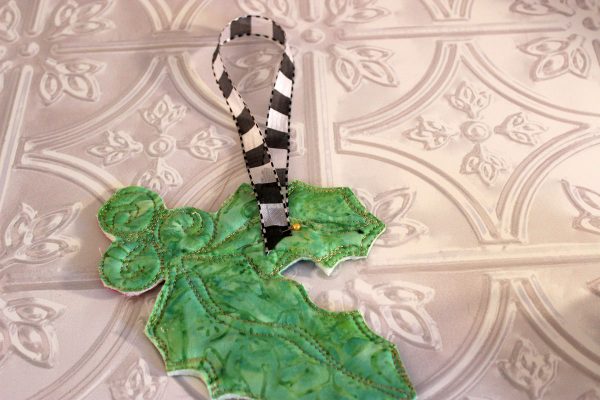
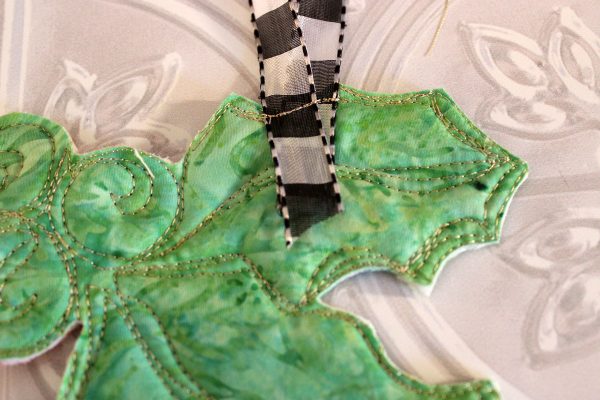
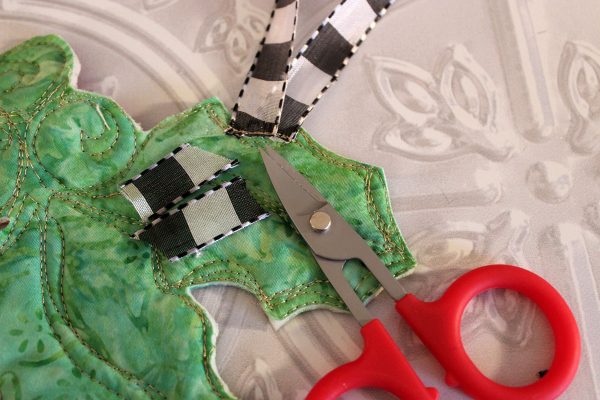
To add a “hanger” use a ribbon on the back of the piece to be sewn over the existing line of stitching. Trim the ribbon tight and close to the stitching line, as you would on an applique piece. I found this leaves a clean line in the shape of the piece and hangs the lightweight shape nicely.
Adorn a package and reuse in Holiday décor. What a simple, gratifying project to sew up for the special folks on your gift list. Celebrate the season with your creativity and BERNINA magic!
Our December 11 Gift For You
Today’s gift is a red BERNINA Roller Backpack to one awesome WeAllSew fan. All you have to do is post a comment below answering the following question:
What ornament what you sew with Joanne’s technique?
A winner will be chosen at random on December 12, 2015 and announced the following week!
Good luck!
Congratulations to our WeAllSew reader “kathryn”, the winner of the December 11 gift. Enjoy!
What you might also like
75 comments on “Holly Jolly Ornament Tutorial”
-
-
I’d make Christmas trees!
-
Probably a snowman , then I would show this idea to my grandaughter to inspire her to use her Bernina that I gave her last Christmas , she enjoys doing crafty things. This will also give her experience with maneuvering the fabric with her hands and the sewing machine .
-
-
What ornament would you sew with Joanne’s technique? I really like the holly’s that she showed us how to do. If I did not do that one I would try my hands at something like Snowmen. Unfortunately I don’t have a free motion foot or a stitch regulator as I am working off of a Bernette 20.
-
This looks like soooooo much fun!!!!!
-
cool horses
-
-
Any Christmas themed ornament would work. I like that I could make ornaments reflecting this year’s special interests or events.
-
Cute idea for any season!!
-
What a great idea — and I have all the materials on hand! I will start with your holly leaves and berries, but then go onto Christmas trees, Santa’s elves — the possibilities are ENDLESS! Thank you. <3
-
A Christmas Tree would be lovely and could be embellished further with beads or sequins.
-
What a great idea! I’m picturing this as a great kids art activity! Give them a smaller piece of fabric and some paint and then add the stitching on top! So fun!
-
A Christmas tree. I think I can, I think I can………………..
-
I would try the Ivy first and then the snowman from the previous blog…then maybe a sled, and a nutcracker, and a Christmas tree, and a Star…wow, I love when creativity is stirred, that possibilities become endless!
-
A snowman ornament sounds like one that I would try. Thank you.
-
Very cute! I think an ornament, one like a wrapped gift, and the holly leaves are very cute.
-
I love the holly ornament and this will inspire me to use the nifty stitch regulator! Need to go shop for the fabric paints!
-
A snowman would be the easiest for me to start with.
-
I like stars made from lace fabric and snowmen of course!
-
I think it would fun to adapt the ornament for the paintwork tool.
Peggy -
I love the holly. I would probably do a tree, penguin, and a snowflake.
-
I like the holly ornament but also might try the technique on a snowman. What fun. Thanks for sharing
-
I would like to start with the holly and see where my creative leads me after that!
-
That holly will be hard to beat!
-
Love this ornament – I think I would like to try this using the holly pattern! Thanks for sharing : )
-
Oh the holly leaves are so cute!!!!! 1) I am “dasher-ing”- not “prancer-ing” to my craft room (which today, sadly, is looking more like a crap room, to make these! What a great idea. I am also adding Joanne’s book to my “must buy ” list for 2016!
-
I think I’d try a snowman
-
I would attempt to sew out the holly leaf and berries.
-
Another great idea. I would make the holly leaves and add a pin to the back to put on my sweater
or coat to wear for the holidays.
-
This would be great as a package decoration along with a bow.
-
I’d sew lots of cat silhouettes for my crazy cat lady friends.
-
I would make a snowman ornament and the holly leaves and berries. Thanks for the inspiration.
-
I would love to make a few angel ornaments with this technique…so fun. Thanks for sharing!
-
I would like to make a Christmas tree ornament. And maybe an angel ornament too.
-
I would try to make either a snowman or a gingerbread man.
-
Very nice idea. Love this Holly.
-
snowman
-
Xmas trees would be fun to do
-
A Christmas tree!
-
I would love to try some snowflakes with a nice silver metallic thread accent. Gorgeous! Thanks for the tutorial and the giveaway.
-
I think the holly and berries are very nice. Maybe I would try a stocking or mittens.
-
I would make holly, candy canes and small trees.
-
Such a creative idea! I would start with the holly and then……? A red, green, and gold round ornament.
-
Ornaments, trees, leaves, berries, as well as ribbons, bows, and wreaths… fun!
-
I would start with the pattern shown, then go from there
-
I would make snowmen! Maybe some Christmas trees too!
-
Snow flakes!
-
Such a cute idea and the kiddos love to paint! I think I would try simple shapes like stockings, mittens, round ornaments and trees. Once I clean up the kids mess. I will do my favorite thing and sew them an cut them out. Maybe a little embellishment too! I would them as name tags on the kids gifts. They could be used year after year. ? Love it ❤
-
I would make star ornaments!
-
The holly leaves look really nice.
I think I’ll start there and then try my luck with a snowman, snowflake, angel and a tree.
Thanks for the great project.
Happy Holiday’s -
Well, you have already demonstrated my favorite, holly leaves with berries. I’m already thinking how I can switch it up to adapt it for a toddler craft. lisajcowell(at)cs(dot)com
-
I think I’d like to make a snowman. I just love them!
-
I would make Christmas trees, Stars and gift packages with the technique to use as gift tags and ornaments.
thanks for the opportunity to win. -
I can’t find the post for last week’s winners. Does anyone know where to find them?
-
I would create Christmas Westies since it is so hard to find Westie ornaments where I live. I love the technique.
-
I would first try to duplicate the holly and then create a Christmas tree with multiple shades of green. Thanks for the nice project.
-
A baby in a manger.
-
It is amazing these ideas. I would make stars.
-
Oh a Christmas tree would be great. Would be easy to stitch garland on it and then add a few beads to it.
-
I’d start with something simple like the holly leaves and berries shown . . . or maybe a Christmas tree. These are really cute!
-
I will stay in the free theme and use her holly adding wreaths and Christmas trees. These are so cute and great tree ornaments for a home with young children ( or cats)!
-
I would love to try Joanne’s technique making a heart ornament ~ as the holidays around our house are always filled with LOVE! <3
-
A gingerbread boy and girl.
-
Gingerbread people would be a fun tree ornament.
-
I think Gingerbread men to use as a garland would be way cool.
-
Would love to try Christmas trees using this technique. Lots of ideas come to mind and I’m anxious to try the SoSoft fabric paint.
-
I like the holly and berries. Different shaped “balls” would be fun also. I can see endless possibilities for this project. Thank you.
-
I would make bells.
-
The berries and holly just as done on the tutorial, I’m a beginner and start with the plan first then stray off to try other ways. Thanks for the wonderful pattern! Kathe
-
I would make a bell and hang a little round bell on it.
-
I love the holly. It is a much under-used symbol of the holidays.
-
I would love to make that holly ornament and I have some Soft and Stable in my stash.
-
Snow men are my favorite.
-
Snowman definitely, and a pine tree with white icicles.
-
I like this holly ornament. It would be great practice for learners to practice curves
-
A Jewish star, Mara
Leave a Reply
You must be logged in to post a comment.



A Santa ornament, the stitching and paint techniques will allow me to create a wonderful one !