How to Make a Fat-Quarter Christmas Tree
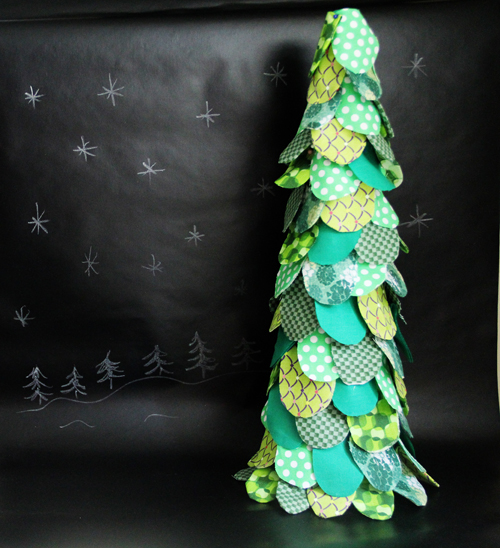
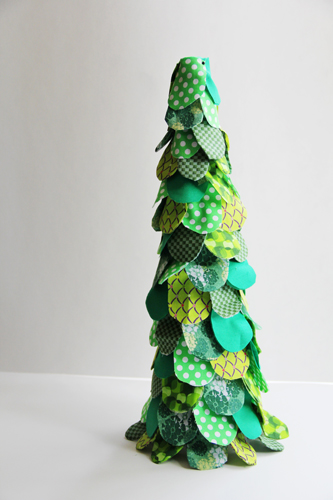
Need a last-minute centerpiece idea for your holiday table? Short on time? No problem…..and no need to compromise on the outcome. This darling little tree can be put together in no time. Use coordinated fat quarters or dive into your resource center (aka…fabric stash) and use scraps of your favorite prints. This sweet tree also makes a great foyer accent piece, especially when teamed with your favorite ornaments.
Supplies
- Five fat quarters of assorted cotton prints
- Fabric shears
- Pins
- Styrofoam cone in your desired Christmas Tree size
- All-purpose presser foot (BERNINA Reverse Pattern Foot #1/1C/1D)
Step 1) Cut the fabric pieces.
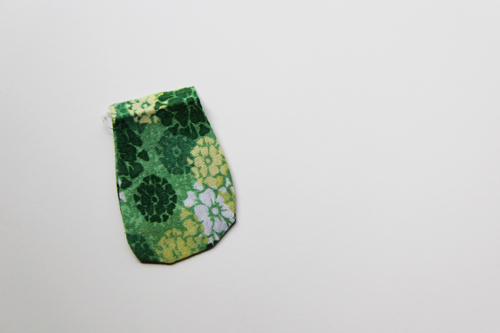
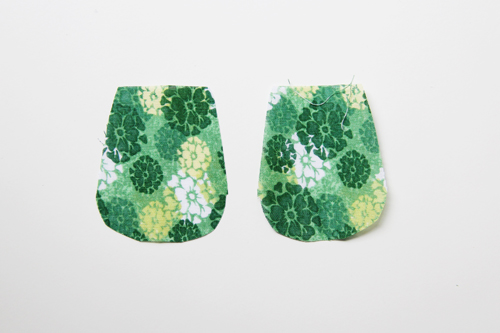
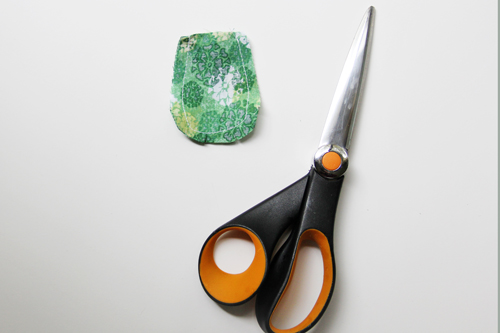
Using your fabric shears, cut teardrop shapes approximately 2″ wide x 3″ long from your fat quarters of fabric. The top should of each tear drop should be a flat, straight edge.
When finished you will have a bunch of teardrop-shaped fabric pieces, all the same size.
Step 2) Stitch the teardrop shapes.
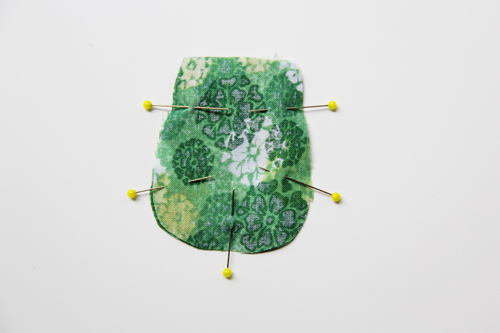
Place two teardrop fabric piece right sides together. Pin around the outer edges, leaving the flat top open.
Stitch around the outer edges using a 1/4″-wide seam allowance.
Clip seam allowances around the curves.
Turn teardrops right side out and press.
Turn the raw edges under 1/4″ and press.
 When finished you will have a pile of double-sided teardrop-shaped pieces.
Step 3) Pin the first row of teardrops in place.
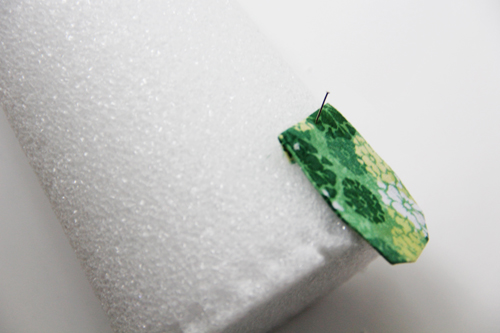
Pin one of your fabric teardrops into the bottom of the Styrofoam cone, with the turned-under 1/4″ edge against the cone. Be sure to push the pin all the way into the cone.
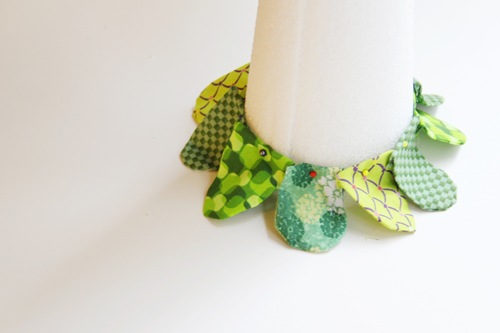
Repeat all the way around the cone, overlapping teardrops a little at the sides.
Step 4) Add the remaining rows of teardrops.
Repeat step three, placing the teardrops so the lower edge of each one overlaps the row below it about 1/4″, covering the pins.
Continue adding tiers of teardrops.
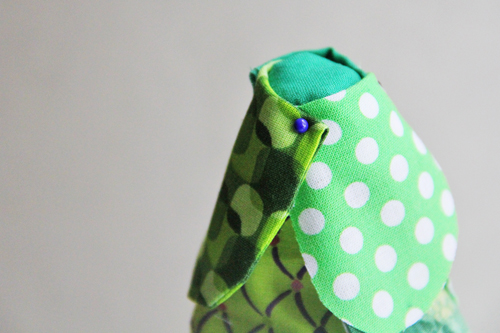
When you reach the top of the cone, cover the tip with a small scrap of fabric, and simply pin down the sides of the scrap with the teardrop-shaped pieces as you go around the top edge.
Finished! Sit back and admire your new holiday decoration, or make a whole bunch more for a mini fabric forest.











4 comments on “How to Make a Fat-Quarter Christmas Tree”
Perfect for a table decoration for those of us that are short on time. Thank you
I made a similar decoration alternating rows of white lace and rows of gathered tiny green gingham fabric.
This will make a lovely addition to the display!
Not the best idea you folks have posted. Seems rather time-consuming to me for what you get out of it.