How to Make a Quilt Panel
I’m so excited to share with you what I have been working on for the last year!!! (did I add enough exclamations to show my excitement?) It’s always a blast to find new ways to add and USE quilting in my everyday life.
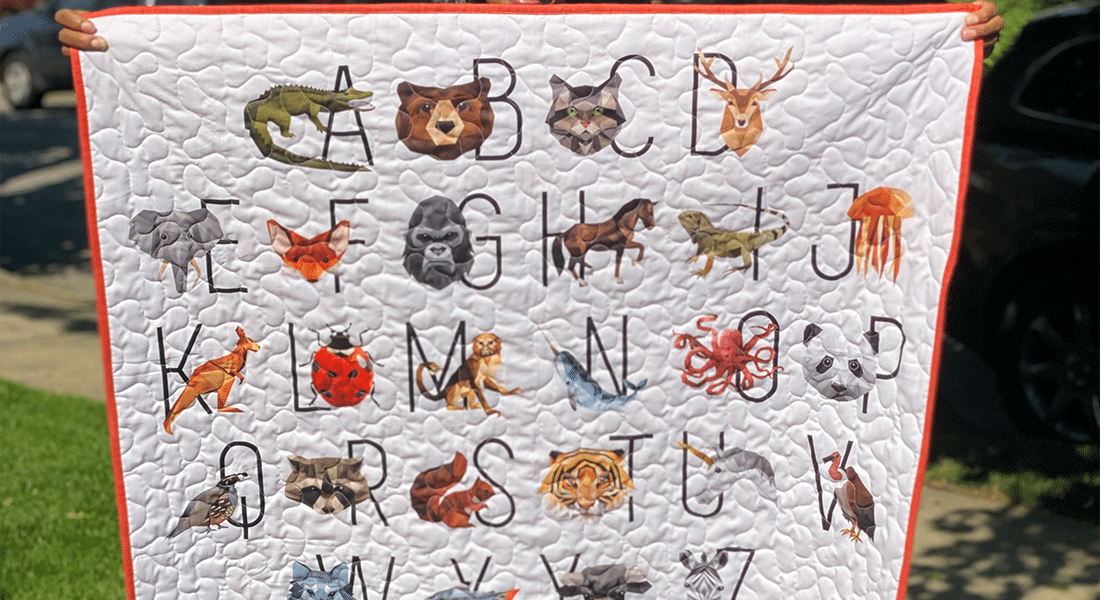
Why a quilt panel and not just use a full quilt? Quilting a full-size quilt can sometimes take up way too much time. So whether you are just beginning to quilt or are already a quilter for life, whipping up a quilt panel for a special project can cure those creative juices much quicker than creating an entire quilt. Plus, it’s also a great way to show off your quilting skill in small impactful ways. Create a quilt panel and using it to make other projects will help you create and explore the world of customization using skills you didn’t know you already have, letting us exercise that creative brain.
Before we dive into any additional projects, we need to first make our quilt panel. The size of your quilt panel will be determined by how many projects you plan to make with it and if you want them all to match. Be sure to check back at WeAllSew and on my personal blog, Honymfin.com, for projects you can make using your quilt panel.
Supplies to Make a Quilt Panel
Terms:
- WOF= Width of Fabric
Sewing Tools:
- Rotary Cutter
- Quilting Ruler
- Cutting Mat
- Sewing pins or clips
- Thread
Additional Materials:
- Beautiful Top Fabric
- Plain backing Fabric (I like to use Kona White)
- Pellon Stabilizer 809
- Quilt Batting (I like to use Pellon Fusible Fleece 987F for my panels)
- Optional: Basting spray if you aren’t using iron-on batting
Sewing Machine
- My machine is the BERNINA 530 SE Swiss Red (She is 7 years old)
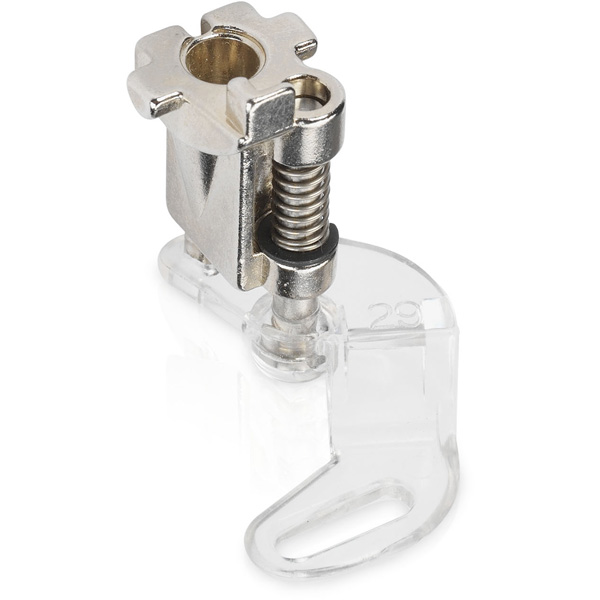
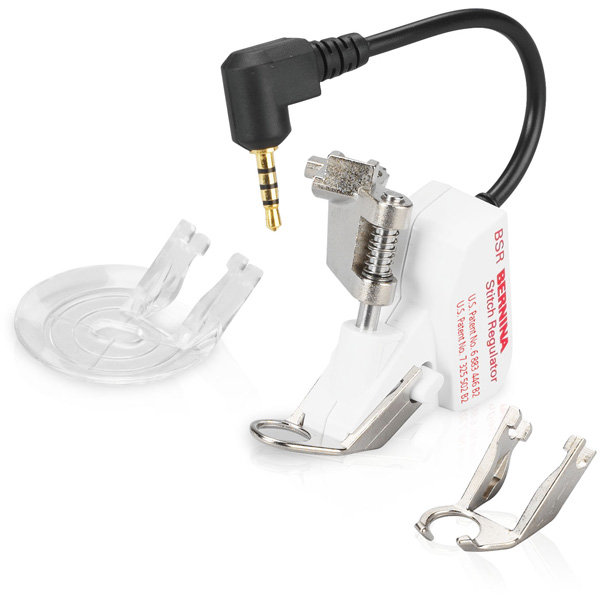
- For quilting, I like to switch between the Walking Foot #50, Quilting Foot #29, and the amazing BERNINA Stitch Regulator (BSR).
I switch between the different feet depending on the style of quilting that I intend to do. The walking foot is amazing for straight stitch quilting, the BSR is best at decorative free motion quilting, and I LOVE the quilting foot for fast free motion. If you are a beginner and only have the regular #1 foot, have no fear you can totally to this panel as well. I just recommend sticking with straight stitching, basting a little more, and taking your time.
Let’s get sewing!
Steps to Make a Quilt Panel
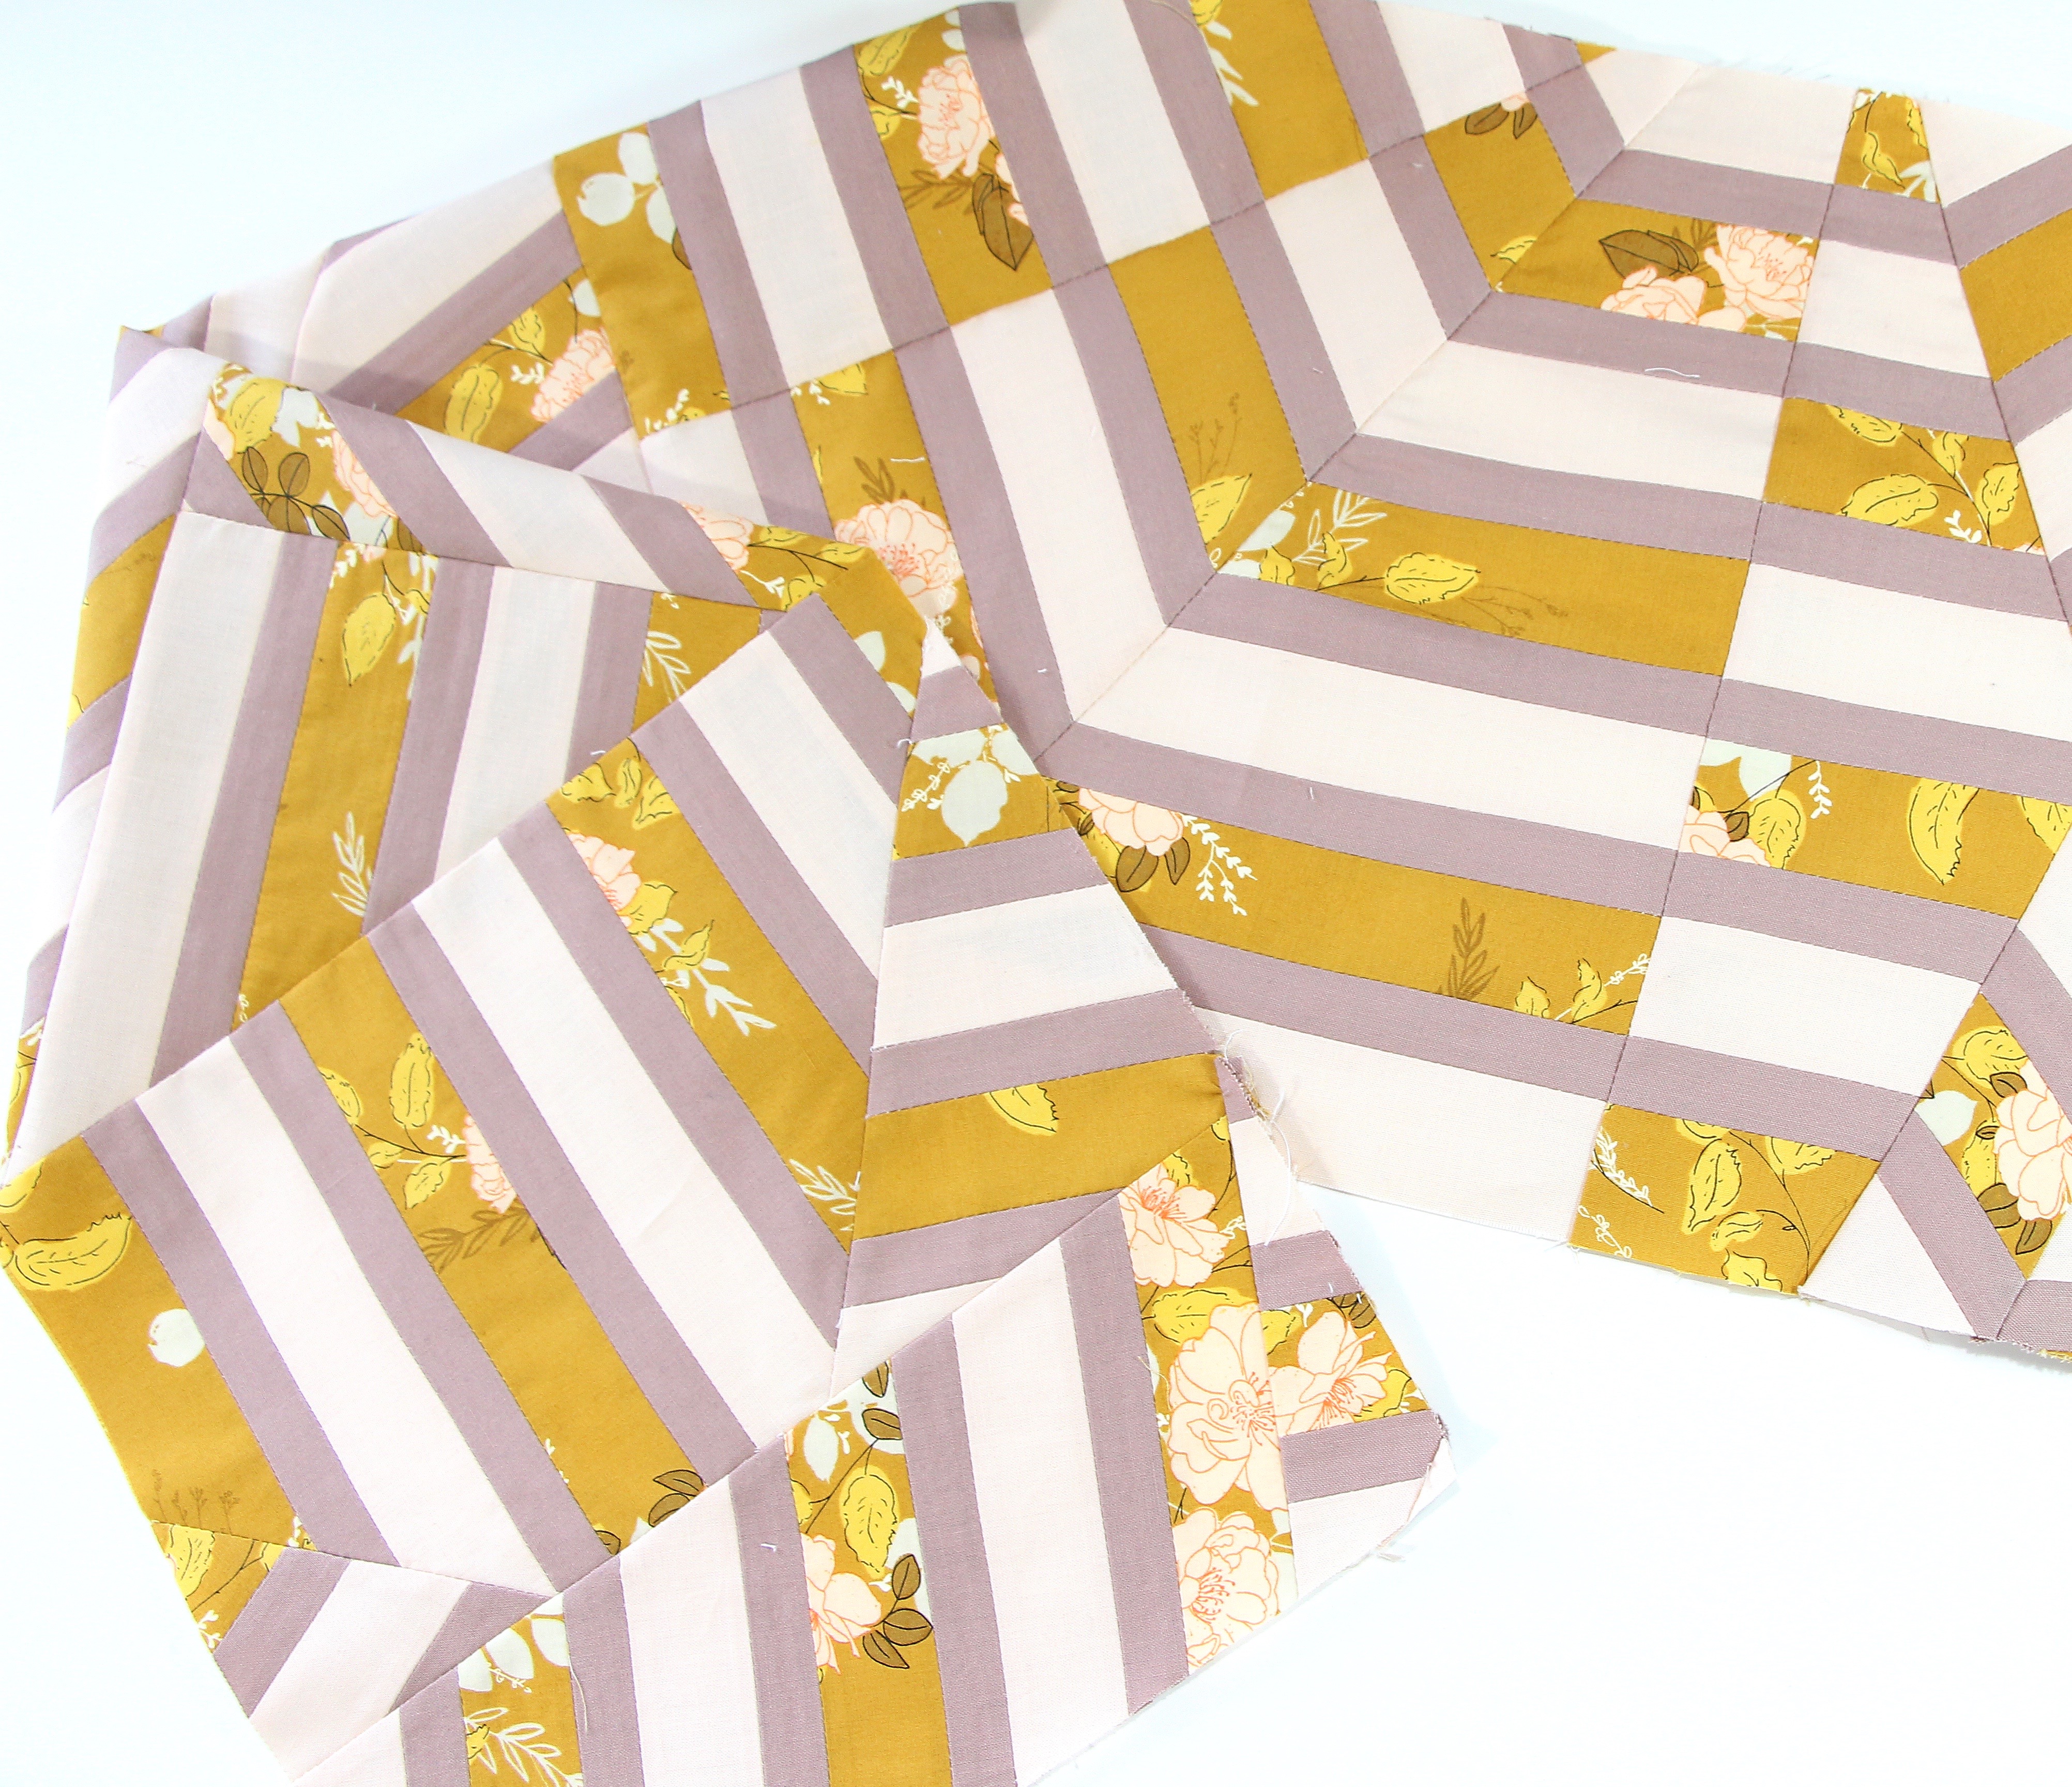
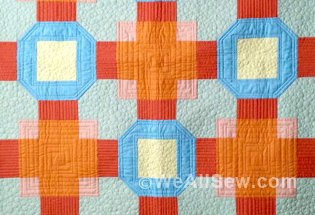
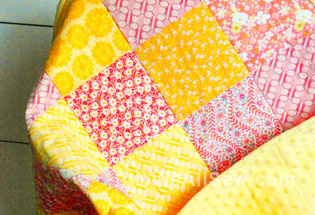
Step 1: Deciding Between a Pieced Panel or a Whole Cloth Panel
If you’re doing a pieced panel, create that before moving on to Step 2. A fun way to play with a modern pieced top is to cut your fun fabric up into even strips, sew together, and cut up at random 45-degree angles to sew back together.
Step 2: Iron Pieces of Quilt Panel
- All Fabric Pieces
- Pellon 809 to Top Piece Fabric
- Batting to Backing

*Do you have to use the Pellon? no, you don’t. But, I use it because I have found that it adds a lot of durability/structure to the fabric, this way it will wear better over time.
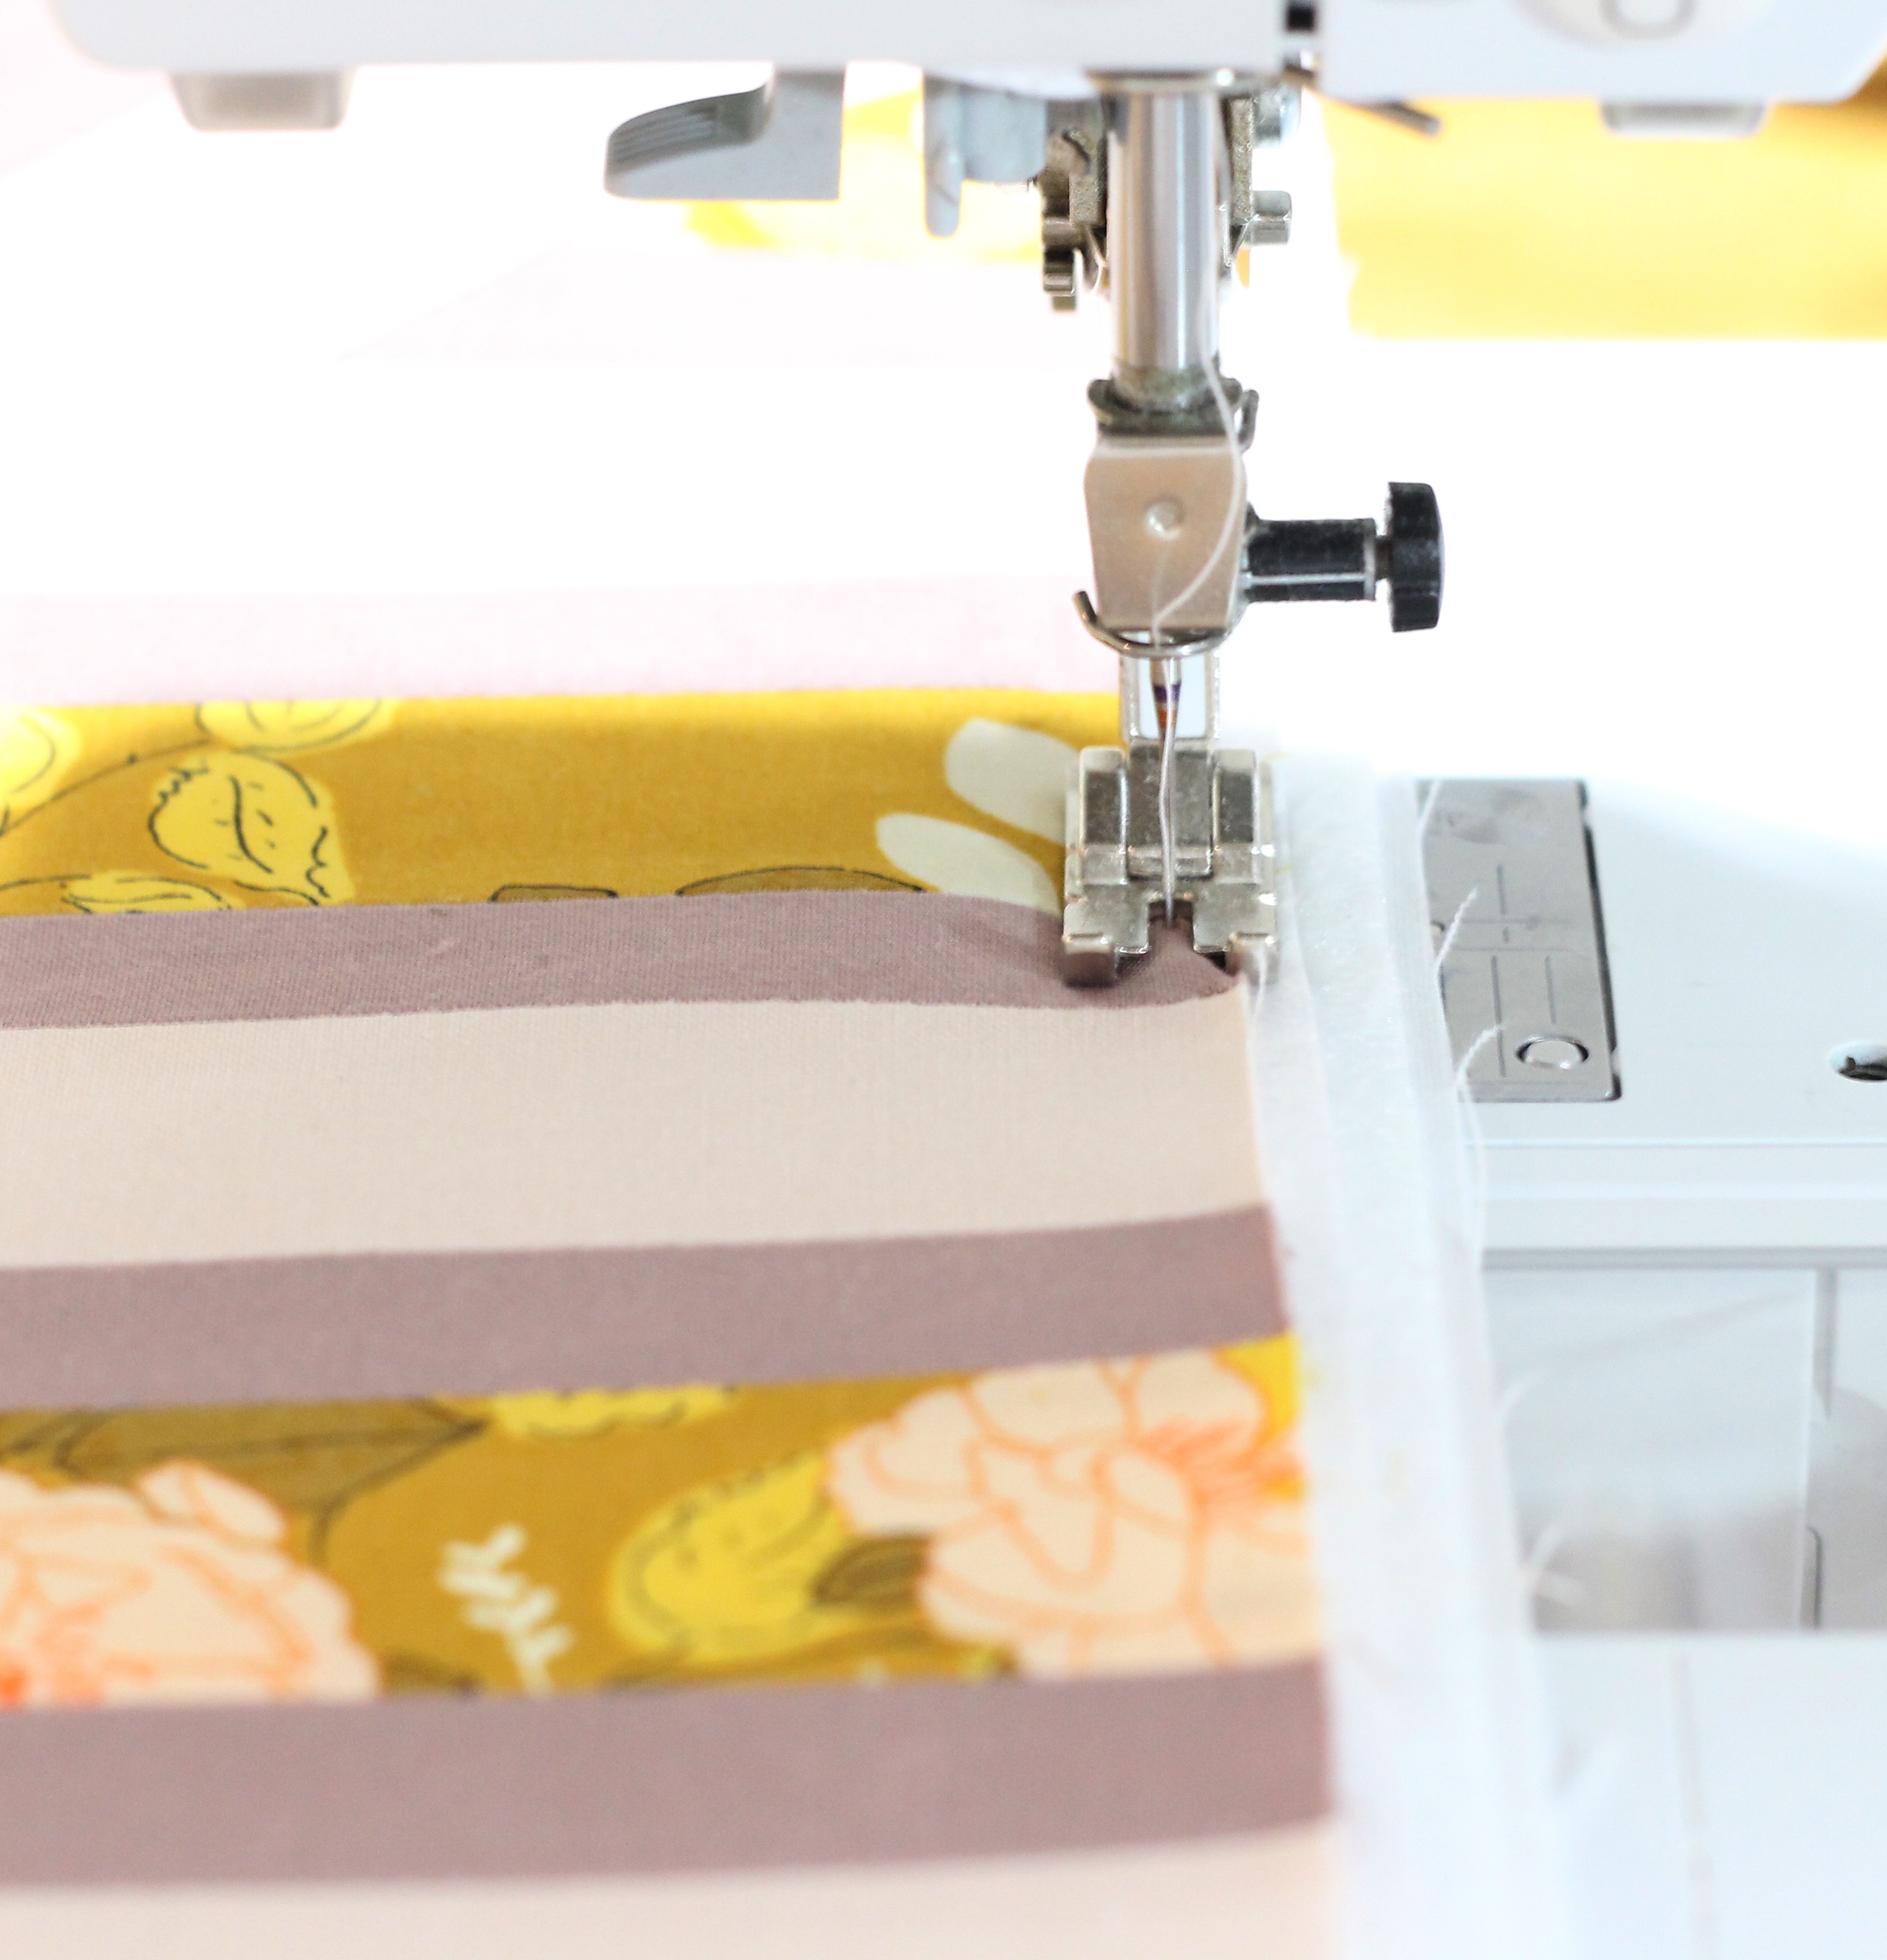
Step 3: Baste Sides of Quilt Panel
You should have two panels now . . .
- FRONT panel with Fabric and Pellon 809
- BACK panel with Backing and Batting
Baste these two panels together by making your stitch length the longest your machine allows you to go and straight stitch down both WOF sides
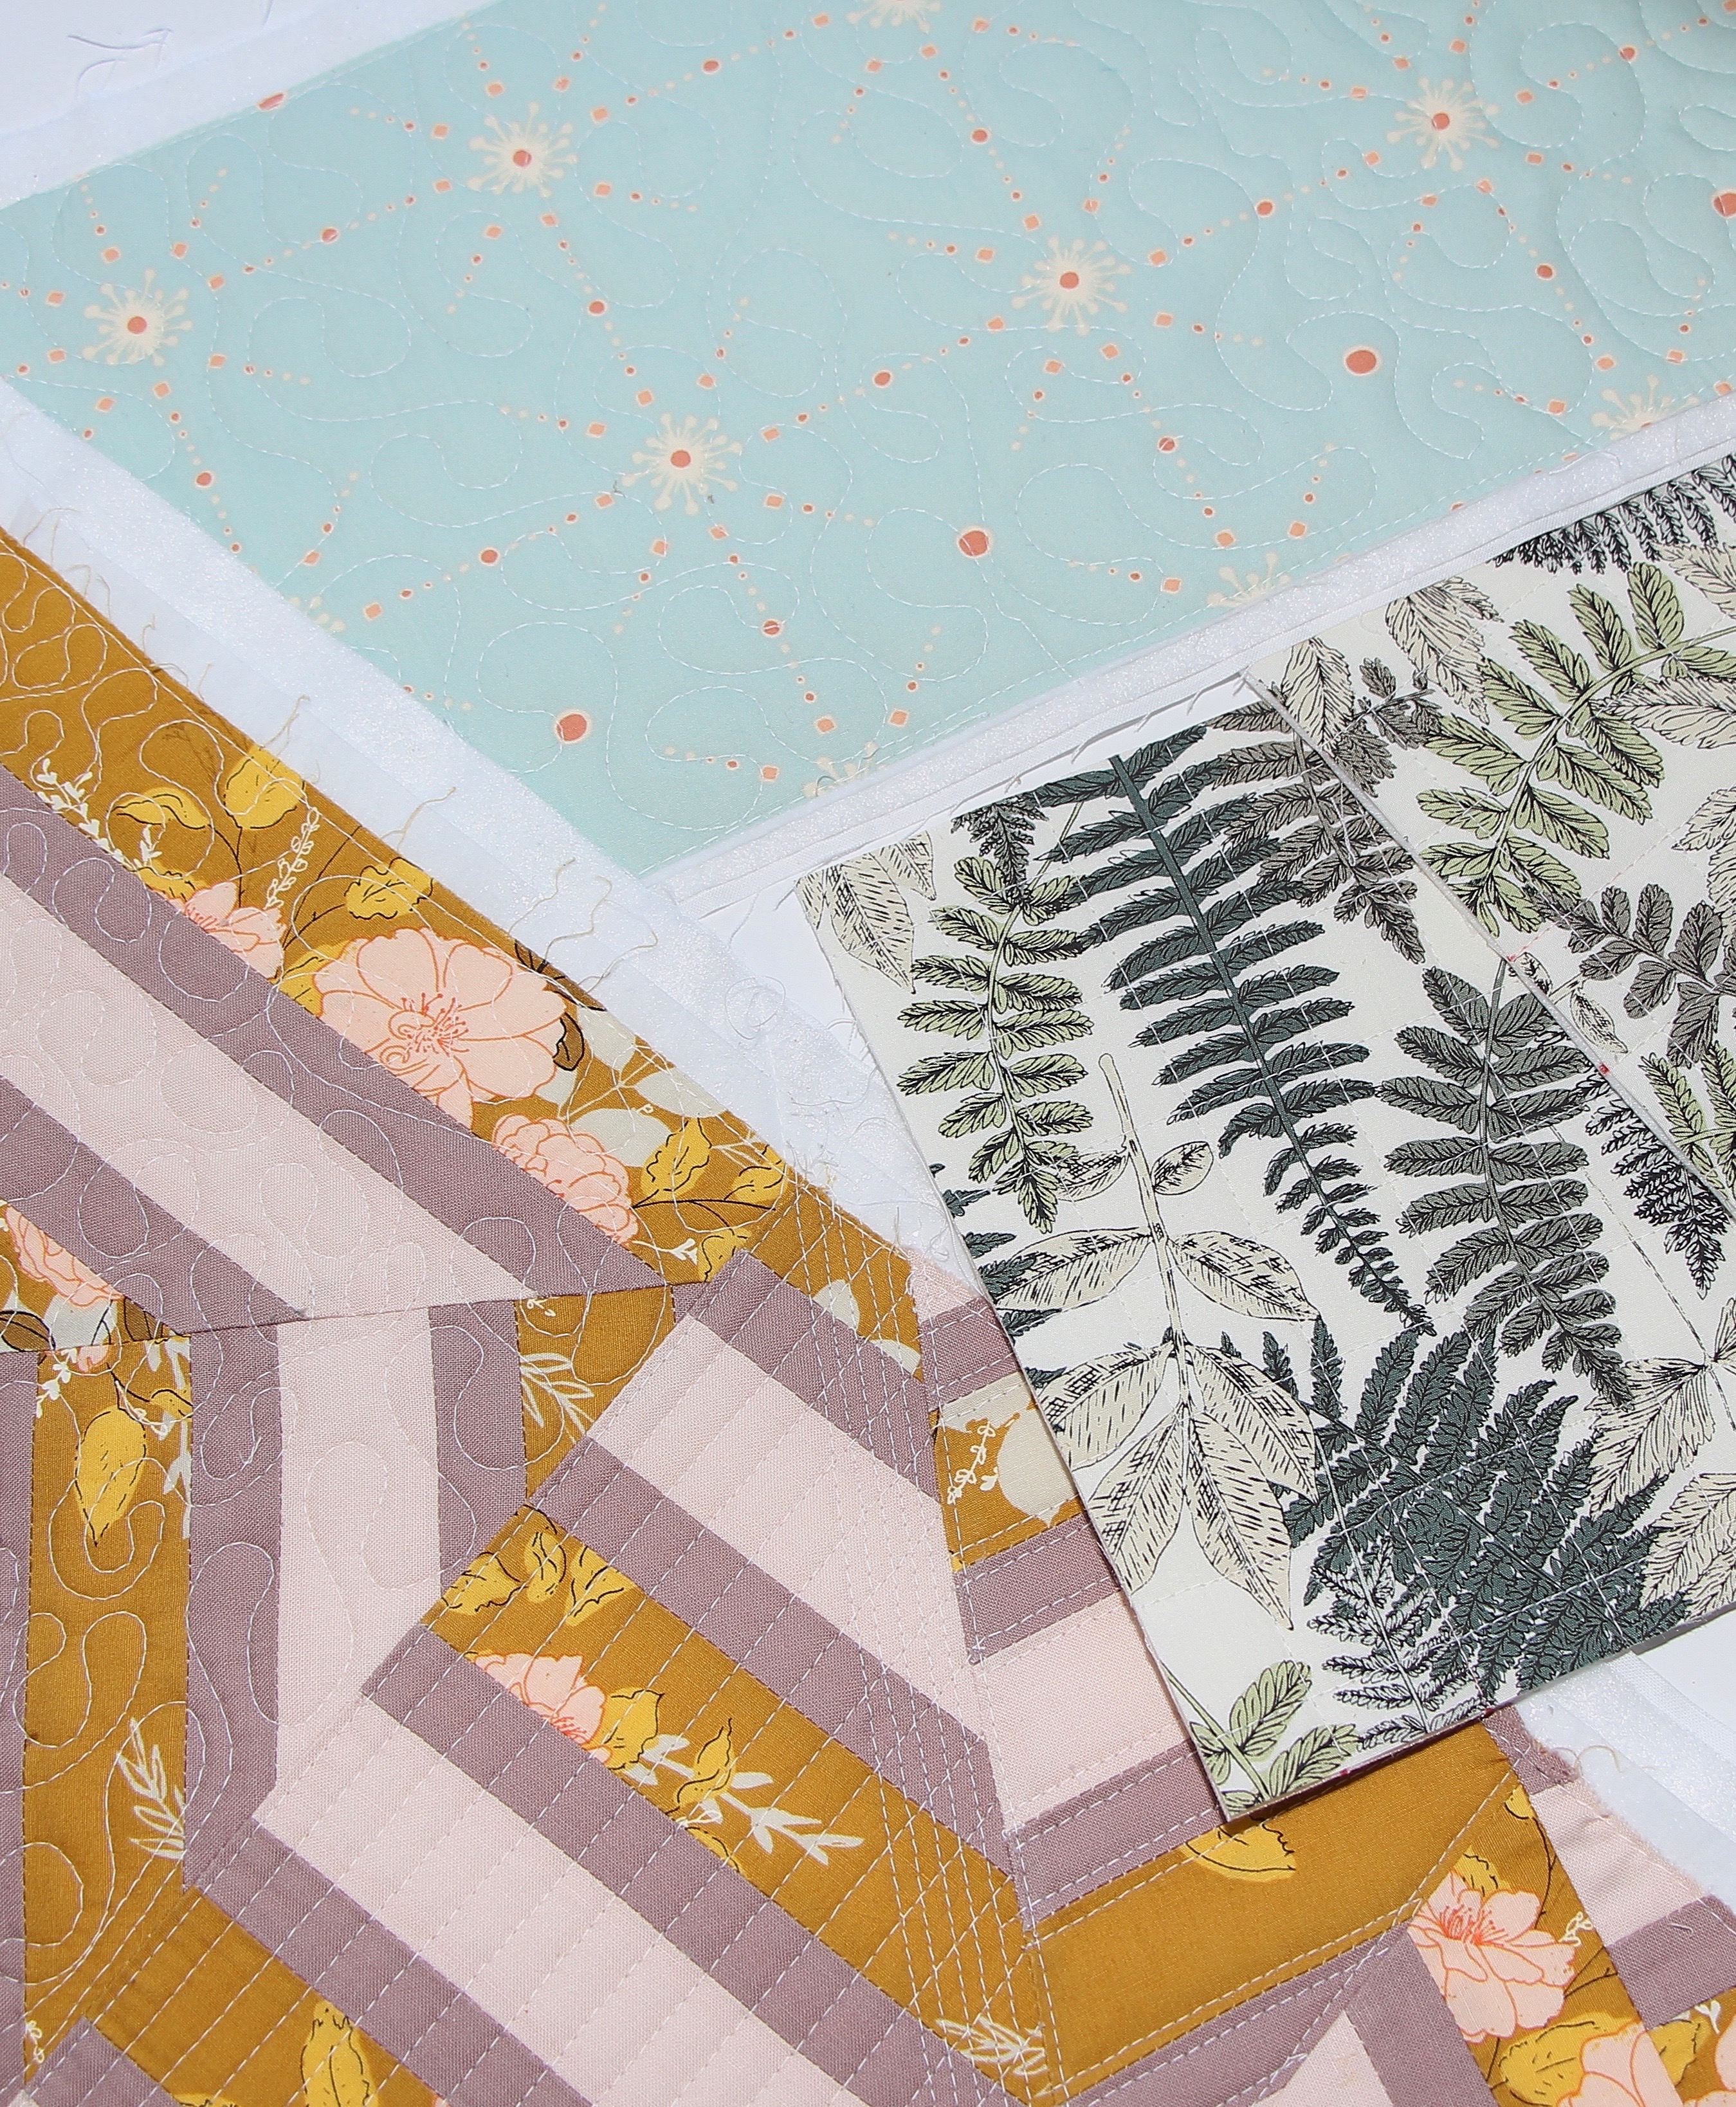
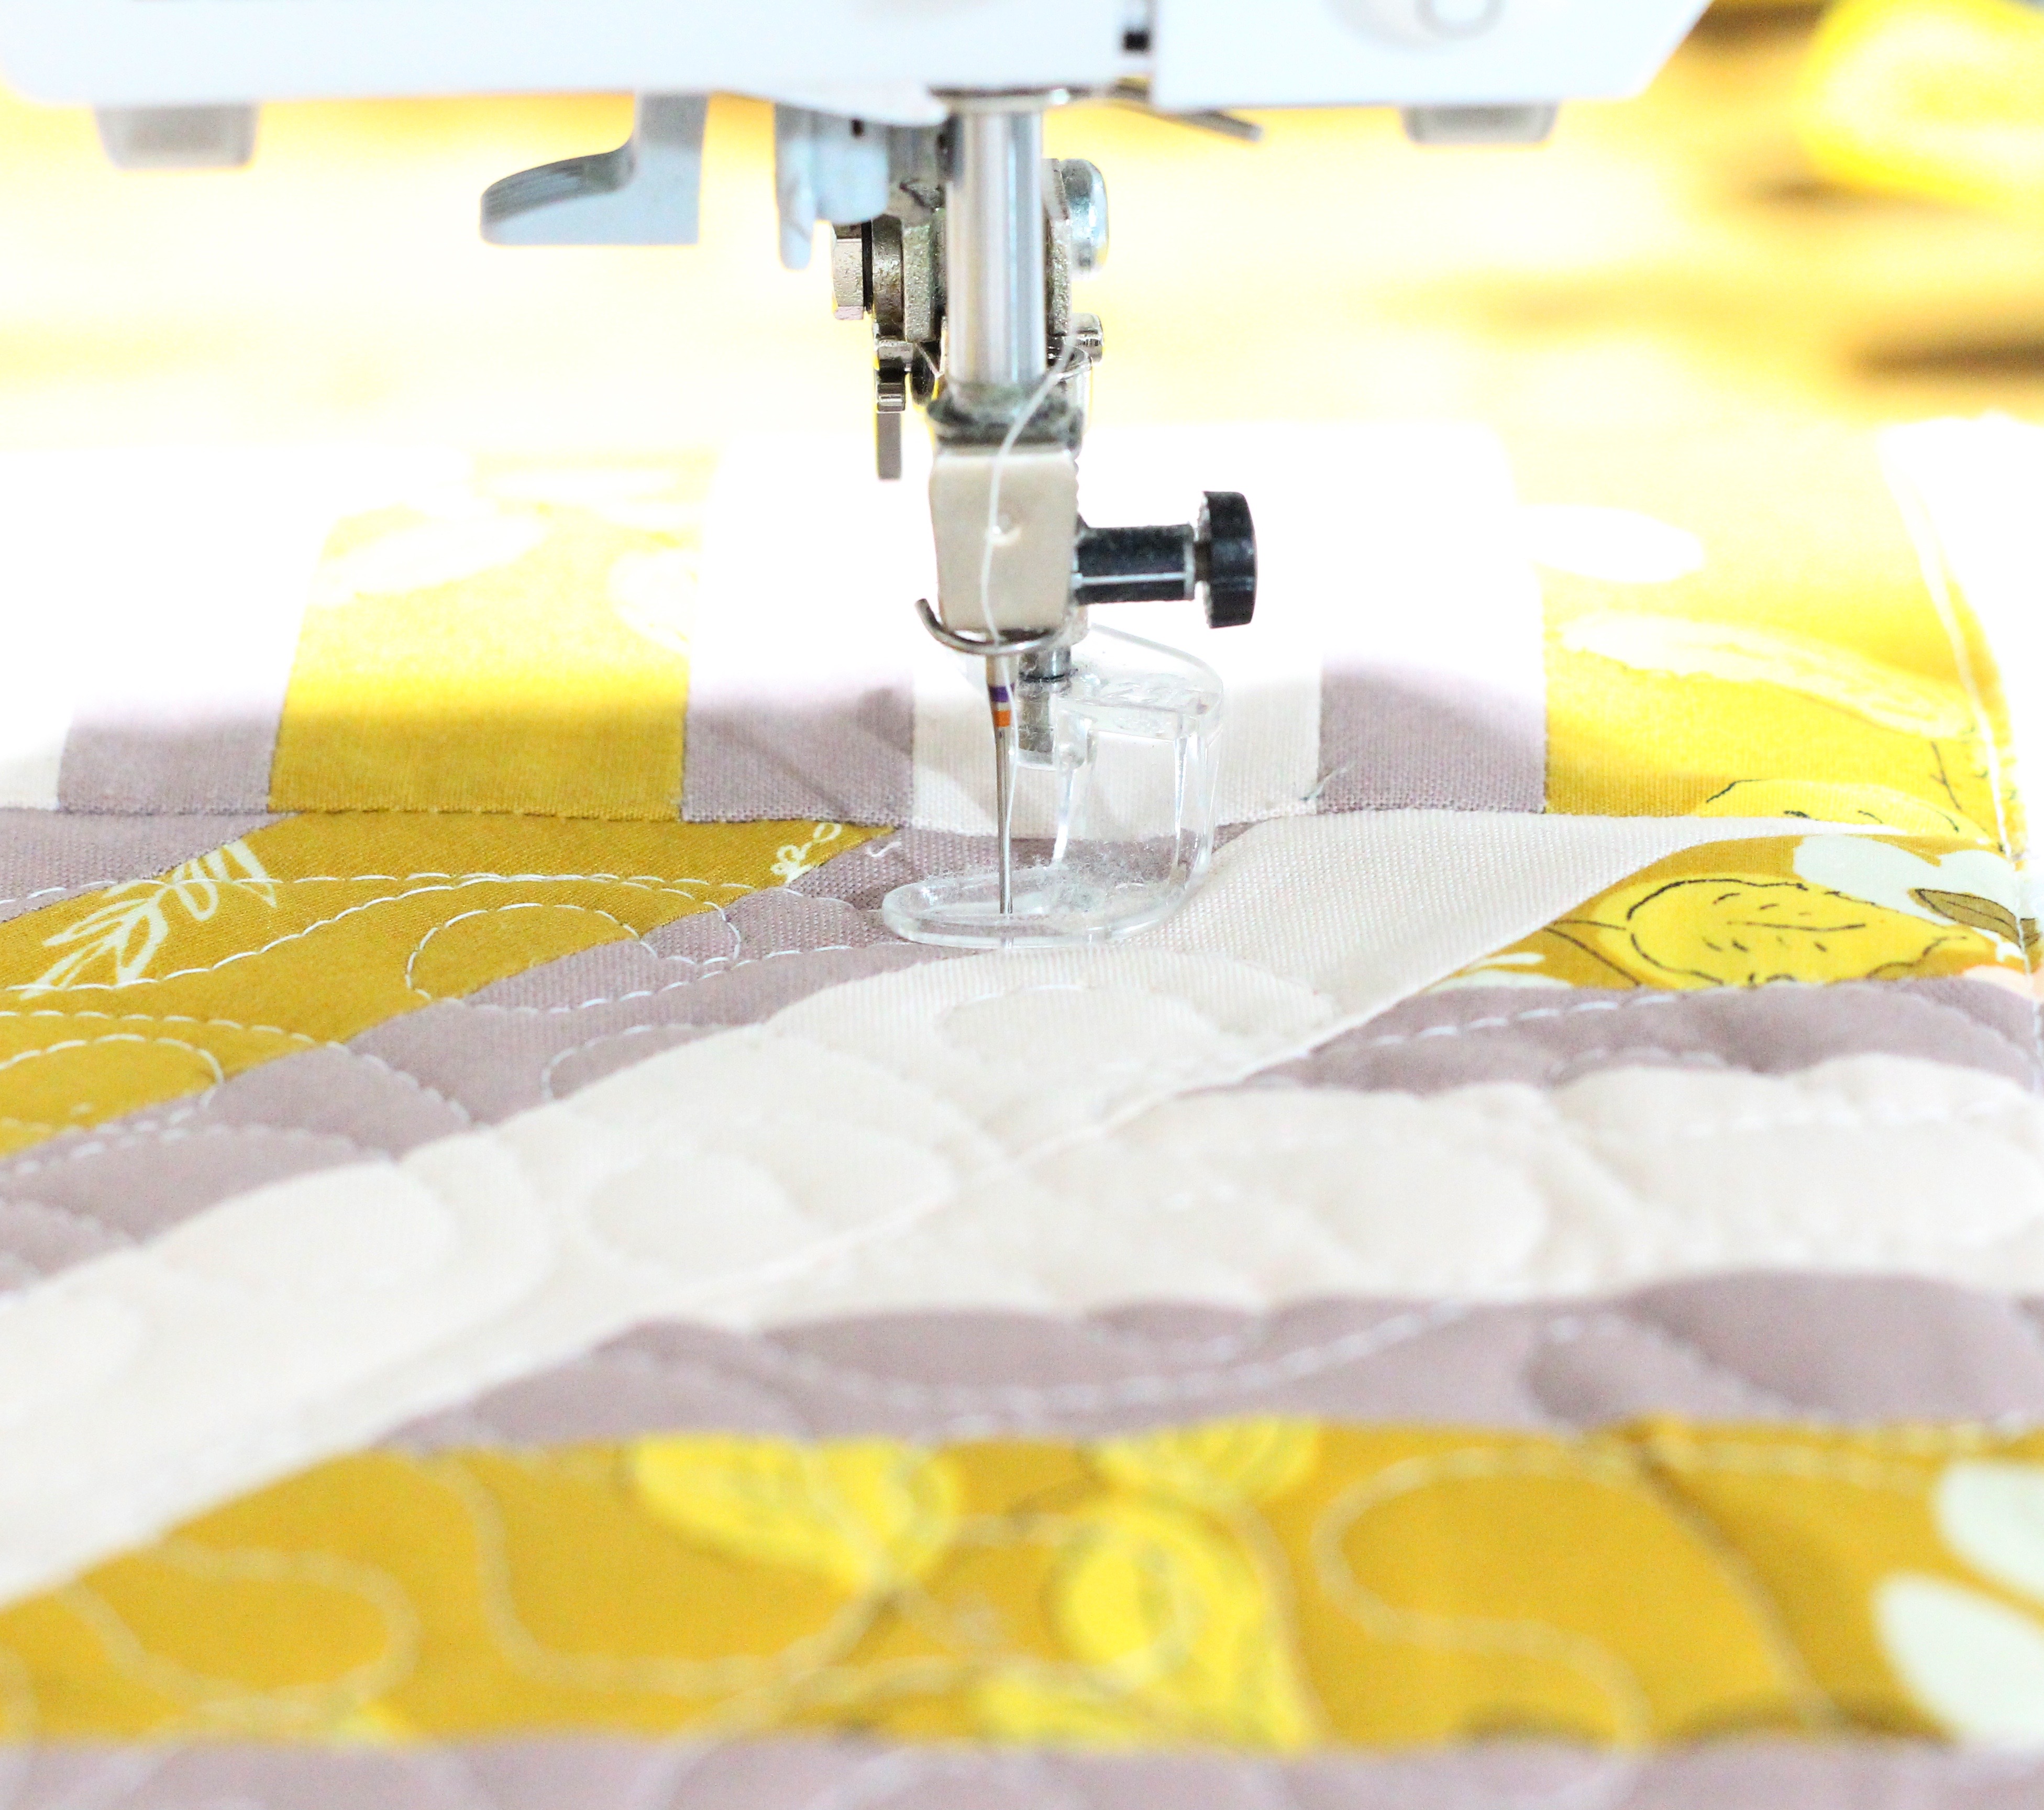
Step 4: Quilt That Beauty!
For this step, you can use your #1 foot, but for a more intermediate and advanced quilting design, I love using the feet mentioned above: Walking Foot #50, Quilting Foot #29, and the Bernina Stitch Regulator (BSR).
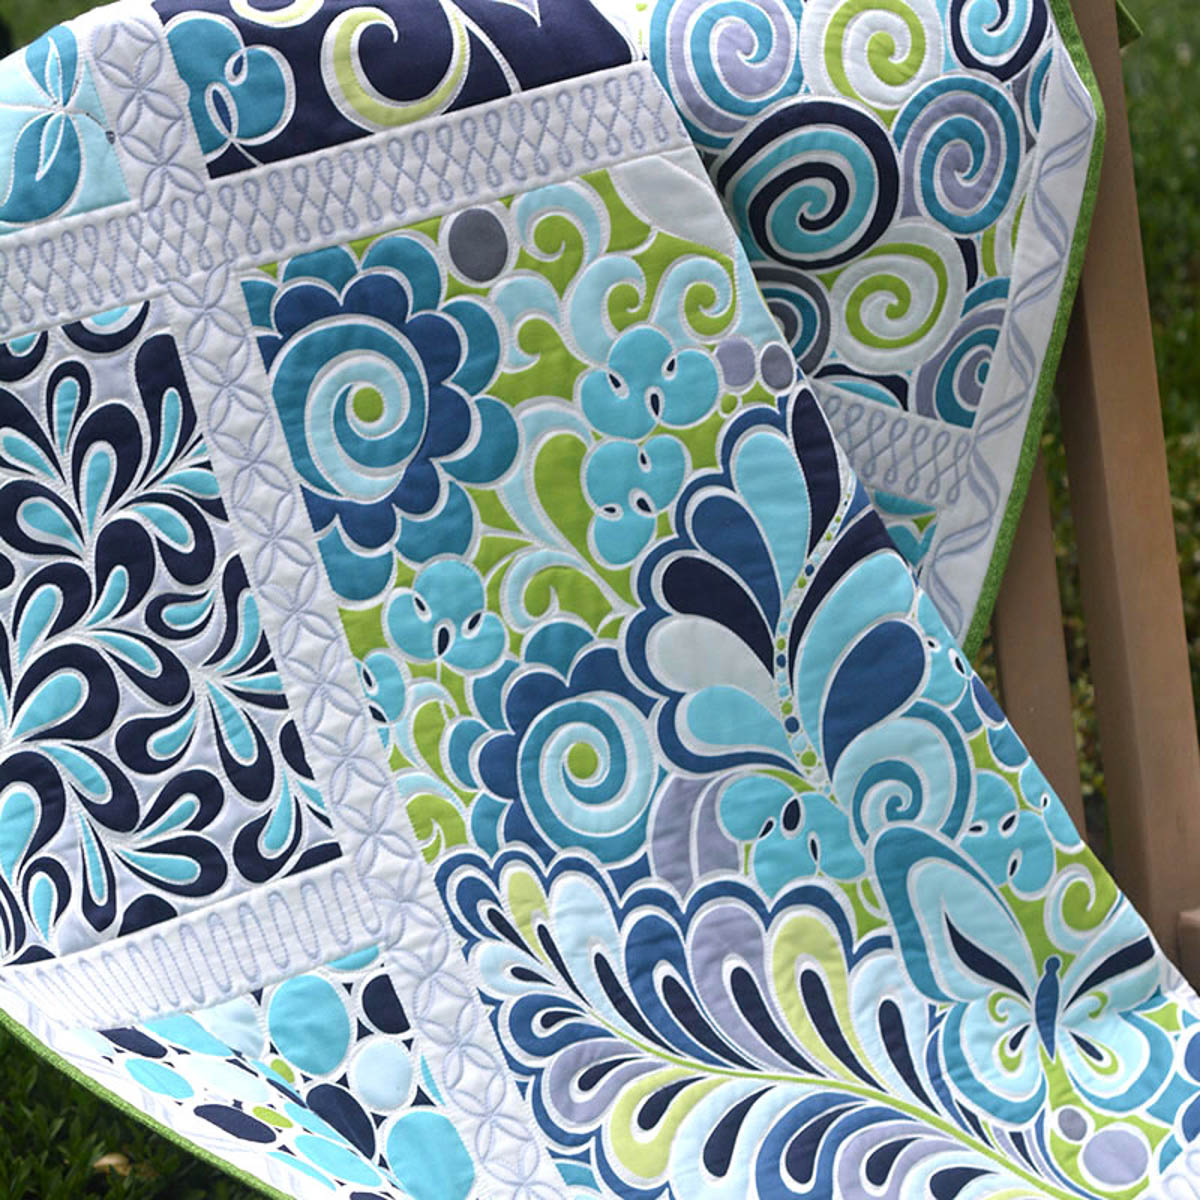
3 Panel Quilt Ideas to Get You Started
- Pieced Free Motion using Quilting Foot #29

- Pieced Straight Stitch using Walking Foot #50
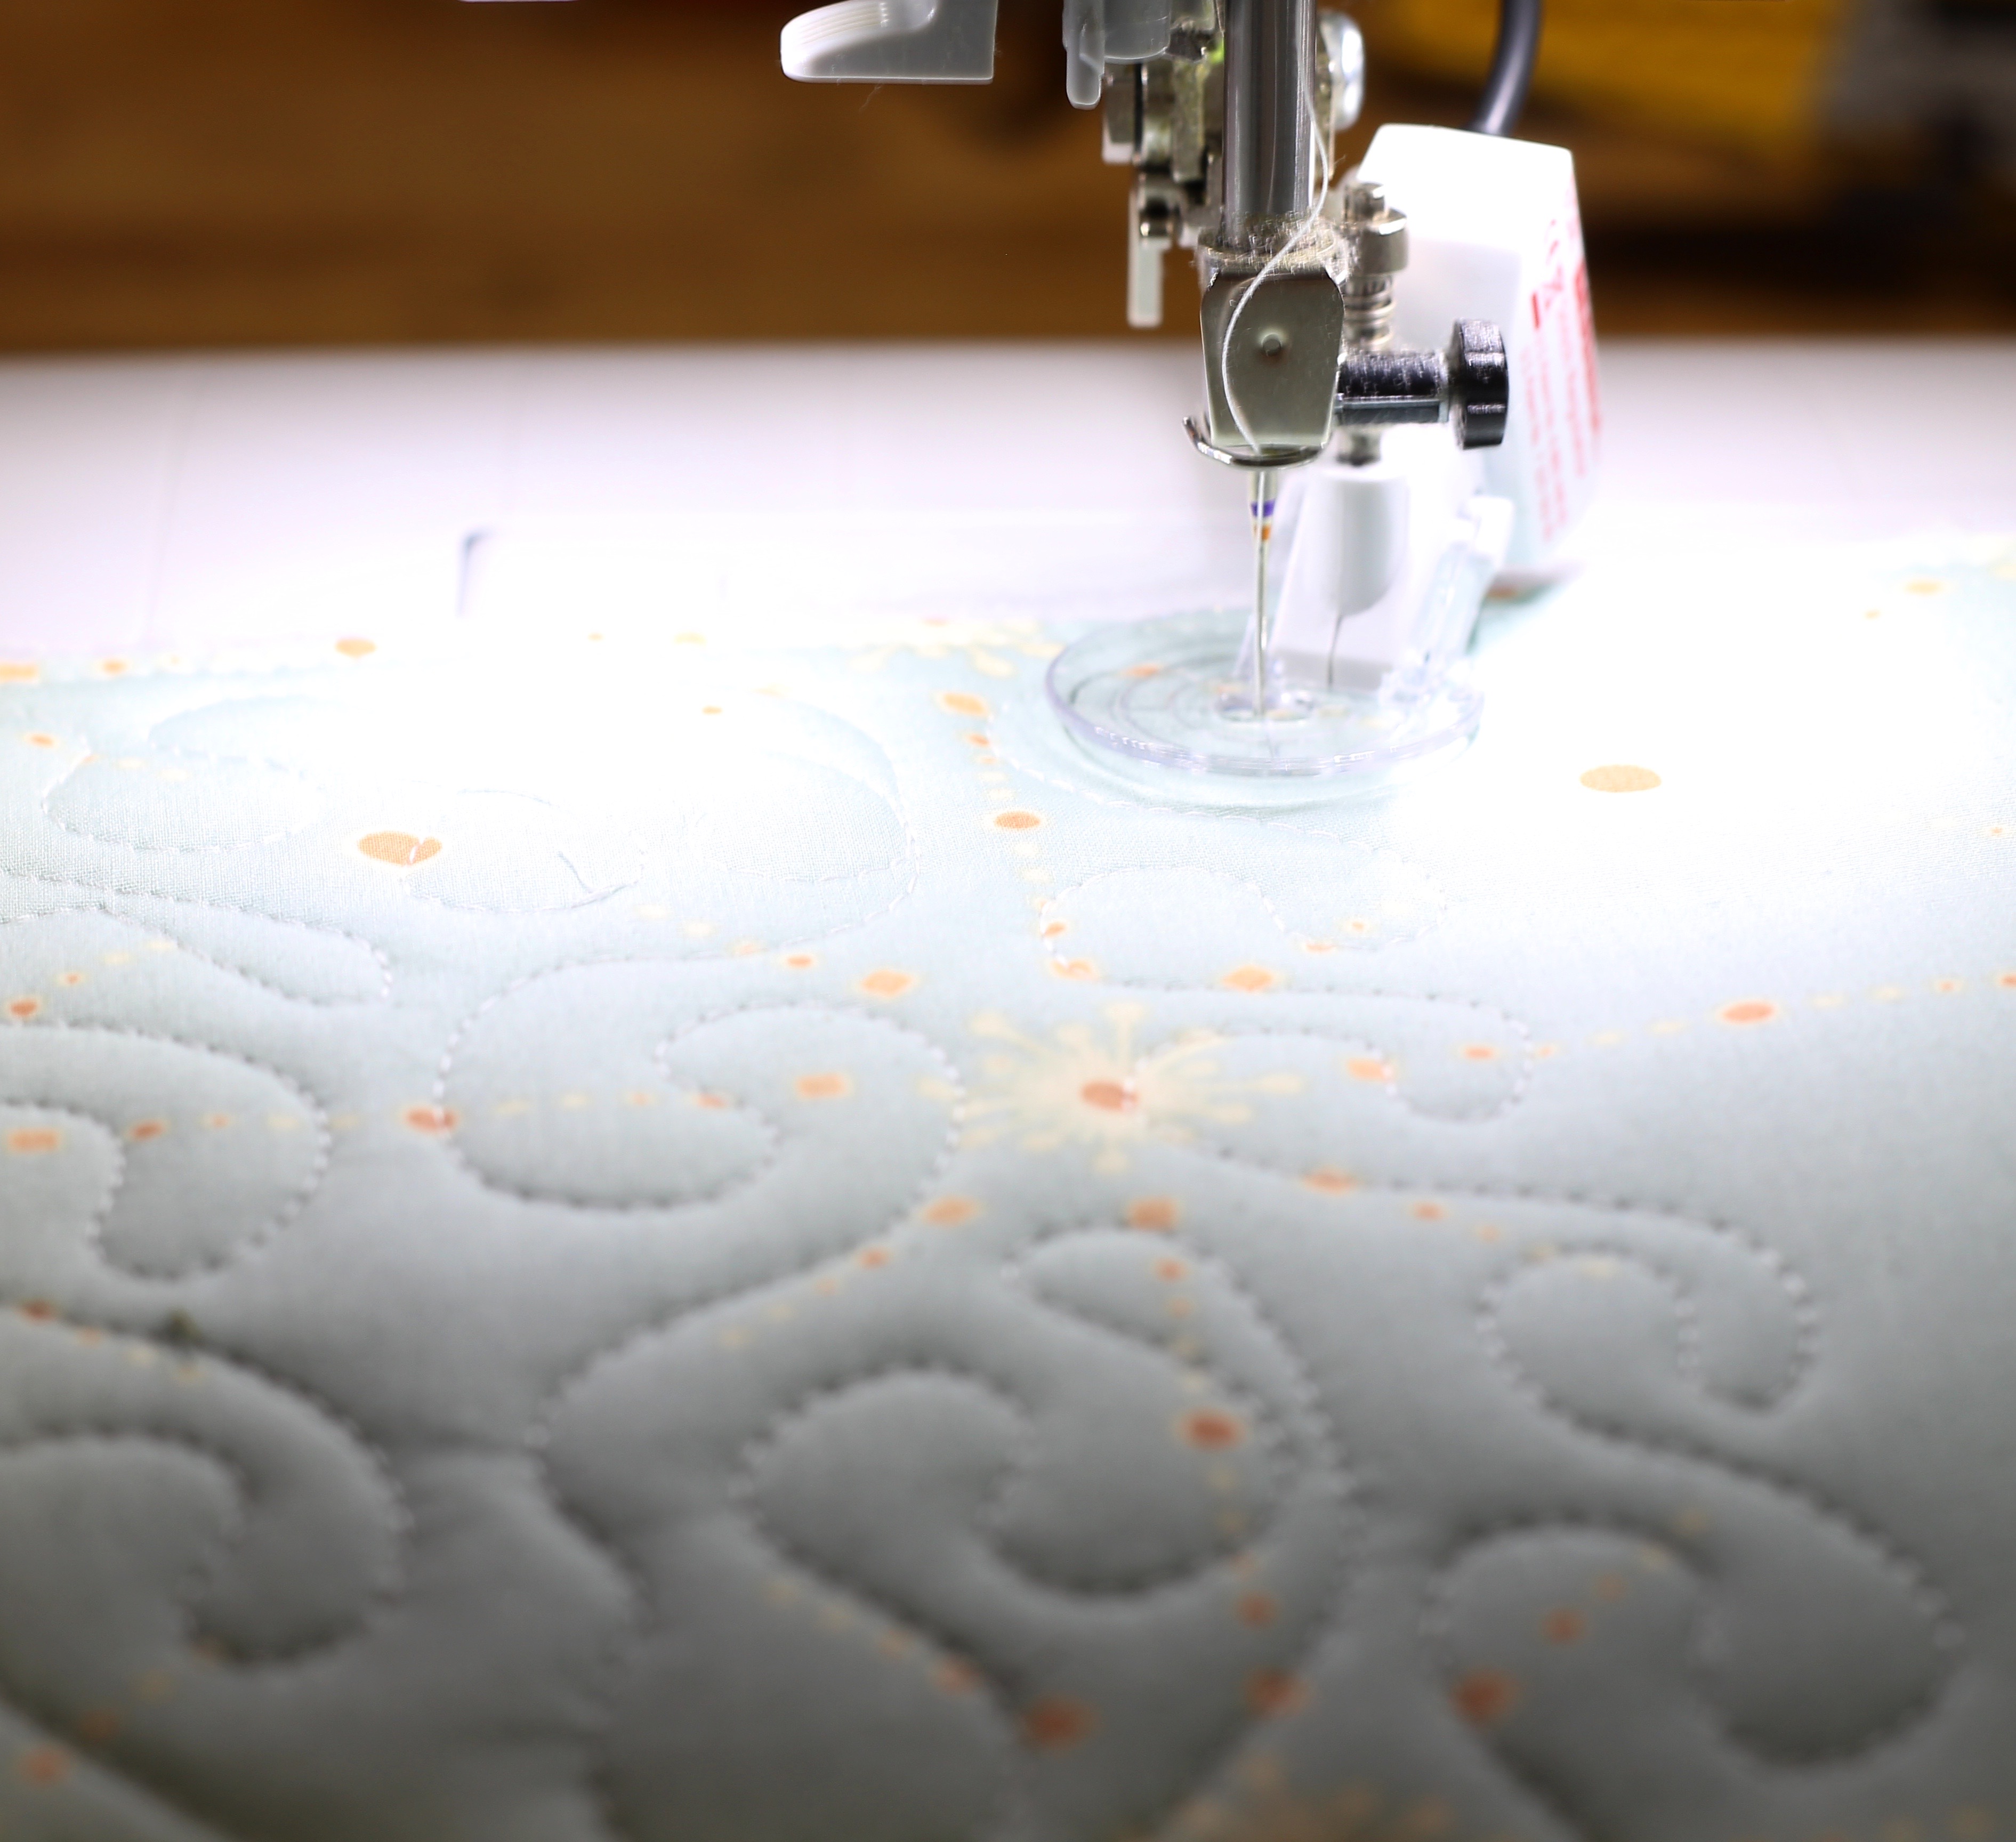
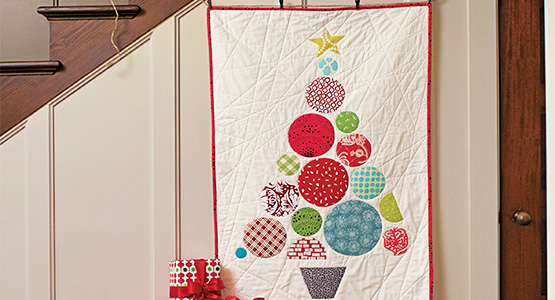
- Whole Cloth Free Motion using the BSR
And Done! Woot! Woot! Happy Dance!
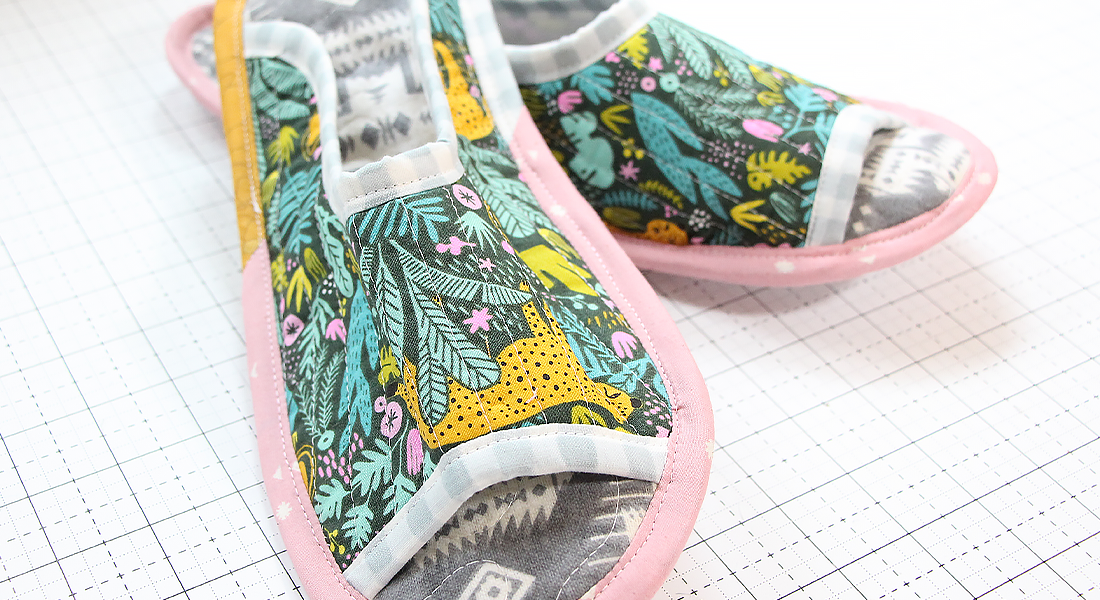
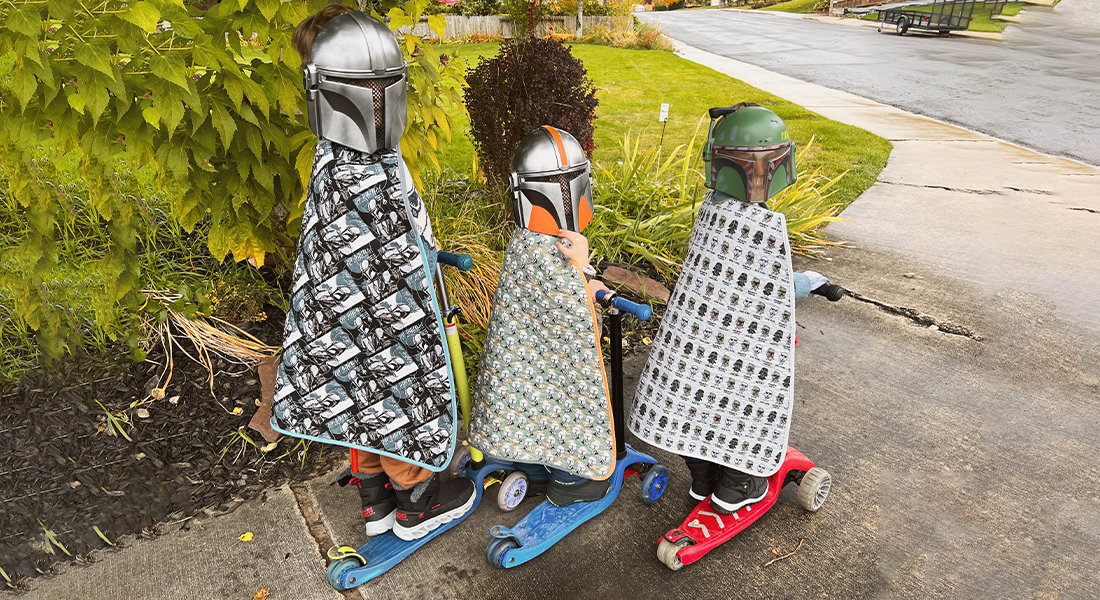
Now that you’ve got your quilt panel ready to go, you are READY for the really fun part, which of course is turning that magic into more magical things to use in your everyday life or give away as gifts! Handmade gifts are the best gifts if you ask me!
Happy Sewing, and thanks for being here!
Aynsley Campbell – Honymfin

What you might also like


4 comments on “How to Make a Quilt Panel”
-
-
Cindy have no fear those beauties are coming soon!!! This post is the foundation for the ones coming up, the first will be a convertible bag! its so great, if you wish to see some sneak peaks head to my IG page @honymfin.
-
-
My ladt minute gift would be mugrugs.
-
yes!!! I never thought of those! With the holidays fast approaching those would be great neighbor gifts!
-
Leave a Reply
You must be logged in to post a comment.

Great ideas, but I would love to see a full sized picture of the finished projects.