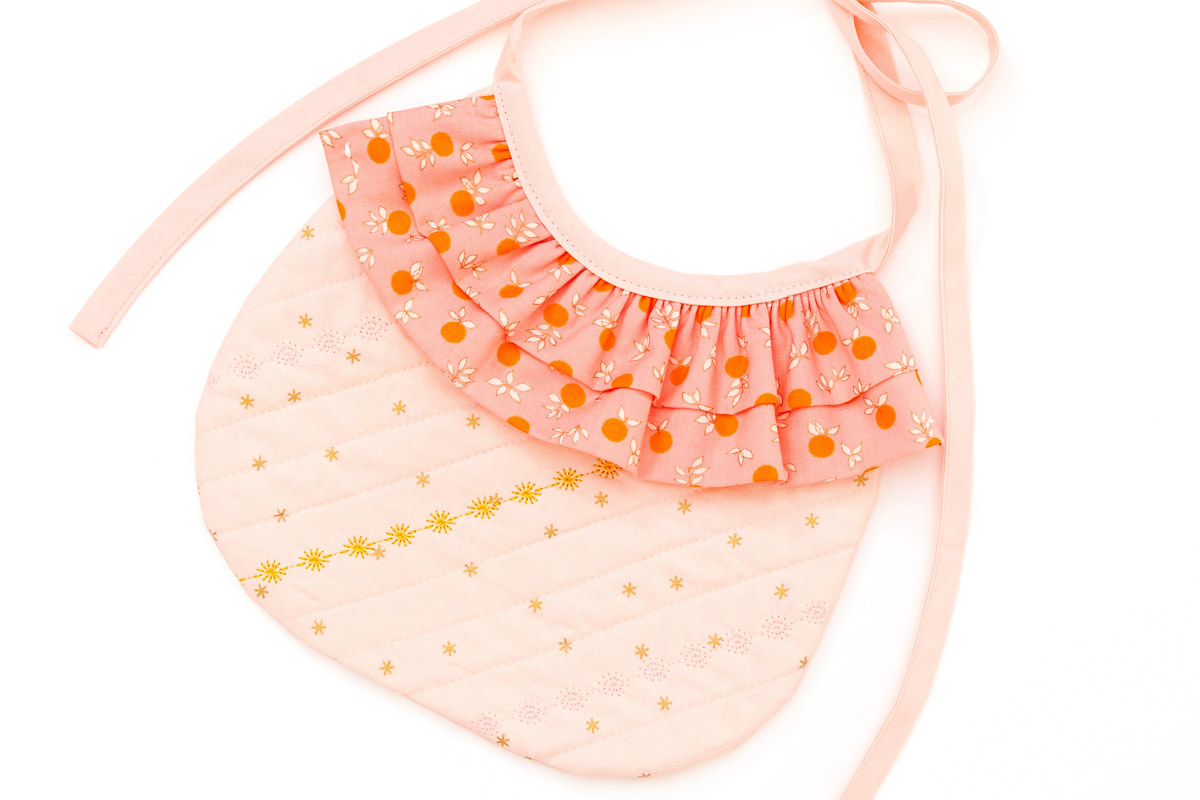
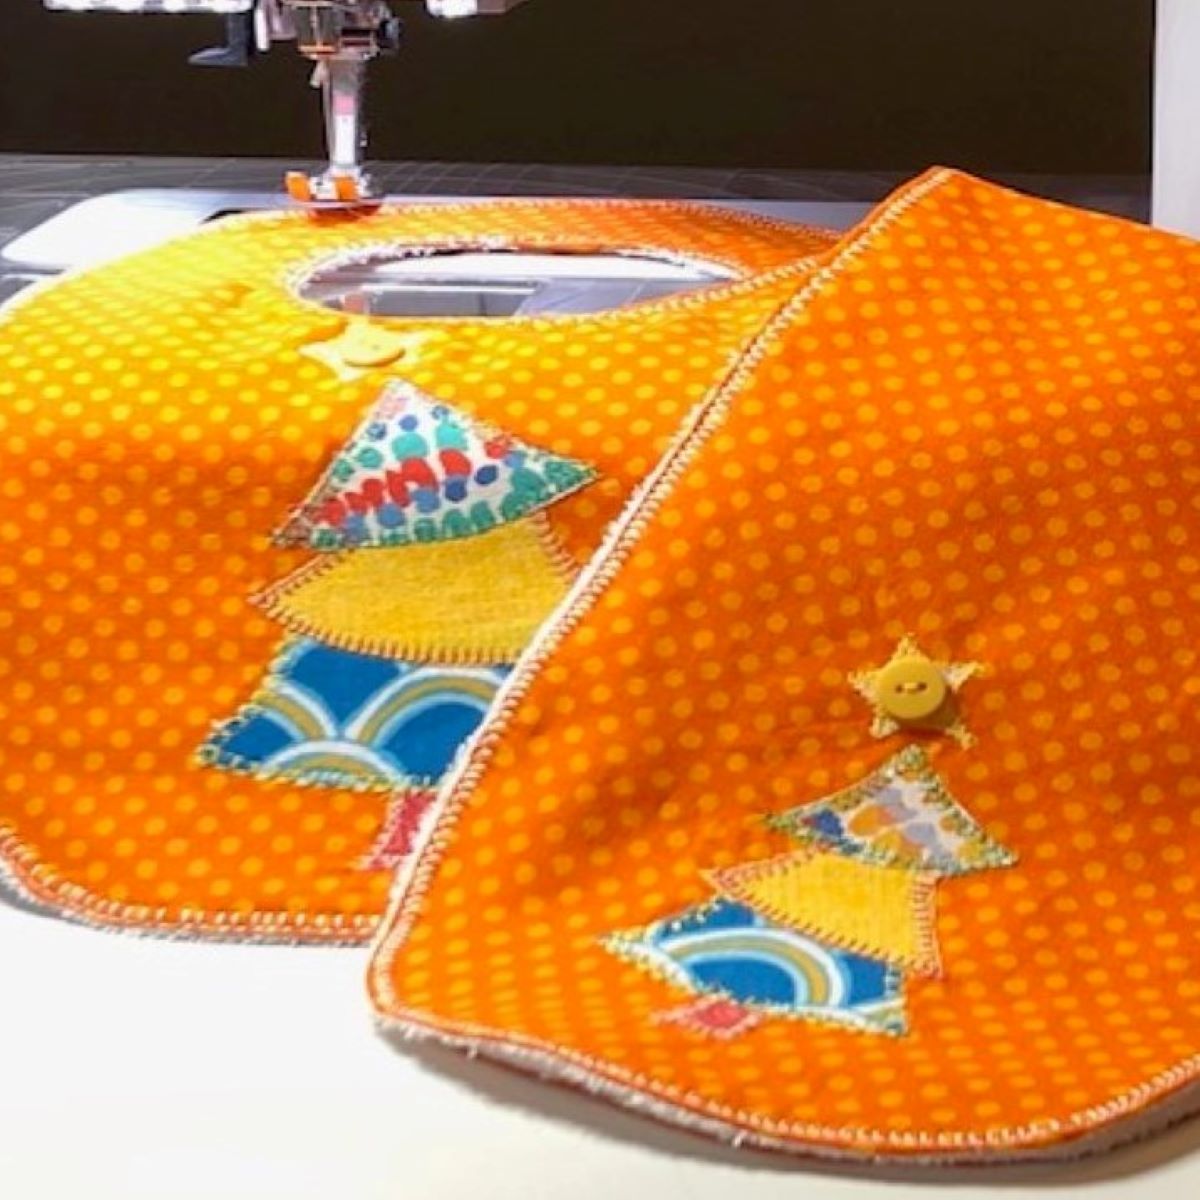
How to Make a Ruffle Baby Bib
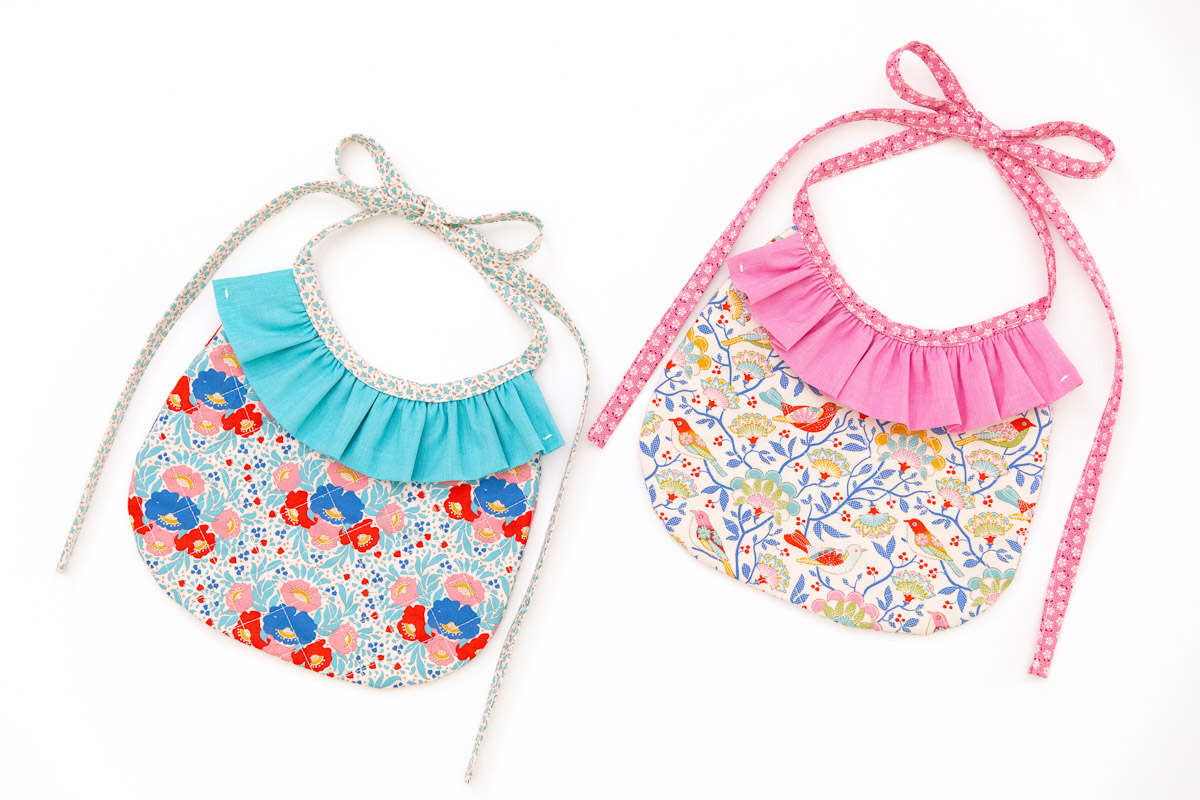
Baby bibs are a must have for babies, so why not make some that look adorable? These ruffle bibs not only make me smile, they’re fun and easy! We’ll play with presser feet and quilt with the BERNINA Walking Foot #50 and ruffle with the BERNINA Ruffler #86. Also, we’ll play with fabric using three different ones. I’m using Tilda fabric, a Norwegian company with the most whimsical designs and beautiful colors. Let’s get started!
Materials for Sewing a Ruffle Baby Bib

- BERNINA 790 PLUS
- Ruffle Baby Bib Pattern— Download for free HERE
- Reverse Pattern Foot #1D
- Patchwork Foot #97D
- Edgestitch Foot #10D
- Walking Foot #50
- Ruffler Foot #86
- Main fabric — 1/3 yard
- Ruffle fabric — 4 1/2” x 22”
- Tie fabric — 54” of 1/2” double-fold bias binding
- Batting — 12” x 12”
- Mettler Silk-Finish Cotton 50 thread
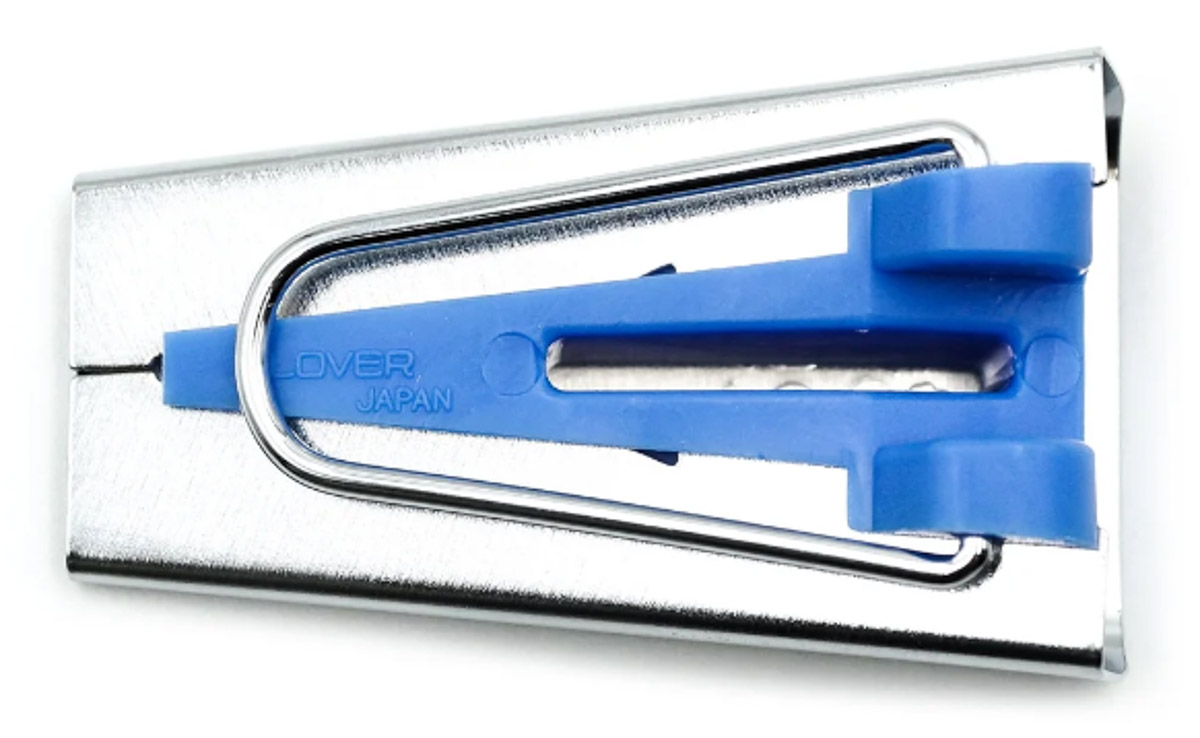
- Optional: Clover 1” Bias Tape Maker
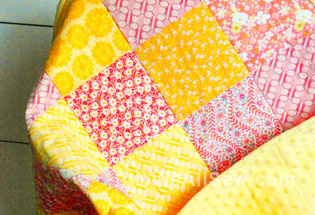
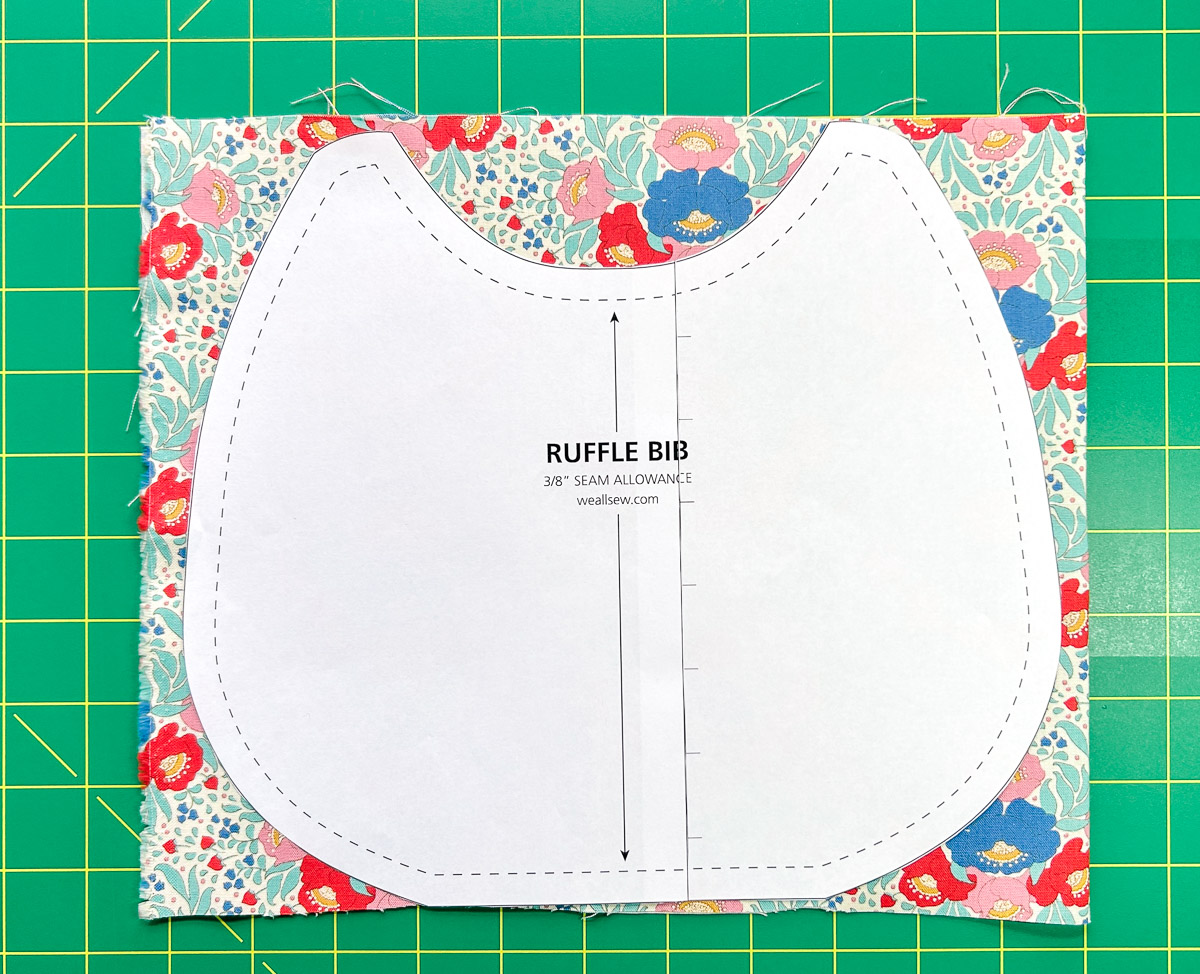
Cut and Quilt Bib
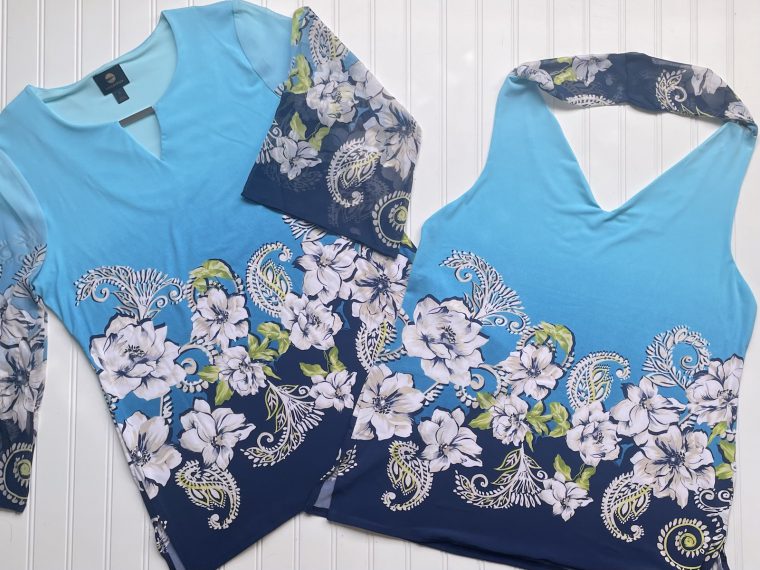
Download the free pattern and print with the printer setting on the “Actual Size” option. Assemble the pattern. Then, trace and cut two bib pieces from the main fabric.
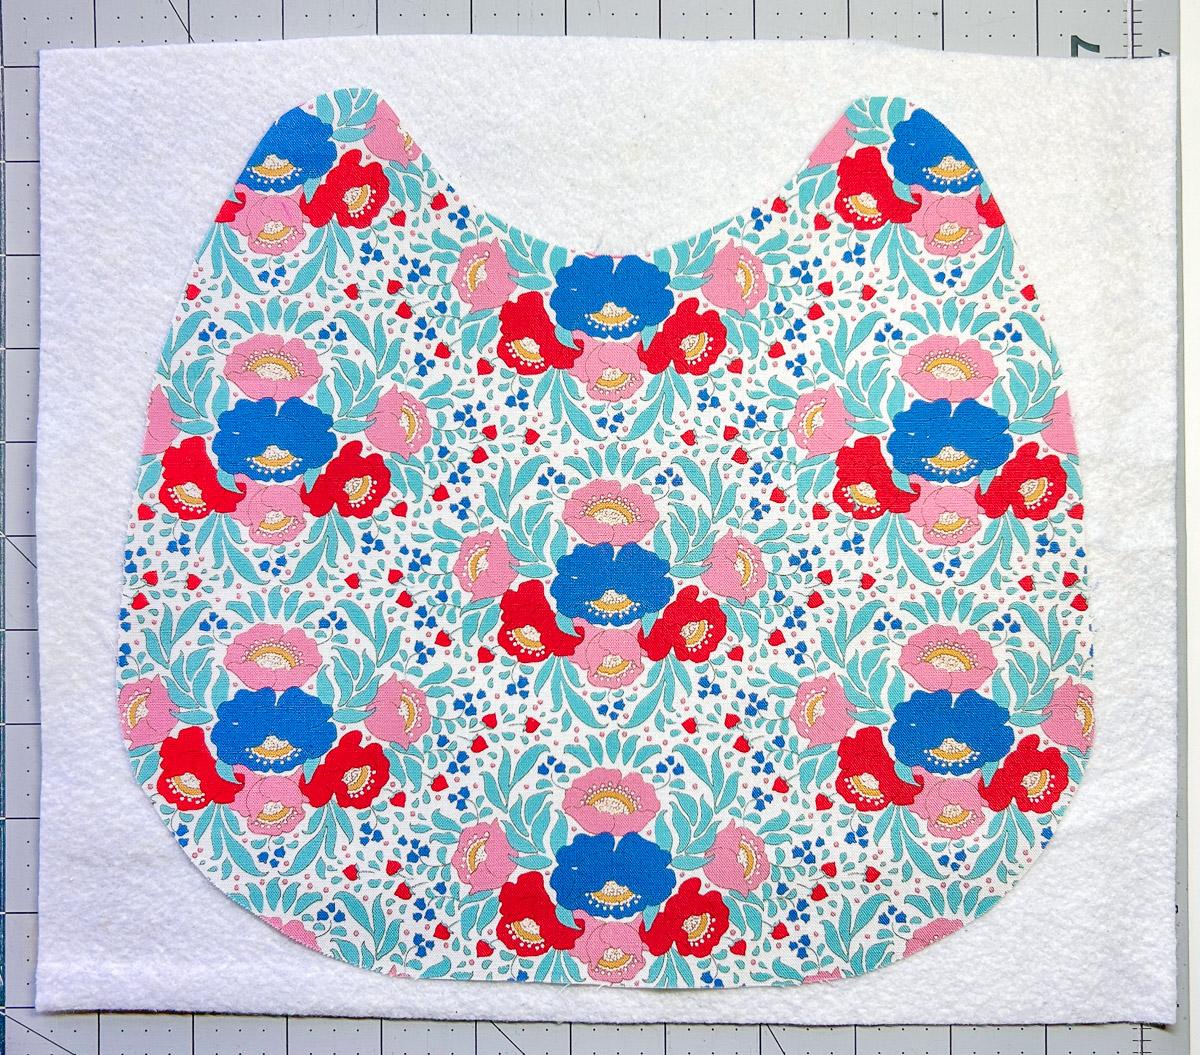
Place one bib piece on top of the 12” x 12” batting. This will be the front of bib. Baste or pin if needed.
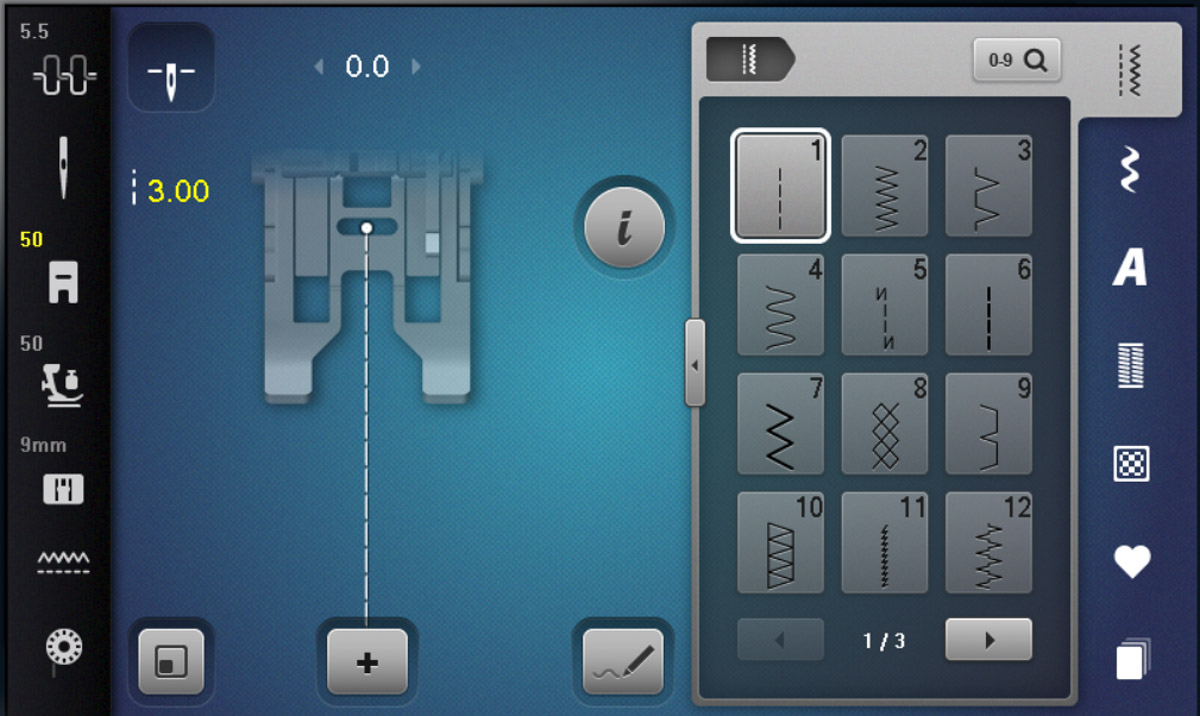
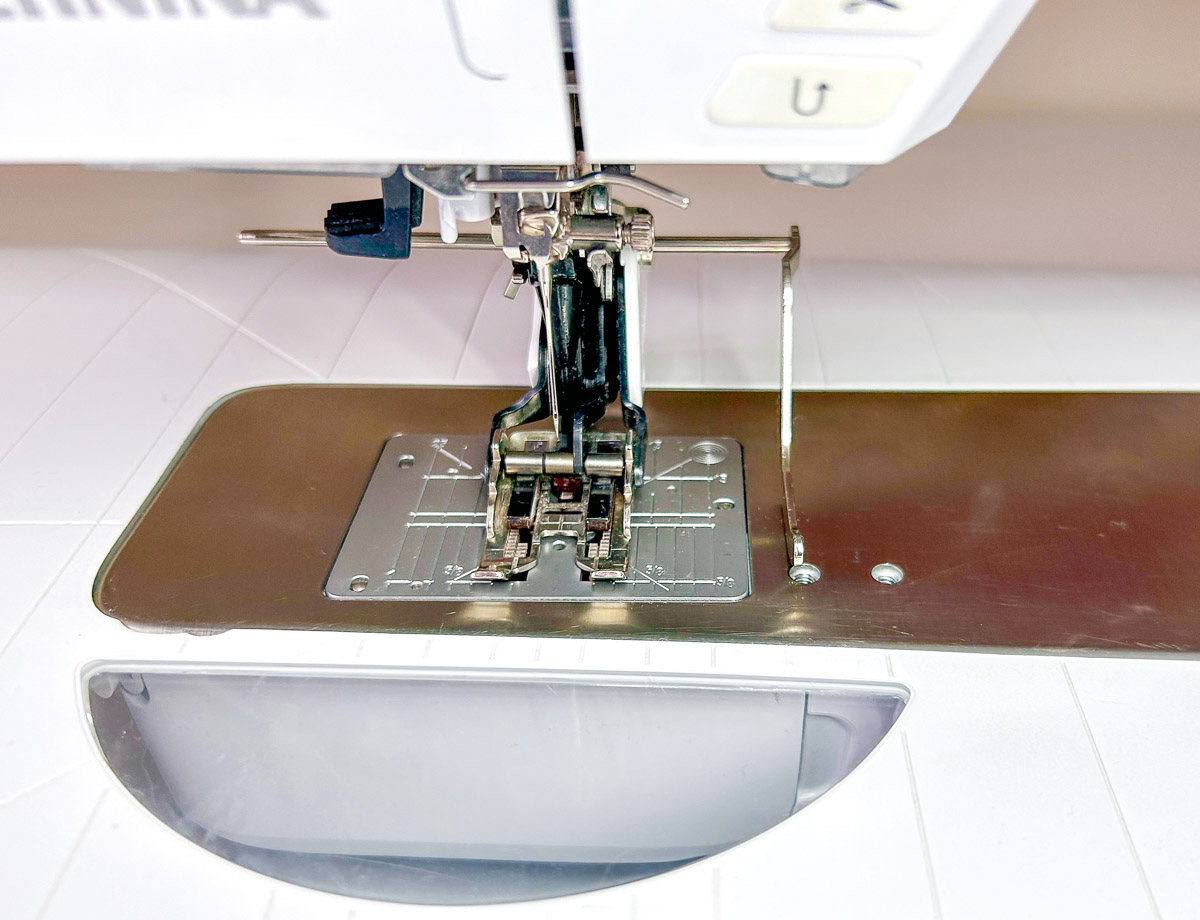
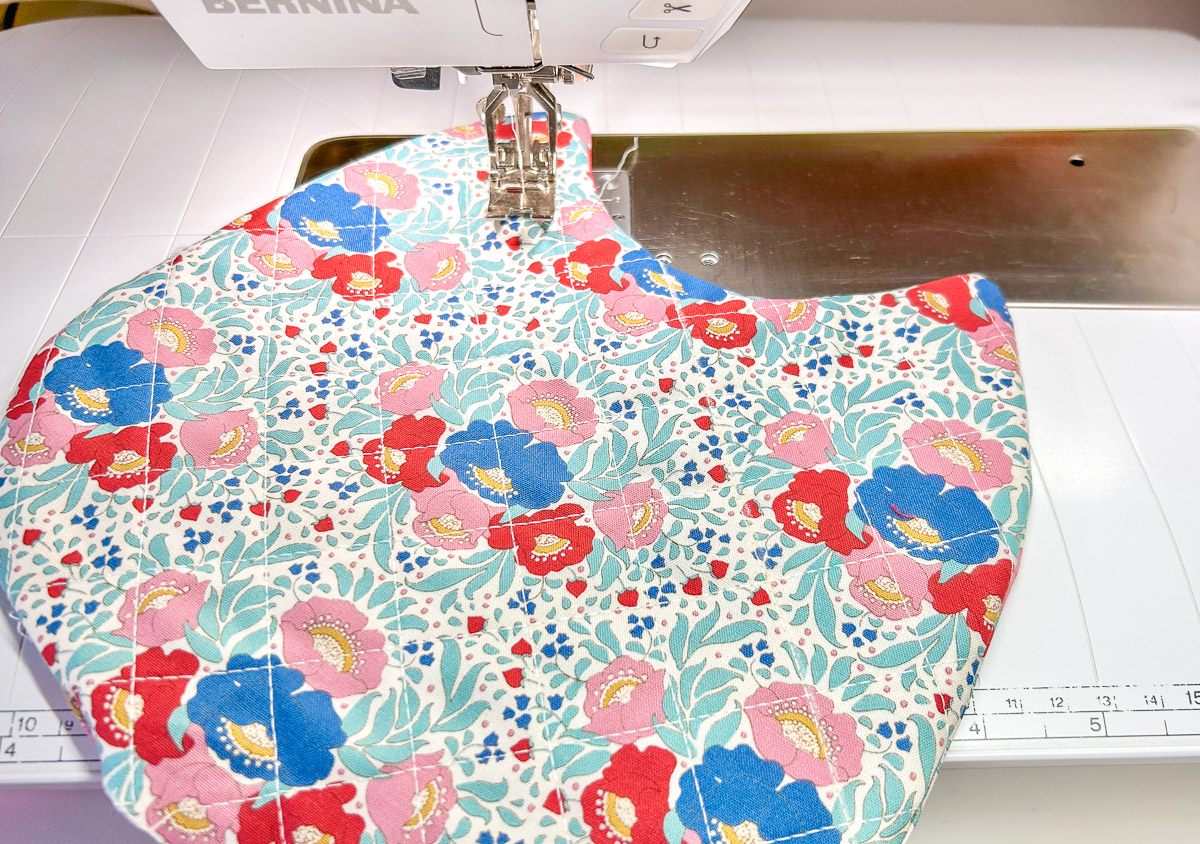
Select BERNINA Walking Foot #50. Increase the Stitch Length to 3 mm.
Attach Walking Foot #50 with the Standard Sole and Right Guide Bar. Position the guide bar so it is at the 1 1/2” mark on the sliding table.
With a temporary marker, drawn a line at a 45º angle in the middle of the fabric. Place under foot and stitch on the line. Position the walking foot so the guide bar is on the stitched line. Stitch the next row. Continue in this manner across the bib. Then, do the same on the right side of the first stitched line.
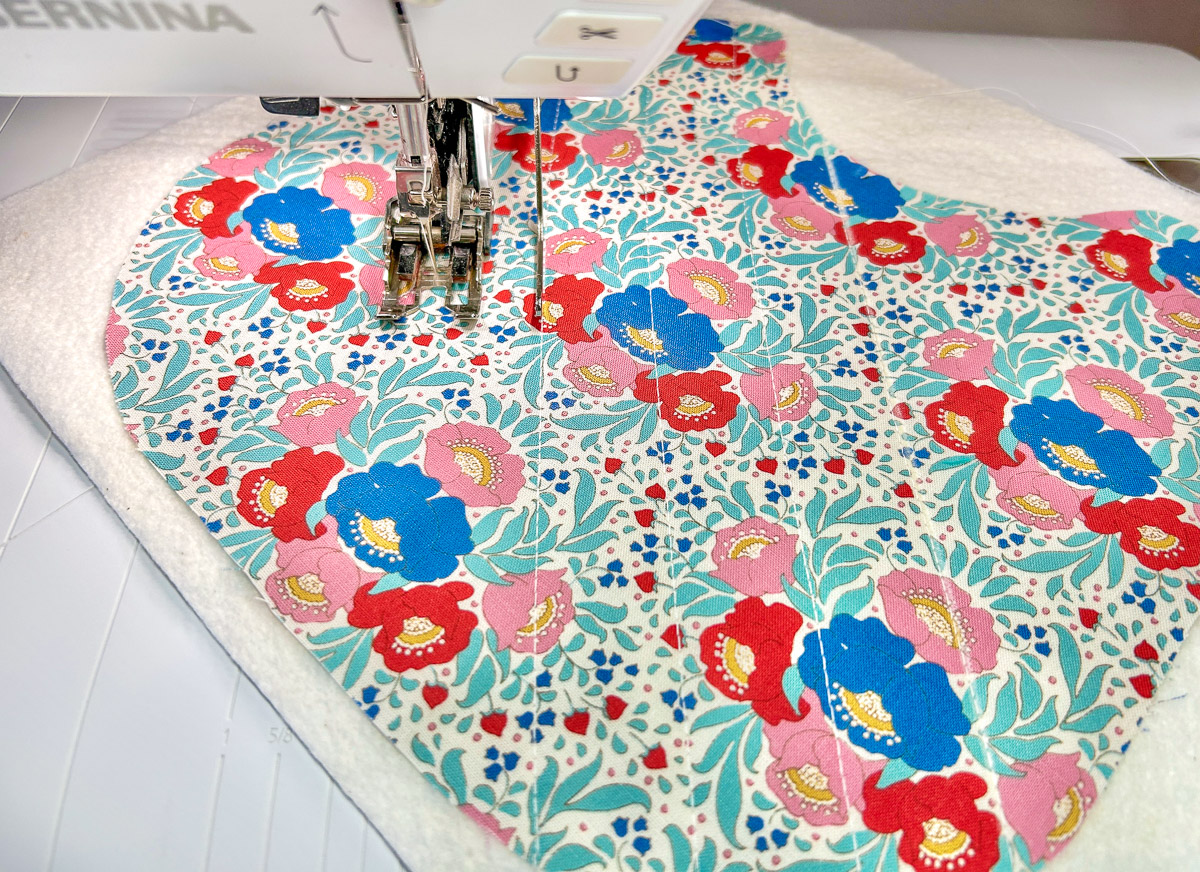
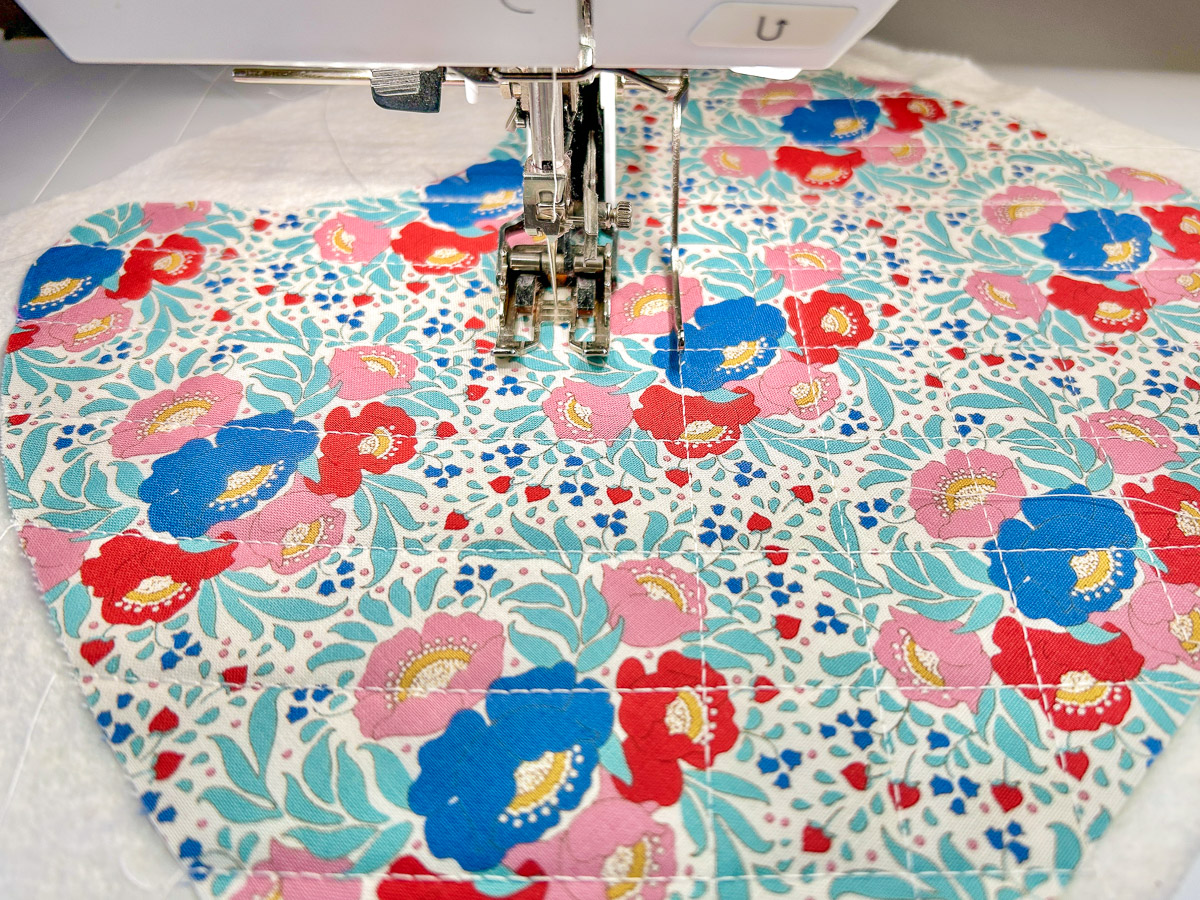
With a temporary marker, drawn a line at a 45º angle perpendicular to the stitched rows. Stitch on the marked line. Position the walking foot so the guide bar is on the stitched line. Continue sewing across the bib. You are creating a grid or, more specifically, crosshatch quilting. Isn’t it fun?
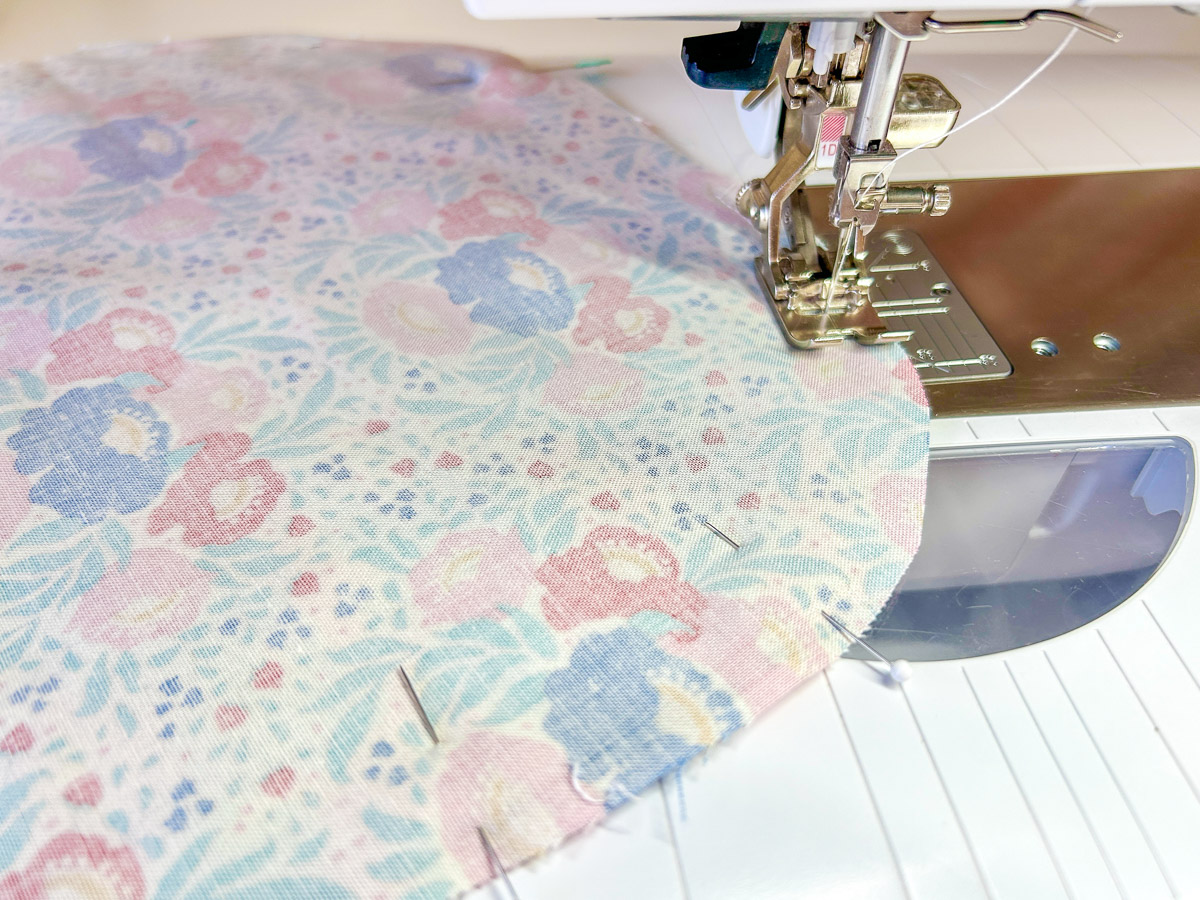
Cut around the bib, removing the excess batting. Place the second bib piece onto the quilted fabric, right sides together. Pin, leaving 3” open at the bottom. I use two pins or a larger pin as a reminder to stop sewing.
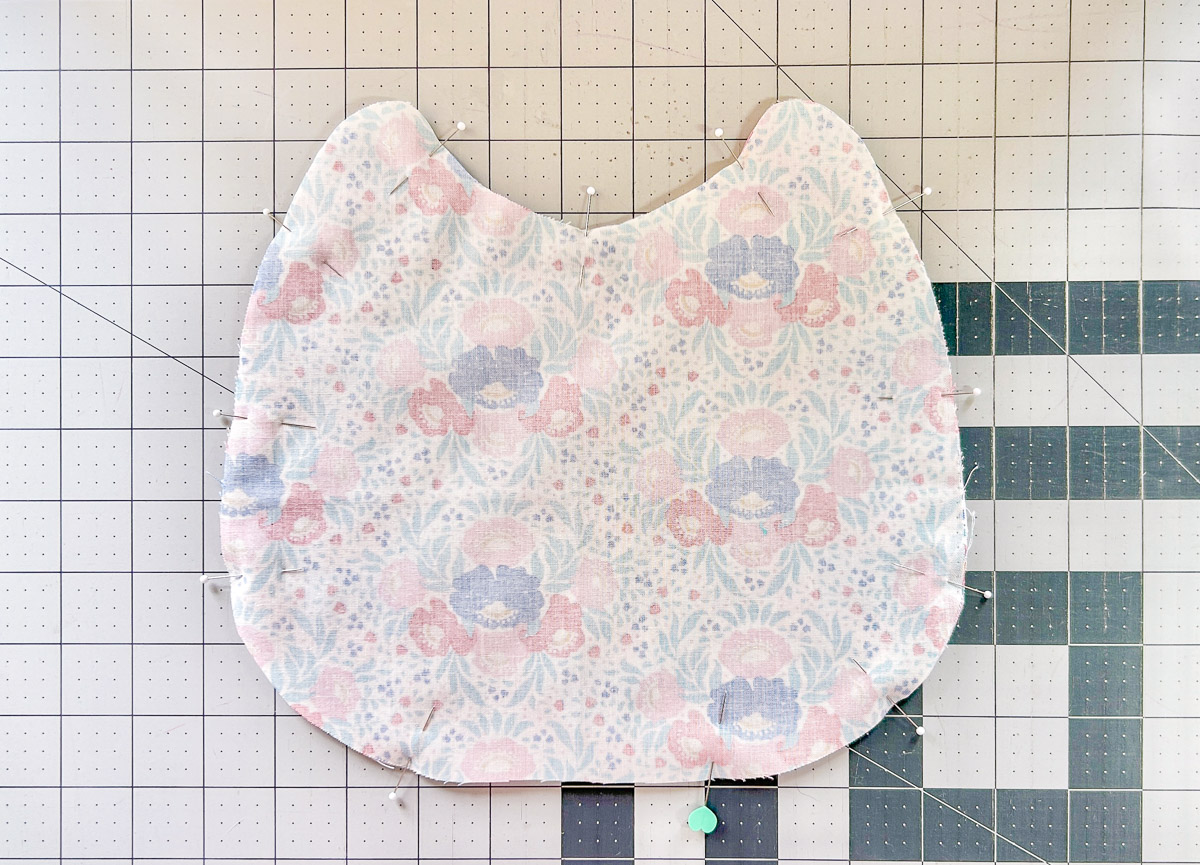
Attach Reverse Pattern Foot #1D. Change the Straight Stitch setting back to default. Sew with a 3/8” seam allowance.
Clip and notch curves and turn right side out. Use point turner to smooth out edges. Press. At this point, it looks like the outline of a cat’s head.
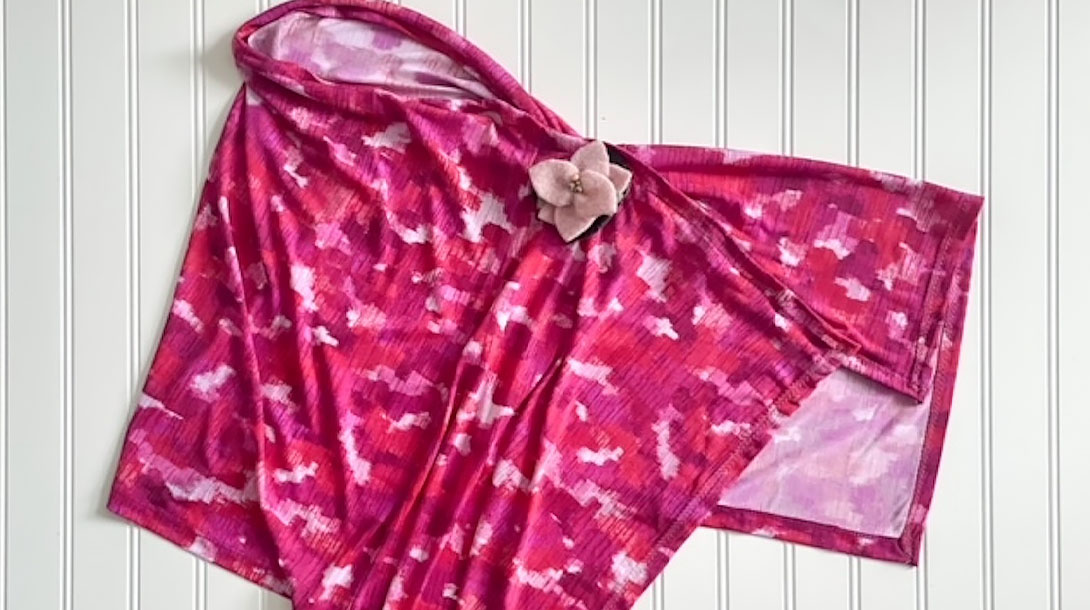
Gather Ruffle
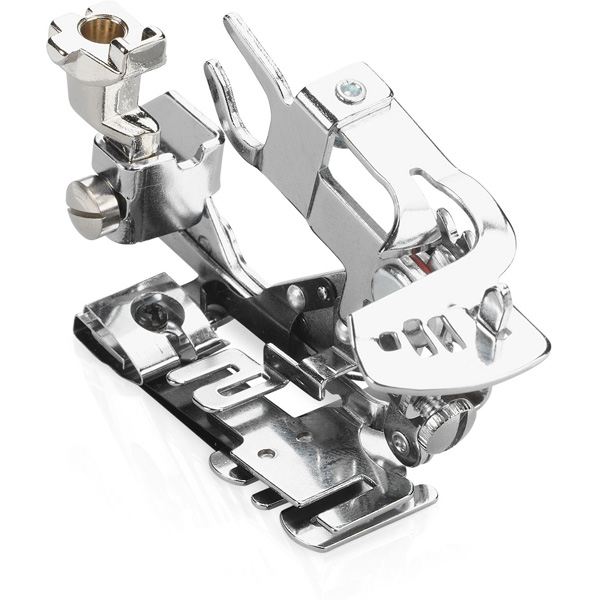
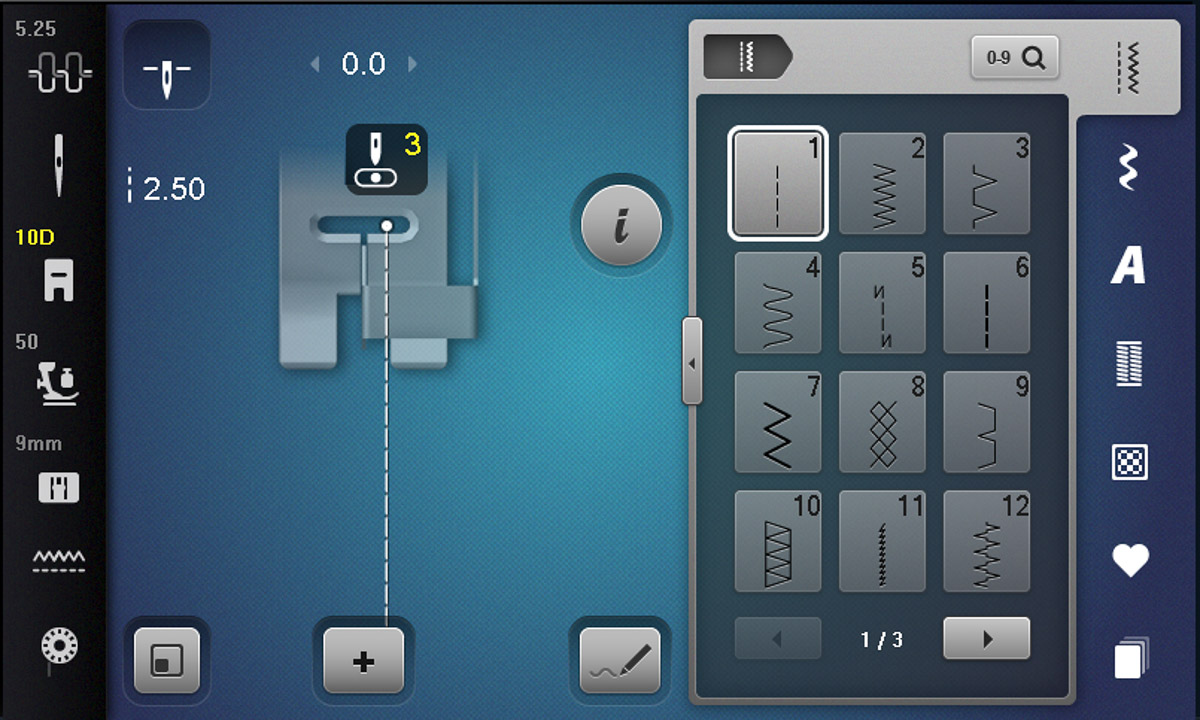
Select BERNINA Ruffler Foot #86 on your machine. The foot looks like a beast, but it’s easy to tame! Select Straight Stitch #1.
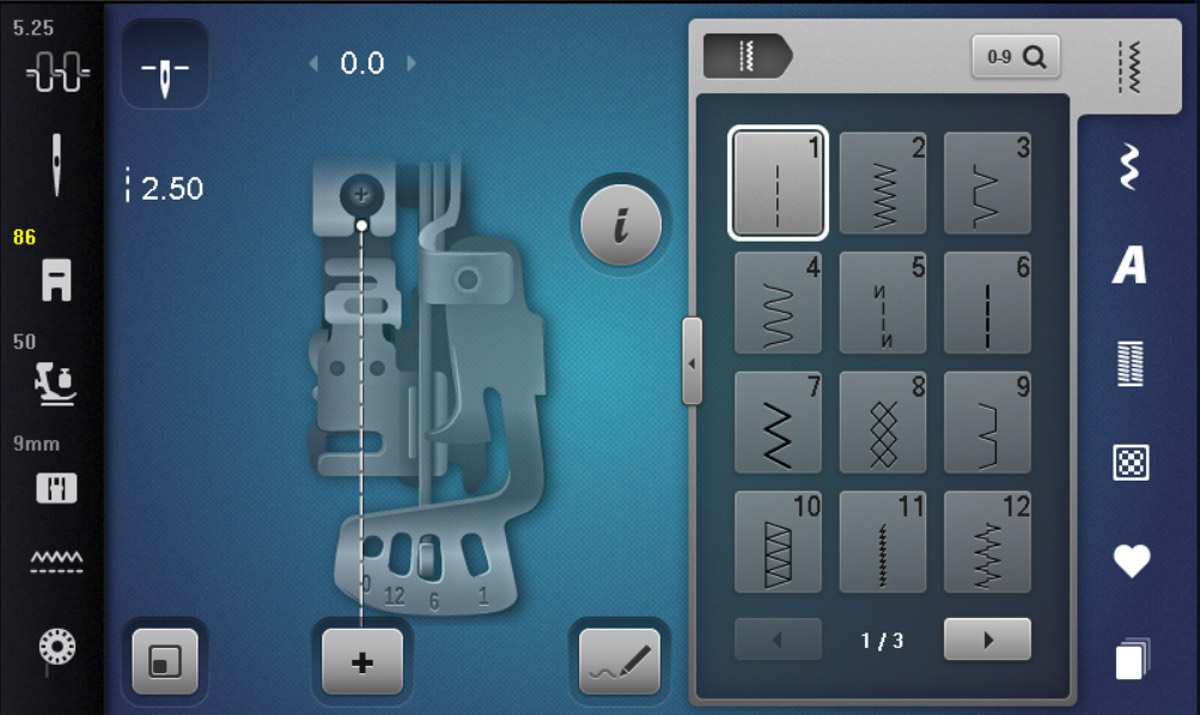
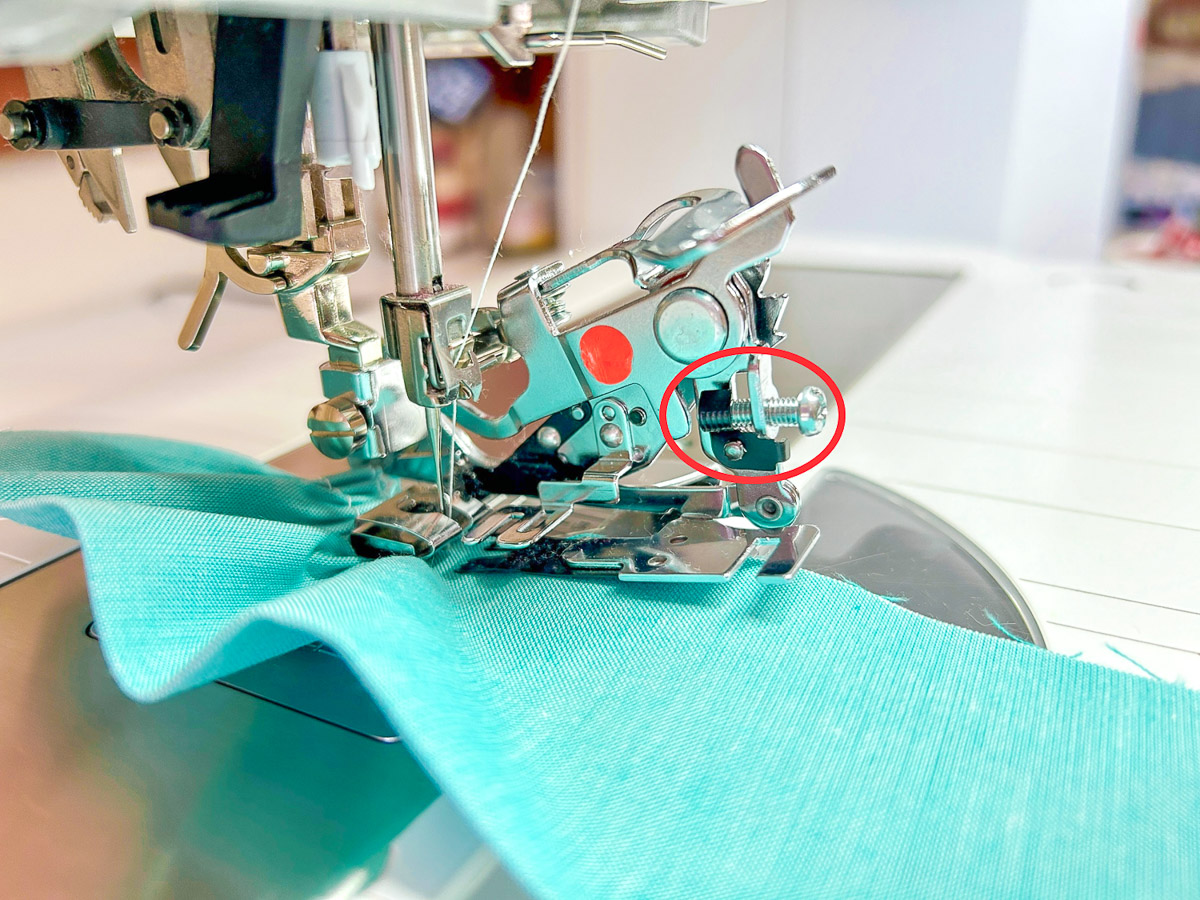
Attach Ruffler Foot #86 to your machine, making sure the U-shaped arm is around the needle bar. Set the Adjusting Lever to 1. Ignore the fabric in the pictures.
Turn the Adjusting Screw so it is flush with the black holder.
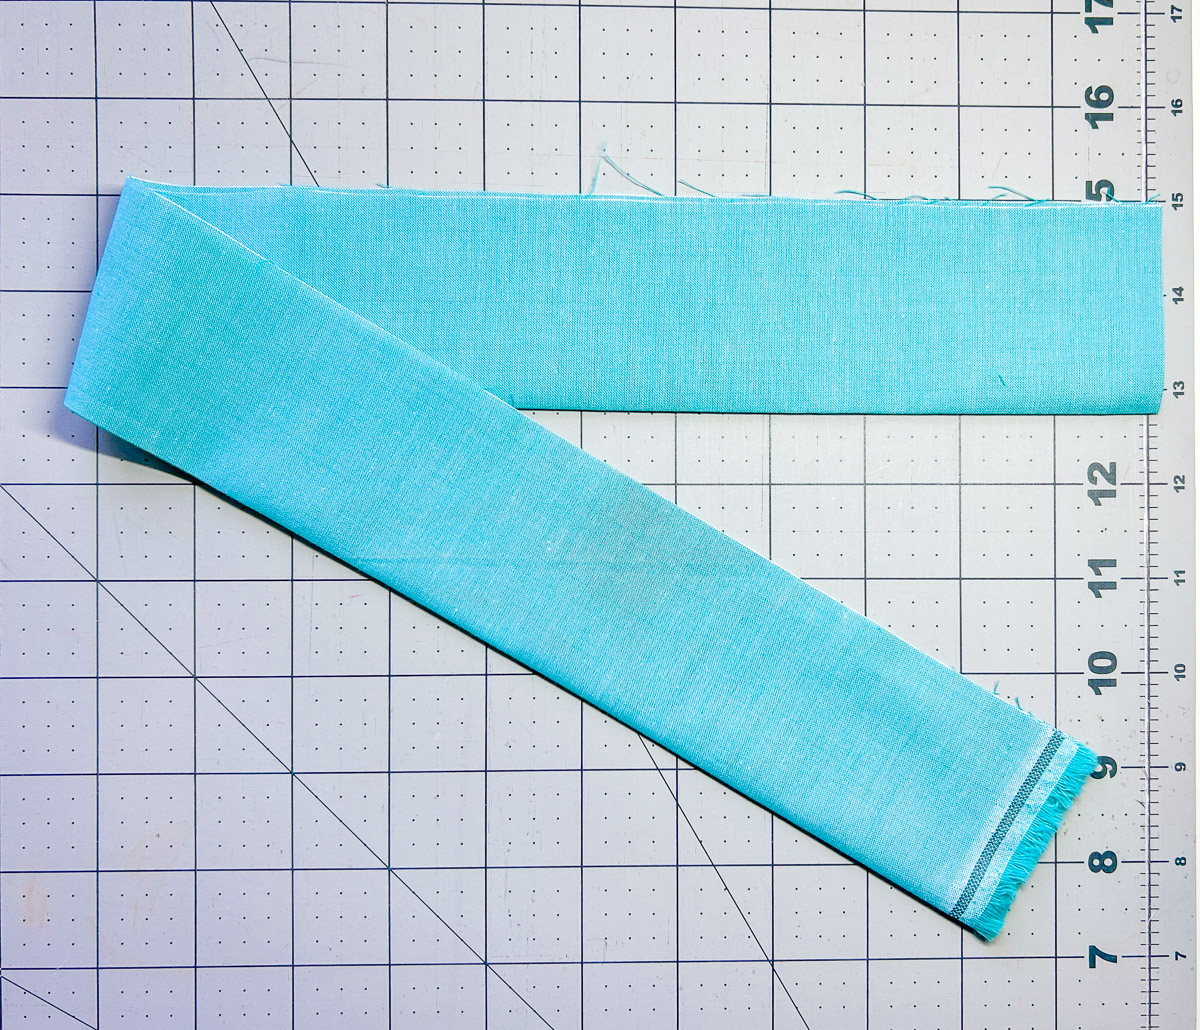
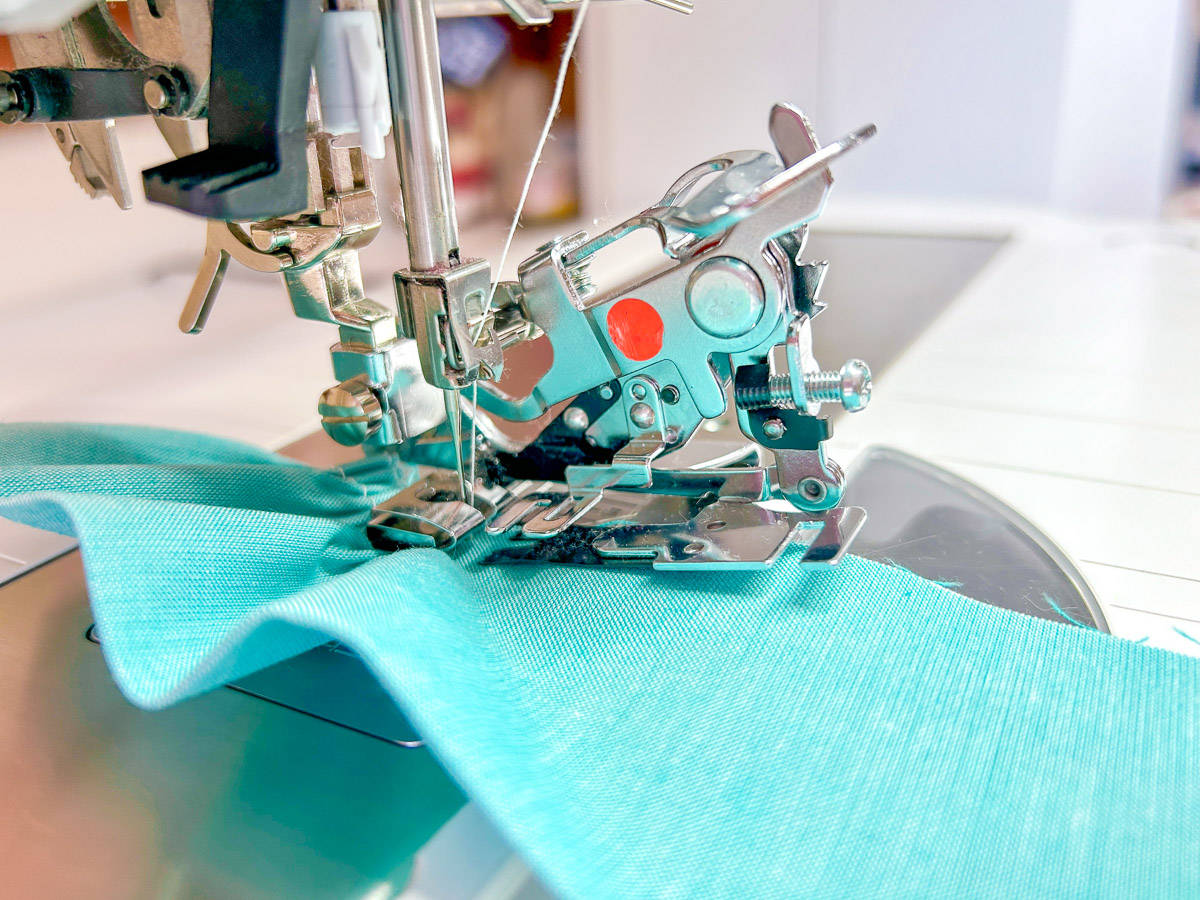
Now find your fabric for the ruffle. Press in half lengthwise, pretty sides out.
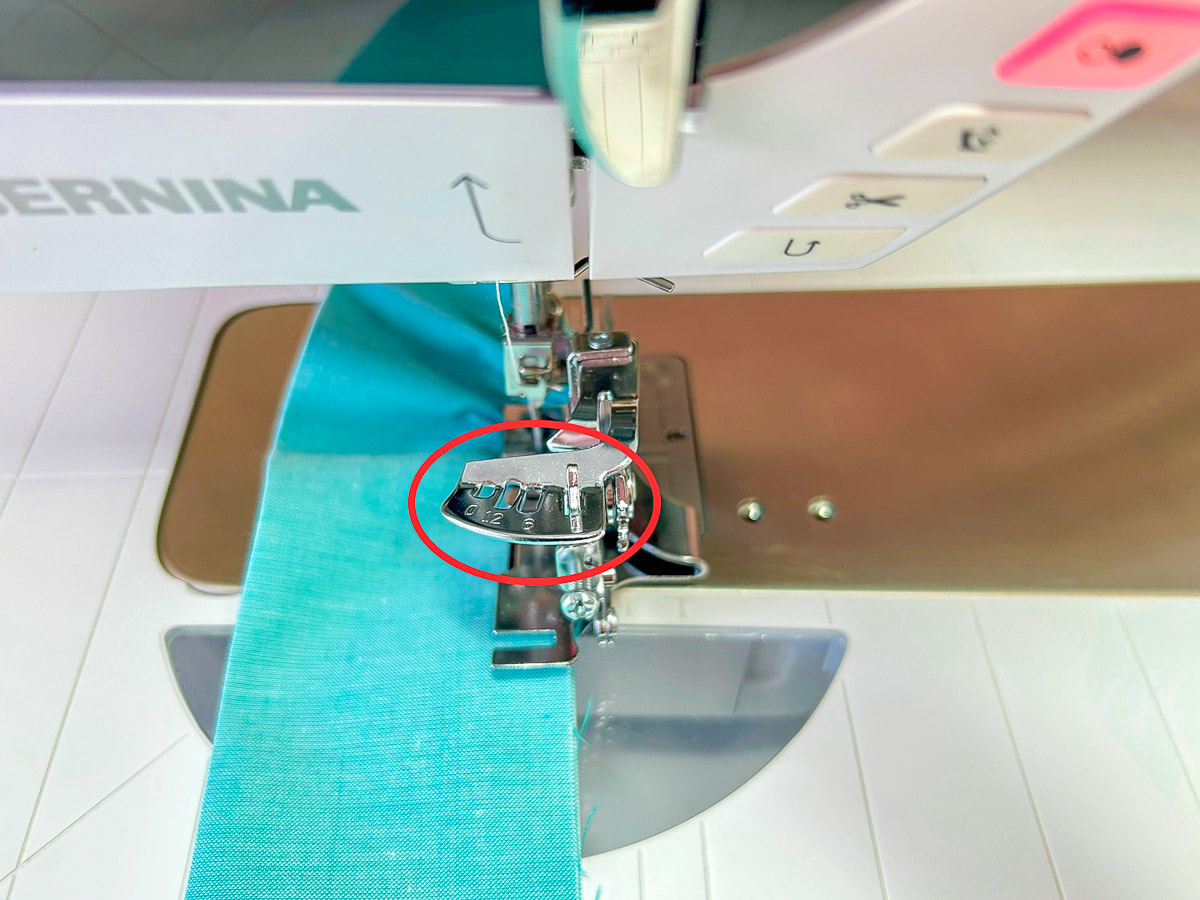
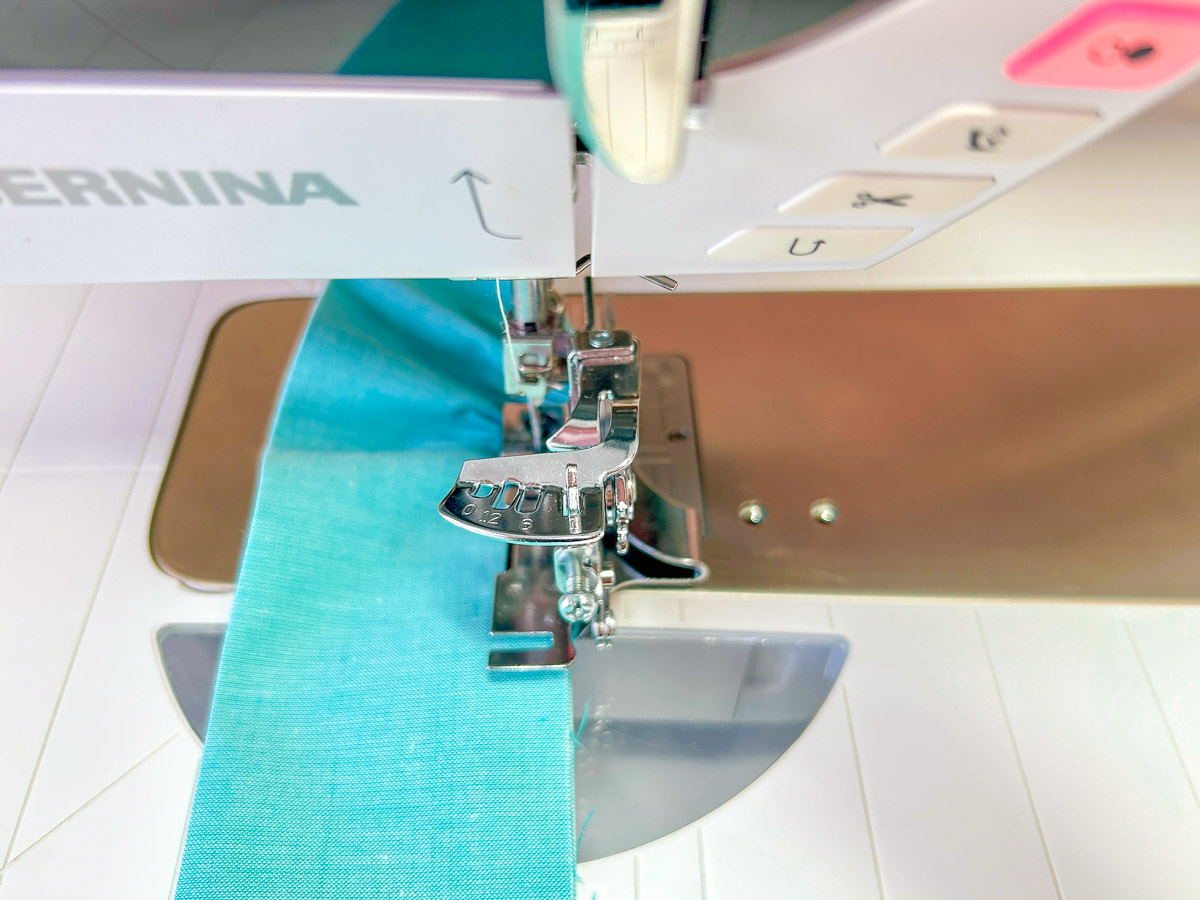
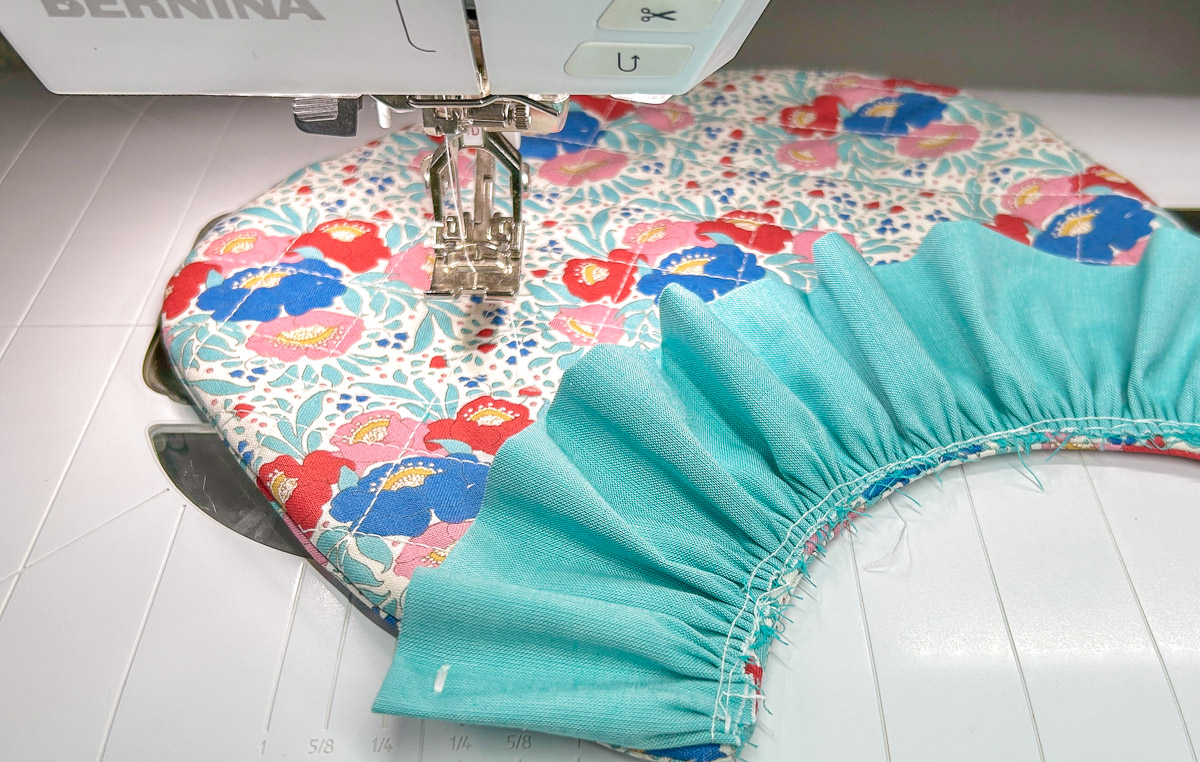
Place folded, short end of fabric in the ruffle blade of the foot. Line up raw edges with the 1/4” mark on the Slide-on Table. Ruffle!
Here is a close-up view of the ruffler foot from the side.
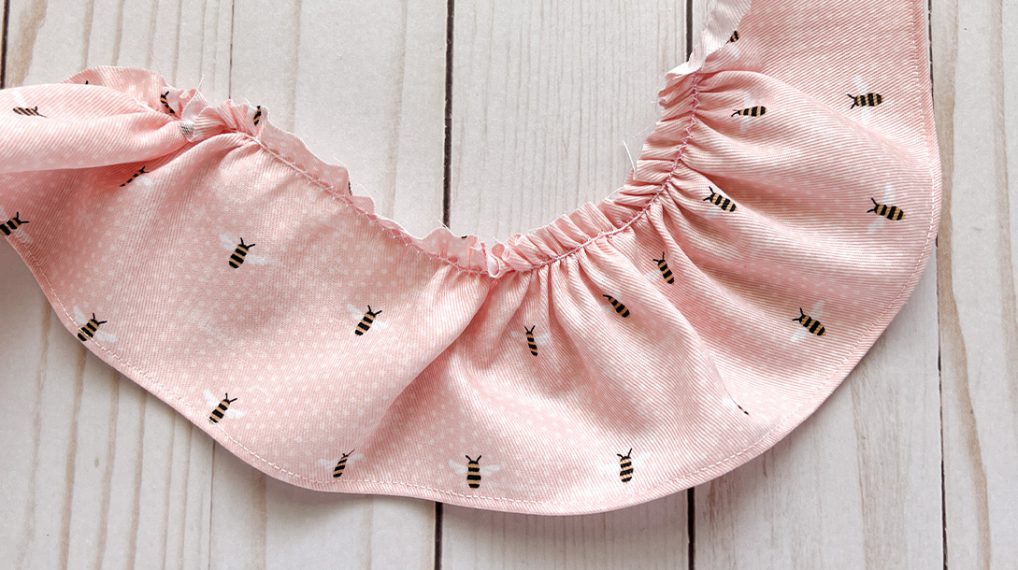
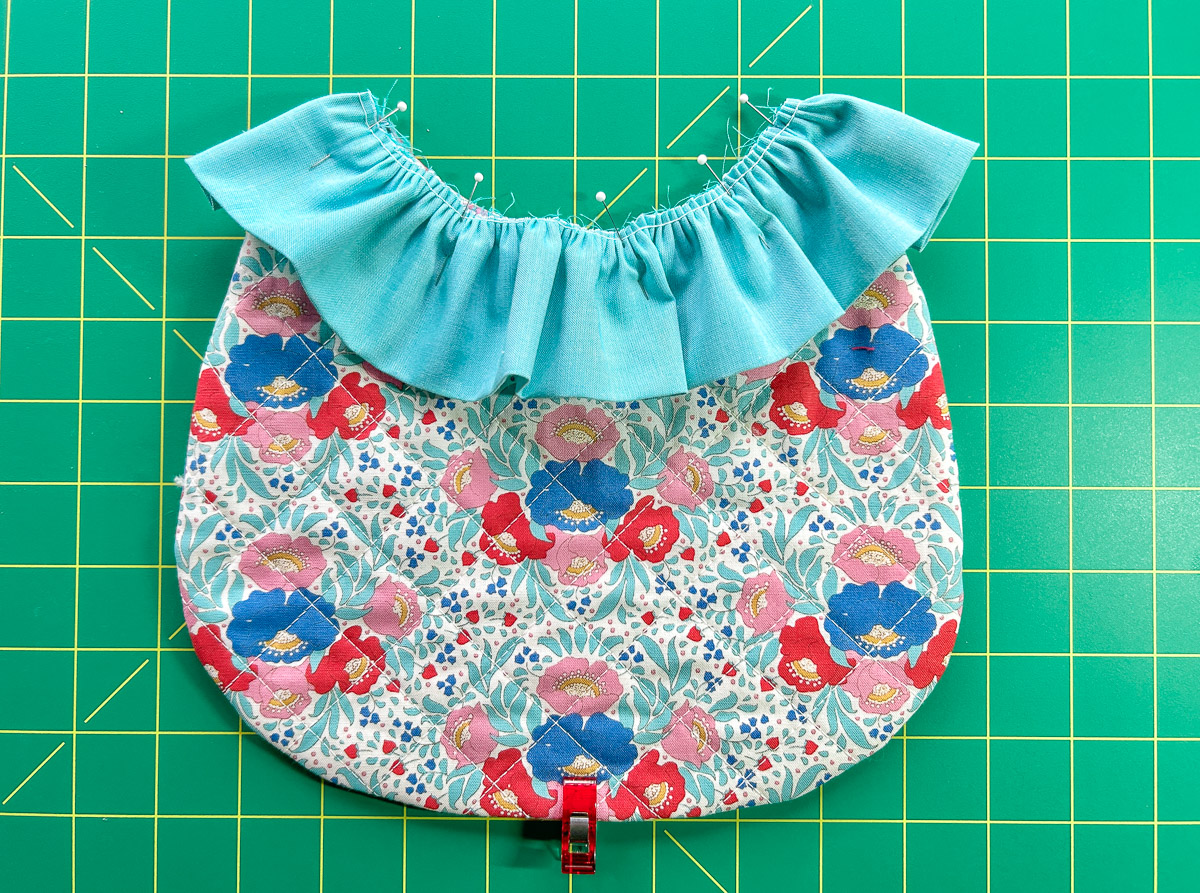
Pin ruffle along the top of the bib fabric, leaving 1” excess at start and end. Carefully double-fold excess and pin.
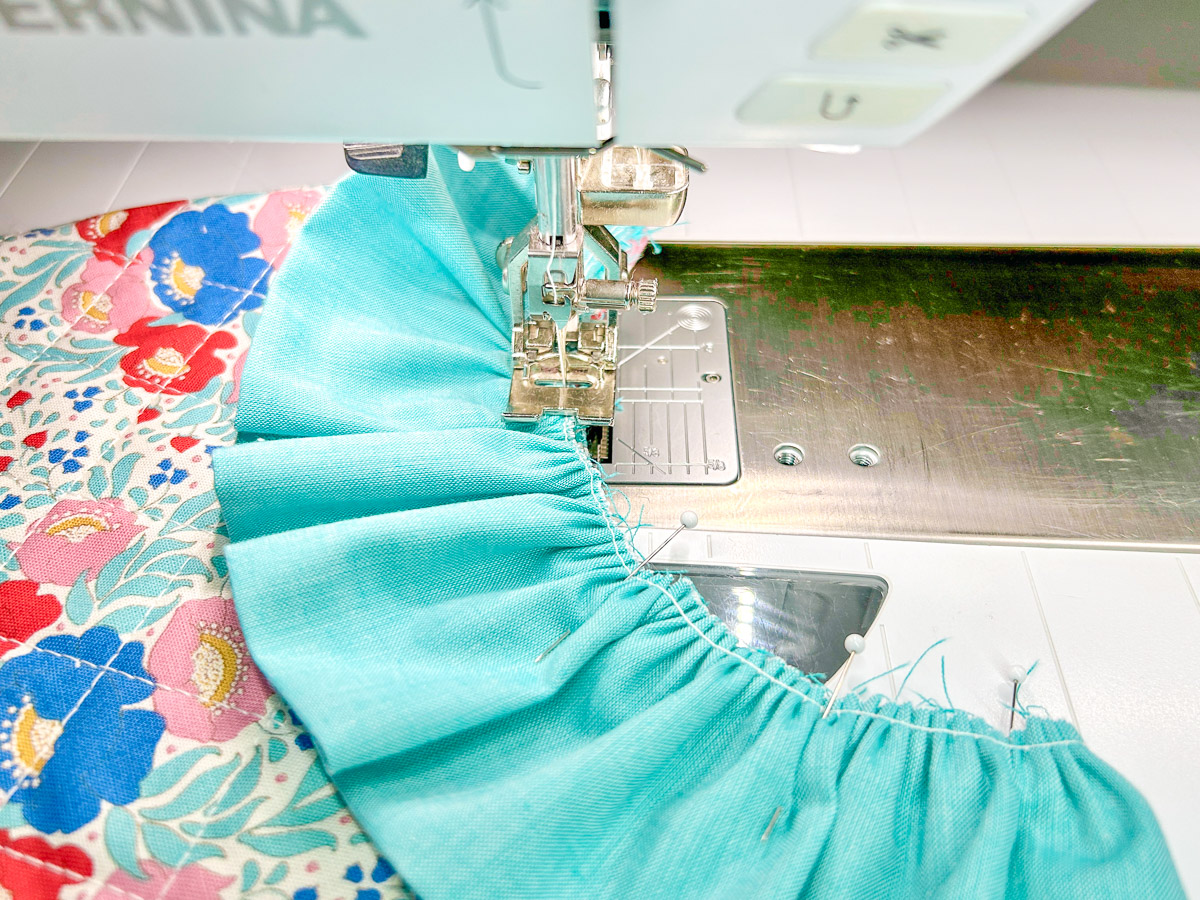
Attach Reverse Pattern Foot #1D and increase Straight Stitch #1 to 6 mm for basting. Align the raw edges with the inside right toe. Baste the ruffle to the bib.
Select Bartack Stitch #25. Position the double folded hem so the bottom is just under the center opening of the foot and the edge is flush with the side of the foot. Tack down.
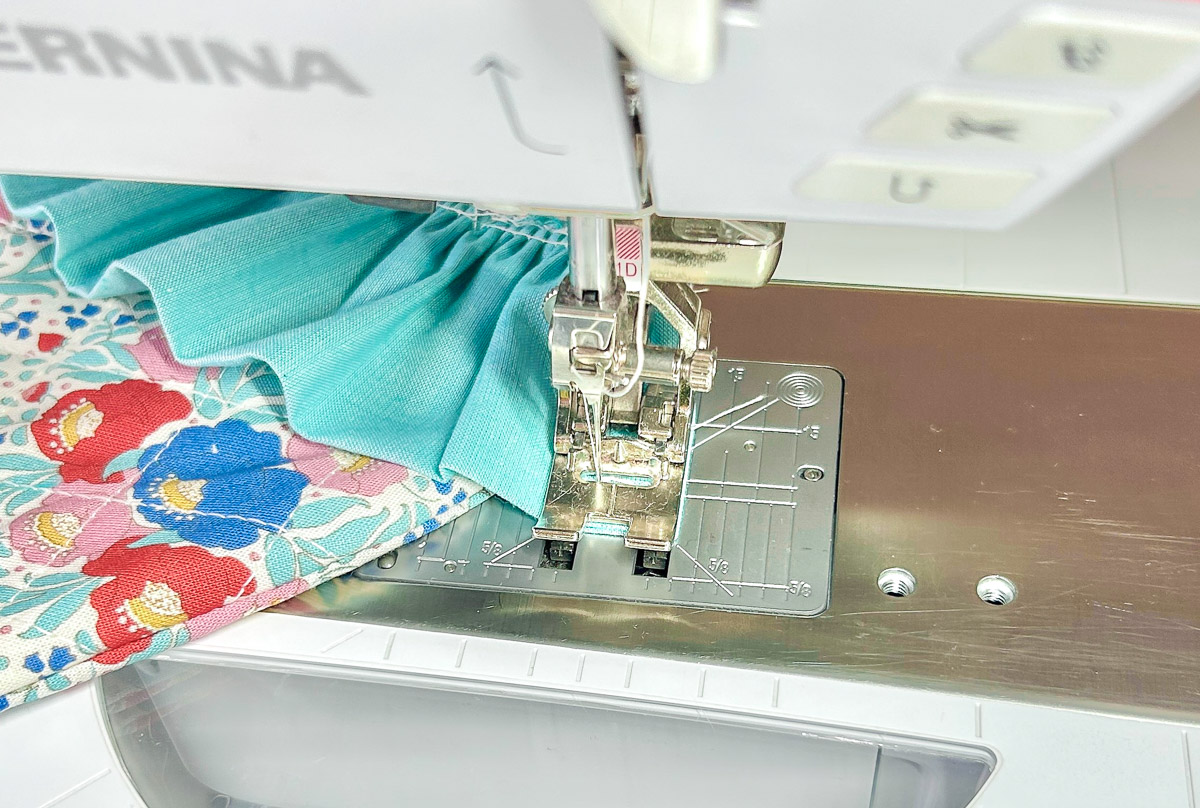
Do the same with the folded hem on the opposite end.
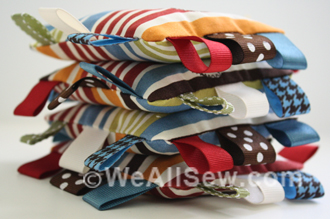
Create Tie
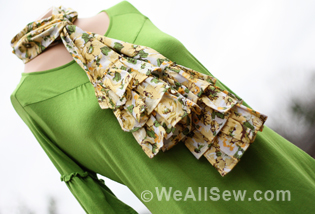
For the tie, you need 54” of 1” double-fold bias binding. It’s not critical to use binding on the bias, but since we’re sewing on a curve, bias binding will look smoother. You can buy bias binding or make your own. The Clover Bias Tape Makers are a great way to make binding. The 1” size is blue and my favorite.
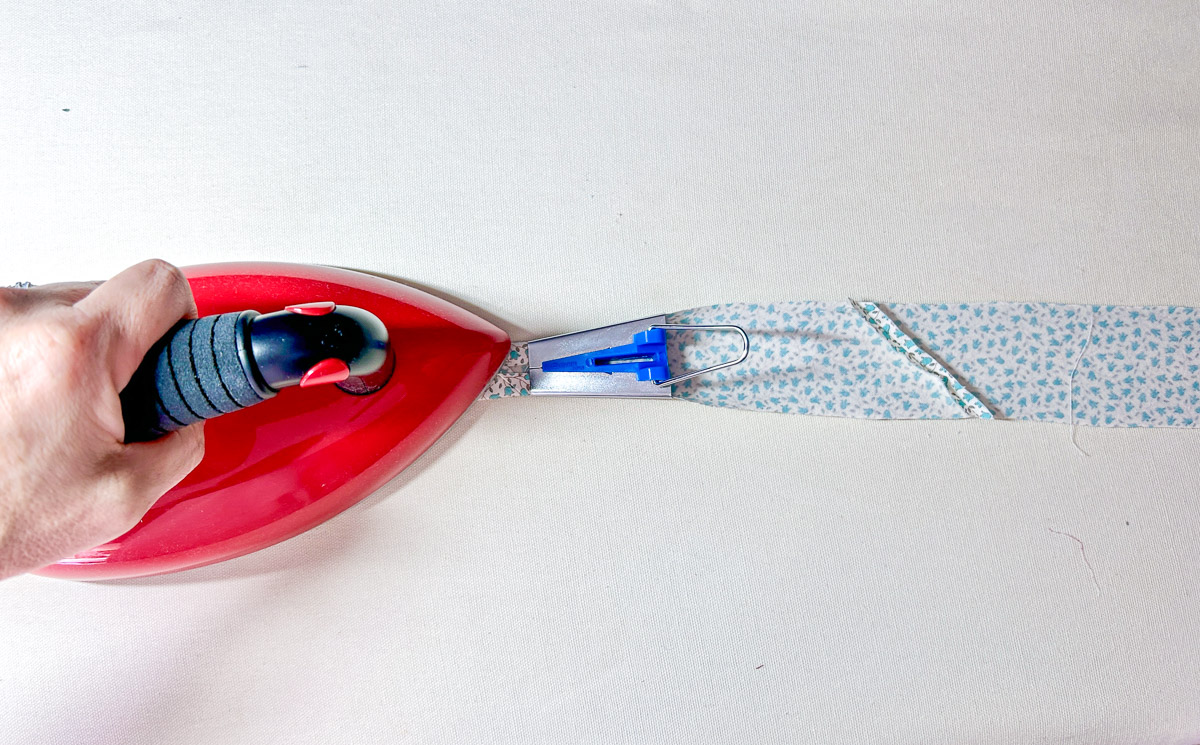
There are tons of tutorials online on how to use the Clover Tape Makers. Basically, pull the fabric strip through the narrow end of the maker. As you pull the fabric thru, it will fold. Slowly slide the tape maker along the strip pressing with the iron until you reach the end.
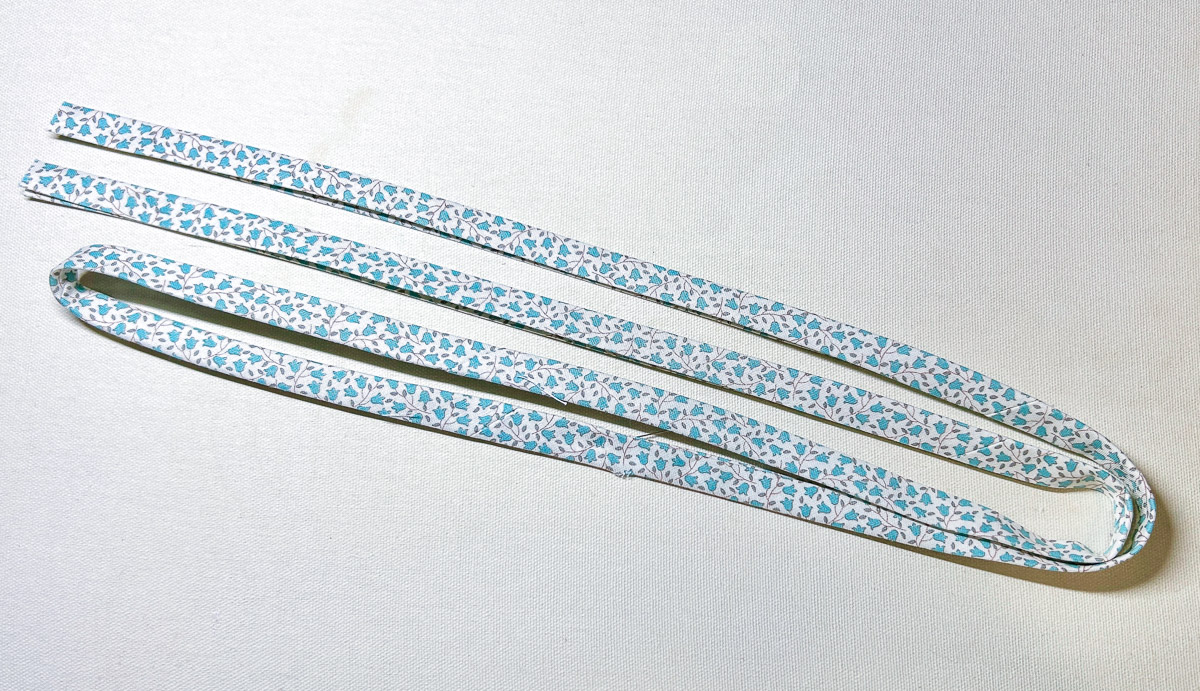
Then, fold the fabric strip in half and press again. So easy!
Select BERNINA Edgestitch Foot #10D. Change the stitch to Straight Stitch #1 at the default setting and move the Needle Position to 3.
Find the middle of the tie and clip it to the middle of the ruffle bib, covering the raw edges.
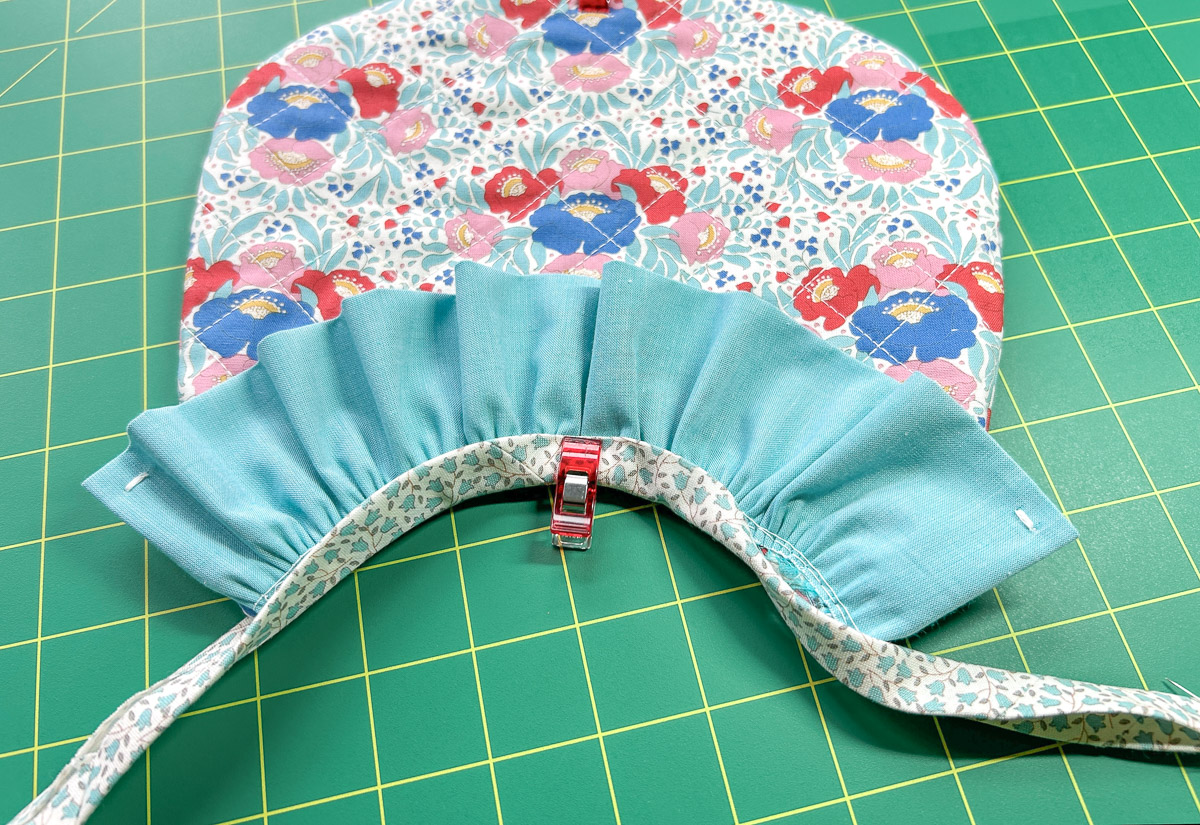
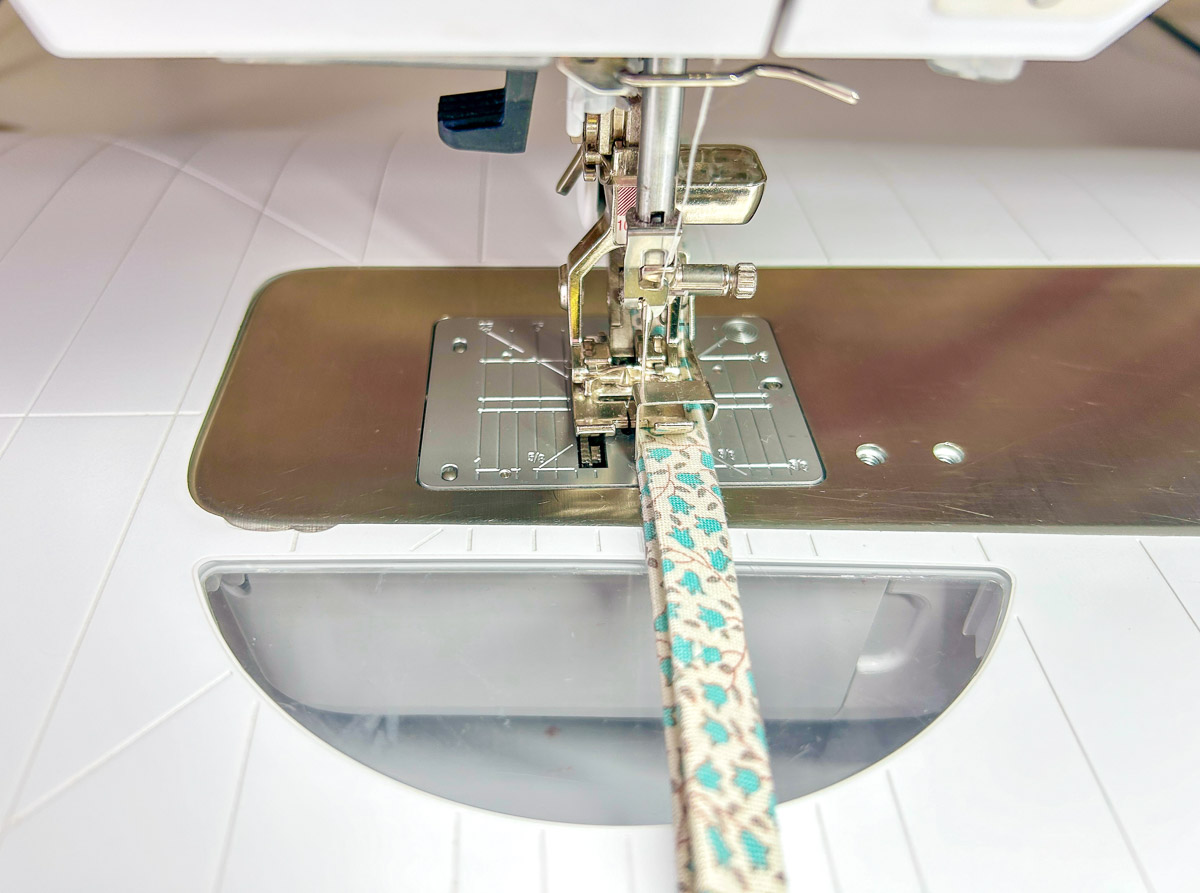
Clip the tie along the top of the ruffle bib. Open the short end of the tie and fold the raw edge in 1/2”. Fold back together and pin or clip. Position tie under Foot #10D, up against the center blade with 1/4” behind the needle. Backstitch 2-3 stitches to secure. Stitch the tie, keeping the fabric up against the blade.
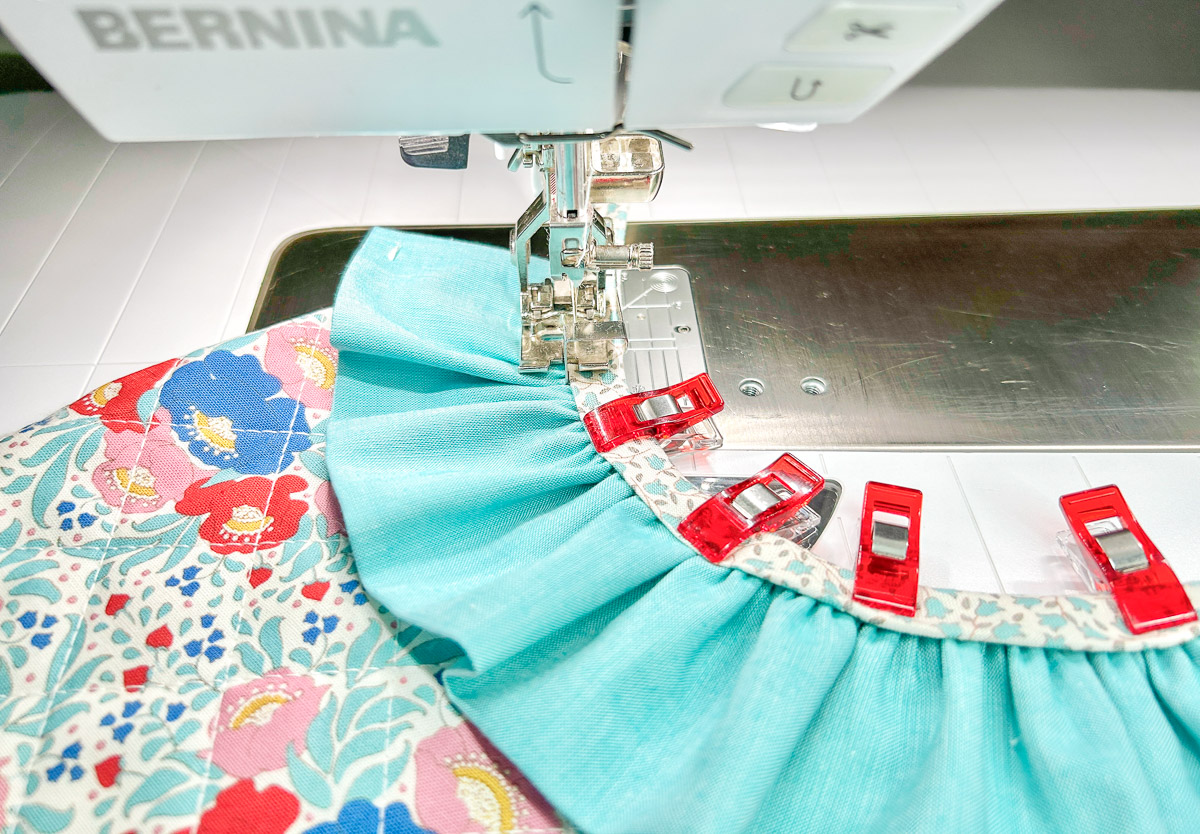
When you get to the ruffle, change the Stitch Length to 3 mm. Stitch the tie along the top, being careful not to stretch the bias binding. I changed my Presser Foot Pressure to 40.
When you reach the end of the ruffle, change the Stitch Length back to 2.5 mm. If you adjusted your Presser Foot Pressure, change back to default. Stitch 2” from the end of the tie. Fold in 1/2” the same way you did at the beginning of the tie. Fold back together and sew to the end. Backstitch to secure.

Hand or machine stitch the 3” opening at the bottom closed. Beautiful!

You can easily alter this pattern to make it your own. Change the quilting design, make the bib larger, remove the ruffle, add a double ruffle, or sew decorative stitches!