How to Make a Snuffle Mat on a Q Series Longarm
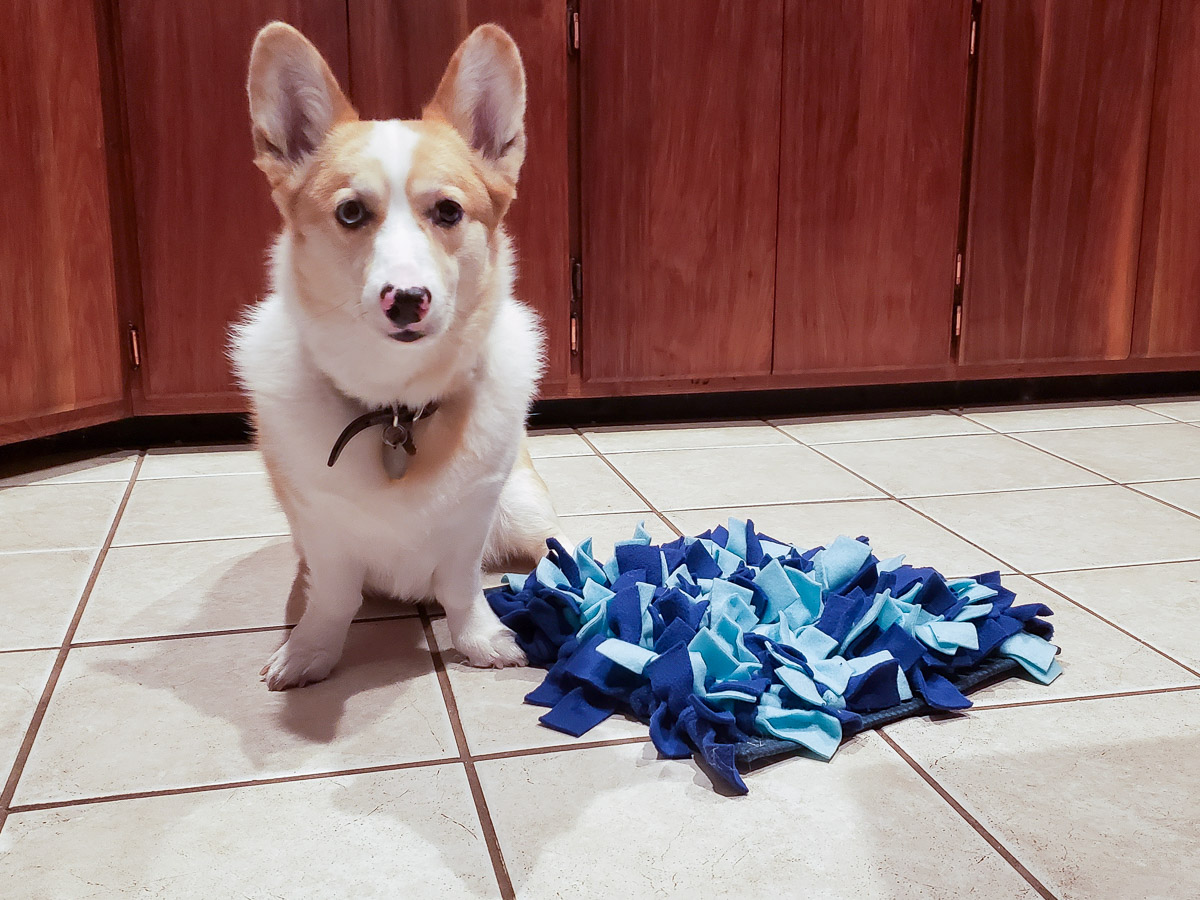
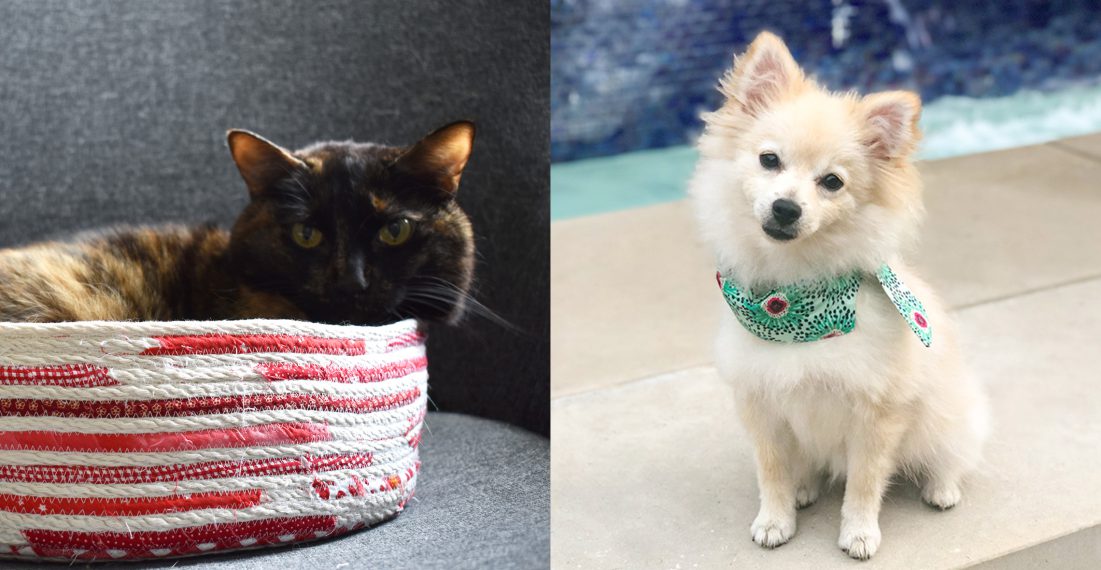
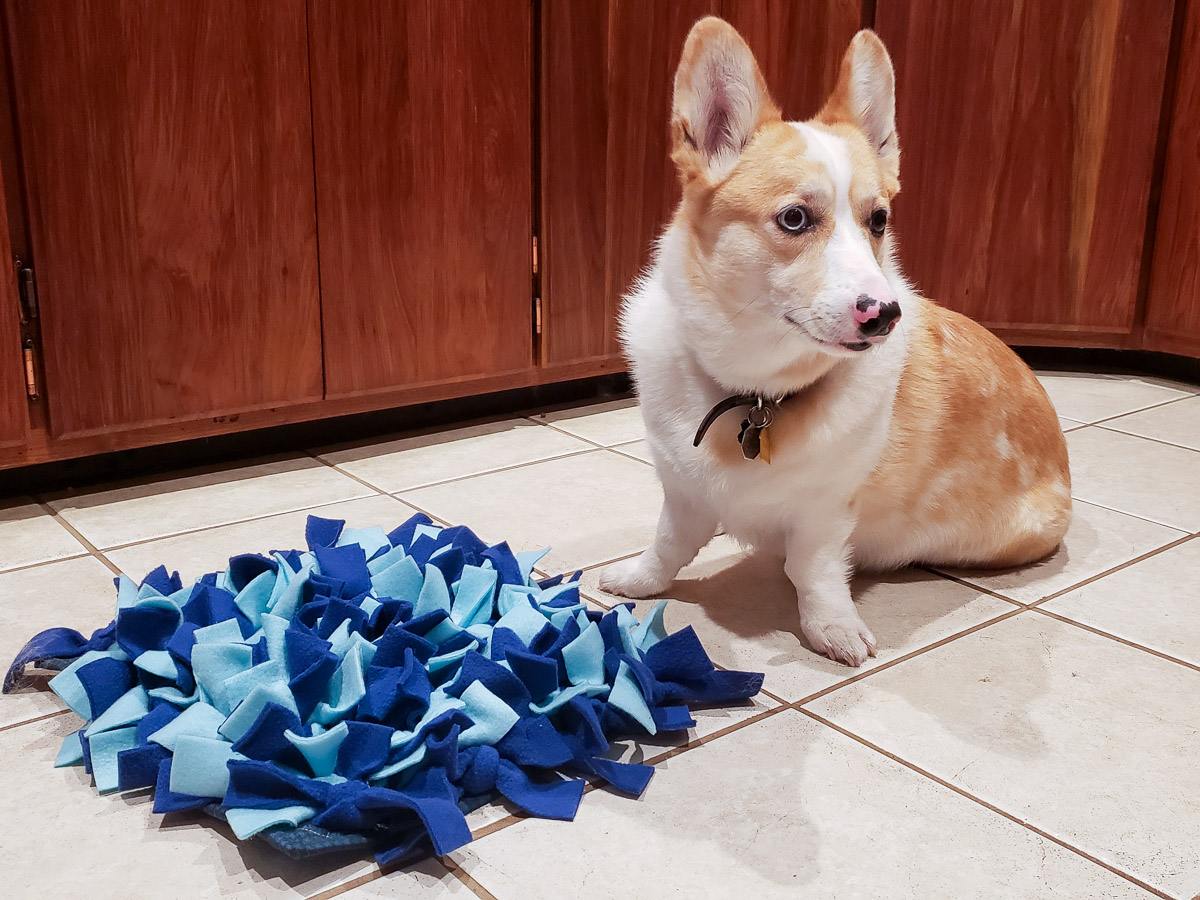
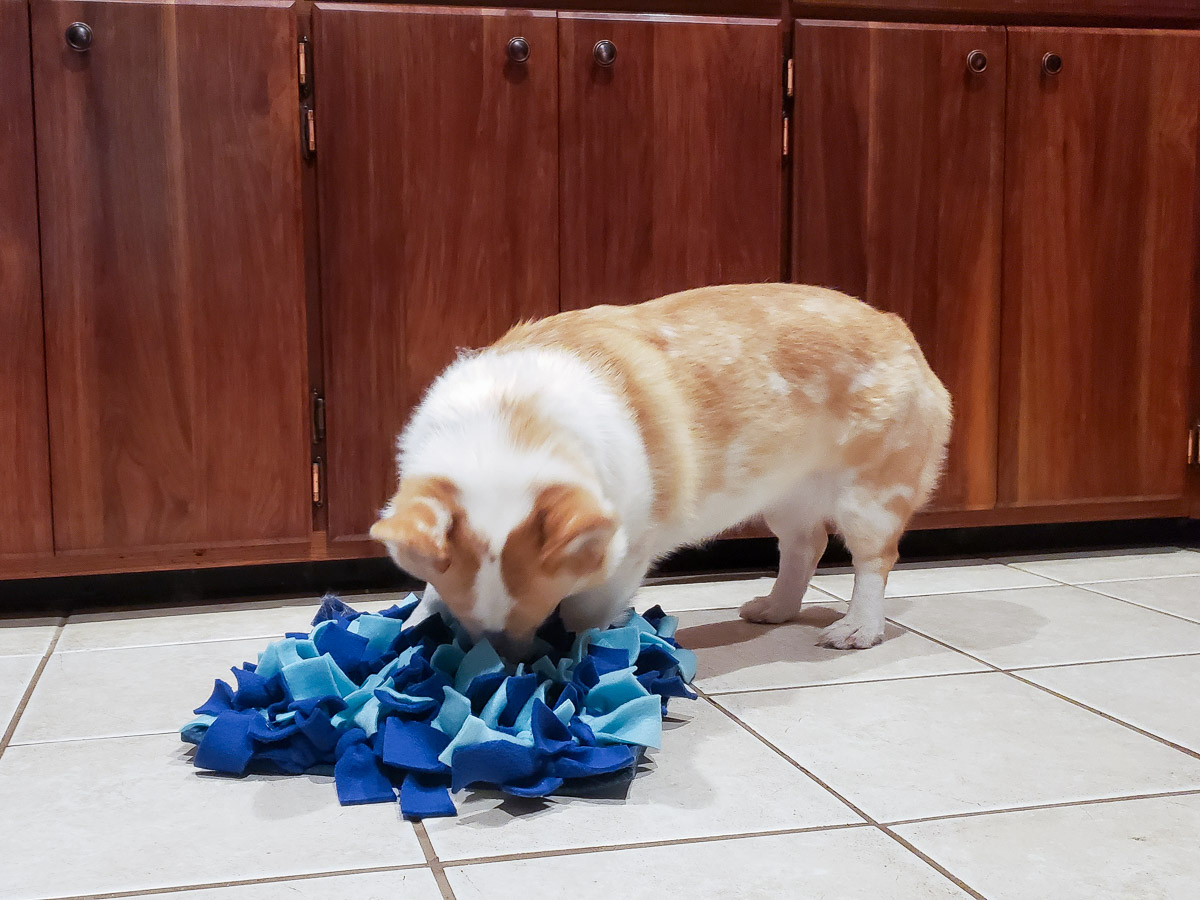
My dog Ruby loves treats and a snuffle mat is a great way to keep her mentally active while she searches for treats. Of course, you can purchase ready-made snuffle mats but it’s super simple to make your own using your sit-down BERNINA Q Series Longarm and, most likely, materials found in your stash. Since Ruby is a smaller dog, the mat size that I’m making is 14” square.
Materials for Making a Snuffle Mat
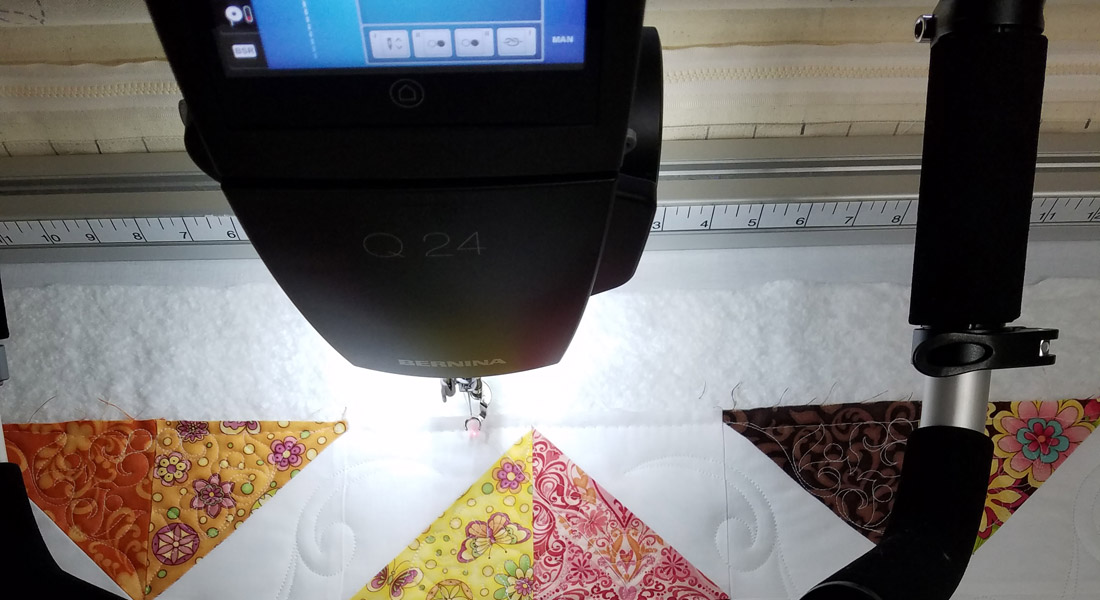
- BERNINA Q 20 Longarm
- Horn Lift Table
- Adjustable Ruler Foot #72
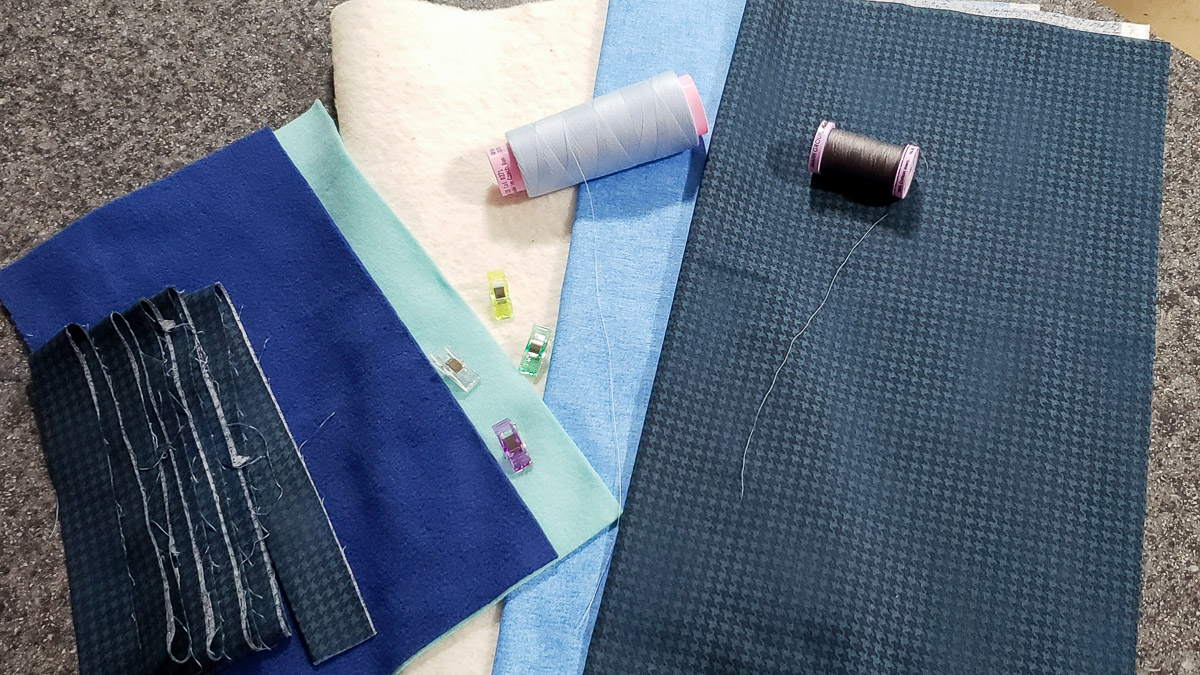
- Fabric:
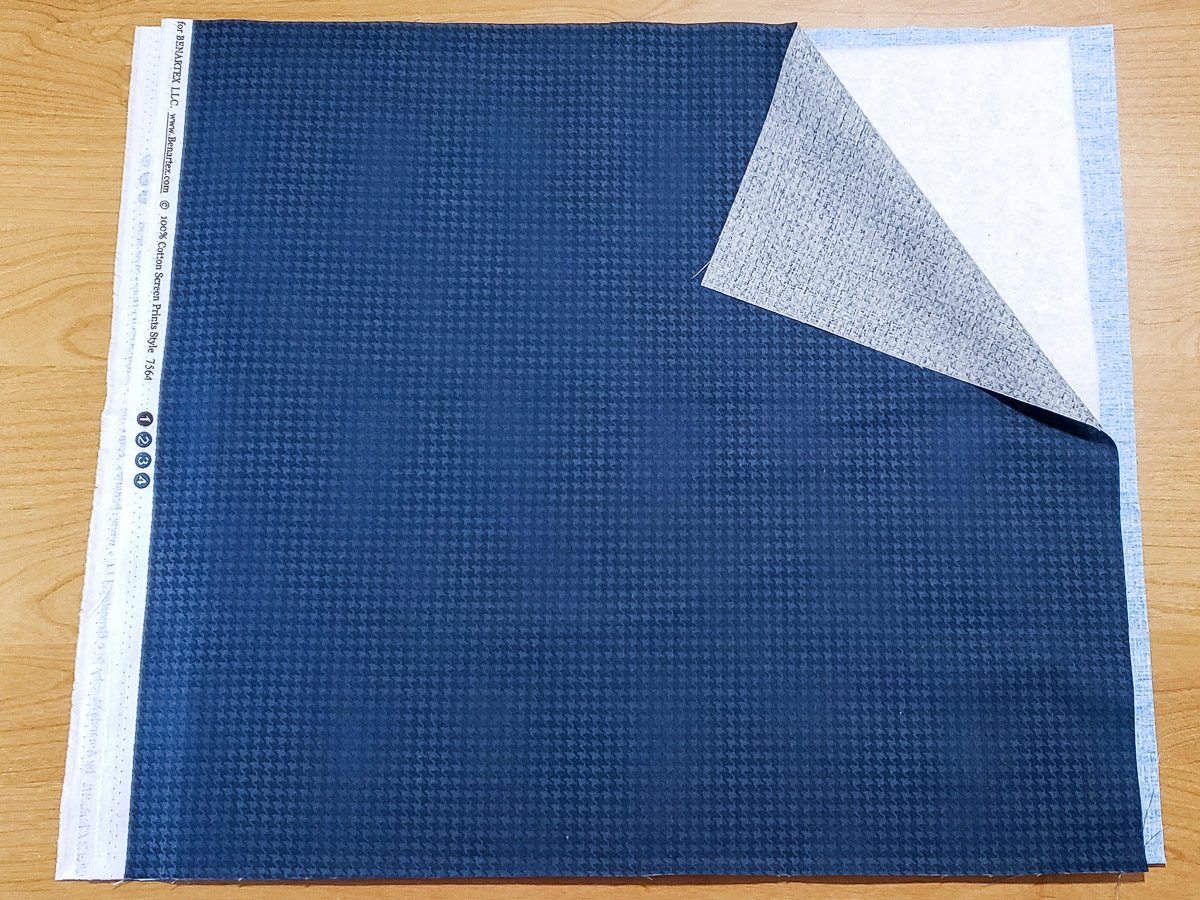
- 2 fat quarters cotton quilting fabric from Benartex
- 2 colors of fleece, 3/4 yard each, 54” wide
- Longarm quilting thread to coordinate with backing fabric
- Piecing thread for binding
- 18” x 18” cotton batting remnant
- 65” double fold binding
- Pins or Wonder Clips
- Basic sewing supplies and quilting tools
- Dog treats or dry kibble
Cutting Instructions
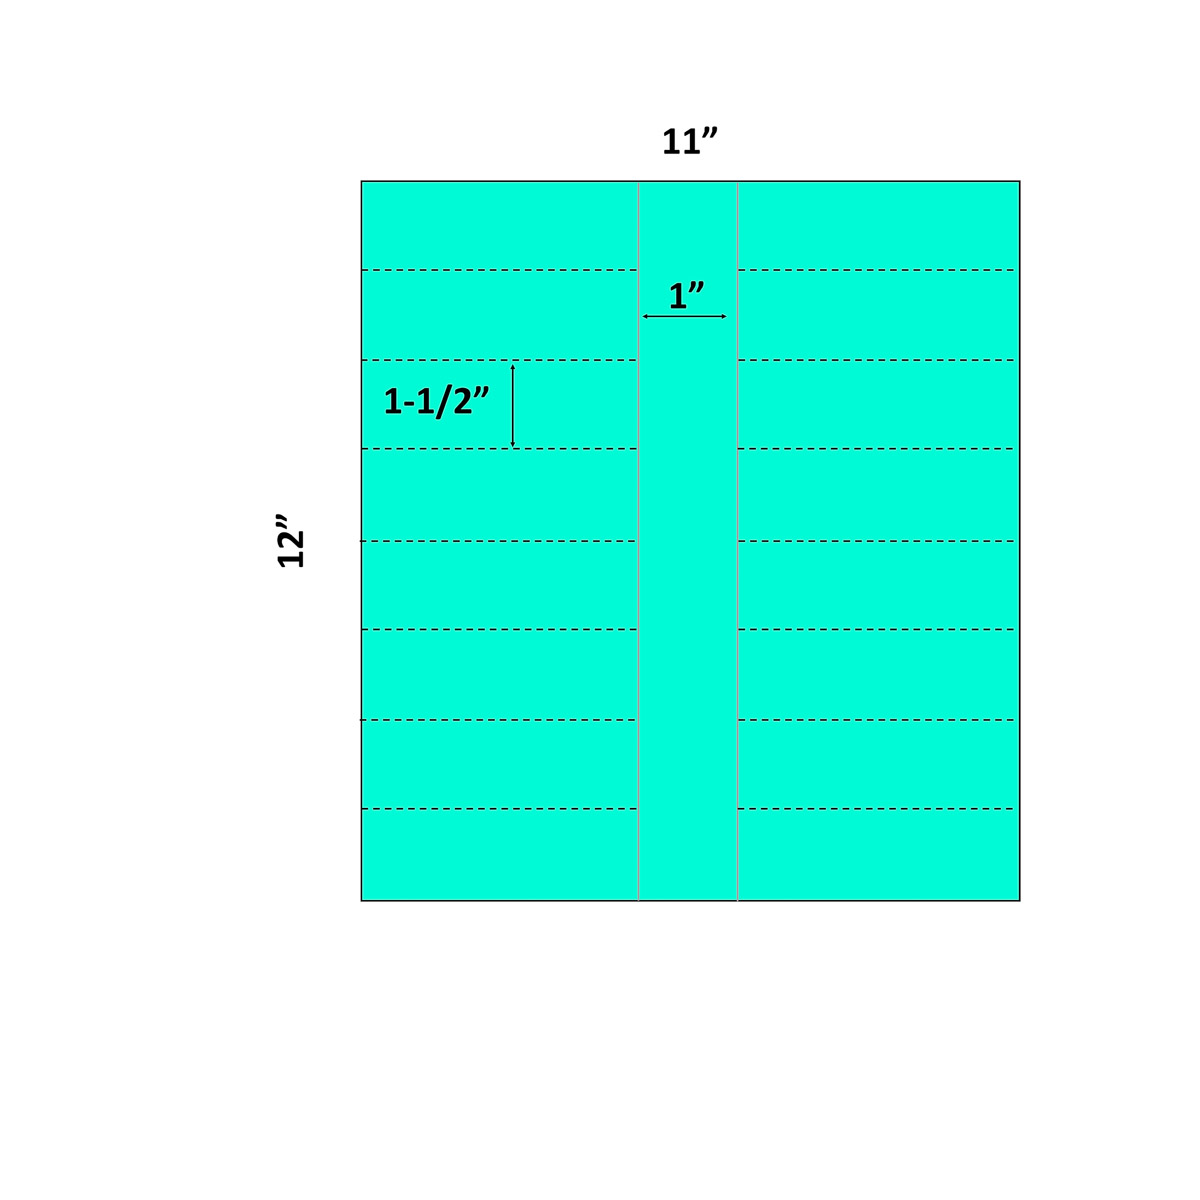
- Fleece – Color 1: (7) 11” x 12” rectangles
- Fleece – Color 2: (6) 11” x 12” rectangles
- Sub-cut 8 strips on both long sides of all 13 fleece rectangles, leaving 1” in the center uncut. Each strip will be 1-1/2” wide x 5” long.
Step One: Quilt the Base
Determine which fat quarter you want as the back of the snuffle mat and which you want as the face. Sandwich the batting between the wrong-side facings of each fat quarter (right sides face out). Baste or pin to secure, if desired.
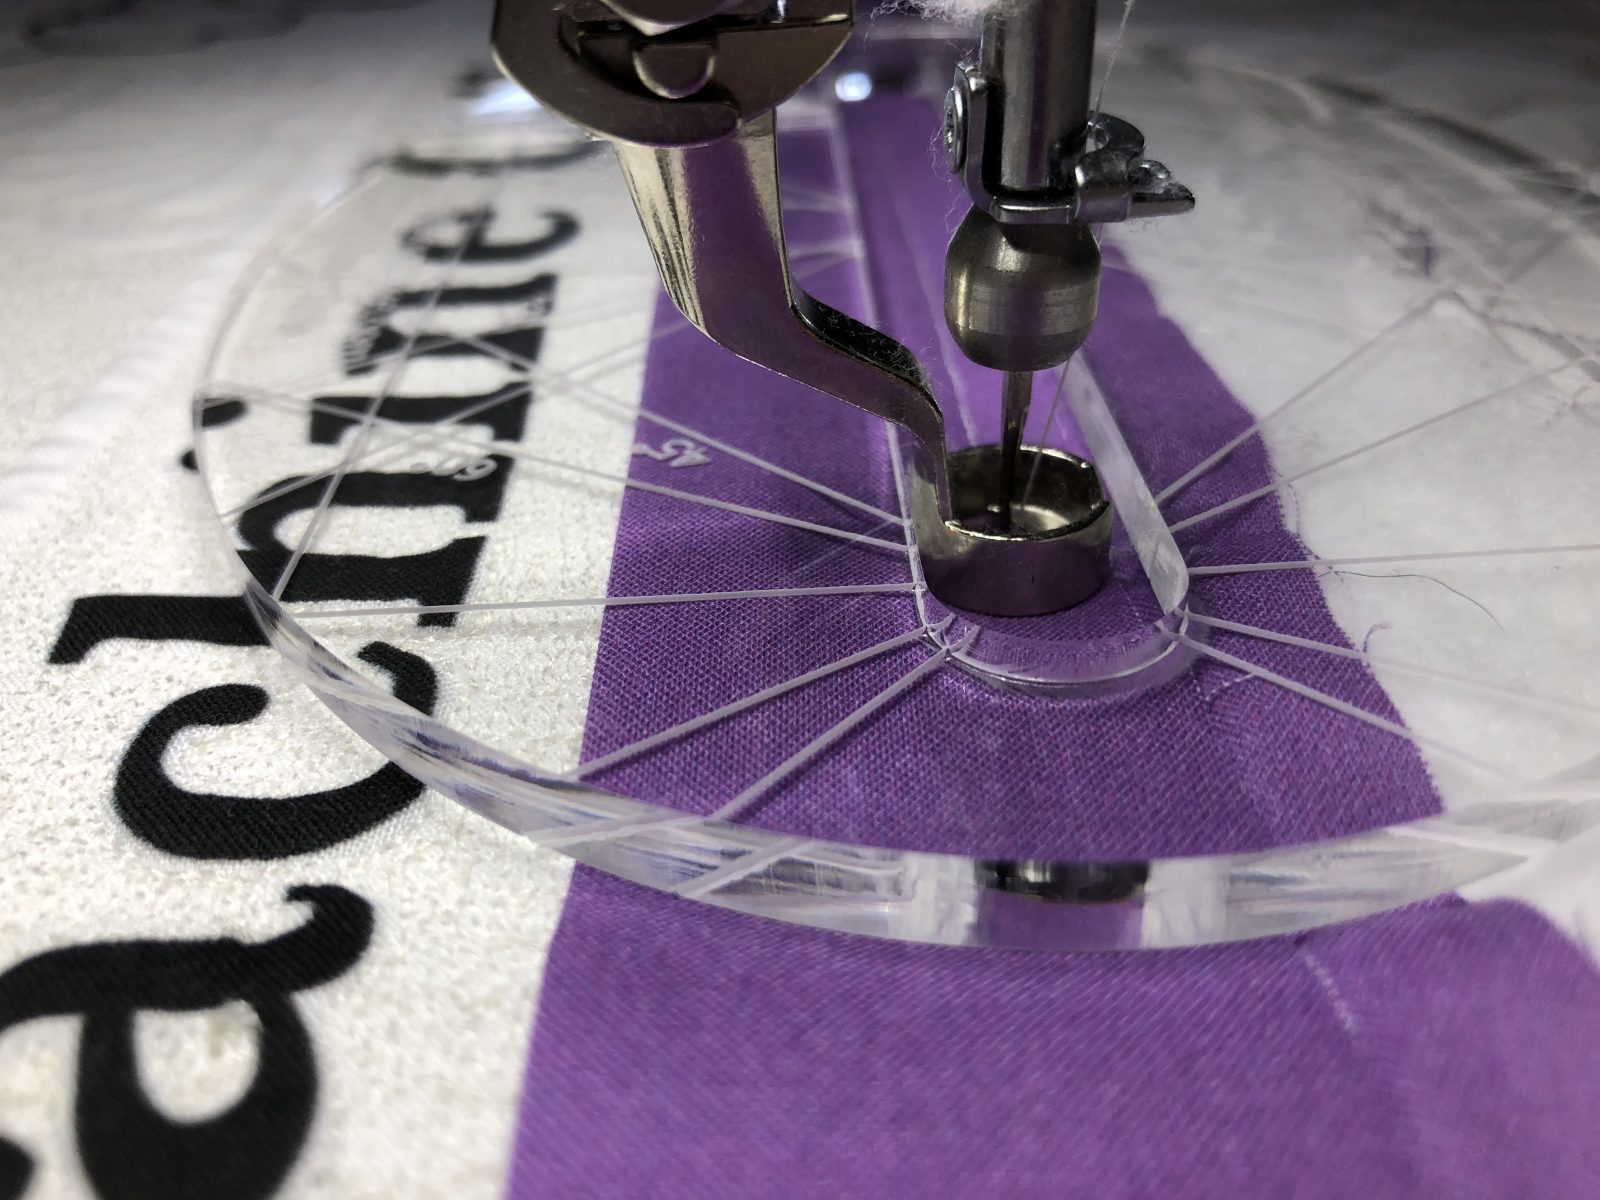
Quilt an area that is at least 16” square. I quilted a cross-hatch grid. This would be a perfect time to practice free-motion quilting or rulerwork. The quilting doesn’t have to be perfect as it will be covered with the fleece strips.
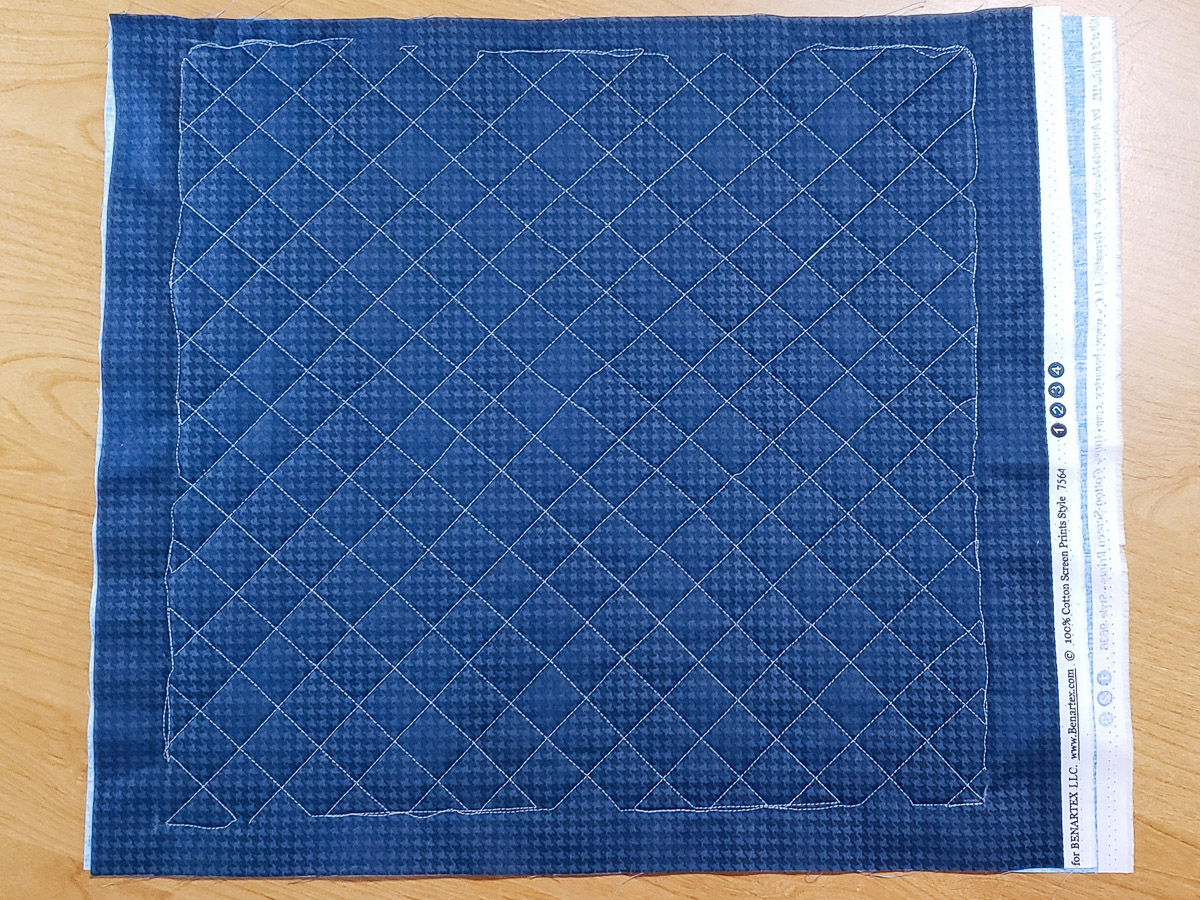
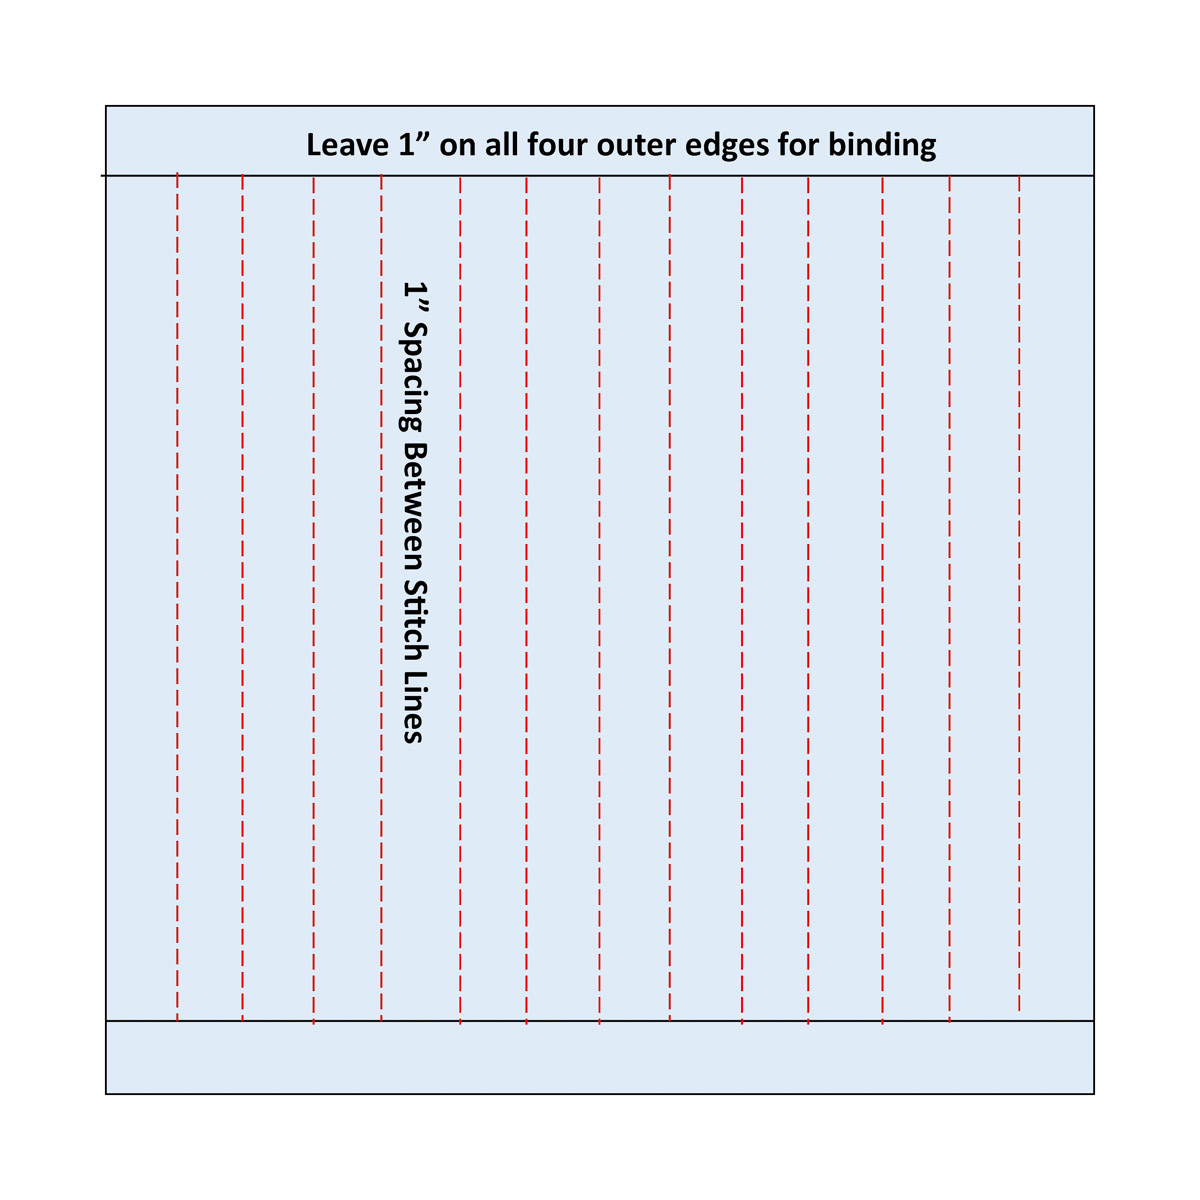
Use chalk to outline a 14” square in the center of the quilted area. Using that square as a guide, chalk parallel stitch lines 1” apart, as shown in the diagram.
Step Two: Attach the fleece strips
Align the center of a fleece Color 1 rectangle along the first (left) stitch line, leaving a 1” margin on the top, bottom, and left side for binding.
Starting outside the square outline, bring your bobbin to the top, secure the threads and stitch down and then back up the center of the rectangle (away from the strips).
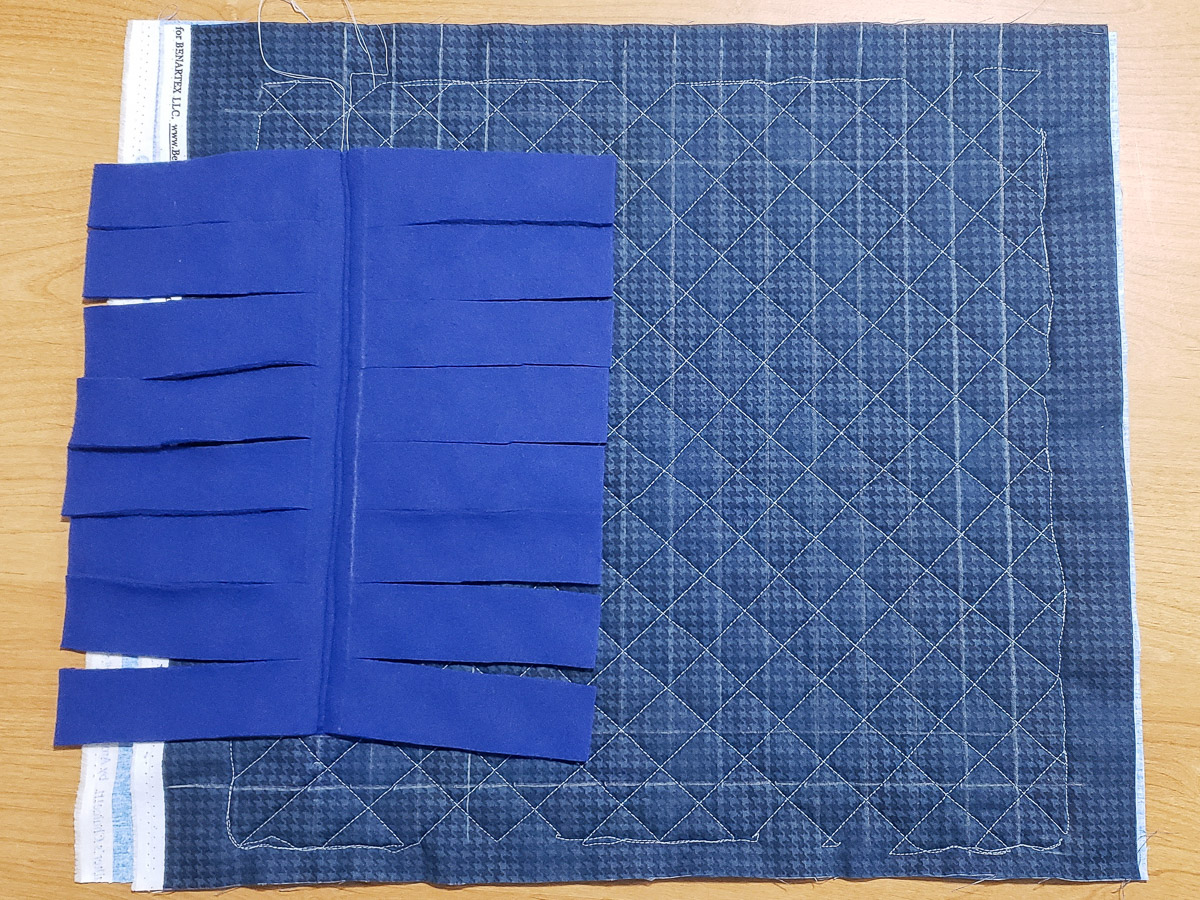
Continue stitching to the outside of the square outline and needle down.
Fold the strips from the first fleece strip to the left. Pin or clip, as needed, to hold in place.
Position the center of a fleece Color 2 rectangle on the next marked stitch line, and stitch in the same manner as fleece Color 1.
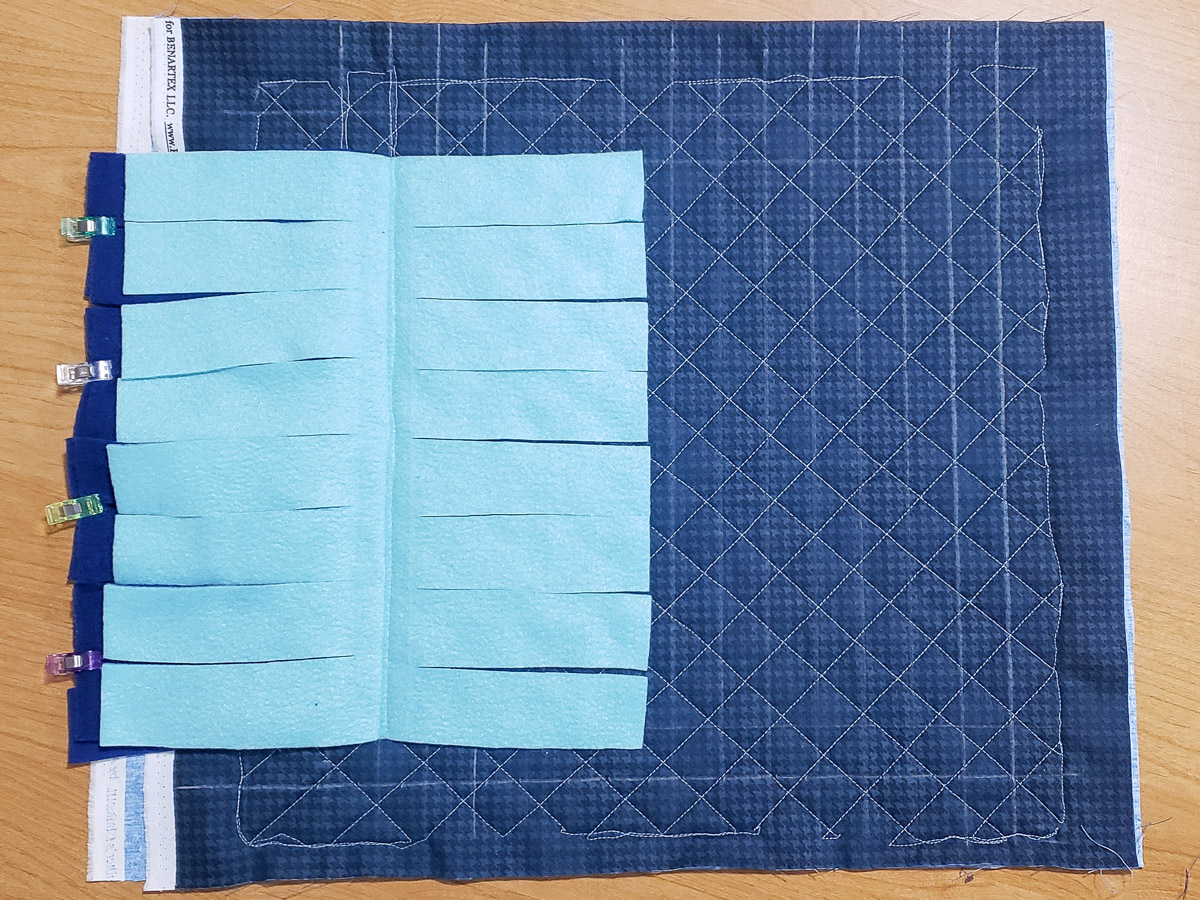
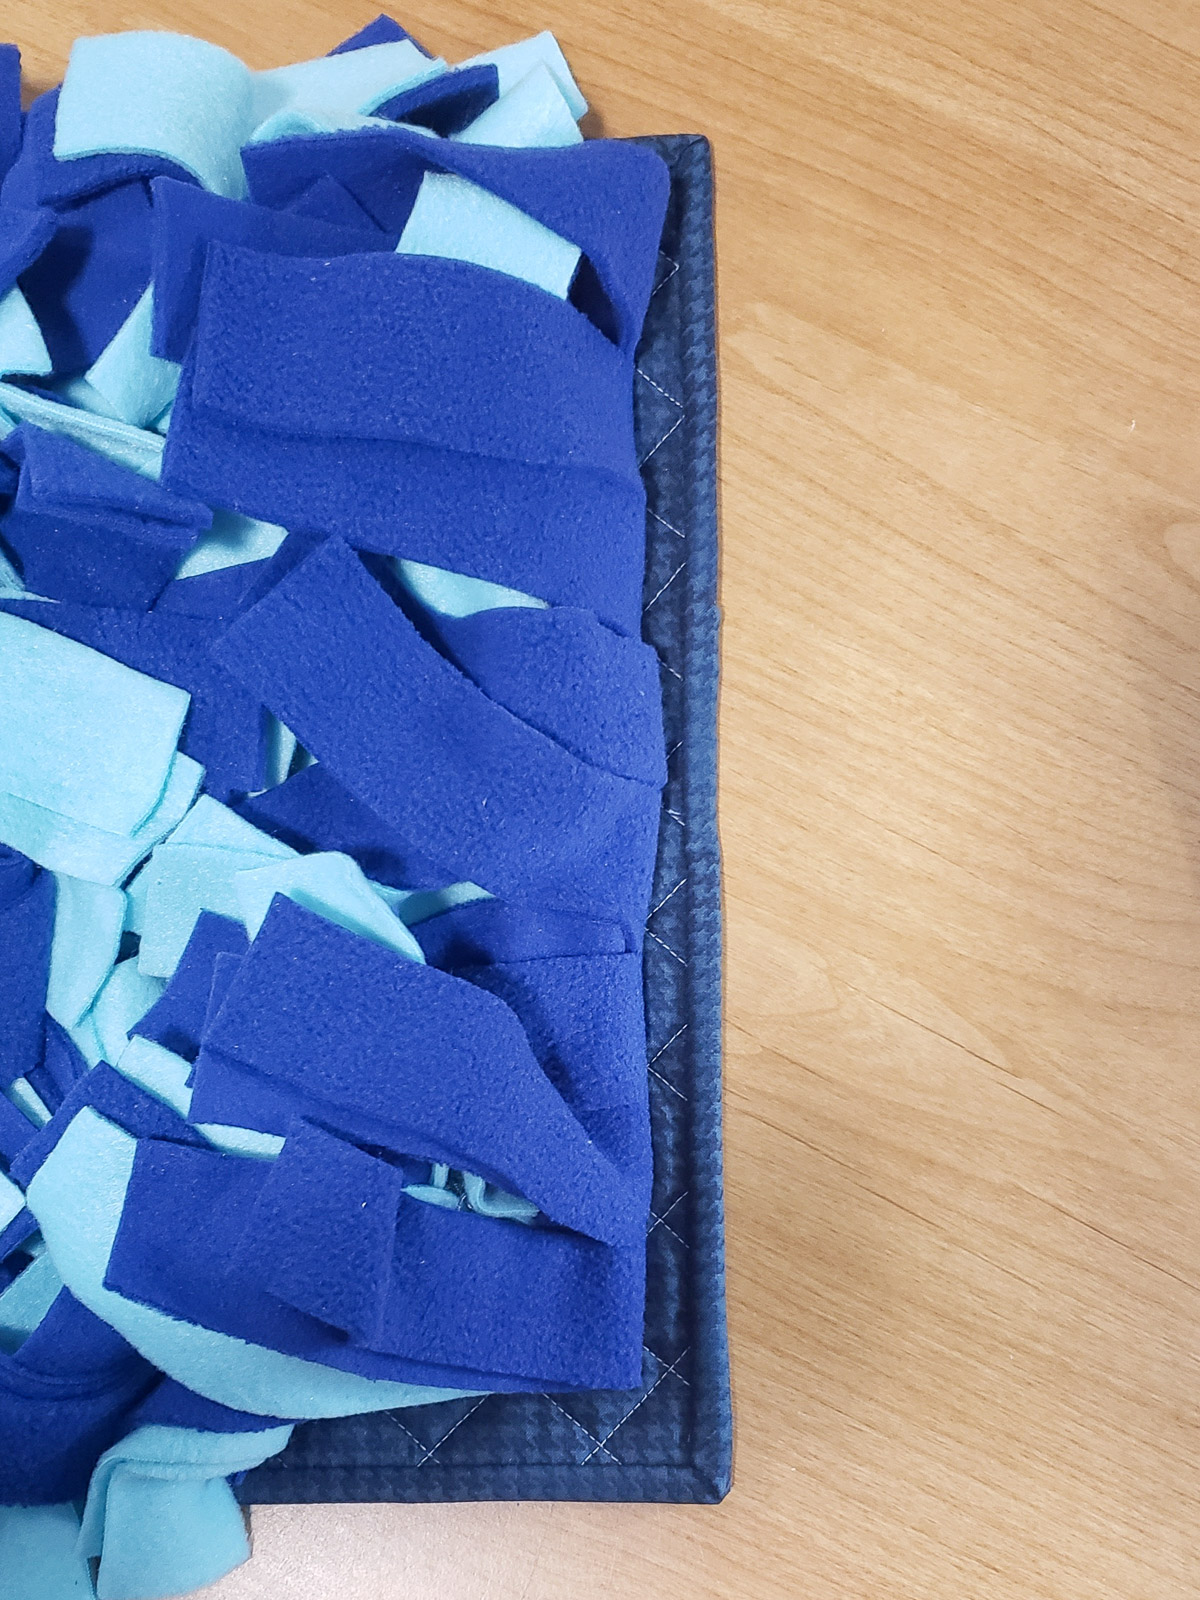
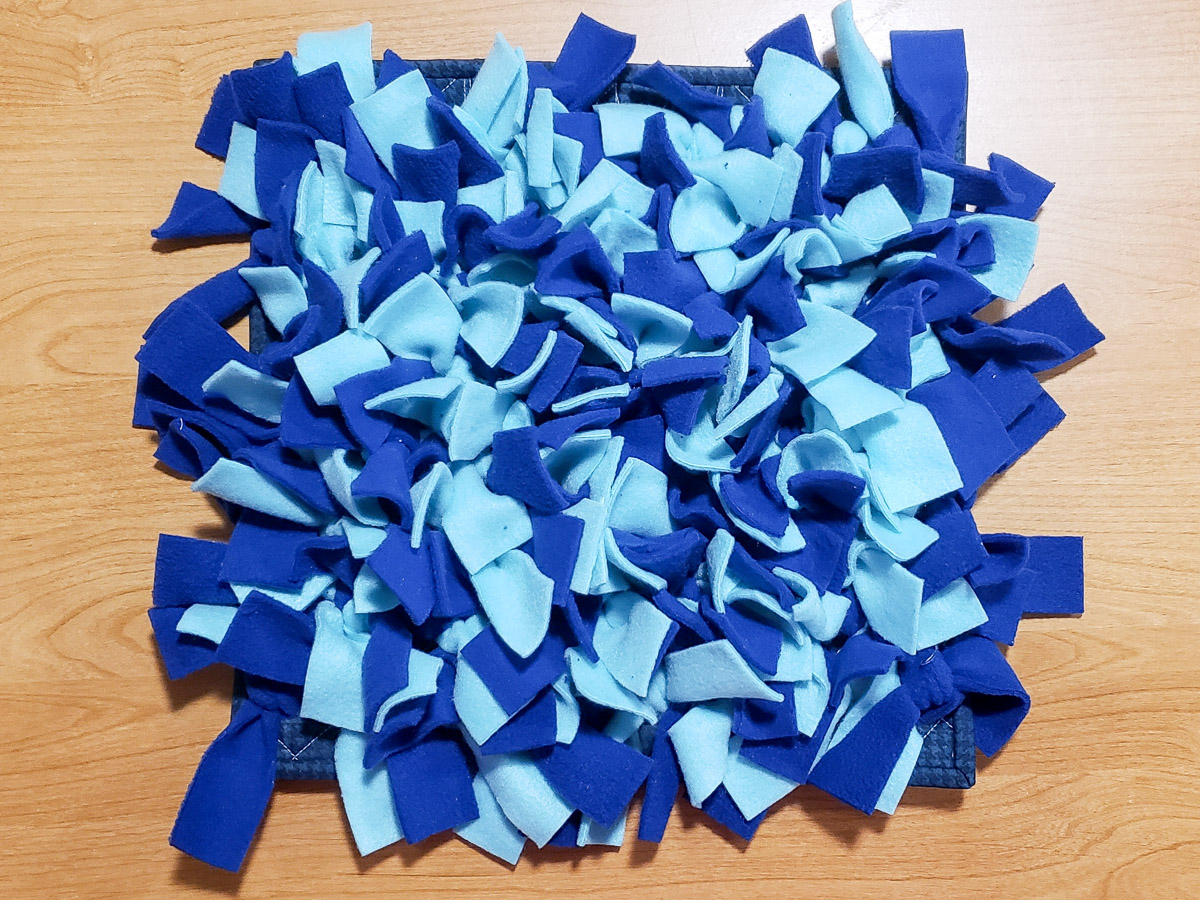
Continue alternately stitching the different colors of fleece strips in place, leaving 1” spacing at the top and bottom. After stitching the last strip, there should be a 1” allowance on the right side for binding.
Step Three: Finish the Snuffle Mat
When you are finished stitching the fleece strips, trim the excess fabric around the 14” square outline. Pin or clip the fleece strips toward the center to access the outer 1” for binding.
Apply double fold binding to the front. Hand or machine stitch on the back.
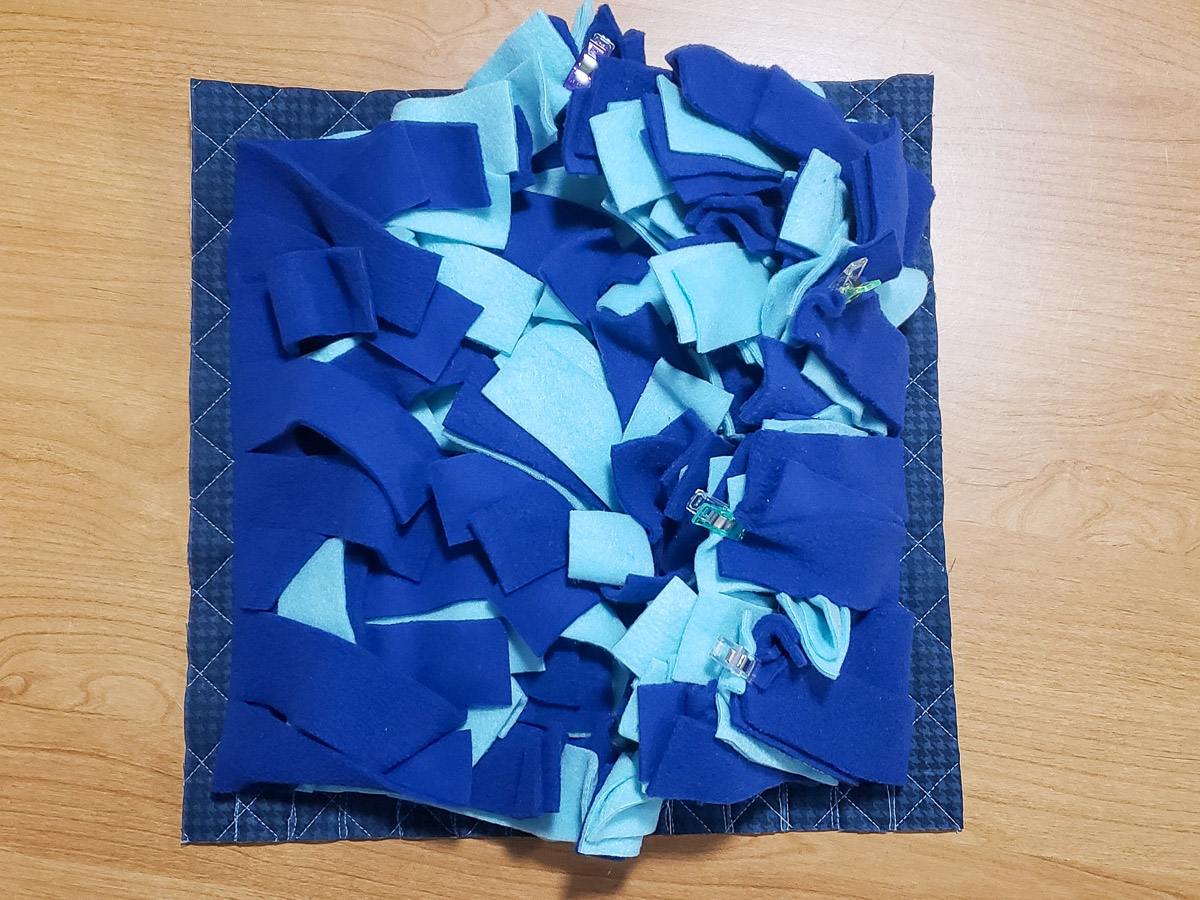
Tie fleece strips together in a double knot, leaving a bit of space to allow treats to settle into the knot for an increased challenge for the puppy.
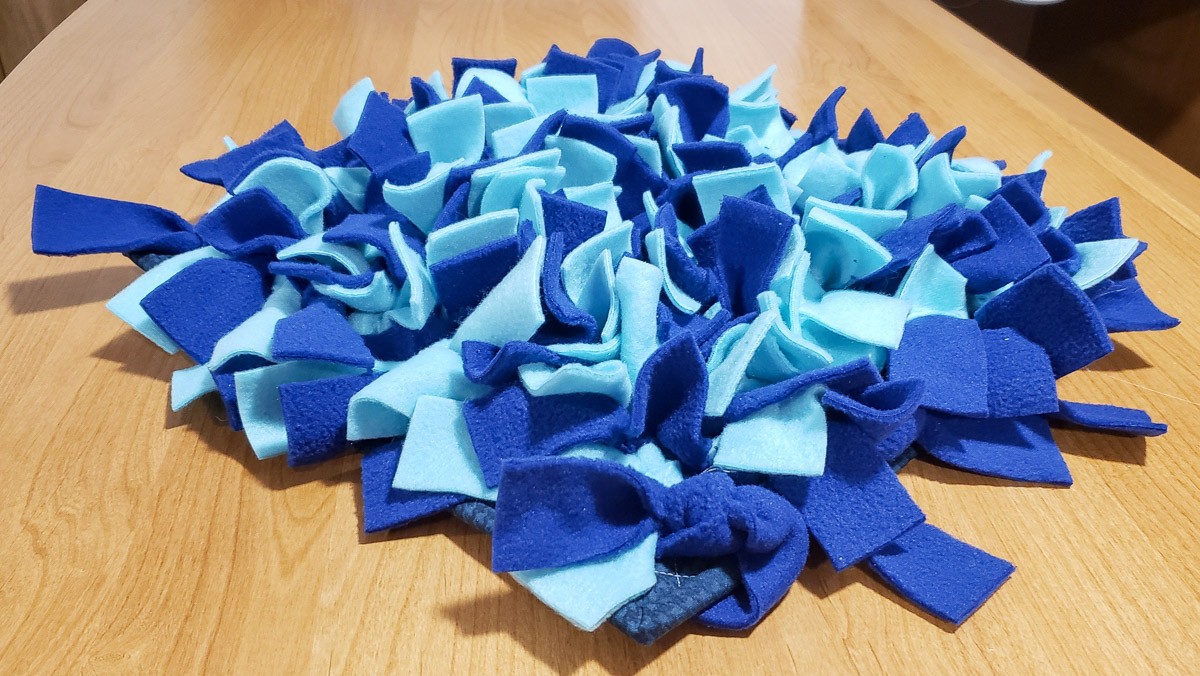
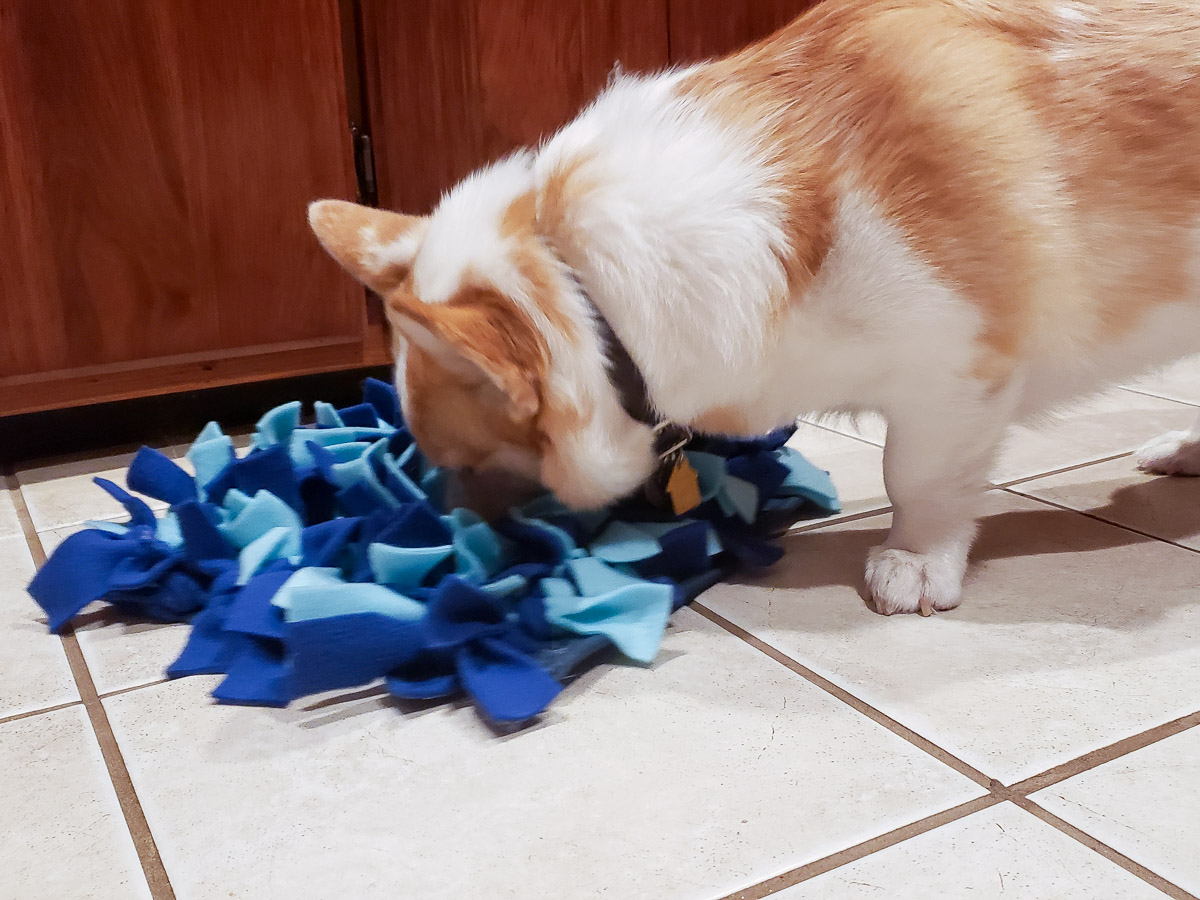
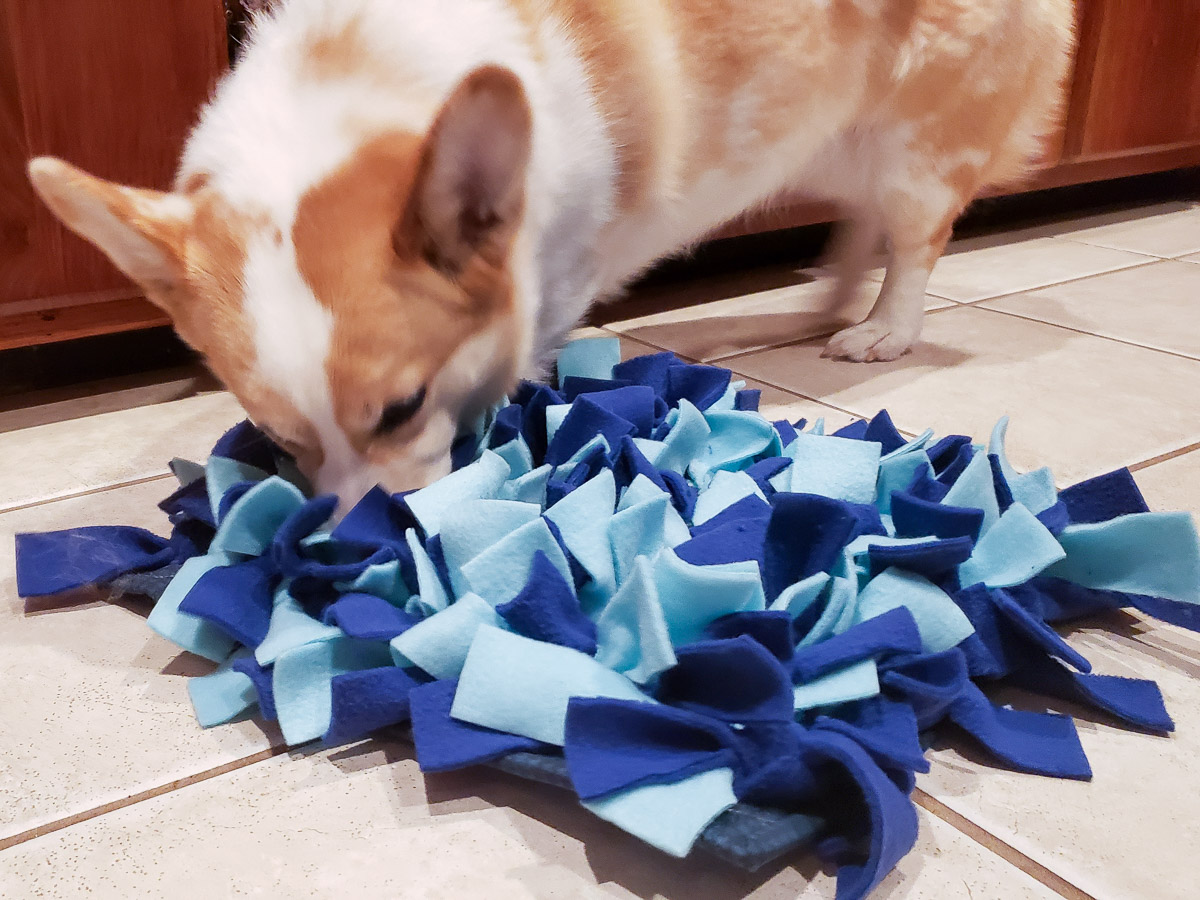
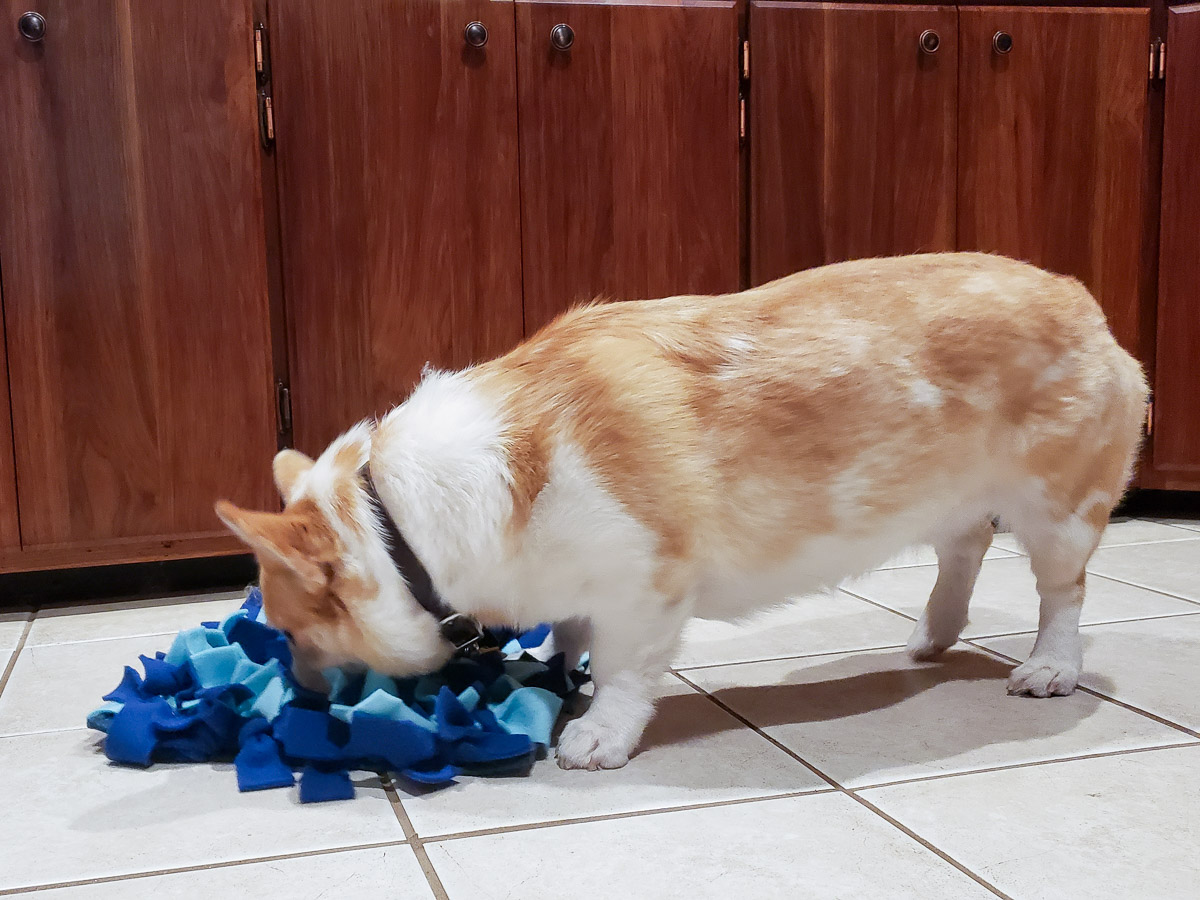
Step Four: Enjoy the Snuffle Mat
Grab some dog treats or kibble and stuff them into the tied strips and let your pooch enjoy! Depending on your dog, you may need to make them easy to find by sprinkling on top or really hide them to make it a challenge.


![Have a habit of misplacing your keys. Losing your iPod? Forgetting your coupons? Now, with this handy organizer, all your little necessities are in one convenient spot when you're ready to head out the door - right on the door knob! How to Make a Door Organizer Supplies 1/3 yard or heavyweight fabric such as twill, canvas, or denim 1/3 yard of fusible interfacing Coordinating thread Scissors Water-soluble marking pen or tailor's chalk Ruler 1/4" presser foot (BERNINA Patchwork Foot #37 or Patchwork Foot with Guide #57) Download and print the keyhole template: [download id="88"] Step 1) Prepare the fabric pieces. Cut from the heavyweight fabric: Two 5" x 11" rectangles for the organizer body One 5" x 12" rectangle for the large pocket One 5" x 7" rectangle for the small pocket One 6" x 7" rectangle for the hanging pocket Fuse interfacing to the wrong side of both 5" x 11" fabric rectangles following the manufacturer's directions. How to Make a Door Organizer Cut the keyhole: Measure down 1" from the top edge of one 5" x 11" rectangle. Center the top of the keyhole template on this mark. Trace the template. Cut along the traced line. Repeat for the second 5" x 11" rectangle. How to Make a Door Organizer Step 2) Make the large and small pockets. With wrong sides together, fold the large pocket in half to create a 6" x 5" rectangle. Topstitch close to the folded edge. How to Make a Door Organizer Place the large pocket on top of the right side of one 5" x 11" rectangle, matching the raw edges along the sides and bottom edges. Baste in place. How to Make a Door Organizer With wrong sides together, fold the small pocket in half to create a 3 1/2" x 5" rectangle. Topstitch close to the folded edge. Place the small pocket on top of the large pocket, matching the raw edges along the sides and bottom edges. Baste in place. How to Make a Door Organizer Step 3) Make the hanging pocket. With wrong sides together, fold the 6" x 7" rectangle in half lengthwise. Press. How to Make a Door Organizer Unfold the strip and then fold the long raw edges to the center fold line. Press. Refold the strip along the center crease. Topstitch close to both long edges. How to Make a Door Organizer Fold under 1" on both edge of the finished 7" strip. Measure up 1-1/4" from the lower edge on the right side of the second 5" x 11" piece. Center the bottom of the strip on this mark. How to Make a Door Organizer Sew close to the folded ends of the strip, then again 1/2" away from the first stitching. How to Make a Door Organizer Step 4) Construct the door organizer. With right sides together, place the two 5" x 11" rectangles together, matching the raw edges and the keyhole opening. How to Make a Door Organizer Stitch around the entire rectangle, leaving the keyhole open. Do not stitch around the keyhole area! Clip the corners. How to Make a Door Organizer Turn the organizer right side out through the keyhole opening. Press. How to Make a Door Organizer Topstitch close to the finished edges. How to Make a Door Organizer Baste the raw edges of the keyhole opening together. How to Make a Door Organizer Satin stitch close to the keyhole edges. Position the fabric so the needle goes just barely to the right of the raw edges and encloses them in stitches. Tip: A satin stitch is a zigzag stitch with a very short stitch length, so the stitches are very close to each other. How to Make a Door Organizer How to Make a Door Organizer Fill your organizer with keys, pens, letters, etc. so you never leave home without your essentials! How to Make a Door Organizer](https://weallsew.com/wp-content/uploads/sites/4/2011/10/How-to-Make-a-Door-Organizer-WeAllSew.jpg)