How to Make Mini Patchwork Ornaments, Part 2
Welcome to Part 2 of how to make mini patchwork ornaments! In Part 1, you can learn to make simple 9 patch mini blocks, and discover some helpful tips for sewing tiny quilt blocks.
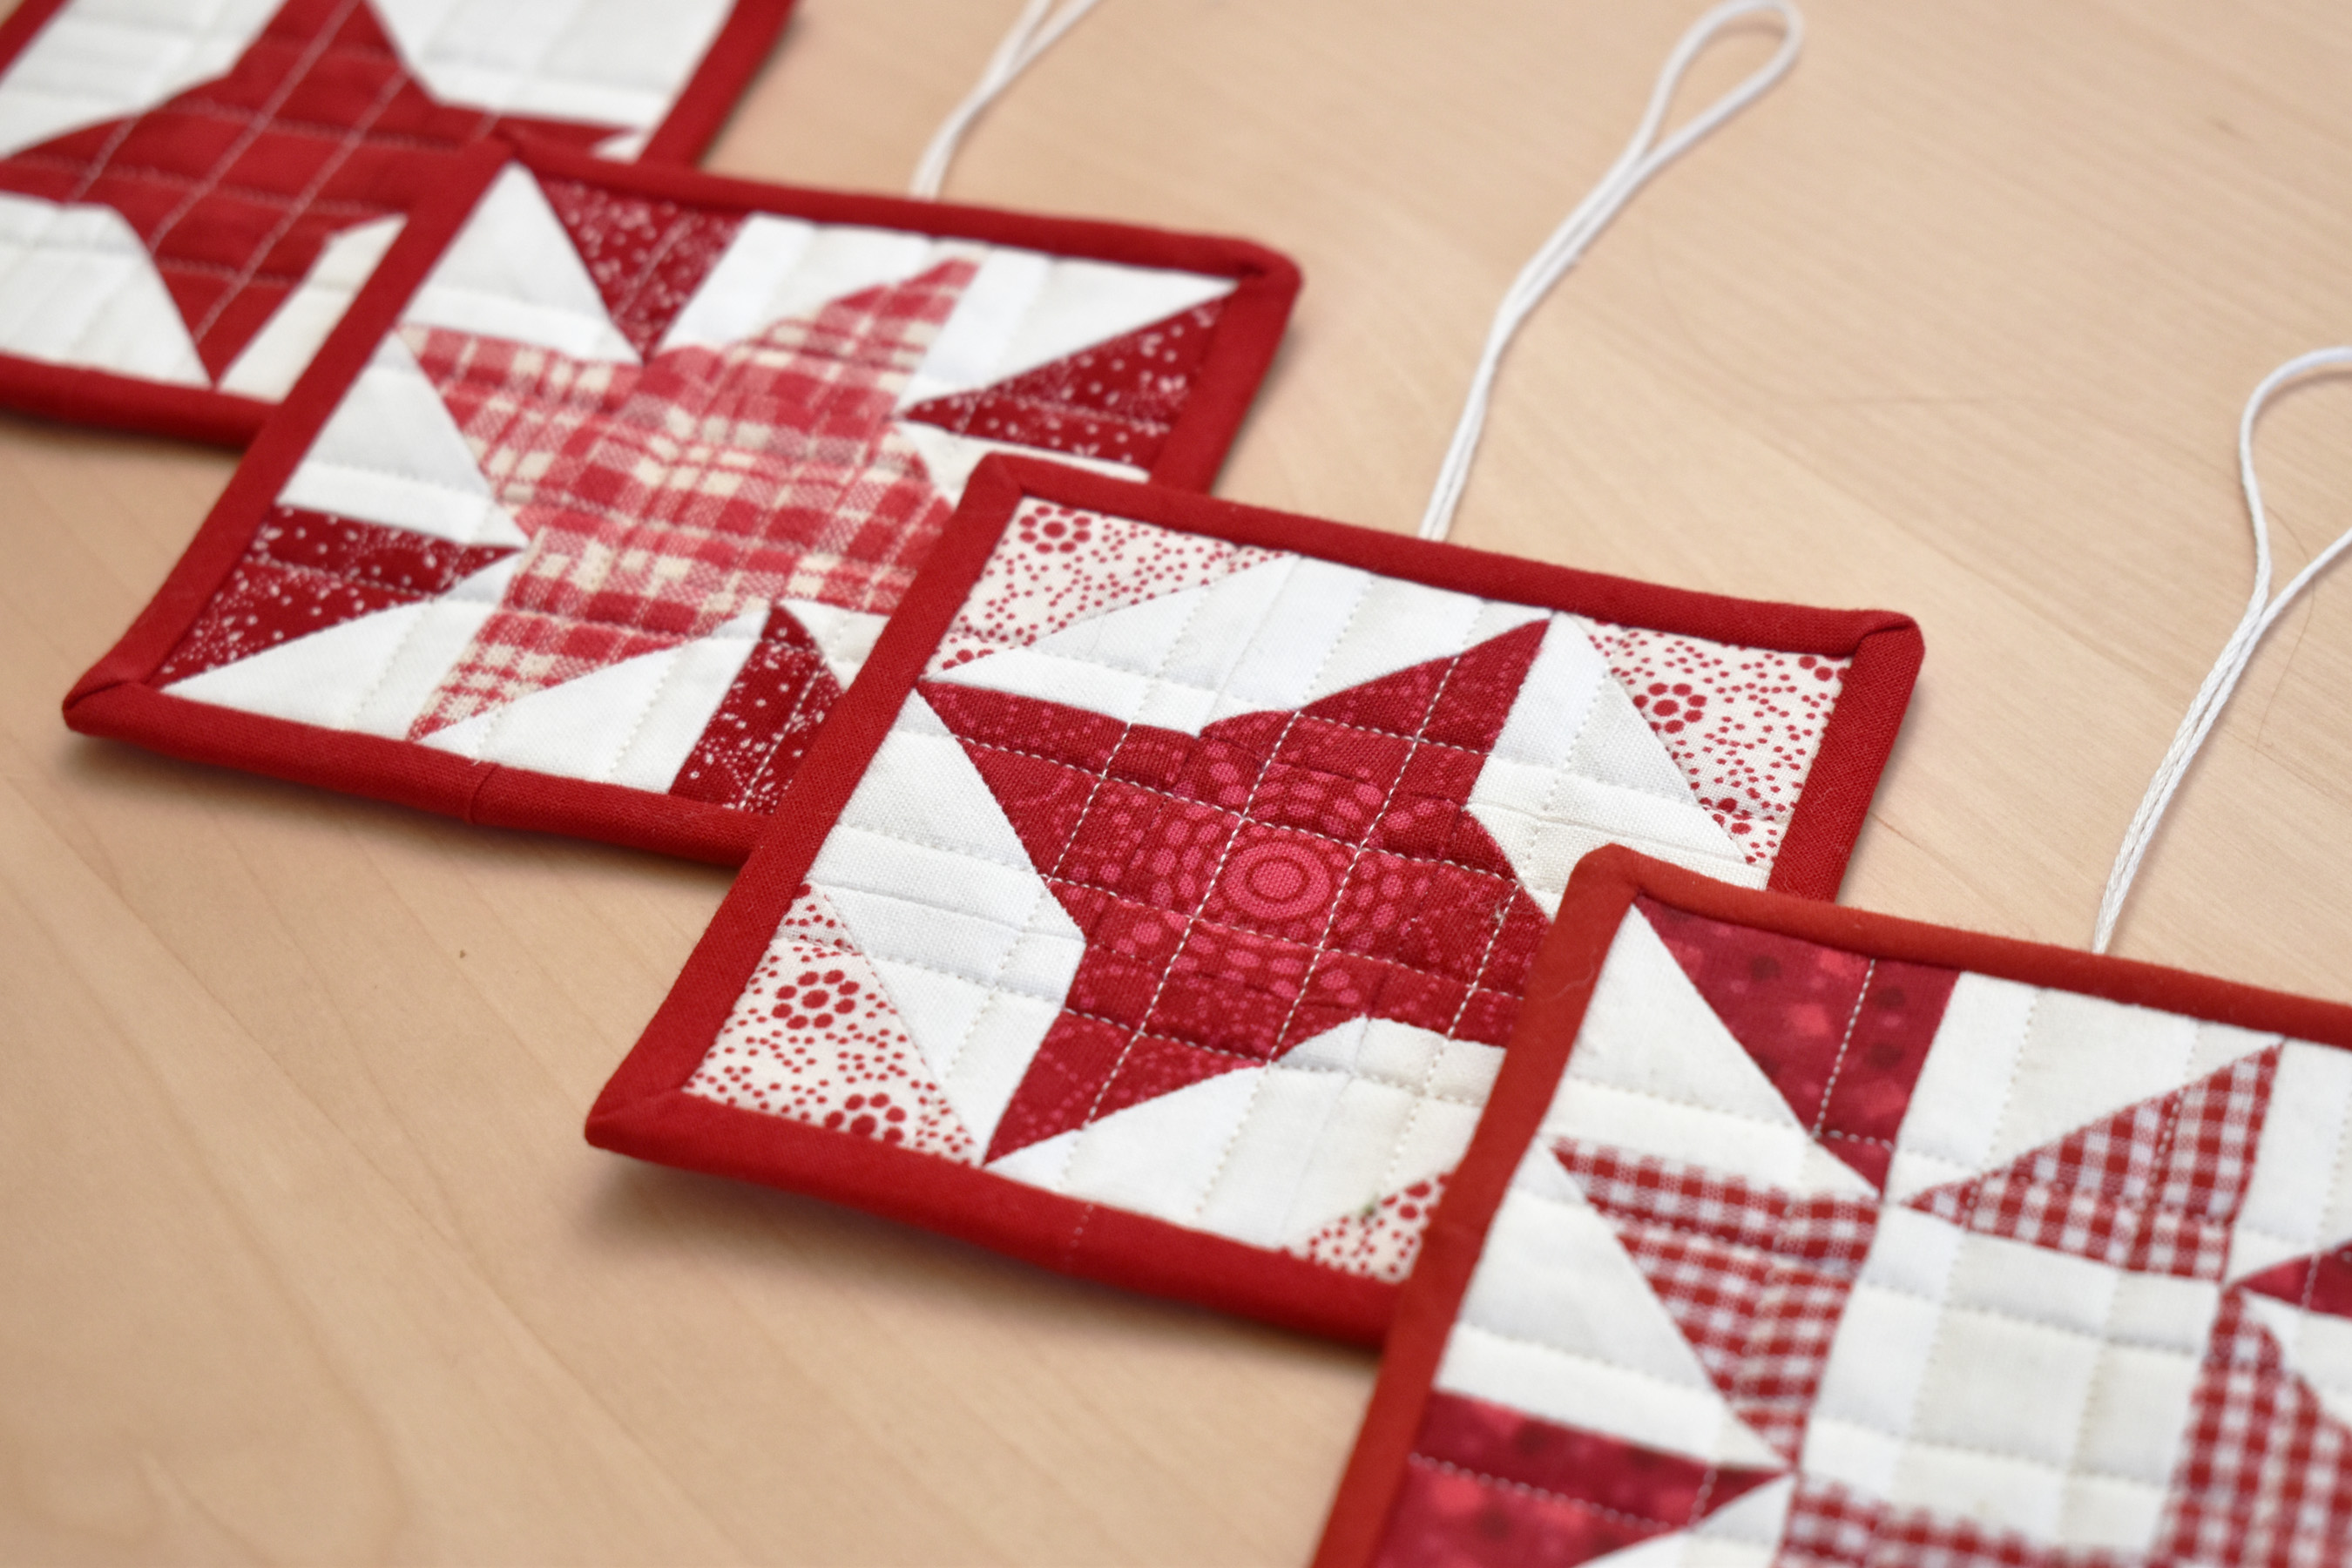
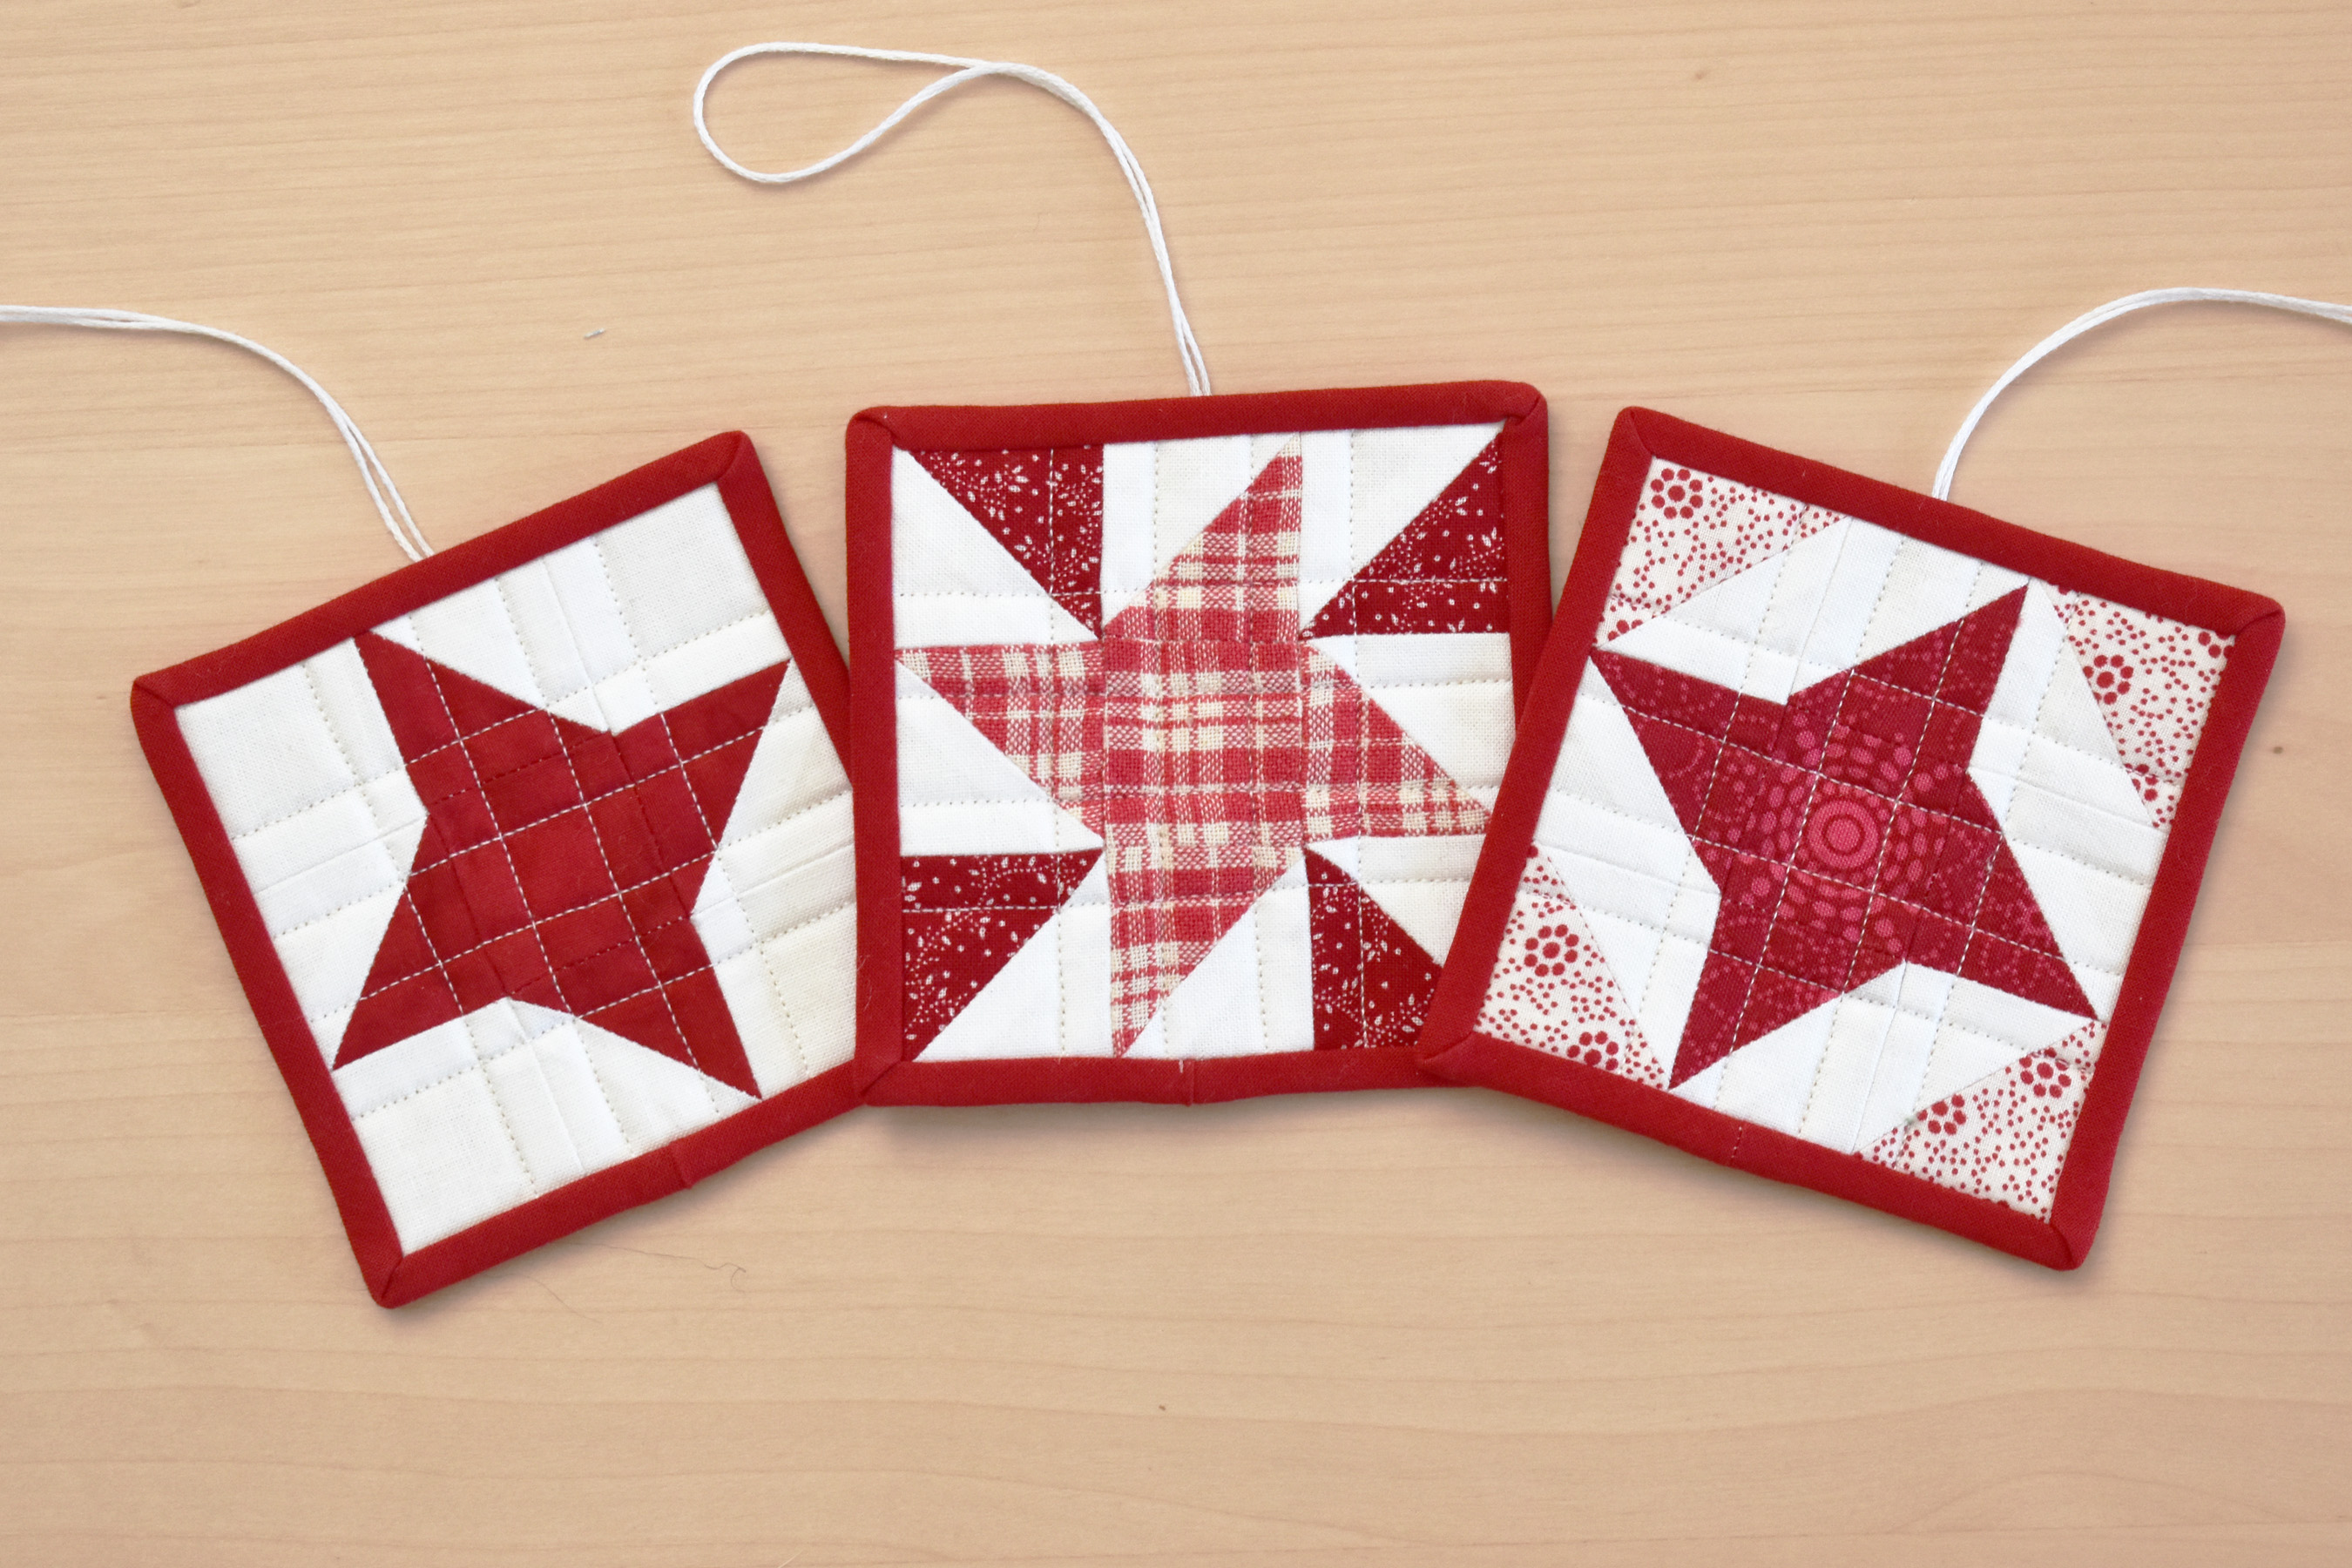
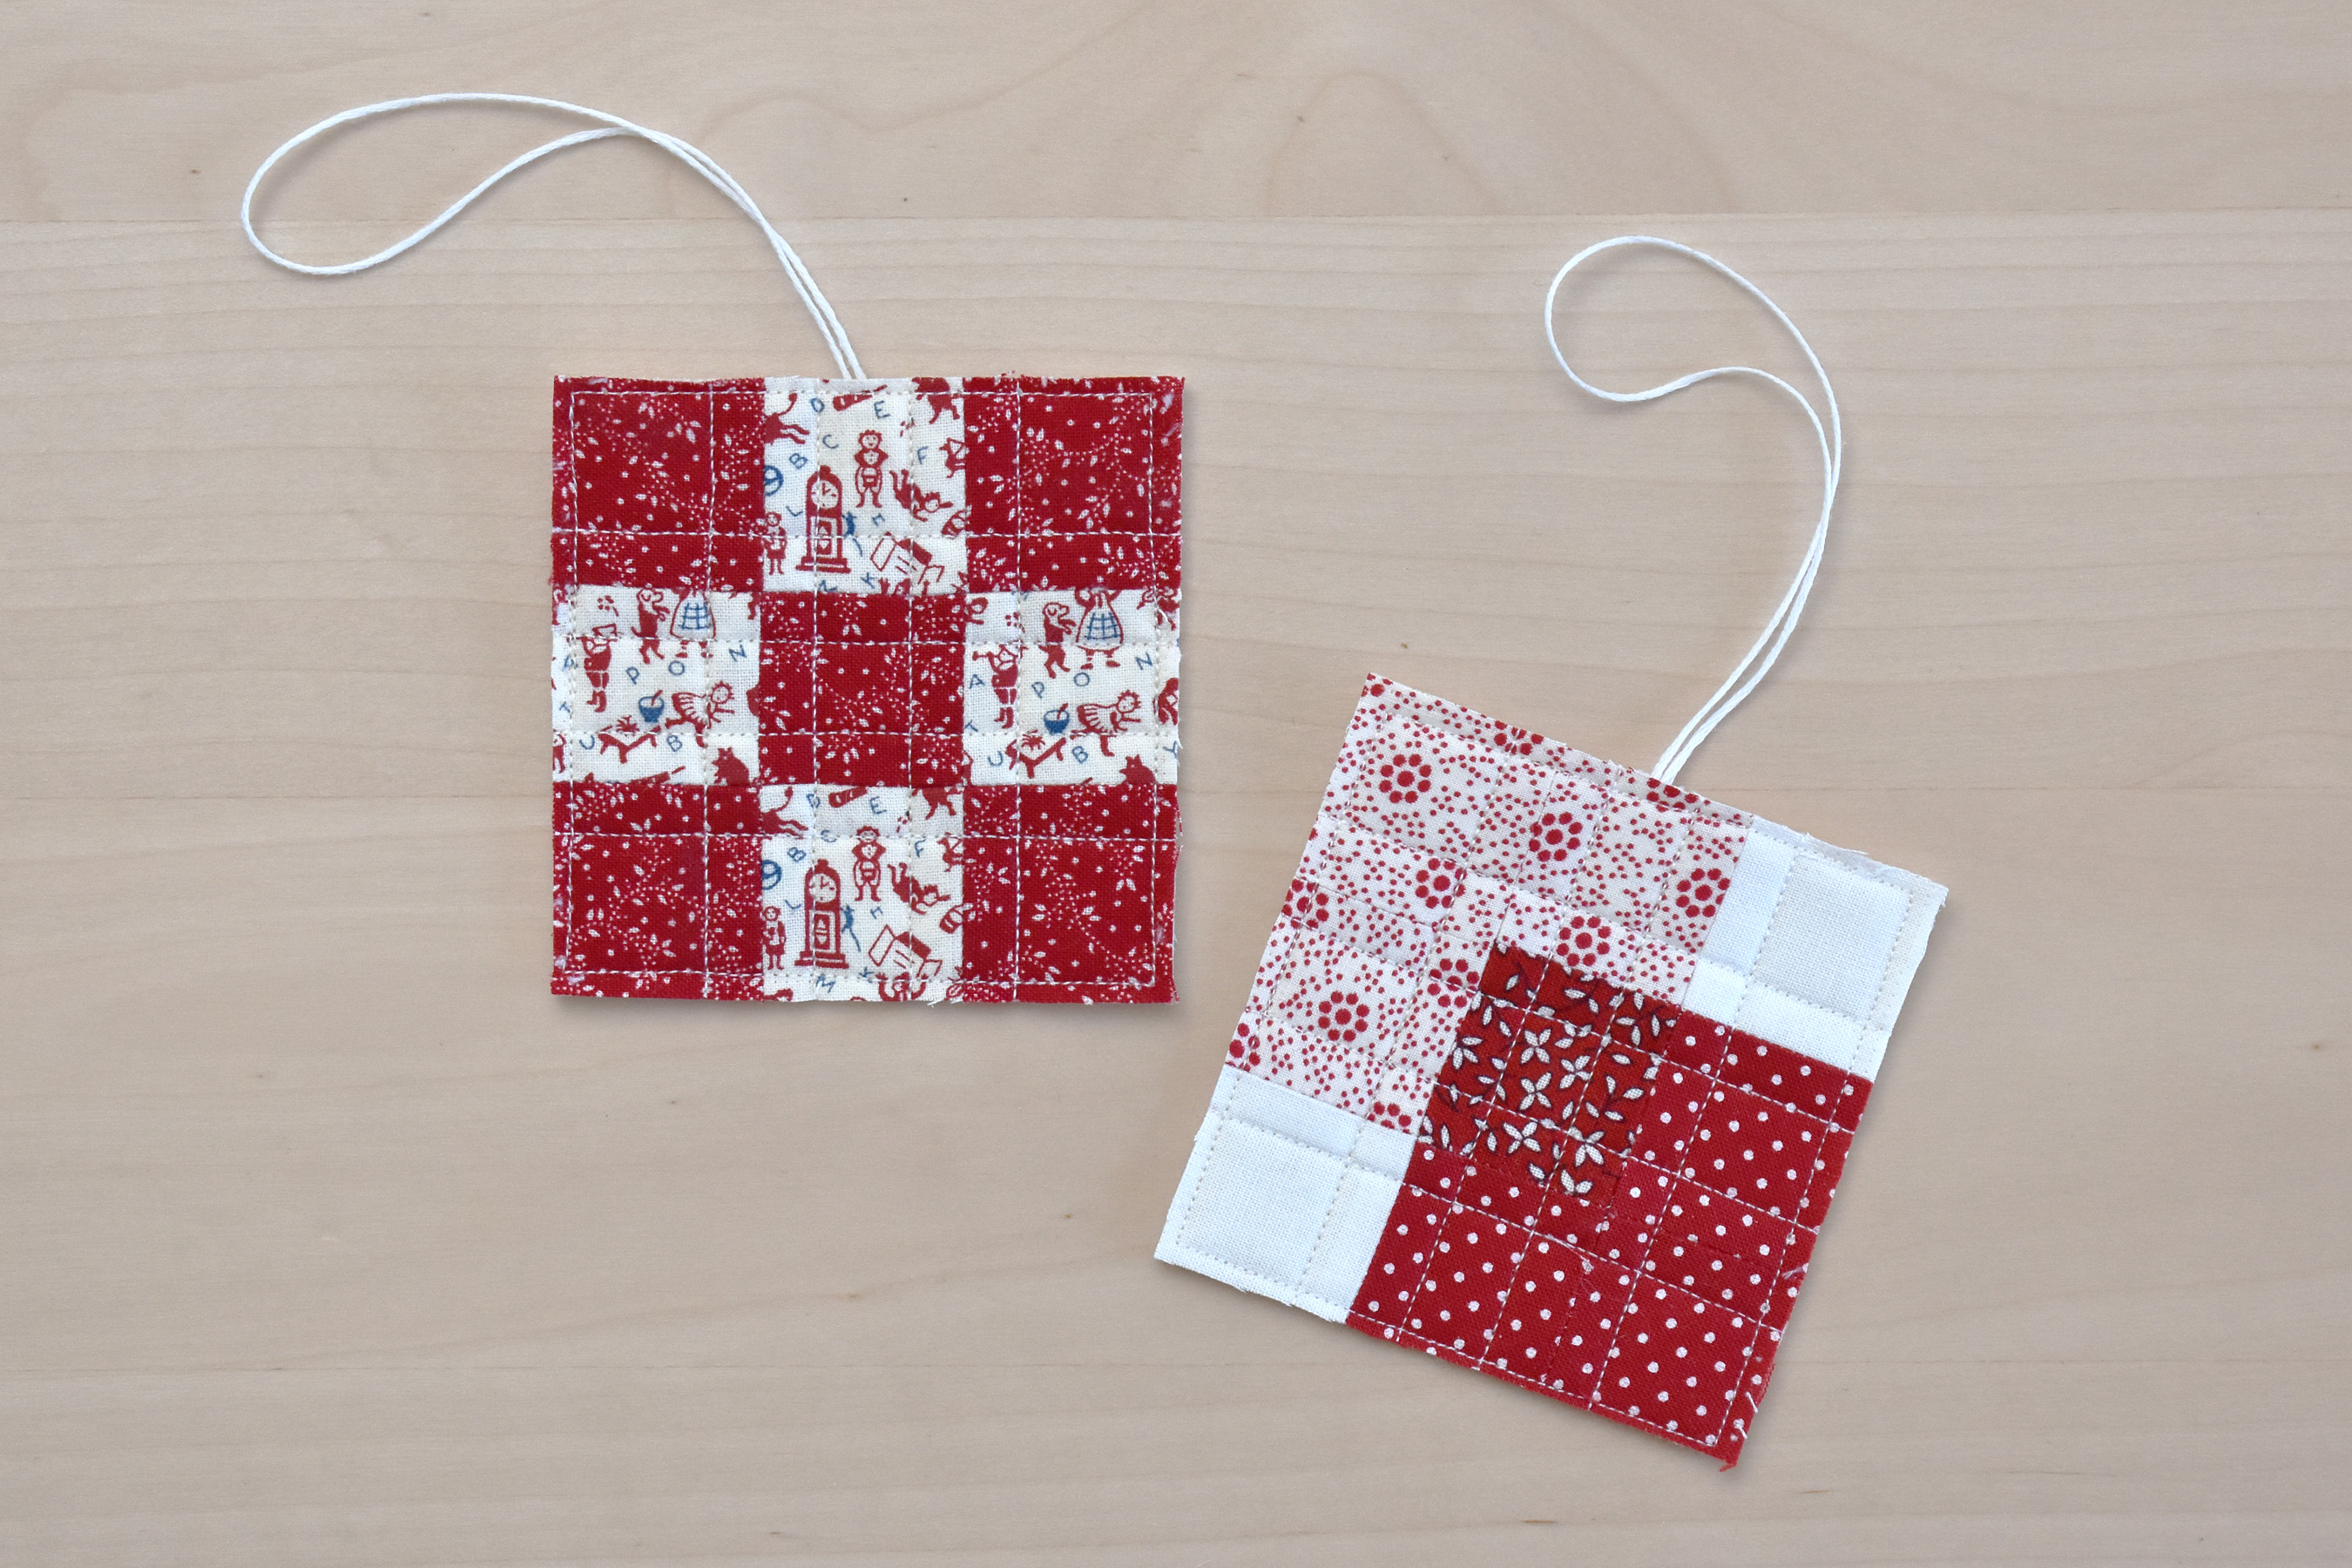
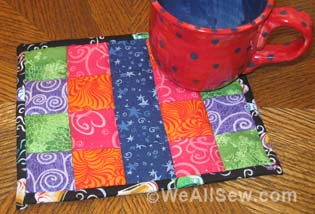
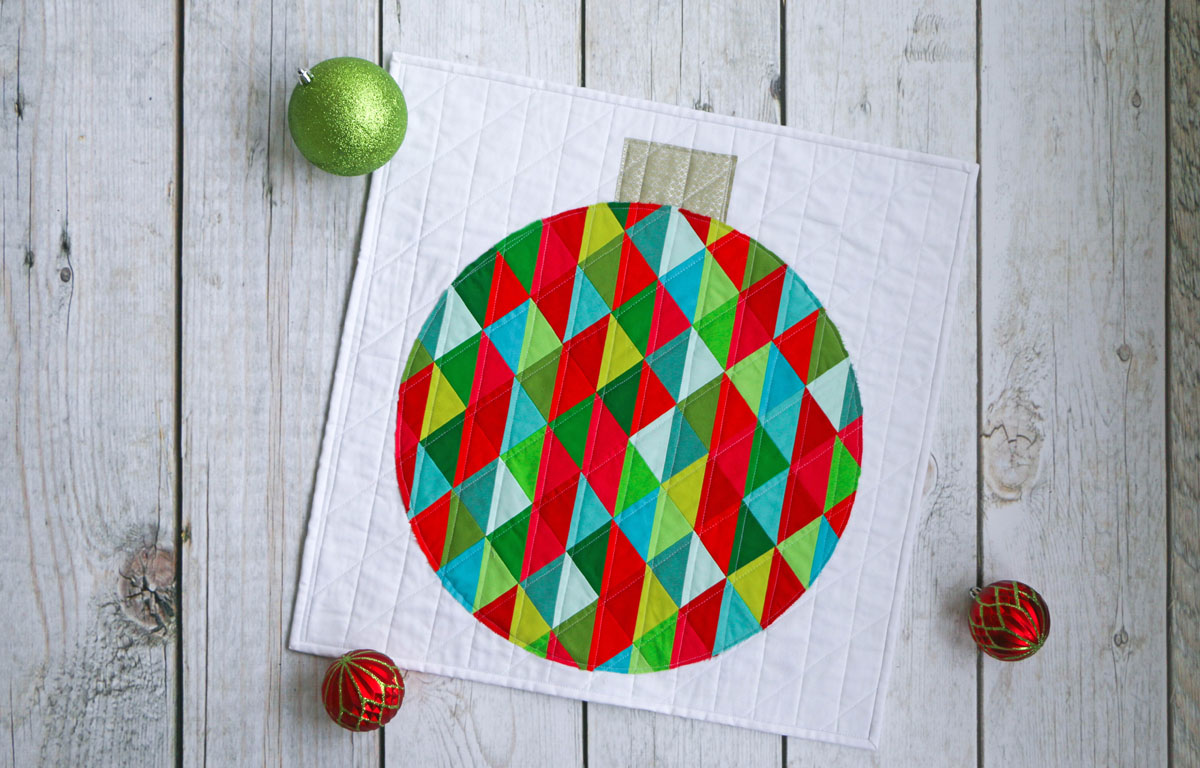
Finishing at about 3.5″ x 3.5″, these 9 patch blocks are perfect for decorating your holiday tree, adding to a wrapped gift, or hanging anywhere you want a little cheer. In this tutorial, I’ll show you how to finish your mini patchwork blocks into a little ornament, and how to add half-square triangles to the mix to make star blocks.
Visit Part 1 to find a complete list of materials and tools to make the mini patchwork ornaments.
How to Make a Mini 9 Patch Star Block

In addition to the small rulers I suggest in Part 1, you will need a half square triangle ruler to cut the triangles. Grab two different colored fabrics, one light and one dark, to create this simple 9 patch star block.
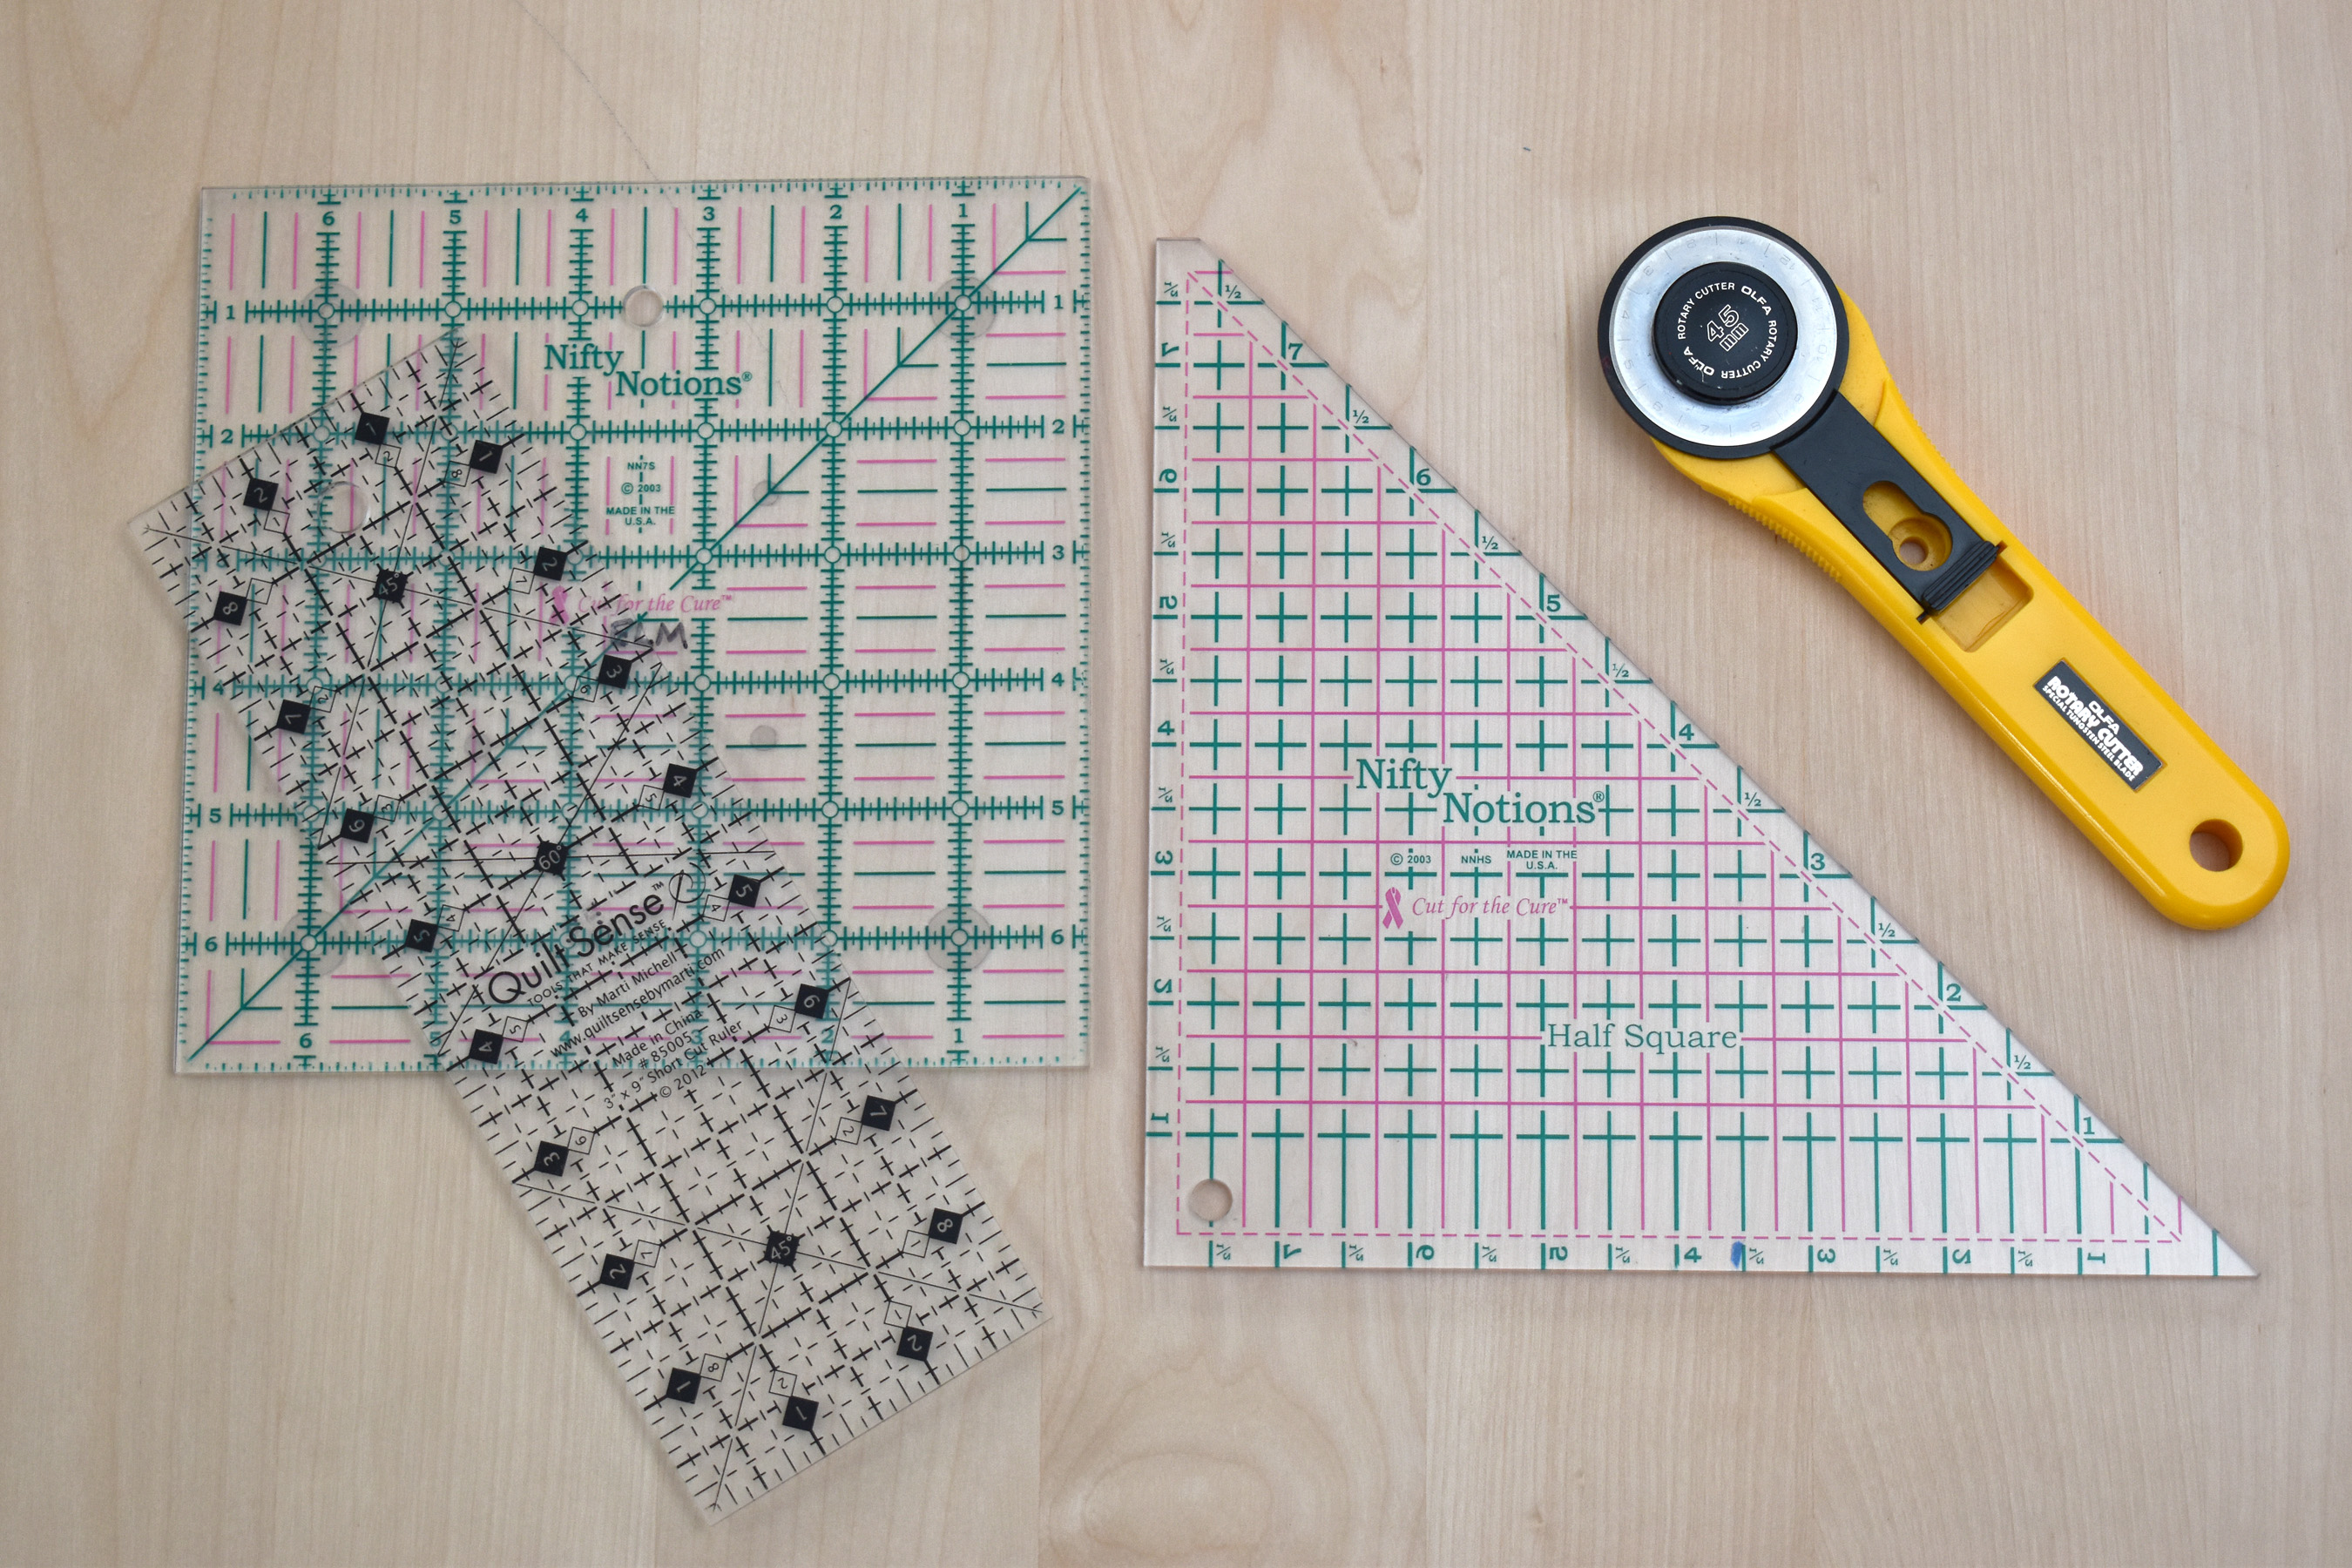
Get to know the markings on your specific half-square ruler. My Nifty Notions ruler is reversible, with markings on both sides, allowing you to flip the ruler for cuts as you go.
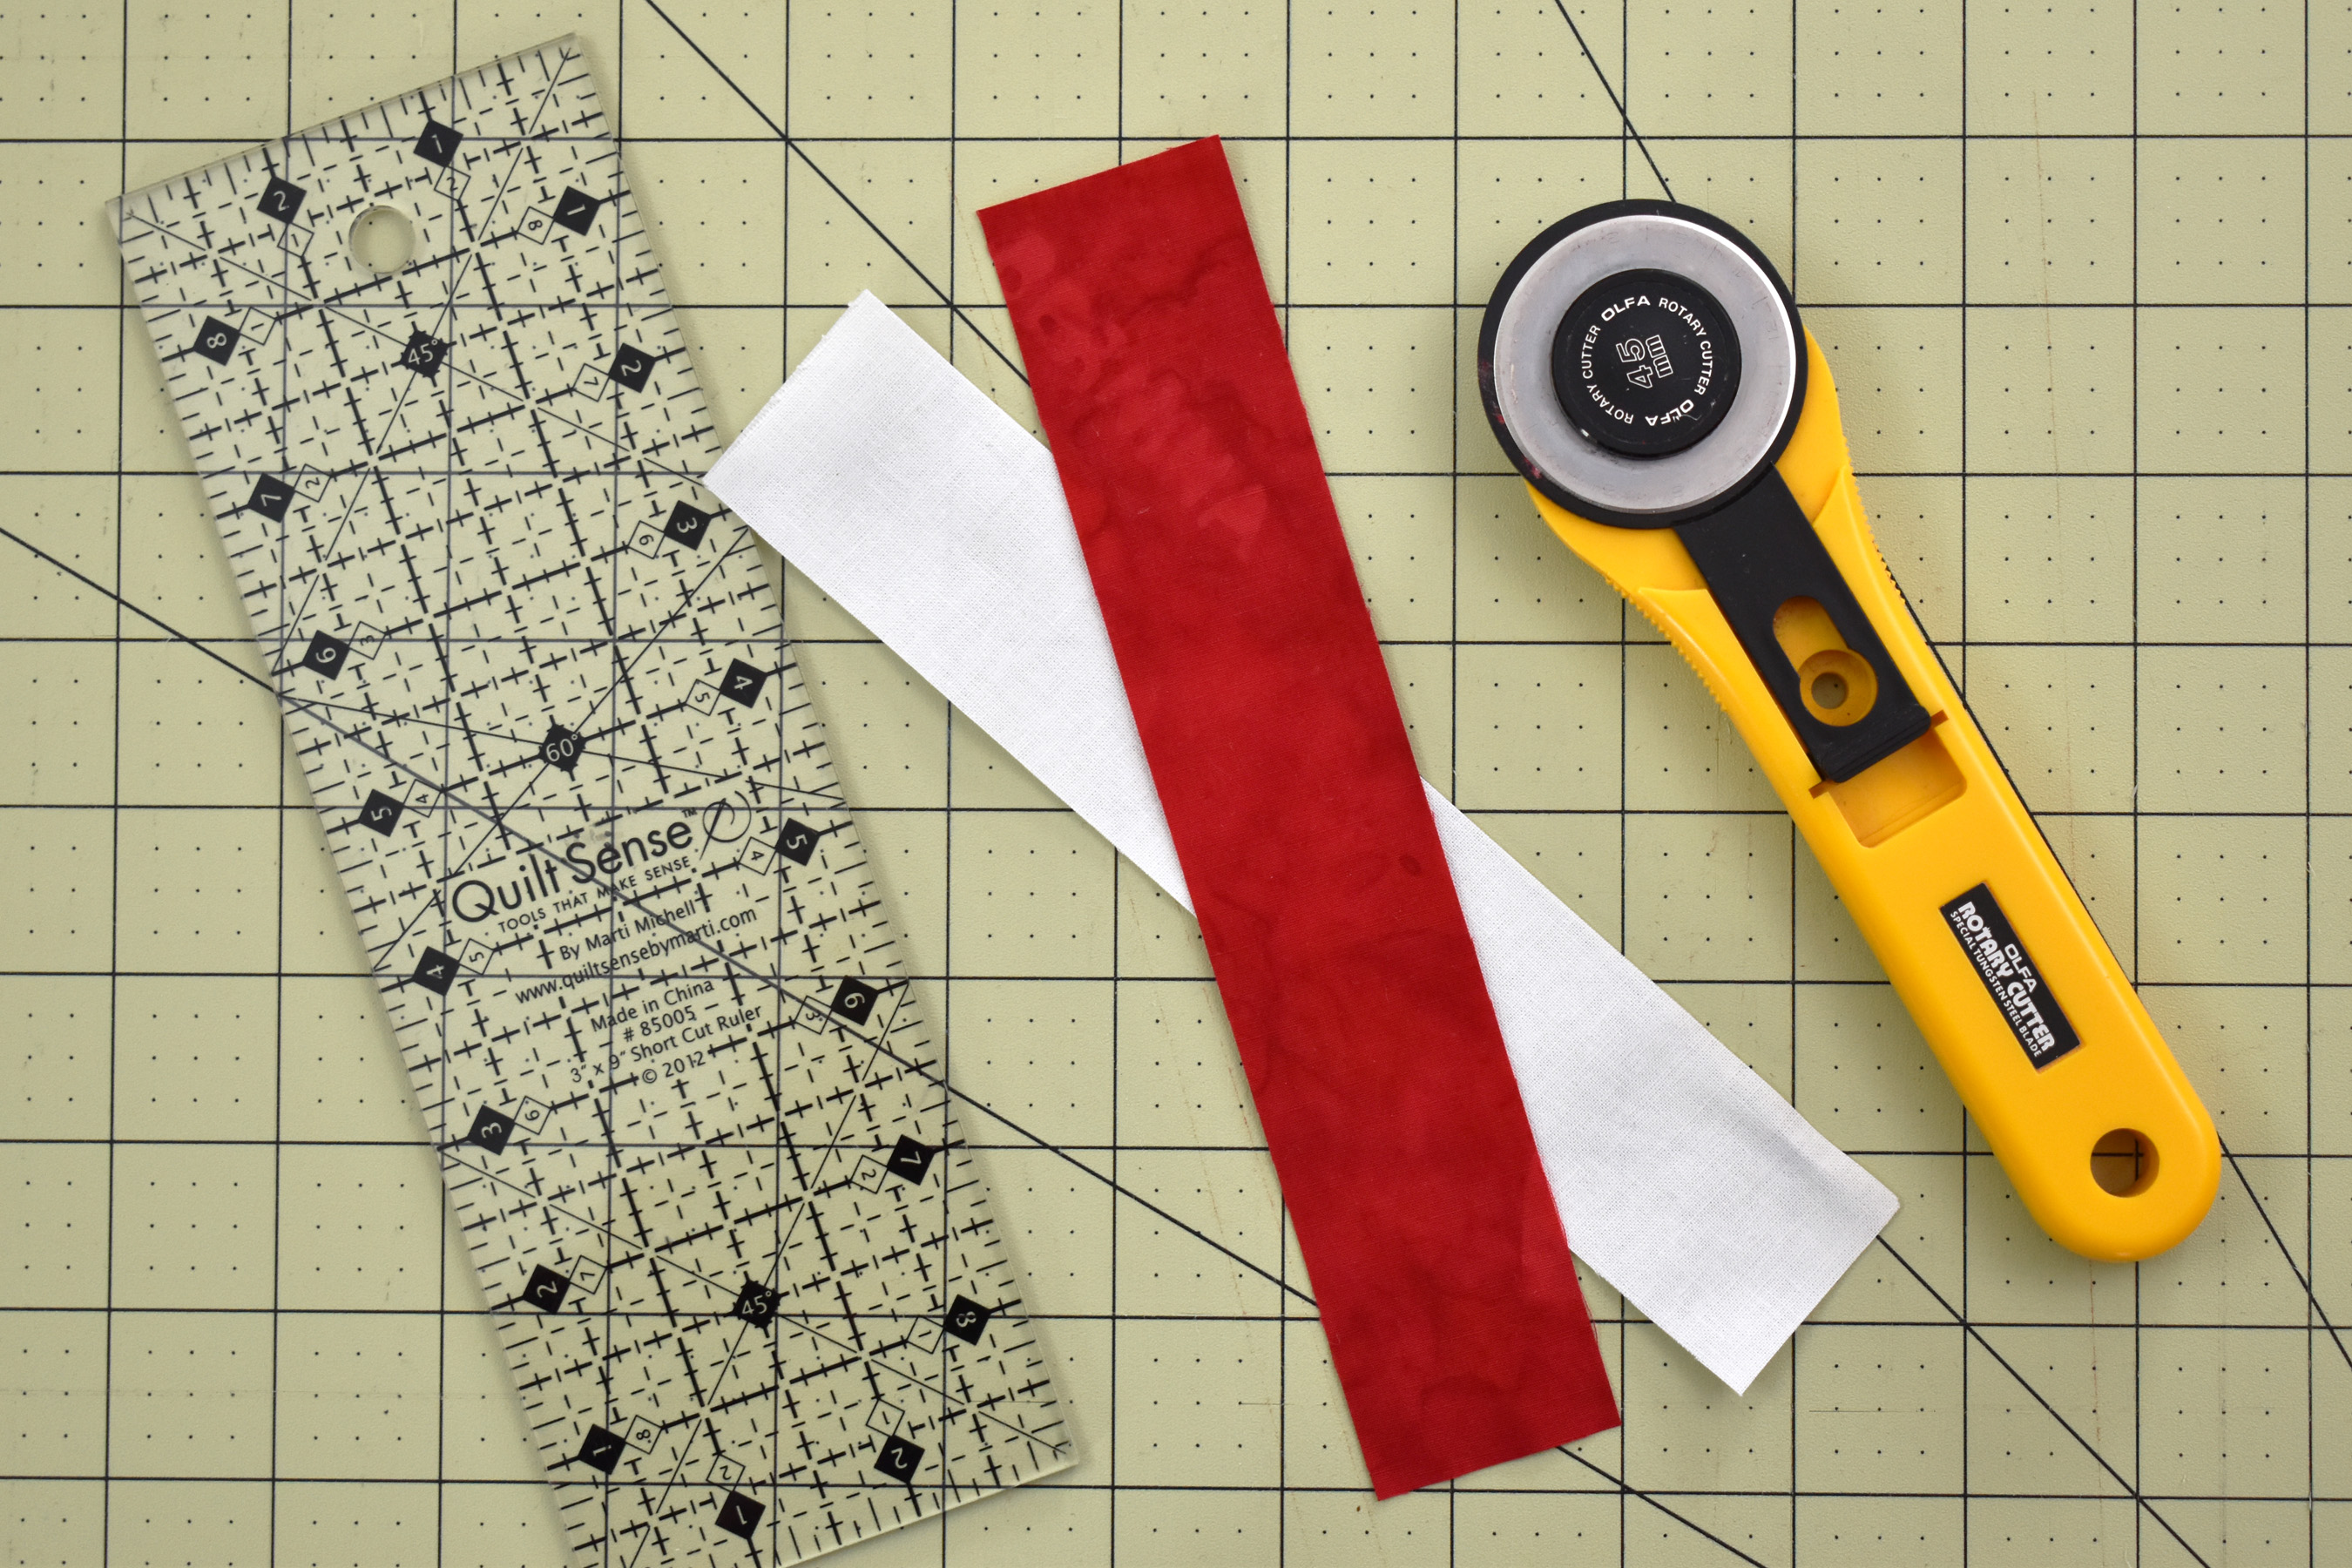
Carefully cut 1.5″ strips from each color. You will need to cut 4 – 1.5″ squares from the light color strip, and 1 – 1.5″ square from the dark color strip to create the simple star block.
To make the half-square triangles, cut two more 1.5″ wide strips about 6″ long, one from each color. Stack the strips on top of each other, and square-up one end (check back in Part 1 if you’re not sure how).
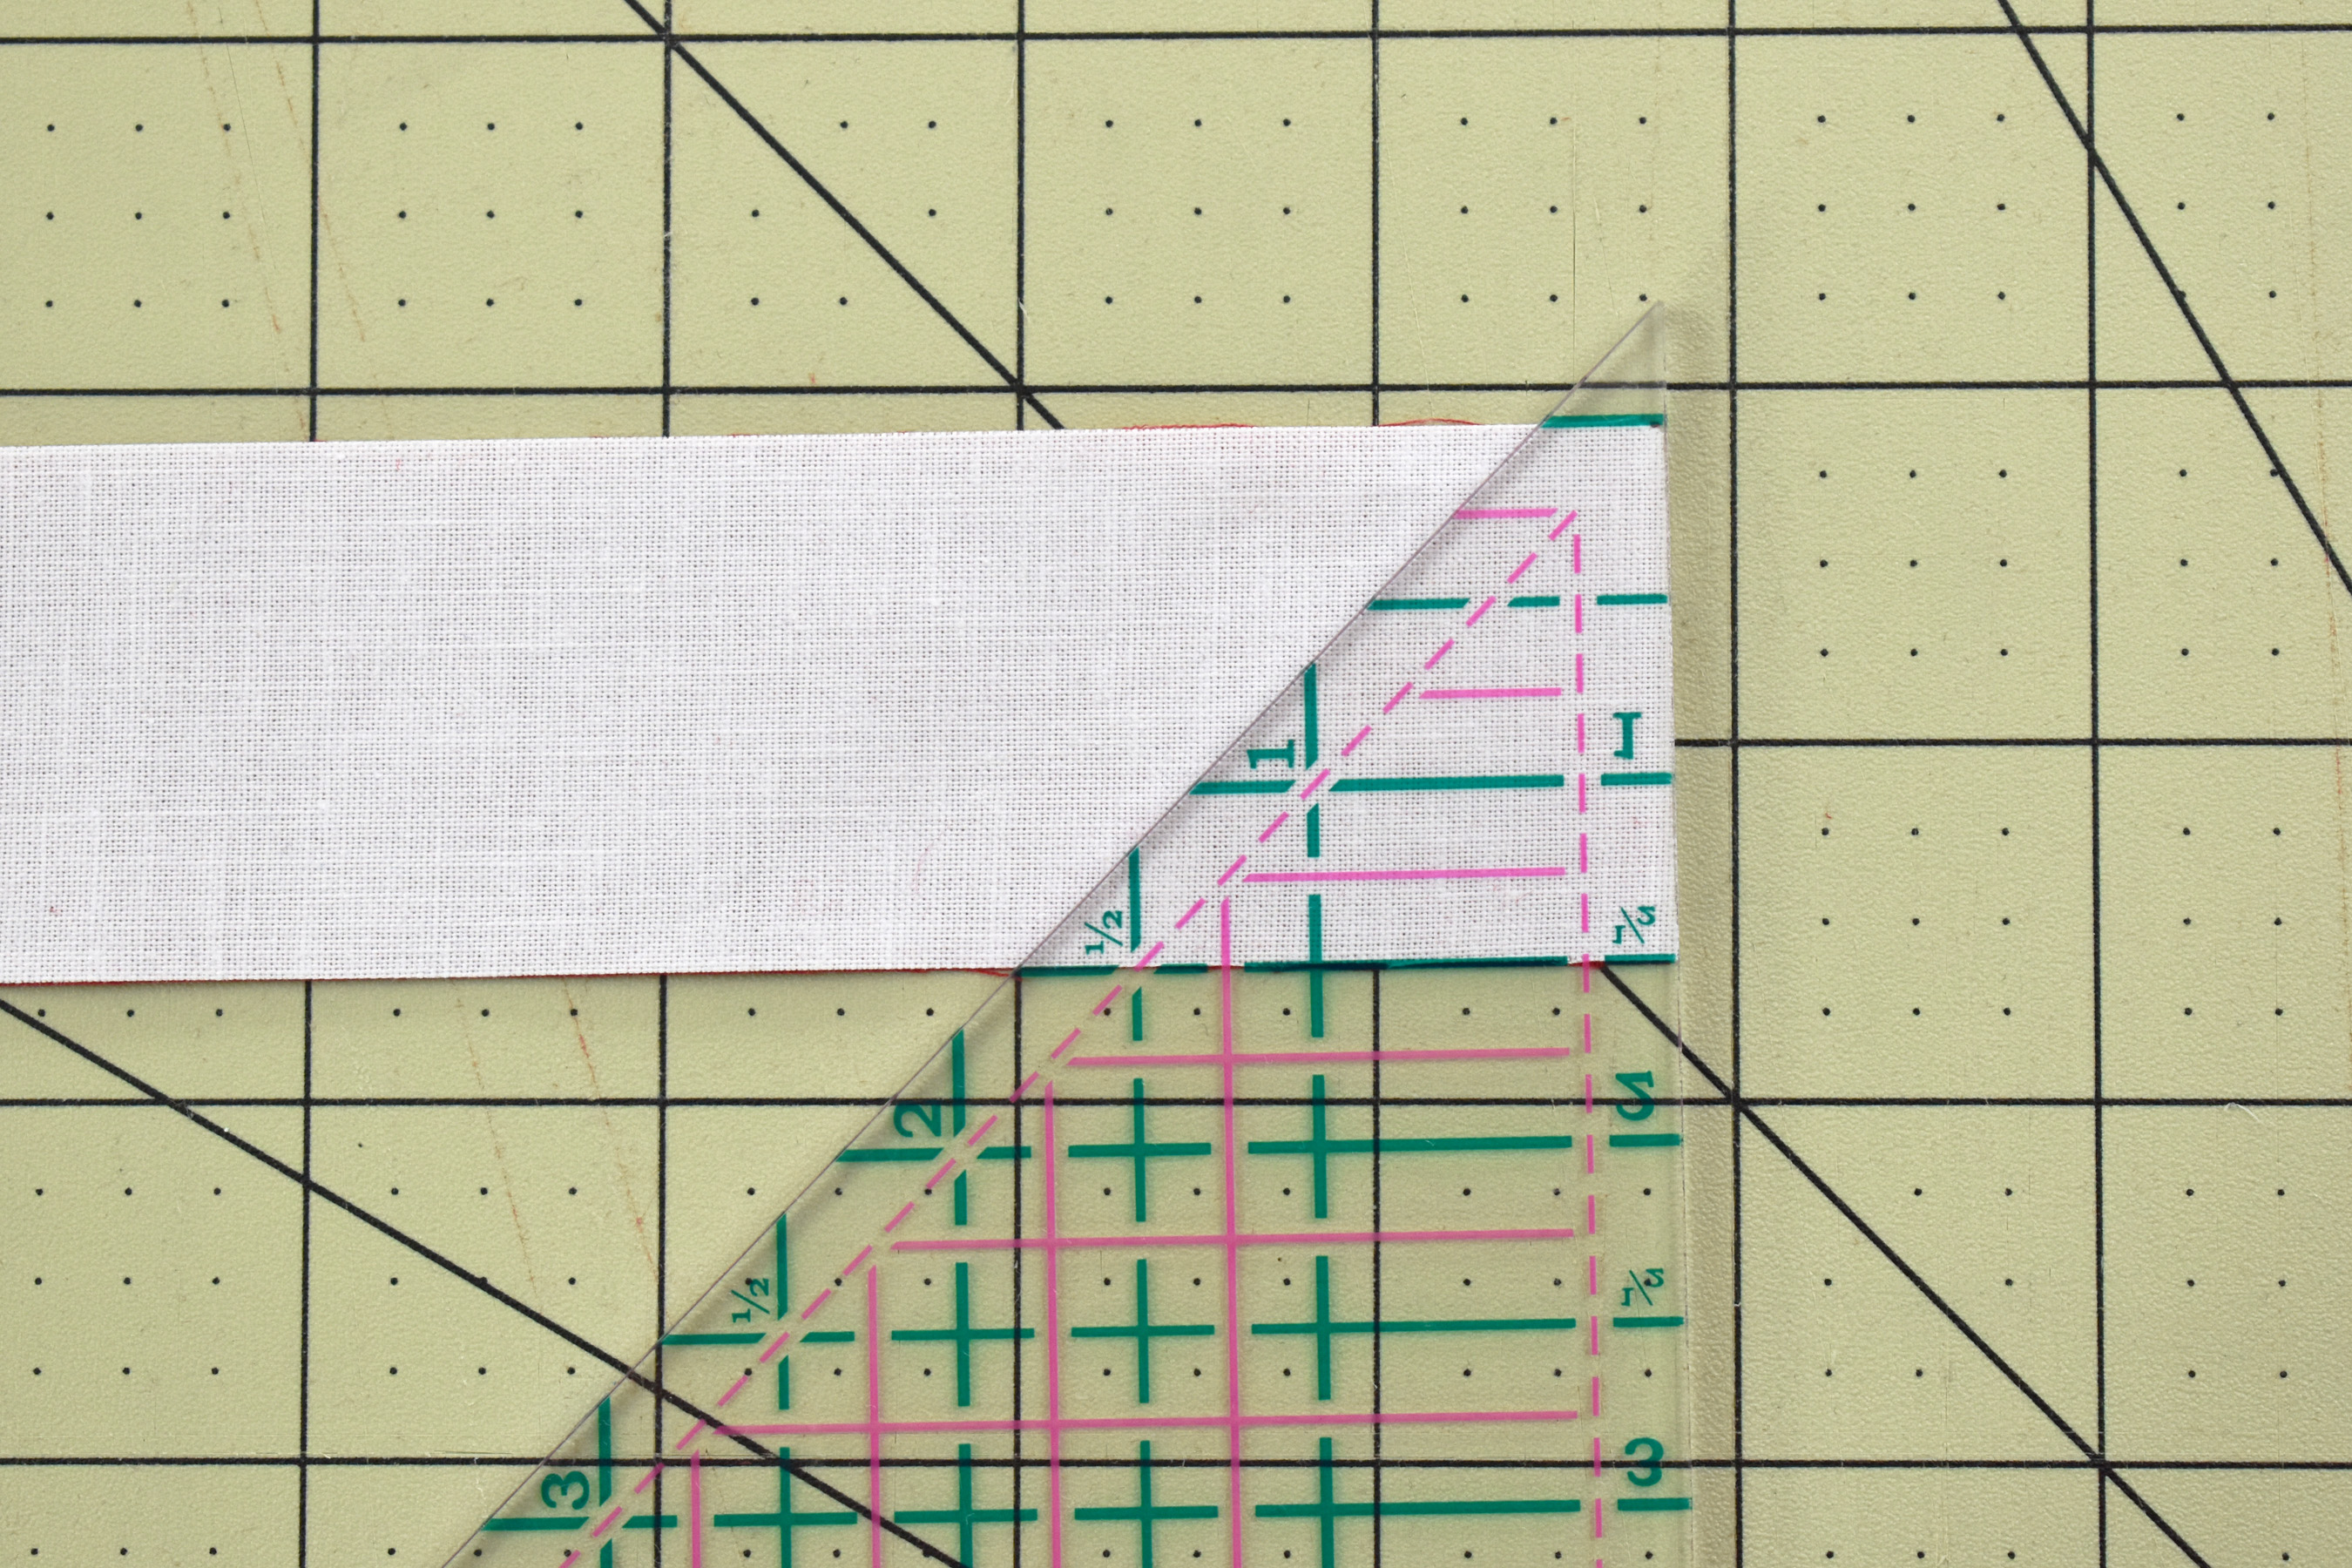
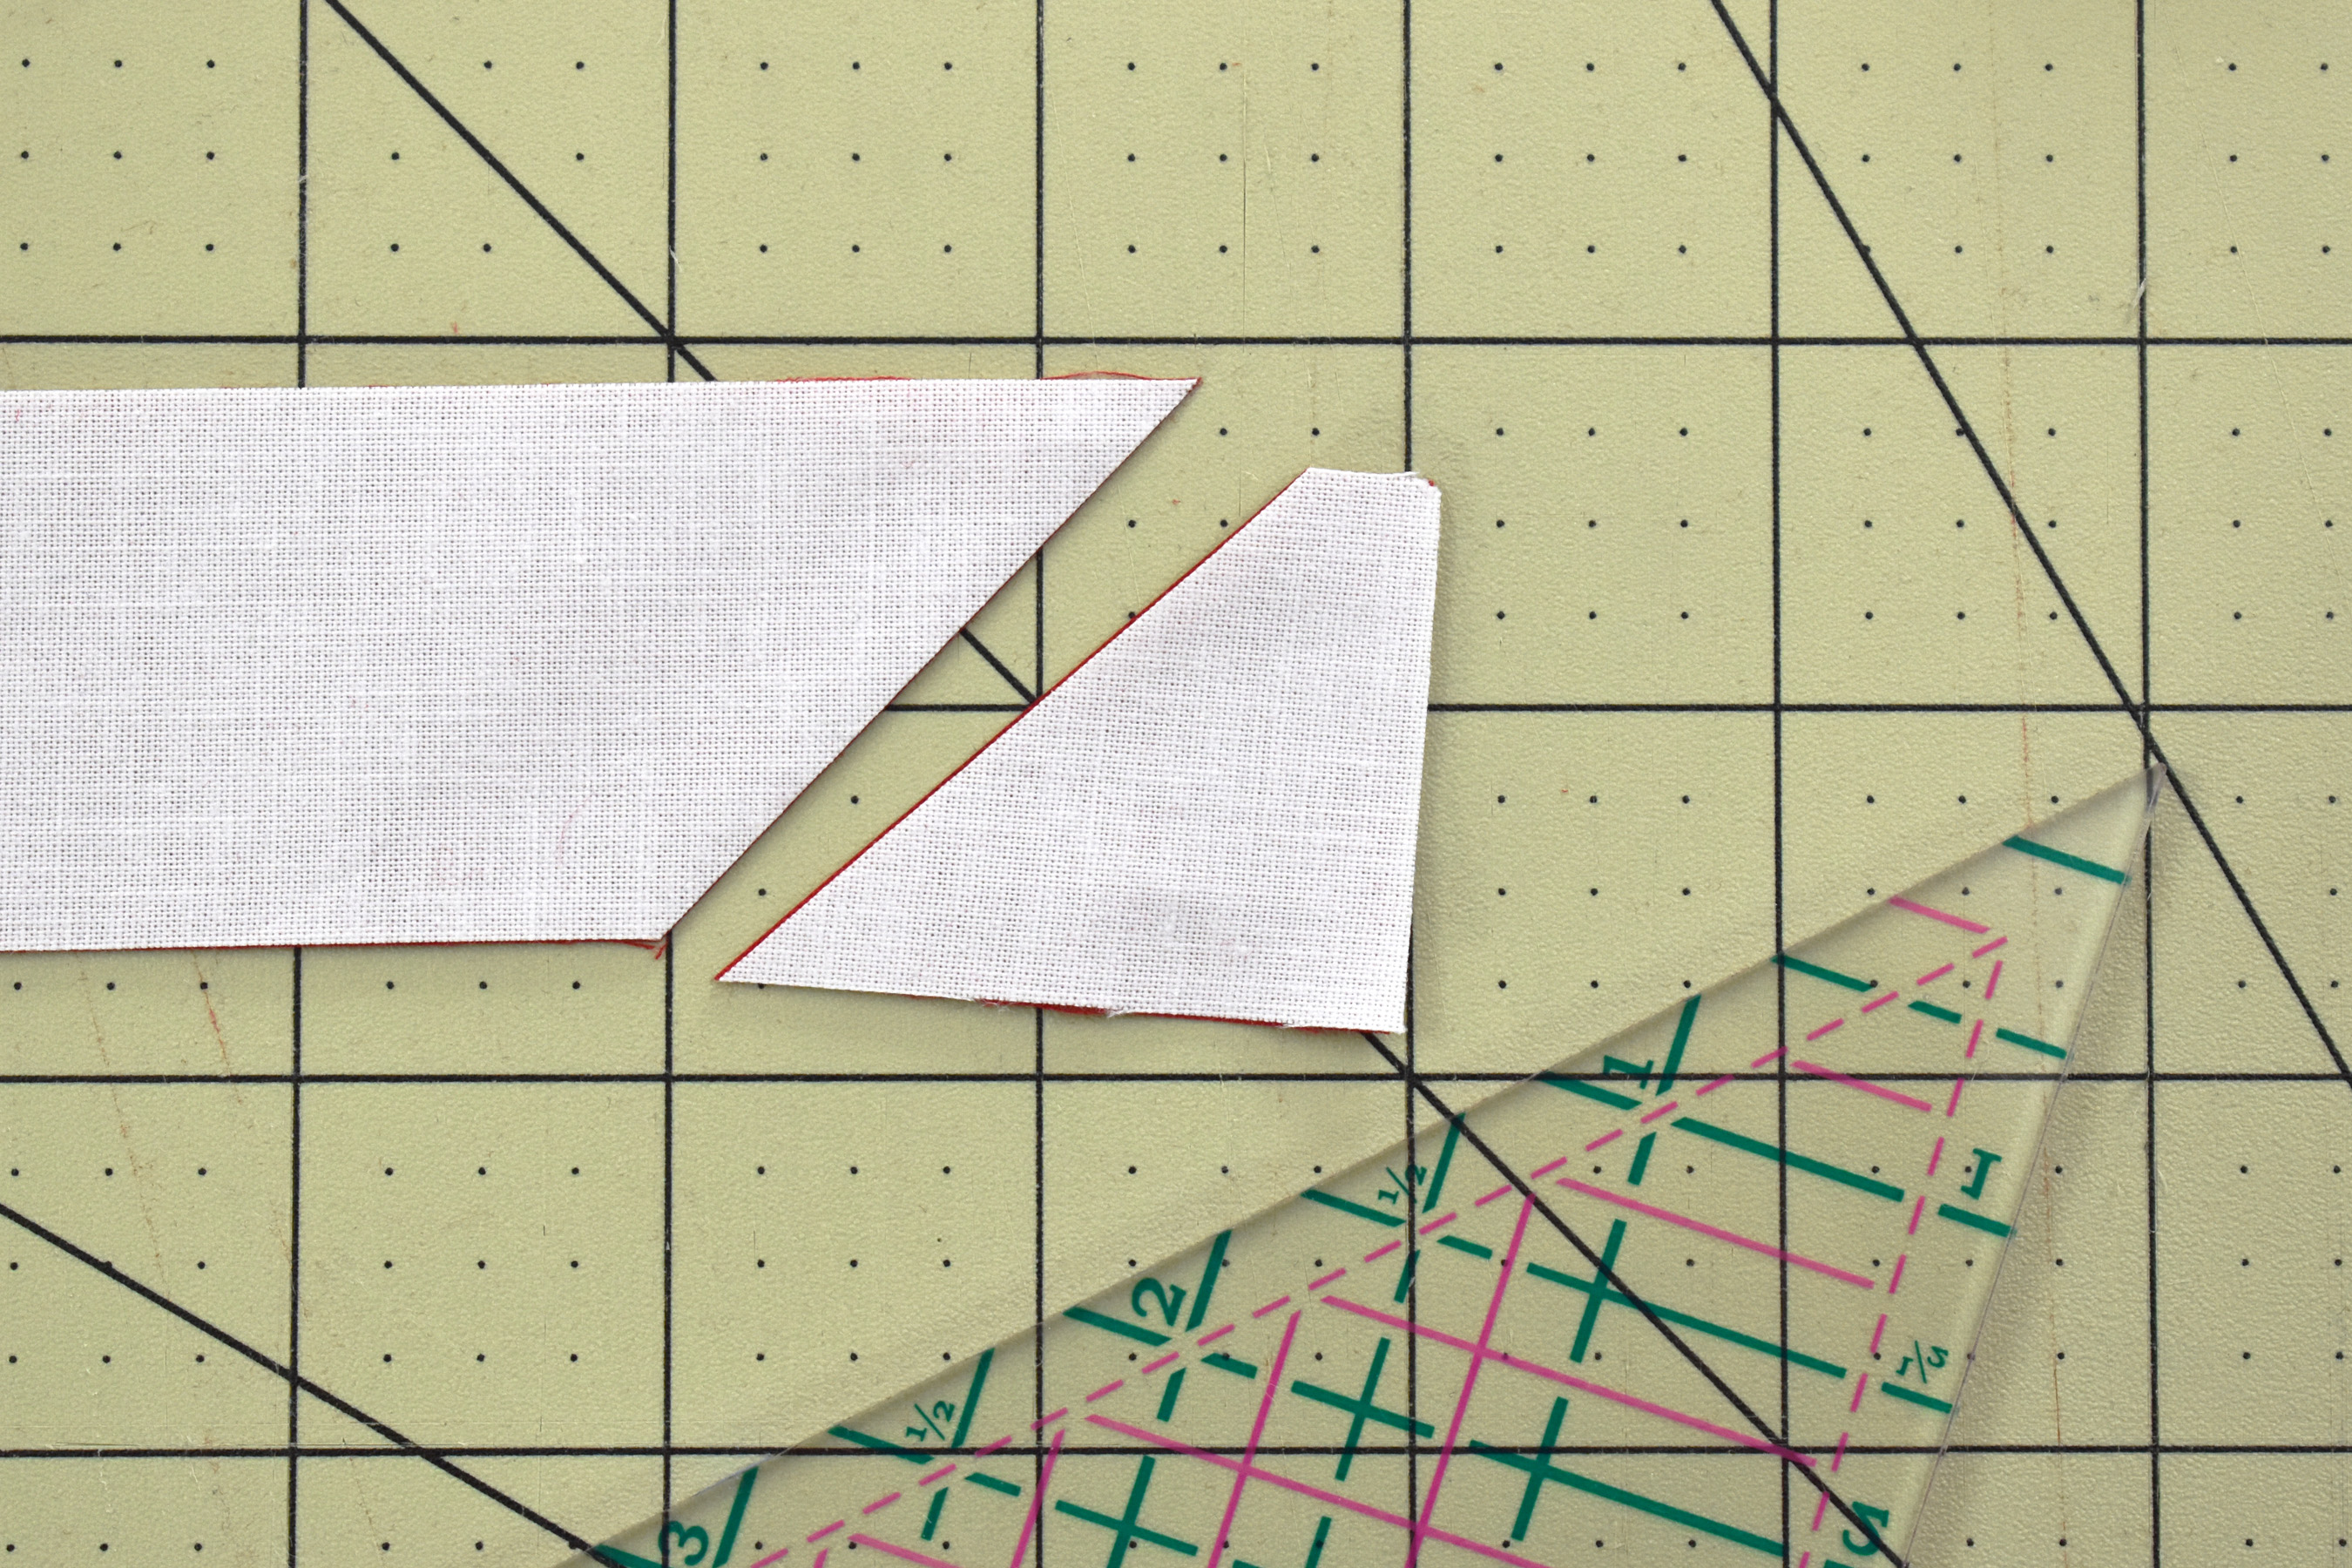
Look at the markings on the ruler, find the 1.5″ cutting line. One end of your ruler may have a point (as pictured here), and the other end may be blunted off. You can use EITHER of these ends when cutting. I prefer to use the pointy end, using the marked line at the top end of the ruler to help me align it square with the strip of fabric.
Make the first cut. You will probably need to rotate the cutting mat to reposition the ruler for the next cut (or flip the strip).
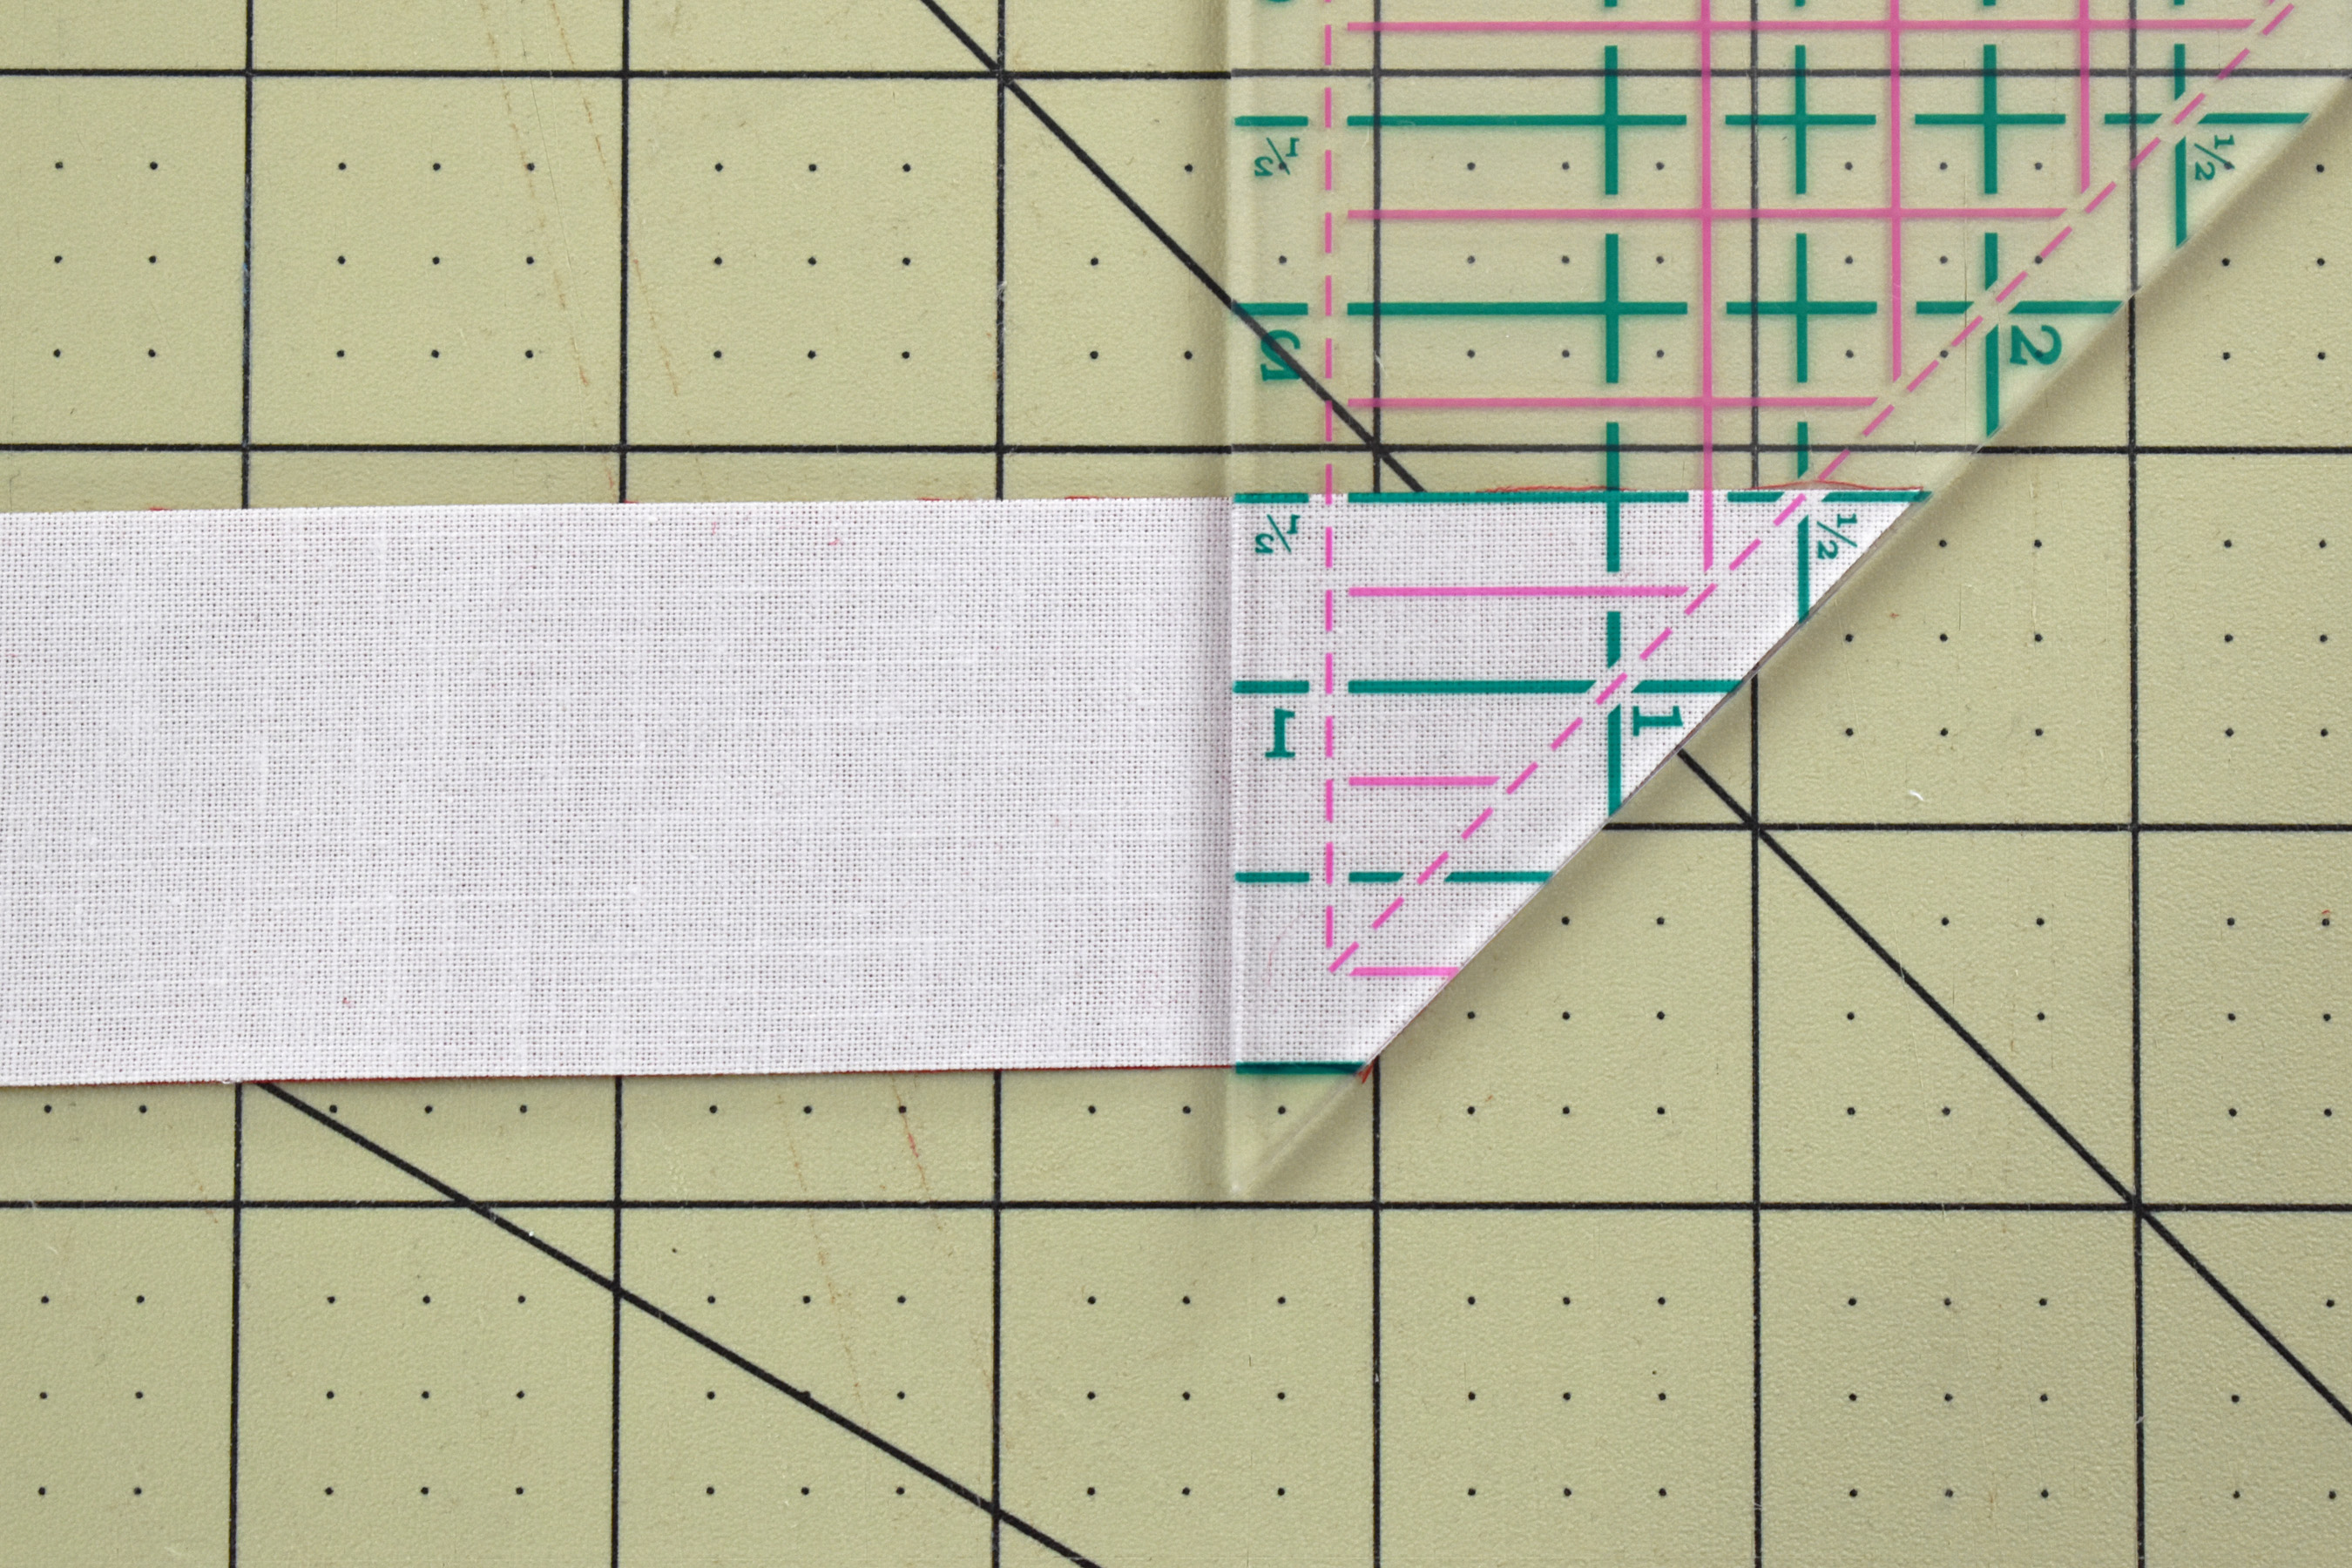
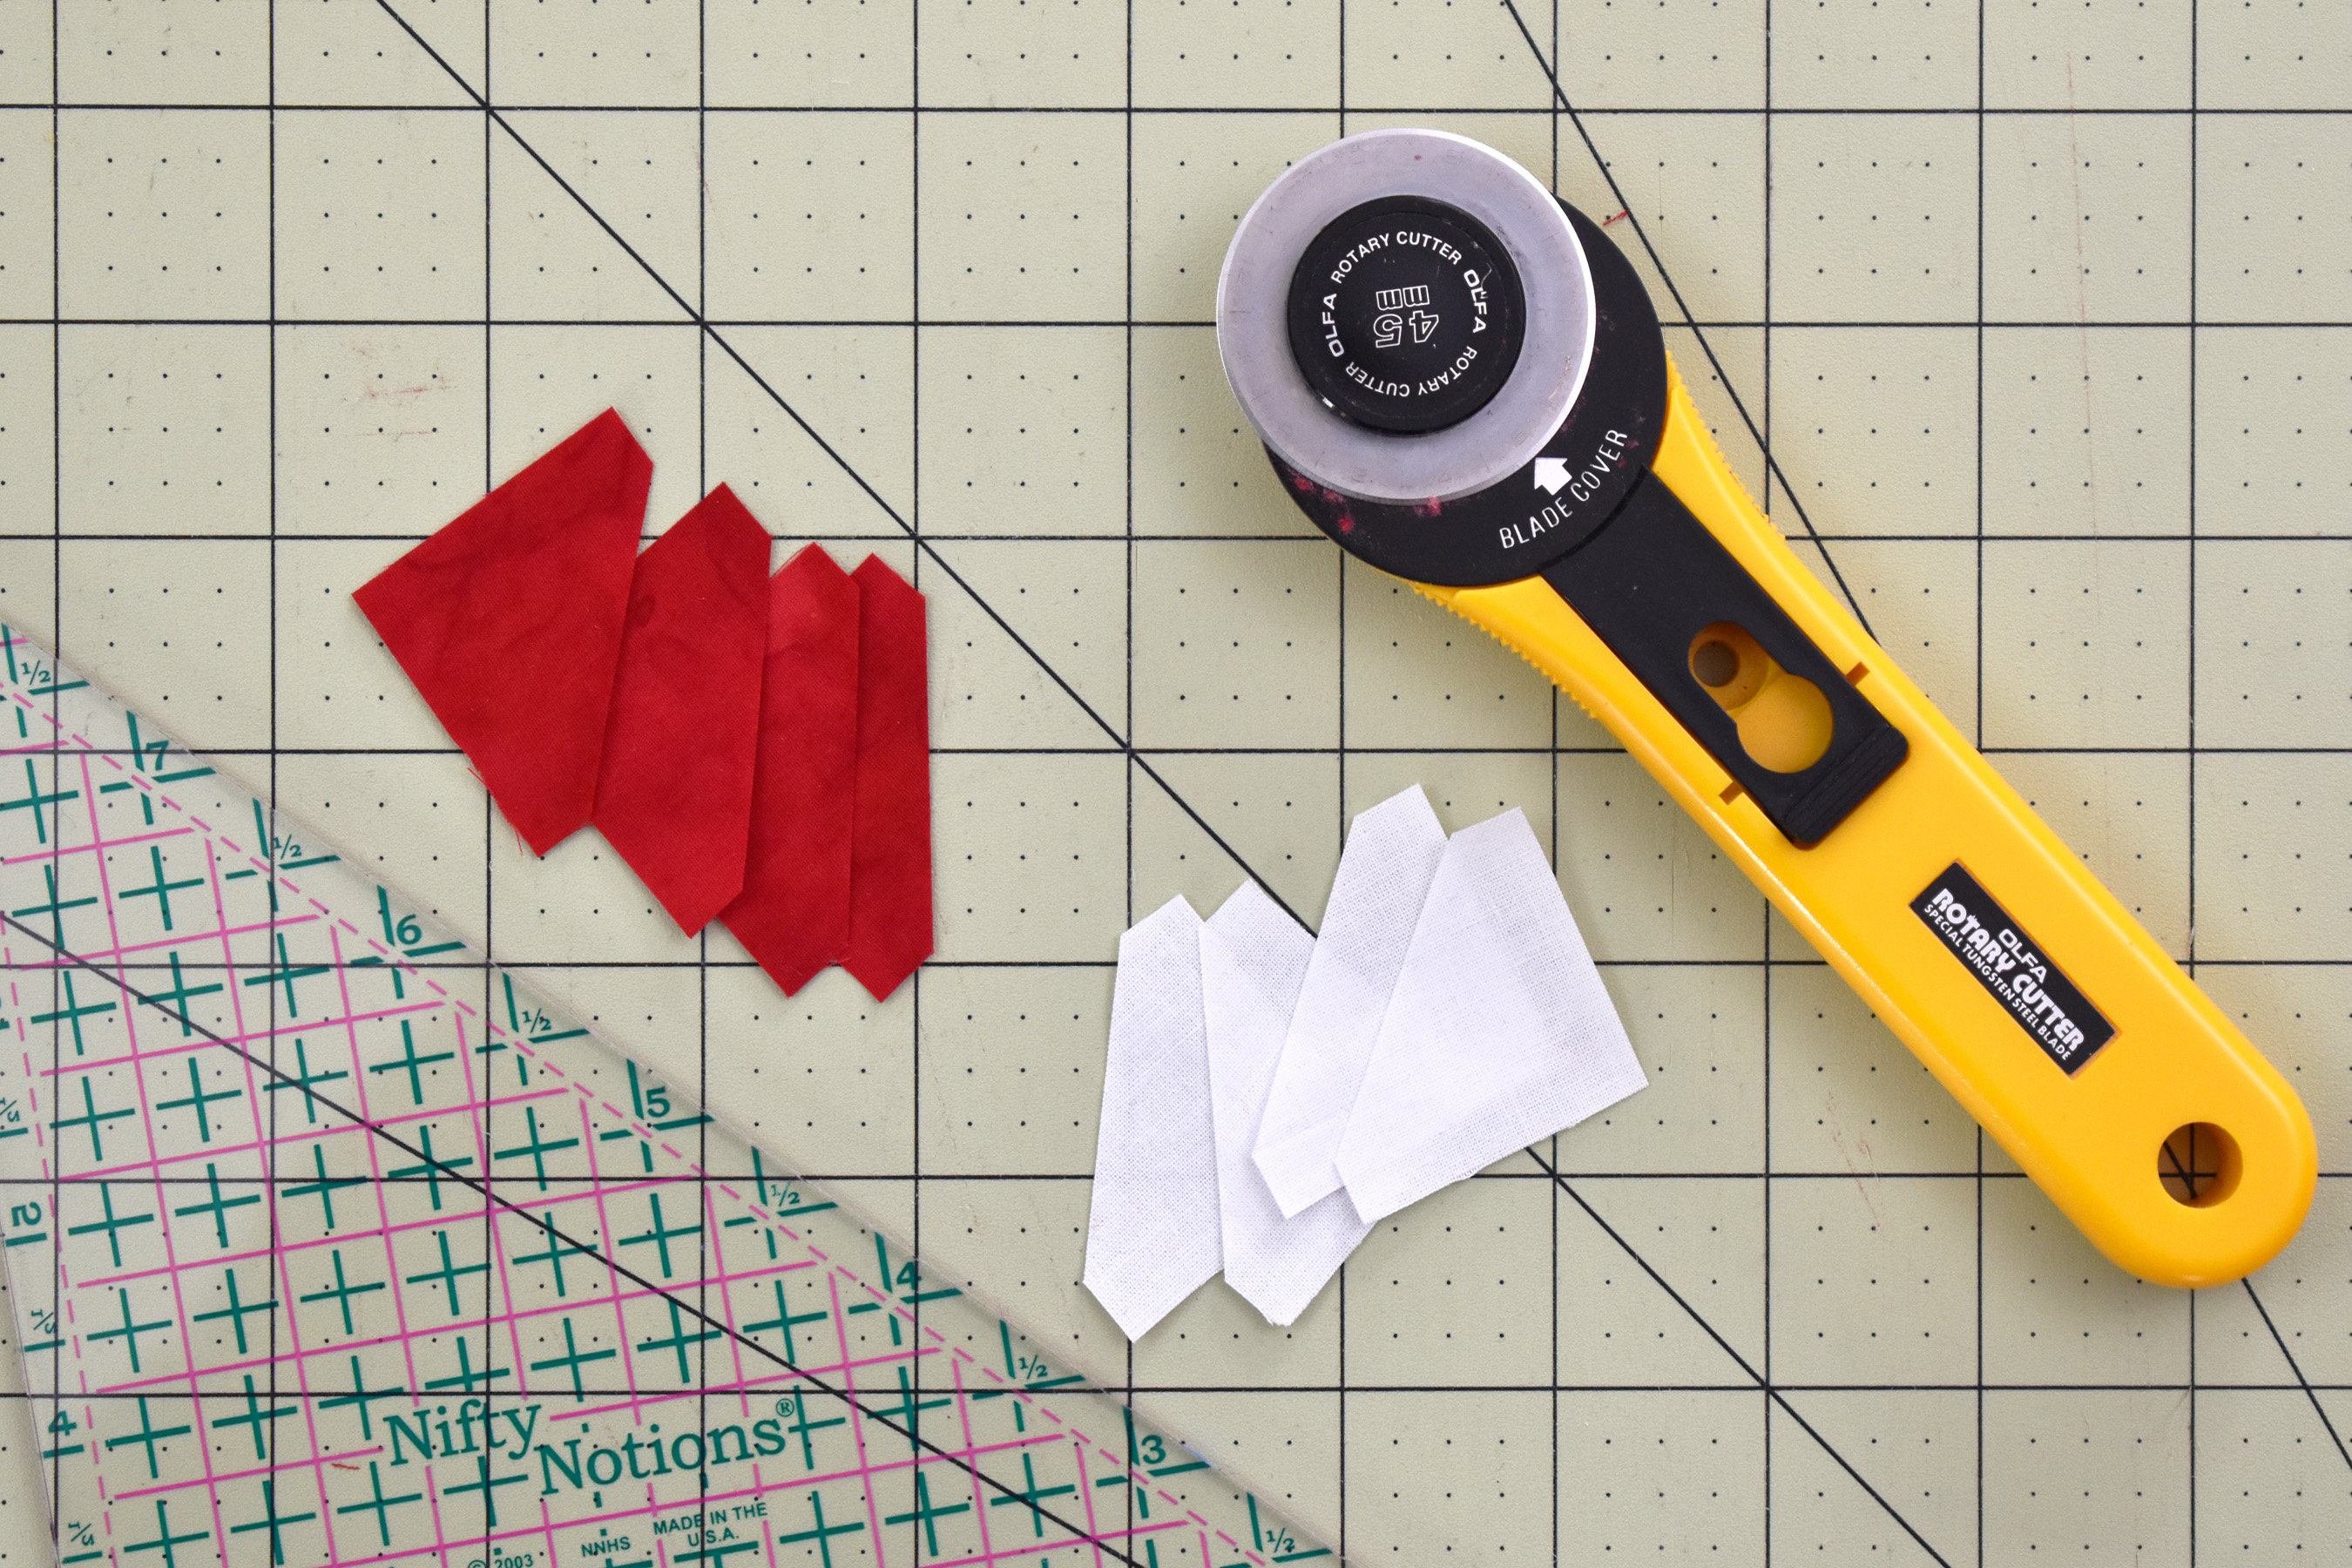
Reposition the ruler and make the next cut. Continue until you have 4 triangles cut from the stacked strips.
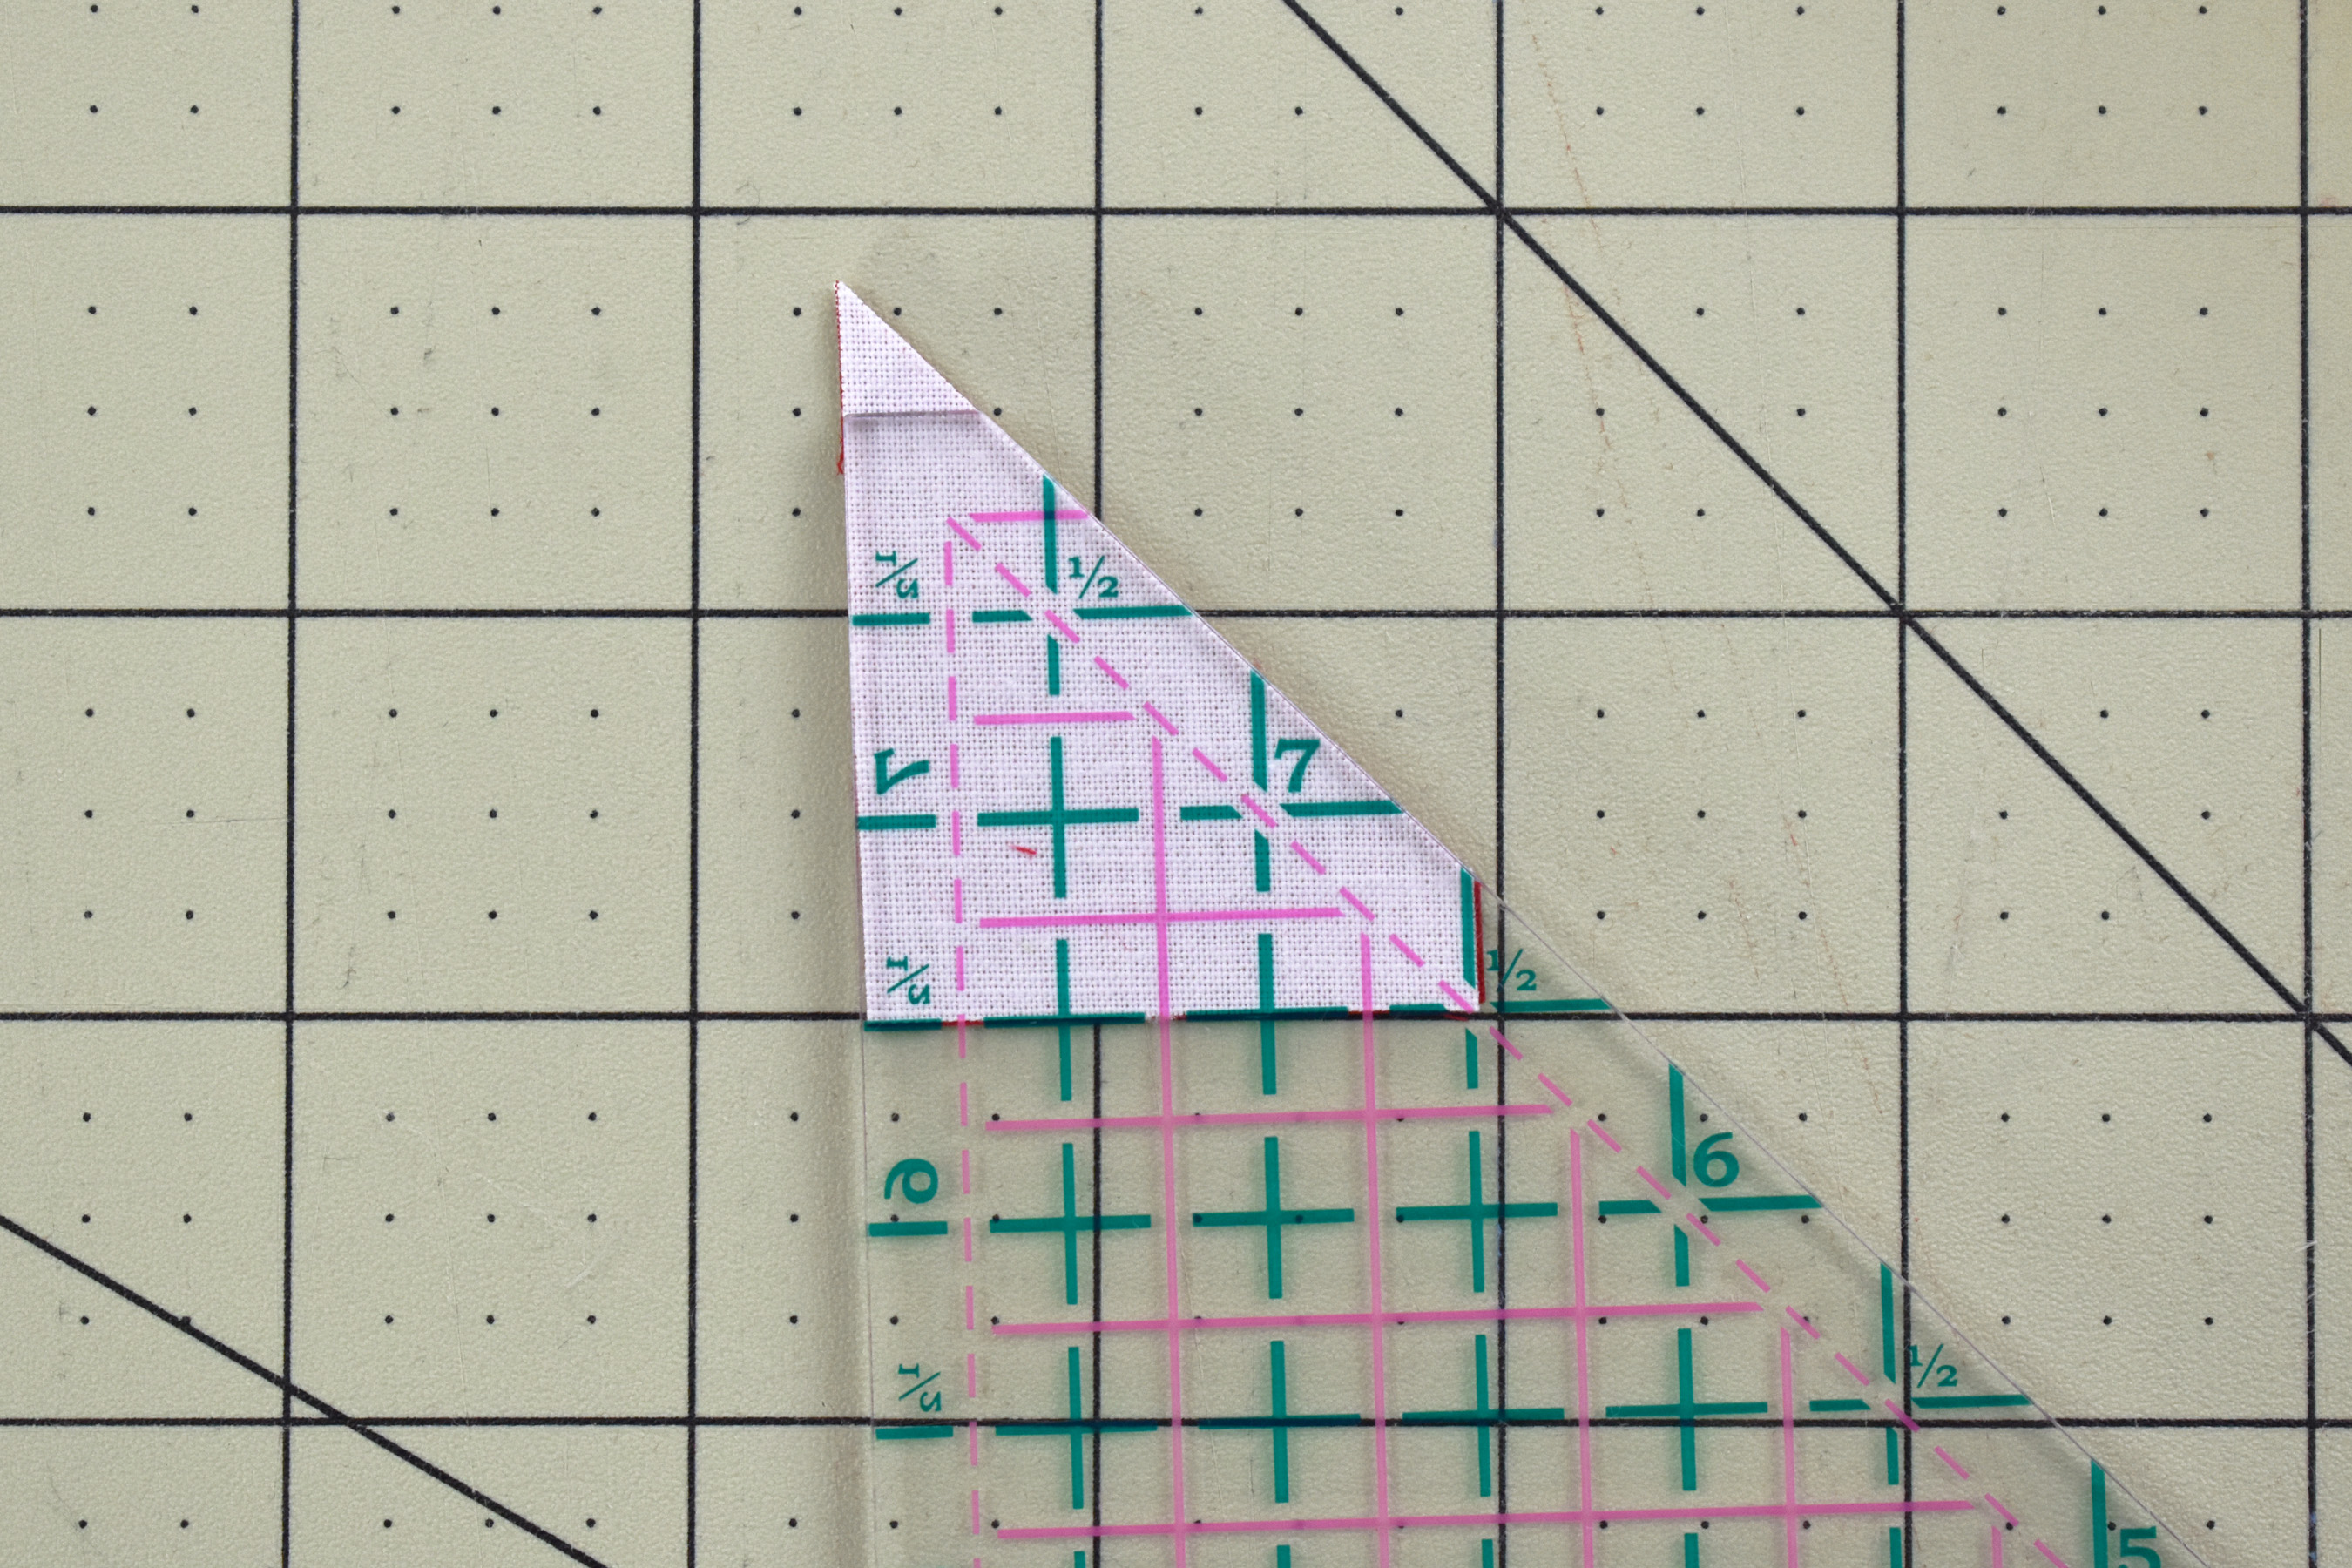
Your cut triangles will have one 9o° right angle, one sharp 45° angle, and one blunted-off 45° angle. Use the blunted end of the ruler to align with the pointed 45° triangle, and cut off the sharp point. This will help to make sewing and pressing the mini HST blocks easier.
Now get ready to sew those little half-square triangles together! Pair one light fabric with one dark fabric, matching all raw edges together. You will sew the seam on the longest edge of the triangle in between the two blunted points.
Read specifics about how to set up your sewing machine in Part 1, and be sure to have a leader scrap on hand along with your stiletto.
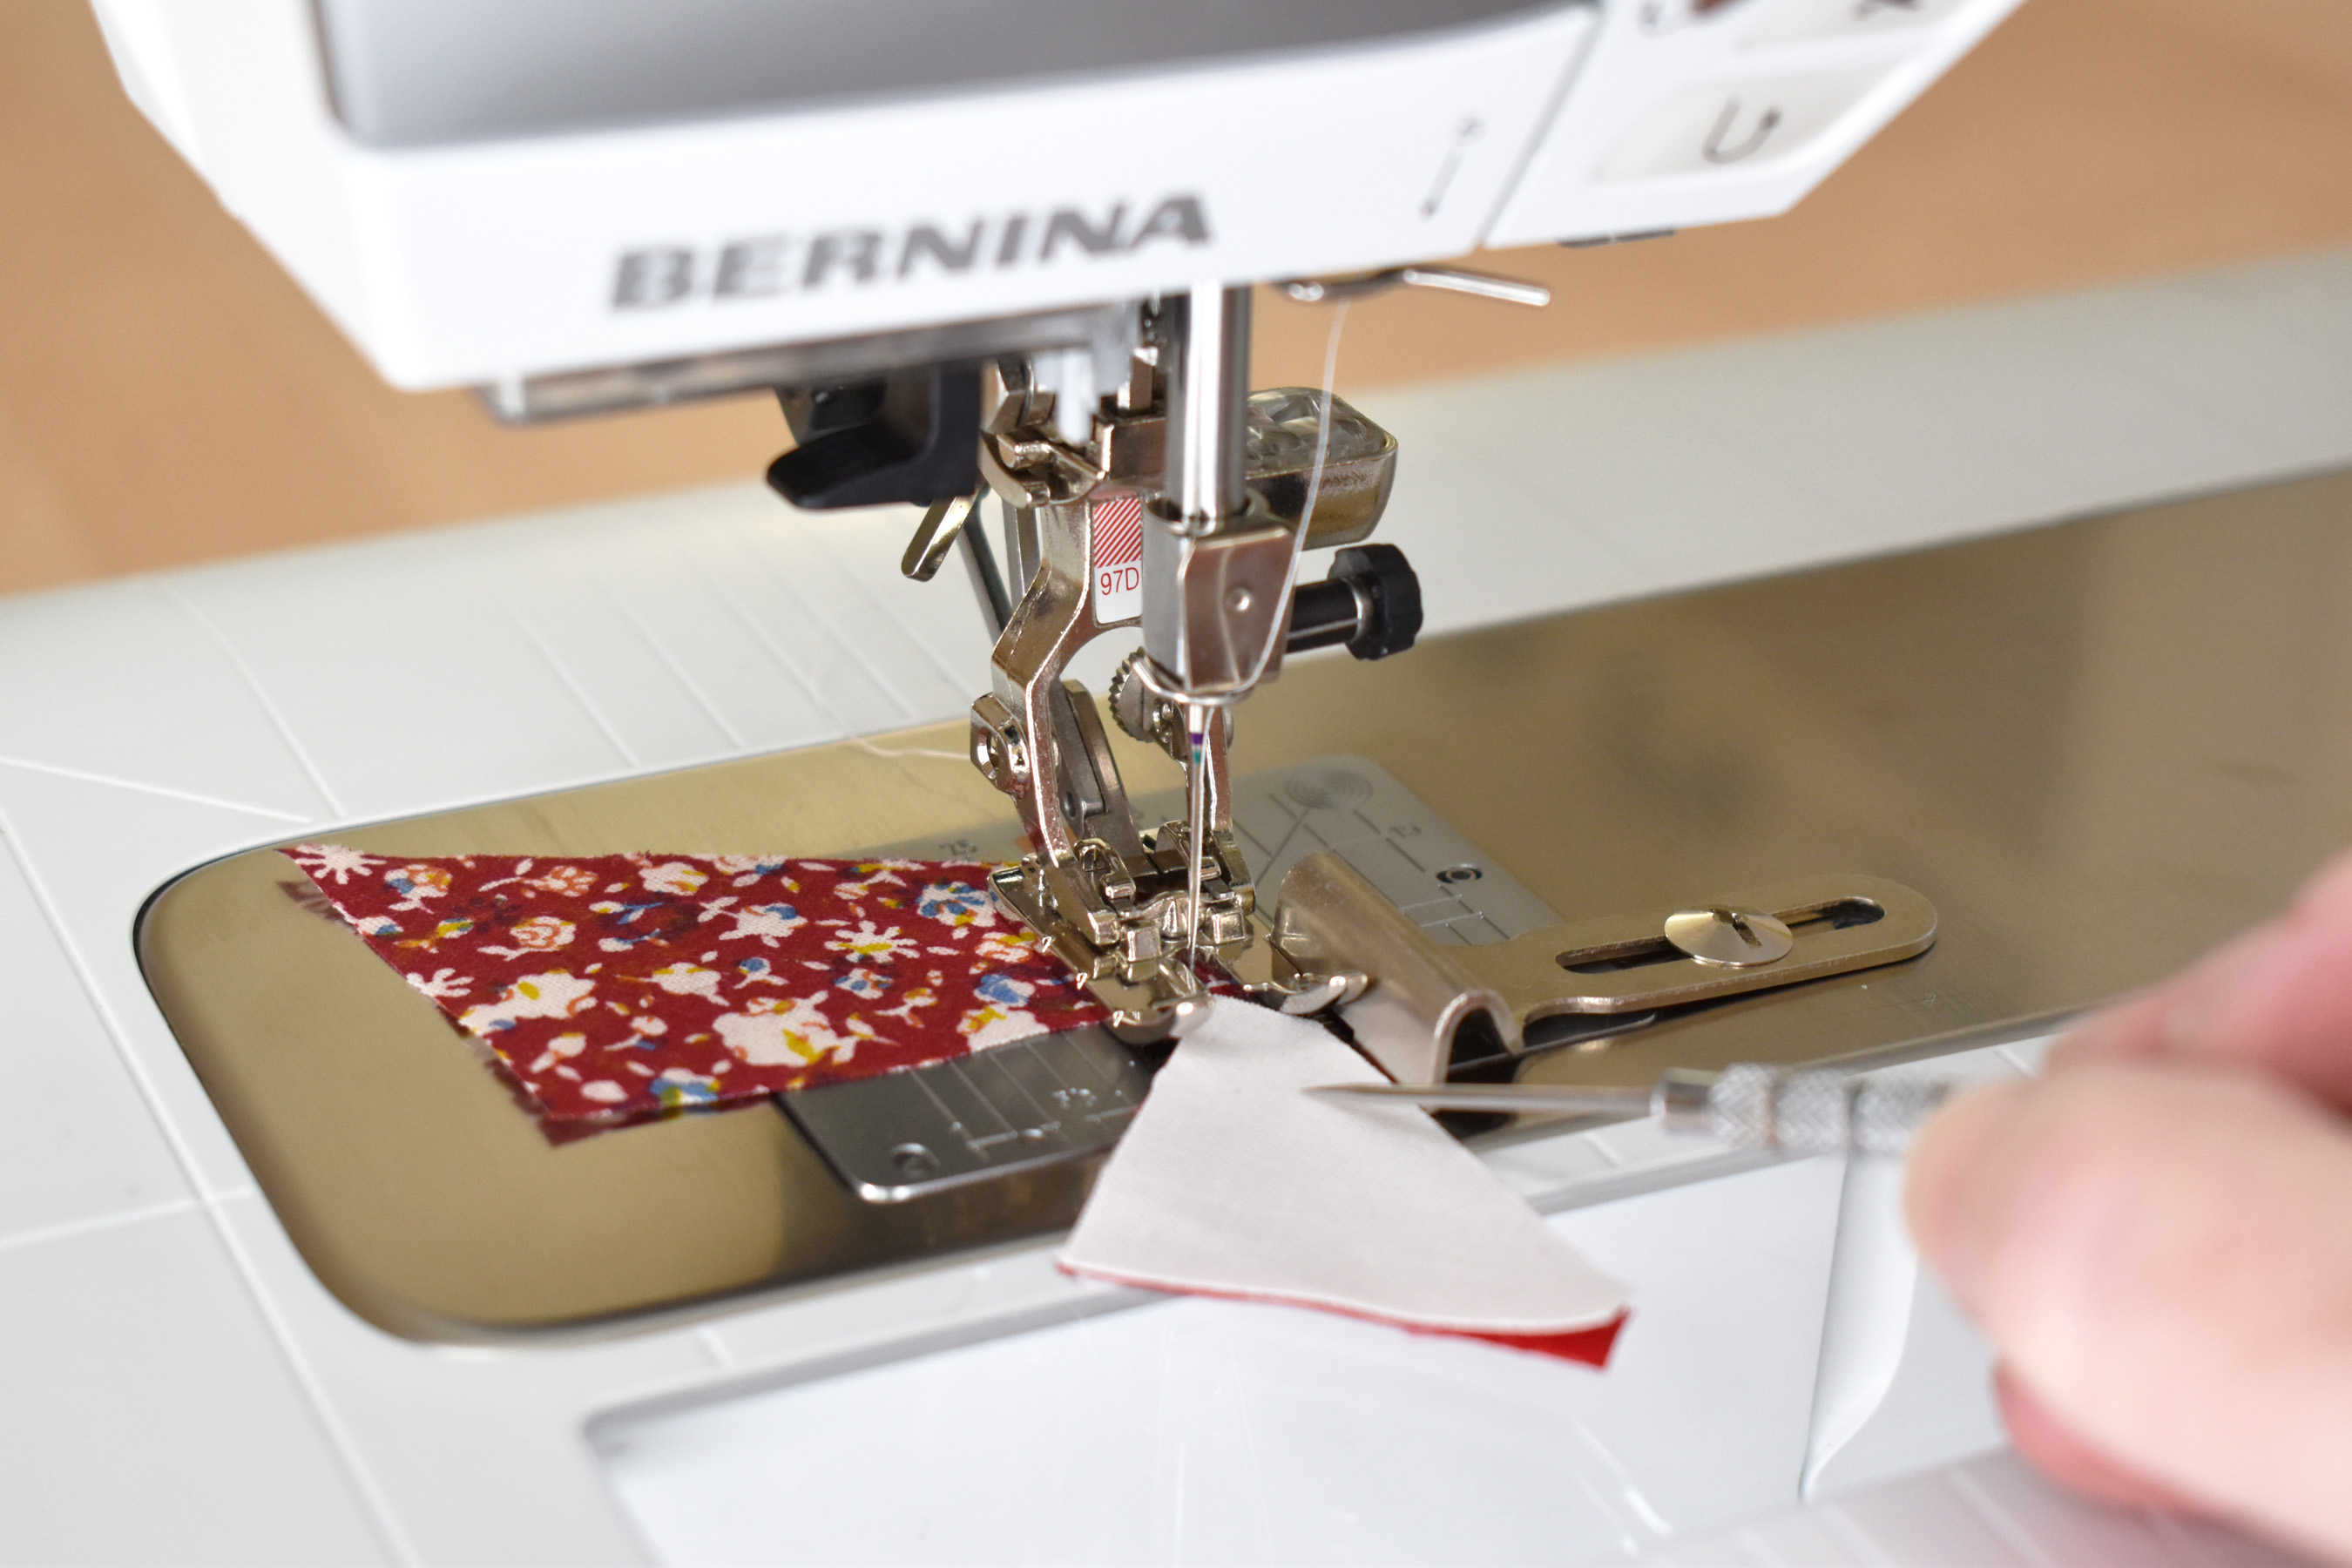
Start sewing on the leader scrap, then push the first HST under the presser foot. The feed dogs will grab and pull the patchwork through the machine.

Keep feeding the HST’s through the machine, pushing the next one under the foot behind the last one stitched.
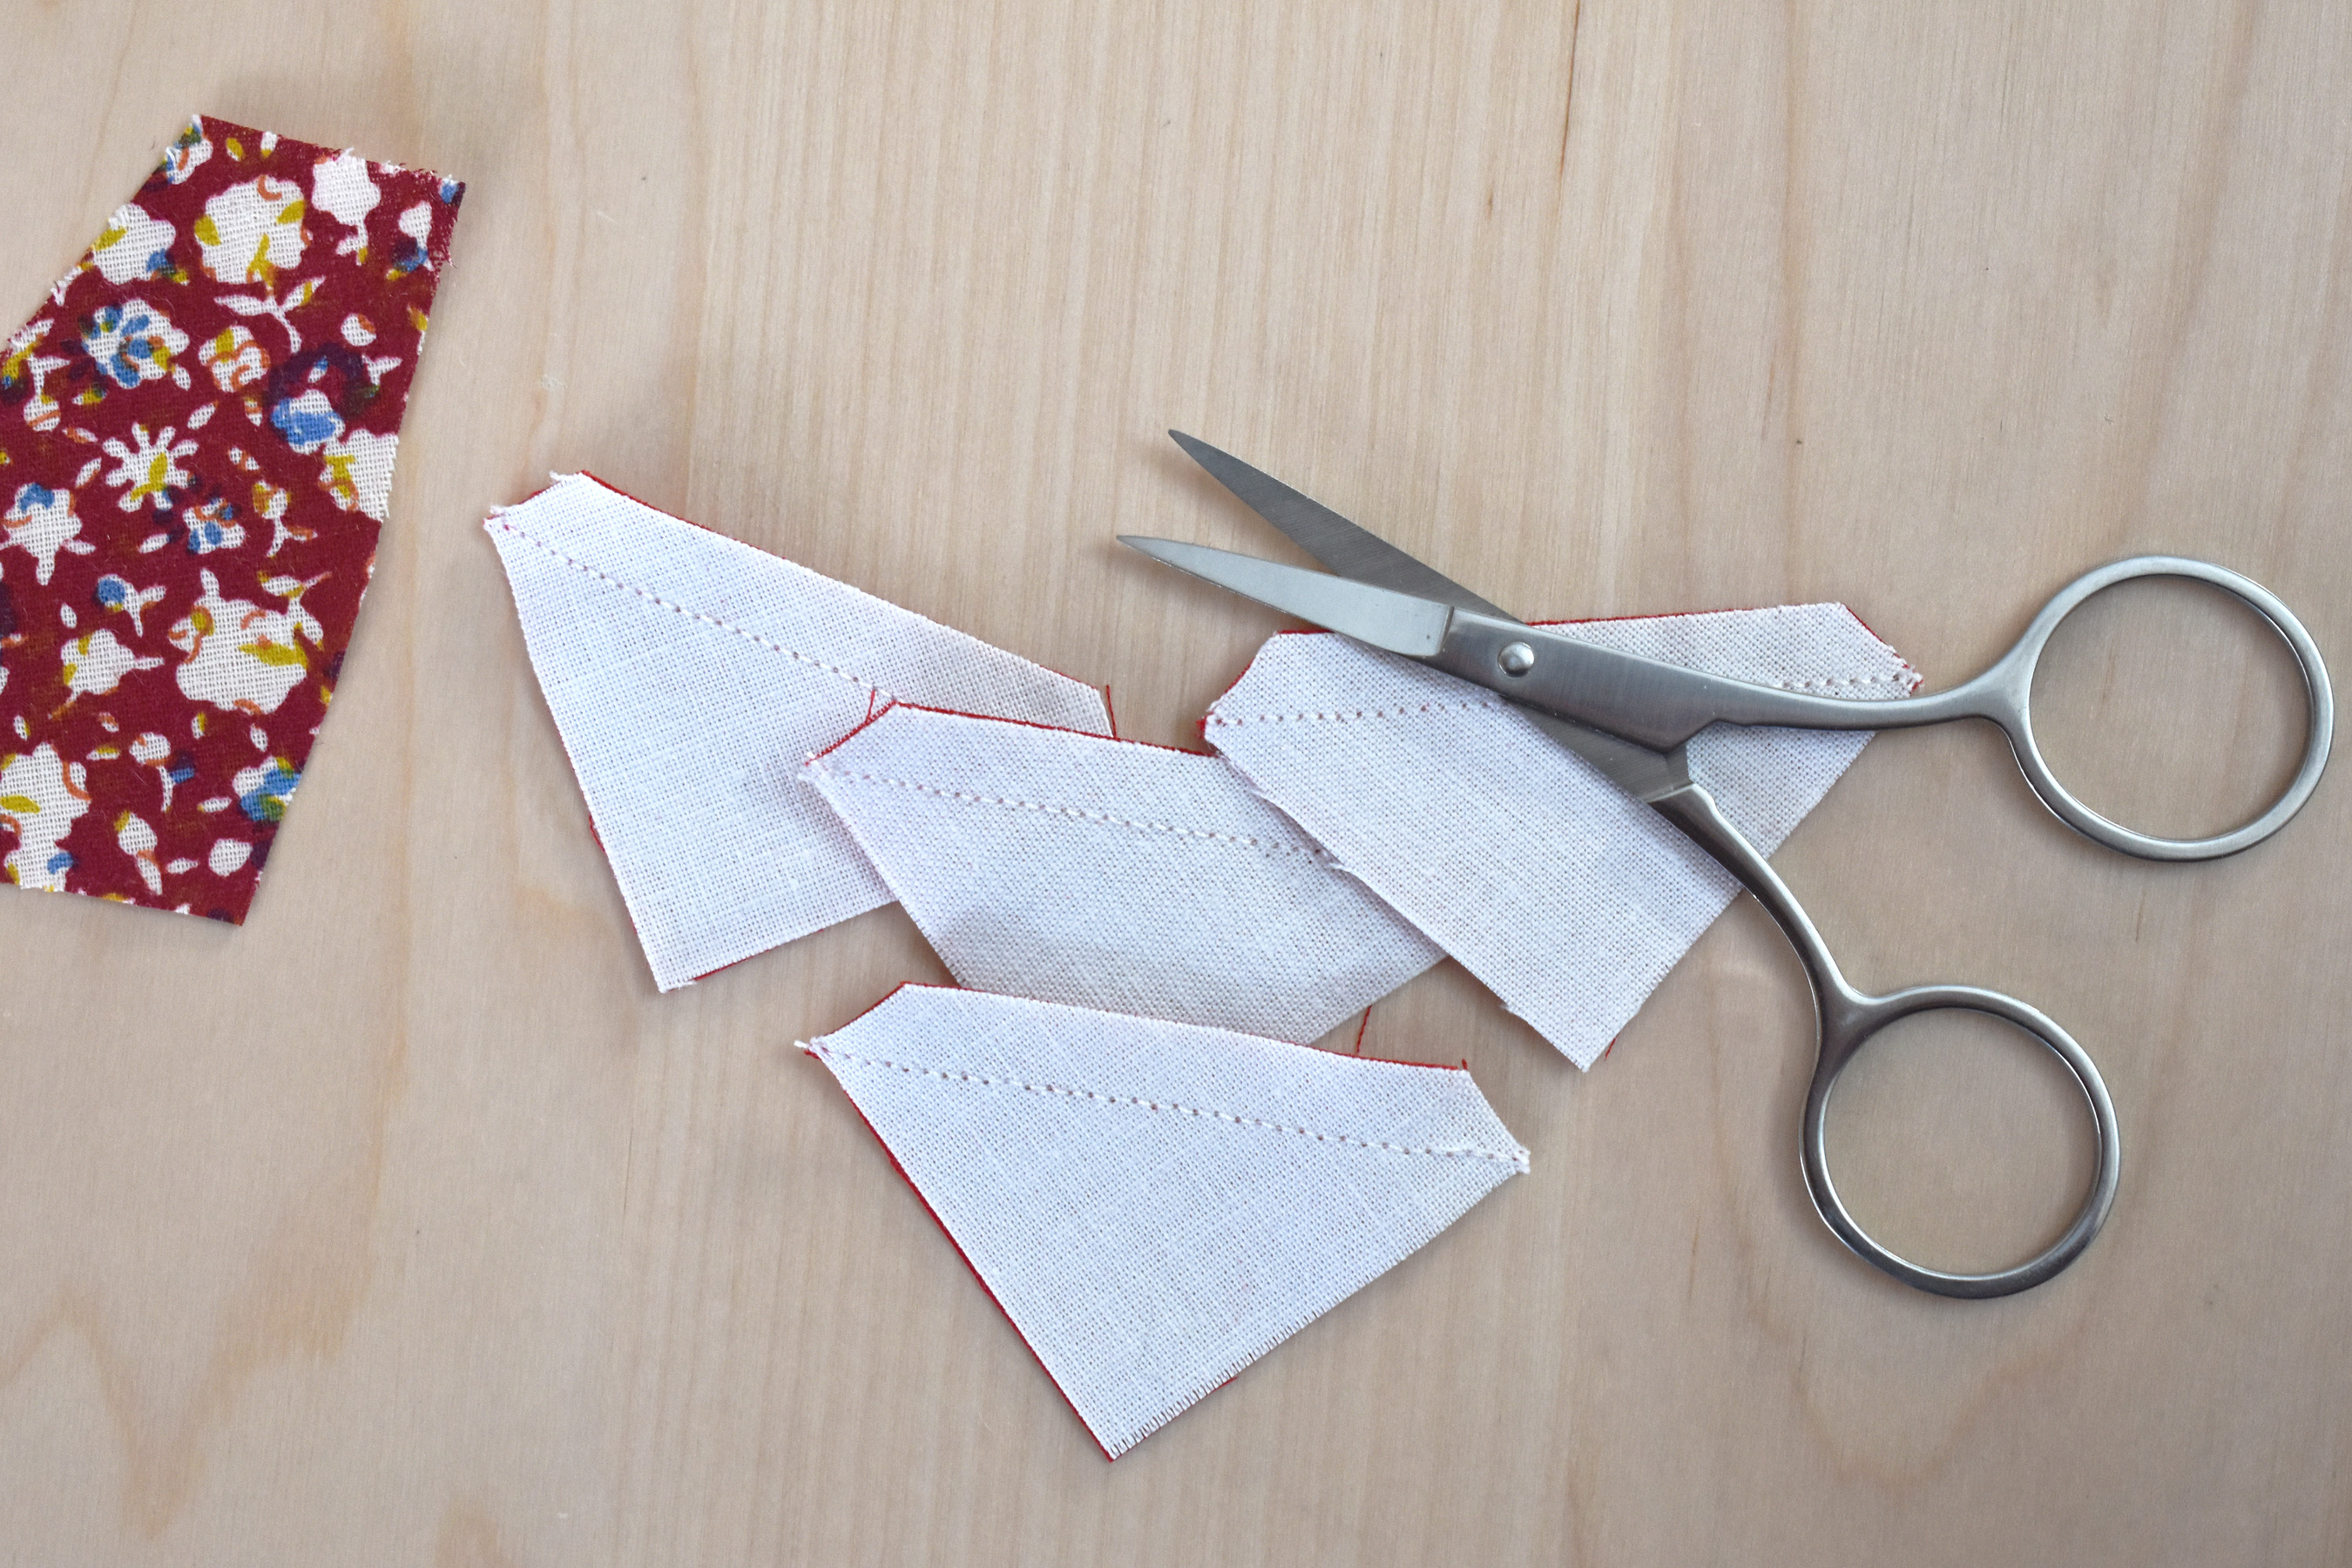
After stitching, cut the HST’s apart, and press seams open (refer back to Part 1 for some tips).
Now lay out the triangle and square blocks to form a star.
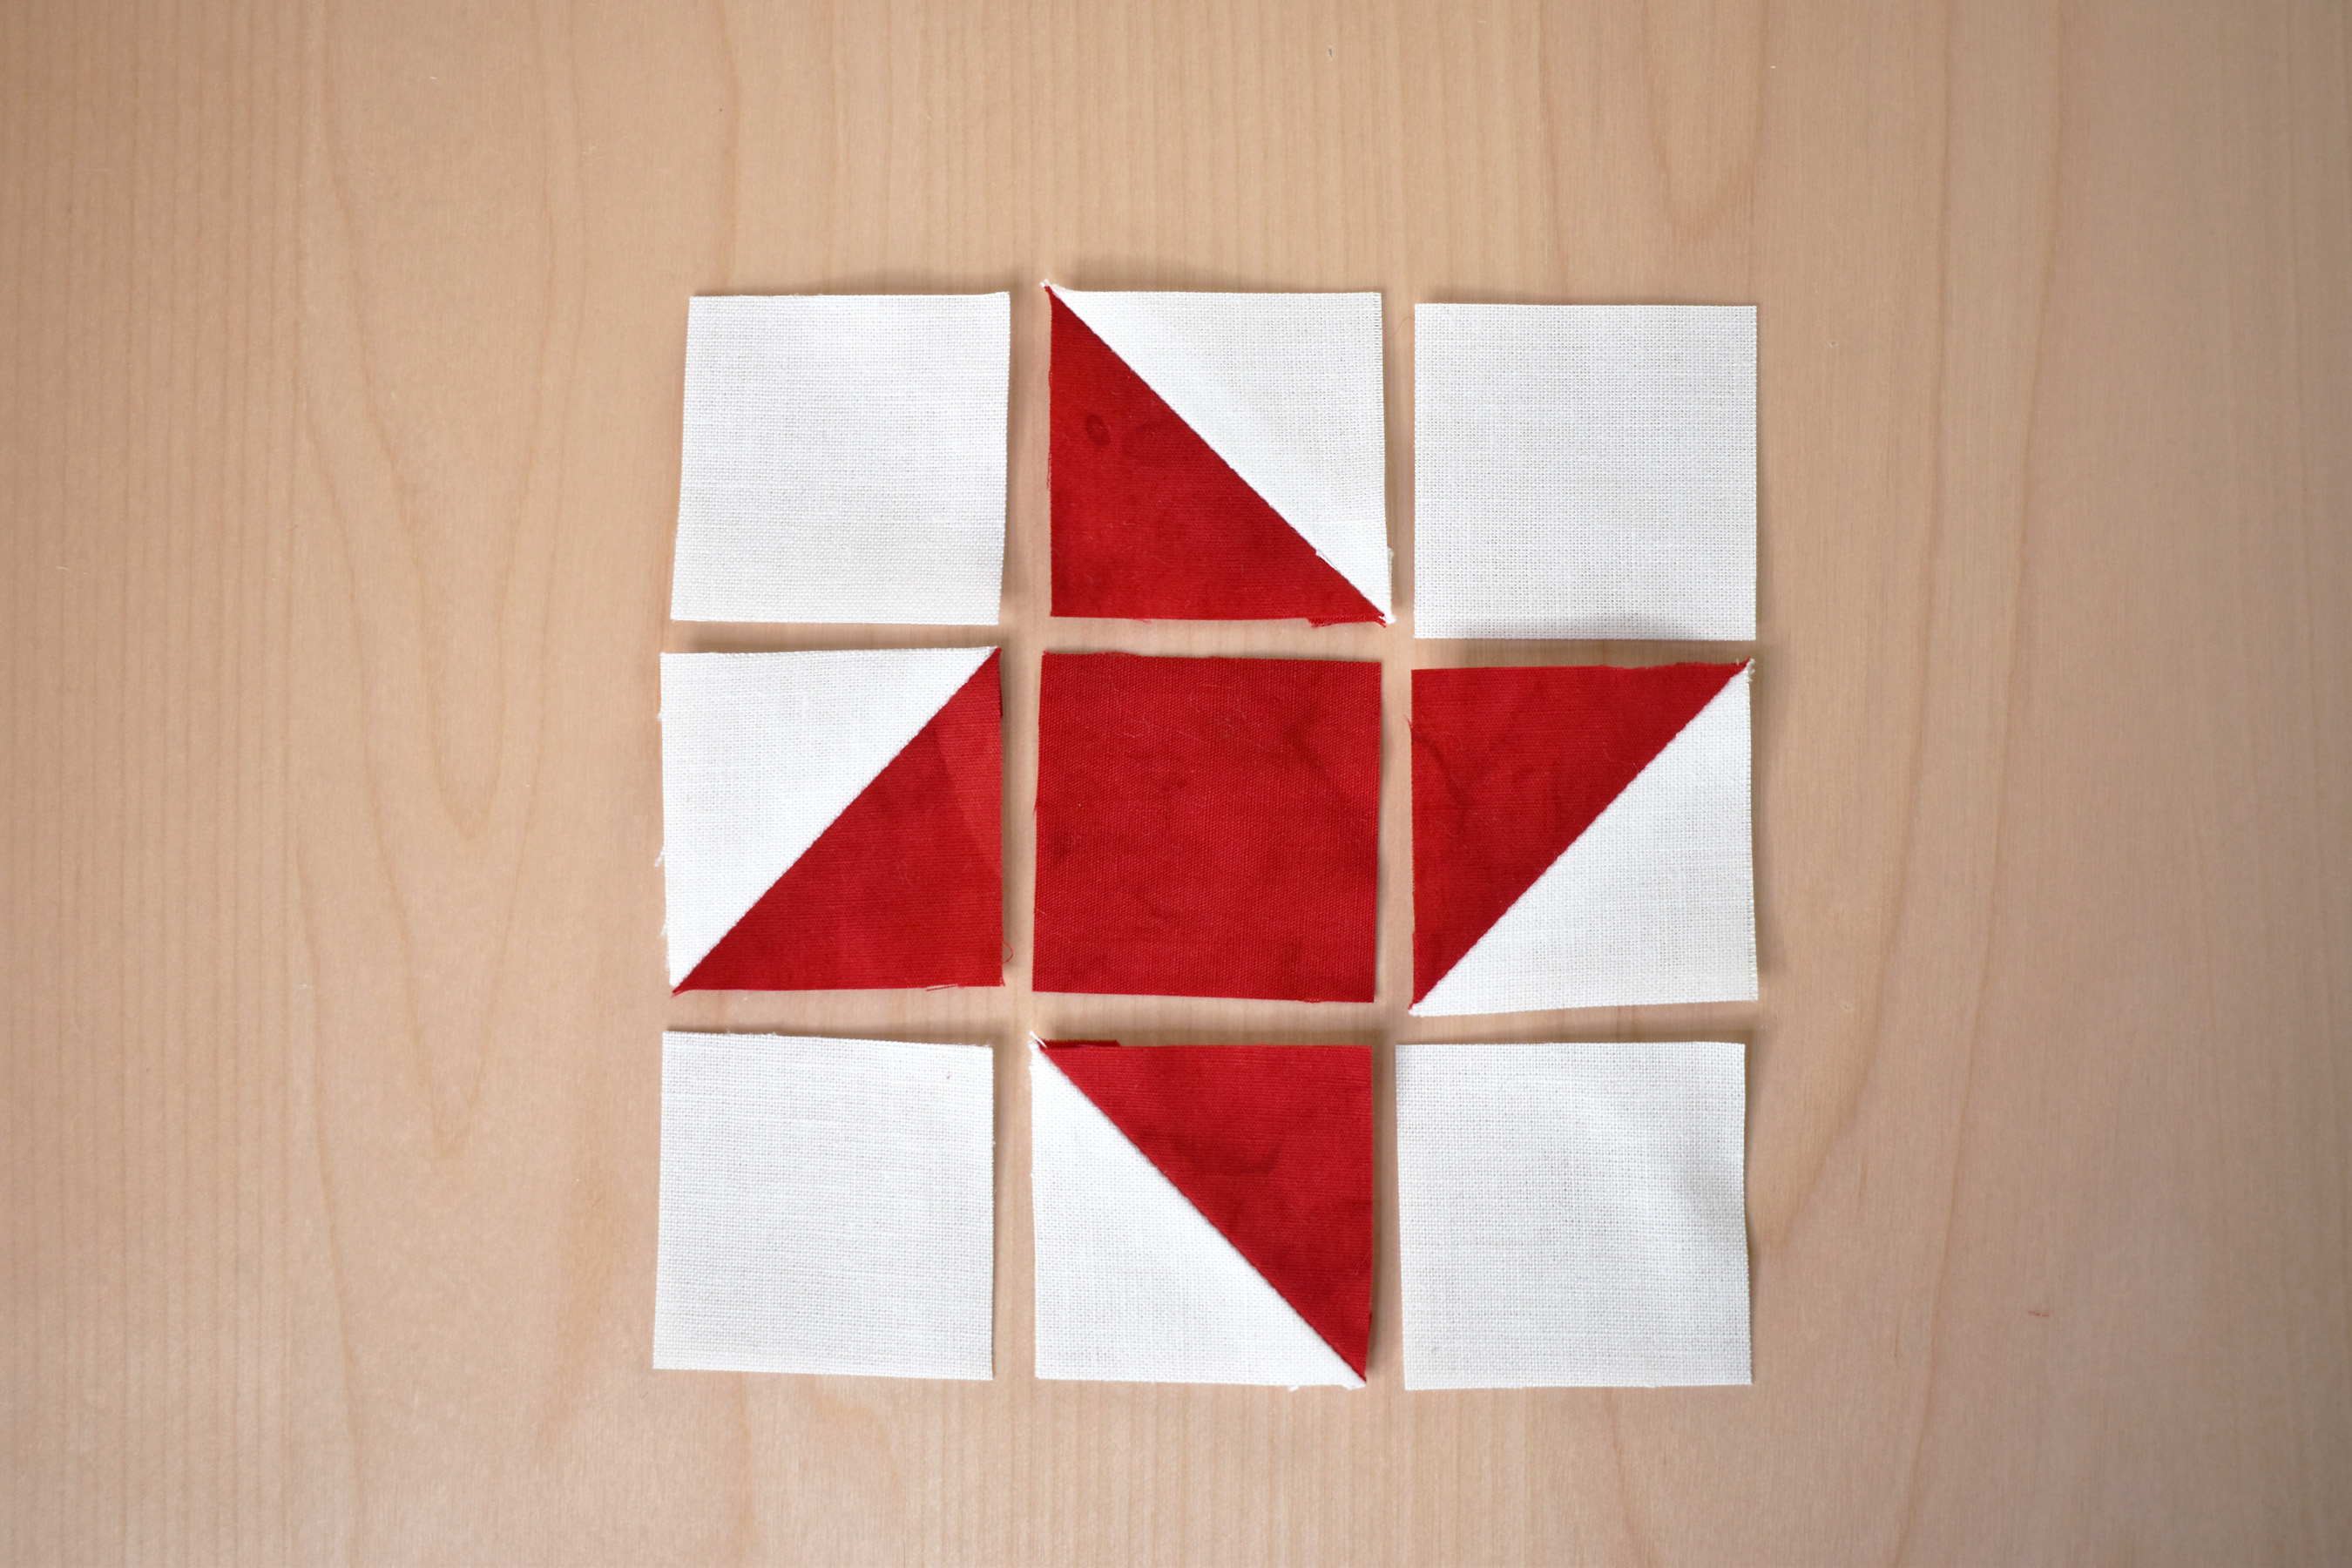
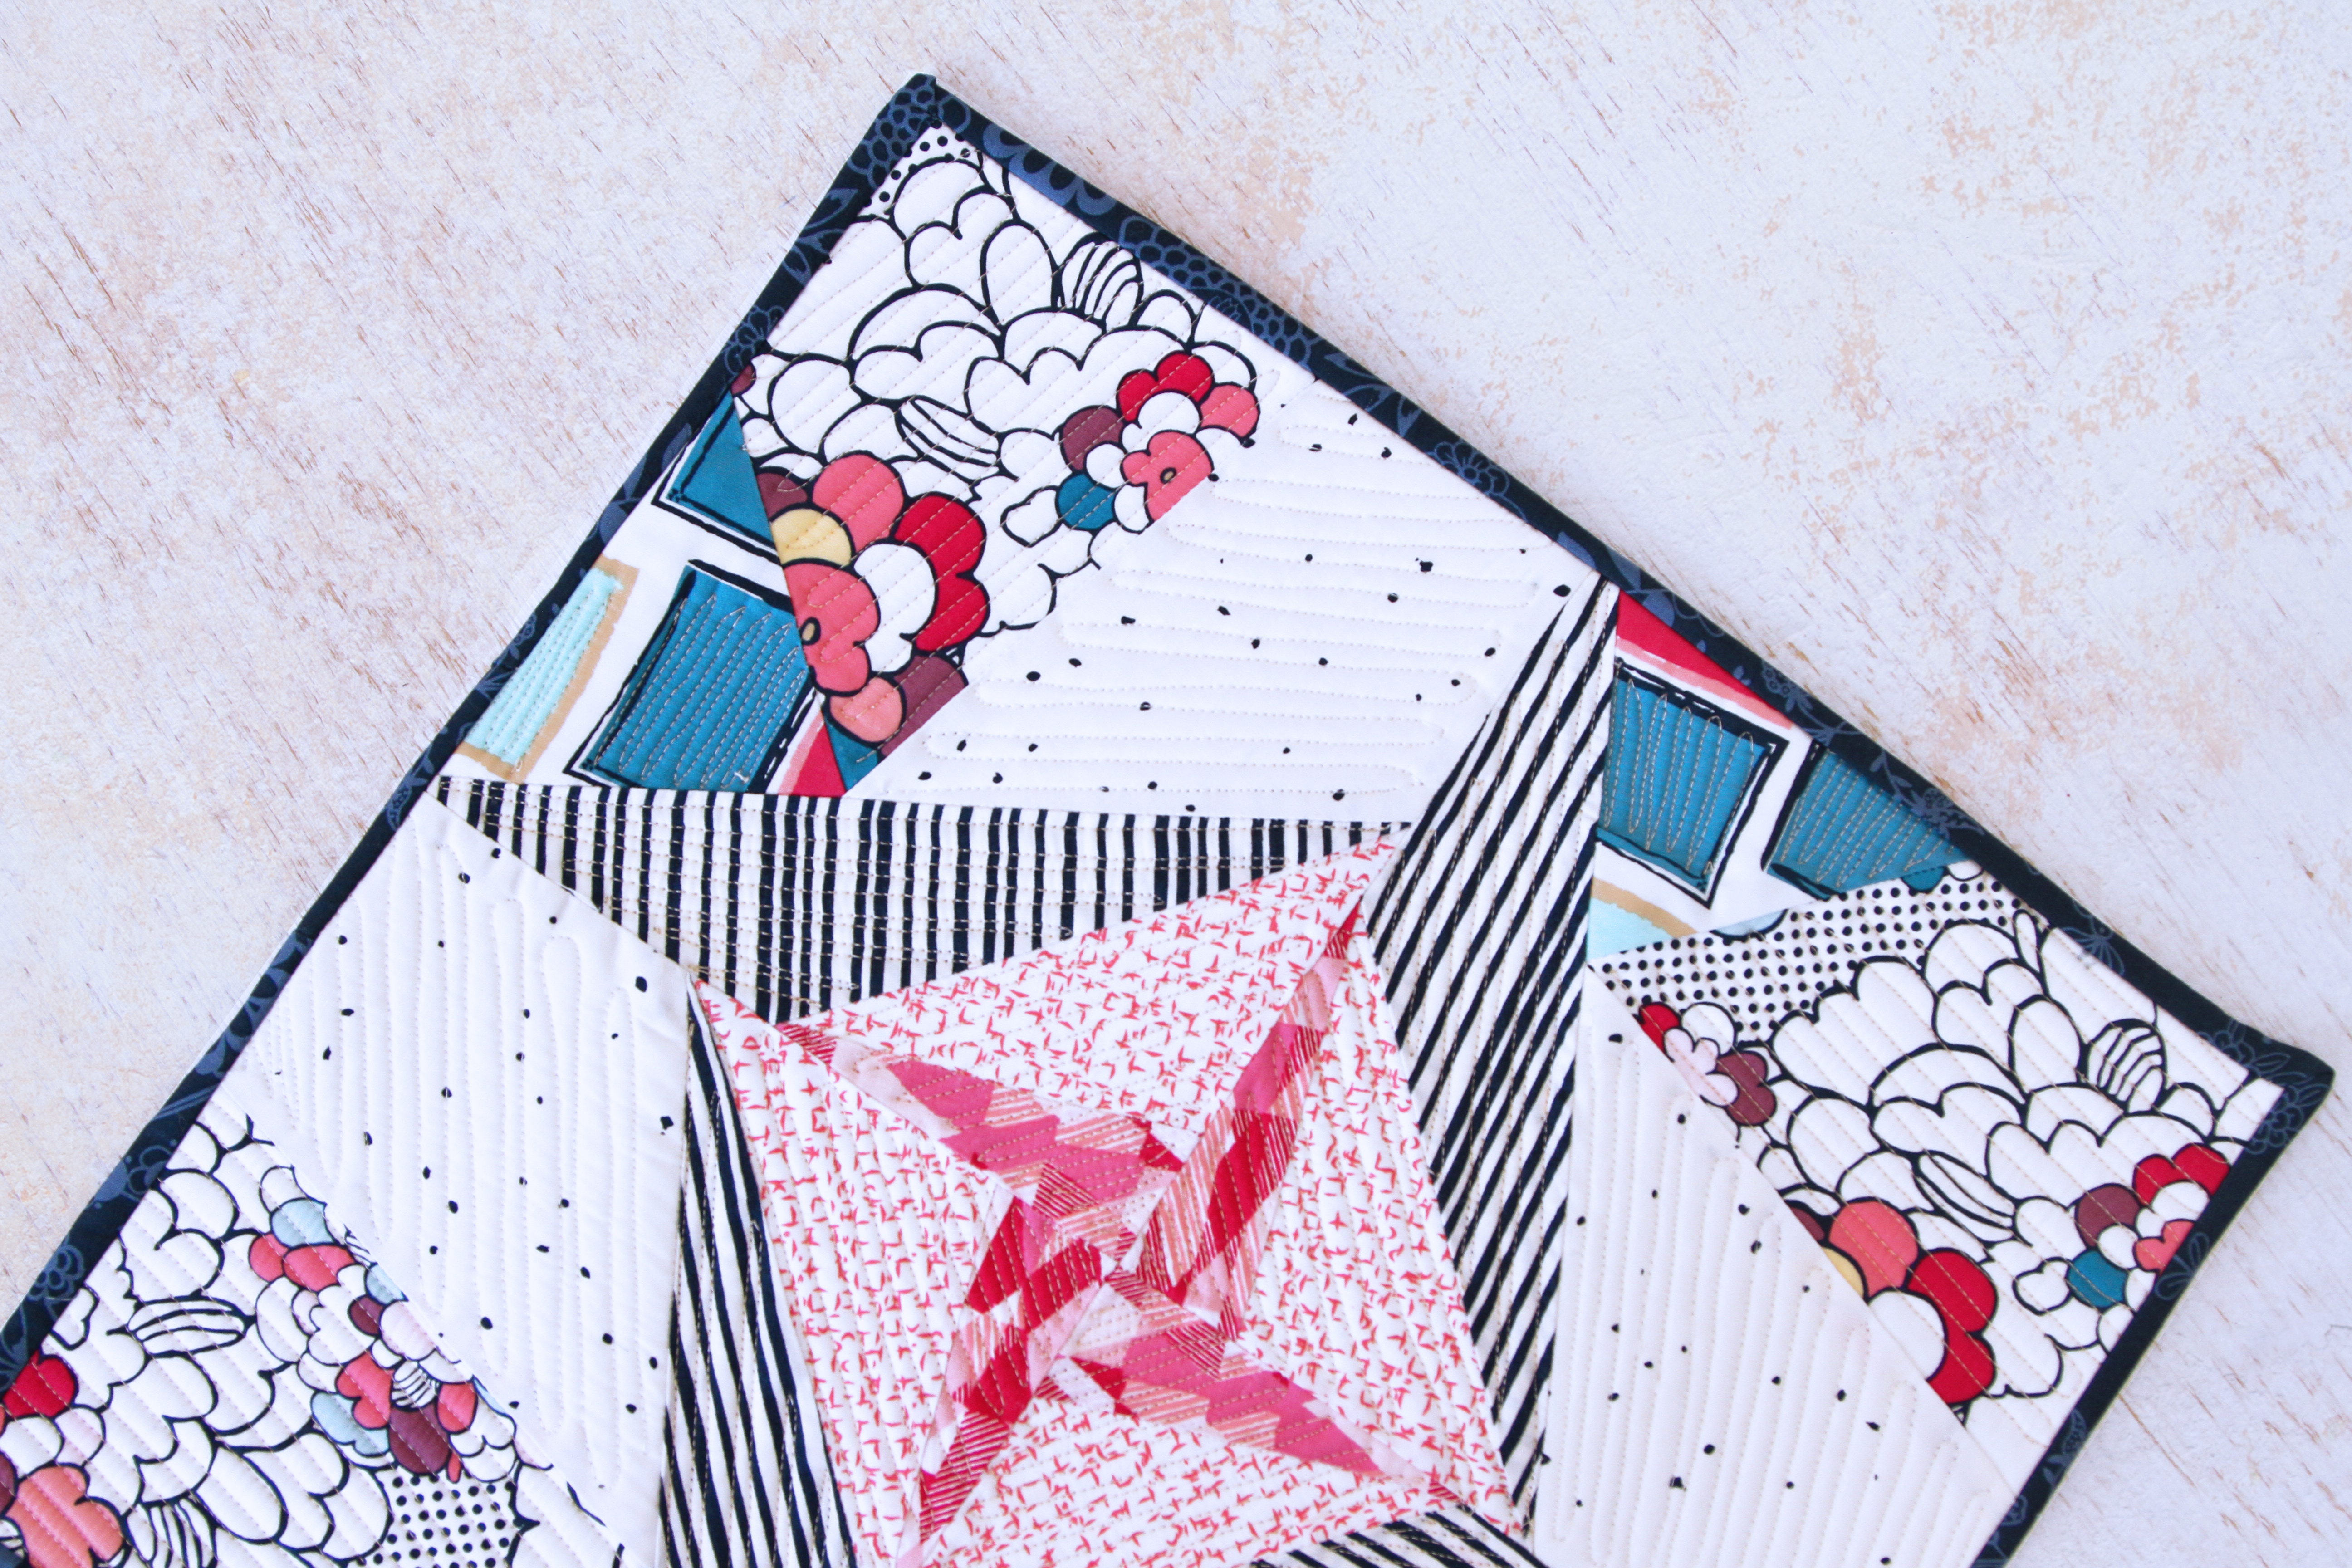
And there you have a basic 9 patch star block. Notice that you can rotate those little HST blocks to make the star point the other way. Or add more HST’s to the corners to create a variation on the star.

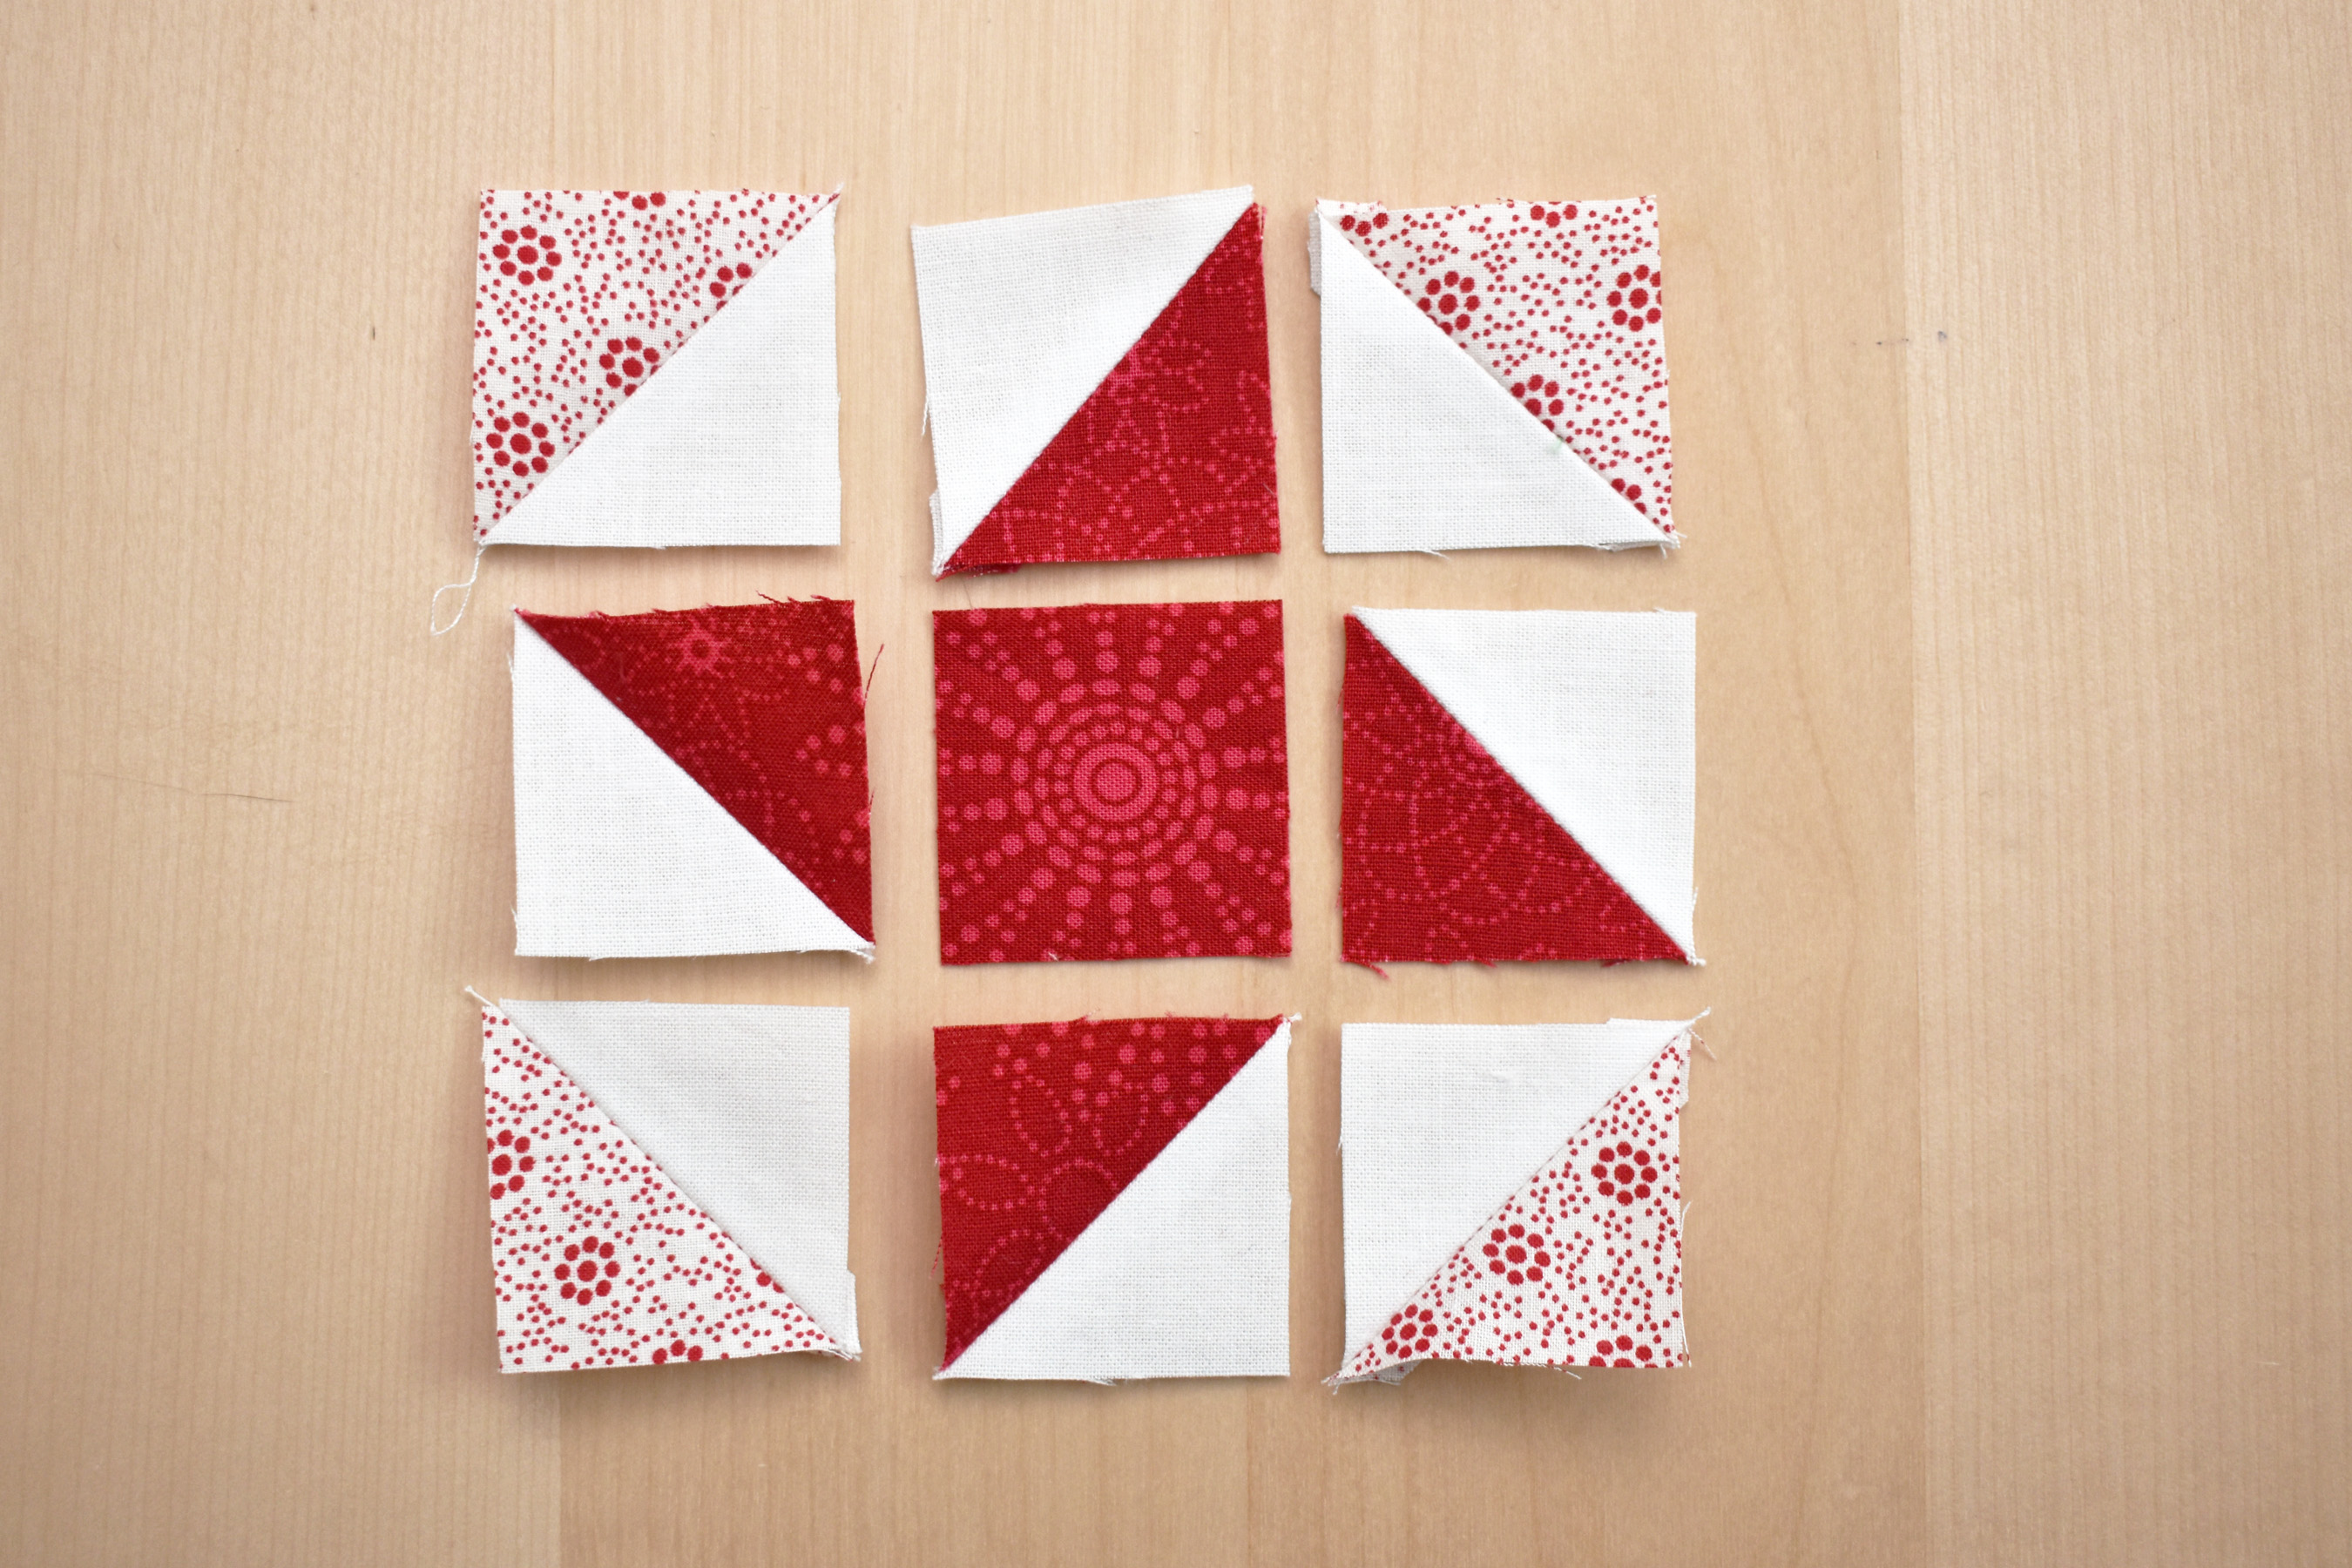
Play around with HST blocks with the 9 patch block to create new star layouts! Check back to Part 1 for instructions and tips to sew your block together.
Are you ready to finish your mini 9 patch blocks into little ornaments?
You will need your finished mini 9 patch block, a 4″ x 4″ piece of cotton fabric for the back, a piece of 4″ x 4″ cotton quilt batting, temporary adhesive fabric spray, and a strip 1.5″ x at least 20″ cut on the bias for the narrow binding (you can finish without binding if desired, read on).
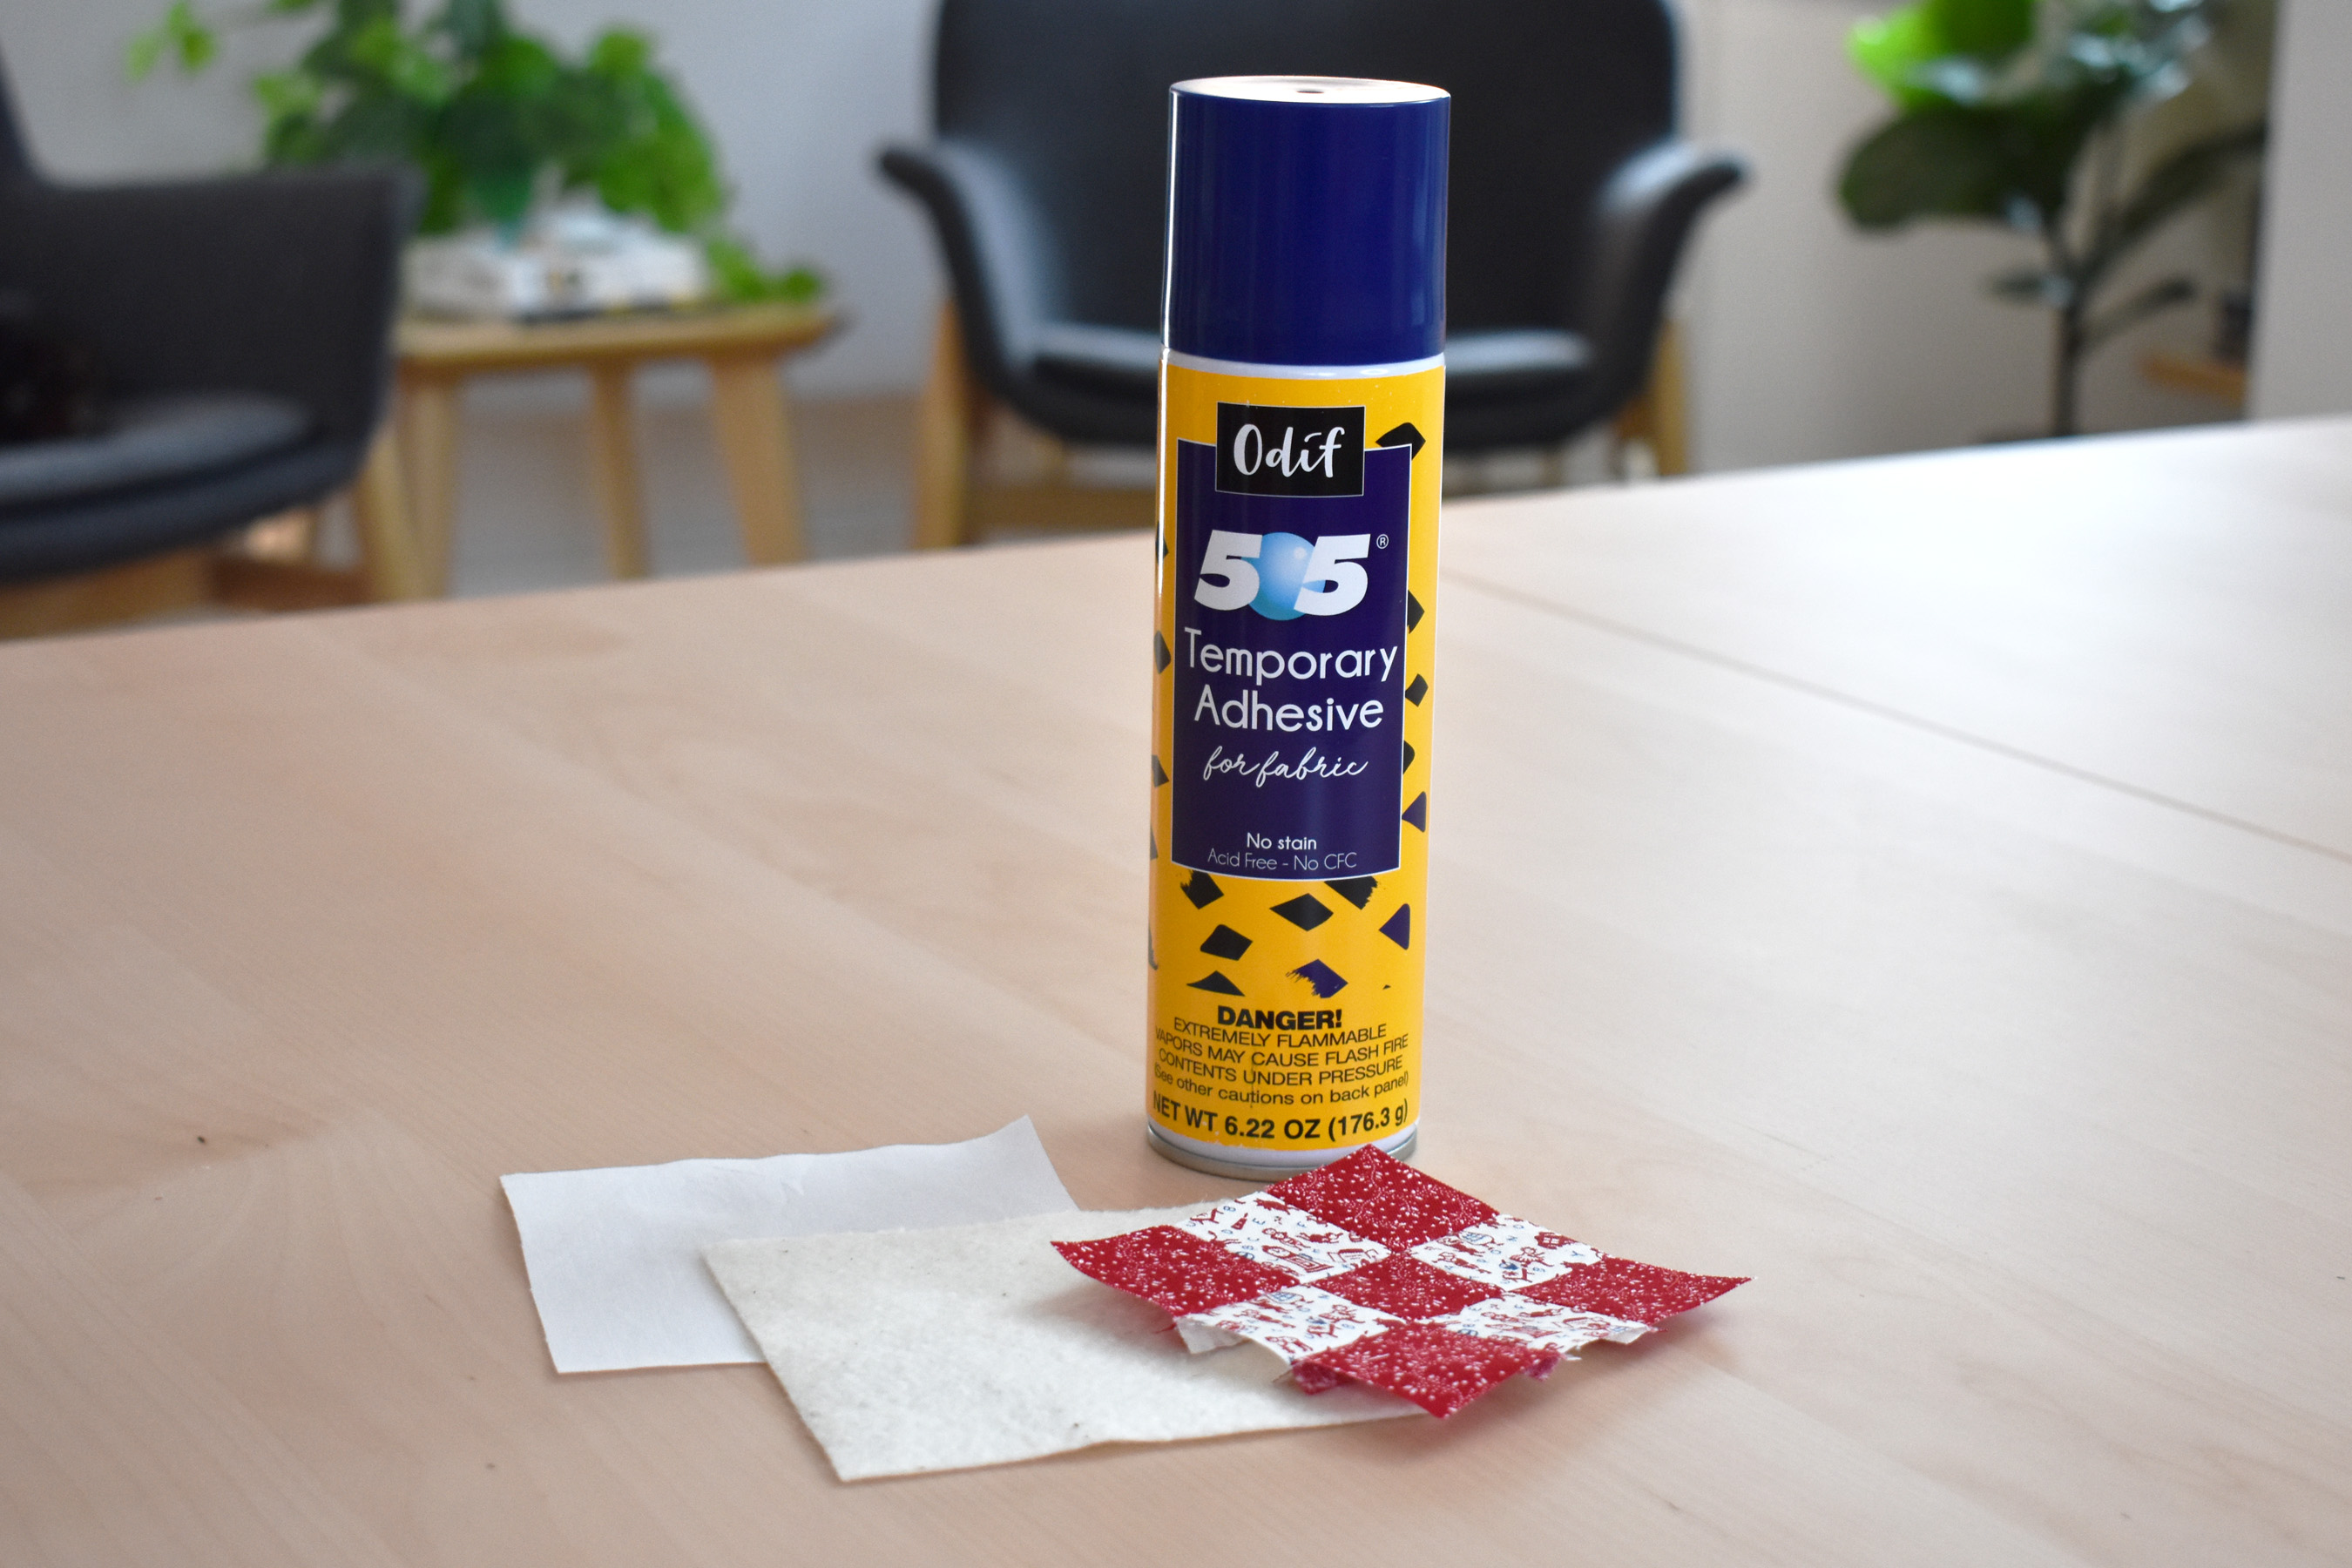
Use the temporary spray adhesive to baste the back to the batting, and press well. Then adhere the finished patchwork to the top of the batting, making sure to press the little block down nice and flat.
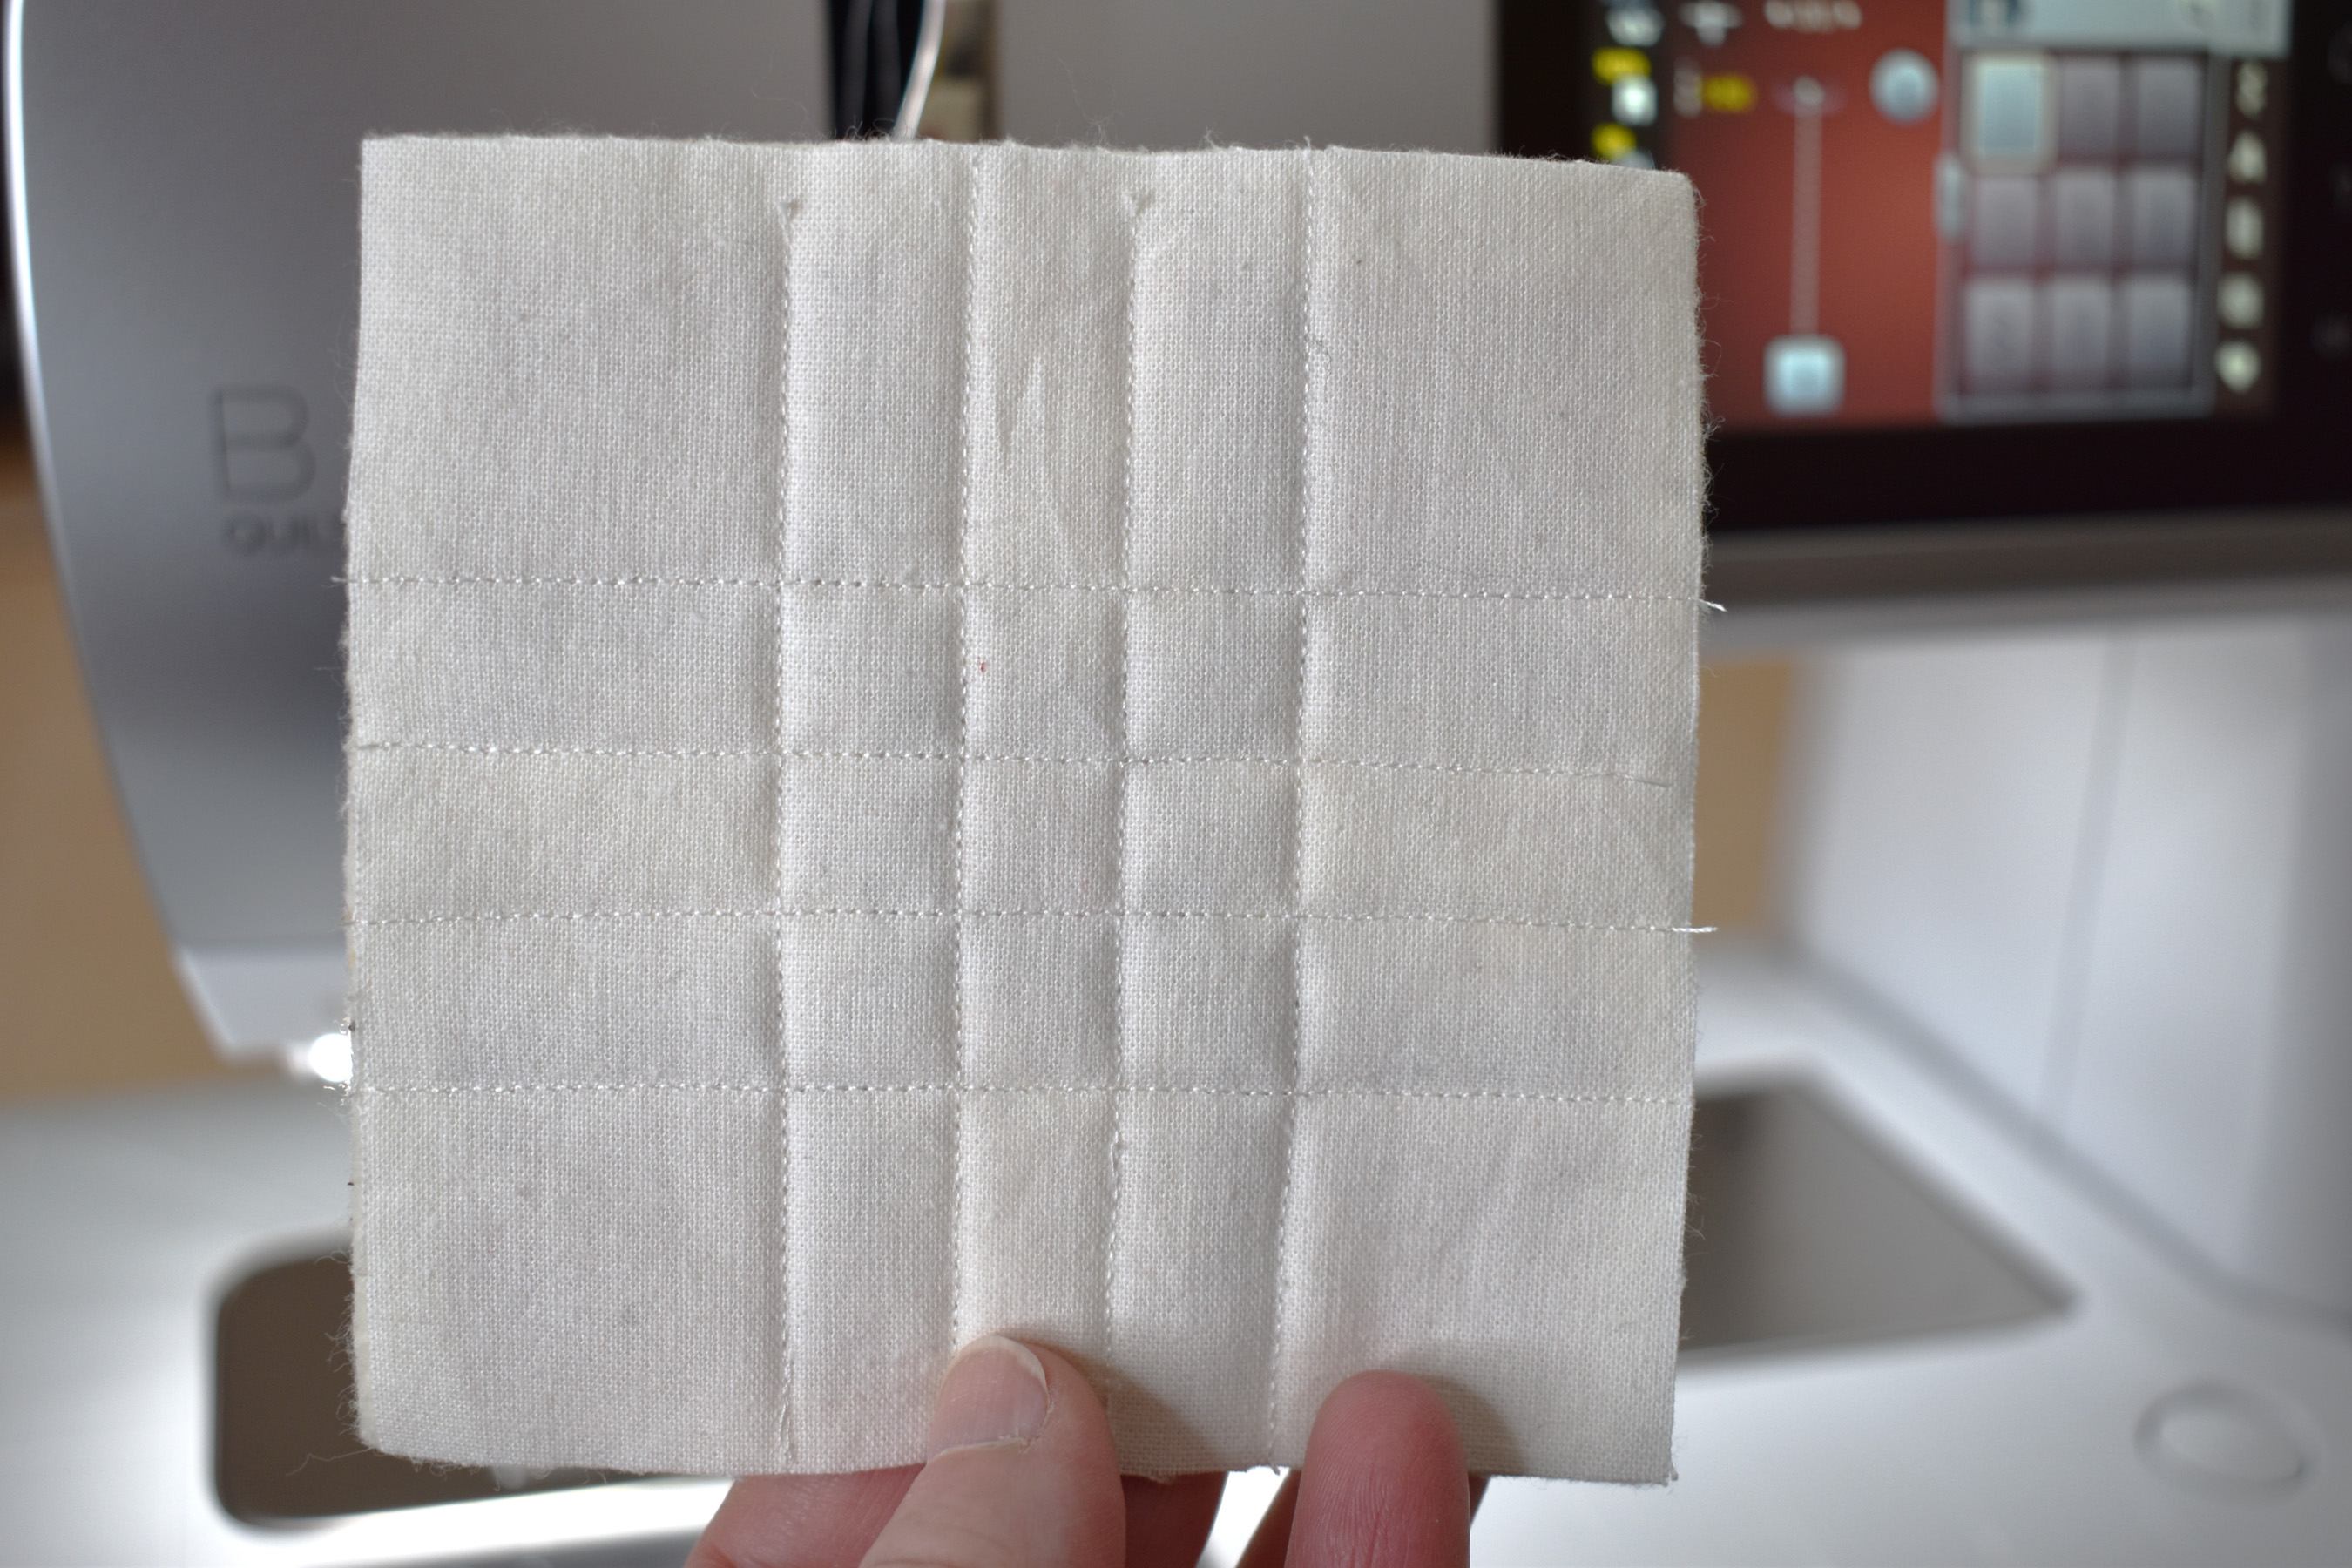
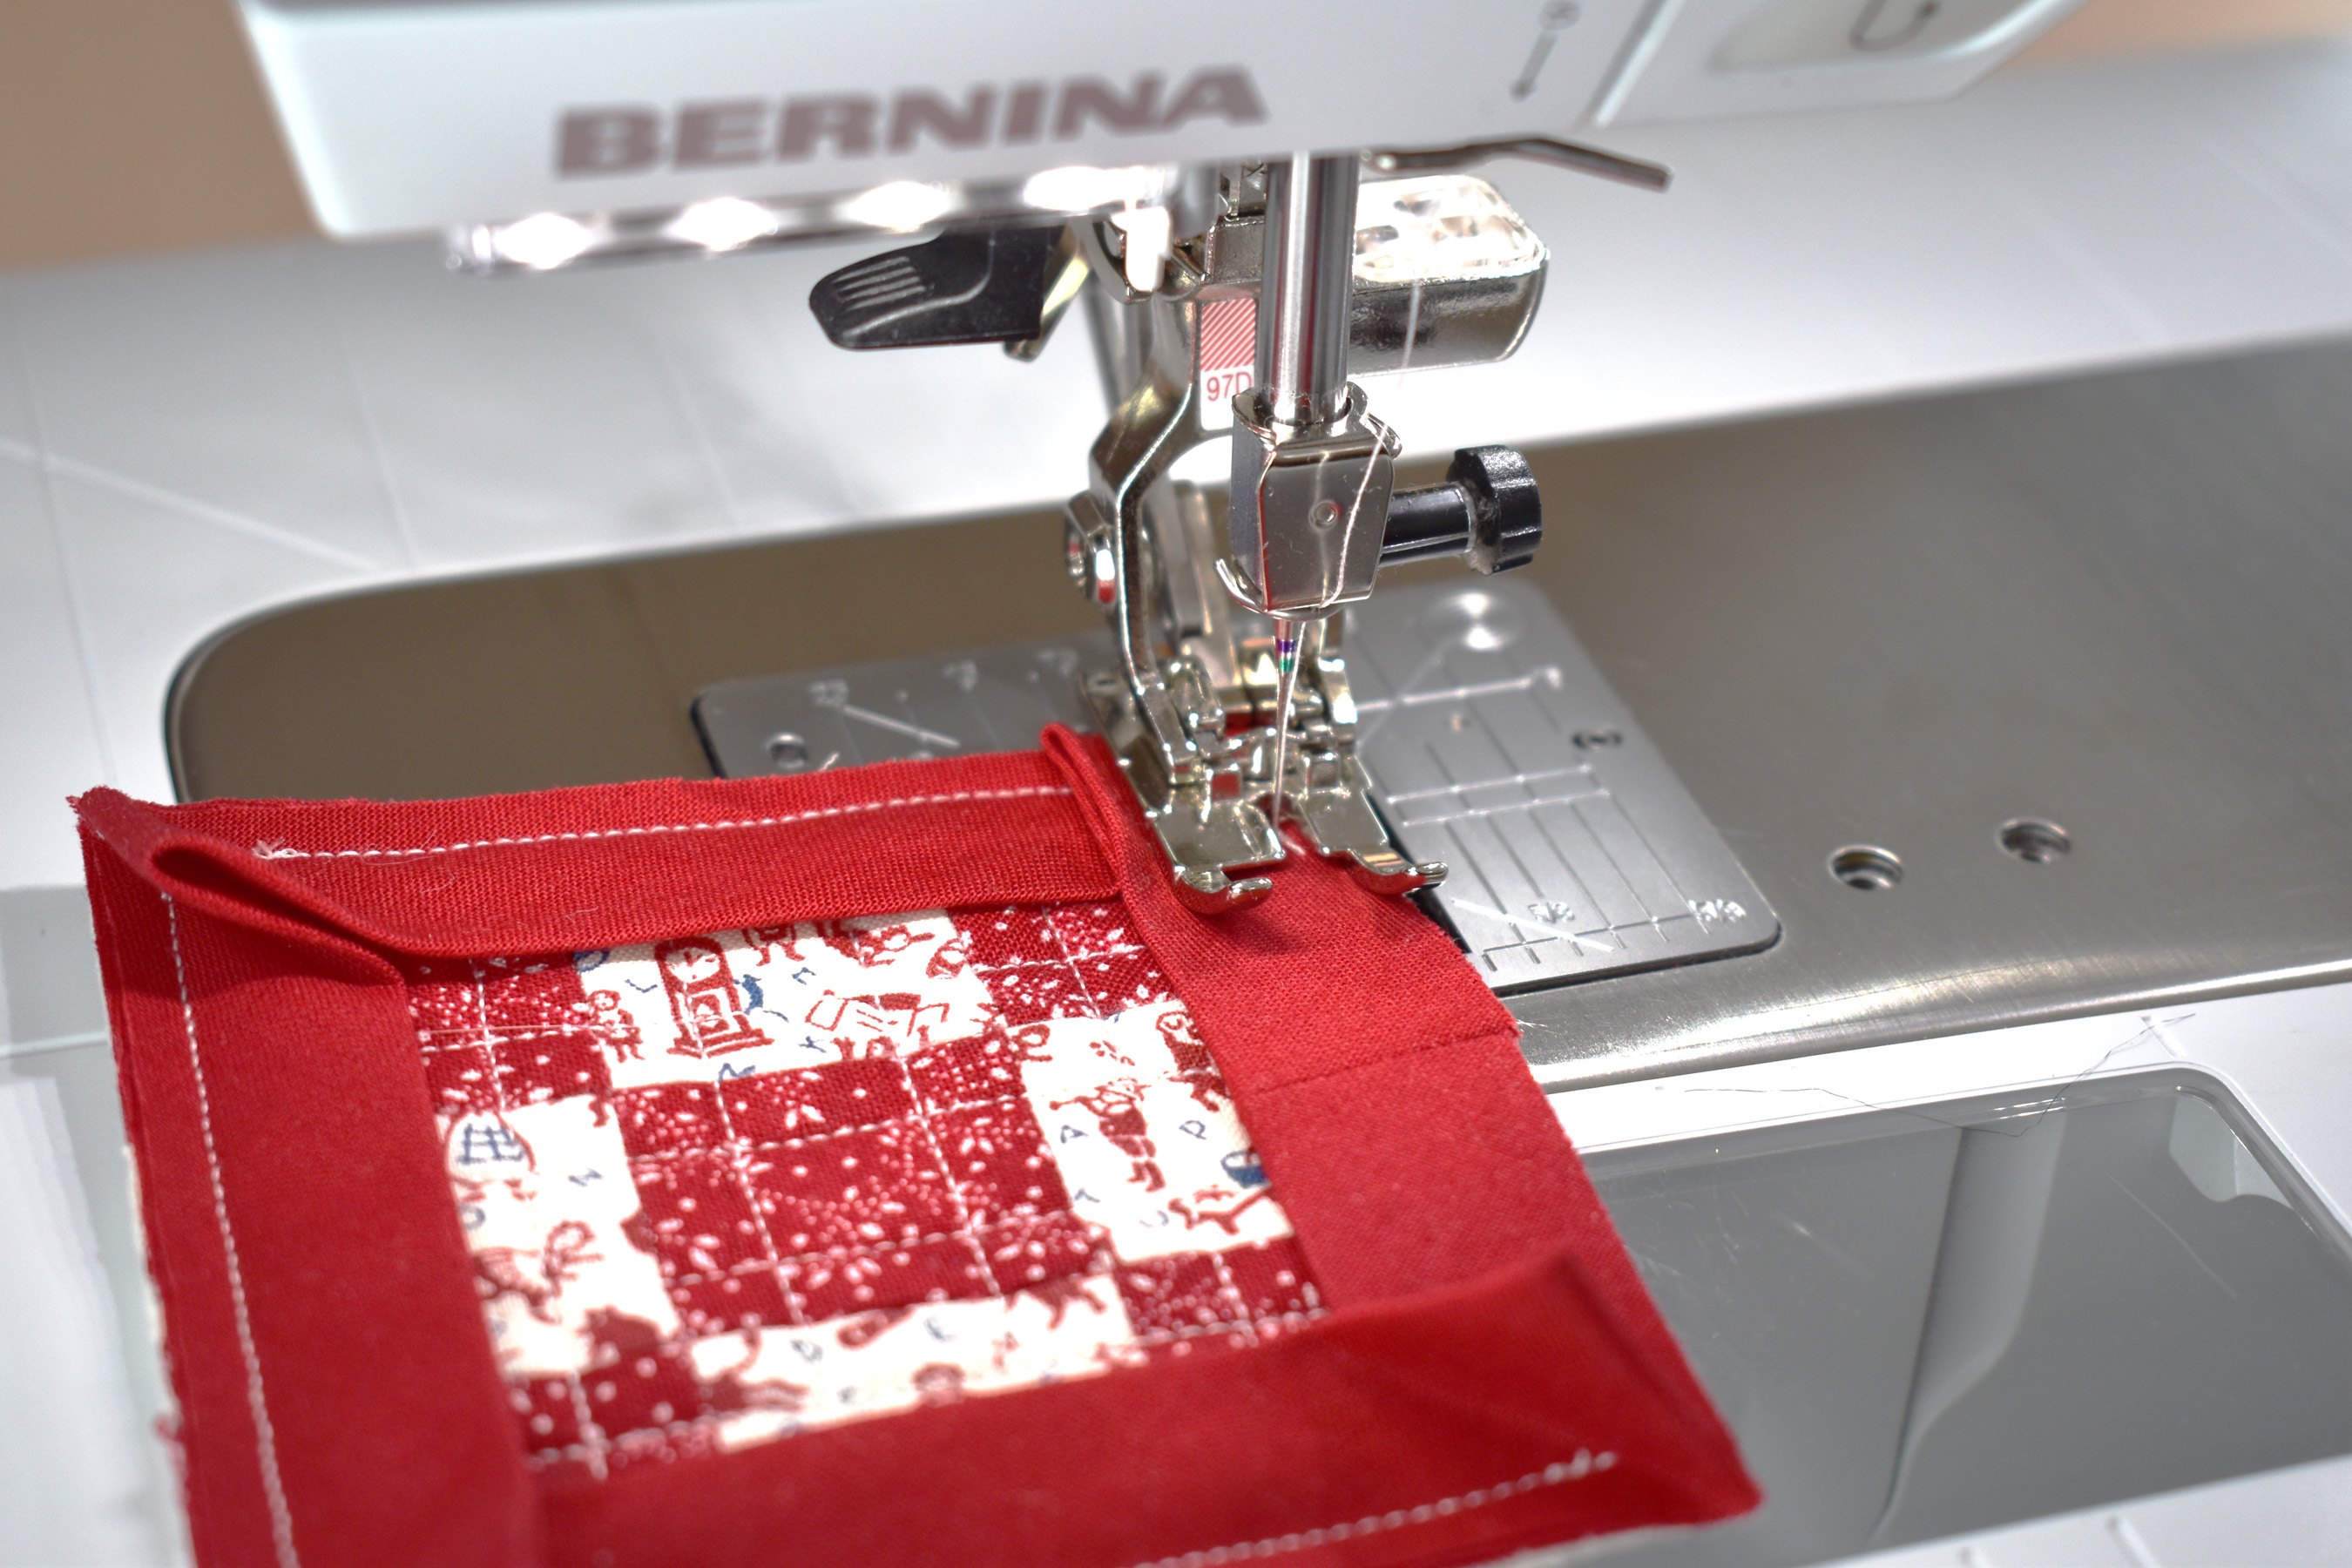
Remove the Seam Gauge from your sewing machine. I am quilting with a Dual Feed foot (Patchwork foot #97D), which helps feed the layers evenly through the machine. If you don’t have a Dual Feed patchwork foot, use Walking Foot #50.
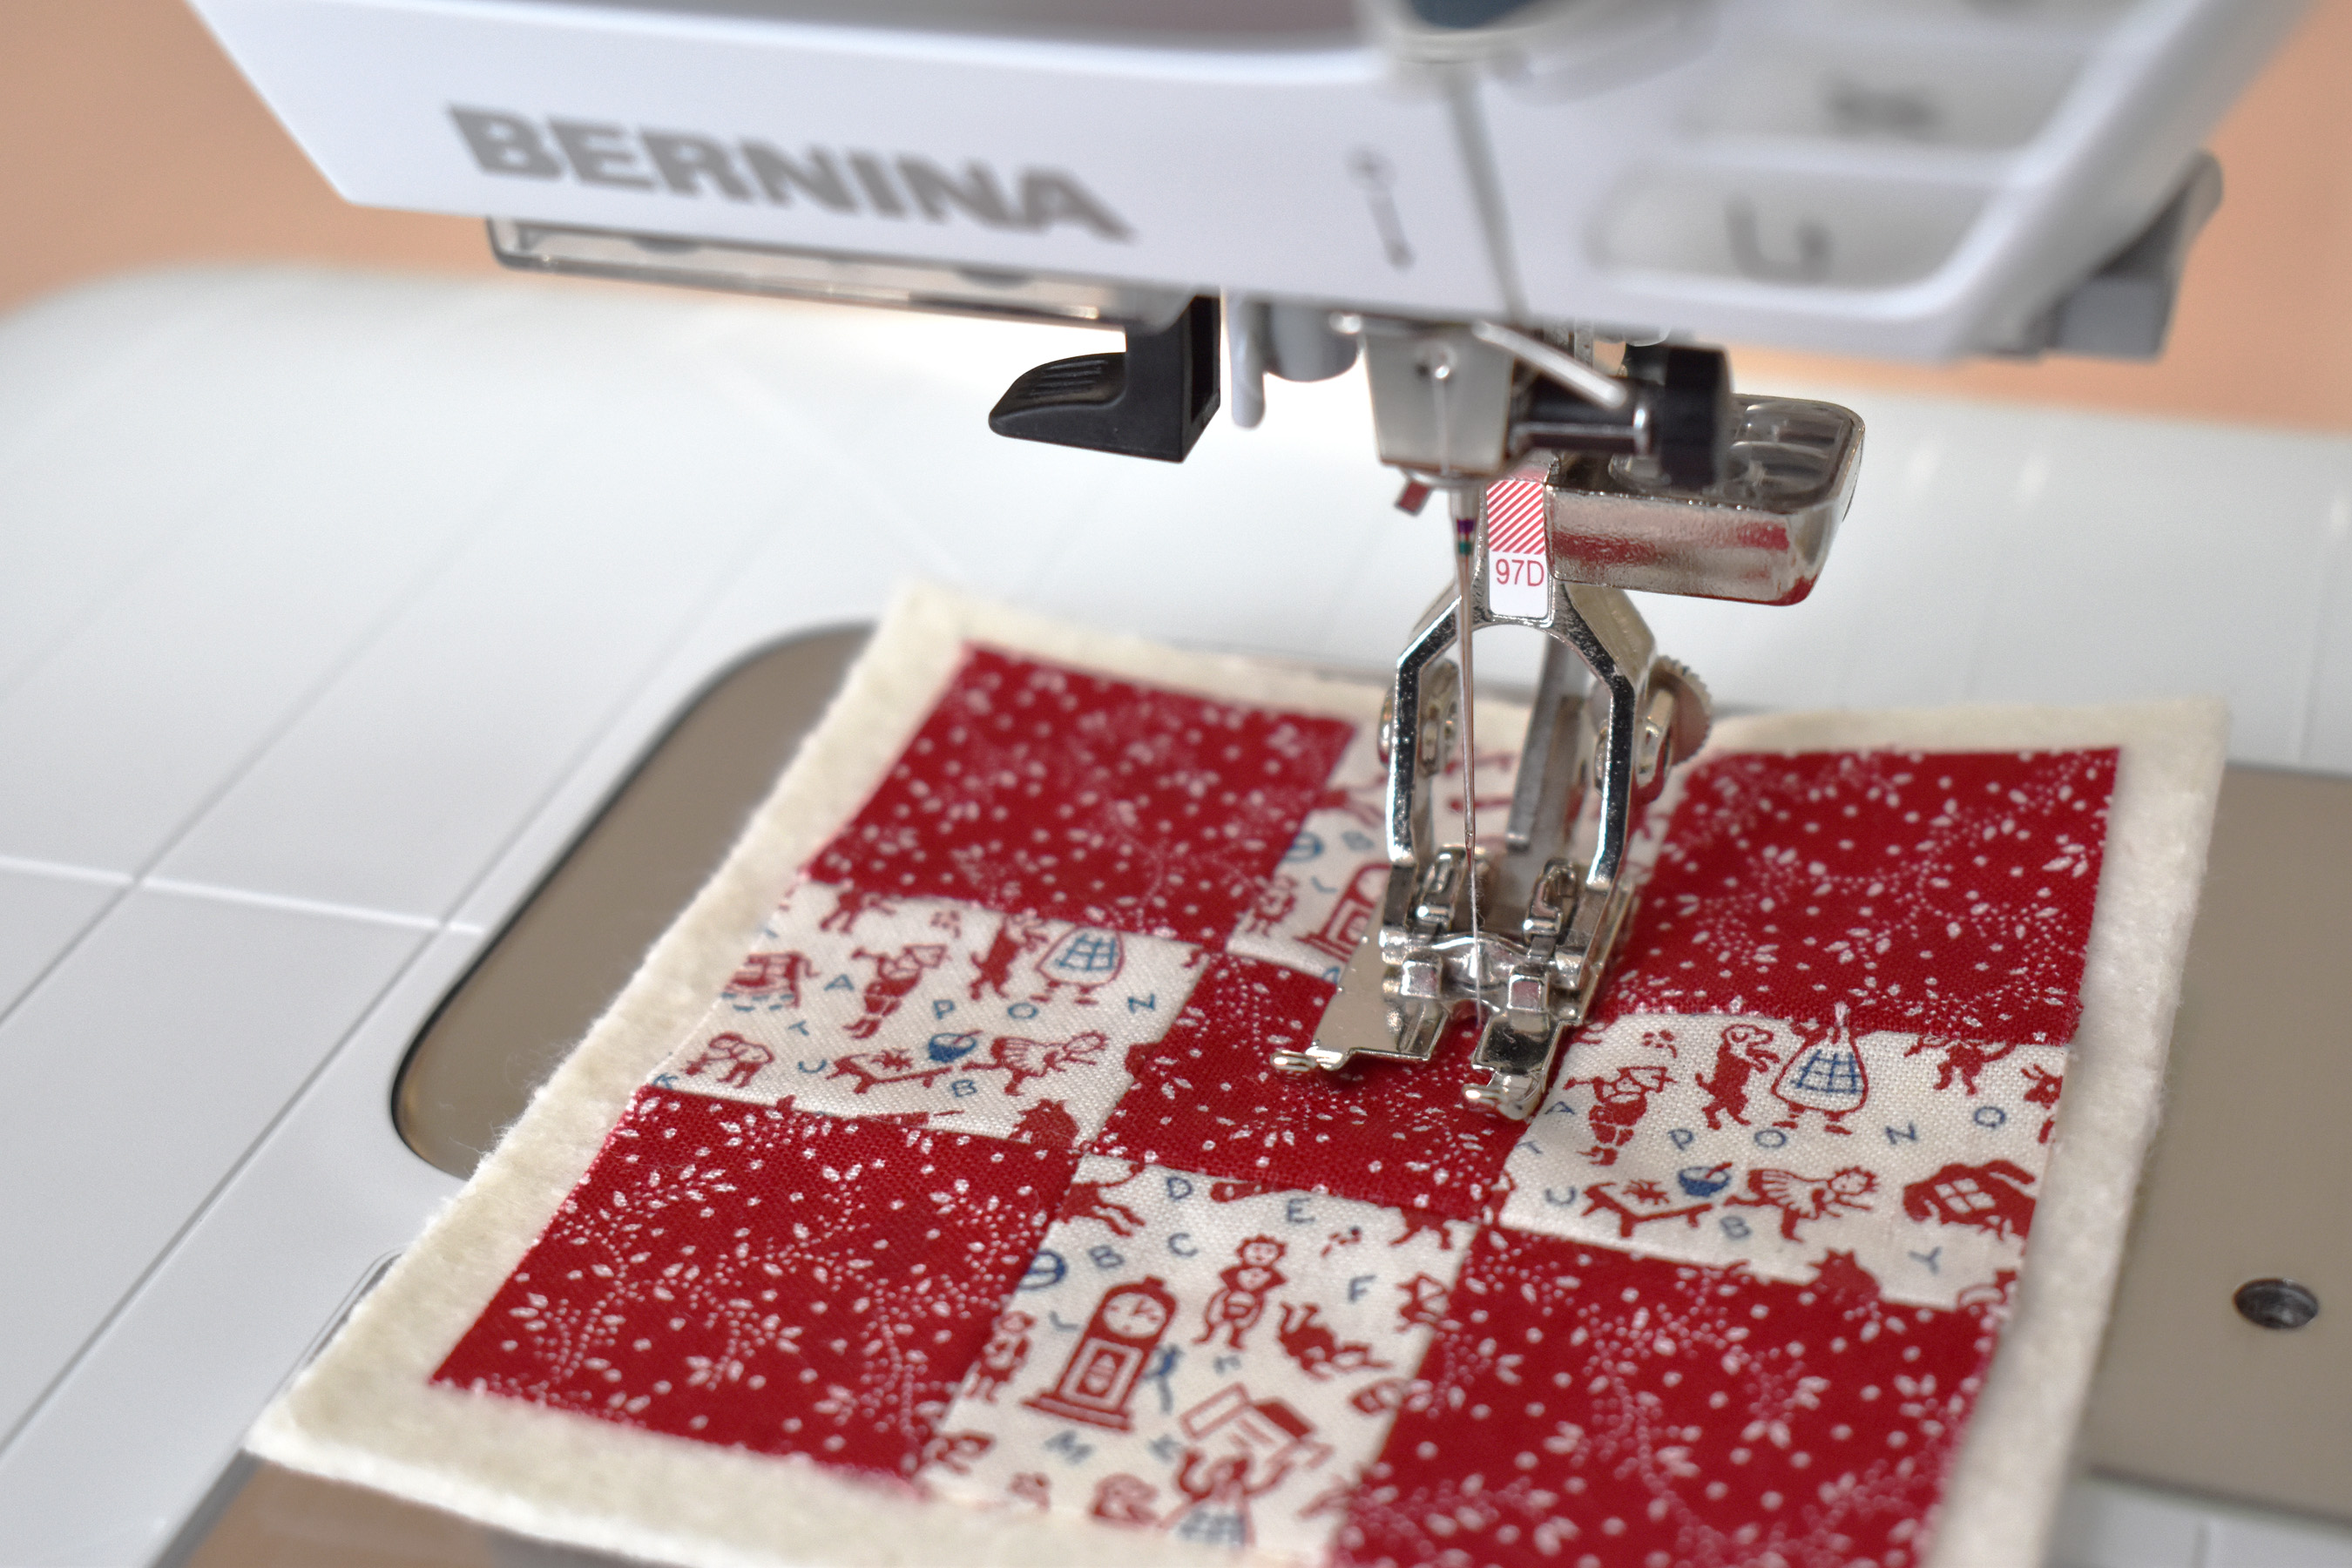
You can really quilt this little block any way you want! I am quilting simple straight lines one-quarter inch away from each seam, using the edge of the Patchwork Foot #97D as a guide. If you are using Walking foot #50, you will also have quarter-inch markings to follow if you wish to quilt this way. See the finished results below.
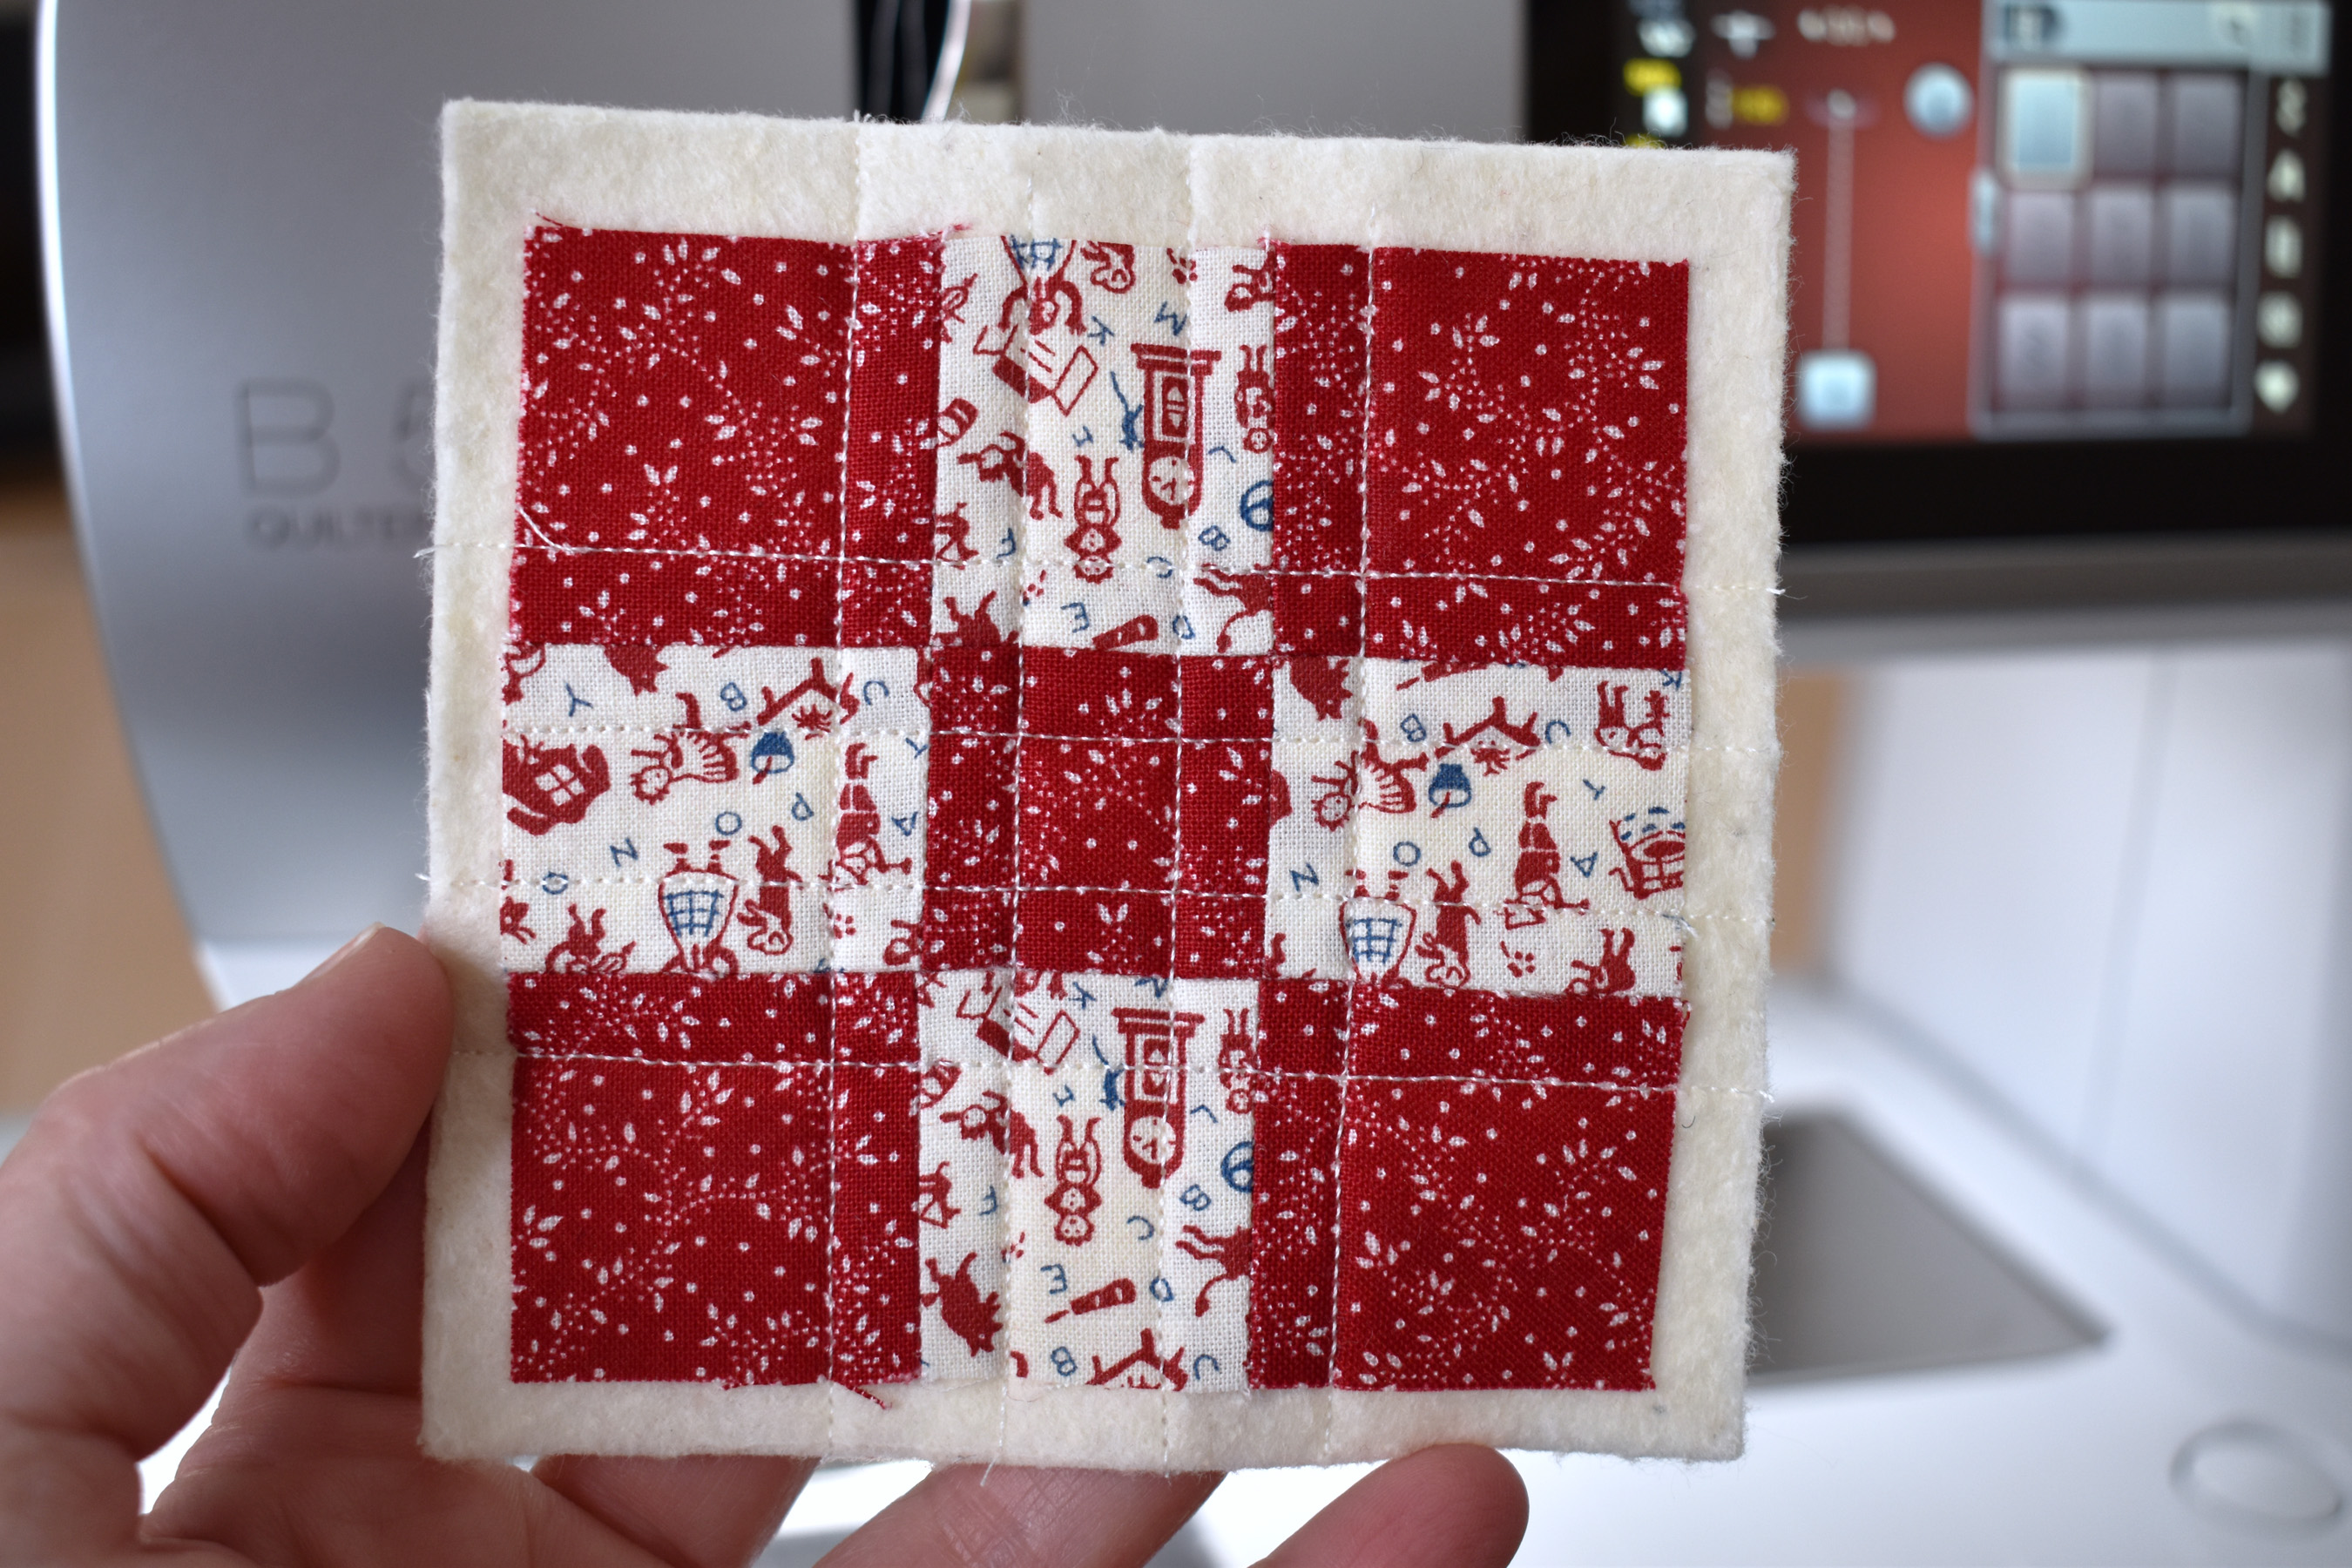
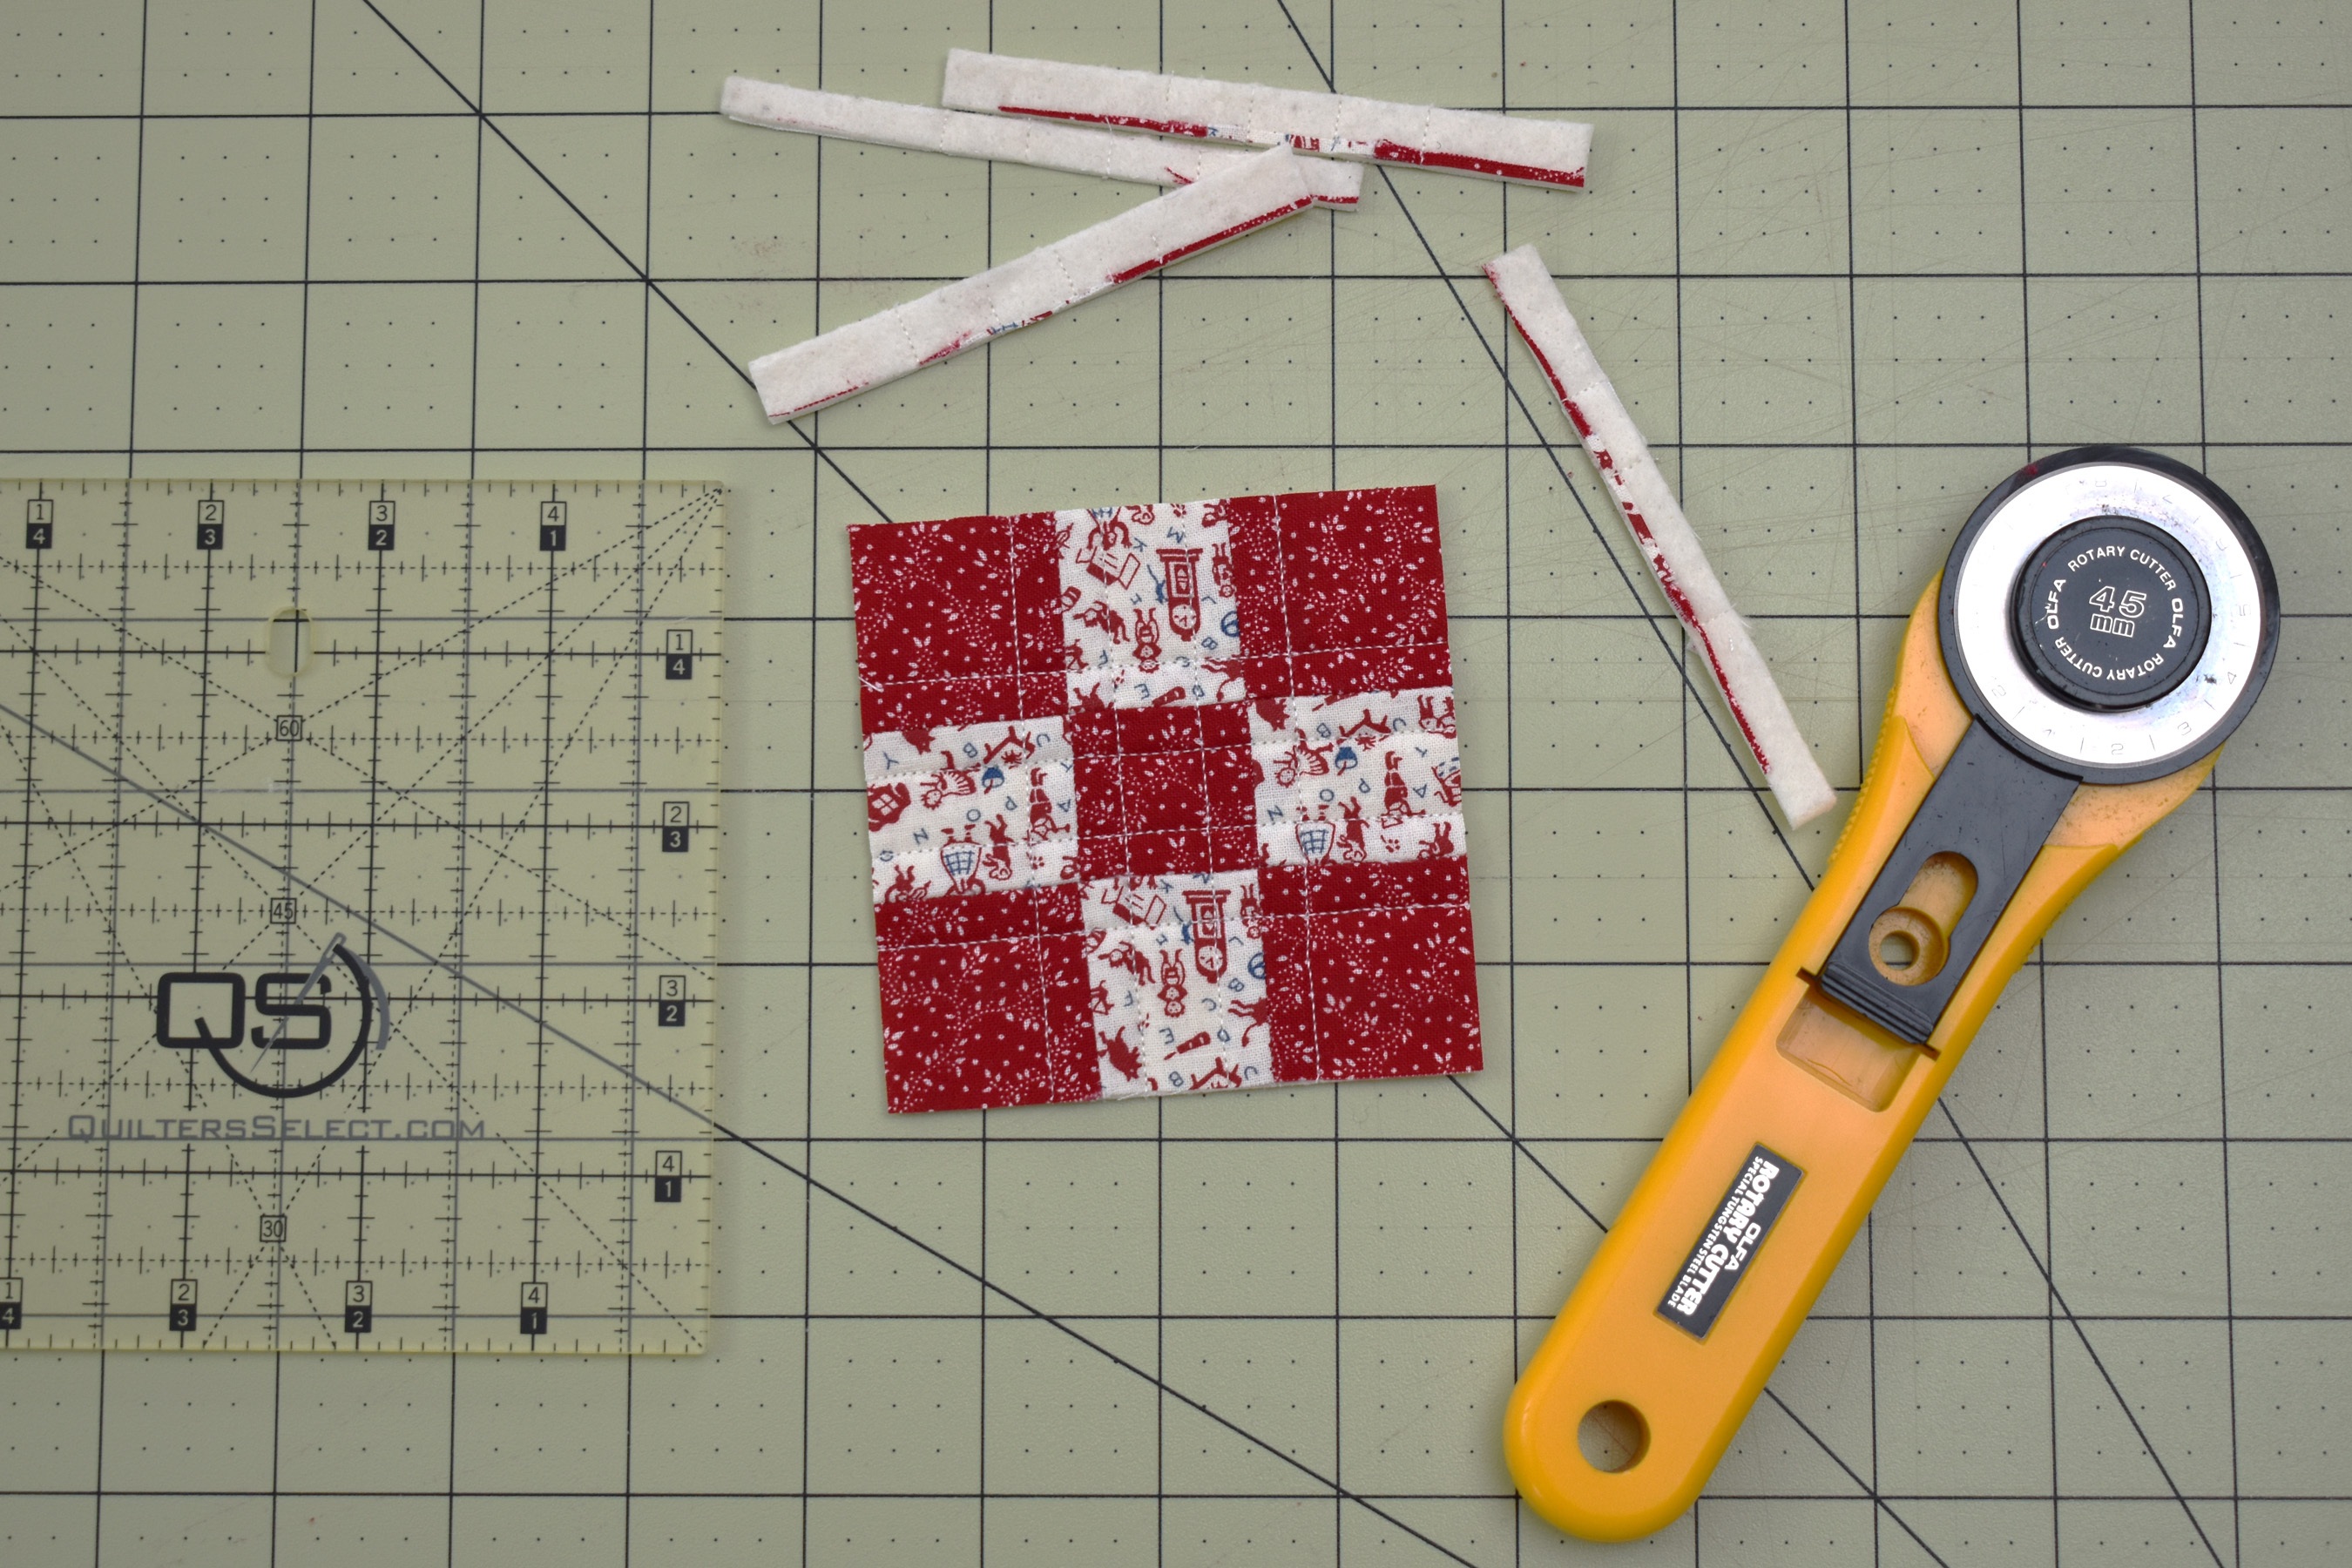
After quilting, cut off the extra batting and backing while squaring-up the block at the same time. A small square ruler that covers the whole block is perfect for this step.
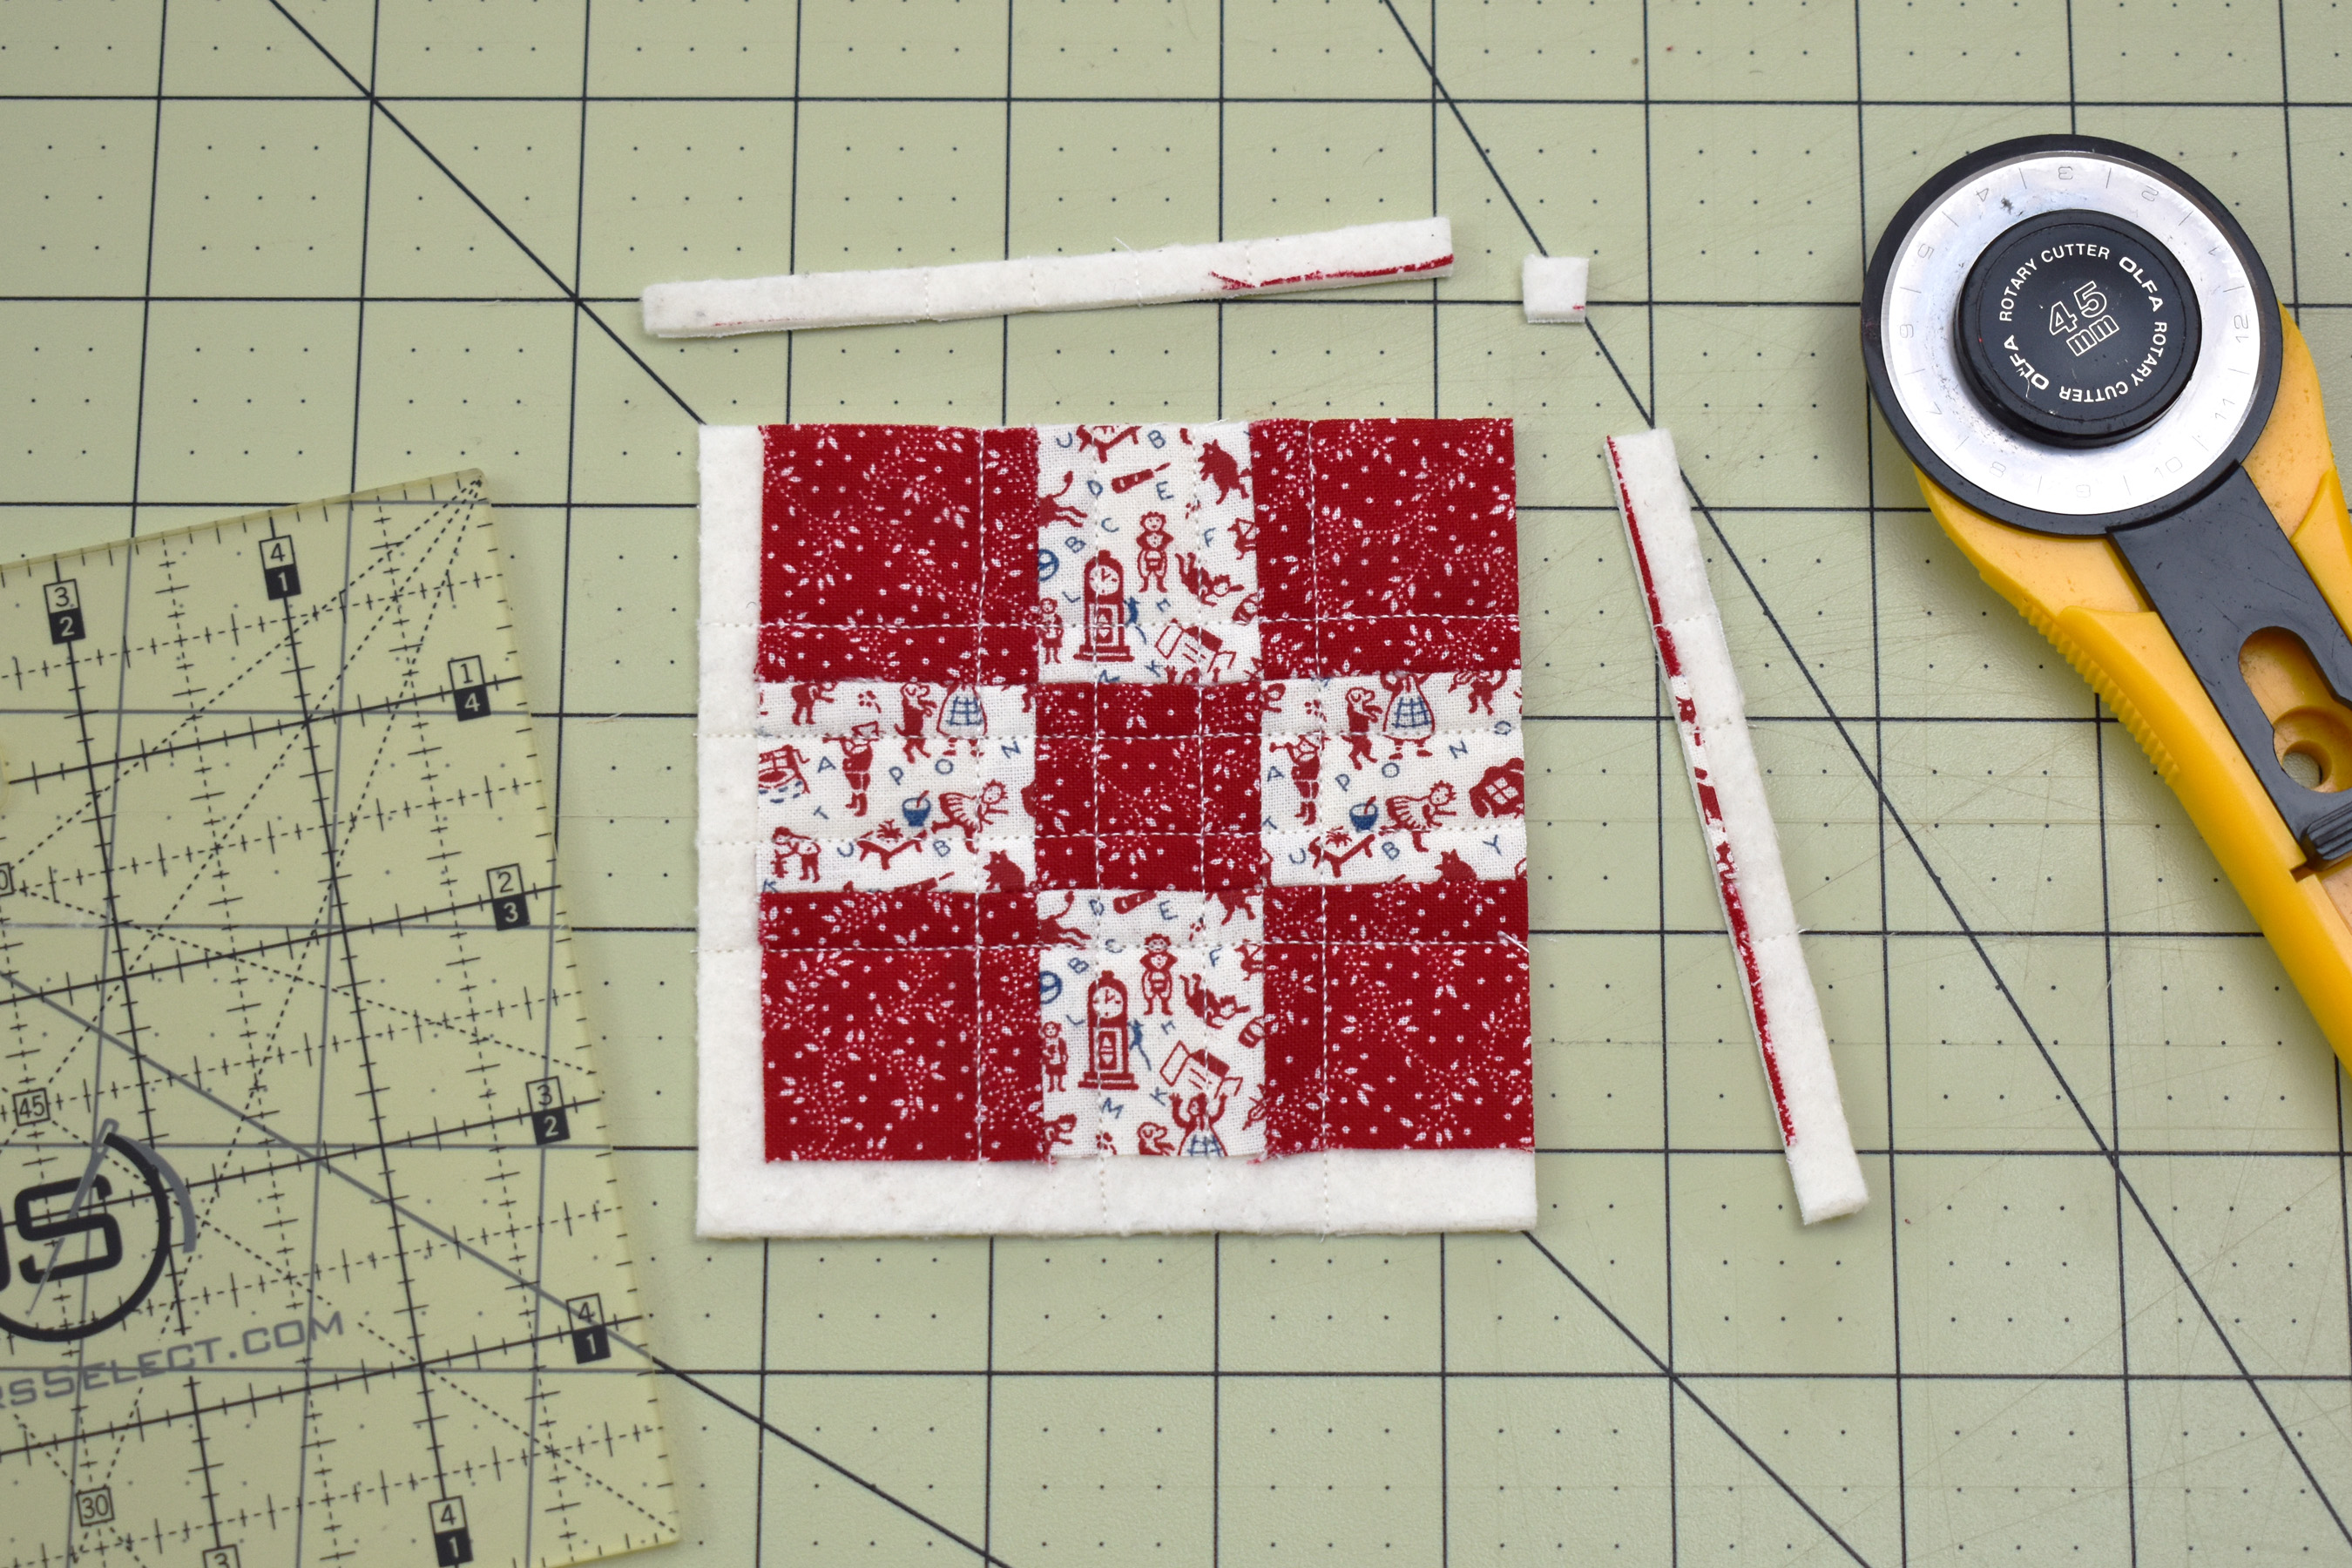
Use the markings on the ruler to help make sure the block is square. I use the seams to help line up the markings on the ruler to make the first cuts, then rotate the block, and use the first cut edges to line up with markings on the ruler, squaring the final edges.
How cute is your little block? You may choose to finish the edges with a simple, tight straight stitch, or you can follow the steps down below to add a narrow binding. The narrow binding can be fidgety and is easiest to apply if you’re already accomplished at sewing bias binding to quilts with a mitered edge.
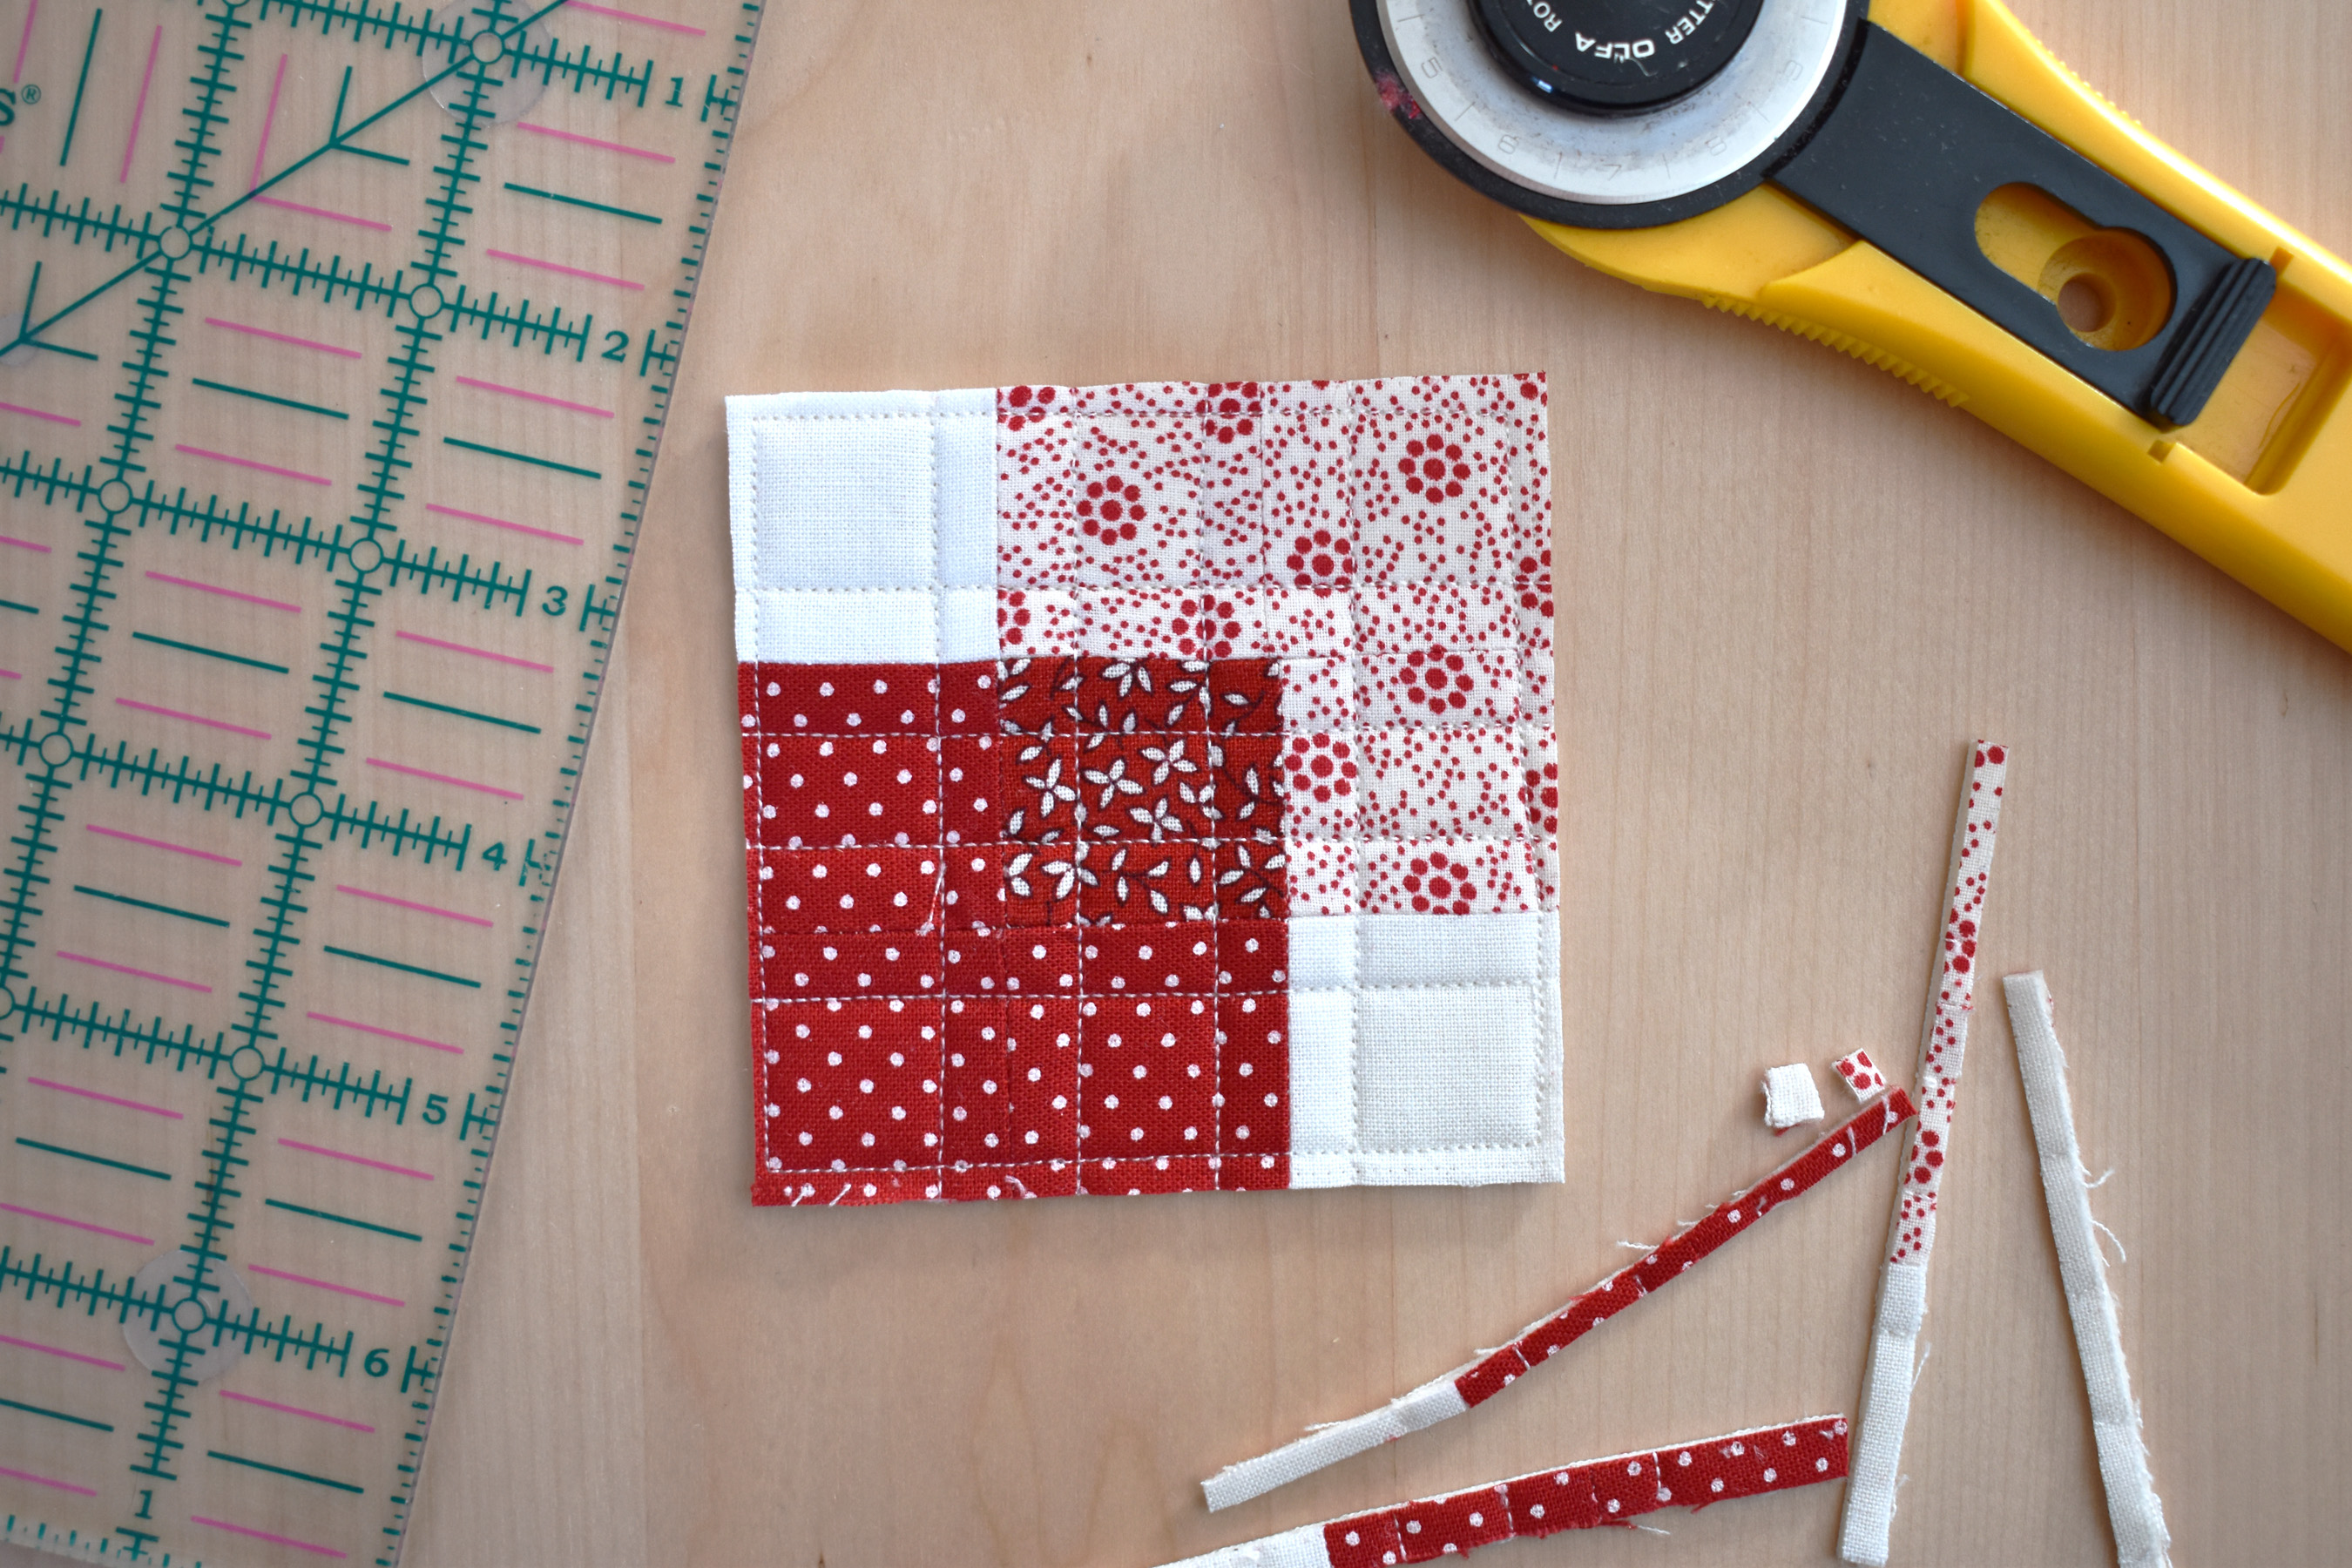
Here’s how to finish the mini block without the skinny binding. First, using a very short 1.5mm stitch, sew a very scant quarter inch from the raw edges, all around the outside of the block. The little stitches will help keep the fabric from fraying later. Finally, using a ruler and your rotary cutter, trim the extra fabric very close to the outside stitches.
Add hangers following directions at the bottom of the tutorial, and you’ve got yourself a cute mini 9 patch ornament!
How to Attach Narrow Binding to Mini Patchwork Blocks
Sewing this narrow binding is definitely easier to accomplish if you’re already familiar with the process of binding a quilt with double-fold bias binding with mitered corners. I’ve got a few tips here to make the process a bit easier. Keep in mind you don’t have to add the binding, but can finish the edges as above.
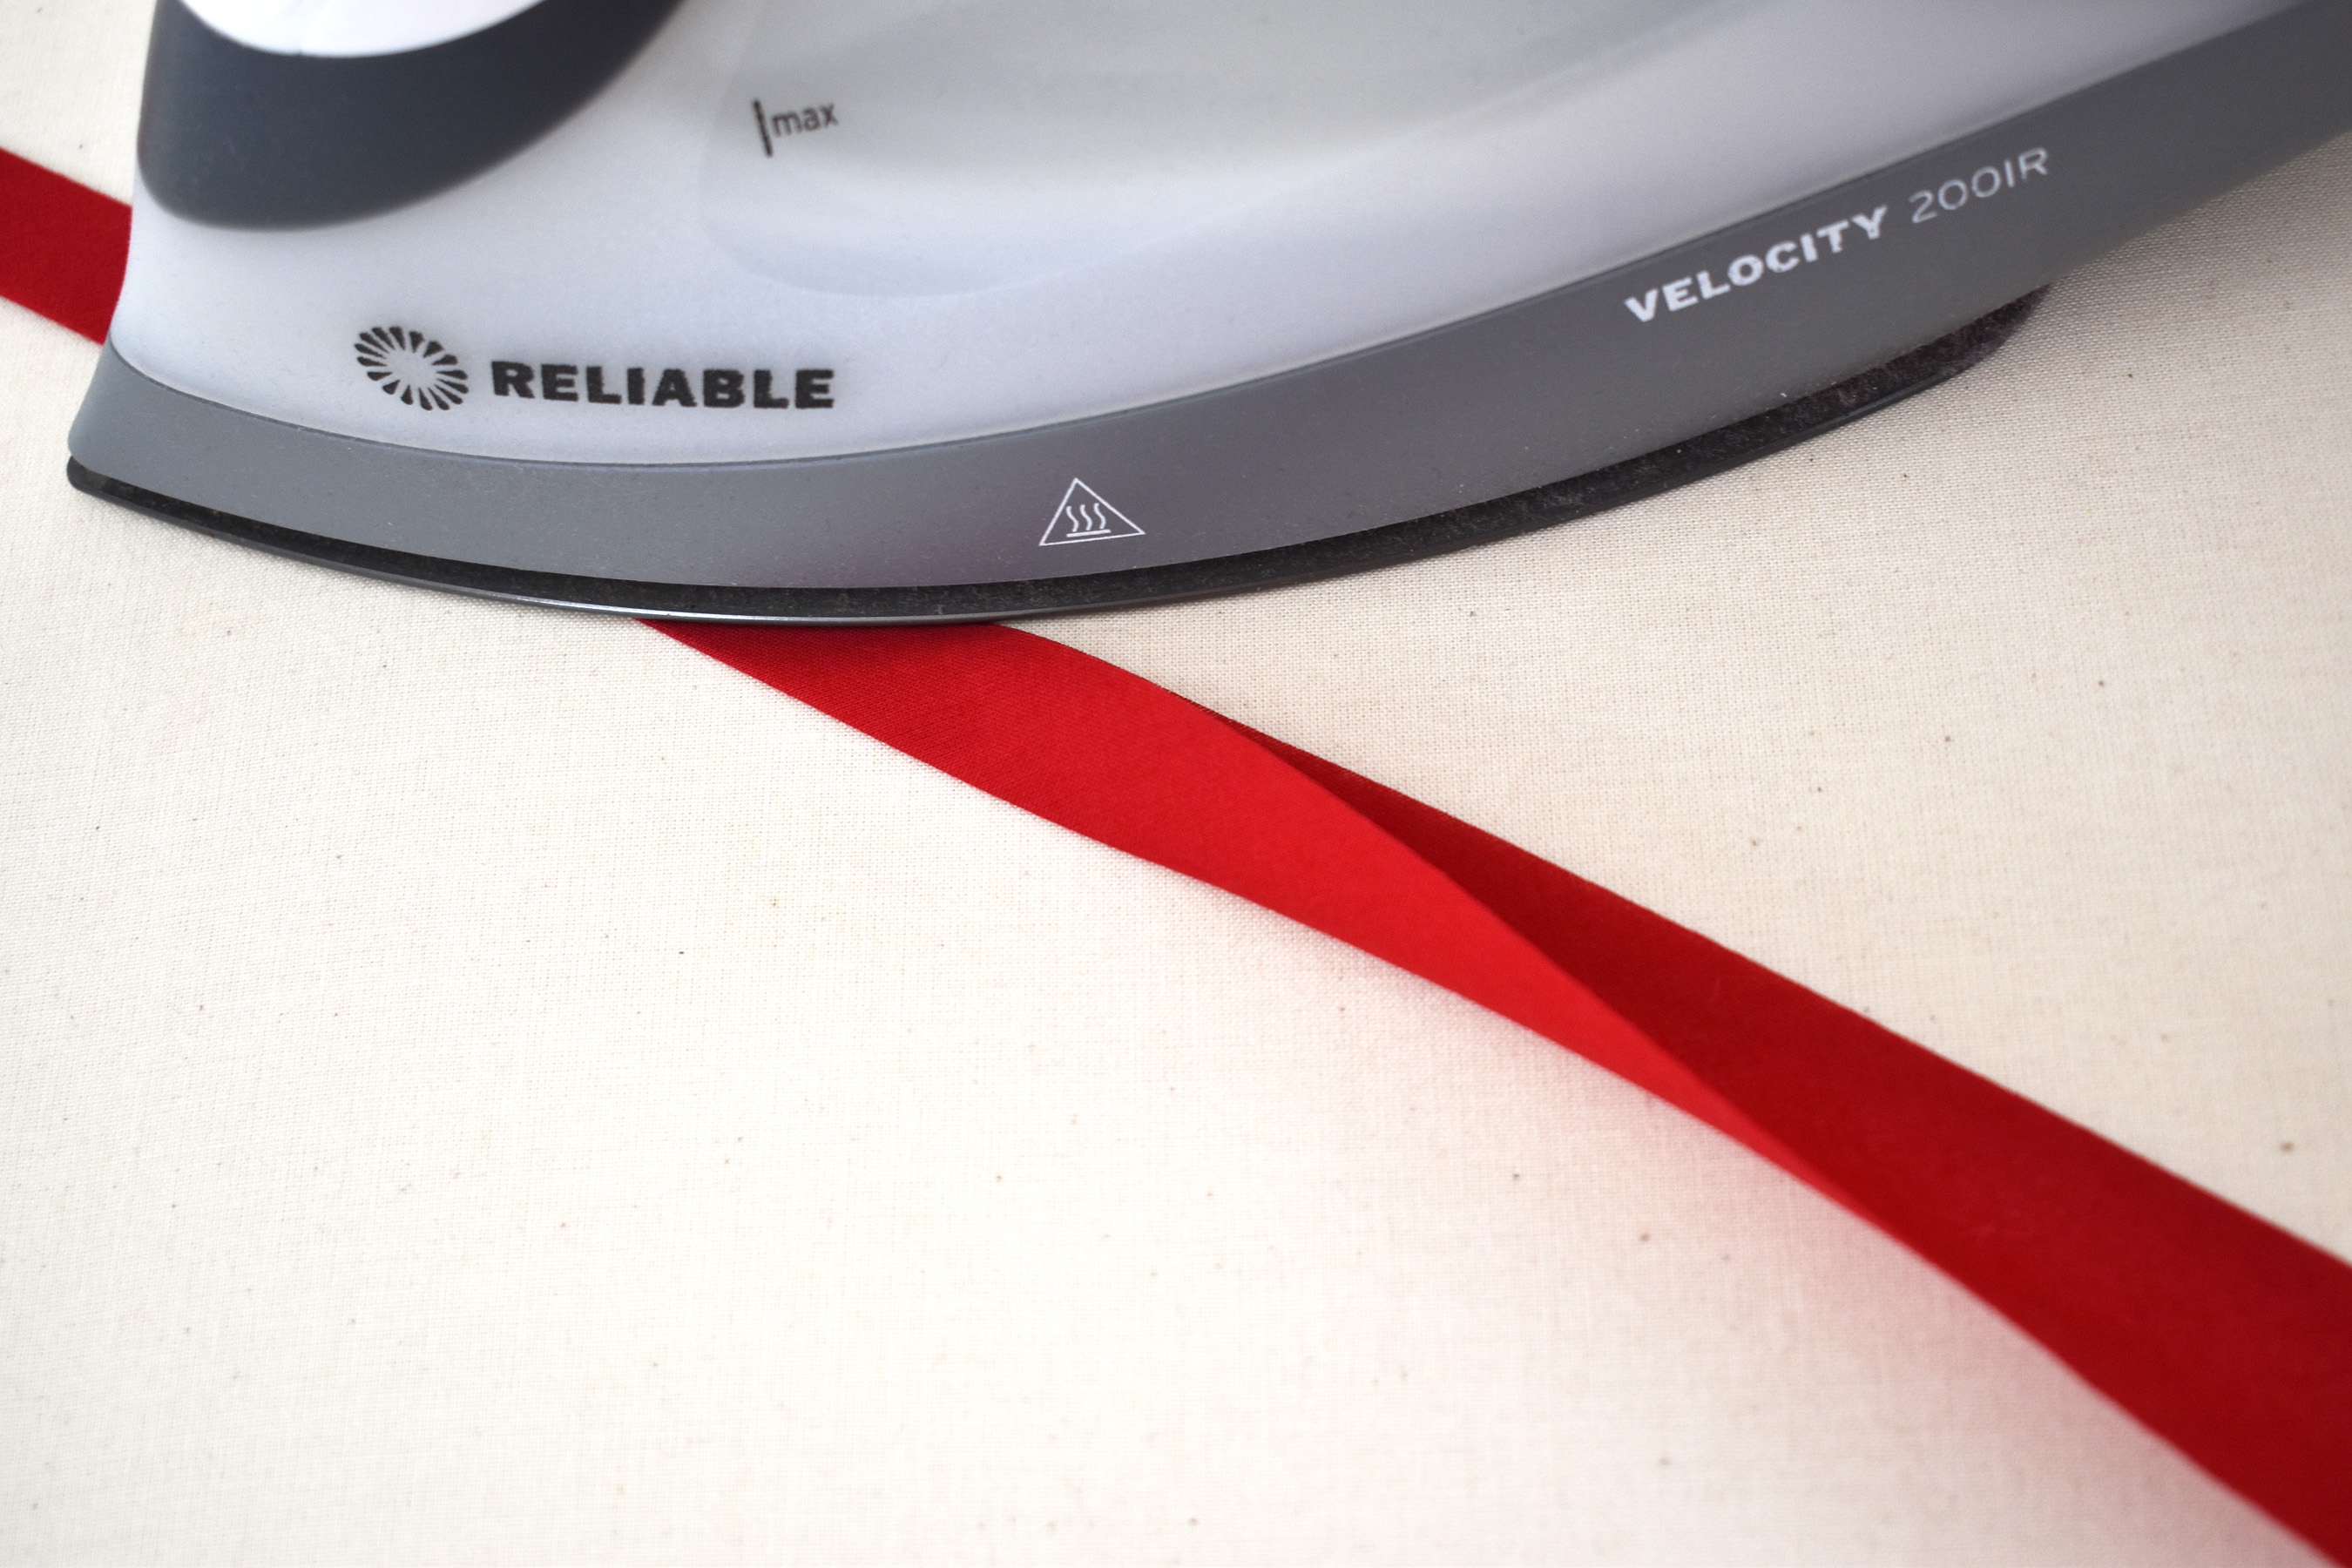
Select a lighter to medium-weight cotton fabric to create the binding. Cut a bias strip 1.5″ wide and 20″ to 22″ long. Fold in half lengthwise and press well.
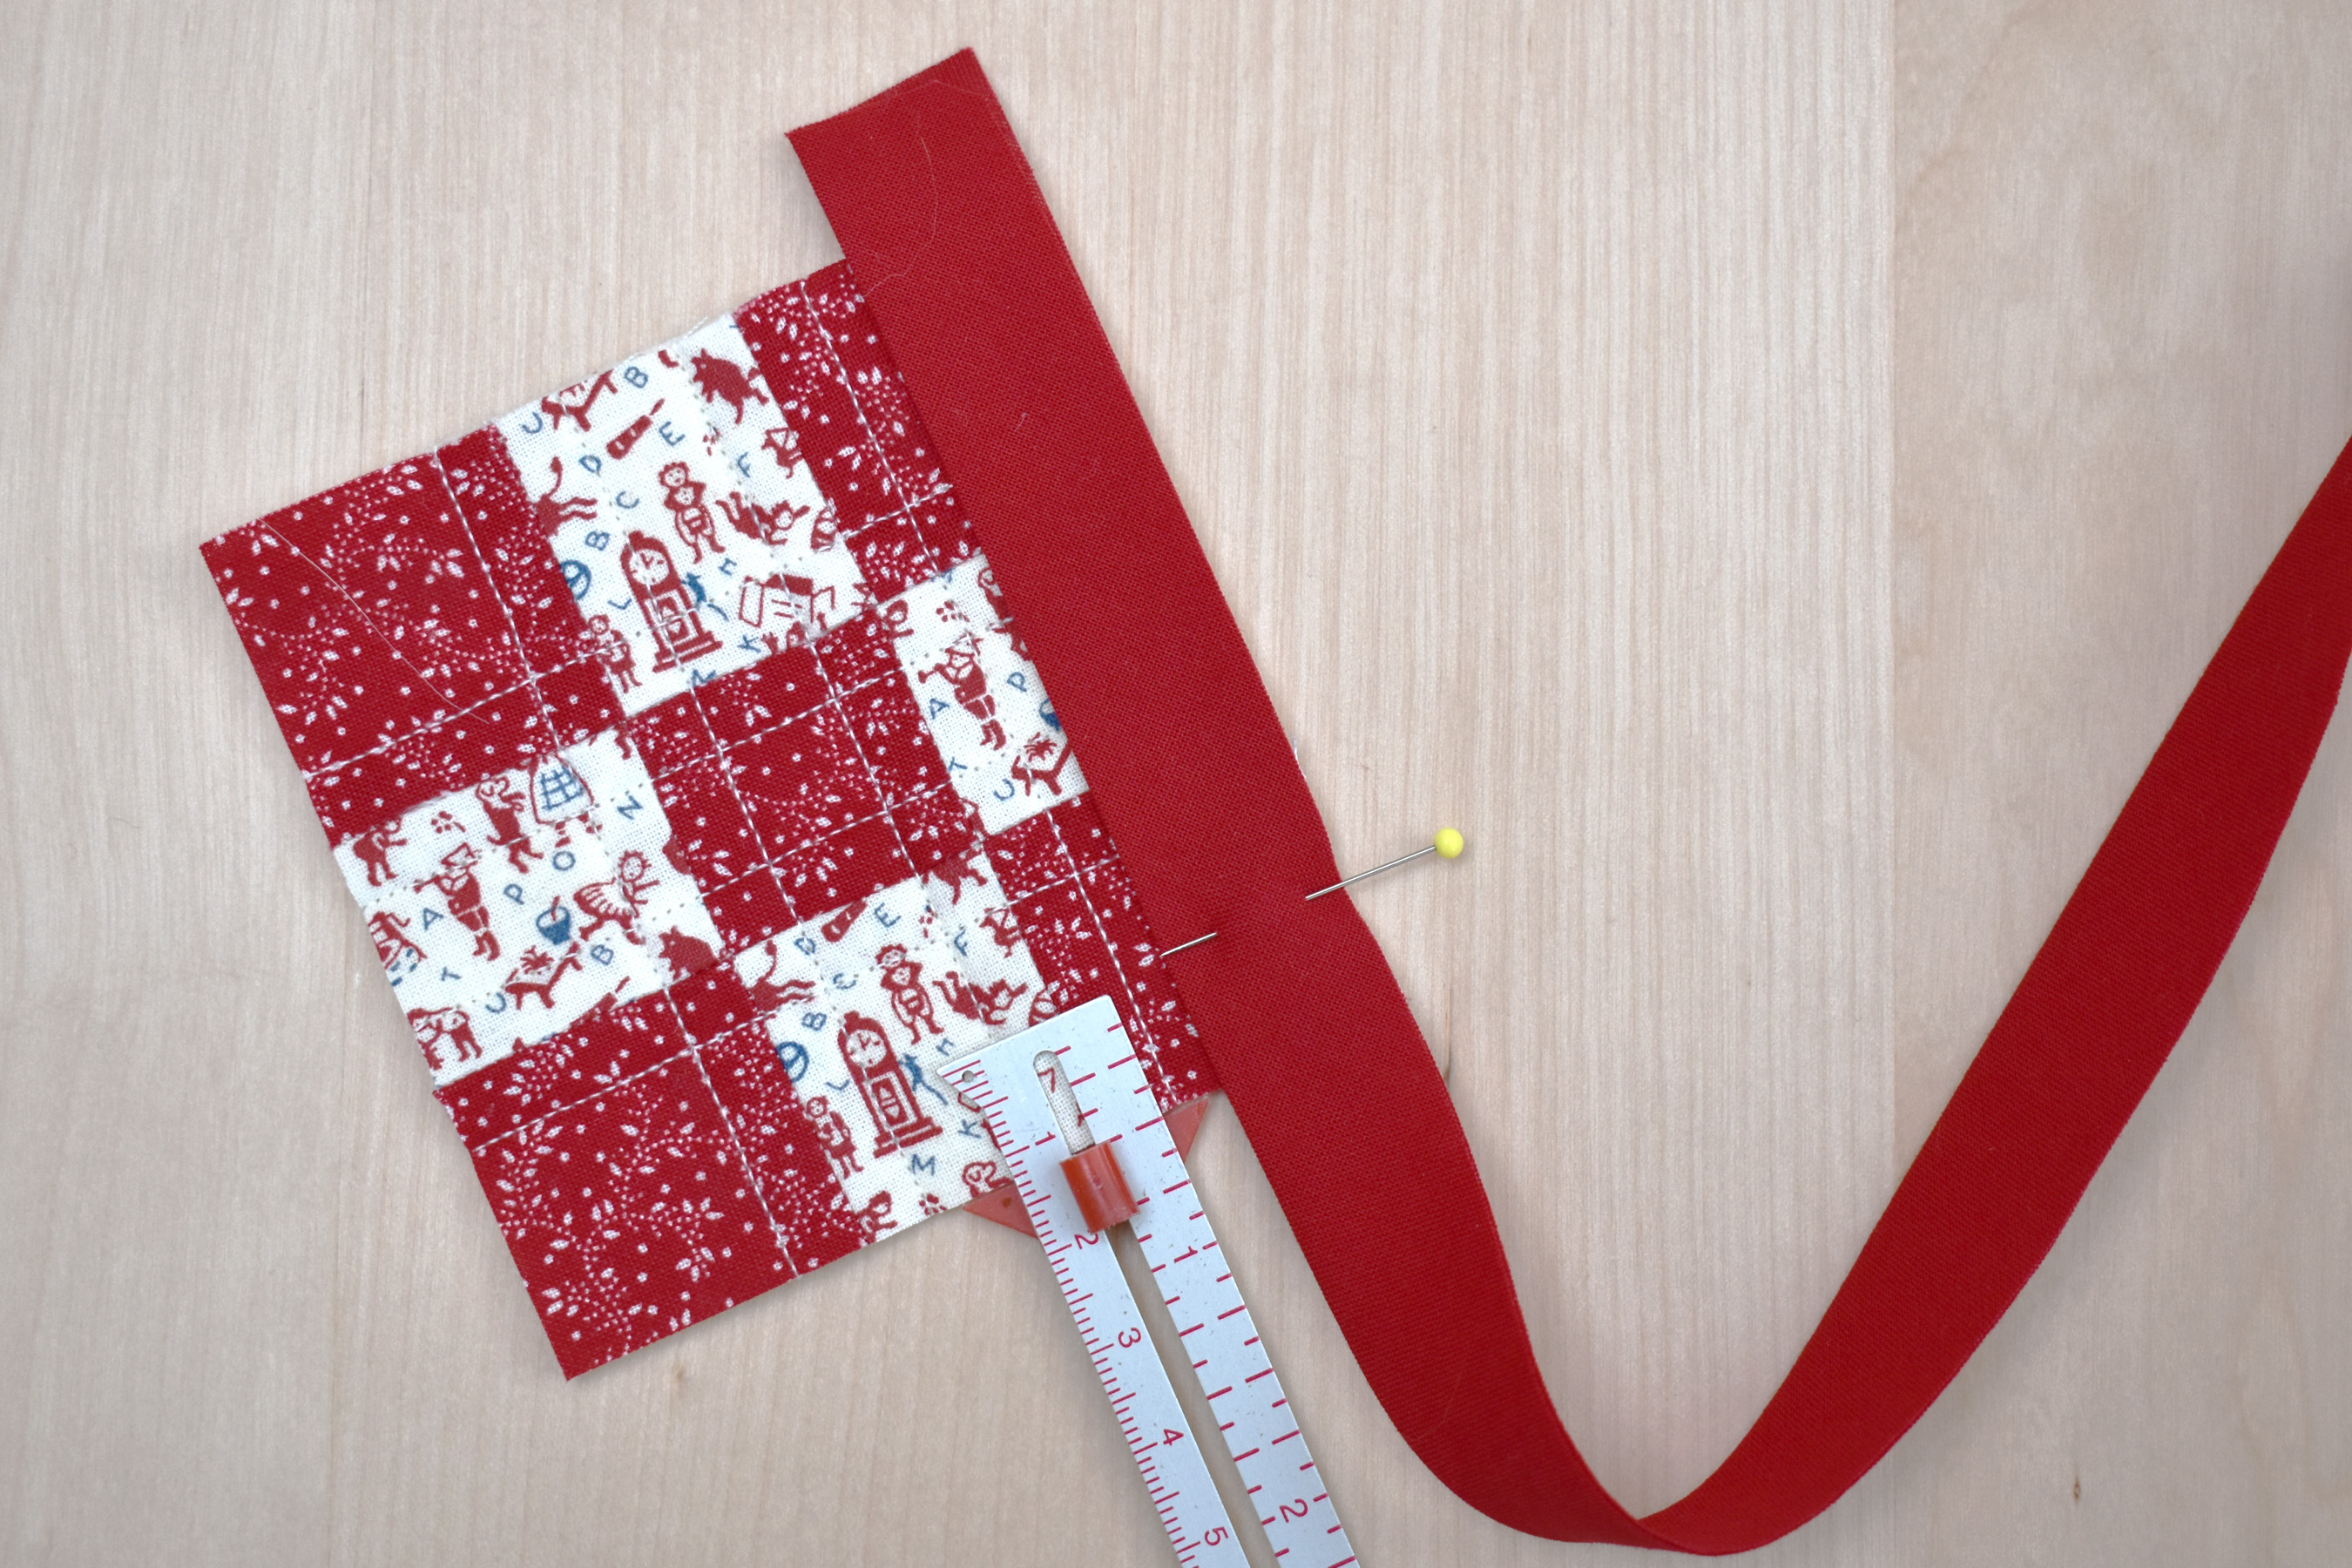
Pin the binding to the lower raw edge on one side of the mini patchwork block, measuring 1.5″ up from the corner. Insert the pin perpendicular to the raw edges. Leave a tail of about 3″ to 4″ to finish the binding.
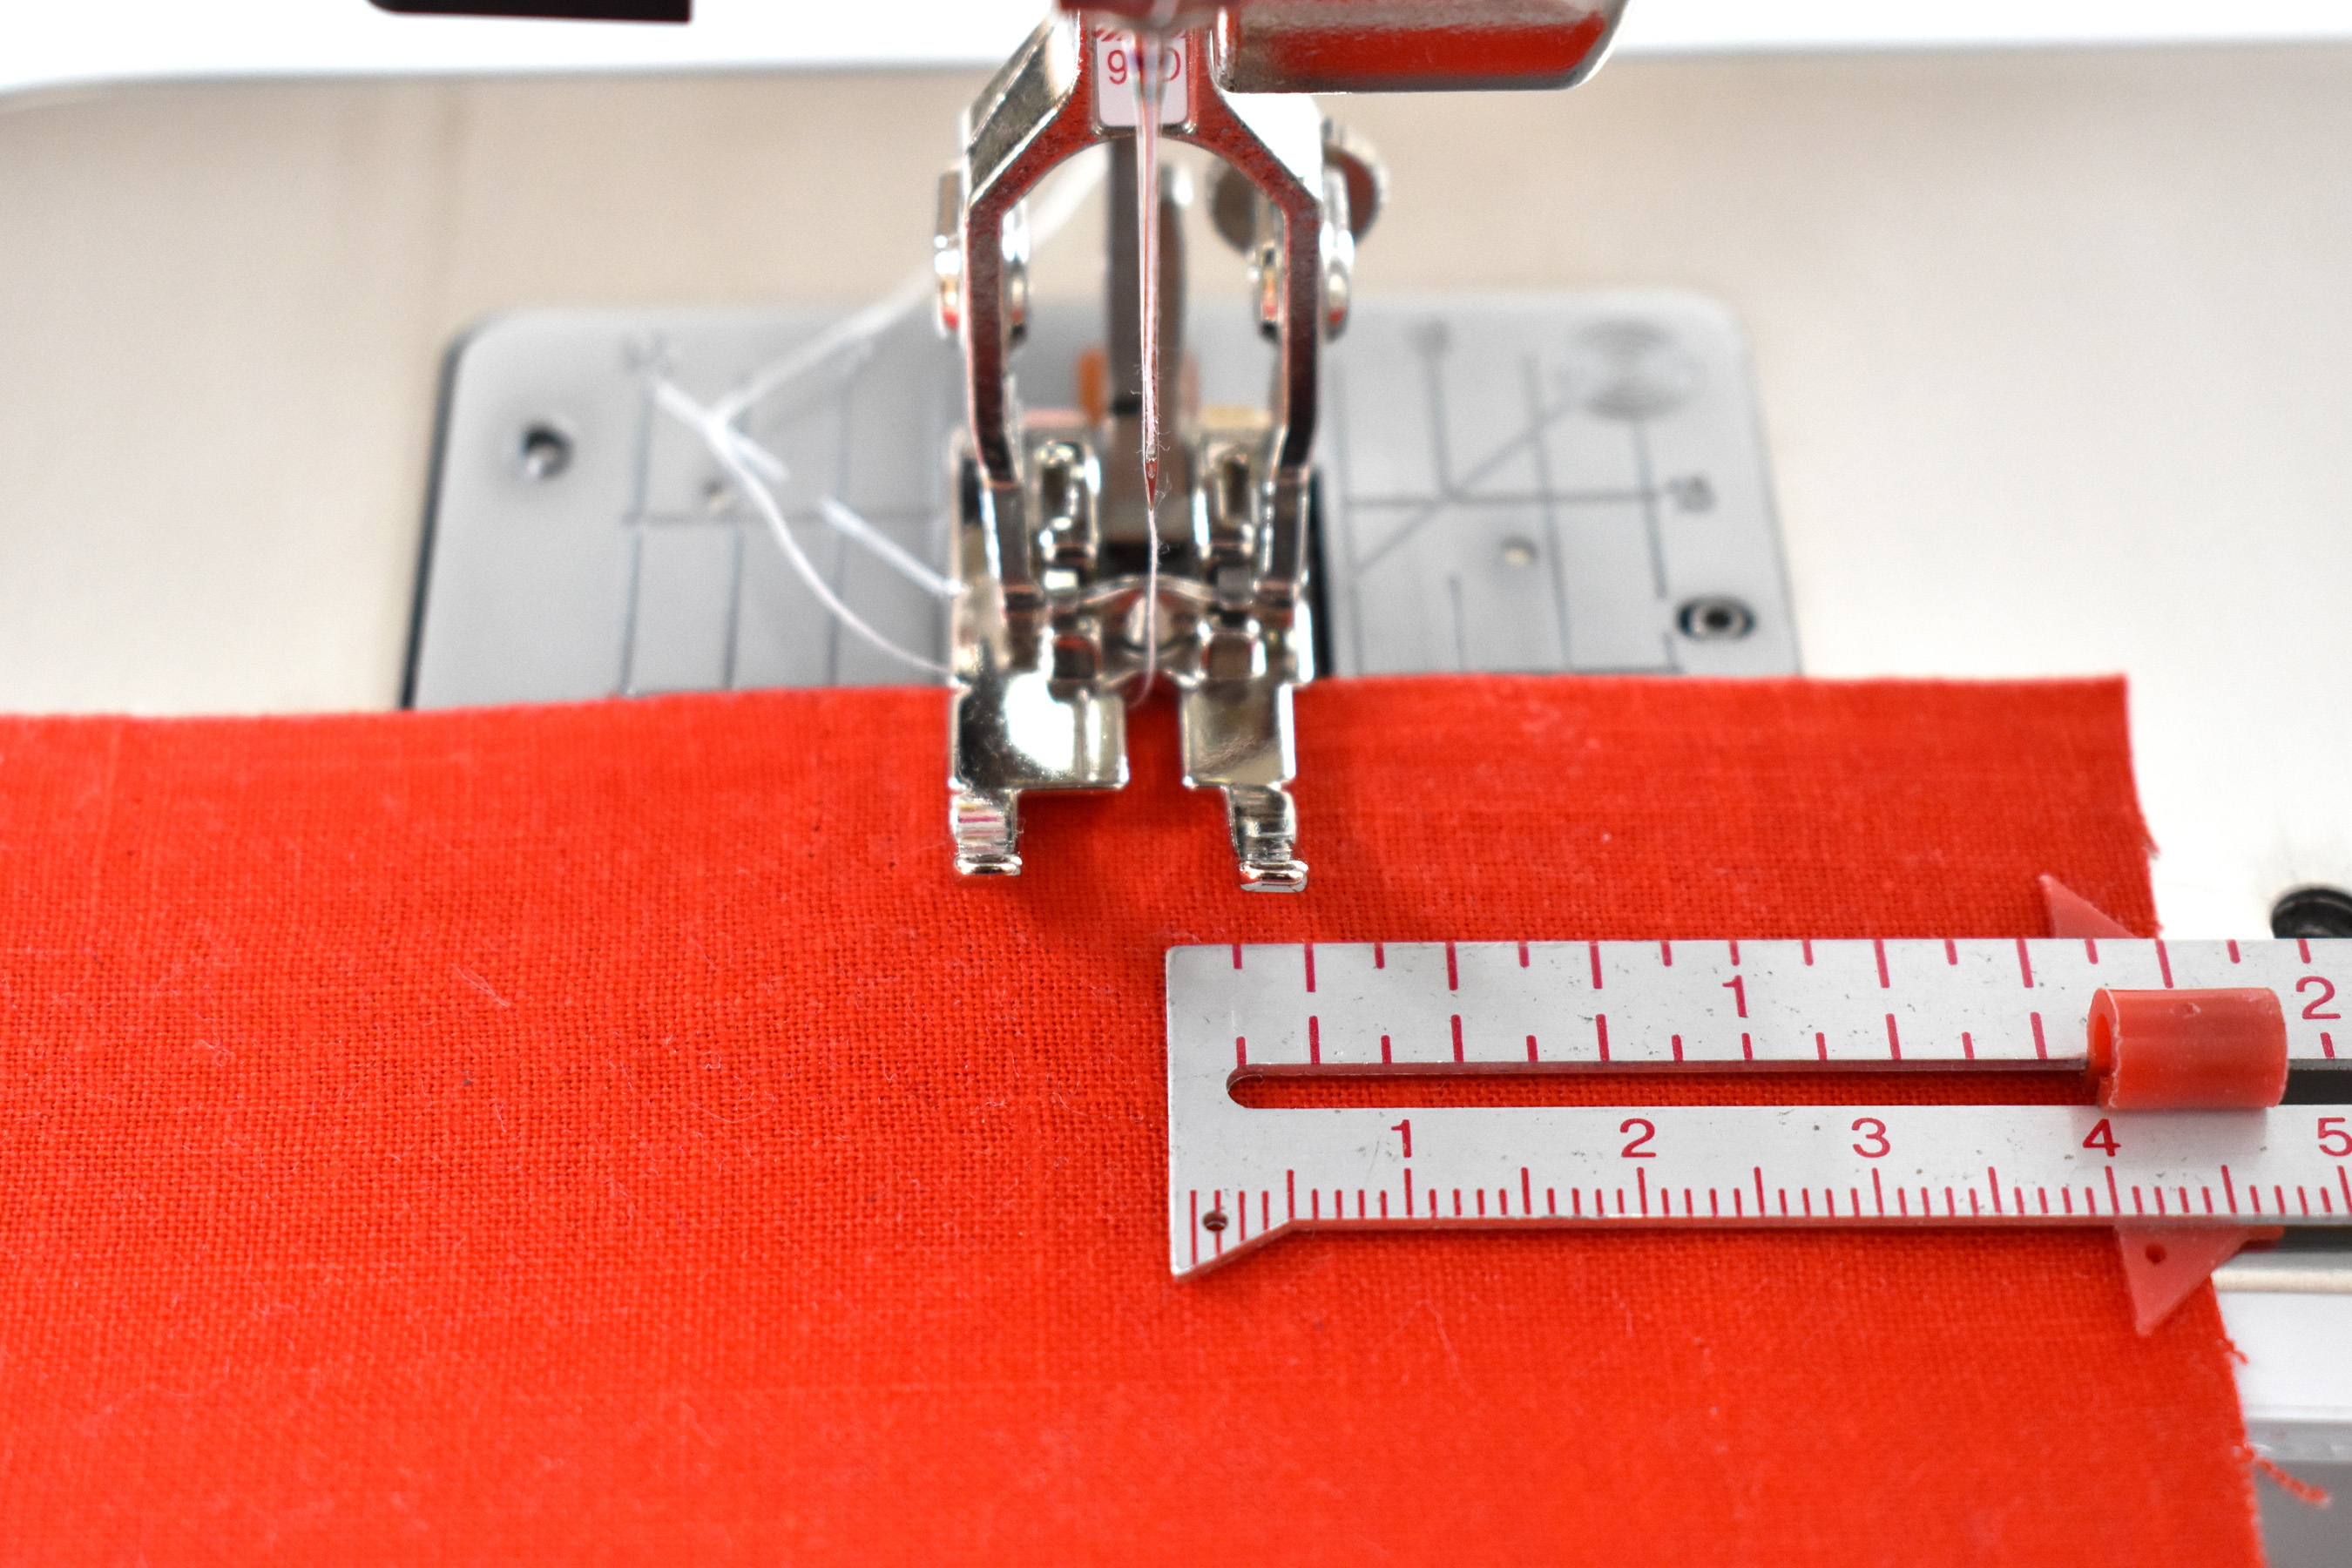
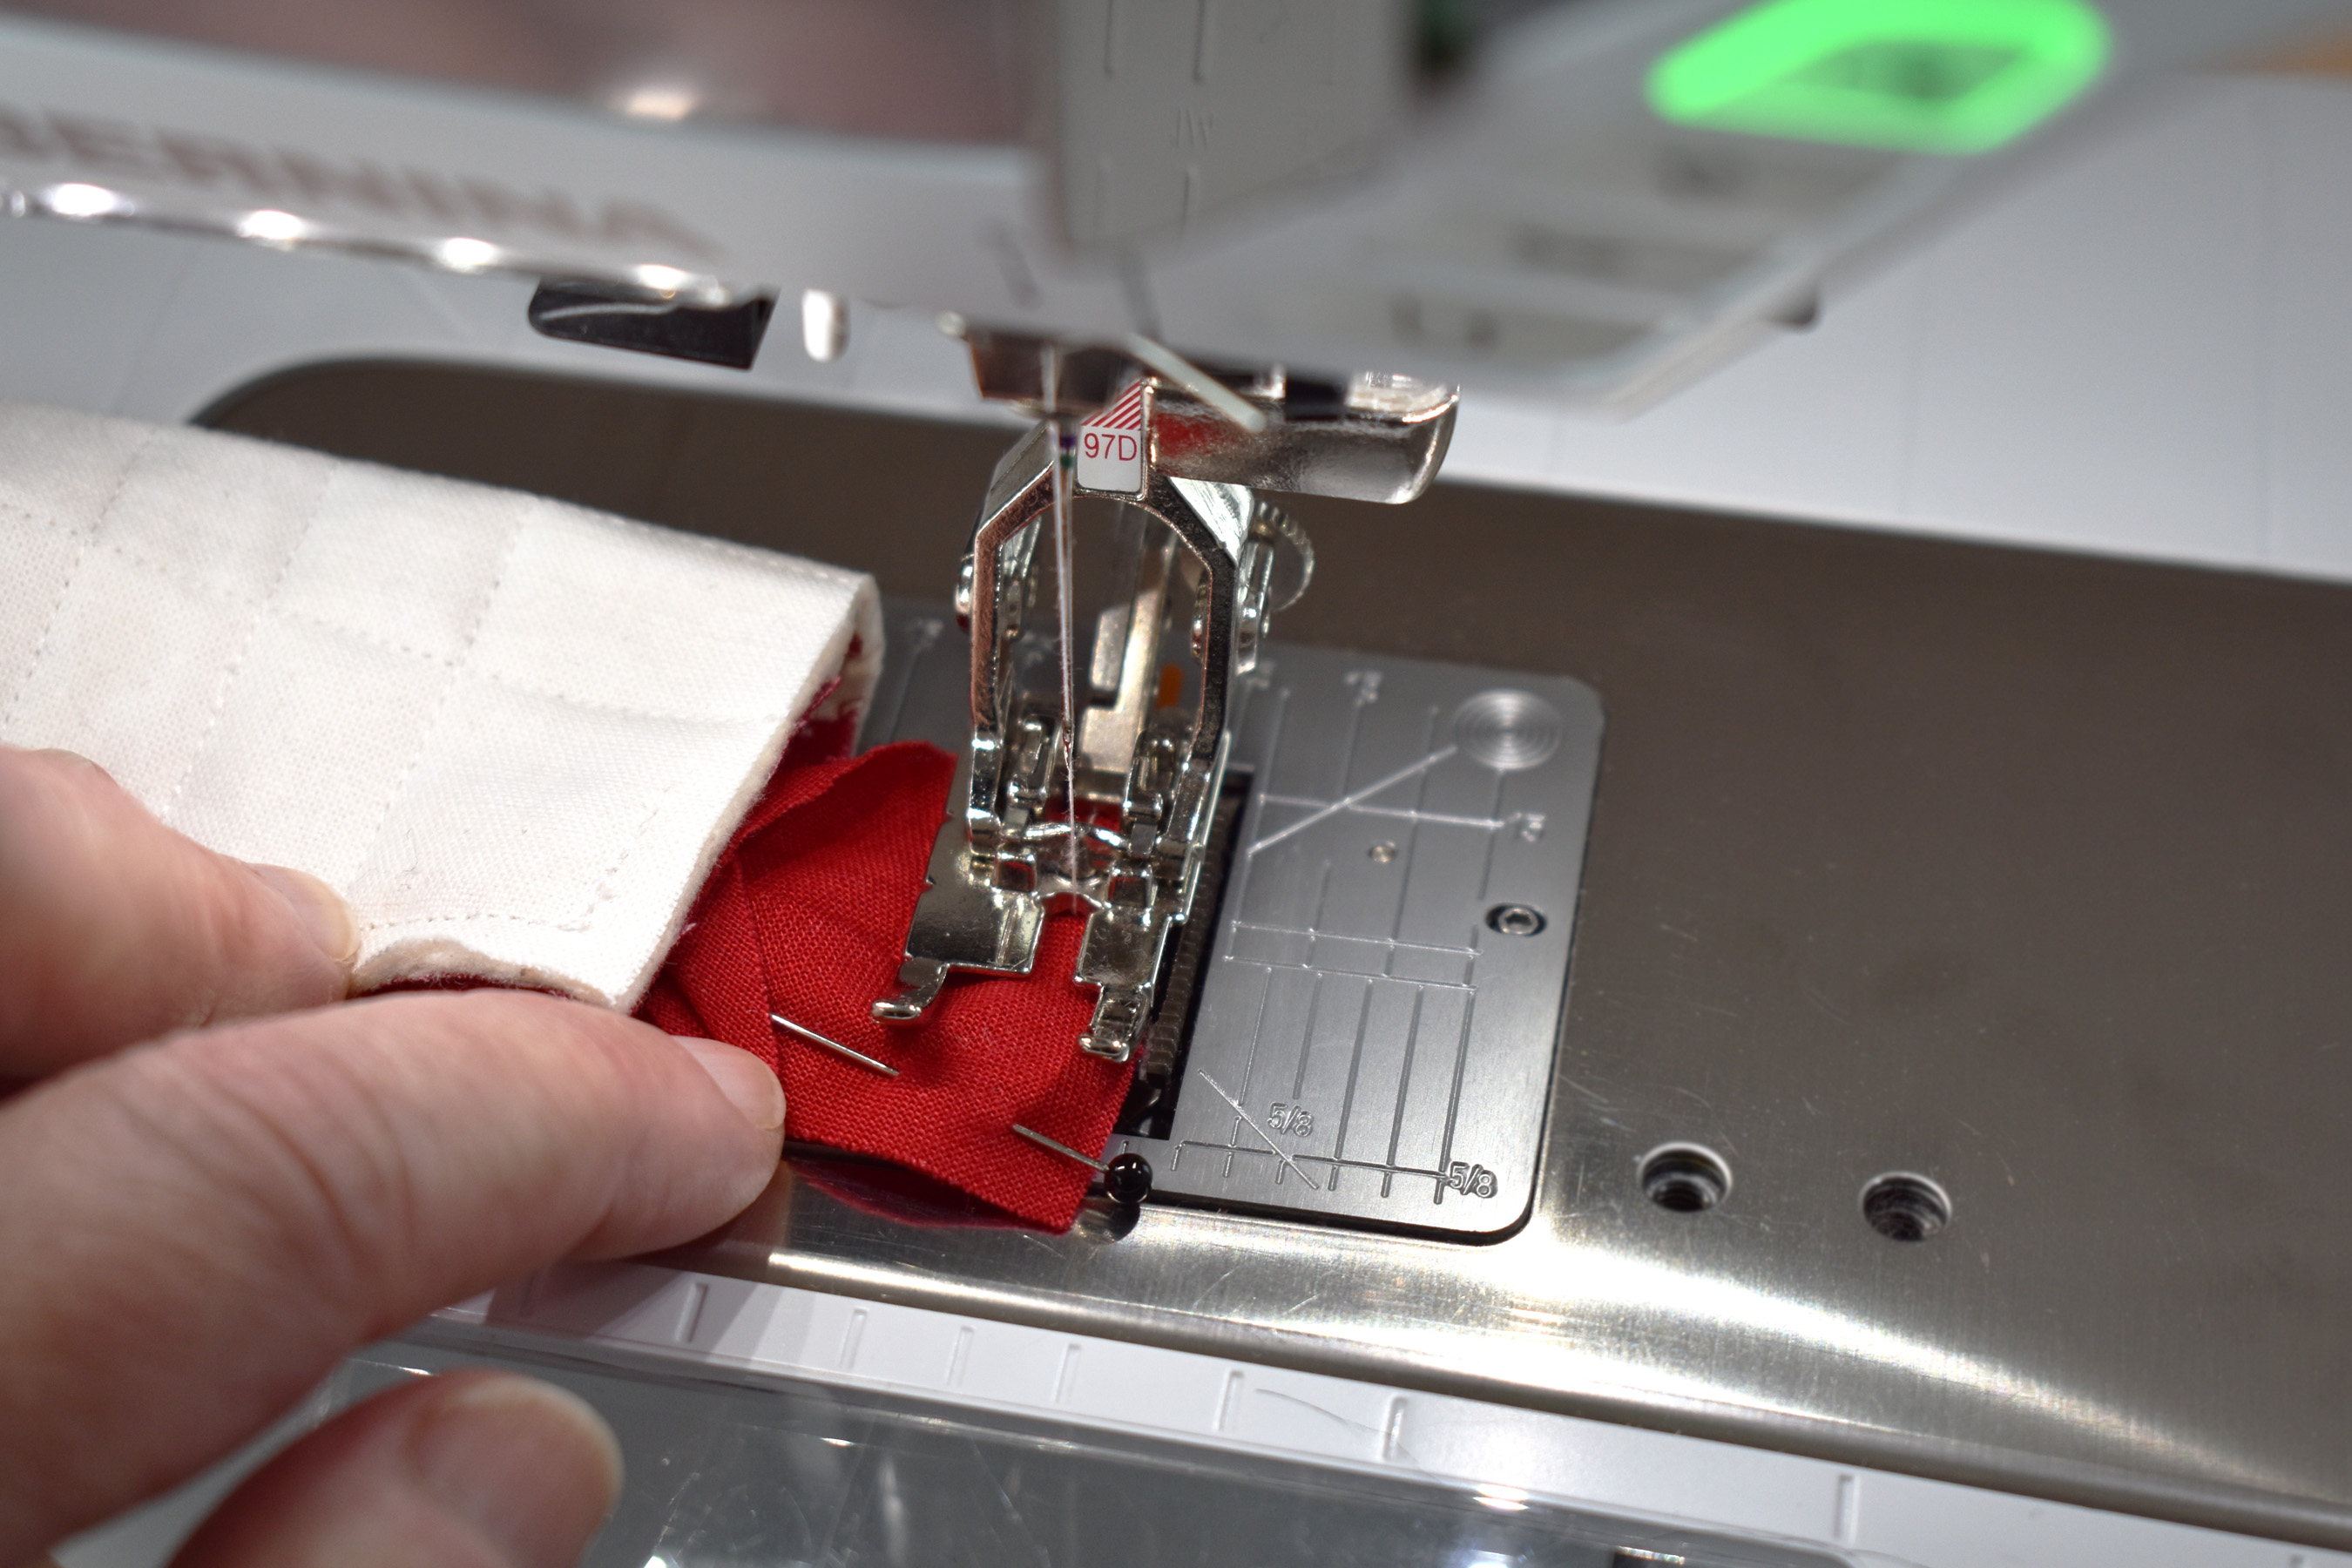
Looking closely at the Patchwork Foot #97D, the front right toe is exactly one quarter away from the needle, and the inside toe is exactly one eighth. To sew this narrow binding, you will need to stitch a very, very scant quarter-inch seam, aiming to line up the edge of the patchwork block right in between the one-quarter and one-eighth mark on the foot. You could also call this a very, very fat eighth!
If you are using Walking foot #50, the quilting sole also has similar markings to help guide you with a quarter or eighth-inch stitching, learn more about the Walking Foot #50 here (or ask your local BERNINA store staff).
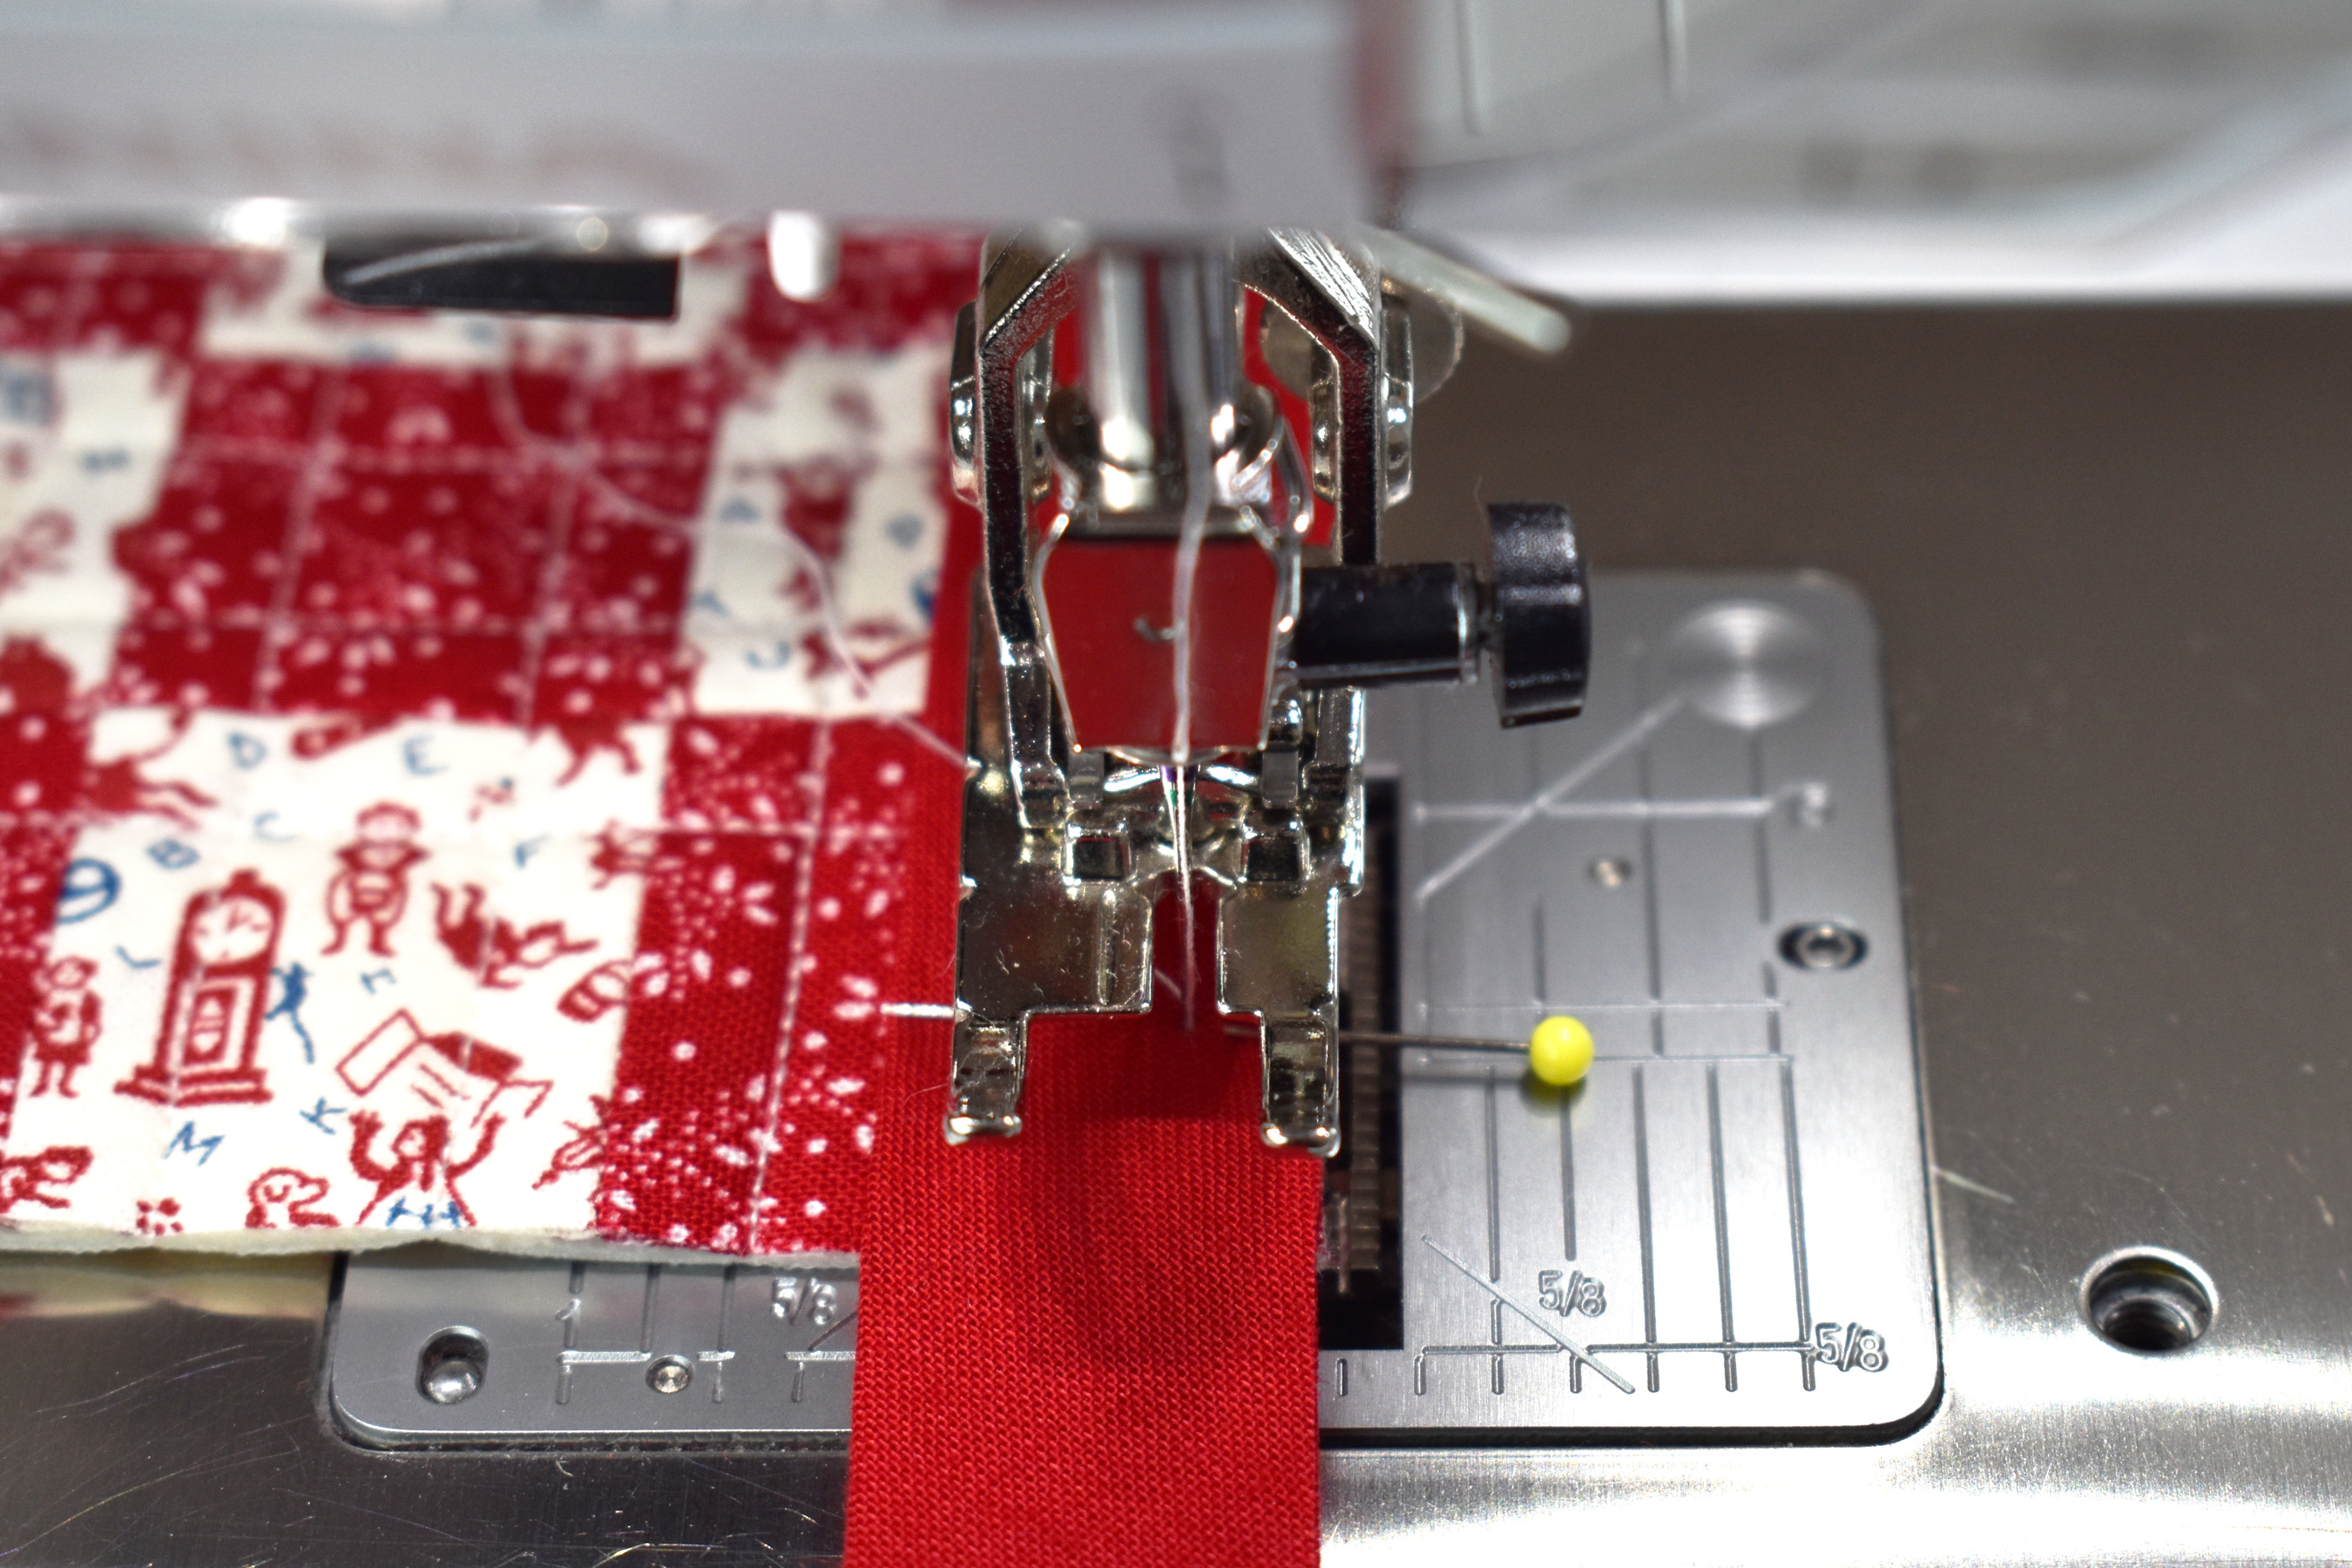
Adjust the stitch length to 1.6mm to 1.75mm for sewing on the binding. Align the raw edge between the quarter and eighth-inch marks on the foot, then drop the needle on the spot with the pin. Leave the needle down and remove the pin. Lower the presser foot to begin stitching.
Sew towards the corner and backstitch to secure the start point. Stop stitching one-quarter inch from the bottom edge. Take one or two more stitches, then backstitch two or three stitches to secure the stopping point, and remove the square from the sewing machine. Trim all thread tails.
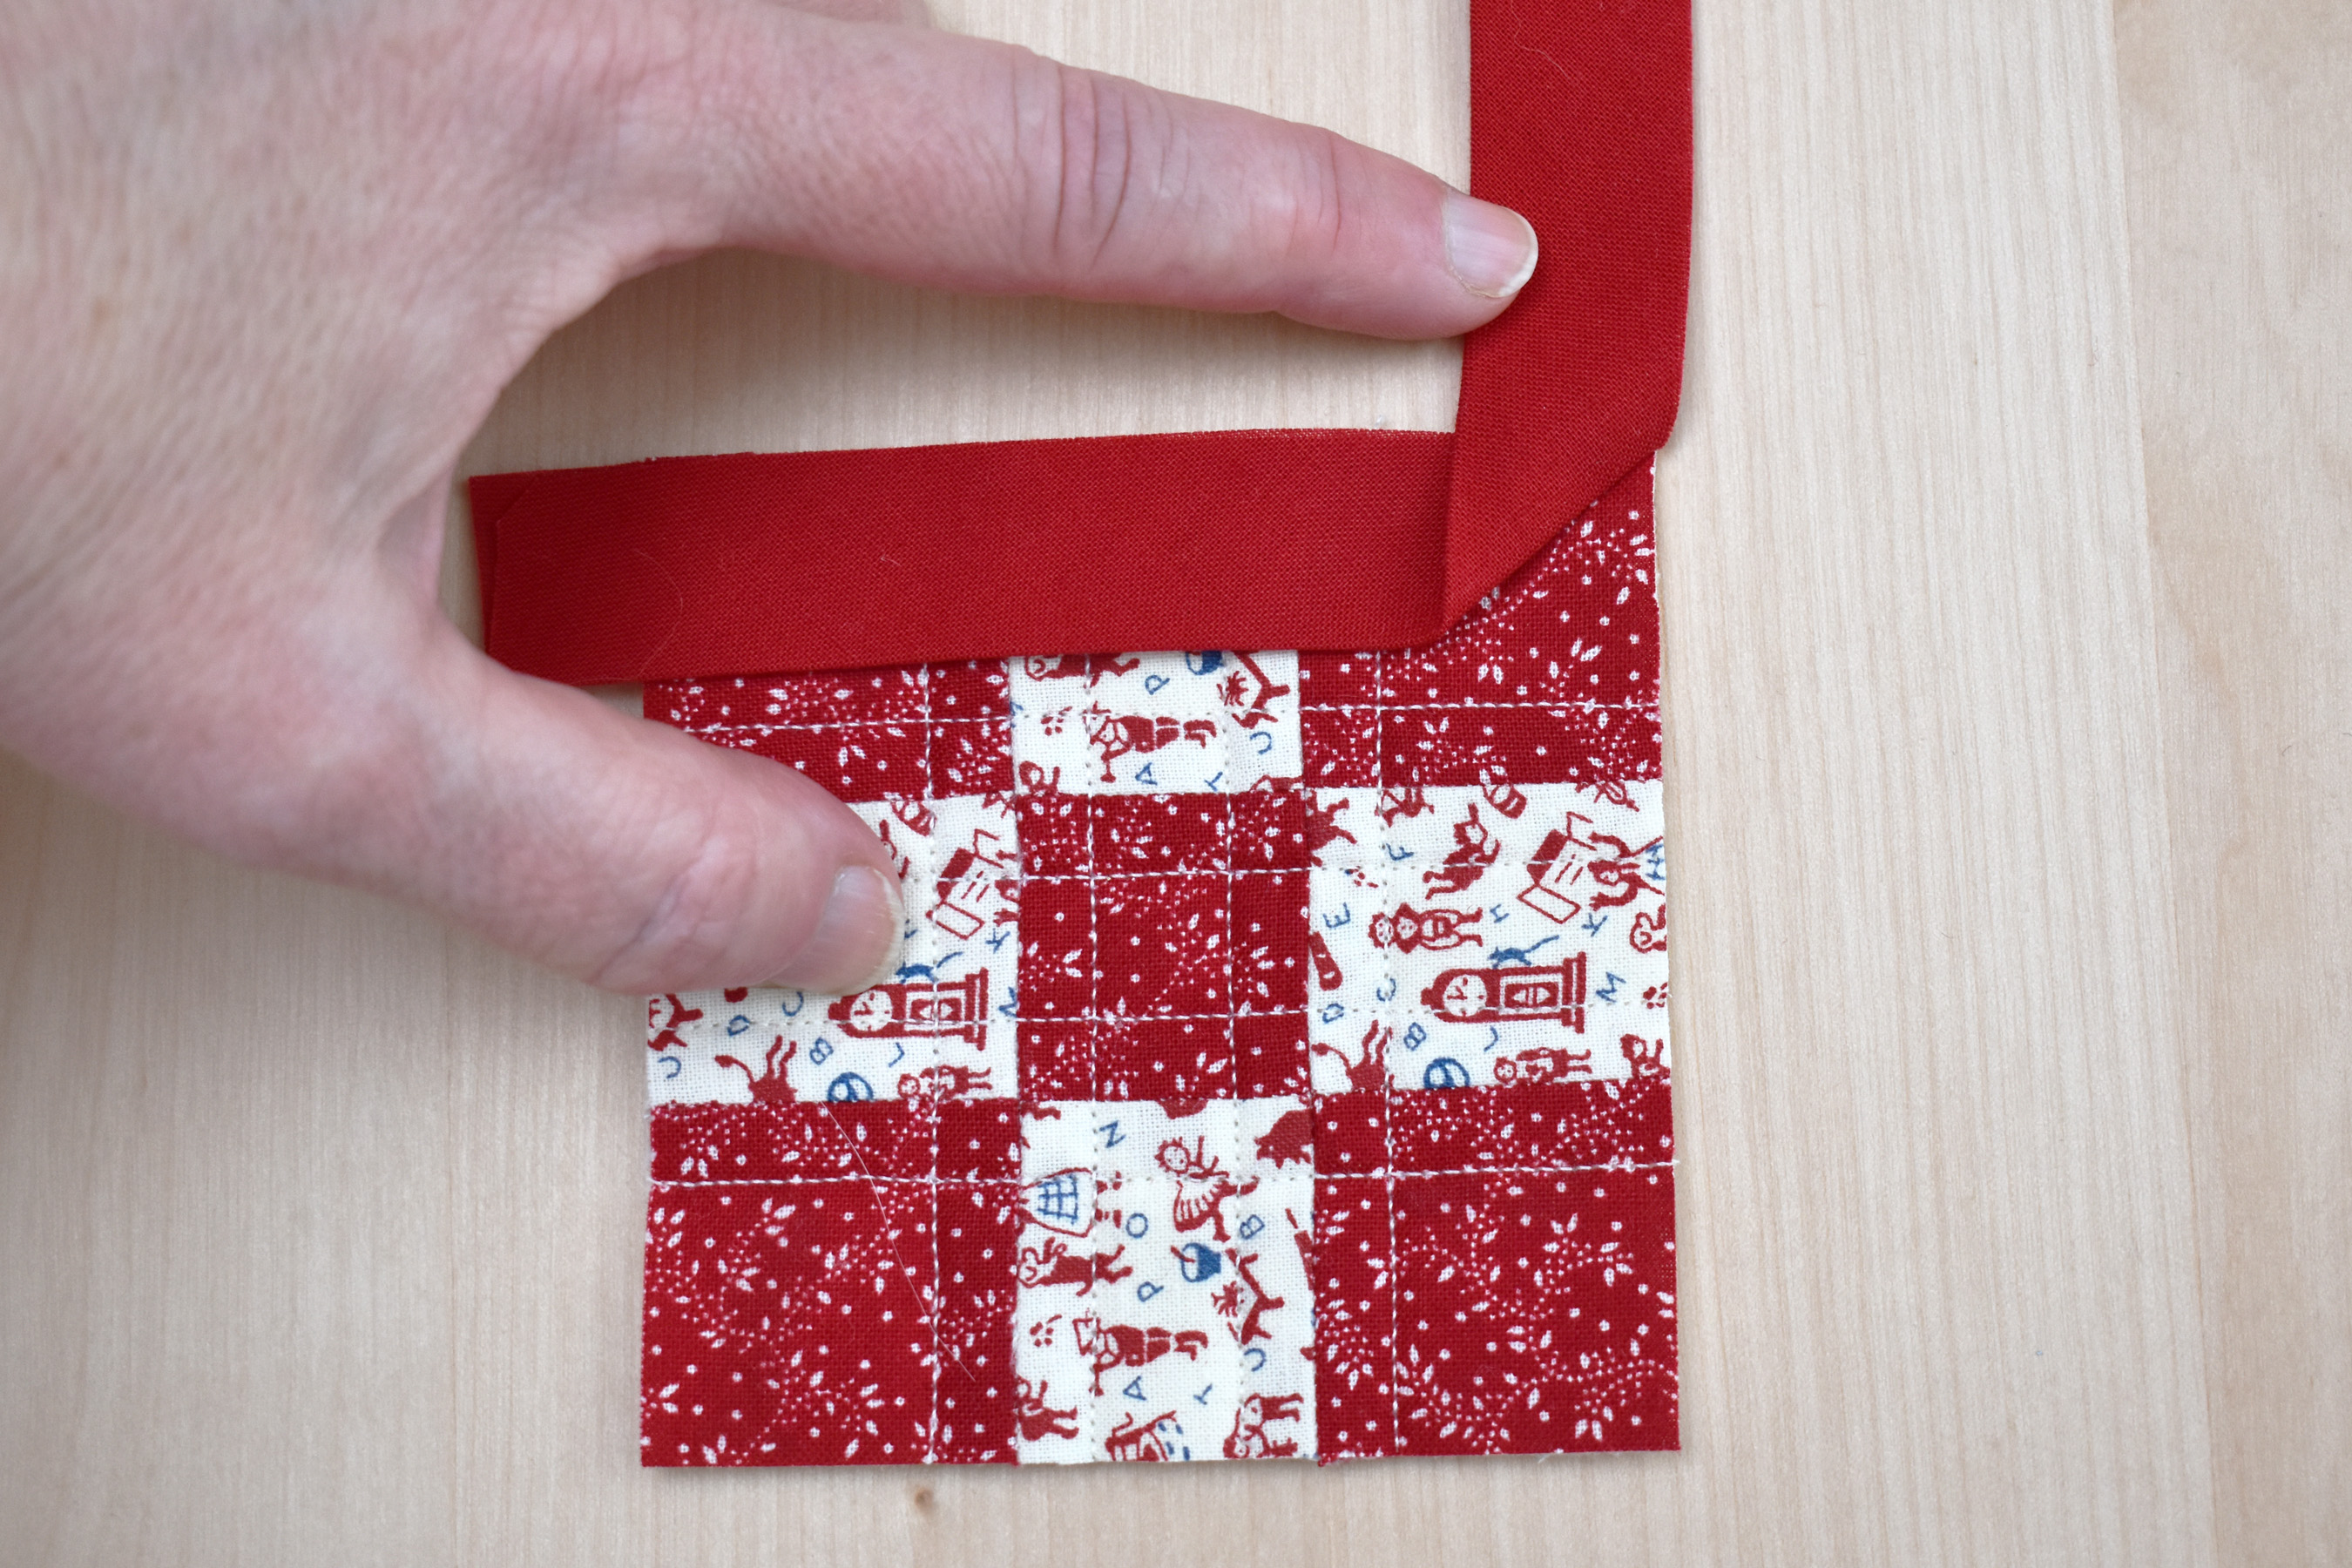
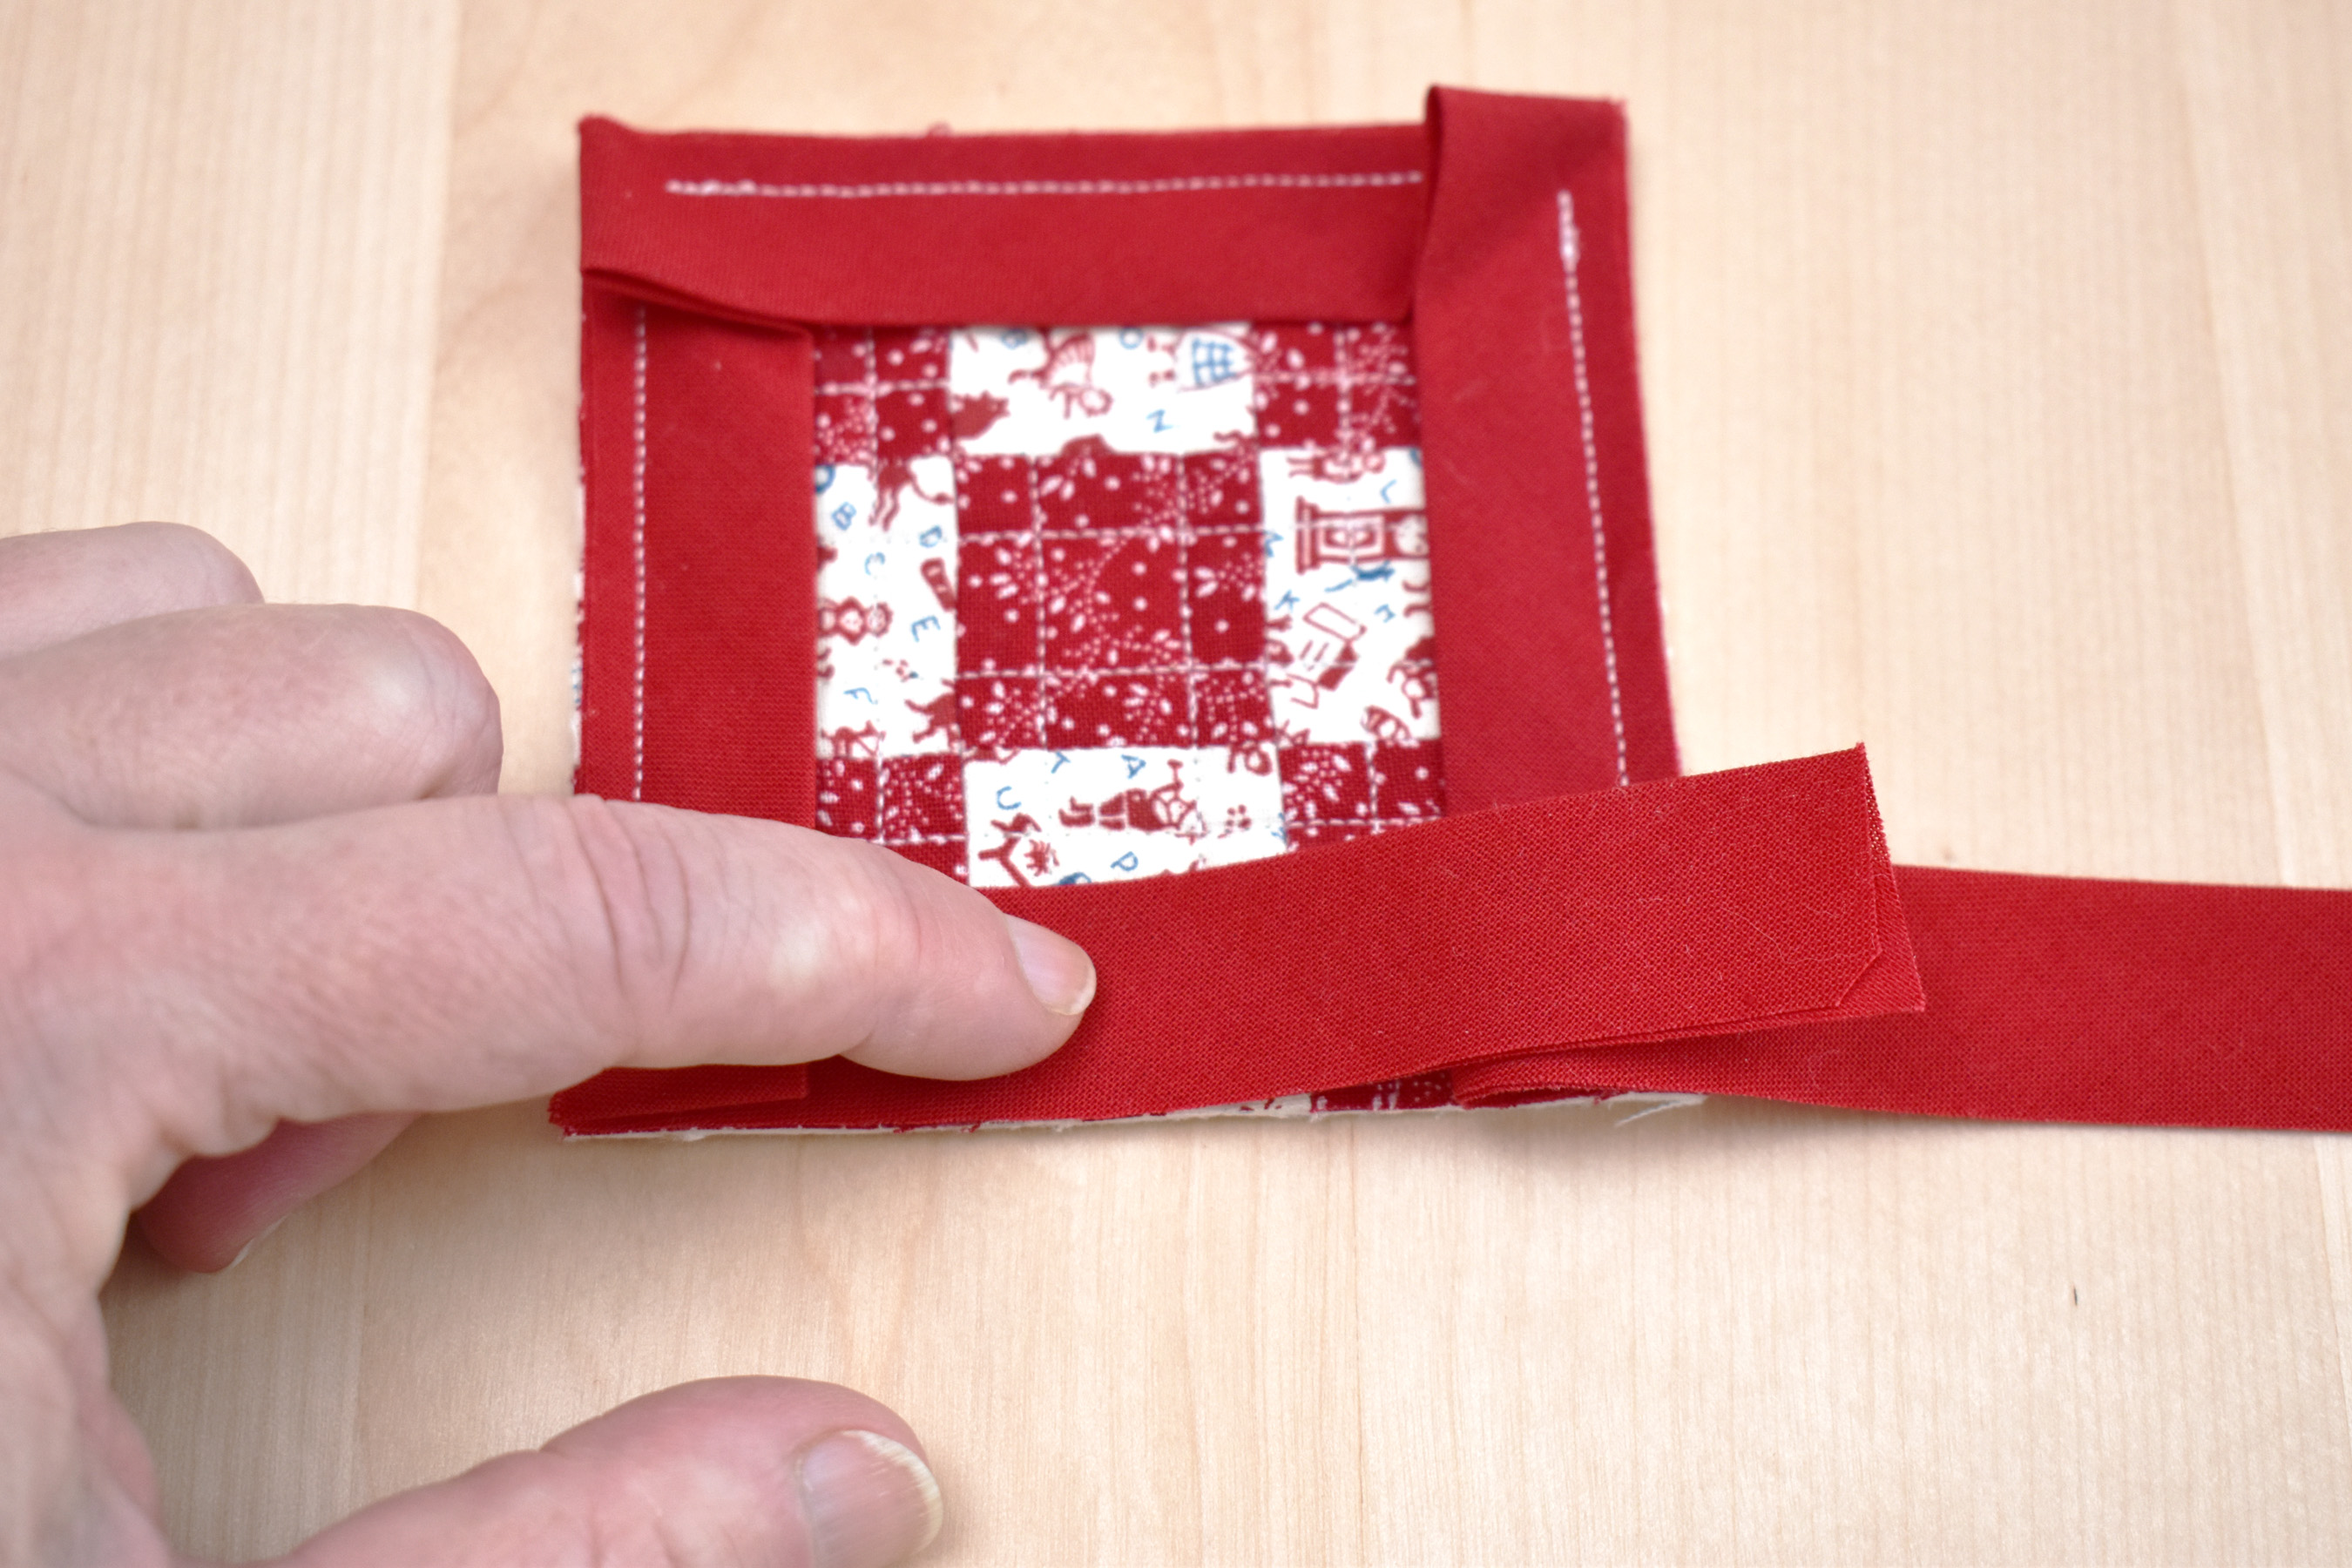
Flip the end of the bias binding strip up at a 45° angle away from the patchwork square.
Then fold the strip down to meet the next raw edge of the patchwork square, making sure that the fold is even with the top edge. Add a pin if you need help holding the strip in place; I usually just use my fingers to hold the corner until I get it under the presser foot.

Start stitching about one-quarter inch from the top edge, backstitching a few stitches before sewing down the next edge. Repeat the above instructions when you approach the next corner. Continue sewing around all four corners.
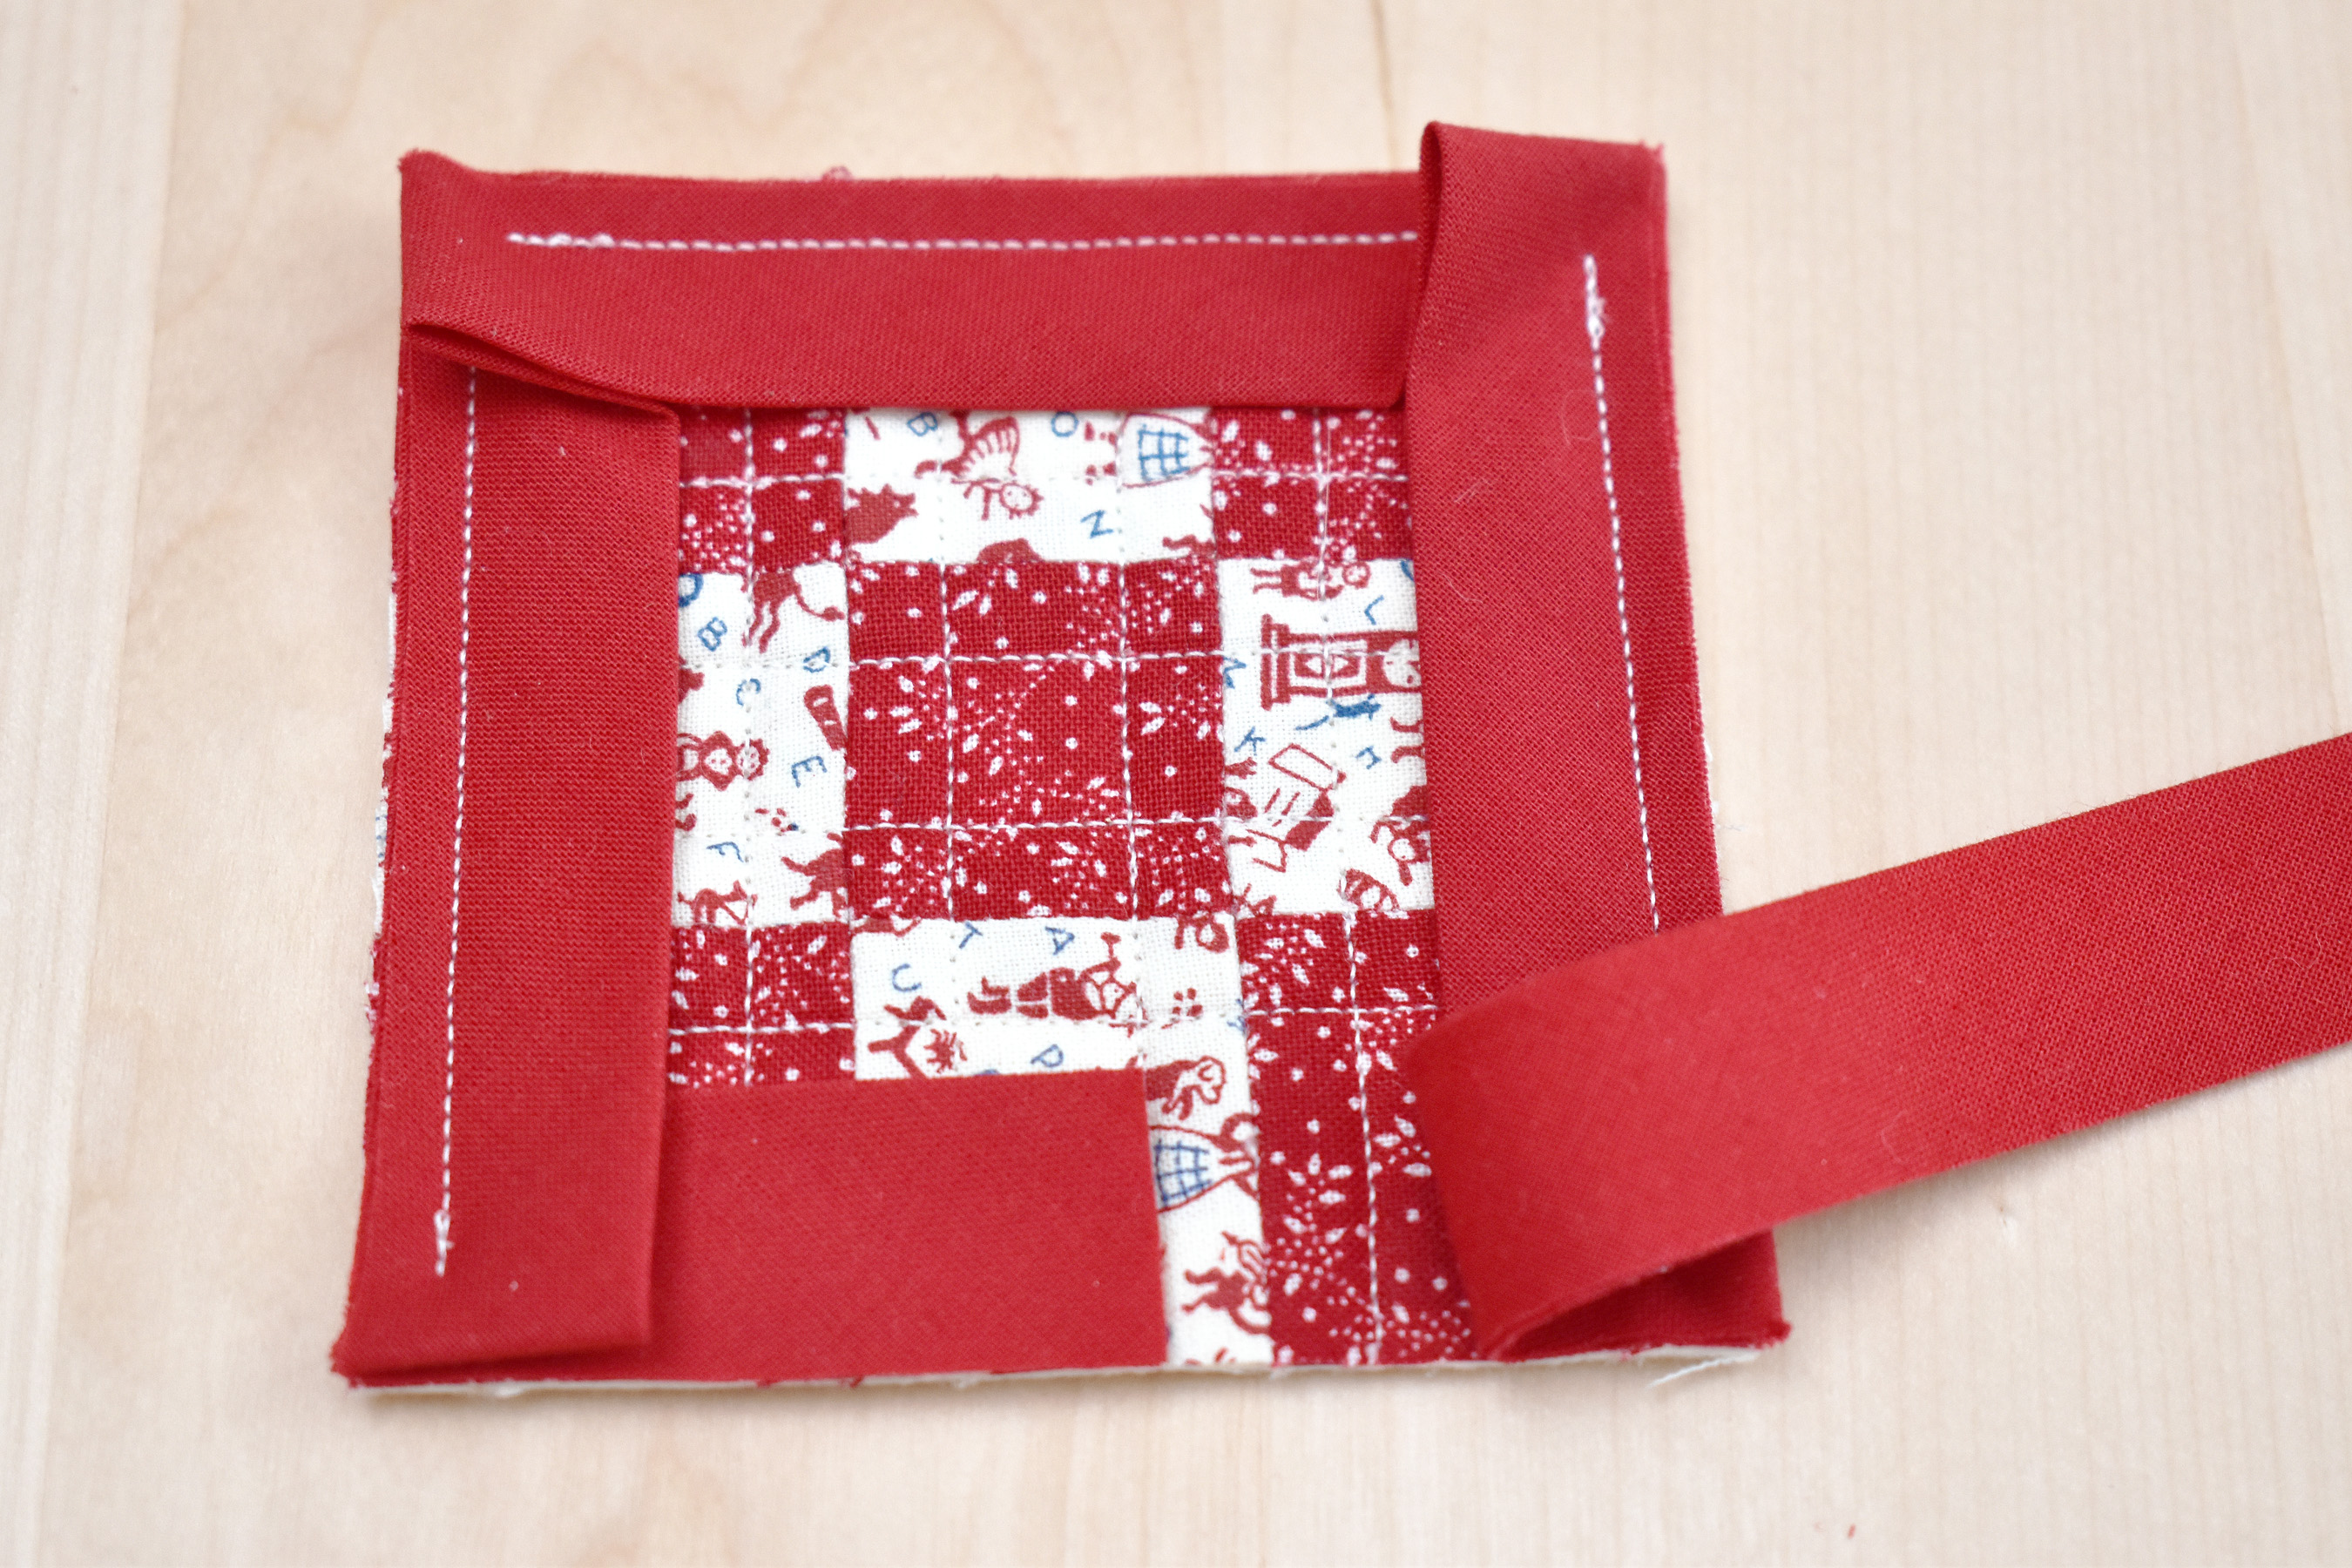
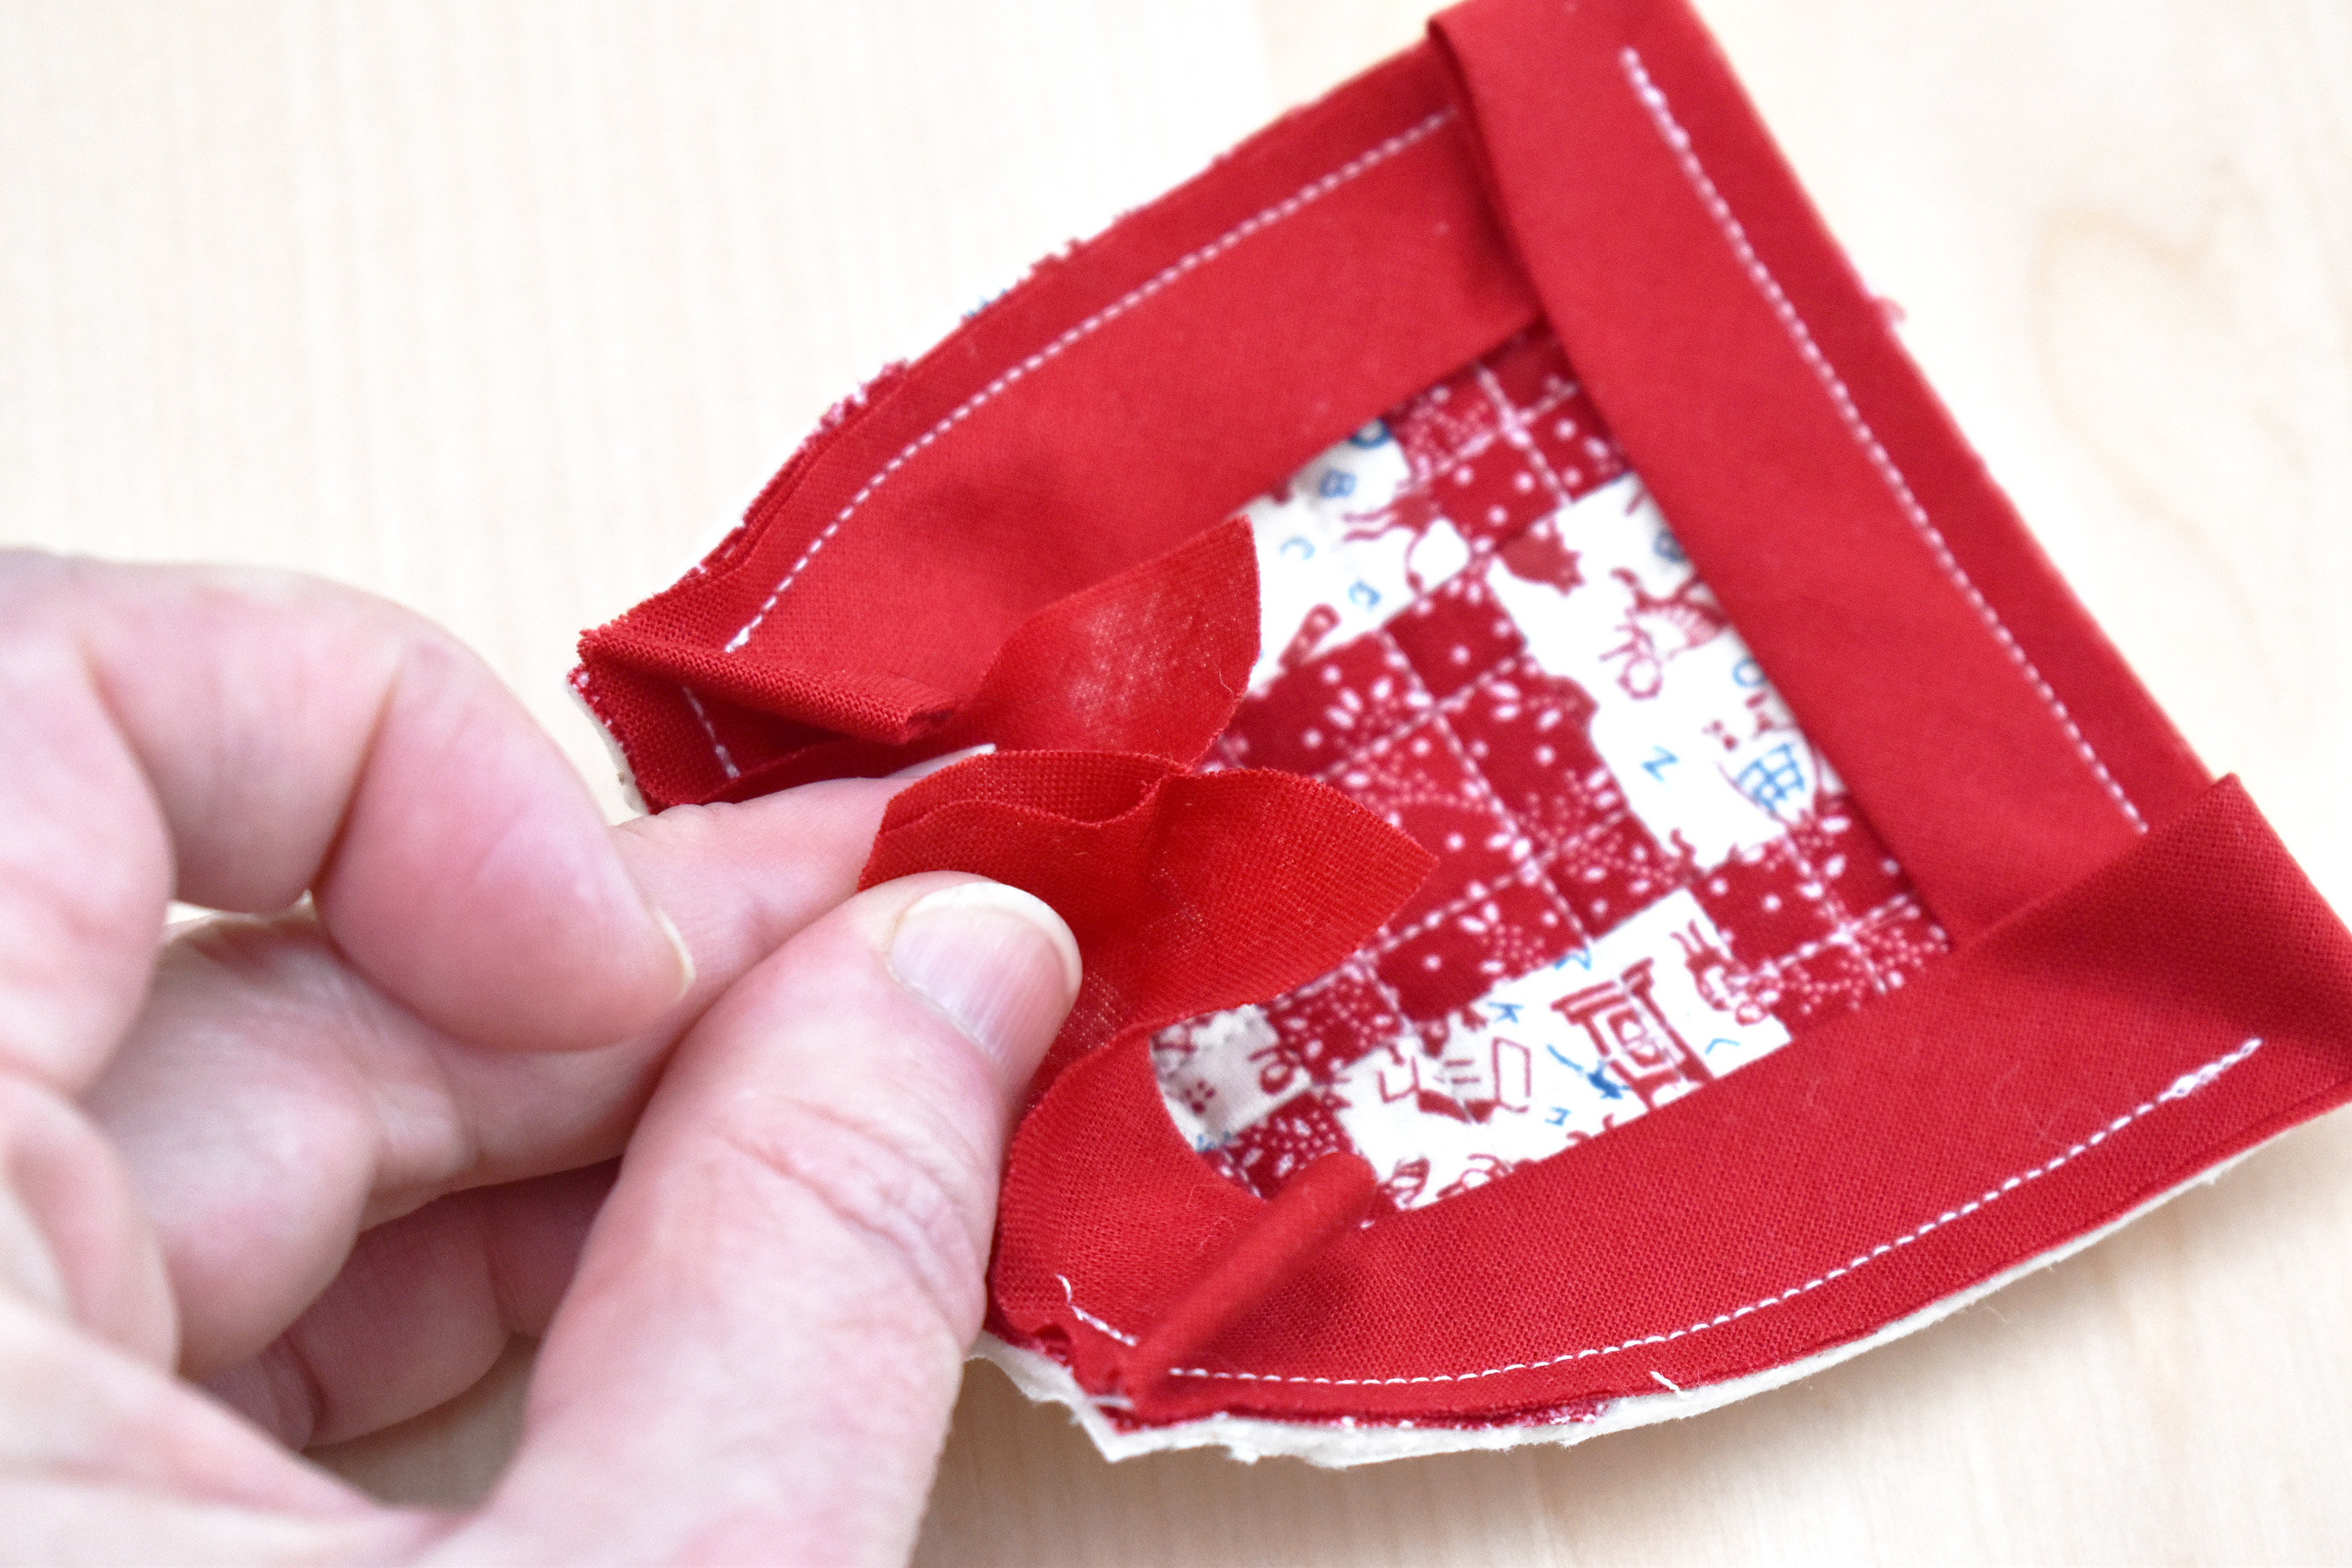
After turning the very last corner, stop sewing about .5″ from the end, and backstitch. You will have two ends of bias binding tails and an open area along the last edge (as in the photo below).
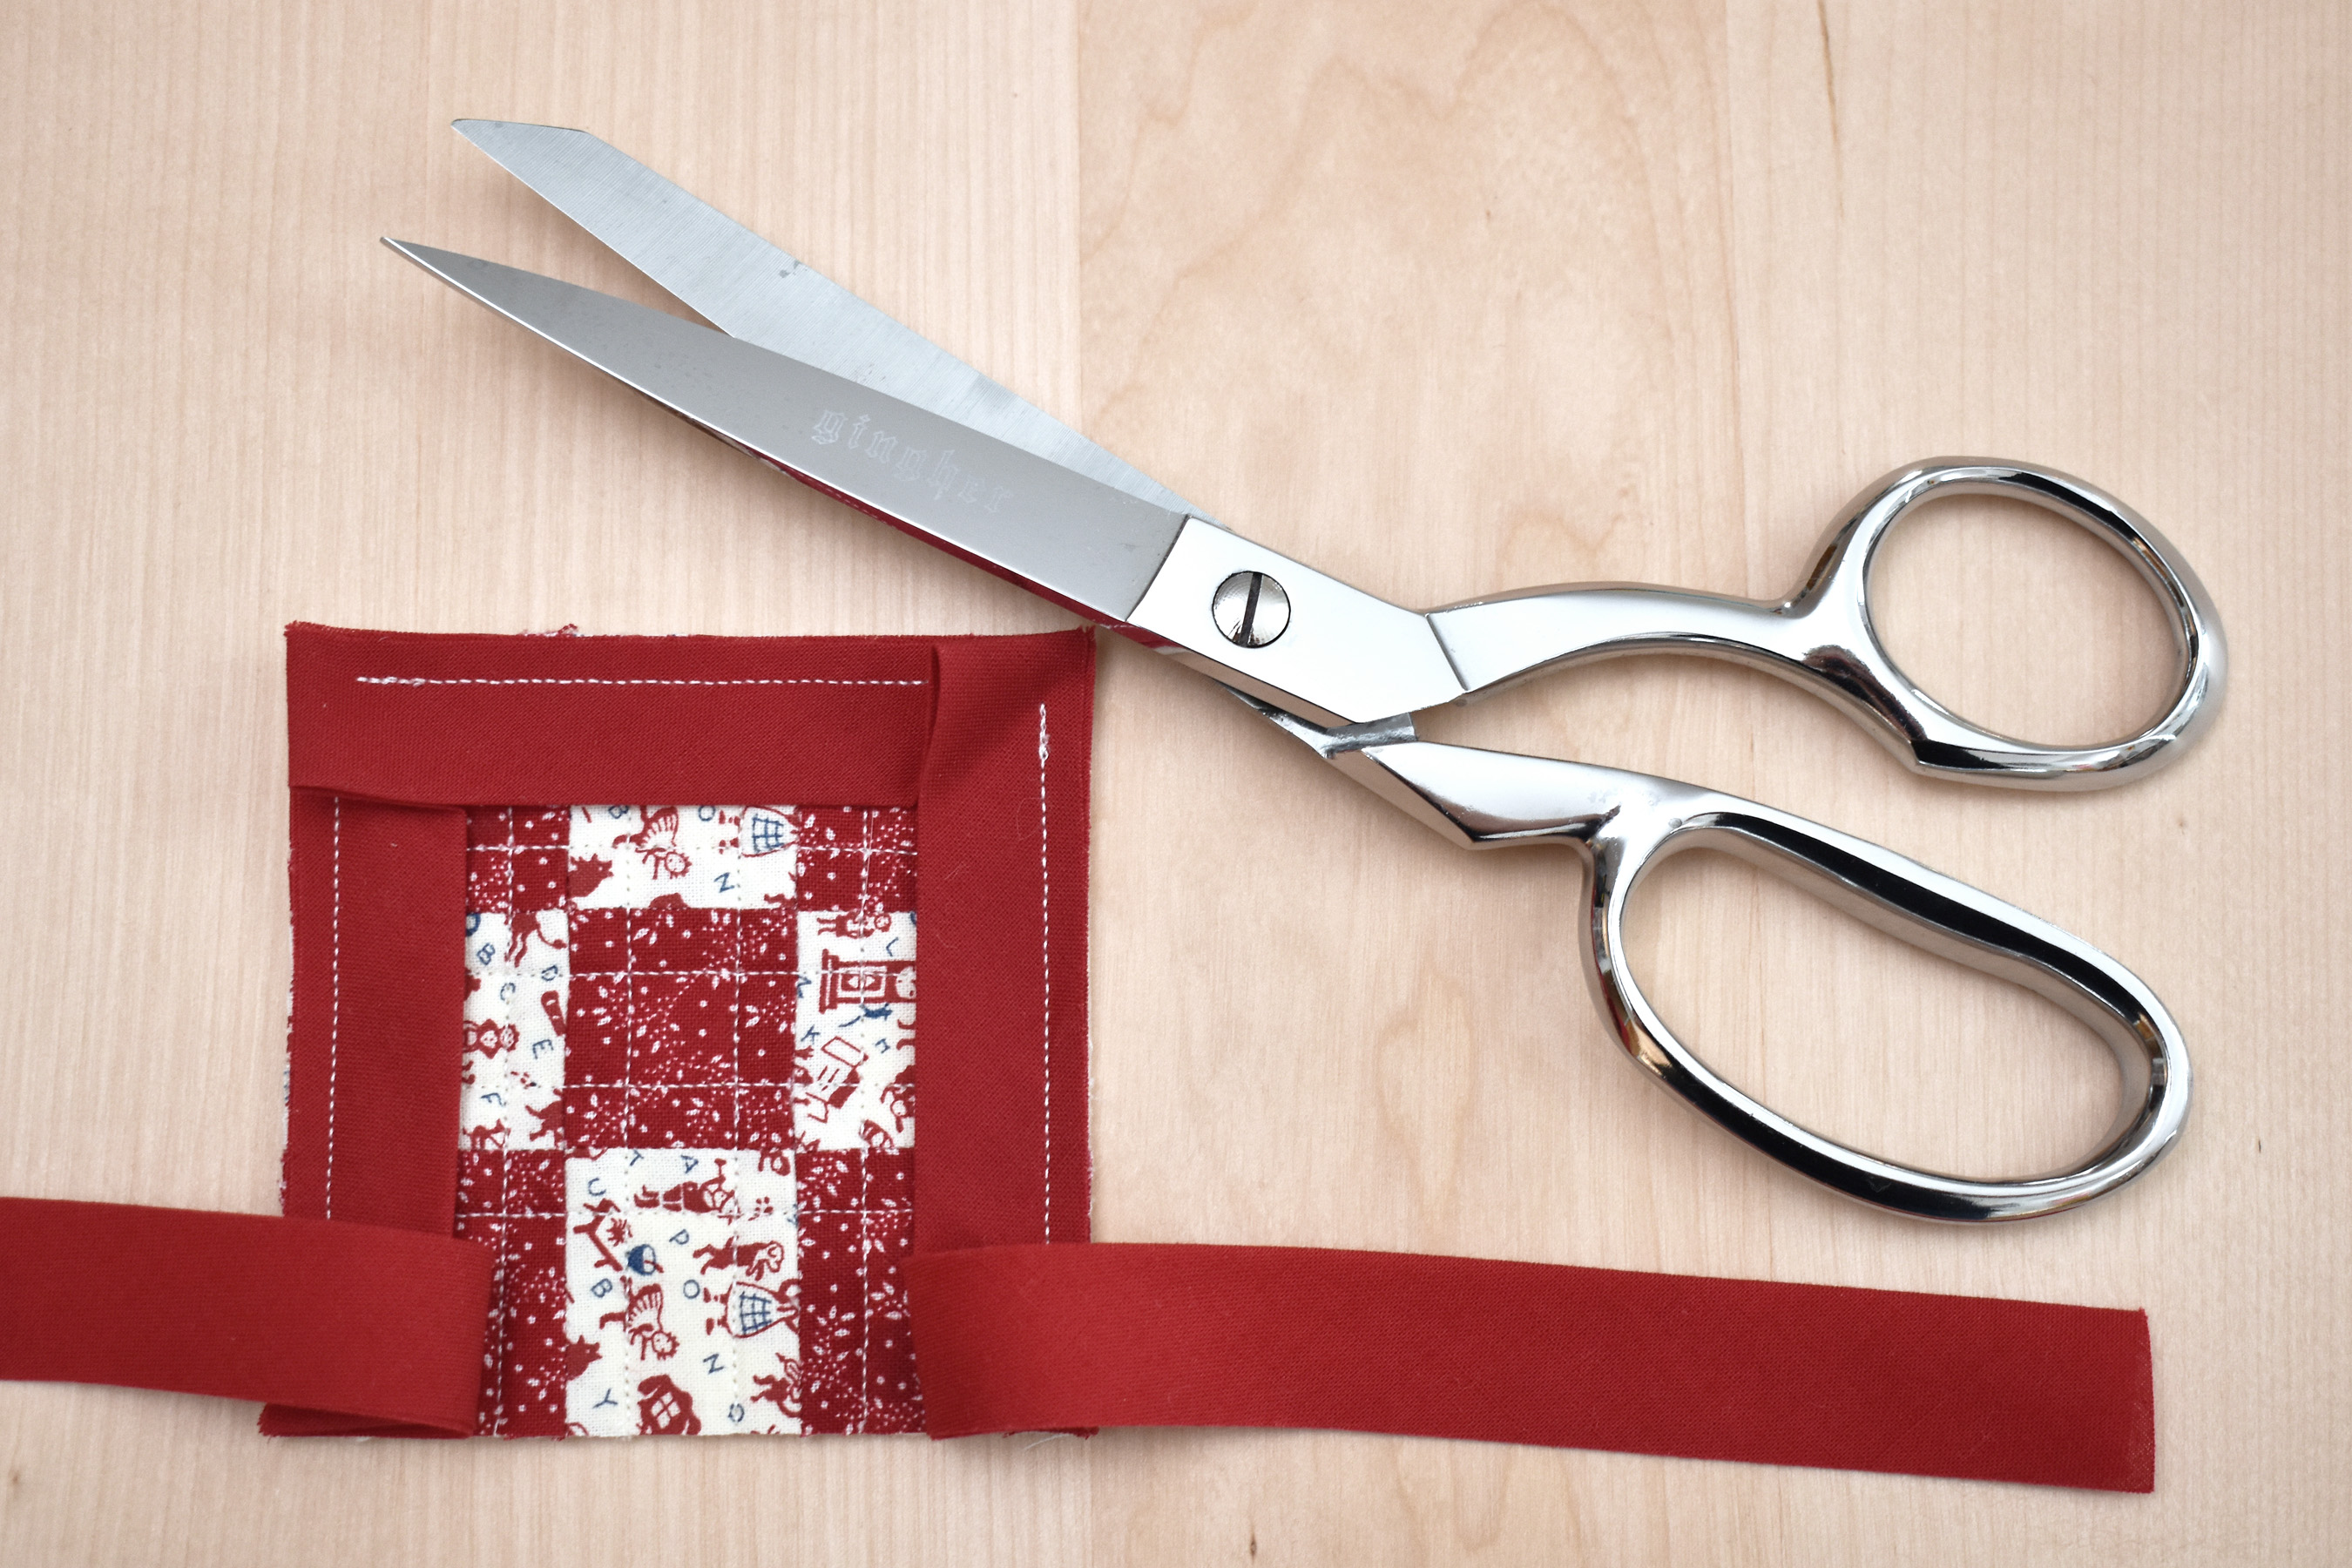
Grab a pair of sharp fabric shears to cut the ends of the binding to size. You can also use a rotary cutter and ruler for this step, but I find that sharp shears can cut just as well if you have a steady hand.
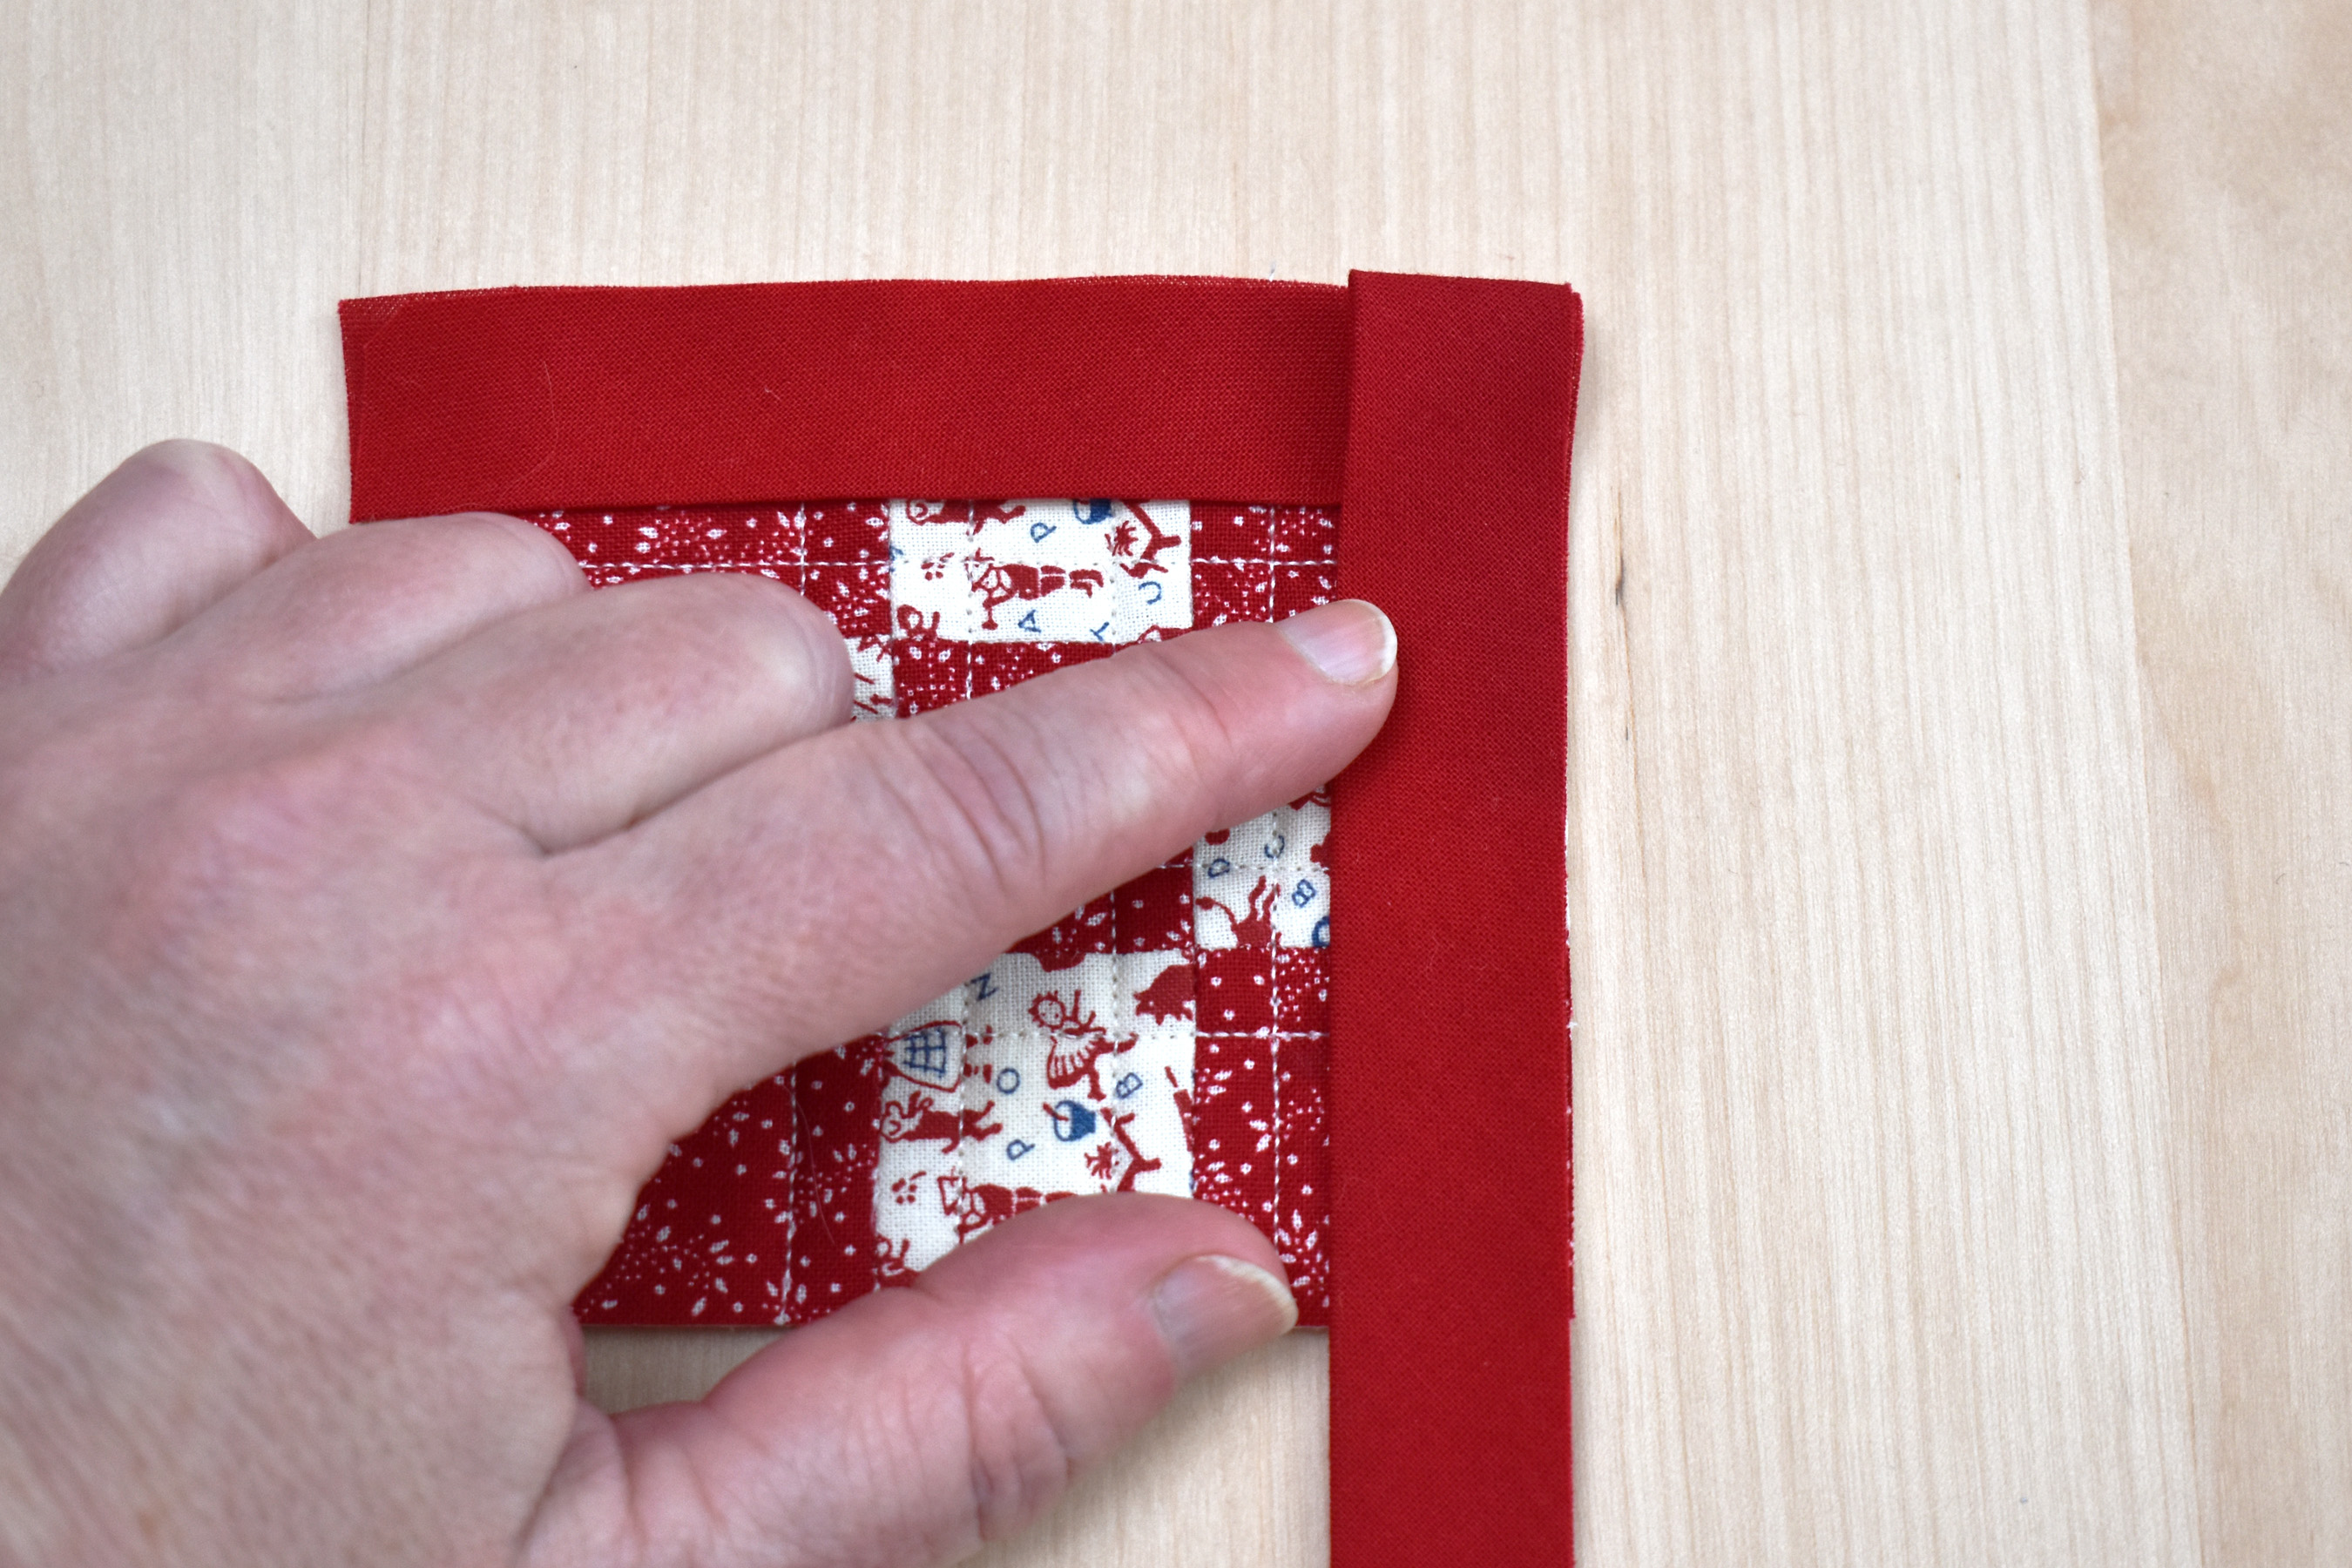
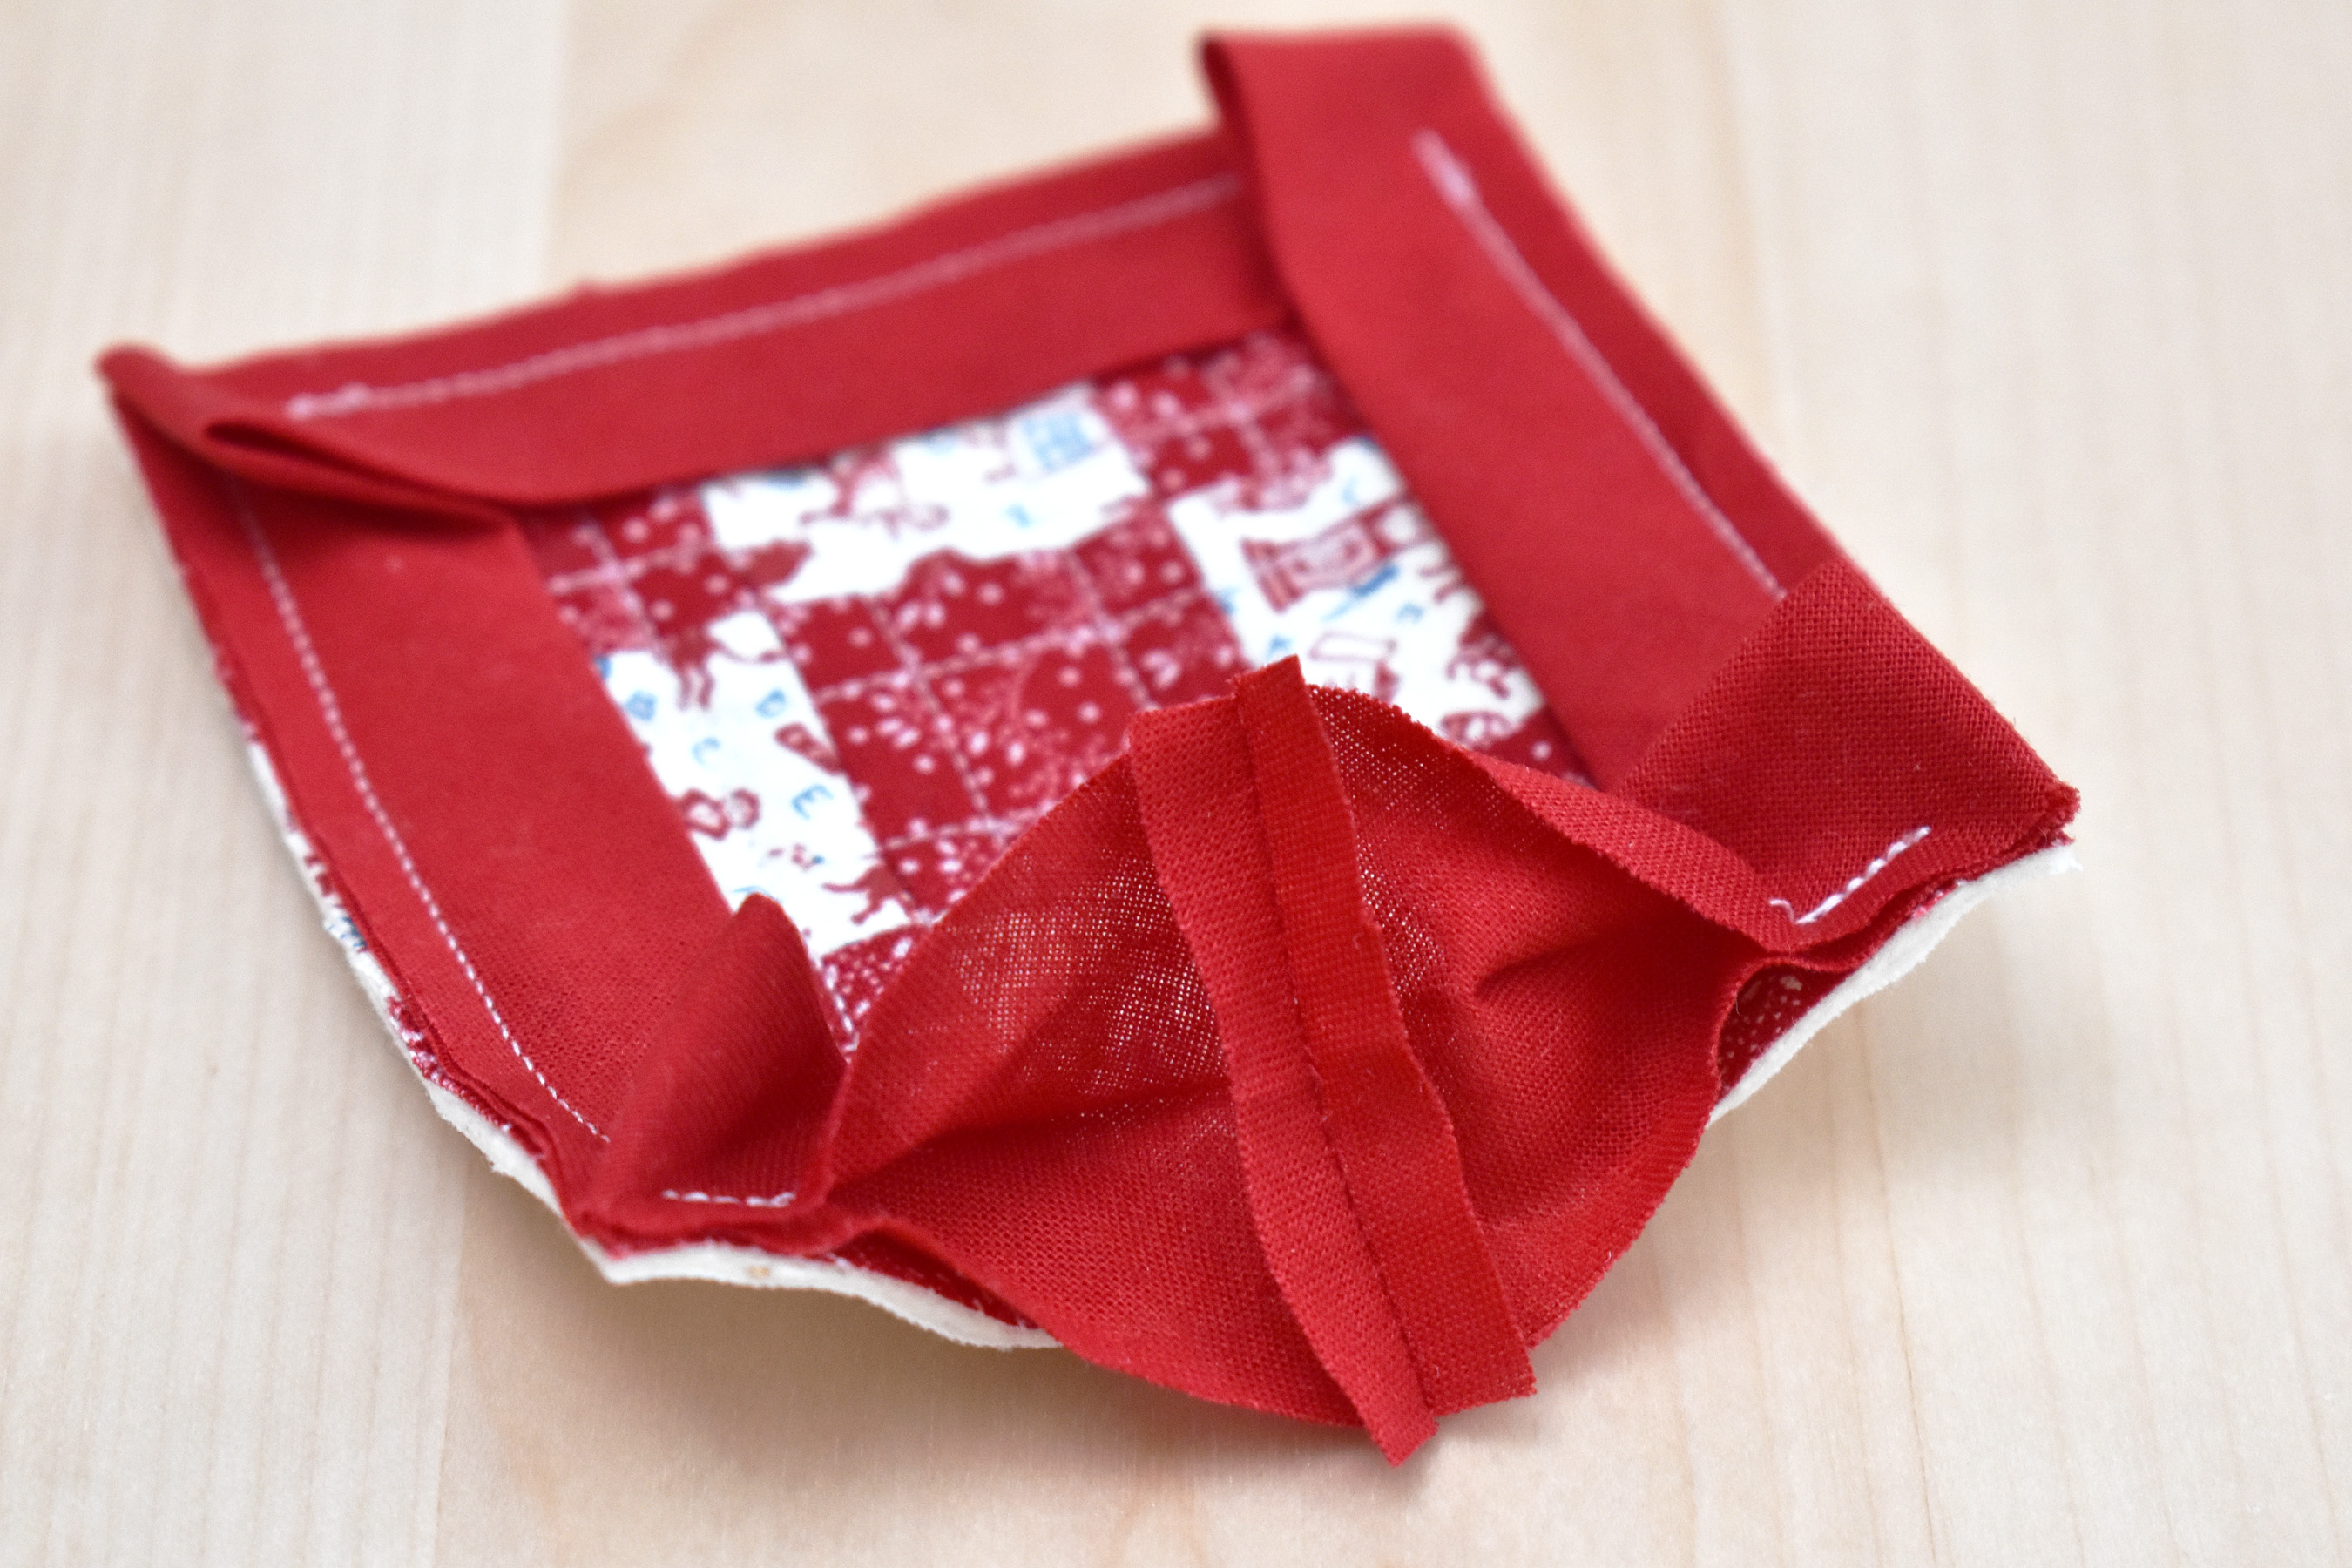
Flip one tail end of the bias strip over the open area, and smooth out the binding flat.
Measure the bias strip about one-quarter inch over from the center of the block, and cut the binding perpendicular to the bottom edge of the block.
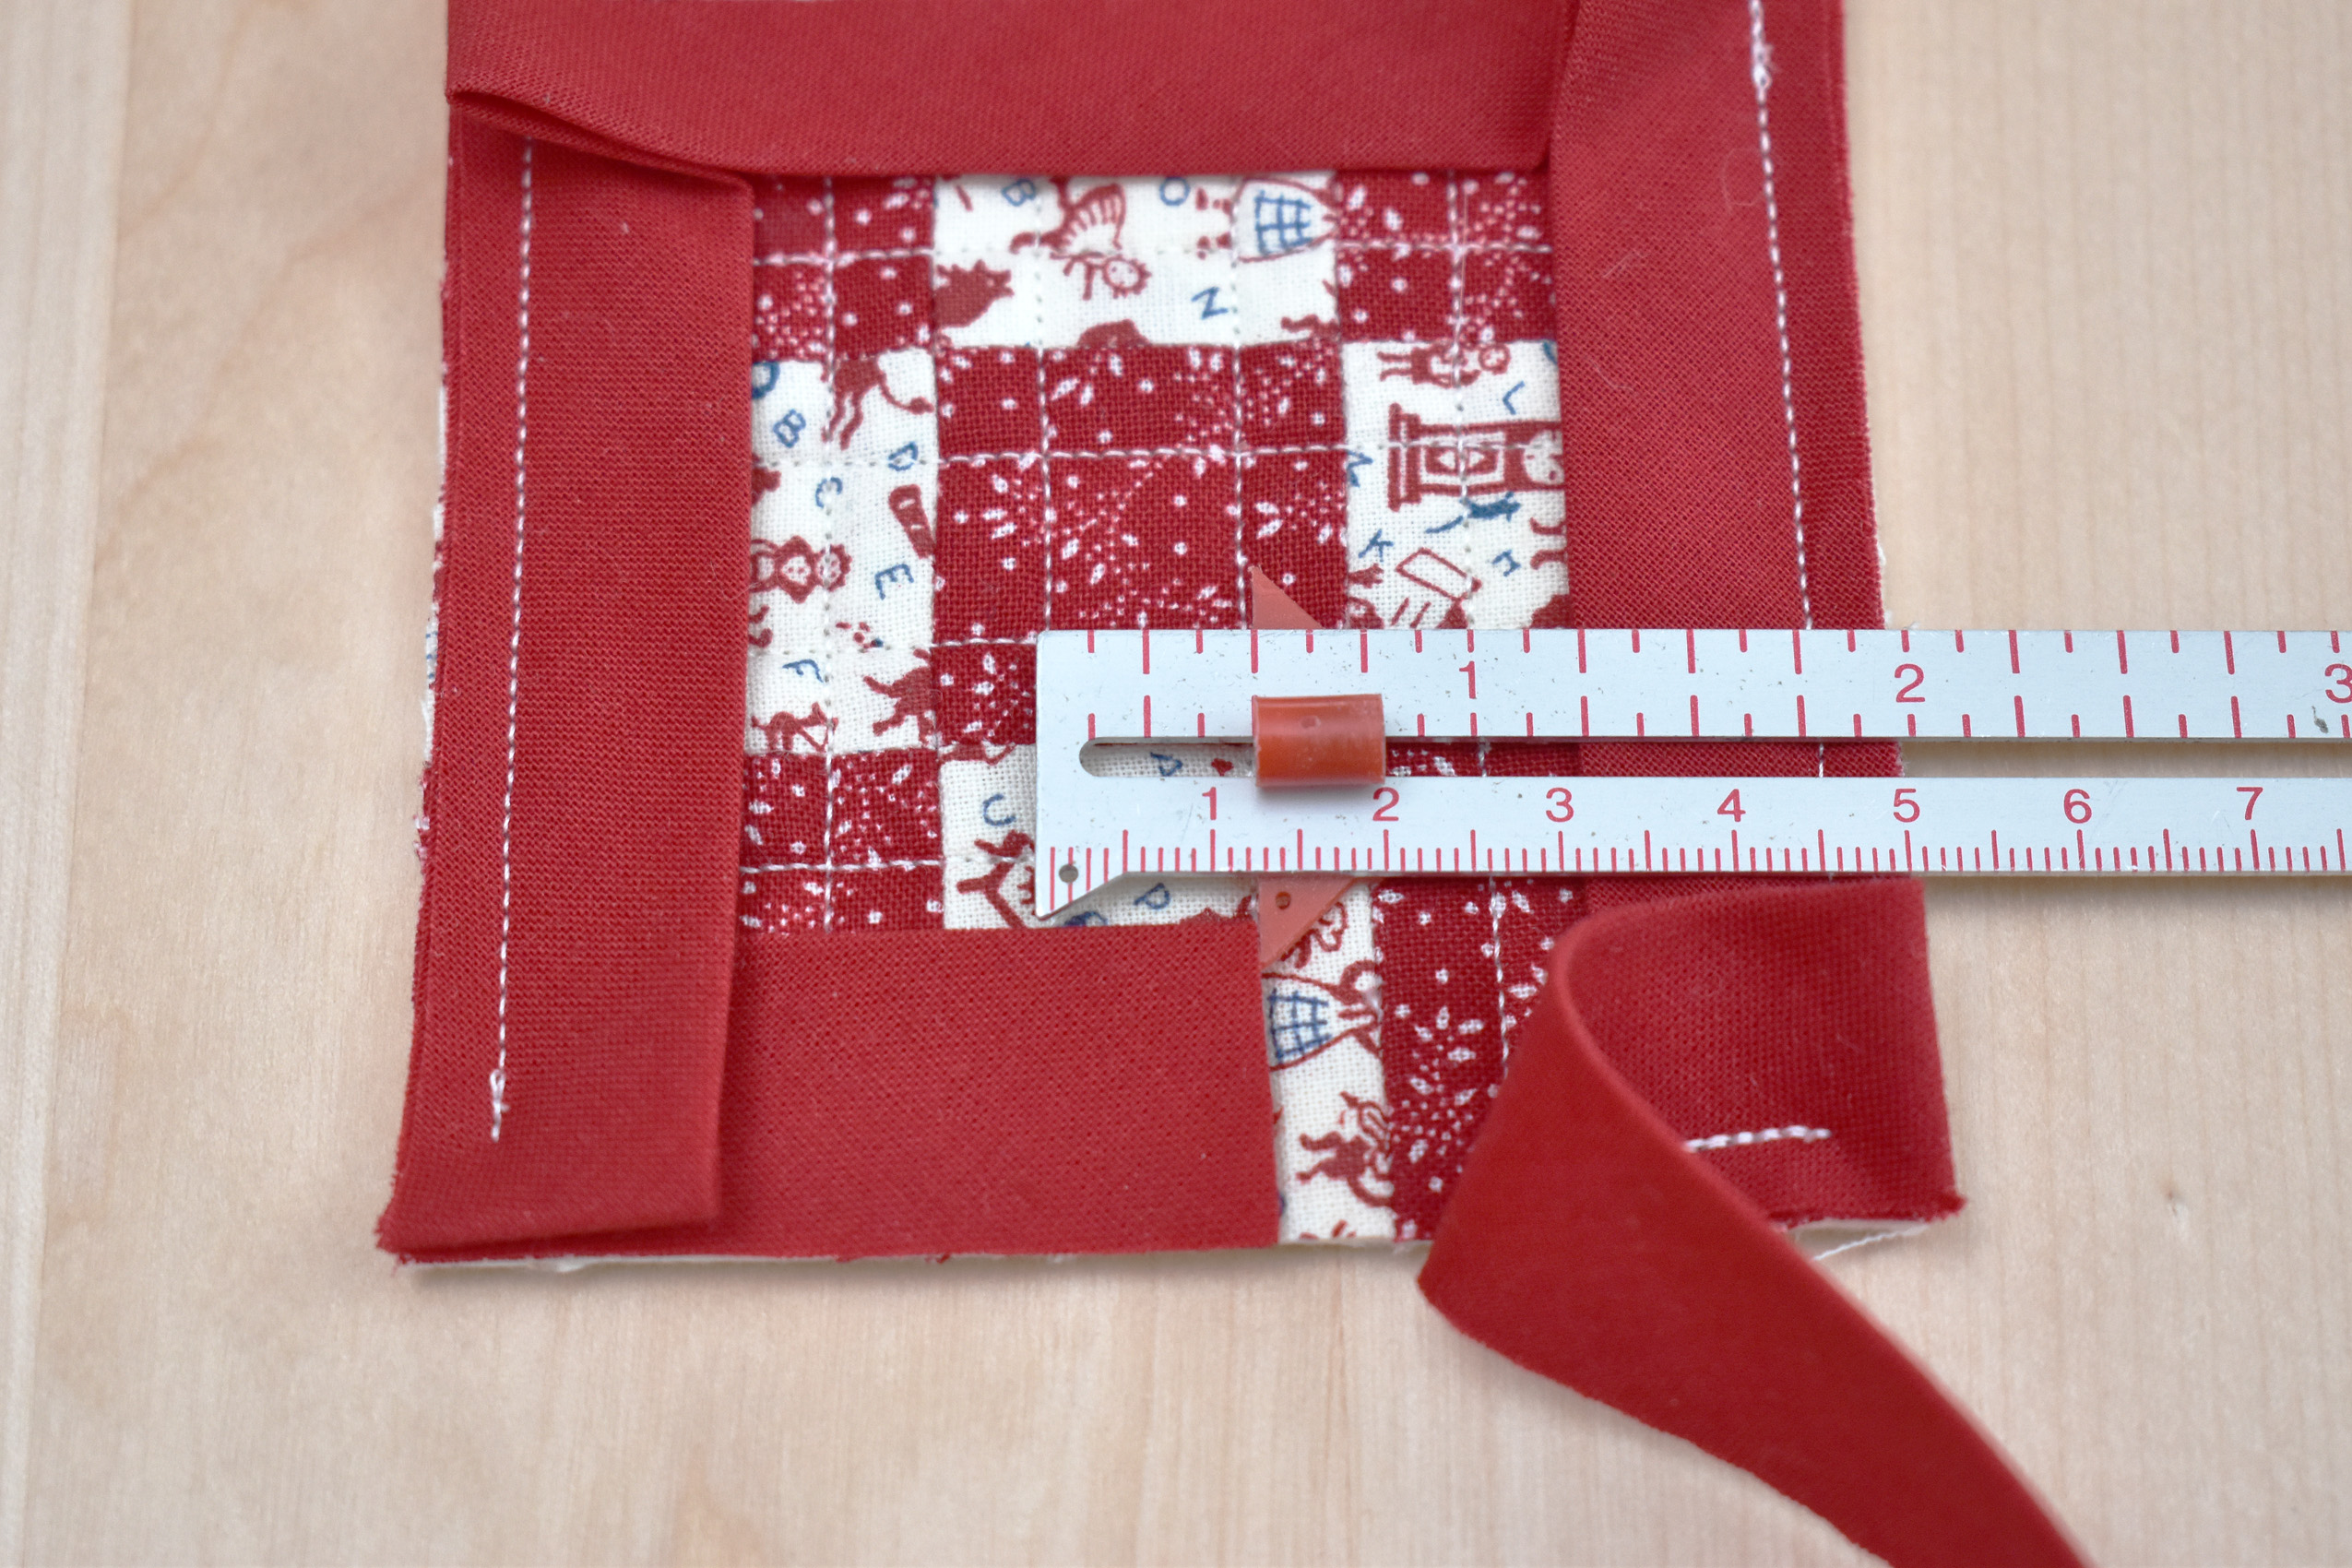
Use a sewing gauge and measure .5″ over from the cut edge.
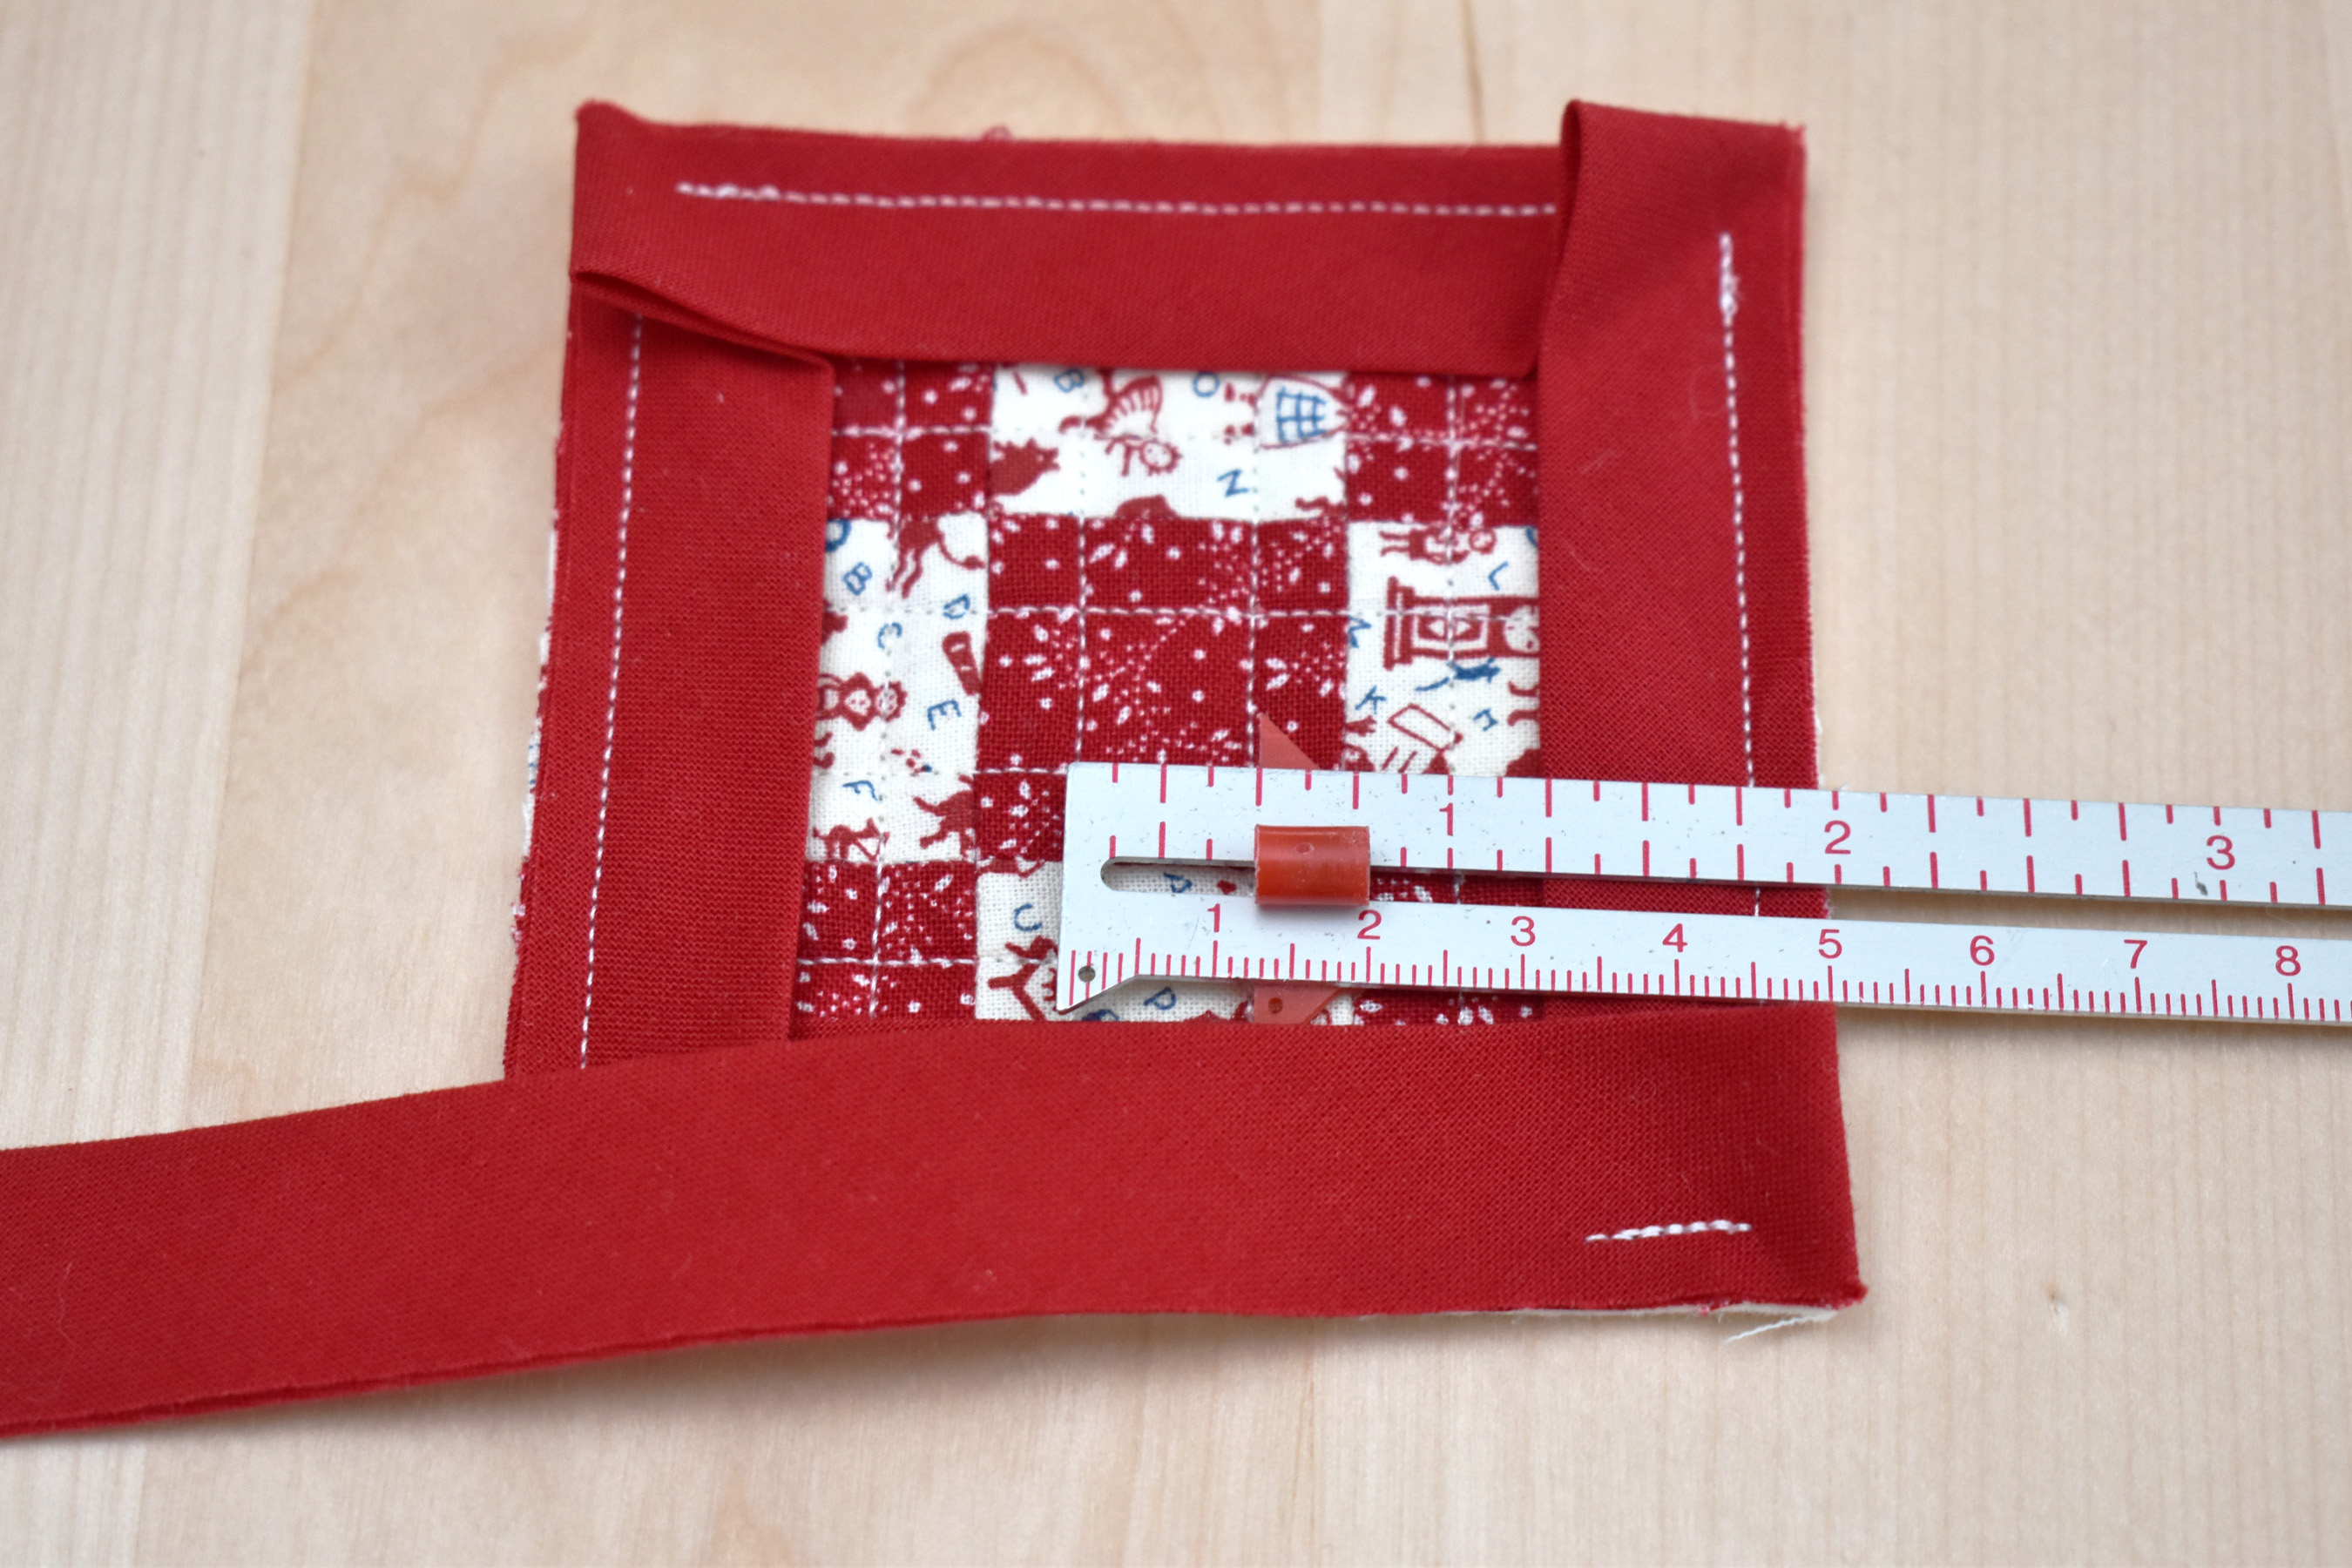
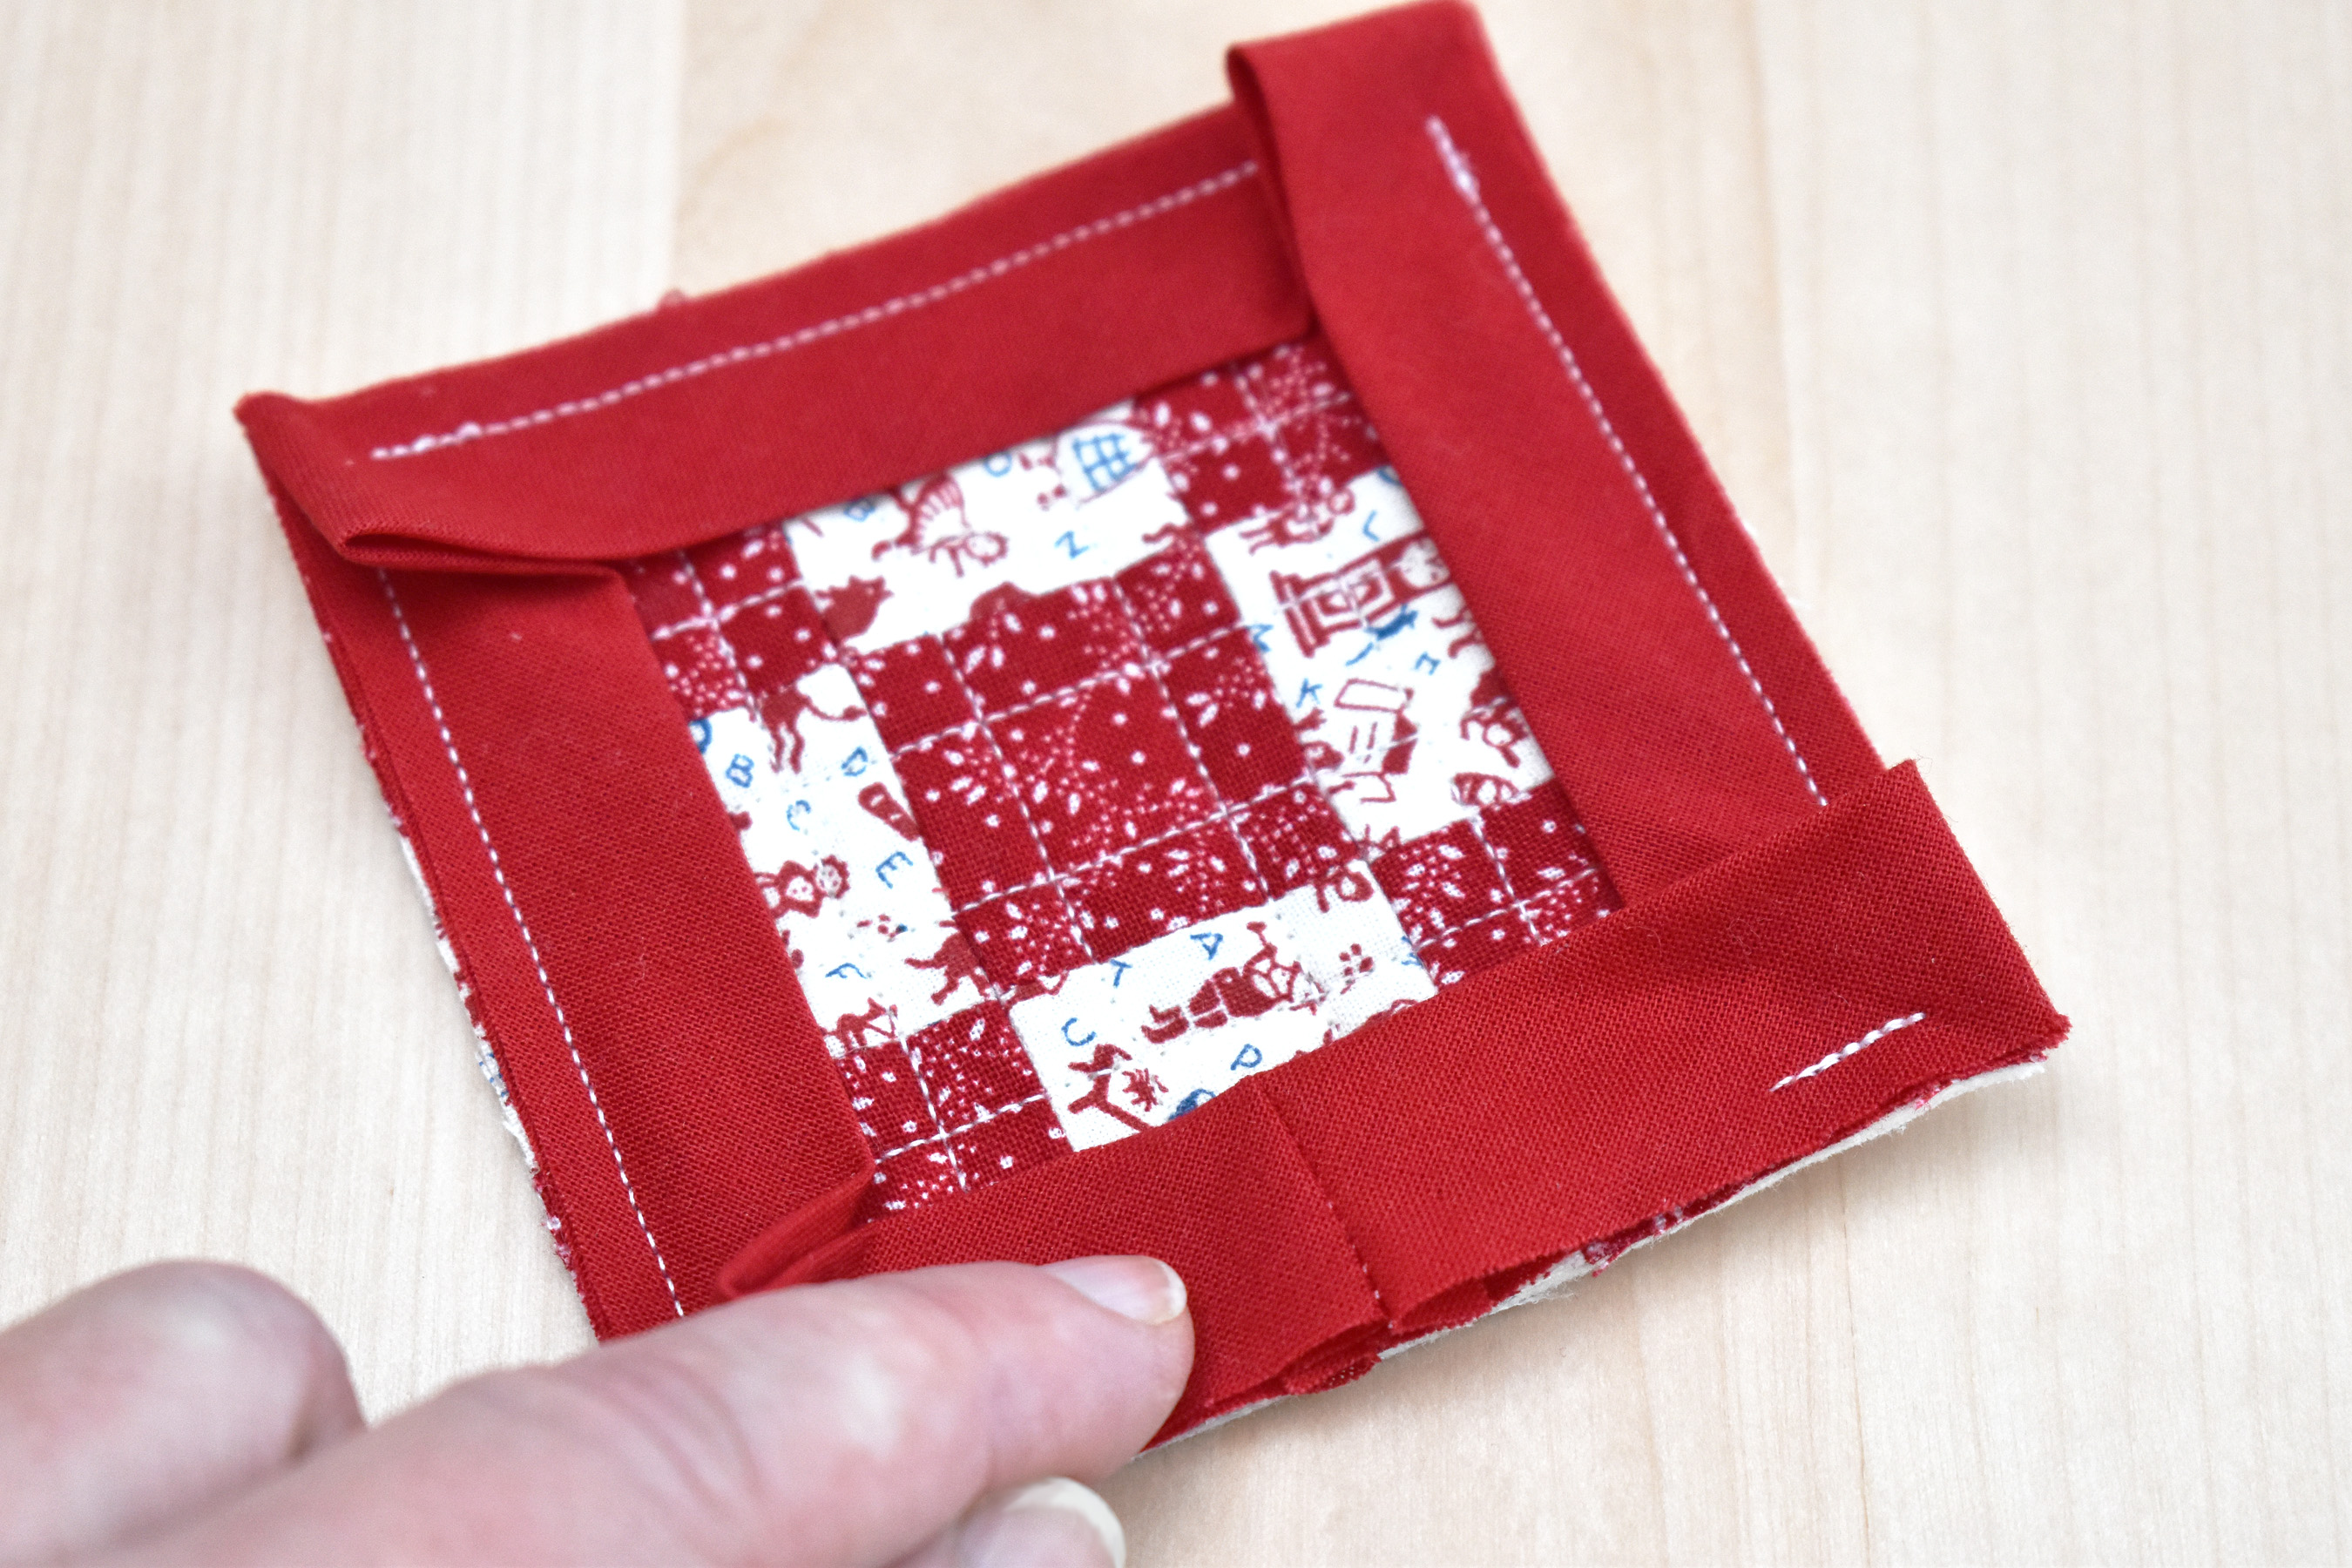
Flip the other side of the bias binding strip over, covering the cut end, and smooth out. Peek over the edge and make sure your sewing gauge is still measuring that .5″ over from the cut end underneath the top strip.

Cut the top bias binding end at the .5″ mark, perpendicular to the bottom edge. Your bias binding ends will now have an overlap of .5″.
Open the cut ends and pin them right sides together.

It helps to pinch the block together as you pin.
Sew the ends together across the short edge with a quarter-inch seam.
Finger press the seam open.
Fold the binding over, and give the seam a good steam pressing.
Sew this last strip of bias binding down to the patchwork square with the sewing machine, making sure to use that very, very scant quarter-inch seam. And the binding is secured!
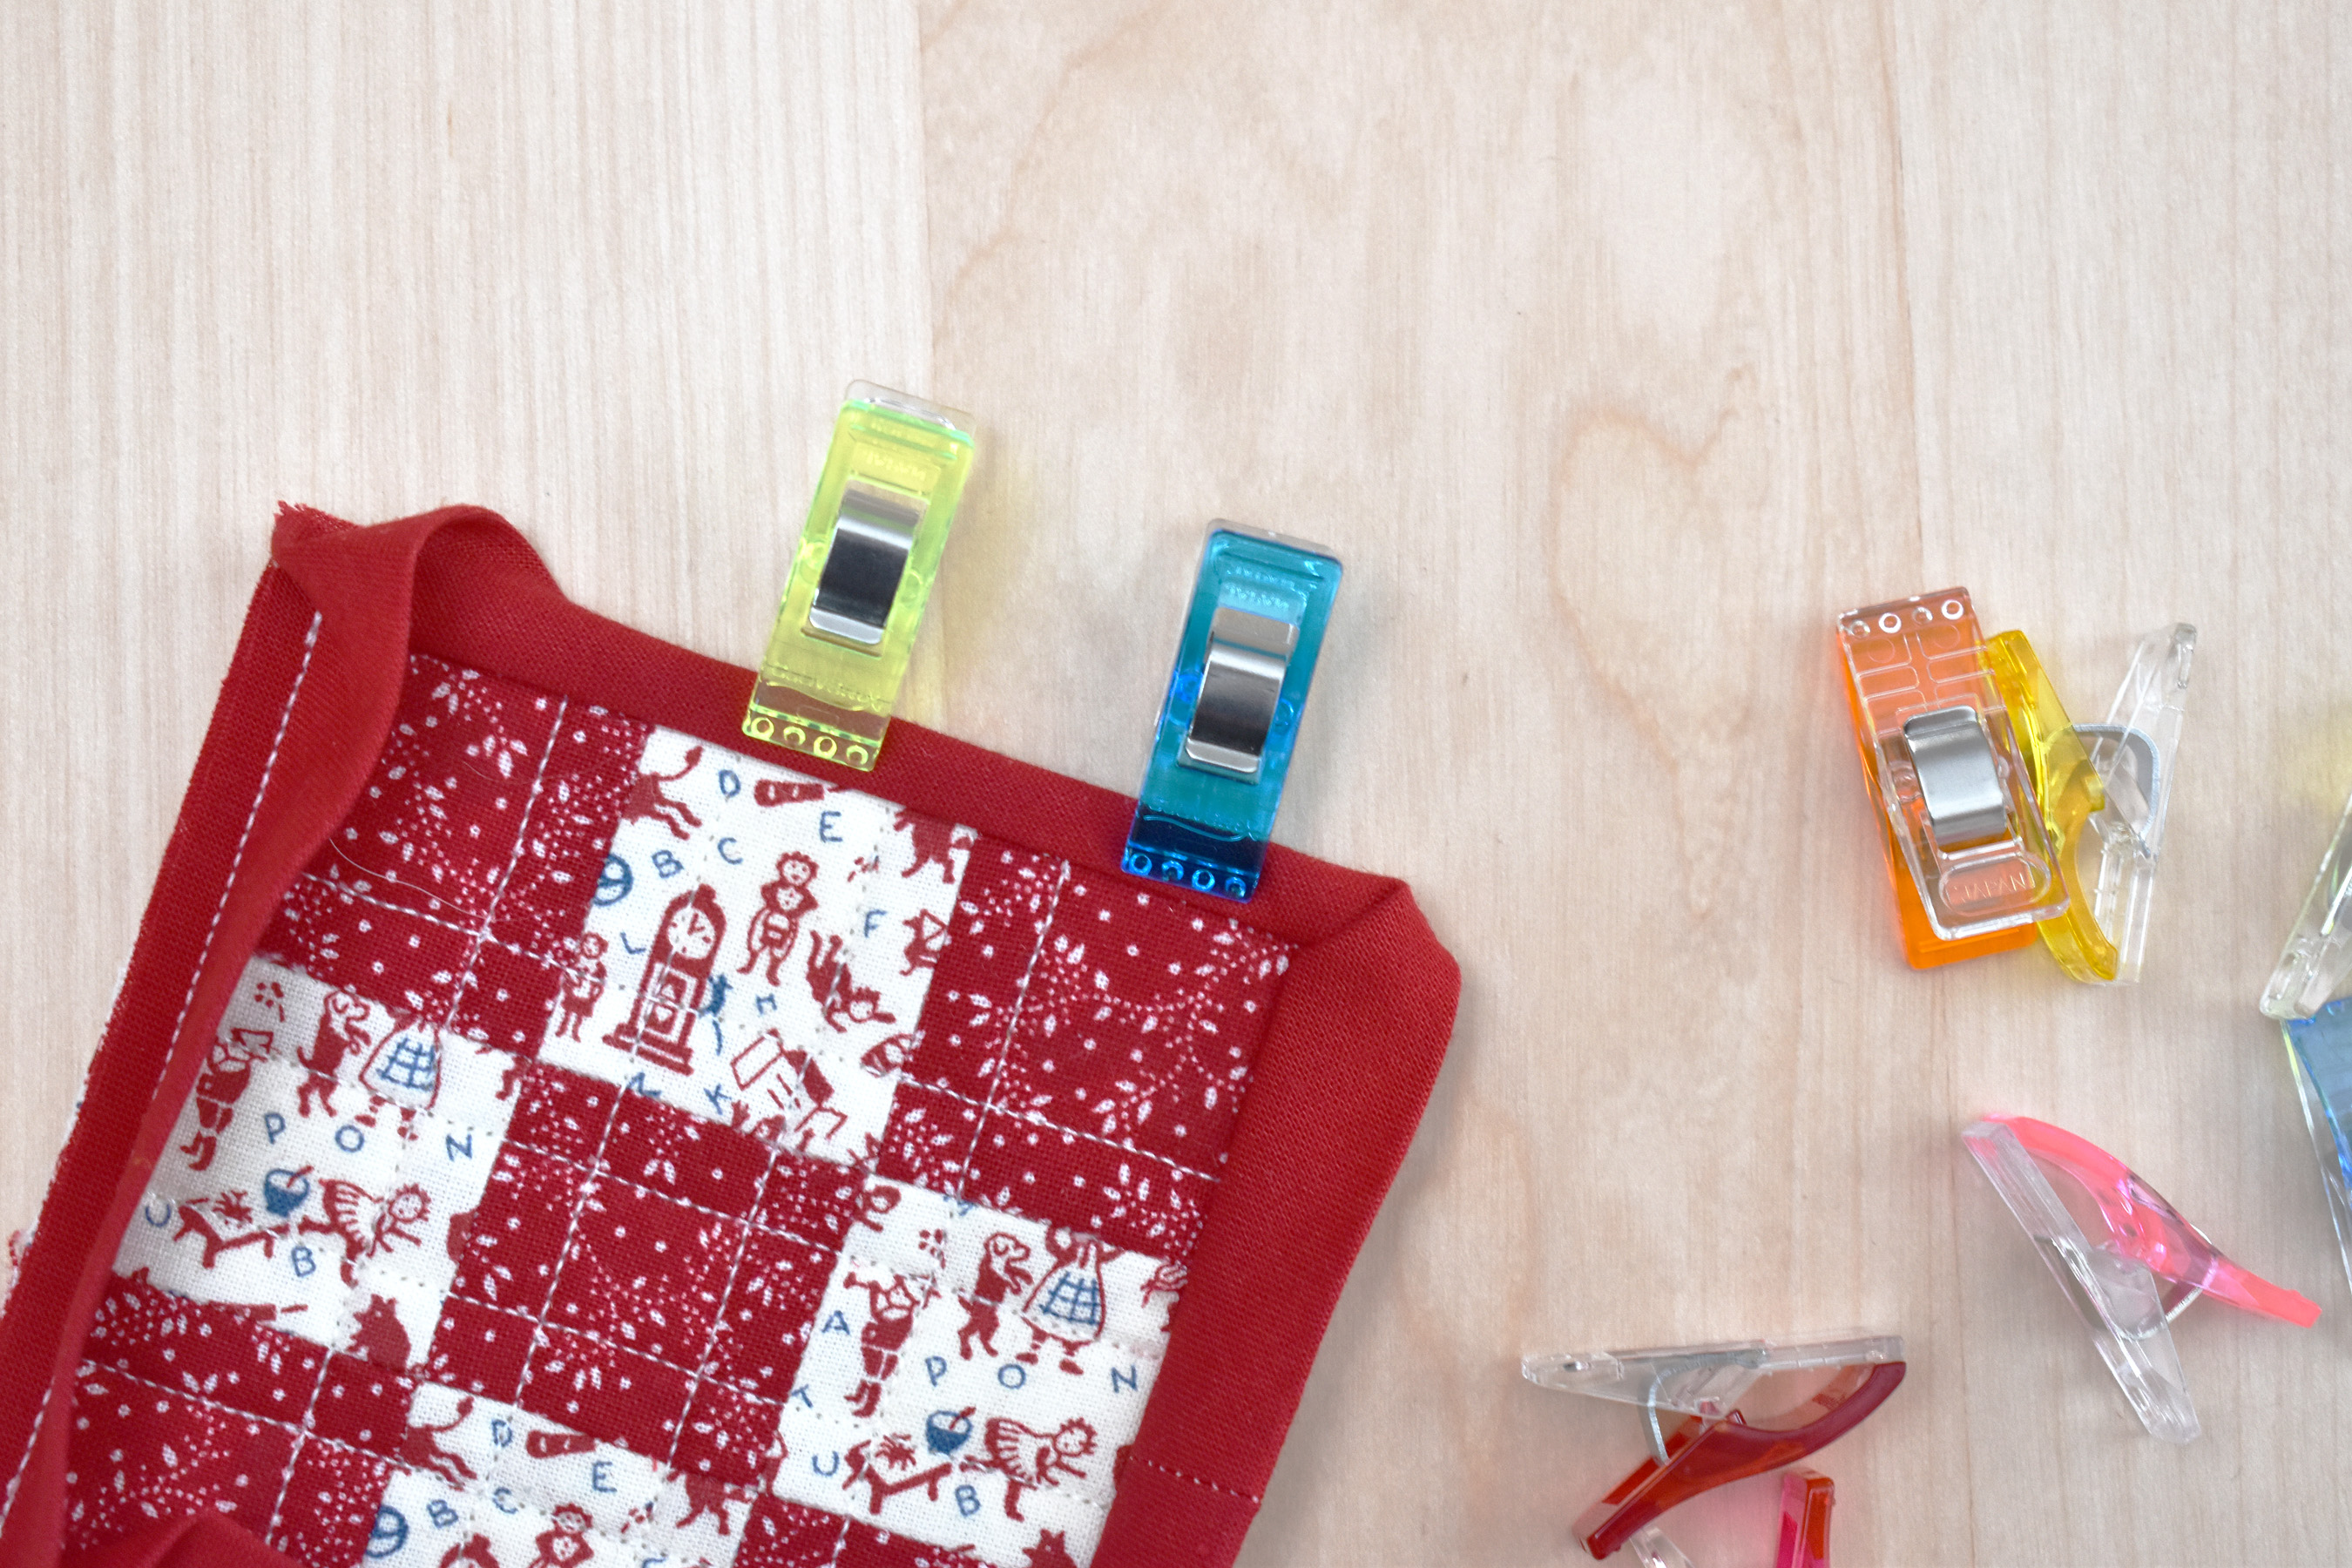
Use clips to fold the binding to the back of the patchwork block.

If you’ve hit the sweet spot with the super-scant quarter-inch seam, the binding will just cover the binding stitches on the backside of the patchwork block.
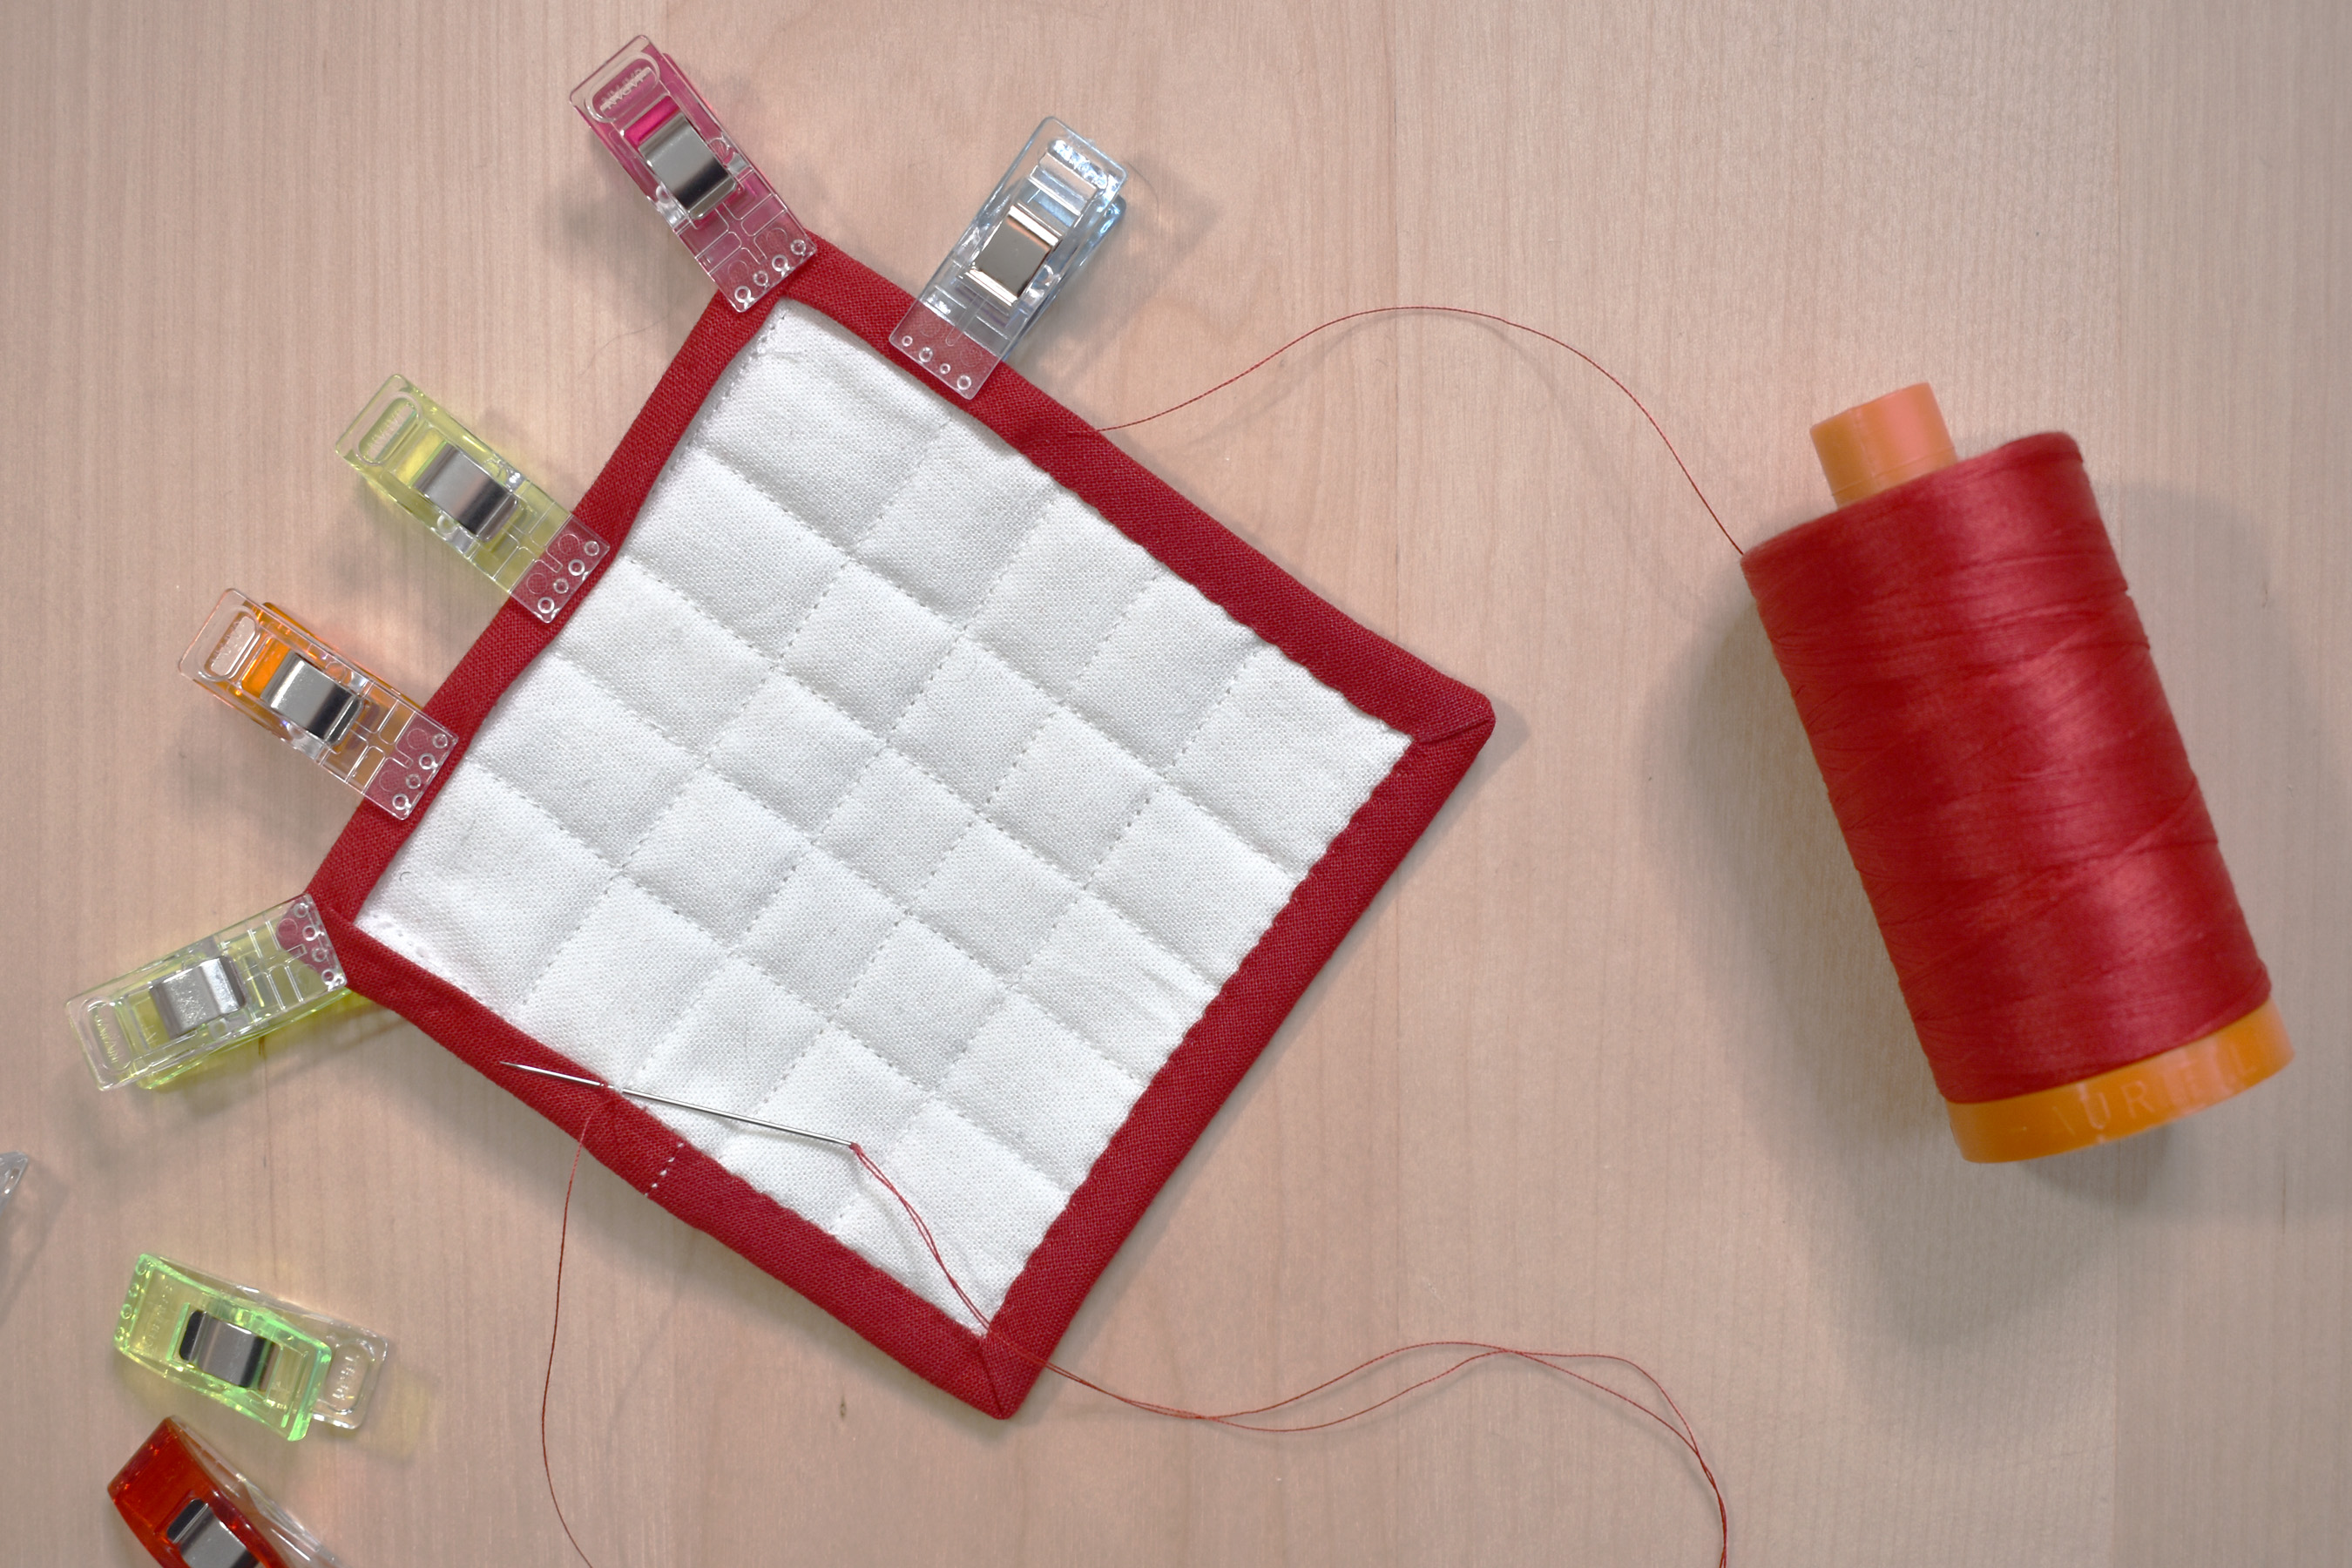
Hand stitch the binding on the backside with needle and thread, and the mini patchwork block is finished!
I use cotton embroidery floss to make hangers for the ornaments. Feel free to use whatever you might have on hand, micro ribbon, mini ric rac trim, cording, or clear beading monofilament.

To make a hanger, cut a length of floss 10″ long.
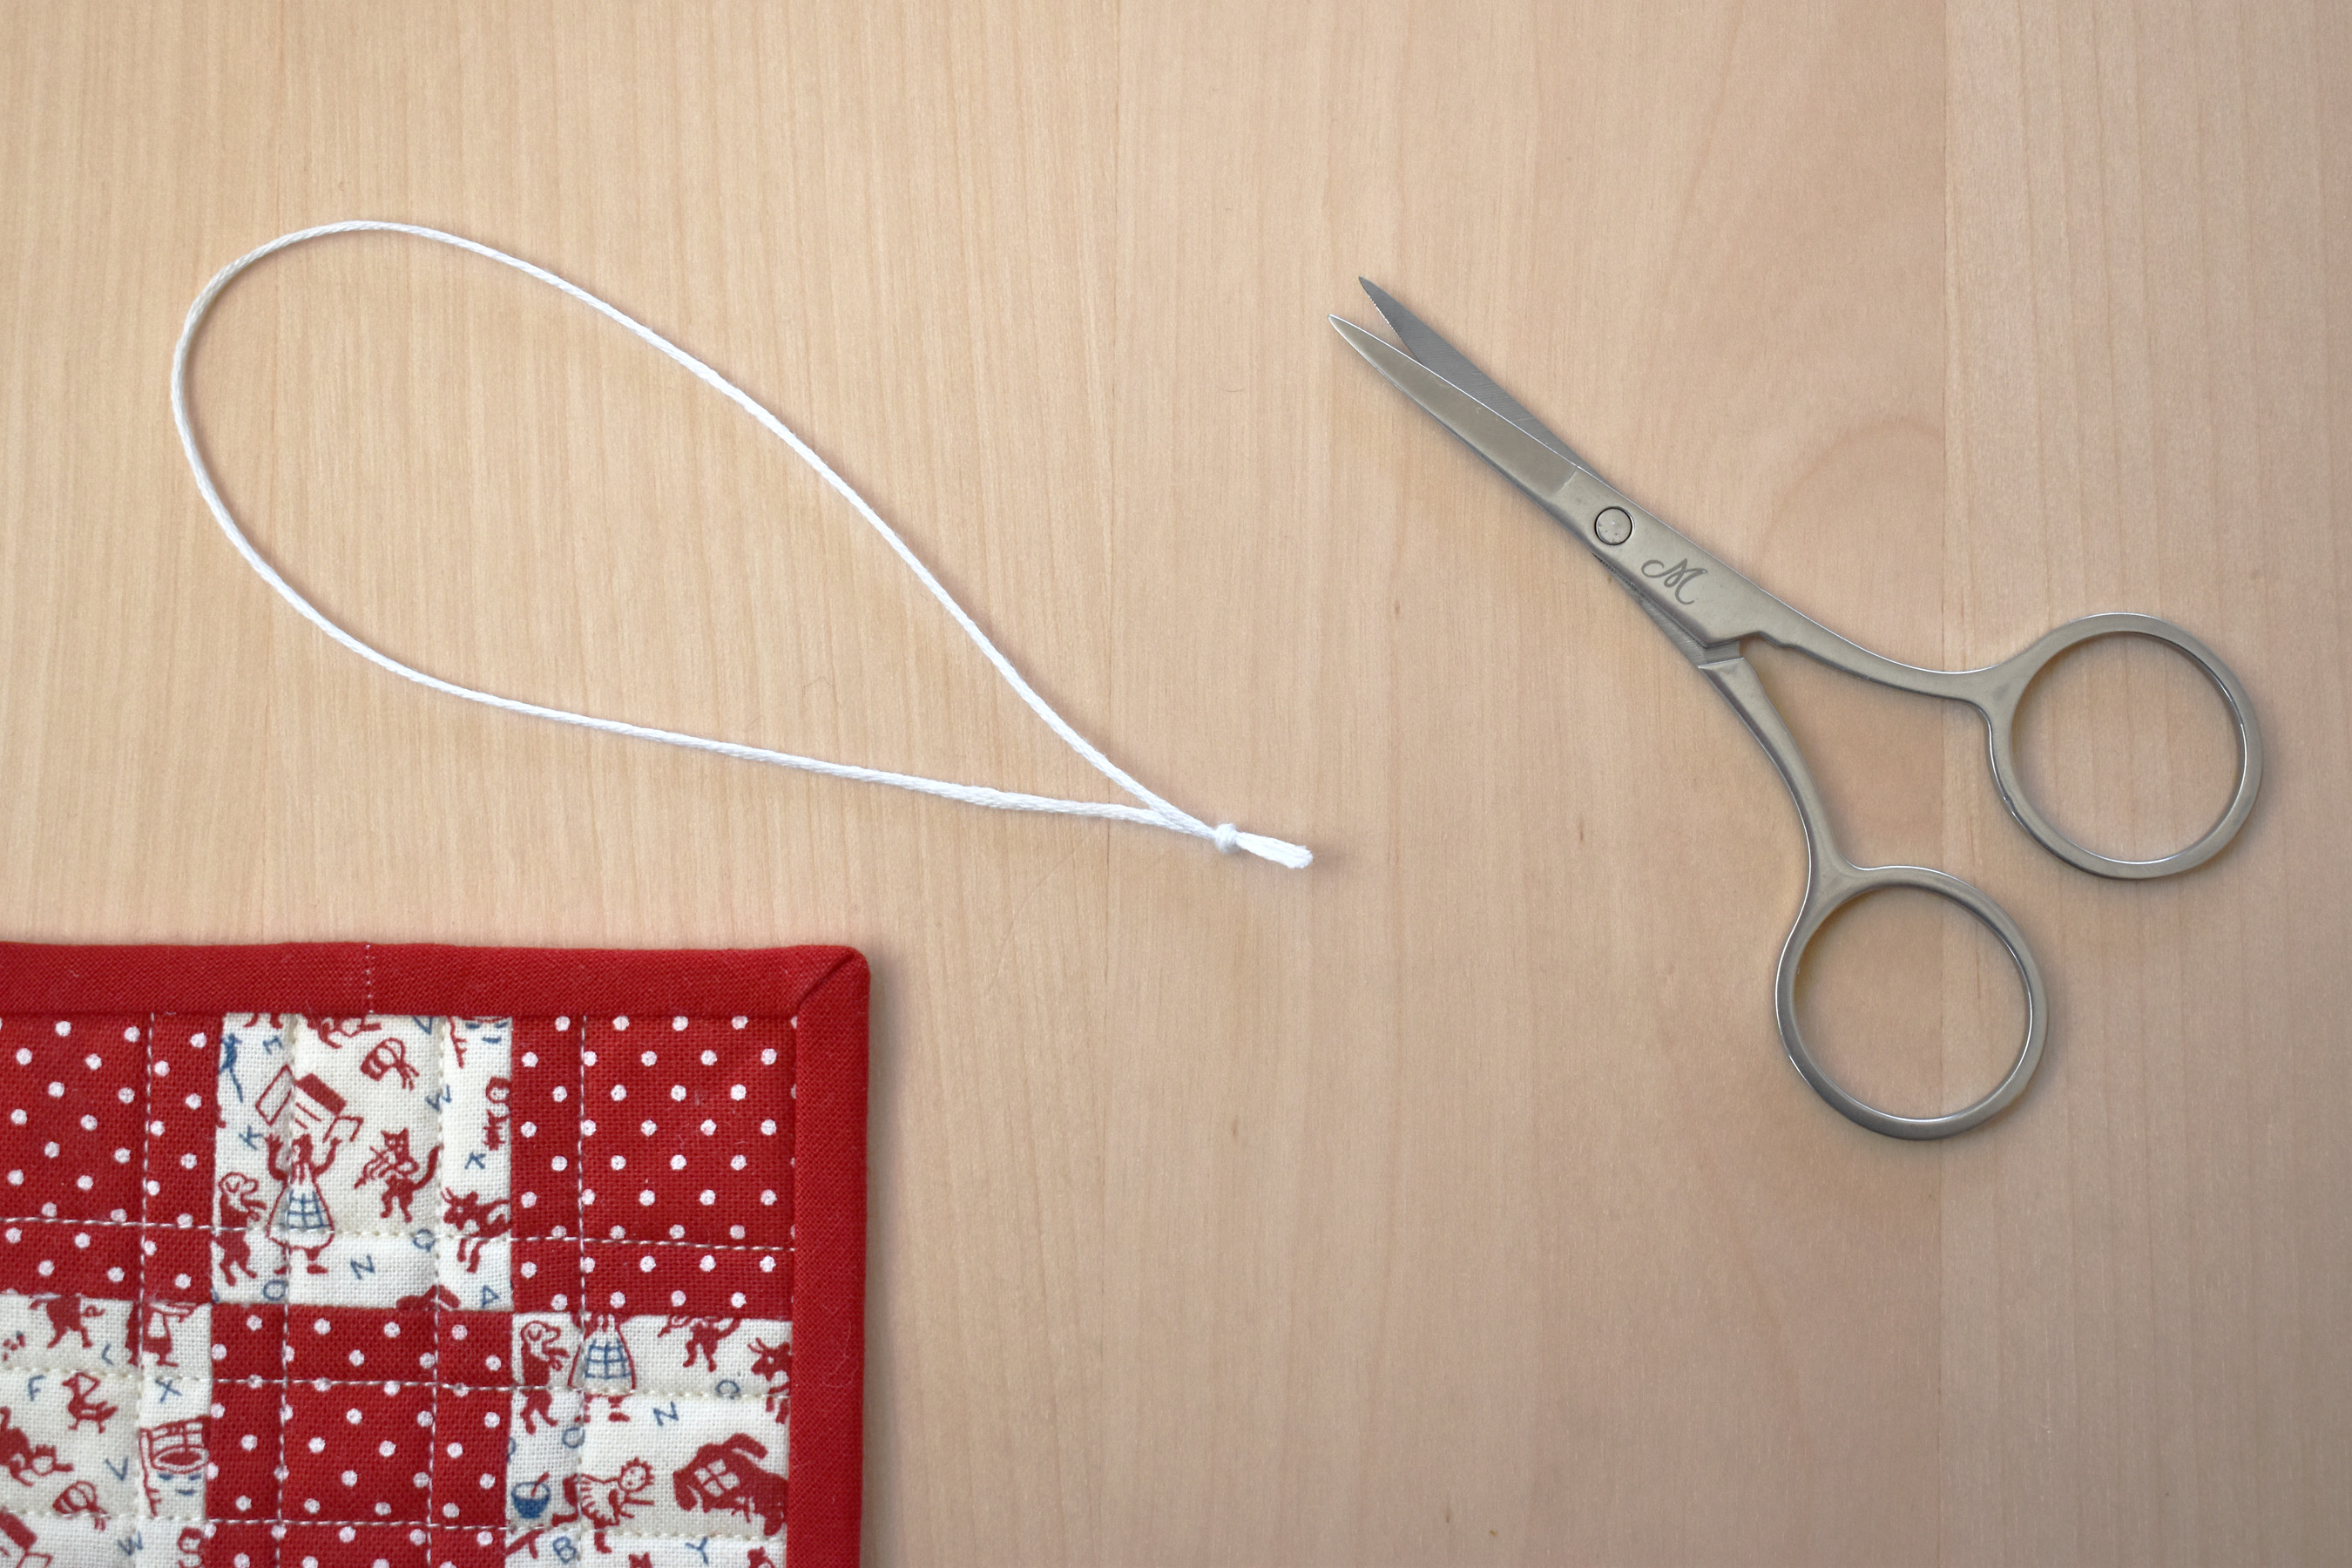
Tie both ends together in an overhand knot.
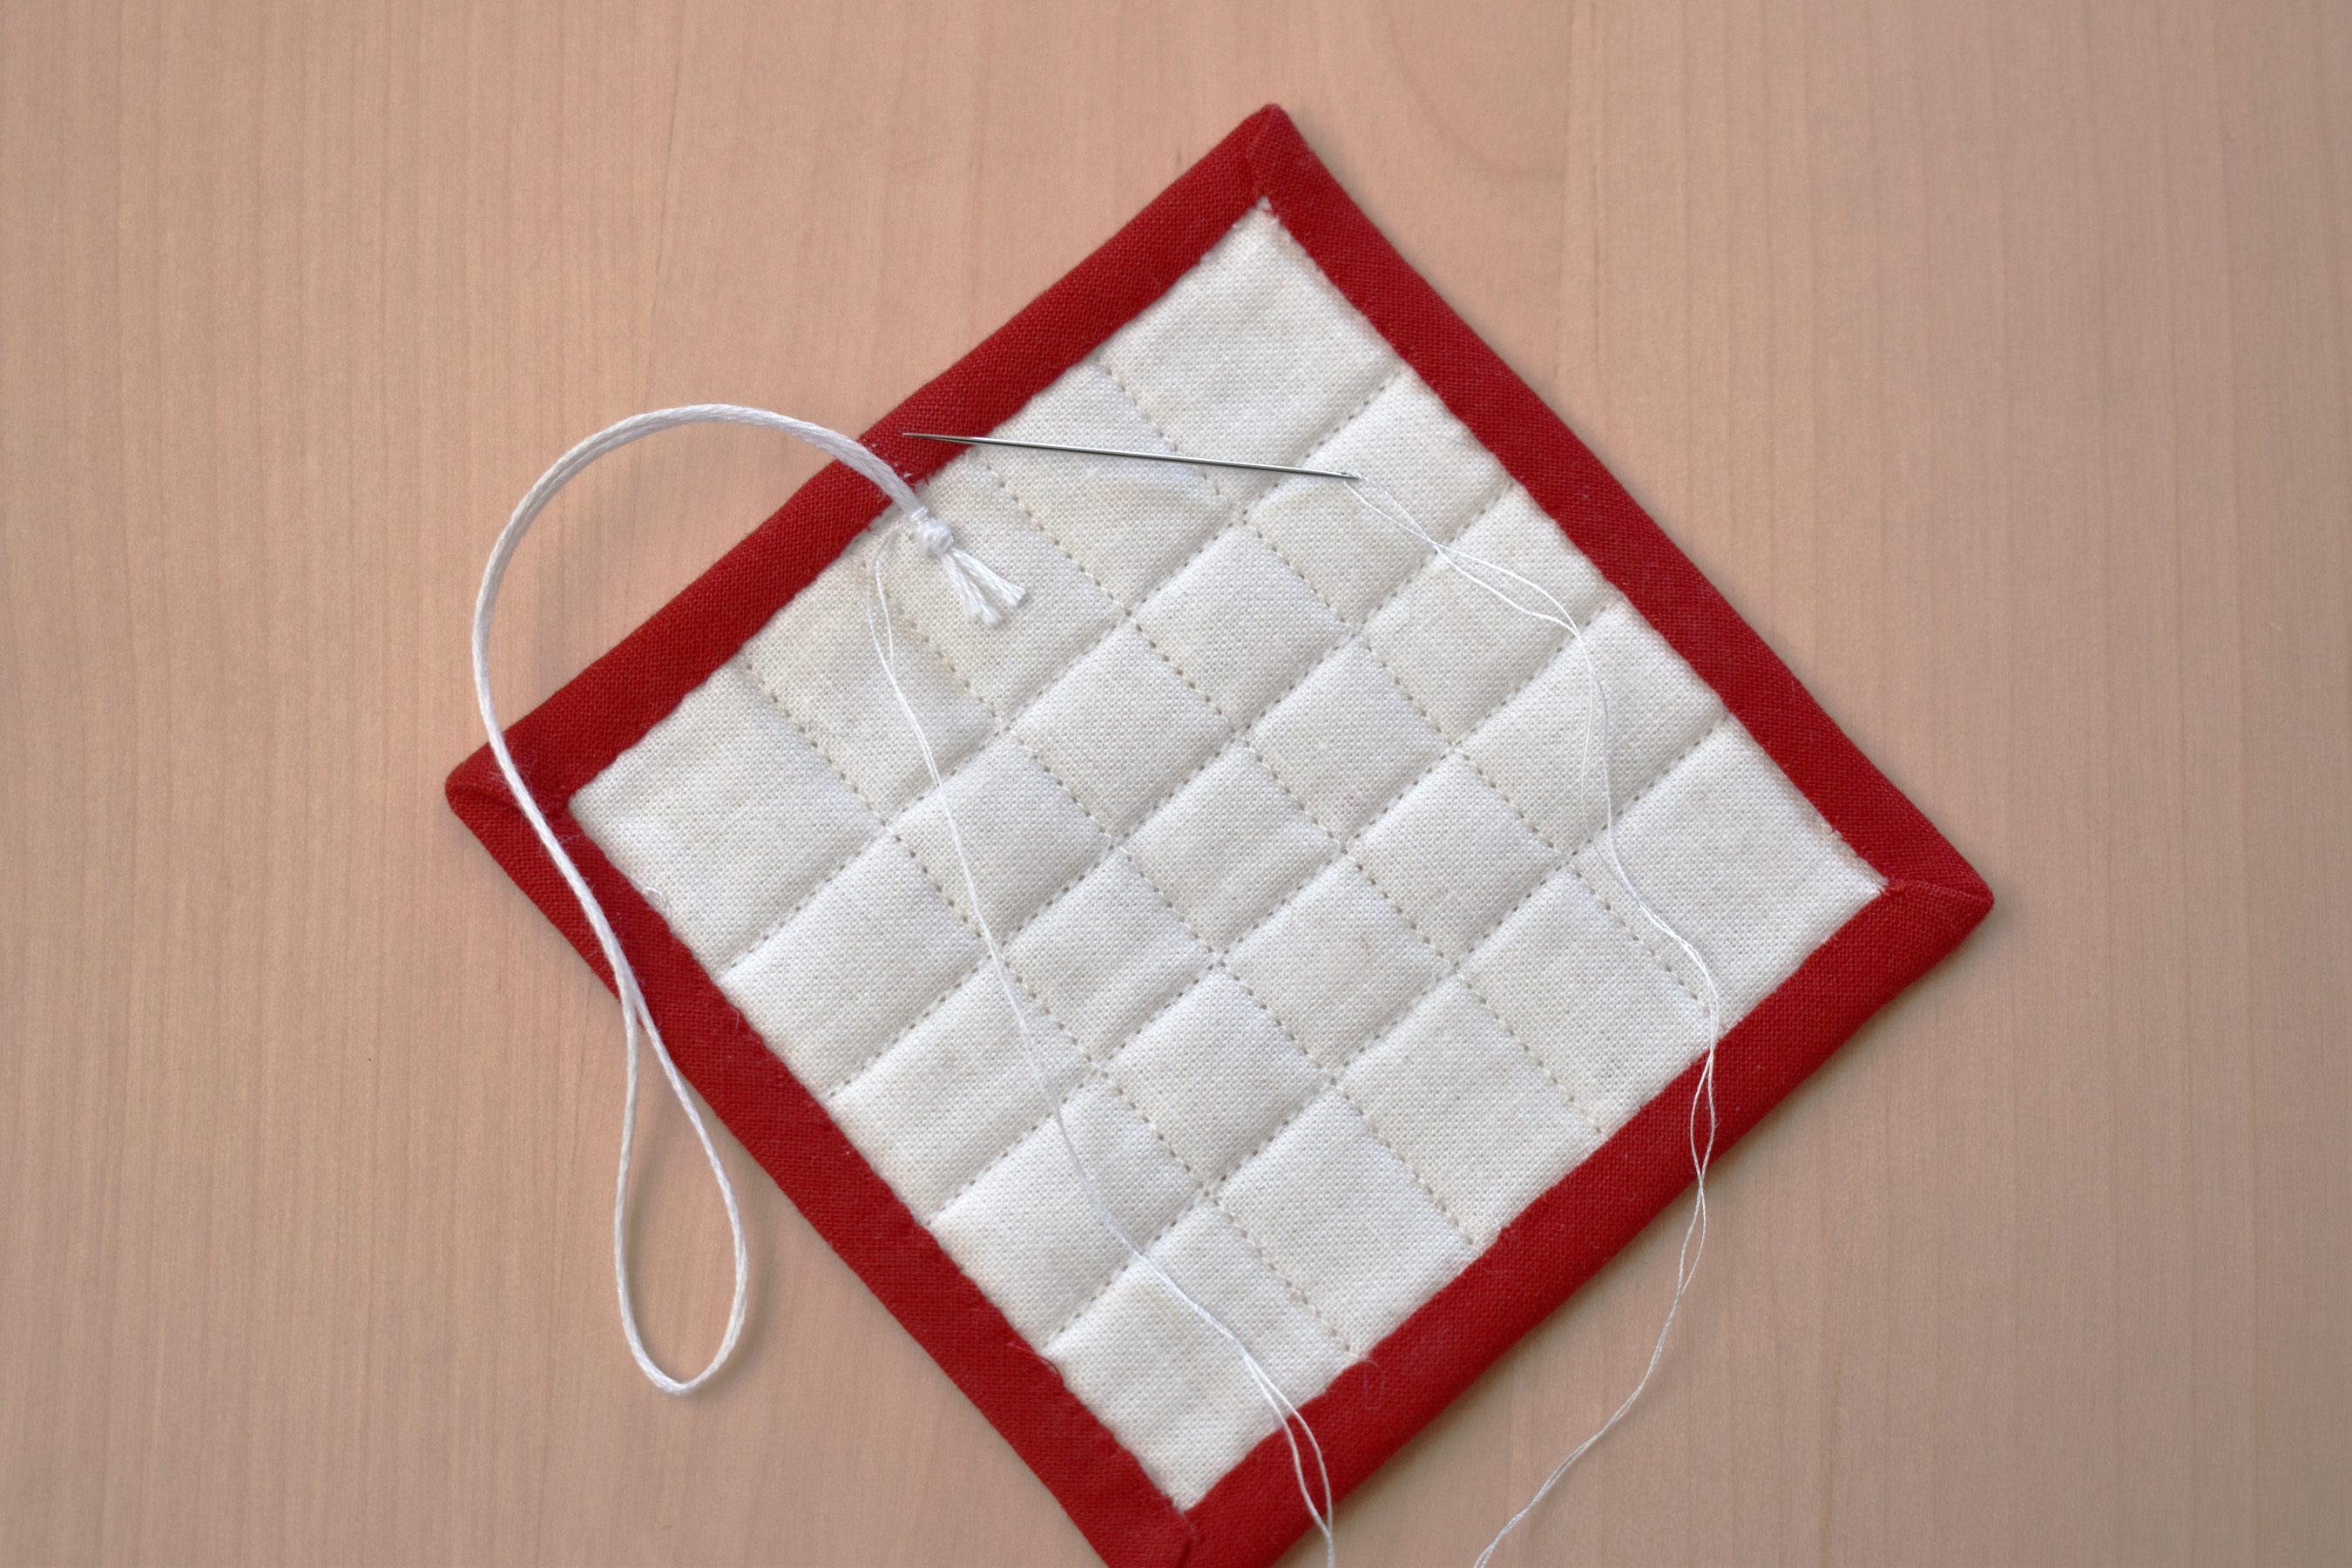
You can attach the hanger from the middle of a straight edge, or from a point. Secure the hanger to the back of the ornament with needle and thread, tacking the hanger well above the knotted end.
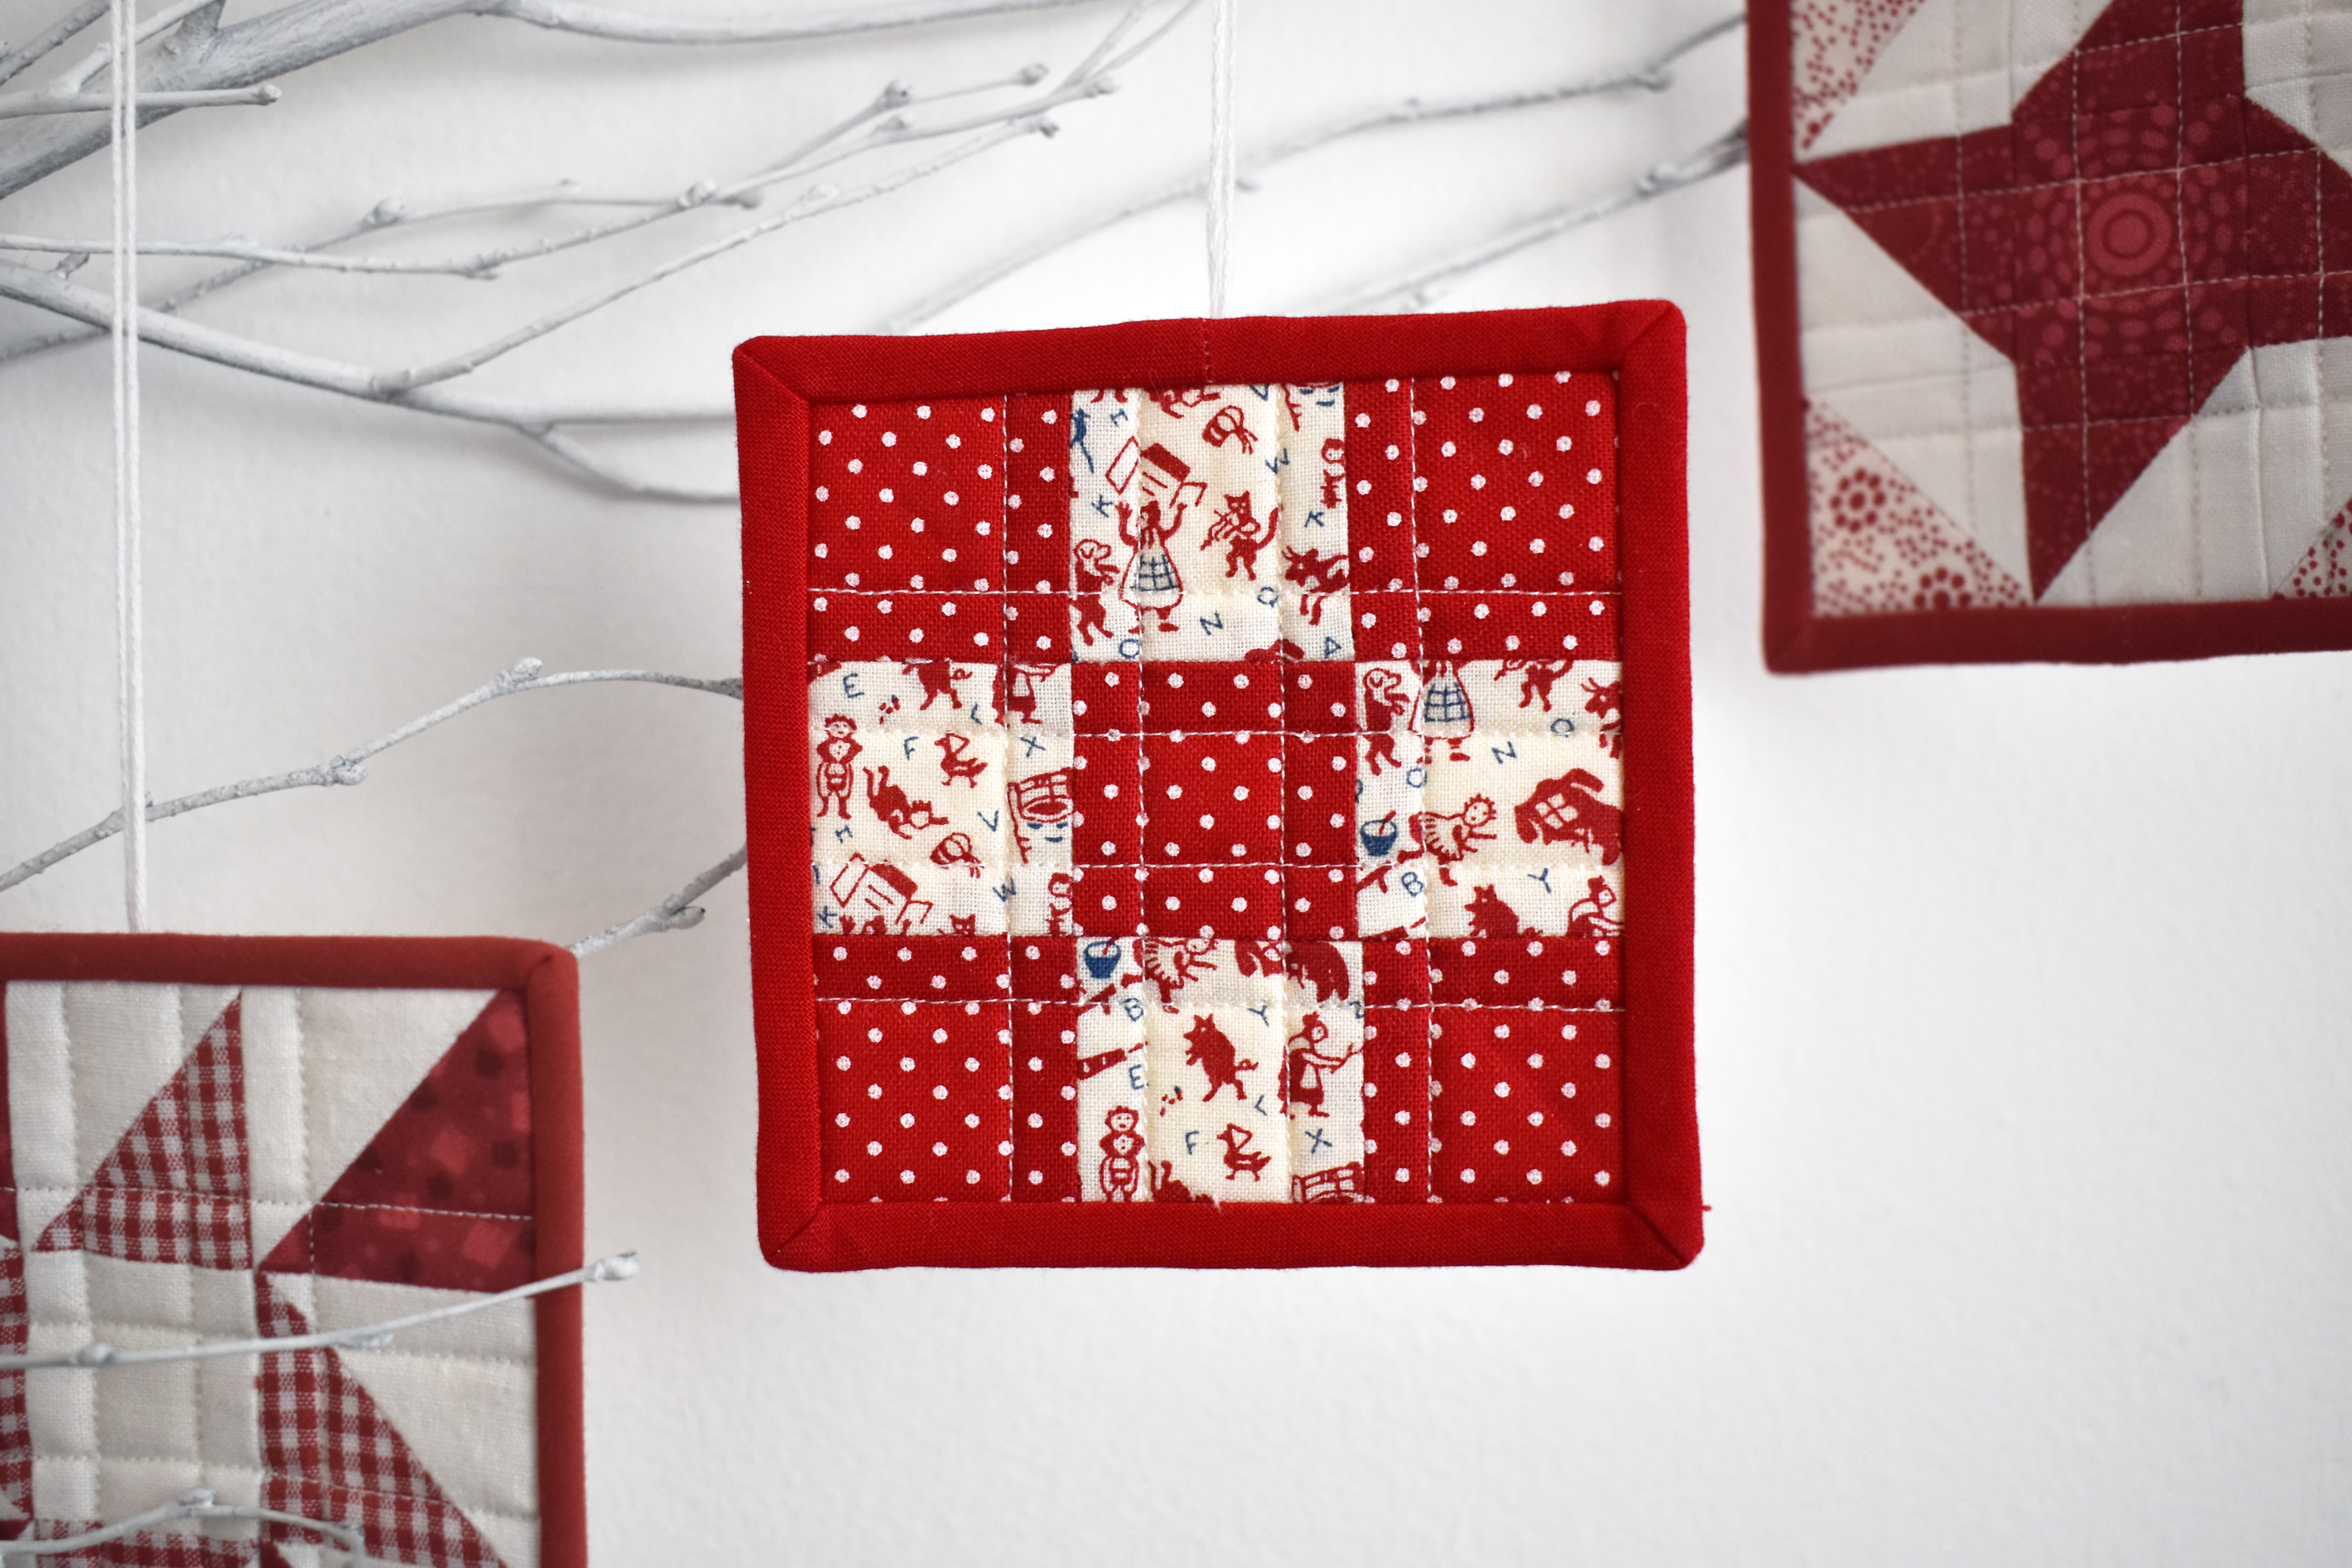
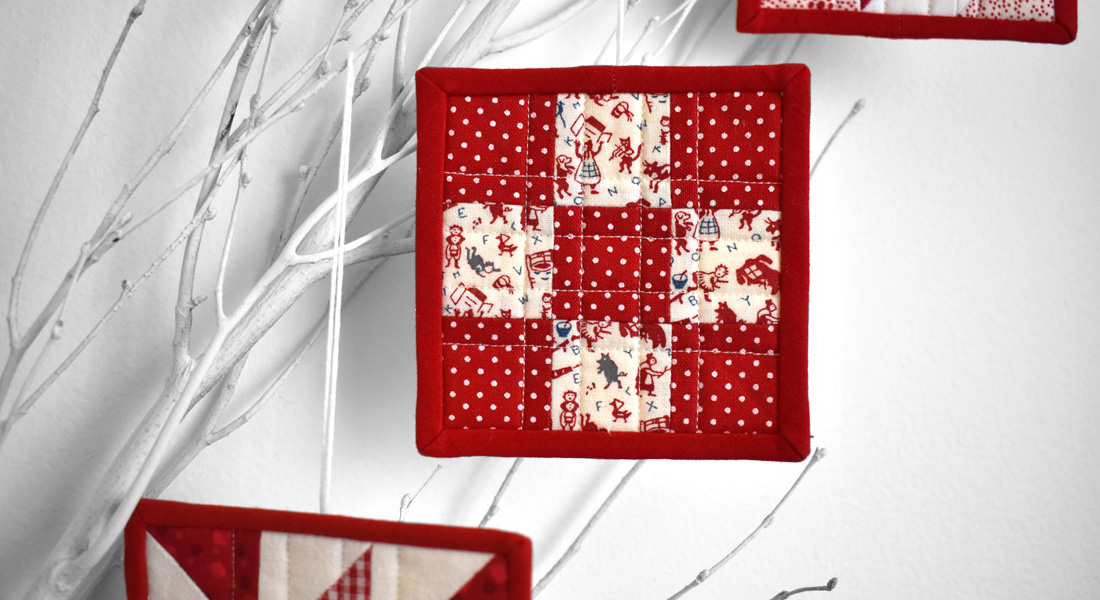
The mini 9 patch blocks are ready to hang and enjoy!

Used Products


What you might also like


4 comments on “How to Make Mini Patchwork Ornaments, Part 2”
-
-
Hi @jommy, the fidgety part overall is how small of a scale this binding with mitred corners is! Trying this technique with a single fold bias is a good idea if you’re handy with this method, go for it!
-
-
Your binding instructions say, “Cut a bias strip 1/5″ wide and 20″ to 22″ long. Fold in half lengthwise and press well.”
1/5″? What is the actual measurement?
Folding the binding in half and stitching with a scant 1/4″ seam means it needs to be cut more than 1/2″, I think.
And are the rest of the measurements correct? At the end, directions say, “Your bias binding ends will now have an overlap of .5″.” Usually the overlap is equal to the original cut width of the binding.
Could you please clarify?
-
Hi @memorton, thanks for checking out the mini patchwork ornaments! Good eye, you caught a typo that slipped through the proofreaders. The binding strip should be cut 1.5″ by 20″ – 22″.
Folding the binding in half and stitching with a very, very scant 1/4″ seam works for giving you just enough binding to meet the stitching on the back of the ornament. As mentioned in the tutorial, you can always cut wider on your binding strip if you’d like to have extra.
The tutorial calls for finishing the binding with a straight cut, and not at an angled cut as in traditional binding. This is why the overlap is only .5″ to accommodate the quarter inch straight seam. You are correct that if the binding WERE to be finished with the angled cut, then you would overlap with the same cut width of the strip.
Cheers! – Erika
-
Leave a Reply
You must be logged in to post a comment.
These are so fun! I have an idea: would using SINGLE fold bias binding make it any easier to navigate the fidgety corners? With maybe 3/4 inch wide bias strip?