How to Sew a Mini Organizing Collection
Looking for some quick and practical ways to get organized in the new year? I’ve got you covered. Pretty much literally. Let me show you how to sew a mini organizing collection for your purse or tote bag with these simple instructions to sew FOUR mini organizing projects! Tip: These also make great gifts, so make a set for yourself and one for a friend!
Contain Yourself!
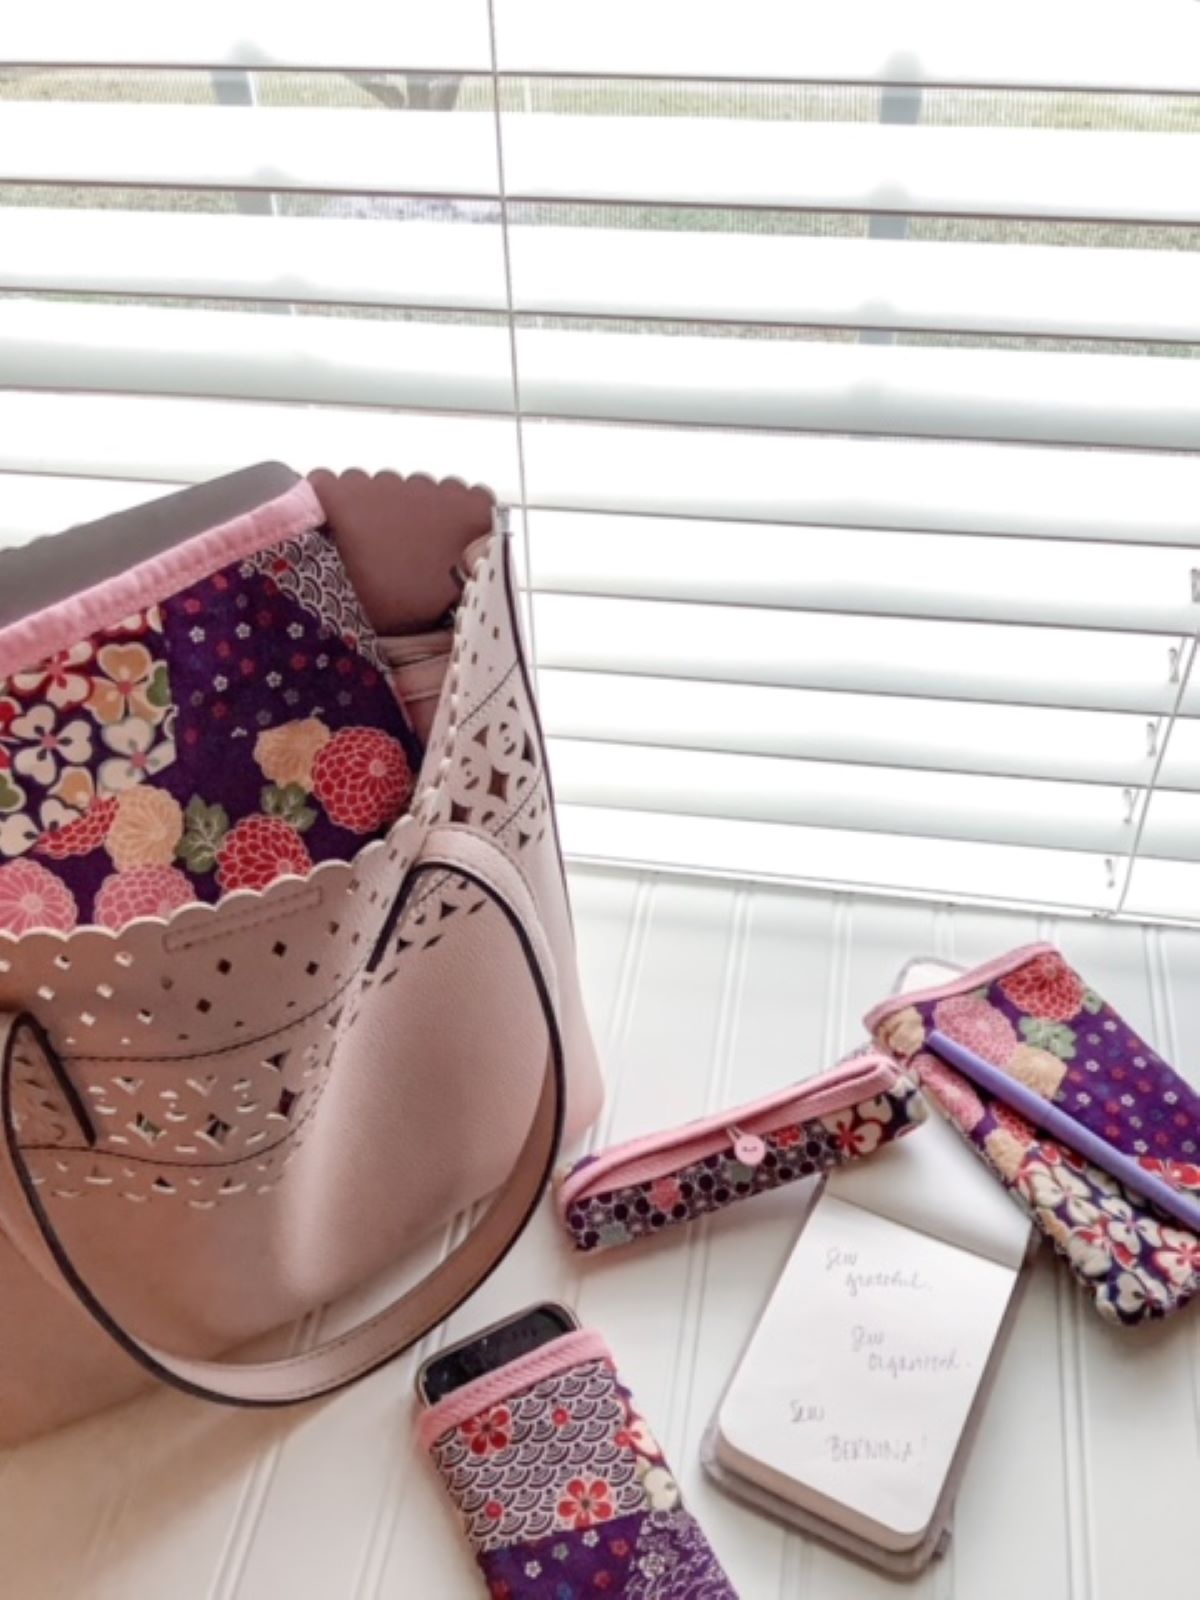
I don’t know about you, but I have a little crush on containers. I love organizing and, even more, I love organizing supplies. Thank goodness for our budget that The Container Store and IKEA are a day trip away. Get behind me, Amazon! To take my gift for categorizing, sorting, and alphabetizing to the next level, I also have a little problem with bags. Consider today’s literal haul to my nanny job: Tote bag with all the things, small purse (inside the tote bag with the essentials in case I don’t want to tote all the things to all my after-work stops), lunch bag (a girl’s gotta eat!), and the Neenie Bag (my nanny fun-bag with surprise activities for the kiddos). I’m not kidding when I tell you that I have bags inside bags, inside bags. Just for fun, I will count them. Hang on a second . . .
OK, I’m back. Seventeen. Yep, seventeen, as in ONE-SEVEN. Reusable zipper bags, pouches, totes, purses (and nope, I didn’t even count my wallet or the built-in purse pockets)! But guess what? Bags are amazing! And, I happen to think they are a genius organizing hack. I can find whatever I need quickly, and I am prepared for just about any emergency—thank you, Enneagram 6 preparedness genes. And, if I ever find myself on The Price is Right, I’m golden. You’ll be golden too when you sew this mini organizing collection!
Where to Start?
There are some things we use that just really need a home of their own and by the end of this tutorial, you’ll understand the methods to my madness. And you, too, will be able to contain just about anything!
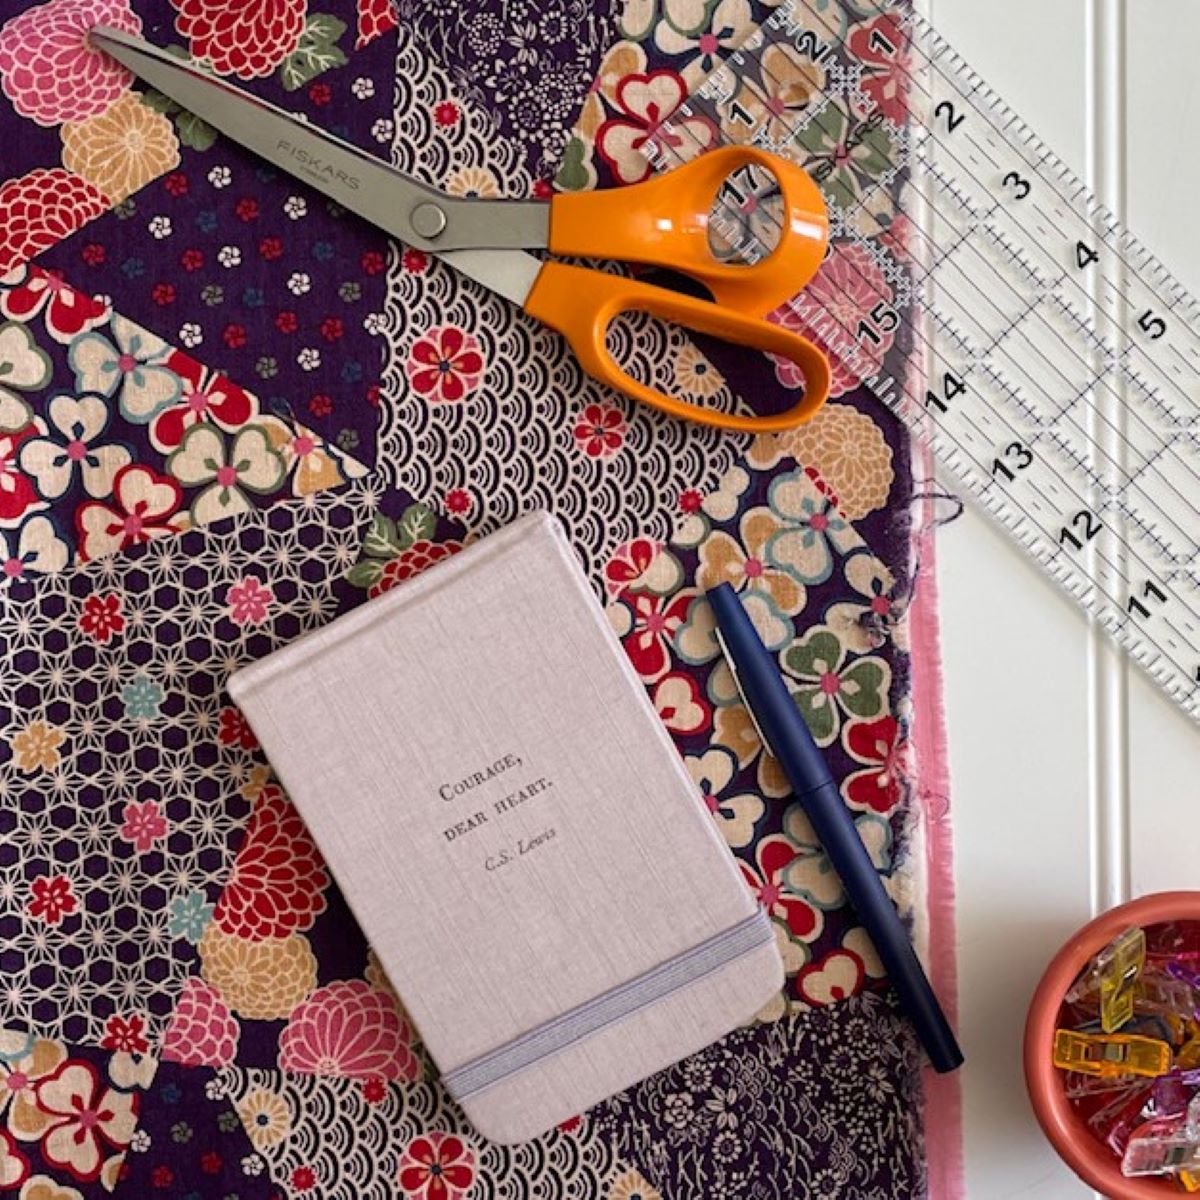
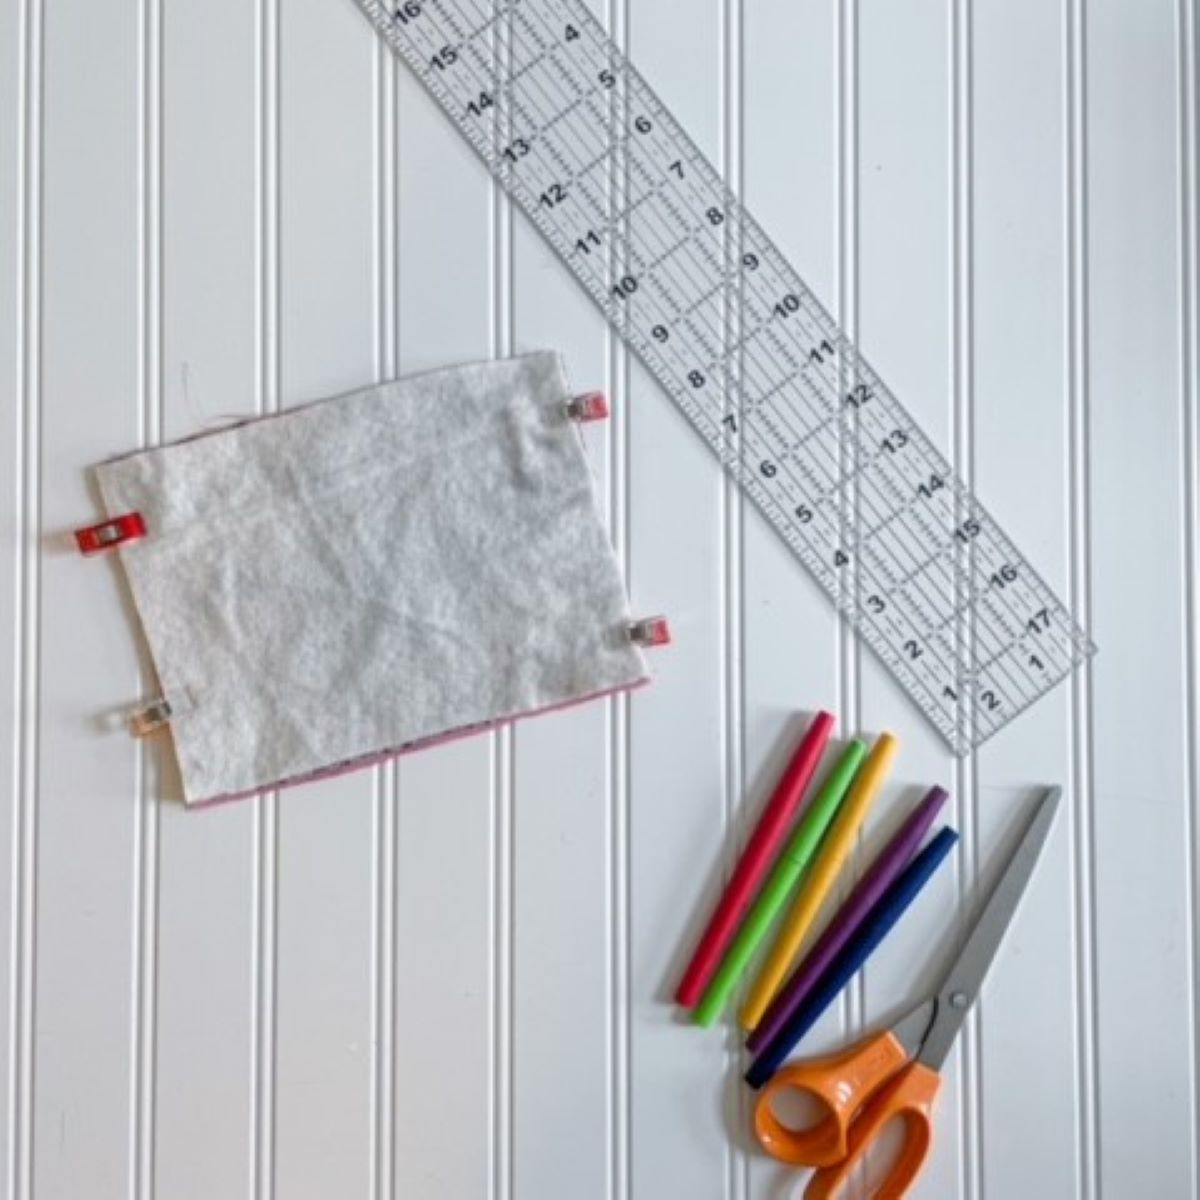
Materials to Sew a Mini Organizing Collection
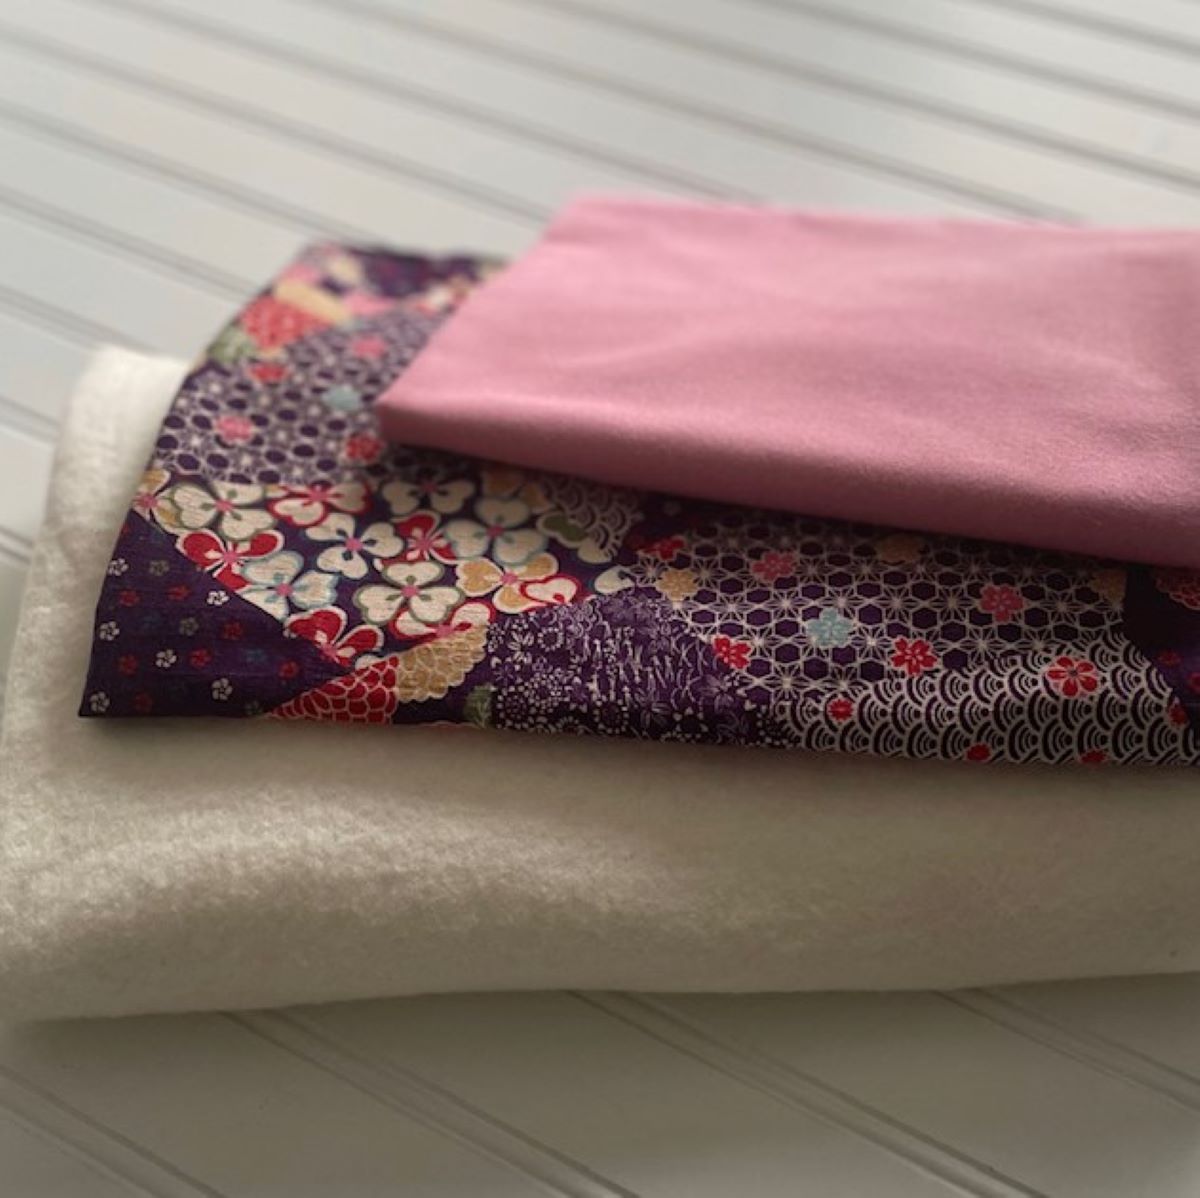
- Fabric — one or two different fabrics as desired*
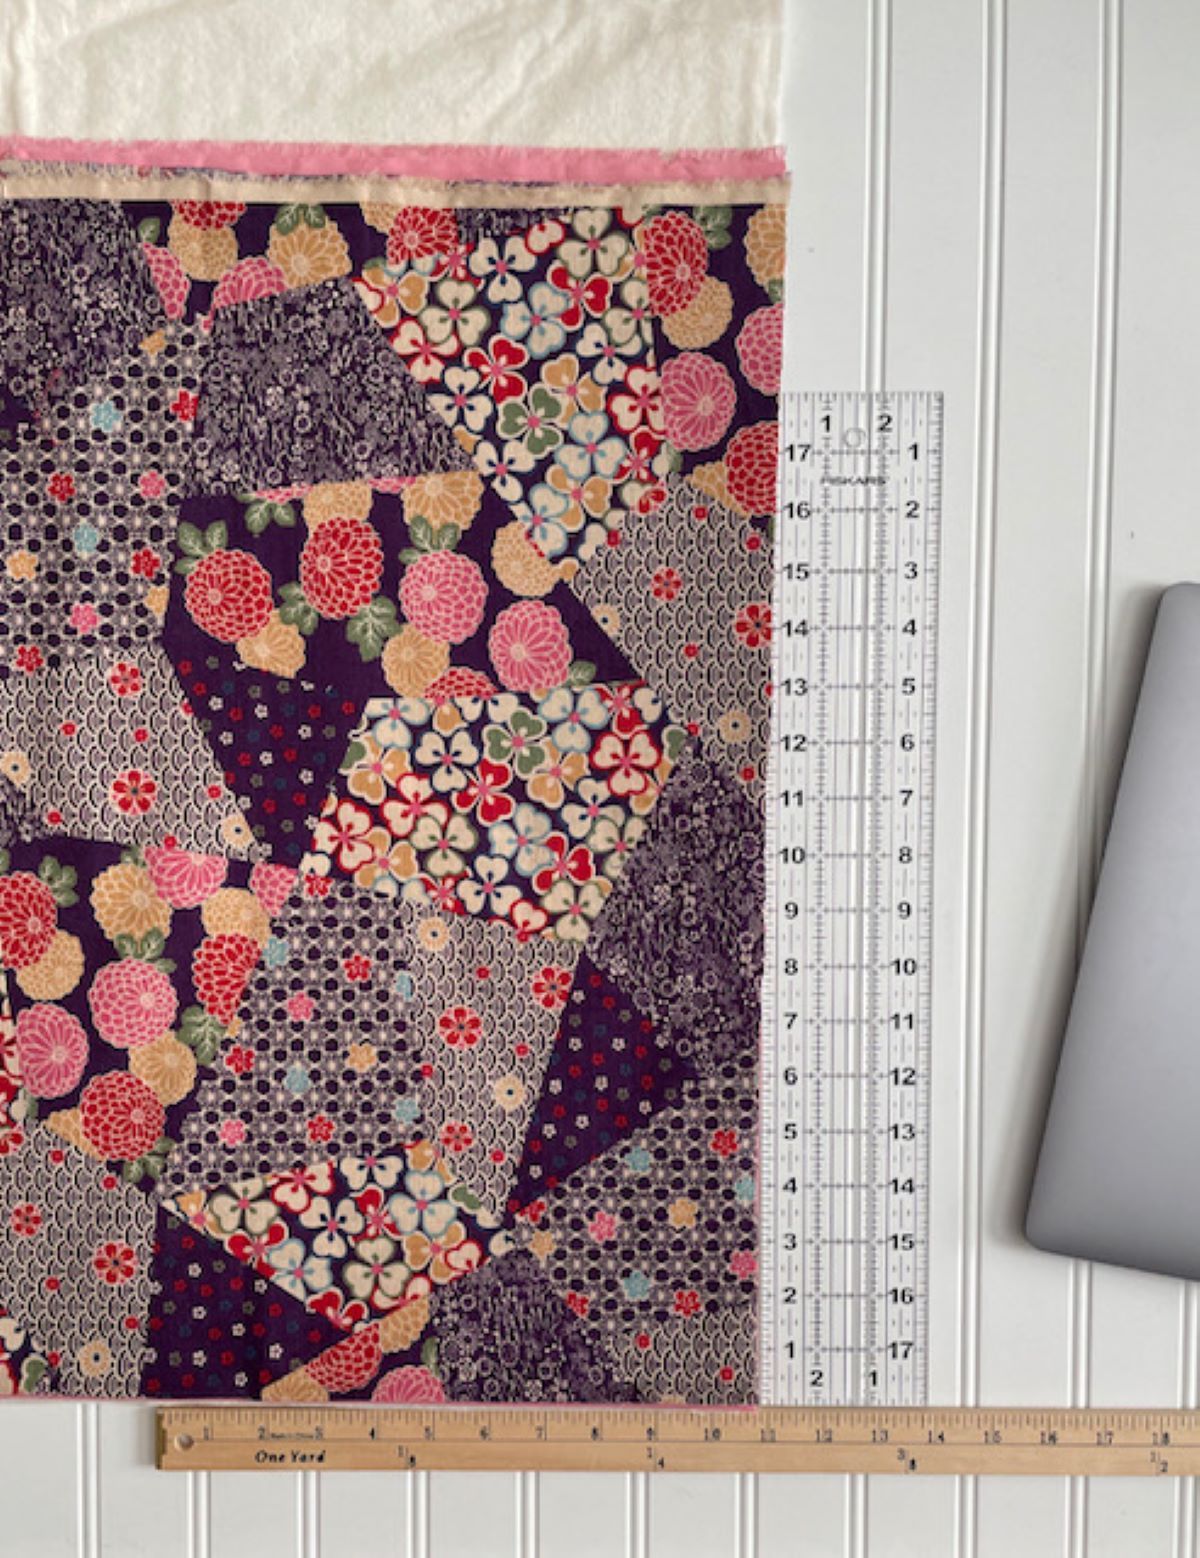
*These projects are lined, so you can use the same fabric for the outer and inner fabric, or choose a coordinating fabric for the lining. I purchased this cool patchwork print fabric during my travels and pulled it out of my stash for this project.
- Quilt batting (I like to use thin dense batting like this one)
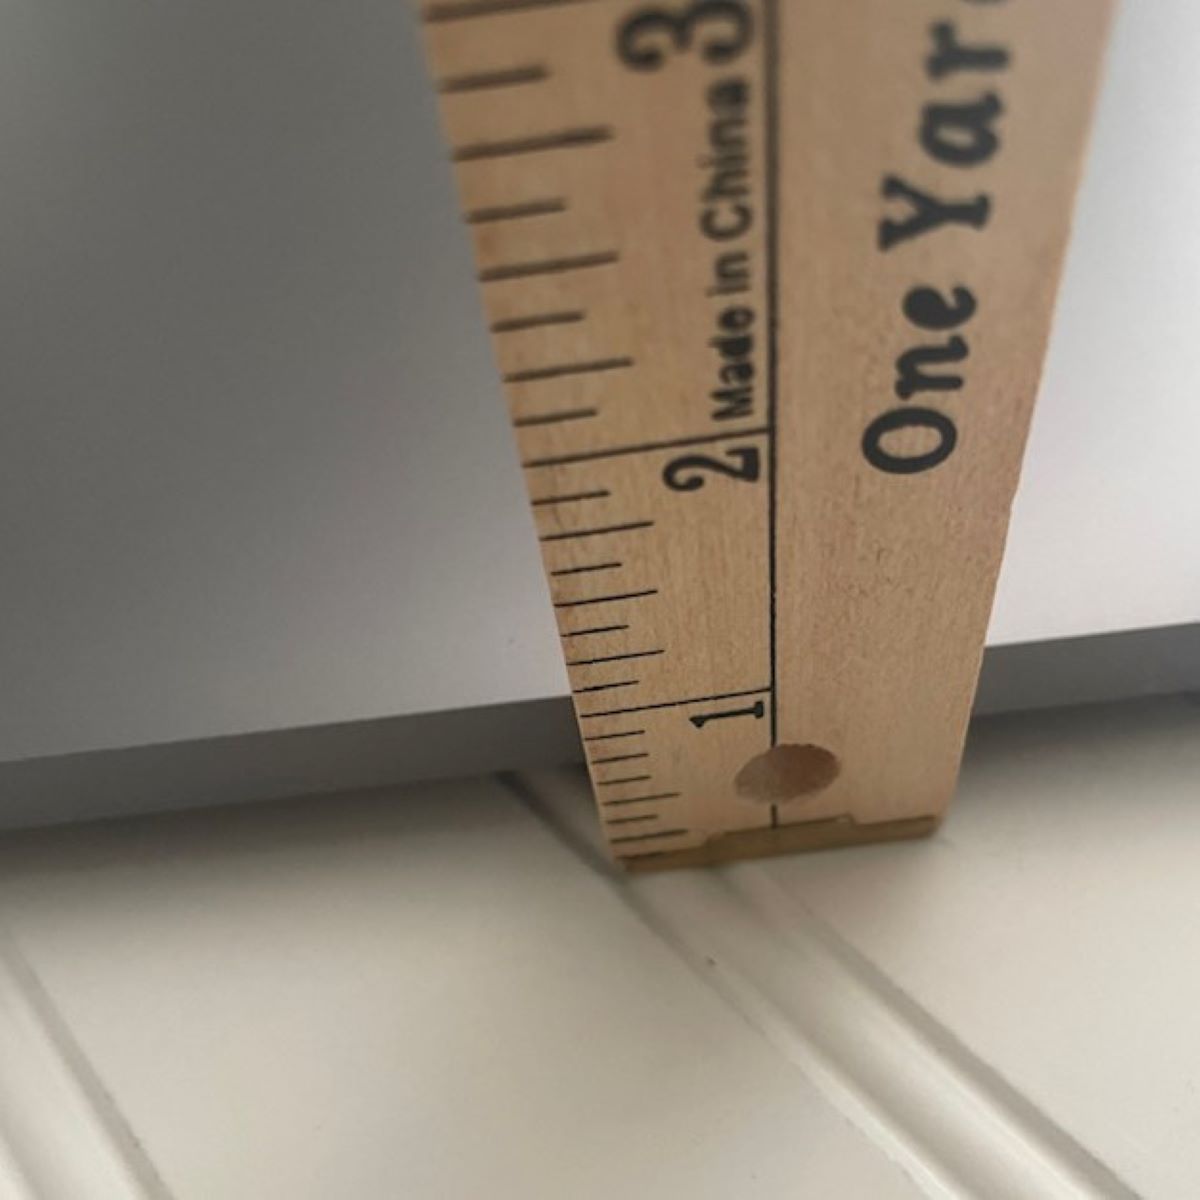
- Preferred measuring tools (yardstick, tape measure, quilting ruler)
- Marking pen
- Scissors
- Pins or fabric clips (can I just say I recently discovered clips and they’re amazing!)
- Thread
- Iron/ironing board
- Optional: Button(s), elastic, ribbon, or whatever embellishments your creative mind can dream up.
- Your imagination ?
Check out the projects you can sew in this mini organizing collection: Super-quick, super-cute, and super-practical. You’re welcome!
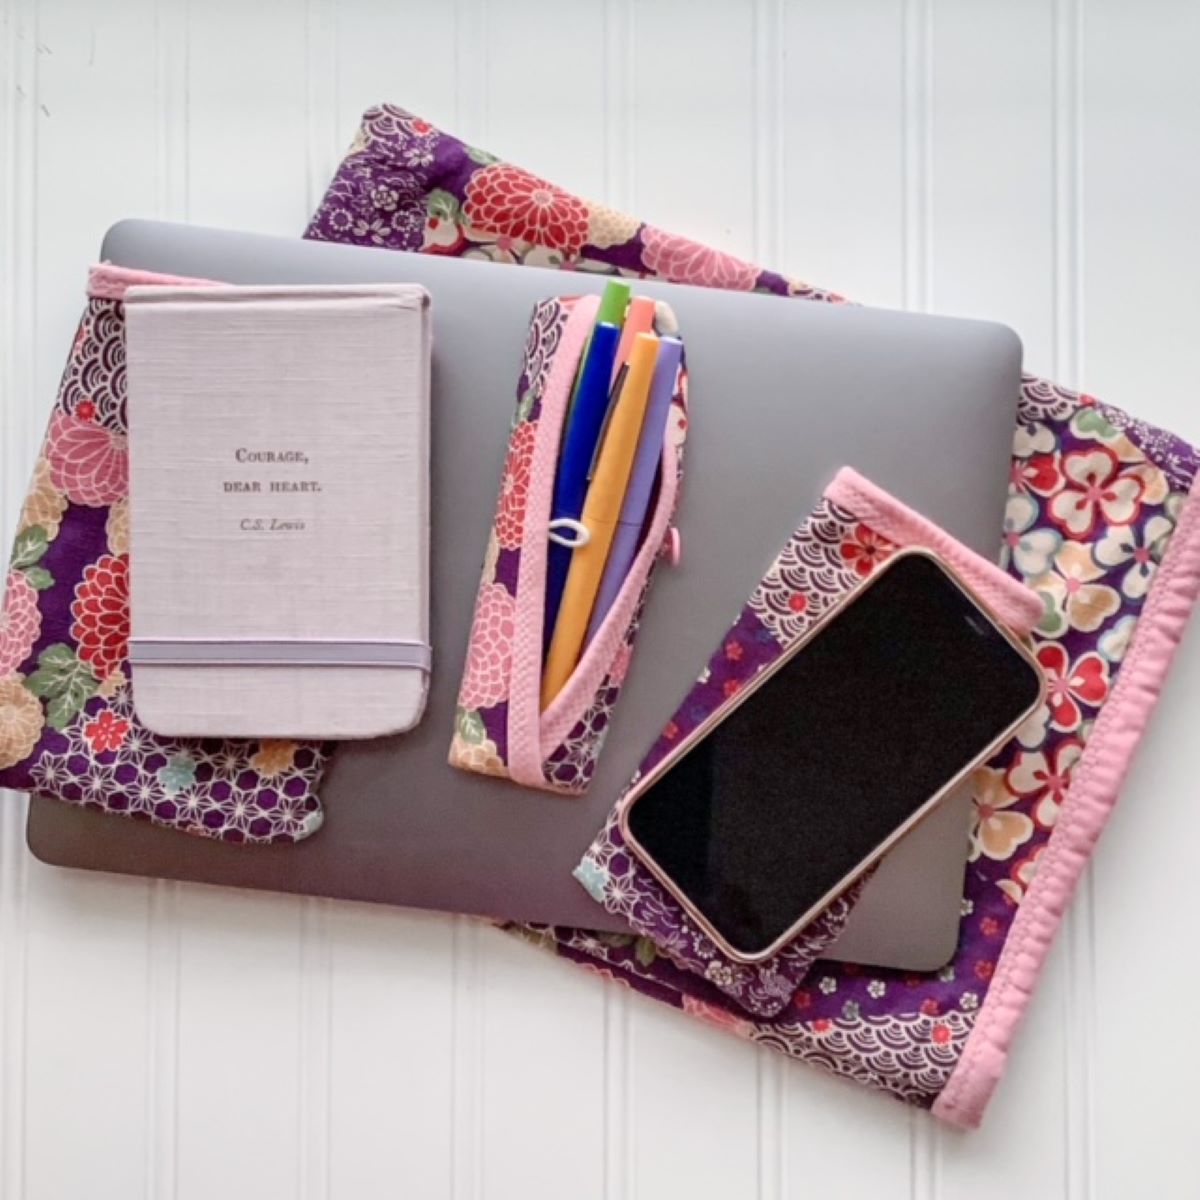
Instructions to Sew Mini Organizing Project #1: Padded Computer Sleeve
Of all the things I tote around, clearly, my phone and computer are the most expensive and are currently unprotected tucked into the side or pocket of one of my bags. I’m taking uncharacteristic risks with my new computer which is perilously placed in the side pocket of my tote bag. I know, I know, but I don’t want to embarrass myself by bringing the computer bag along on nanny days too—nap time is only so long! This first mini organizing project is the perfect start to this collection.
Step 1
Measure length, width, and depth of your computer. For this example, I am using the measurements of my laptop:

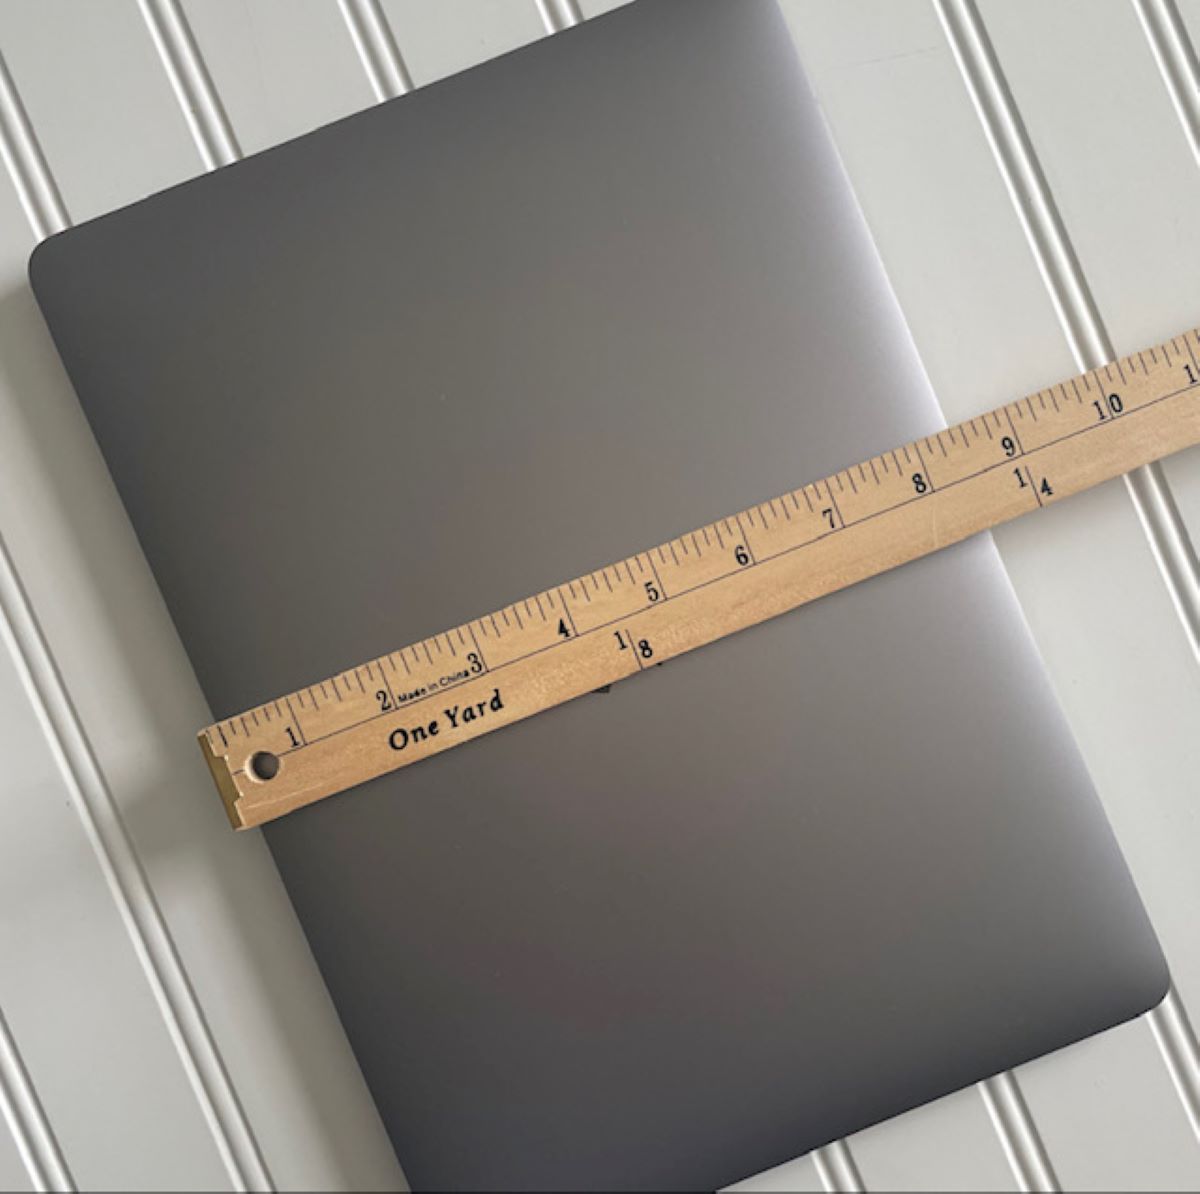
- 12 inches long x 8 1/2 inches wide x 3/4 inches thick
Step 2
Calculate cutting measurements. To do this, you need the exact measurements, plus seam allowance, plus extra length for finishing the top opening and extra around the sides and bottom to account for the thickness of your computer.
I am using a 1/2 inch seam allowance and 1/2 inch ease (space to be sure it will fit once it’s done). To read more about ease, click here for a great WeAllSew tutorial about common sewing terms. We need to add ease to the length and to each side of the sleeve.
Then we double the length of our cut because it will be folded in half to create the sleeve. We don’t need a seam allowance because we are folding instead of sewing, but we want to add extra length in order to have enough fabric to finish the top opening. Check out the photos below—it’s not as complicated as it sounds . . .
Therefore, my cutting measurements were the following:
28 inches* x 11 inches**
(Like a good student, I am showing my work below. Be sure to double-check your own measurements before you begin.)
*12 (actual length) + 1/2 (top opening seam allowance) + 1/2 (ease) + 3/4 (extra length for thickness) = 13 3/4
Double that for a one-piece front and back, folded = 27 1/2
**8 1/2 (actual width) + 1 (1/2 inch seam allowance for each side) + 1/2 (ease) + 3/4 (extra width for thickness) = 10 3/4
After adding all my allowances together, I rounded up to make it simple because, math.
Step 3
Cut main fabric, batting, and lining. I layered mine to save time. It works great as long as you have sharp scissors!
Step 4
Fold and secure outer fabric and batting lengthwise and stitch, right sides together. I DO NOT trim seam allowance here in order to give a the edges of my computer a little extra protection from bumps. Turn right side out.
Step 5
Fold and secure lining fabric lengthwise and stitch, right sides together. Do NOT turn right side out.
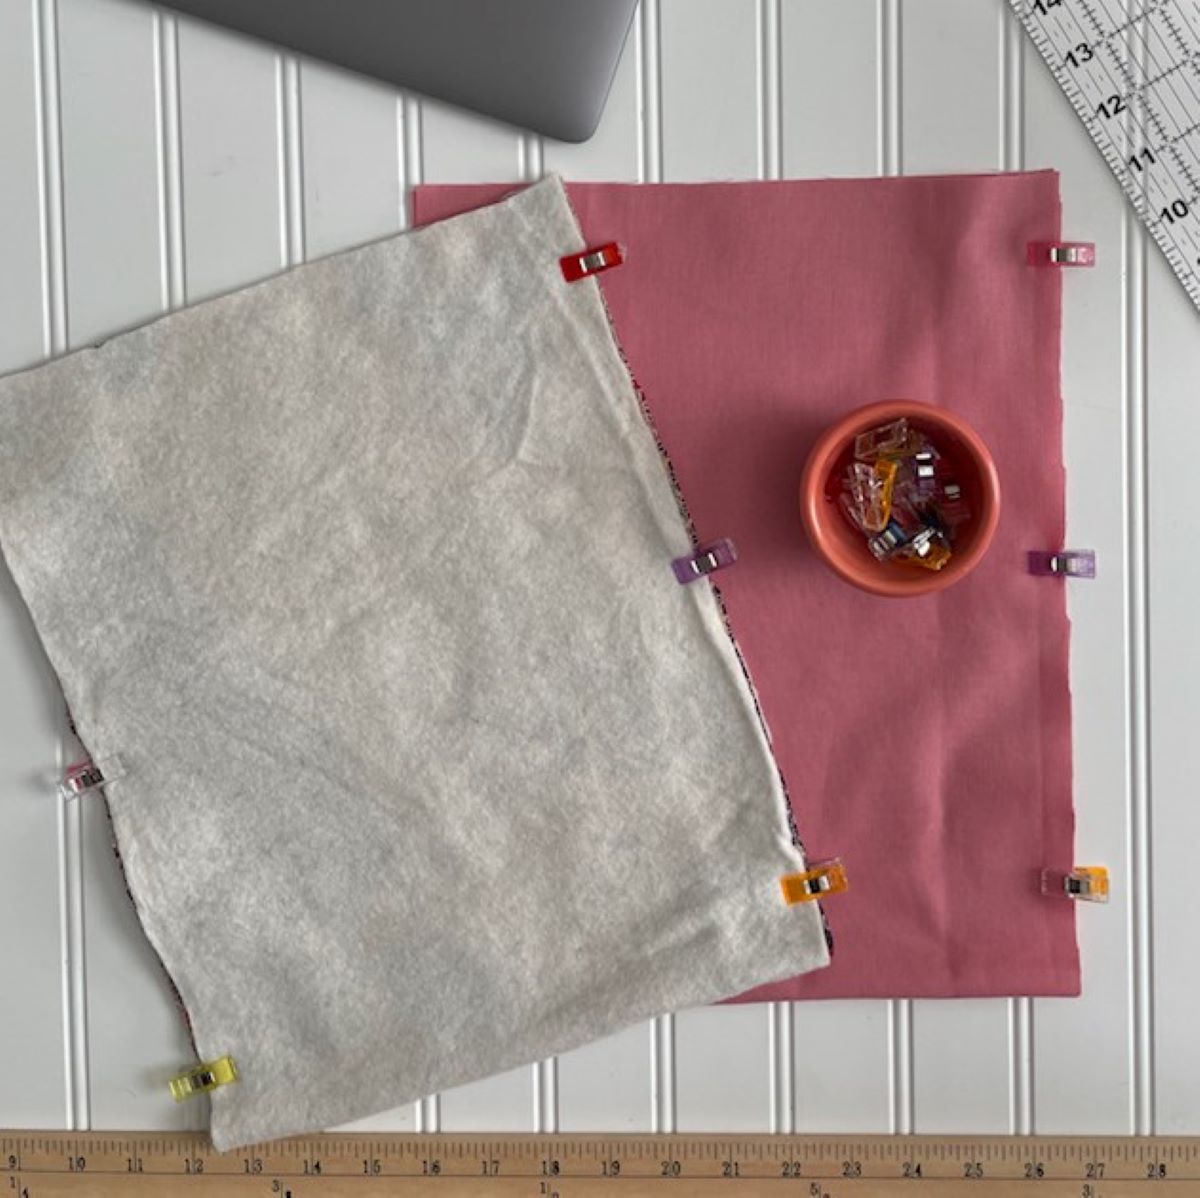
Step 6
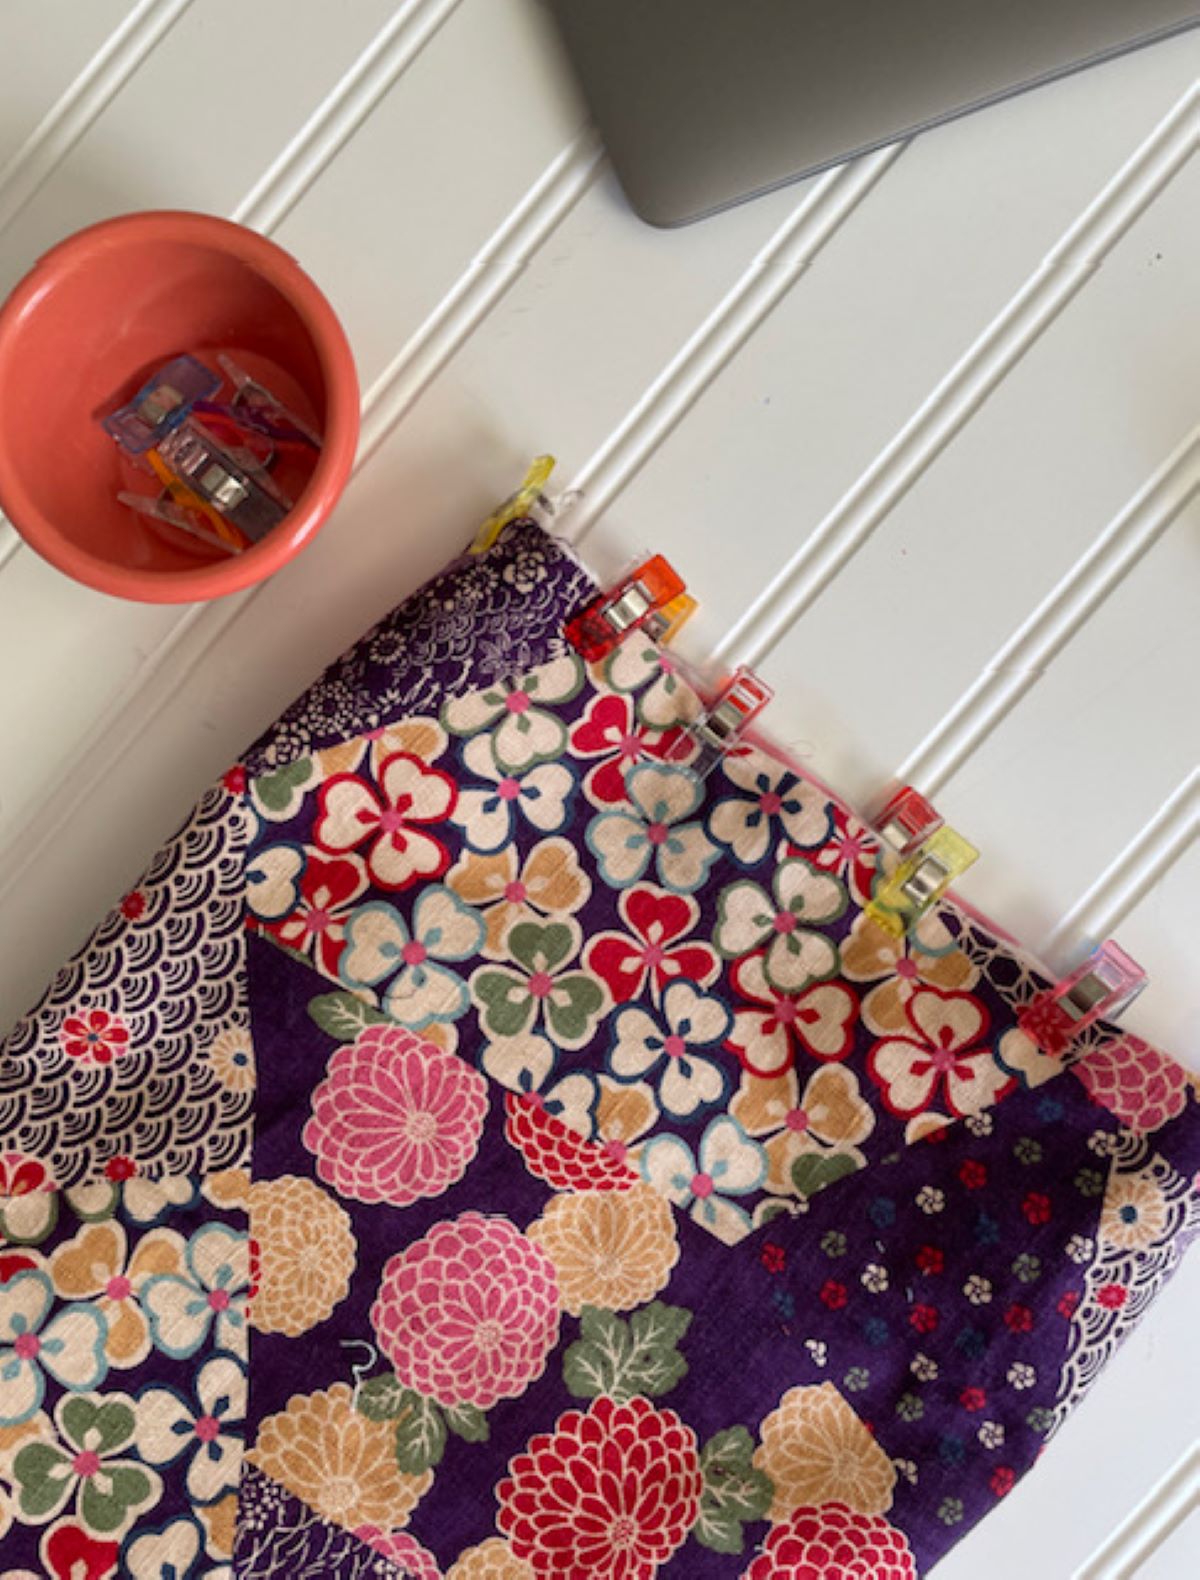
Slide lining sleeve into outer sleeve, match up seams and secure using pins or clips. When inserting lining sleeve into outer sleeve, make sure the seam allowances all go to one side together. This also helps with the extra cushioning around the perimeter of your sleeve to help protect your computer.
Tip: I like clips here because this project gets tight when sewing the top, and I don’t love getting poked. Do what works best for you, but if using pins, make sure points are pointing toward the inside. Ask me how I learned this tip.
Step 7
Before folding, stitch around the opening 1/4 inch away from the raw edges to secure fabric. This will keep the layers in place as you stitch.
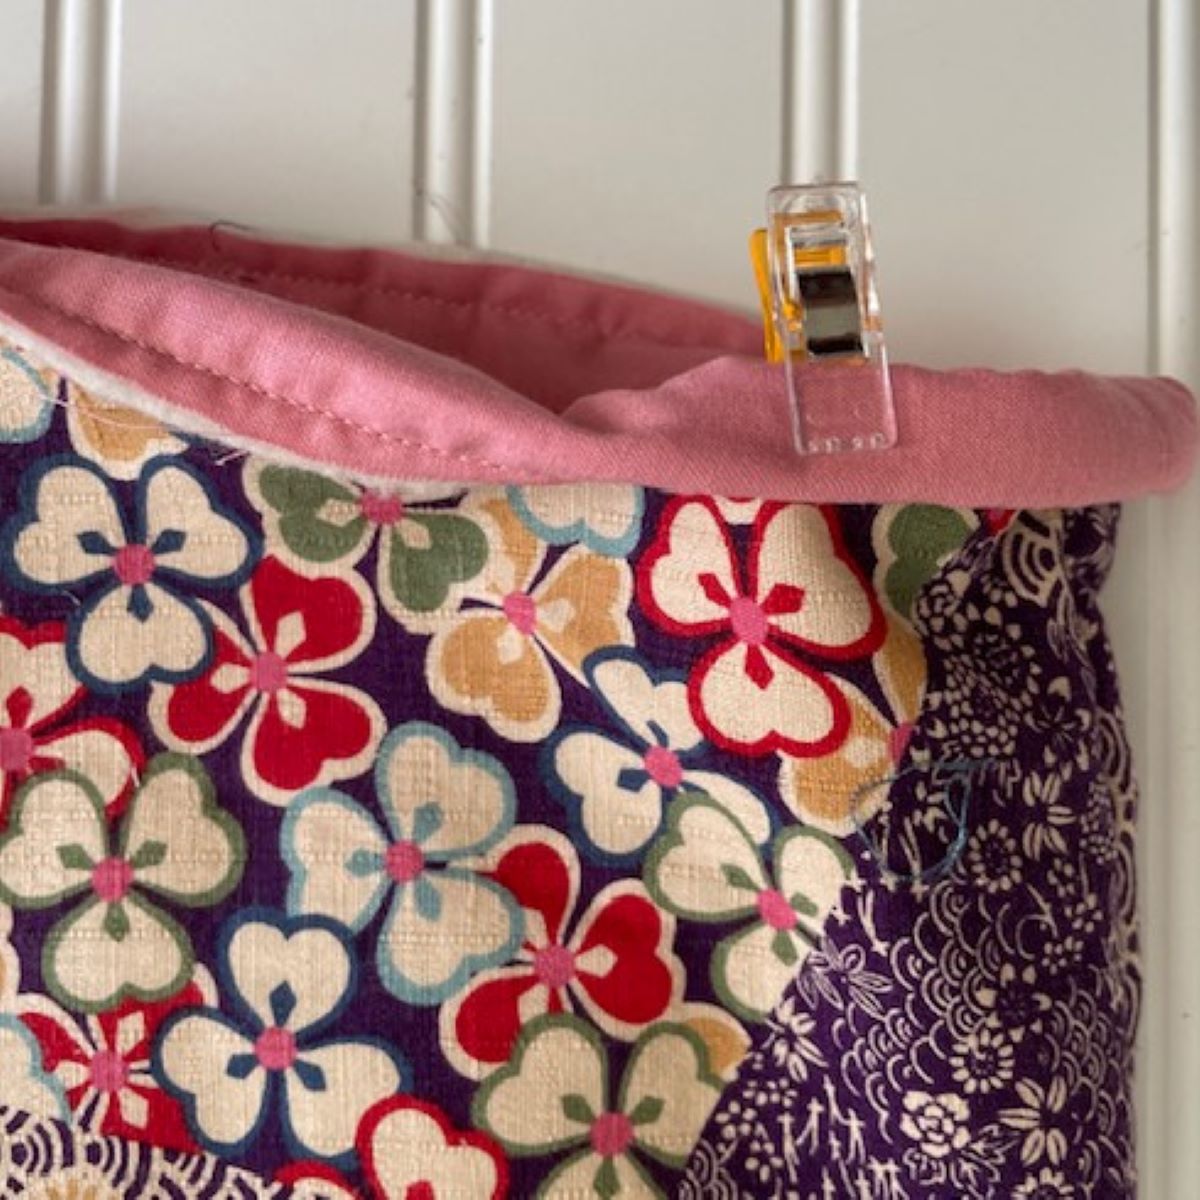
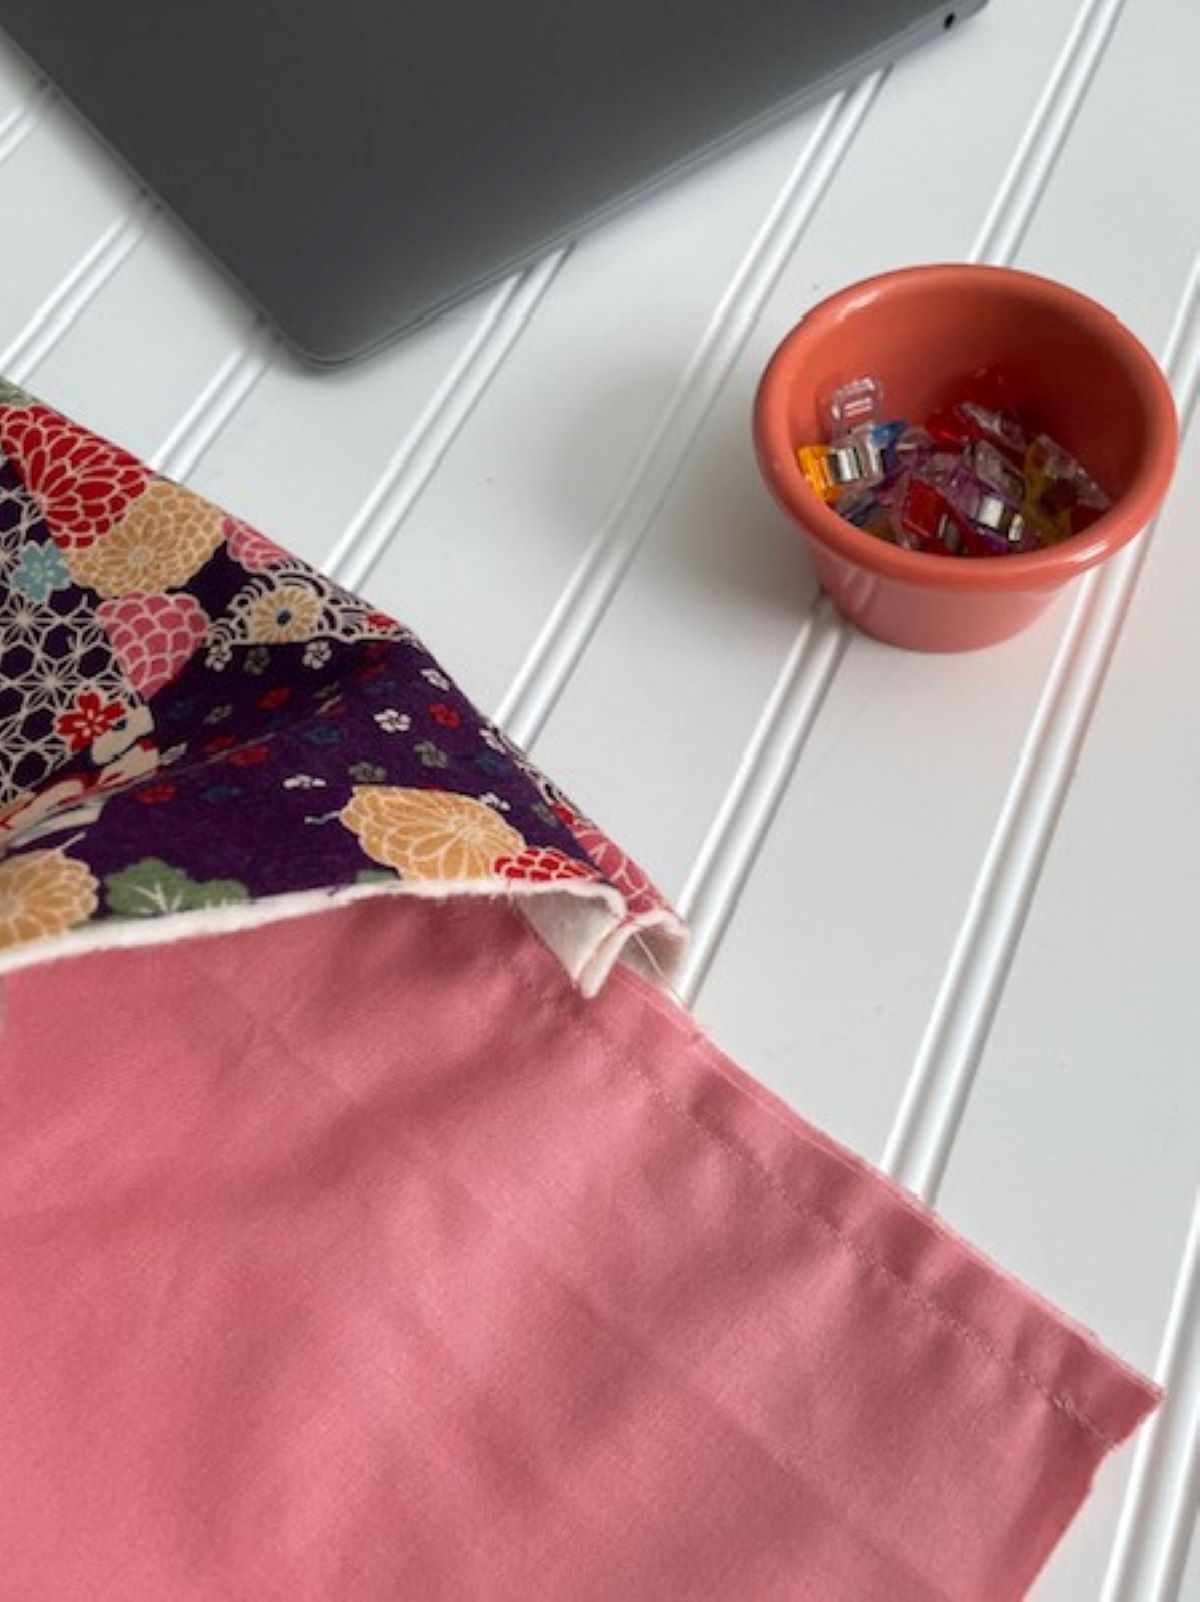
Step 8
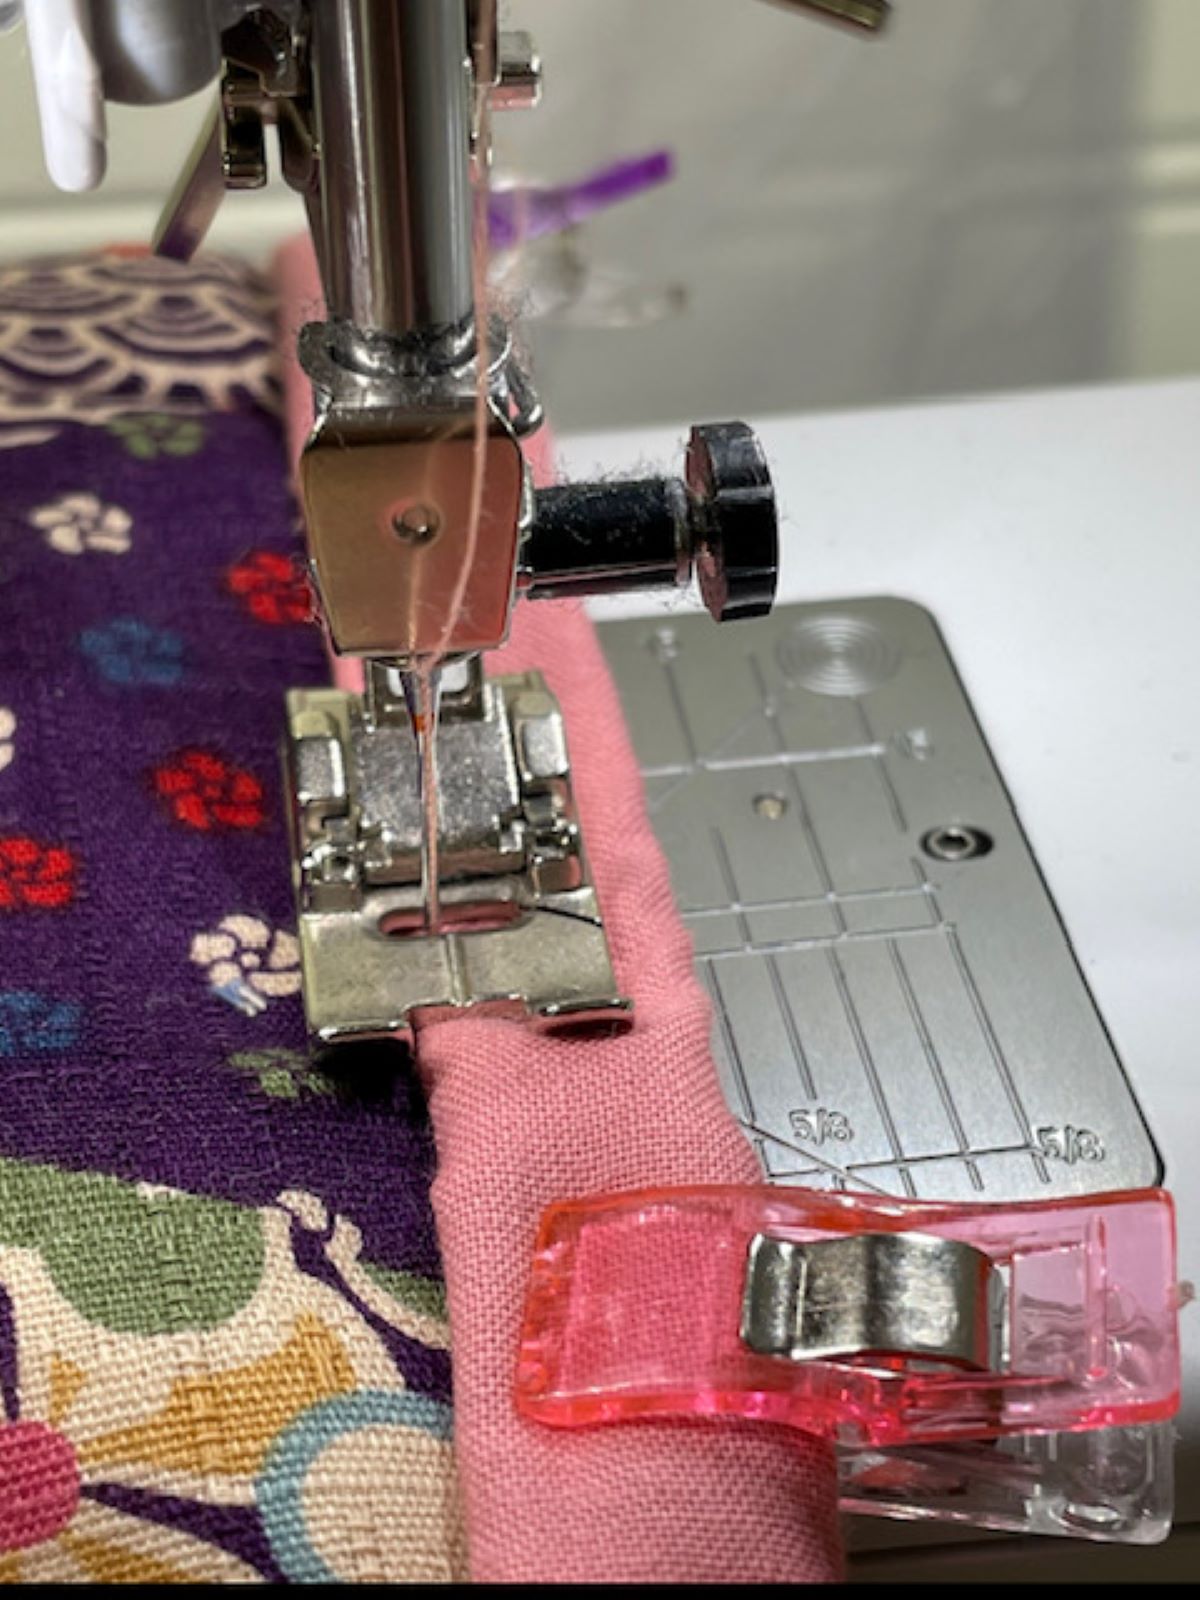
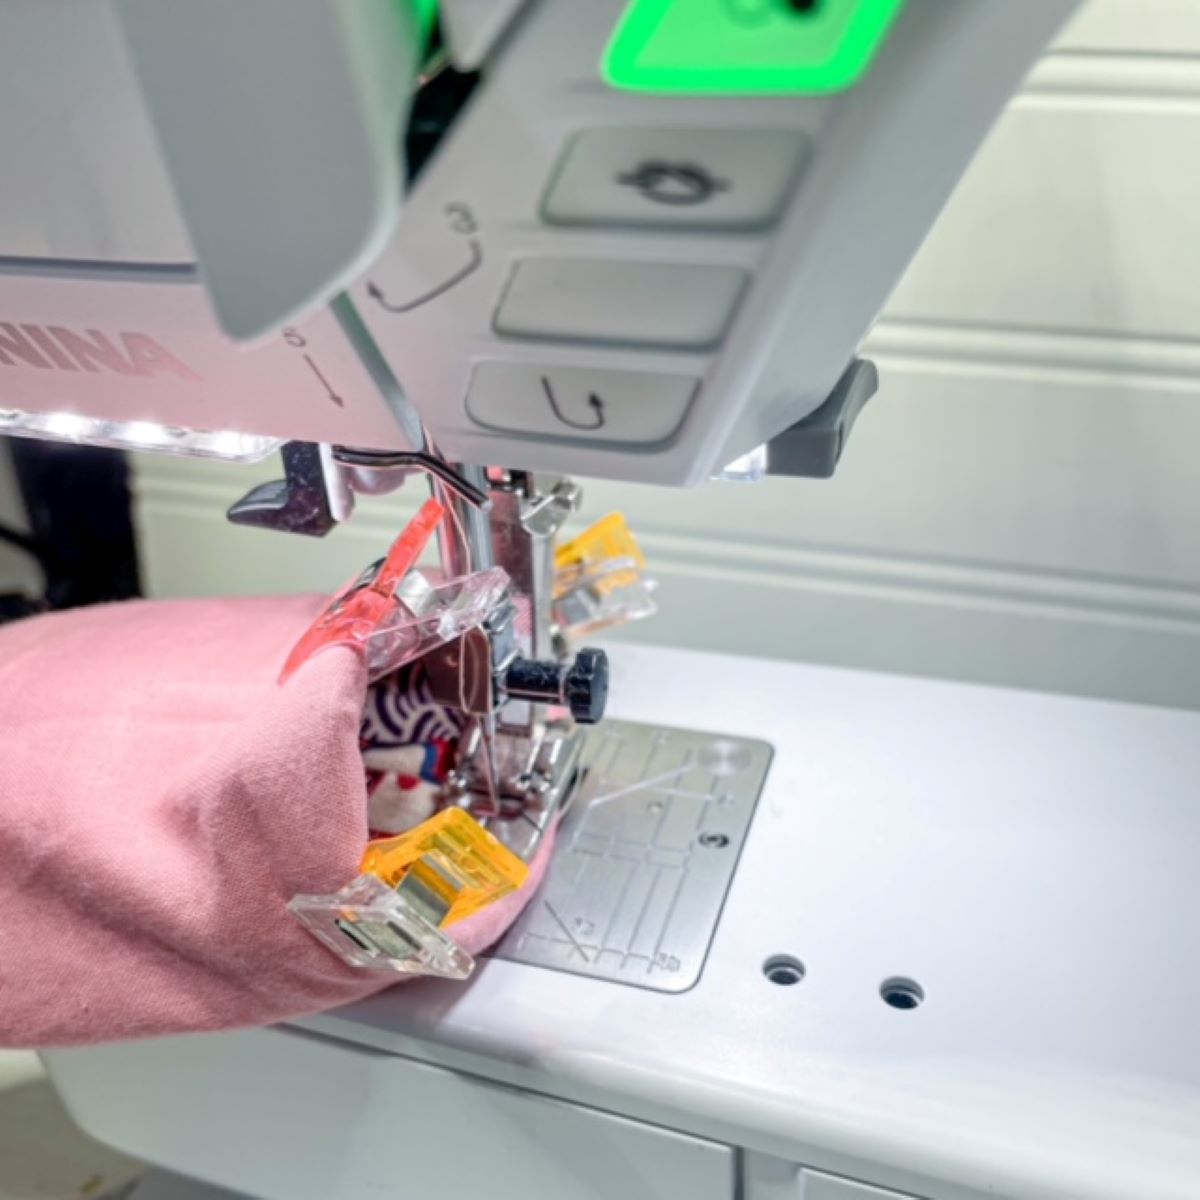
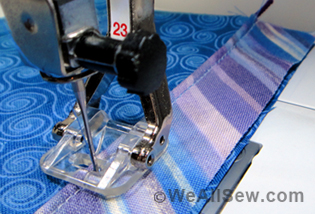
As shown above, after securing the fabric, make a double-fold hem OUTWARD and secure. This makes a “self-binding” and I love how it looks with the contrasting fabric. This is also where the clips come in really handy. Stitch 1/8 inch away from the edge of the fold. You can use a 3.0 mm straight stitch if you like, but I would recommend trying a more interesting practical or decorative stitch to add some pizazz. I used stitch #8 in the practical stitch menu for these projects. Using a stitch pattern other than a straight stitch also covers a multitude of imperfections and looks like you got fancy! HINT: Always practice your stitches on a scrap set with all your layers before stitching on your project (see below). My BERNINA 435 stitched through all those layers with no problem.


Note: Because I don’t anticipate these projects to need laundering often, if at all, I chose not to quilt them in order to keep it simple and quick. If you’d like to try your hand at machine quilting for beginners, you might want to check out this tutorial.
Instructions to Sew Mini Organizing Project #2: Padded Phone Sleeve
Can I just tell you the number of times I have to DIG for my phone in multiple bags since I can’t spot it easily and it (ahem) doesn’t always make it into the same bag each time. Thank goodness for my watch function of pinging my phone so at least I know I have it with me (I digress). A phone sleeve is the next mini organizing project in my collection.

Follow all the steps for the laptop sleeve with these few changes:
Change 1
Use a 1/4 inch seam allowance
Change 2
Trim seam allowances
Change 3
When inserting the lining sleeve into the outer sleeve, make sure the seam allowances all go in opposite directions. On this smaller project, avoiding extra bulk helps the fit.
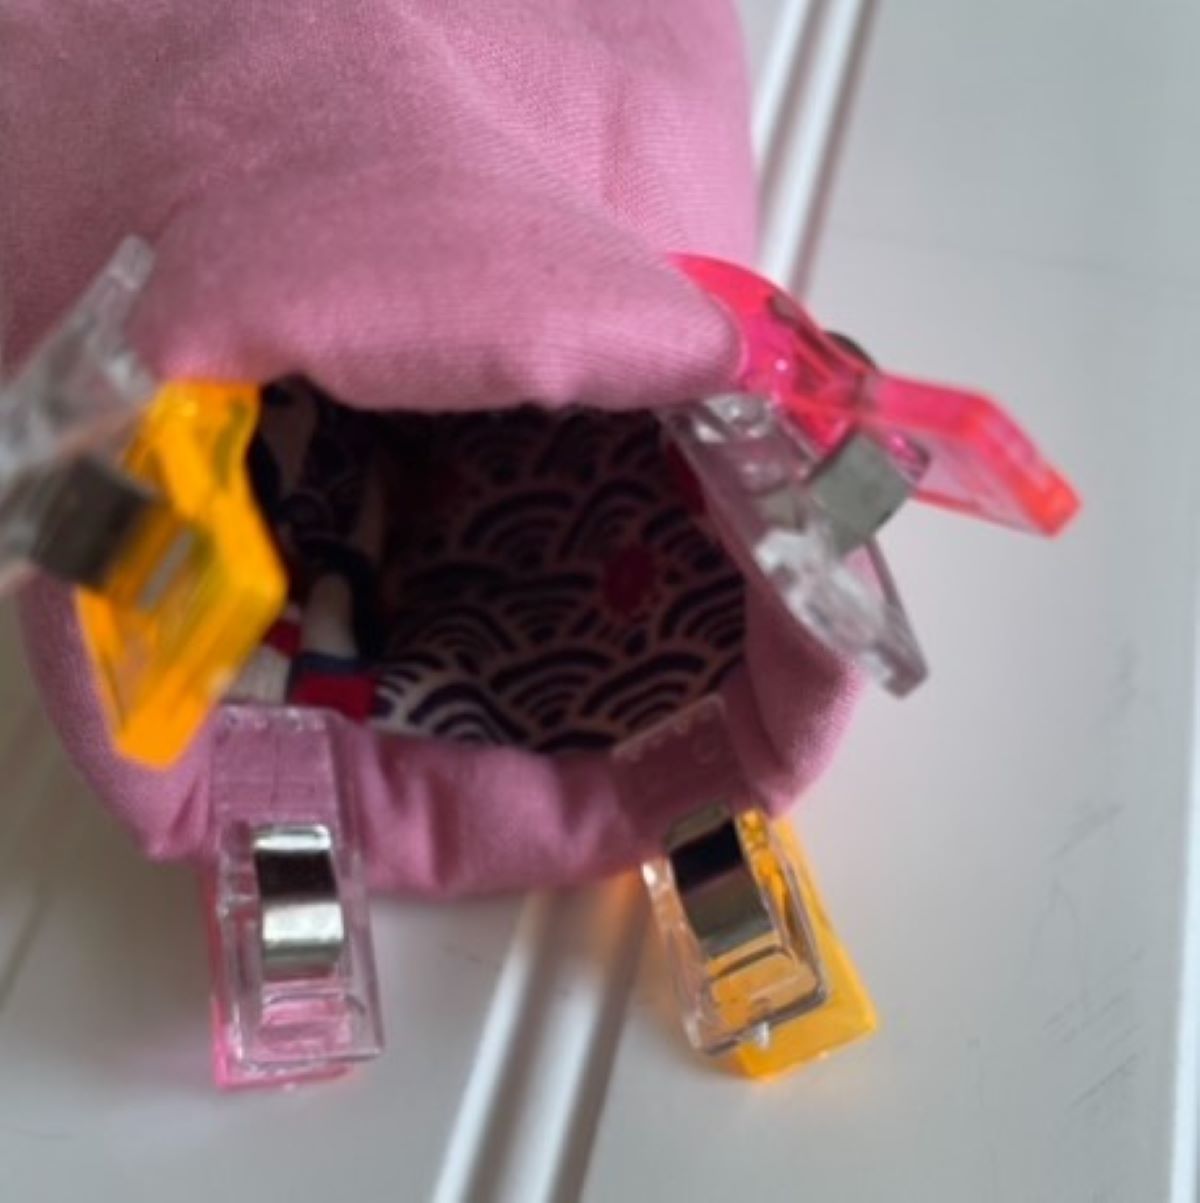
This project really is just a mini version of the computer sleeve. Hint: Because it is so much smaller, stitching the binding is a little tricky. Use the clips, but keep it inside out and stitch from the inside as pictured here. Trust me, this works like a charm!
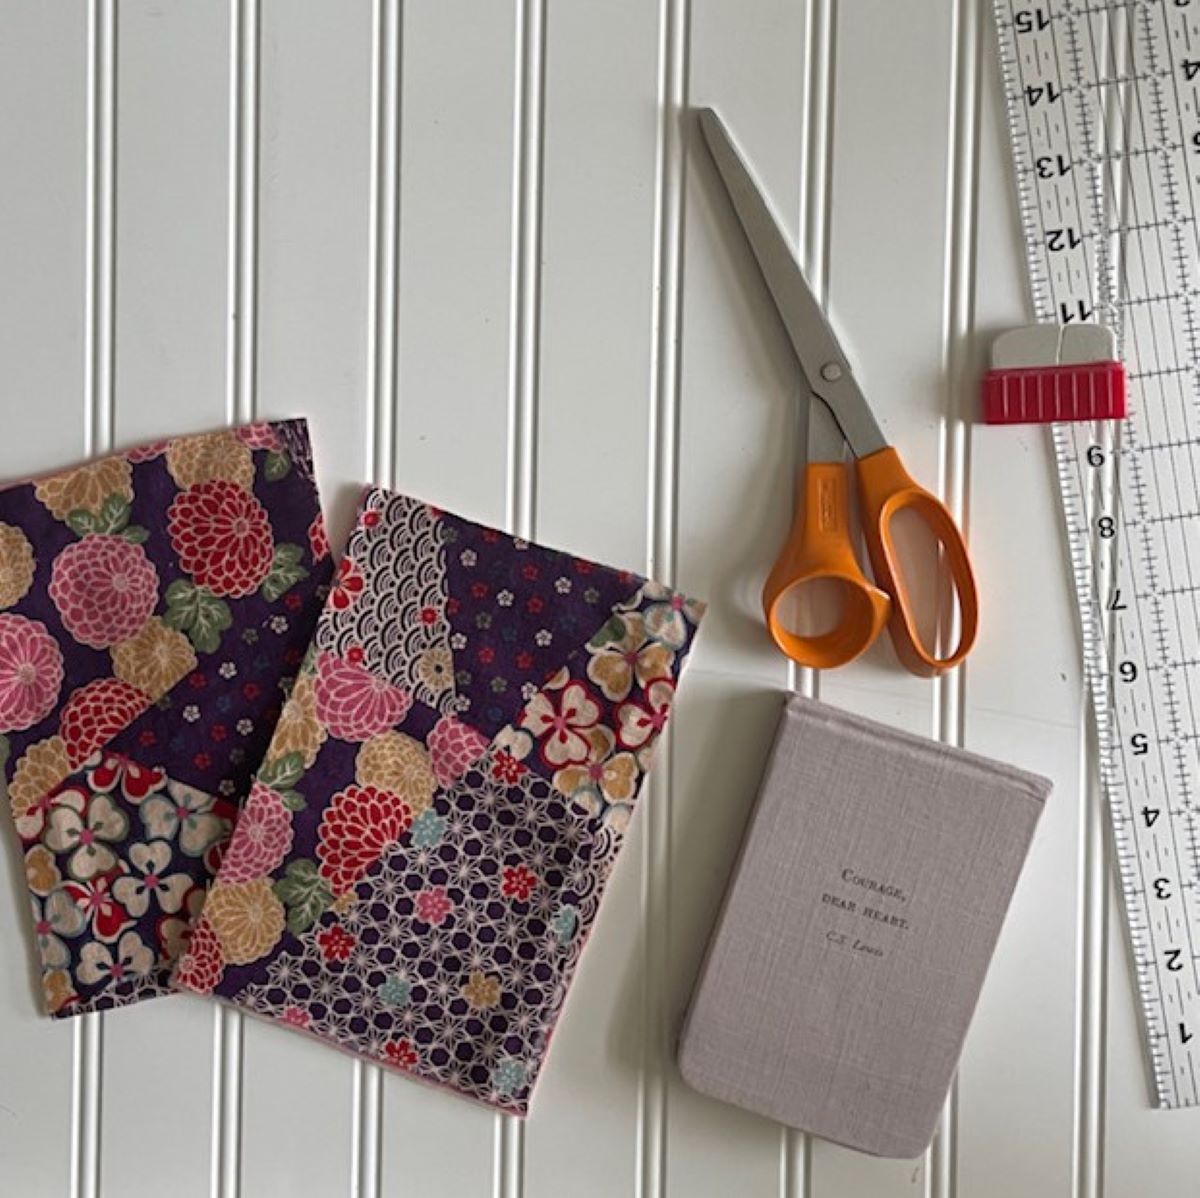
Instructions to Sew Mini Organizing Project #3: Notebook Sleeve
My new gig in addition to nannying is working as a personal assistant. My handy-dandy notebook needs to be quickly accessible and presentable. Digging in my bag for wrinkled scraps of paper is not the image I want to present here! So a simple and classic look is what I’ll be going for in the next addition to the mini organizing collection. Maybe I’ll throw in a pencil case as a bonus!
Guess what? SAME directions, just change your measurements. The first time I did this mini project, I didn’t allow enough ease, so my notebook didn’t fit. And now I have a checkbook cover too! Make sure to double-check your measurements and allow for the thickness (depth) of your item.
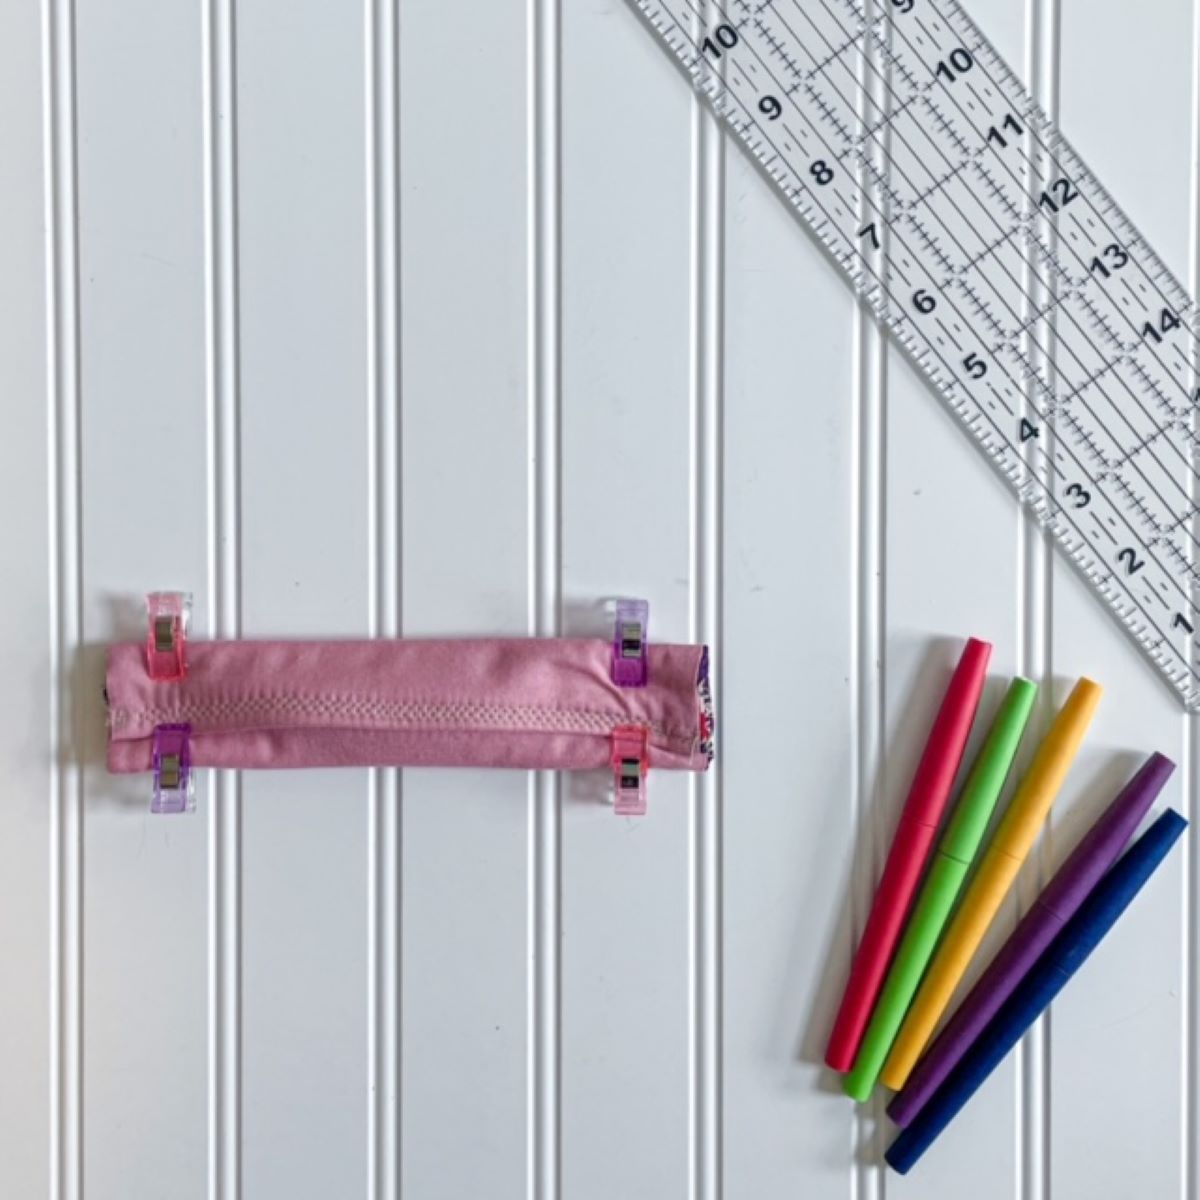
Instructions to Sew Mini Organizing BONUS Project: Pencil Case
I love this mini organizing project to round out the collection! Because I like to color-code my planner (surprise, surprise) and I am forever digging around the bottom of my bag for the right pen. No more. A slightly different method but still quick and easy, this simple project may be my favorite. So cute, and such a time-saver!

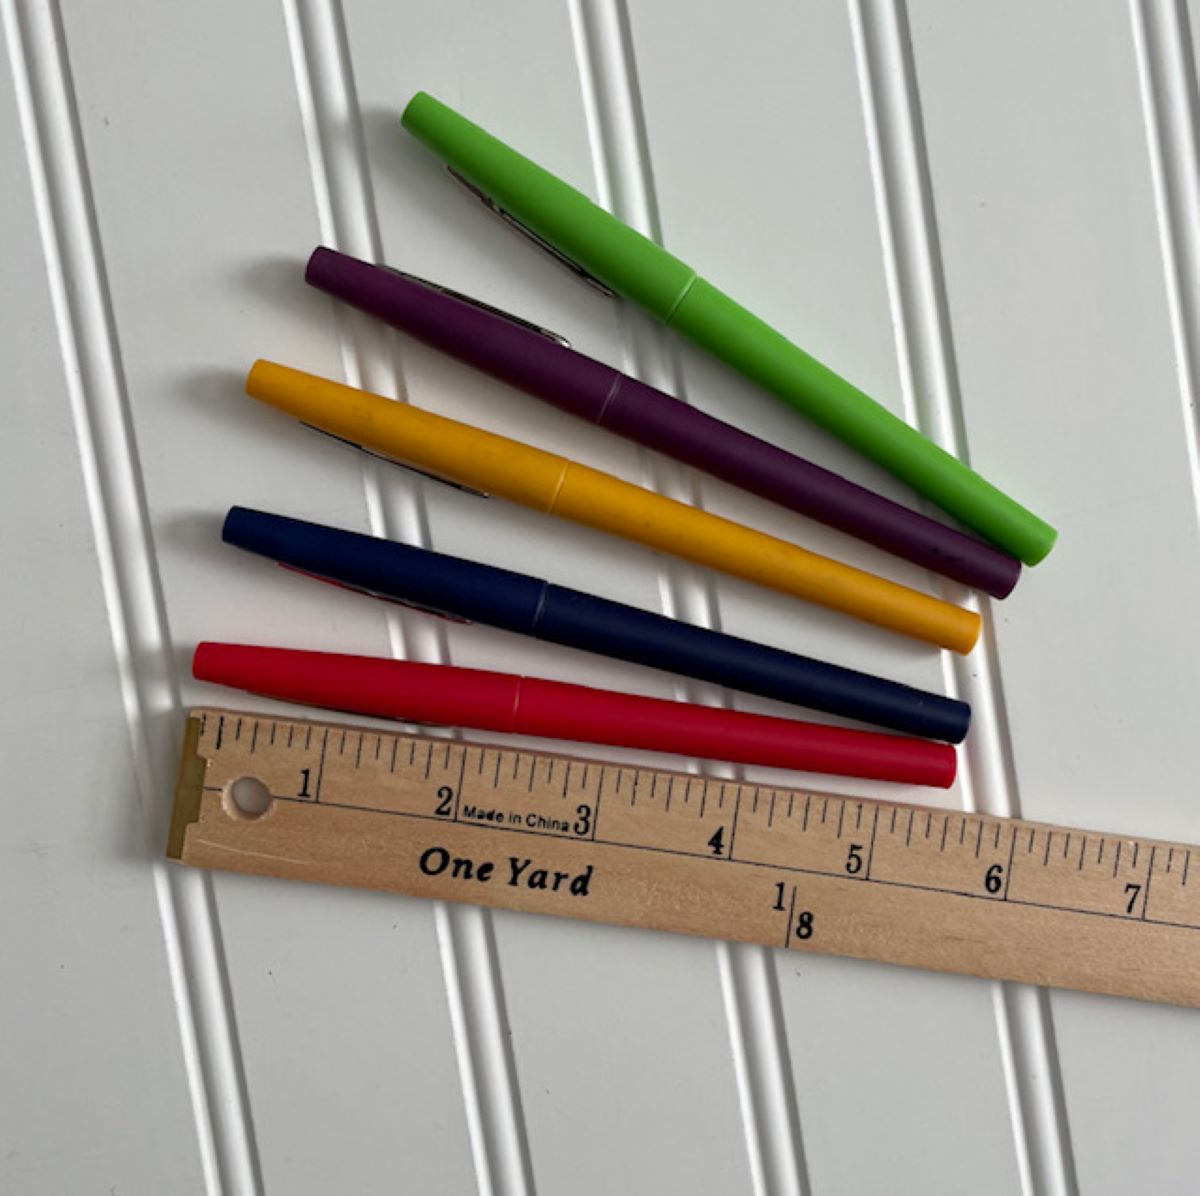
Step 1
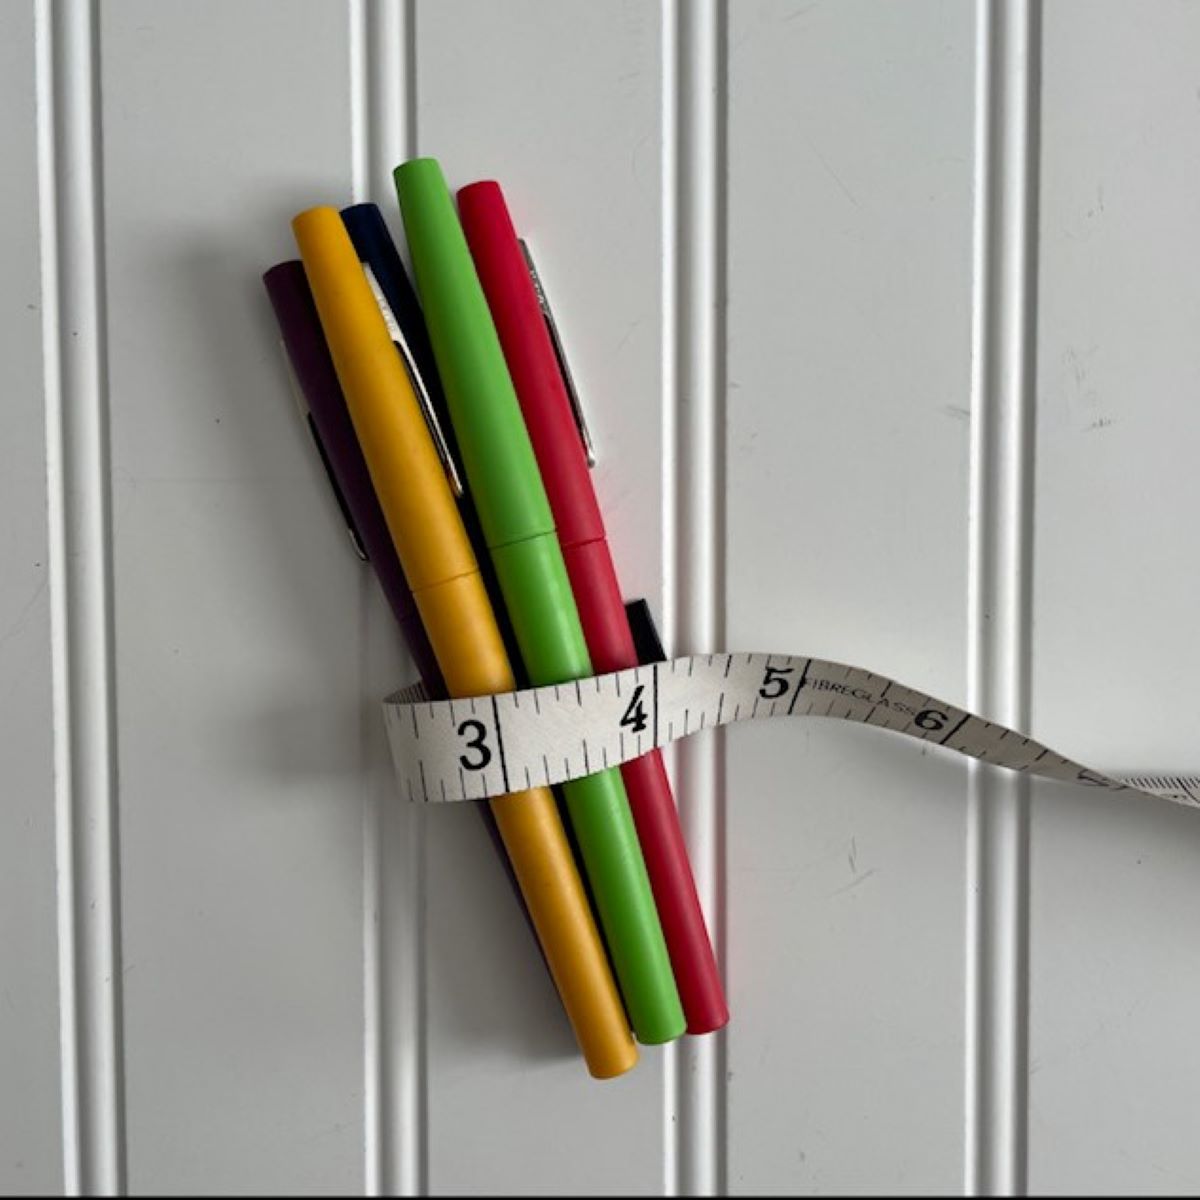
Gather the pens and/or pencils you want to contain.
Step 2
Measure the length. Be sure to measure the longest one if they are not all the same.
Step 3
Measure AROUND the group to get a “waist” measurement so they will all fit.
Step 4
Calculate your cutting measurements: [actual length + 1/2 inch seam allowance (for top and bottom) + 1 1/2 inch ease (to be able to open the case enough to get the pen/cils out) + another 1/2 inch seam allowance (for top and bottom)] x [actual circumference + 1/2 inch seam allowance (for both edges) + 1 inch ease + 1/2 inch overlap]
My actual measurements were 5 1/2 inches x 4 inches. My cut measurements were 8 x 6.
Step 5
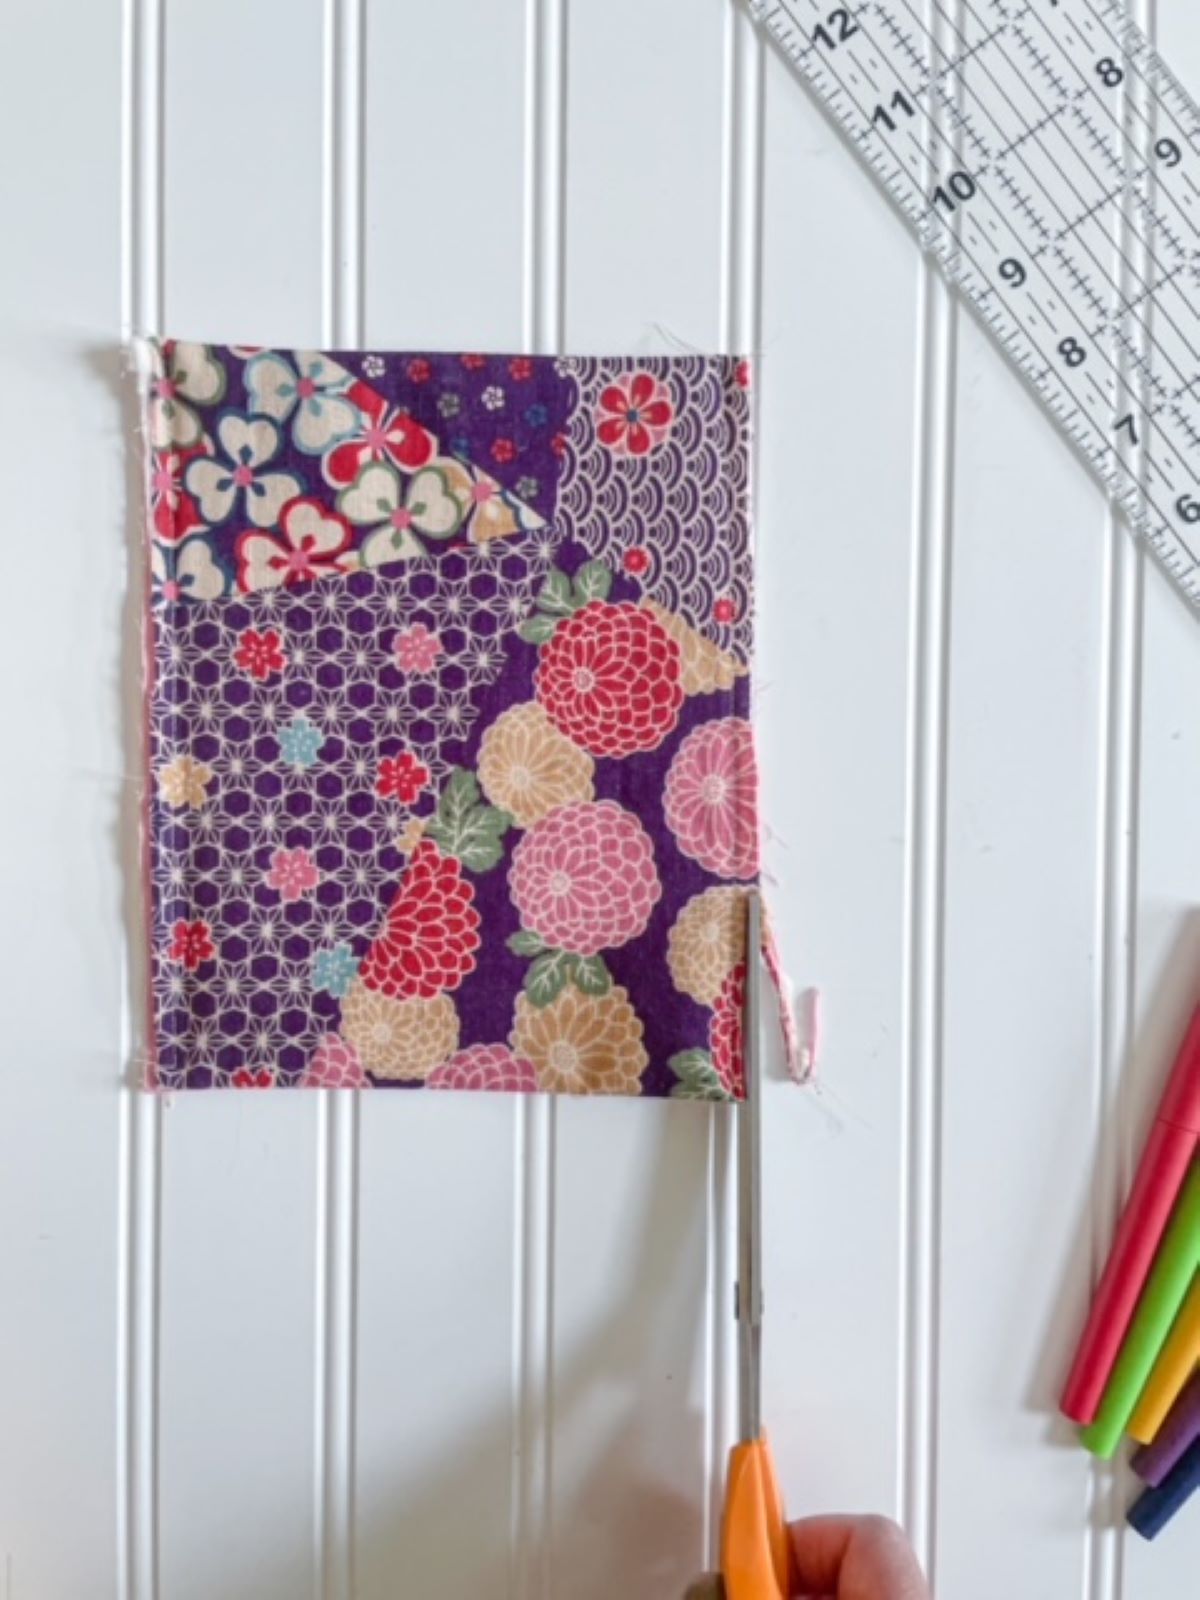
This time, you will sew all layers together in one step as follows: layer the two fabrics with right sides together and place batting on top. Secure with clips or pins. Stitch around the perimeter with a 1/4 inch seam allowance, leaving an opening approximately 2 inches. Trim seam allowance close to stitching line being careful not to cut through the threads. Turn right side out and stitch opening closed. (Note: photo of seam trimming shows the wrong side of the fabric- it looks a little confusing because this fabric appears similar on right and wrong sides.)
Step 6
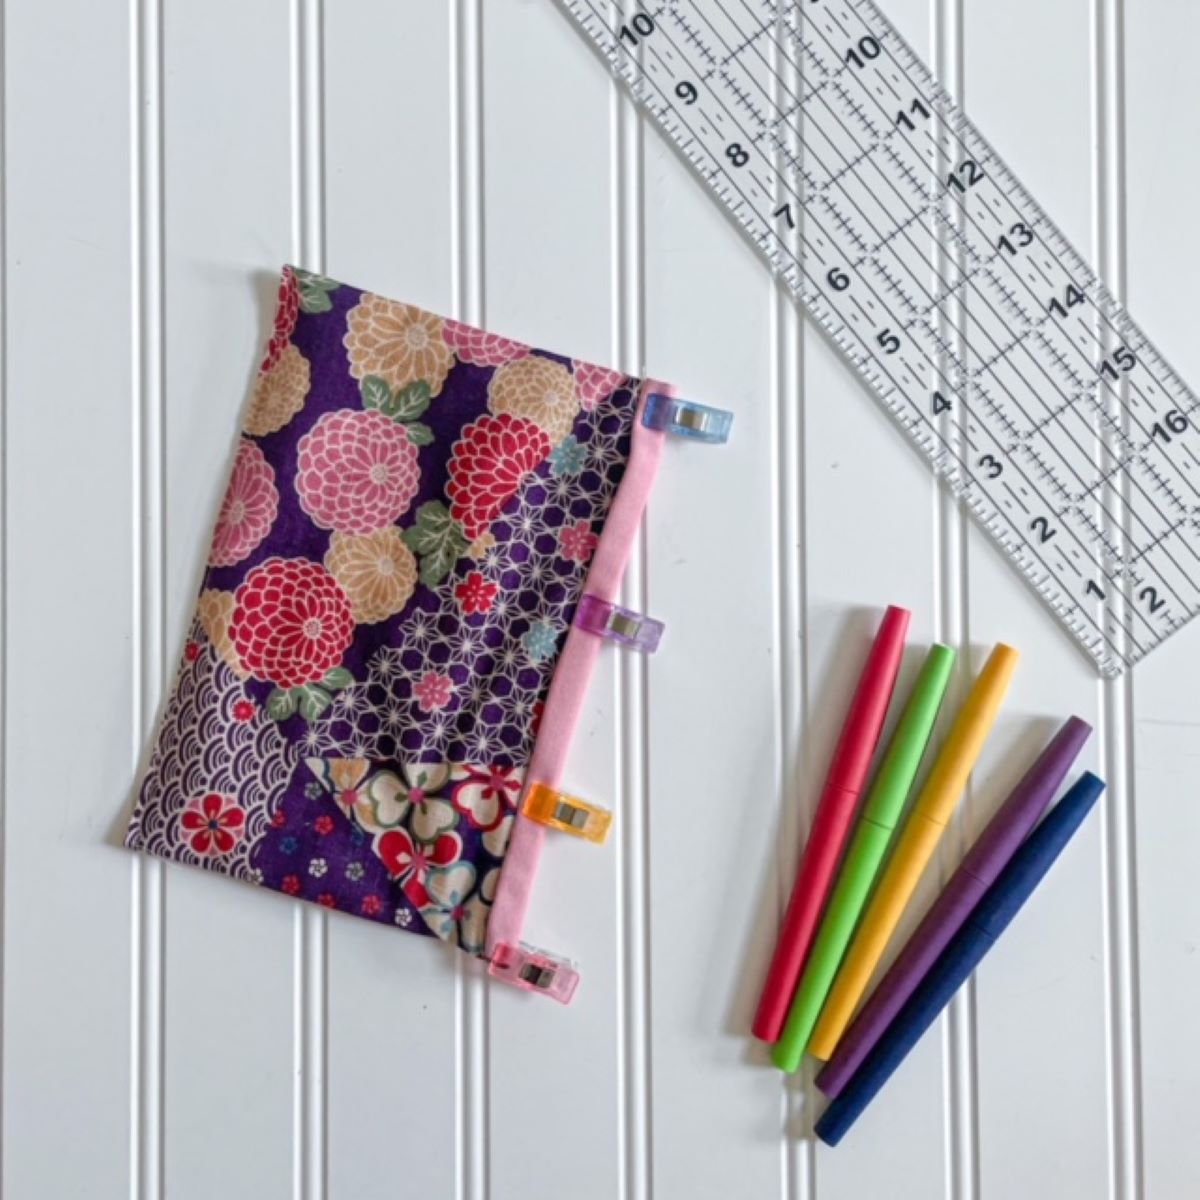
Next we will create the self-binding as we did for the other projects in the collection. On one long edge, fold the inside fabric toward outside and secure with clips or pins. Sew using stitch pattern of your choice. Repeat on the other long edge.
Step 7
With the main fabric to the inside, fold the sides toward the center, overlapping 1/2 inch and secure ends. Stitch ends across the top and bottom using a 1/4 inch seam allowance. Do not trim seam allowance. Turn right side out so top and bottom seams are on the inside. Press.
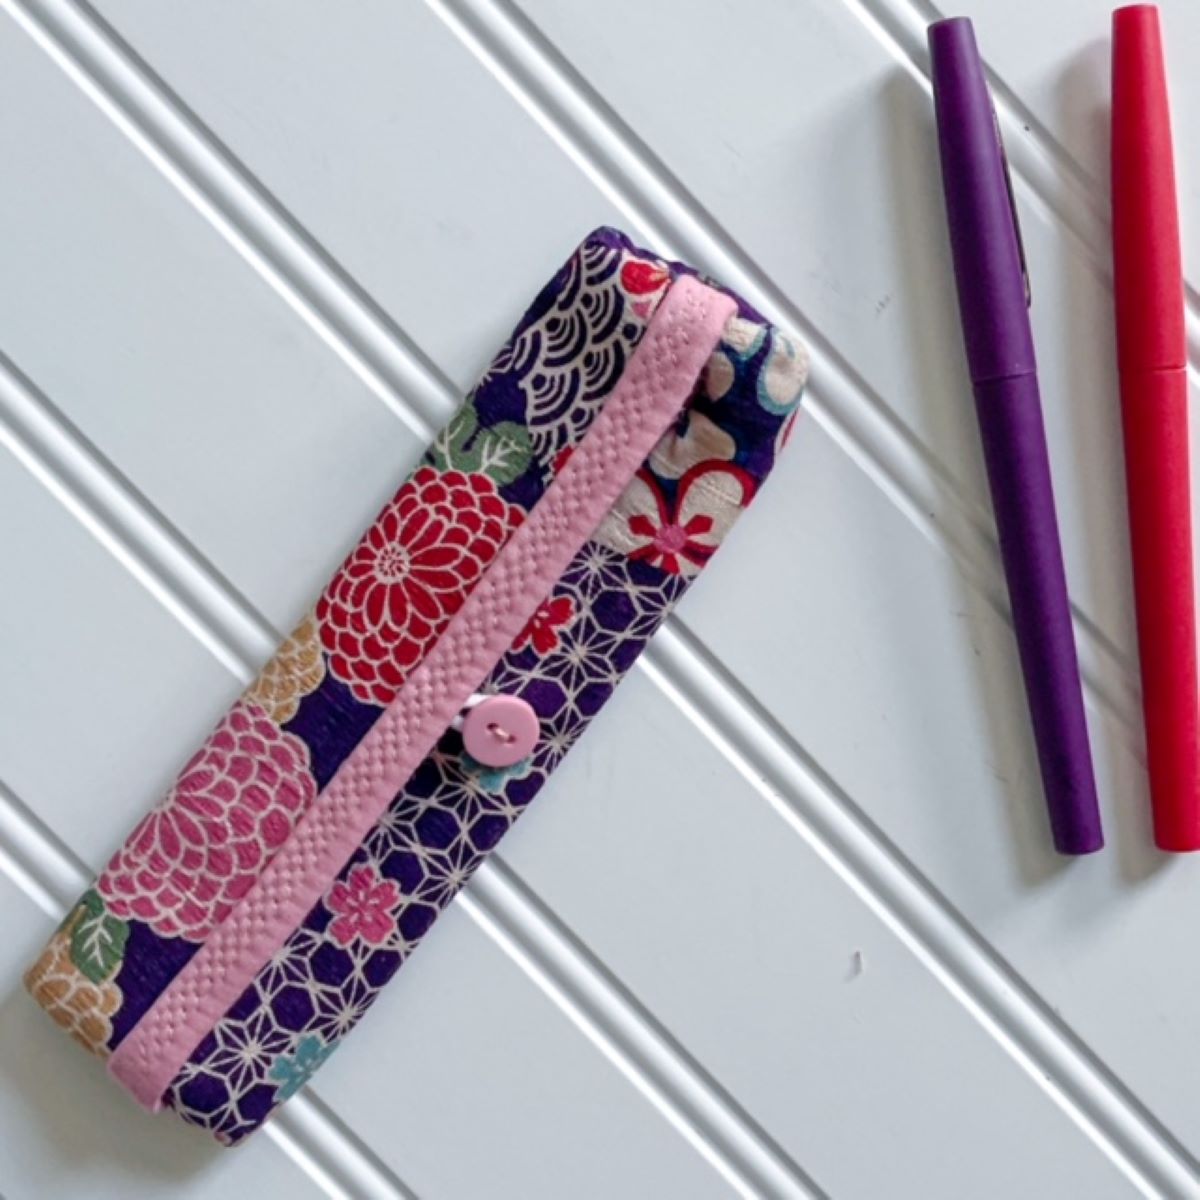
Step 7
Add closure if desired. I added a button and elastic loop. you can use hook and loop tape, snap(s), ribbon, etc. as you like.
Before & After—Chaos Conquered with this Mini Organizing Collection!
“Sew”, I maybe got a little carried away (no pun intended). In addition to the projects shown here, I now have a sunglass case, checkbook pouch, and I’m toying with the idea of a mini pouch for my mints. I can never find those when I need them! ??♀️
Before

Christina says: “Yikes”
After
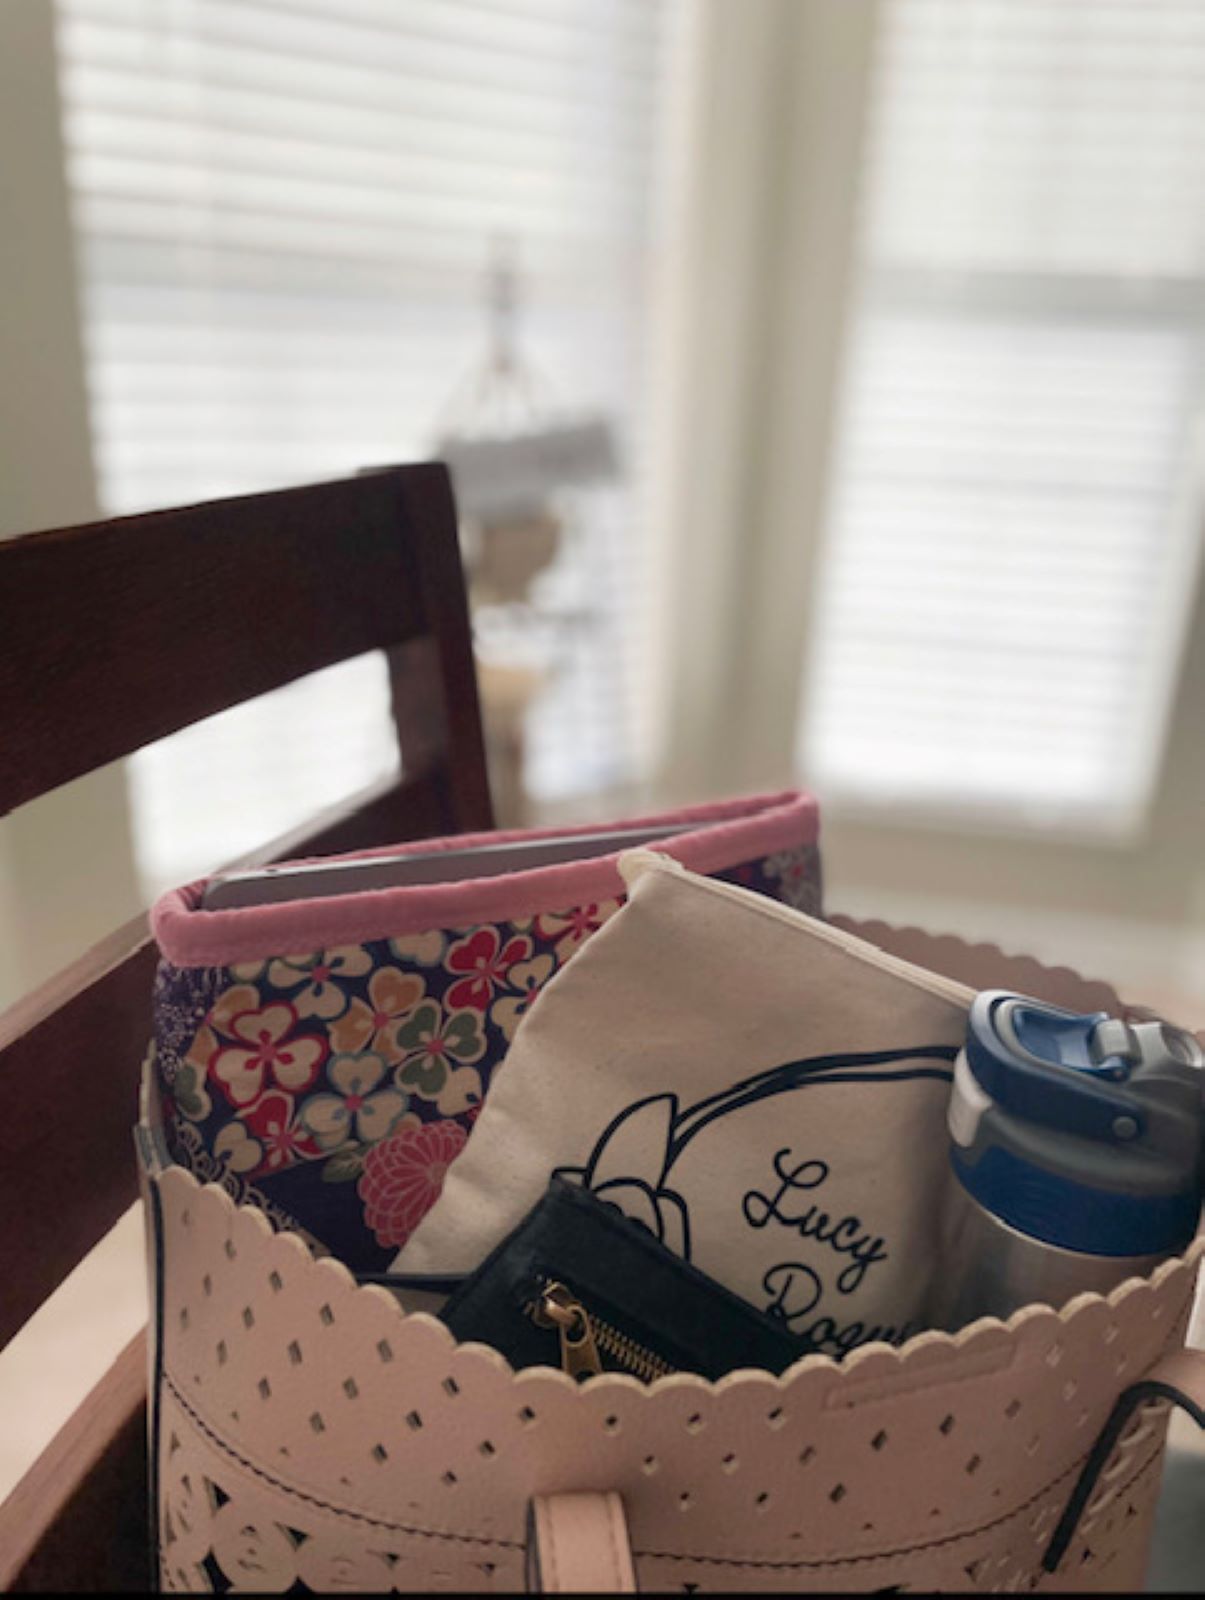
Christina says: “Pretty proud of myself and it took less than two hours from chaos to ridiculously organized!”
Afterword
Best compliment ever: My math-teacher-son-in-law asked me to make a sleeve for his work computer! Compliment accepted. Maybe I have a new business idea! ?
Get Creative and Share Your Mini Organizing Collection
I hope you’ve enjoyed learning how to sew a mini organizing collection!
A few things to keep in mind: First, I know y’all are creative types (or you probably wouldn’t be here)! As you start on your own projects, feel free to add your own touches, embellishments or redesigns. Second, because I’m trying to keep it simple and quick here, I’m sticking to the basics. Feel free to take your projects to the next level if you are feeling adventurous. And finally, be sure to share your creations in the comments. We love SEW & tell!
Used Products

What you might also like


6 comments on “How to Sew a Mini Organizing Collection”
-
-
I’m so glad you liked this project and can’t wait to hear how yours turn out! ?
-
-
Fabulous collection and I’m definitely making it!
-
Thank you so much! I’d love to hear how yours turns out and what create twists you come up with. I use mine every day! ?
-
I love them all thank you for the tutorial.
The notebook cover I’m interested in having a pen or pencil attached to it hut not sure how. Use elastic on long side during construction?-
I’m so glad you liked the tutorial! I like your idea of adding a spot for a pen or pencil. Yes, I think elastic would work well. I’m also thinking if you make the sleeve a bit wider than the notebook and sew a vertical line of stitching along one side after you turn it, you would have a snug little holder for your favorite writing utensil! I think I’ll try that for my next one too- thanks for the inspiration! ❤️ Happy organizing!
-
-
-
Leave a Reply
You must be logged in to post a comment.

I need this not only for myself but my mother and sister both mentioned to me separately that they needed some of these.
Now I can make them some gifts with confidence.
Thank you so much. They are beautiful