It All Started with an Apron Contest . . . DIY Molly’s Award-Winning Apron
With Thanksgiving – and Tie One On Day™ – just around the corner, here’s a tutorial for a lovely apron from Molly Hanson. This year BERNINA of America is once again a sponsor of Tie One On Day. Visit the site for give-away information. (We also have a special give-away for WeAllSew readers at the end of this post!)
It all started with an apron contest….
Hello, I’m Molly Hanson, author, blogger, and quilter. And now, I am proud to say, a BERNINA Ambassador! My journey as a sewer and quilter started much like many of yours. I had a need to make handmade gifts for my loved ones as well as a need for a creative outlet. I began quilting just over a decade ago. A few years into my sewing and quilting journey my first sewing machine (an inexpensive big box retailer purchase) was starting to give me problems and I began looking for one to replace it. I looked at all the brands but was really attracted to BERNINA – and the dream of owning one began. I being in my twenties with not much to spend couldn’t even think of affording one at the time, but the dream was there: Someday I would be sewing on a beautiful shiny new BERNINA sewing machine.
Fast forward a year or two . . . I was following along with BurdaStyle’s website and I saw an advertisement for a BERNINA-sponsored contest – an apron-making contest. I knew the second I saw that ad that this was my big chance. I could make one heck of an apron and by golly I was going to give it my best effort to WIN THAT MACHINE! I went to work cutting up my very best fat quarters and designed an original apron for the contest. The week the online voting took place was one of highs and lows. It was between me and another apron-maker, and the voting came pretty close sometimes, with me in the lead and then lagging behind by a few votes. The last few days sealed the deal though – I pulled through to a pretty large lead and fate took hold. I won my BERNINA! My prize was an activa 210, the most basic of machines. But I was in LOVE.
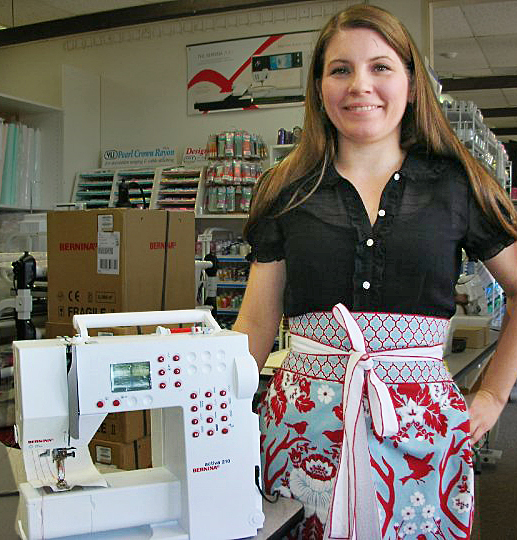
This is me five years ago at my local BERNINA dealer picking up my prize in my first place apron. Happy girl indeed!
That machine had my heart, and I was her slave – or she was mine, however you want to look at it. We spent countless hours together making many more aprons (I ended up selling many versions of the winning apron on Etsy for a while) as well as lots of quilt tops. I had quite the stack of quilt tops going a few years after winning my precious BERNINA and got the gumption to learn how to free-motion quilt them. I learned everything I could from reading and researching FMQ, picked up a darning foot, and was off to the races. Free-motion quilting was a natural fit for me, especially with the amazing hopping foot motion of my beloved Berni (her nickname). I was officially hooked, too hooked to make aprons anymore, or do much else beyond free-motion quilt. I spent a few years running miles and miles of thread through that wonderful little machine. She never failed me and my love for her grew and grew.
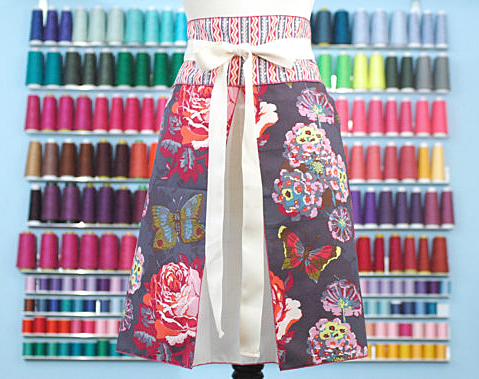
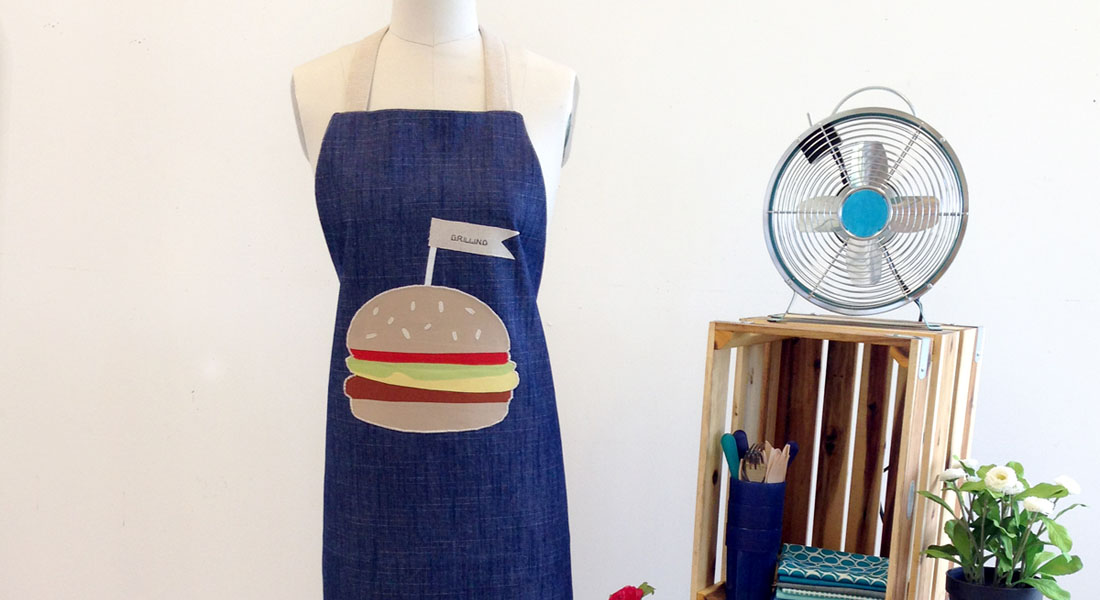
This is one of my aprons posed on a mannequin in front of my wall of thread for an Etsy photo shoot.
All that quilting began to get me some attention. I befriended Angela Walters, an amazing and extremely talented professional quilter, author and fabric designer who took me under her wing and invited me to help her with her sample-making for her booth at International Quilt Market in Portland 2013. From there my journey into the industry and quilting for others has been at high speed – I can barely keep up with it all. One of the best things was being introduced to the team at BERNINA of America and being asked to be an ambassador for them. What an enormous honor for the girl who started out dreaming of owning one years before.
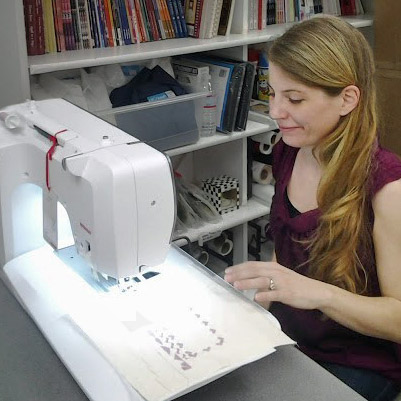
This is me picking up my new BERNINA 750 QE at my local BERNINA dealer, just over 5 years after winning the first one! Again, a very happy girl; this time with a much BIGGER machine!
The new BERNINA in my life, the B 750 QE, is worlds different than my activa 210 in many ways, but at the core she is the same – a beautifully well-made, perfectly-tuned machine. I was so intimidated when I first got the new machine, but once I started quilting I realized that she works just like the activa, just with so much more room and speed and a slew of options. I got comfortable then and have been immensely enjoying putting miles of thread through her and getting to know all the new features she brings to the table. In honor of this new partnership for me with BERNINA I’m going to show you all how to make the winning apron style on your BERNINA. I hope you enjoy!
The beauty of this apron is that it only takes a fat quarter and a fat eighth of print fabric, plus one more fat quarter for the lining. And it is so simple to make you can have one done before dinner. What could be better that that? I originally finished all the raw edges of the apron on my serger, but for this tutorial I decided to go back and make one completely on my new BERNINA 750 QE, using the vari-overlock stitch and foot. I hope you enjoy seeing how I made it and I really hope you make one for yourself pr someone else. Please remember this tutorial is for personal use only.
Molly’s Winning Apron
- 1 fat quarter for the apron body
- 1 fat eight for the apron belt
- 1 fat quarter of lining fabric for the center pleat, pocket, and belt lining
- 2 yards of grosgrain ribbon or twill tape
- Coordinating thread
Tip: I save the twill tape my fat quarter bundles come wrapped in. They make really cute belt straps!
Step 1) Cut the fabric.
Square up the apron body fat quarter to 22″ x 18″ and be sure to trim off the selvedge.
Cut the FQ in half to make two 11″ x 18″ panels.
Cut a 5″ x 22″ strip from the fat eighth for the belt.
From the lining FQ cut
- one 10″ x 18″ panel for the center pleat
- one 7″ x 8″ rectangle for the pocket
- one 5″ x 22″ strip for the belt lining.
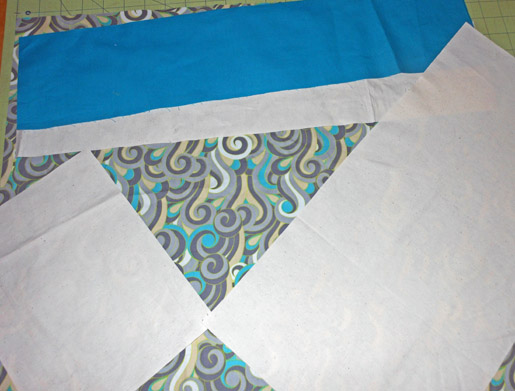
Here are my apron pieces all cut and ready to go!
Step 2) Fold and stitch the pocket.
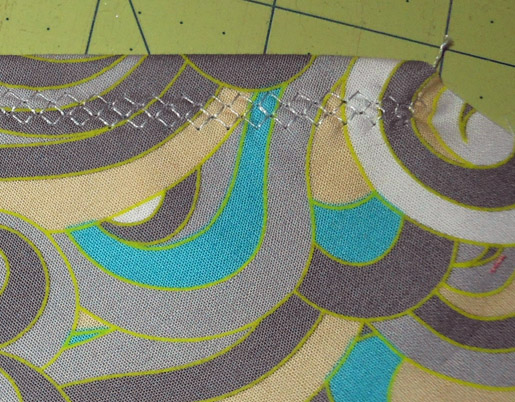
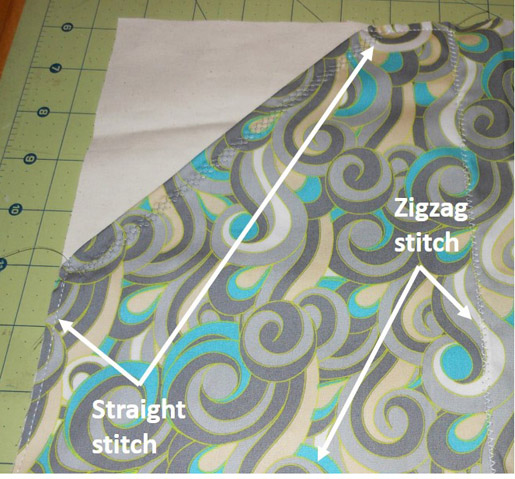
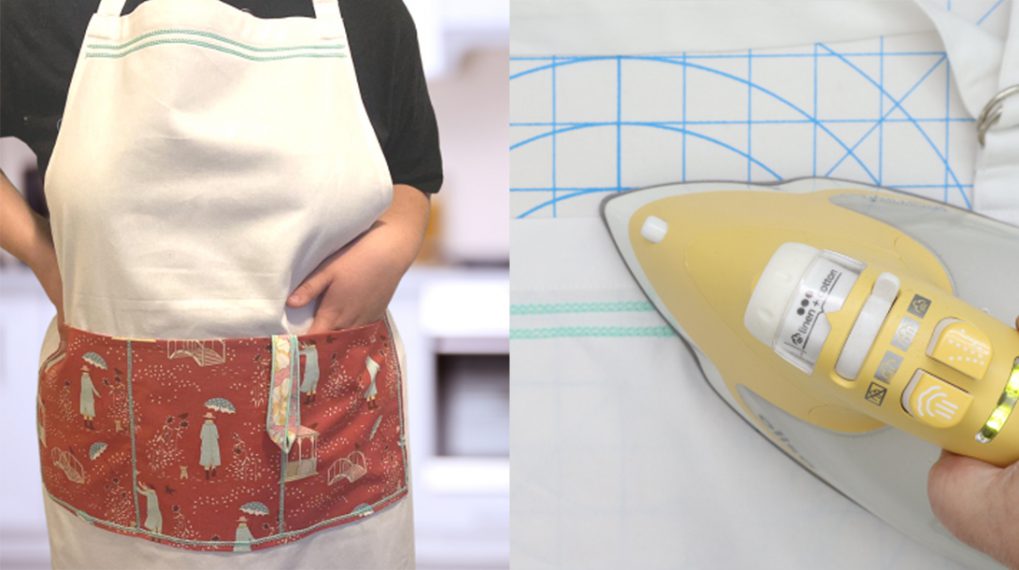
Depending on if you (or the person you are making the apron for) is right or left handed you will want to select an appropriate side for the pocket. Line up your fabric panel (either the left or right respectively) on your mat and measure 5” in from the corner and 5” down from the corner. Mark or pin the 5” spots and then fold the corner back to align the edges with those marks. Press the fold and sew alongside the pressing line. I chose a decorative stitch as I am having fun with those on my new machine.
Here you can see my folded and pinned corner and the decorative stitching I used to secure it.
Now we are going to make our pocket pouch. Take the lining piece and align the 7” side with the top of the apron and the 8” side with the side of the apron – where your fabric would have been if it wasn’t folded. Now mark where the edge of the pocket falls behind the top piece; I use pins to mark but a water-soluble pen or chalk works great, too.
Zigzag the top on your marked line, securing your pocket and the raw edges of the pocket lining together. There will be short sides on both of the folded edges of the apron. Use a quarter-inch-wide seam allowance to sew those two sides with a straight stitch; we will deal with those raw edges later.
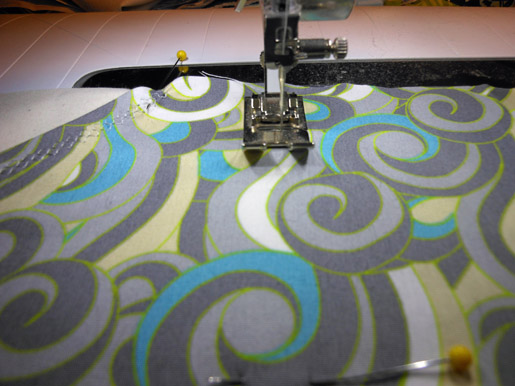
The picture shows me zigzag stitching the right side of the pocket, making a right-handed apron.
I continued to zigzag around the bottom of the pocket along my marked pin line, then straight stitched up the left side and top.
Step 3) Make the apron “skirt.”
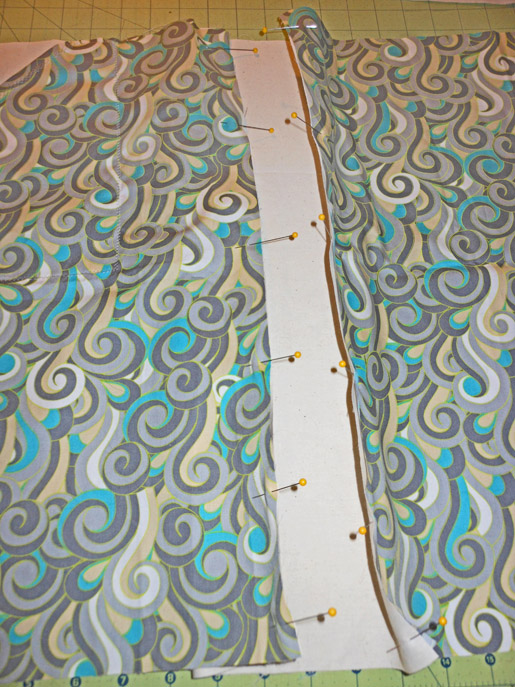
Take the center lining piece (10 x 18”) and line up one of the 18” edges with one of the inner facing edge pieces, right sides out. Place a few pins in to keep the edges lined up exactly – this is important! Keeping those edges lined up will determine the success of this step.
When I made these aprons for my etsy shop I used a serger and a roll hem stitch to do this finish all the edges. You can use a serger if you have one, but I am going to show you how I made one with my new BERNINA 750 QE and a zigzag stitch.
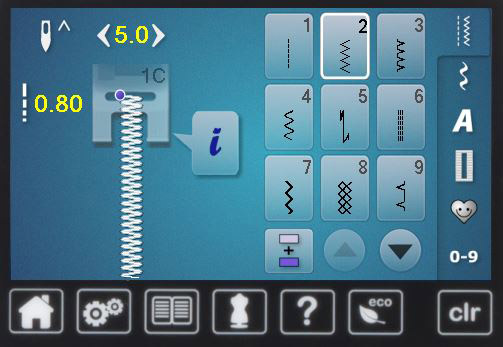
Go to the sewing machine and set your stitch width at 5 mm and stitch width at 0.80 mm. (If your machine’s stitch width doesn’t go that wide, a narrower width will work, too. Go as wide as you can, but no wider then 5mm.)
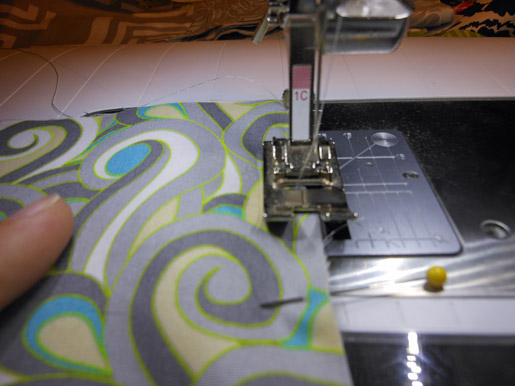
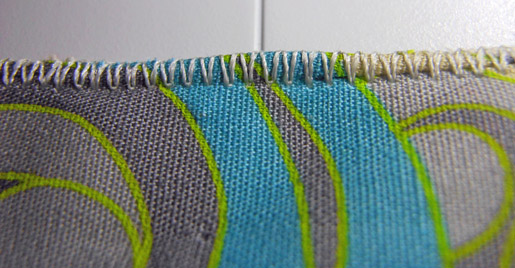
Line up the edge about an eighth of an inch to the right of the needle. Start sewing slowly and watch as the hem rolls under that zigzag stitch, which is only catching the fabric on the left side.Sew down the length of the edge.
The finished product – a beautiful rolled hem look edge on your home sewing machine- fantastic!
Repeat for the other side, lining up the other inside facing with the other 18″ side of the lining piece, keeping the print fabric on top. (This means you will have to start from the top of the apron on one side and the bottom of the apron on the other to keep the print on top and to the left of the needle.
This excellent locking stitch also does a great job finishing edges dinner napkins and tea towels – perfect!
Step 4) Construct the belt.
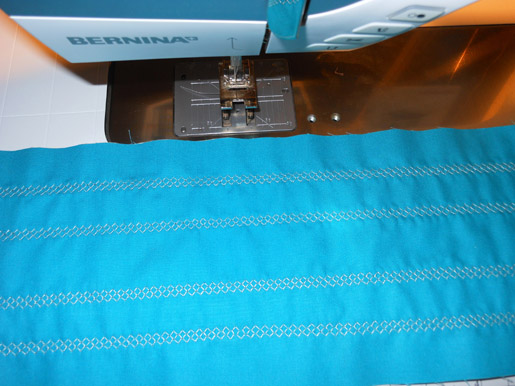
I used more decorative stitching to give my belt a striped look, but this was purely for fun, not necessary. If you want to use decorative stitching like I did then do that now before construction the belt.
Now that the body of the apron is all together the belt is our next focus. Line up the two belt fabric pieces with the lining right side down and the outer belt piece right side up on top.
Go to the sewing machine and adjust it to the same settings you did for the last rolled hem edge. Line up the edges the same way as fir the sides and roll hem the top edge of the belt/lining.
Next we will attach the apron belt to the apron body. Make sure the bottom edges of your apron belt and the top edge of your apron are even and straight; trim a tiny bit to get a perfect edge if necessary.
To make the center pleat, fold your apron in half exactly so the center crease runs down the center of the lining panel. Finger press so you can see the fold line.
Open the fold and then bring the roll-hemmed center edges to the center fold line. Press the pleat and then put a few pins in the center body of the apron to keep the pleat secure.
Next turn the apron over, right side down, making sure the pleat stays all lined up. Place the belt right side up on top of the apron along the top edge; pin heavily to keep all of those top edges line up perfectly.
Take the pinning pi;eces over to the sewing machine and zigzag roll hem your edge the same way as before, with the same settings. You won’t have the exact same look because of all the fabric layers, but it still works pretty well and does a great job securing the edges. Take your time with this step and really make sure all the edges are lined up. Once it’s done you will have a nice rolled hem look and with a bit of pressing it will lay flat on the apron and look beautiful.
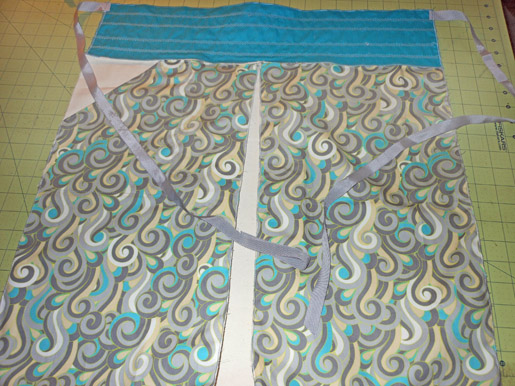
Here is my apron with the belt attached. Even though I am used to doing this with a serger I have to say I am pretty darned impressed with how nice it looks with a home sewing machine!
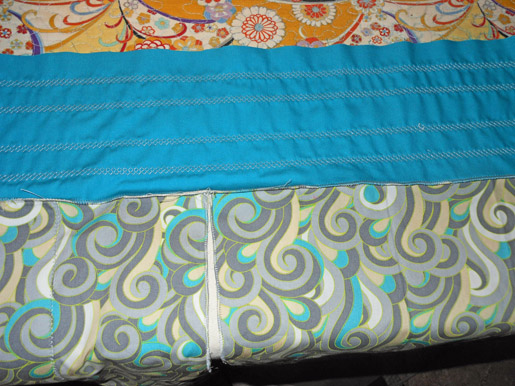
We are almost finished now – we just need to zigzag stitch around the remaining raw edges Take your time when going around the corners as the single layers of fabric on the bottom corners tend to want to bunch. Go slowly and pivot the apron when you are 1/4 inch away from the corner, and then keep zigzag stitching. Make your way around one side of the apron, around the bottom and then up the other side.
Step 5) Attach the straps.
Attach the belt straps using a french seam technique. Face the raw edge of the belt right side down next to the roll hem edge. Stitch down 1/4″ from the edge of the ribbon. Then flip the ribbon over and sew just to the right of the raw edge of the ribbon on the edge of your apron. This captures the raw edge inside the fold. Repeat for the other sash.
Double fold the ends of each strap and stitch to secure. then you can double fold the other raw edge and sew it to secure it and you are all done (once you have done both belt straps!).
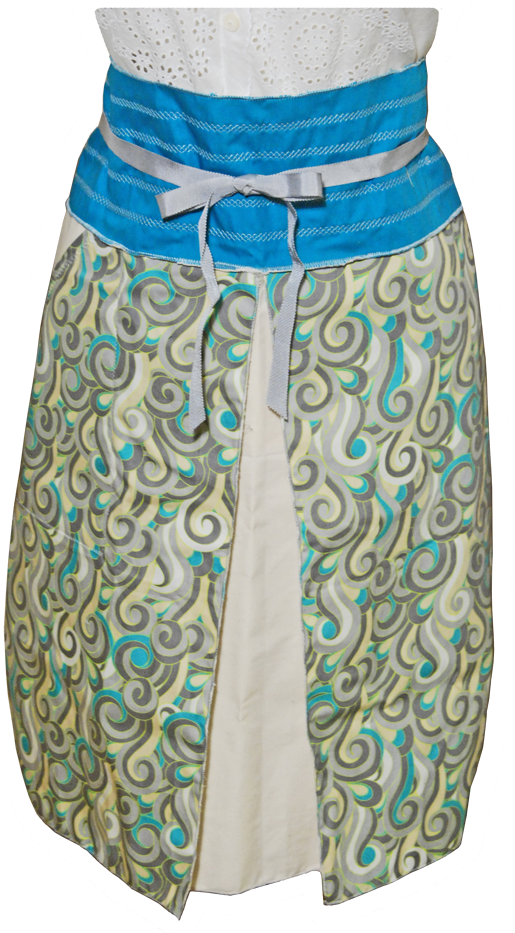
The finished apron! (Note the pocket on the upper right side of the apron skirt.)
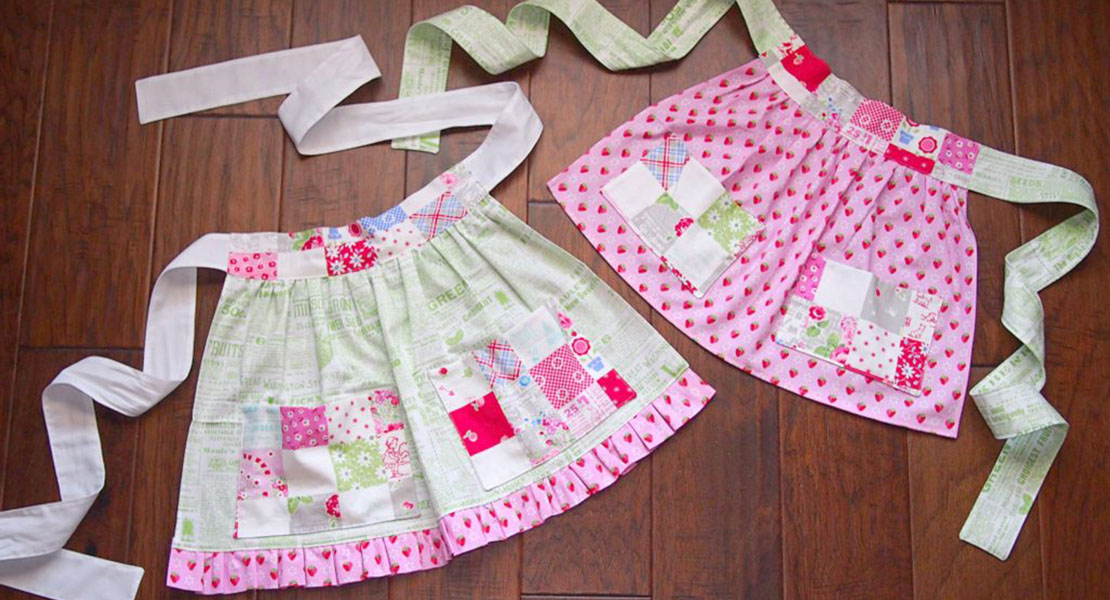
I hope you enjoyed this tutorial and will make one of these aprons for yourself or someone else. They go together quickly and can be made larger or smaller with the same technique to fit any size. This size fits a 2-12 perfectly, but if you want to make yours bigger just use a wider strip of fabric from the start- measure hip to hip and add a few inches so the pocket will hit at the right place. I have even made this apron doll sized before- it is very adaptable. I am giving away three aprons just like this to commentors on this blog post by Thursday, November 21, 11:59 p.m. Central. I will use a random number generator, all you have to do is comment what your favorite colors are and if you are selected I will choose one as close as I can to your preferences.Thanks for reading and have fun making aprons!
Molly
TIE ONE ON DAY™ Give from the heart on Wednesday – then give thanks on Thursday. This Thanksgiving Eve, Tie One On (an apron of course!) and bring joy to the life of someone in need.
Participation is easy and uplifting. Simply wrap a loaf of bread or baked good in an apron and tuck an encouraging note or prayer into the pocket; then present your offering to a neighbor, friend or person in your community who could benefit from your gesture of kindness. Tie One On – and put the “give” back into Thanksgiving.
“Women clad in aprons have traditionally prepared the Thanksgiving meal, and it is within our historical linkage to share our bounty.” EllynAnne Geisel
Tie One On Day™ is a win-win, for the participant and the receiver. And by embracing TOOD, you will make someone else’s day brighter.
What you might also like
4 comments on “It All Started with an Apron Contest . . . DIY Molly’s Award-Winning Apron”
-
-
Great apron. I’ll have to make some. I really like blue or green.
-
I LOVE the one on the mannequin…what color is that????
-
Such a wonderful idea, beautiful apron, and inspiring tradition. I love any and all blue colors.
Leave a Reply
You must be logged in to post a comment.





Great story! I love your apron and would love to have one made in aqua and red.