Khokhloma Coin Purse
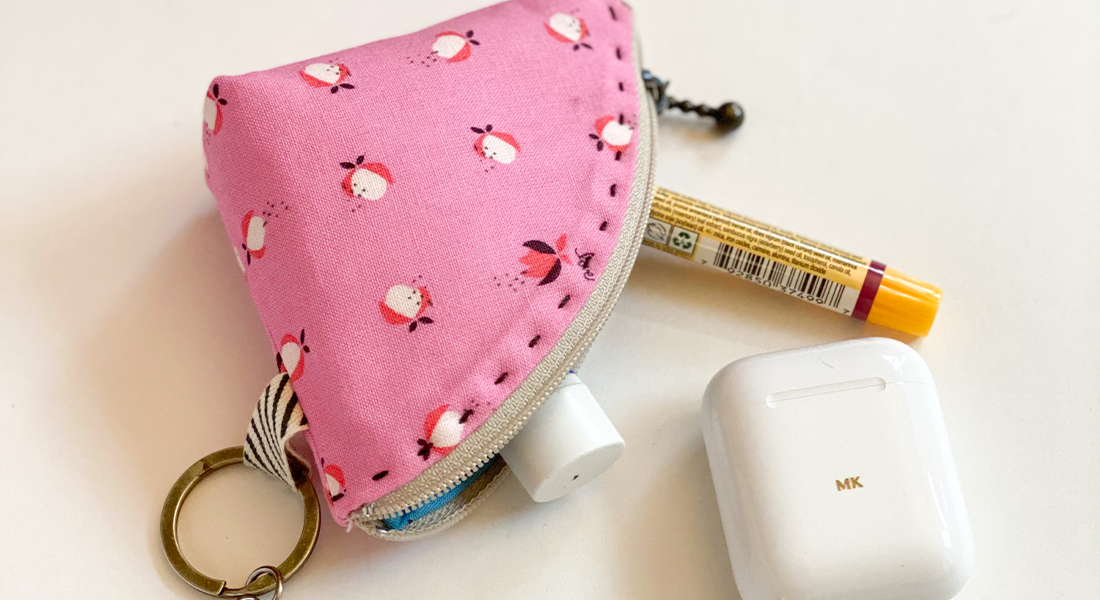
Learn how to make this cute little coin purse with simple patchwork and decorative stitch techniques.
Materials to Make the Khokhloma Coin Purse
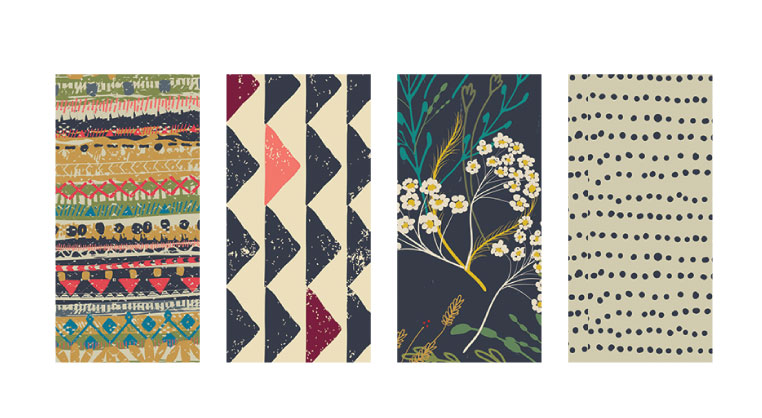
- Fat eight of Pat Bravo IFL-46304 Fabric A
- Fat eight of Pat Bravo IFL-46310 Fabric B
- Fat eight of Pat Bravo IFL-46302 Fabric C
- Fat eight of Pat Bravo IFL-56301 Fabric D
- Fat eight of Pat Bravo DEN-L-4000 Fabric E
- Fat eight of fusible fleece
- Universal needles size 80/12
- Sewing machine (I sew on a BERNINA 790)
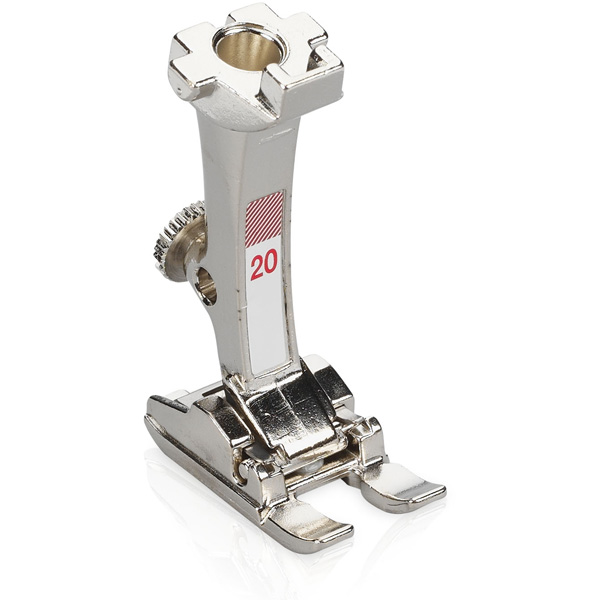
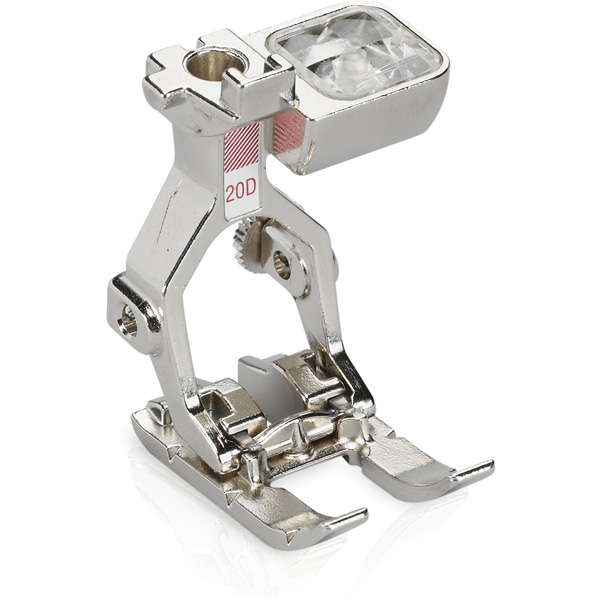
- Open embroidery foot (BERNINA Open embroidery foot #20/#20C/#20D)
- All-purpose presser foot (BERNINA Reverse Pattern Foot #1/#1C/#1D)
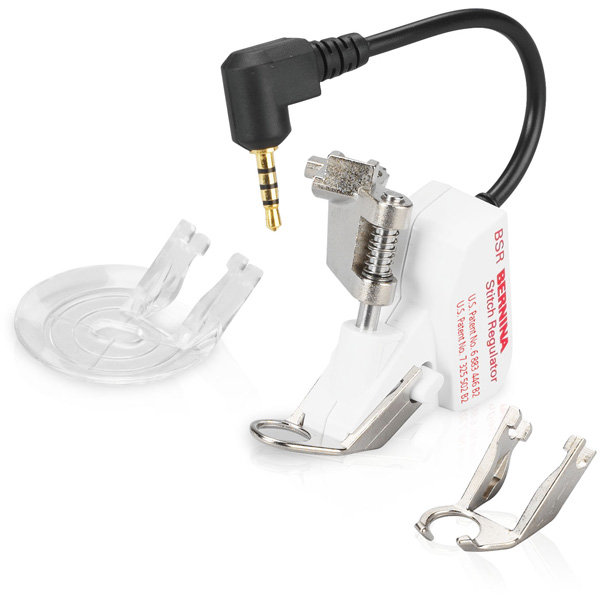
- Free-motion quilting with regular stitch length (BERNINA Stitch Regulator or foot of choice)
- Aurifil thread #2930
- 10” zipper
Cutting Instructions
- Cut 2 (two) 2″ by 4″ of Fabric A
- Cut 2 (two) 2″ by 4″ of Fabric B
- Cut 2 (two) 2″ by 4″ of Fabric C
- Cut 2 (two) 2″ by 4″ of Fabric D
- Cut 2 (two) 6″ by 4″ of Fabric E
- Cut 2 (two) 6″ by 4″ of fusible fleece
Step 1- Coin Purse Assembly
Take the pieces from fabric ABCD and placed them as shown in the image below.
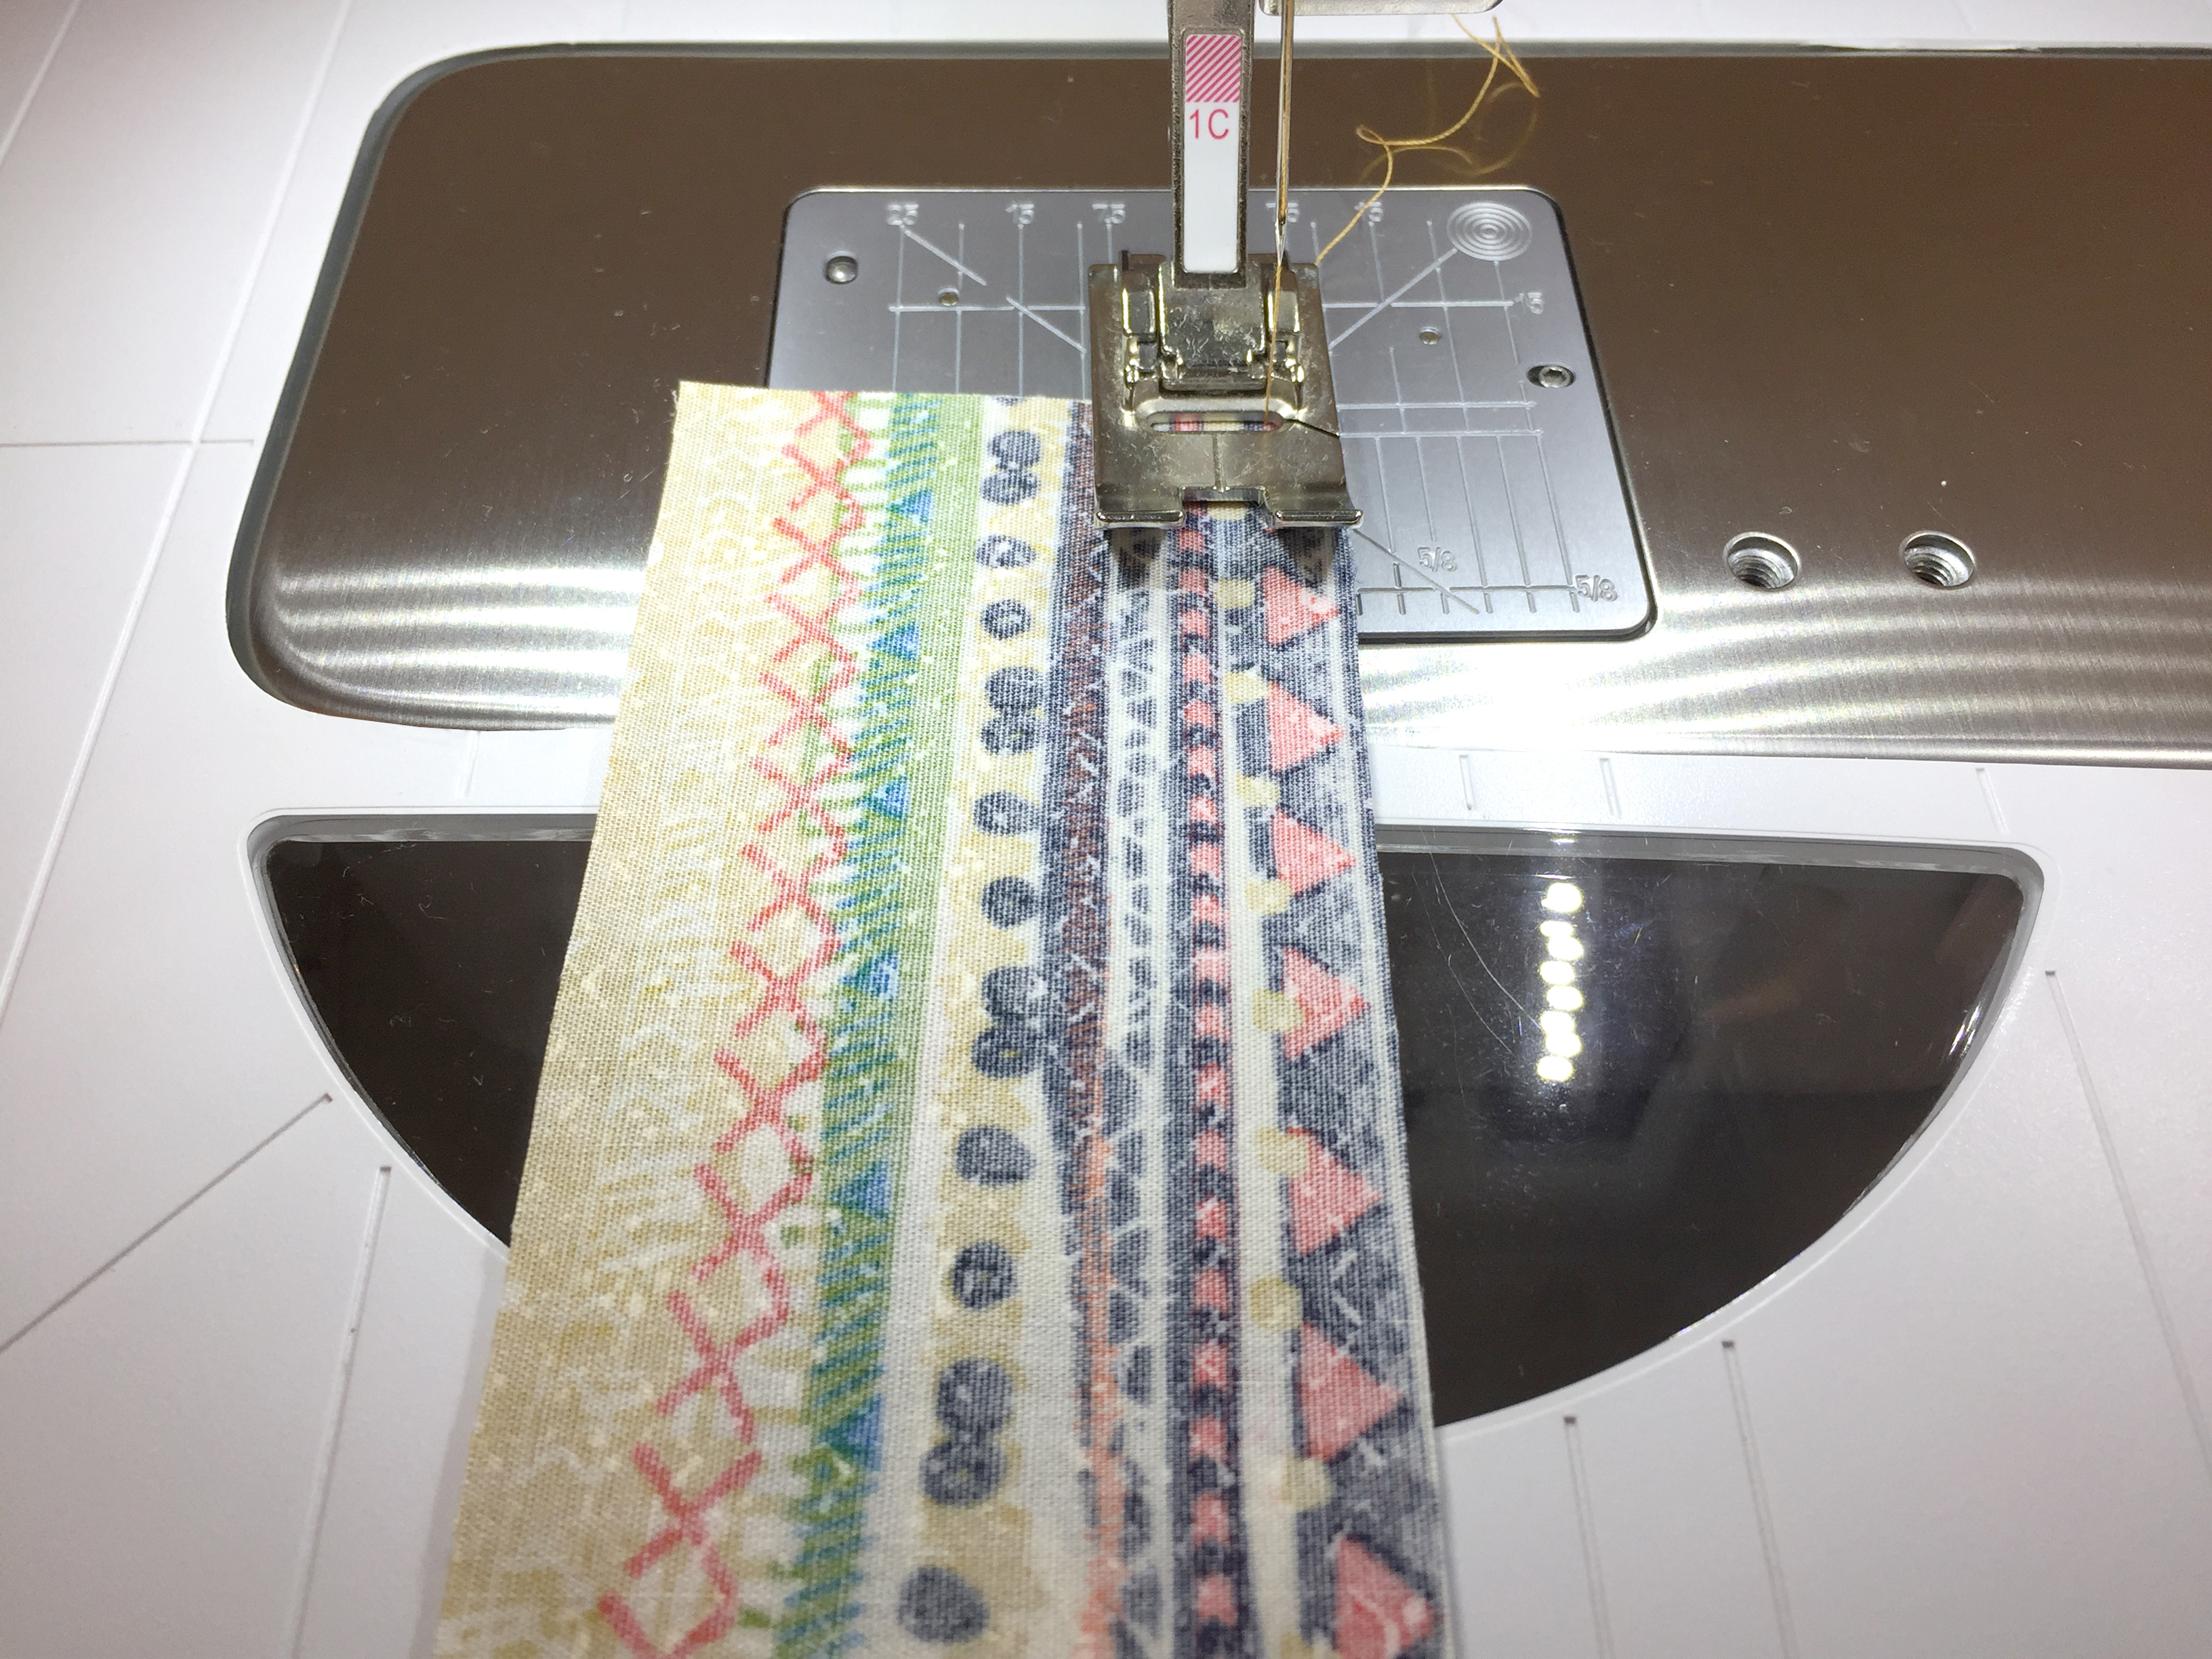
Now prep your sewing machine using the Reverse Pattern Foot #1/#1C/#1D and thread the needle with the Aurifil thread #2930.
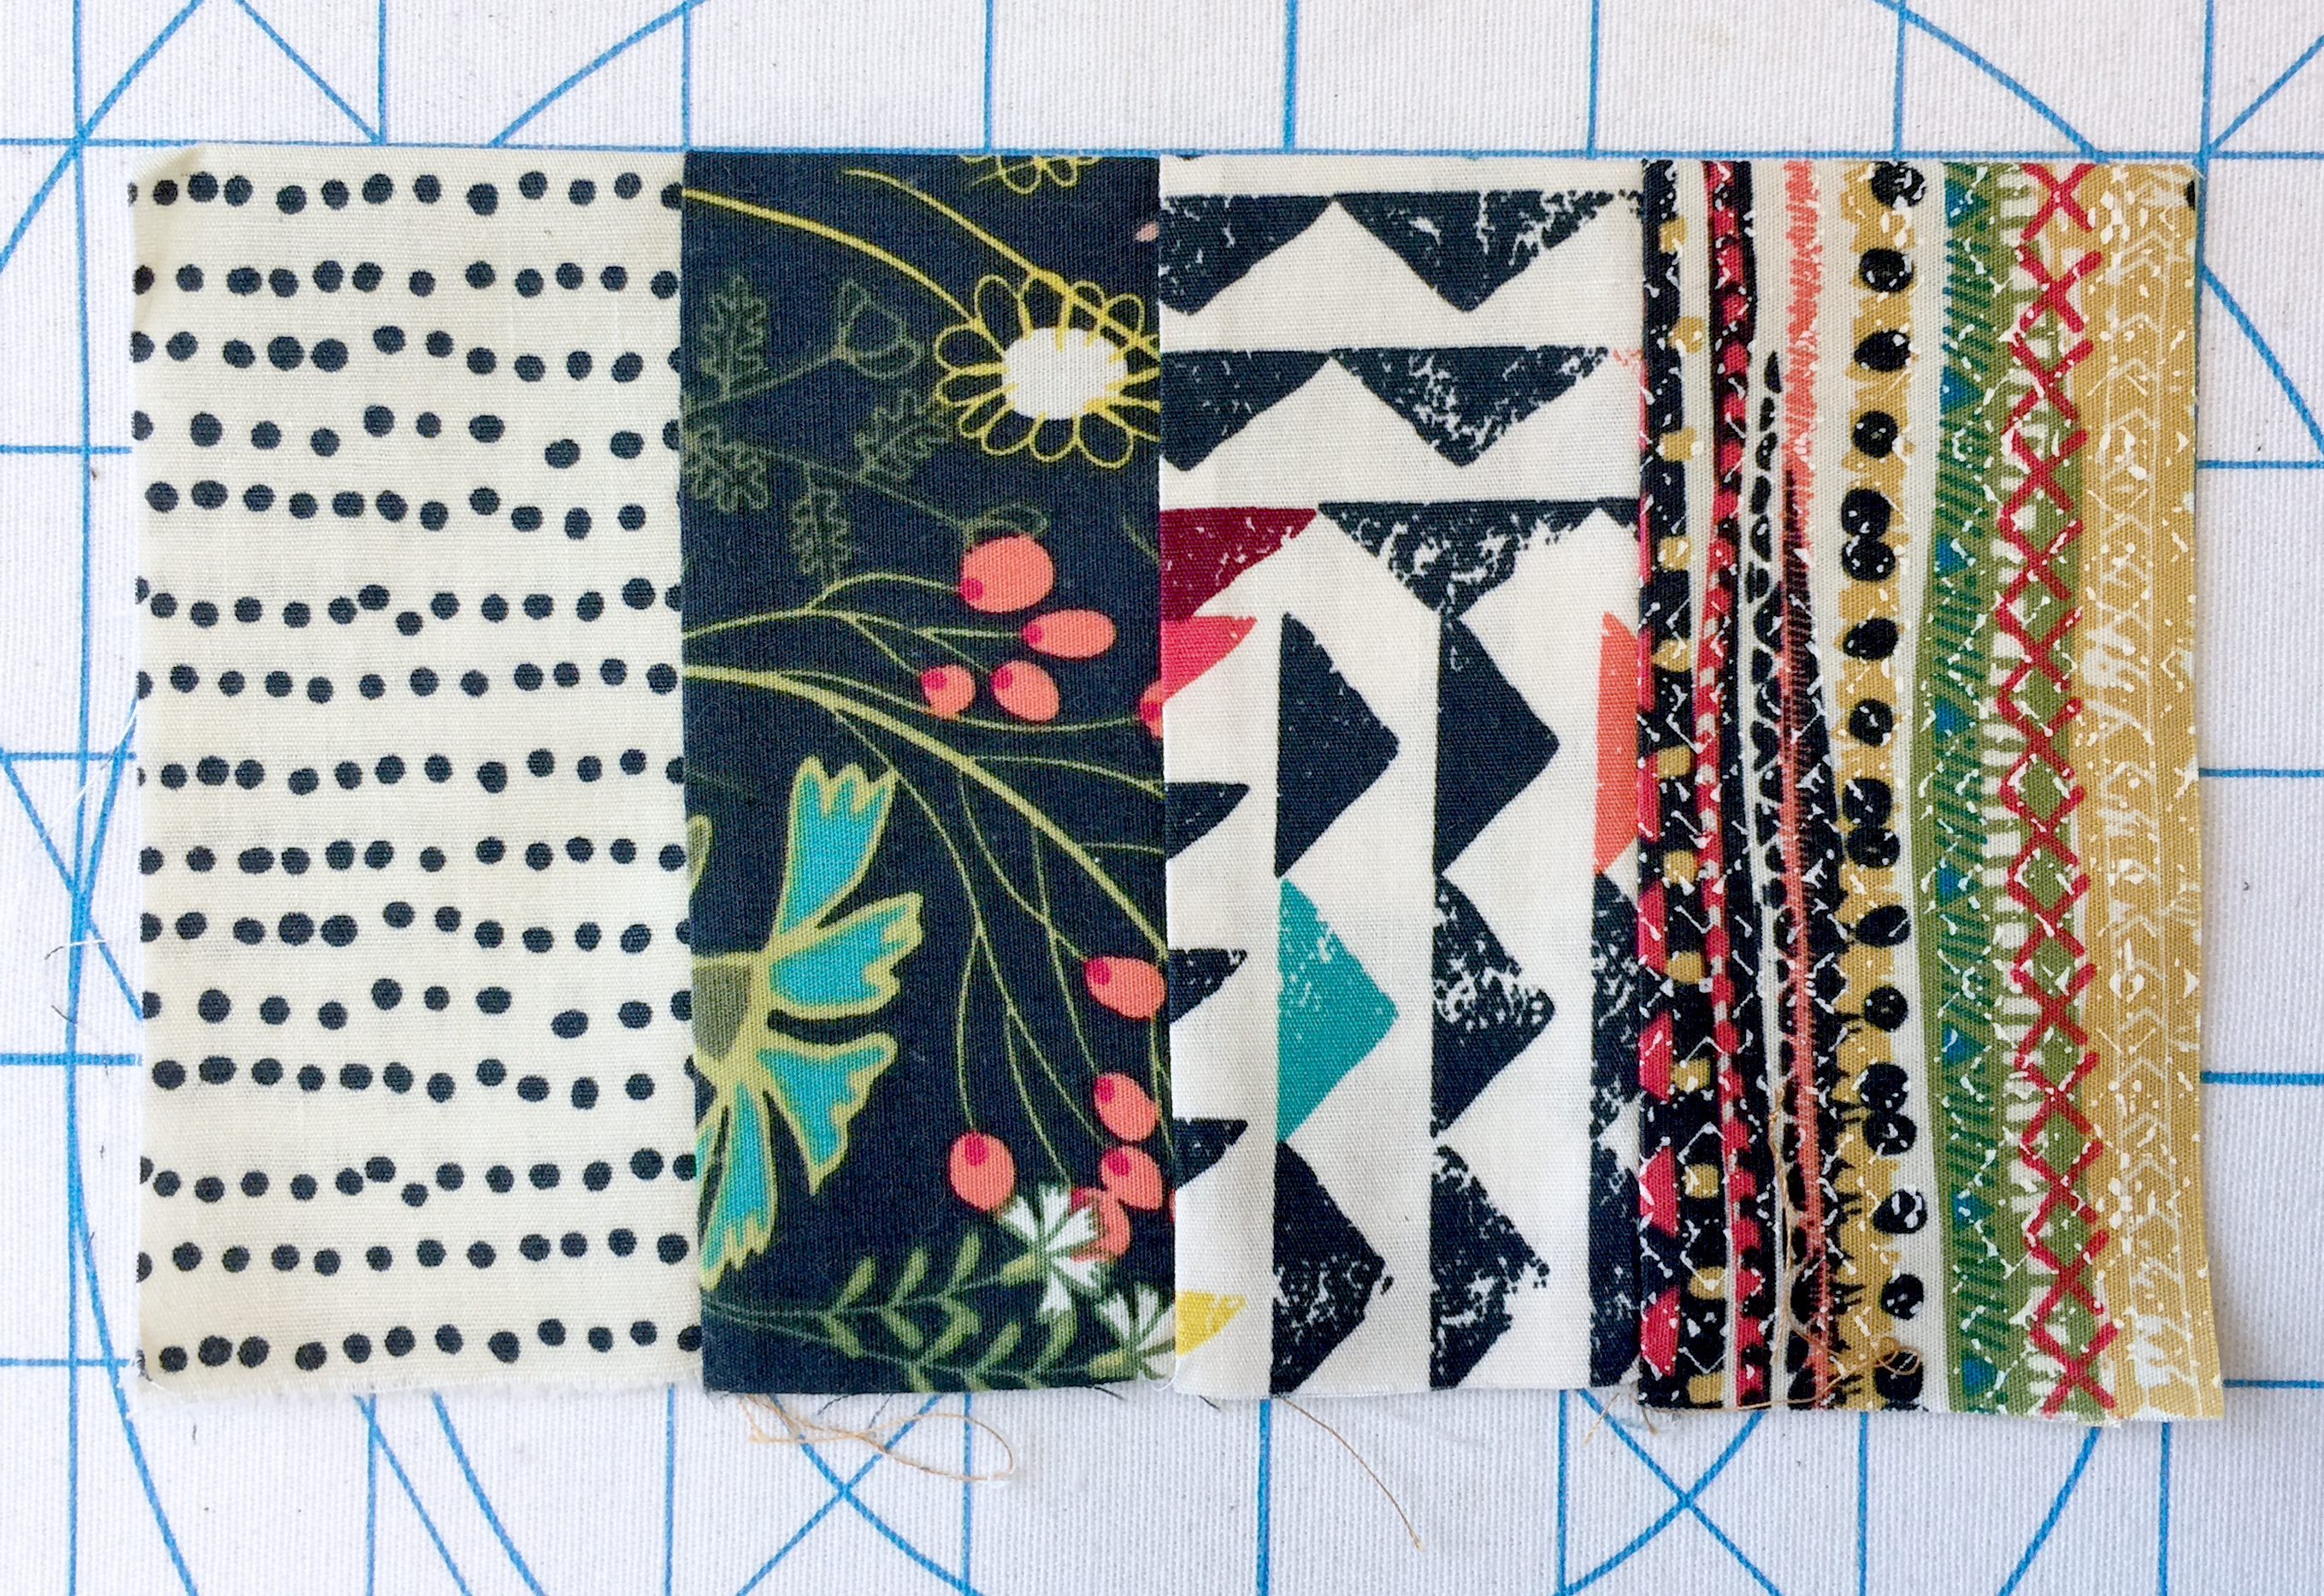
Begin to attach all the strips using 1/4″ seam allowance.
You will have a piece looking like the image below.
For the second part, this is the fabric order.
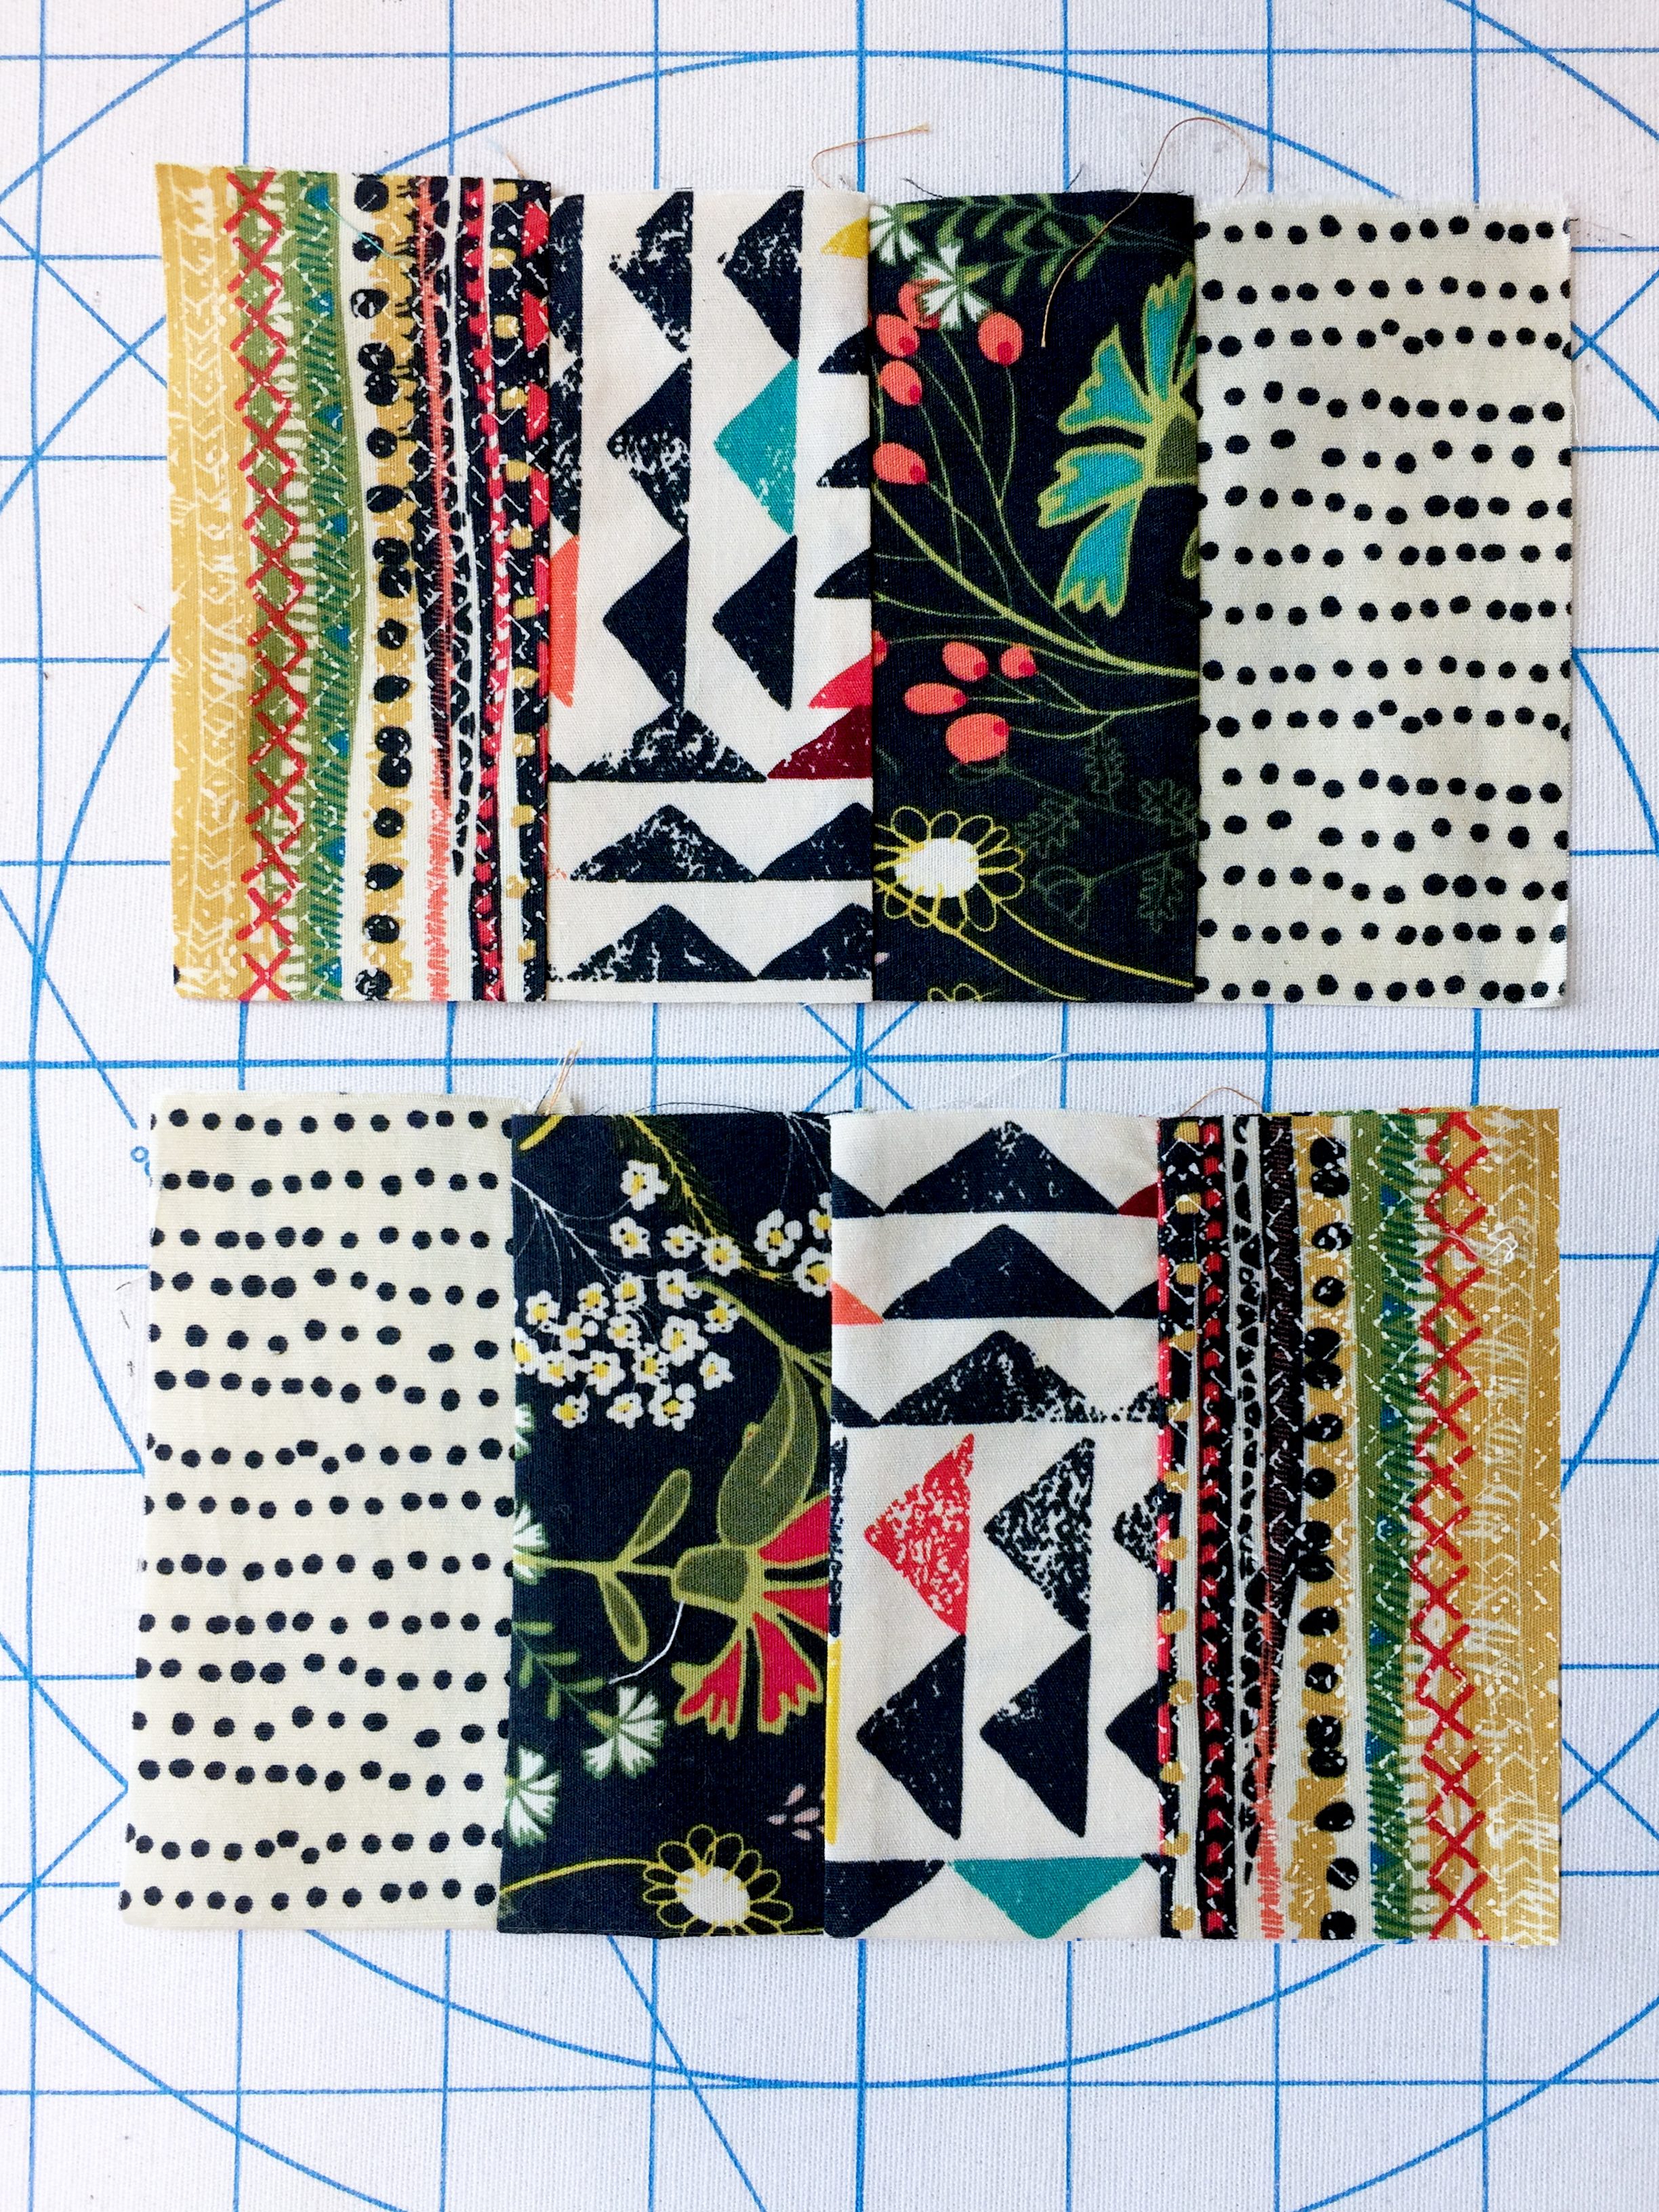
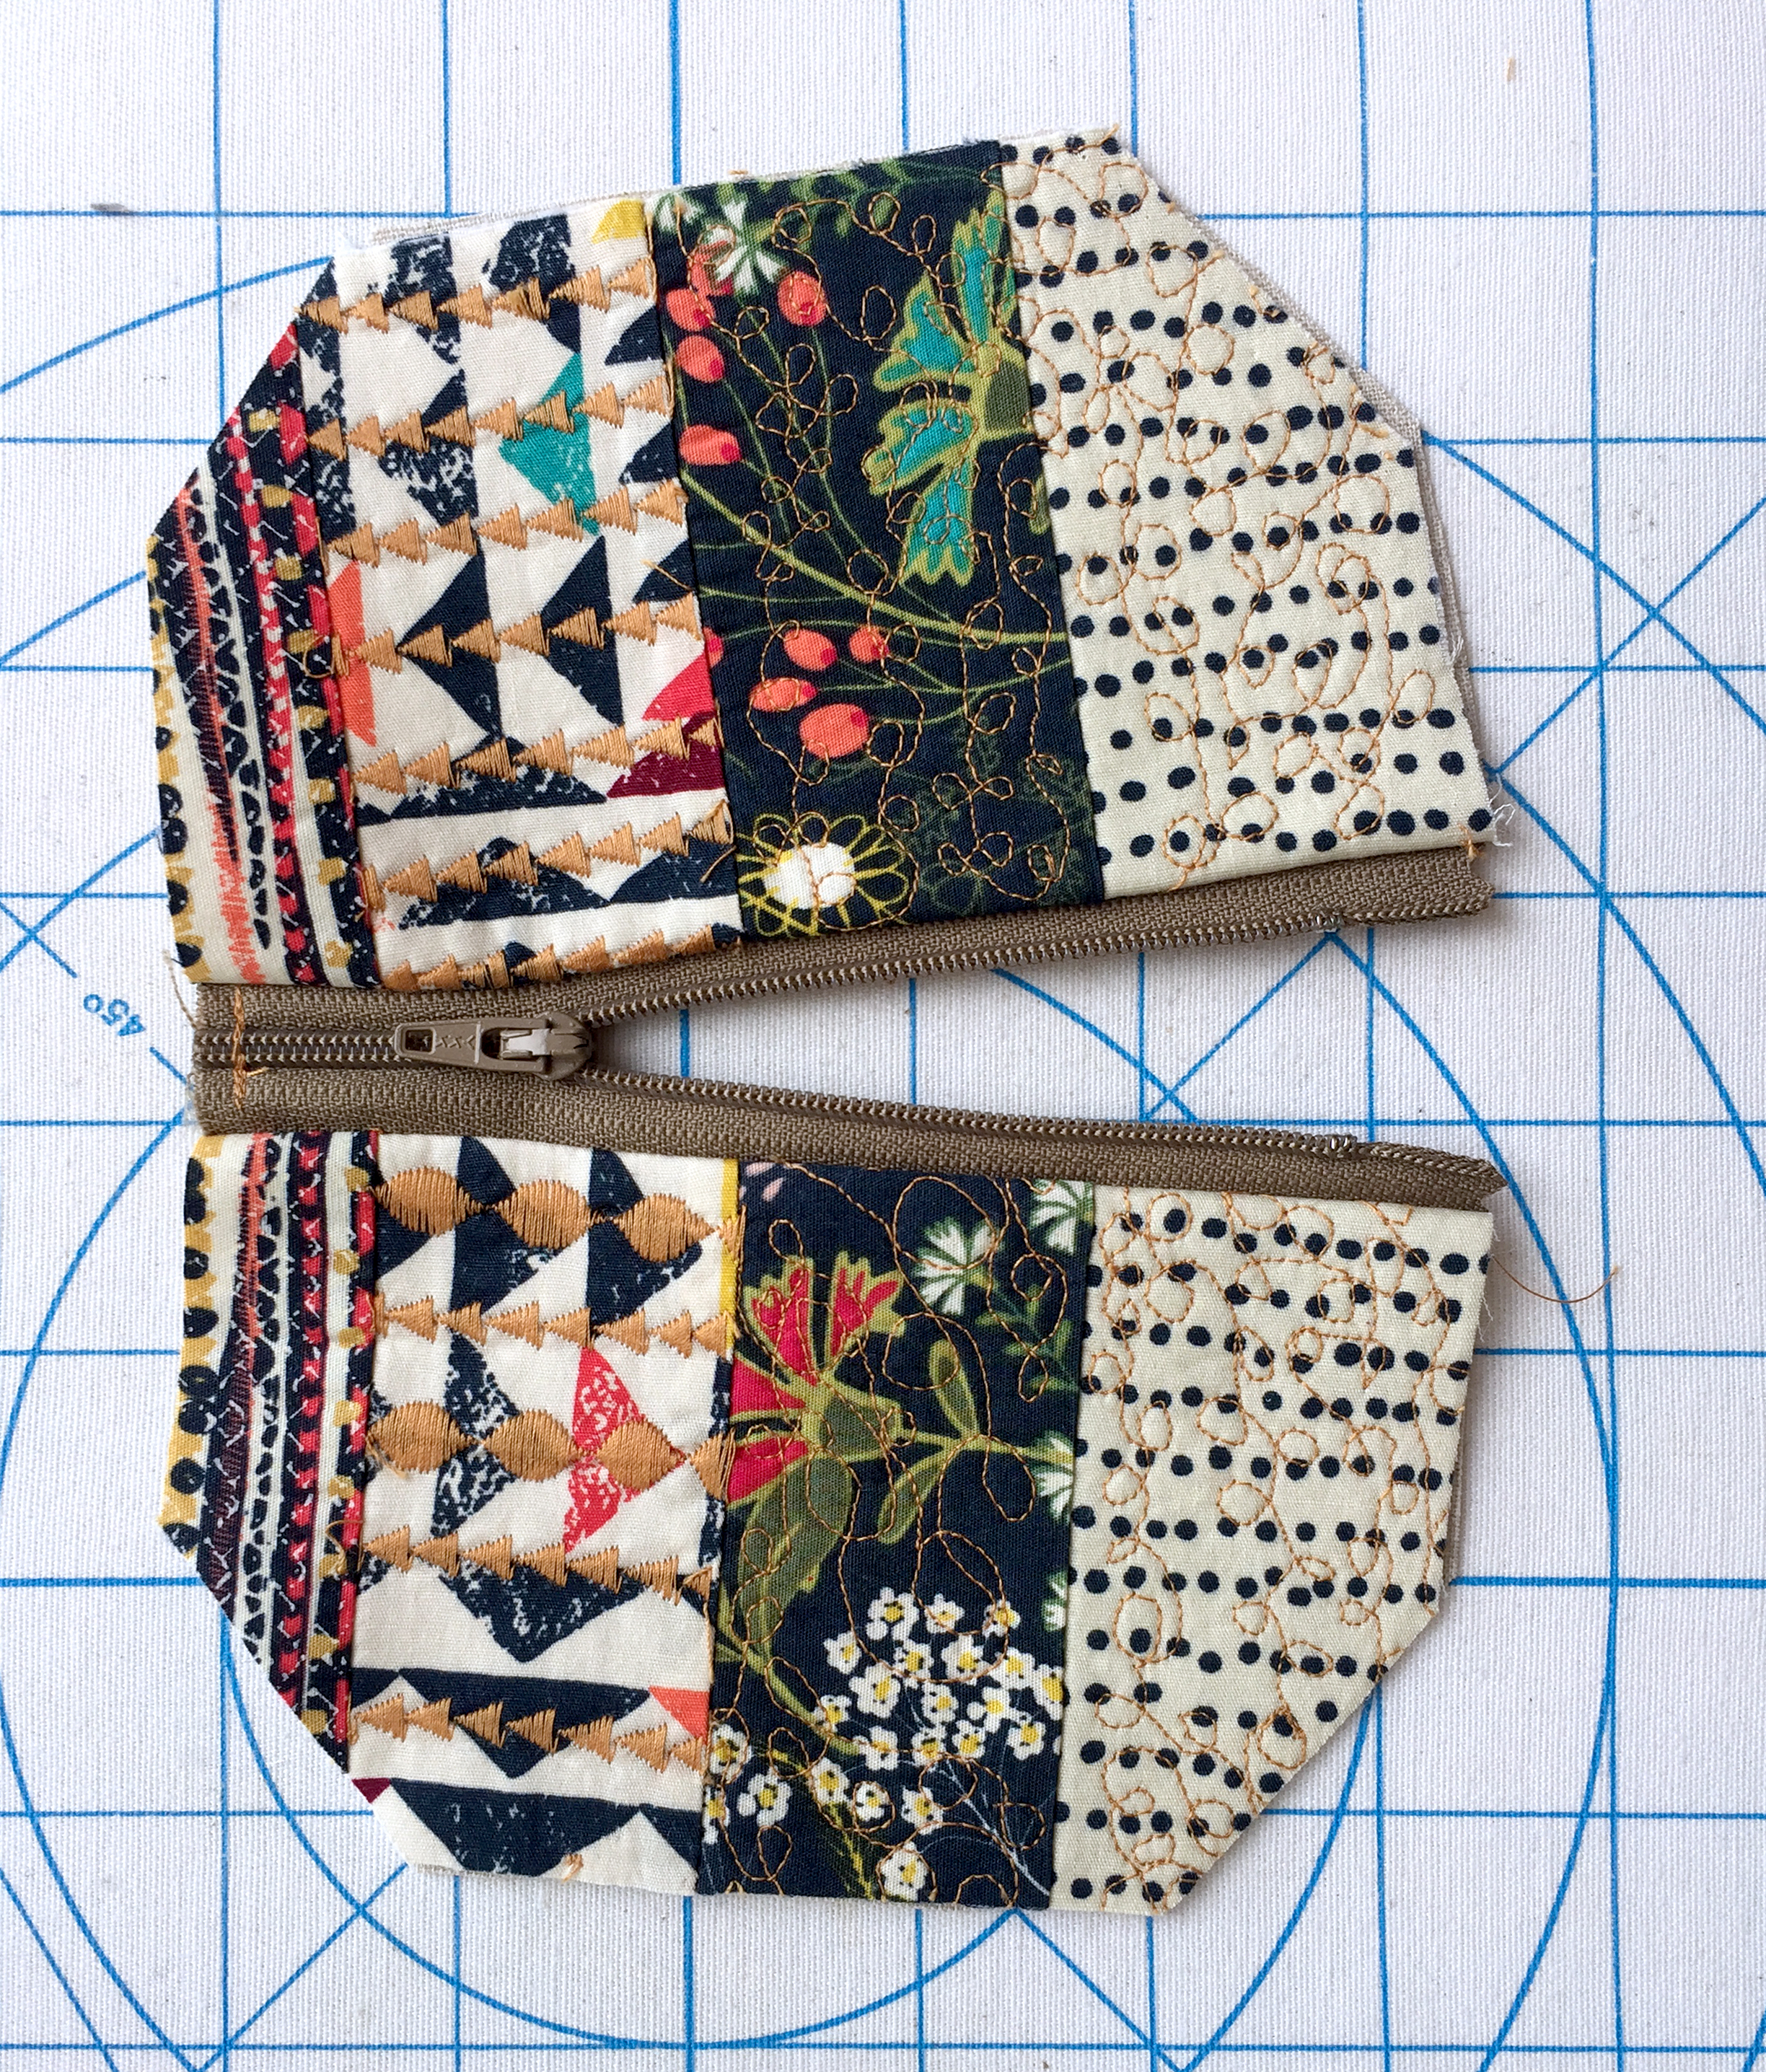
Repeat these same steps with the remaining of the fabric pieces and you will have two pieces looking like this.
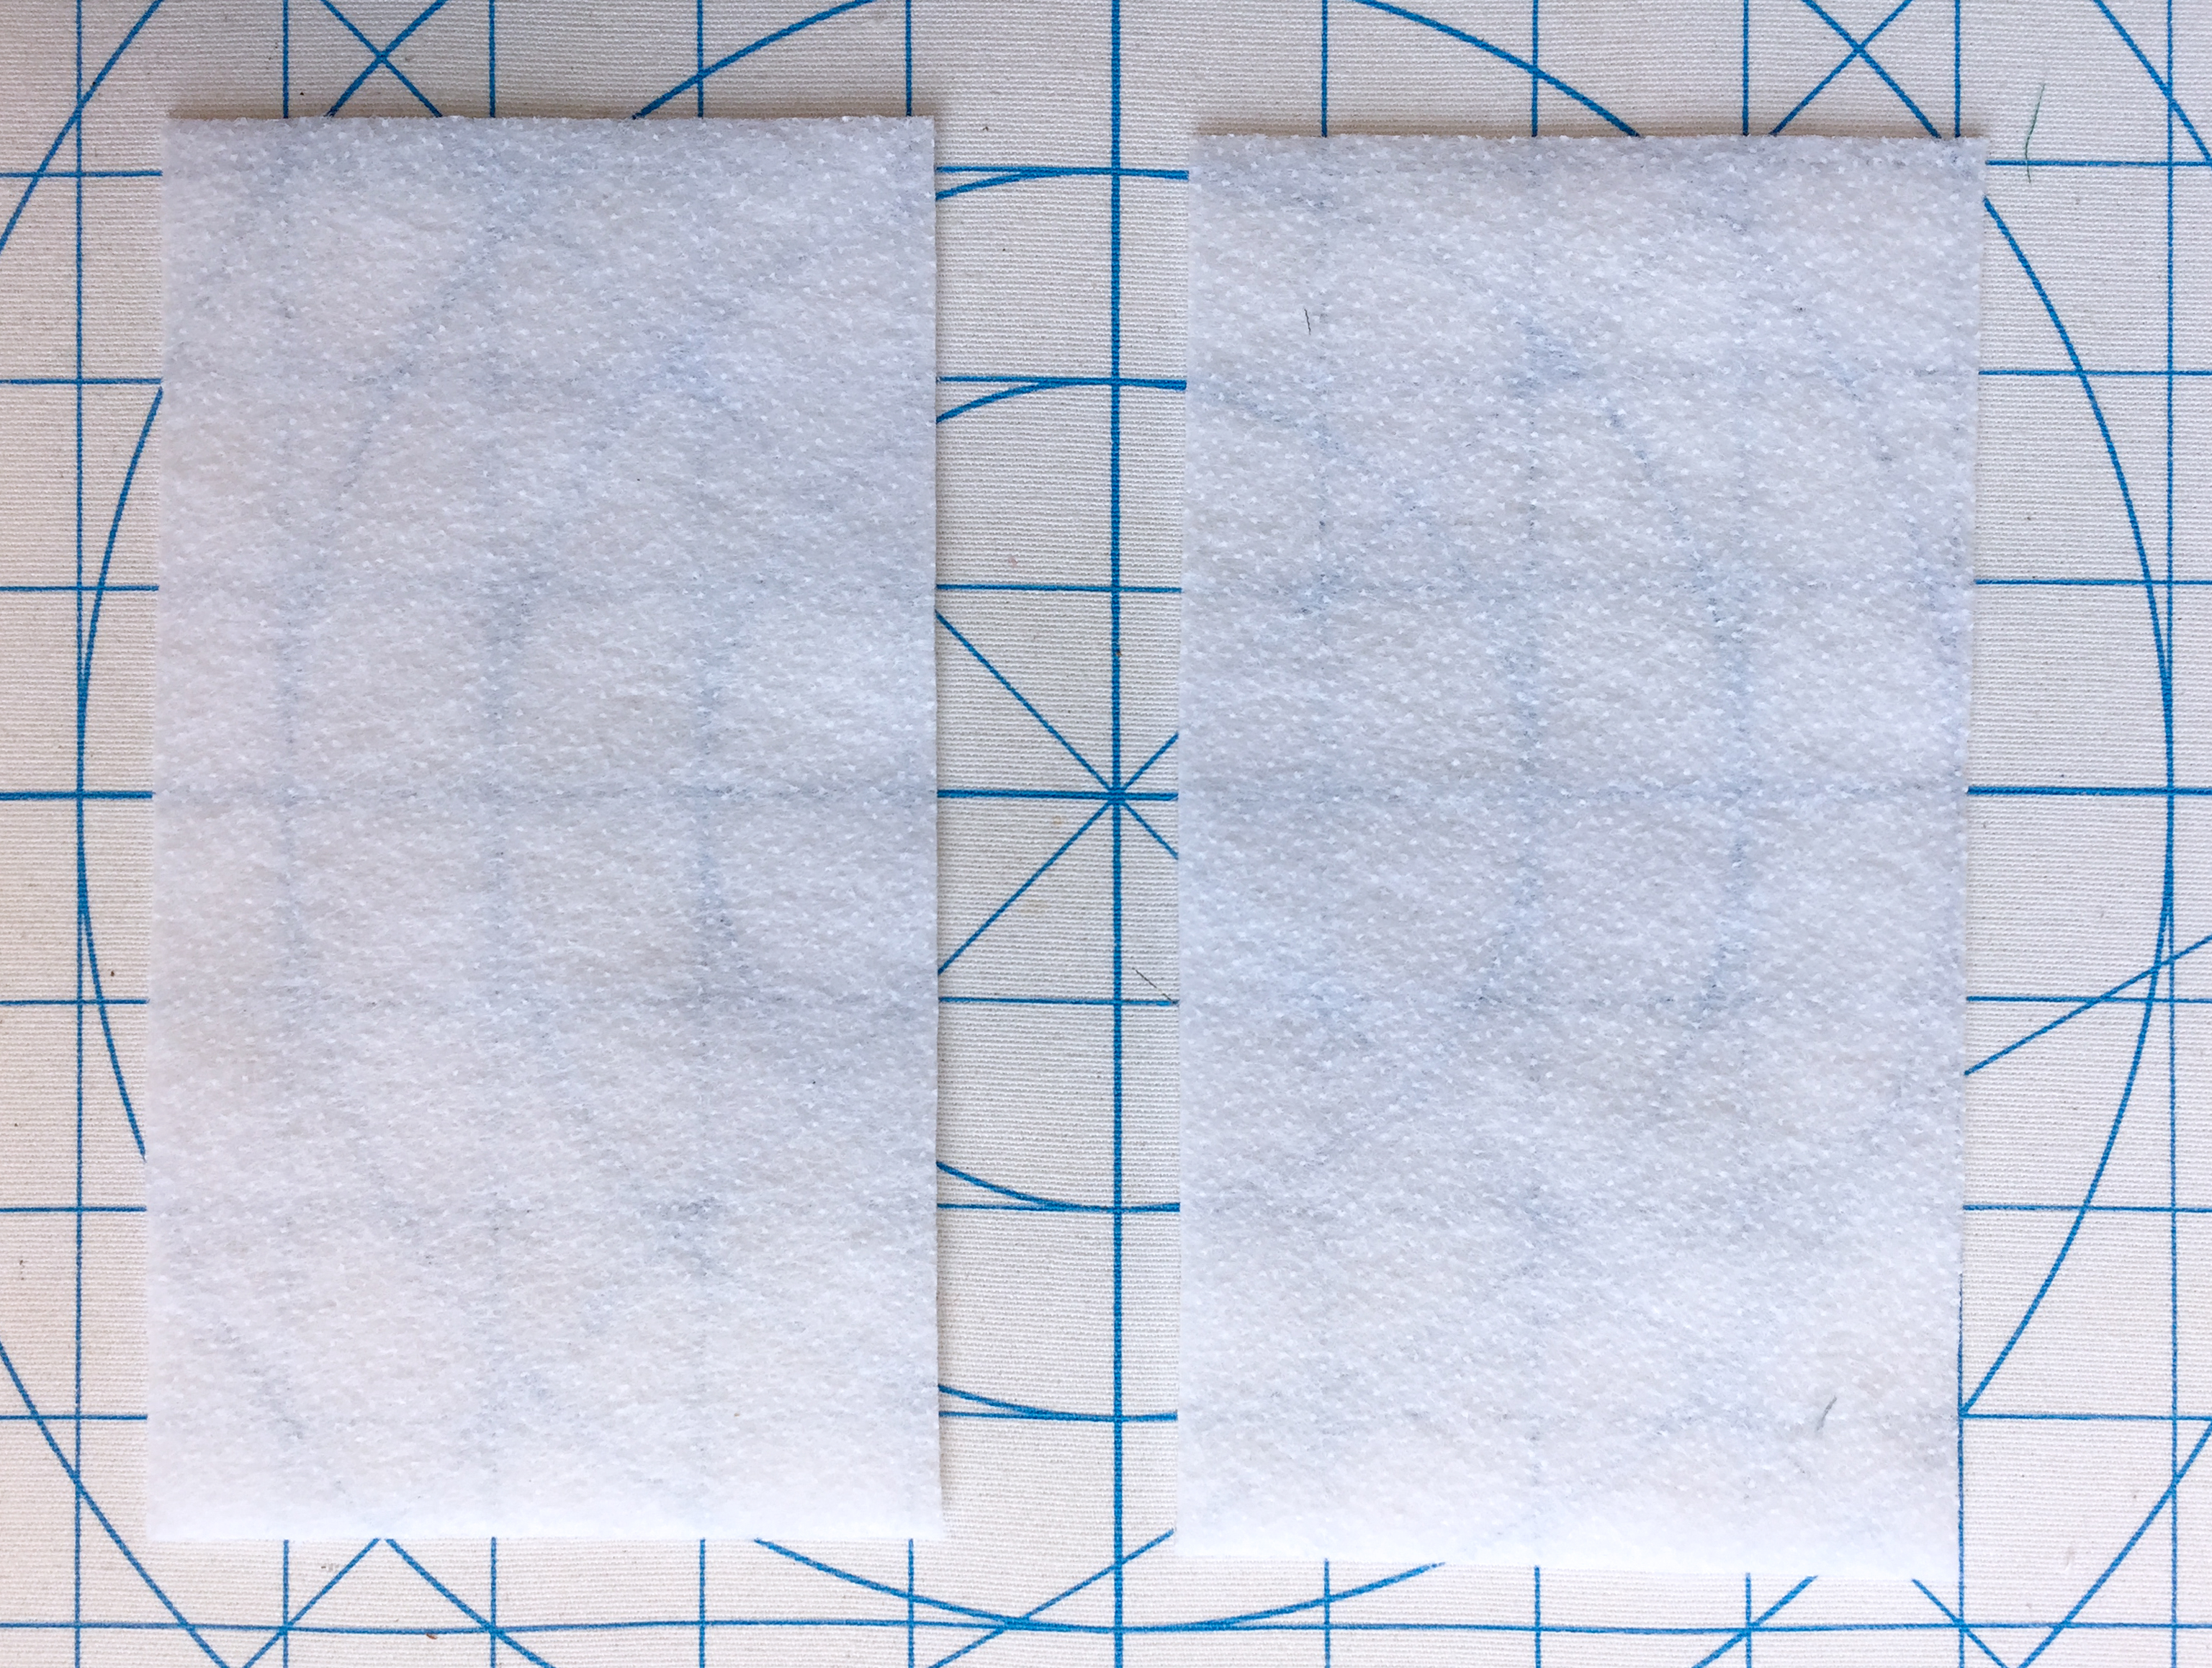
Take the two pieces of fusible interfacing and attach it to the recent created pieces.
Press both pieces in place.
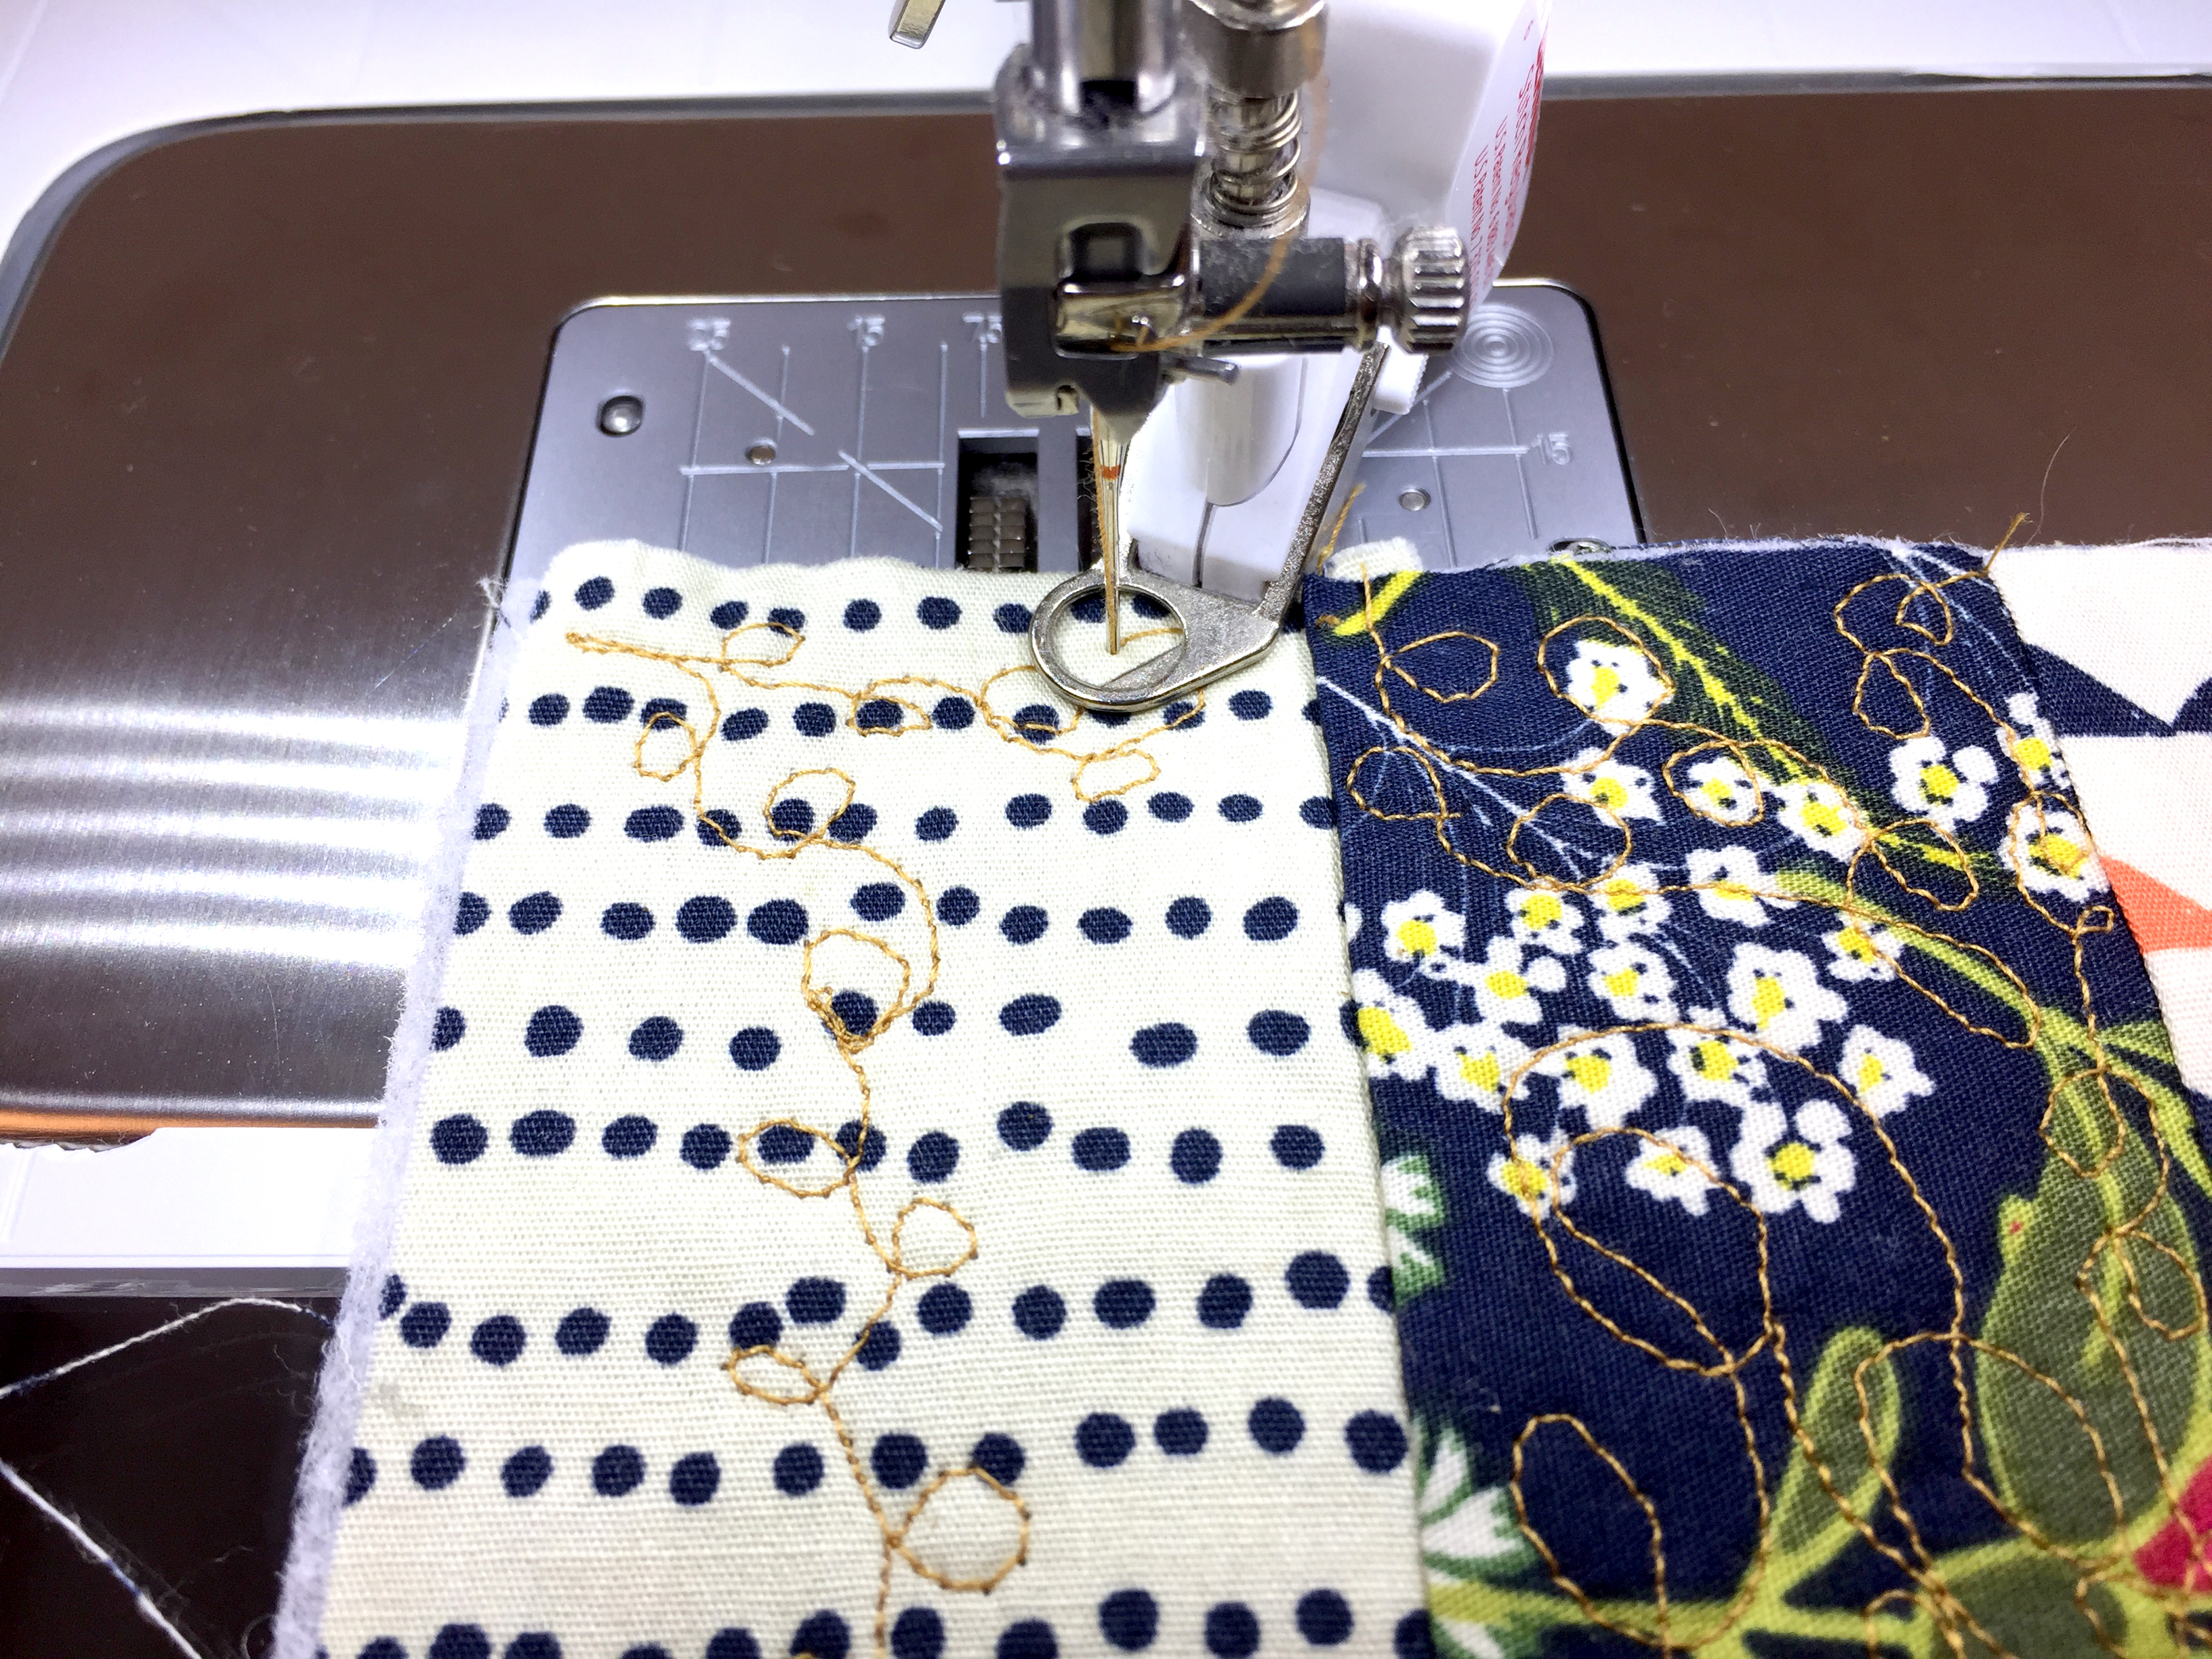
Prep your machine for free-motion quilting with the BSR (or free-motion foot of your choice) and Aurifil thread #2134.
This purse includes a fun mix of both free-motion quilting and decorative machine stitches.
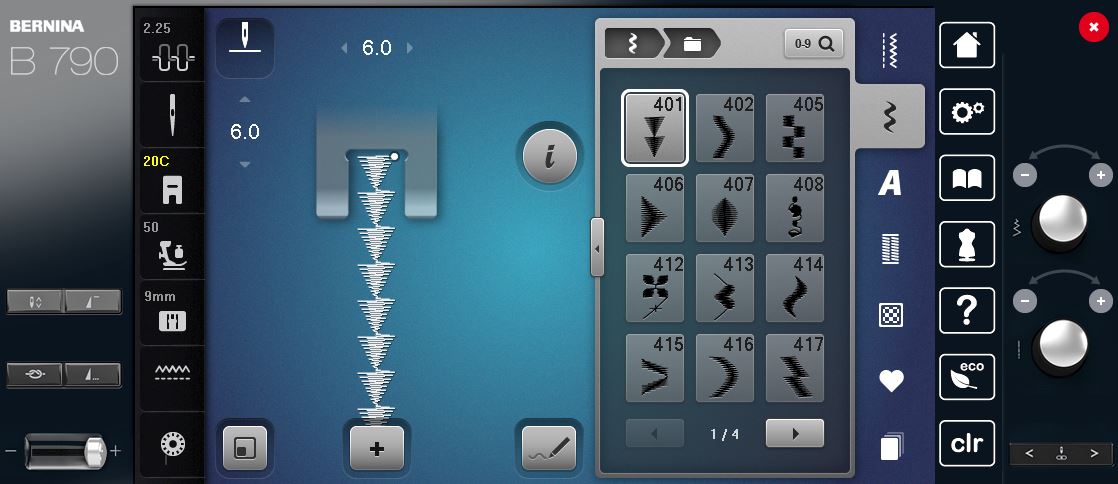
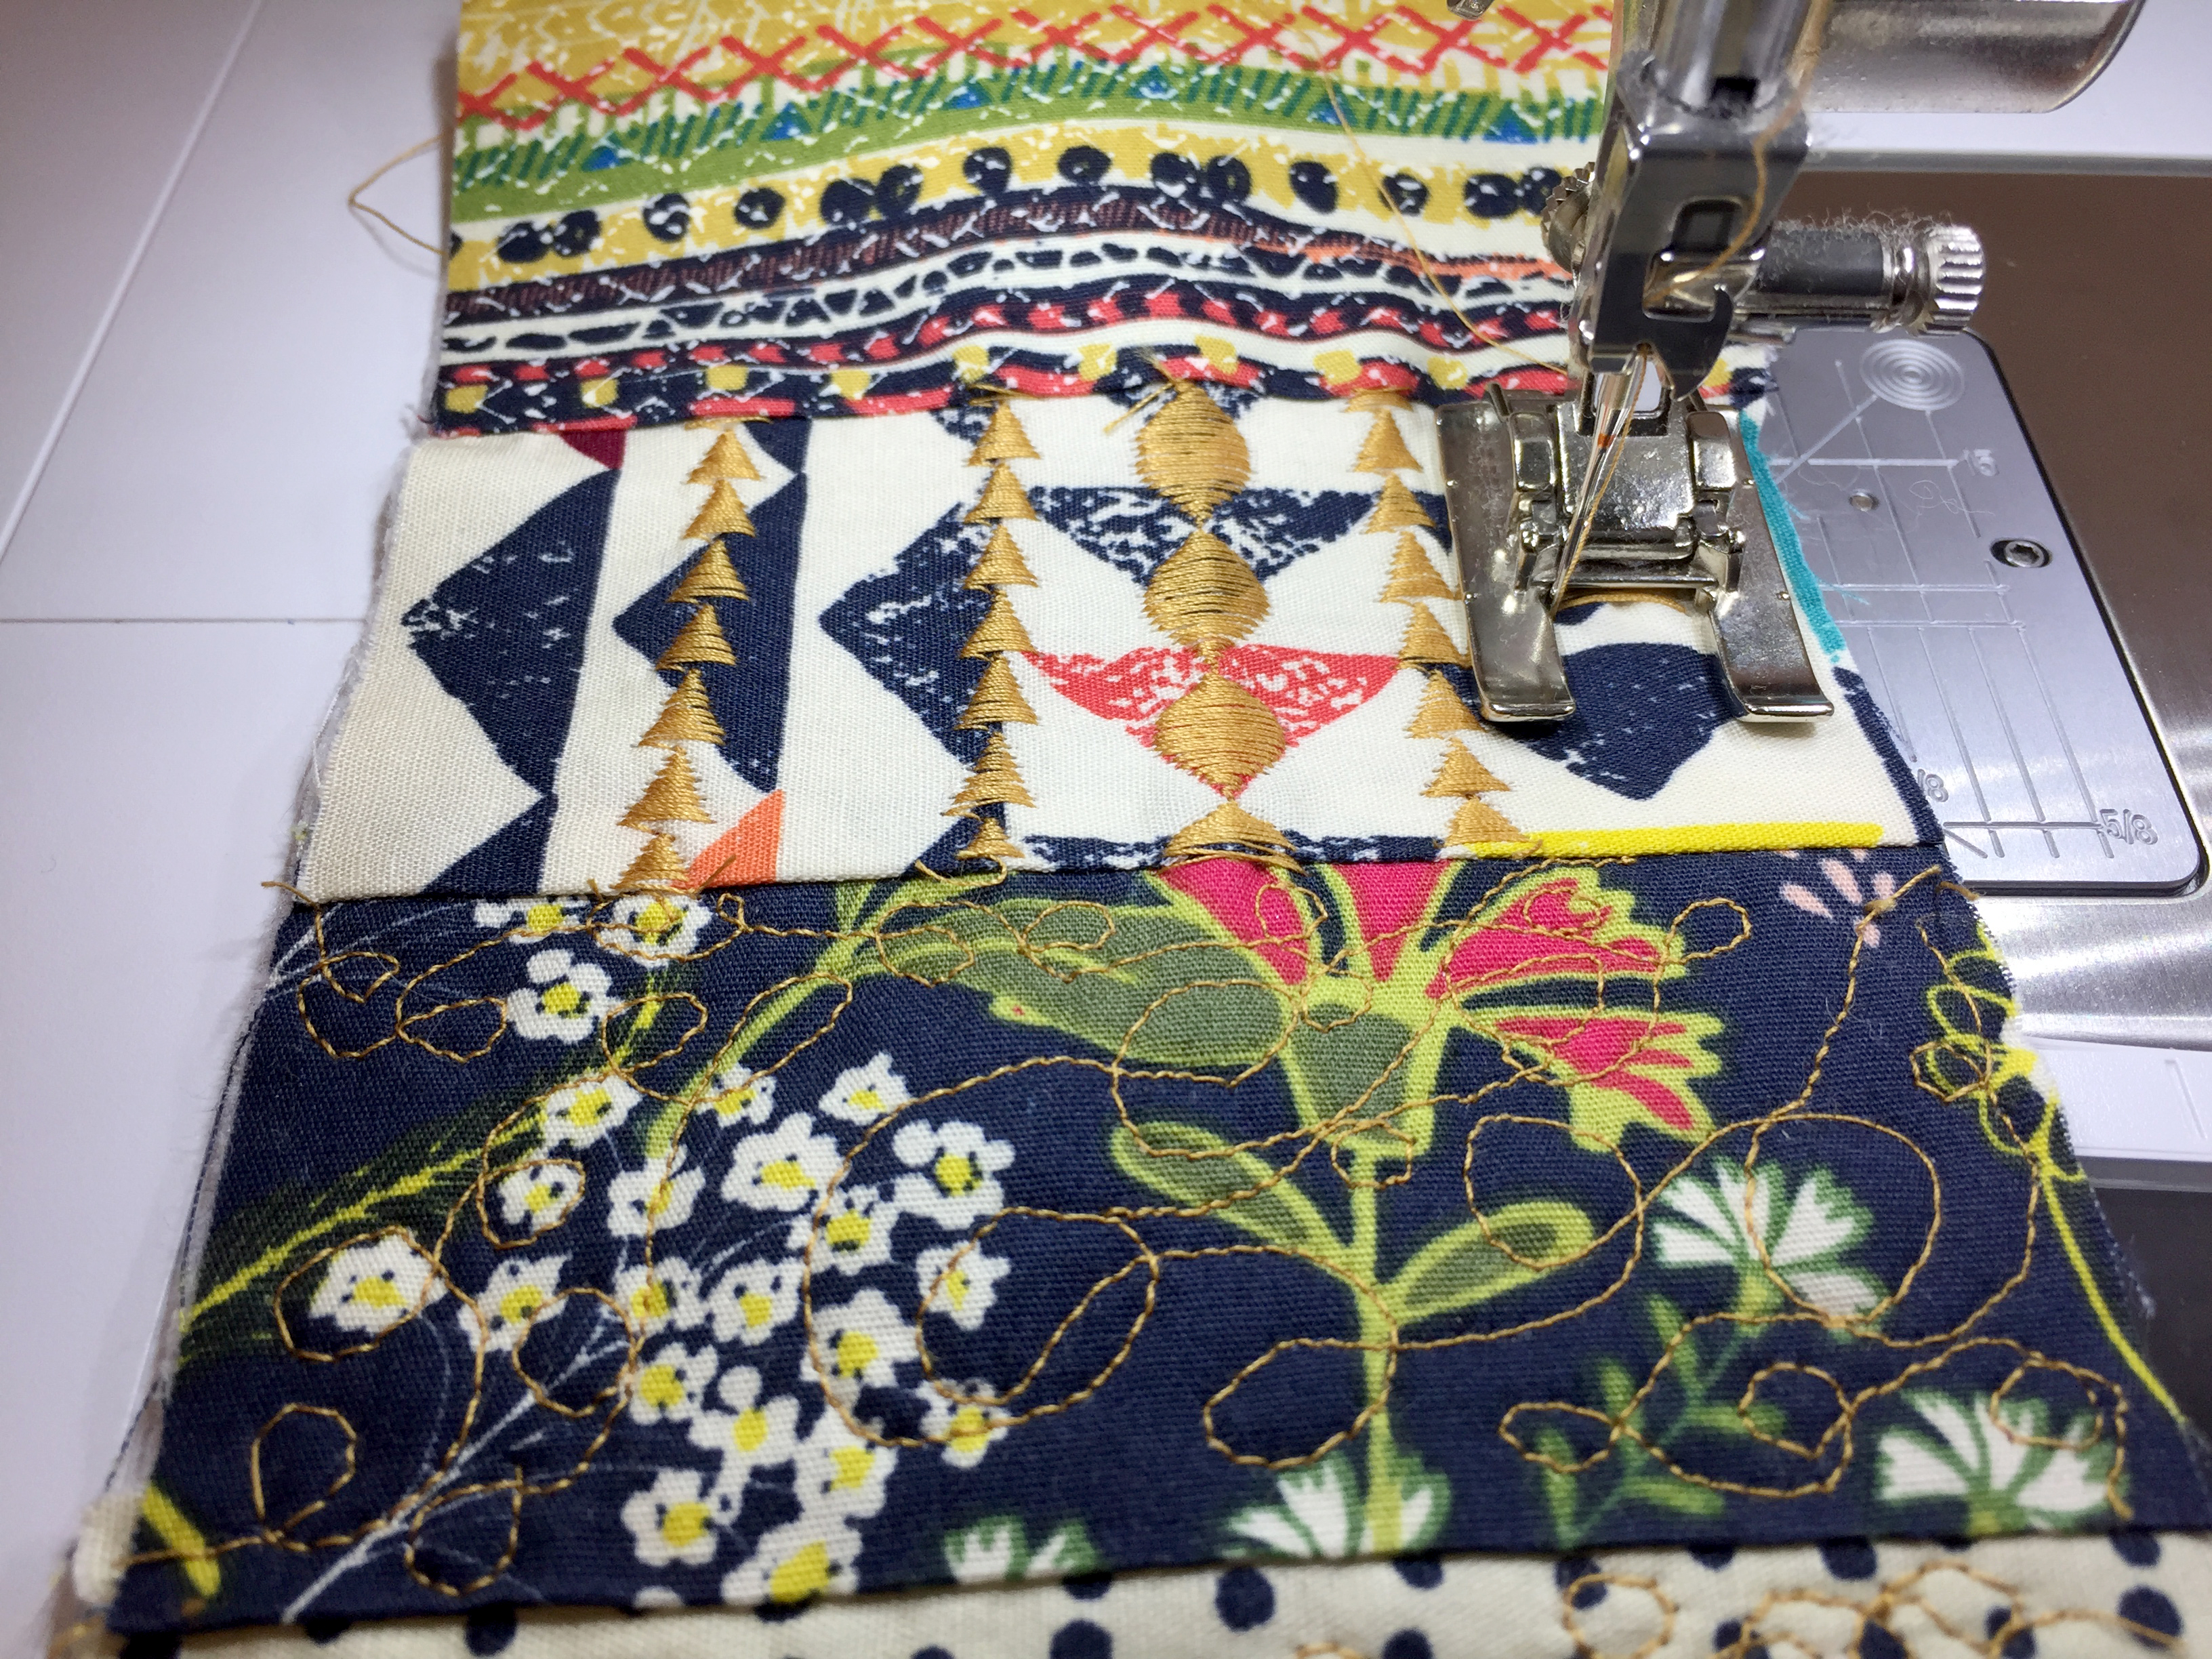
For the satin stitches, change your current presser foot to the Open embroidery foot #20/#20C/#20D.
We will begin this side with satin stitch #401
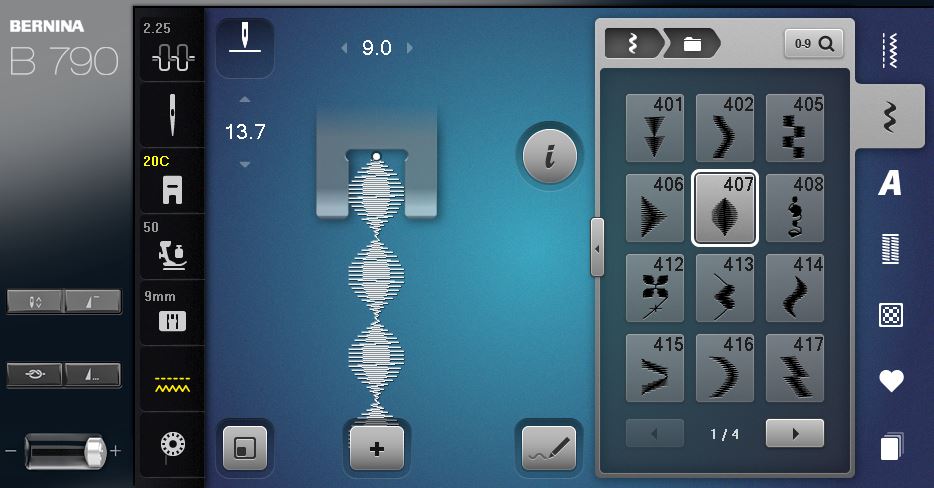
And next, satin stitch #407.
I didn’t follow any rules for the embroidery placements, and I don’t expect you to do it as well. So feel free and stitch or quilt both sides as you desire!
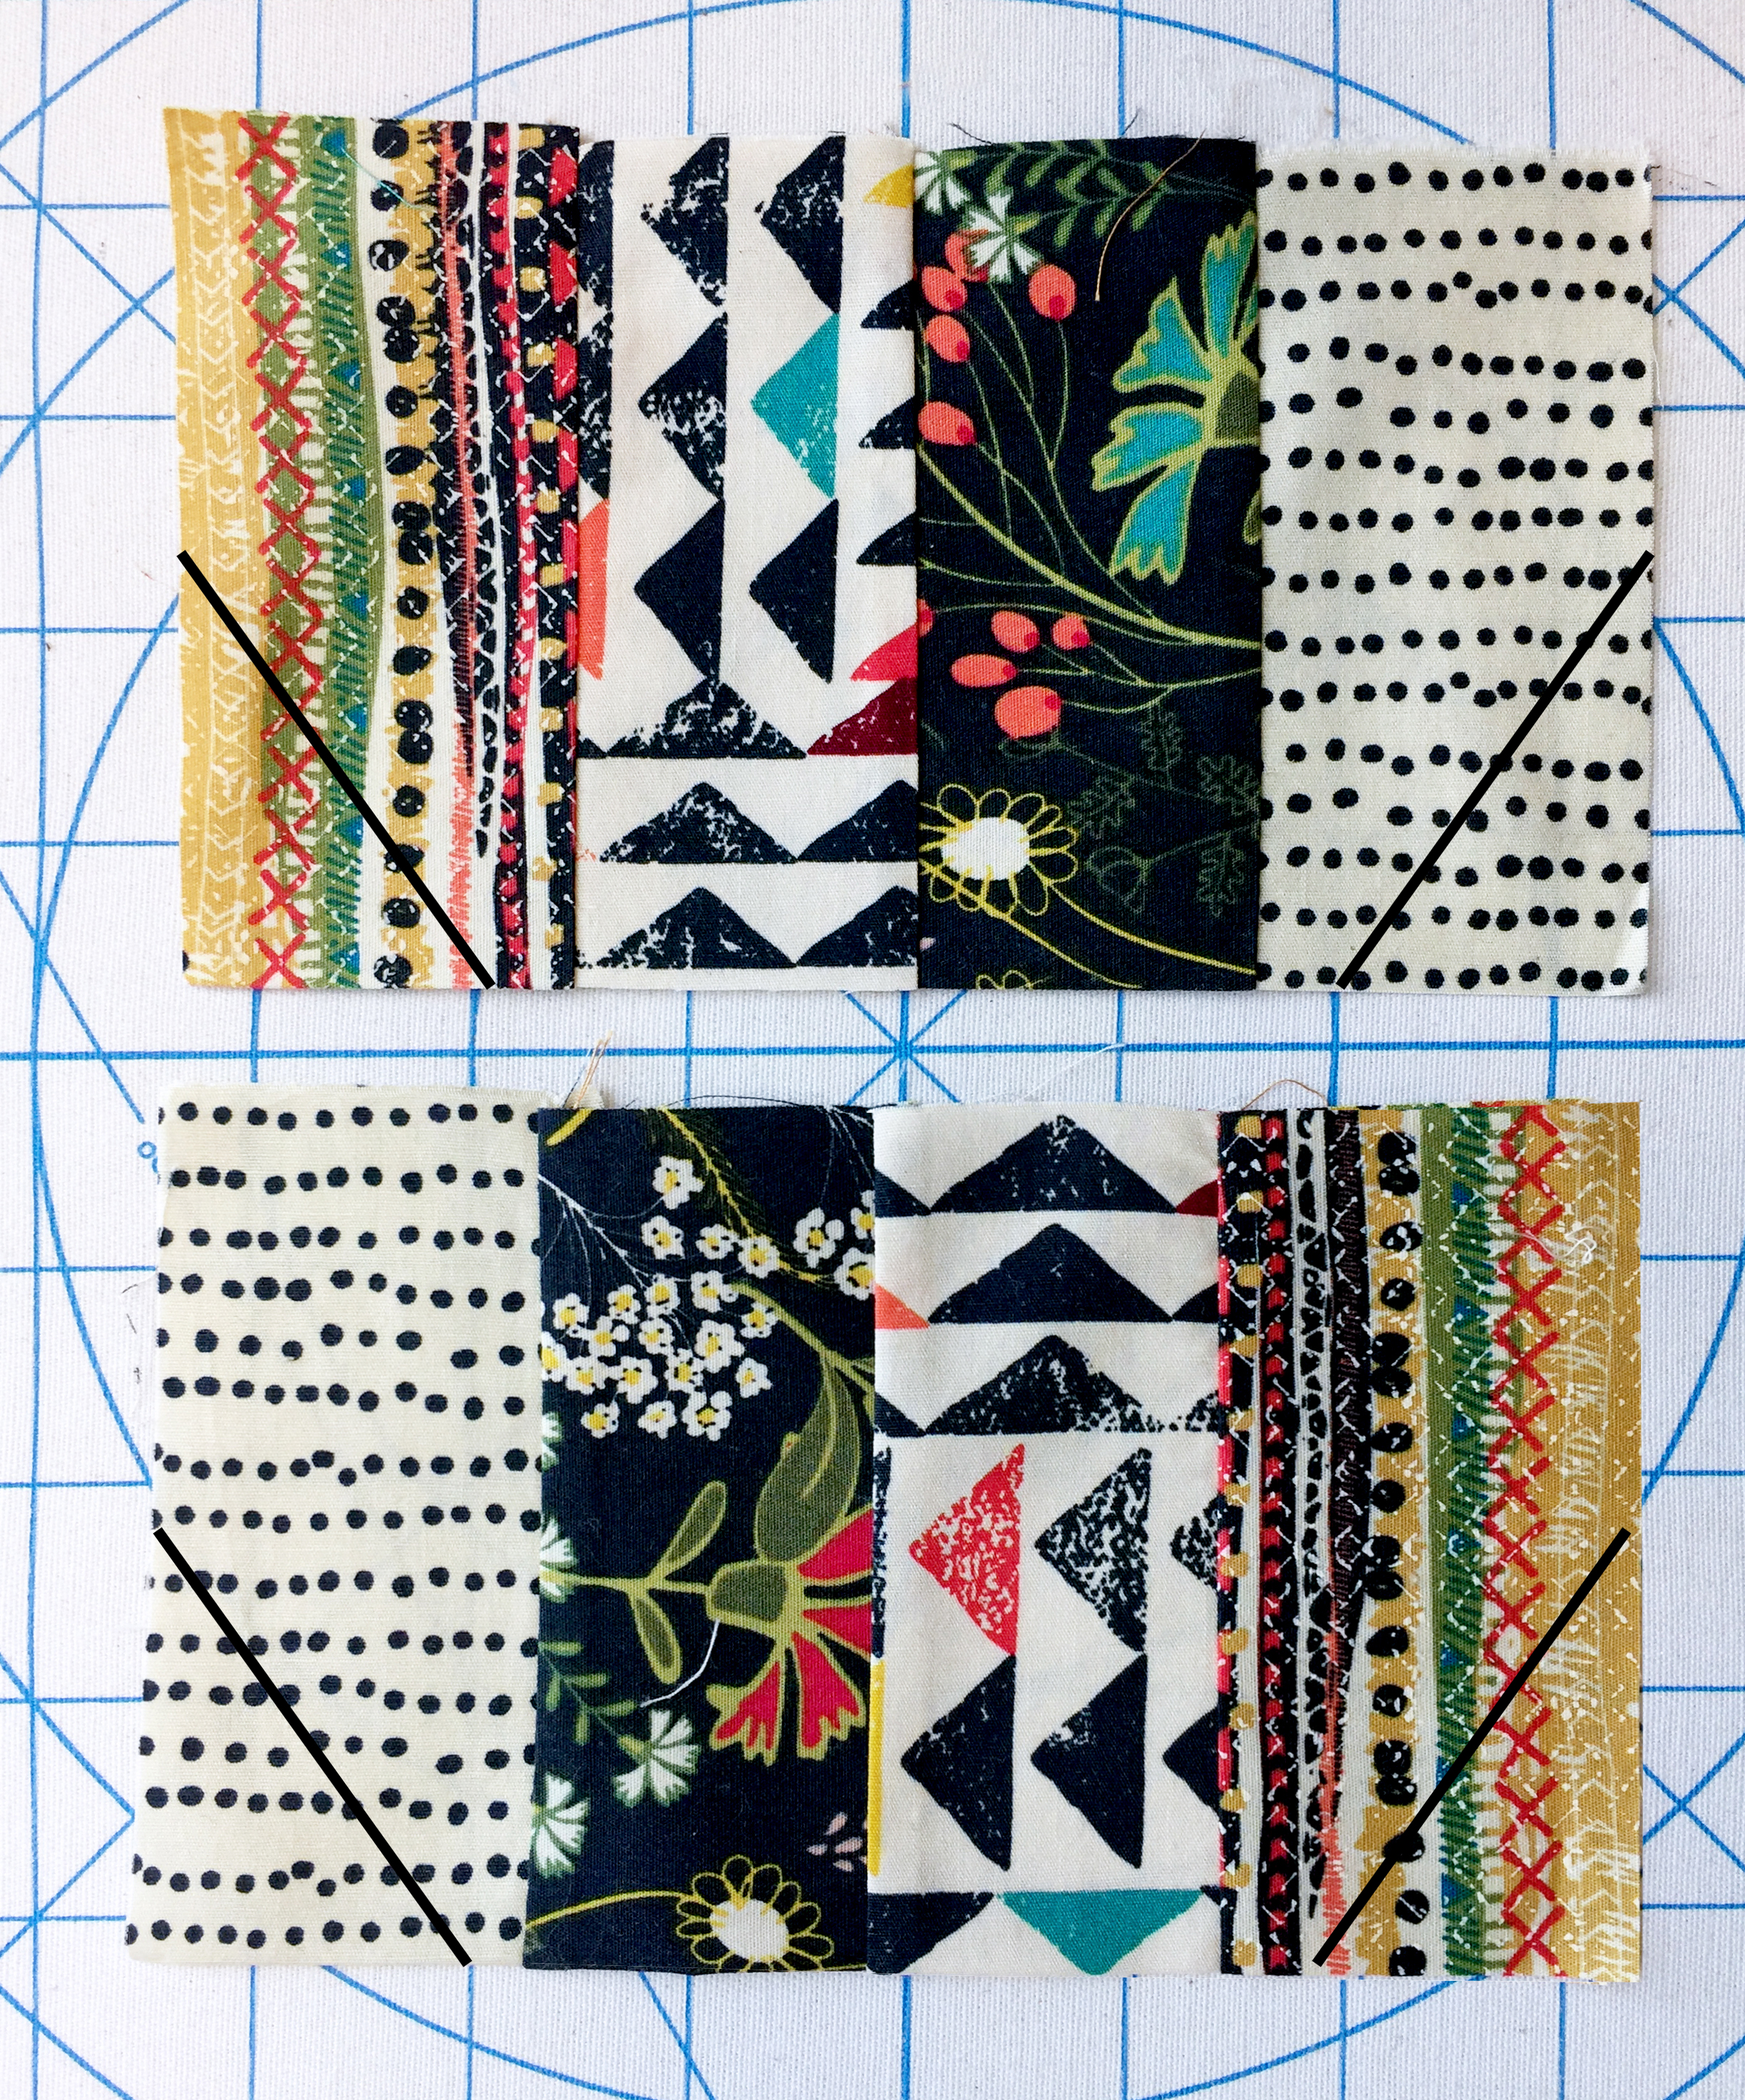
Now that both the front and the back are quilted and satin stitched, trim the corners diagonally as shown on the image.
Step 2- Zipper
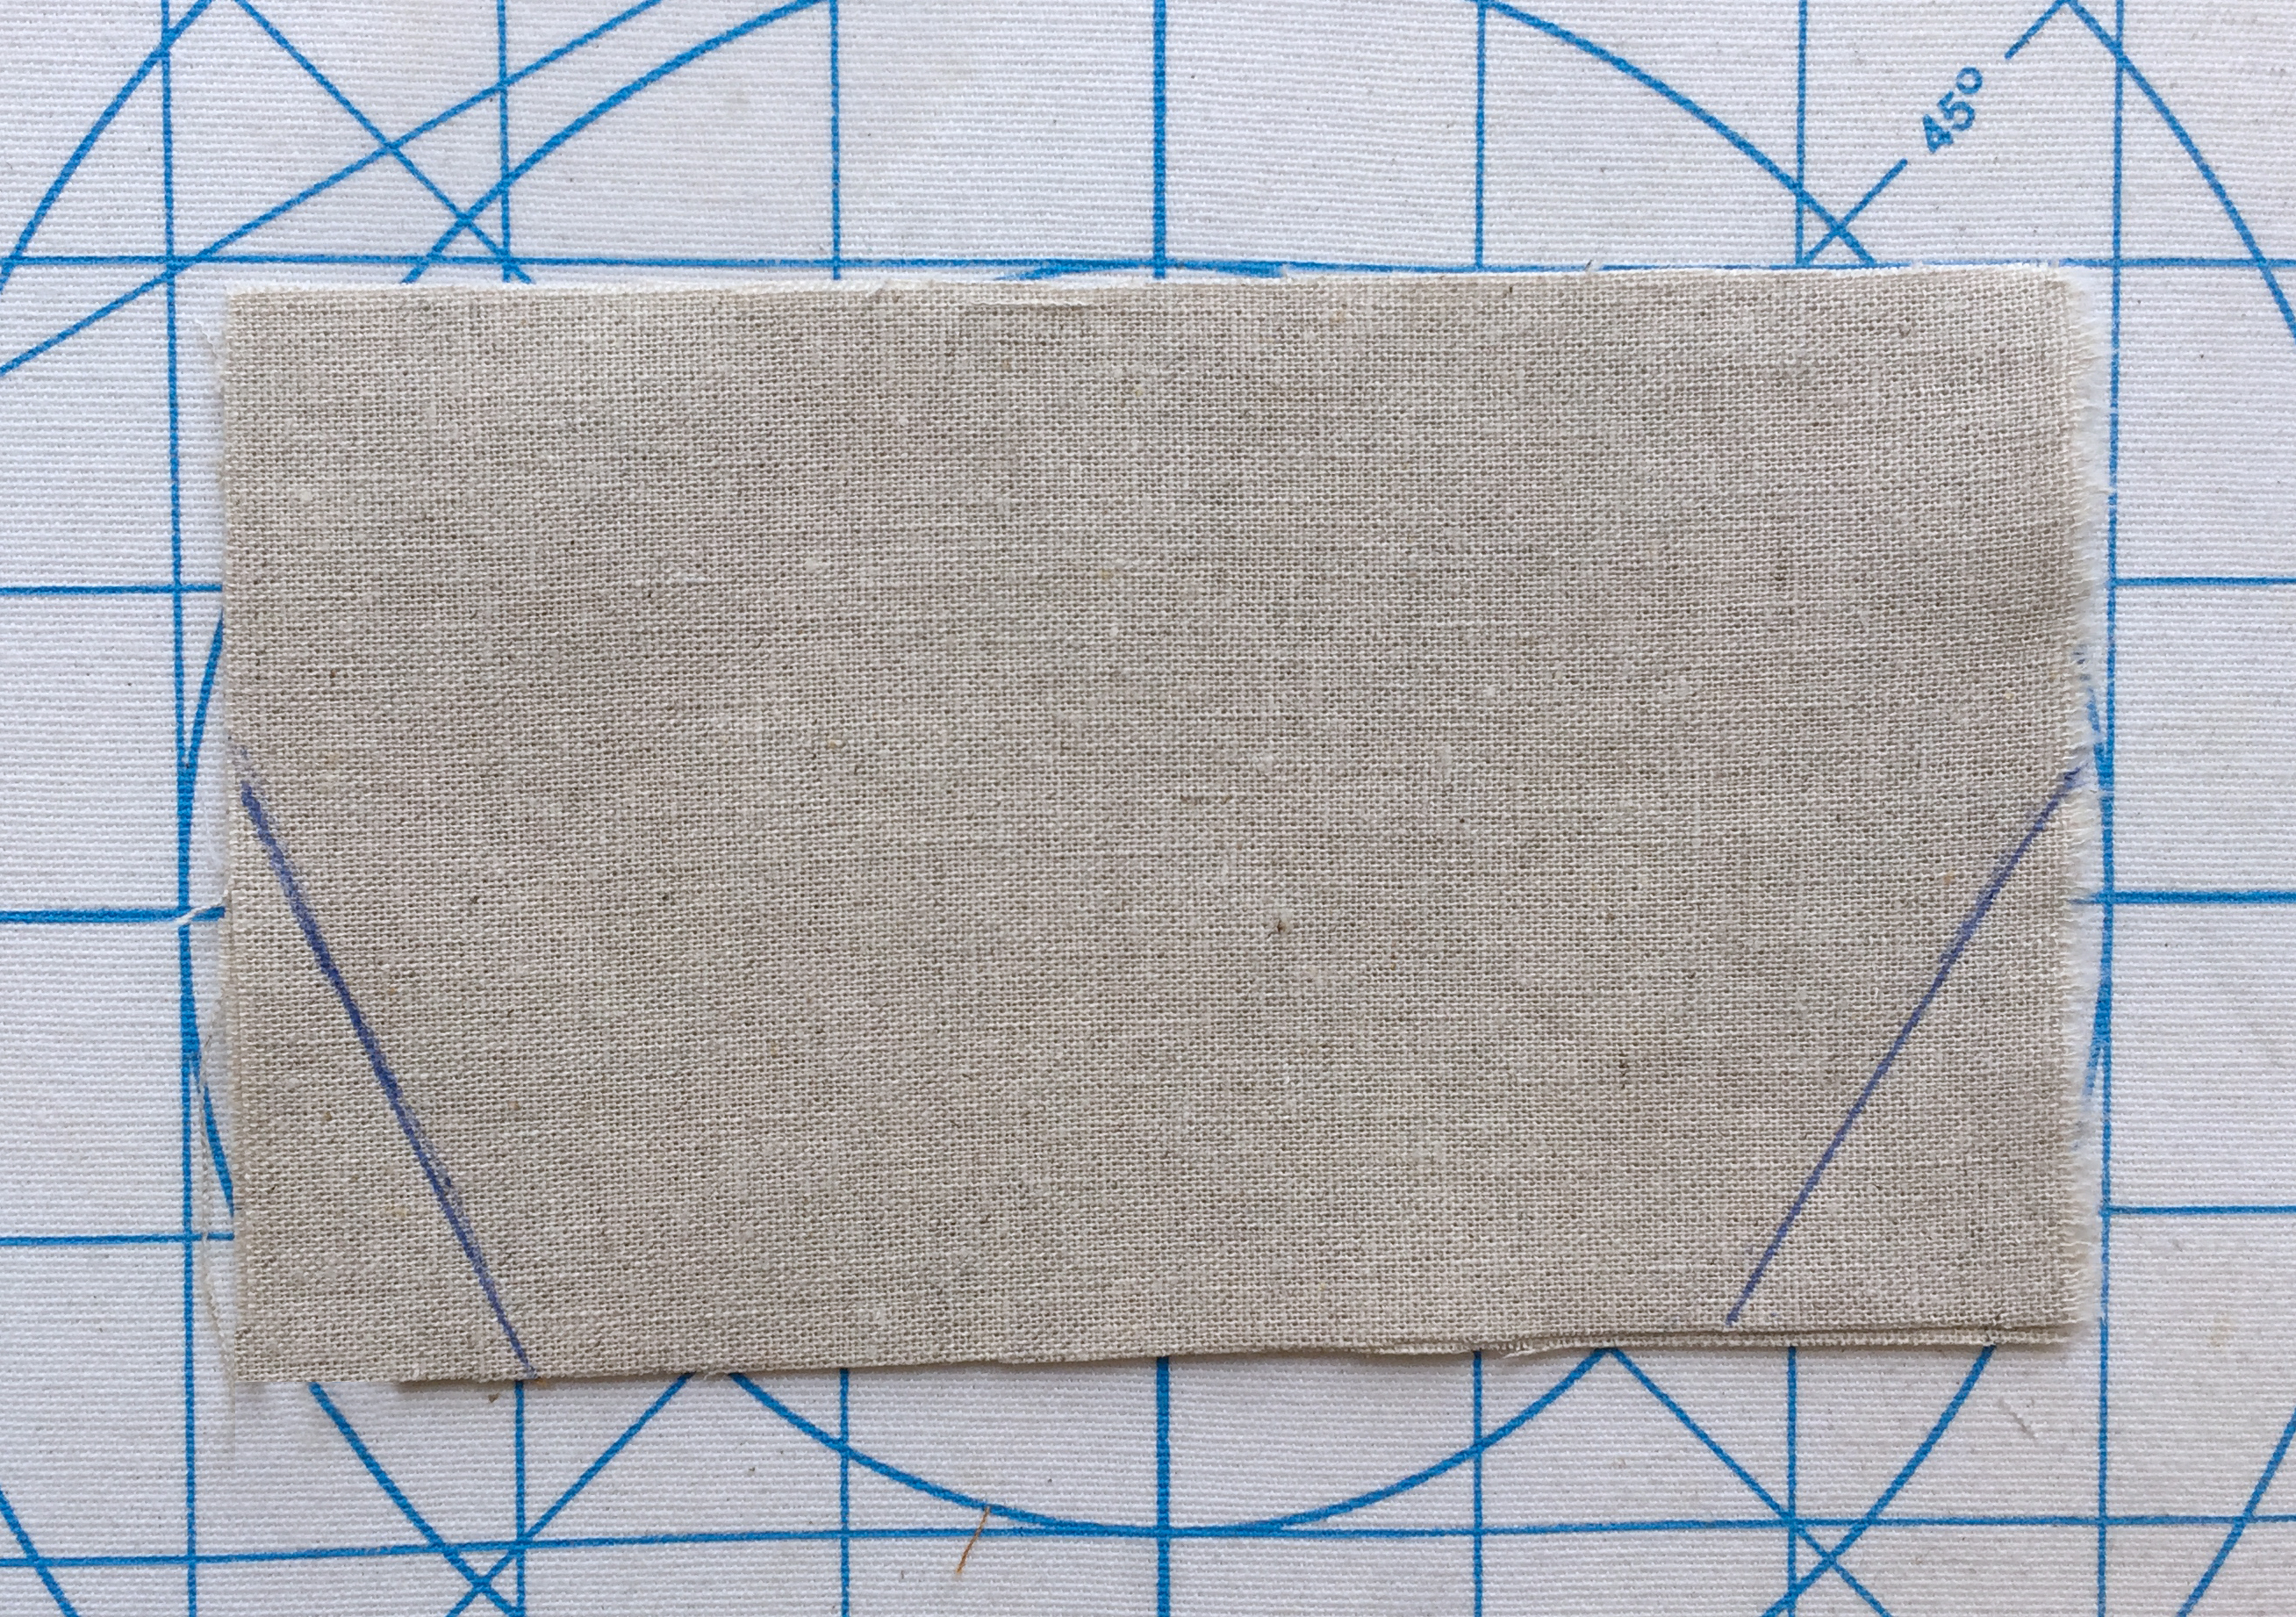
Get the two lining pieces from Fabric E and trim the corners diagonally as shown on the image.
Measure the 10” zipper to the proper length desired for the purse and cut the extra.
Sew the zipper shut, using the backstitch for assistance.
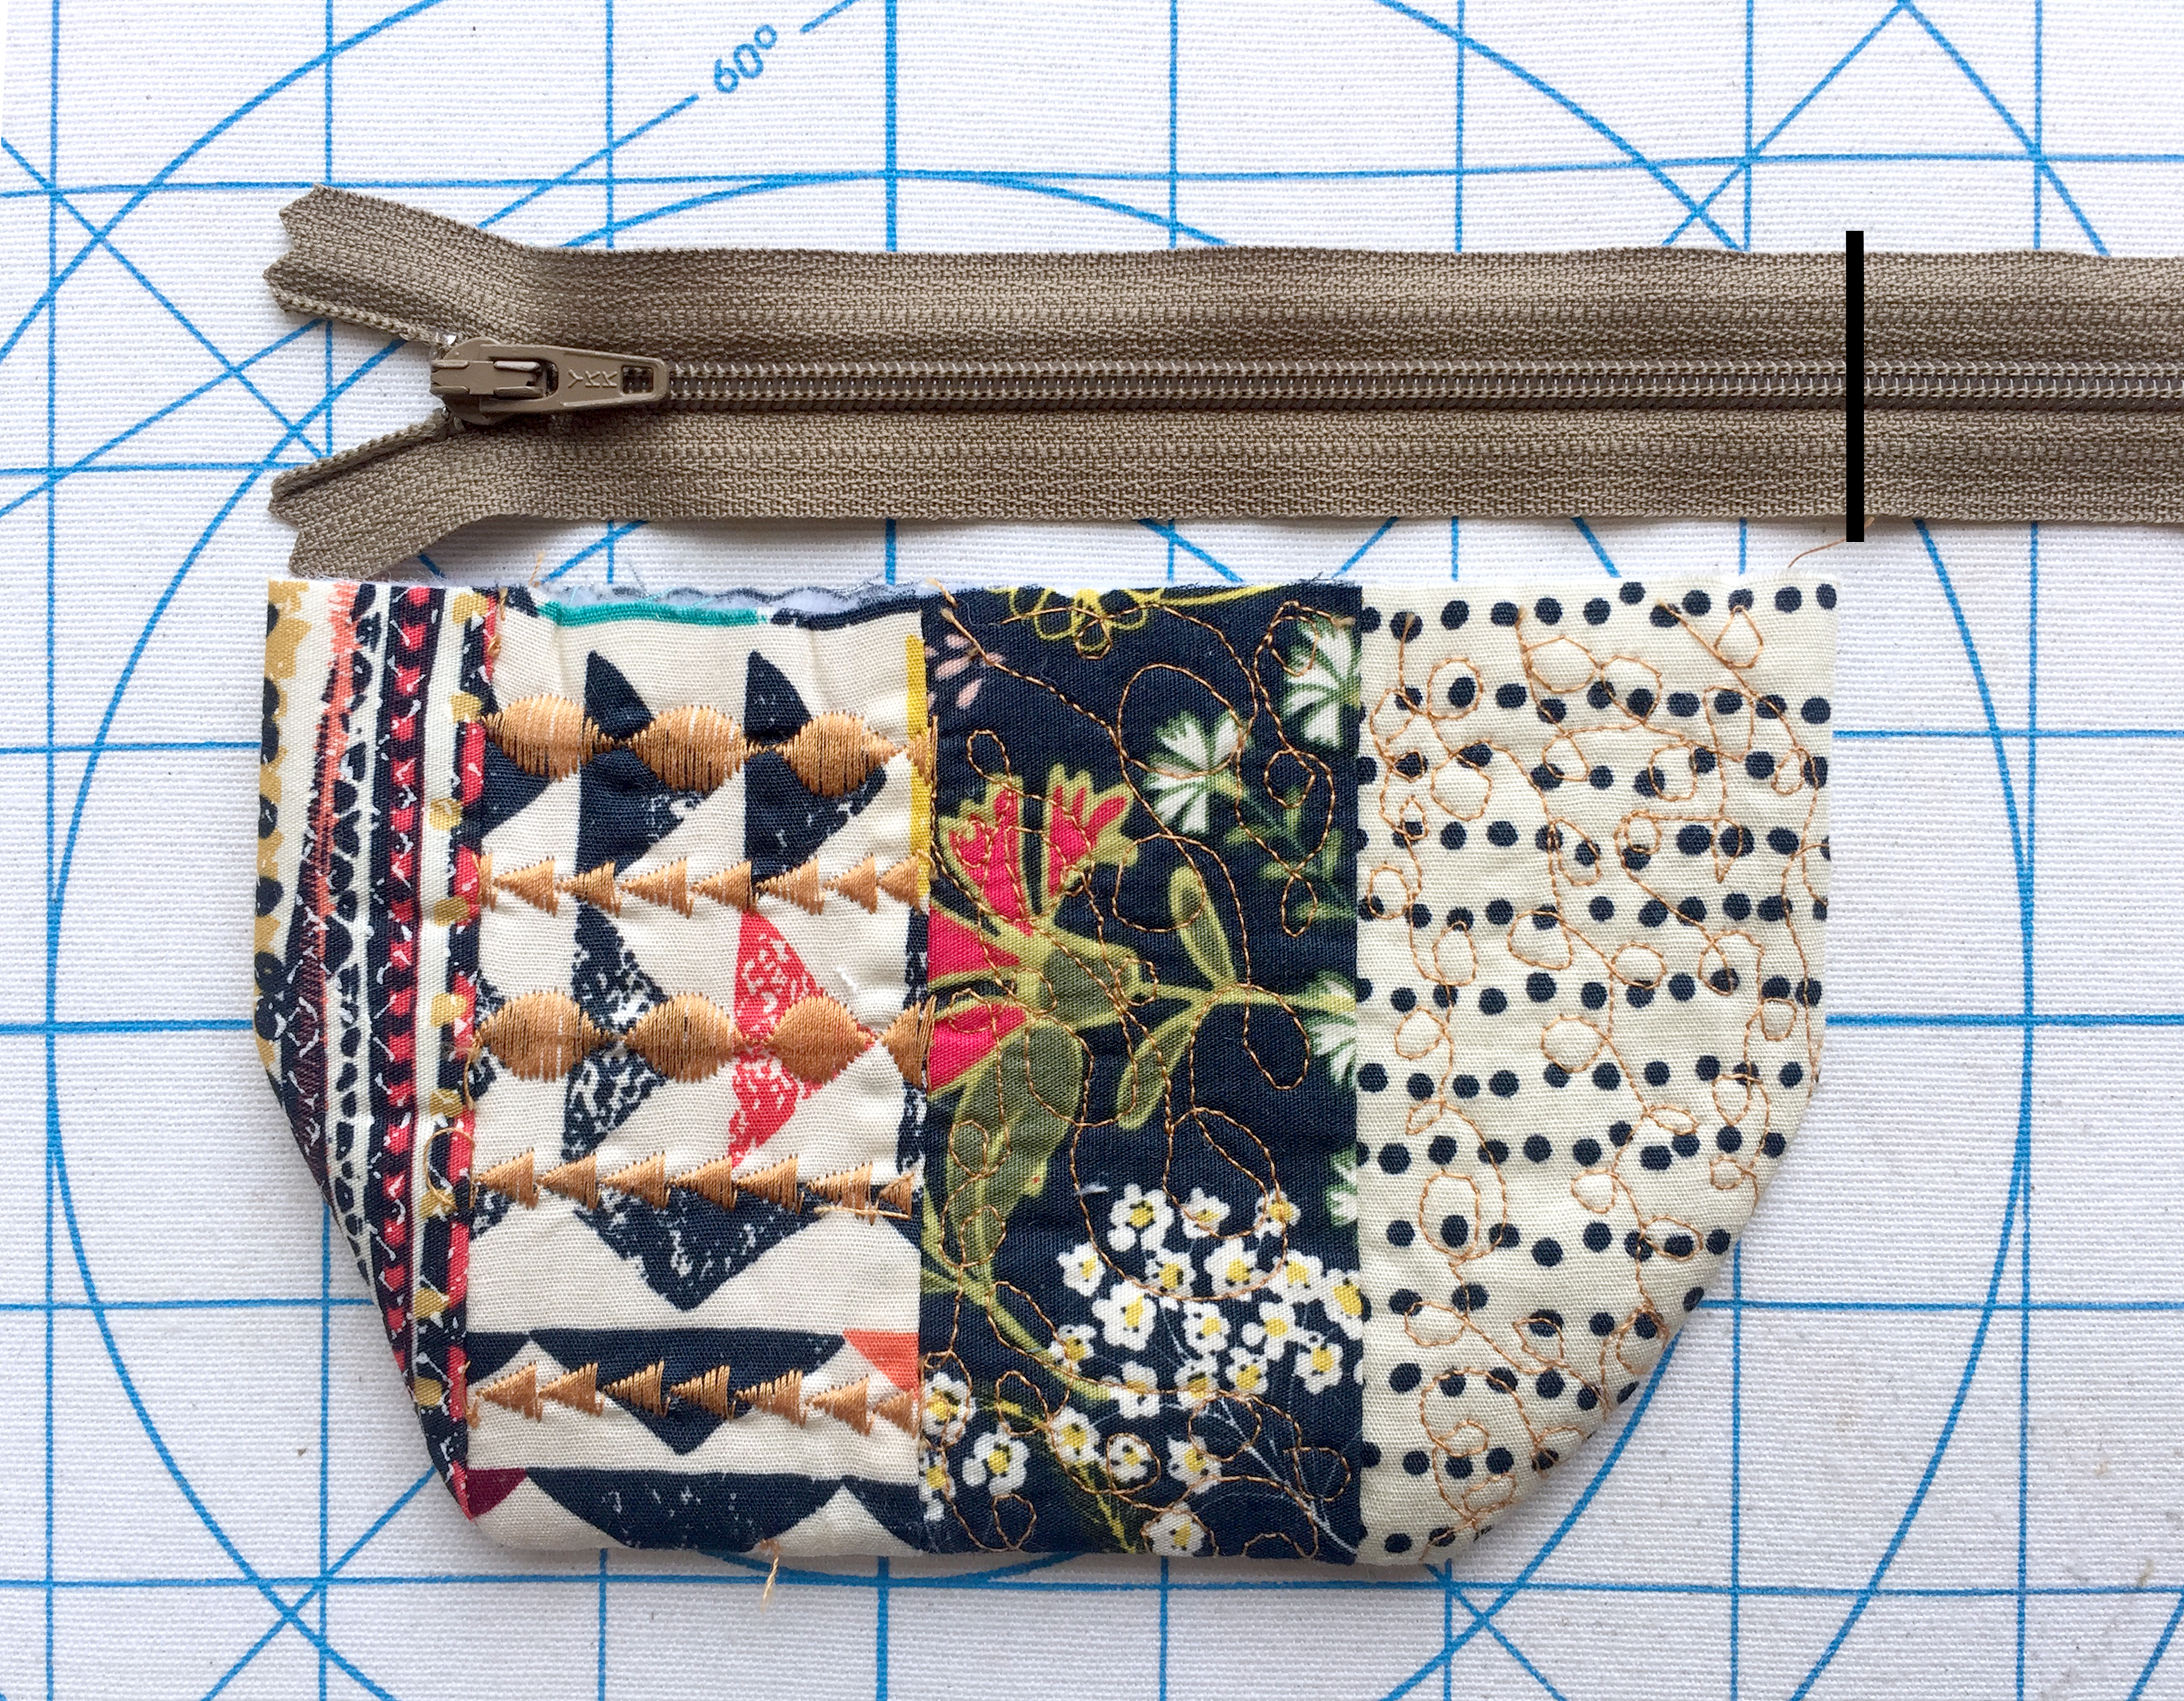
Get the front piece of the purse and place it with the right side of the fabric facing up. Next place the zipper facing down, as shown below.
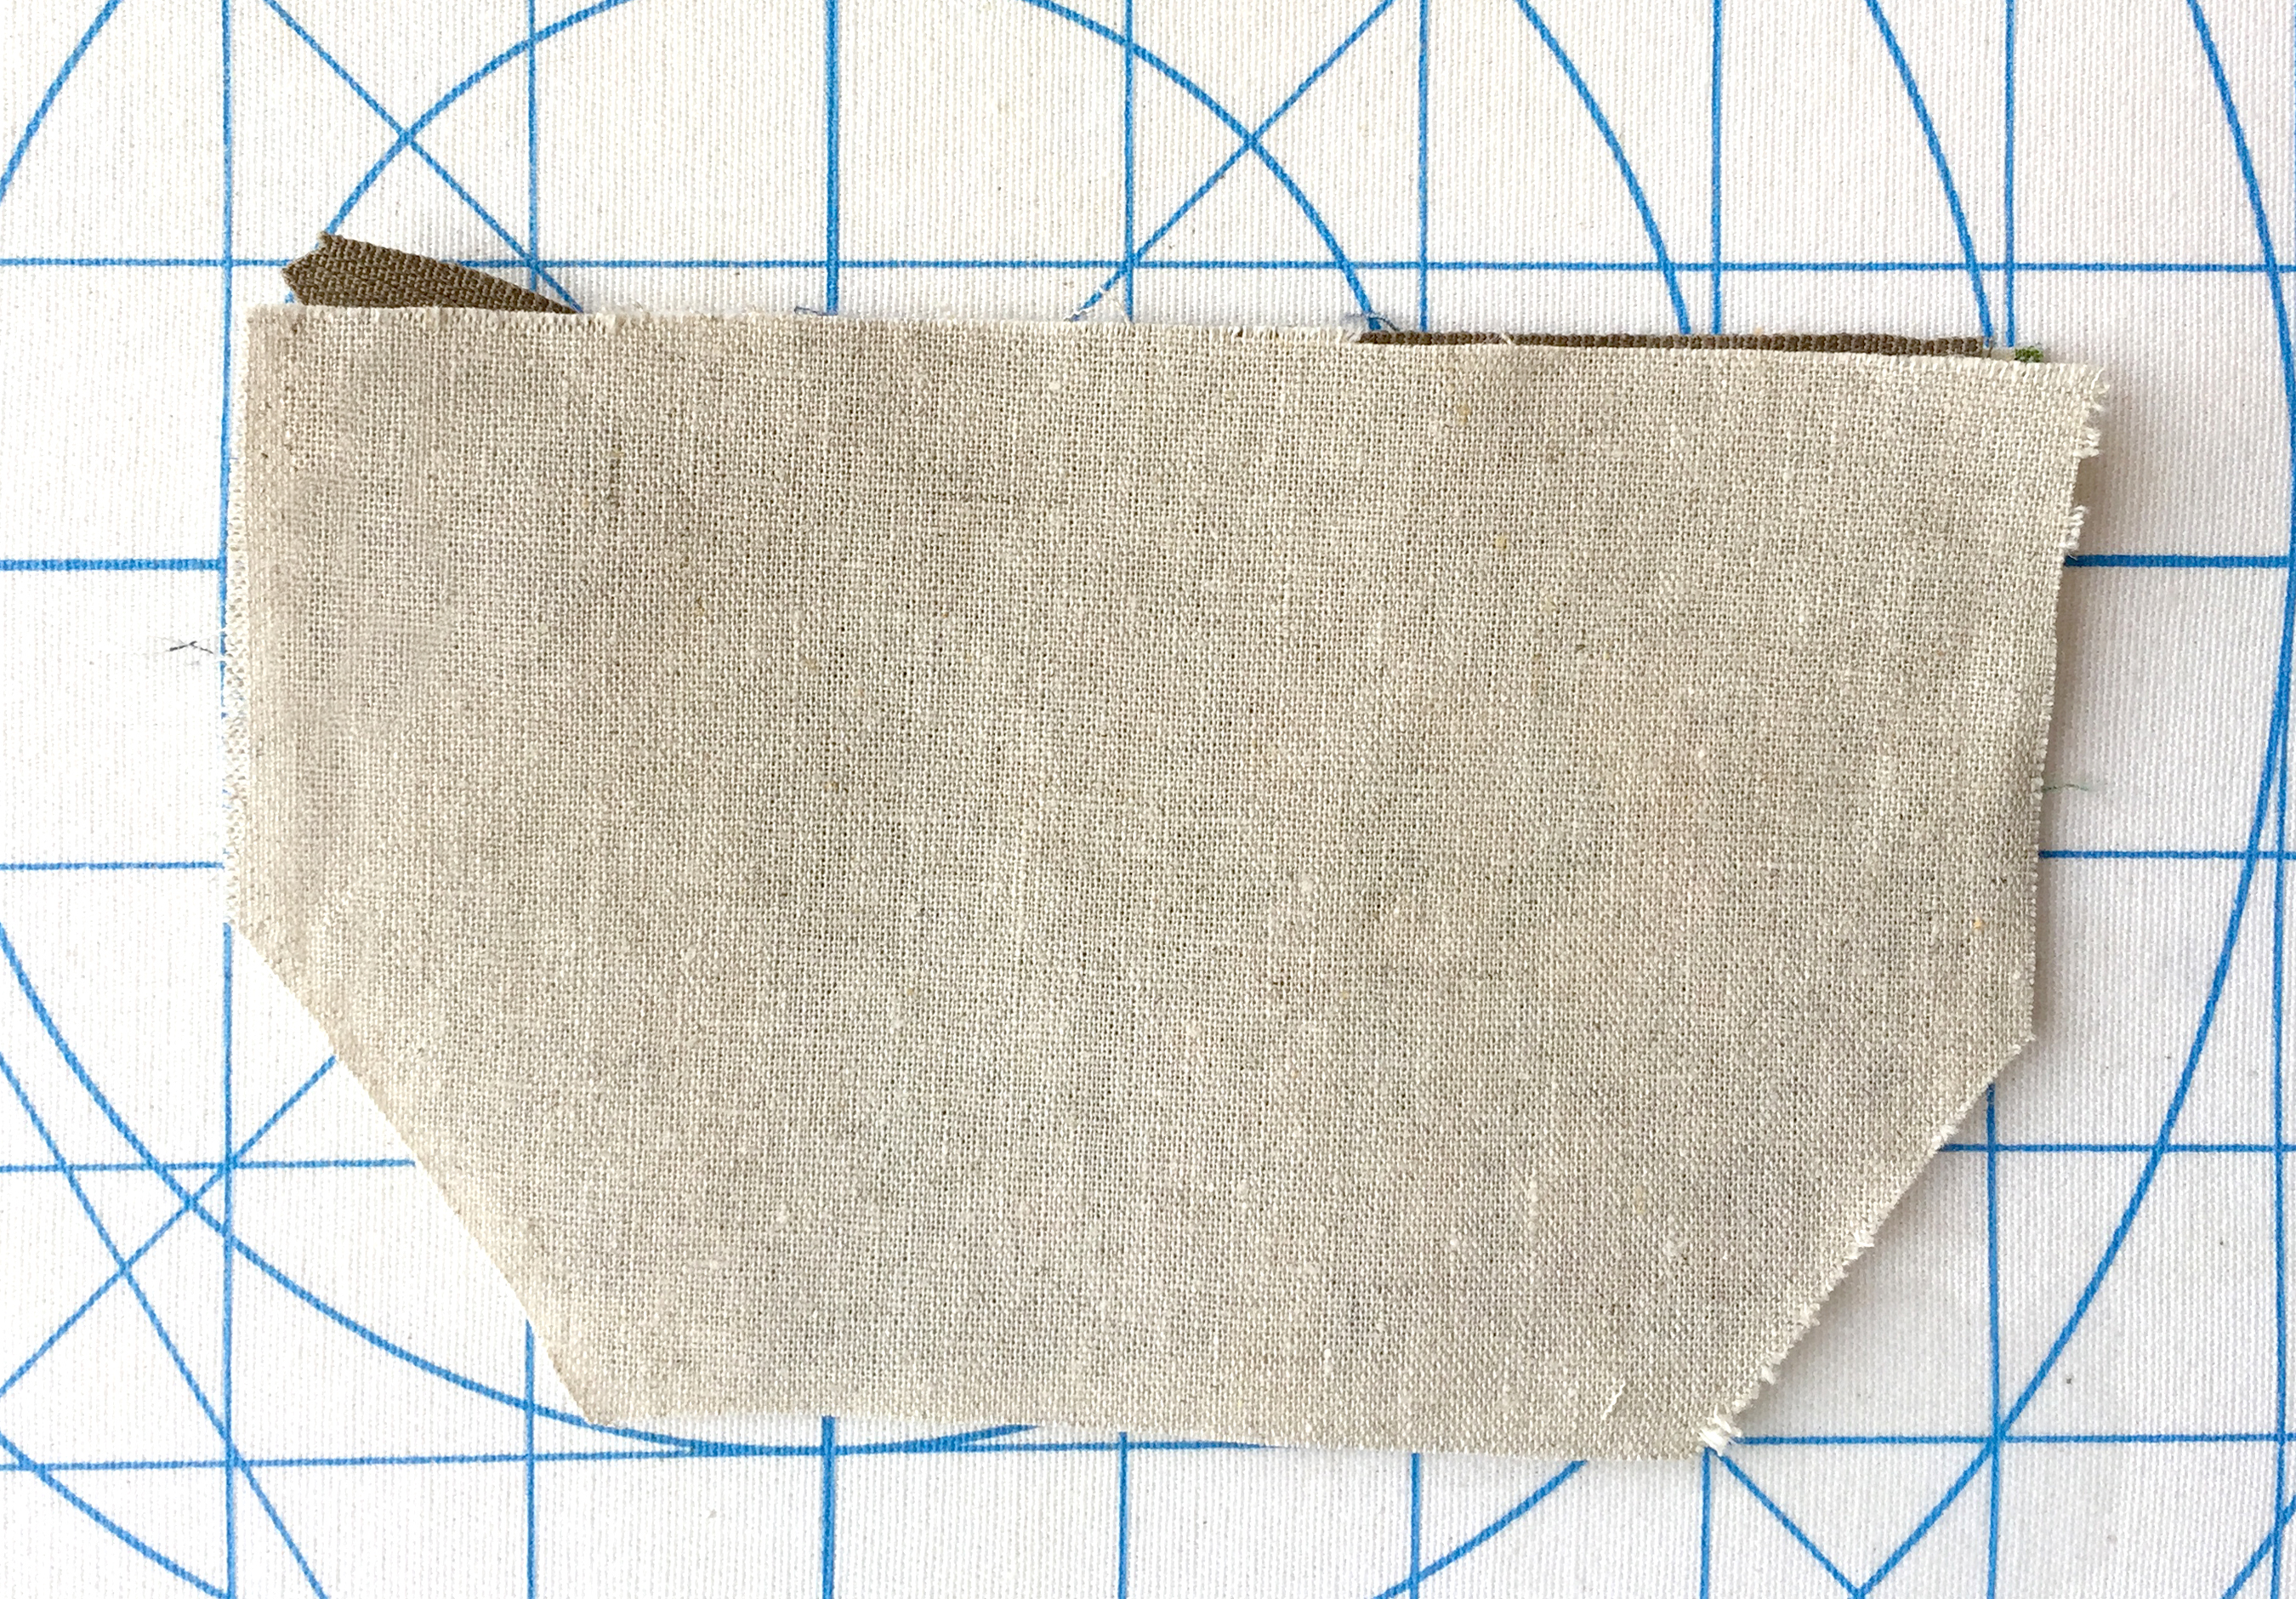
Next, place the lining piece of Fabric E on top and pin in place.
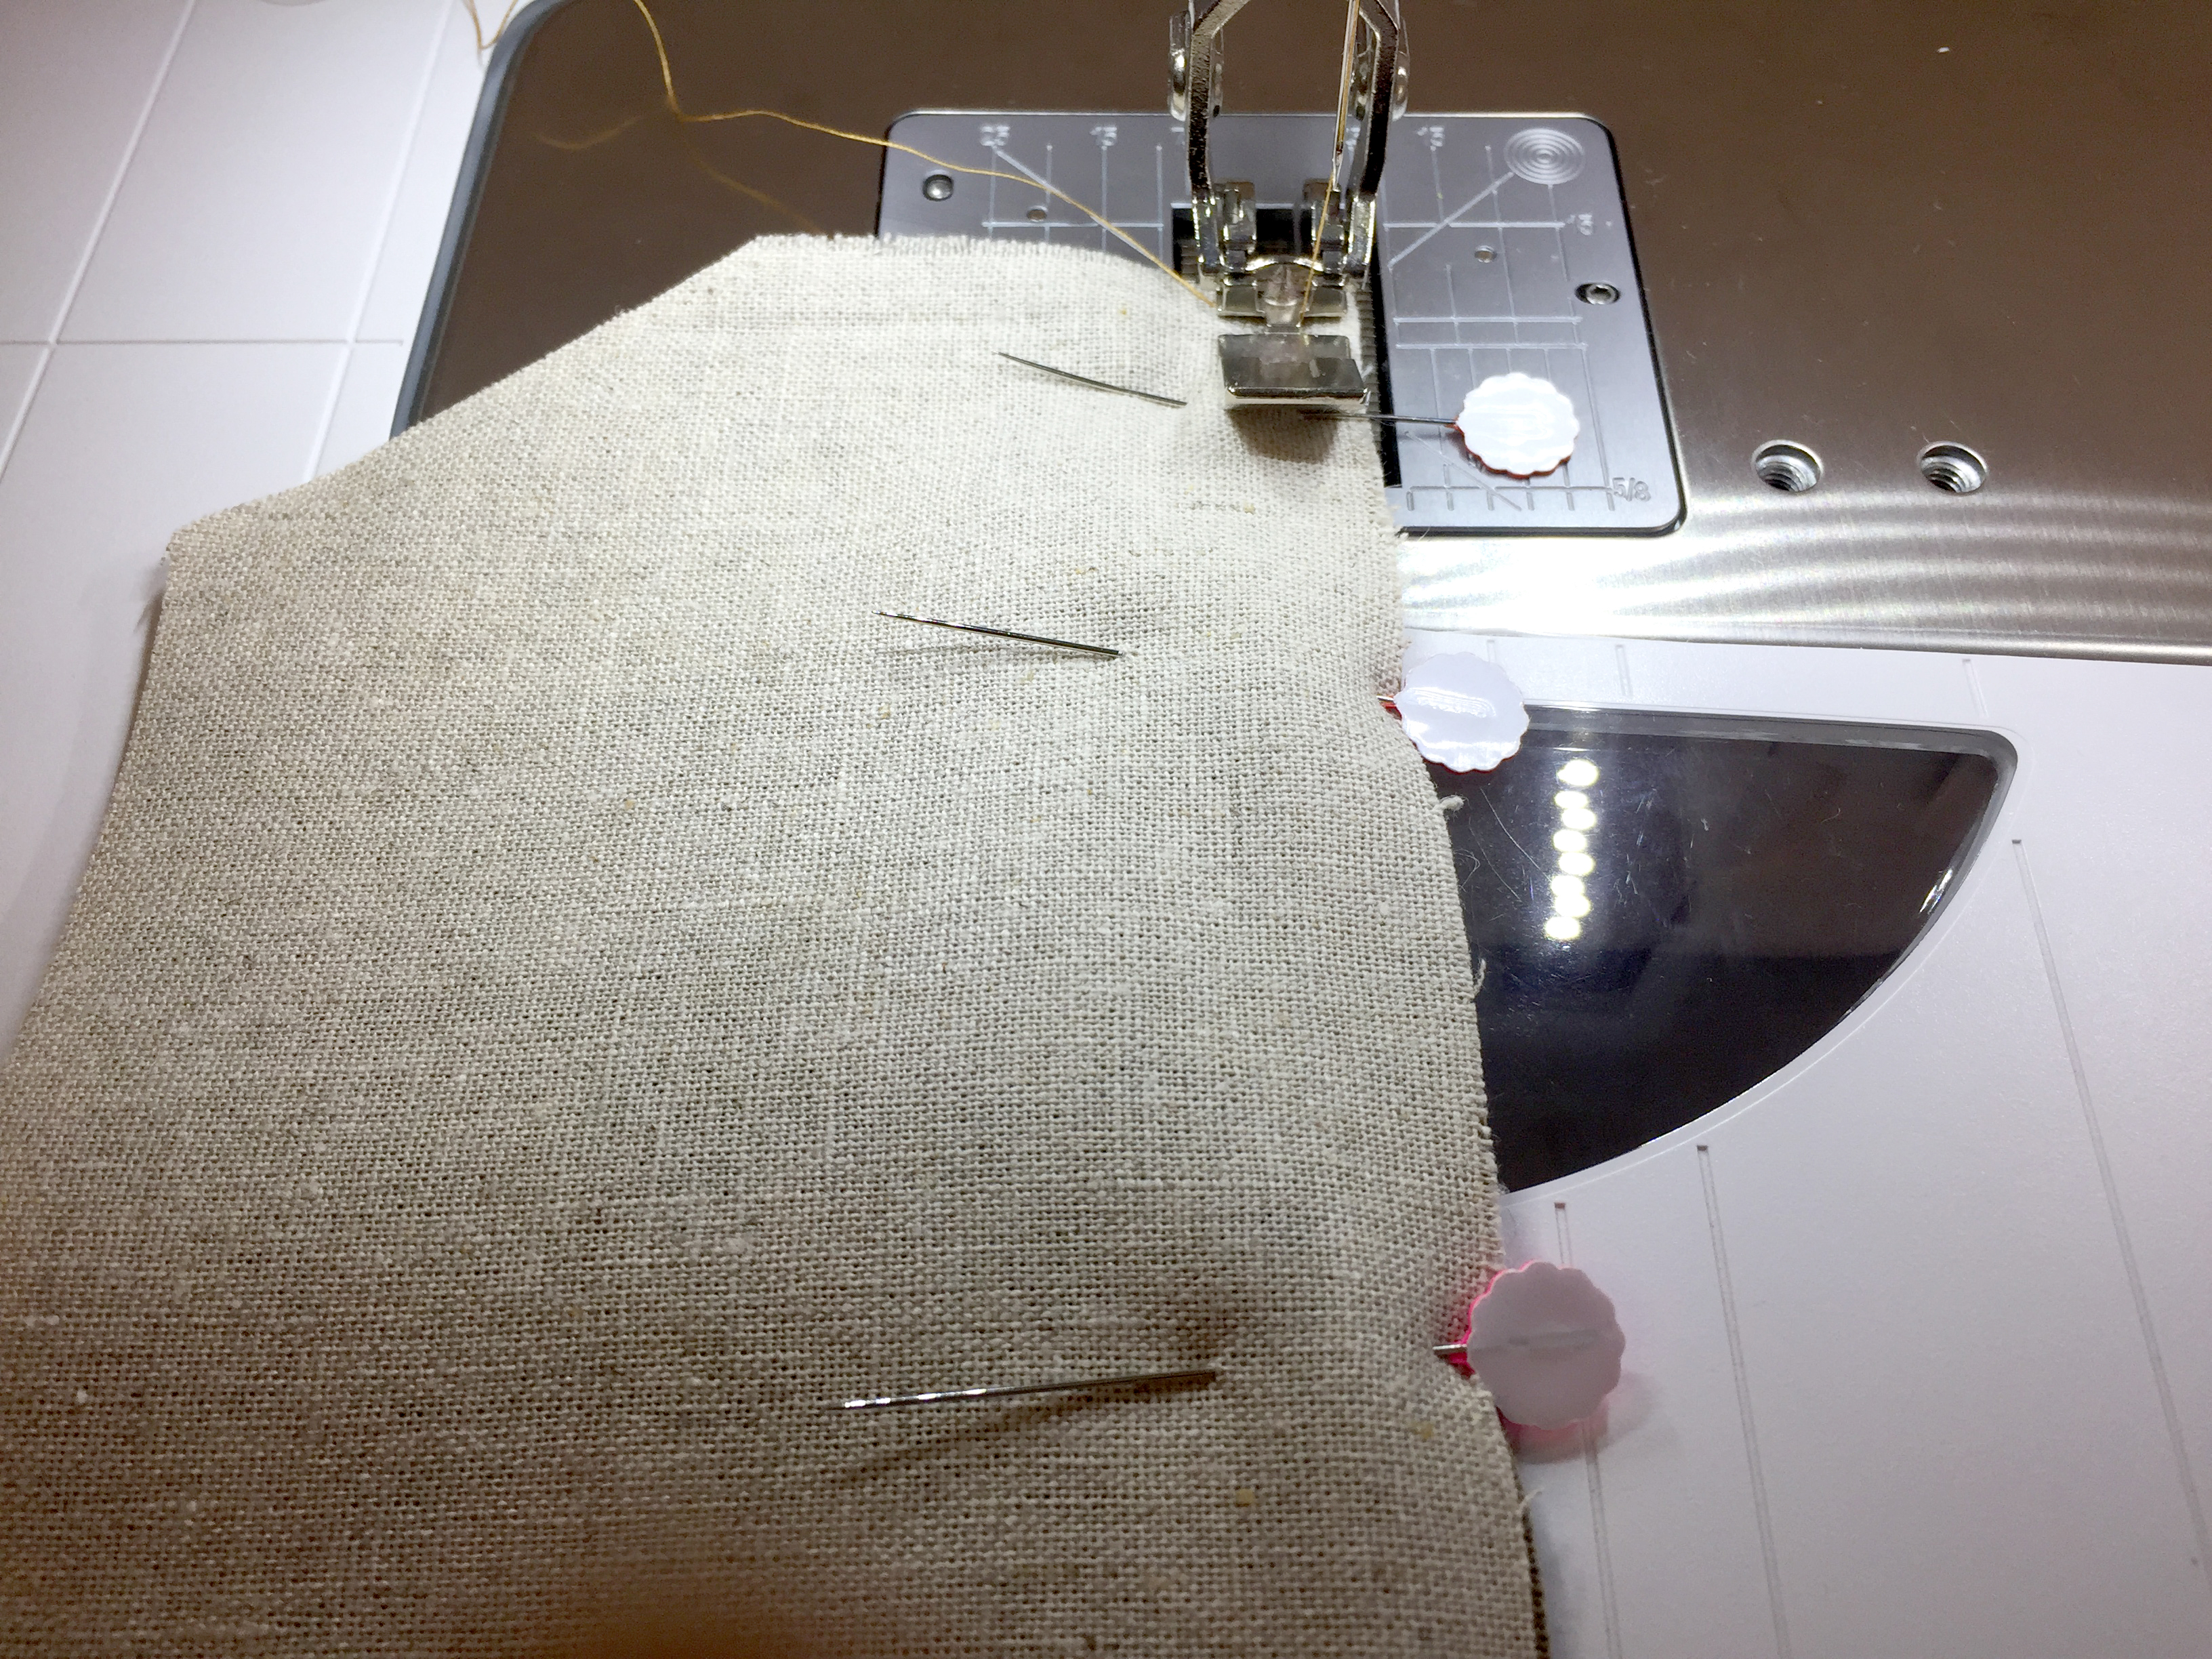
Change from your Reverse pattern foot #1/#1C/#1D to the Zipper foot #4/#4D and stitch in place.
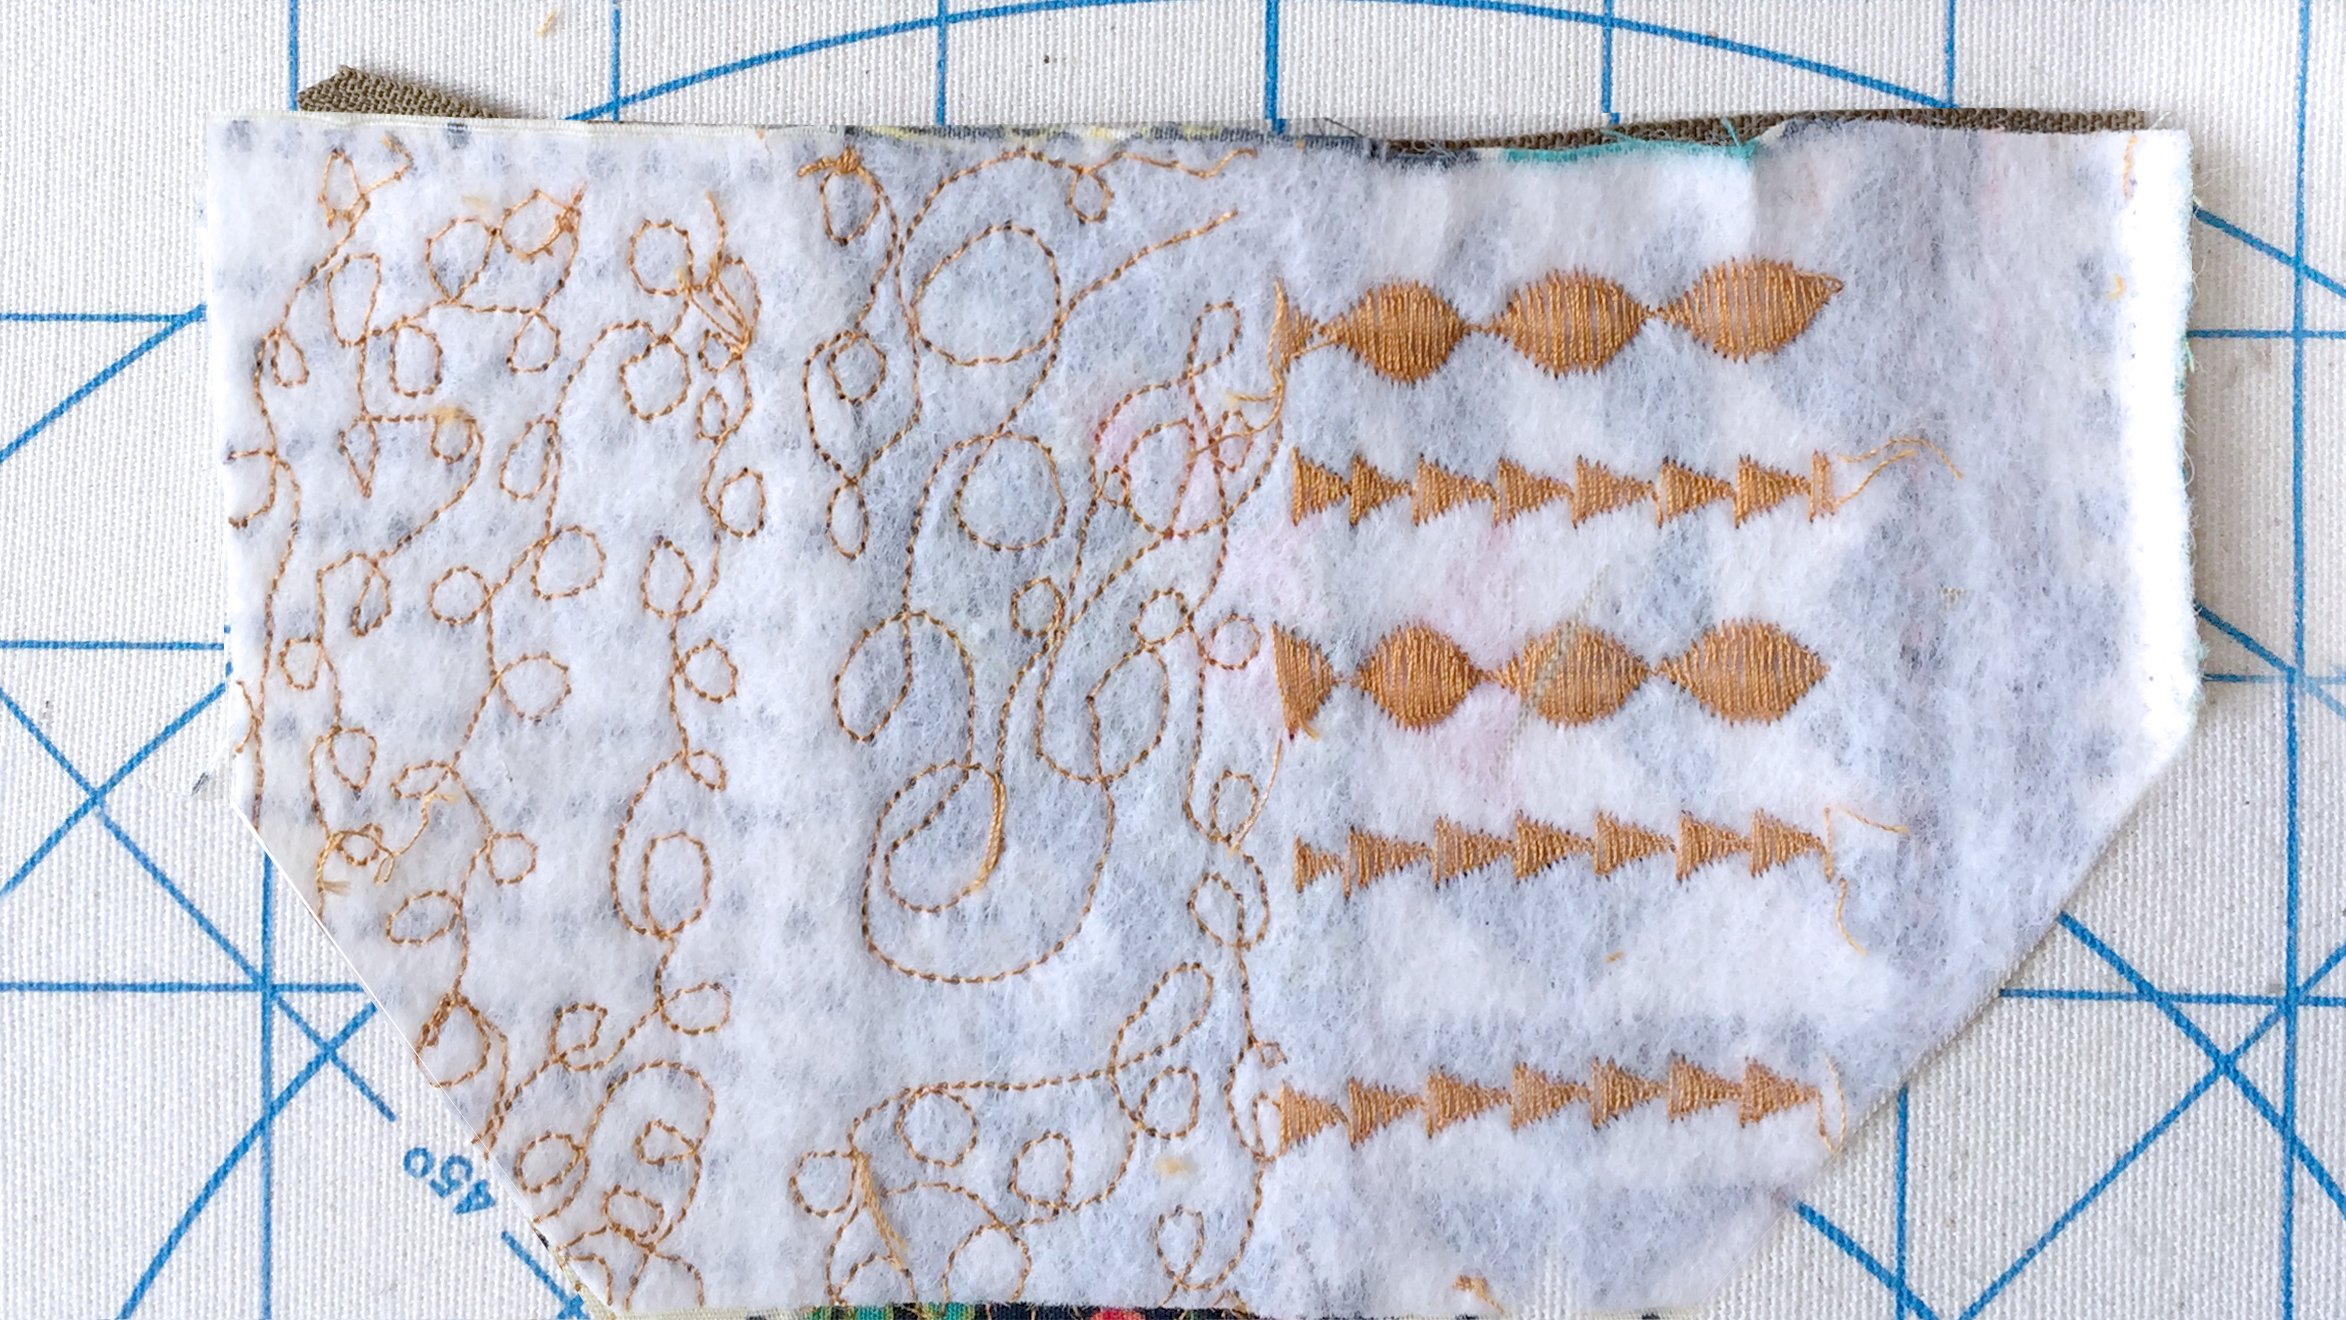
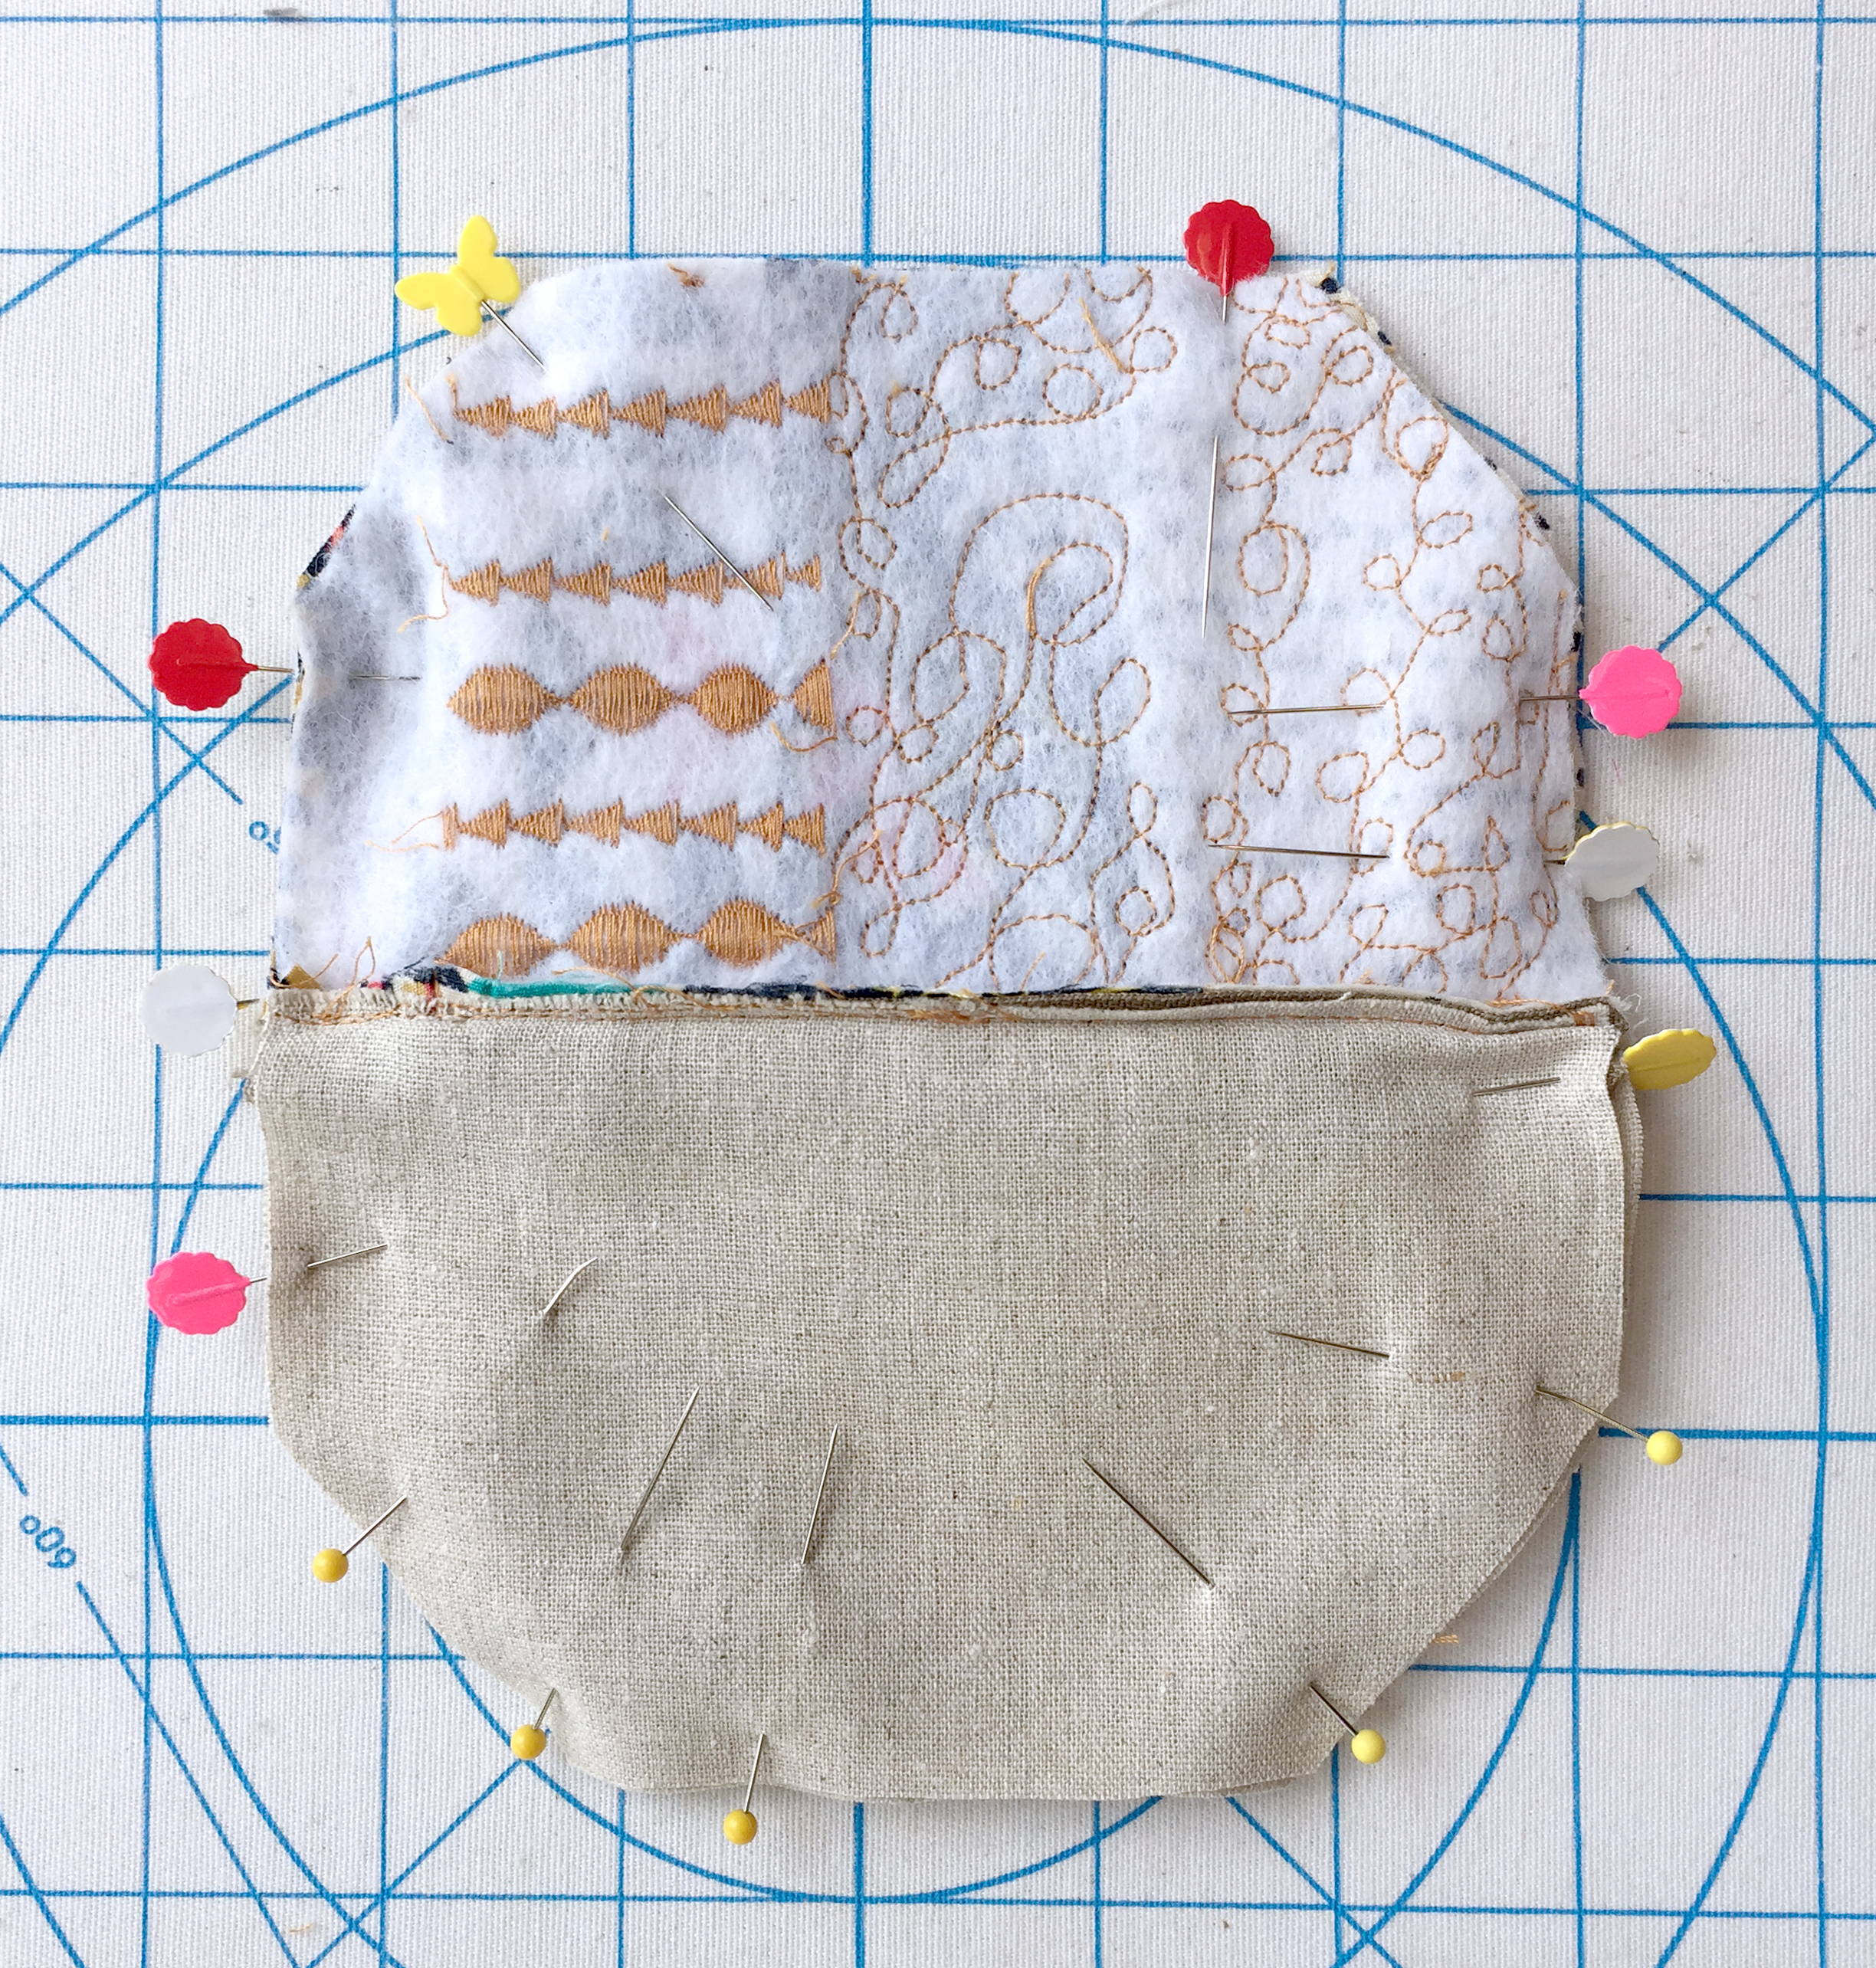
Attache the other side of the coin purse to the zipper. Now place the last piece from Fabric E, add the piece from the previous step, and set it as instructed below with the front of the clutch facing up. Lastly, place the back of the purse with the wrong side facing up, pin in place and straight stitch from top to bottom close to zipper teeth.
Once that step is completed, make sure the zipper is open because when you pull the clutch through, it is going to come through the zipper.
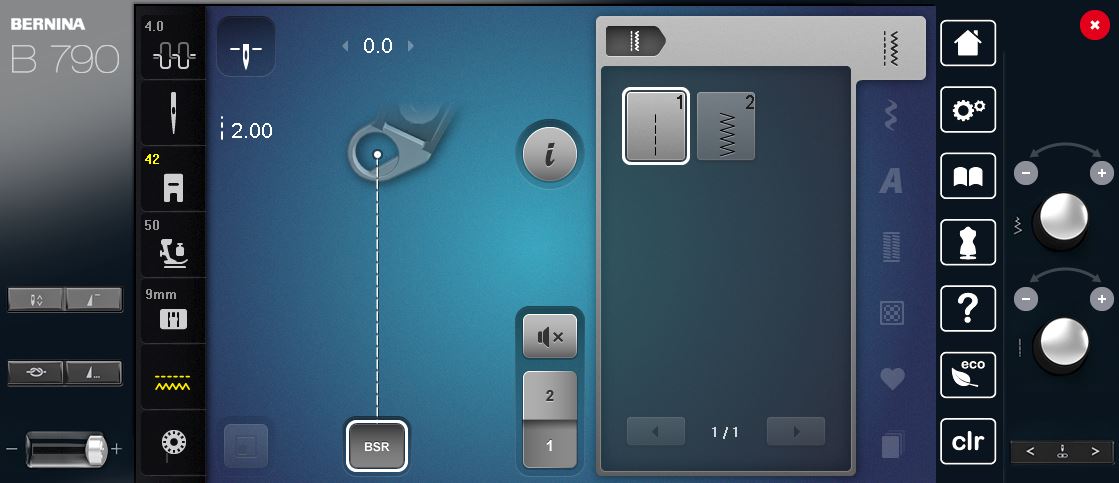
Lay out your pieces separating outer fabric on the left and lining on the right. Changing from your BERNINA Zipper foot 4D to the Reverse pattern foot #1D, stitch all around outside edges using straight stitch #1 with a 1/4″ seam allowance, making sure to leaving a 3″ opening at the lining for turning inside-out. After this, clip all four (4) corners.
Once it’s stitched all around, pull the clutch through the open zipper, pull the corners out and stitch the opening closed. You can either hand stitch it or machine stitch it.
And you are done!















Lovely and fairly simple project. Will definitely try. I wish this web site had some way to save favorites to come back to.