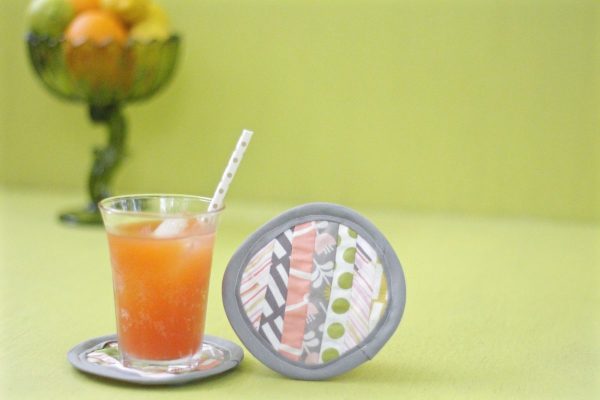
Modern Patchwork Coasters
Nearly ten years ago my aunt Delilah and I sat in a Mexican restaurant and over several baskets of chips, salsa and a few margaritas, and we brainstormed ideas for the name of our first project together. It was going to be a craft show in the parking lot of her store. We used my favorite brainstorming method (the cluster) and by the time our glasses were empty, our pieces of paper were full.
We probably each had over a hundred words on our pieces of paper and spent the next hour putting them together in various combinations until finally one combination felt right to both of us: “Patchwork Show.” Although Delilah had never sewed anything in her life and I was not a quilter (something the word patchwork is often associated with) we knew this was the perfect name. We thought of patchwork not only as a reference to crafting but mostly as a symbol for what we hoped the show would be: a bringing together of different things to form one harmonious whole.
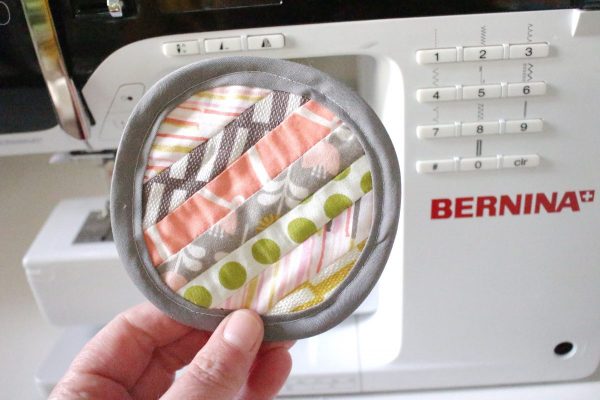
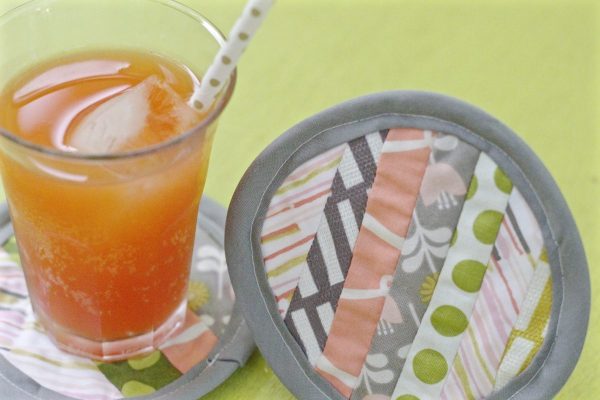
All these years later, Patchwork Show is still going strong, and that idea of various components coming together to make something new and cohesive is what inspired these modern patchwork coasters. This project (like many of the projects I make) is perfect for using up scraps. I love the idea of turning the leftover bits from other projects into something useful.
Materials to make Modern Patchwork Coasters
- Sewing machine (I used my BERNINA 380)
- Scissors
- Thread
- Iron and ironing board
- 5″ x 5″ piece of paper (this will be your template)
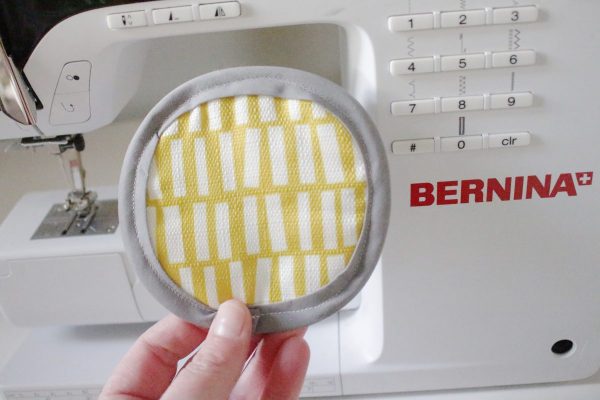
- Two 5″ x 5″ pieces of fabric for the back of the coasters
- Several strips of fabric at least 1″ wide and 6″ long (I used about 14 pieces but I liked have extras so I could play with the composition)
- 24″ double fold extra wide bias tape
- Two pieces of 5″ x 5″ thin cotton batting
- Temporary spray adhesive
*Makes two coasters
Instructions to make Modern Patchwork Coasters:
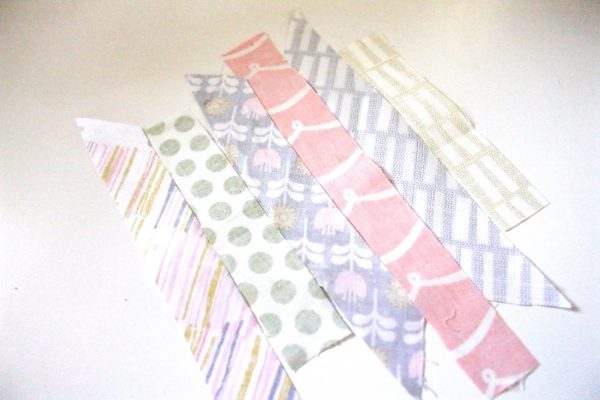
1. Cut all your pieces of fabric. I choose a variety of prints with a cohesive color palette.
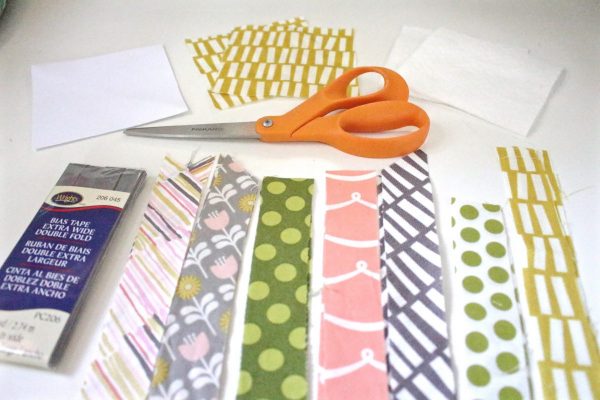
2. Design your layout for the strips of fabric. If your strips are about 1″ wide you’ll need nine strips for each coaster.
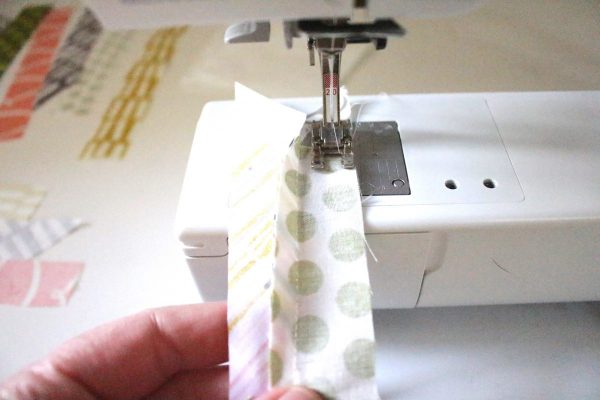
3. Take the first two pieces of fabric and with the right (printed) sides facing in sew a seam down one side. All seam allowances are 3/8 inch.
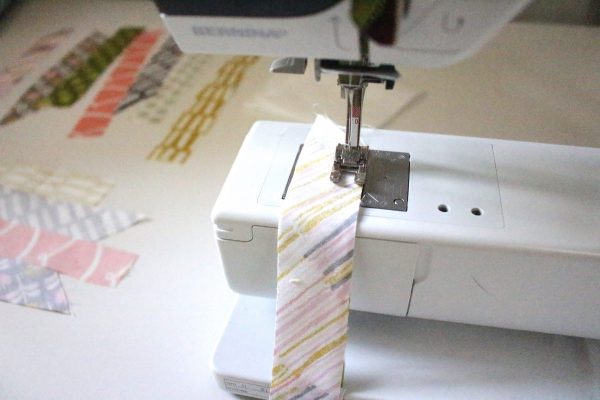
4. Repeat step three for the rest of the strips of fabric until all nine strips are sewn together.
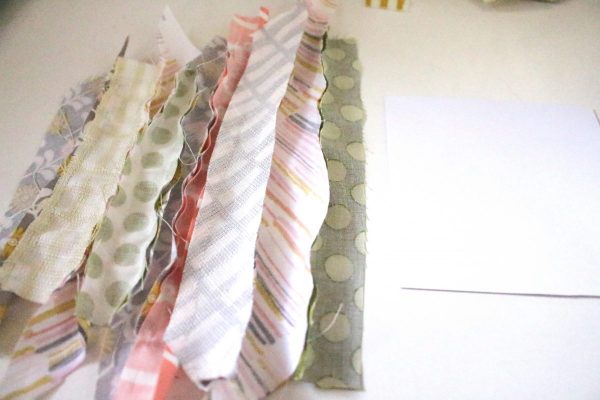
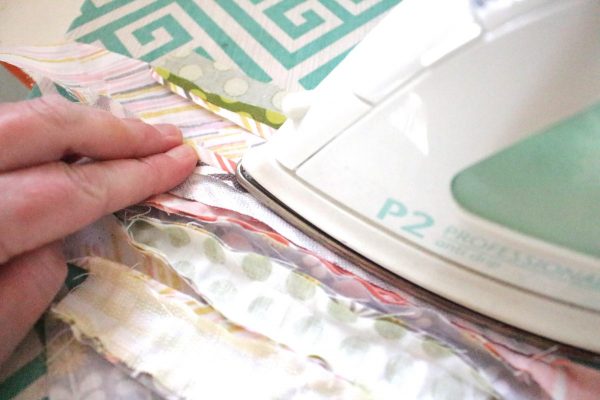
5. Press each seam open by flattening them out and ironing them in sections.
*You can also do this after you sew each strip together.
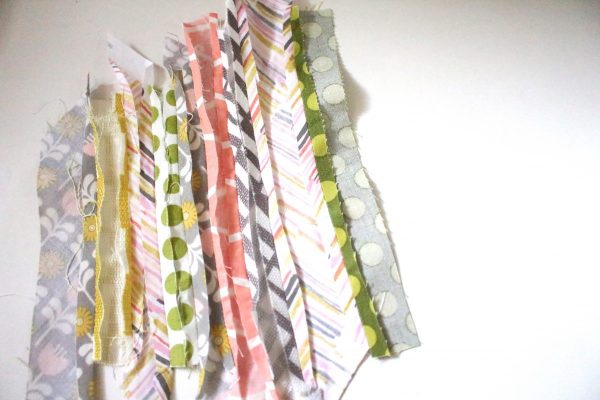
6. Spray one side of one of the pieces of batting with your spray adhesive and adhere it the backside of the strips of fabric you sewed together.
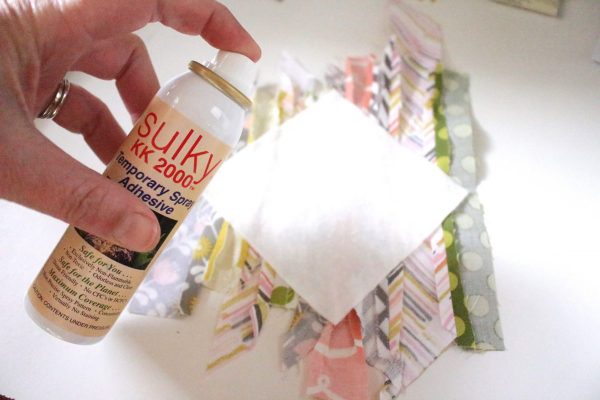
7. Spray the other side of the piece of batting with adhesive and place one of your 5″ x 5″ pieces of fabric for the back on the batting. Press all three layers together with your hands to ensure that they’re completely adhered.
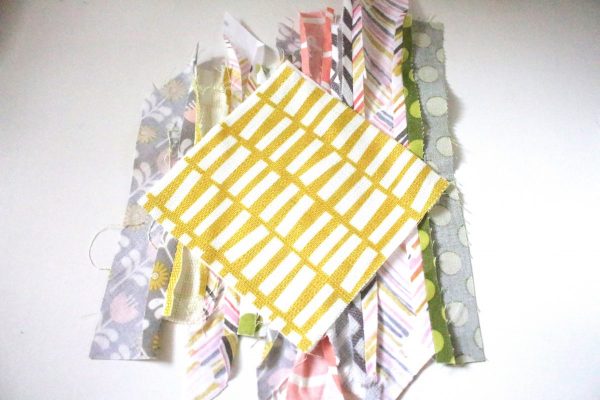
8. Trim the edges of the sewn together strips of fabric so all three layers are the same size.
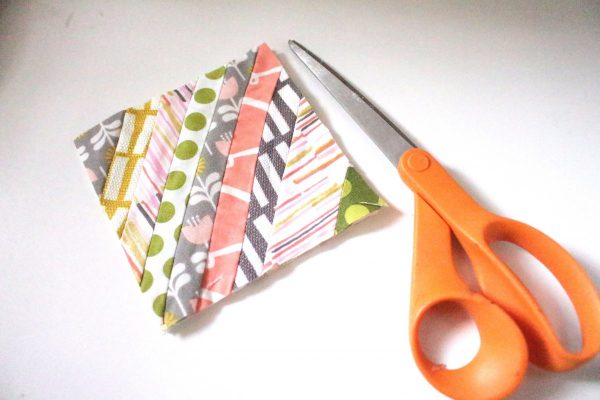
9. Cut around each edge of the square to round the corners and create a circle.
Tip: If you’re not comfortable doing this without a template, use a bowl or cup as a guide.
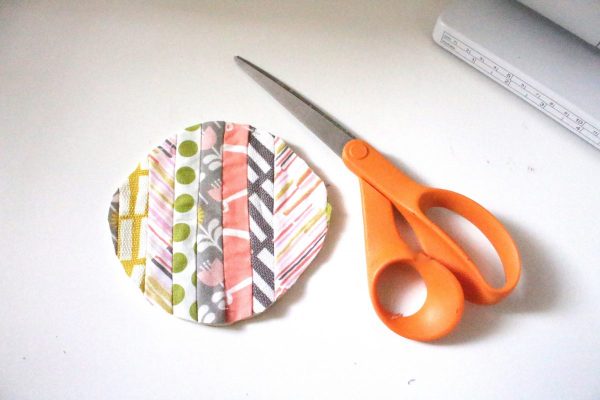
10. Optional: Topstitch over all three layers of the coaster if you’d like. I opted not to do this since the fabrics I chose were so busy. But if your fabrics are solids or graphic prints that would look good with some added detail, topstitch them.
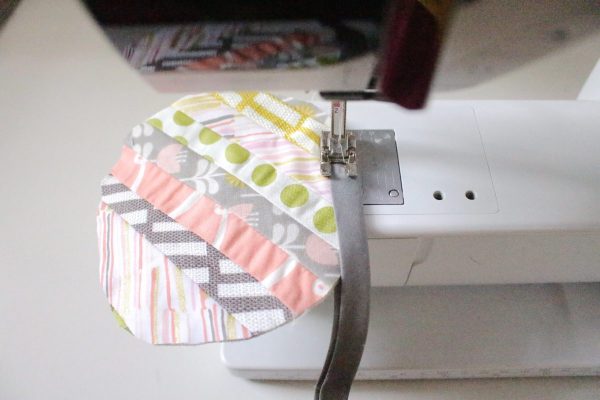
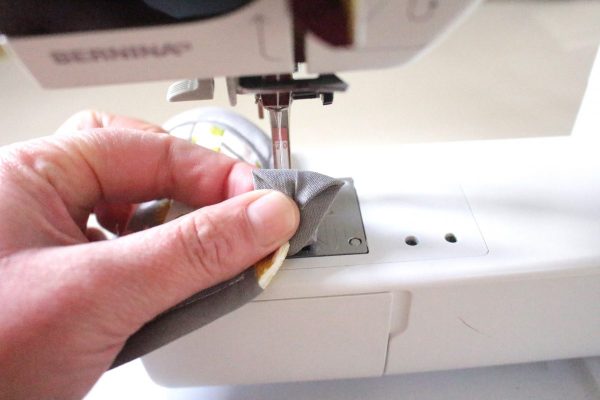
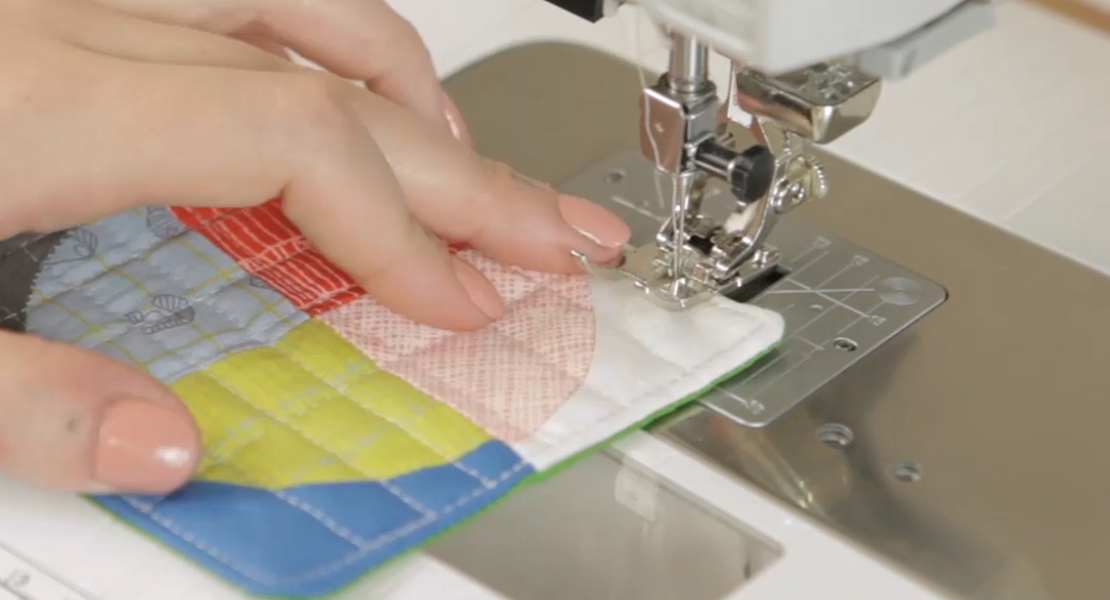
11. Sew the bias tape around the edge of the coaster.
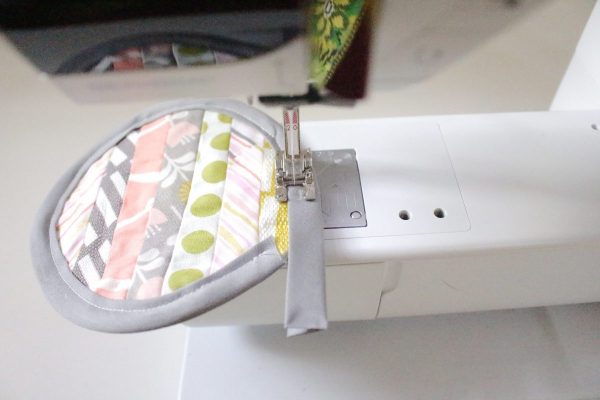
12. When you get back to the place you started while sewing the bias tape, fold the corners of the edge of the bias tape in to form a triangle and then fold the triangle in so you don’t have a raw edge.
