One-of-a-kind Pincushions
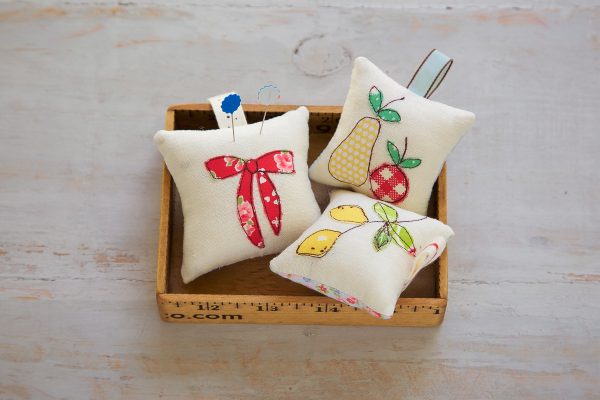
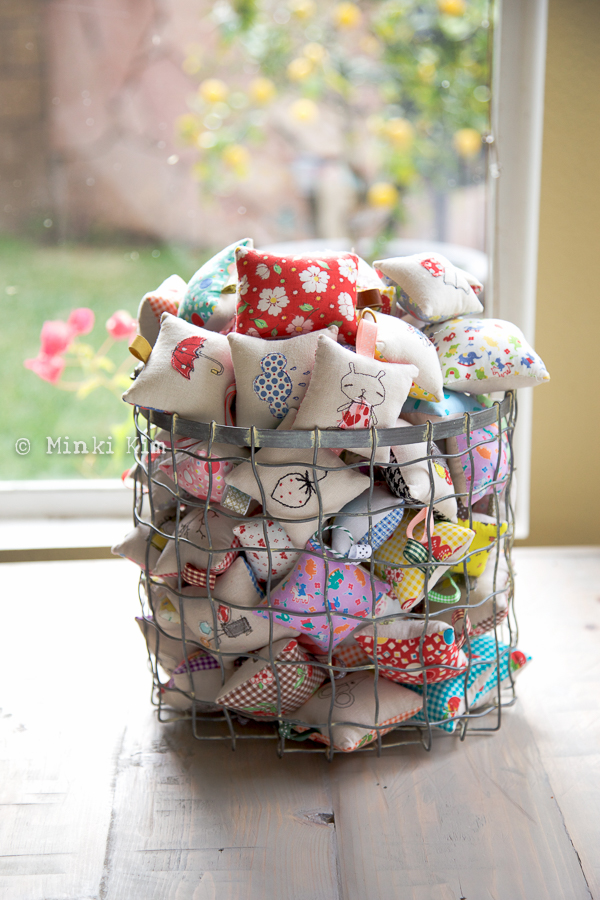
Hello, it’s Minki from Minki’s Worktable. I would like to share my pincushion story today. My very first attempt for this stuffed mini cushion was almost 4 years ago.
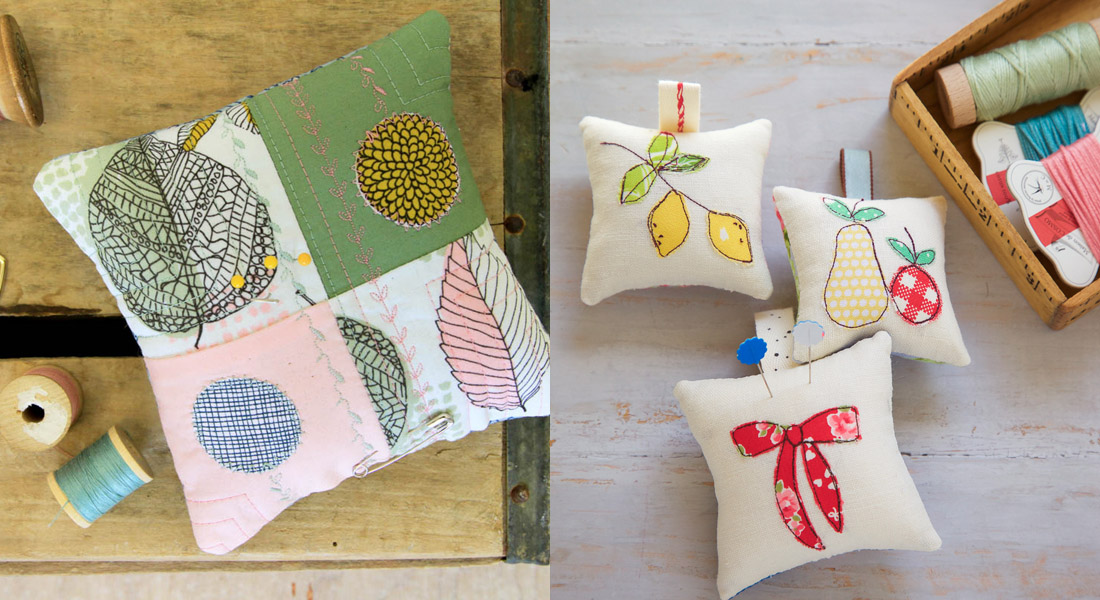
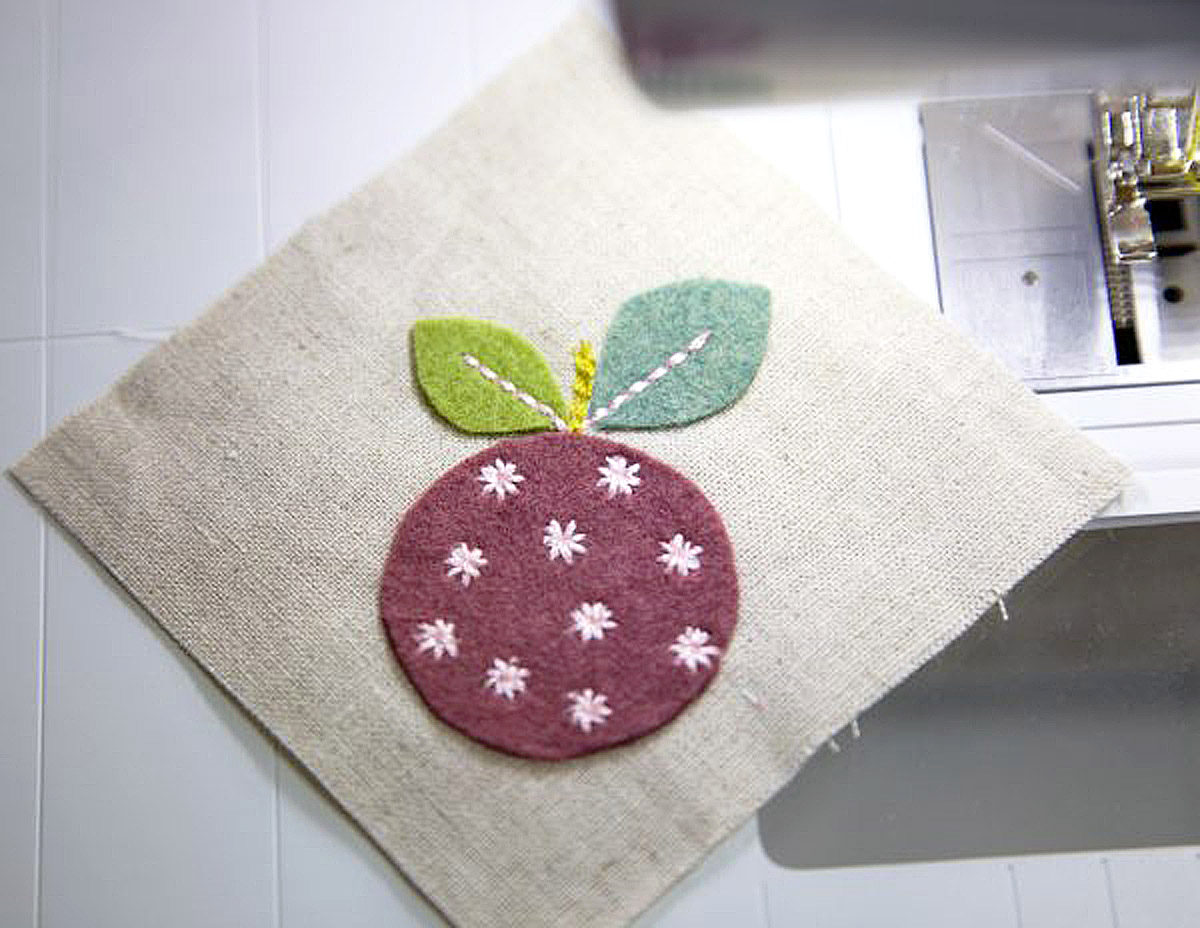
I wanted to use a basket full of pretty fabric scraps and my sewing illustration technique. So I started to draw little images I could think of on the linen pieces. At that time I didn’t know there was a product called fusible webbing so I used school glue stick to glue the wee fabric accents. I even used my kids’ old sweater to give the unique texture. I didn’t know what to call these little things, so I called them an ornament one day and a pincushion the next. Pincushion sounded cuter (even though I didn’t need that many pincushions). Oh boy, I didn’t know how quickly morning came and night slipped away because I had so much fun making these!
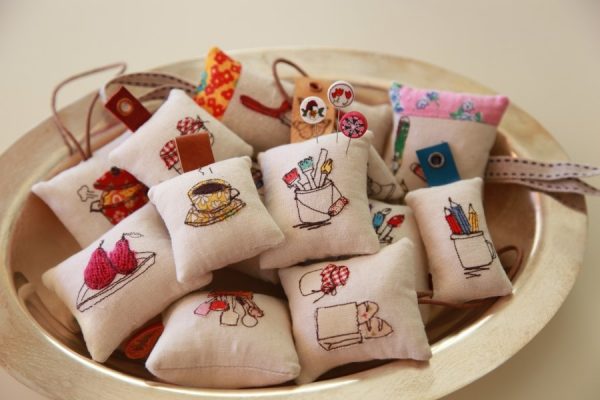
I gave away my pincushions to my blog friends, hosted a pincushion sew along and even completed a 100 pincushion mission. And I still enjoy making these little sewing buddies whenever I feel like resting my mind by doing simple and easy project.
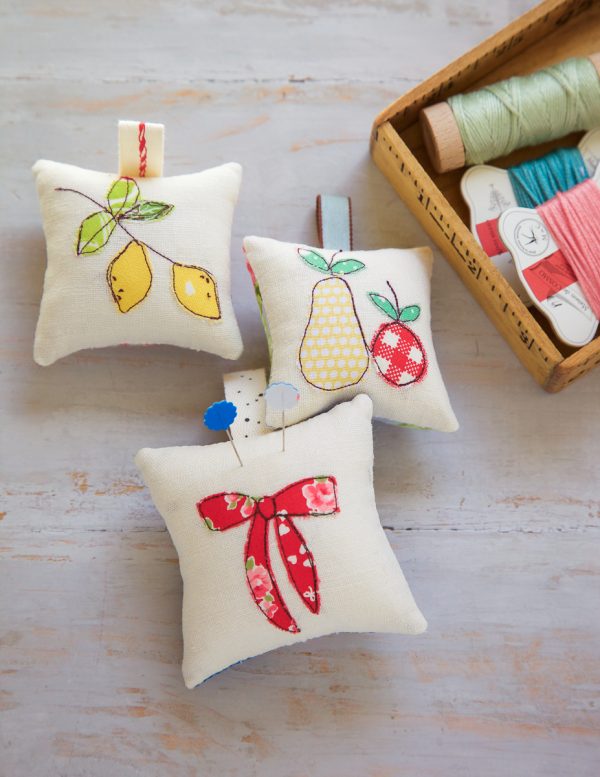
I hope you have a basket full of pincushions that keep growing and keep giving away at the same time. 🙂
Finished pincushion size: 3″ x 3″
Materials to Make a One-of-a-Kind Pincushion
- 3 1/2″ square cream solid cotton or linen
- 3 1/2″ square cotton print
- Fabric scraps
- Fusible web
- Dark color thread (I used 50 weight dark brown Aurifil thread), neutral thread
- Open embroidery foot (BERNINA Open embroidery foot #20/#20C/#20D)
- Polyfill
- 1/2″ x 4″ Cotton ribbon
- Iron (I use a Reliable)
- Download the One-of-a-kind Pincushion Template
Instructions to Make a One-of-a-Kind Pincushion
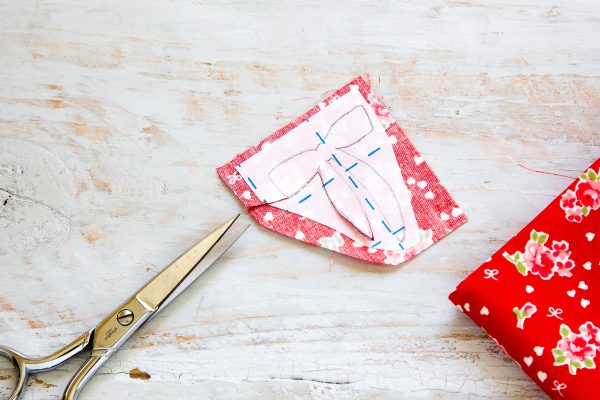
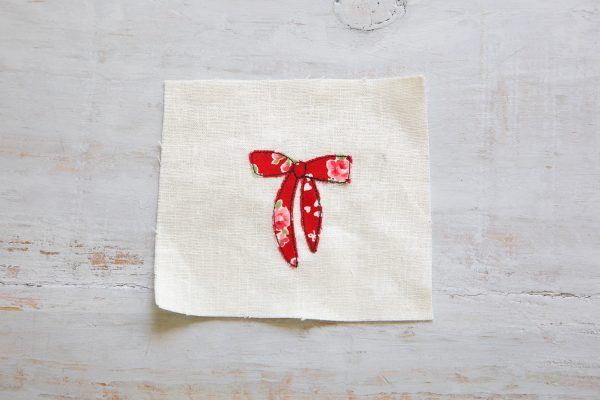
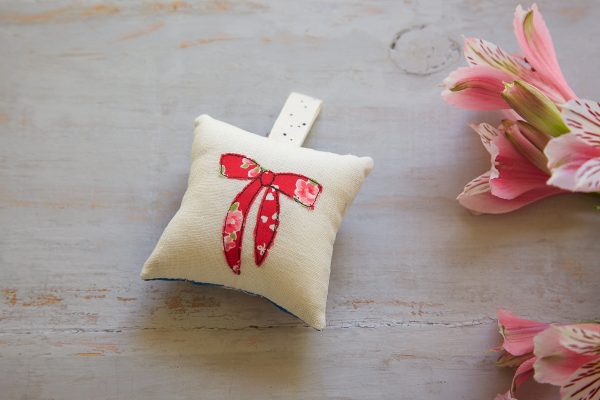
1. Trace the ribbon from the pincushion pattern on the paper side of the fusible web.
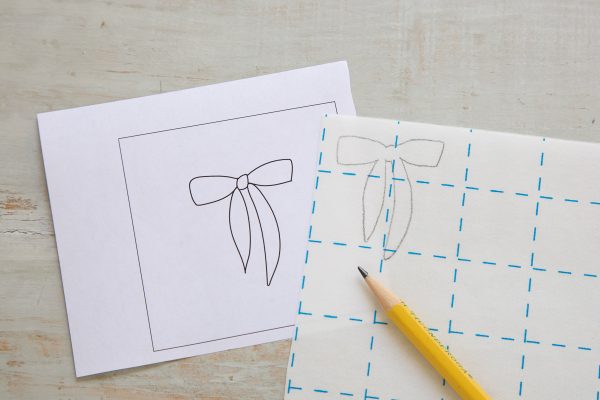
2. Stick the fusible web on the wrong side of the print cotton following manufacturer’s instructions and cut out the design.
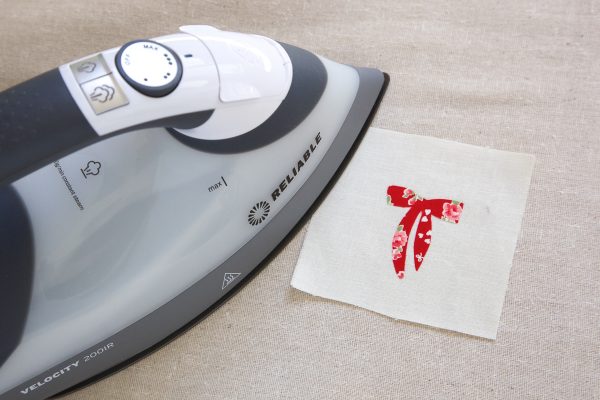
3. Peel off the paper backing and fuse the cut out design on the linen centrally.
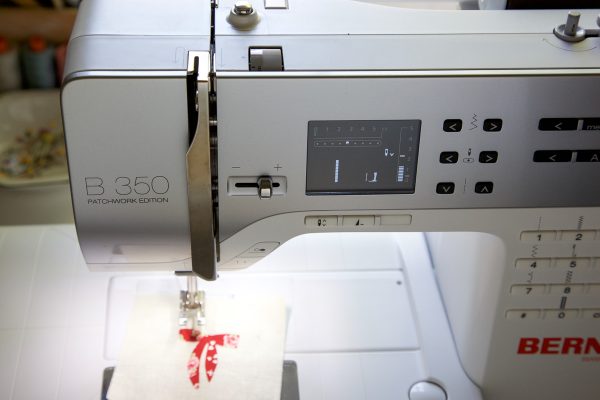
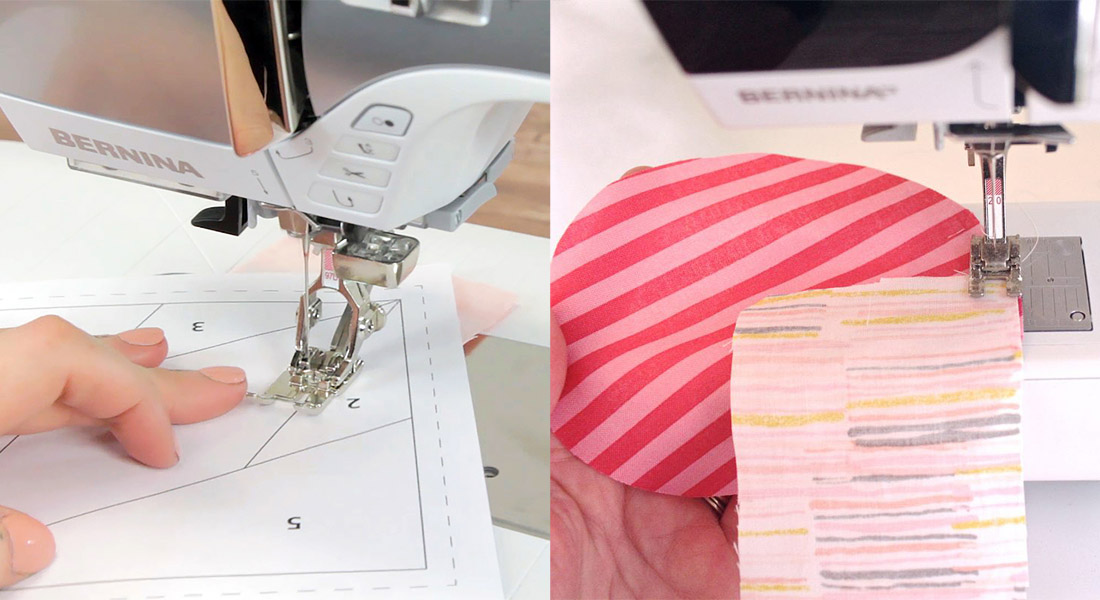
4. Using an appliqué or open-toe foot to see better, set your stitch length 1.6. With 50 wt dark brown thread straight-stitch just inside the design.
5. Stitch once or twice as desired.
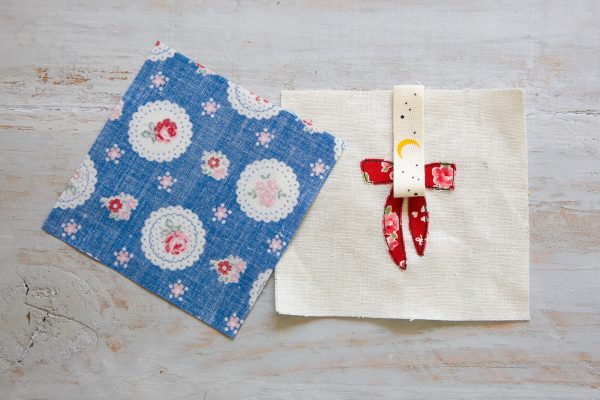
6. Position the raw ends of the folded cotton ribbon on the right side of the pincushion top, in the center of the upper edge.
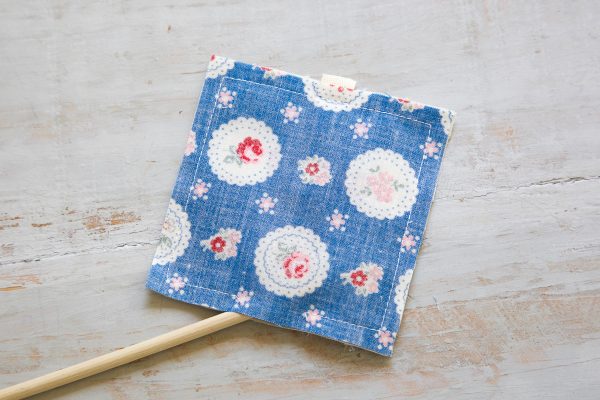
7. With right sides together, layer the blue fabric print 3 1/2″ square atop pincushion top; pin together, making sure the cotton ribbon is between layers. Sew around all edges, leaving a 1″ opening for turning at the bottom.
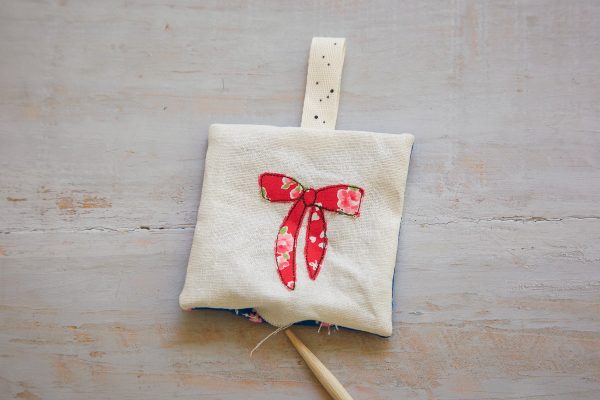
8. Turn right side out through opening.
9. Stuff firmly with fiberfill, using a knitting needle or bamboo skewer to fill the corners. Hand stitch the opening closed to complete.
I hope you enjoy making these little pincushions and count them growing.
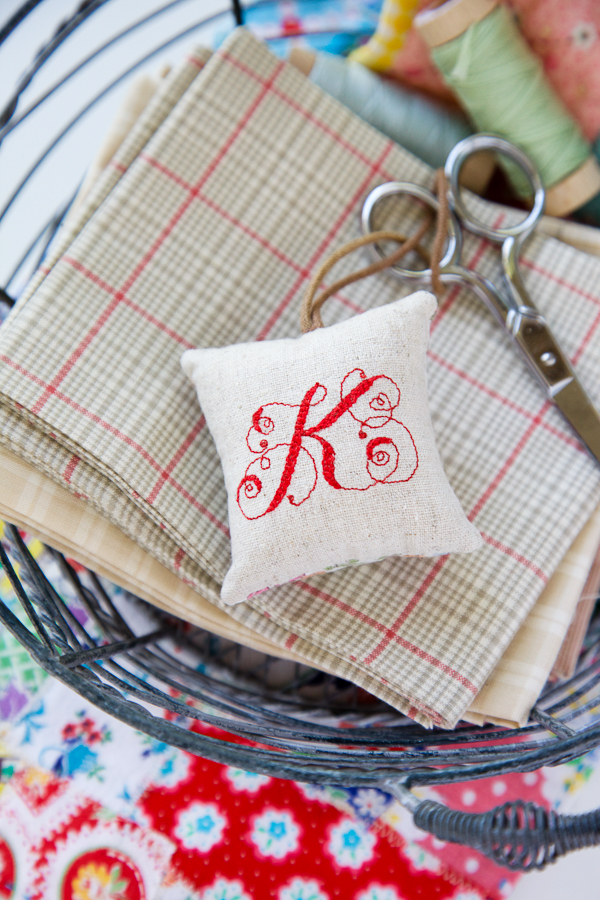
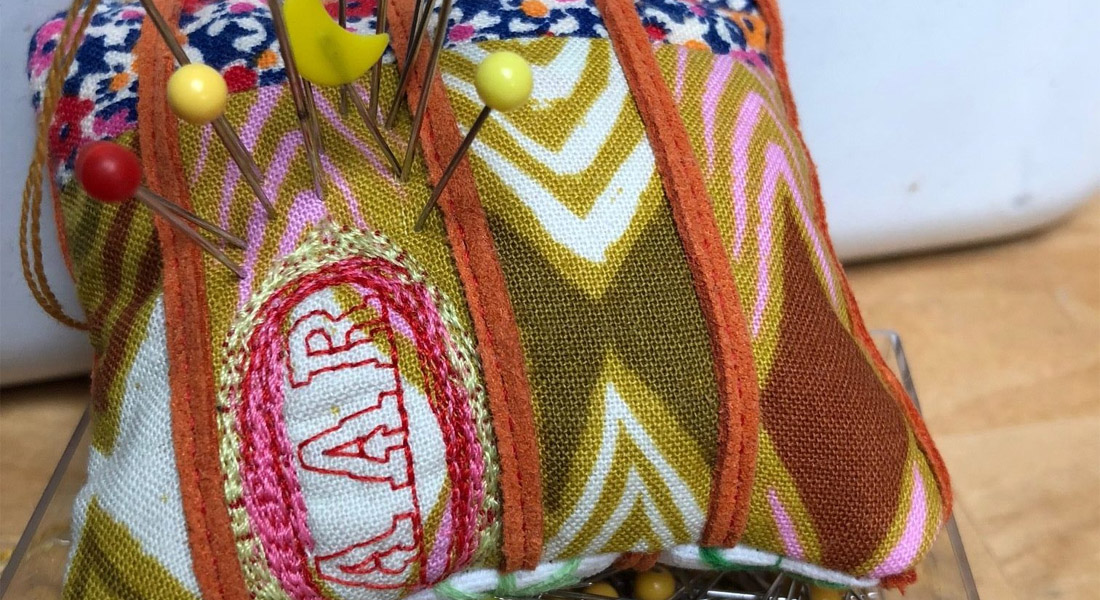
Use your own design or stitch your initials to mark it’s yours.
To see how I draw with thread, check out Embellishing With Free-Motion and Appliqué.
Happy sewing!
Minki
What you might also like
3 comments on “One-of-a-kind Pincushions”
-
-
Love the pincushions – will make some for my niece’s that are getting interested in sewing – this would be a good item for their sewing kits.
-
Adorable. I love the raw edge applique look. Very cute. You can never have too many pincushions.
Leave a Reply
You must be logged in to post a comment.





I like heavy pincushions. Use chopped nutshells or reptile bedding from the pet store.