Patchwork Heart Pincushion Tutorial
Hi there We All Sew fans! My name is Melissa Mortenson and I’m excited to be here once again sharing a simple sewing tutorial with all of you! I am the founder of the Polka Dot Chair blog and also work as a fabric designer for Riley Blake Designs.
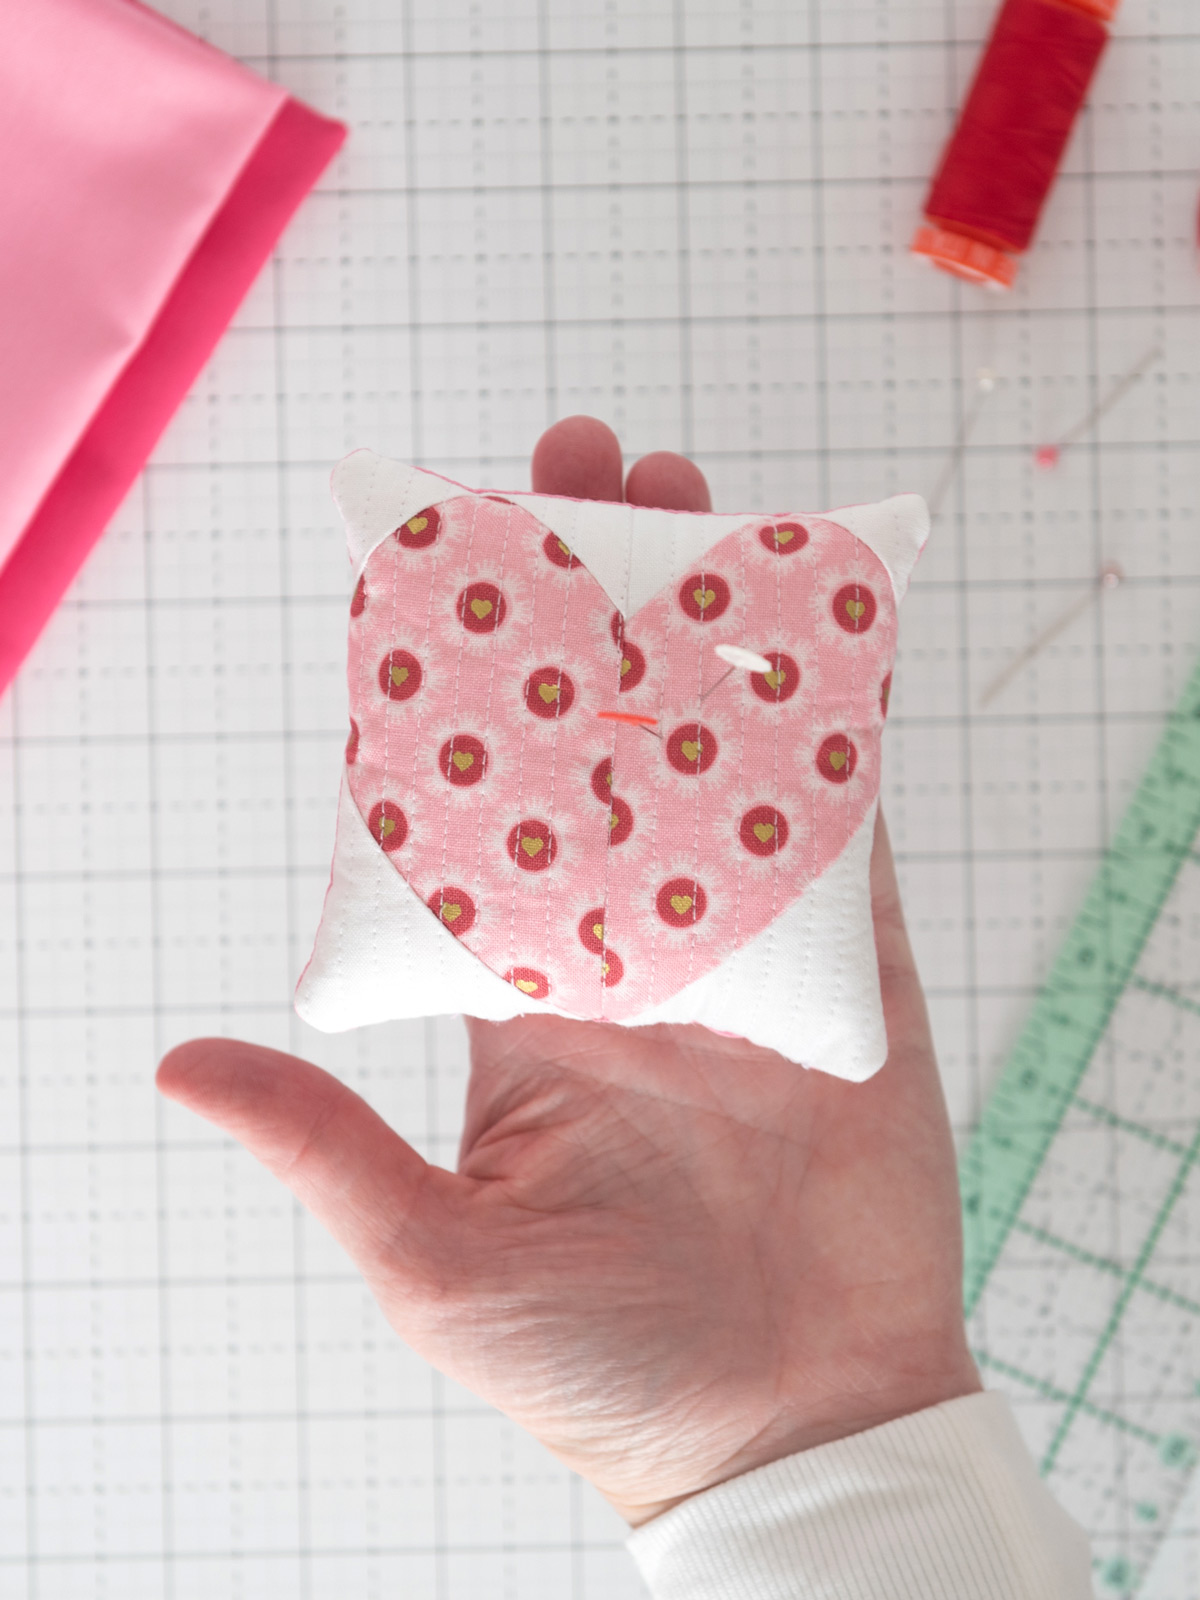
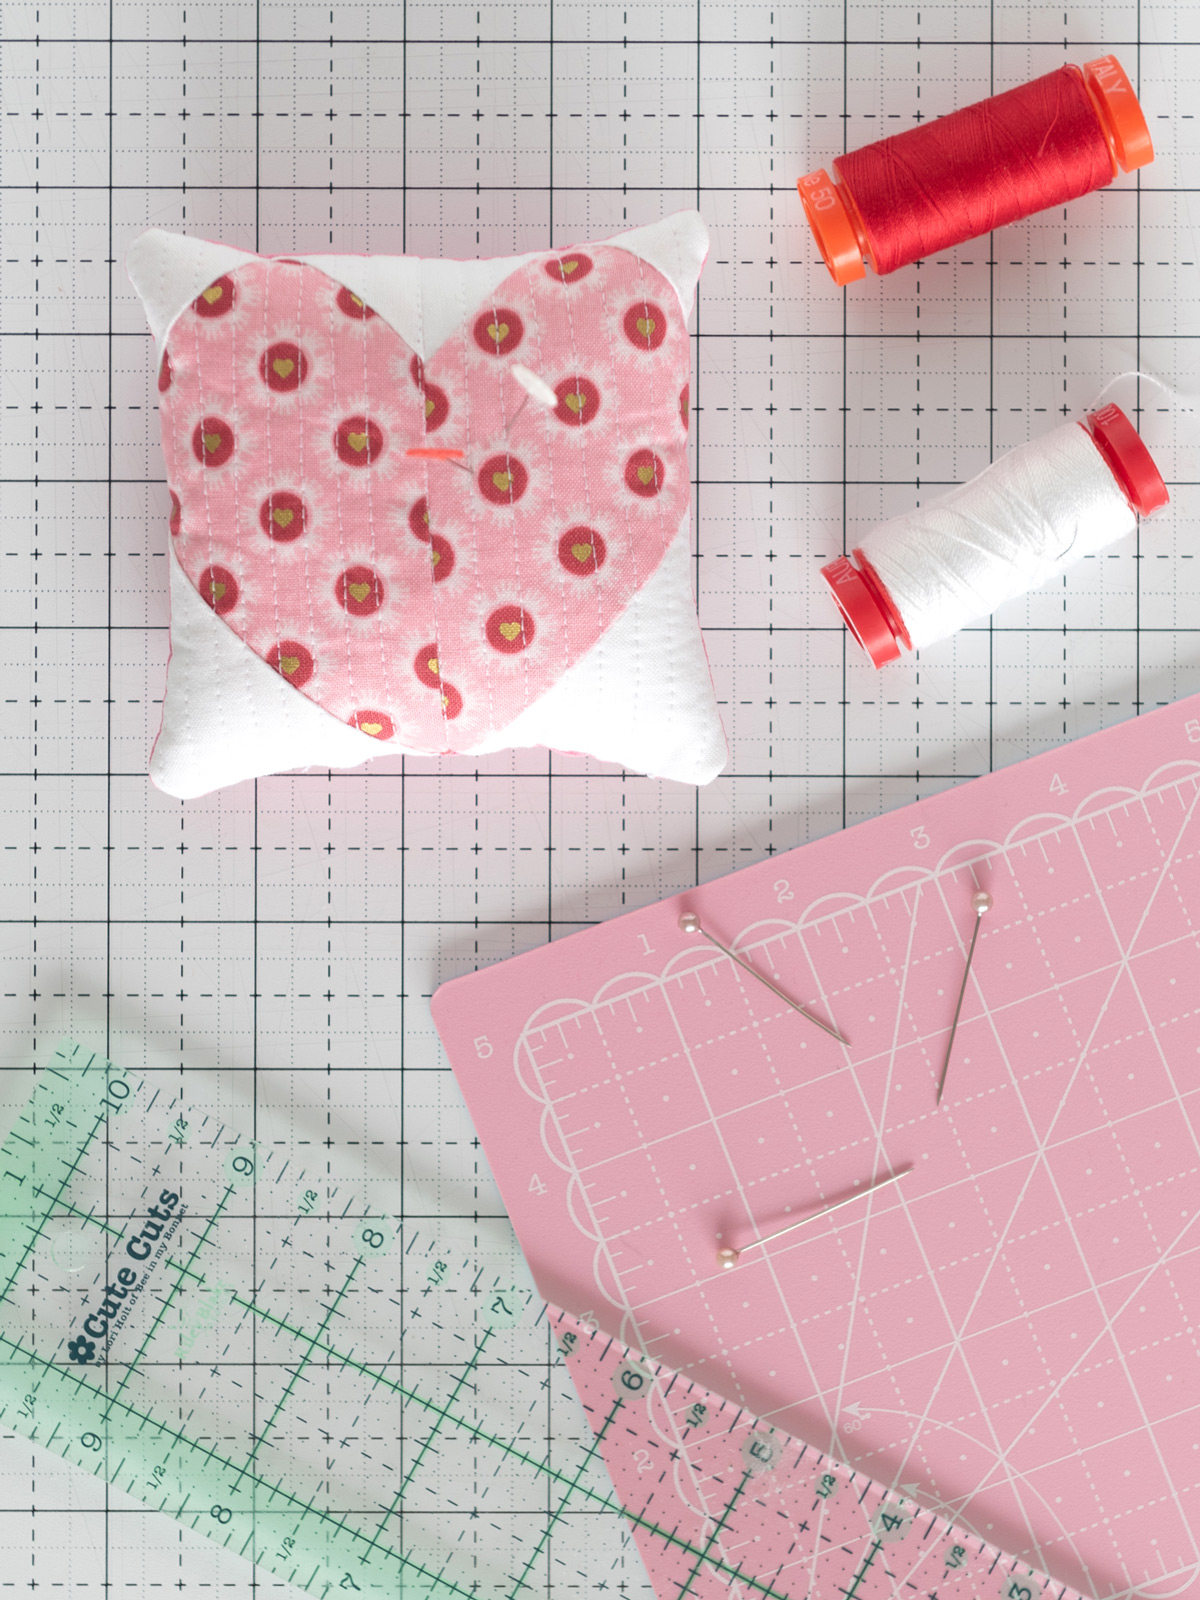
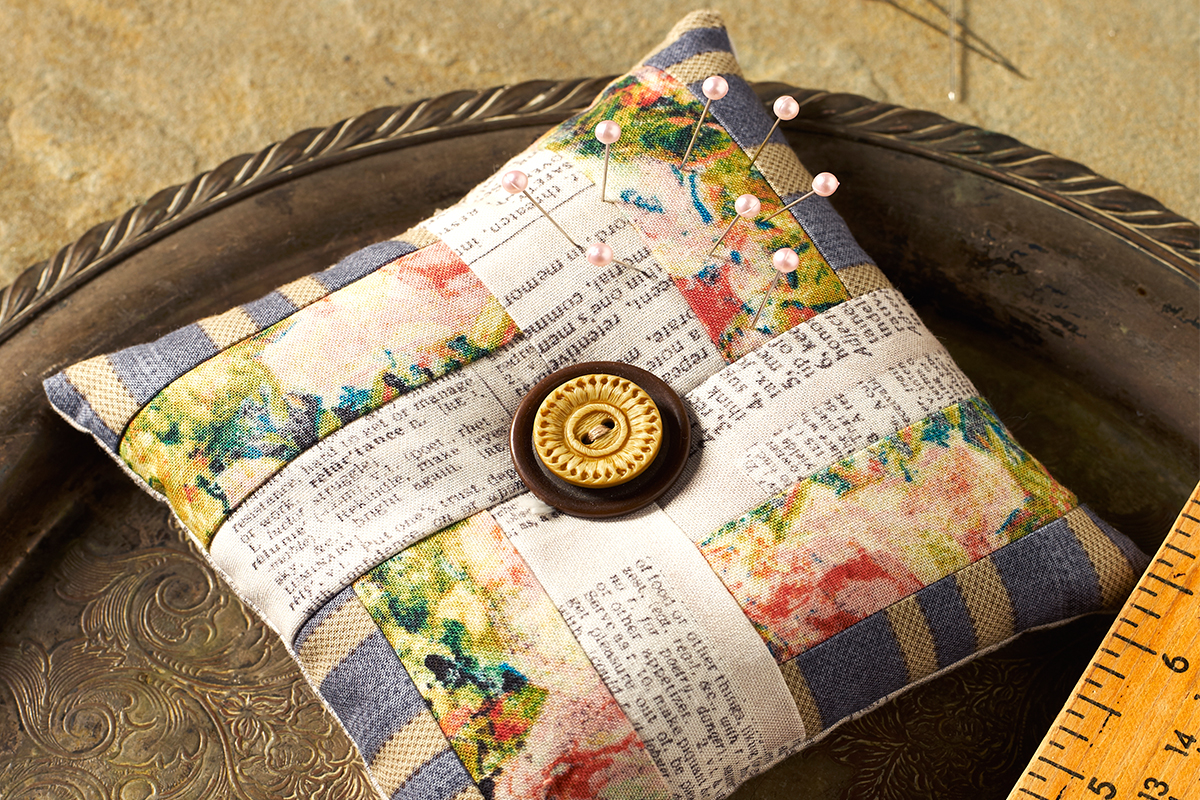
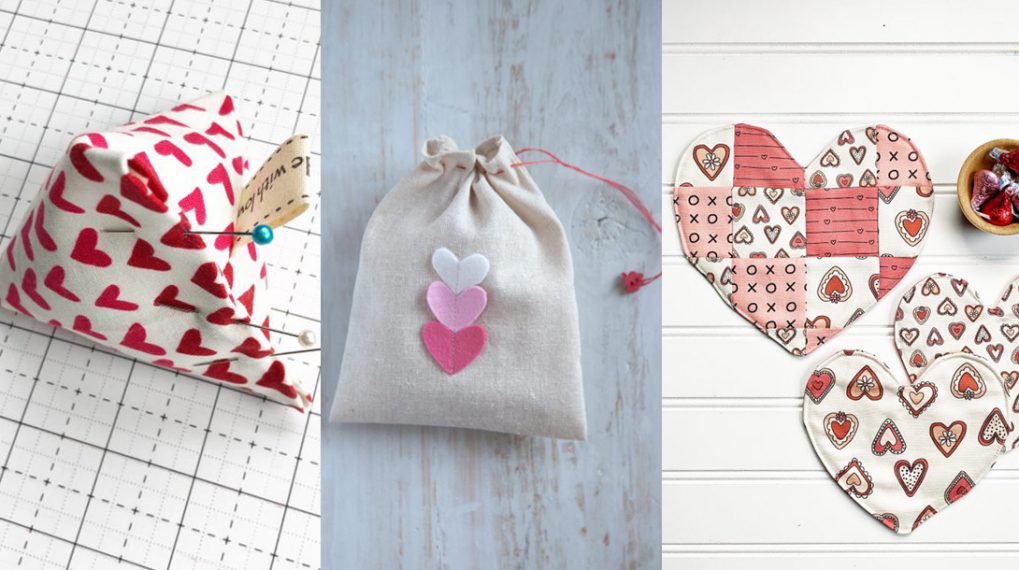
Valentine’s Day is right around the corner and to celebrate I thought it would be fun to create a simple pincushion out of a patchwork heart quilt block. I stuffed my pincushion with polyester batting but you can also use walnut shells if you prefer.
Supplies:
- Heart Fabric:
- 2 pieces each 2 1/2″ x 4 1/2″
- White Fabric:
- 4 pieces each 2 1/2″ x 2 1/2″
- 8 pieces each 1 1/2″ x 1 1/2″
- Backing Fabric:
- 1 piece 4 1/2″ x 4 1/2″
- Polyester Stuffing
- A scrap of Quilt batting at least 5″ x 5″
- Hand Sewing Needle
- 1/4″ Foot for Sewing Machine (I use BERNINA foot #97D)
- Basic Sewing Supplies
Step 1. Create the Heart Quilt Block
Draw a diagonal line on the wrong side of your 1 1/2” x 1 1/2” and 2 1/2” x 2 1/2” pieces of white fabric (Note: white fabric is shown as pale pink in the illustrations so that it looks better on your computer screen).
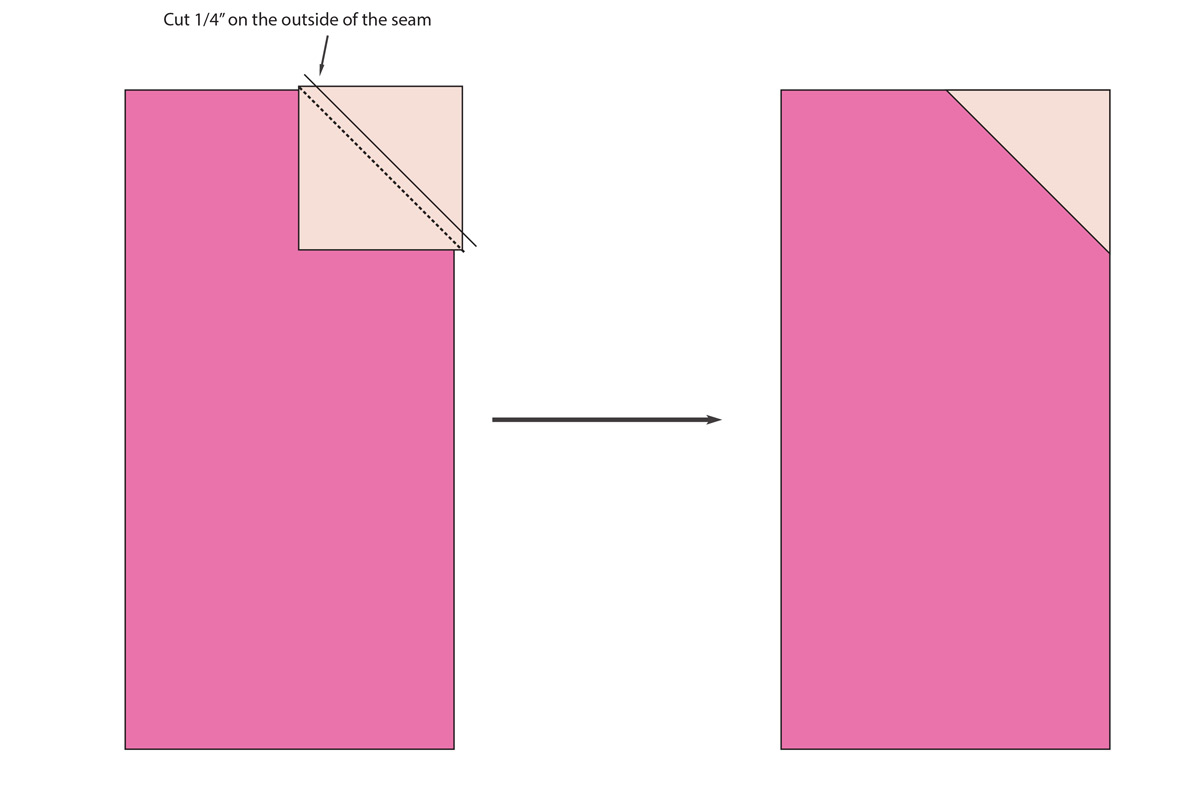
Place one of the 1 1/2″ squares on the top corner of the 2 1/2″ x 4 1/2″ piece of Heart Fabric (Refer to the diagram).
Stitch along the diagonal line you drew.
Using a rotary cutter and ruler, cut this piece 1/4” on the outside of the seam you stitched.
Flip this piece up and press.
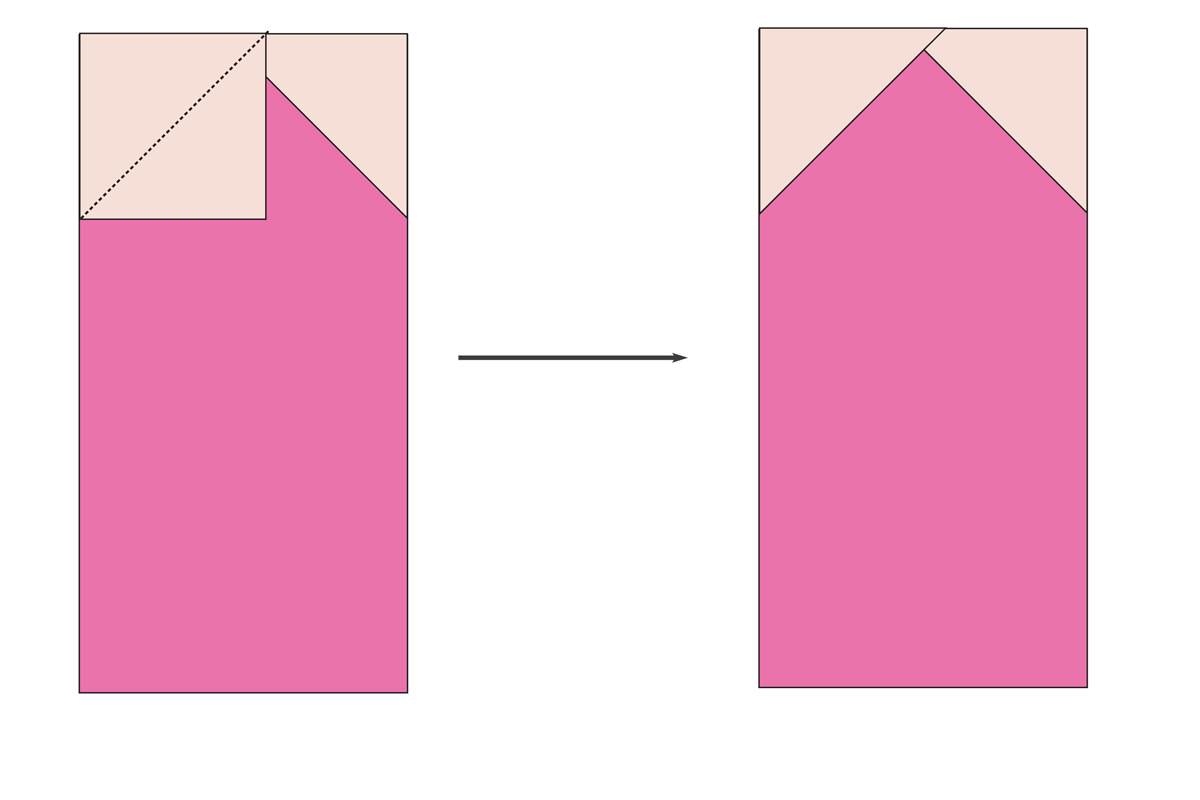
Repeat with another 1 1/2″ square on the other top corner.
Repeat.
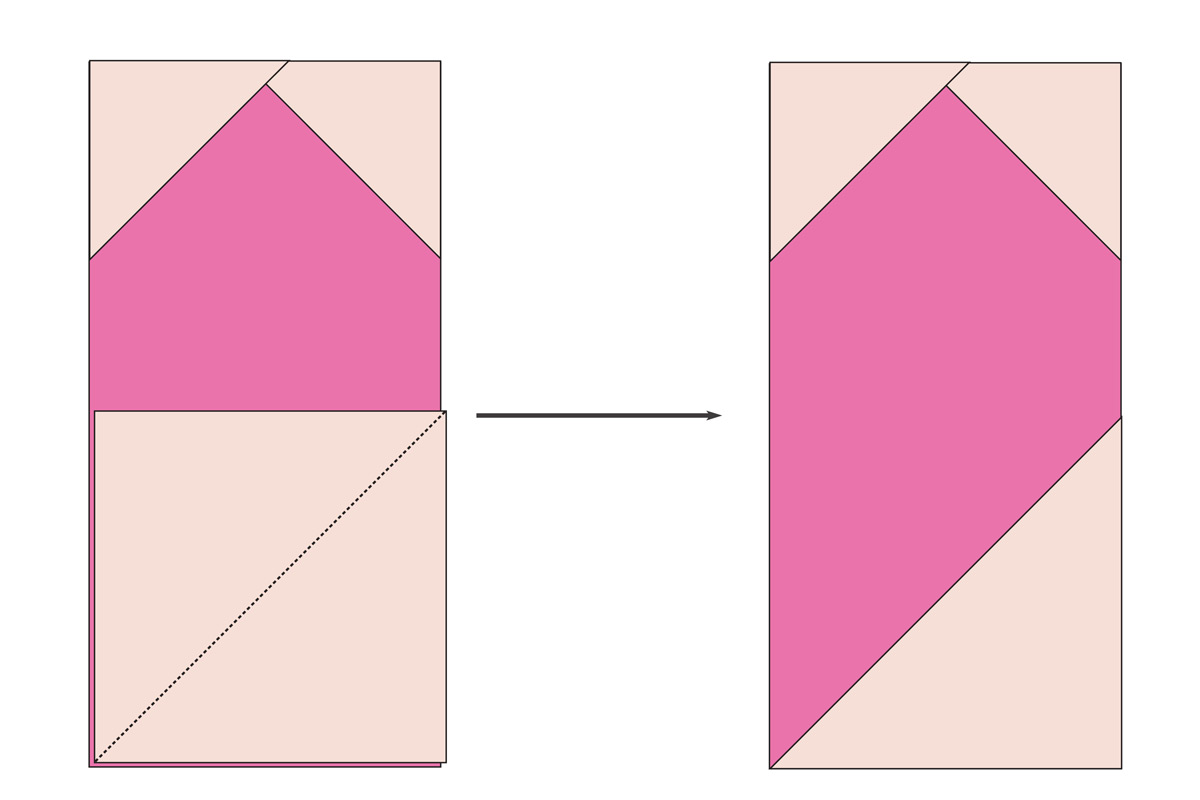
Place one of the 2 1/2” x 2 1/2” pieces of white fabric on one of the sewn heart pieces as shown in the illustration.
Stitch along the diagonal line you drew.
Using a rotary cutter and ruler, cut this piece 1/4” on the outside of the seam you stitched.
Flip this piece up and press.
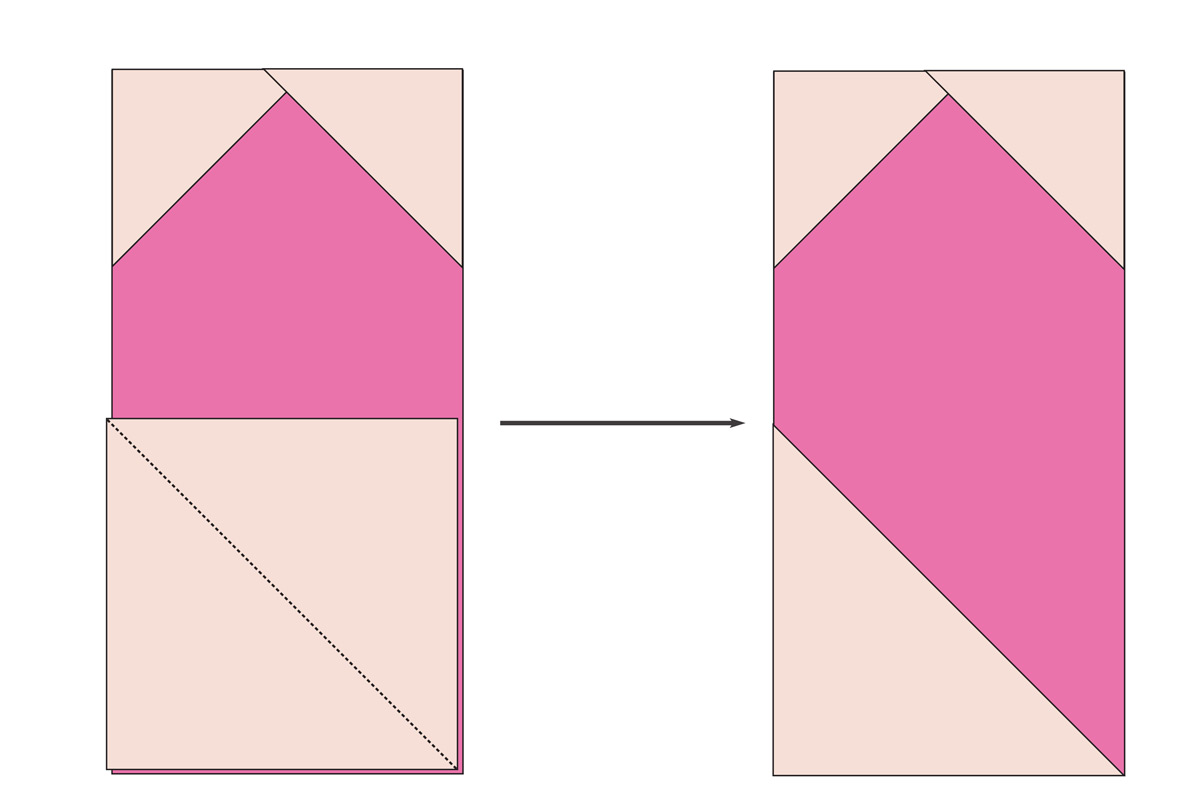
Repeat this process with another 2 1/2” x 2 1/2” square of white fabric on the other sewn piece. Refer to the illustration above, as this time the diagonal runs in the opposite direction.
Stitch the two sewn fabric A pieces together.
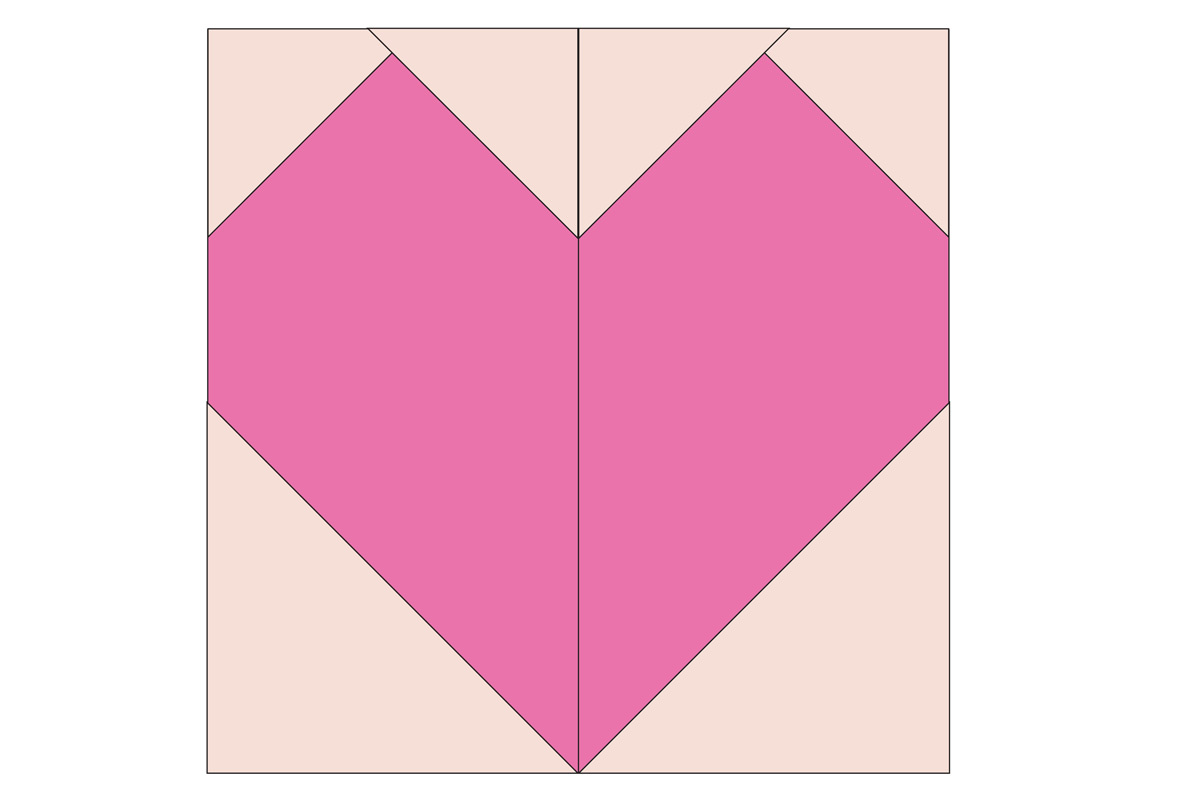
Tip: To get the seams of the heart pieces to line up properly, I recommend pressing the seams of each side of the heart in opposite directions. This will allow you to “nest” your seams, which will result in a more accurate seam match. You can also press the seams open if you prefer.
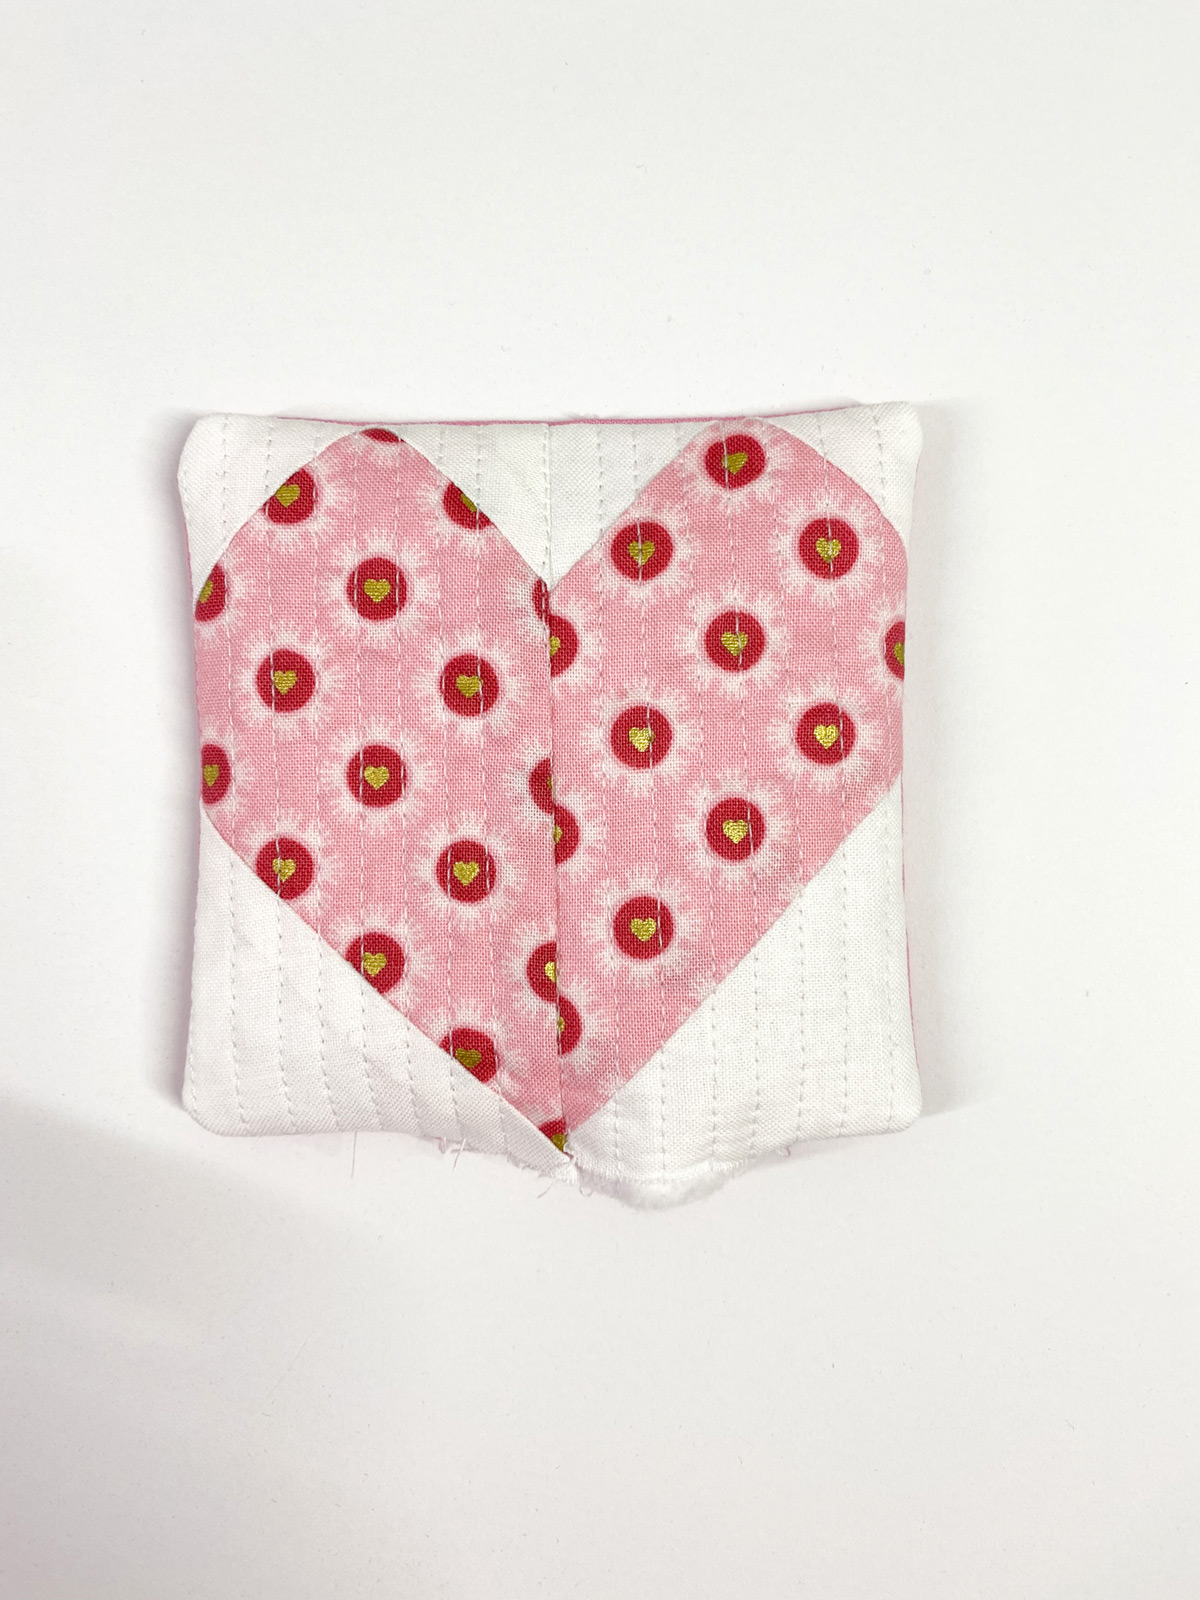
Step Two: Quilt

Place your pieced block onto the center of a piece of quilt batting. The piece is small enough that you do not need to pin or baste it.

Using your 1/4 foot as a guide, quilt straight lines on the heart block. I like to stitch the center seam first, then the two outside edges, and then complete the stitching lines in the middle of those lines.
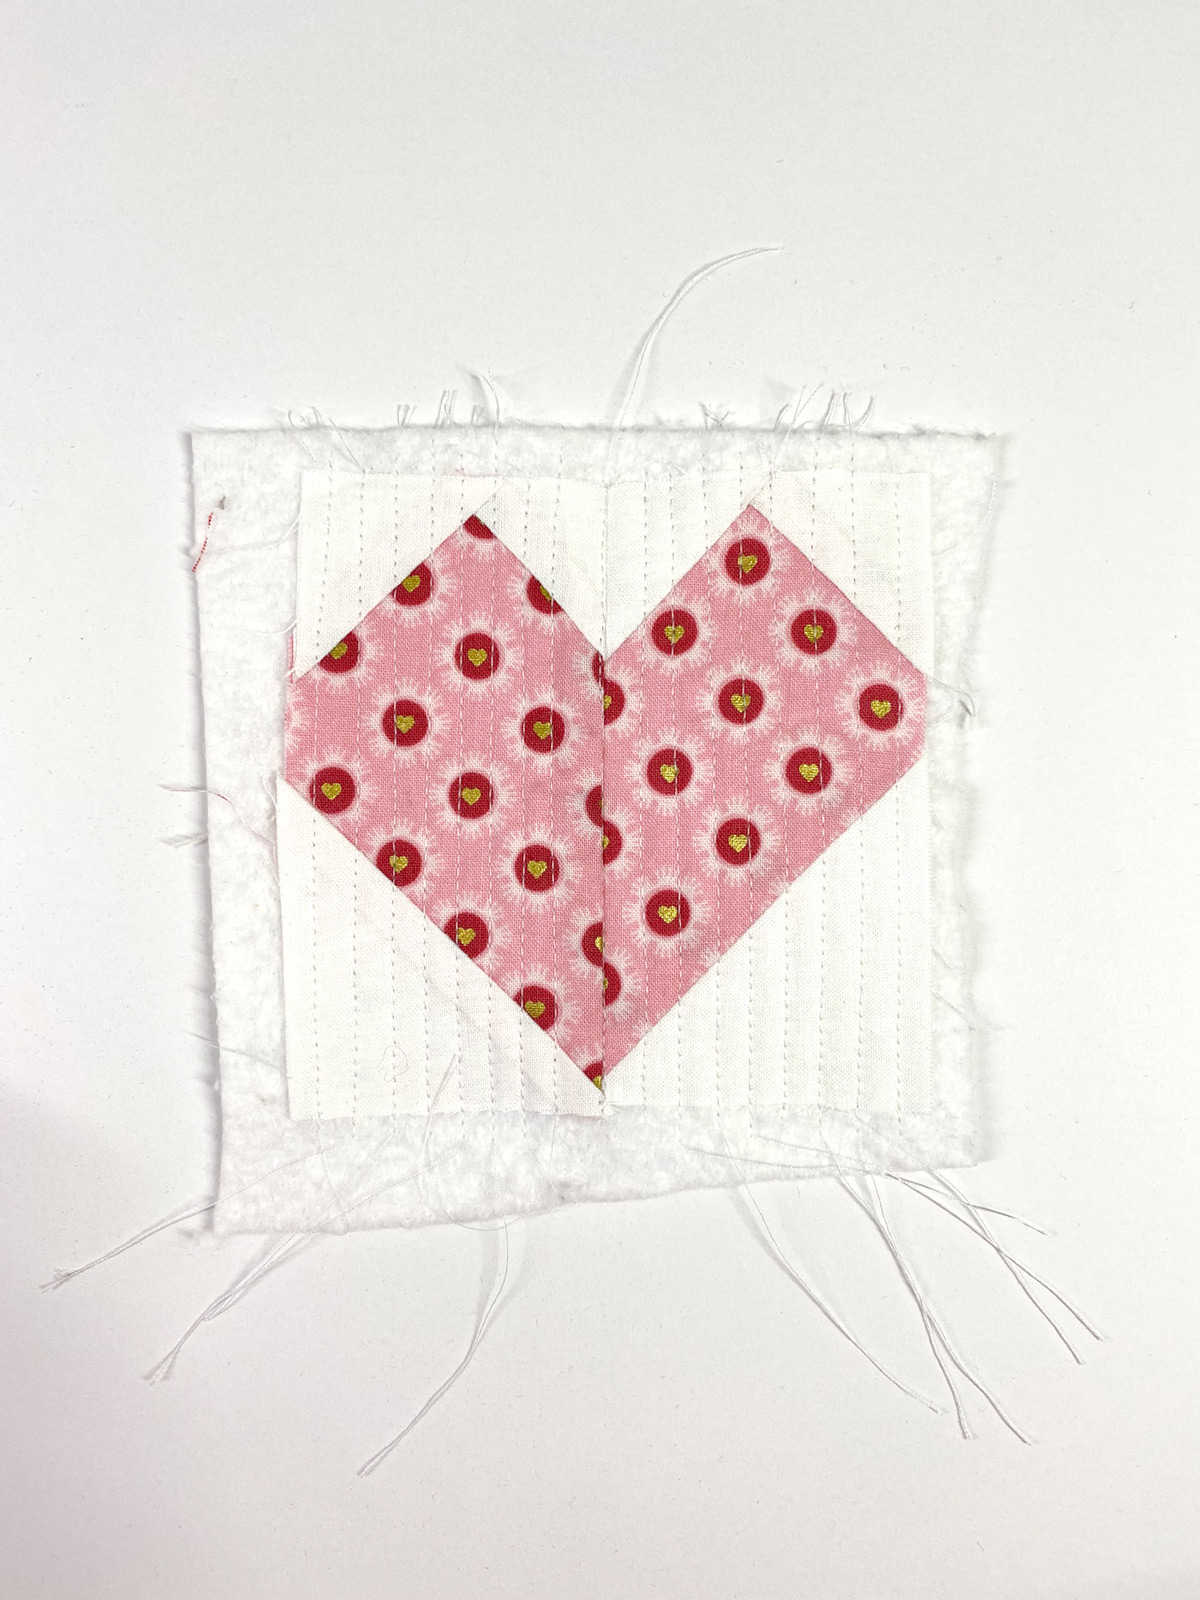

Trim and square up to 4 1/2″ x 4 1/2″
Step Three: Finish
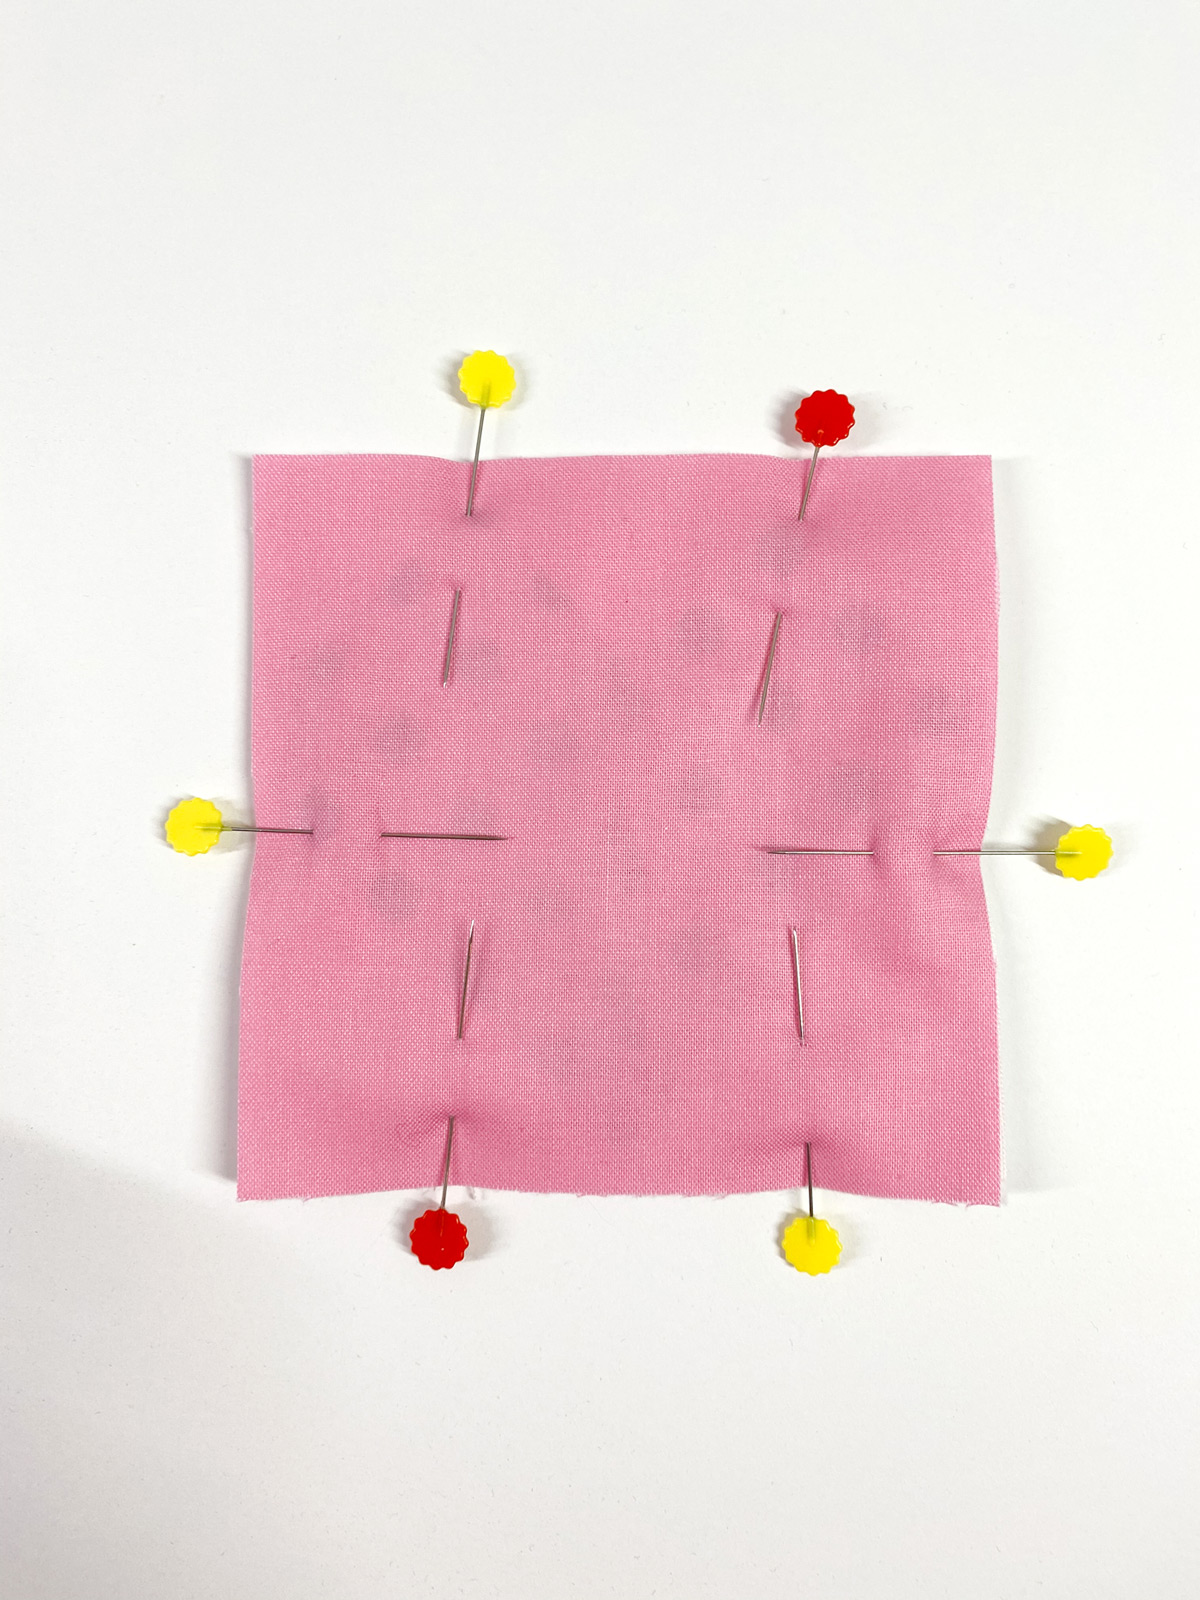
Pin the 4 1/2″ x 4 1/2″ piece of backing fabric to the quilted piece, right sides facing. Stitch around the edge with a 1/4″ seam allowance. Leave a hole in the bottom of the piece to turn it right side out.
Clip the corners and turn right side out. Press. When you press be sure to “turn under” the edge of the opening. This will make it easier for you to hand stitch it later.
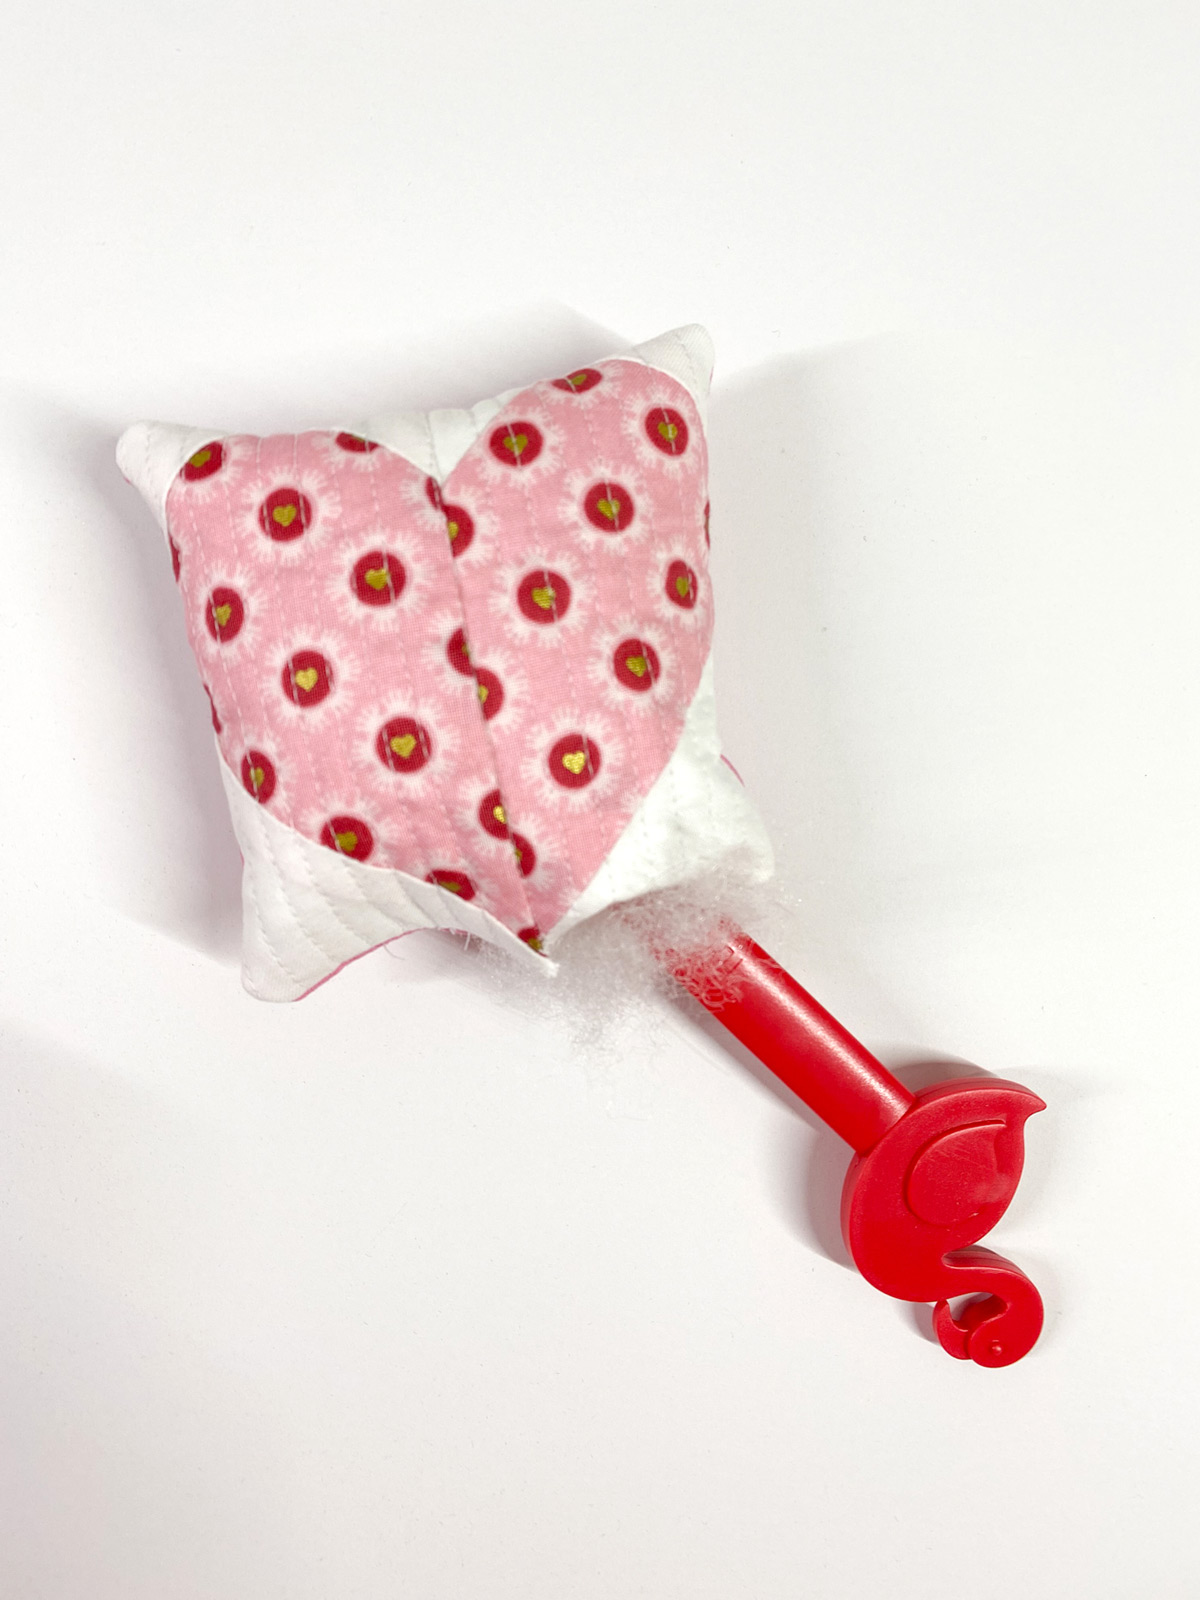
Stuff with polyester stuffing.
Hand stitch opening closed.

Please stop by my blog and say “hello” sometime. The heart quilt blocks in the photos above are a part of a quilt along I’m hosting this year.
Used Products

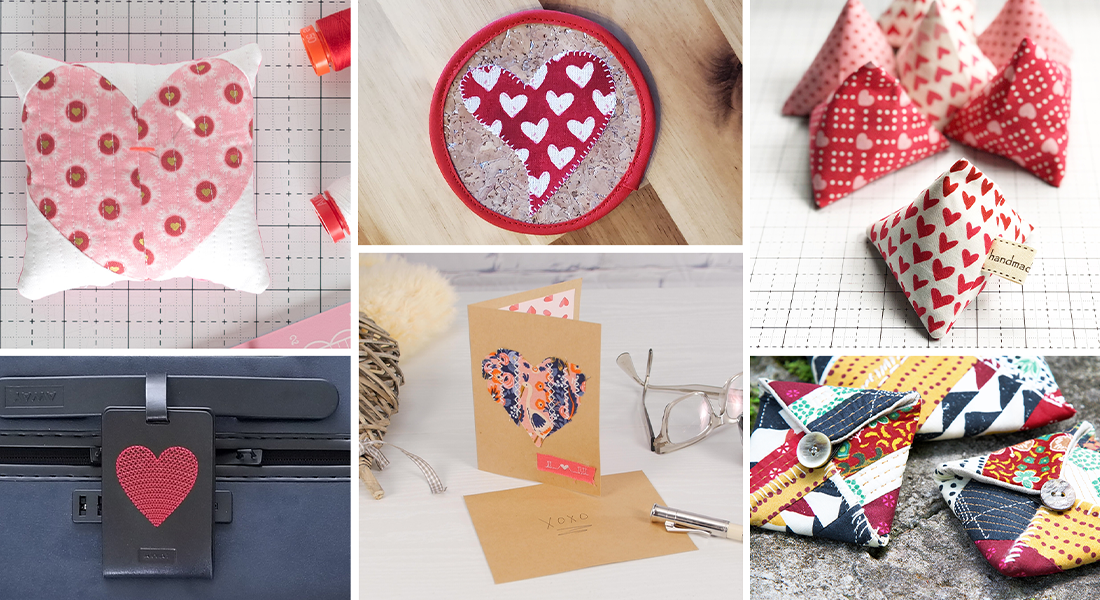
What you might also like


One comment on “Patchwork Heart Pincushion Tutorial”
Leave a Reply
You must be logged in to post a comment.
This is sweet! Melissa is really talented