Quilting UFOs with the BERNINA Q 16
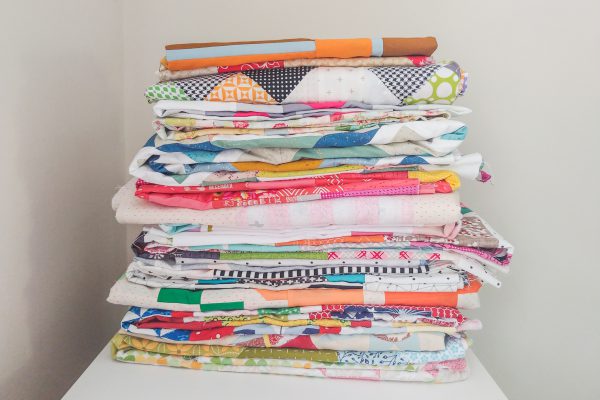
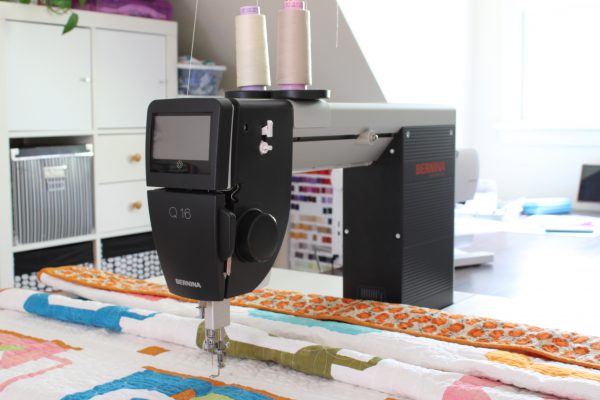
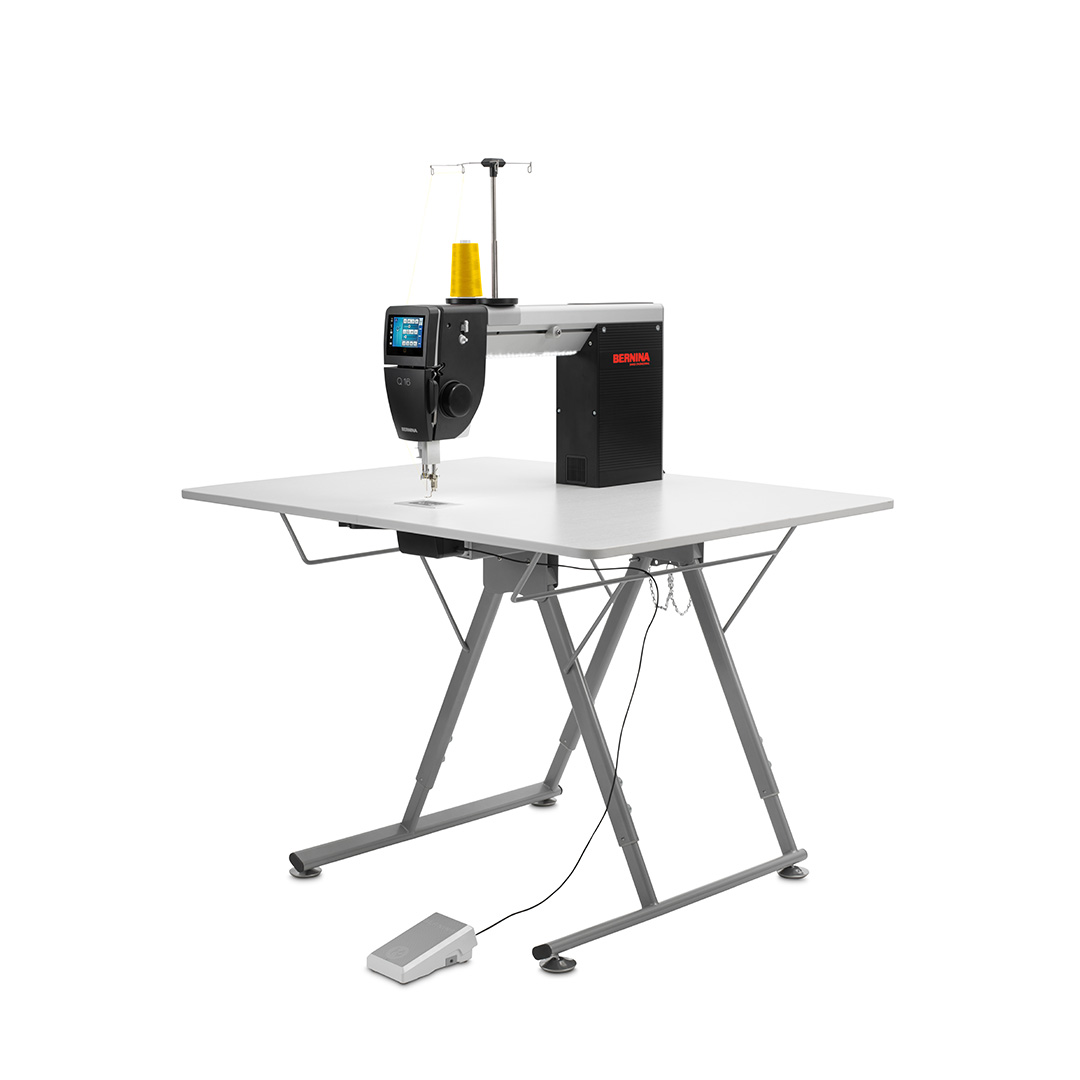
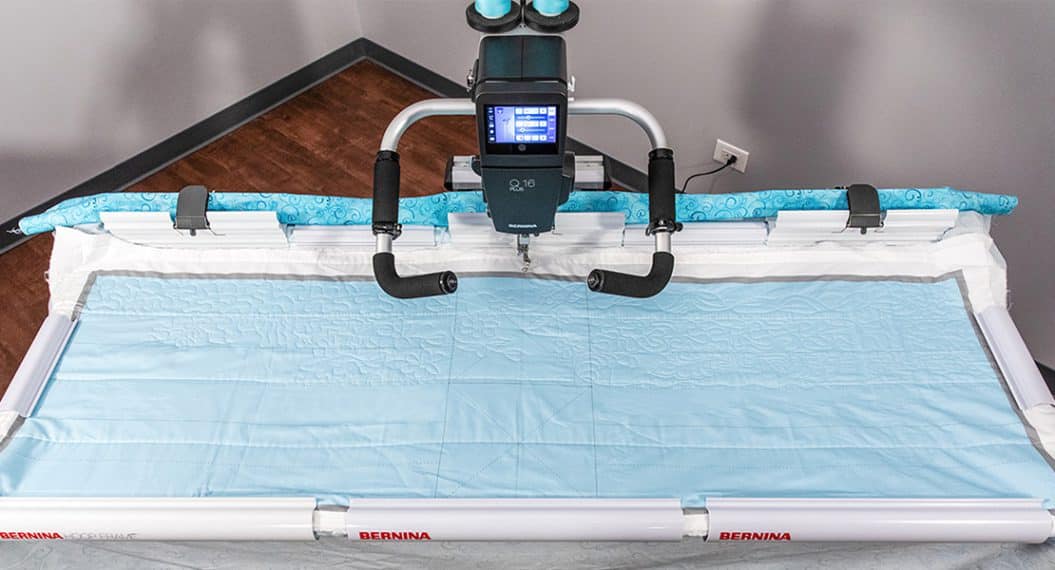
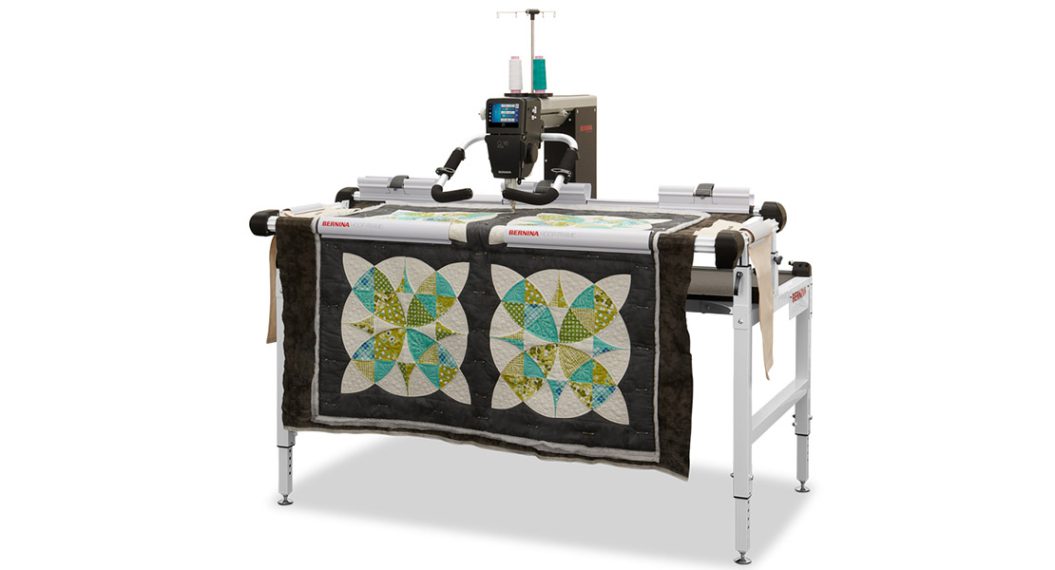
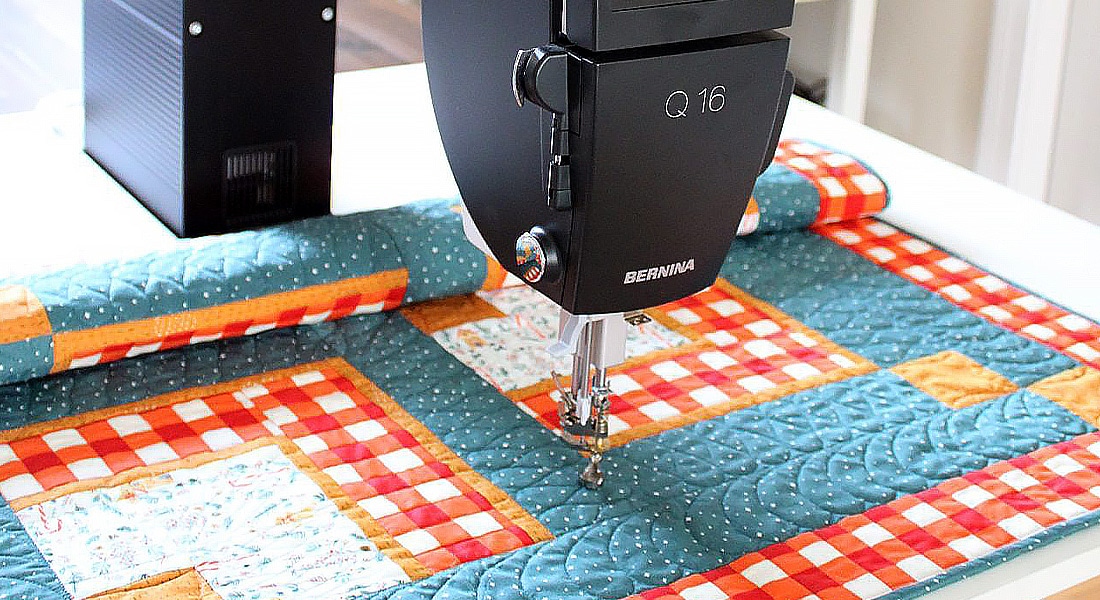
Hi, I’m Satomi of Satomi Quilts! As a quilt pattern designer and quilt maker, I have quite a number of quilt UFOs—also known as UnFinished Objects. One day I looked in the closet and found 20 of them. It’s amazing how quickly they accumulate and I think it’s time to quilt them on the BERNINA Q 16 Sit-down Longarm machine!
By the way, please note that I refer to UFOs here as the finished quilt tops only, otherwise things can get a little messy.
Selecting a Quilt Top from the UFOs
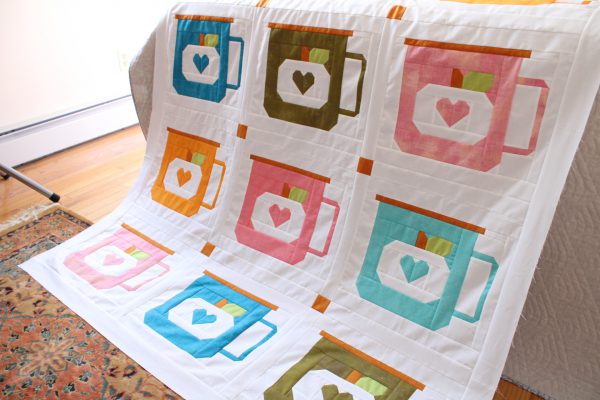
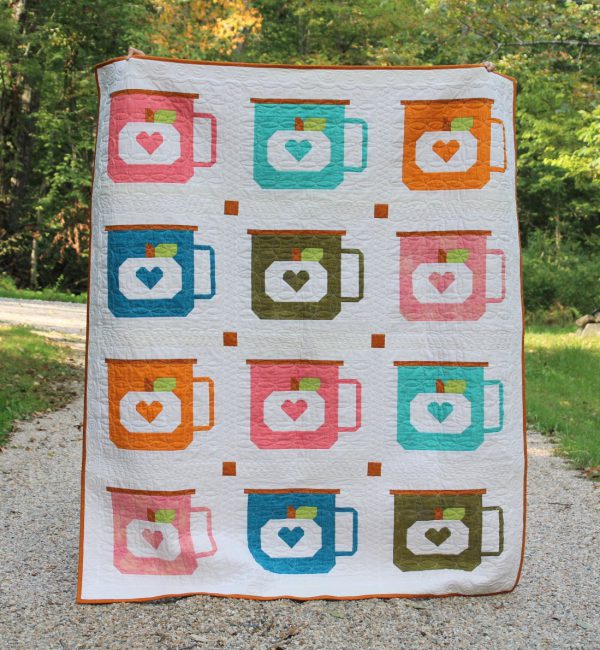
For the first quilting project, I picked this one (photo below) since I dreamed about snuggling under this quilt in the cold fall weather when I rediscovered it. The kind of association between the quilt and me is the key of motivation. And also I thought it would be fun to quilt this on the BERNINA Q 16.
Quilting Design Plan
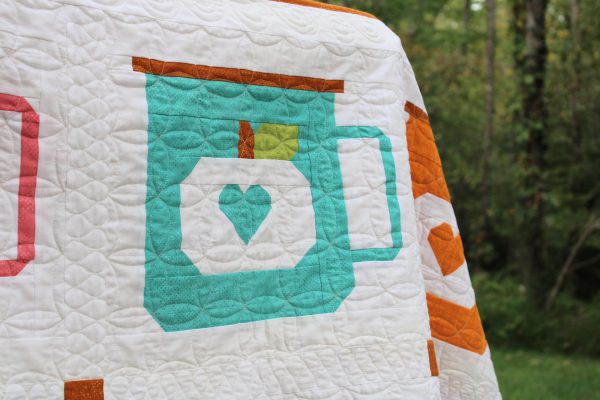
This is a small throw (52” x 60.5” finished) Pumpkin Campfire Mugs quilt top that I made last year. It has the blocks, sashing and borders, and I was thinking about how I could quilt it without stressing out. Just thinking about custom quilting designs can seem overwhelming. We have to enjoy the process, right? So I decided to work on different easy quilting designs for each element:
- Orange peel quilting on the mug blocks
- Ribbon candy quilting on the sashing
- Swirl quilting on the borders
- Basting stitches on the edge of the quilt before quilting the borders
Preparation Tip
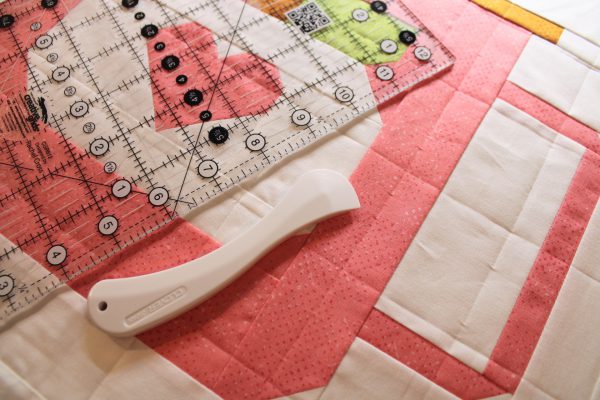
After basting the quilt sandwich, I used a Hera marker and quilting ruler to mark the grid lines on the mug blocks. Then I started quilting the orange peel on each mug block using the grid lines as a guide. A Hera marker is a useful tool to make the marks without drawing on the quilts.
What is the BERNINA Stitch Regulat0r (BSR)?
How Each Mode Works on the Q 16
- BSR 1 Mode — suitable for swirls, feathers and other quilting designs that have points since the needle will keep idling when you stop. It makes nice points when you turn.
- BSR 2 Mode — suitable for the continuous curved line quilting like ribbon candy, wishbone, loops and more. In this mode, the needle will stop when you stop so that you don’t get knots when you reposition or take a break.
- BSR 3 Mode — suitable for basting. It has three basting stitch choices: SPI 1 (1 stitch per inch, SPI 2 (2 stitches per inch) and SPI 4 (4 stitches per inch).
- Manual — suitable for allover quilting like loops, stipples, pebbles and more. The BSR mode is switched off and you can set the idle speed up to 2000. It keeps going once you start until you stop the machine.
Which BSR Modes Did I Use?
I used the follower three BSR modes for this project.
- BSR 1 Mode — for the orange peel and swirls quilting.
- BSR 2 Mode — for the ribbon candy quilting.
- BSR 3 Mode — for basting the edges of the quilt top to secure. I used SPI 2 which is 2 stitches per inch.
Check out the below video to see how I quilted each quilting design on the BERNINA Q 16 and also how the machine moved when I was quilting.
Quilting Thread
Before finishing here, I can’t forget to mention the quilting thread. Selecting the thread is very important for machine quilting. I used Mettler SILK-FINISH COTTON No. 50 for the top and SERACOR polyester No. 120 for the bobbin to quilt the Pumpkin Campfire Mugs quilt, and they made really nice stitches. Mettler threads are beautiful, strong and a great fit with the BERNINA Q 16.
Here is the finished quilt. I love how three different quilting created a lovely texture. It was truly fun to machine quilt on the BERNINA Q 16 because I could move the small throw quilt in any direction I wanted without any difficulties. Now I’m ready to snuggle under this quilt!
Happy quilting!
