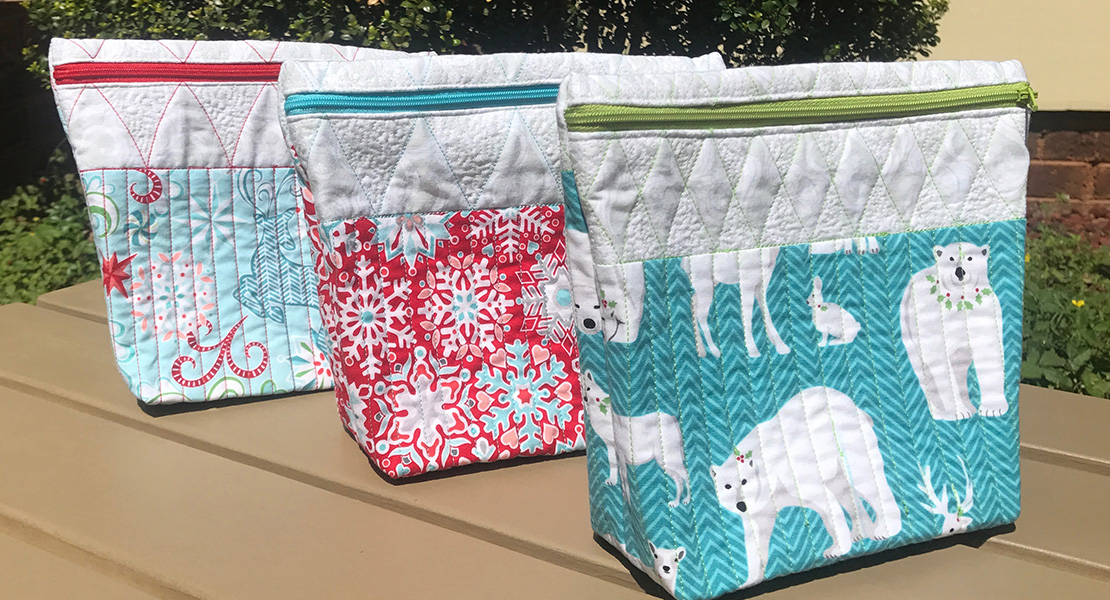
Rulerwork: BERNINA Squiggle #3 Ruler
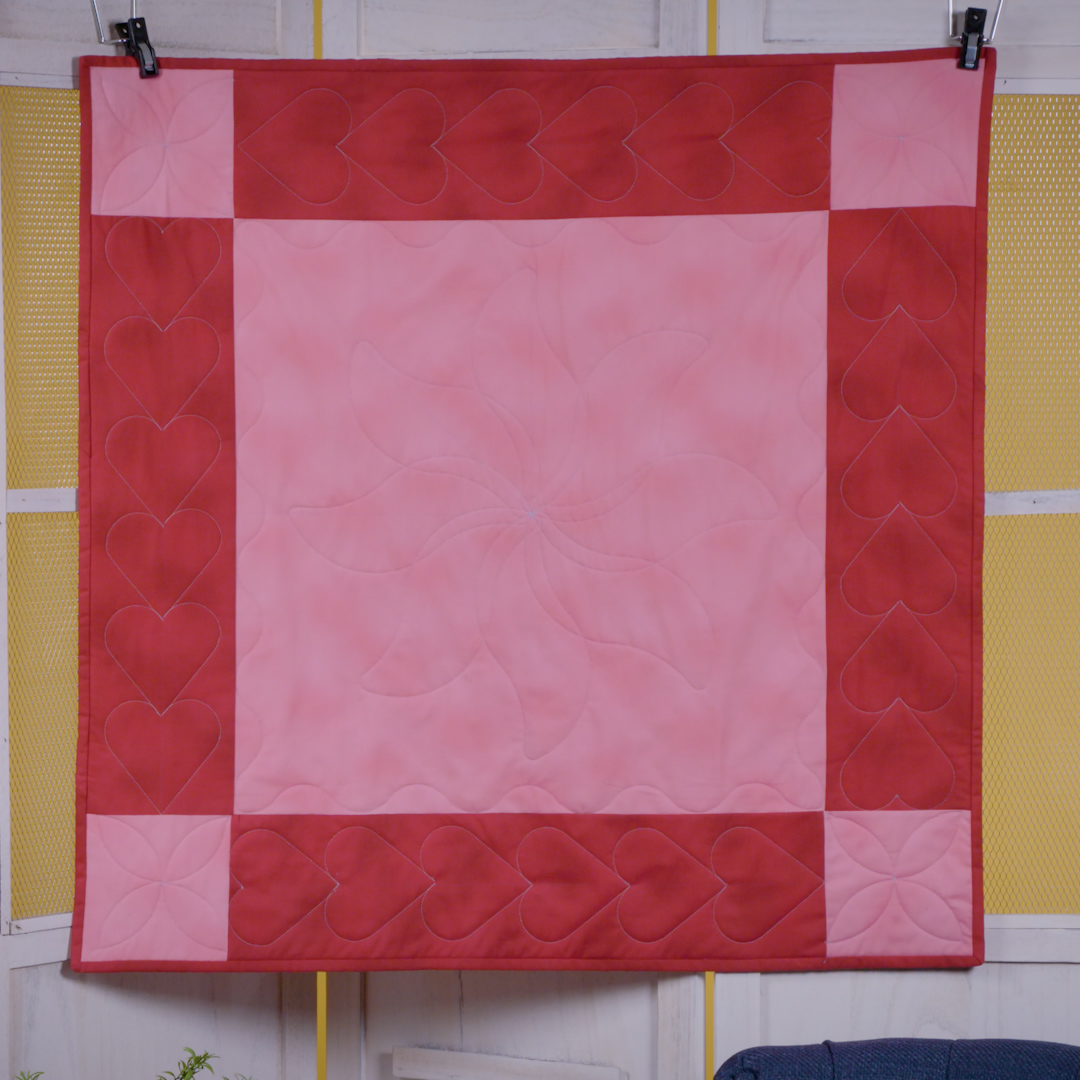
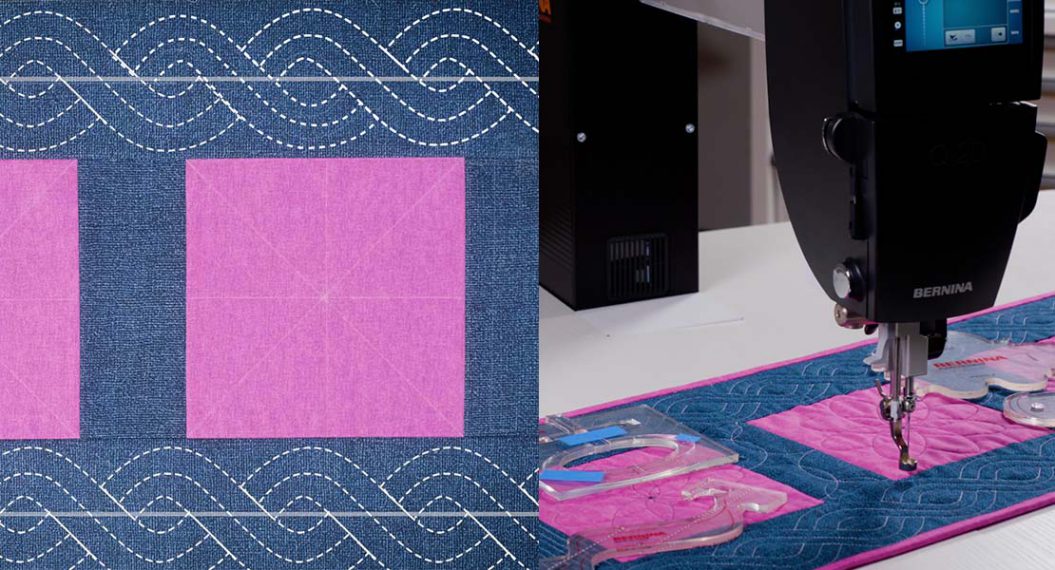
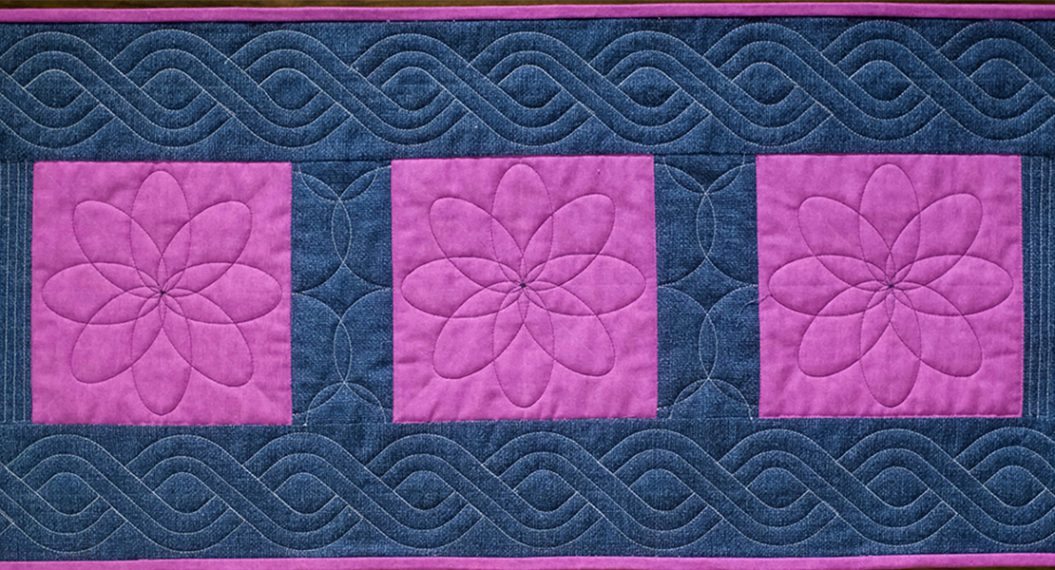
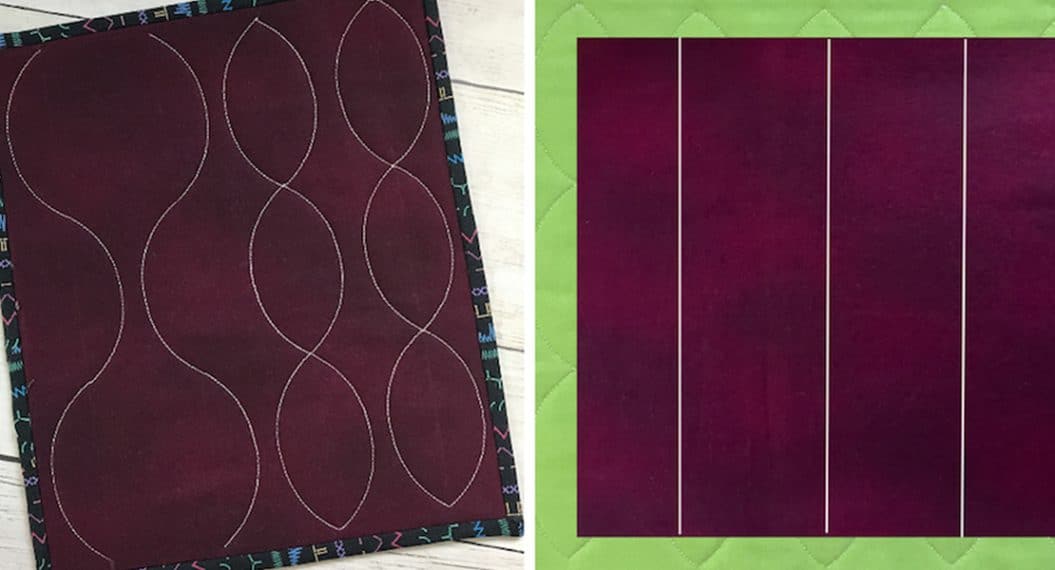
The BERNINA Squiggle #3 ruler is the perfect ruler for creating a simple, even wave. The ruler is designed to be easily manageable, which will quickly create a wide variety of designs. Take a look at the decorative accent wave around the center block above and I’ll show you how easy it is use the Squiggle #3 ruler.
Supplies
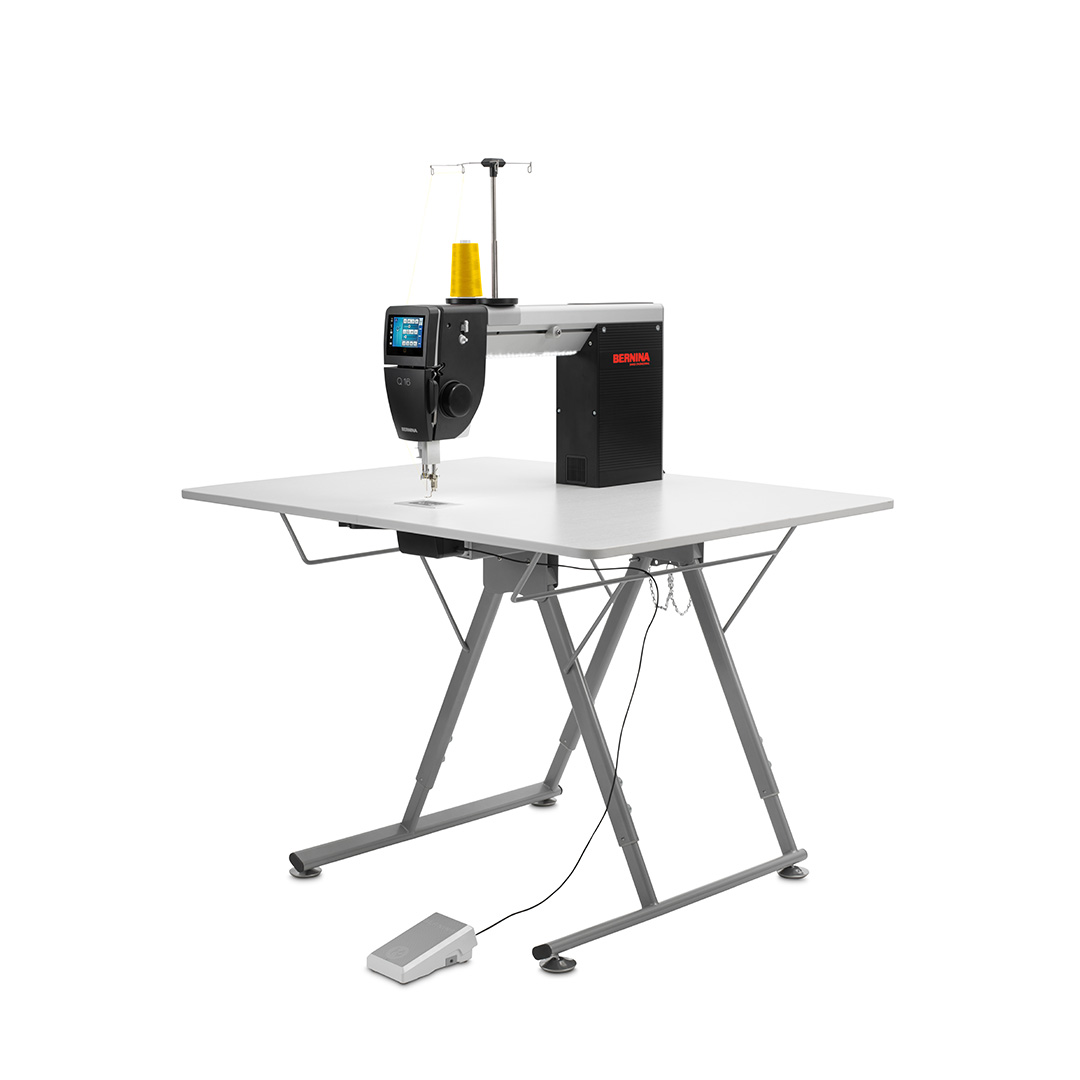
- BERNINA table model Q16, Q16 Plus or Q 20
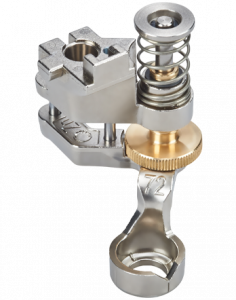
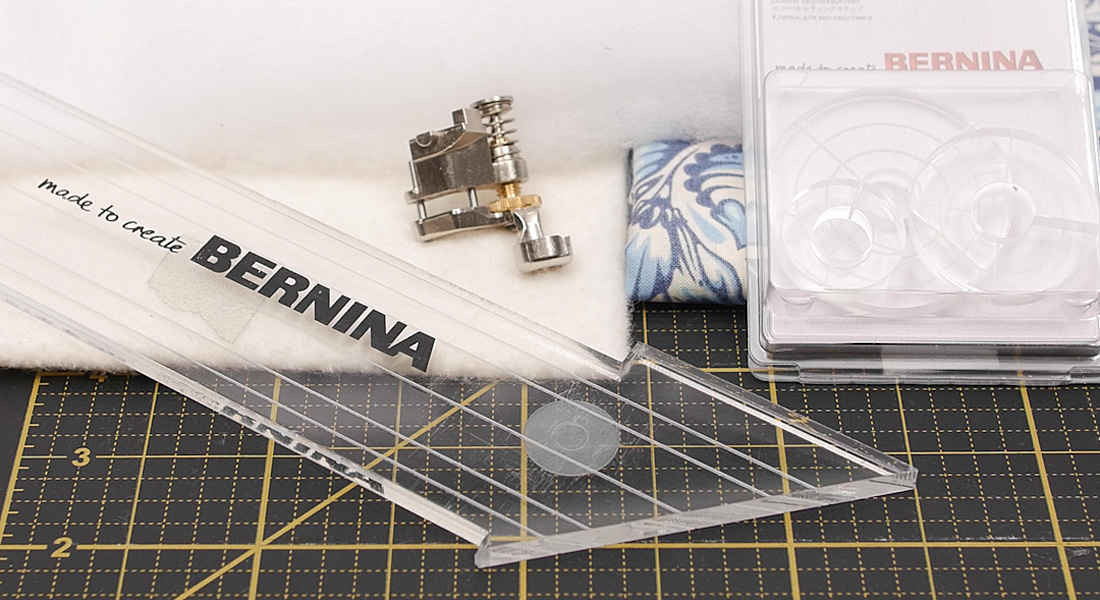
- Ruler Foot – Ruler Foot #96, Adjustable Ruler Foot #72 or Adjustable Ruler Foot with Slit #72S
- Note: The #96 foot can only be used on the BERNINA Q Series longarms. The #72 and #72S can be used on both the BERNINA longarms and domestic sewing machines.
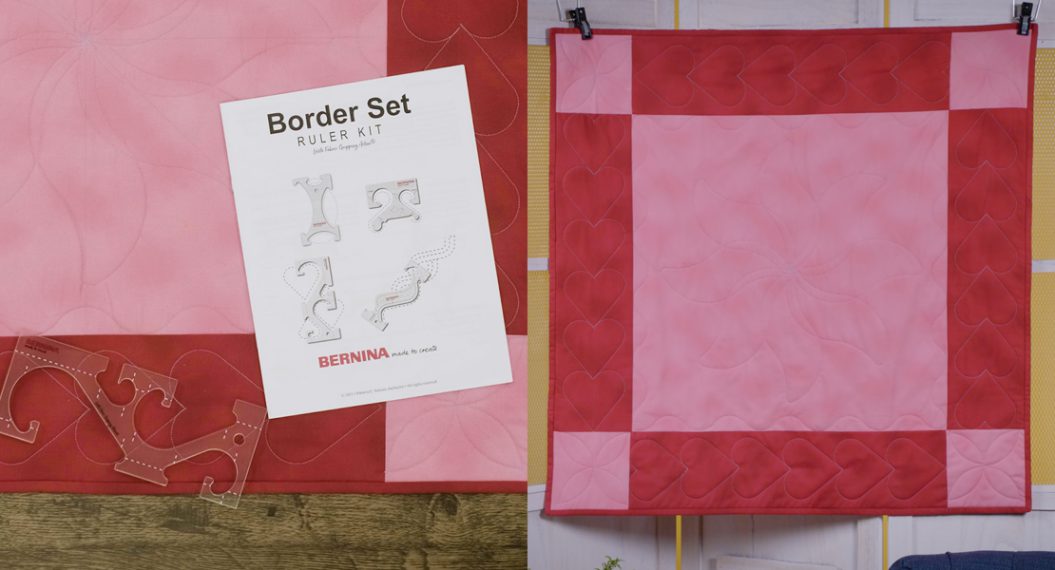
- Squiggle #3 ruler from Curves & Clams Ruler Kit (4-piece set)
- Backing, batting and pieced top (see below for instructions)
- New 90/14 Quilting Needle and thread of choice (40 wt or 50 wt)
- Quilting gloves – optional
- Marking Pen and Straight Edge
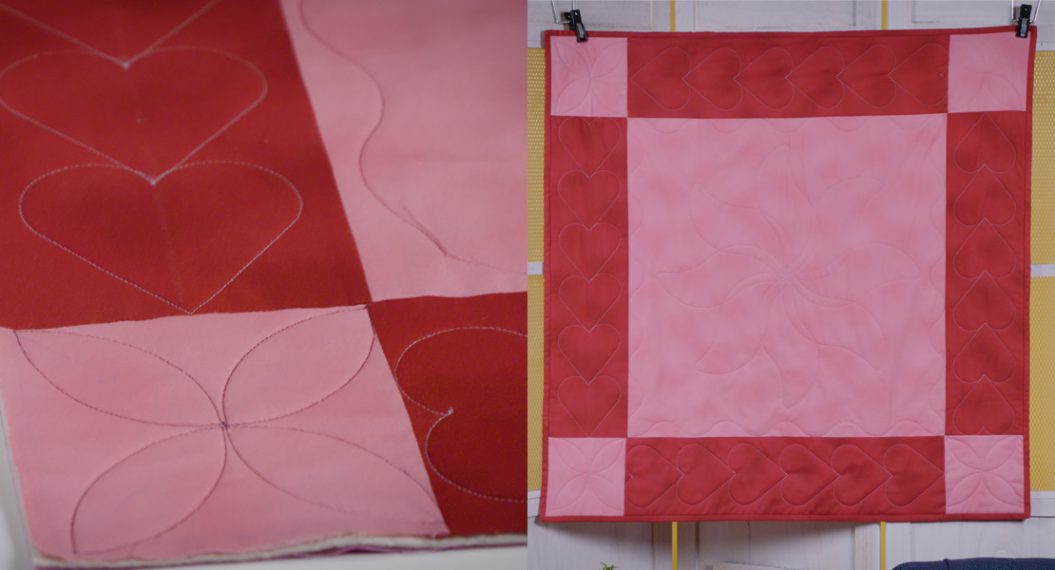
Creating the table topper in this example is super simple. Here are the measurements and assembly instructions. I chose fabrics and thread to highlight the quilting but you could use any fabrics you desire.
To piece the table topper you will need two fabrics: pink tonal and red tonal. Cut the following pieces:
- Pink: 1 (21-1/2”) square and 4 (5-1/2”) squares
- Red: 4 (5-1/2” x 21-1/2”) rectangles
Join a red rectangle on opposite sides of the pink 21-1/2” square to make a center section; press.
Stitch a pink 5-1/2” square on each end of the remaining two red rectangles to make two border strips.
Join the border strips on opposite sides of center section to complete; press.
For smaller projects such as this, spray basting the backing, batting and top together works great to prevent shifting and puckers while quilting.
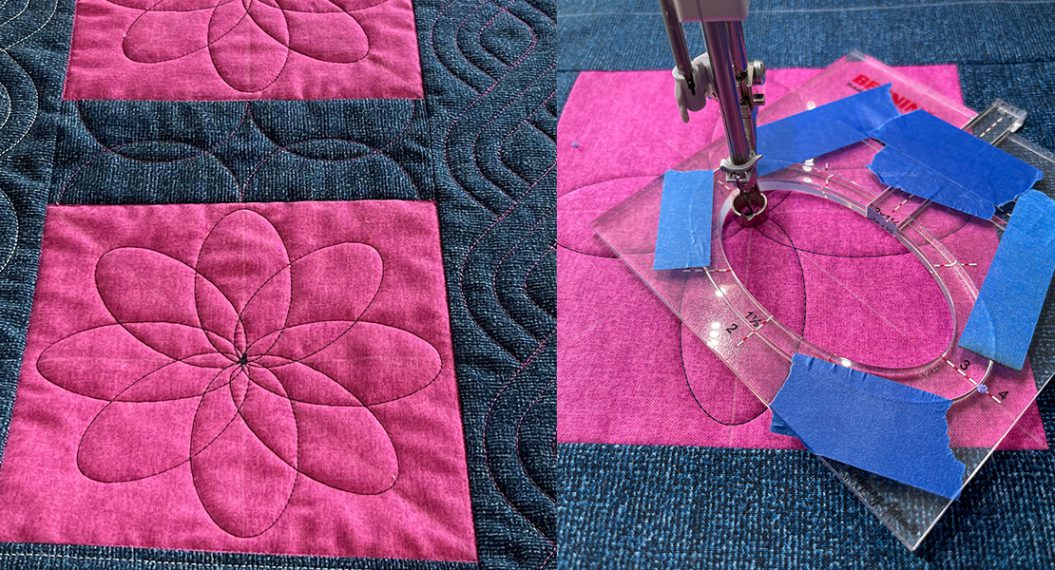
BERNINA’s Curves & Clams Ruler Kits comes with 4 different rulers and an informative instructional manual giving a variety of ways each ruler can be used.
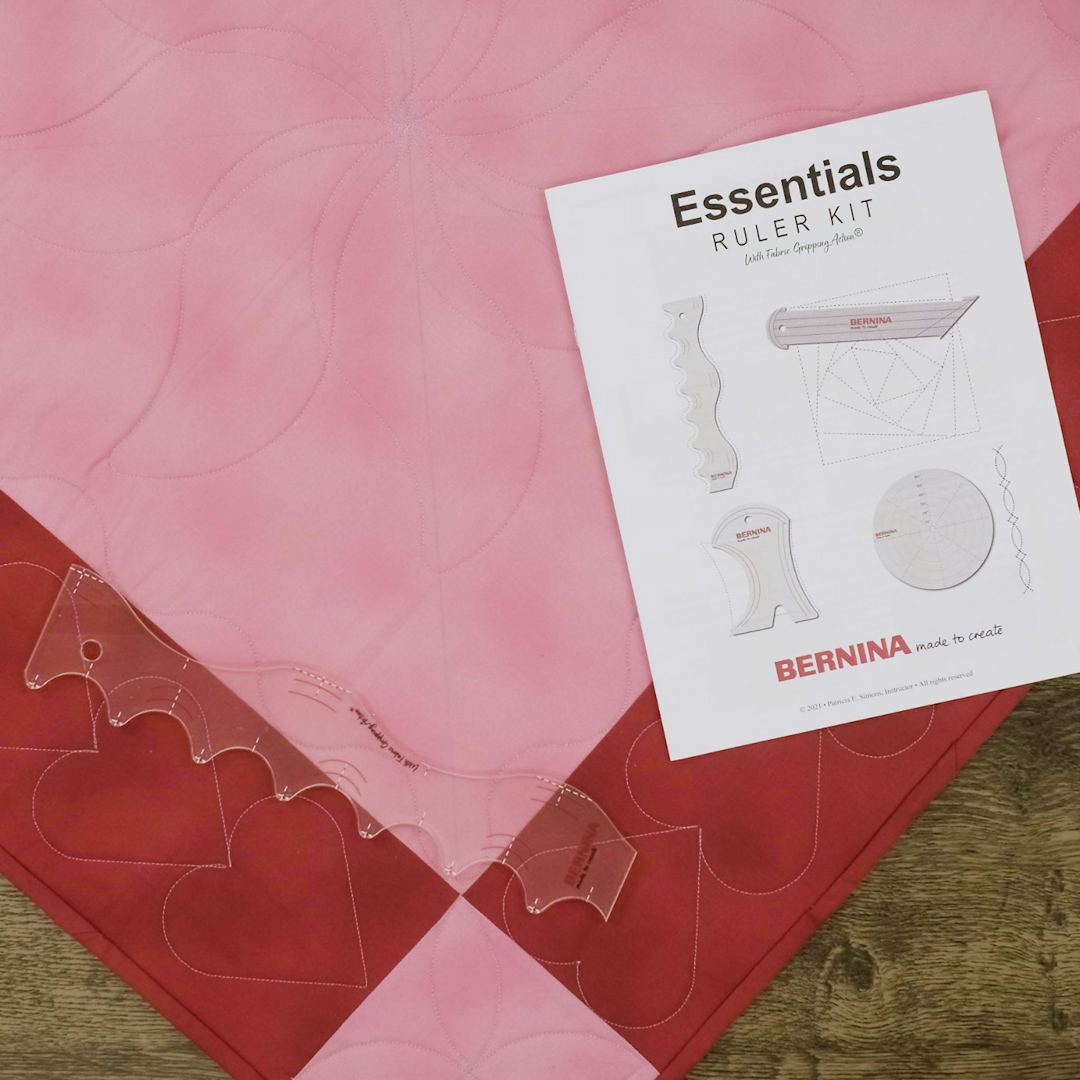
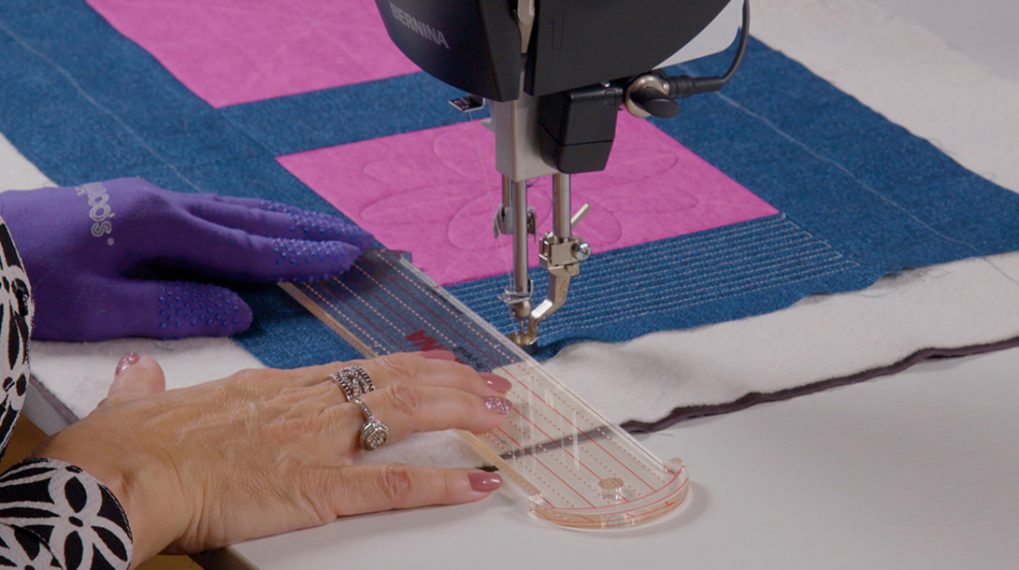
BERNINA 1/4” thick rulers have fabric-gripping technology to help keep them in place while you stitch. Marked guidelines make it easy to align your ruler for repeating motifs.
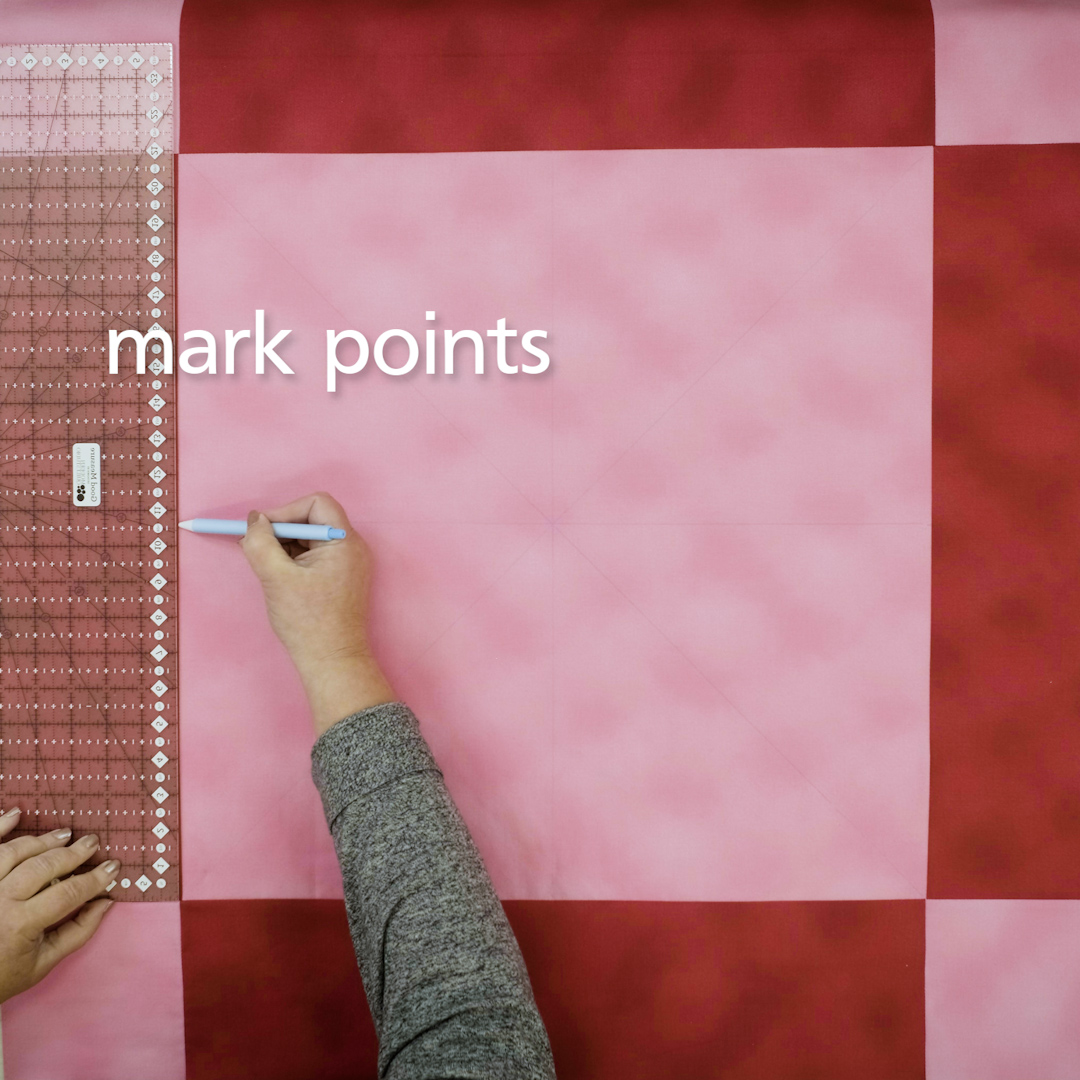
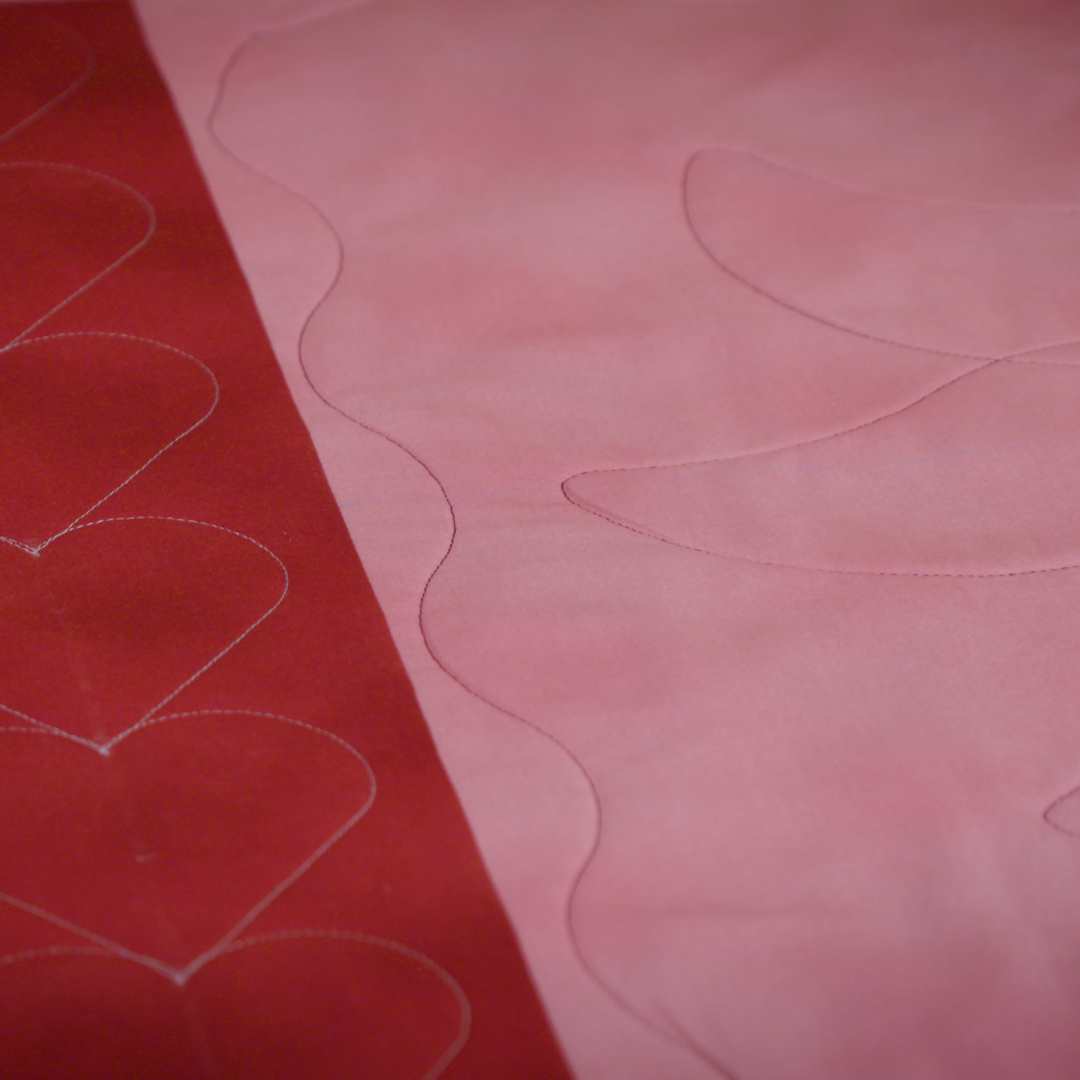
To quilt the accent wave inside the center square, the first step is to mark orientation points in the center of each side as well as diagonal lines at each corner using a straight edge and a marking pen.
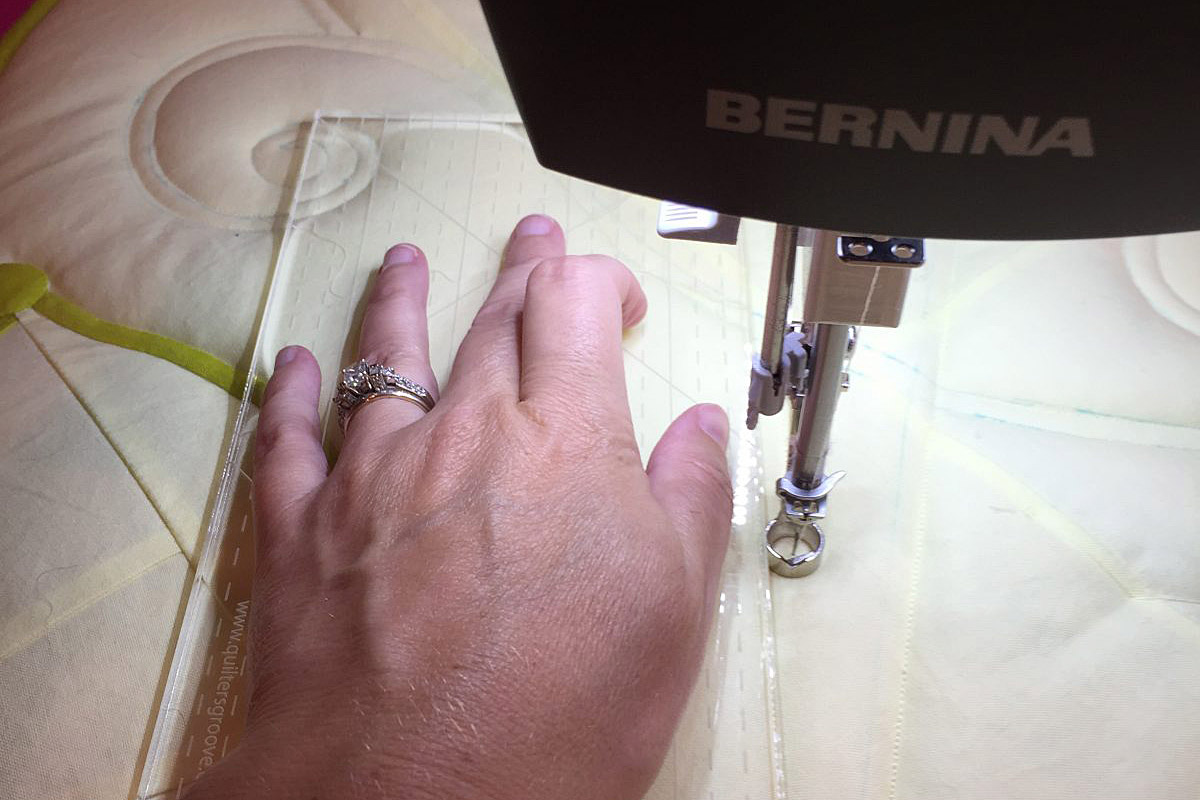
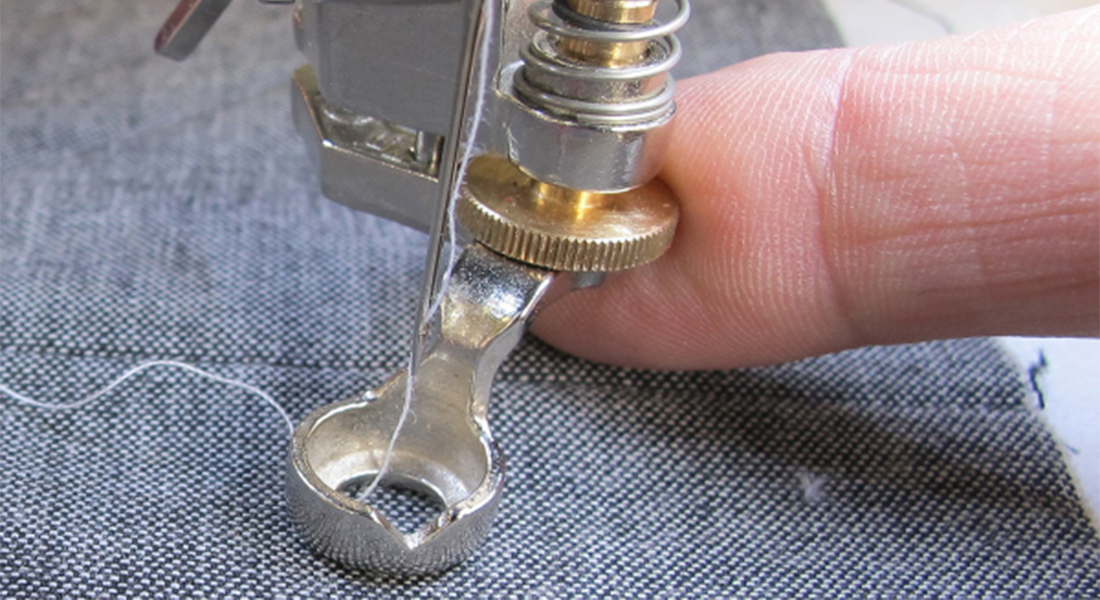
To determine the start point, align the wavy side of the ruler with the seam line and the center point on one side, bring the bobbin thread to the top and secure.
With the presser foot lowered, bring the ruler against the presser foot and begin stitching along the ruler.
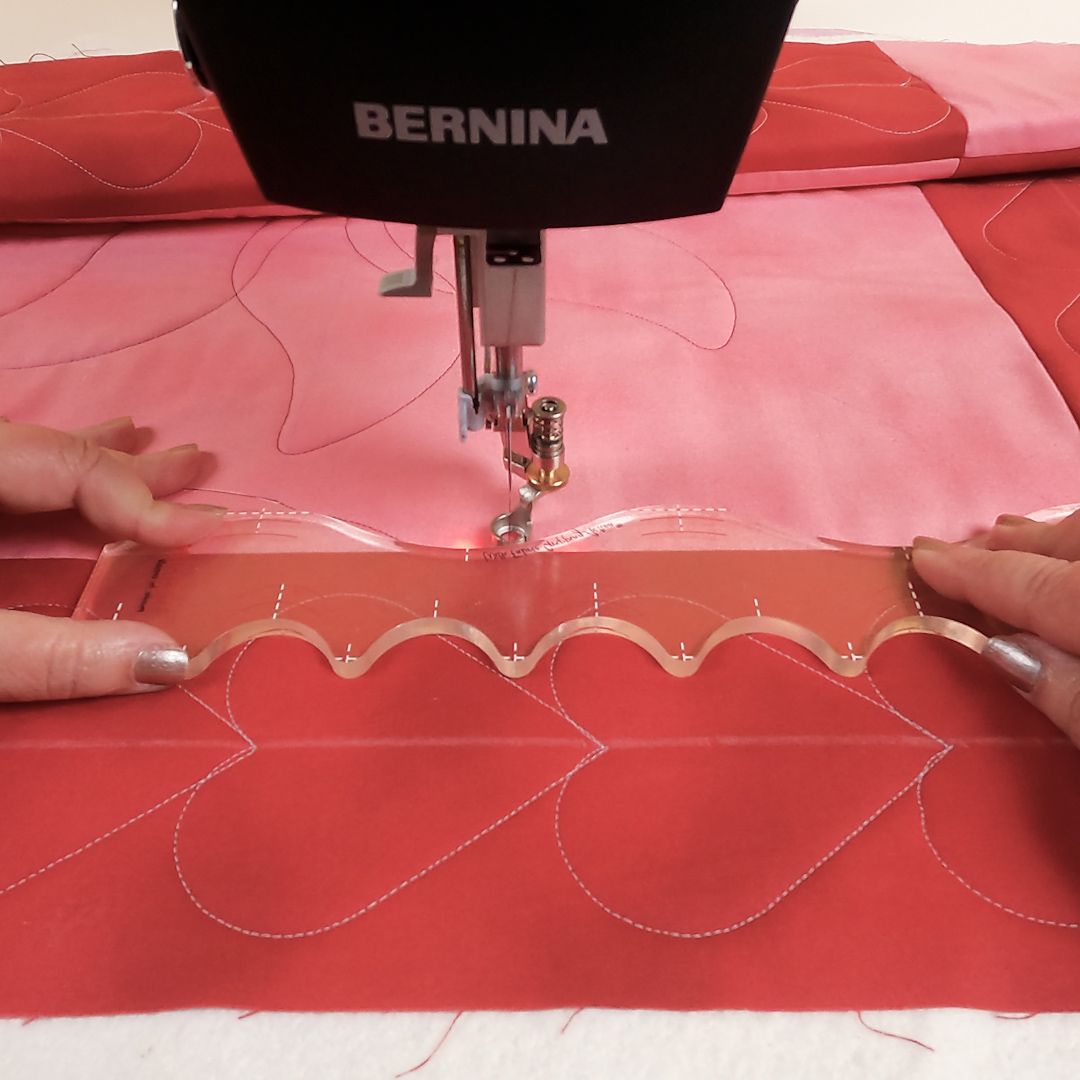
When you reach the diagonal line at the corner, stop stitching and end with the needle in the down position.
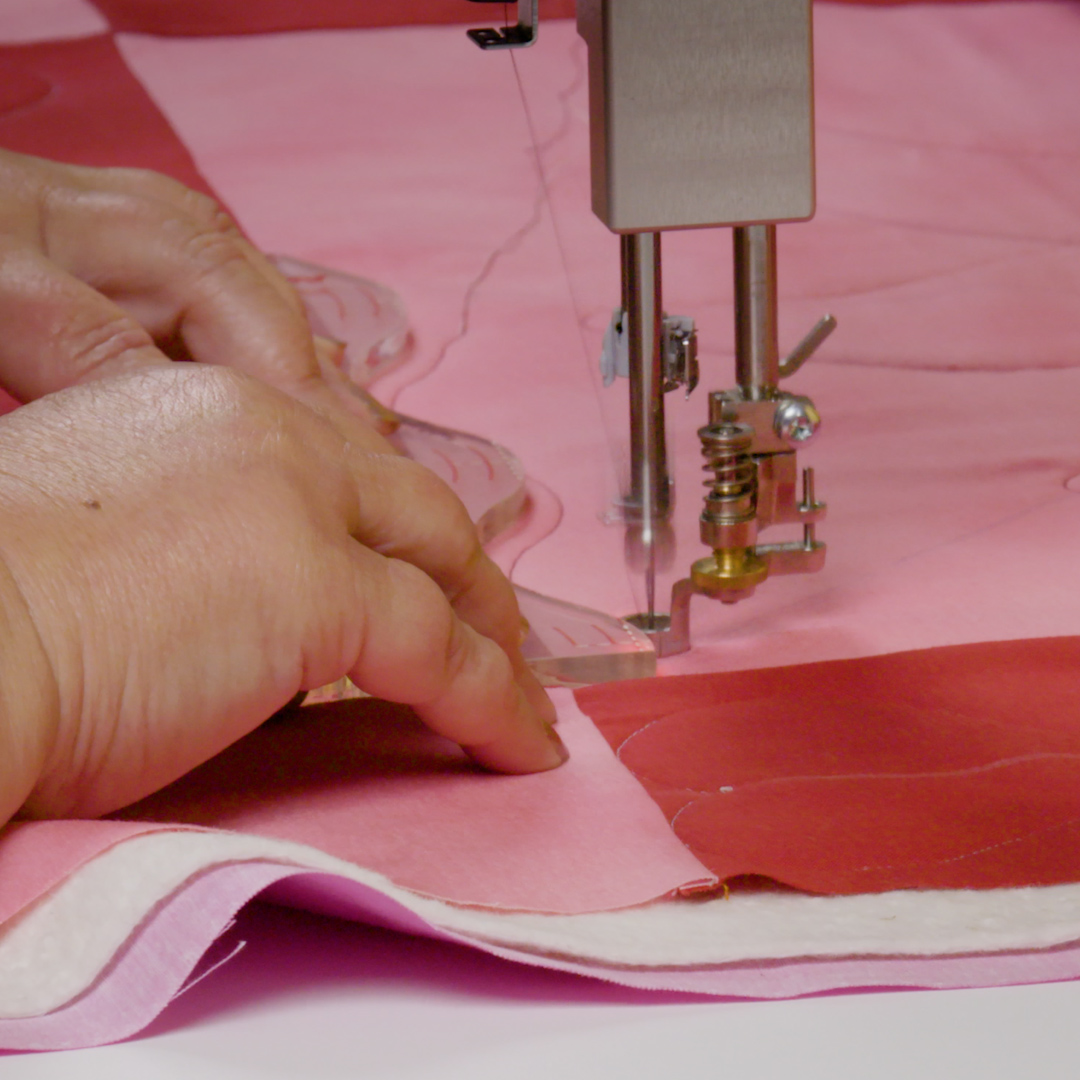
Stop and reposition the ruler, again aligning with the seam line. I quilted in a counter-clockwise fashion around the center square, but the design can be stitched clockwise if that is more comfortable for you.
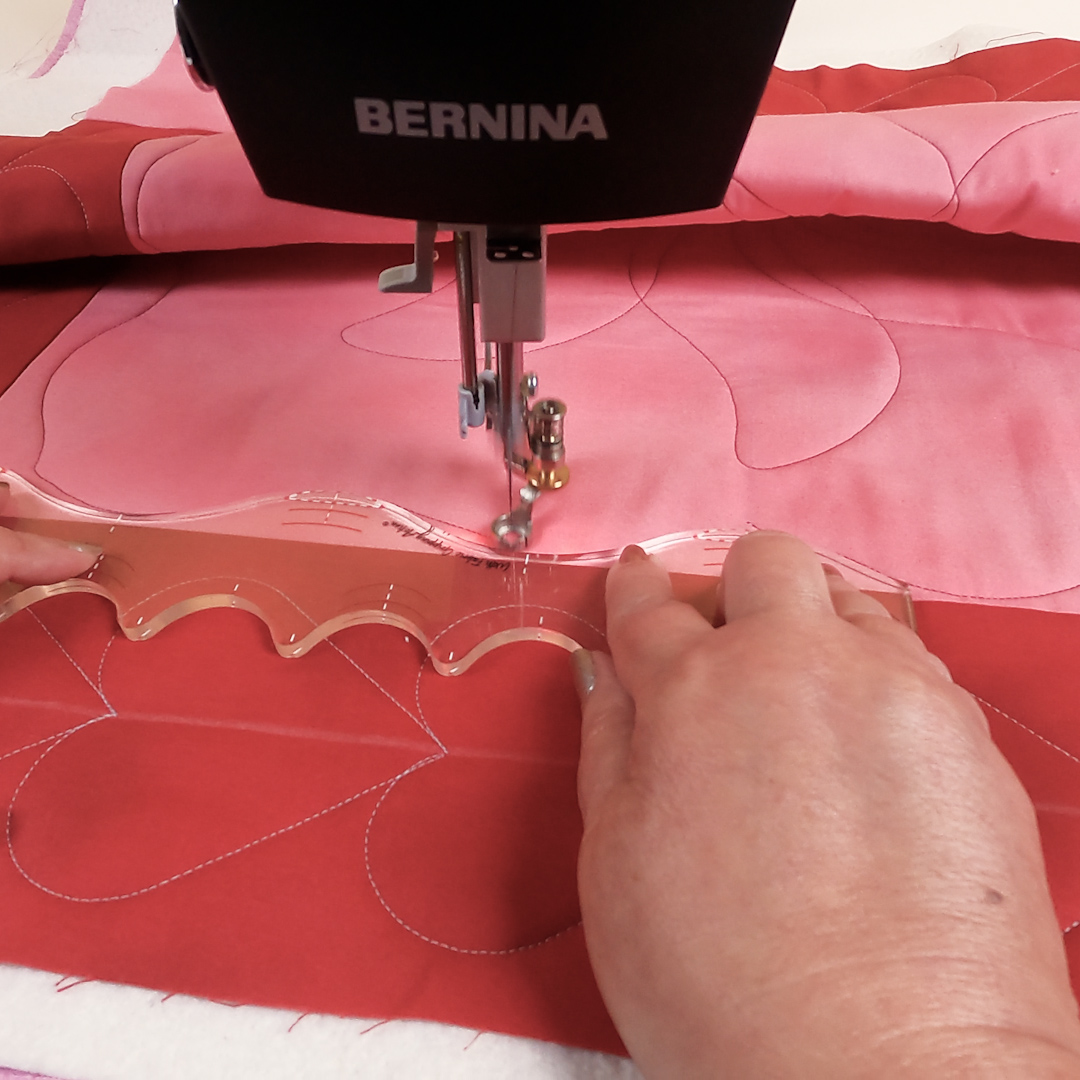
Continue quilting around and repositioning the ruler on the marked lines until you have all 4 sides quilted to create the decorative accent wave design.
If you are new to rulerwork, it takes a bit of time to establish a happy balance between too little and too much pressure of the ruler against the fence of the presser foot. You don’t want to “drift” off the foot by using too little pressure, but if you use too much pressure it will be difficult to move the ruler and quilt. Stay as relaxed as possible. Take a break, if needed and take a deep breath. It gets easier with practice!