T-shirt Upcycle
Find a new life for your oversized T-shirts with some simple refitting! Don’t be intimidated by sewing on knit fabrics—with the right tools, it’s easy as can be. Find a new fit and add a decorative touch by creating cinches at the sides with a simple casing and ribbon.
Supplies to Upcycle an Oversized T-shirt
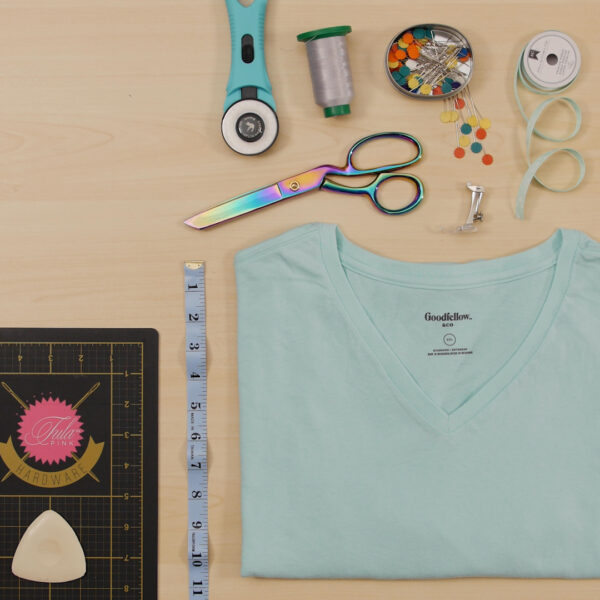
- Oversized T-shirt
- Soft tape measure
- Pins
- Scissors
- Tailor’s chalk
- Ruler
- Rotary cutter
- Large cutting mat
- My favorite Tula Pink Hardware mat is now available in a large 24” x 36” size
- Jersey (ballpoint) needle
- Polyester thread
- Ribbon
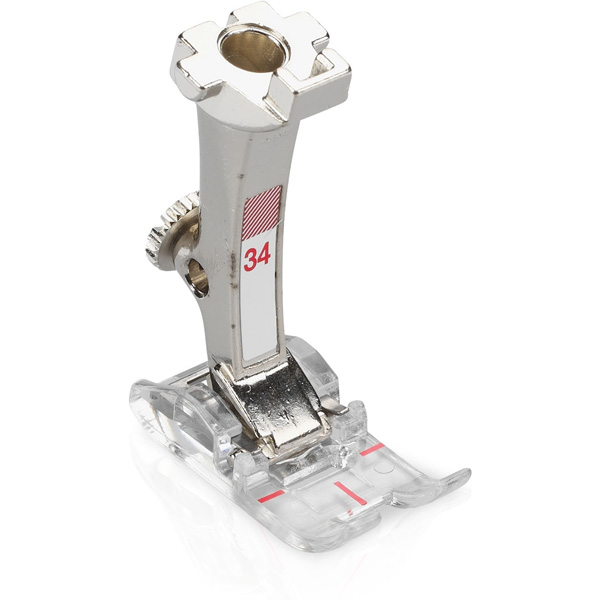
- Clear Foot #34
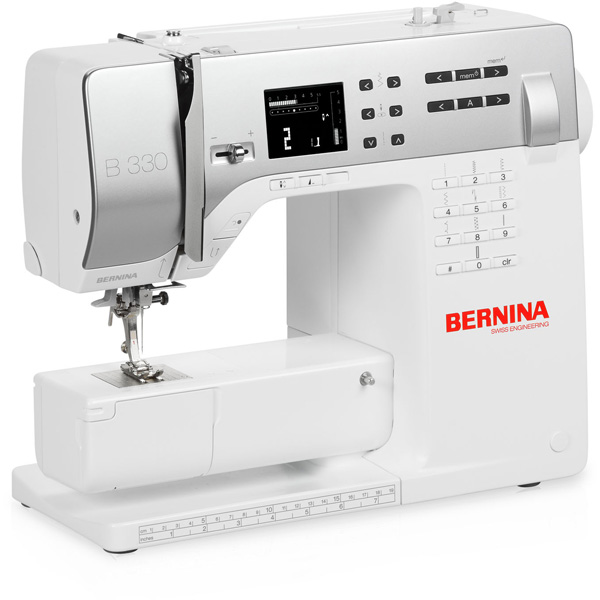
- BERNINA 330
Measure & mark
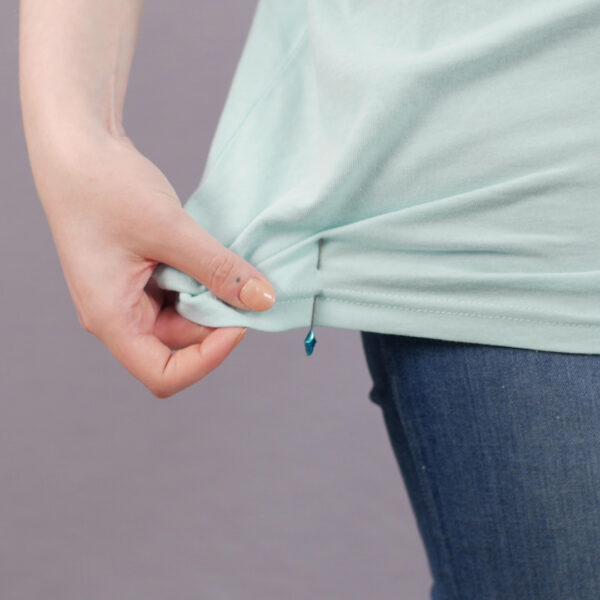
The first step to refitting a T-shirt is knowing what size it needs to be! Measure around your bicep and your hips with a tape measure. You can also put the shirt on and pin it to your size.
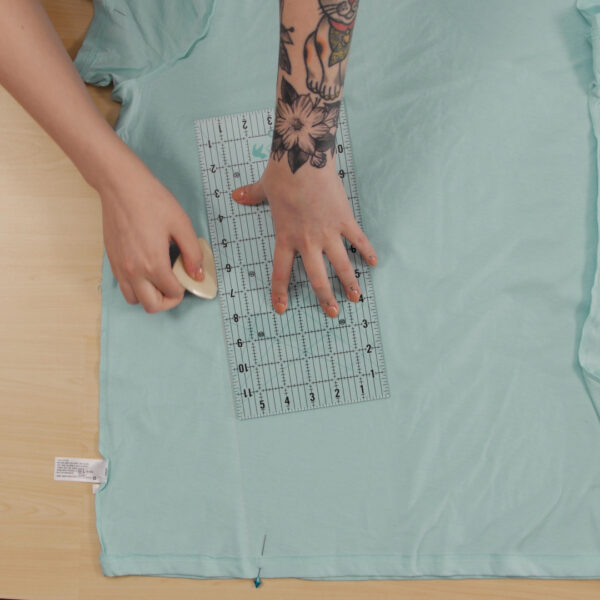
Lay the shirt flat. Take your bicep measurement and divide it in half. Measure that far down from the top (shoulder) edge of the sleeve and mark with chalk.
Measure the width of the bottom hem of the T-shirt from side to side. Take your hip measurement and divide that in half. Subtract your hip measurement from the width of the shirt. Then take that remainder and divide it in two. Measure that far in on either side of the bottom edge of the T-shirt and mark with chalk.
For example, my T-shirt measures 27” across when laid flat. If my hip measurement is 40”, I’ll divide that in half to get 20”. When I subtract my measurement of 20 from the T-shirt measurement, the remainder is 7”—that’s the amount of excess fabric. When we divide that by two, that means I have 3.5” on either side to remove.
Mark new shape
Using a ruler and tailor’s chalk, draw a straight line from your markings at the sleeve to the hem. This will make a more relaxed, dolman shaped sleeve and body.
Pin along this line as we prepare to sew.
Sew on marked line
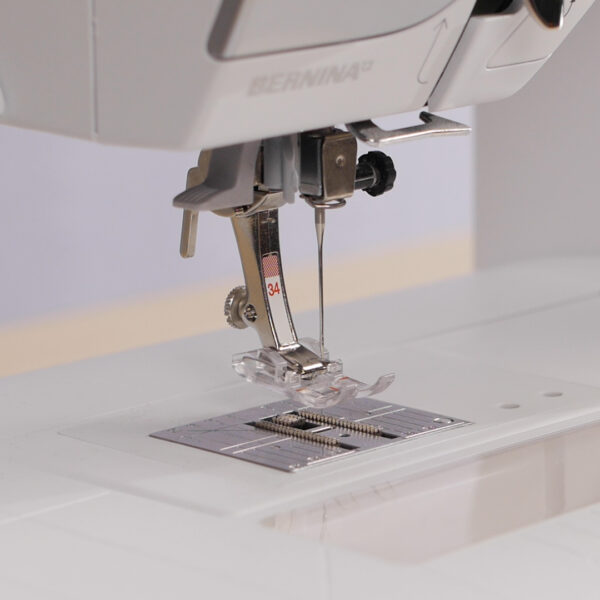
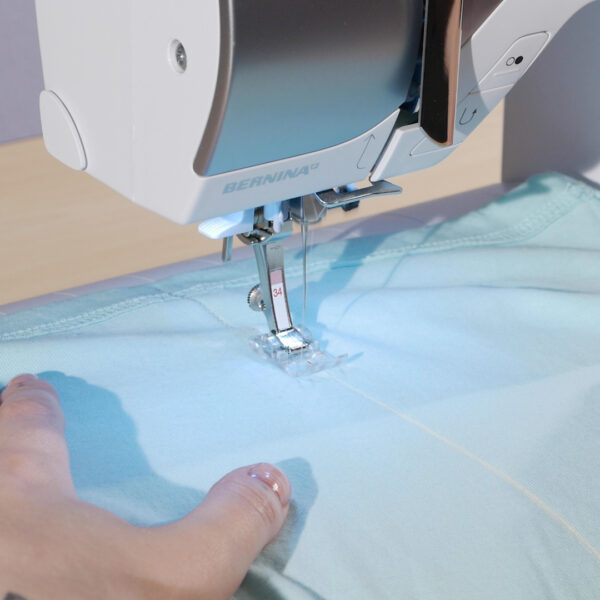
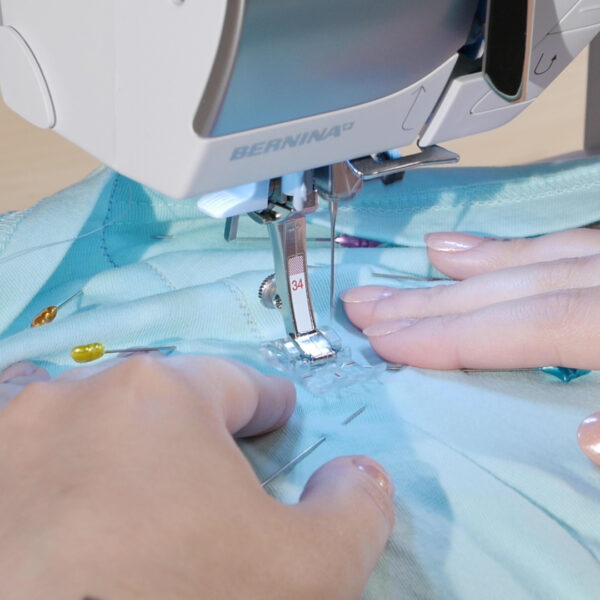
Insert a ballpoint or jersey needle and attach Clear foot #34 to your machine. The clear sole on this presser foot will make sure it’s easy to see your chalk markings as you sew and the ballpoint needle will penetrate and stitch between threads to avoid snagging your knit.
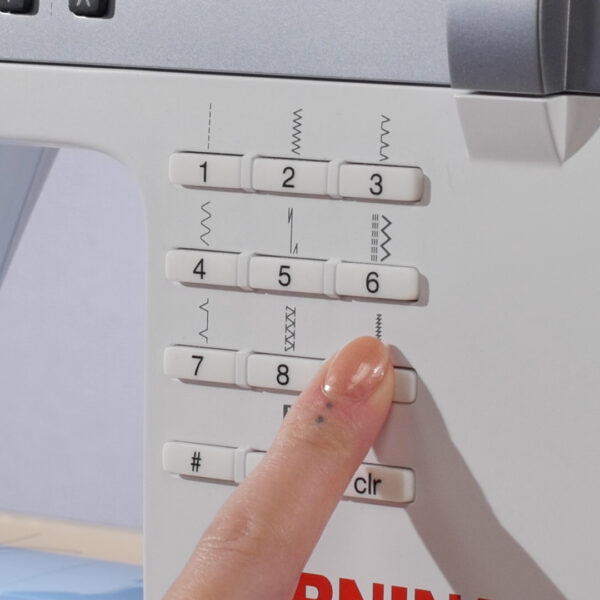
Select super stretch stitch #9. This stitch will look much like a regular straight stitch once sewn but is actually a very narrow zigzag—this will help our seam have some give and stretch as we sew across the knit fabric.
Beginning and ending with a few backstitches, sew the length of your chalk line.
Try it on & trim
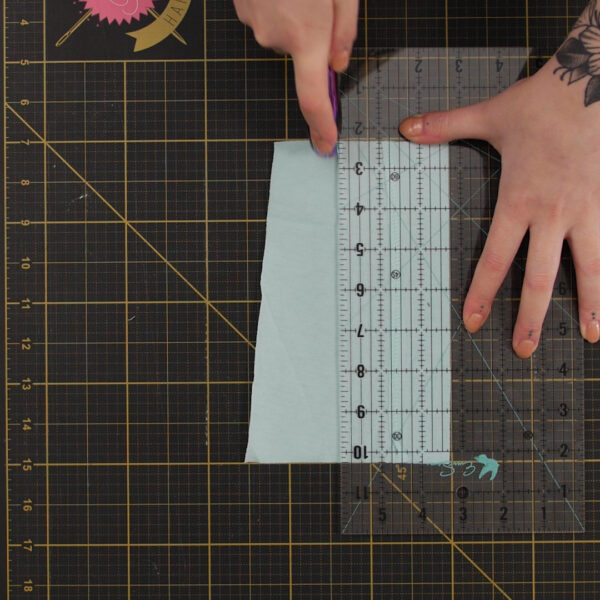
You know what they say—measure twice, cut once! Before we trim away all that excess fabric, try on your newly refitted T-shirt. When the new size and shape is satisfactory, use your rotary cutter and a ruler to grade the seam allowance down to 3/8”.
The joy of knit fabric is that this raw edge does not necessarily need to be finished beyond this point as it will not fray. If you’d like though, you can polish this seam with your overlocker.
Create casing
Using the excess fabric trimmed off from the T-shirt, cut two rectangles at 2.75” by at least 8”. If you need to cinch up/shorten your t-shirt quite a bit, you will want to create a longer casing.
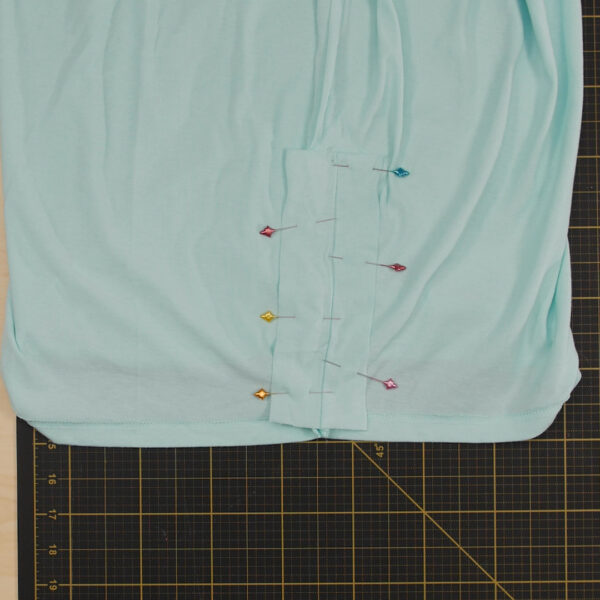
With the shirt inside out, lay a rectangle centered over the side seam and pin in place. Repeat on the other side seam.
Sew in the ditch of the side seam (through the center of the casing rectangle) and on either side, 1/4” from the raw edge at either side.
Lace ribbons & tie
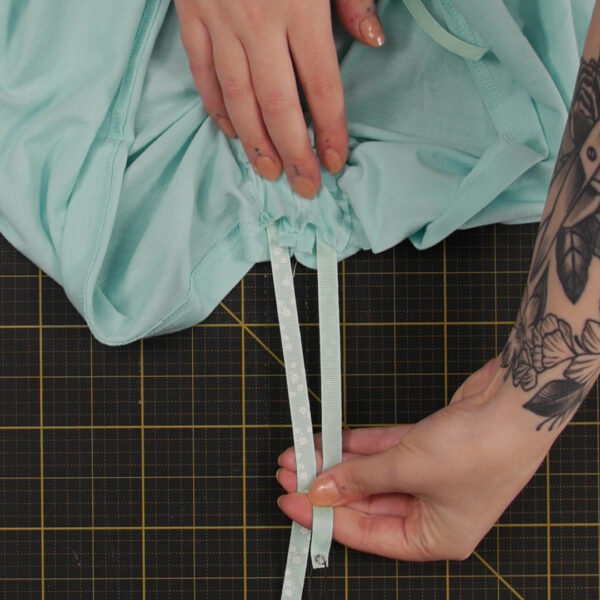
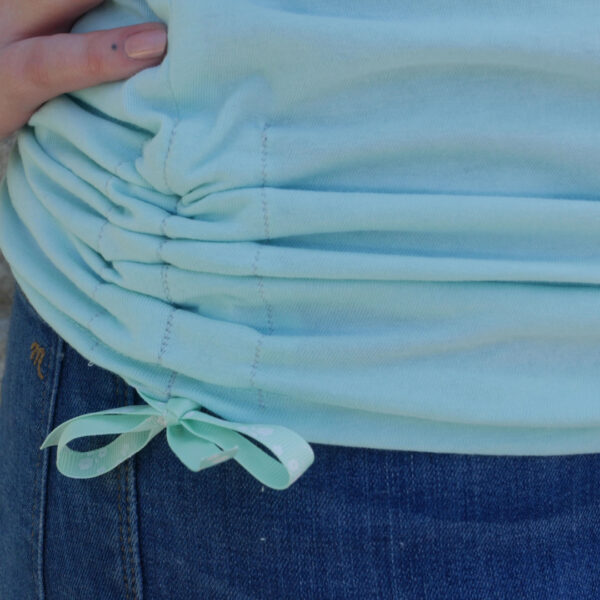
Using a safety pin or bodkin, feed decorative ribbon through the newly created casings on either side of the T-shirt. Pull the ribbons to cinch the sides of the shirt and tie at the bottom.
What you might also like
5 comments on “T-shirt Upcycle”
-
-
It looks like you just take in the sides including the sleeve all in one side seam. Of course, making sure to use the bicep measurement for that part of the sideseam. This makes it a dolman sleeve shape. Hope this helps.
-
-
Is there an alternate foot that can be used to accomplish the same affect???
-
I’m sure your #1 foot will work fine, Foot mentioned #34Is clear so you could see chalk line easier is what I gathered ( no pun intended fo mo question that follows)
-
-
Have question about casings. Does the a ribbon start at edge of 8” of casing to edge and same for other side or is it across back? Sorry but confused
Leave a Reply
You must be logged in to post a comment.








Not clear what you are doing with the sleeve.