Triangle Zipper Pouch
Hello WeAllSew readers,
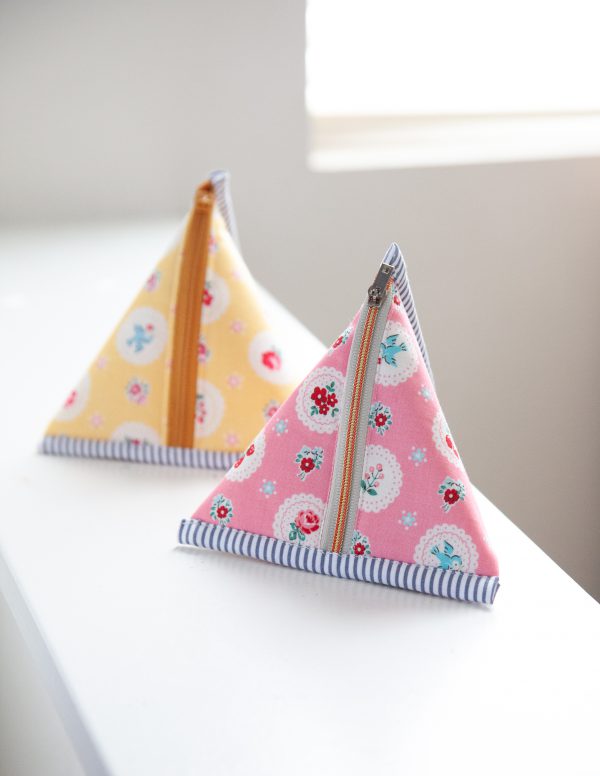
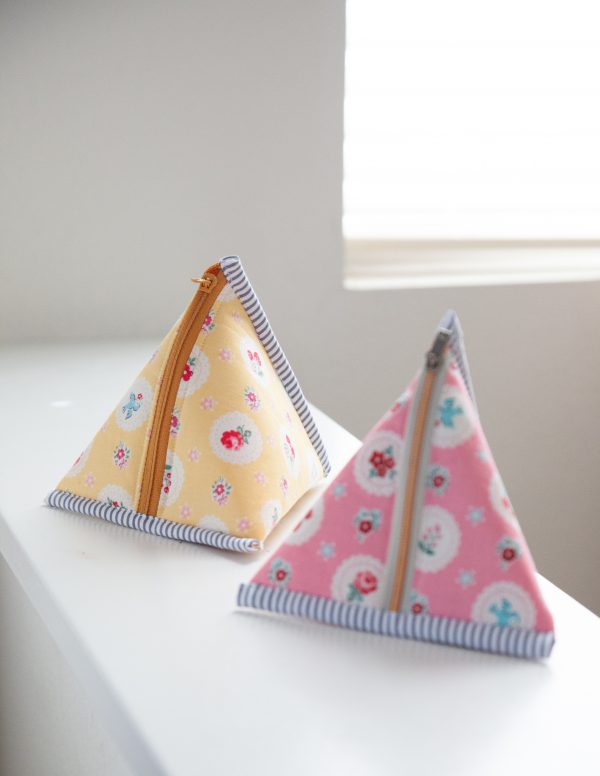
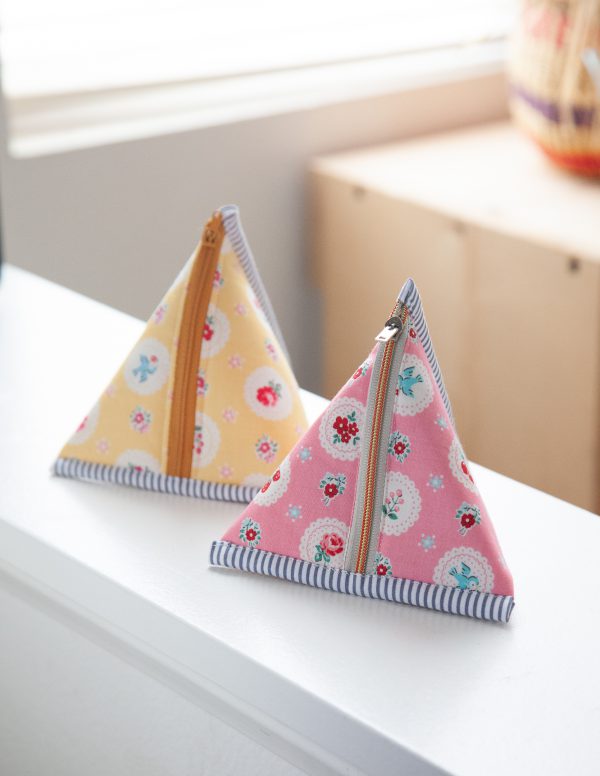
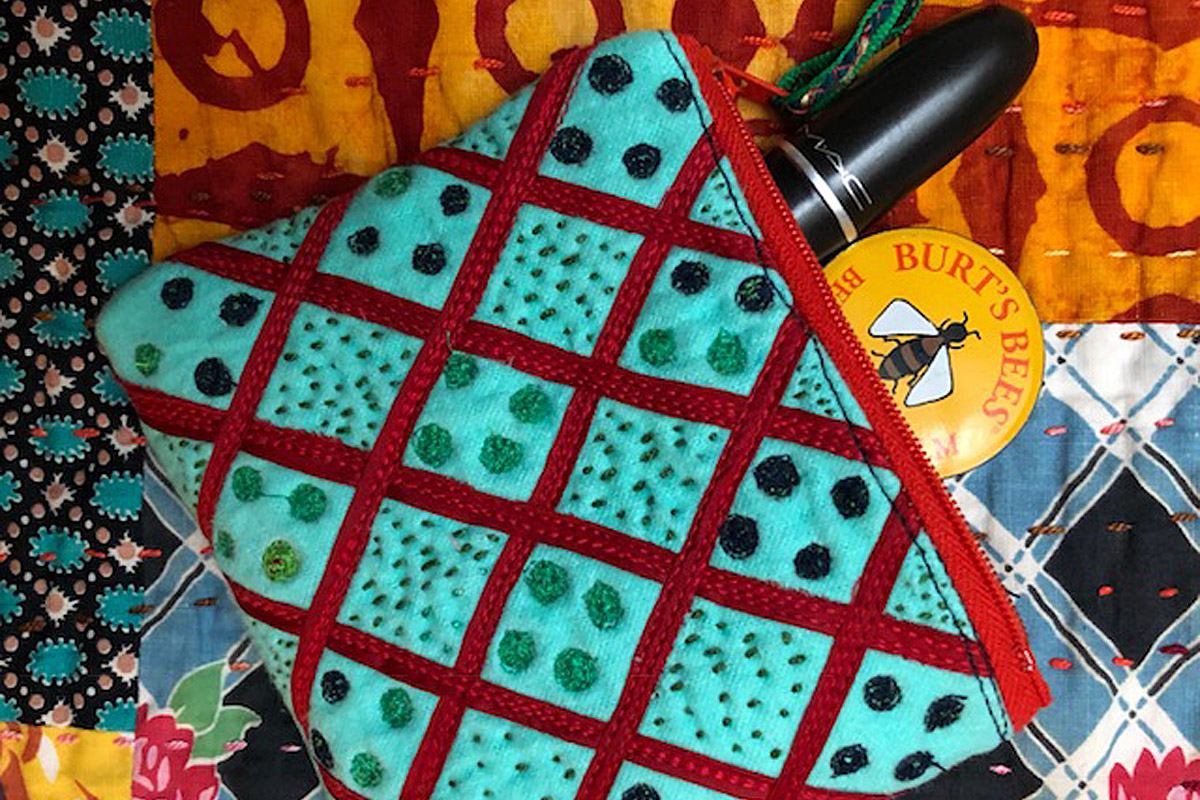
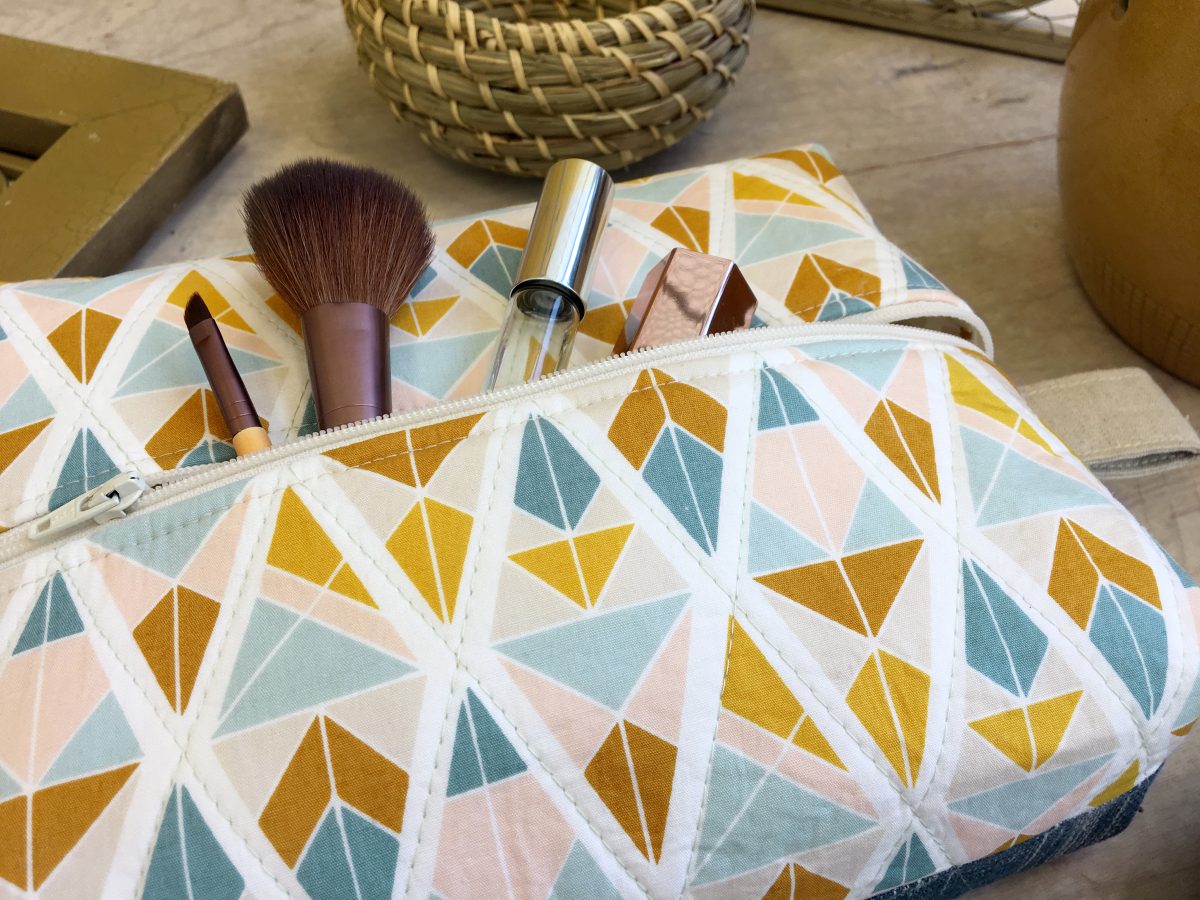
It’s Minki Kim, and you can find me at Instagram @zeriano and MinkiKim.com. I also design fabric for Riley Blake Designs and I have my own line of sewing patterns. I am excited to share this easy to make Triangle Zipper Pouch today.
Materials to Make a Triangle Pouch
Finished size: 5″ wide x 5″ height x 5″ deep
- 1 exterior fabric: 10 1/2” x 5 1/2”
- 1 lining fabric: 10 1/2” x 5 1/2”
- 2 binding strips: 6” x 1 1/2”
- fused foam stabilizer: 10” x 5” (or foam stabilizer + fusible web)
- 1 vinyl zipper – 8″
Note: All seam allowances are 1/4″ unless otherwise noted.
Sew the zipper
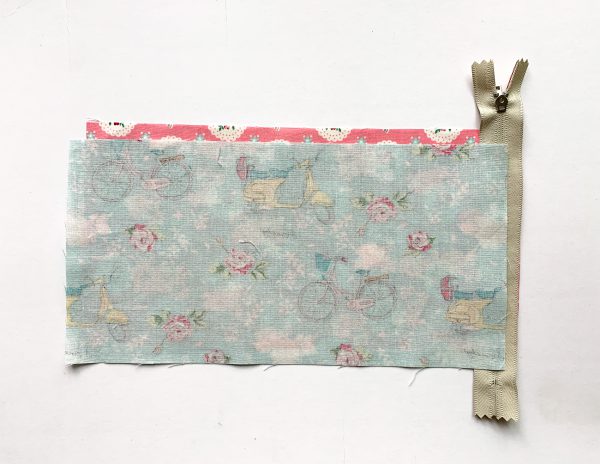
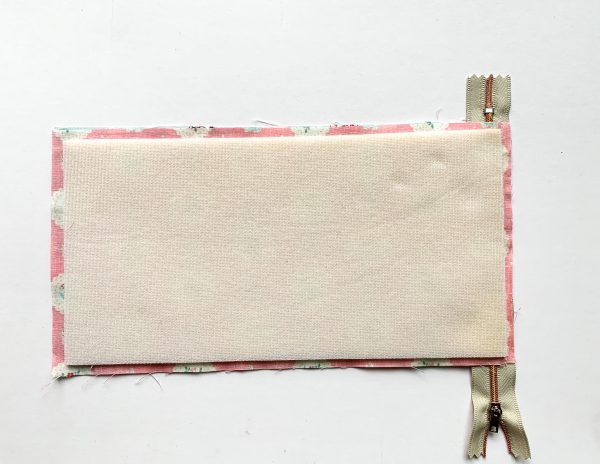
1. Center the zipper on the short raw edge of the exterior fabric with the teeth facing down. Layer the lining right side down on top. Sew the zipper using a zipper foot close to zipper teeth.
2. Center and fuse the foam stabilizer on the wrong side of the exterior fabric. If you use Pellon Flex-foam Fusible Stabilizer which has one-sided fusible, fuse it on the wrong side of the exterior fabric.
Optional: If you use Soft and Stable, fuse the fusible web (such as Lite Steam-A-Seam 2) on the foam batting. Peel off the paper backing and fuse it on the wrong side of the exterior fabric.
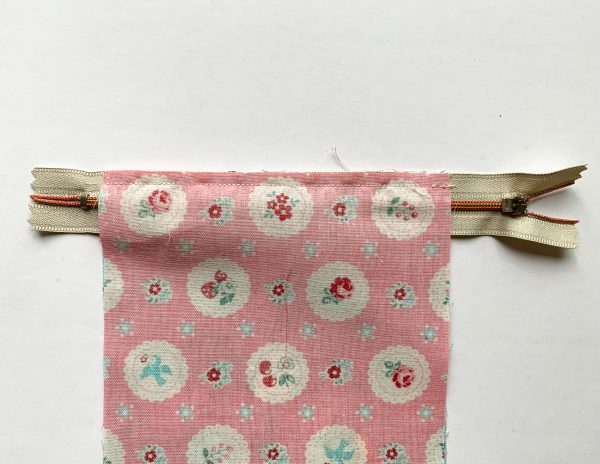
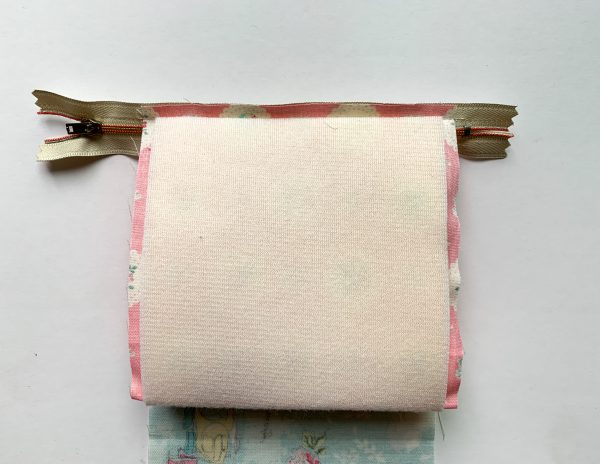
3. Fold the exterior in half to meet the unsewn side of the zipper, matching raw edge to zipper edge, and sew it to the zipper.
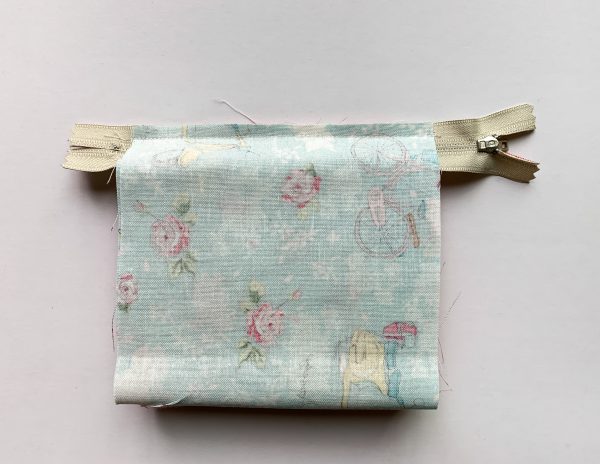
4. Then fold the lining fabric in half and place face down on top of the zipper. Sew the lining to the zipper.
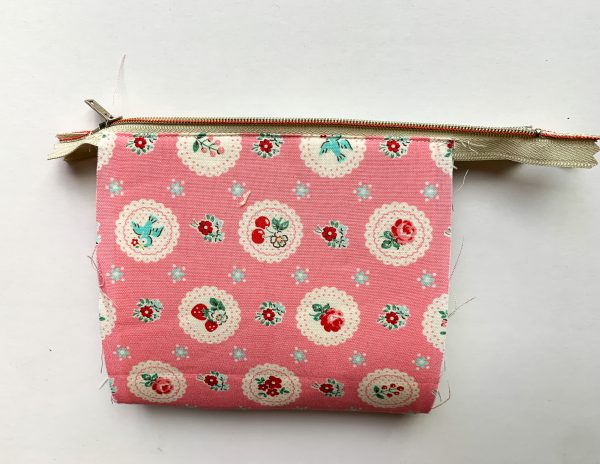
5. Topstitch through both layers close to the seam at the zipper.
Sew the Pouch
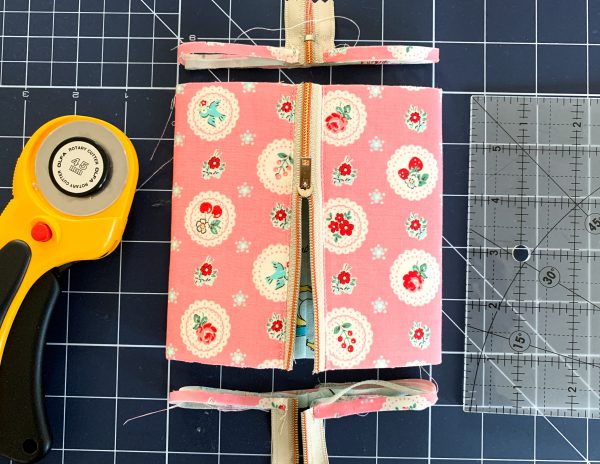
6. Close the zipper and flatten the pouch. Make sure the zipper is in the center. First, trim one raw edge. Then open the zipper halfway and trim the remain raw edge so it measures 5” x 5”.
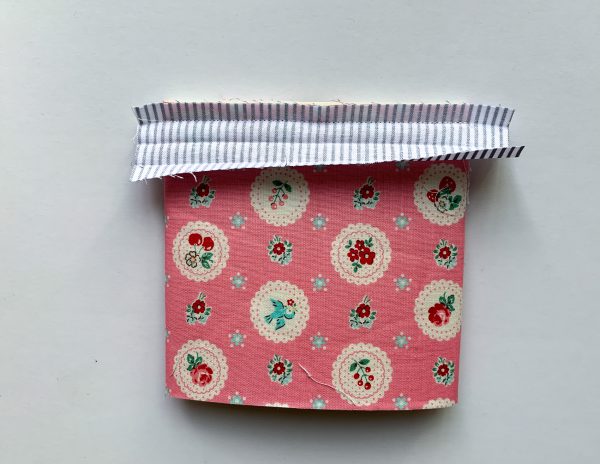
7. Center and place the binding fabric on top of one raw edge. Sew along the raw edge.
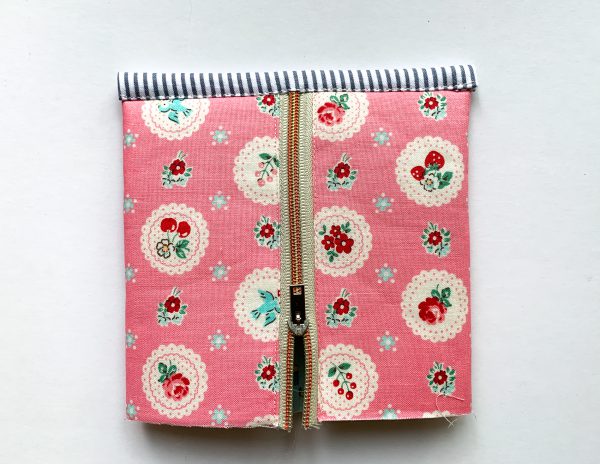
8. Bring the folded edge of the binding over to cover all of the raw edges of the pouch and topstitch.
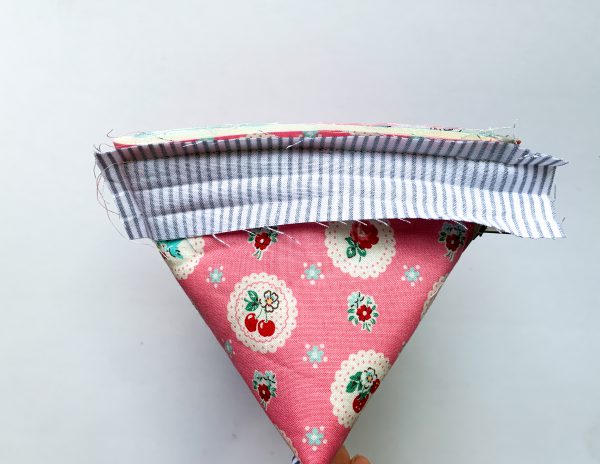
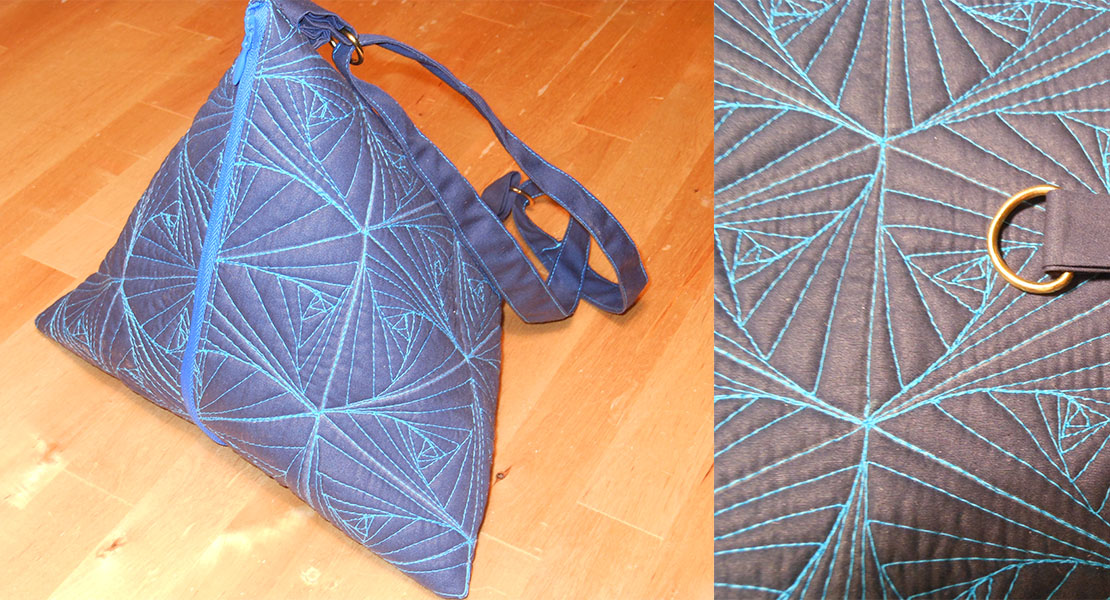
9. Then fold the remain raw edge the opposite direction to make a pyramid shape and clip to secure. Using the same manner, sew and bind the raw edge. Press in shape.
It can be a gift holder or an ornament by attaching a loop or strings. I hope you enjoy making these triangle pouches for the holiday!
What you might also like
5 comments on “Triangle Zipper Pouch”
-
-
oops! It does say in Step 2. Center and fuse the foam stabilizer on the wrong side of the exterior fabric.
So the question is: Is the fusible stablizer one-sided?
Thanks again. Sorry to be so dense 😉
-
-
Made these bags many years ago they were called “hum-bug” bags. Foam stabilizer wasn’t available back then. I find it a great product to use on purses and placemats
-
These kits did not include the foam stabilizer. I wish you had written that somewhere on the instructions that you need to purchase this product.
-
Very cute! Think I will make one with stuff I have on hand. They remind me of those crazy chicken pincushions we all made awhile back, without a zipper, of course.
Leave a Reply
You must be logged in to post a comment.





Wonderful project, thank you! QUESTION: The materials call for “fused foam stabilizer”. What exactly is this? There are no instructions about fusing it to anything. Can you specify please? Thanks again!