Trick-or-Treat Gift Bag

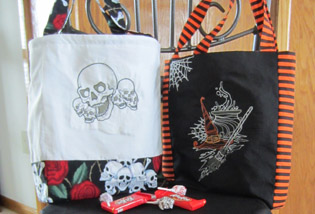
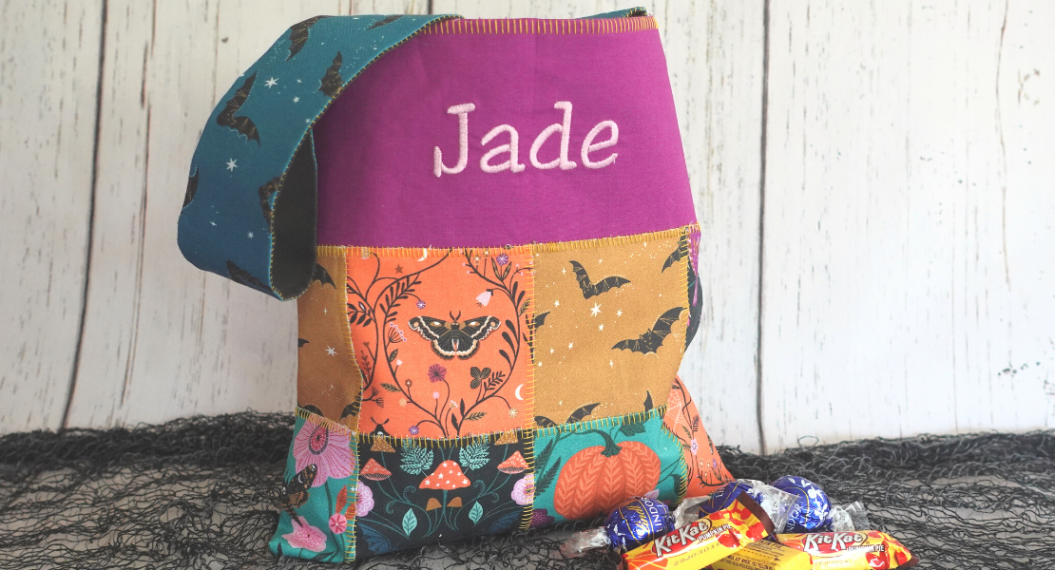
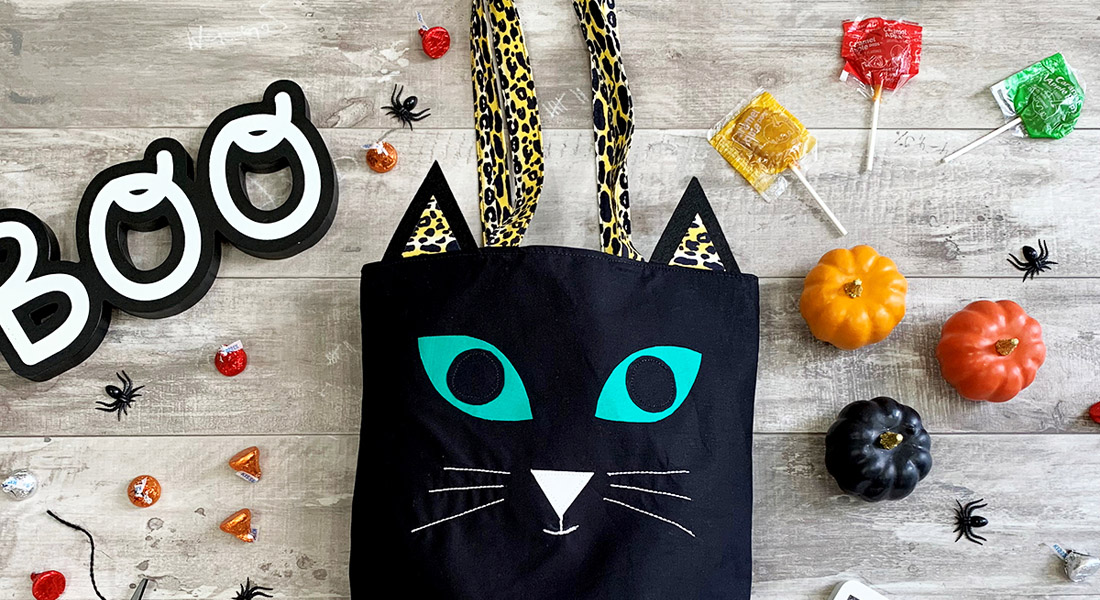
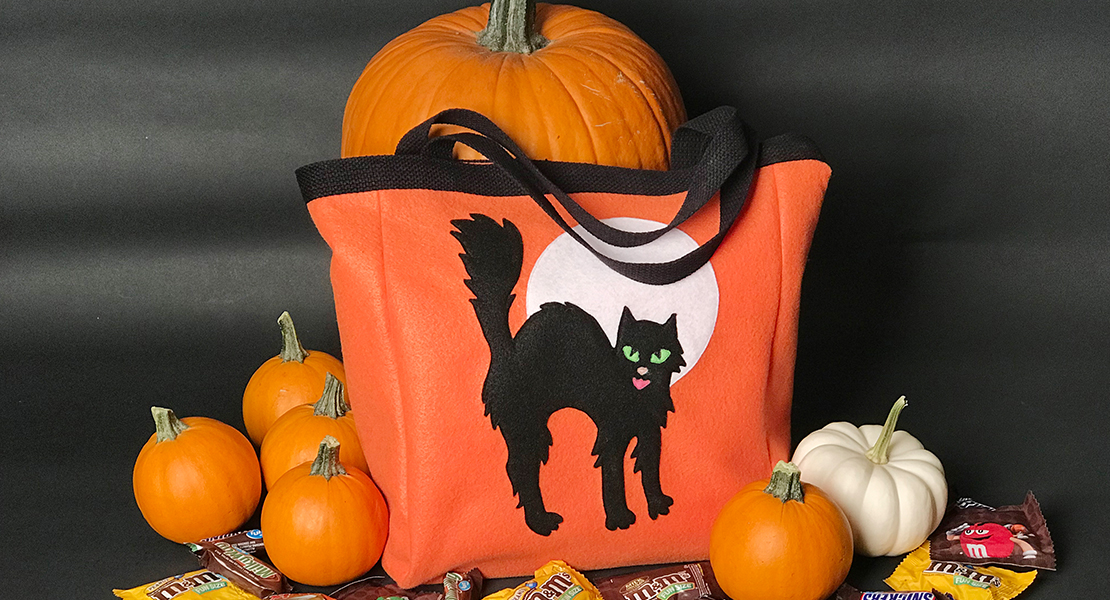
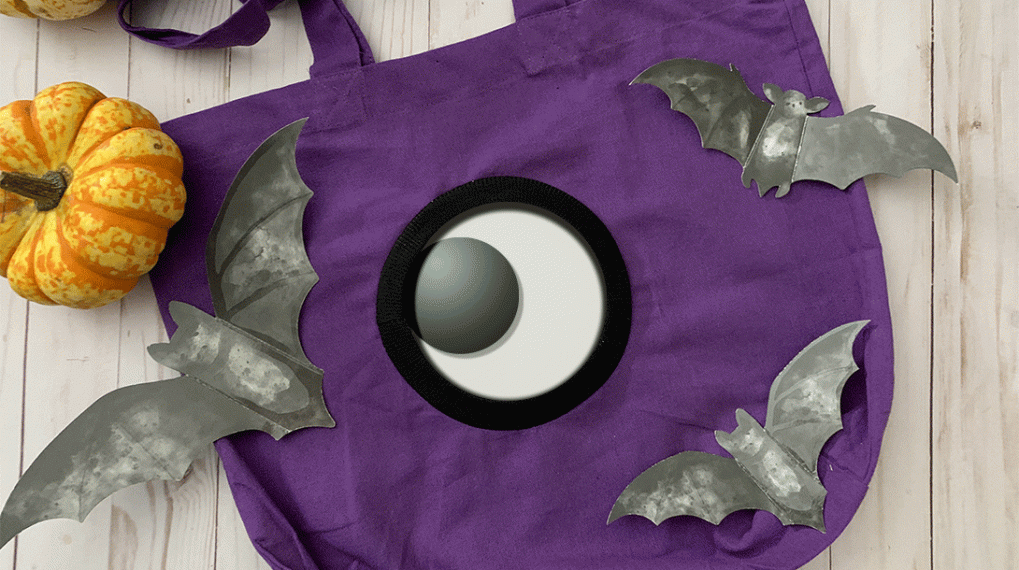
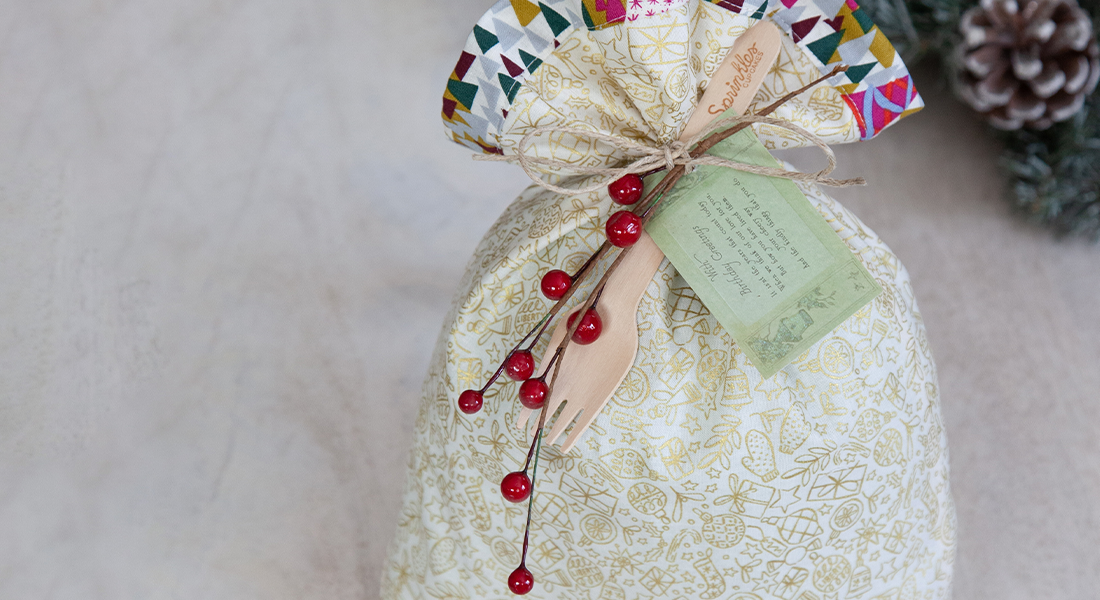
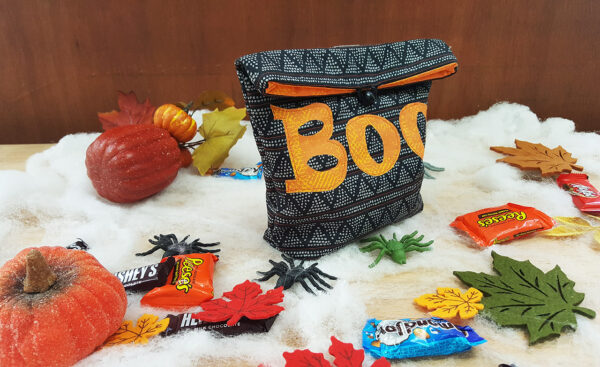
The time for dressing up and trick-or-treating is here again! Halloween is approaching and you’re busy thinking of what you’re going to dress as, how to decorate the house with spider webs and little ghosts, and when to go on a pumpkin patch adventure. This year, I thought it would be fun to make a trick-or-treat gift bag for your little ones. Perfect for putting candies and also as a cute gift to bring to a Halloween Party.

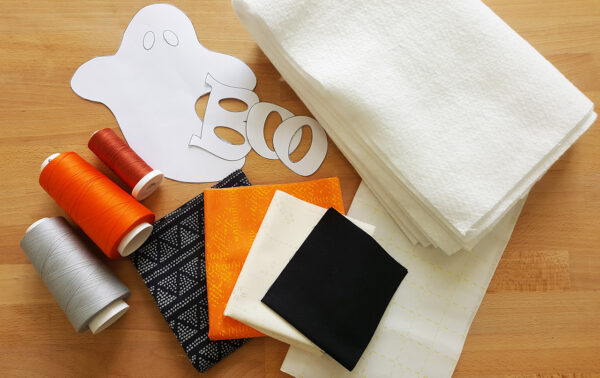
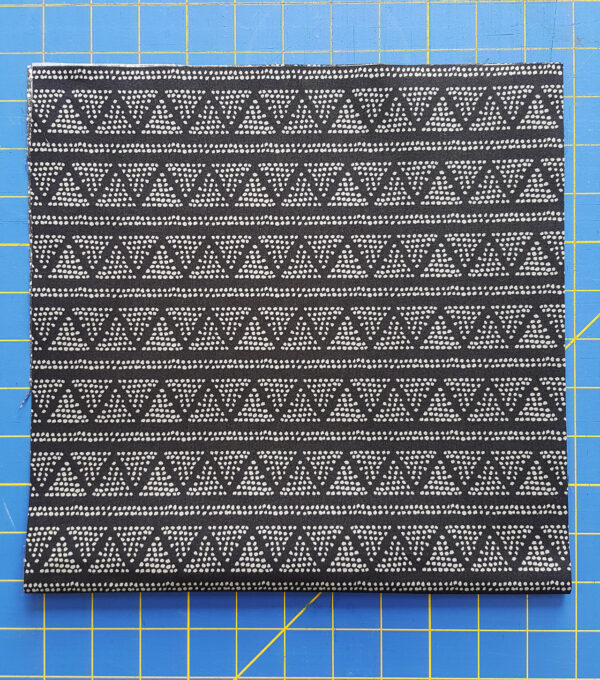
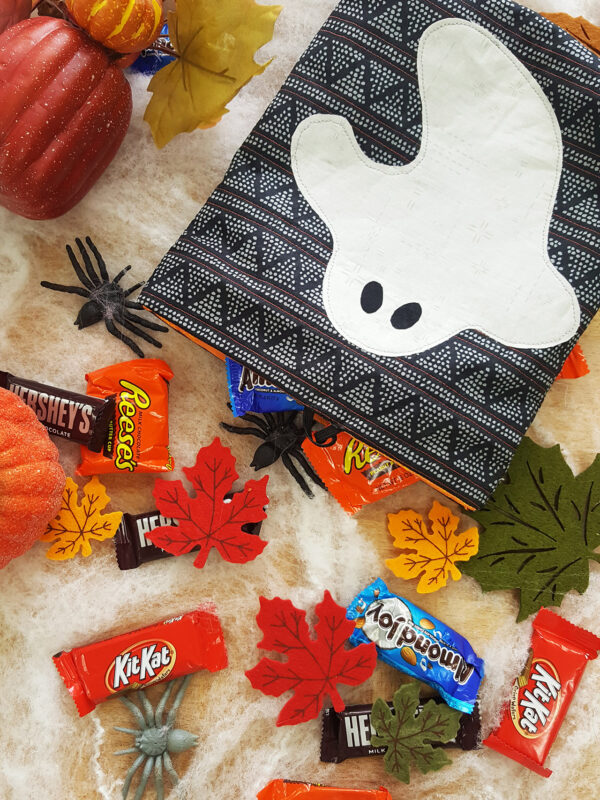
For this project, I decided to mix a few prints from different collections. For the outer bag, I used Plotted Farm Silkroad from Silkroad Fusions, for the “Boo” and the lining, ‘Expressions Gold‘ from Matchmade and our little Ghost friend (placed on the back of the bag), with Cloud from the Decostich Elements and the eyes with Caviar from our Pure Solids.


Fabric A: FUS-SR-1701 Plotted Farm Silkroad
Fabric B: MTM-9204 Expressions Gold
Fabric C: DSE-700 Cloud
Fabric D: PE-413 Caviar

Materials to Make a Trick-or-treat Bag

  • 1 fat quarter each for outer bag and lining
  • Batting
  • Elastic:  (4in)
  • Button
  • Woven interfacing
  • Walking Foot
  • Steam-a-Seam Double side fusible tape
  • Download the Boo & Ghost Templates here: Trick-or-Treat Bag Pattern

Have fun making this project below!
Constructing the Trick-or-Treat Bag

Step 1:
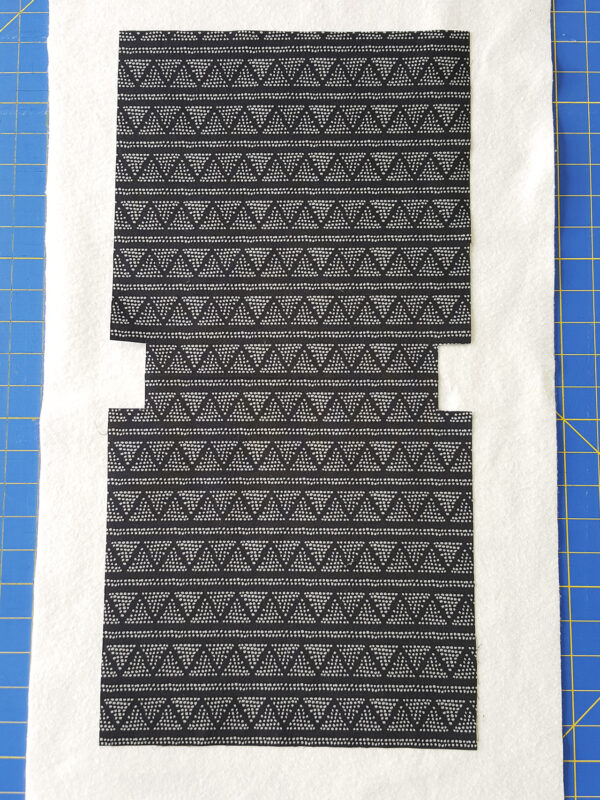
Cut Fabric A and B Fat Quarter and interfacing to an 11″ x 18″ rectangle (lengthwise).
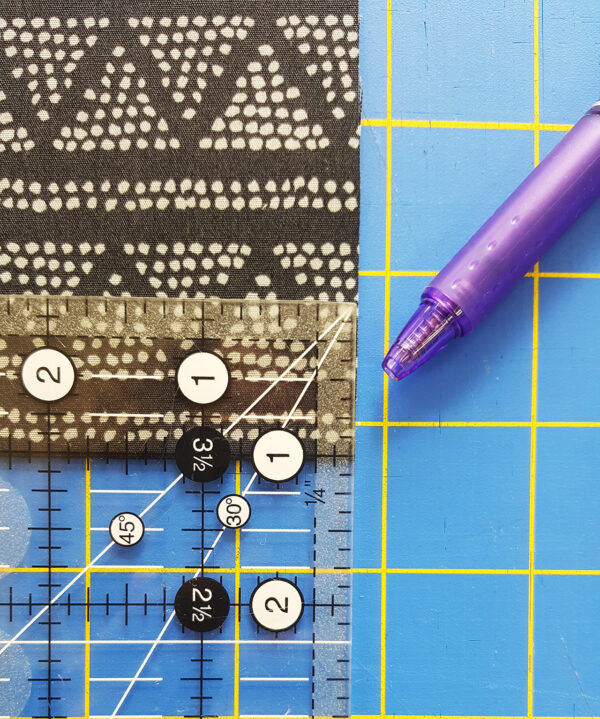
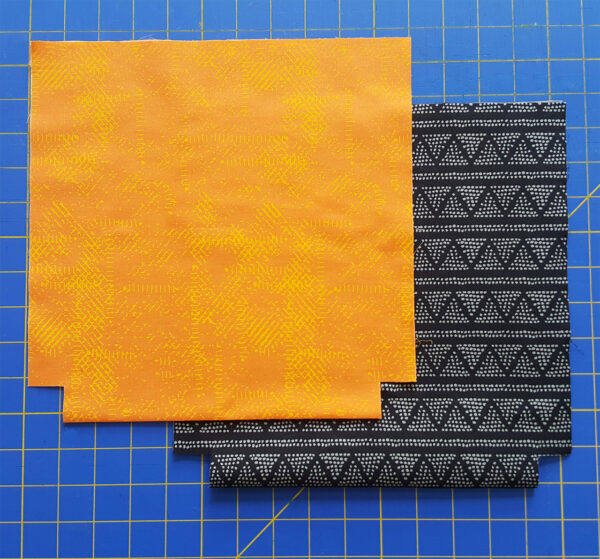
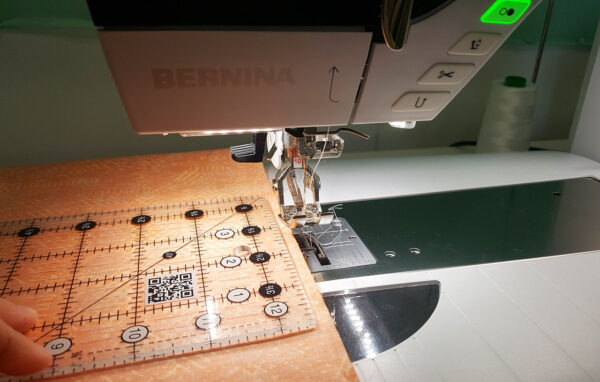
Fold the outer bag and the lining in half (short ends together) with wrong sides facing and draw two boxes in the corners along the folded edge 1” wide and 1” deep.
Cut out the boxes along the drawn lines through both layers of the folded fabric. Repeat the same process for Fabric B lining.
Step 2: Quilting your piece
Fuse a piece of woven interfacing to the wrong side of your rectangle from Fabric A.
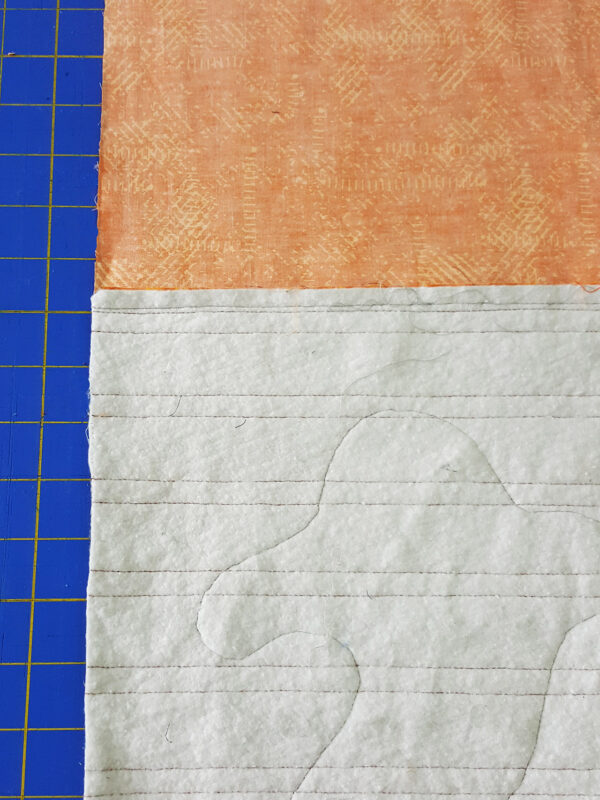
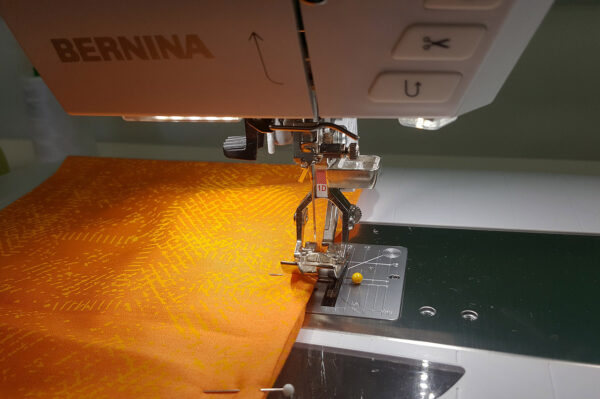
Place batting below the Fabric A and sew straight lines from side-to-side using Reverse pattern foot #1D, (don’t forget to engage Dual Feed!) in order to create straight, even lines.
Remember, your quilting motif can be personal preference. In my project, I only quilted two straight lines before and after the dotted triangle repeat so it wouldn’t take away from our “Boo” and “Ghost” appliques decoration.
Step 3: Placing Steam-a-Seam double side fusible tape
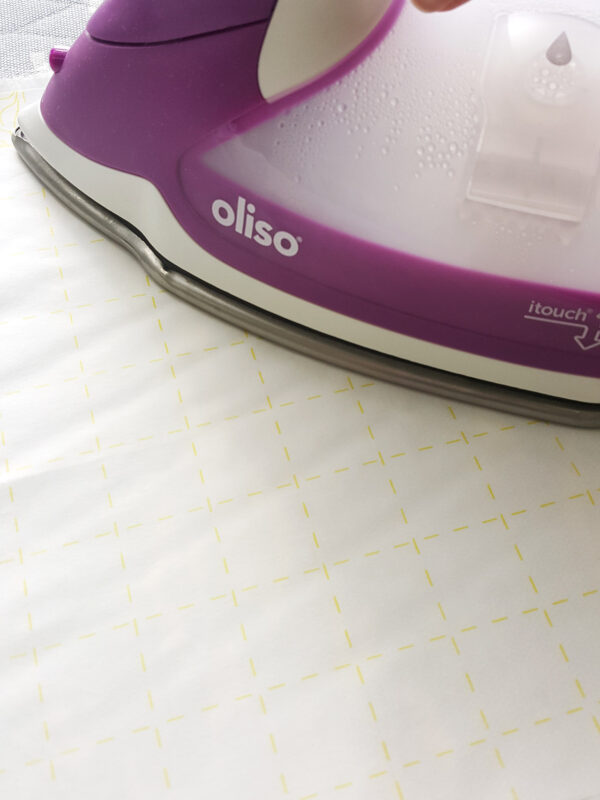
Take Fabric B, C and D and place on the wrong side of the fabric a piece of Steam-a-seam double side fusible tape. Using the iron, press carefully so its attached to the fabric.
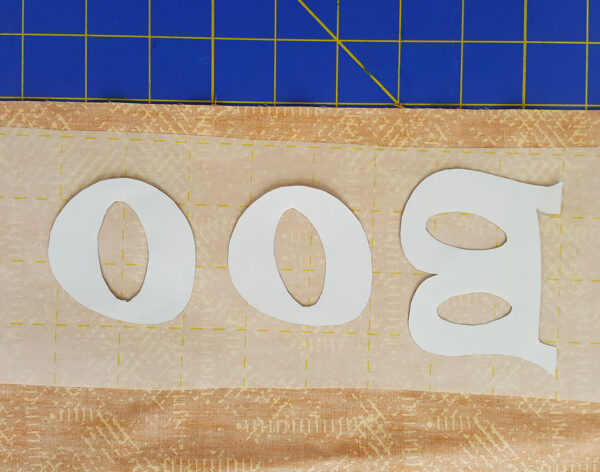
Use the “Boo” letters and place them backwards on the steam-a-seam paper and trace it with pencil.
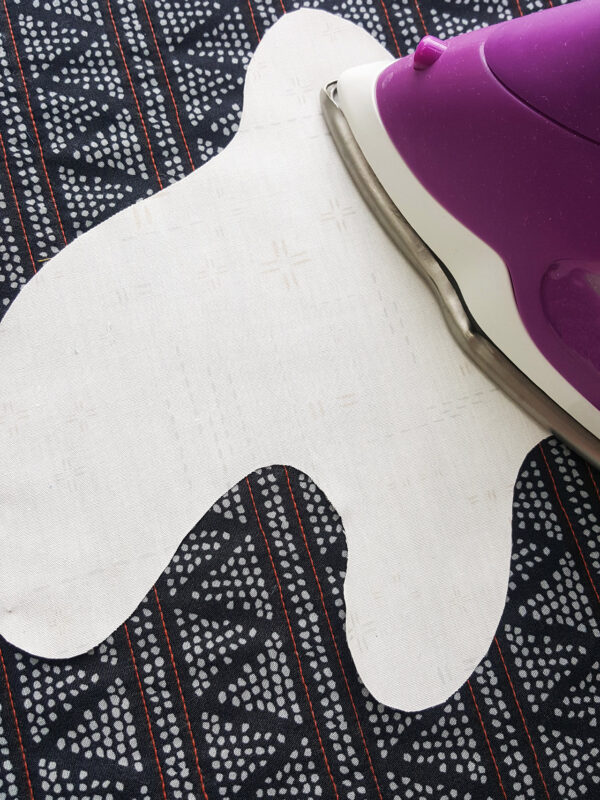
Cut the words and repeat the same process for the Ghost and the eyes. Remove the paper from the eyes and place them on the ghost face. Iron carefully.
Step 4: Placing Boo & Ghost on the fabric bag.
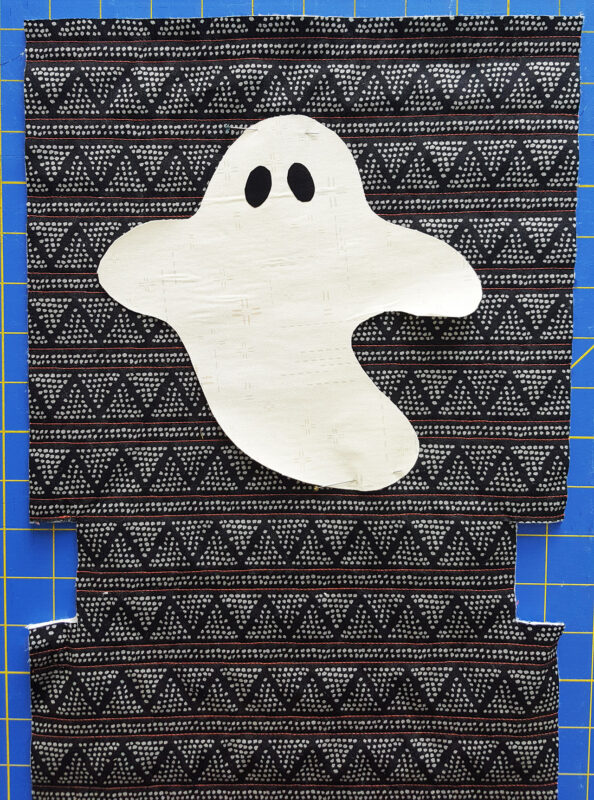
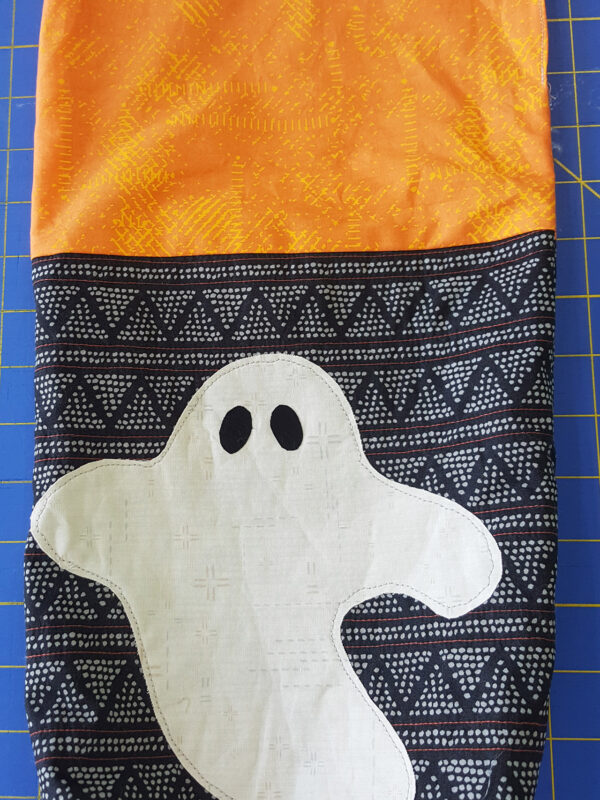
Take Ghost and place it on the center of one side of the bag. Pin your piece before removing the paper to make sure its centered and that your happy with the position.
Remove the paper carefully and place it on the bag. Iron carefully.
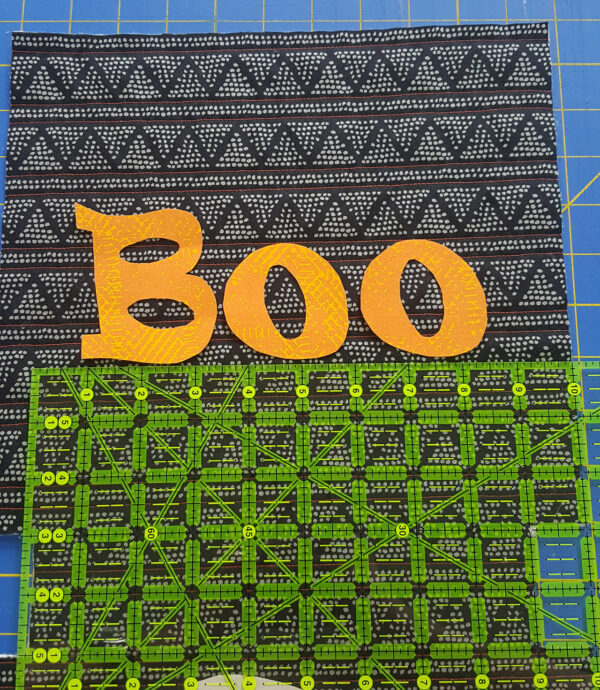
Place “Boo” on the other side of the bag about 3″ from the bottom of the bag, leaving a sufficient amount of space on the top. Remember: since this is will be your front side, calculate where you will want the fold of the bag.
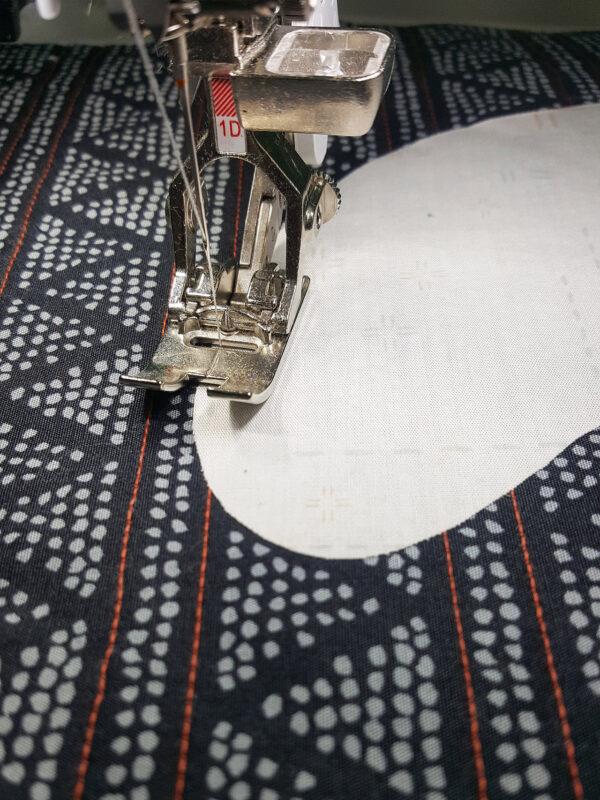
Topstitch your applique pieces with the Straight Stitch default setting close to the edge in order to secure it better.
Step 5: Adding the Button Loop
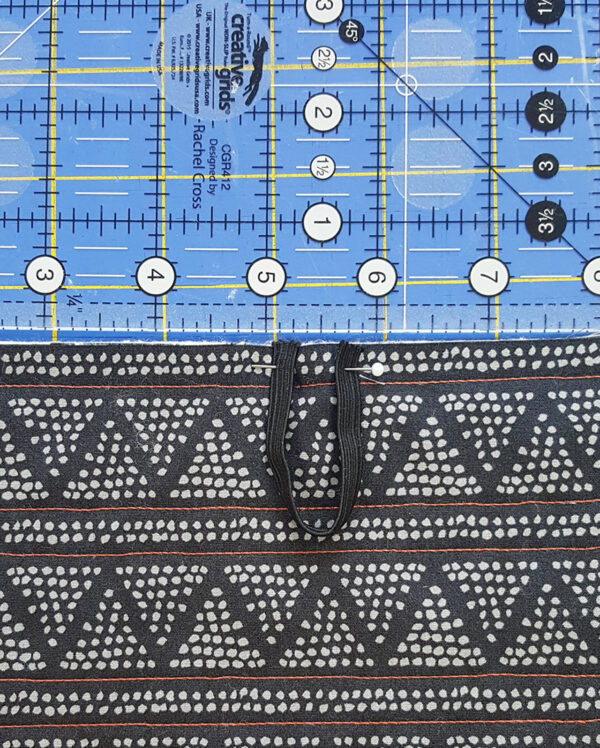
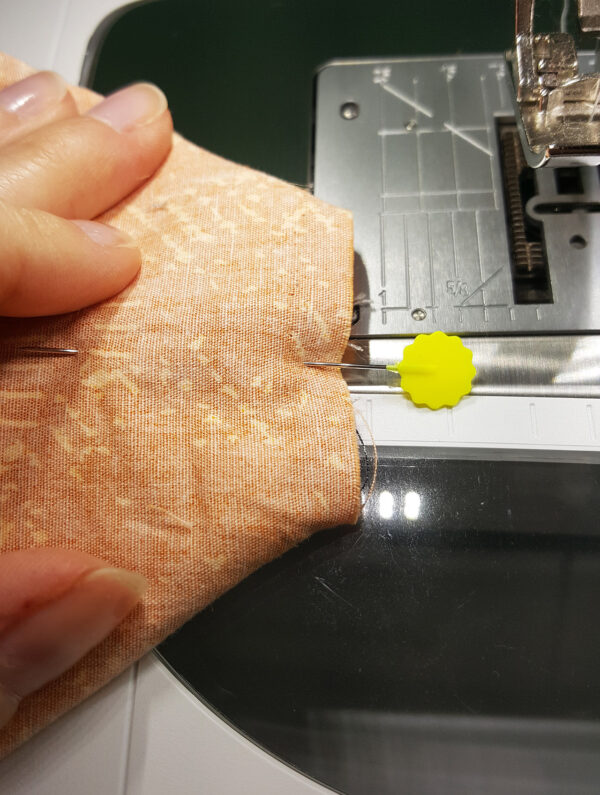
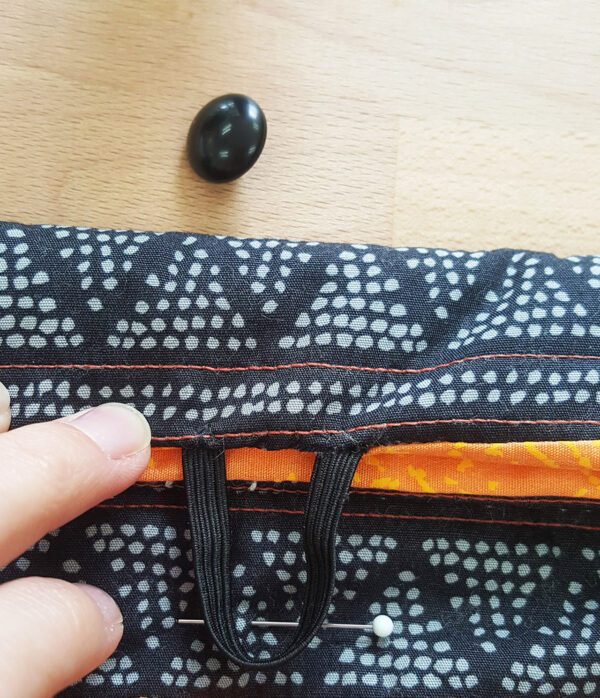
Fold the elastic in half to make a loop, then pin the ends to the right side of the back of the outer piece of Fabric A. Position it centrally across the top edge. Stitch at a 1/4″ seam allowance across the edge securing the elastic.
Step 6: Joining the outer to the lining
Place Fabric A and Fabric B right sides facing and match the seams together. Stitch at a 3/8″ seam allowance along both of the top edges. Open up your piece and match the seam together
Now, sew together along the side edges, leaving about 3″ of opening on one side of the lining fabric unstitched in order to turn your bag right sides out later.
Step 7: Making the boxed corners
Open out the corner from Fabric A, matching the side seams with the bottom fold and press it flat. Pin across the corners and then stitch. Repeat the same process for the other Fabric A corner and Fabric B lining.
Step 8: Finishing off
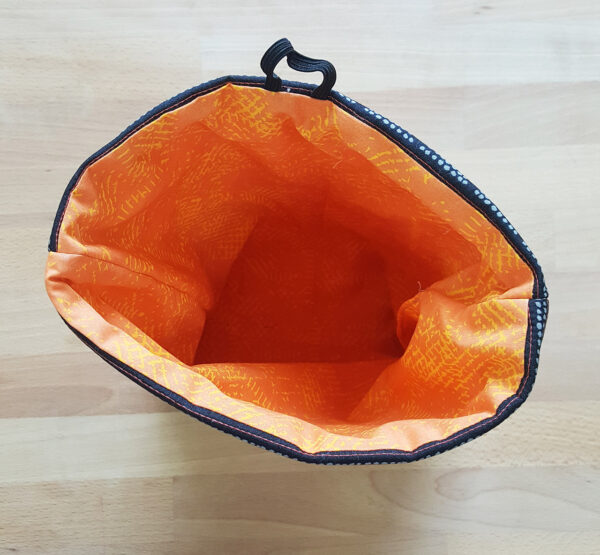
Turn the bag right sides facing out through the opening gap.
Machine or hand stitch opening closed and press your bag.
Insert the lining inside the bag.
Fold the top of the bag over, then stitch the button into place to match up with the end of the loop.
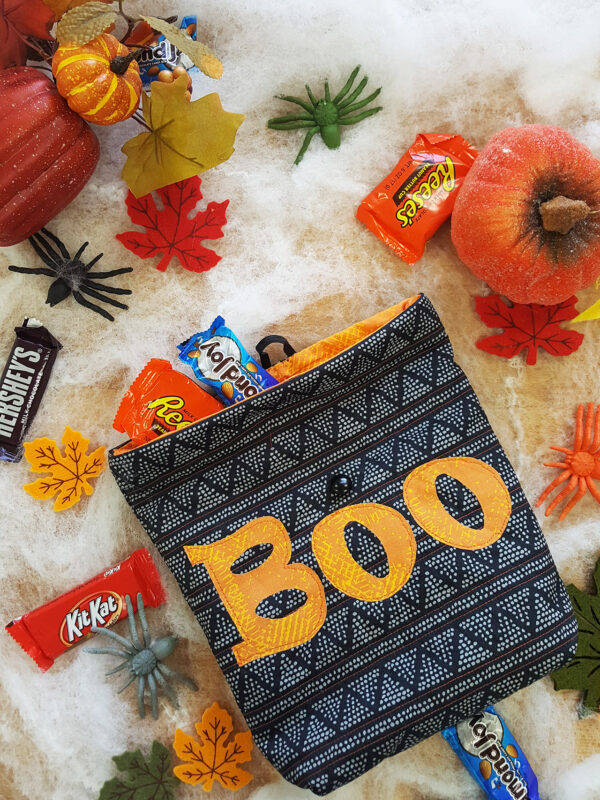
Now you have yourself you Trick-or-Treat bag! Have fun filling it with some Halloween candy.
Print this page

What you might also like

Leave a Reply