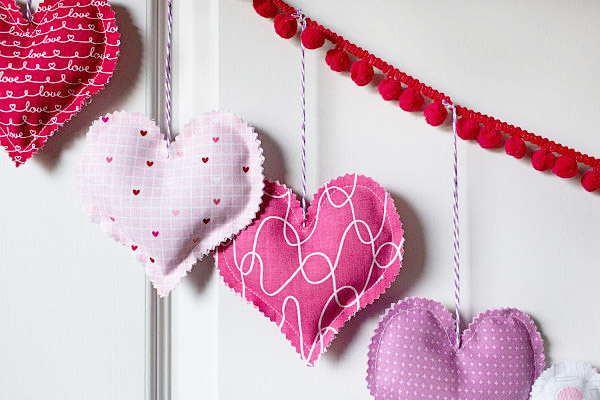
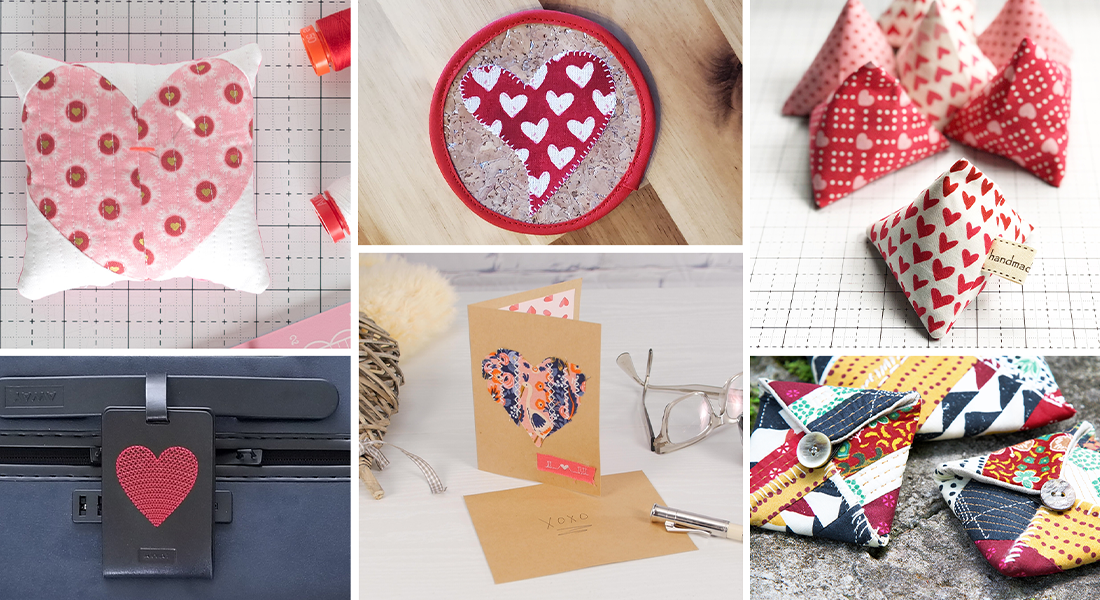
Valentine Heart Box Tutorial
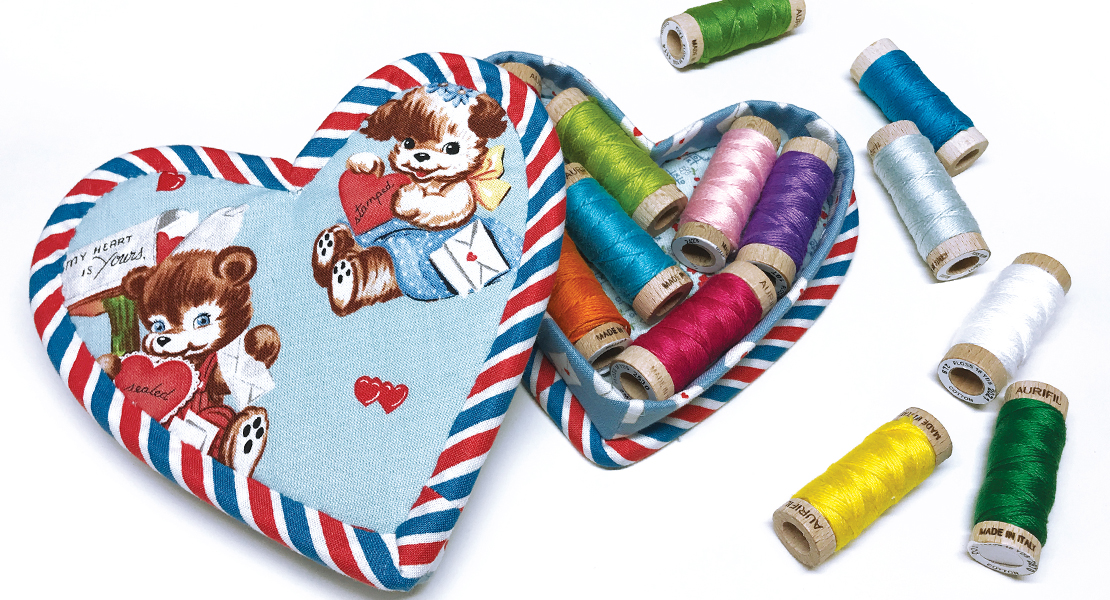
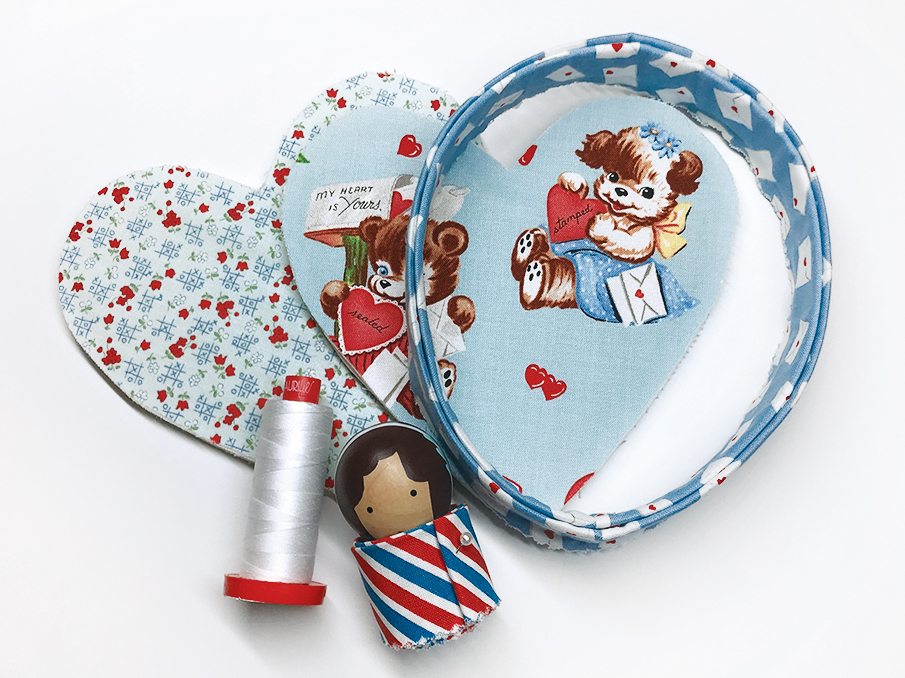
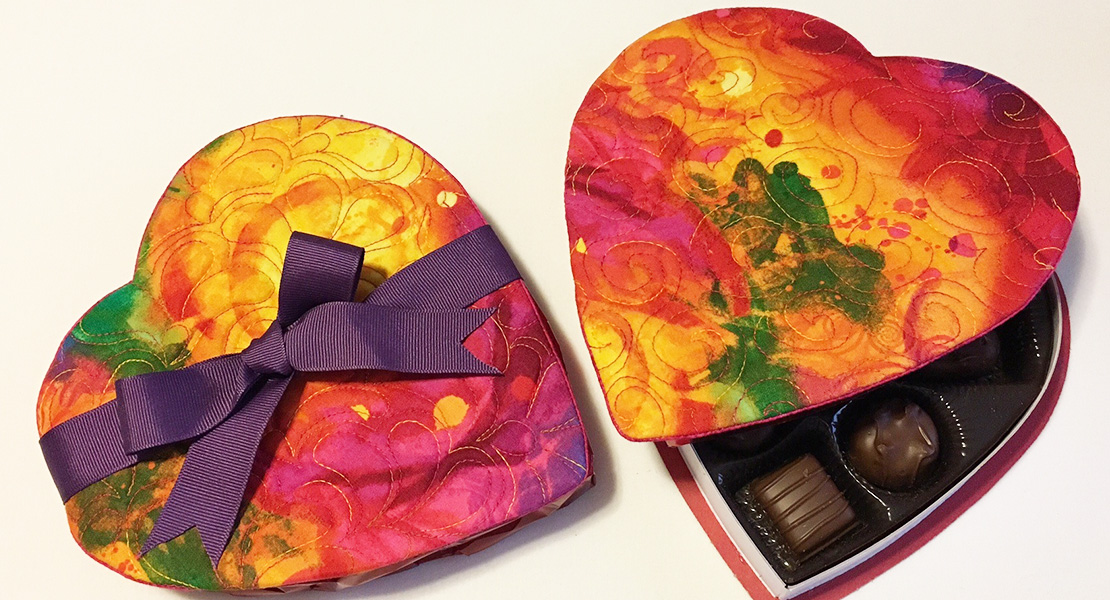
Hello everyone. It’s February and that means love is in the air, all kinds of love, and that includes…love for yourself. I’m so glad to be back and sharing this sweet free Kid Giddy project just for you. If love, life, joy, happiness, or fun came in a sweet little Sew Plush Valentine Heart box, what would be inside? Not sure? Here’s your chance to find out. I’ve taken out all of the guesswork so you can make this Sew Plush Valentine Heart Box for someone you love, including yourself. When you finish your box, fill it with just about anything you want, as long as it fits snug inside. Need it bigger or smaller, I’ll share tips along the way to make any size you want.
Materials to Create a Valentine Heart Box
- Download and print the Valentine Heart Box Pattern here
- 2 – 4 fabric squares 10″ x 10″ (2 prints – or 4 different prints & you’ll need larger pieces if you enlarge the pattern or want to fussy cut the design on the front)
- 1 2 1/2″ x 40″ jelly roll strips for sides
- 1 2 1/2″ x 40″ jelly roll strips for binding (or cut binding on the bias for ease going around curves and corners)
- 1 10″ x 10″ piece of By Annie Soft and Stable(tm)
- 1 10″ x 10″ piece of Ultra Firm stabilizer
- 1 10″ x 10″ piece of Lite fusible webbing if desired (glue basting will also work)
- 50 Wt Thread to match
- 24″ quilting ruler, mat and rotary cutter
- Mini iron
- Washable glue for basting, (starch as desired)
- Straight pins or clips
- Sharp angled tweezers
- Sewing machine
- Thread snips
Cutting Instructions
- Be sure to read all instructions noted in the pattern file to assist you with making your own Sew Plush Valentine Heart Box before you cut anything out.
- If you want to make your Sew Plush Valentine Heart Box bigger or smaller:
- Adjust the pattern size as desired.
- Follow the pattern dotted inside line as your guide then add a true 1/4″ seam allowance (solid line) around the outside edge.
- Readjust the length of all your side pieces and binding accordingly.
- Do not change the width of your sides as it is not necessary. However, if you want the Sew Plush Valentine Heart Box to be deeper, only change the width of the bottom sides and bottom side fabric.
Presser Feet and Accessories
- Reverse pattern foot with clear sole #34C (this is the foot that I use most often as it allows me to see where I need to sew and to see my fabric at all times)
- Zipper Foot #4 (This foot will allow you to sew the sides of the box on easier and the binding as well)
Ready to get started?
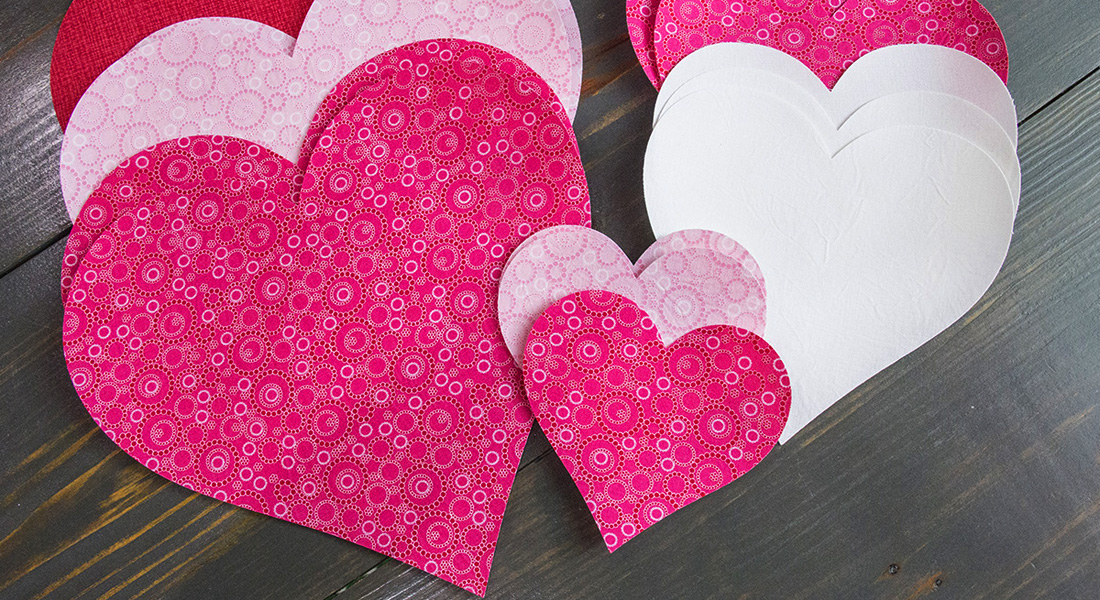
Print out the Sew Plush Valentine Heart Box pattern and cut the heart out. If the PDF prints properly, the 1″ line will measure 1″. If it is larger or smaller, adjust your printer settings and reprint or your other fabric and stabilizer measurements will require adjusting. We will start by sewing all of the top box pieces together (for ease in instructions) using a 1/4″ seam allowance. Once you complete the top, you’ll repeat all of the steps to sew the bottom box pieces together using a scant 3/8″ seam allowance. This will allow the top “lid” of the box to go over (and around) the bottom of the box.
Step 1:
Cut out all heart pieces and carefully glue baste the layers as follows (if you prefer to use a lite fusible webbing, layer accordingly and fuse prior to cutting):
- Top outside fabric attaches to Soft and Stable(tm)
- Top inside fabric attaches to ultra firm stabilizer
- Bottom inside fabric attaches to Soft and Stable(tm)
- Bottom outside fabric attaches to ultra firm stabilizer
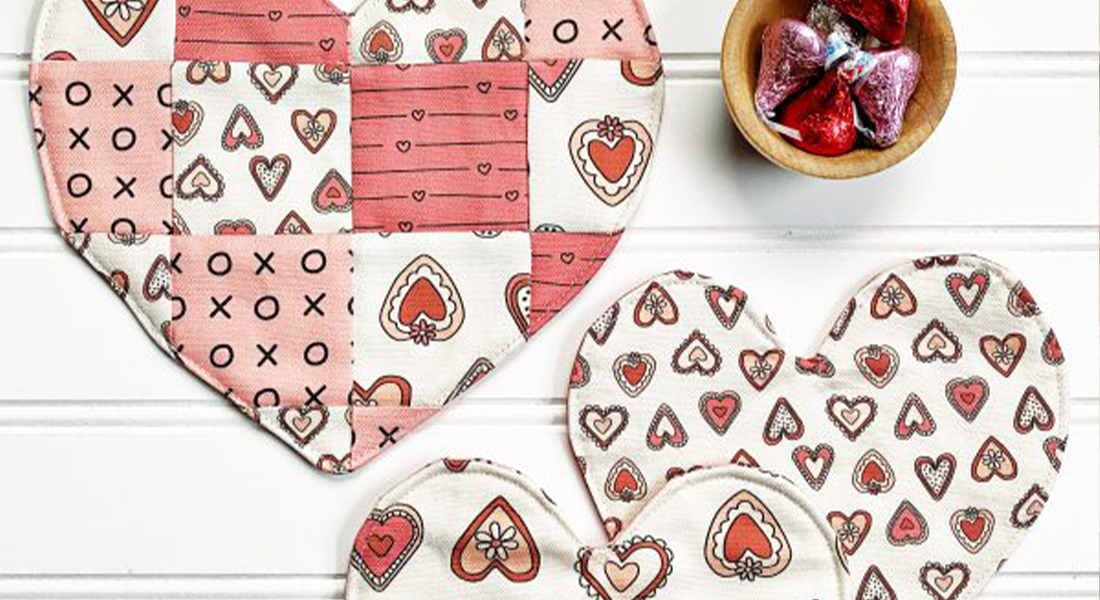
Attach the two top pieces to make it double sided as the “top panel”. Repeat this with the two bottom pieces to make the “bottom panel”. Add quilting to the panels now, if desired, before you move on.
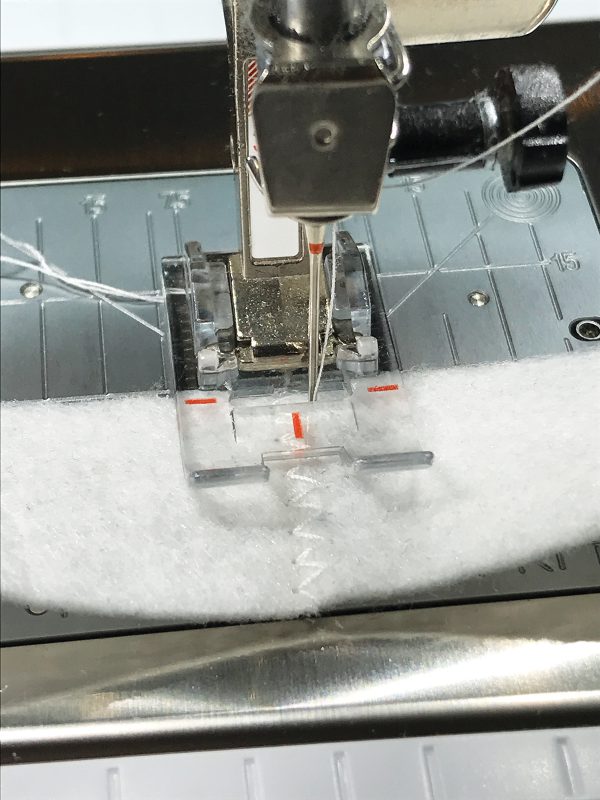
Step 2:
Sew the two top side pieces together using a zigzag stitch. I prefer using two sewn pieces because it will allow great flexibility in the center of the heart and at the pointed end of the heart.
 Step 3:
Place the heart pattern piece on a piece of cardboard or a cushioned ironing mat to pin into place, this will help verify the measurements for your side pieces and binding (if you changed the pattern size). The top sides for the heart will be slightly longer and wider than the bottom sides because the top has to cover the bottom. Place the side pieces along the dotted line to verify the length, then cut the ends at the bottom point and stitch the ends together to form a ring.
 Step 4:
Sew your 2 1/2″ strip together end to end. Press open the seam allowance to reduce bulk in the next step. (Tip: If you changed the size of the pattern, this length should be the same length of the side pieces plus 1/2″ for seam allowance.)
 Step 5:
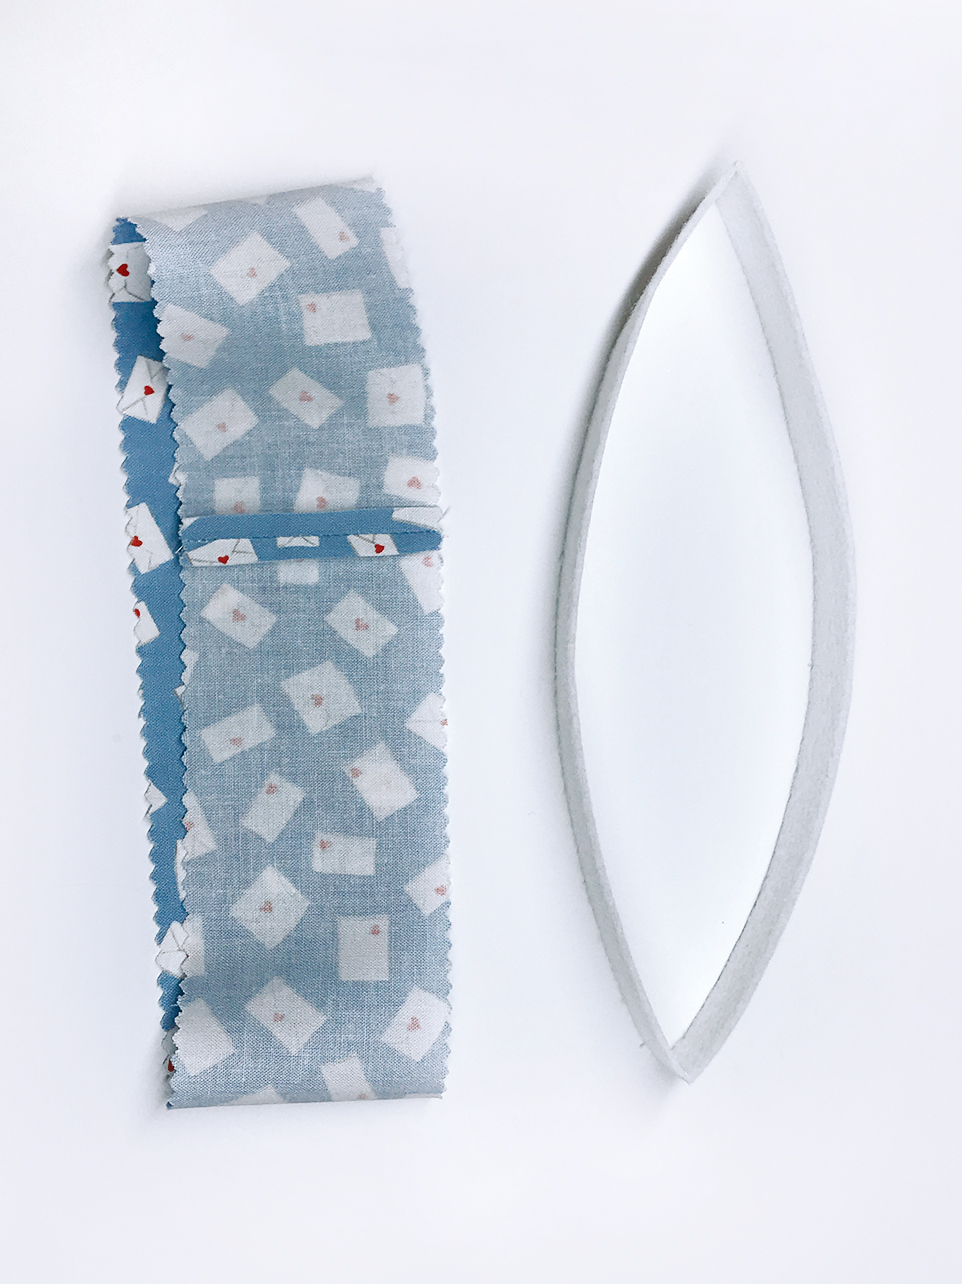
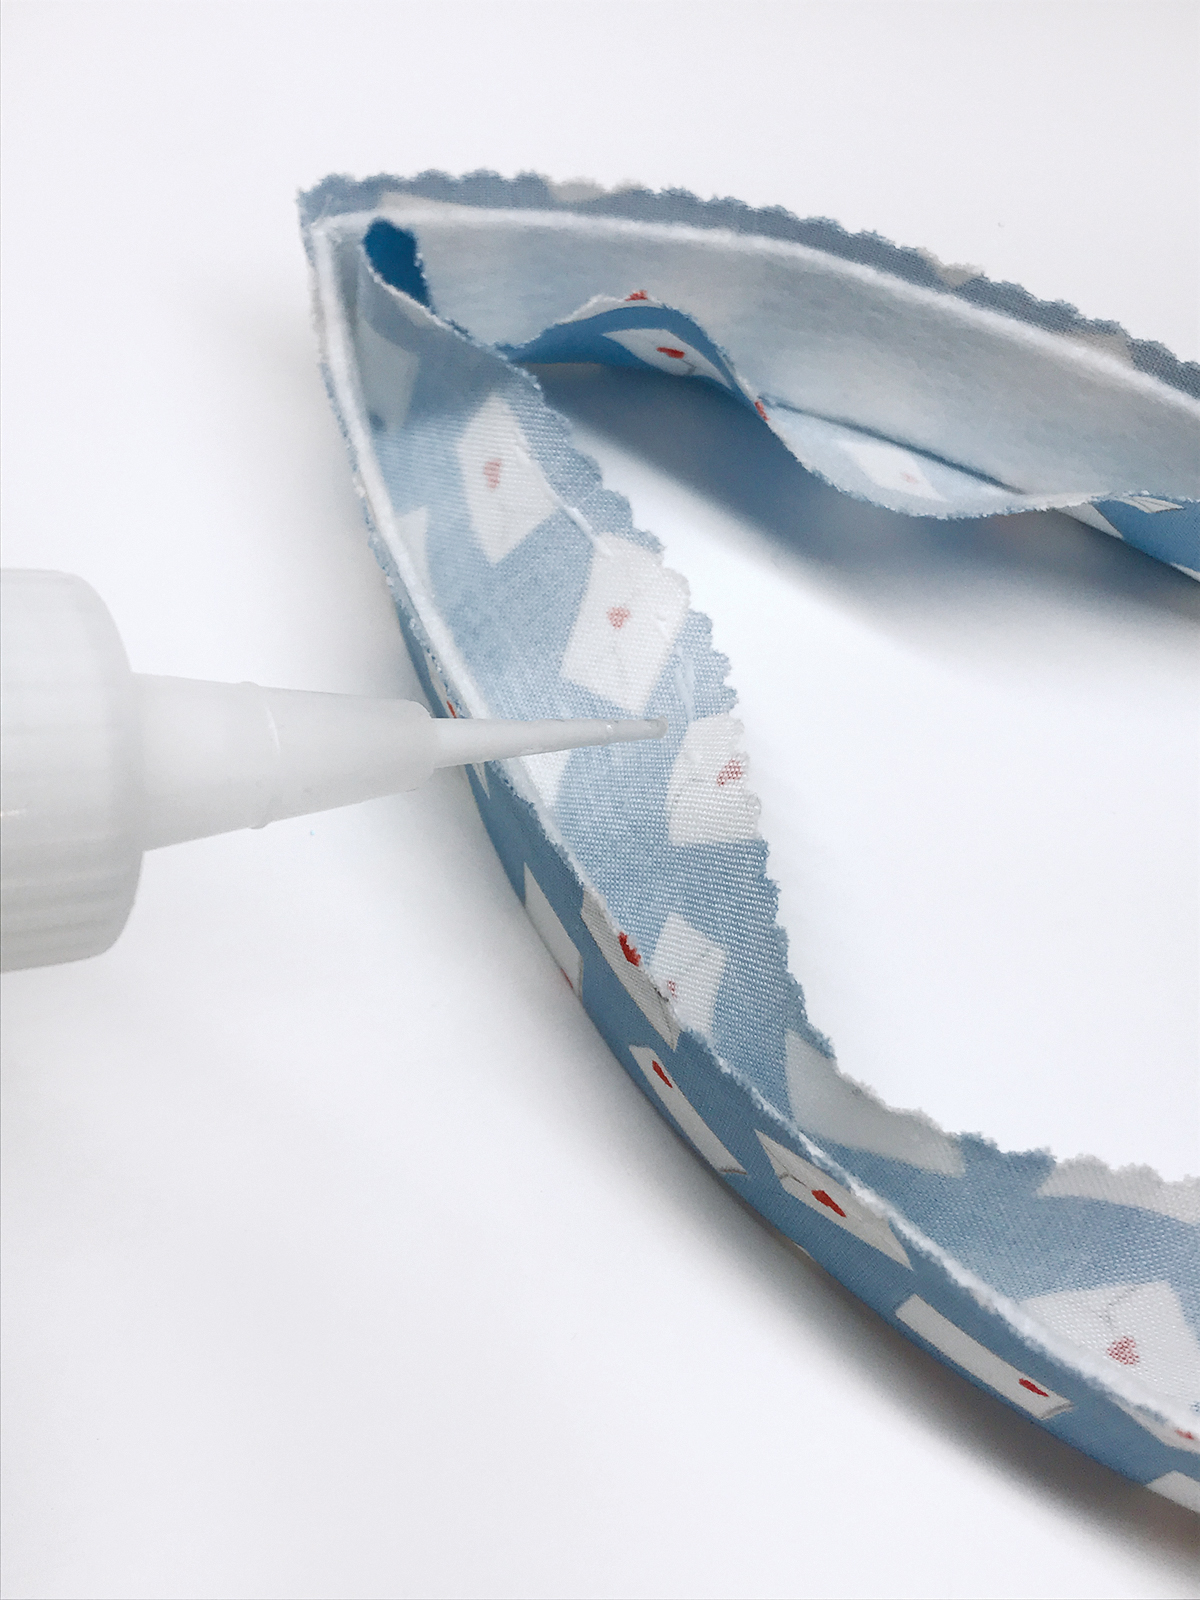
Fold and press the sewn fabric strip in half with right side out and place the ultra firm stabilizer on the inside. The fabric seam should sit at the bottom seam of the ring. It is very important that the stabilizer sits centered so the top raw edges of the fabric meet up once folded in place. Lightly glue baste (add a little glue and press with an iron) the fabric to the stabilizer. Then glue baste the edges together to prevent any layers from shifting in the next steps. (Tip: The top will have a 1/4″ seam allowance, while the bottom will have a scant 3/8″ seam allowance.)
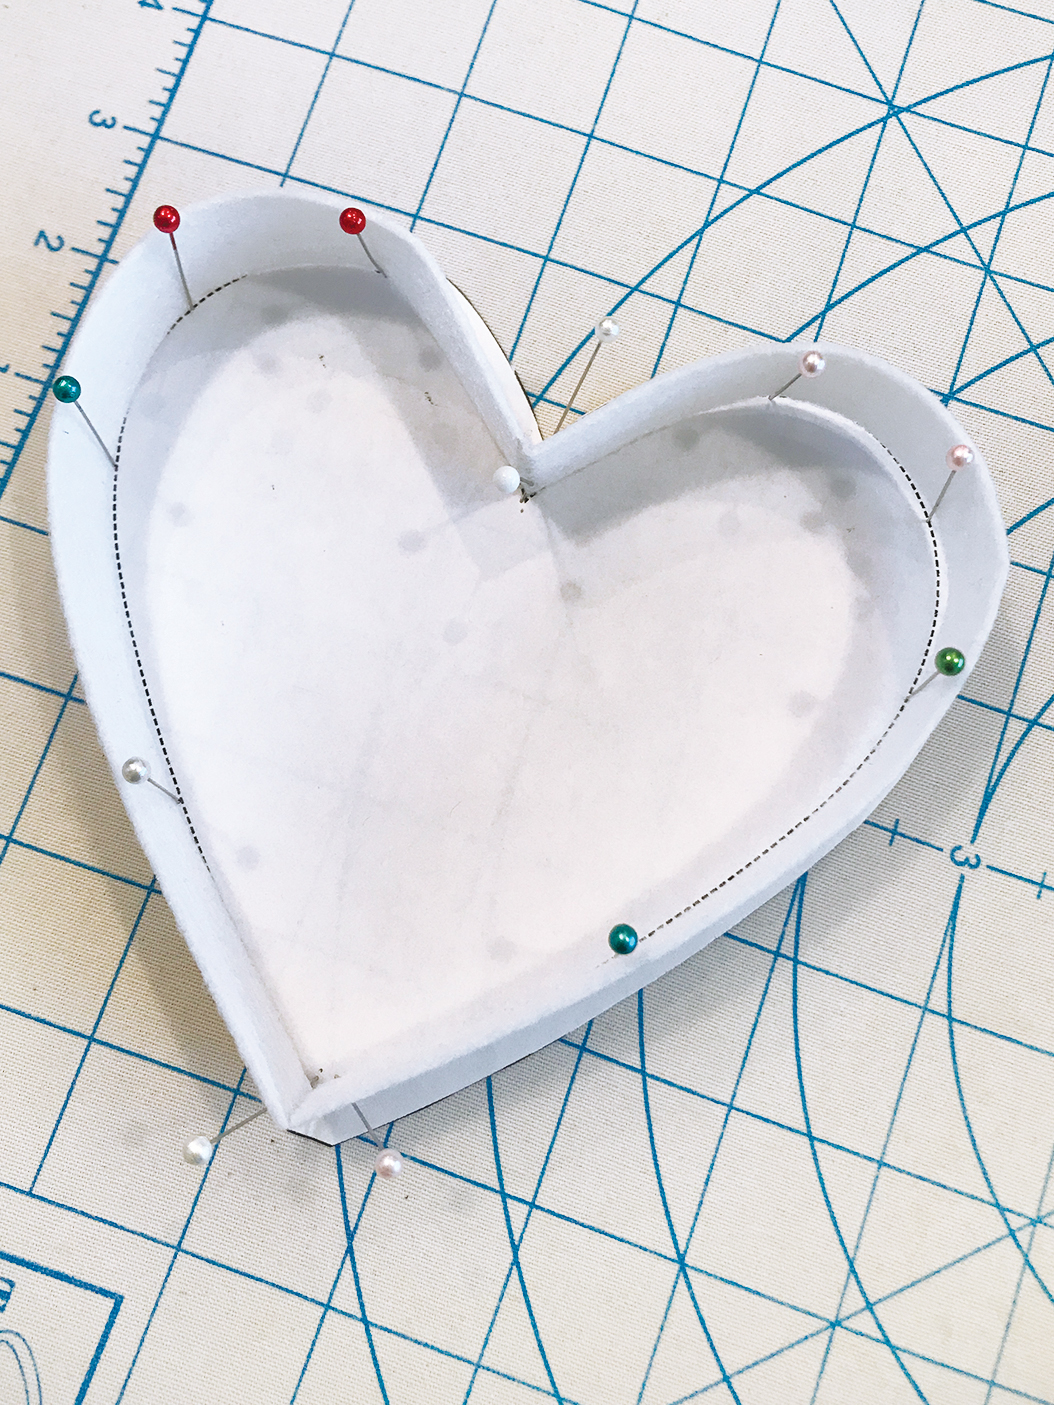
 Step 6:
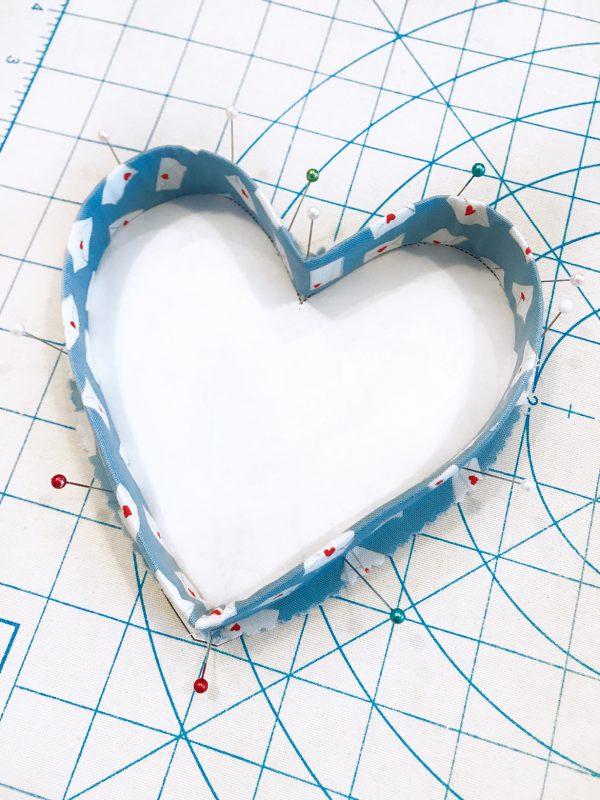
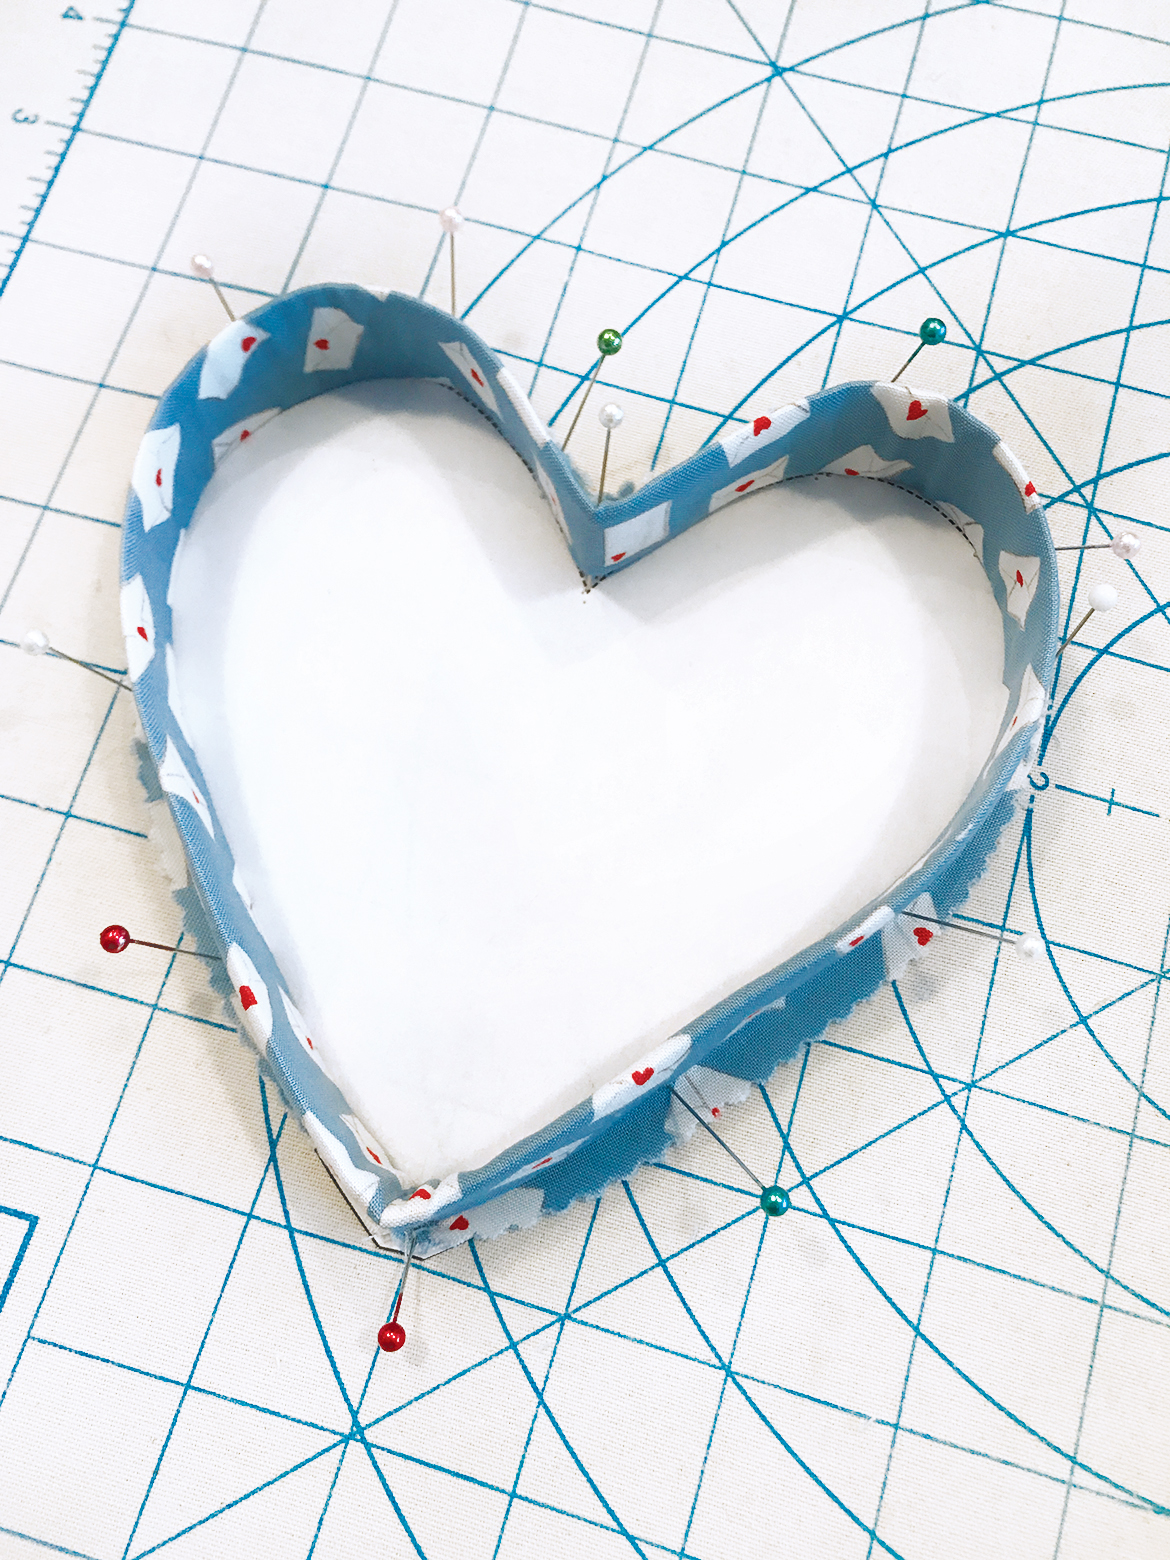
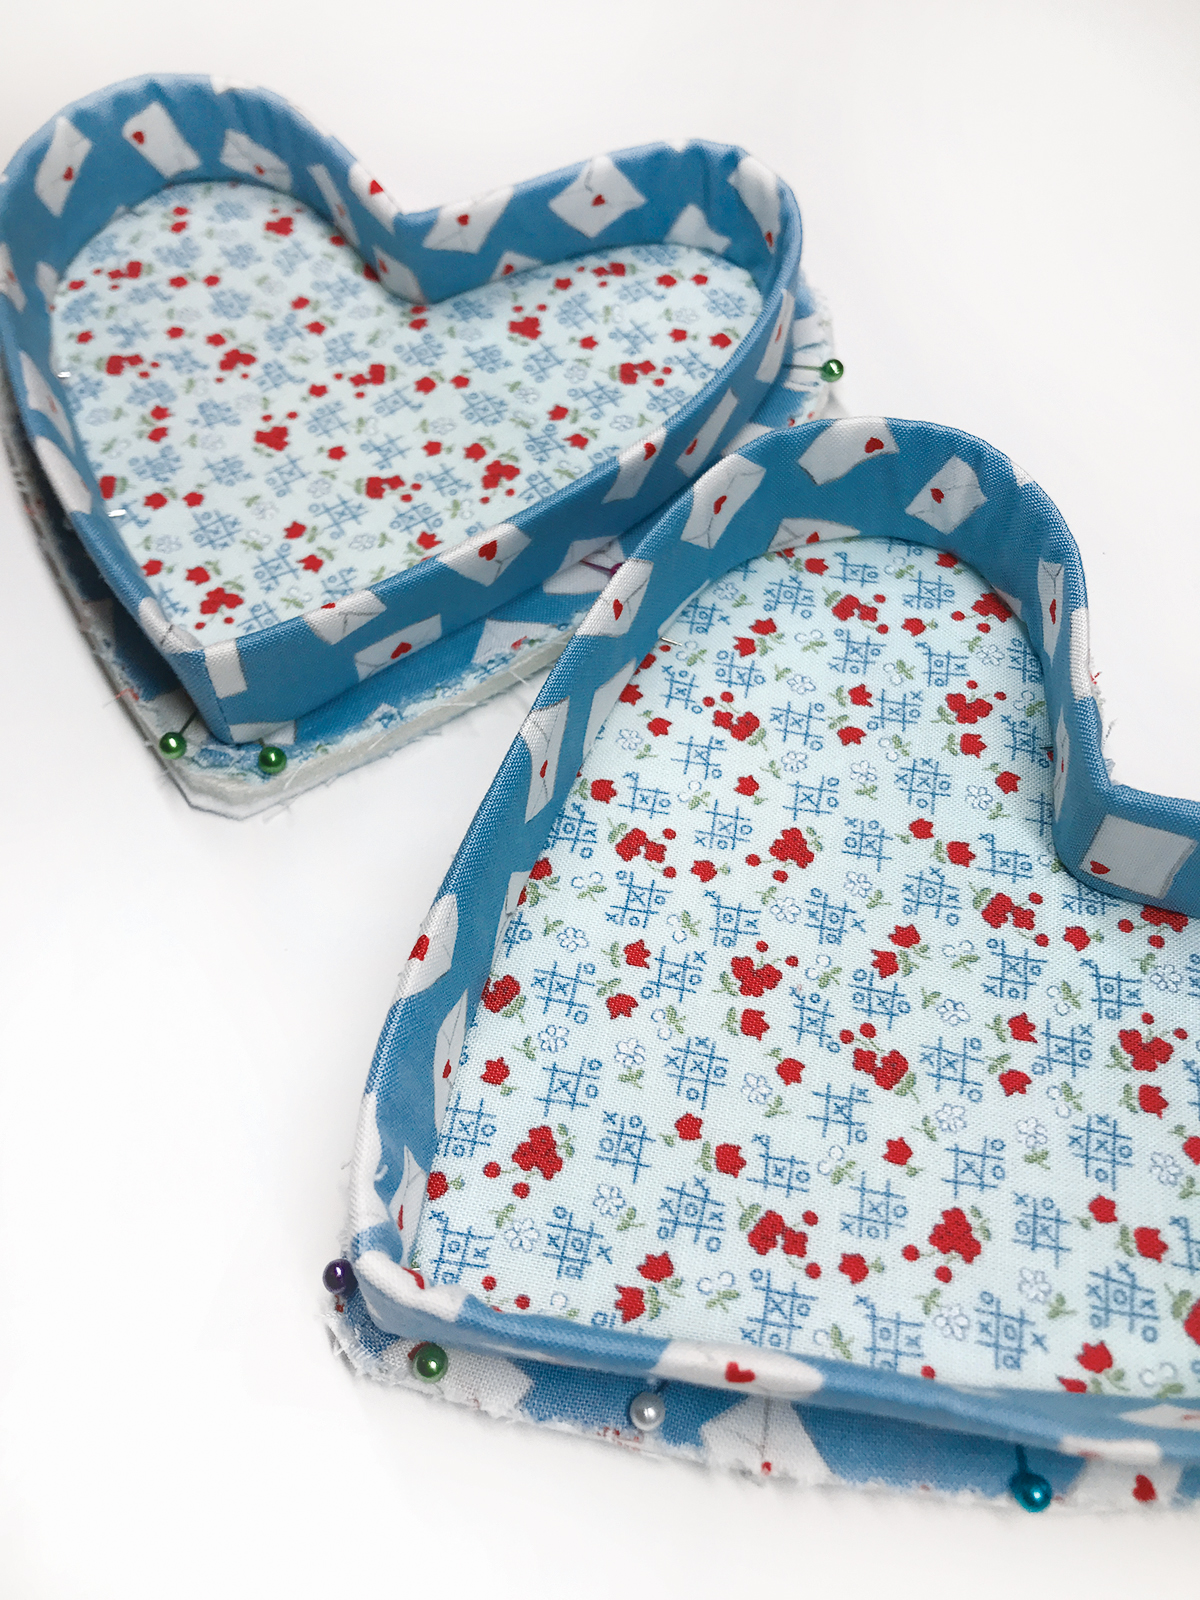
To verify the proper sizing, pin the fabric covered side ring to the paper pattern prior to sewing everything together. (Tip: The top will sit directly on the dotted line, while the bottom should sit directly inside the dotted line.)
 Step 7:
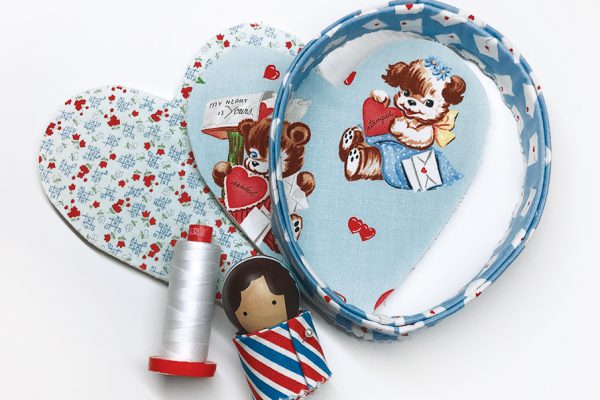
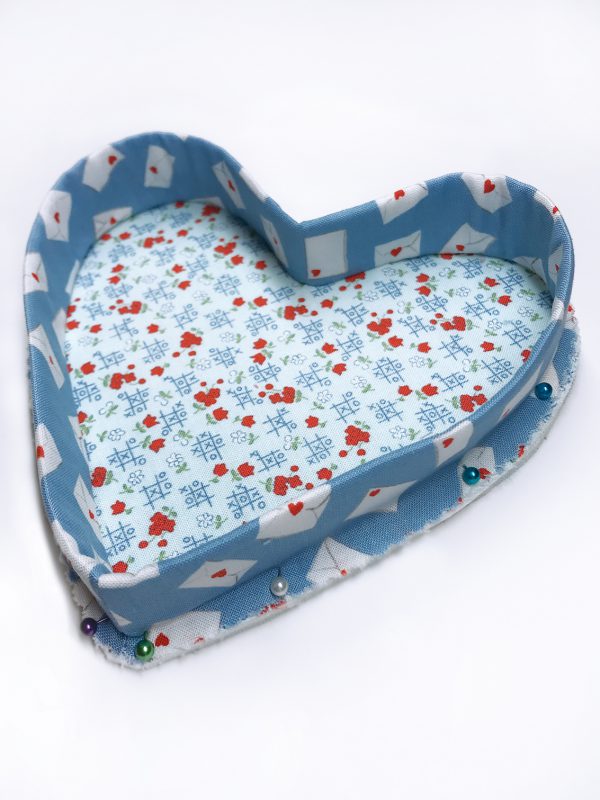
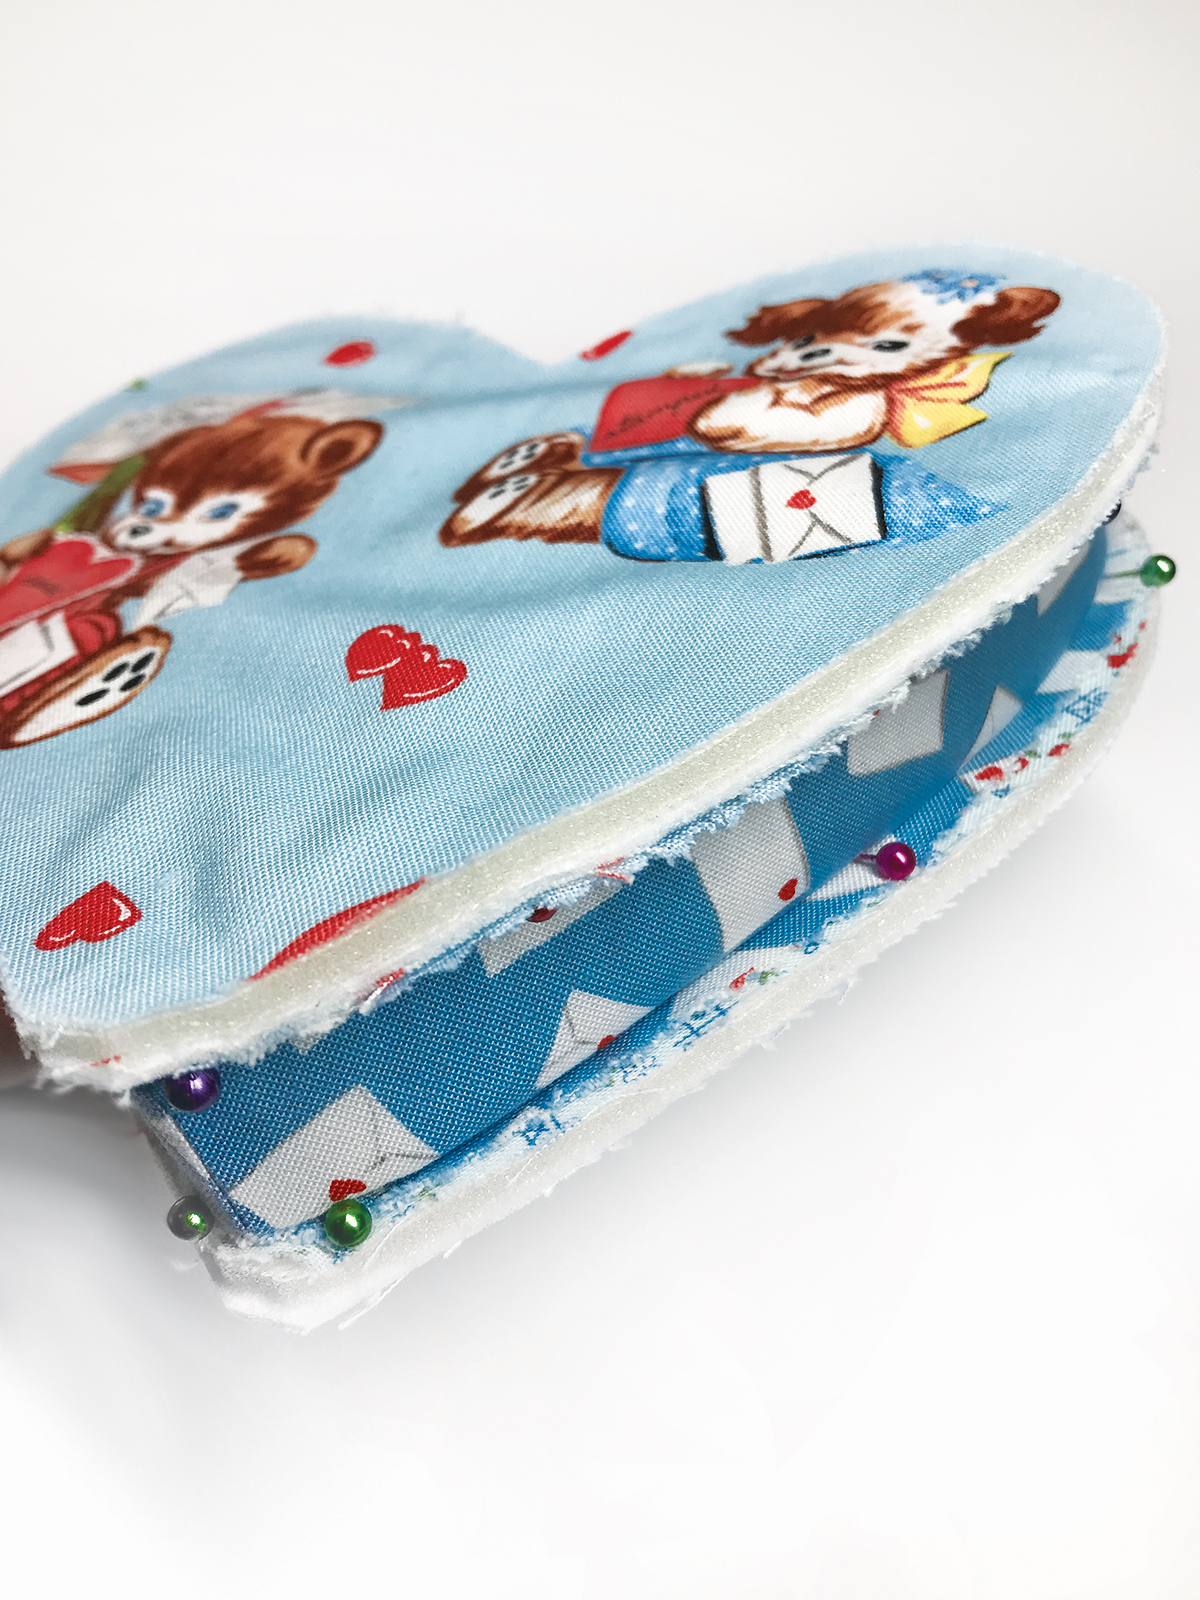
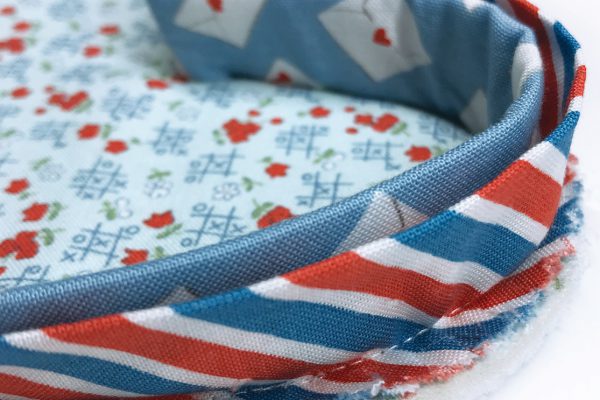
Repeat steps 2 – 6 to make the fabric covered side ring for the bottom of the Sew Plush Valentine Heart Box. Once completed, you should have the top heart shape piece (front and back), the bottom heart shape piece (front and back), the binding (2 1/2″ strip pressed in half lengthwise) and the two side pieces (that look like fabric covered rings) where the bottom fits into the top as shown below.
 Step 8:
Pin the top lid side piece to the top lid heart panel. The tic-tac-toe fabric is my inside fabric choice. Be sure to attach the side ring to your “inside” fabric choice. Repeat for the bottom side piece to the bottom heart panel.
 Step 9:
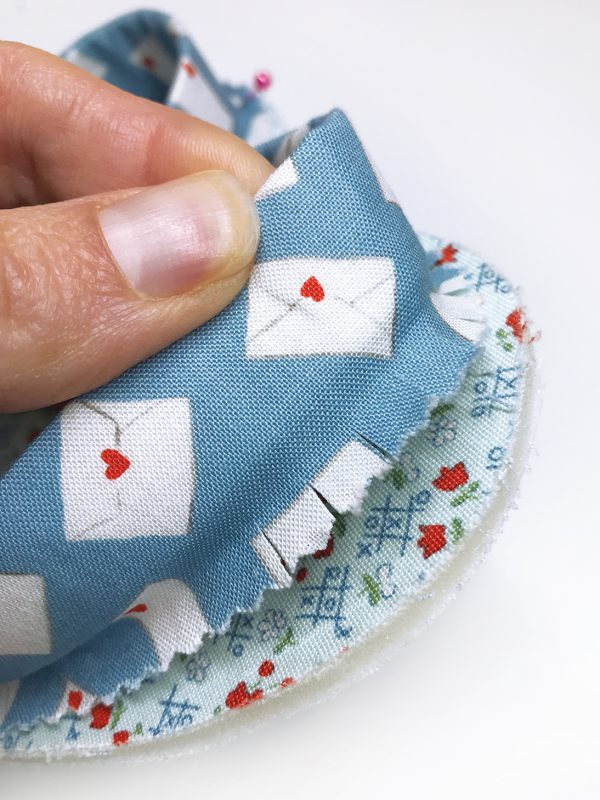
If your strips are cut straight and not on the bias (bias is not recommend), you will need to carefully clip the outward curves to help ease the fabric around the edge. This will avoid it from curling around the edges making it difficult to work with. Clip every 1/4″ and be sure not to clip too far up to the seam line.
 Step 10:

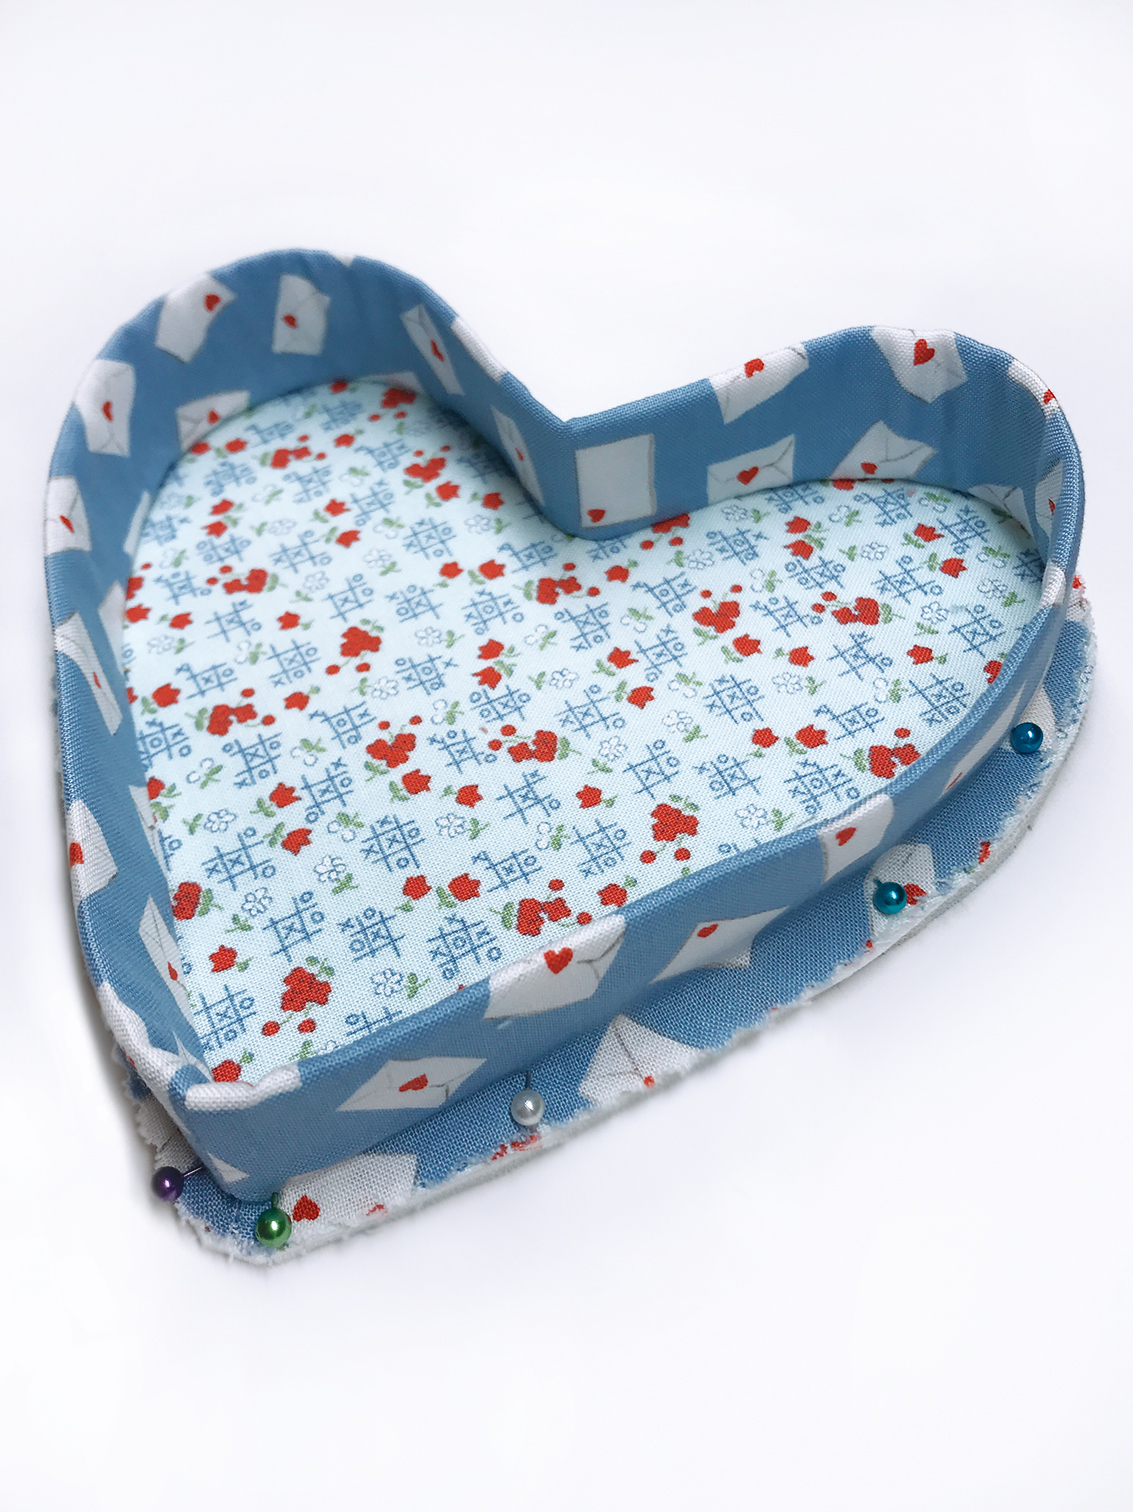
Both sides should be pinned to their respective panels. The top lid will have a 1/4″ seam allowance and the bottom will have a scant 3/8″ seam allowance.
 Step 11:
Before moving on put the top lid onto the bottom of the box and make sure they fit together properly.
 Step 12:
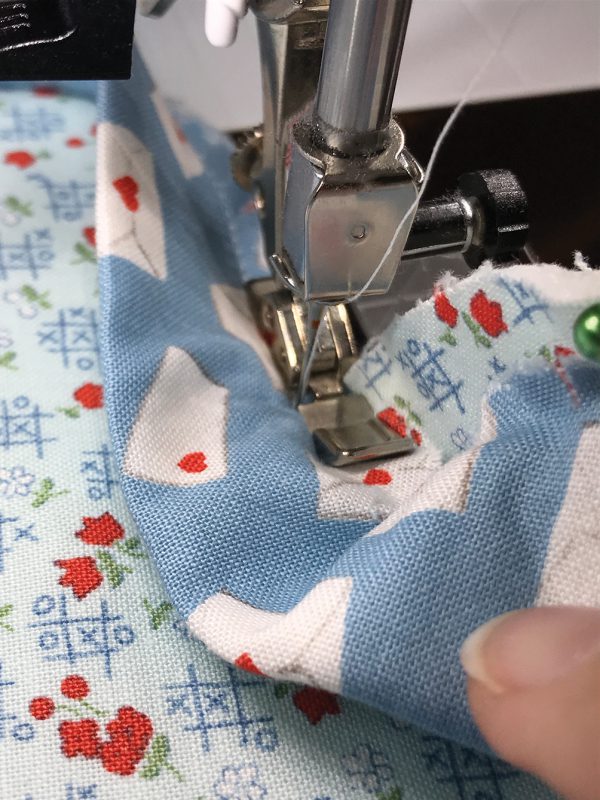
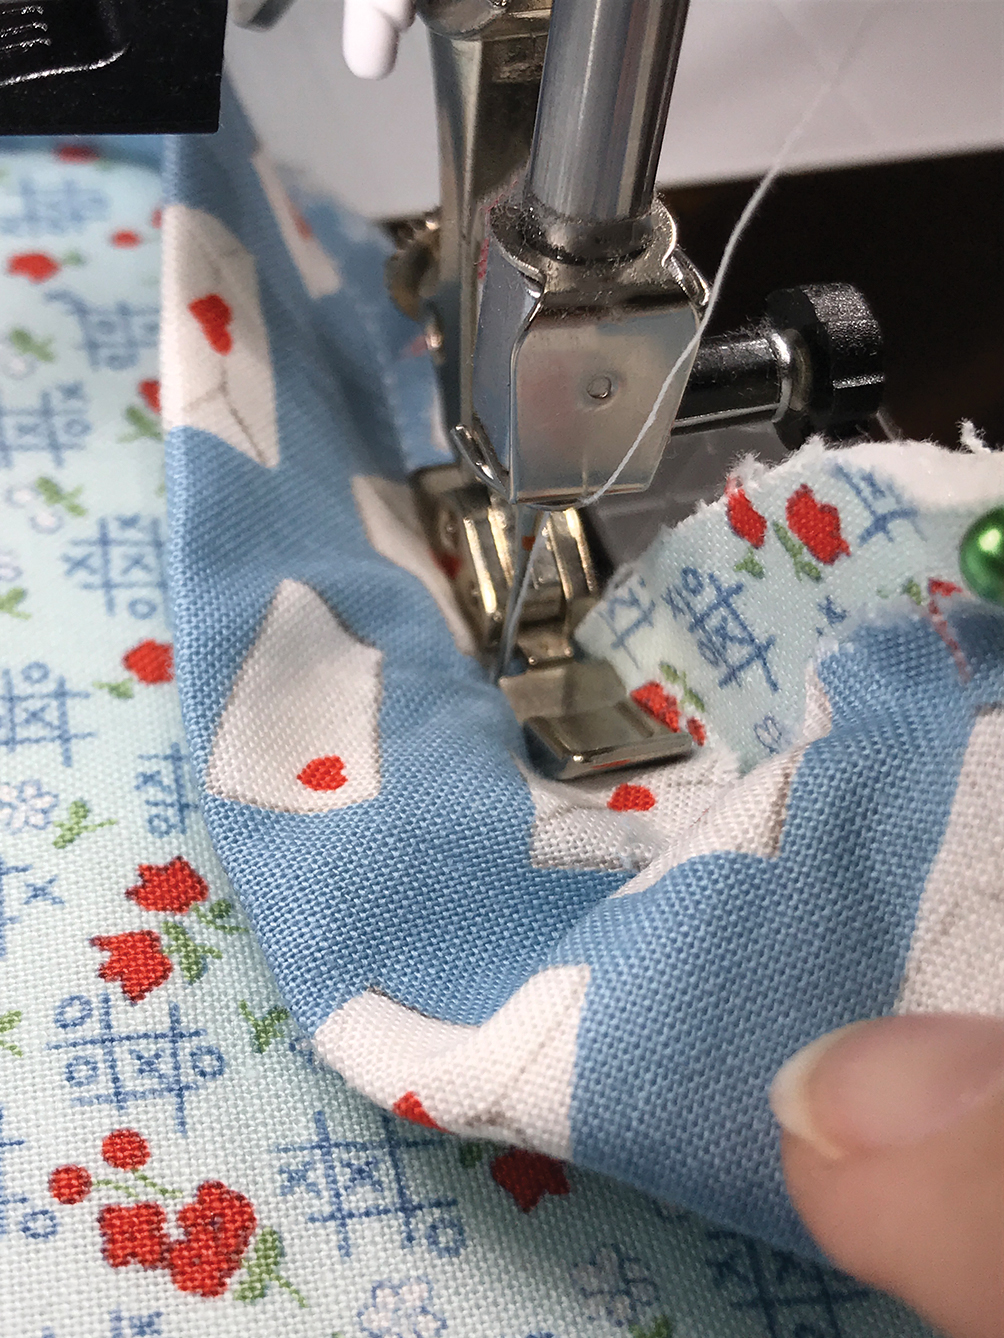
Using the Zipper Foot #4 and after adjusting your needle placement, carefully begin sewing around the edge of the sides to attach the side rings to the panels. When you get to the center dip in the heart, you will need to unpin the curve and pull the side down flat to get right into the center point. Leaving your needle down, pivot the pieces to begin sewing up and around the second curve. Readjust the fabric as necessary before continuing. Fold over the fabric to reduce bulk in this center point as you would with binding.
 Step 13:
With the side rings attached, sew the binding together end to end after checking measurements,similar to step 4. Repeat steps 8 – 10 to attach the binding to the top lid and repeat for the bottom of the box also.
 Step 14:

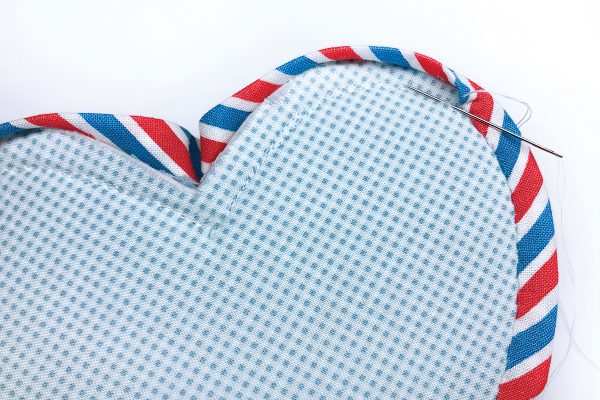
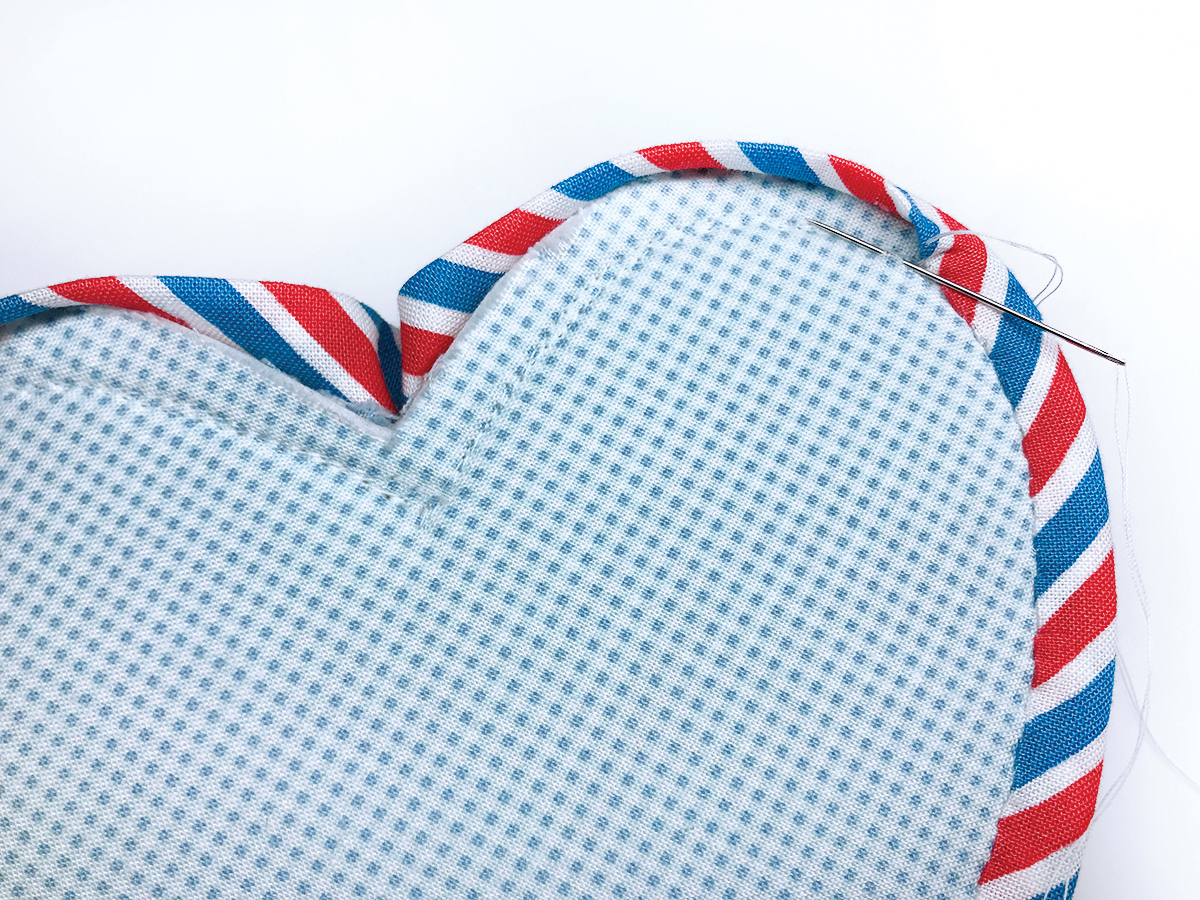
Fold over the binding and hand stitch it to the front on the top lid. Repeat this step to the back side on the bottom of the box.
 Step 15:
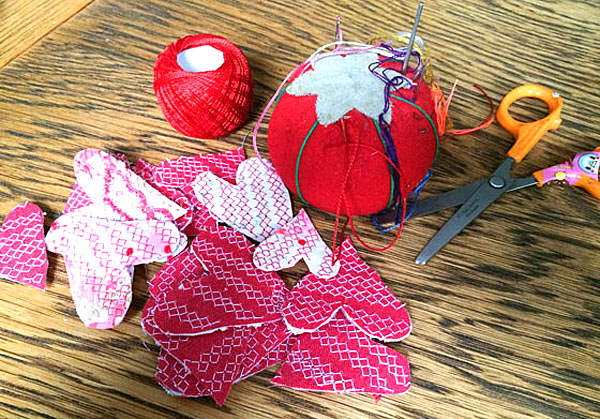
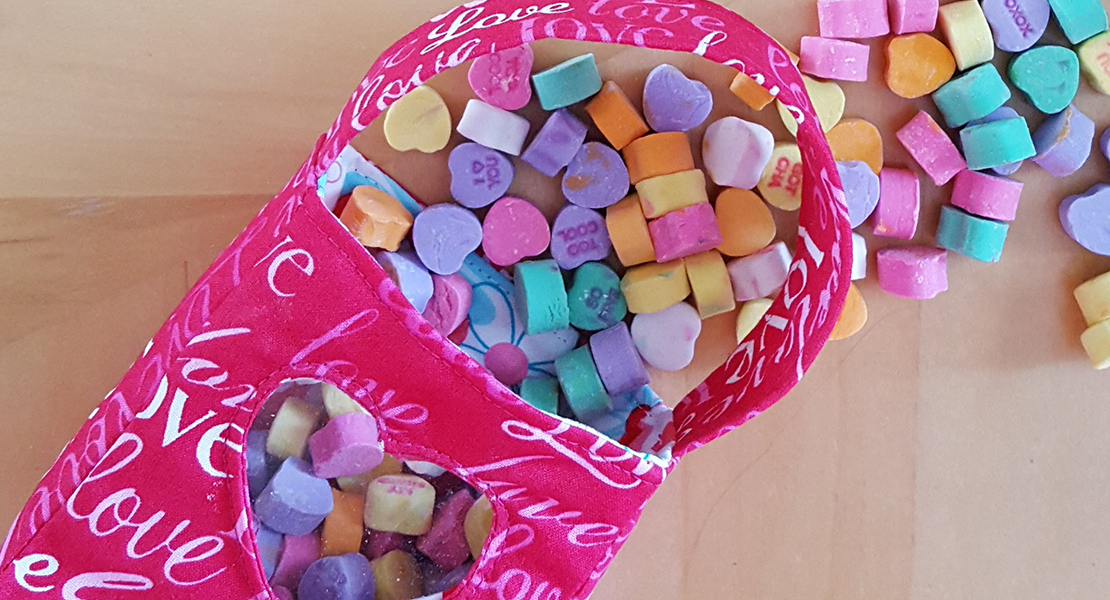
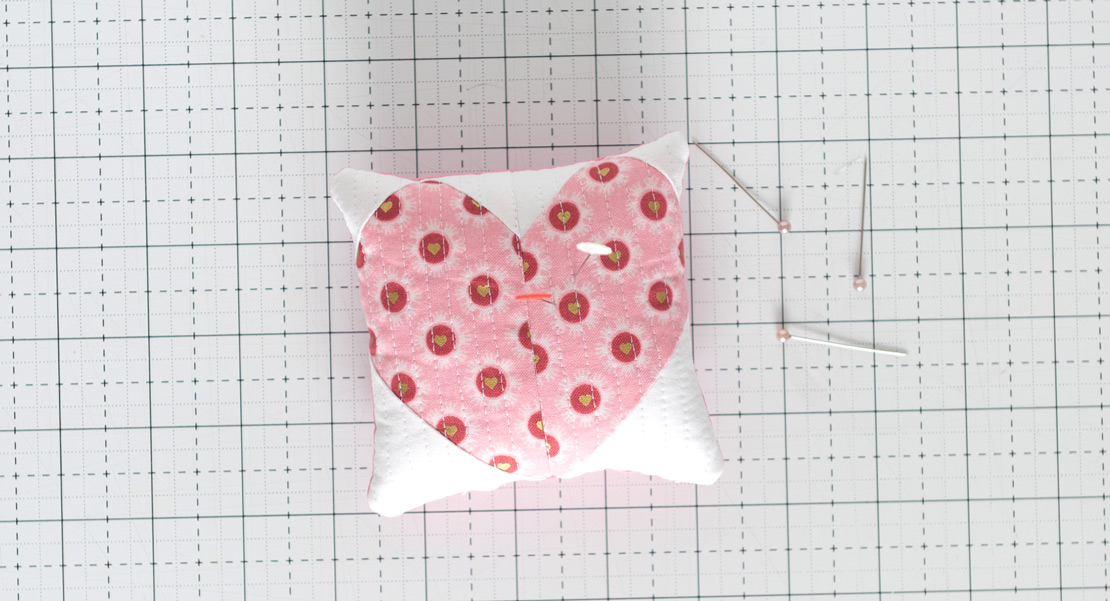
Add some goodies like threads, jewelry, candy and so much more to complete your Sew Plush Valentine Heart Box. Want to use this as a little carry-all for your travel sewing needs? Make a heart shaped cushion for the inside to turn your box into a cute pincushion box.
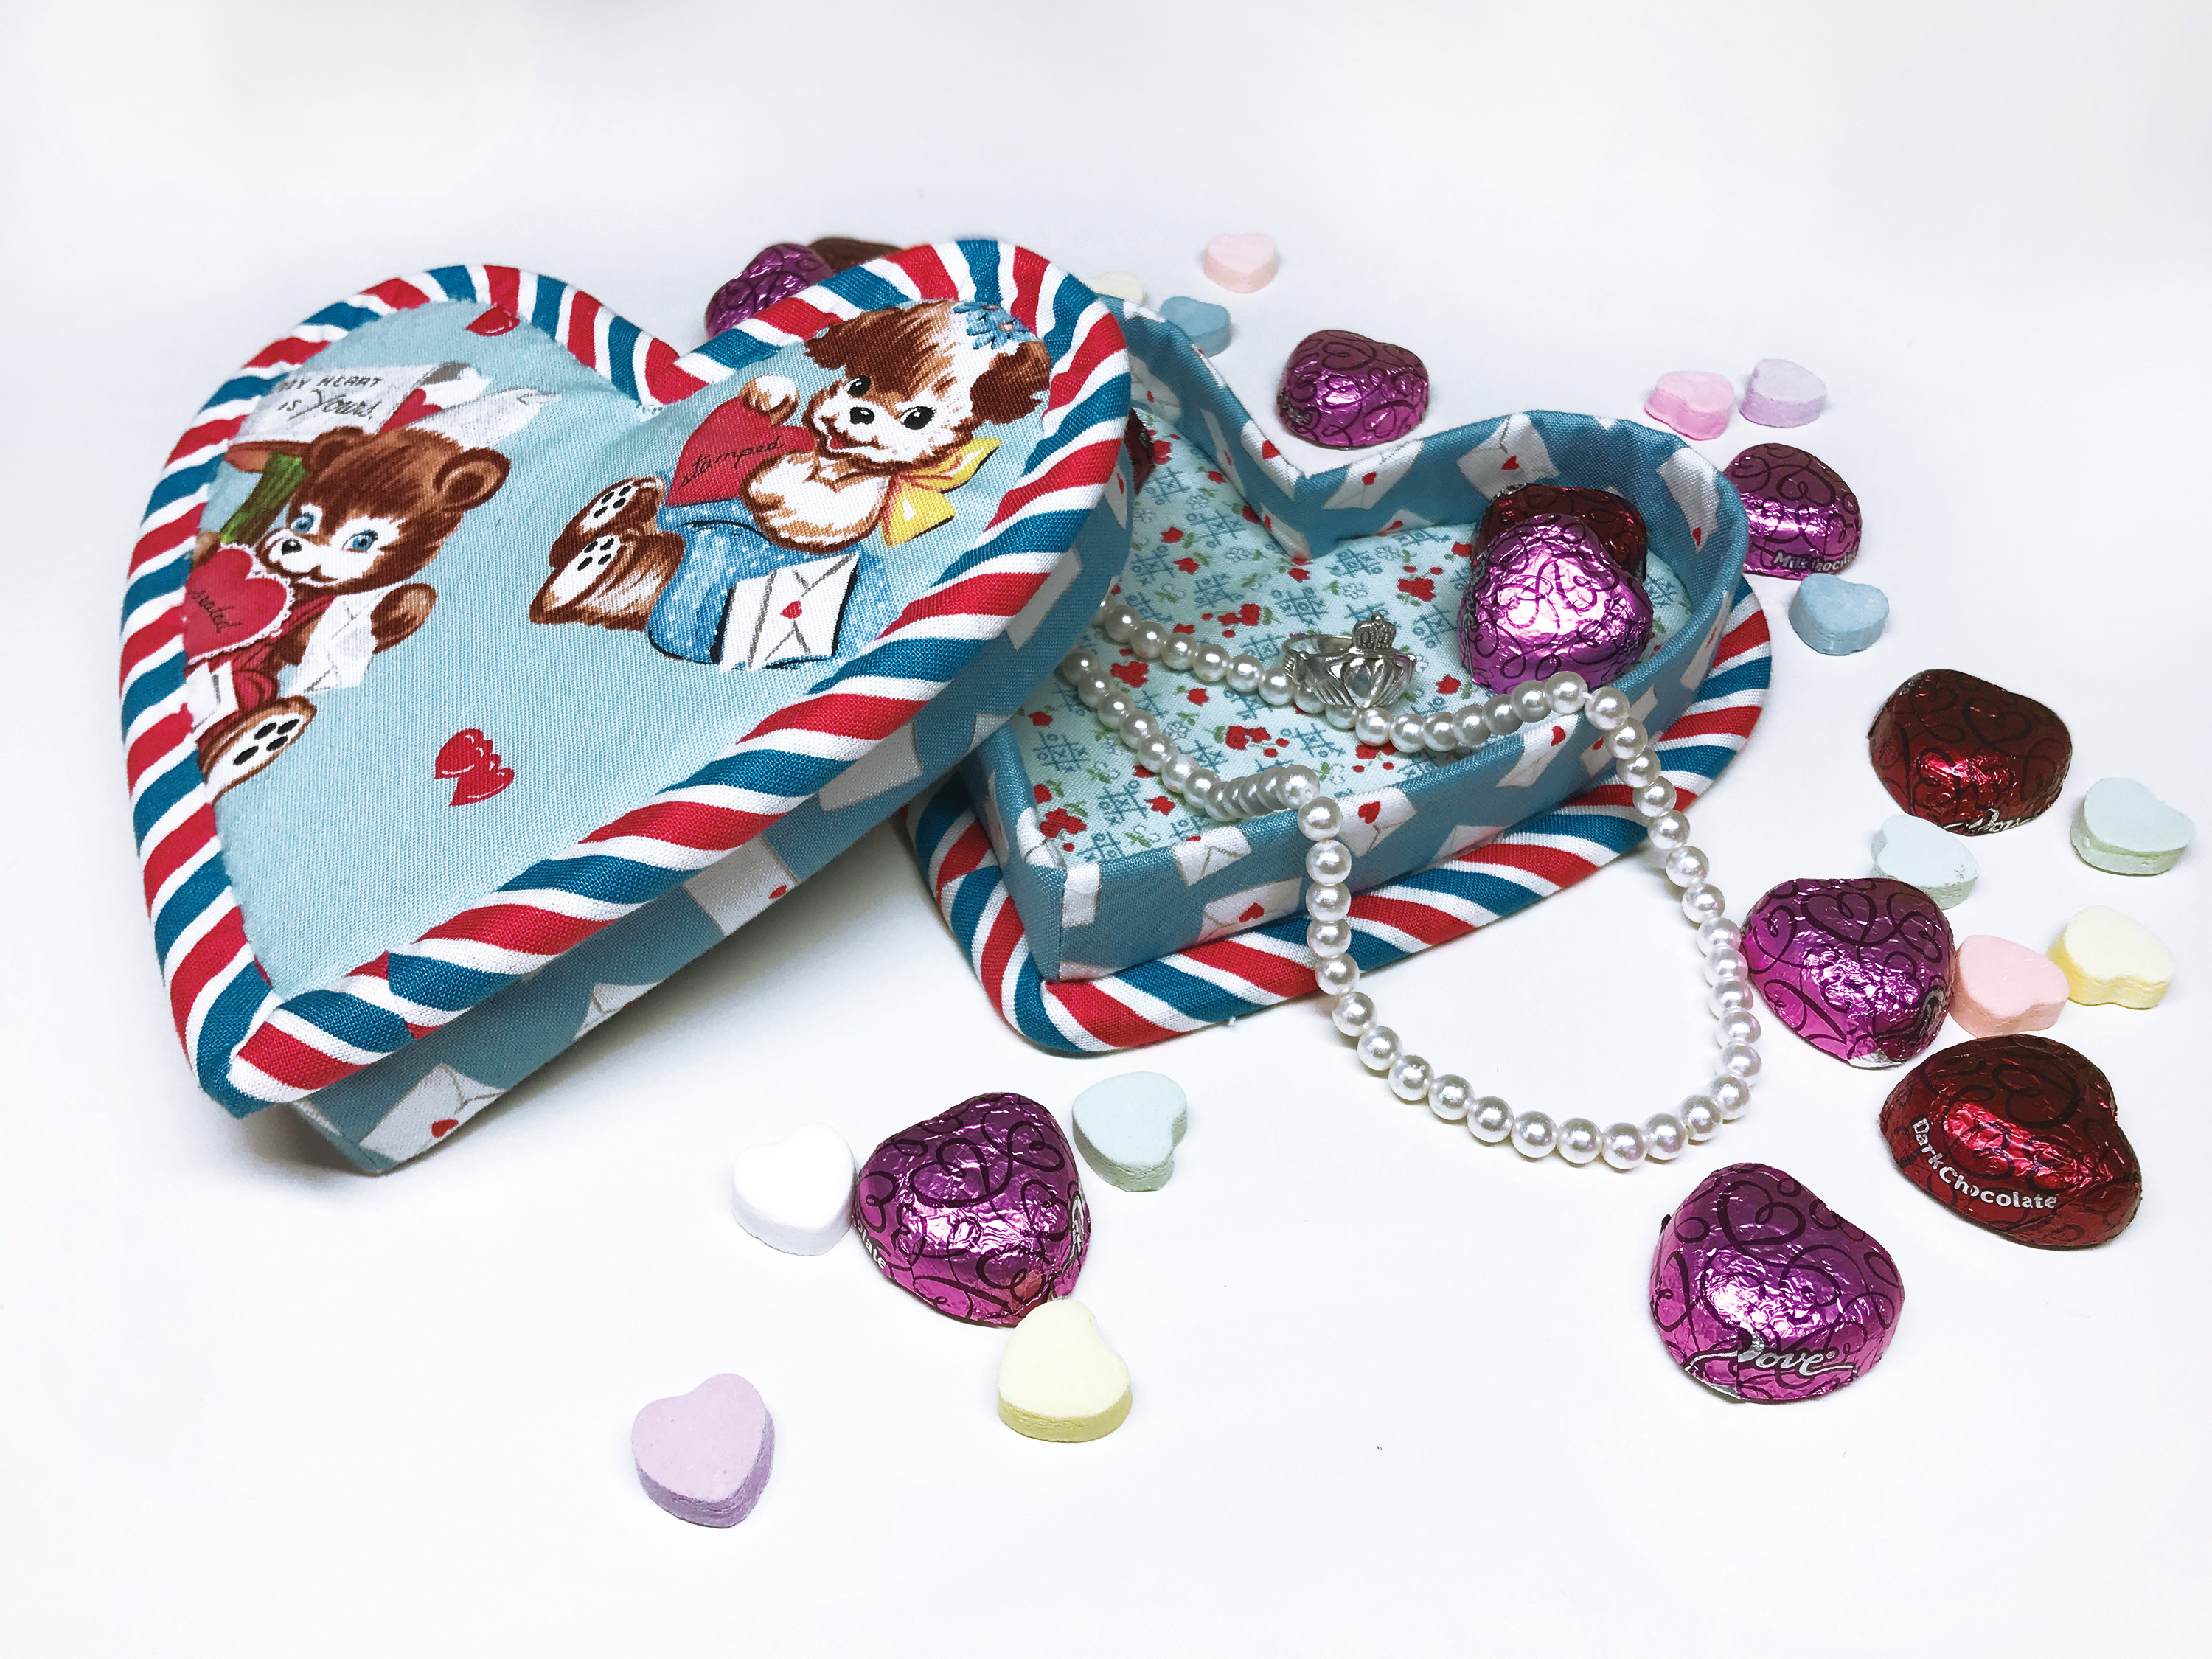
Although I have said this could be done in a weekend, it also can be done in an evening after you’ve made your first one. It gets easier as you go. I’m looking forward to seeing your #SewPlushValentineHeartBox and what you decided to put inside! Please feel free to ask me any questions below and tag me on IG @kidgiddy with your sewn box. Join me on social media IG @kidgiddy, FB @kidgiddy and on my website kidgiddy.com. Happy Valentine’s Day to all! – Kerry
Used Products


What you might also like


7 comments on “Valentine Heart Box Tutorial”
-
-
Thanks so much @raquelt. Isn’t it adorable? I neglected to share the fabric is “Love Letters” by Lindsay Wilkes with Riley Blake Designs.
-
-
This is so cute! Thanks for sharing Kerry!
-
Thanks so much Sue! <3
-
-
So, I just attempted this and it came out a mess. I feel like the instructions were unclear. I never knew how much to cut and the lengths and things. I would pay money for a video tutorial or a more detailed photo tutorial, with way more photos. I really, really wanted to make this and even special ordered the soft and stable, but I can’t figure it out.

-
Hi SonieSews, I’m so sorry to hear you are having some difficulties. All of the measurements are in the pdf pattern file, so I’m not sure what might have been missing. If you’d like to reach out to me through @kidgiddy Instagram, maybe you can send me a photo of your heart box and share where things got confusing for you? I’d be happy to try and help. Thank you! – Kerry
-
Okay, I have just sent a very long message on Instagram. Thanks!
-
-
Leave a Reply
You must be logged in to post a comment.
Lovely idea. I like your retro fabric!