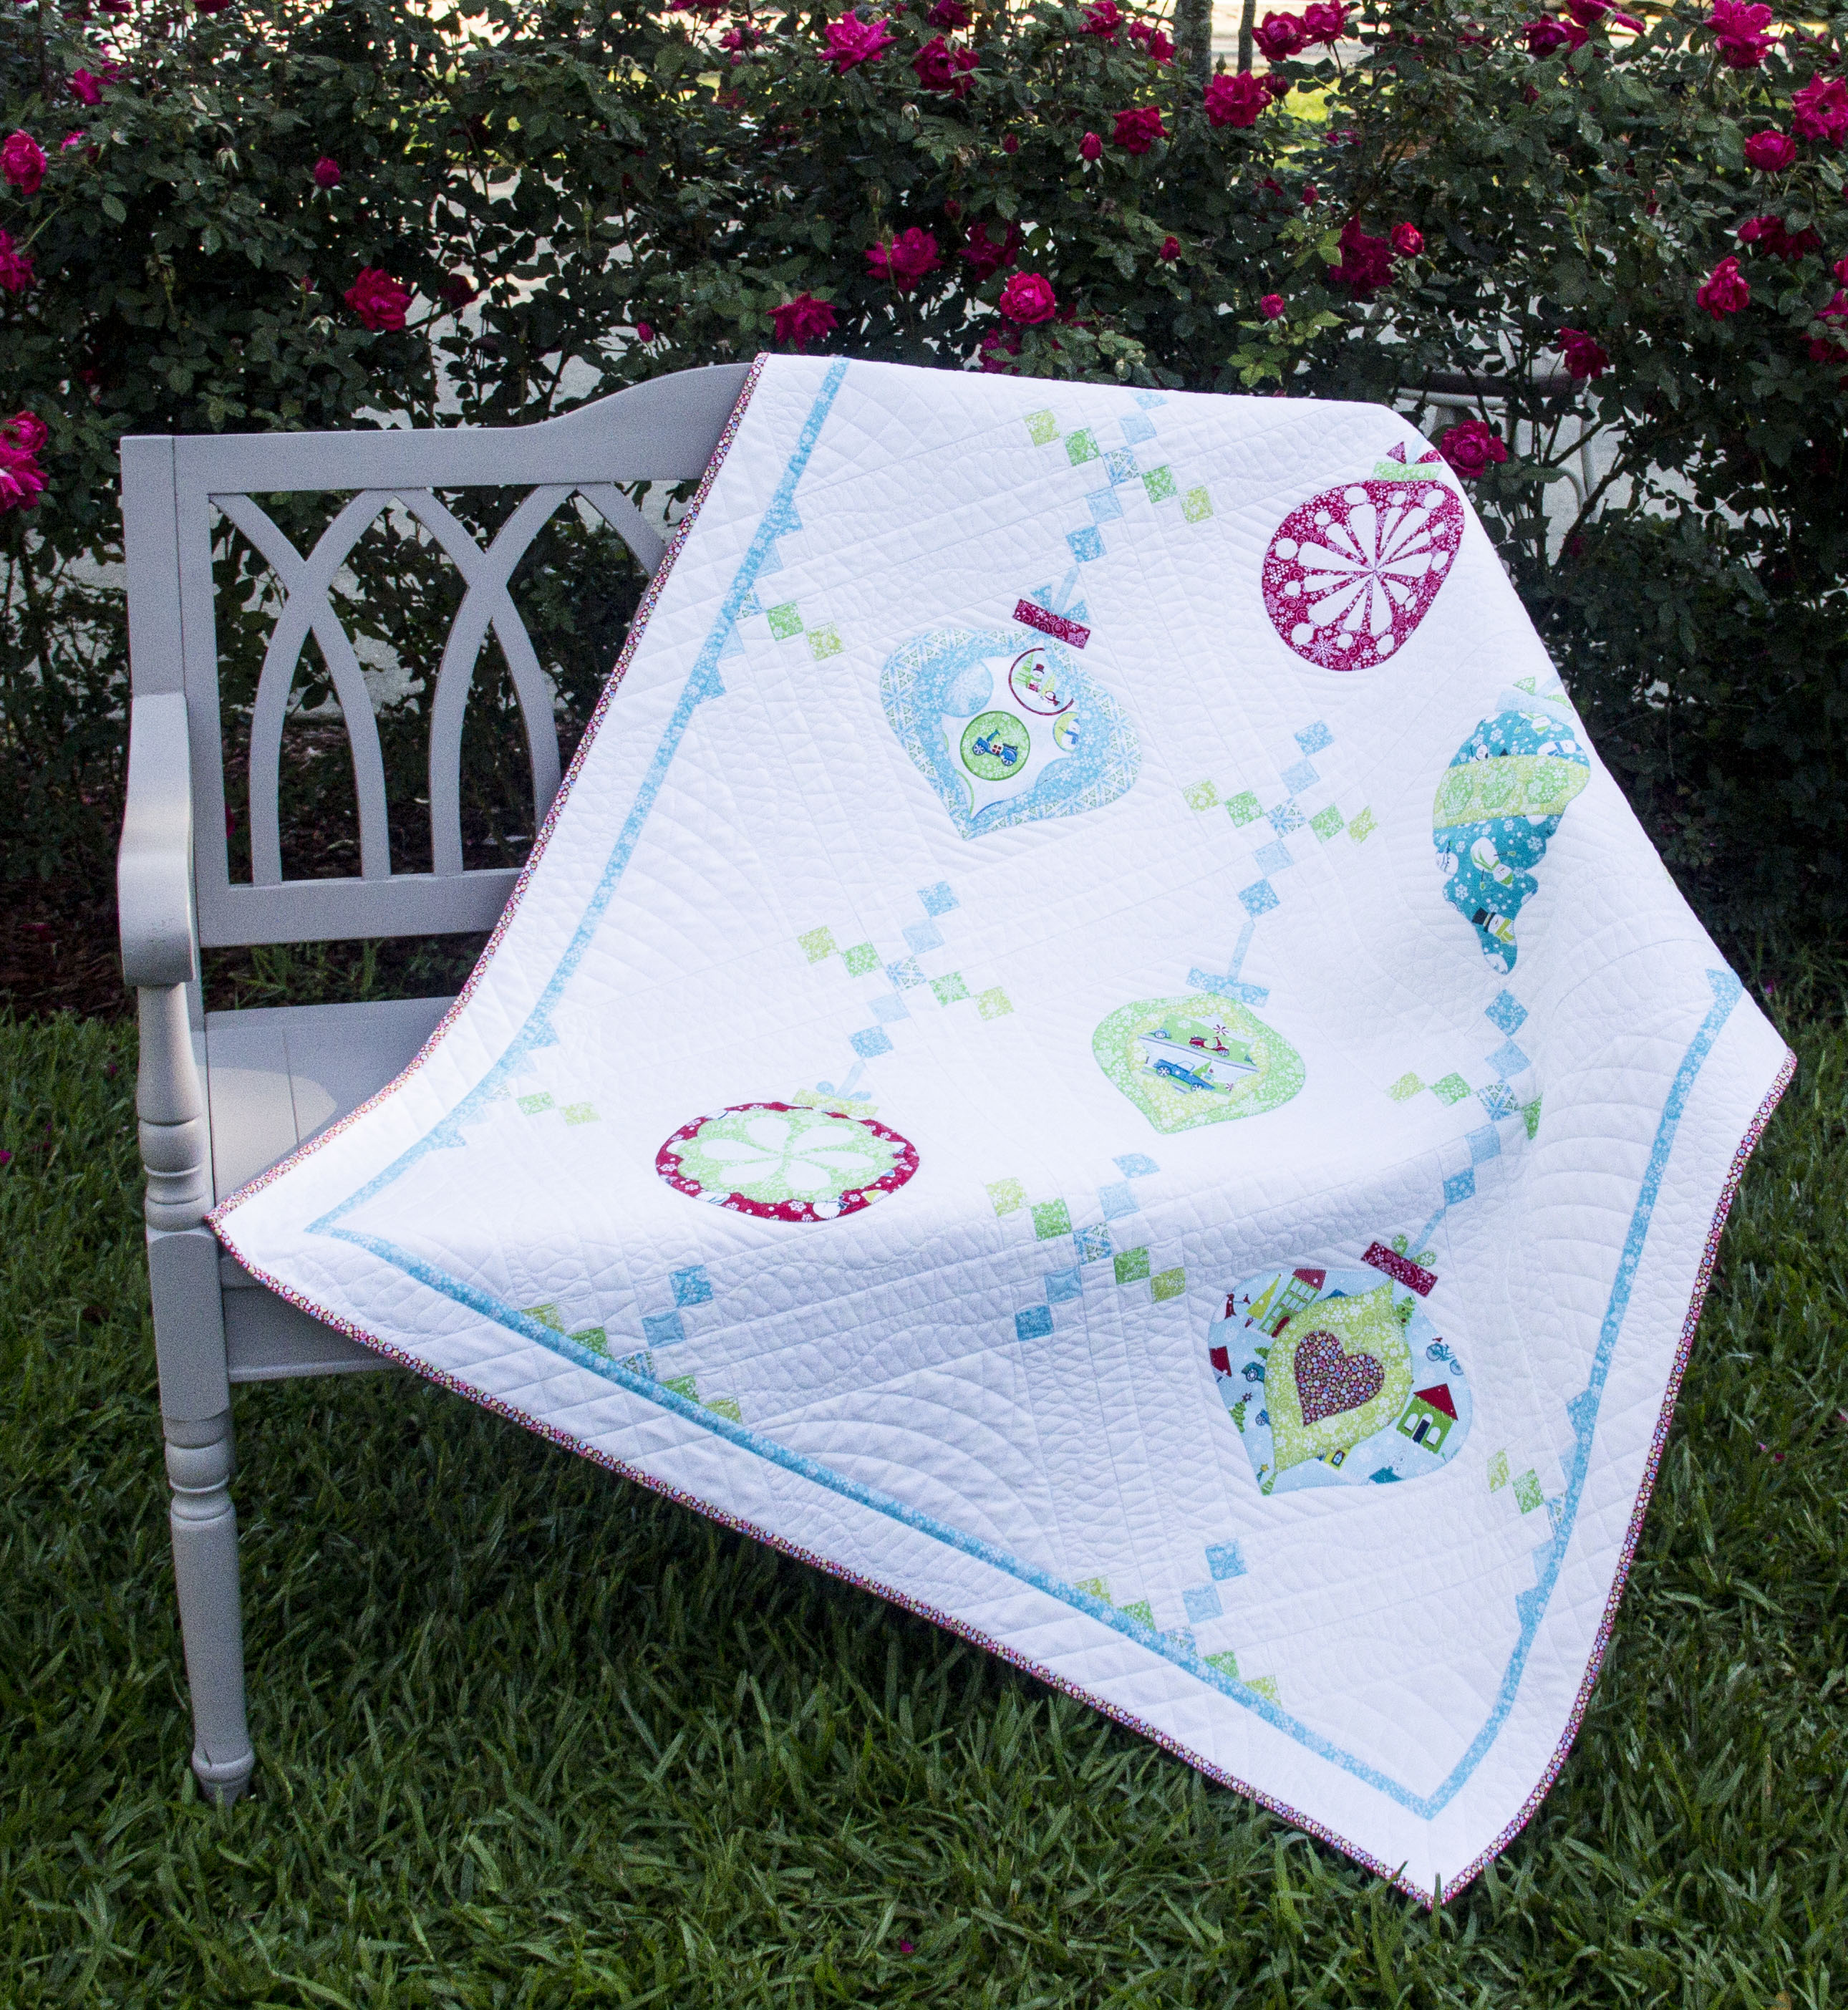
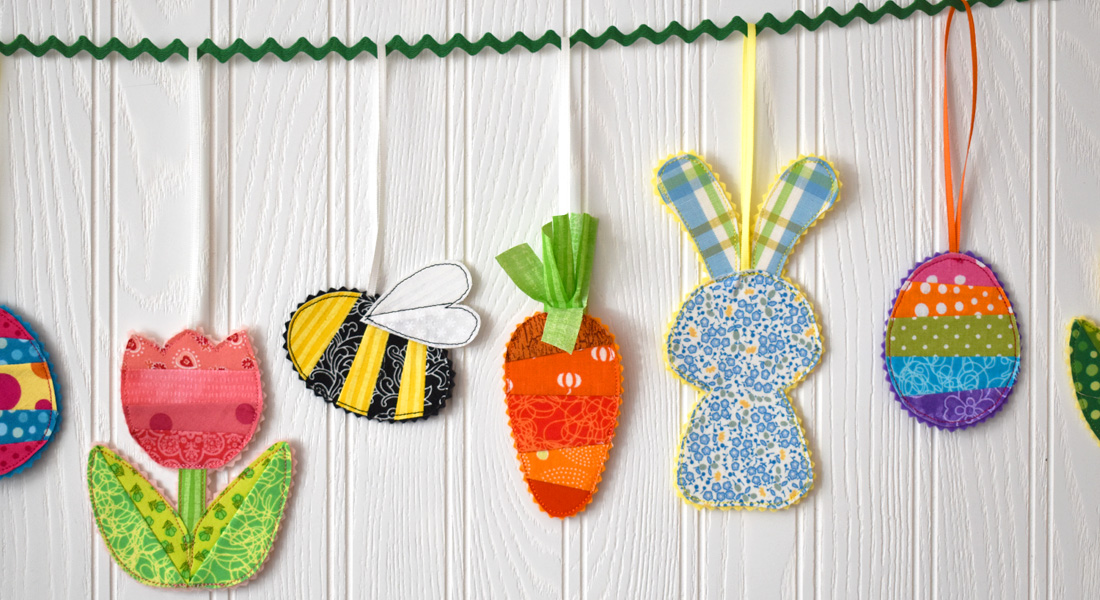
Vintage Ornaments Quilt-Along: Fussy Cut Ornaments
Hello, I hope you are enjoying our Vintage Ornaments Quilt-Along! Today we will work on the final two applique blocks and play with “fussy cutting”. You can find information on our previous Vintage Ornaments posts here: Supplies, Blocks 1 and 2, Blocks 3 and 4, and Blocks 5 and 6.
Materials to Make the Fussy Cut Ornament Blocks
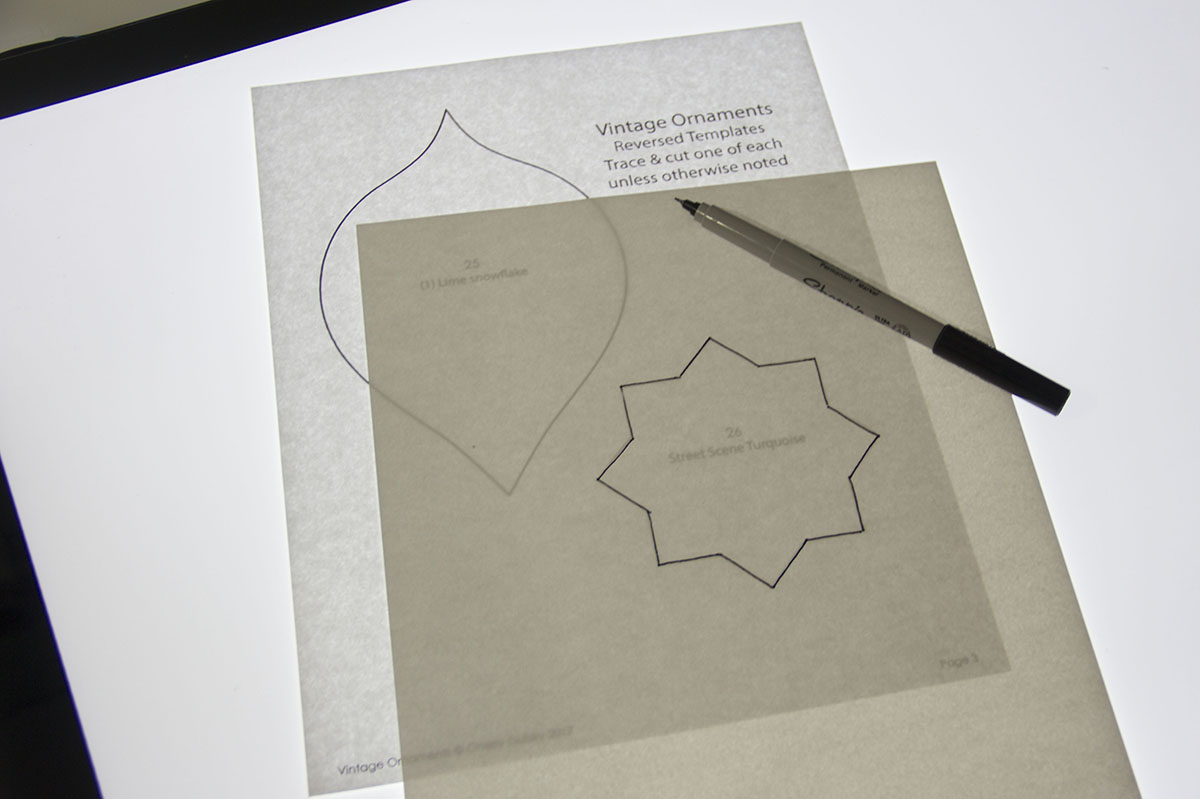
- Download and print the Vintage Ornaments Templates Block Seven and Vintage Ornaments Templates Block Eight; make sure your printer is set to no scale.
- 17″ Wide paper-backed fusible webbing
- Fabric scissors
- Paper scissors
- Fine tip permanent pen (black Sharpie)
- Light box (optional)
- Applique pressing sheet (I use the Applique Pressing Sheet)
- Coordinating Aurifil 50wt thread for the appliques
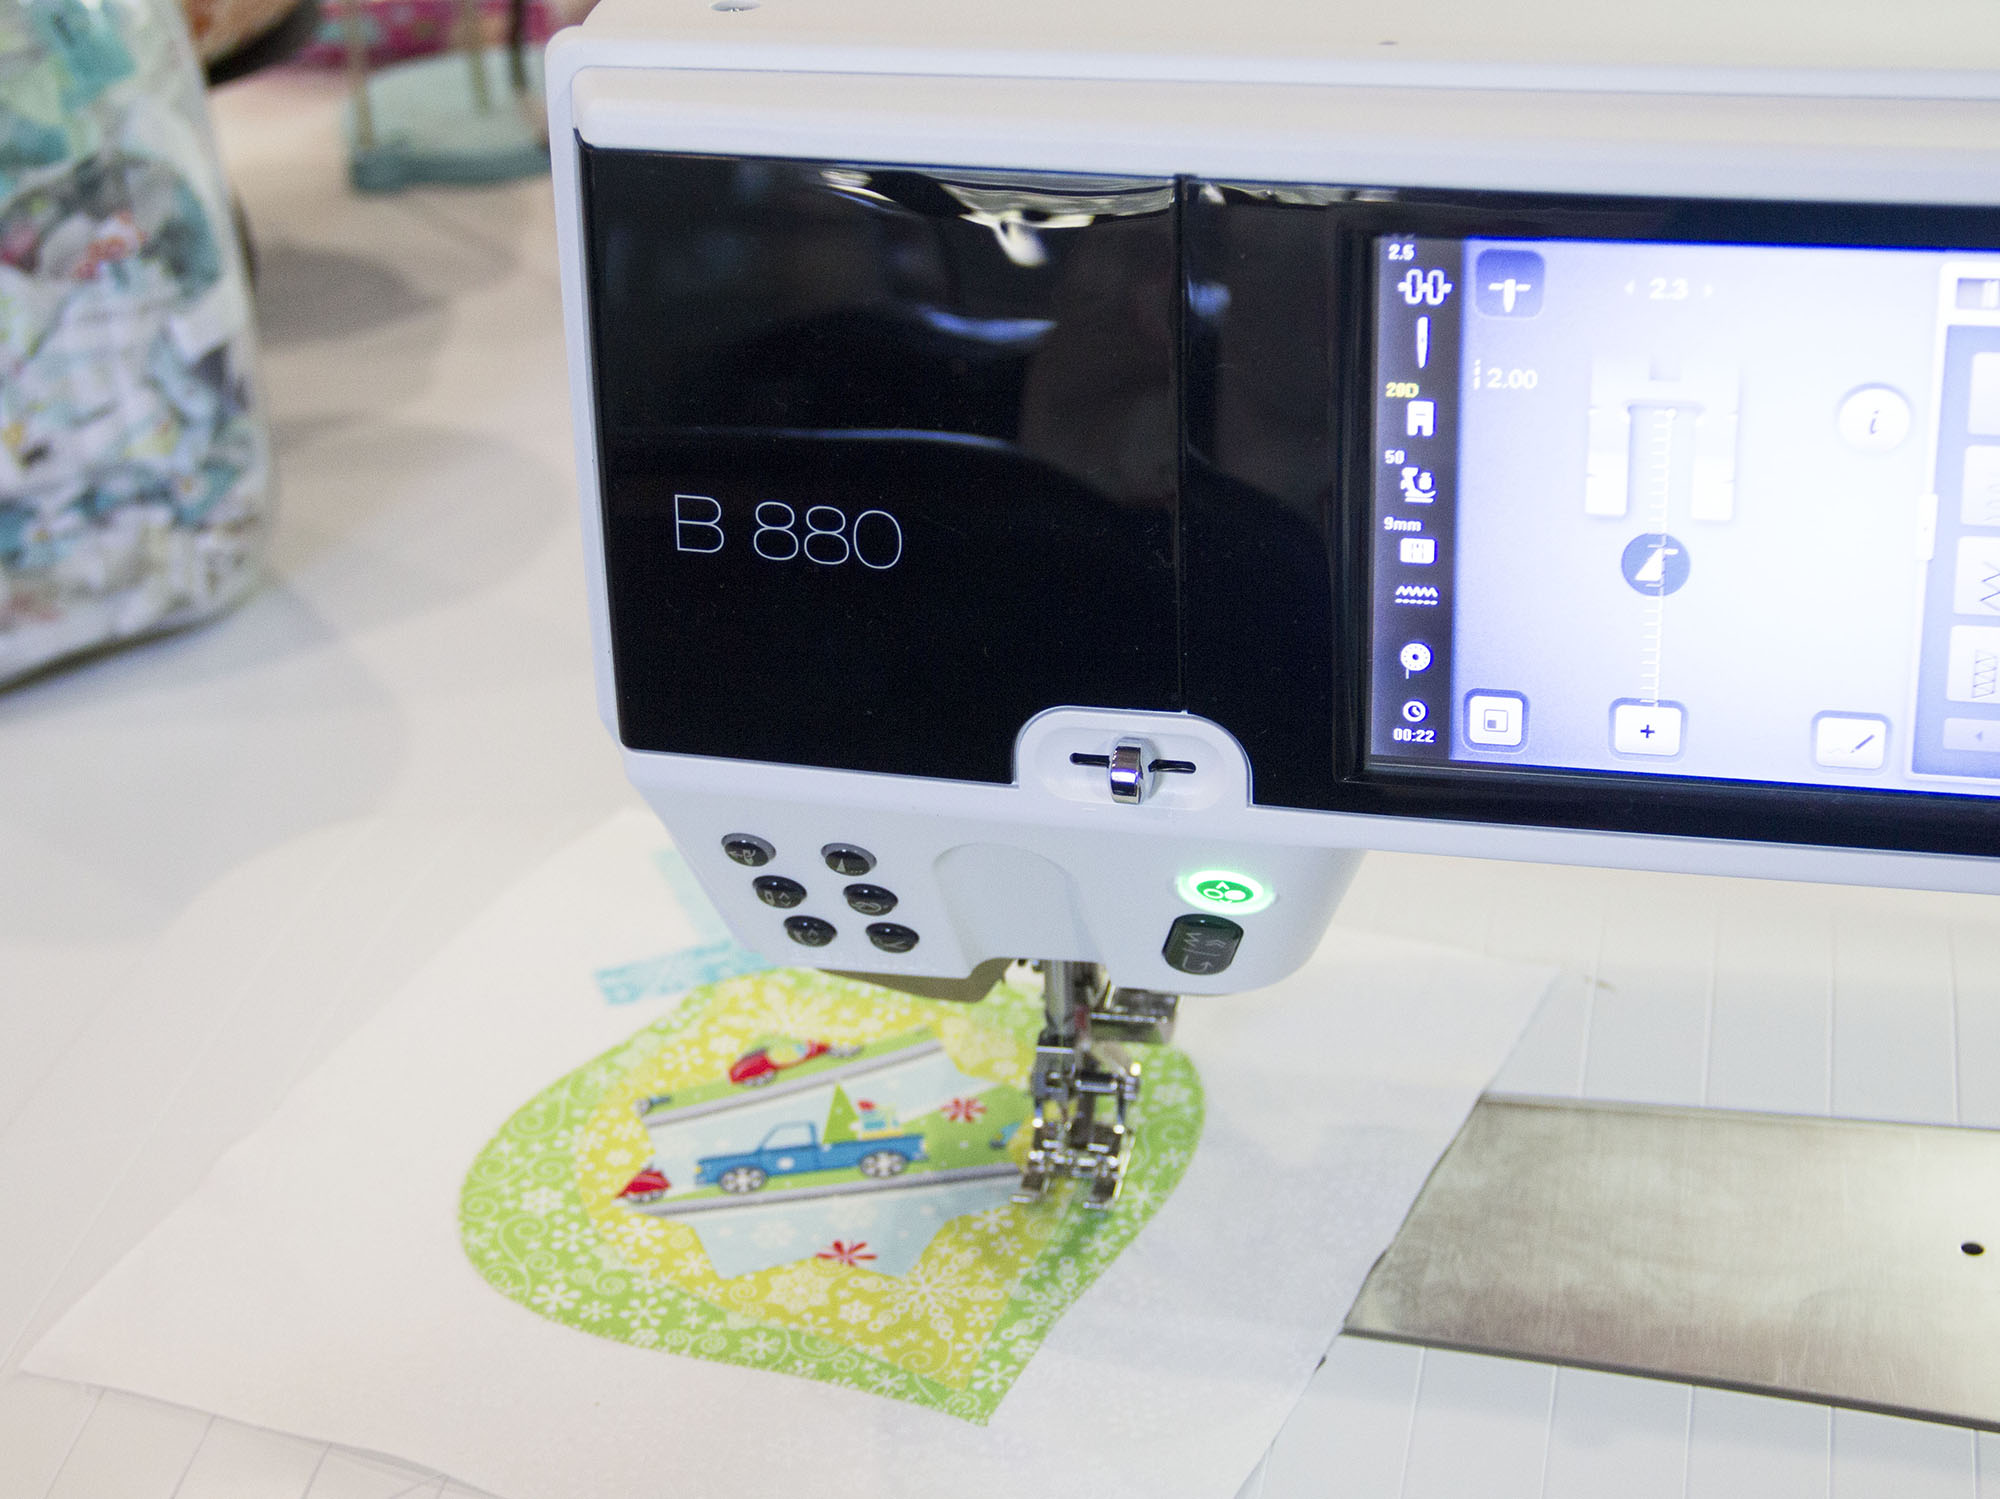
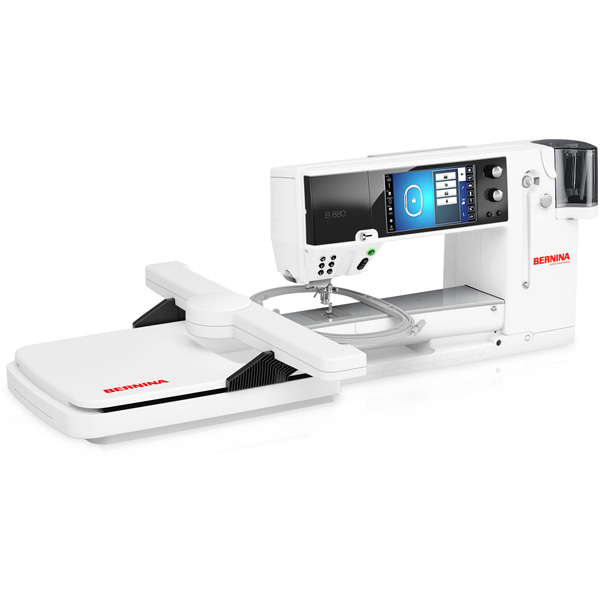
- Sewing machine (I use a BERNINA 880)
- Open embroidery foot #20/#20C/#20D
- Sewing machine needles: Microtex 70/10
- Cardstock
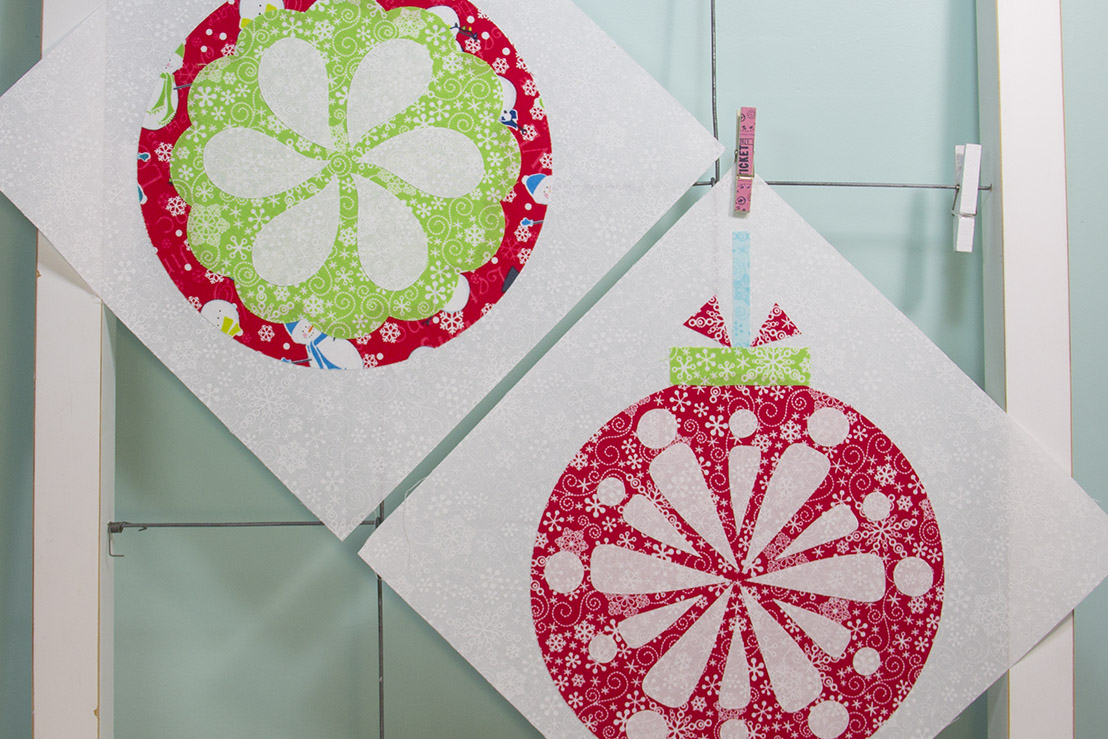
A great way to highlight a design in an appliqued or pieced block is to “fussy cut” one of the designs in the fabric, making it the focal point or adding more detail to the block. You can do this with an applique shape or piece in a quilt block.
For this example, I am working with Block Seven.

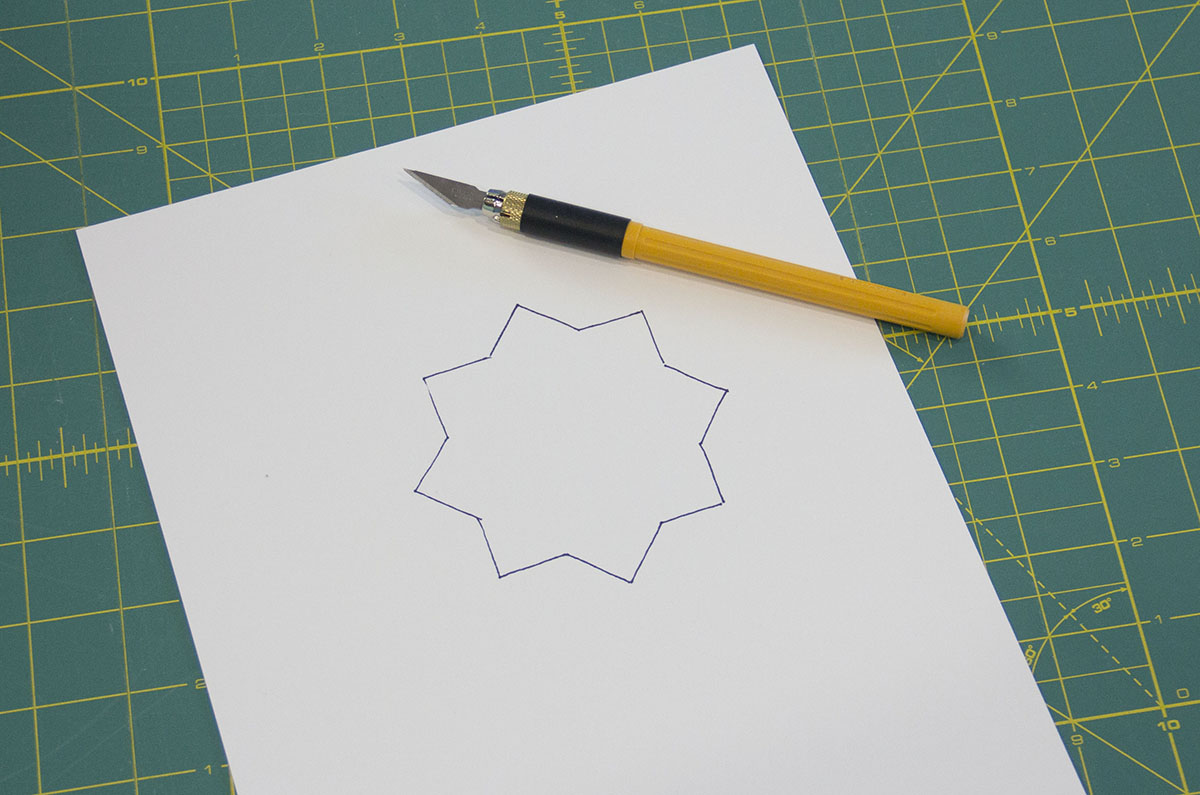
Place the reversed templates page 3 over a light box and trace shape #26 onto a blank sheet of 110 lb cardstock (paper works fine).
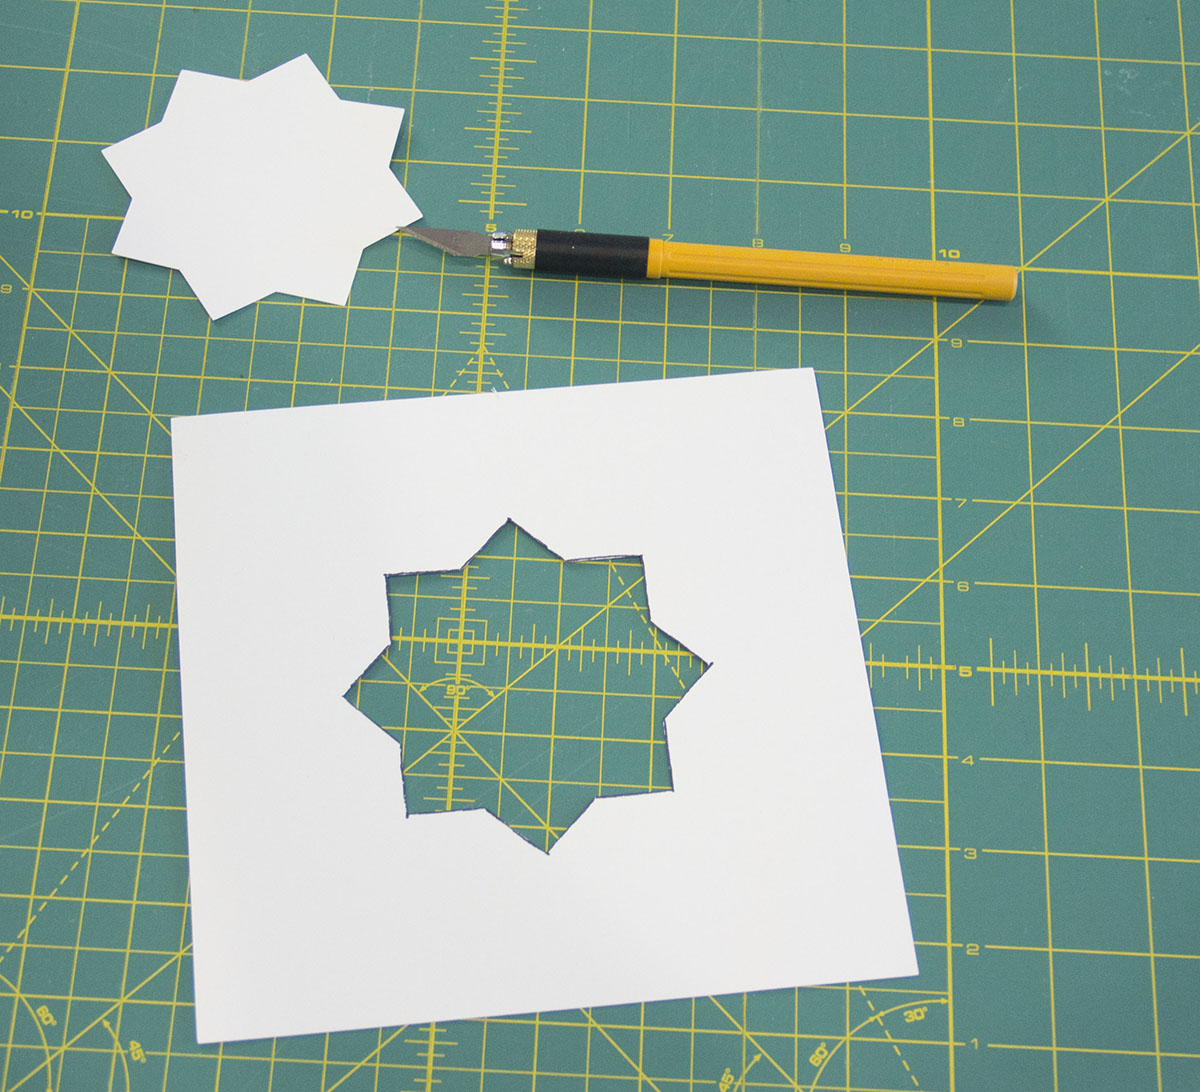
Cut the shape out to make a little “window”.
Cut the sheet of paper to a smaller size.
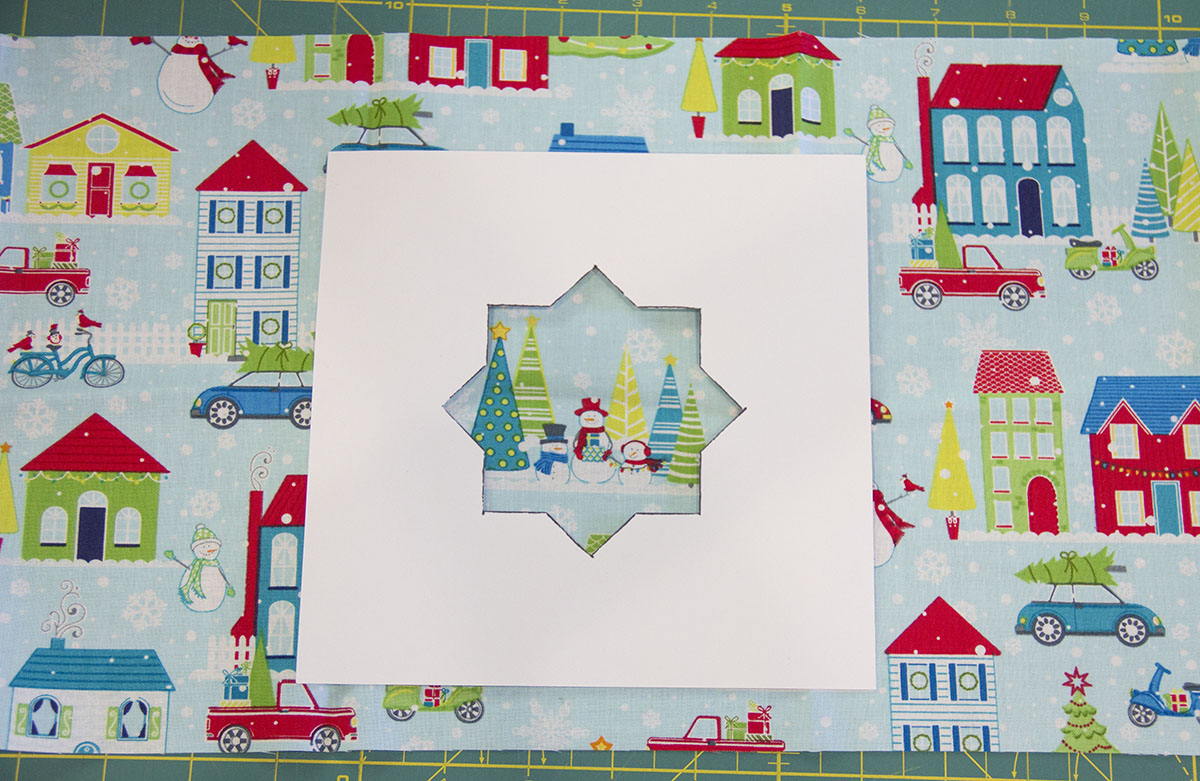
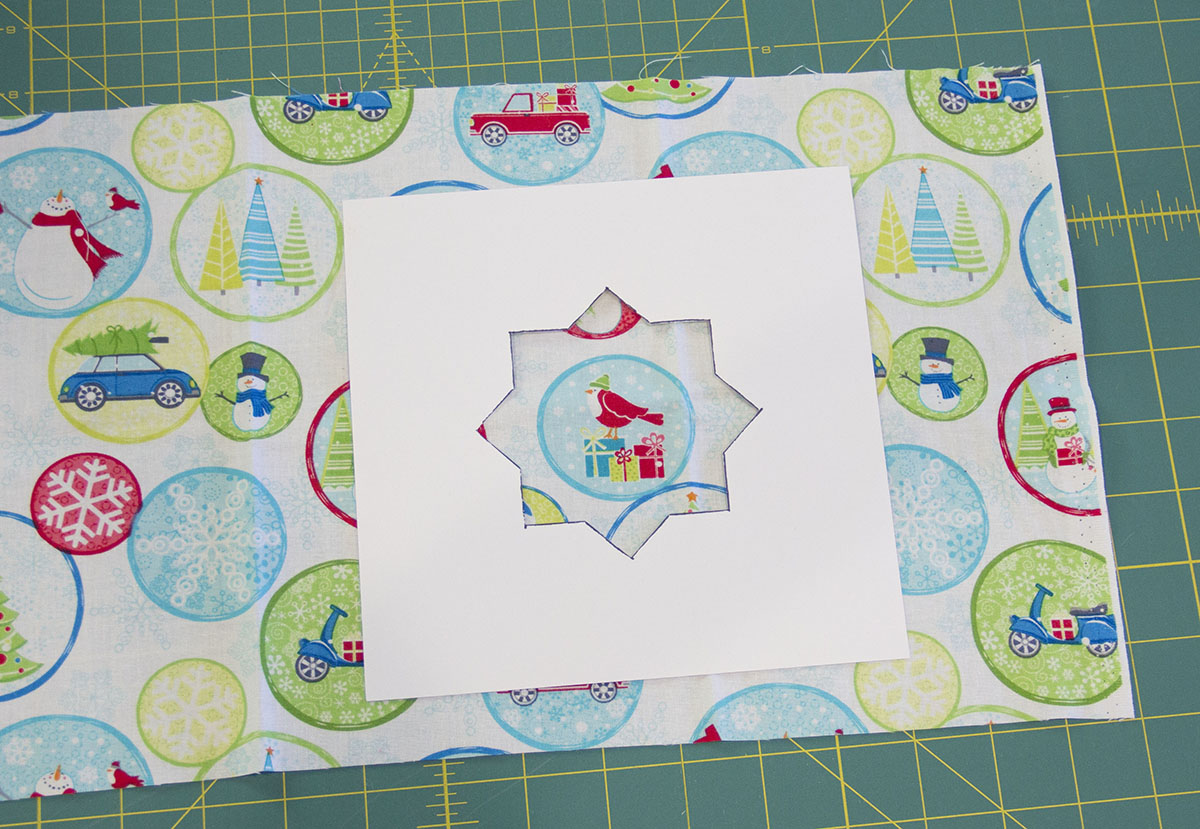
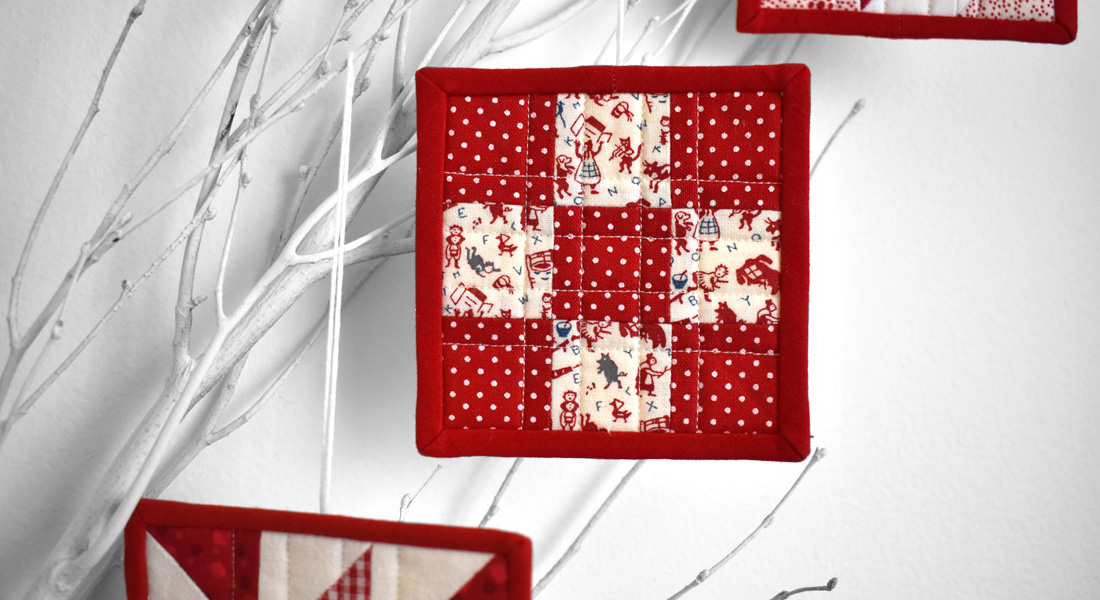
I want to choose a cute little design for the center of Block Seven from one of these three fabrics:
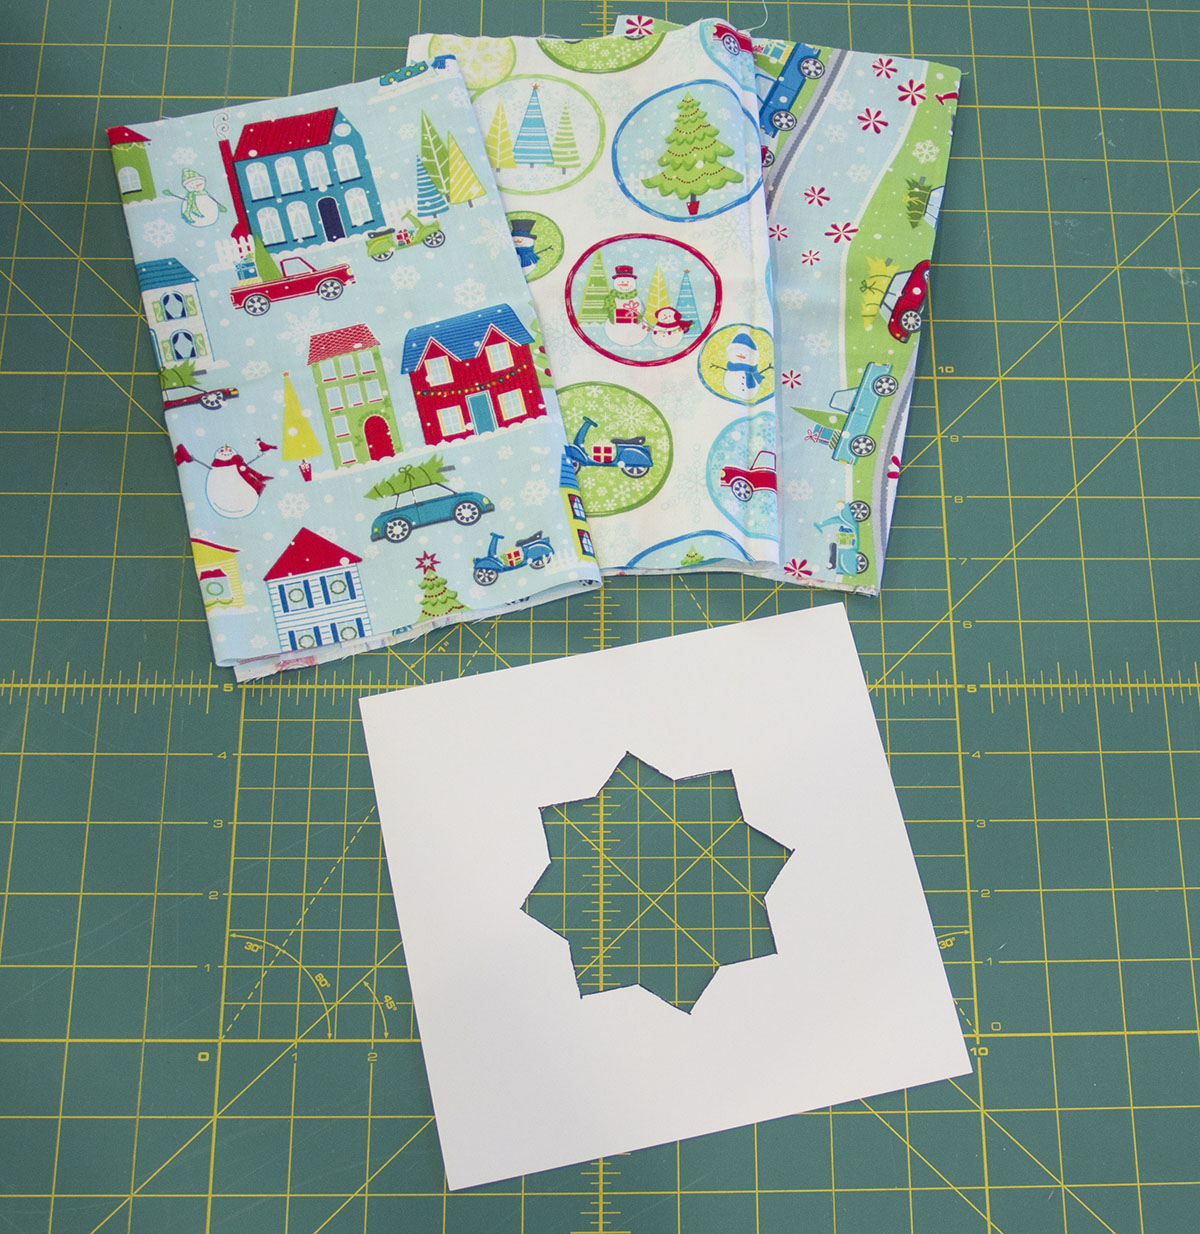
Place the “window” over different designs in the fabric…
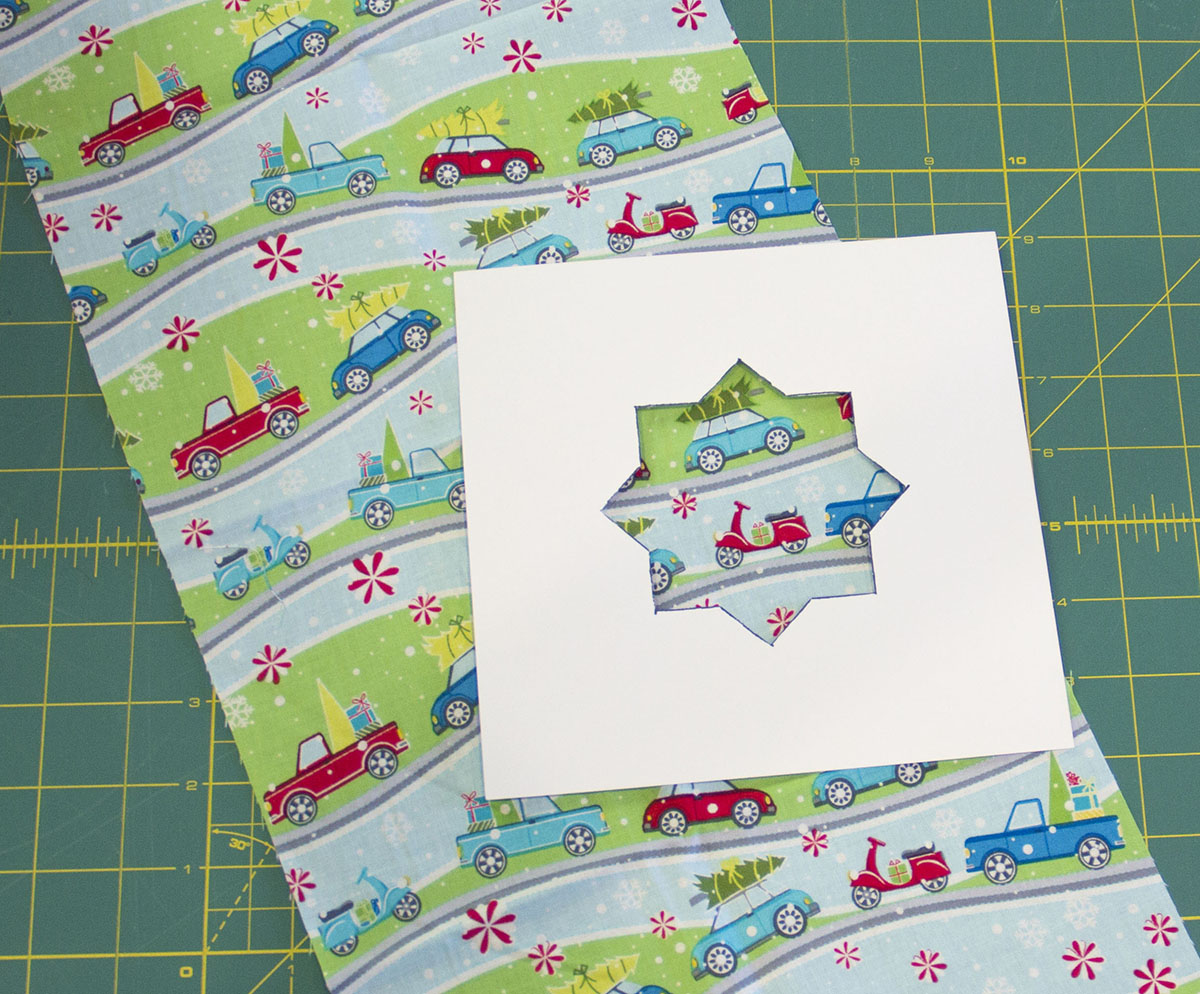
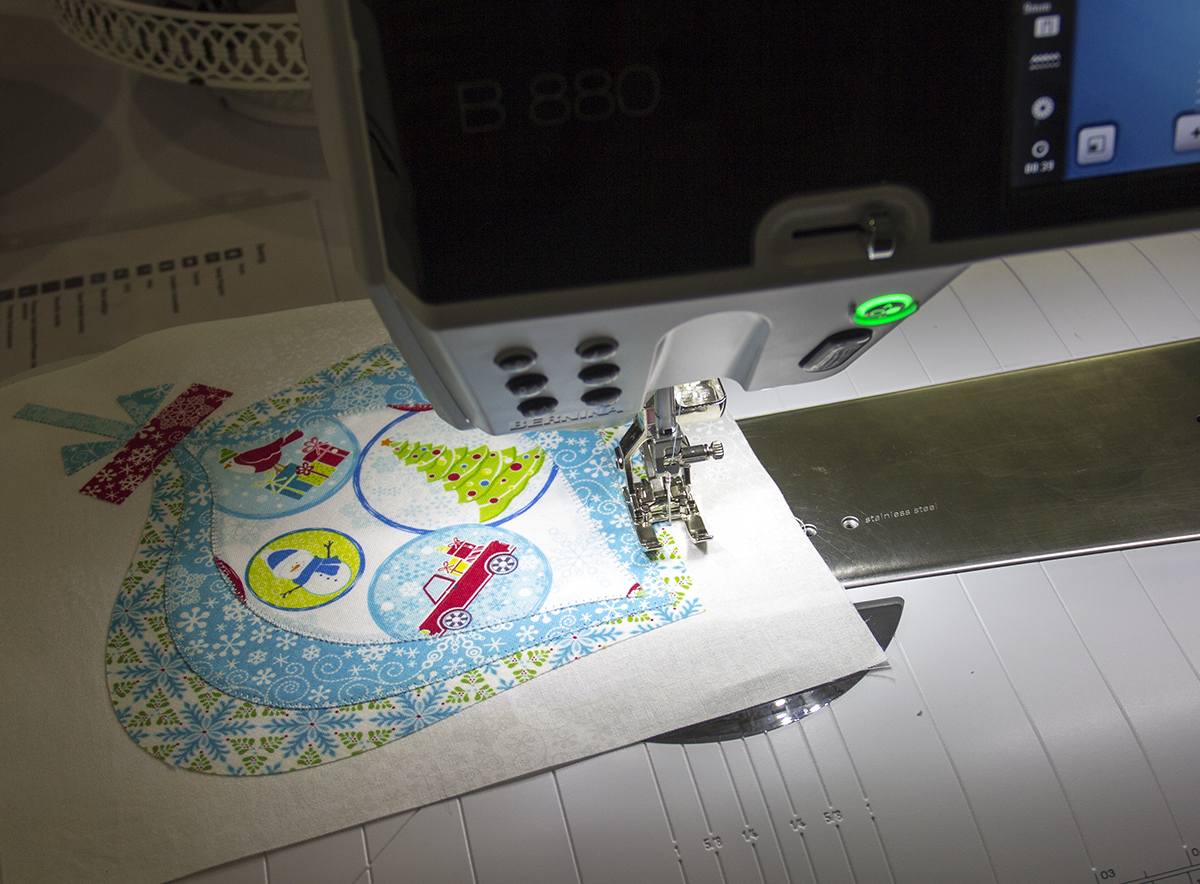
Love the little truck with the Christmas tree…
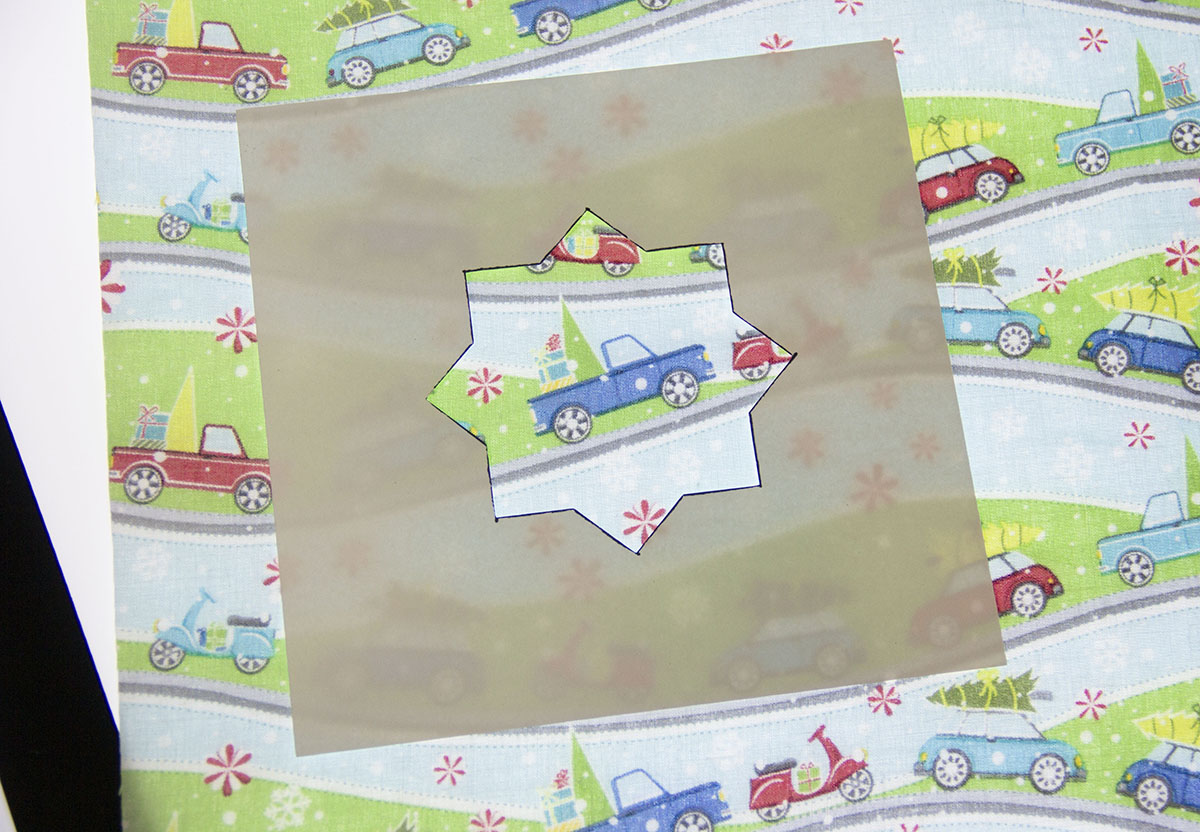
The little window also makes it easier to trace shape #26 onto the paper side of my fusible:

Place the fabric over the light box, wrong side up, and place the traced fusible over the little truck…

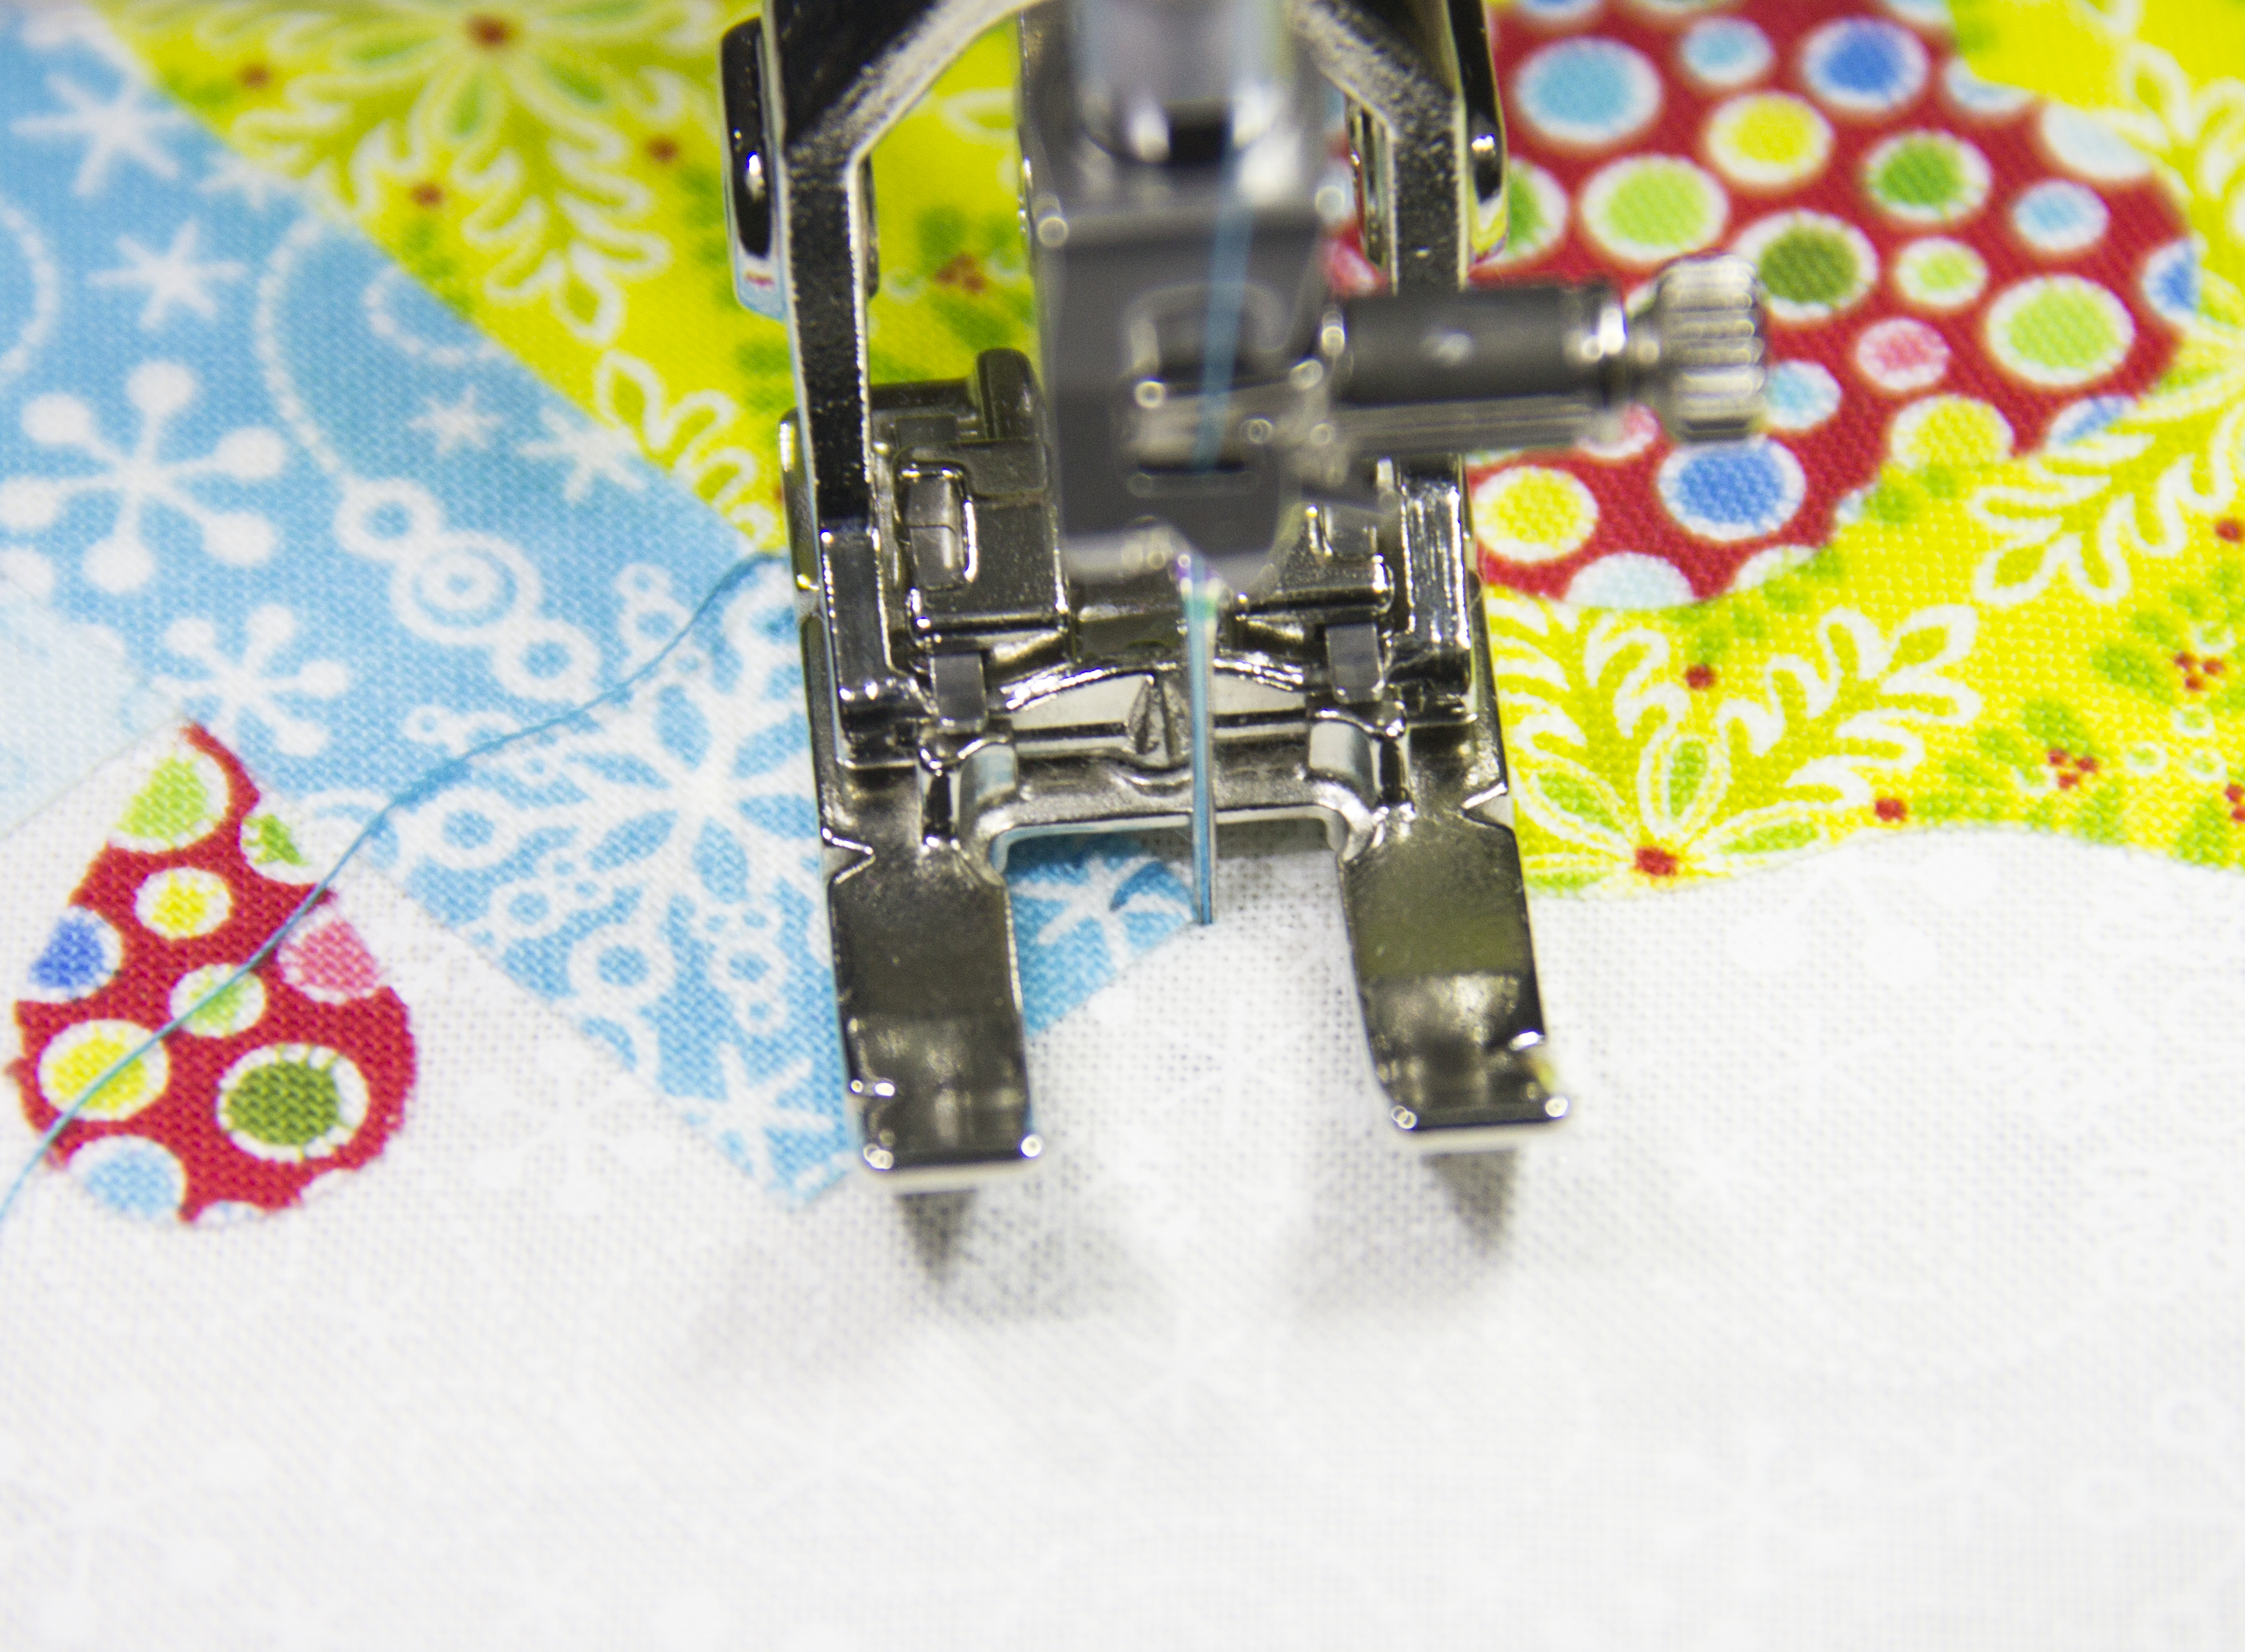
Carefully, take the fabric with the traced fusible to the ironing board and fuse in place. Cut the fused shape out and assemble the block; stitch the appliques down using coordinating threads. You can find my fusible applique instructions on this previous Vintage Ornaments post.

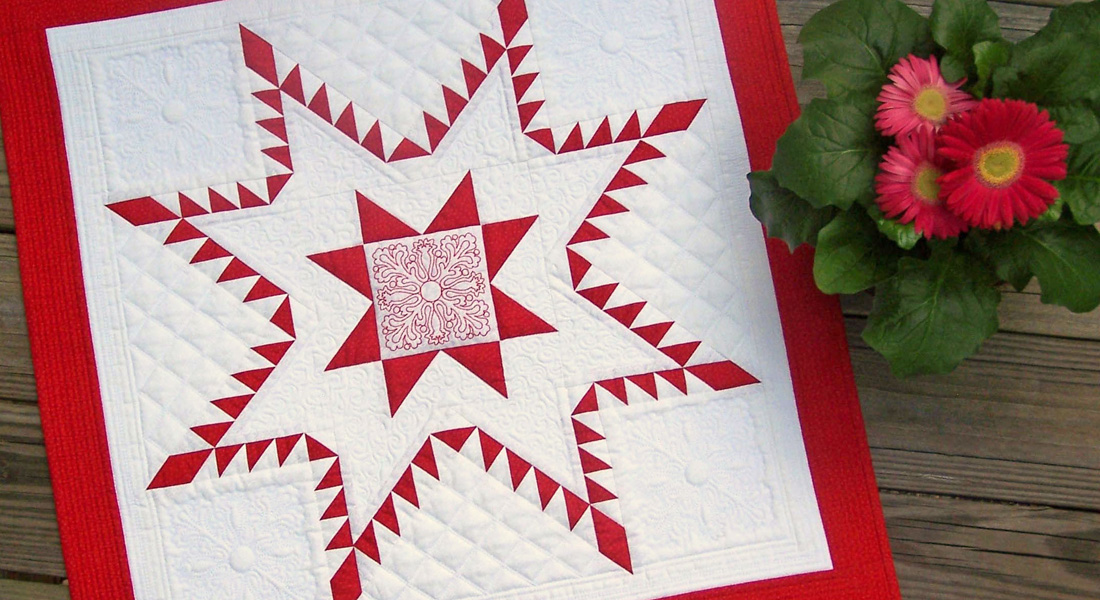
I hope you have fun making Blocks Seven and Eight! Next month, on October 11, we will assemble the quilt and talk about quilting it!
Hugs,
Cherry
Used Products


What you might also like


4 comments on “Vintage Ornaments Quilt-Along: Fussy Cut Ornaments”
-
-
I think it is supposed to say holiday fun-light turquoise?
-
-
Did I miss something? I’ve made the ornament 1, 2, 3, 4, 5 and 6. Now you give instructions and patterns for 7 and 8 but then you say we will “assemble the quilt and talk about quilting” on Oct 11 but I have not pieced the connection blocks with the on-point turquoise squares. Was that in a monthly instruction that I didn’t see or are we to make them next month?
I’ve really enjoyed making these blocks and want to finish it but I need some help here.
Thanks
-
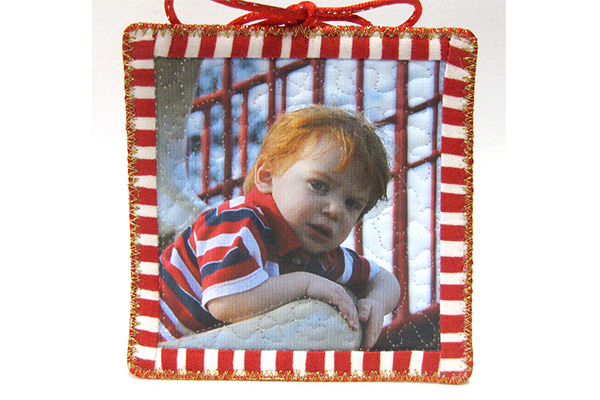
I am very much enjoying making the Vintage Ornaments, but with the sewer’s twist. I made each ornament on Fast 2 Fuse, went around the edges with my serger and my machine (I couldn’t get the insides on the serger). I connected the center piece with the serger thread and added a ribbon to the top. Now I have a twirly ornament for the tree! Yes it is BIG, but big seems to be in this year. I am loving the project. Thank you for creating it! (I will try to post a picture of it on the community projects page.)
Leave a Reply
You must be logged in to post a comment.

I am enjoying this project. The only problem I am having is with the supply list. Around Town White is not on the list. I will use a different fabric.