Why I Love the bernette 79
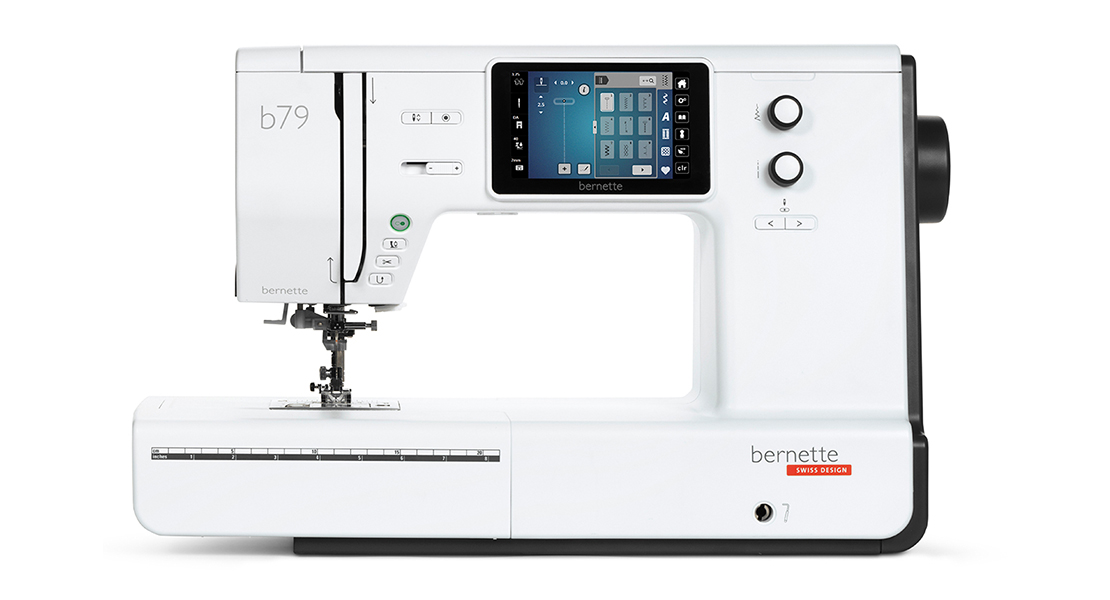
Hey hey, sewing friends! It’s Candice from A+CO and today I want to chat about why I love my bernette 79 (I have two bernette machines but today we will focus on the b79).
Now, you’re probably thinking “This is a BERNINA blog, of course it’ll be a super amazing review”. And my response to that would be yes, it is going to be a super amazing review, but it’s also going to be honest and based on an entire year of sewing on the bernette 79 machine. I think it’s also good to share a couple of additional points that shape my perspective:
- I learned to sew as a child and then dabbled with sewing about 8 years ago, however, it wasn’t until 2020 that I started quilting and making time to sew daily
- I had never done machine embroidery… like ever
- I also had only used a mechanical machine, not computerized
About the bernette 79
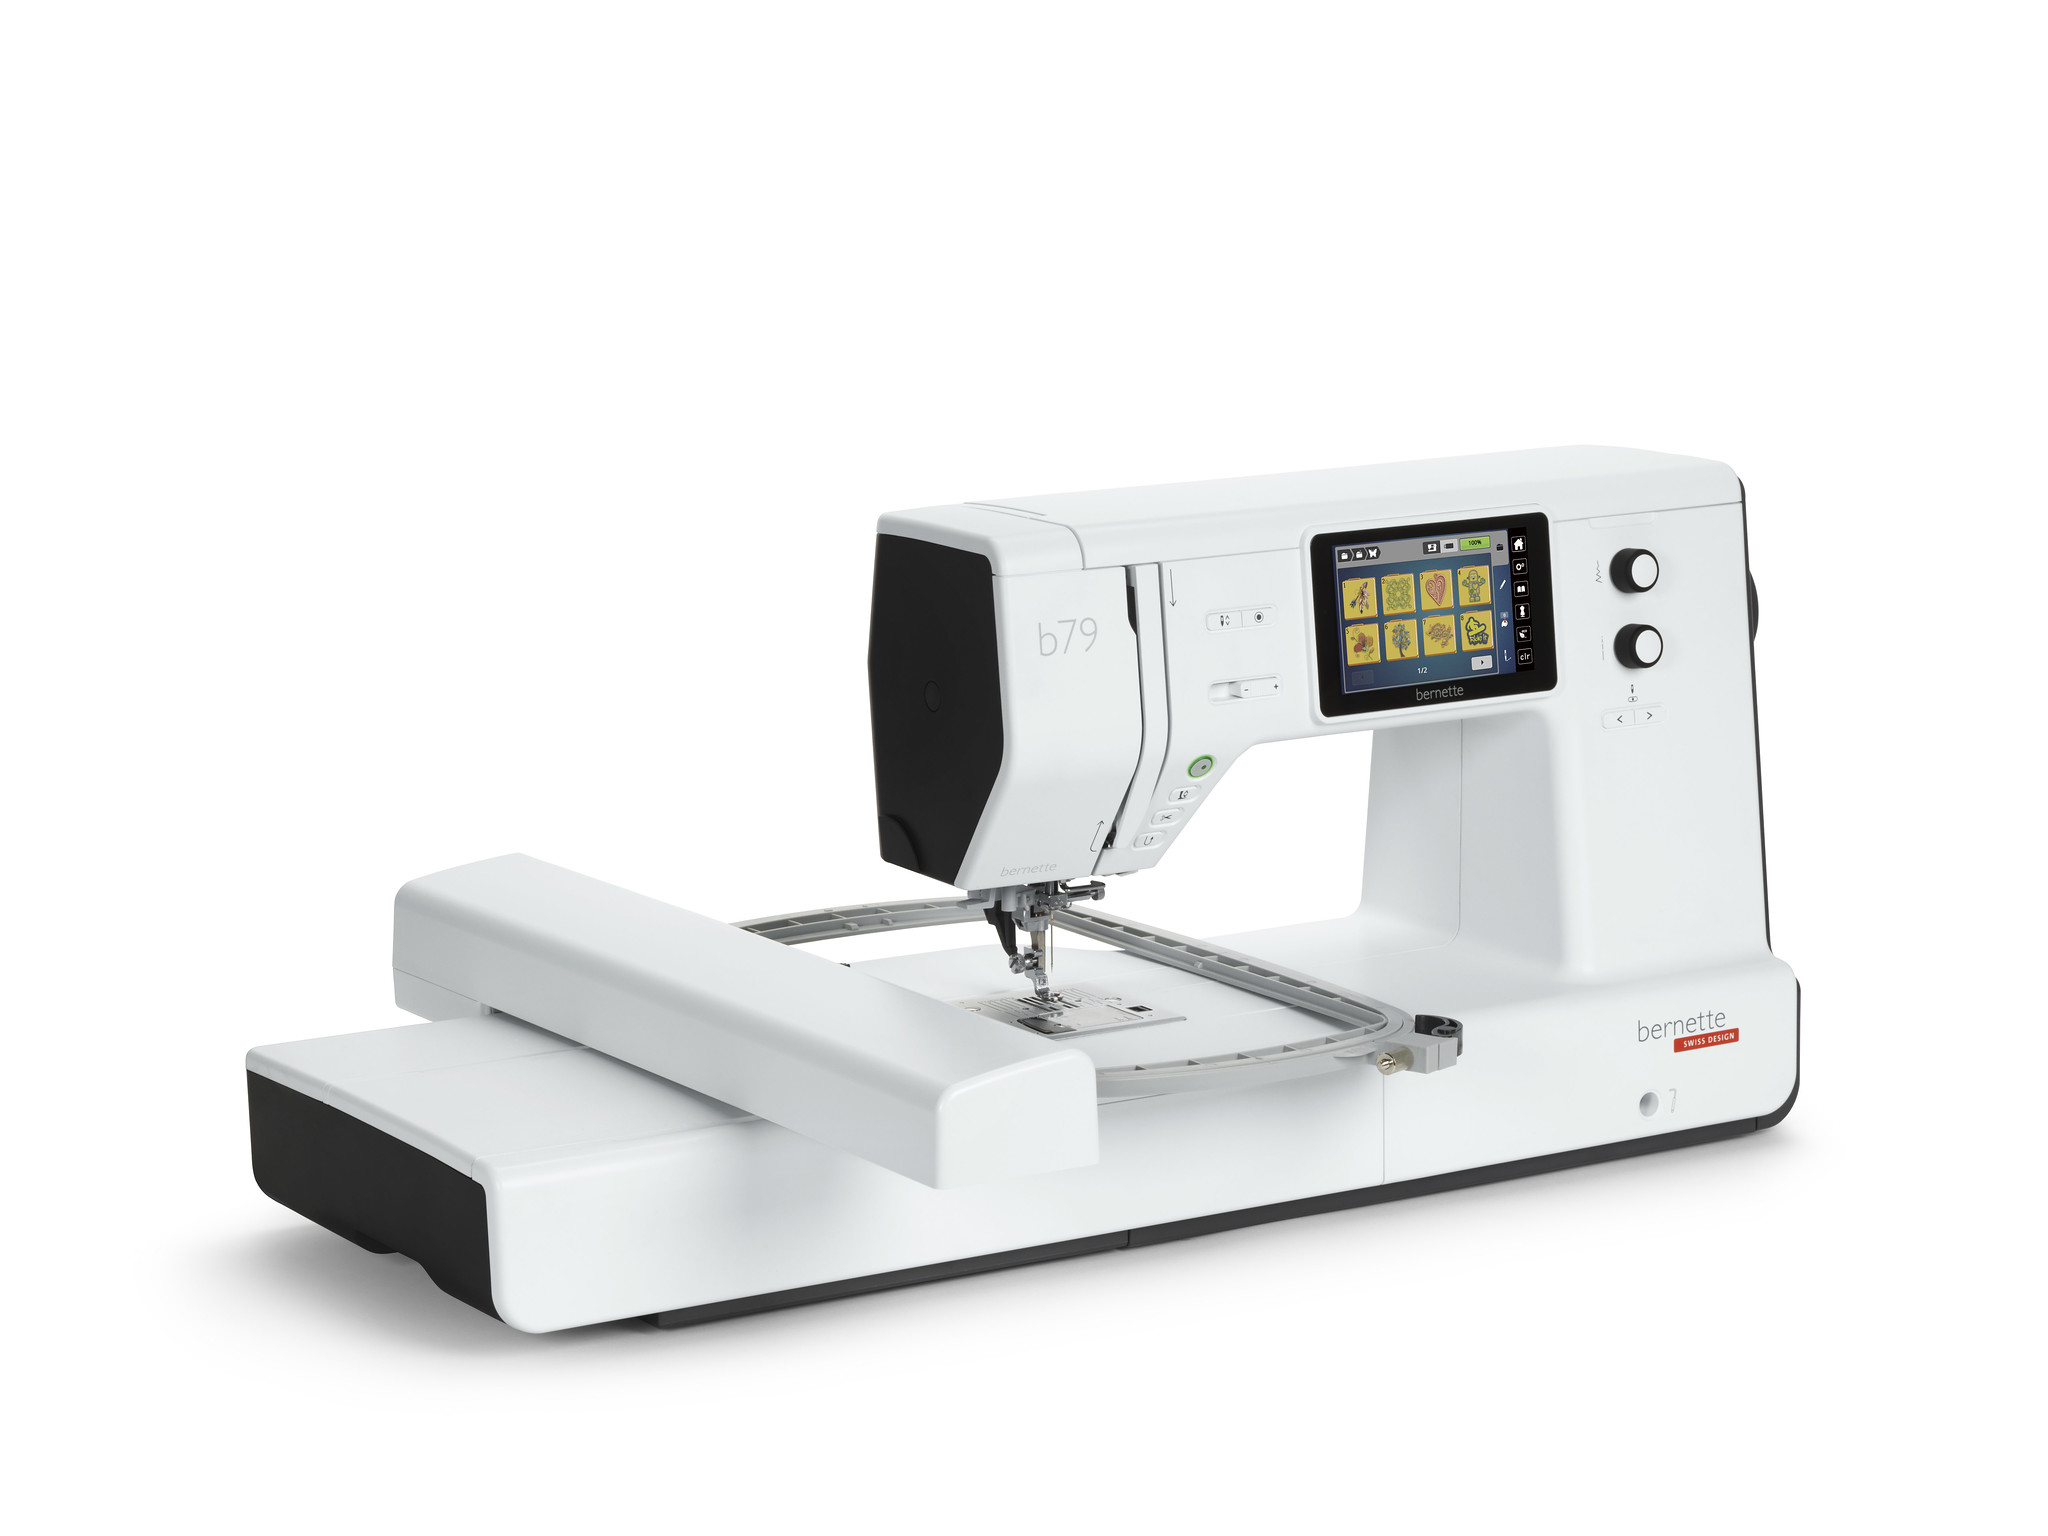
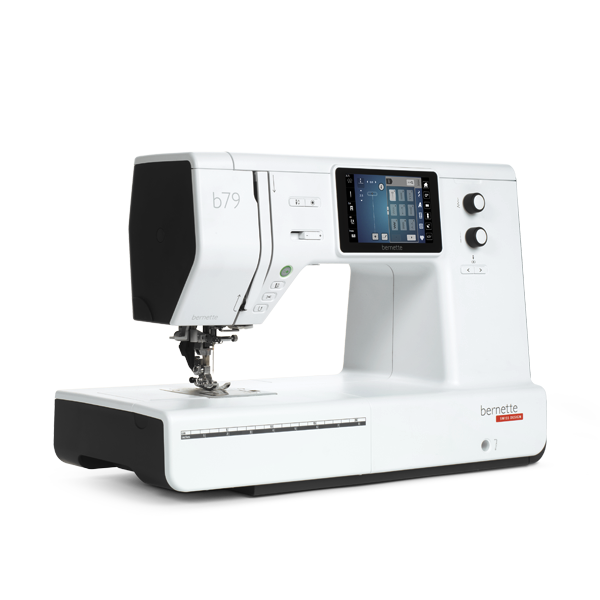
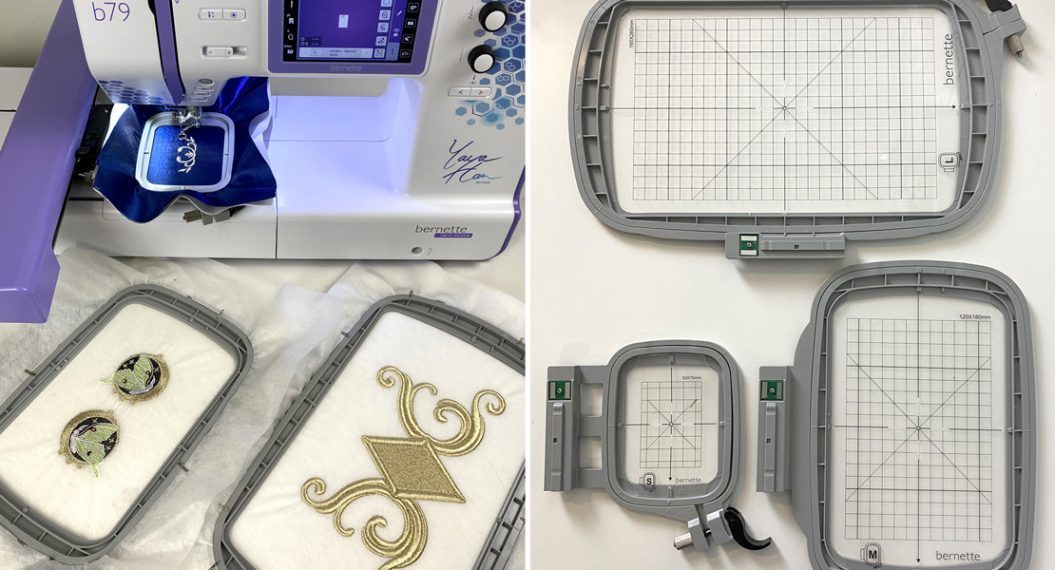
The bernette 79 is a combination sewing and embroidery machine. There are two other machines in the 70 series:
- The bernette 70 Deco, an embroidery only machine
- The bernette 77, a sewing only machine
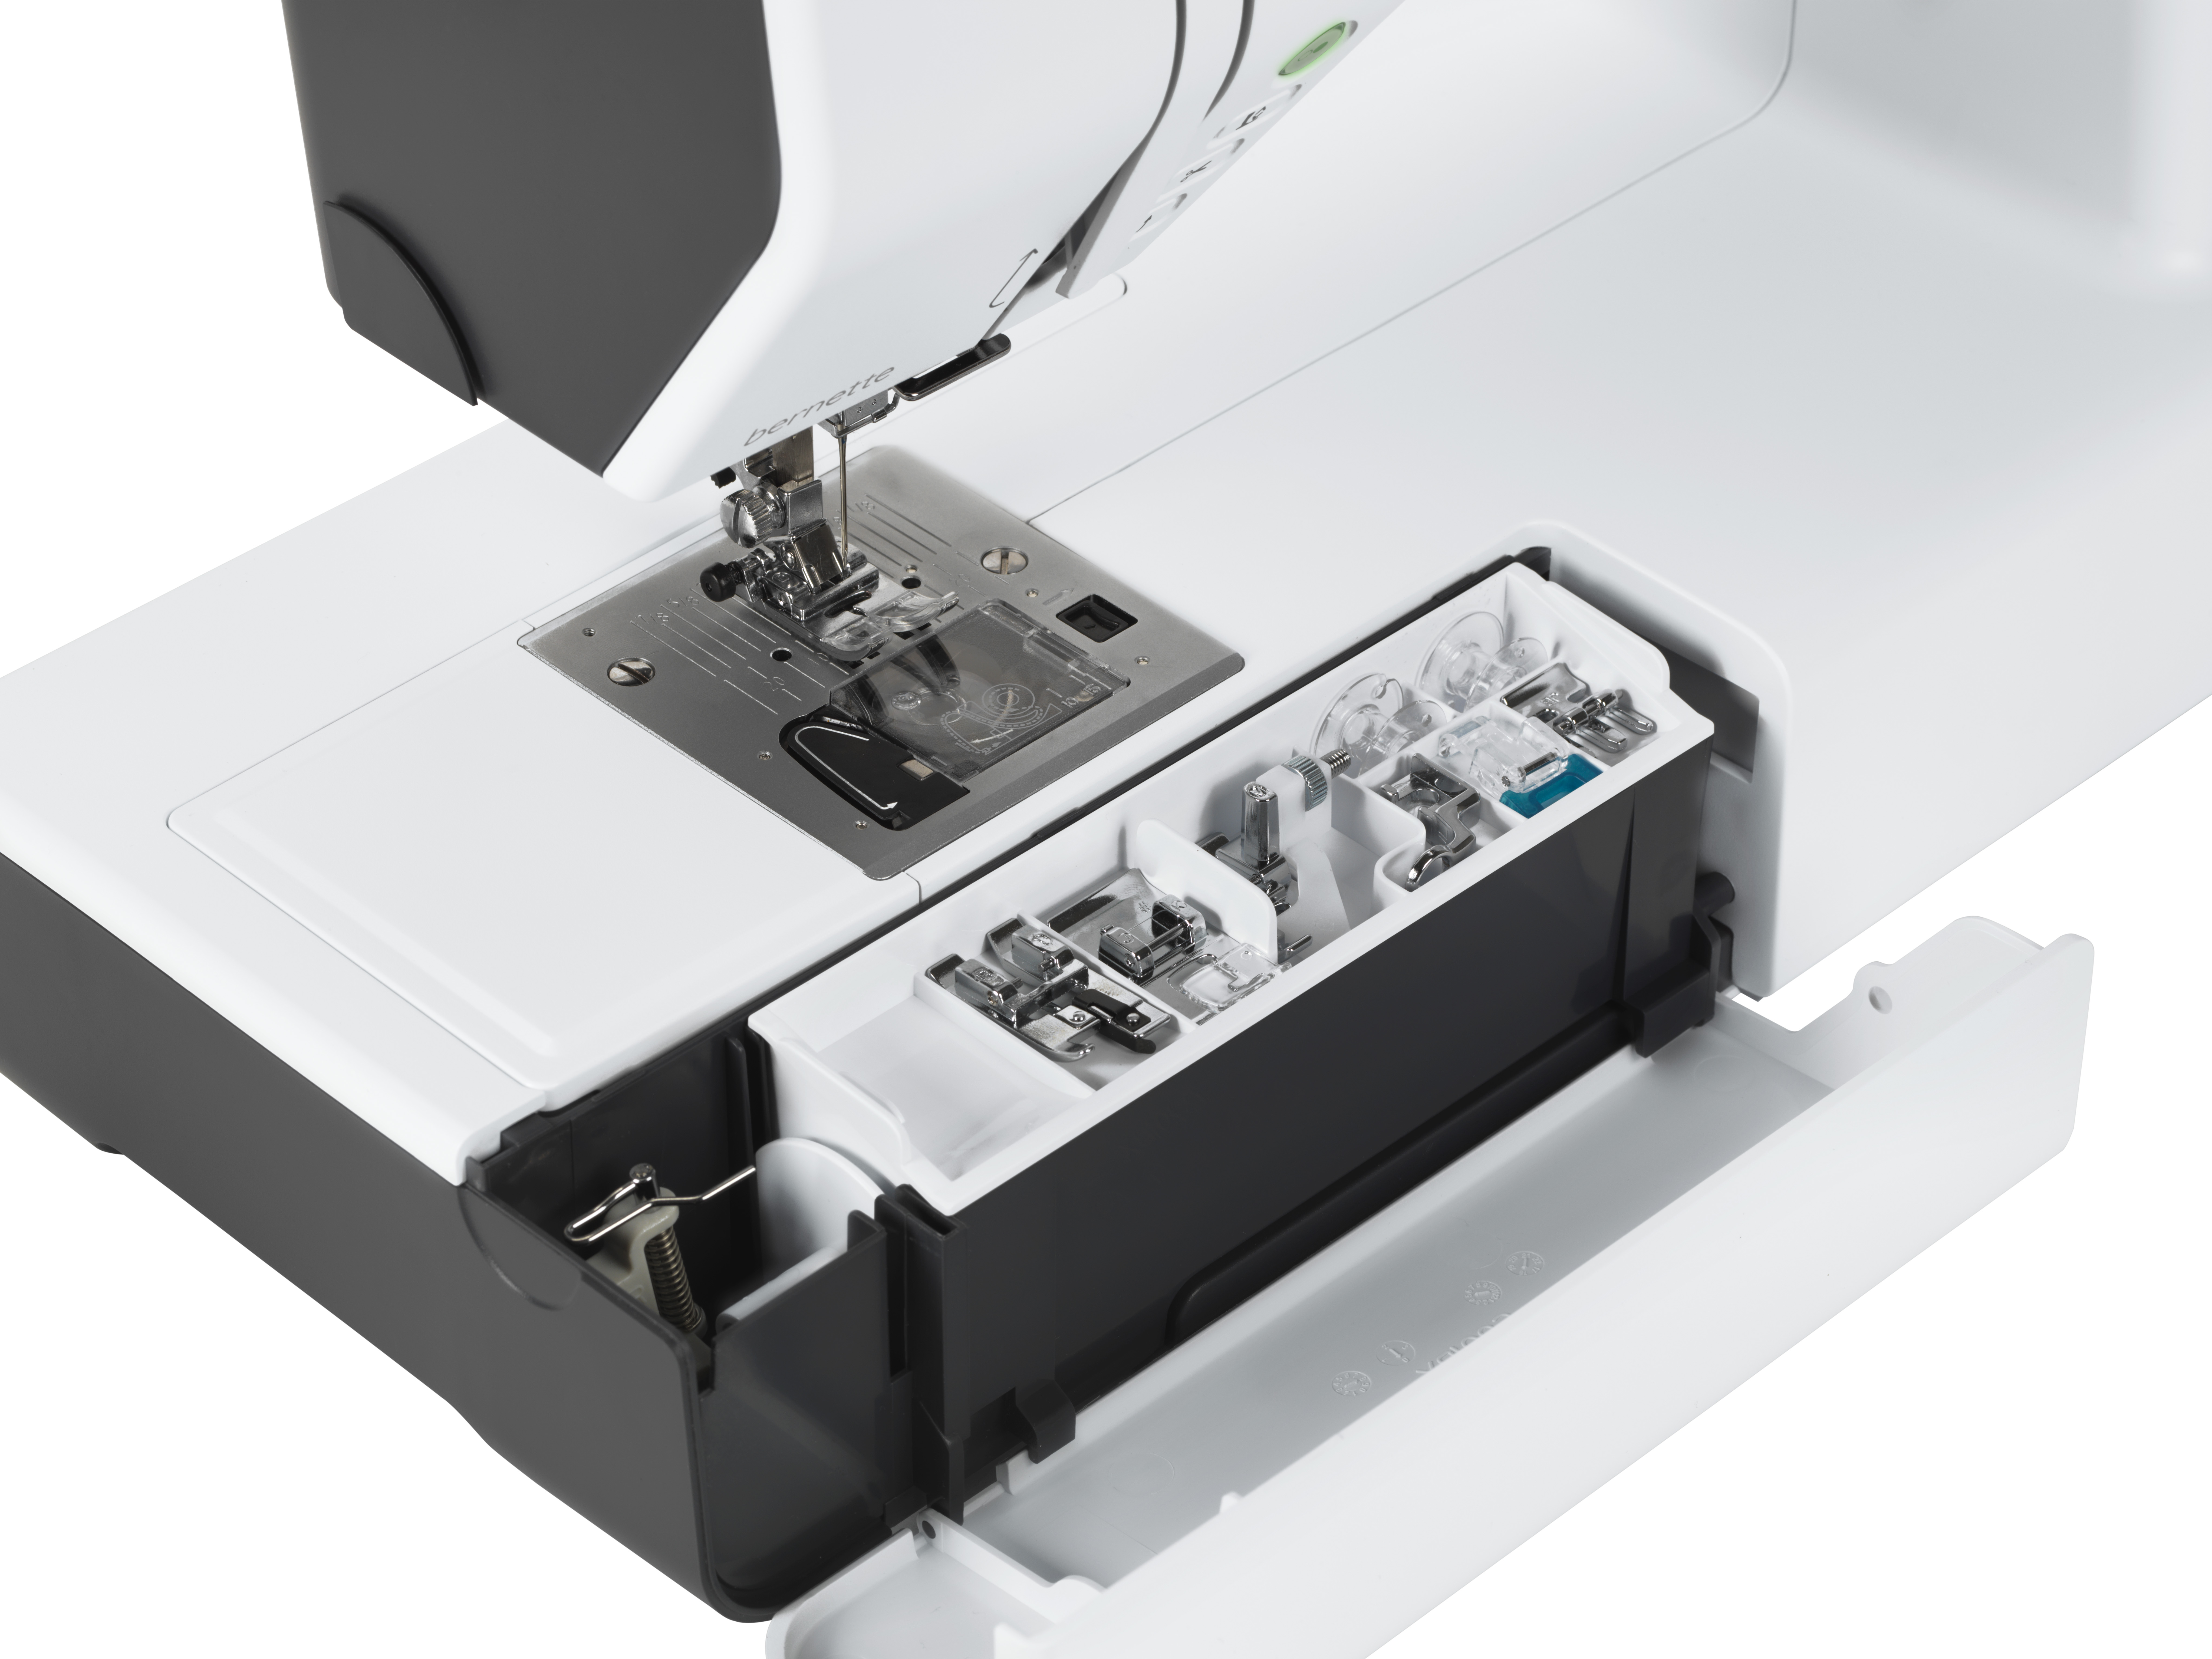
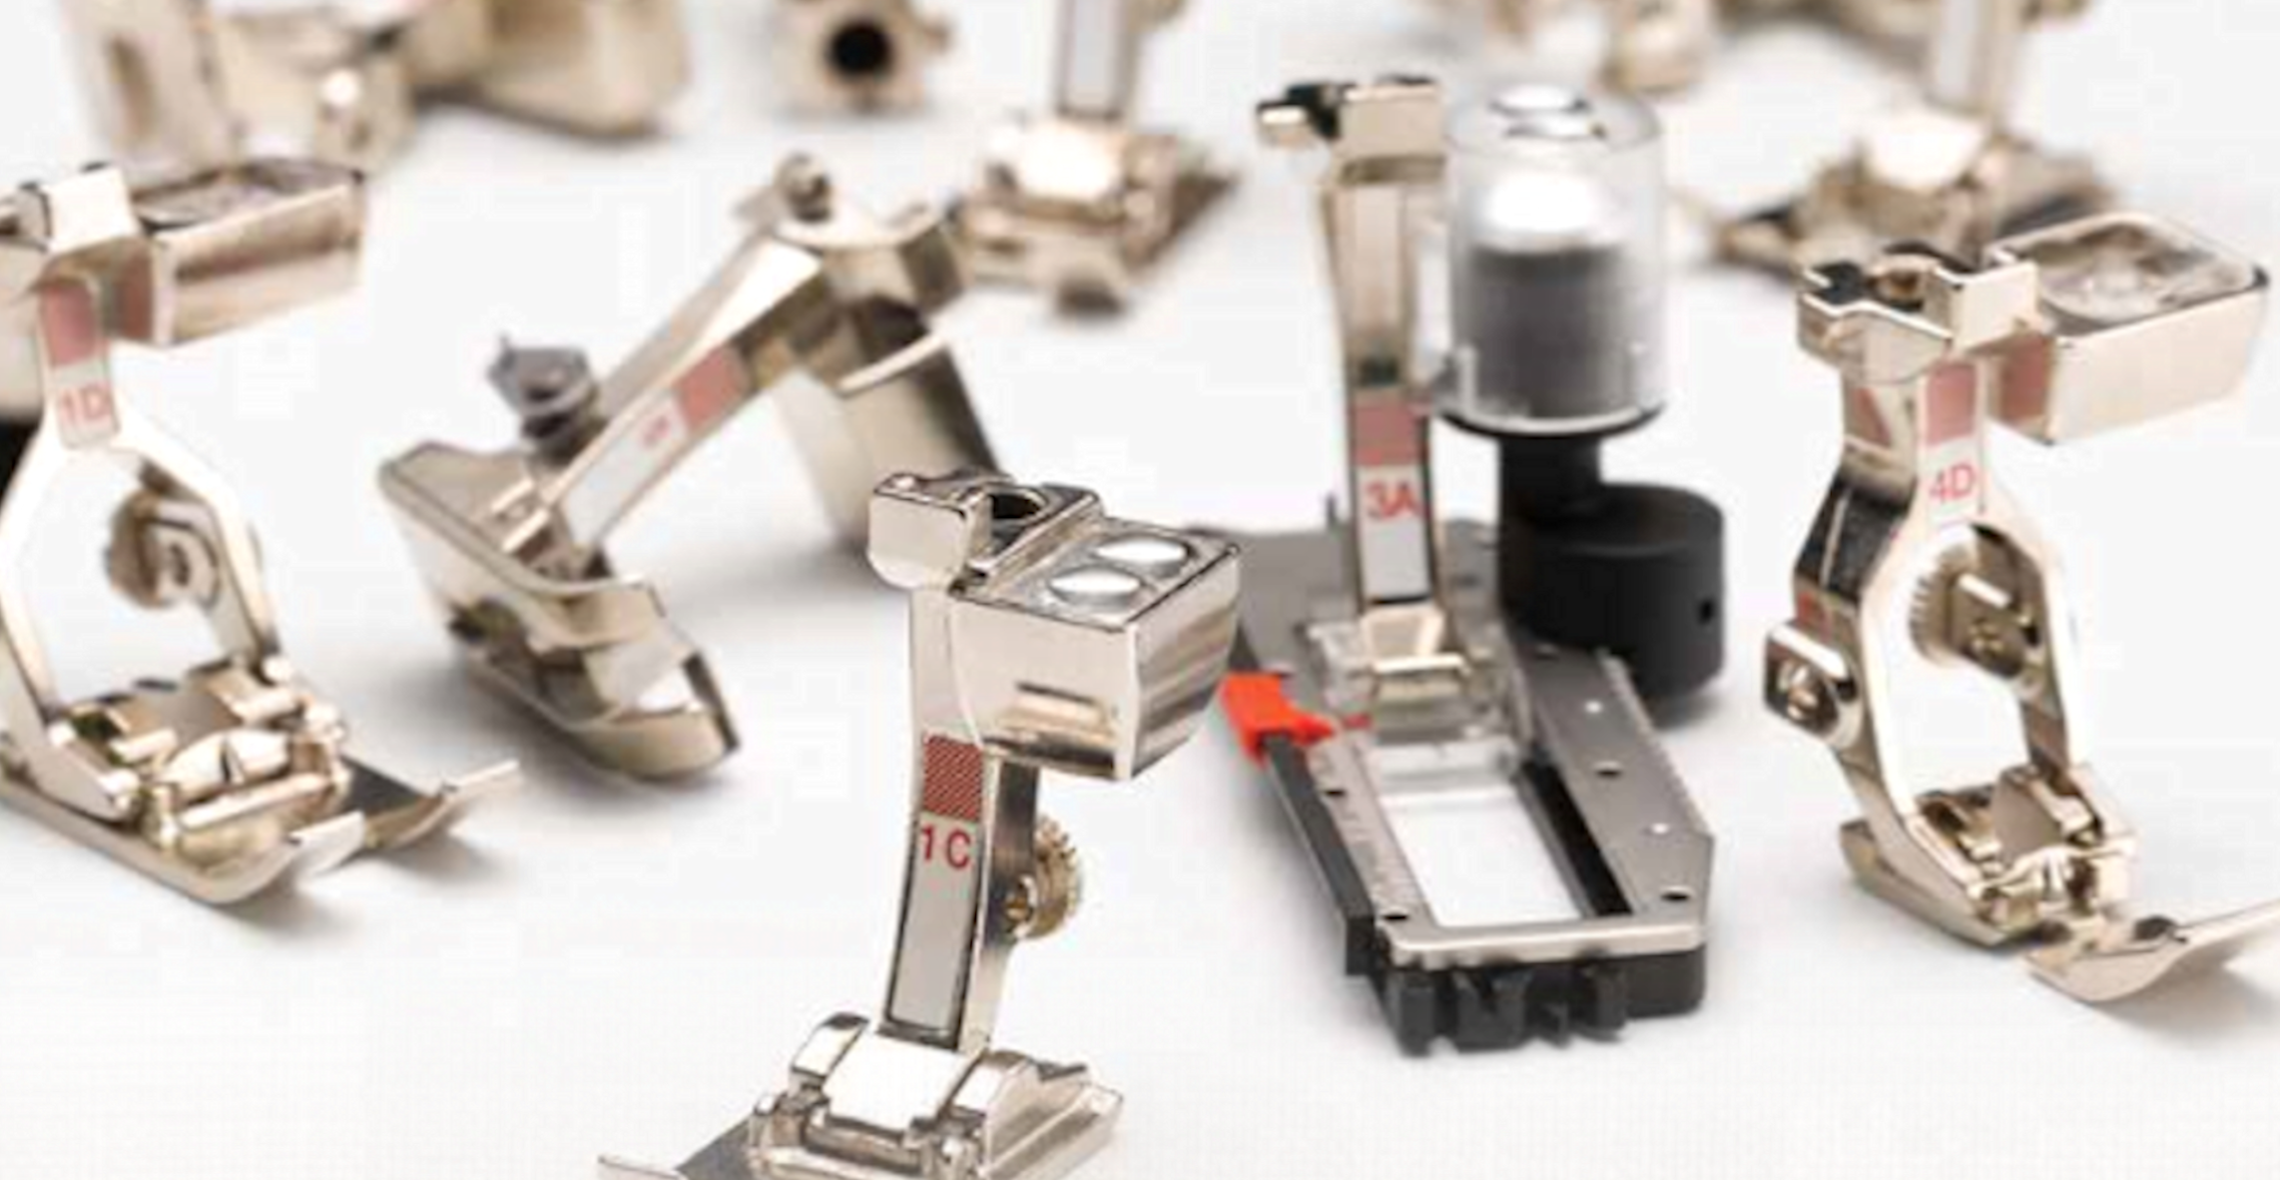
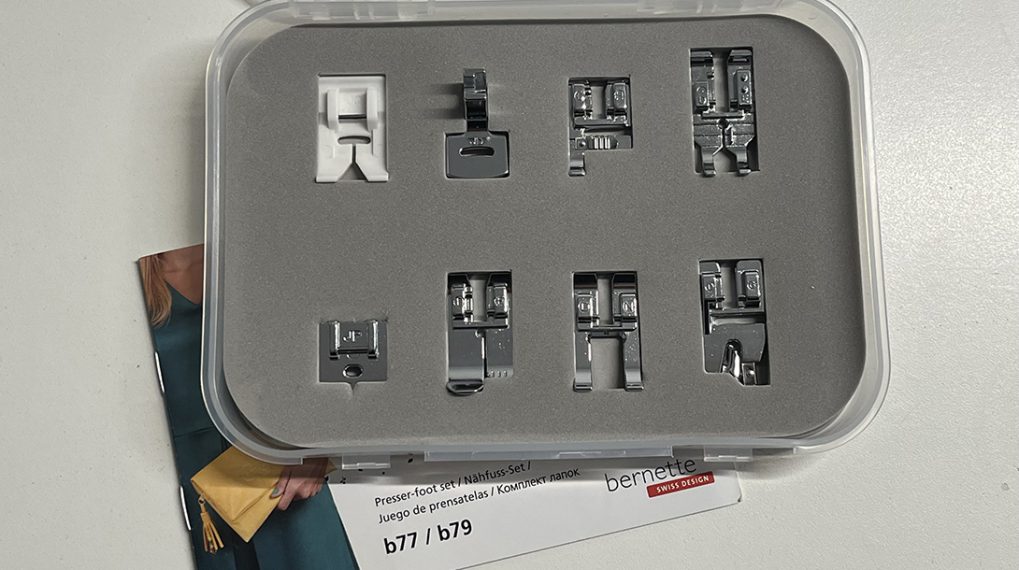
The b79 comes with a removable embroidery module that can be attached for machine embroidery. There is also a variety of presser feet included, two stitch plates, a regular bobbin case and a high tension bobbin case for embroidery, a knee lift, a foot pedal, three embroidery hoops, and tons more. There really is everything you need to get started right away, straight out of the box.
Education
Being new to both embroidery and computerized machines, the legendary BERNINA and bernette support was key for me. In addition to the support from my dealer, the online resources were spectacular and available on demand.
Dealer Support
My dealer, Marigold Quilt Shop, made the experience a great one. When I went to pick up my machine, Karen made sure to unbox it with me and go through each part and accessory that was included. One of the most important things she showed me was how to attach and remove the embroidery module.
I also noticed a small piece of fabric in the box with the machine that had a design stitched out on it. Karen let me know that the machine had been tested upon arrival to the quilt shop to ensure nothing had shifted out of place during transit. This helped me feel confident that the machine I was taking home was in good working order and ready to go.
The other value I found in getting to know my dealer was the sense of community and shared connection. We’ve built a relationship around the brand and sewing and it’s really great to have found someone who is as excited about sewing with these machines as I am.
Online Tools
Each product in the bernette lineup has a page on bernette.com with a host of resources. While I’ve used several, there were two that have become go-to resources for me:
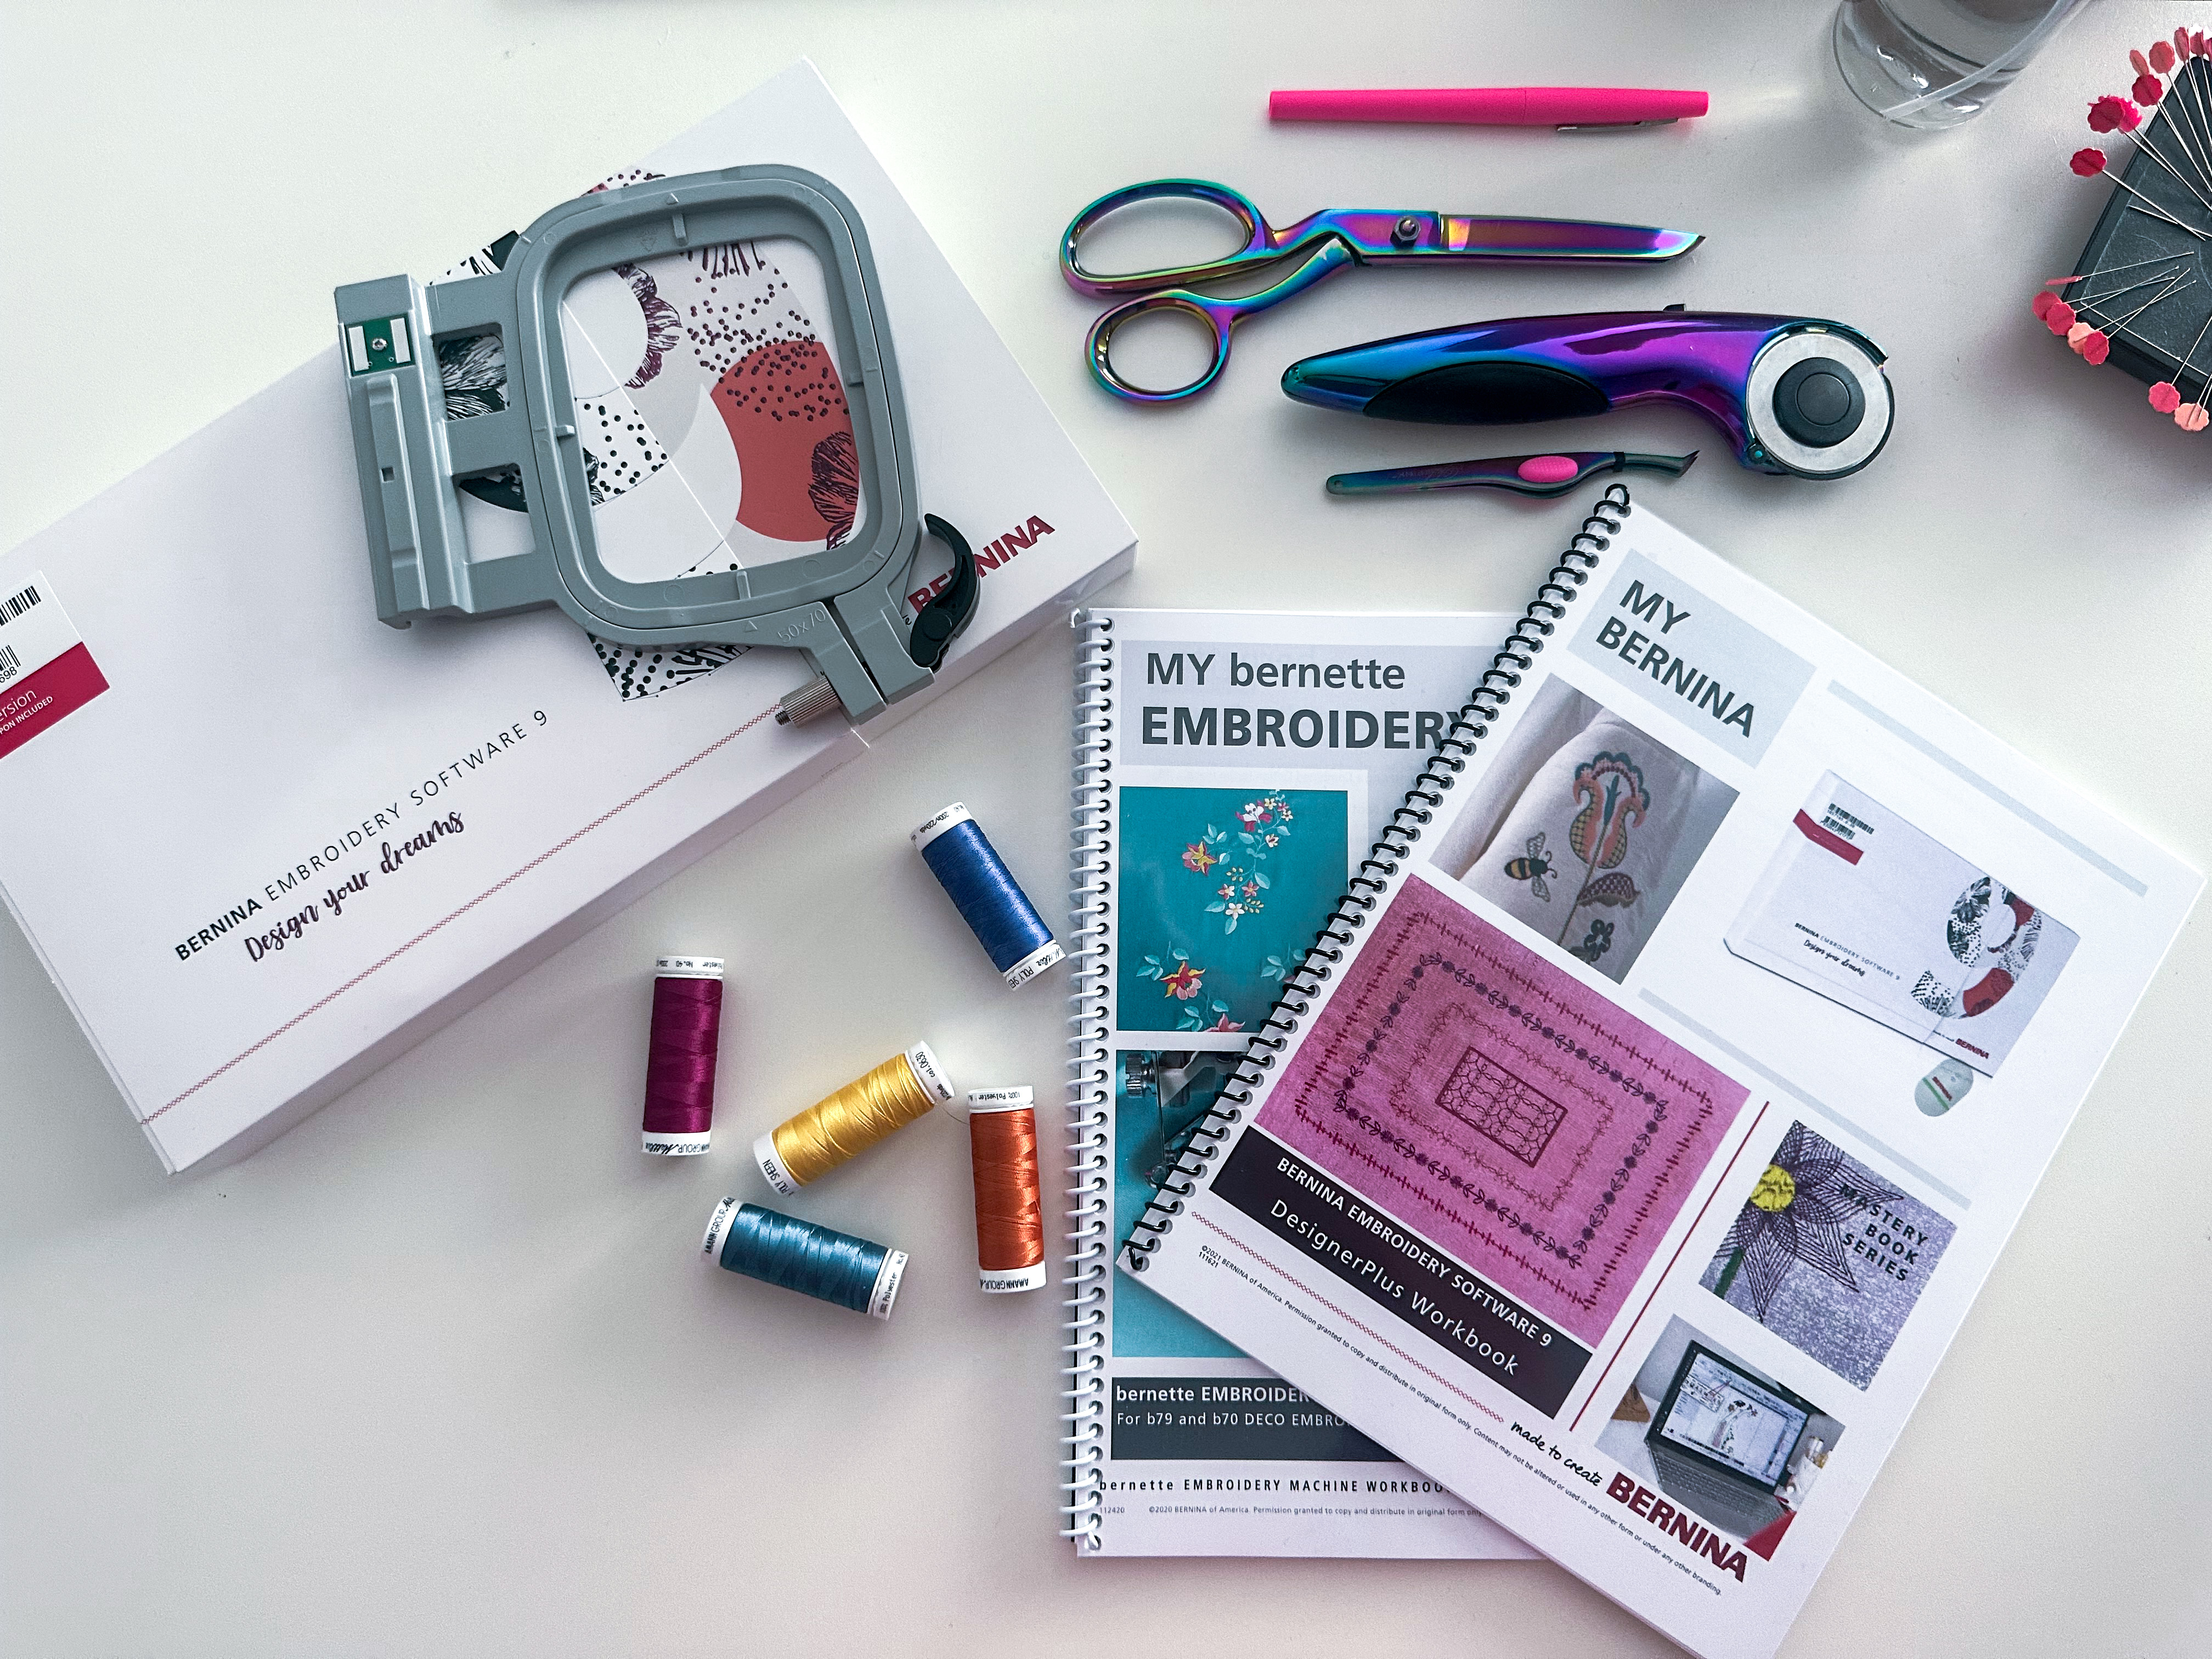
In the box, you will find a printed Quick Start Guide but you’ll need to head onto the website for the full user manual. The full user manual is about 180 pages but filled to the brim with useful info. One section that stood out to me is a full inventory of the built-in stitches and embroidery designs. This is really a one-stop shop for all of the info you’d need for your machine,
For those who like to learn with a hands-on approach, the Mastery Workbook will be your best friend. This was the first thing I pulled up when I was ready to dive into my first embroidery stitch-out. The workbook leads you through completing projects on your machine, building skills as you go. I am a paper person so I downloaded the workbooks and then used a local print shop to have them printed out and spiral bound. They are still right on my desk, one year later, and are one of my key resources when I have questions.
Machine Features
The bernette 79 is such a feature-rich machine, it’s truly hard to pick a handful of favorites but I did it just for you.
Needle Down and the Back Kick Function
In my outline for this post, I listed these as two separate favorites but they really go hand-in-hand.
The first is a setting on the b79 that allows you to end every stitch with the needle down. This means that when you are sewing along and then take your foot off the pedal to stop, the machine will finish the current stitch and end with the needle through your fabric, in the down position. This is especially helpful when you are sewing and need to pivot since your fabric will stay in place and your stitches will be continuous.
The other setting I love is the back kick function on the foot pedal. Picture yourself with your foot on the pedal. You know that by pressing your toes down, your machine will start to sew. On the flip side, when you lift your toes off the machine will slow and then stop. On the b79 there is an additional motion where you press your heel down. Once you do this, your presser foot will raise ever so slightly into a hover position. This, coupled with the needle down function, makes pivoting so simple and easy.
The other note I’d like to call out about the foot pedal and hover function is when you are getting ready to start sewing. If you press your foot pedal slightly with your toes, you’ll see that the presser foot lowers to the hover position and pauses there before the machine starts. I love this for making sure my fabric is aligned just so before the needle pierces the fabric and I can get my perfect 1/4″ seam.
Auto Thread Cutter
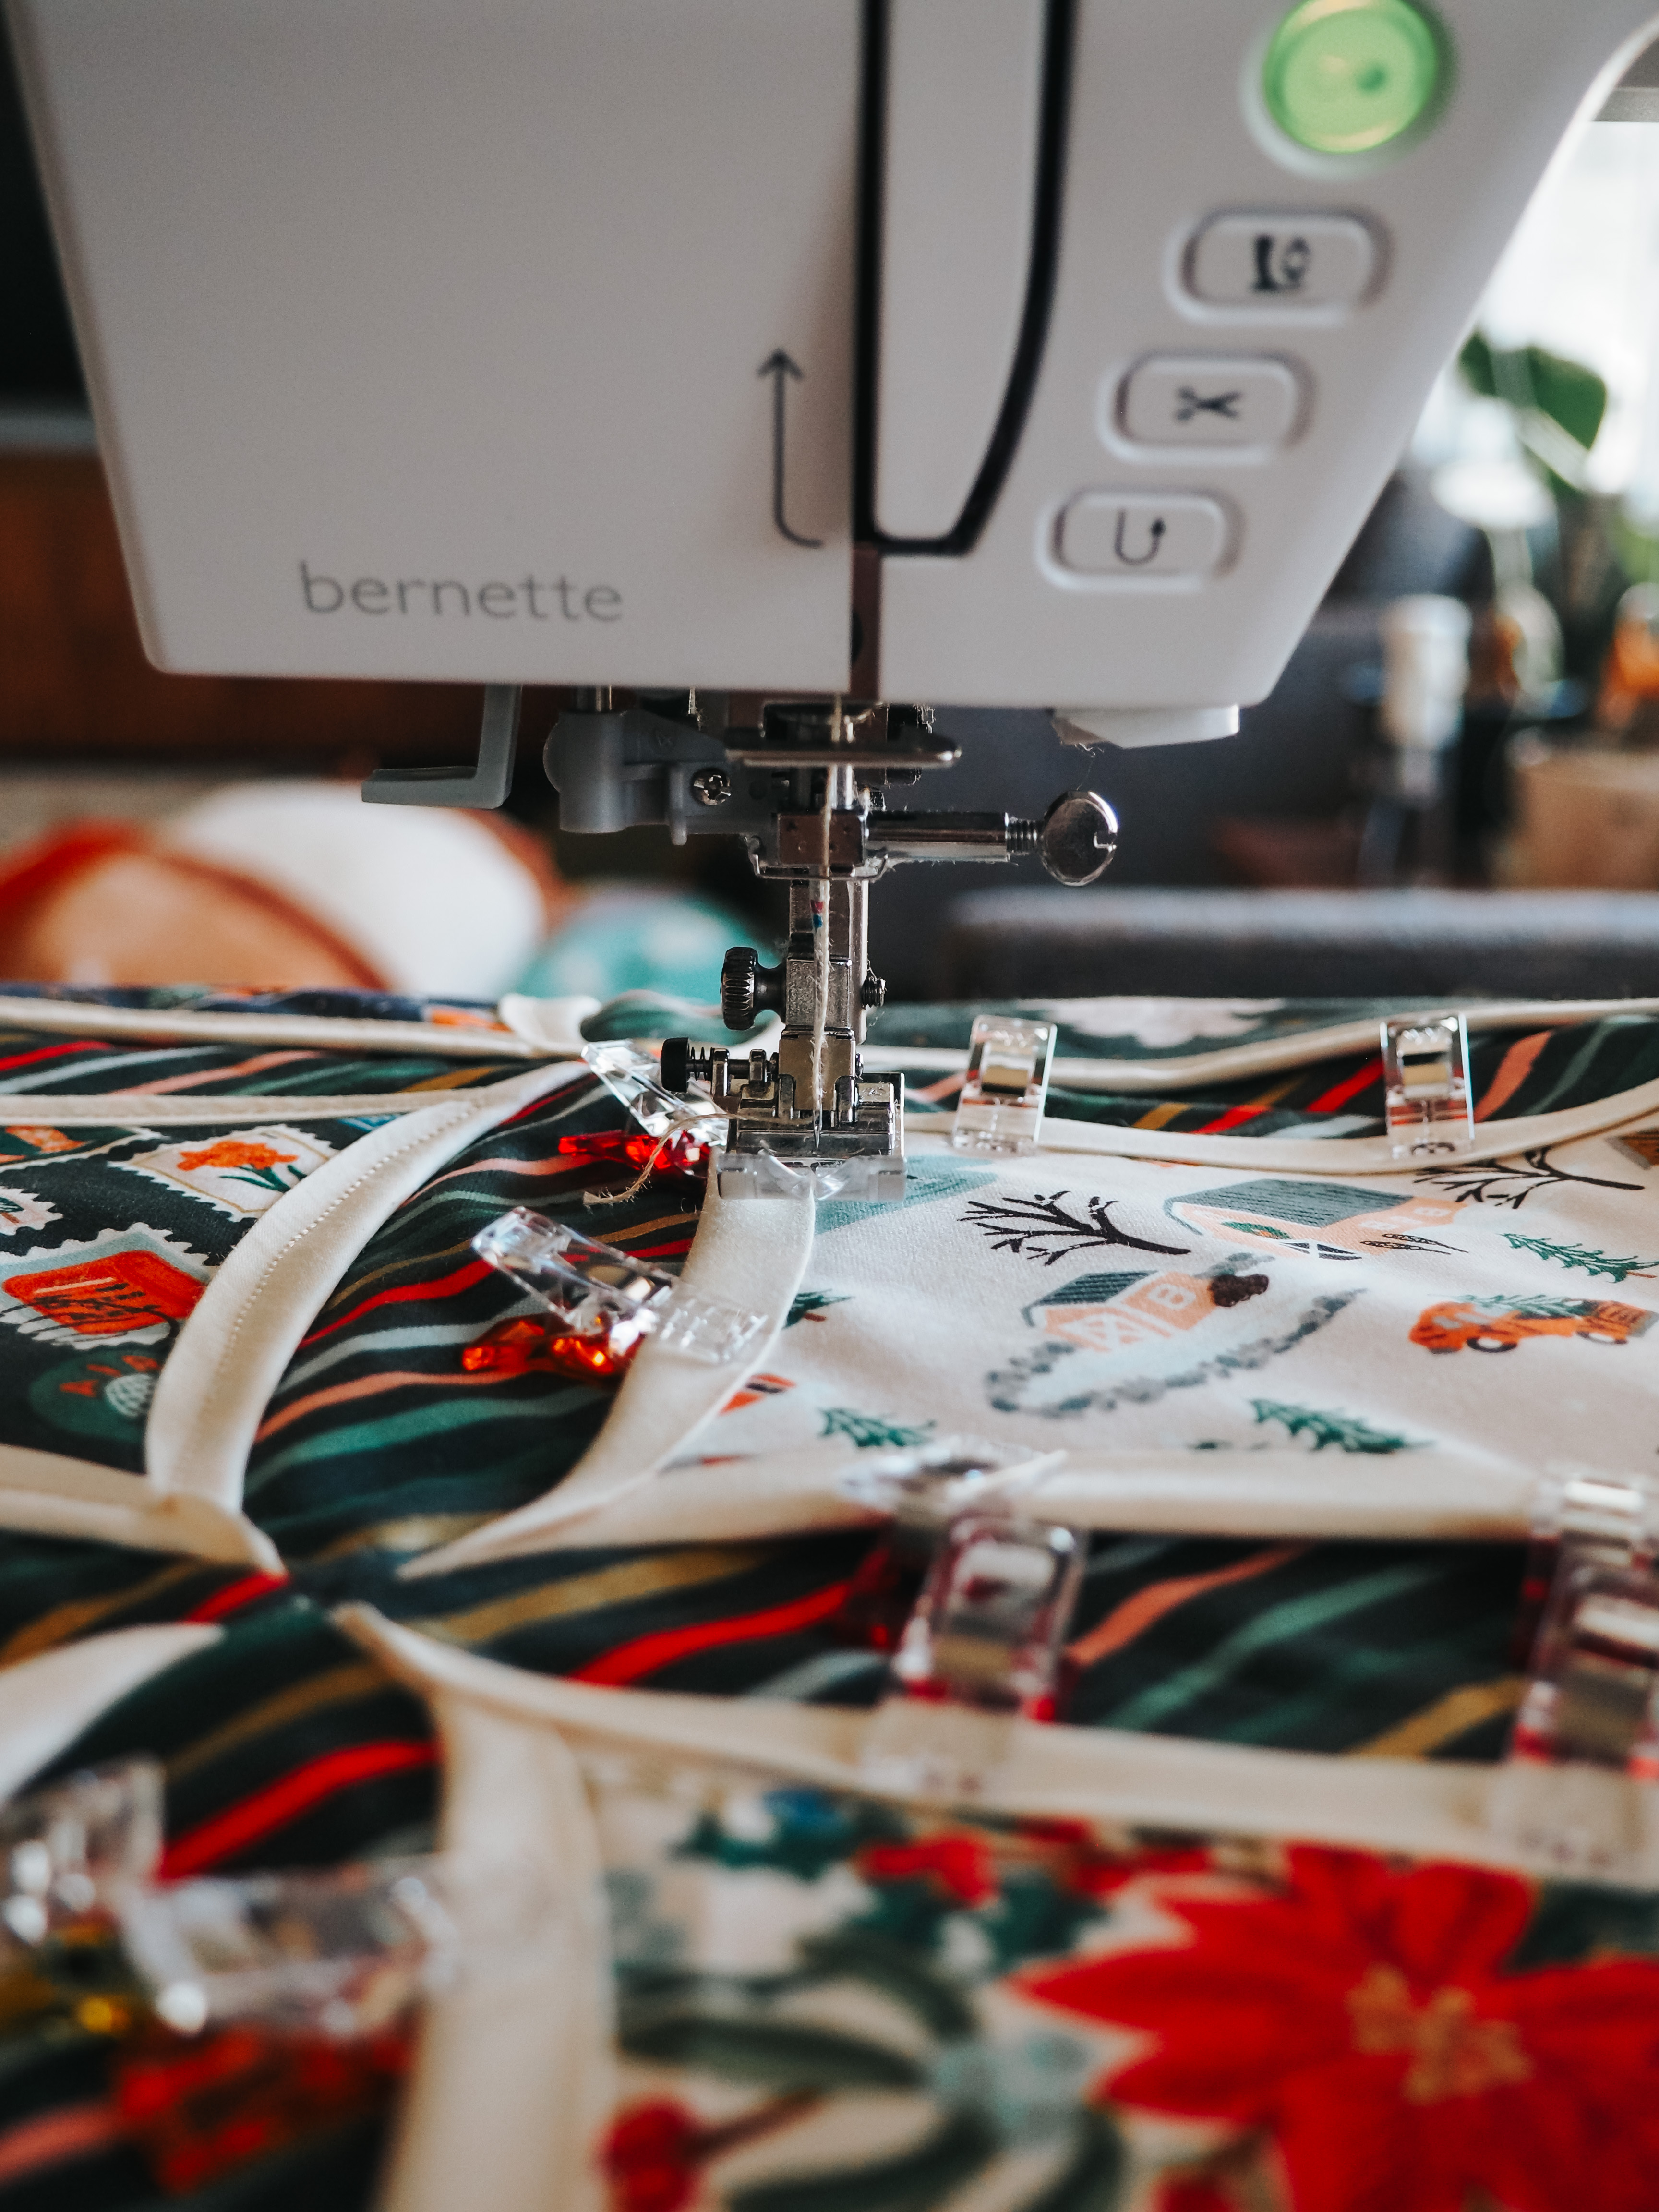
This was the feature I was most looking forward to. When quilting on a domestic it can be so hard to get under the quilt to trim the bobbin thread if you have to end a seam in the middle of the blanket rather than the edge. The auto thread cutter is the perfect solution.
The bernette 79 has a couple of ways to set up the auto thread cutter, either using the button on the front of the machine or by programming the kick back function to cut. I prefer to use the button since my kick back is programmed for the presser foot hover.
The auto thread cutter also comes in handy during embroidery. Most designs have multiple color change steps in addition to areas where the design jumps from one spot to another. The auto thread cutter will cut at the end of a color step so you are ready to switch to your next color. You can also program the machine to cut jump stitches. Jump stitches are those longer thread trails where the design moves to the next spot to start stitching again. If you don’t have the machine programmed to cut the jump stitches, you’ll have to trim them yourself once the design is stitched out.
Thread Cutter Tip
An additional note about the auto thread cutter on the b79: take your time. I learned that when I’m sewing and stop to cut my thread, occasionally the thread would snap back and through the needle and I’d have to rethread it. If you do this enough, it can cause some frustration. I found that if I start to move my fabric out from under the foot too quickly, it causes a pull on the thread as it’s being cut. This puts extra tension on that top thread and when it is cut, it contracts back and pulls out of the needle. My advice is to be sure that the machine has finished the entire process (it’ll cut the thread, raise the needle, and raise the presser foot) before moving your fabric.
Presser Feet and bernette Dual Feed
Before I became a bernette ambassador and got my b79, I sewed on a b35. The b35 is a spectacular mechanical machine at an amazing price point. Naturally, I collected a few presser feet that I loved, with the Patchwork foot being my favorite. I didn’t want to give that foot up and luckily bernette thought of that with the Universal Presser Foot Holder. The holder allows me to use the feet from my b35 with my b79 which is perfect!
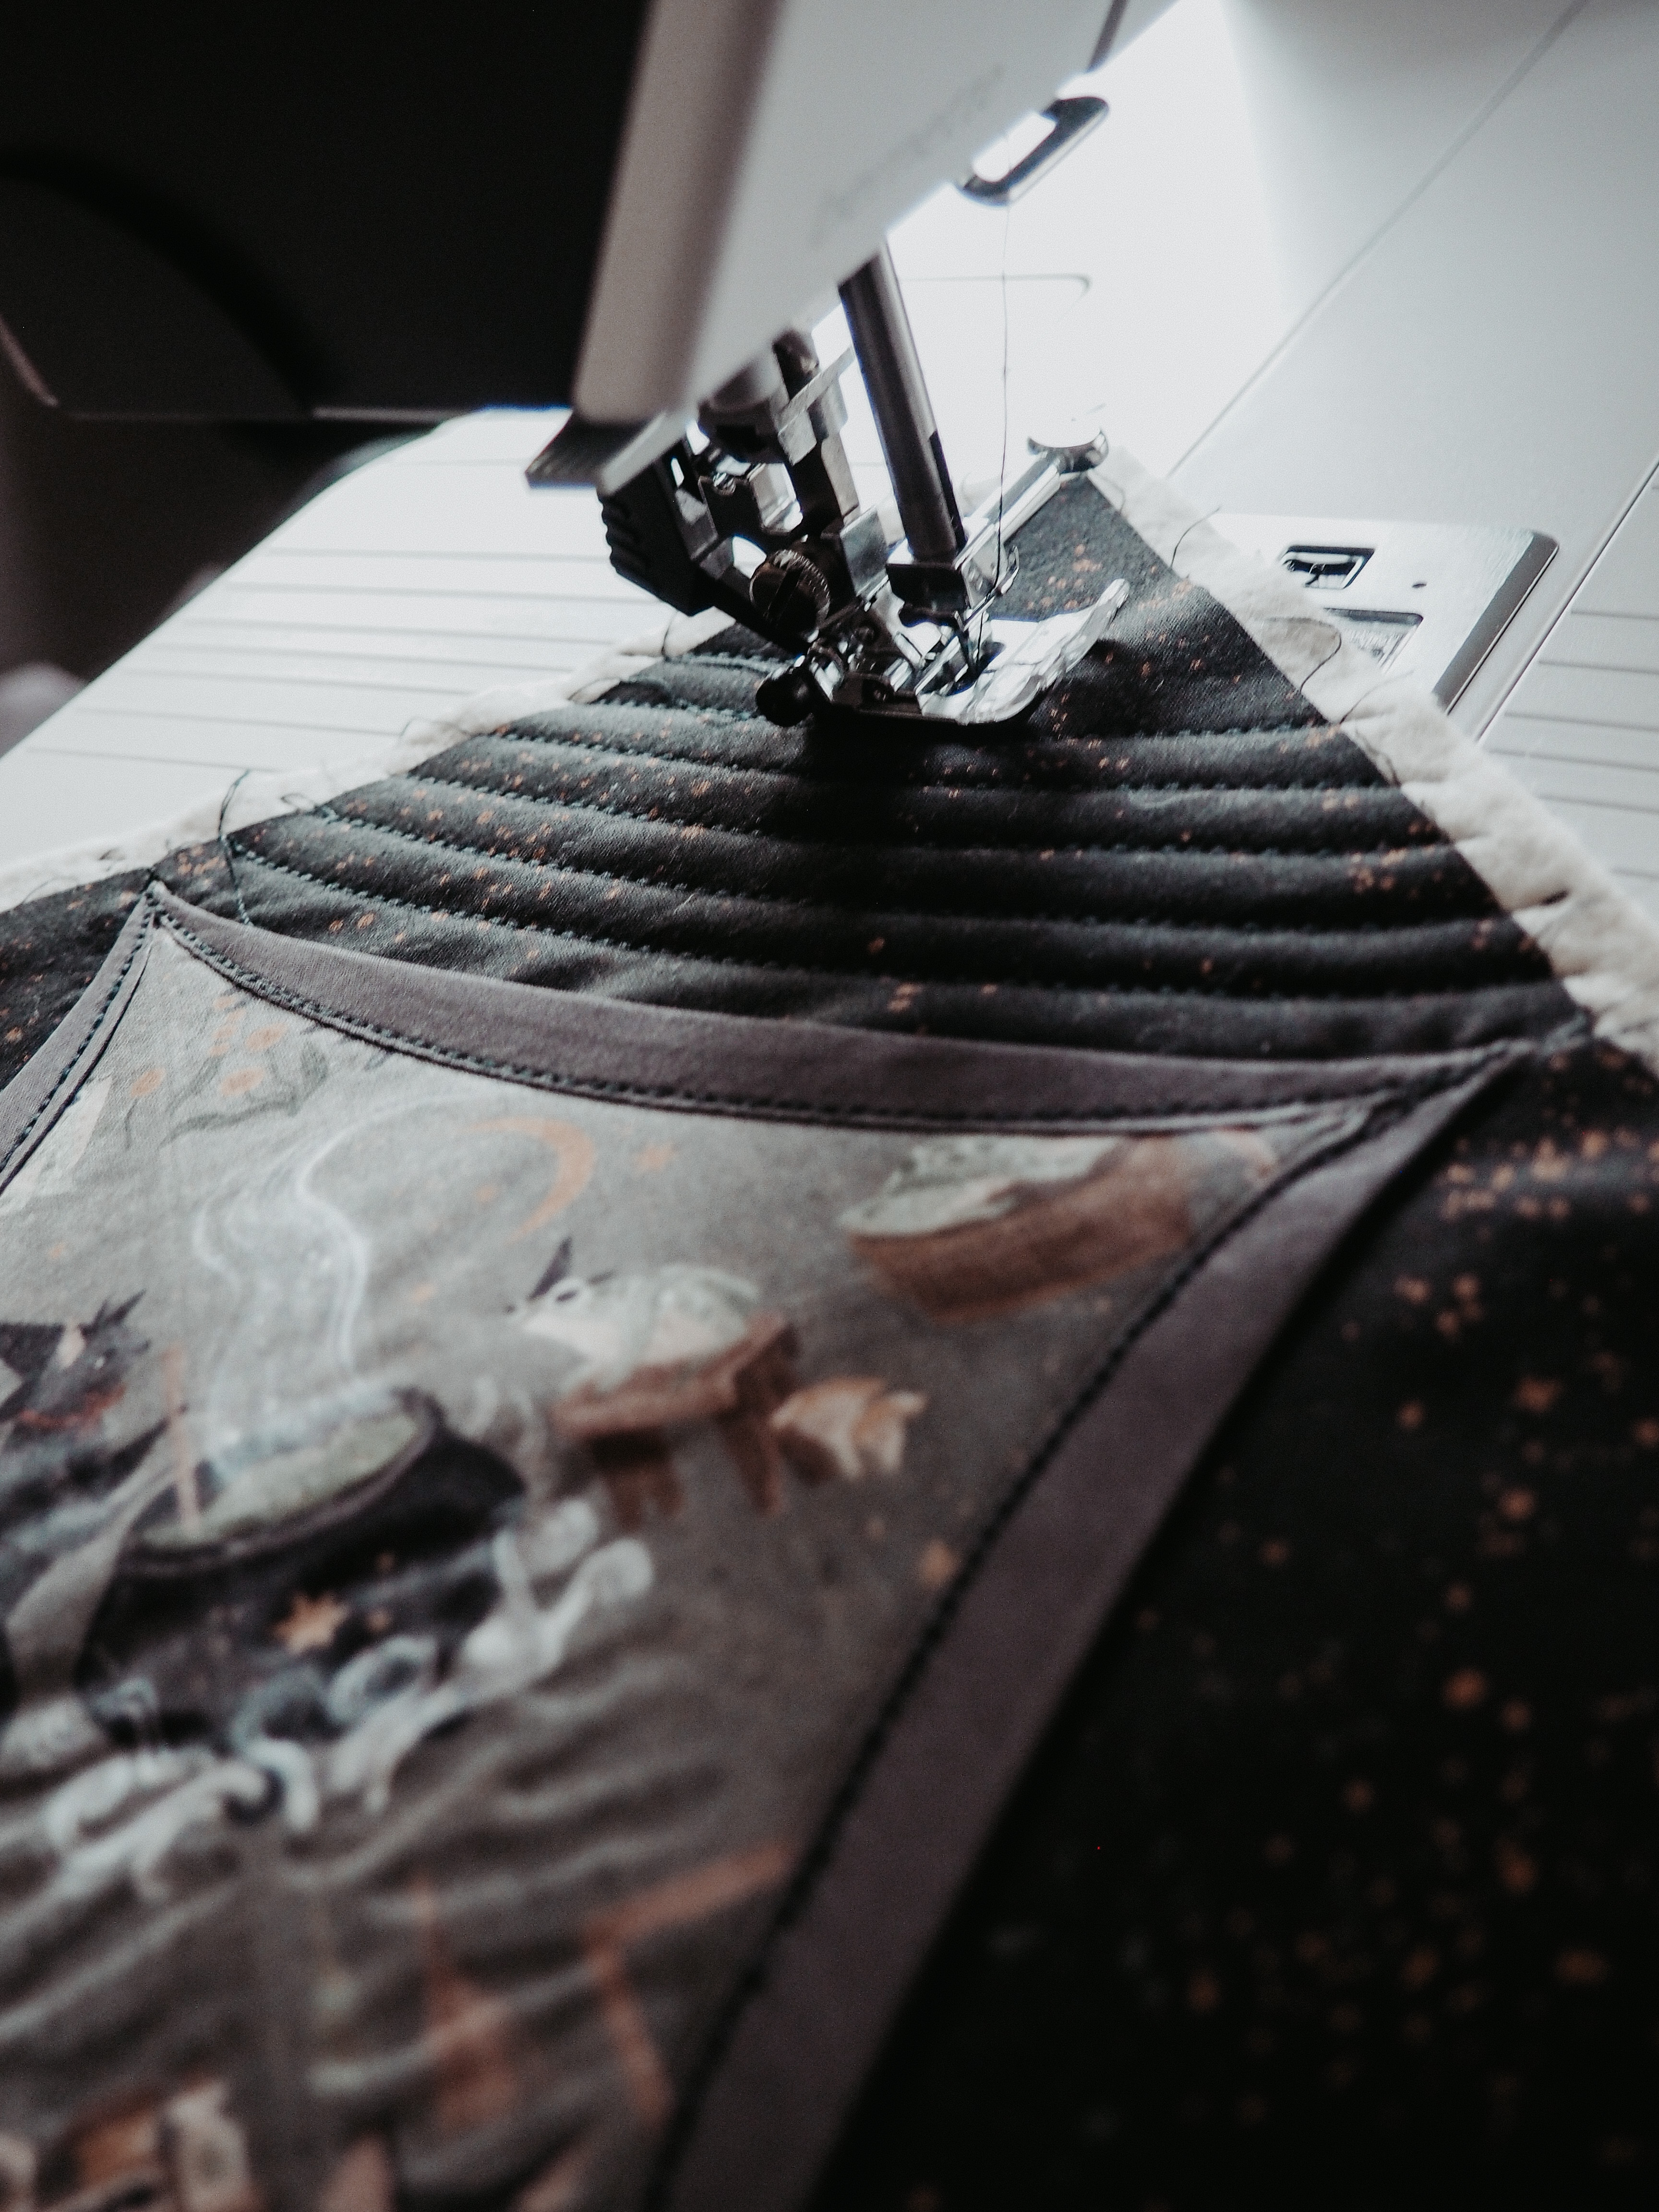
One foot I didn’t need to worry about replacing or using across machines was the walking foot. That is because the bernette 79 has bernette dual feed built in. The dual feed acts like a walking foot in that when engaged, it helps feed the fabric from the top as well as the bottom. The dual feed works with presser feet that have the open back only. I’ve found it to be especially helpful when quilting. Since it feeds the fabric on top, the quilt sandwich stays in place better. This reduces puckering or minor shifting before being stitched down.
Cleaning
My last tidbit about the bernette 79 is around cleaning and maintenance. I have a secret I need to spill… before the b79 I don’t think I’d ever cleaned a sewing machine out, oops! In fact, once I learned how important this is, I went back to my b35 and was sort of embarrassed at how much lint there was.
Almost every frustration I’ve had while sewing on the b79 has been because it needed a nice cleaning. Luckily, cleaning the machine is relatively quick and has almost become a therapeutic practice for me when I need a quick break from sewing.
My Tips for Cleaning
- Use a new (never used), dry small paint brush to help grab fluff balls out from under the stitch plate. Those little craft kits that your kids get that come with a bunch are great for snagging brushes from.
- I’ve also heard of folks using pipe cleaners. They are thin and flexible and the fibers will latch onto the fuzziness. I’d just remind you to be careful as you are fishing around in the machine so you don’t dislodge any components. It’s probably best to stick to what you can see in this case.
- Don’t forget to pull out the bobbin case and dust underneath it. This is where I get the most fuzzies, along with the thread cutter.
- Speaking of under the bobbin case… there is a circle and then a small hole in the middle. If you look down that hole, it’ll look like there are fuzzies but it’s actually a wick for oil. Don’t pull that out, it needs to stay in.
- Don’t use canned air or blow into your machine. A lot of folks will tell you the reason to not do this is because it pushes fluff deeper in. But another reason is moisture. Both canned air and blowing will introduce moisture into your machine which can cause problems down the road.
- Lastly, don’t neglect your feed dogs. This is one of the most satisfying areas since you can get some built-up fiber out of those.

